Old School and Other Rotary Old School and Other Rotary Powered Vehicles including performance modifications and technical support

Tegheim - Home made 4 Rotor Wolvo project

Thread Tools
 
Search this Thread
 
Old 03-16-13, 11:28 AM
  #801  
Senior Member

Thread Starter
 
tegheim's Avatar
 
Join Date: Nov 2003
Location: Sweden
Posts: 533
Likes: 0
Received 2 Likes on 1 Post
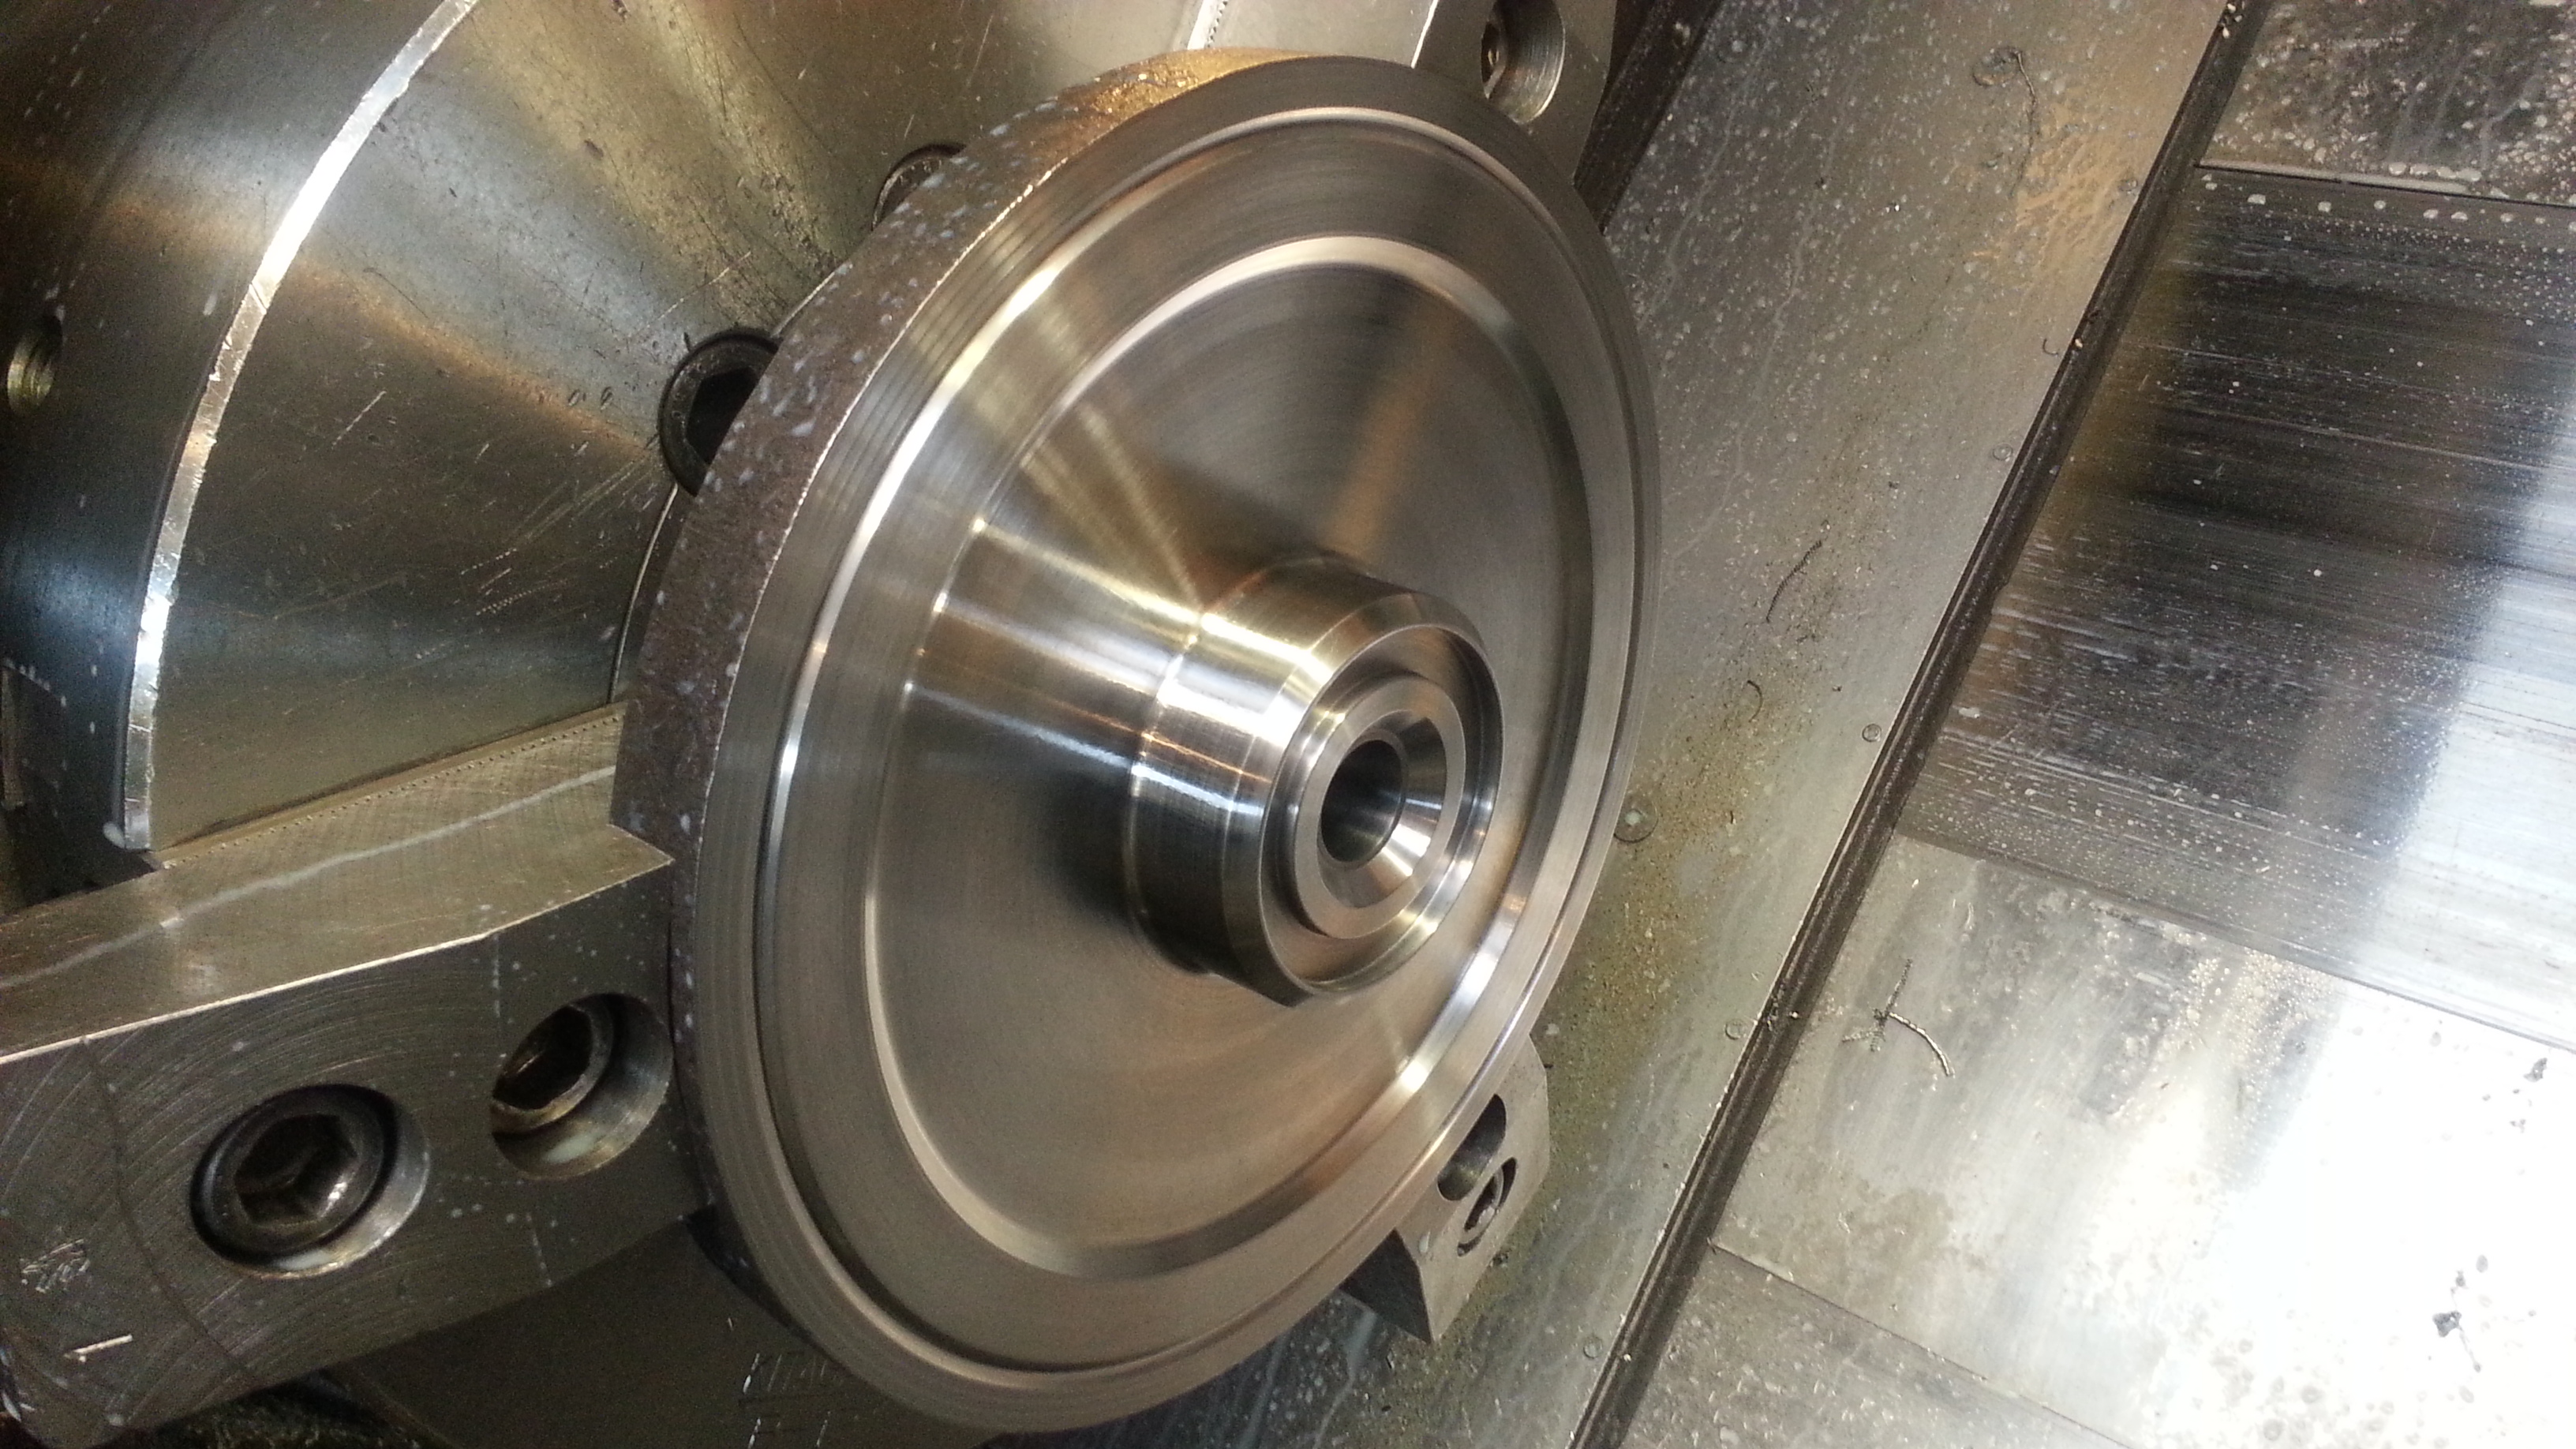
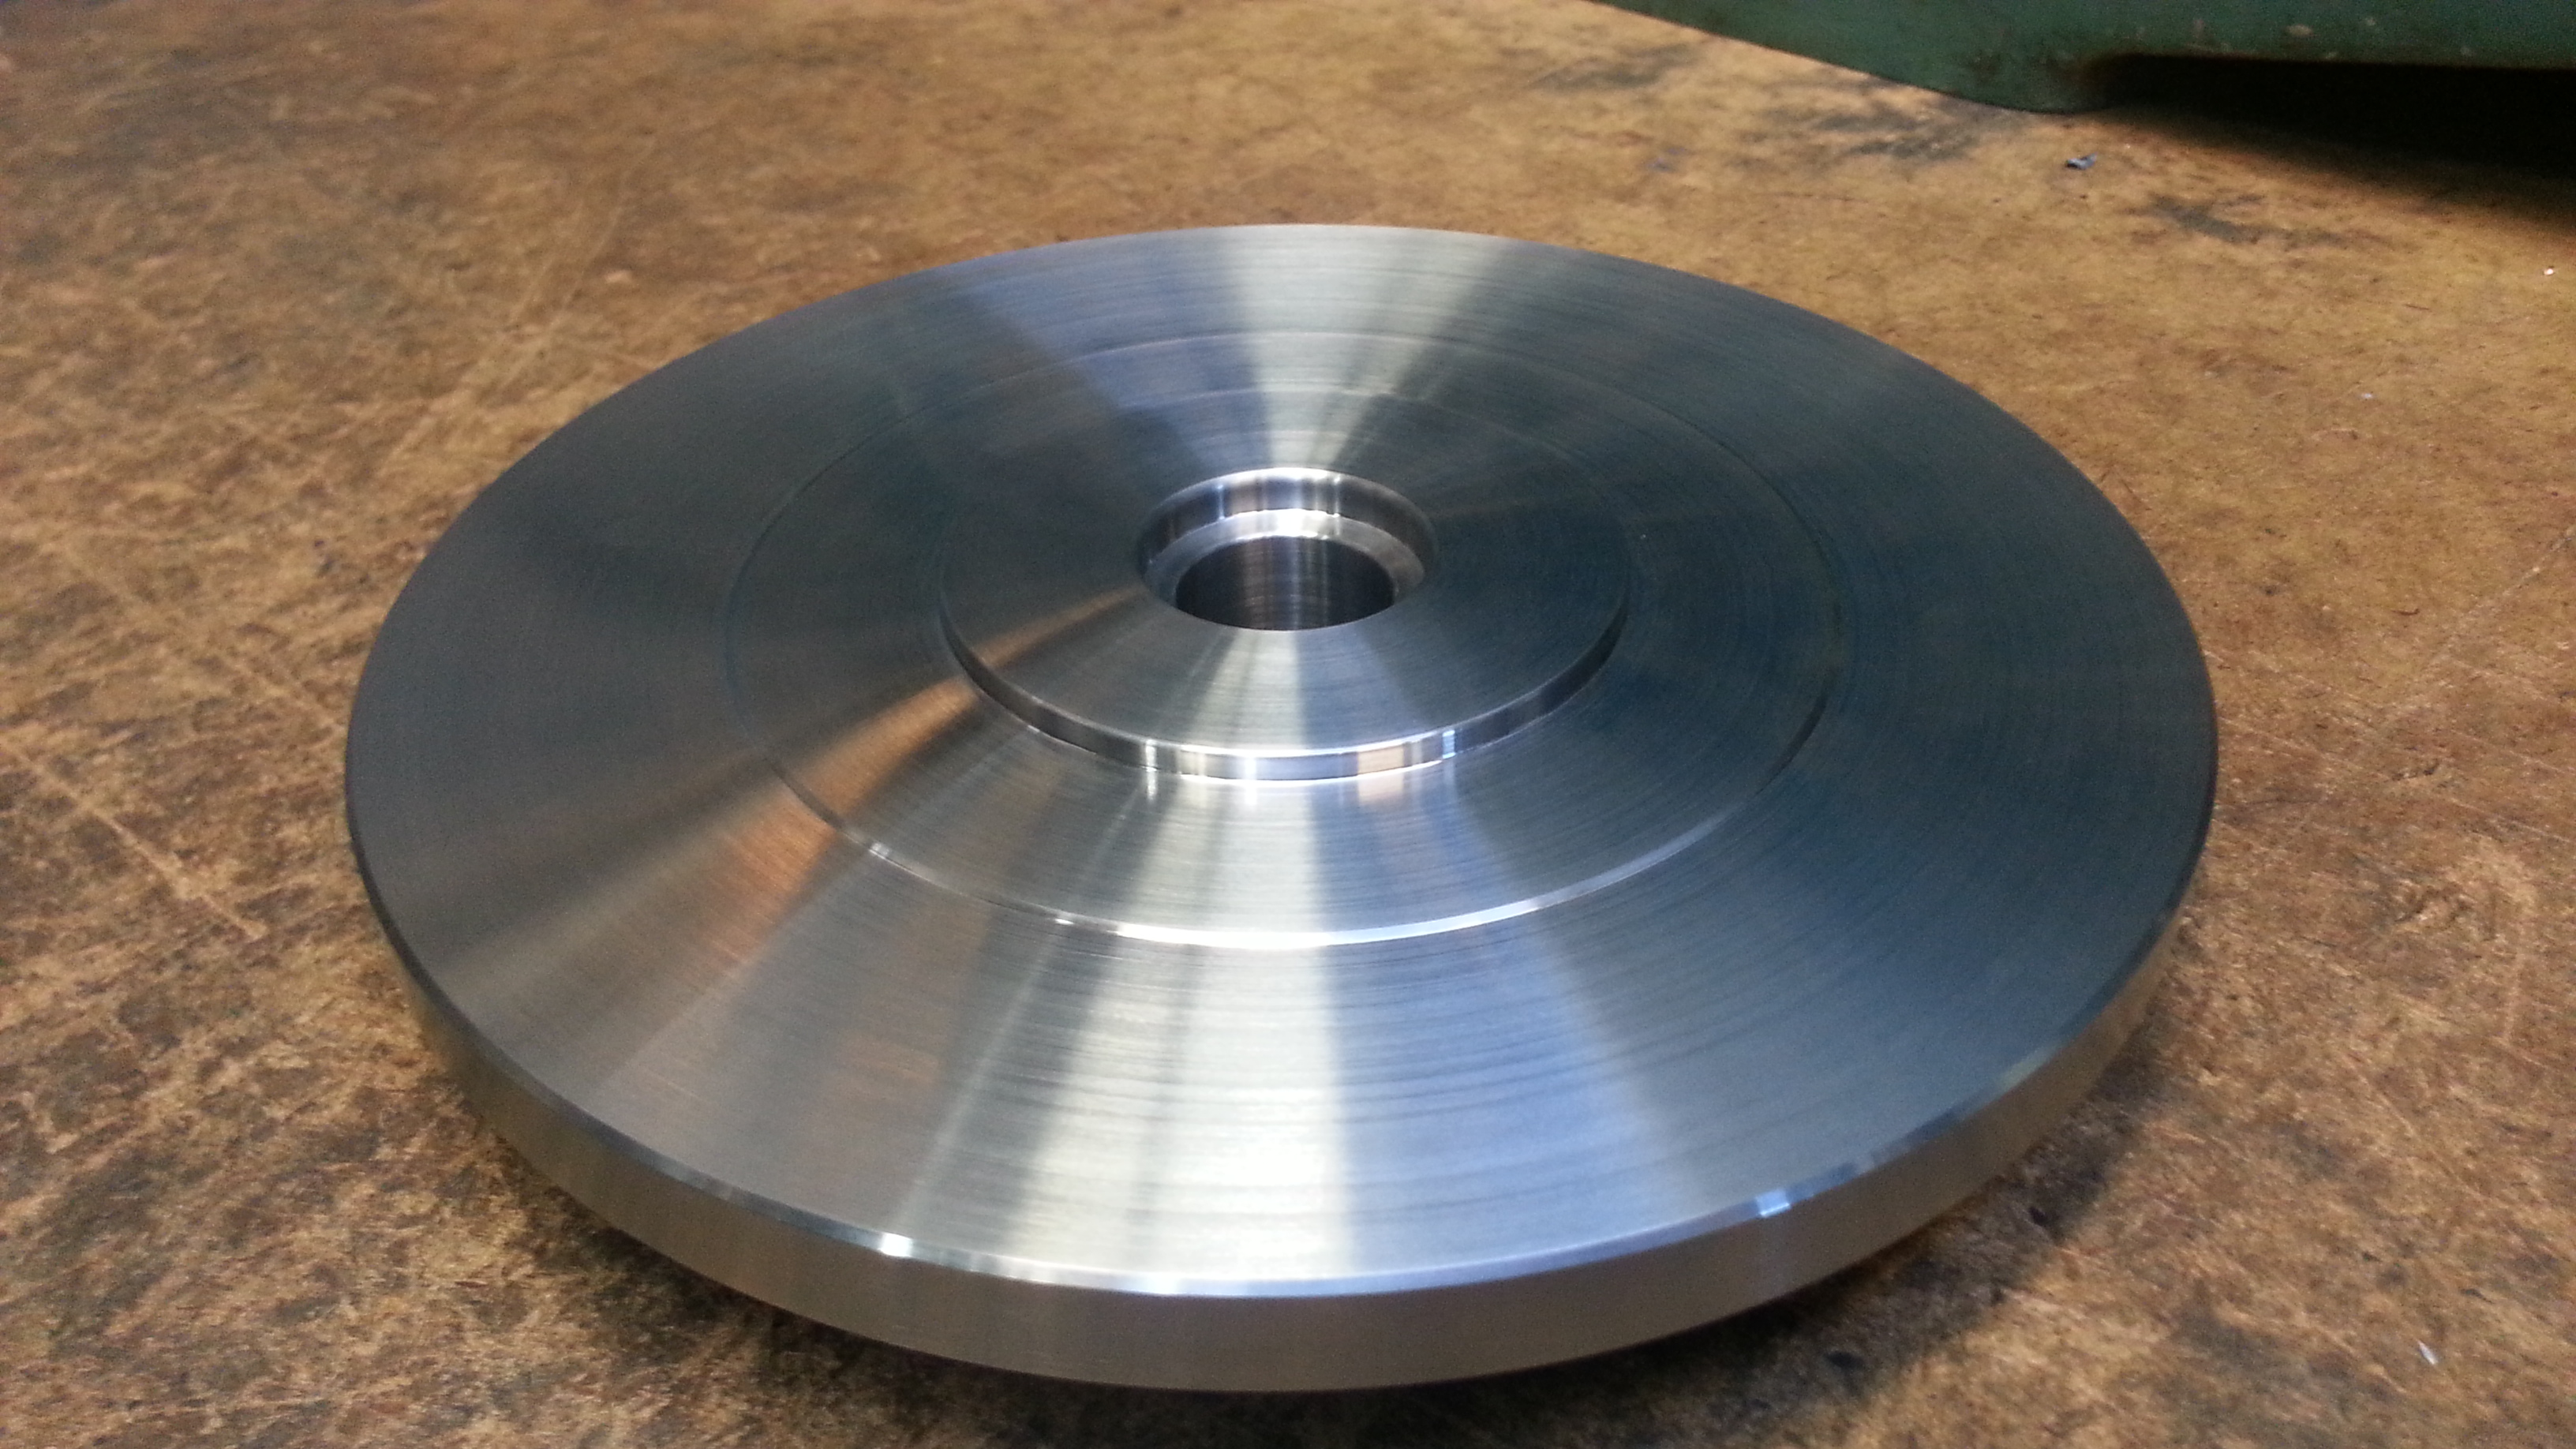
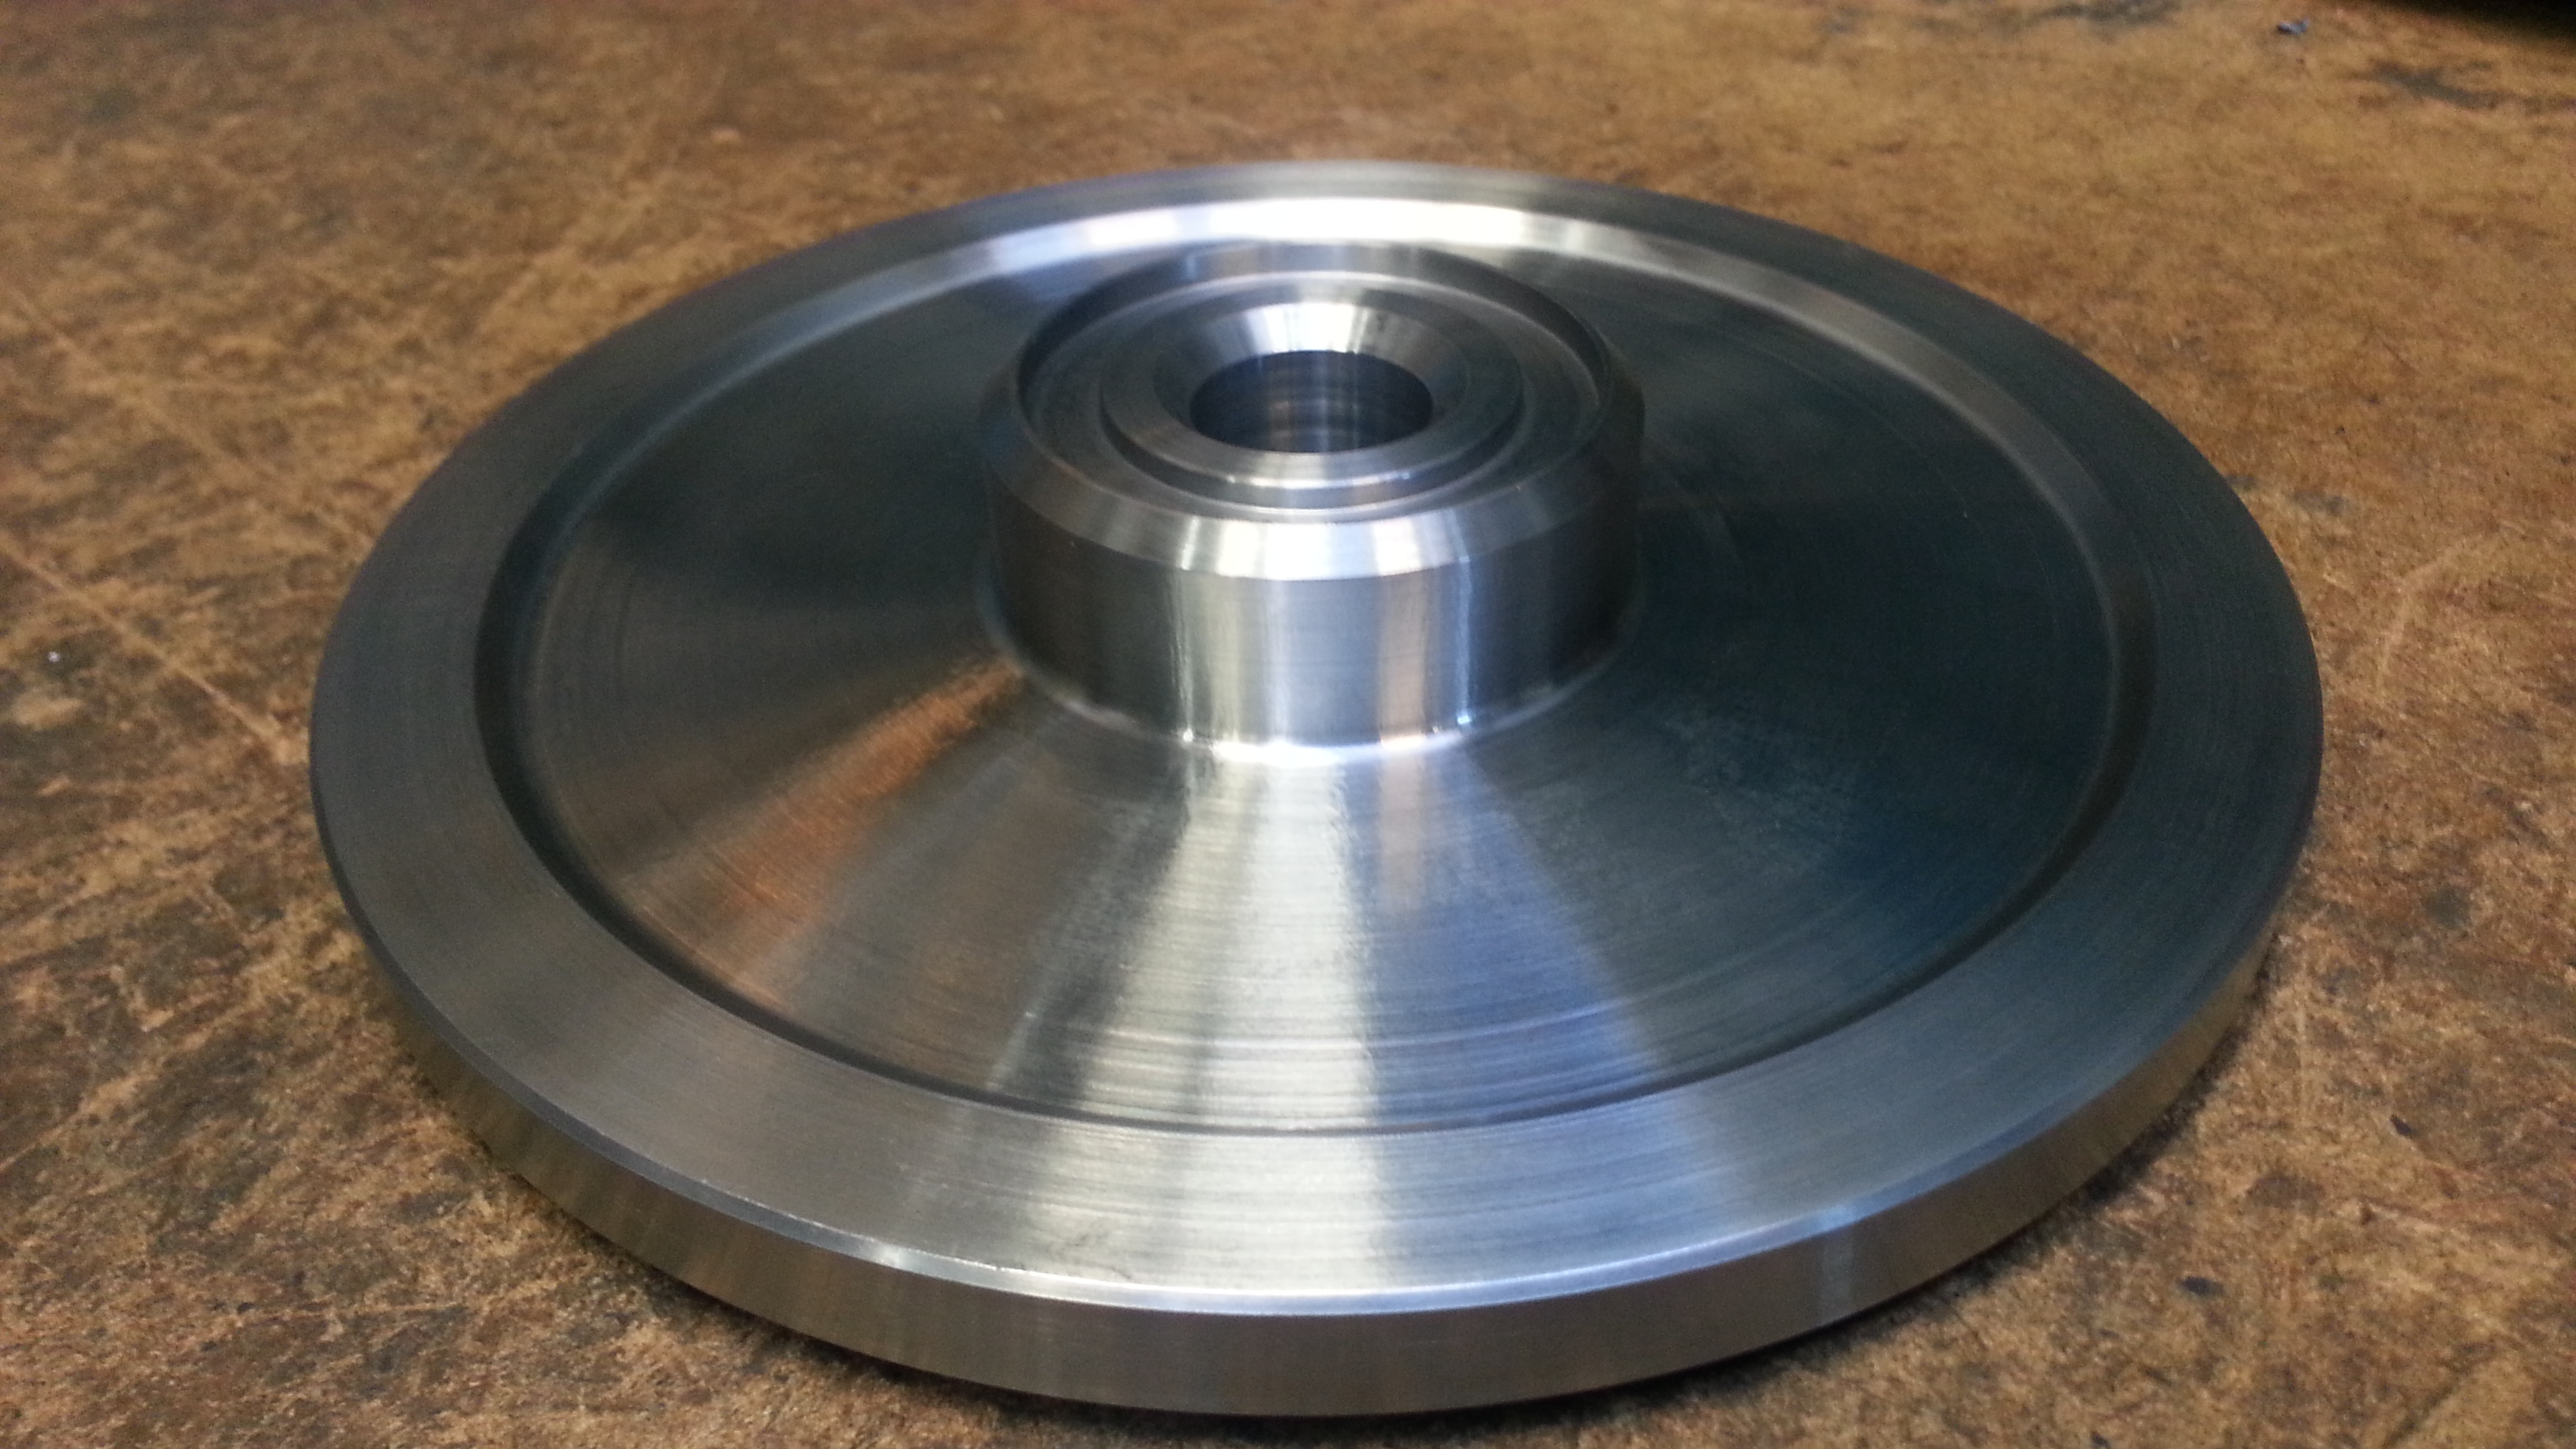
Bought a piece of SS2541-03 material. Ø220mm and 100mm "long".
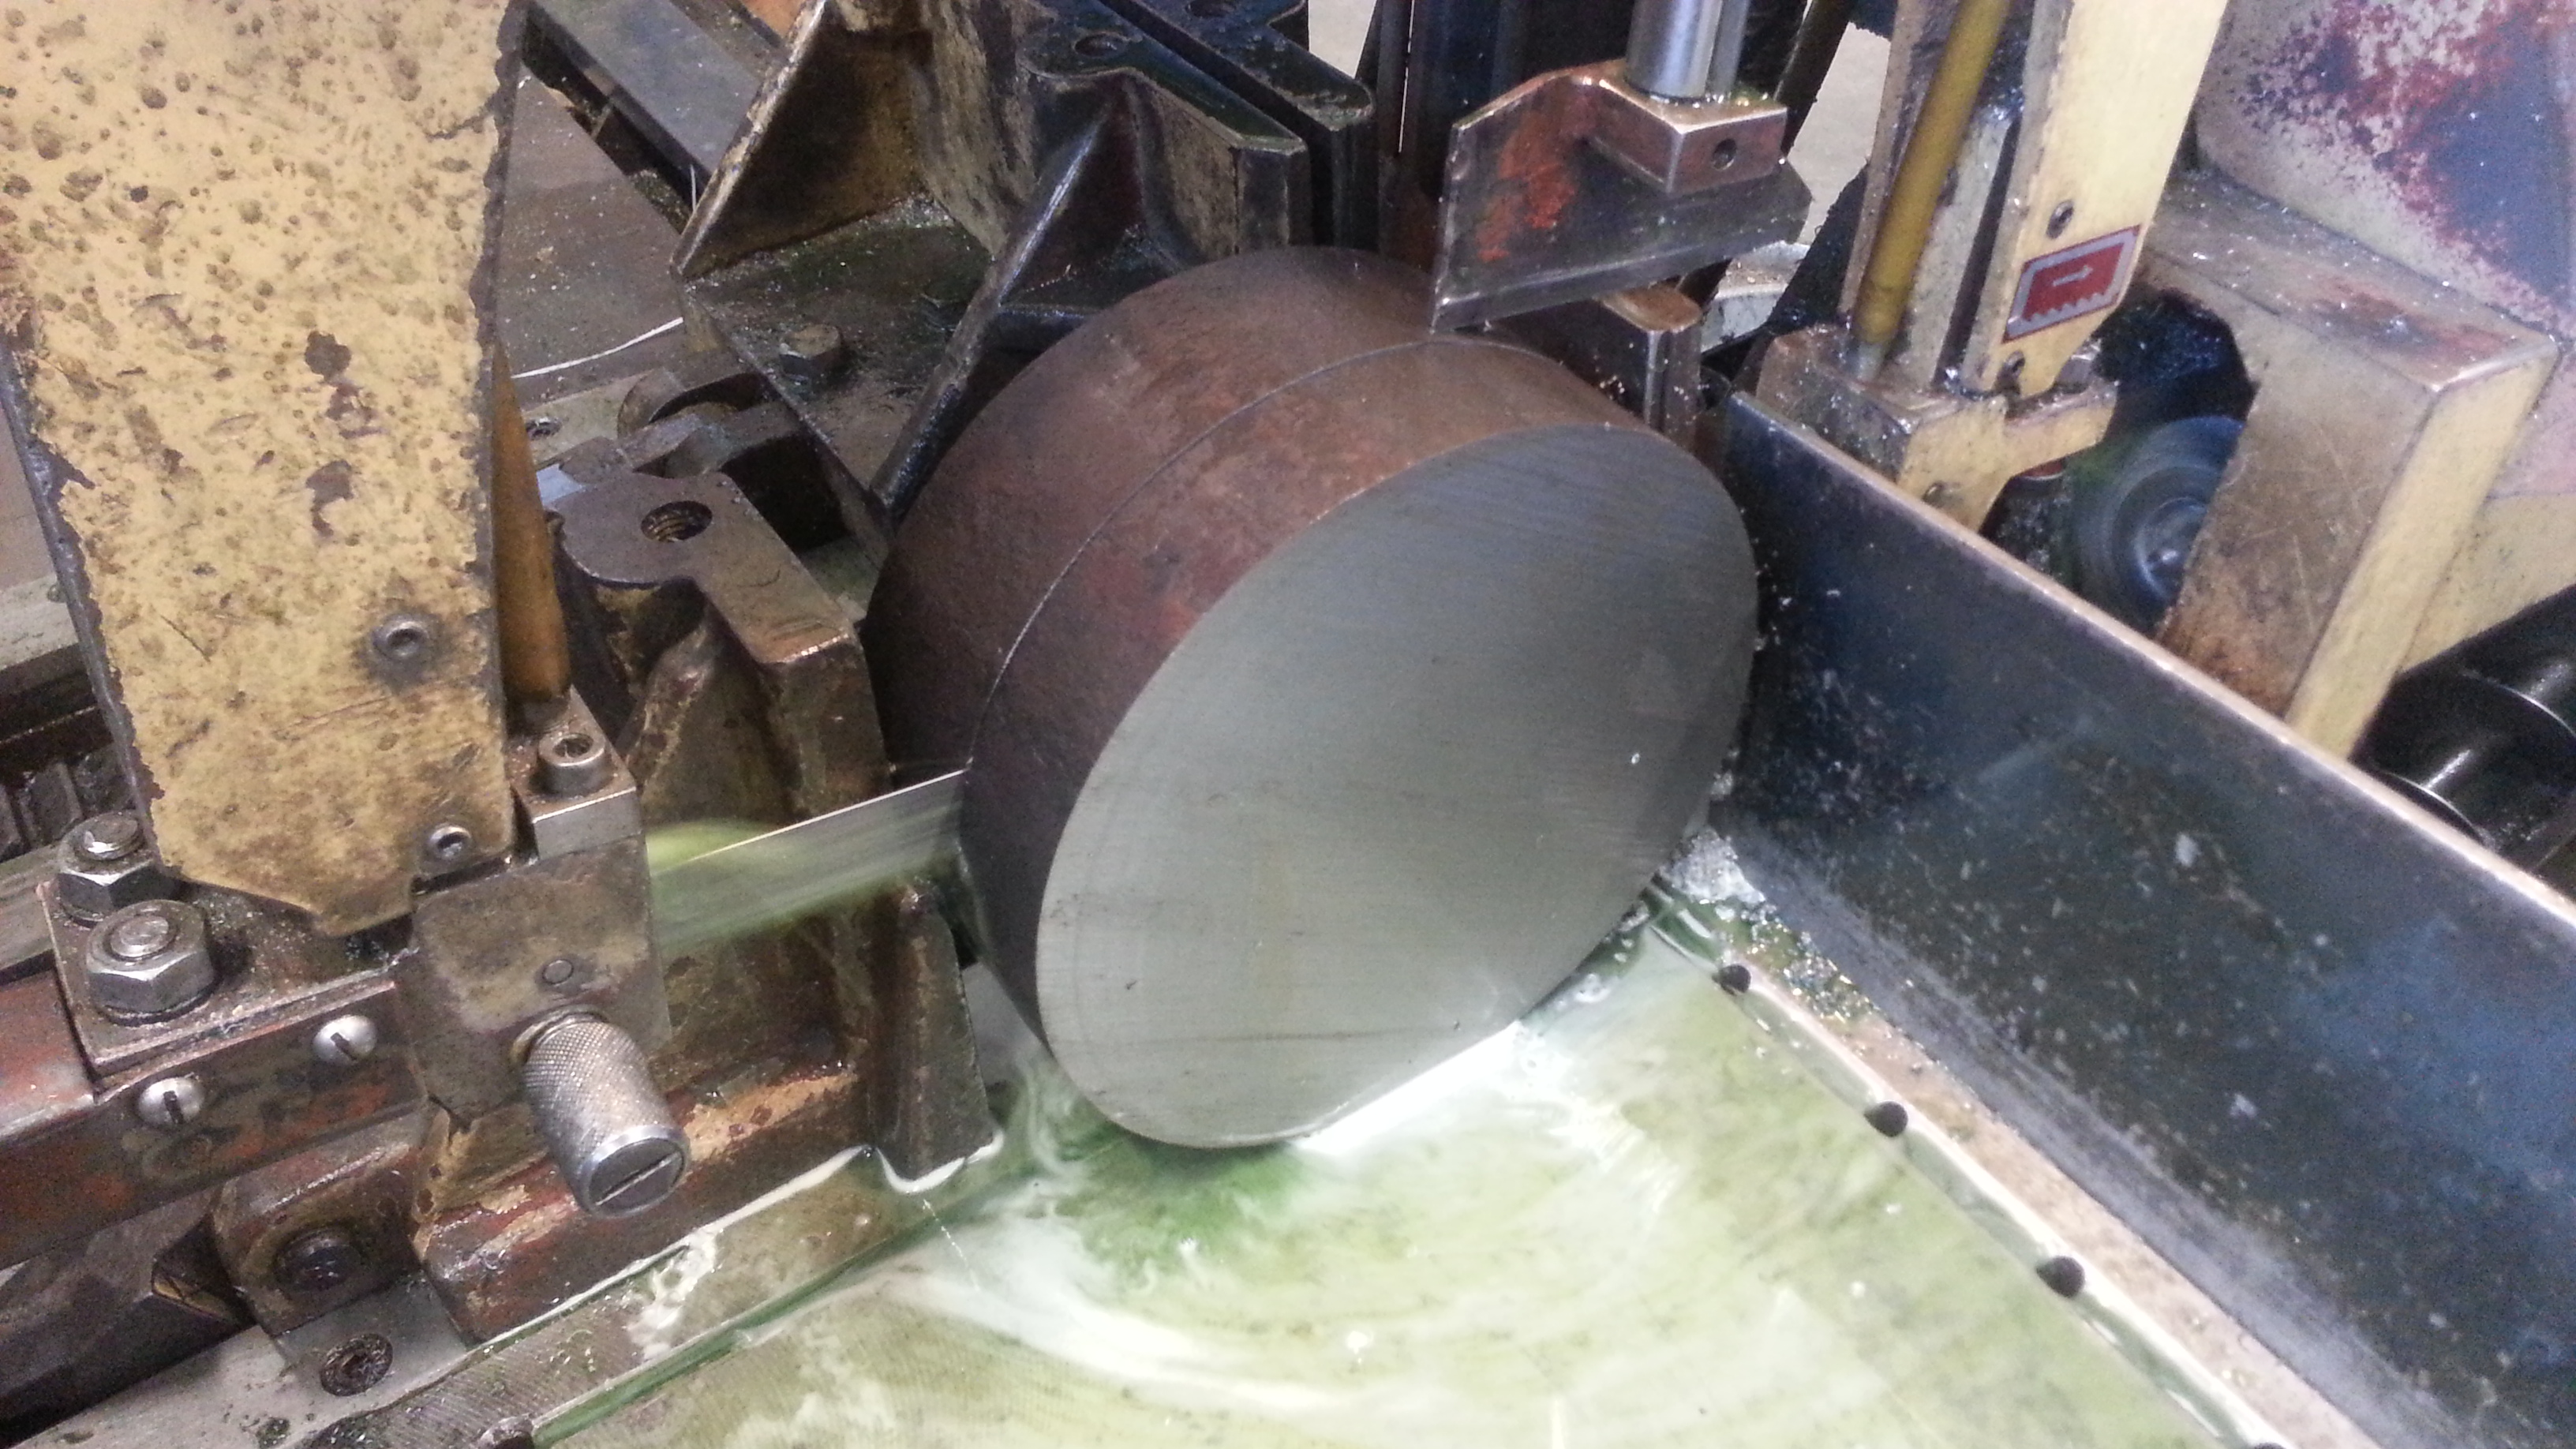
Name:  20130315_134950_zps657cf5e6.jpg
Views: 630
Size:  1.78 MB

First side
Name:  20130316_133200_zpsfd063946.jpg
Views: 597
Size:  1.90 MB

Finished
Name:  20130316_161059_zps0bd09b8b.jpg
Views: 605
Size:  1.65 MB
Name:  20130316_161110_zps9b88d4e5.jpg
Views: 602
Size:  1.58 MB

Now I will get this to a man who will help me with wire cutting.
Will do some splines inside to fit the e-shaft. Will do with one spline loss, so it only can fit i one place. Will be better when its time for balancing.
Old 03-16-13, 11:07 PM
  #802  
Full Member

iTrader: (2)
 
CamanoRx2's Avatar
 
Join Date: Jun 2002
Location: Camano Island, WA
Posts: 191
Likes: 0
Received 0 Likes on 0 Posts
GO! GO! GO! Love your project! Congrats on getting it on its own suspension- HUGE milestone.
Old 03-27-13, 05:53 AM
  #803  
Senior Member

Thread Starter
 
tegheim's Avatar
 
Join Date: Nov 2003
Location: Sweden
Posts: 533
Likes: 0
Received 2 Likes on 1 Post
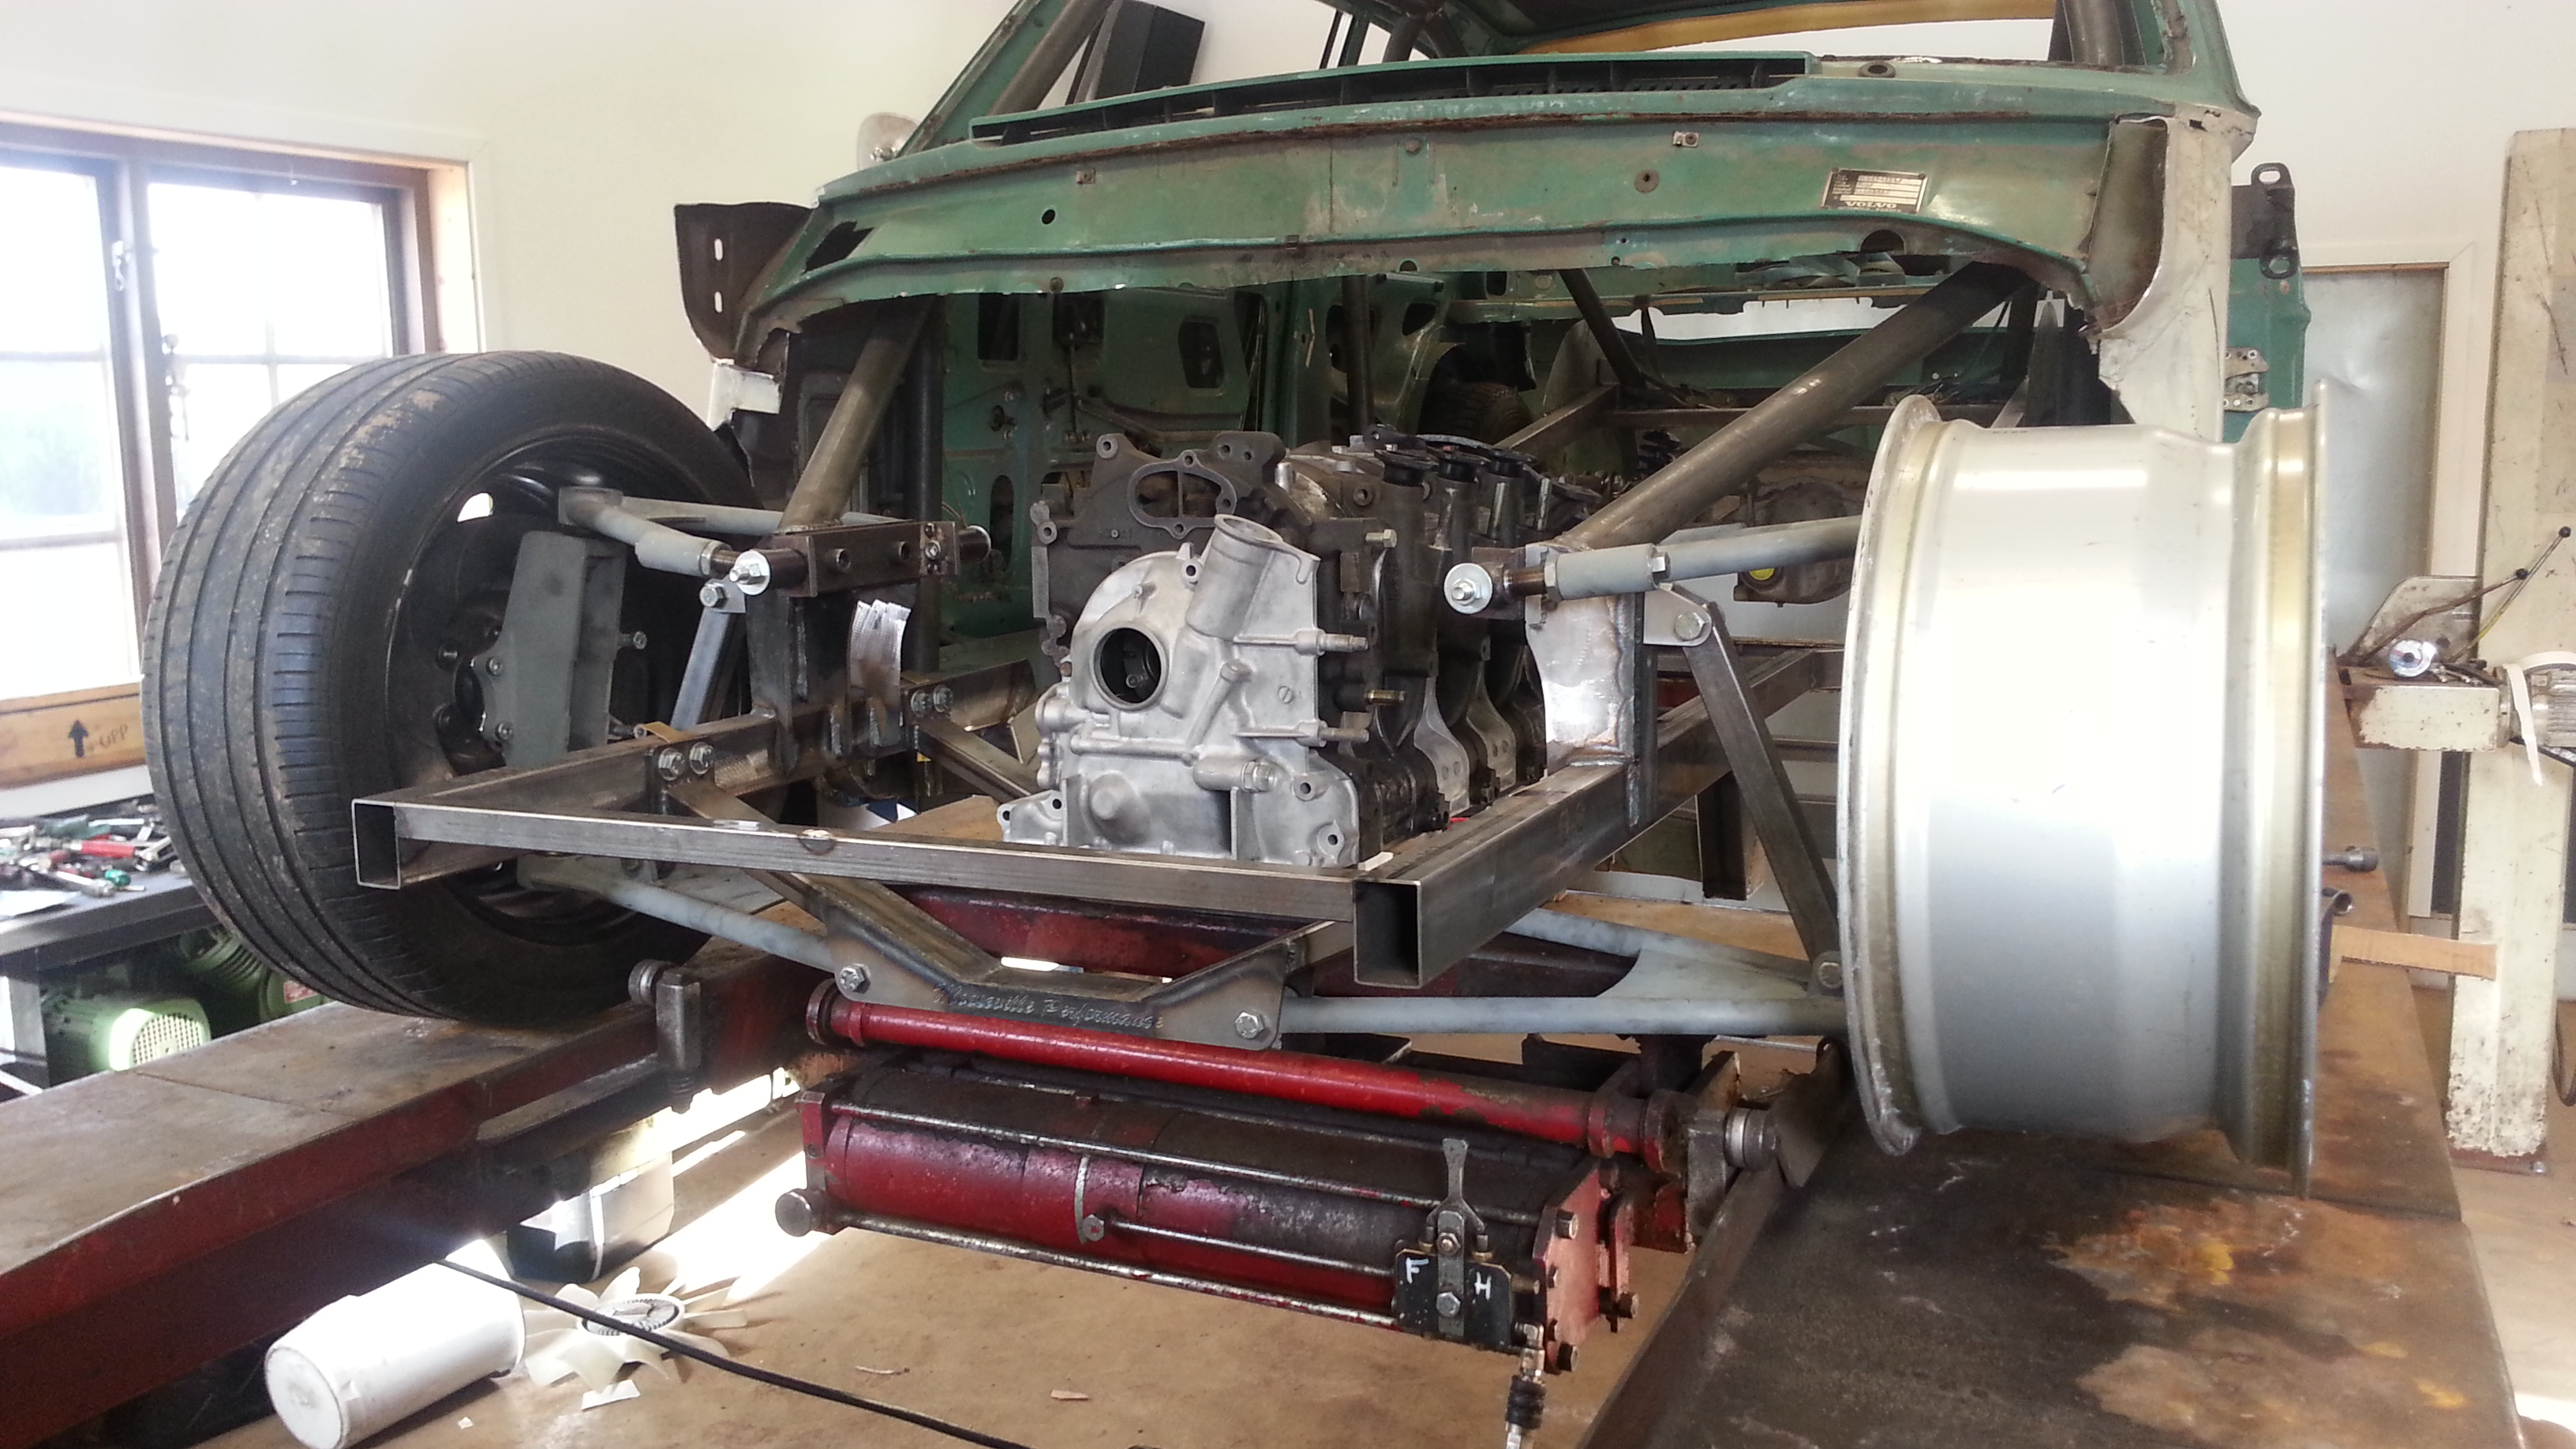
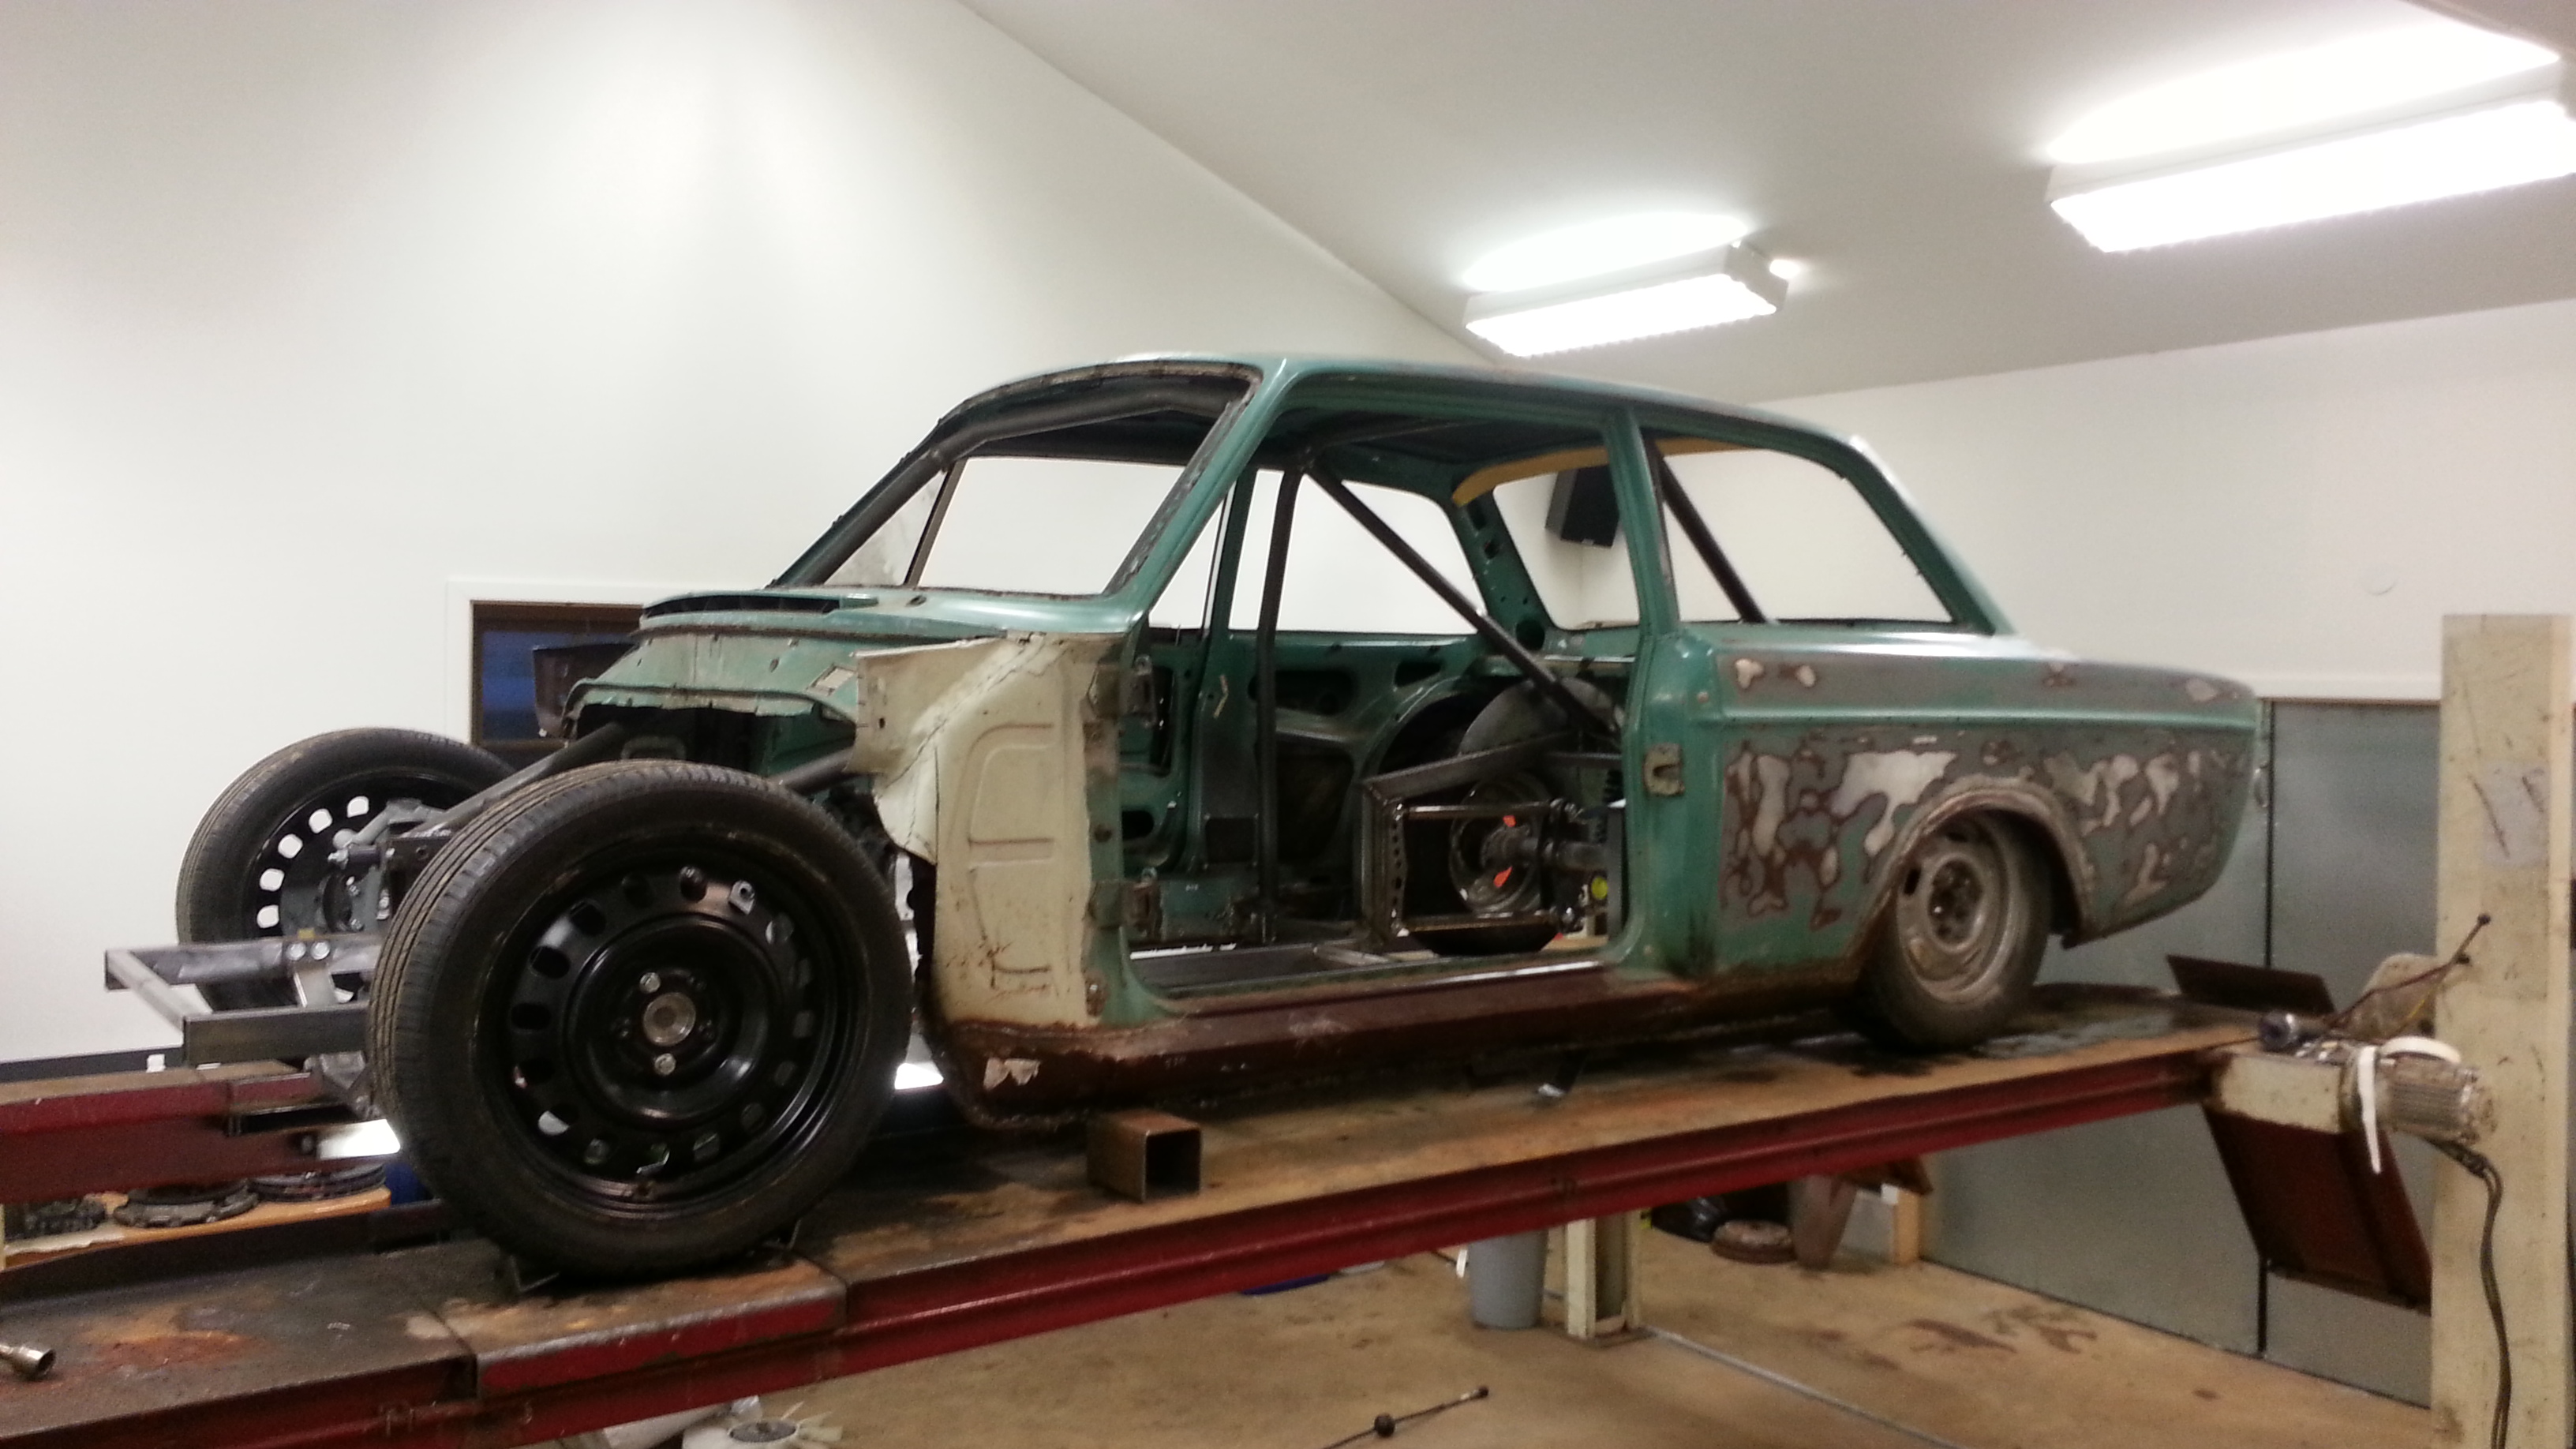
Me, my redneck brother on the picture and our dad pushed the wolvo out of the garage an up on the lift.
Time to get serious!

Name:  20130325_171450-1_zpsff9d3617.jpg
Views: 623
Size:  2.75 MB

Name:  20130325_185315_zps8fce631f.jpg
Views: 599
Size:  1.24 MB
Old 03-28-13, 09:46 PM
  #804  
Luis Rx3 Project

iTrader: (3)
 
chino_rx3's Avatar
 
Join Date: Jun 2007
Location: SARASOTA ,Florida
Posts: 1,314
Received 11 Likes on 11 Posts
Looking real good keep it up
Old 04-03-13, 08:30 AM
  #805  
Senior Member

Thread Starter
 
tegheim's Avatar
 
Join Date: Nov 2003
Location: Sweden
Posts: 533
Likes: 0
Received 2 Likes on 1 Post
I'm thinking about the drysump.
Does anyone have a clue how much oil-feed a 4-rotor will need? I really havn't desided if I'm going for a custom frontcover with internal oilpump, or a extern drysump-pump. A 2, or 3-stage will do I think.

Any ideas? Would be interesting to discuss :-)
Old 04-03-13, 02:29 PM
  #806  
Eats, Sleeps, Dreams Rotary

iTrader: (10)
 
RCCAZ 1's Avatar
 
Join Date: Jun 2002
Location: Phoenix, AZ
Posts: 3,358
Received 76 Likes on 44 Posts
^^Check with Logan (GtoRx7). He's currently finishing up his 4 rotor and I'm sure that he's running a Drysump system.
Old 04-08-13, 10:55 AM
  #807  
Senior Member

Thread Starter
 
tegheim's Avatar
 
Join Date: Nov 2003
Location: Sweden
Posts: 533
Likes: 0
Received 2 Likes on 1 Post
This weekend me and my brother did a 600km roadtrip to get this result.

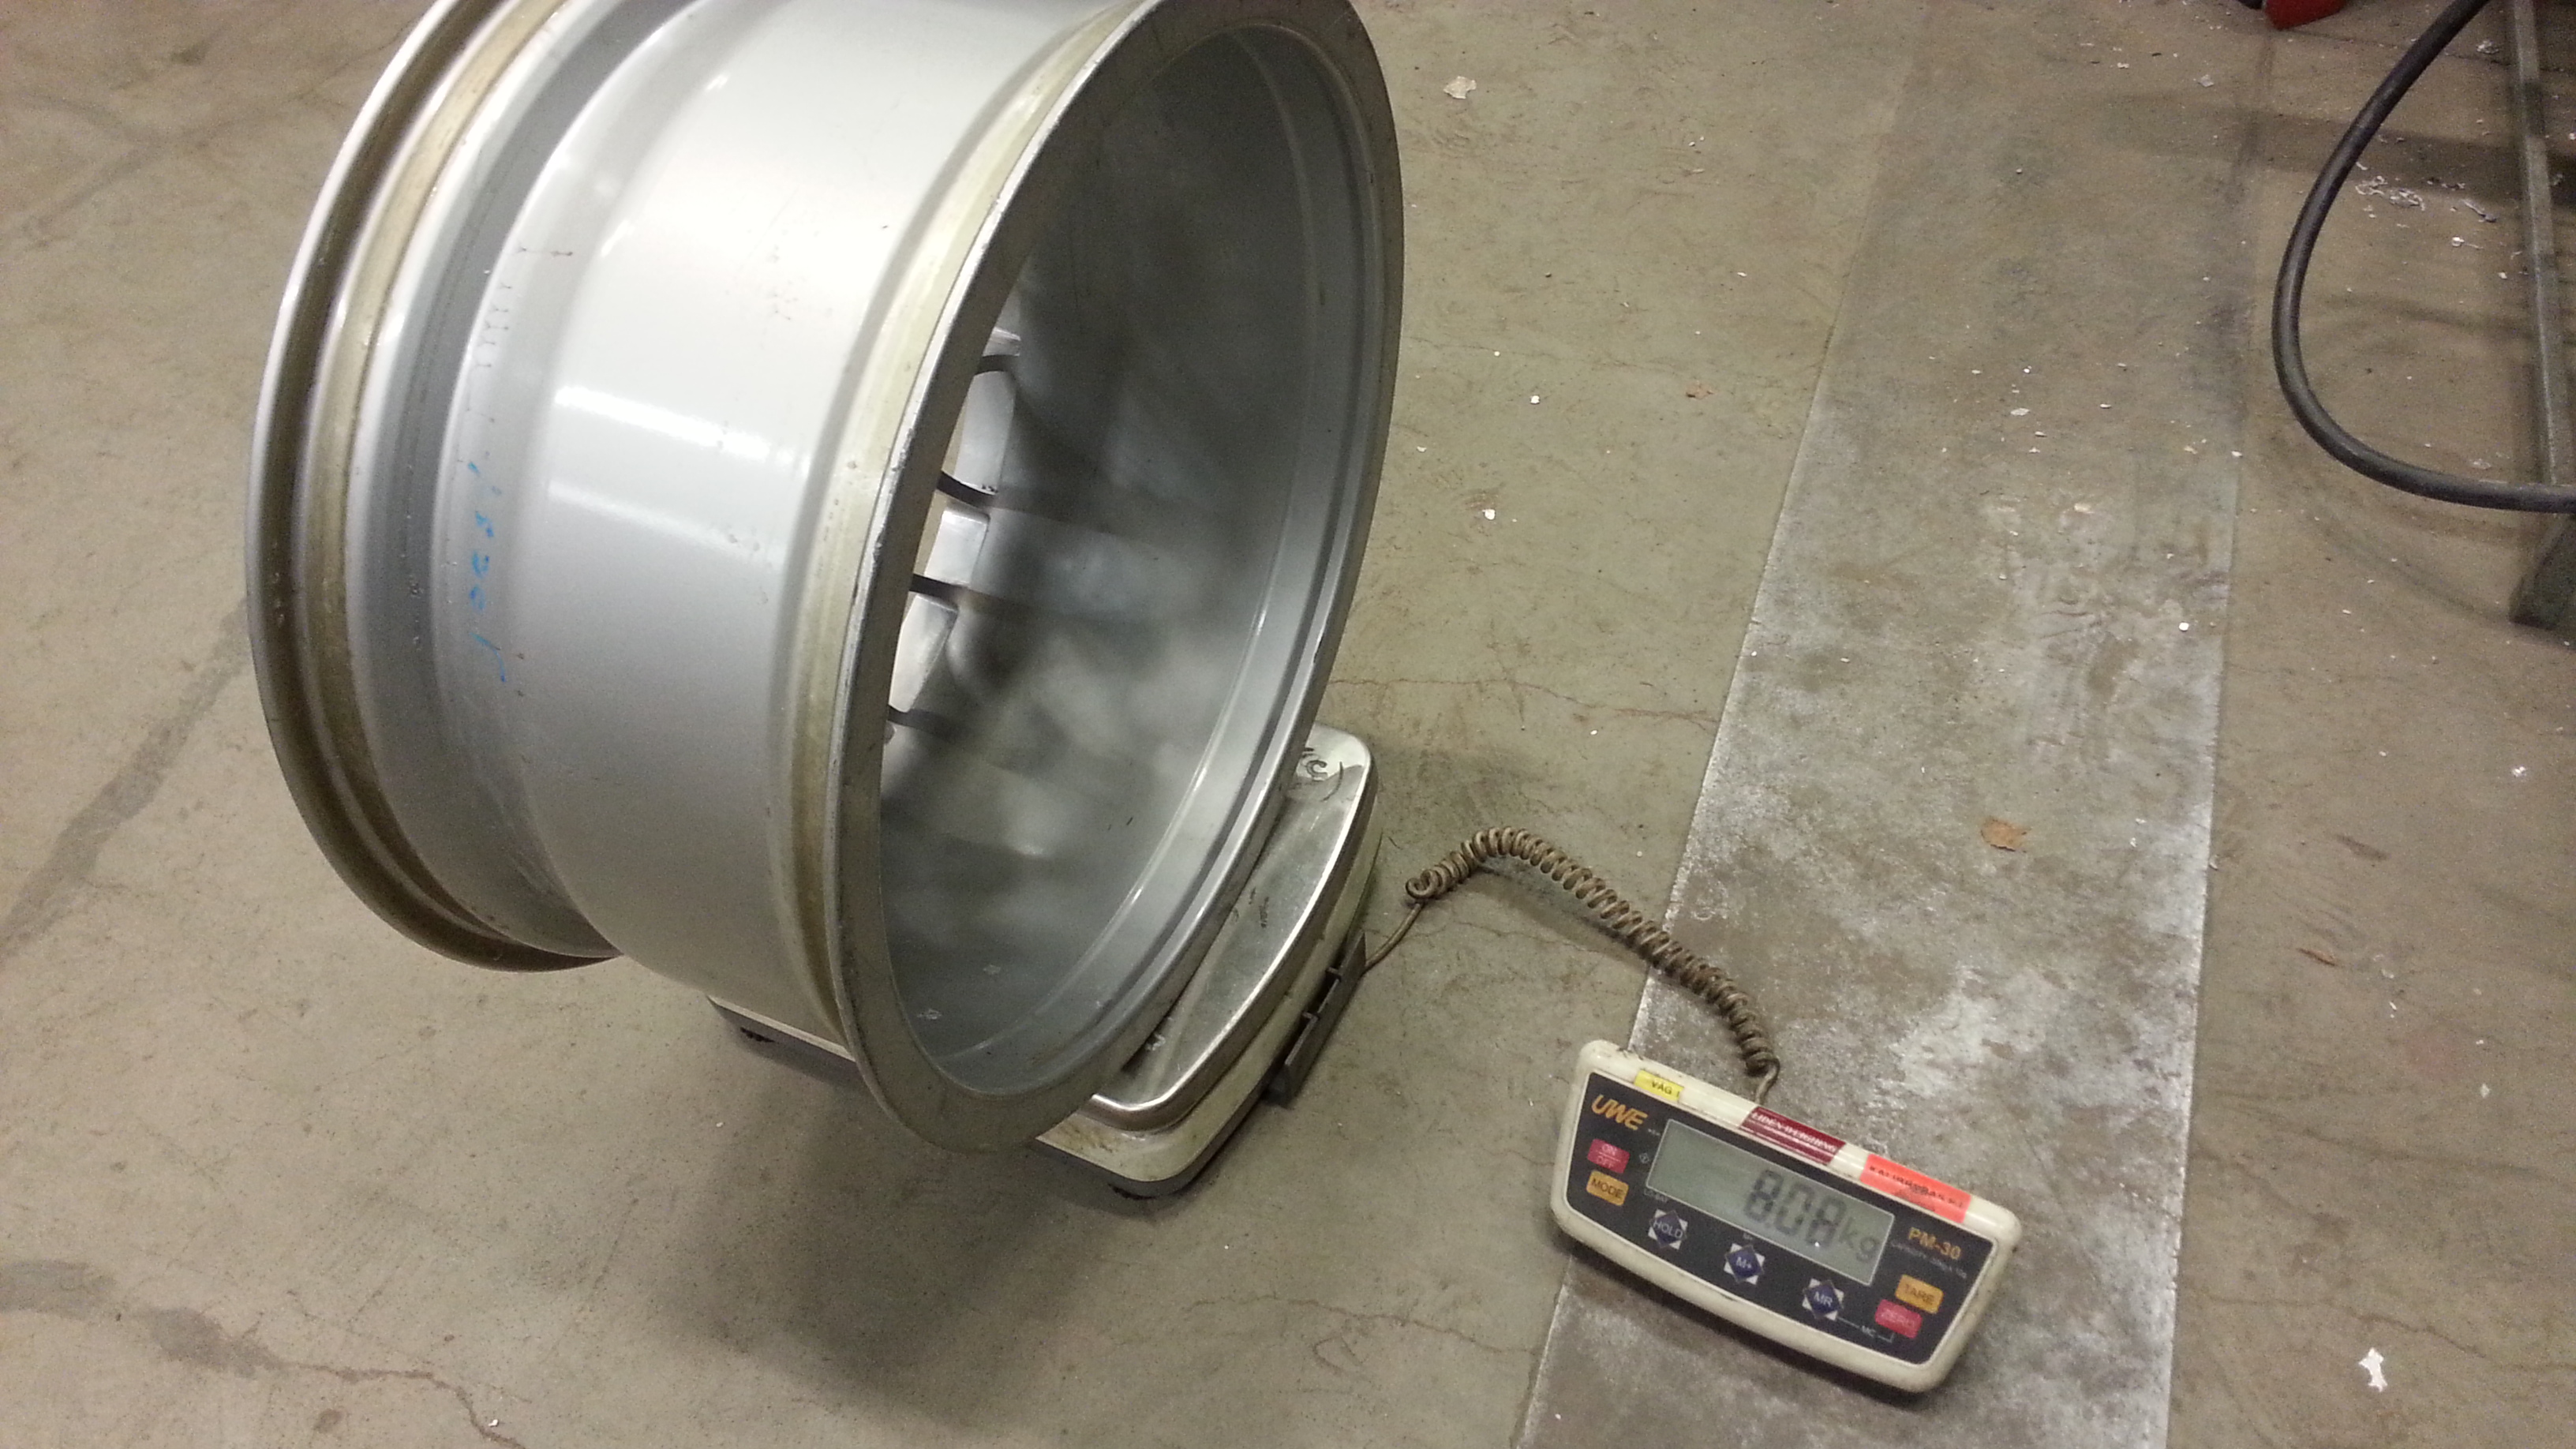
19x9.25" BBS Magnesium.
8kg och centerlock.
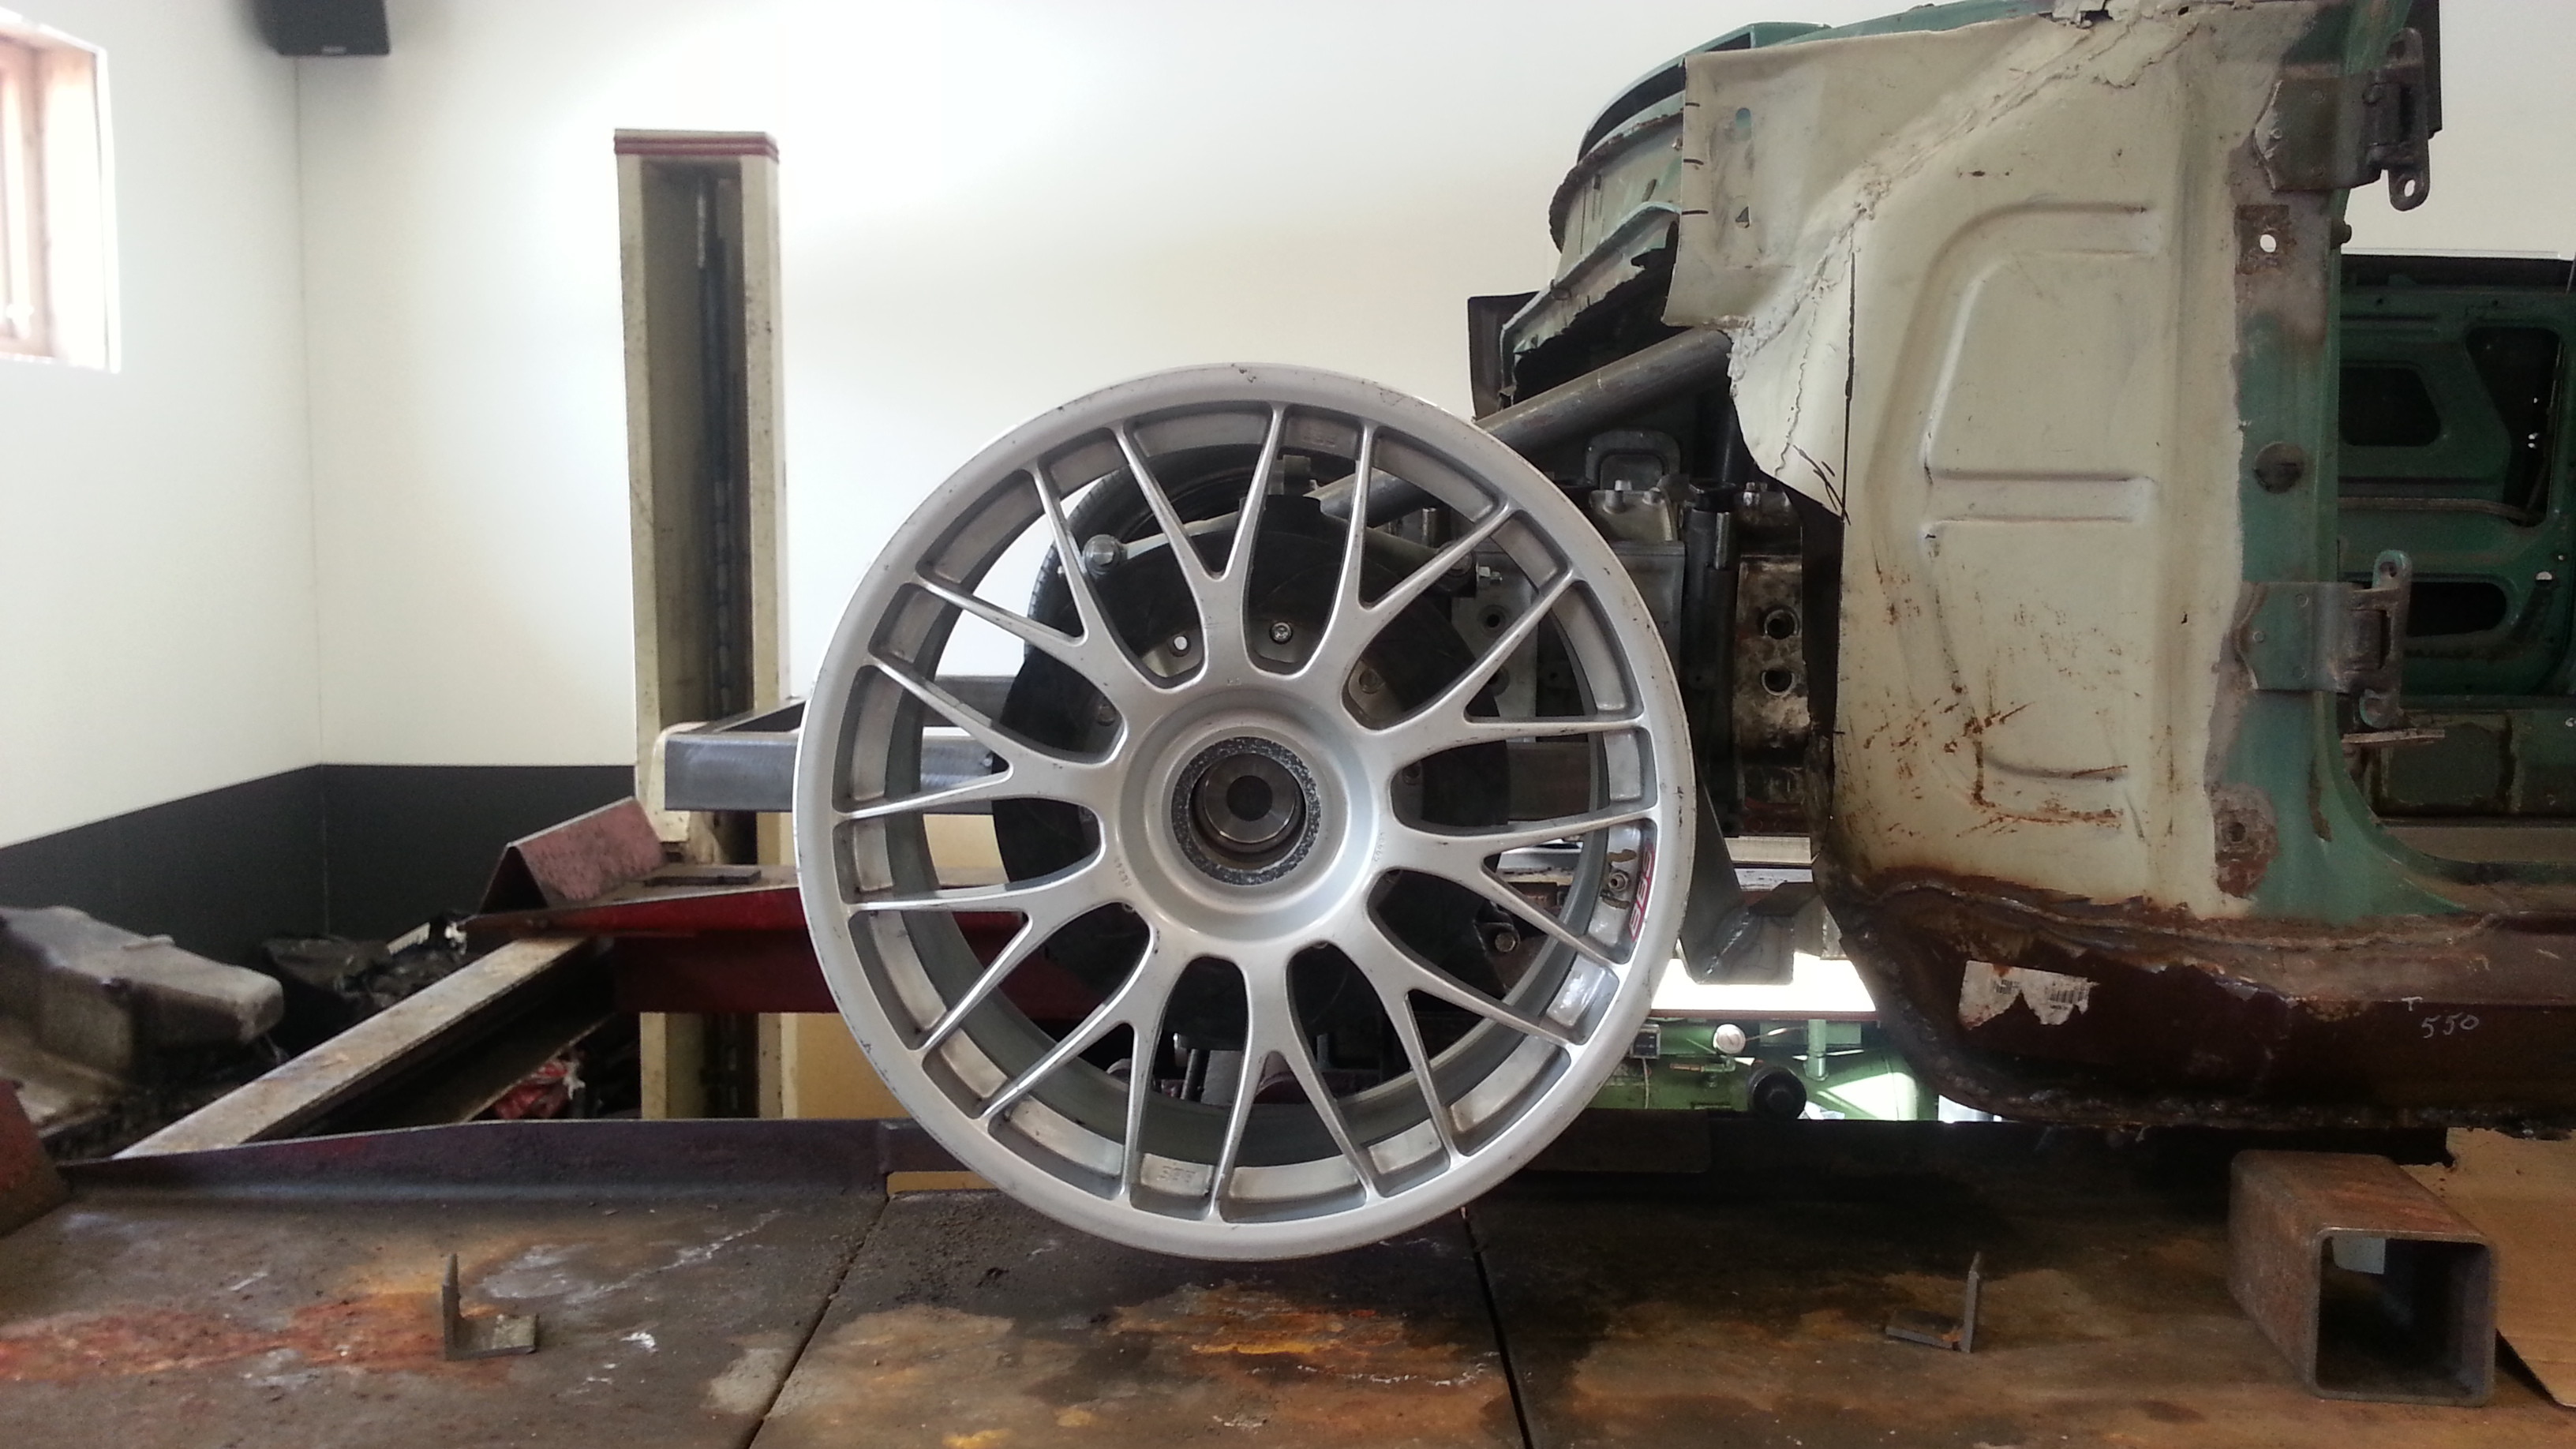
Name:  20130406_162257_zpsd030dd90.jpg
Views: 601
Size:  1.37 MB

Name:  20130406_162313_zpsc5c5f056.jpg
Views: 590
Size:  1.63 MB

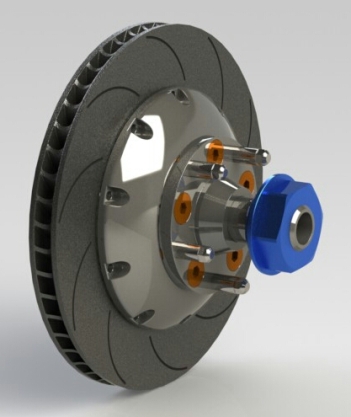
Also started on the wheel-hub, with design help from Ronnie at Hilmersson Racing
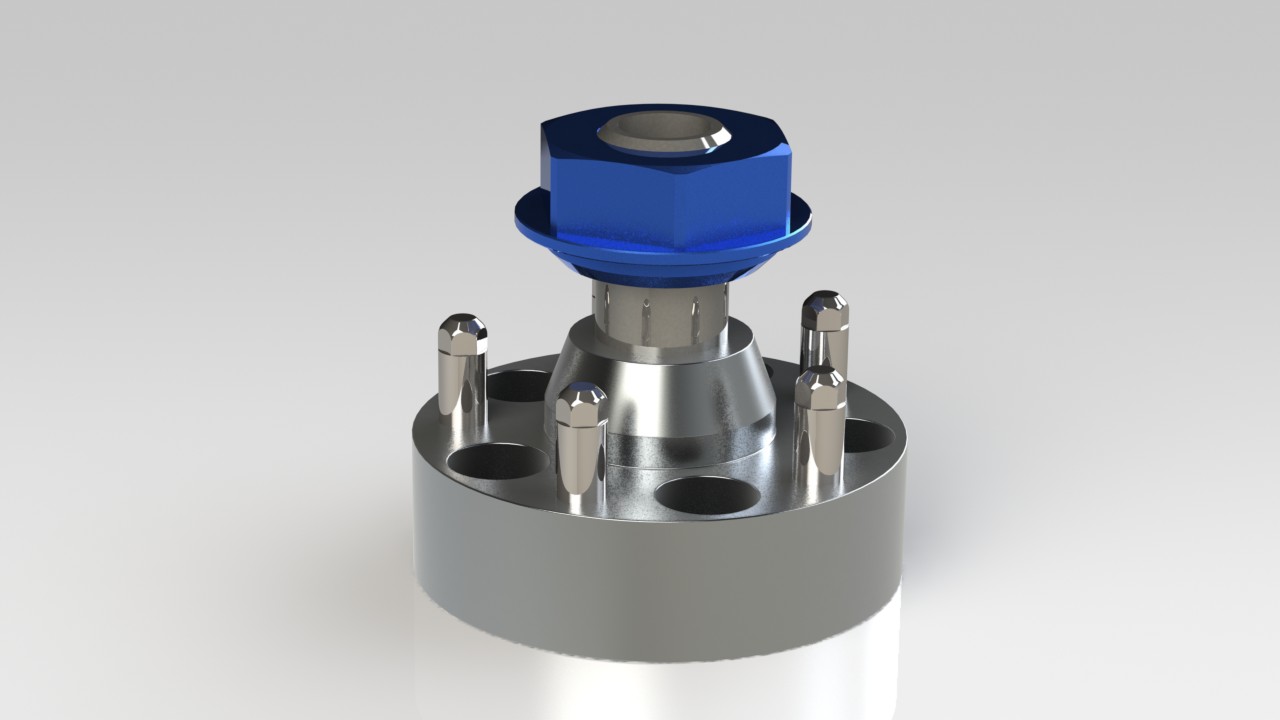
Name:  Centrummutter-01_zps21f79c8d.jpg
Views: 602
Size:  53.6 KB
Old 04-08-13, 01:28 PM
  #808  
limey lurker
 
Dualist's Avatar
 
Join Date: Feb 2010
Location: Boston, UK
Posts: 59
Likes: 0
Received 0 Likes on 0 Posts
You never fail to impress with the detail you put in every component on this build, loving it.
Old 04-09-13, 04:26 PM
  #809  
Senior Member

 
damic's Avatar
 
Join Date: Aug 2008
Location: Belgium (2800)
Posts: 493
Received 0 Likes on 0 Posts
Woooow single bolt
Old 04-13-13, 06:34 AM
  #810  
Senior Member

Thread Starter
 
tegheim's Avatar
 
Join Date: Nov 2003
Location: Sweden
Posts: 533
Likes: 0
Received 2 Likes on 1 Post
Some lack of motivation. Thought I would be going mad when the car dropped down on the floor, but thats not what happend.
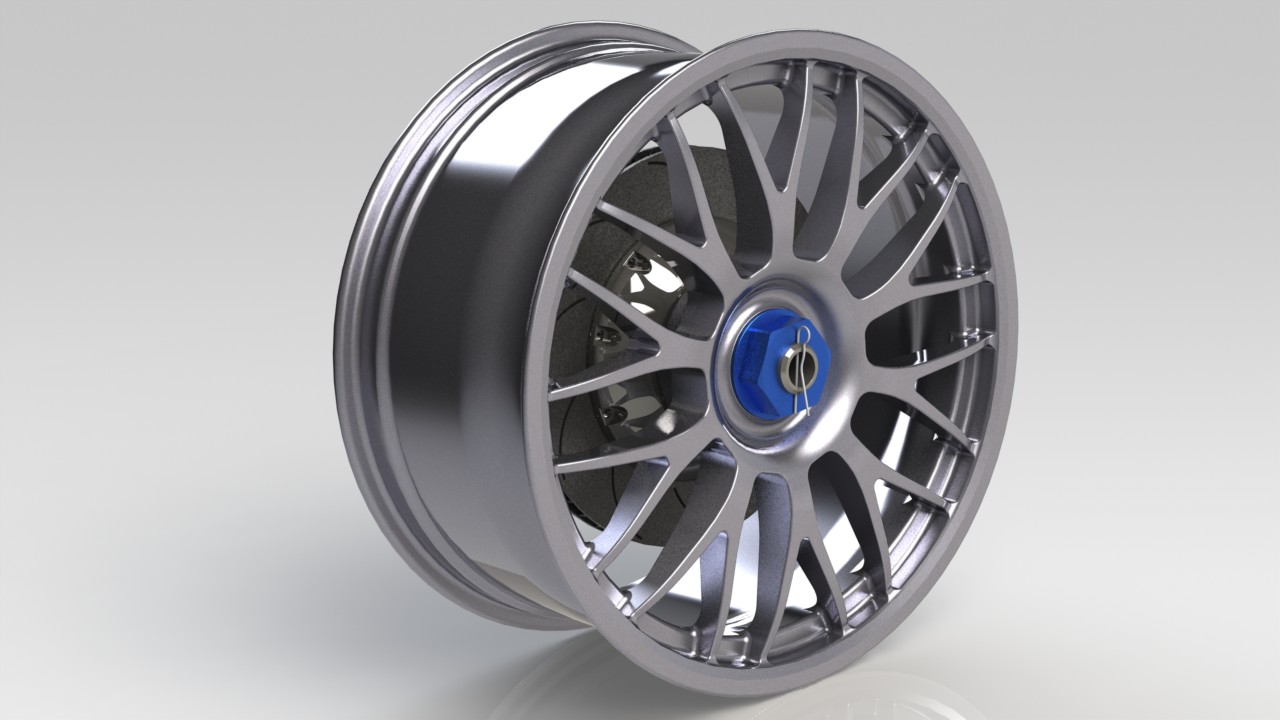
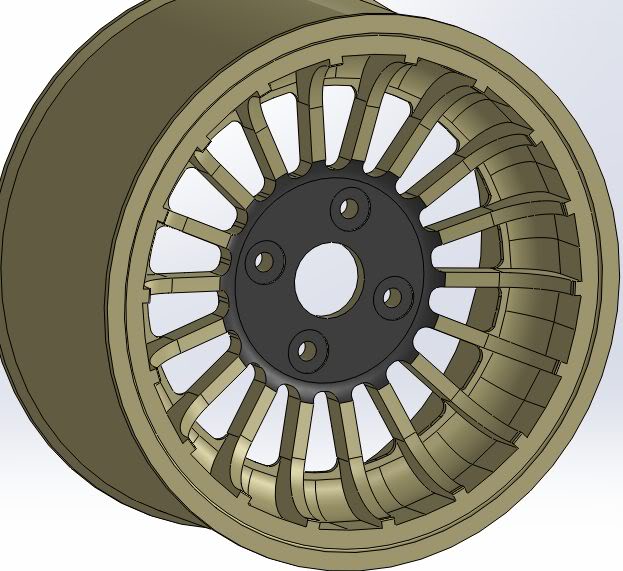
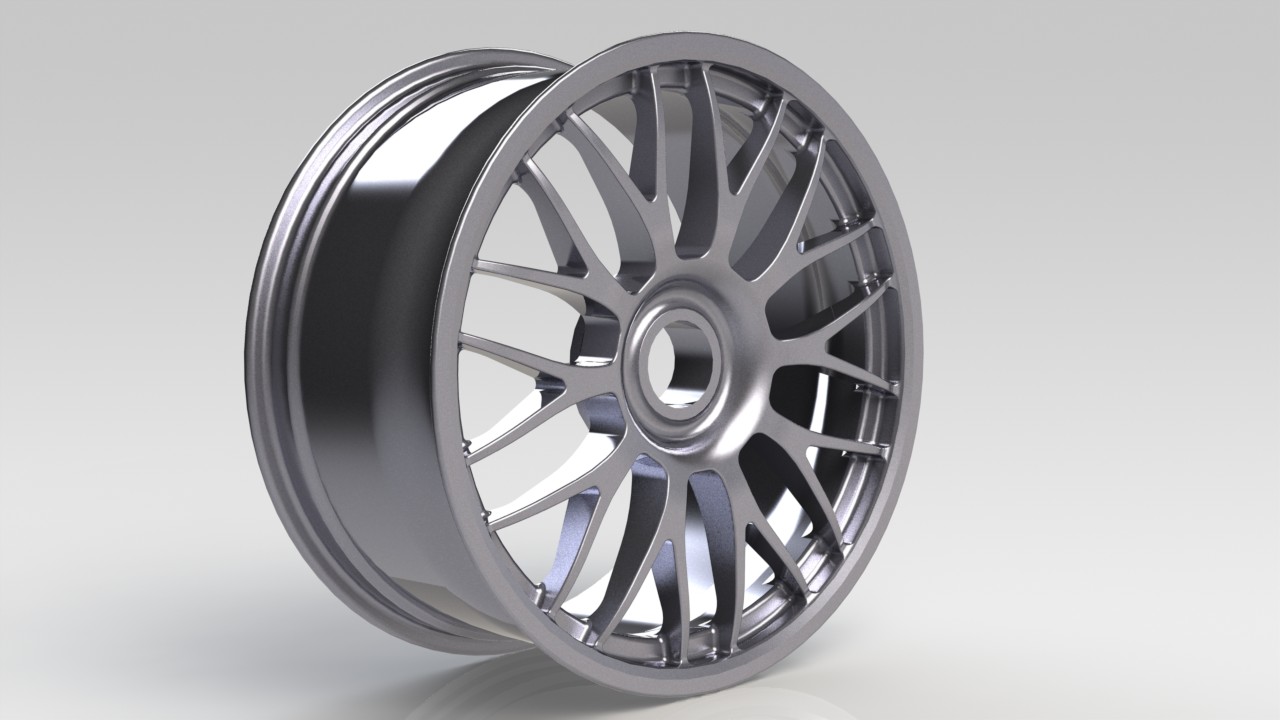
Yesterday I drawed my new rims in SolidWorks. I really like to just sit there and relax and draw.
I also checked out the weight of the rims. 8.08kg/each aren't bad for 19" I think.
Name:  20130412_134309_zpsb76b292f.jpg
Views: 600
Size:  1.66 MB

A little adapter as well. I want it as low as possible because the car isn't that wide. And I have long controller-arms. Maybe I will do some new wheelhubs as well
Name:  Wheelhub-01-1_zps38510552.jpg
Views: 569
Size:  66.7 KB

This is the digitalized BBS's I did. All measurement are corrent and it turned out good!
Name:  BBS19x925-01_zps546098c3.jpg
Views: 598
Size:  102.0 KB

The whole package togheter.

Name:  BBS19x925-02_zps5c00d208.jpg
Views: 587
Size:  107.2 KB

Feel free to join my Facebook-group!
www.facebook.com/moosevilleperformance
Old 04-13-13, 06:52 AM
  #811  
Senior Member

 
damic's Avatar
 
Join Date: Aug 2008
Location: Belgium (2800)
Posts: 493
Received 0 Likes on 0 Posts
How do you draw that :| I tried it with my wheels but it isn't correct.
Old 04-13-13, 11:21 AM
  #812  
Senior Member

Thread Starter
 
tegheim's Avatar
 
Join Date: Nov 2003
Location: Sweden
Posts: 533
Likes: 0
Received 2 Likes on 1 Post
Start with a rotation extrude with the whole wheel in profile and a line in the center. Then Extrude Cut the holes. Done
Old 04-13-13, 07:05 PM
  #813  
Senior Member

 
damic's Avatar
 
Join Date: Aug 2008
Location: Belgium (2800)
Posts: 493
Received 0 Likes on 0 Posts
Unhappy

I did that, but I think mine is harder to make
Name:  Fotos-0419.jpg
Views: 584
Size:  68.9 KB
Name:  15inchmazdaTWRrim.jpg
Views: 563
Size:  64.1 KB

Sorry for hijacking.
Old 04-13-13, 11:45 PM
  #814  
Senior Member

Thread Starter
 
tegheim's Avatar
 
Join Date: Nov 2003
Location: Sweden
Posts: 533
Likes: 0
Received 2 Likes on 1 Post
I dont think they are any harder. Looks like you made it? Start the add-in "Photoview 360".
Google it, and you will see :-)
Old 04-19-13, 09:24 PM
  #815  
Senior Member

 
damic's Avatar
 
Join Date: Aug 2008
Location: Belgium (2800)
Posts: 493
Received 0 Likes on 0 Posts
Im not far off but i'm off but hey it's a test

Any update btw?
Old 05-01-13, 01:37 PM
  #816  
Senior Member

Thread Starter
 
tegheim's Avatar
 
Join Date: Nov 2003
Location: Sweden
Posts: 533
Likes: 0
Received 2 Likes on 1 Post
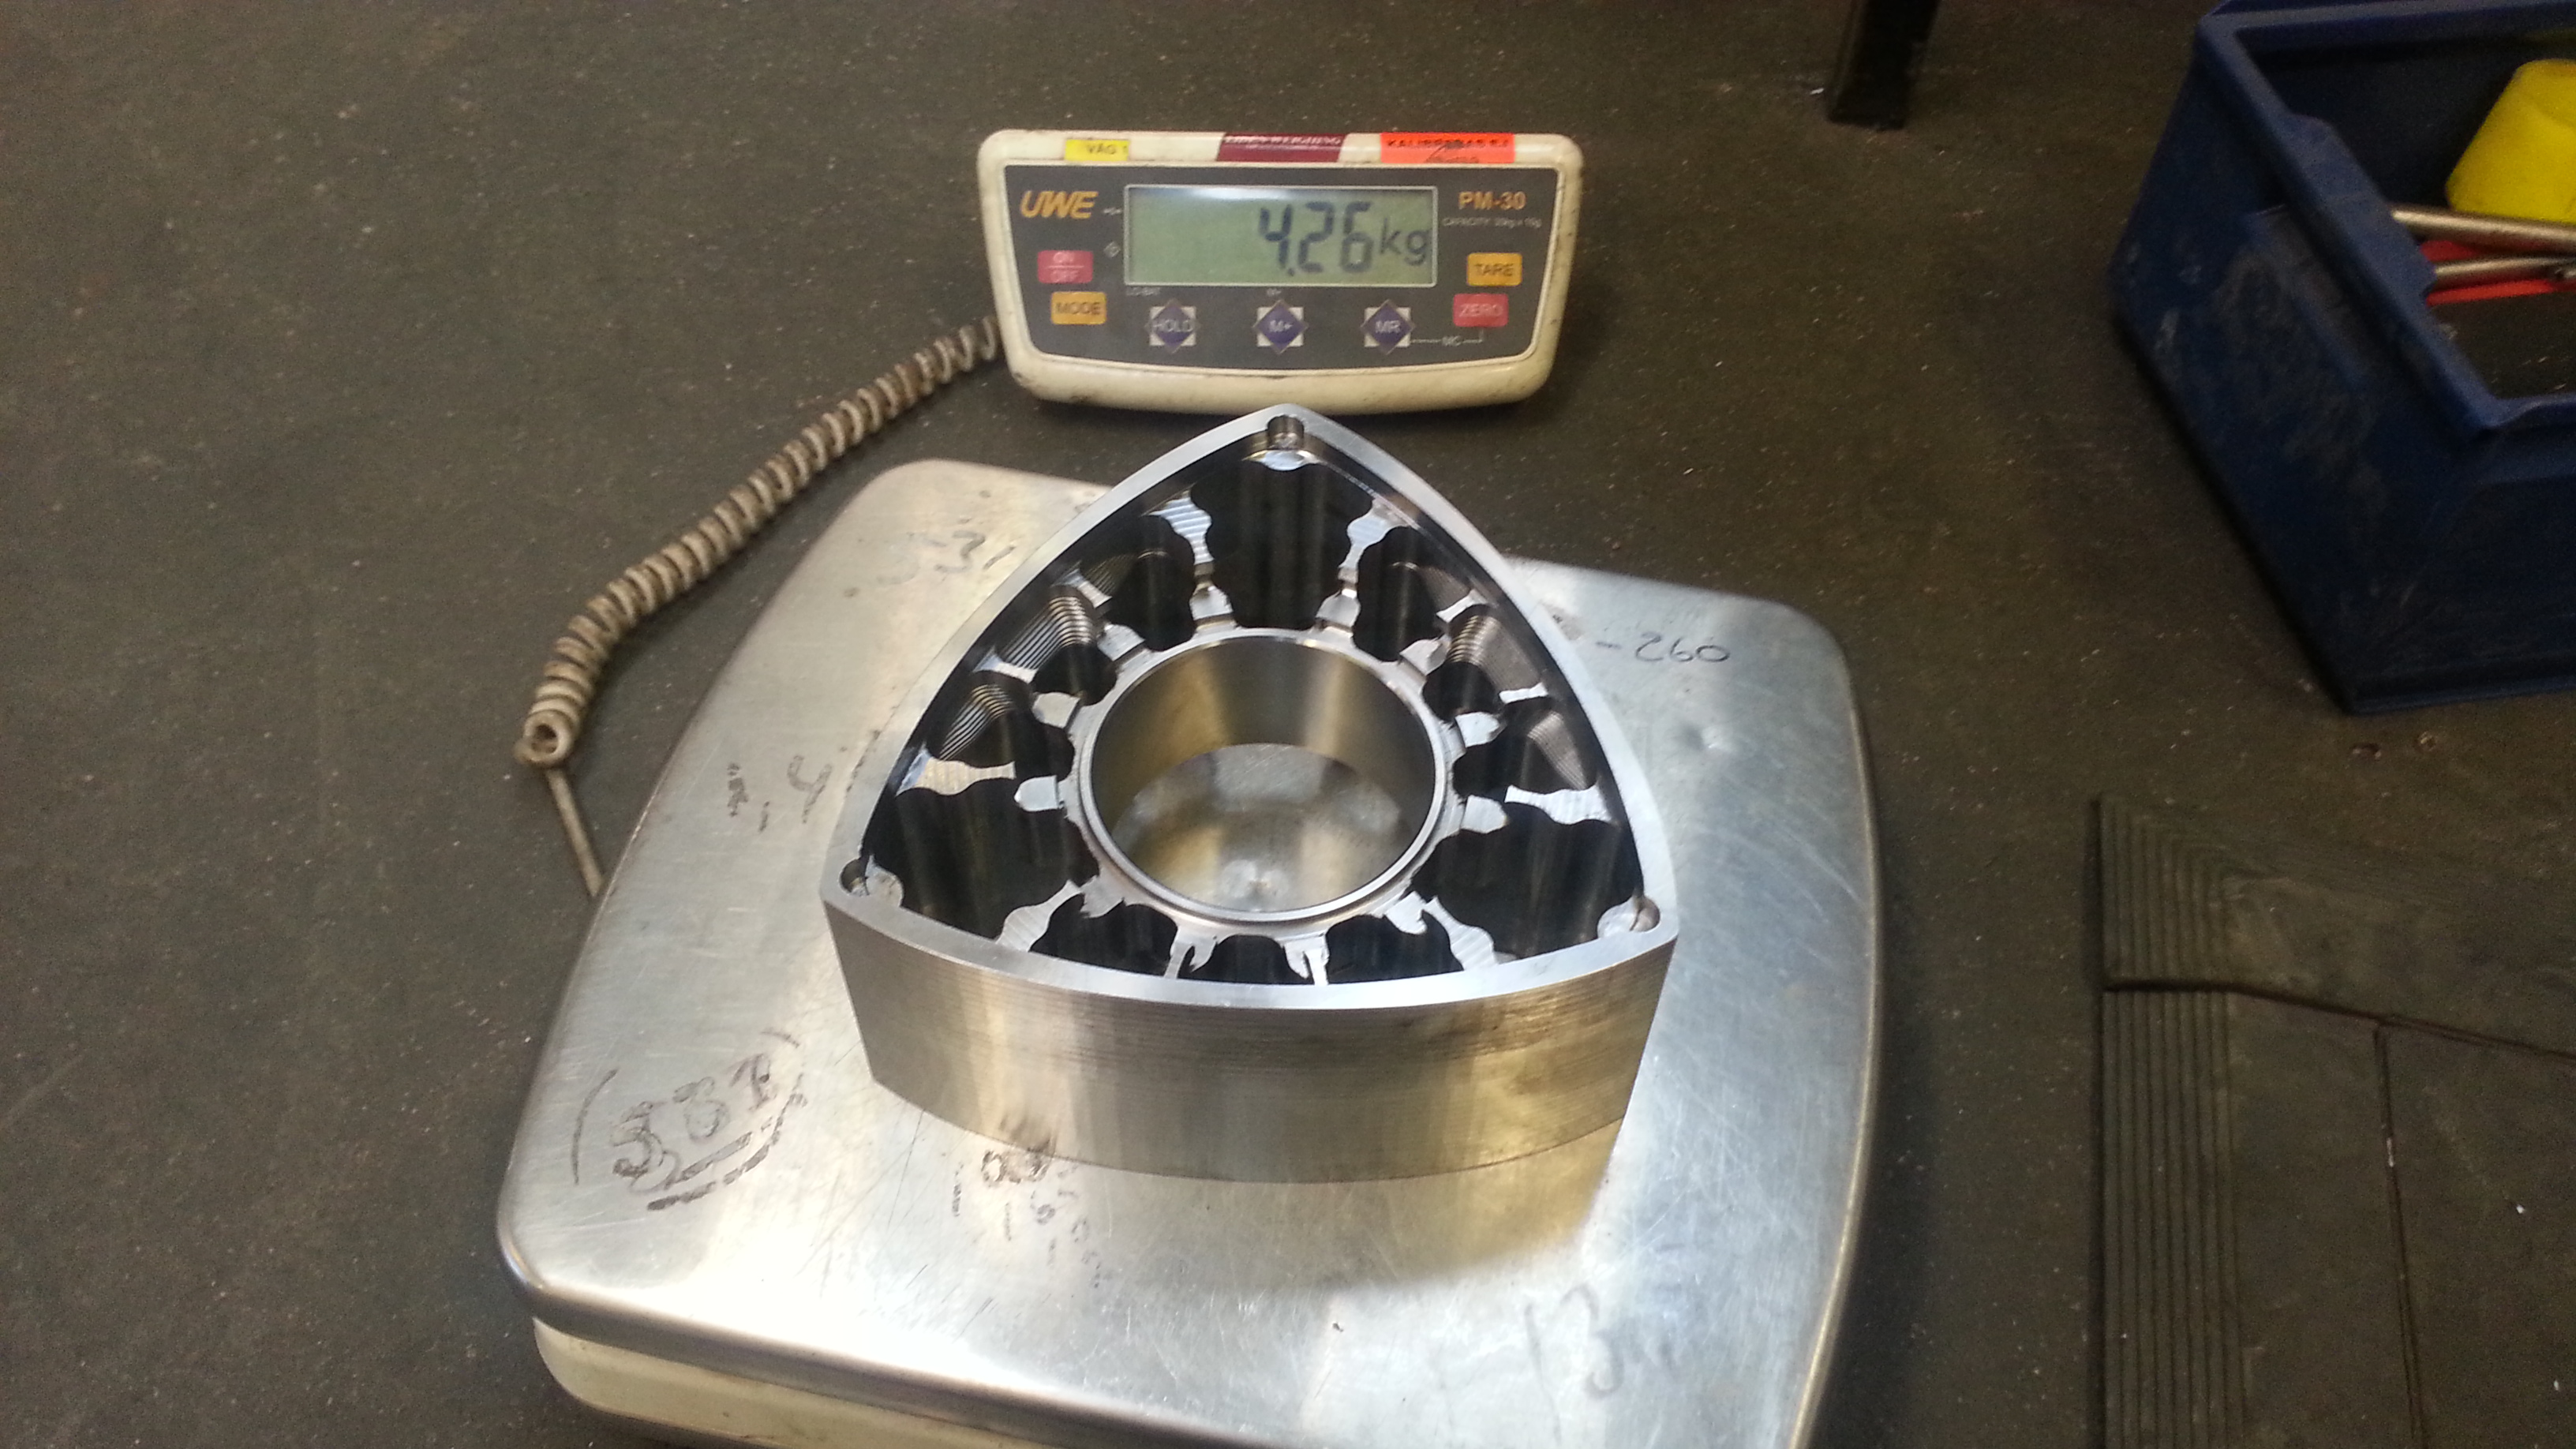
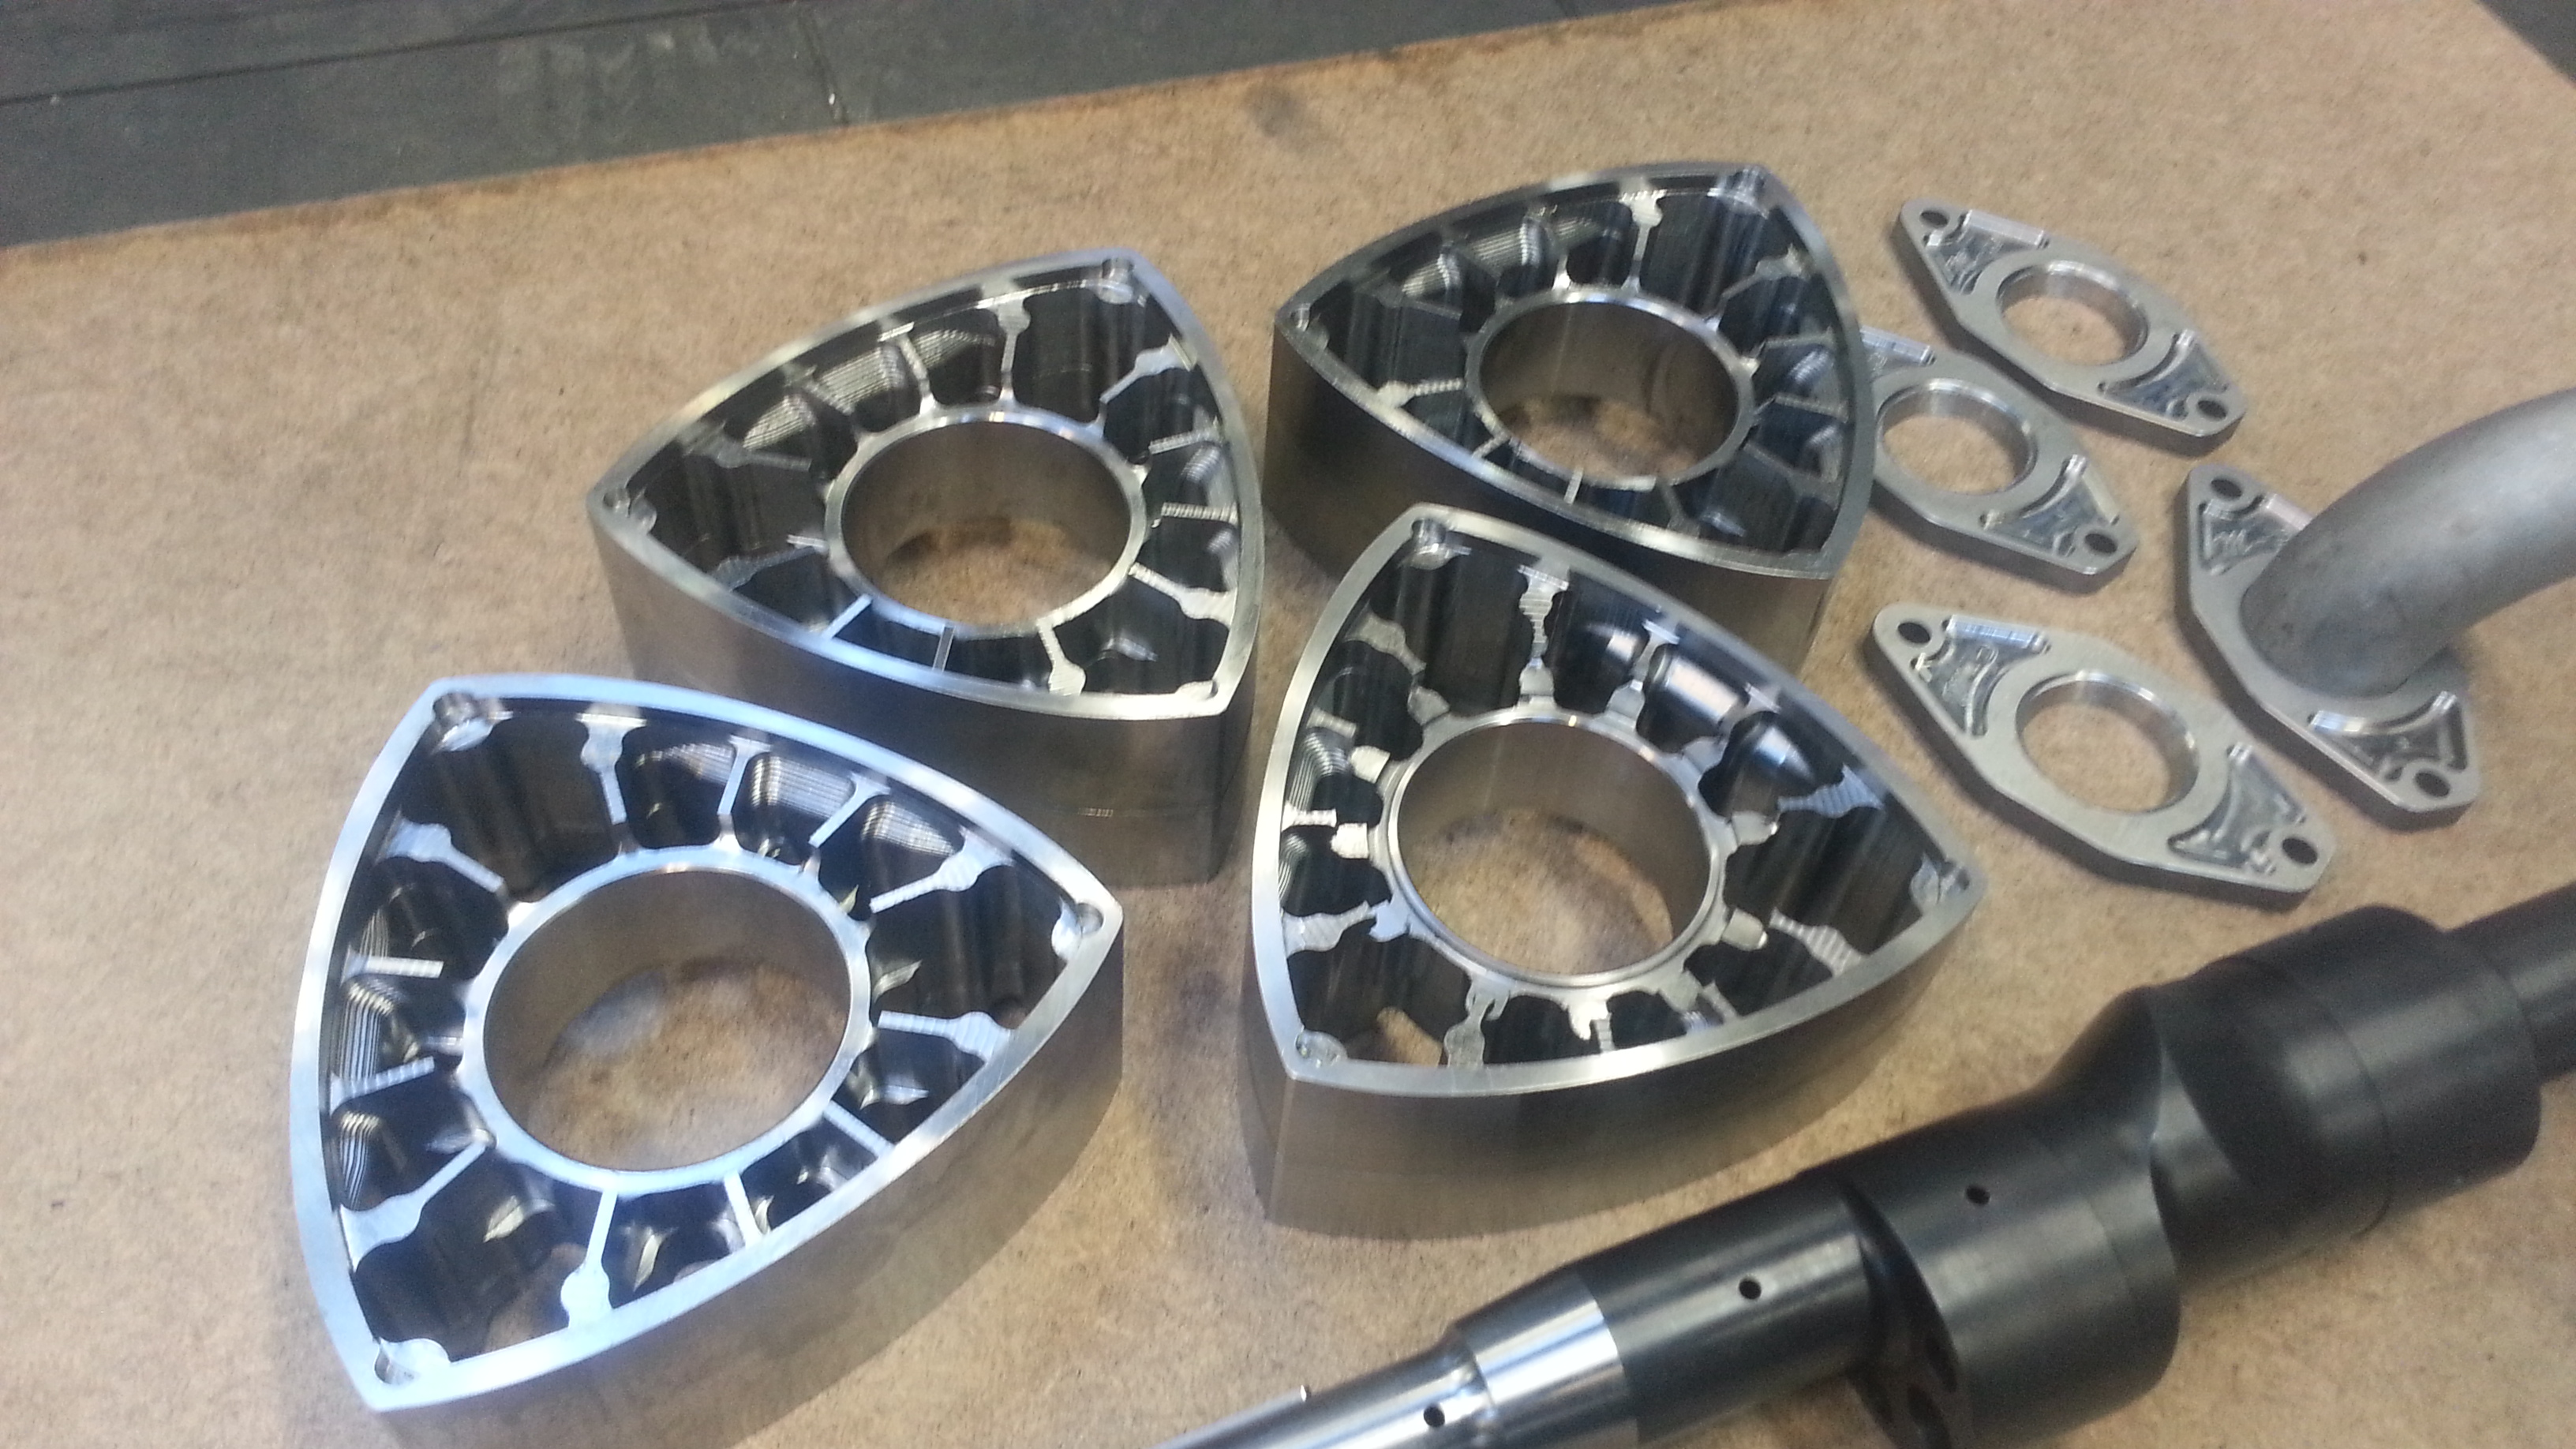
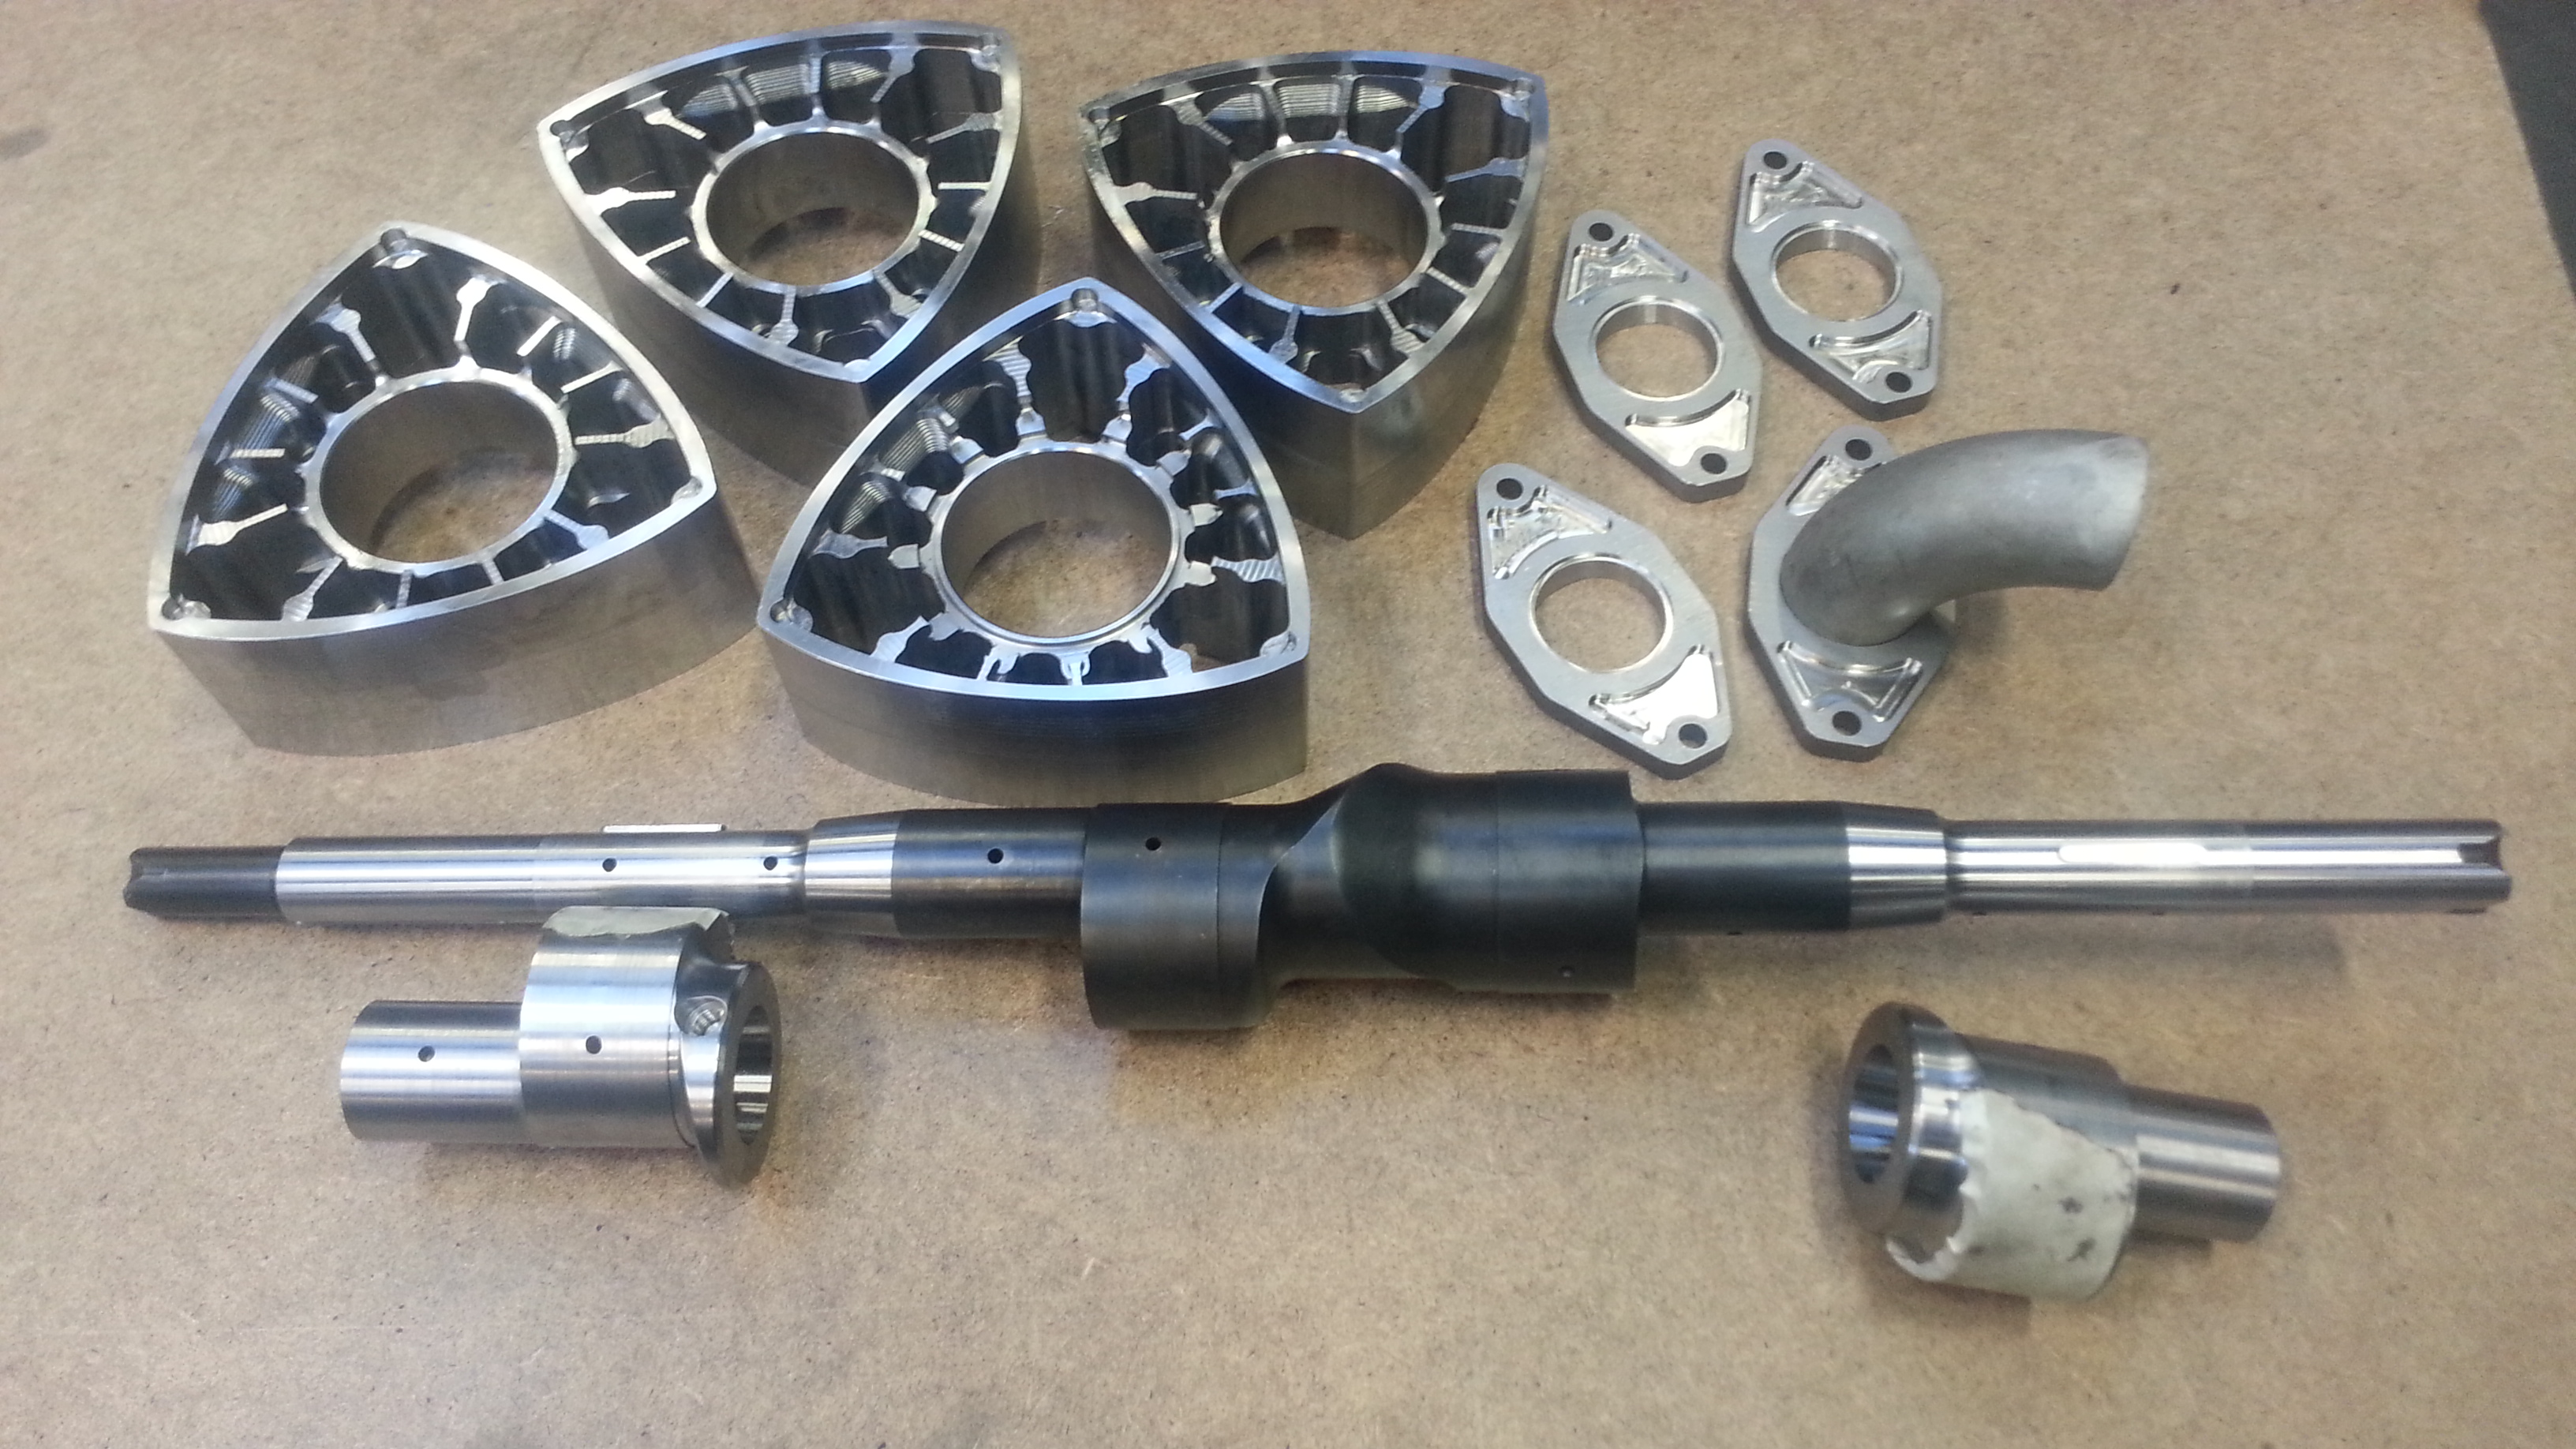
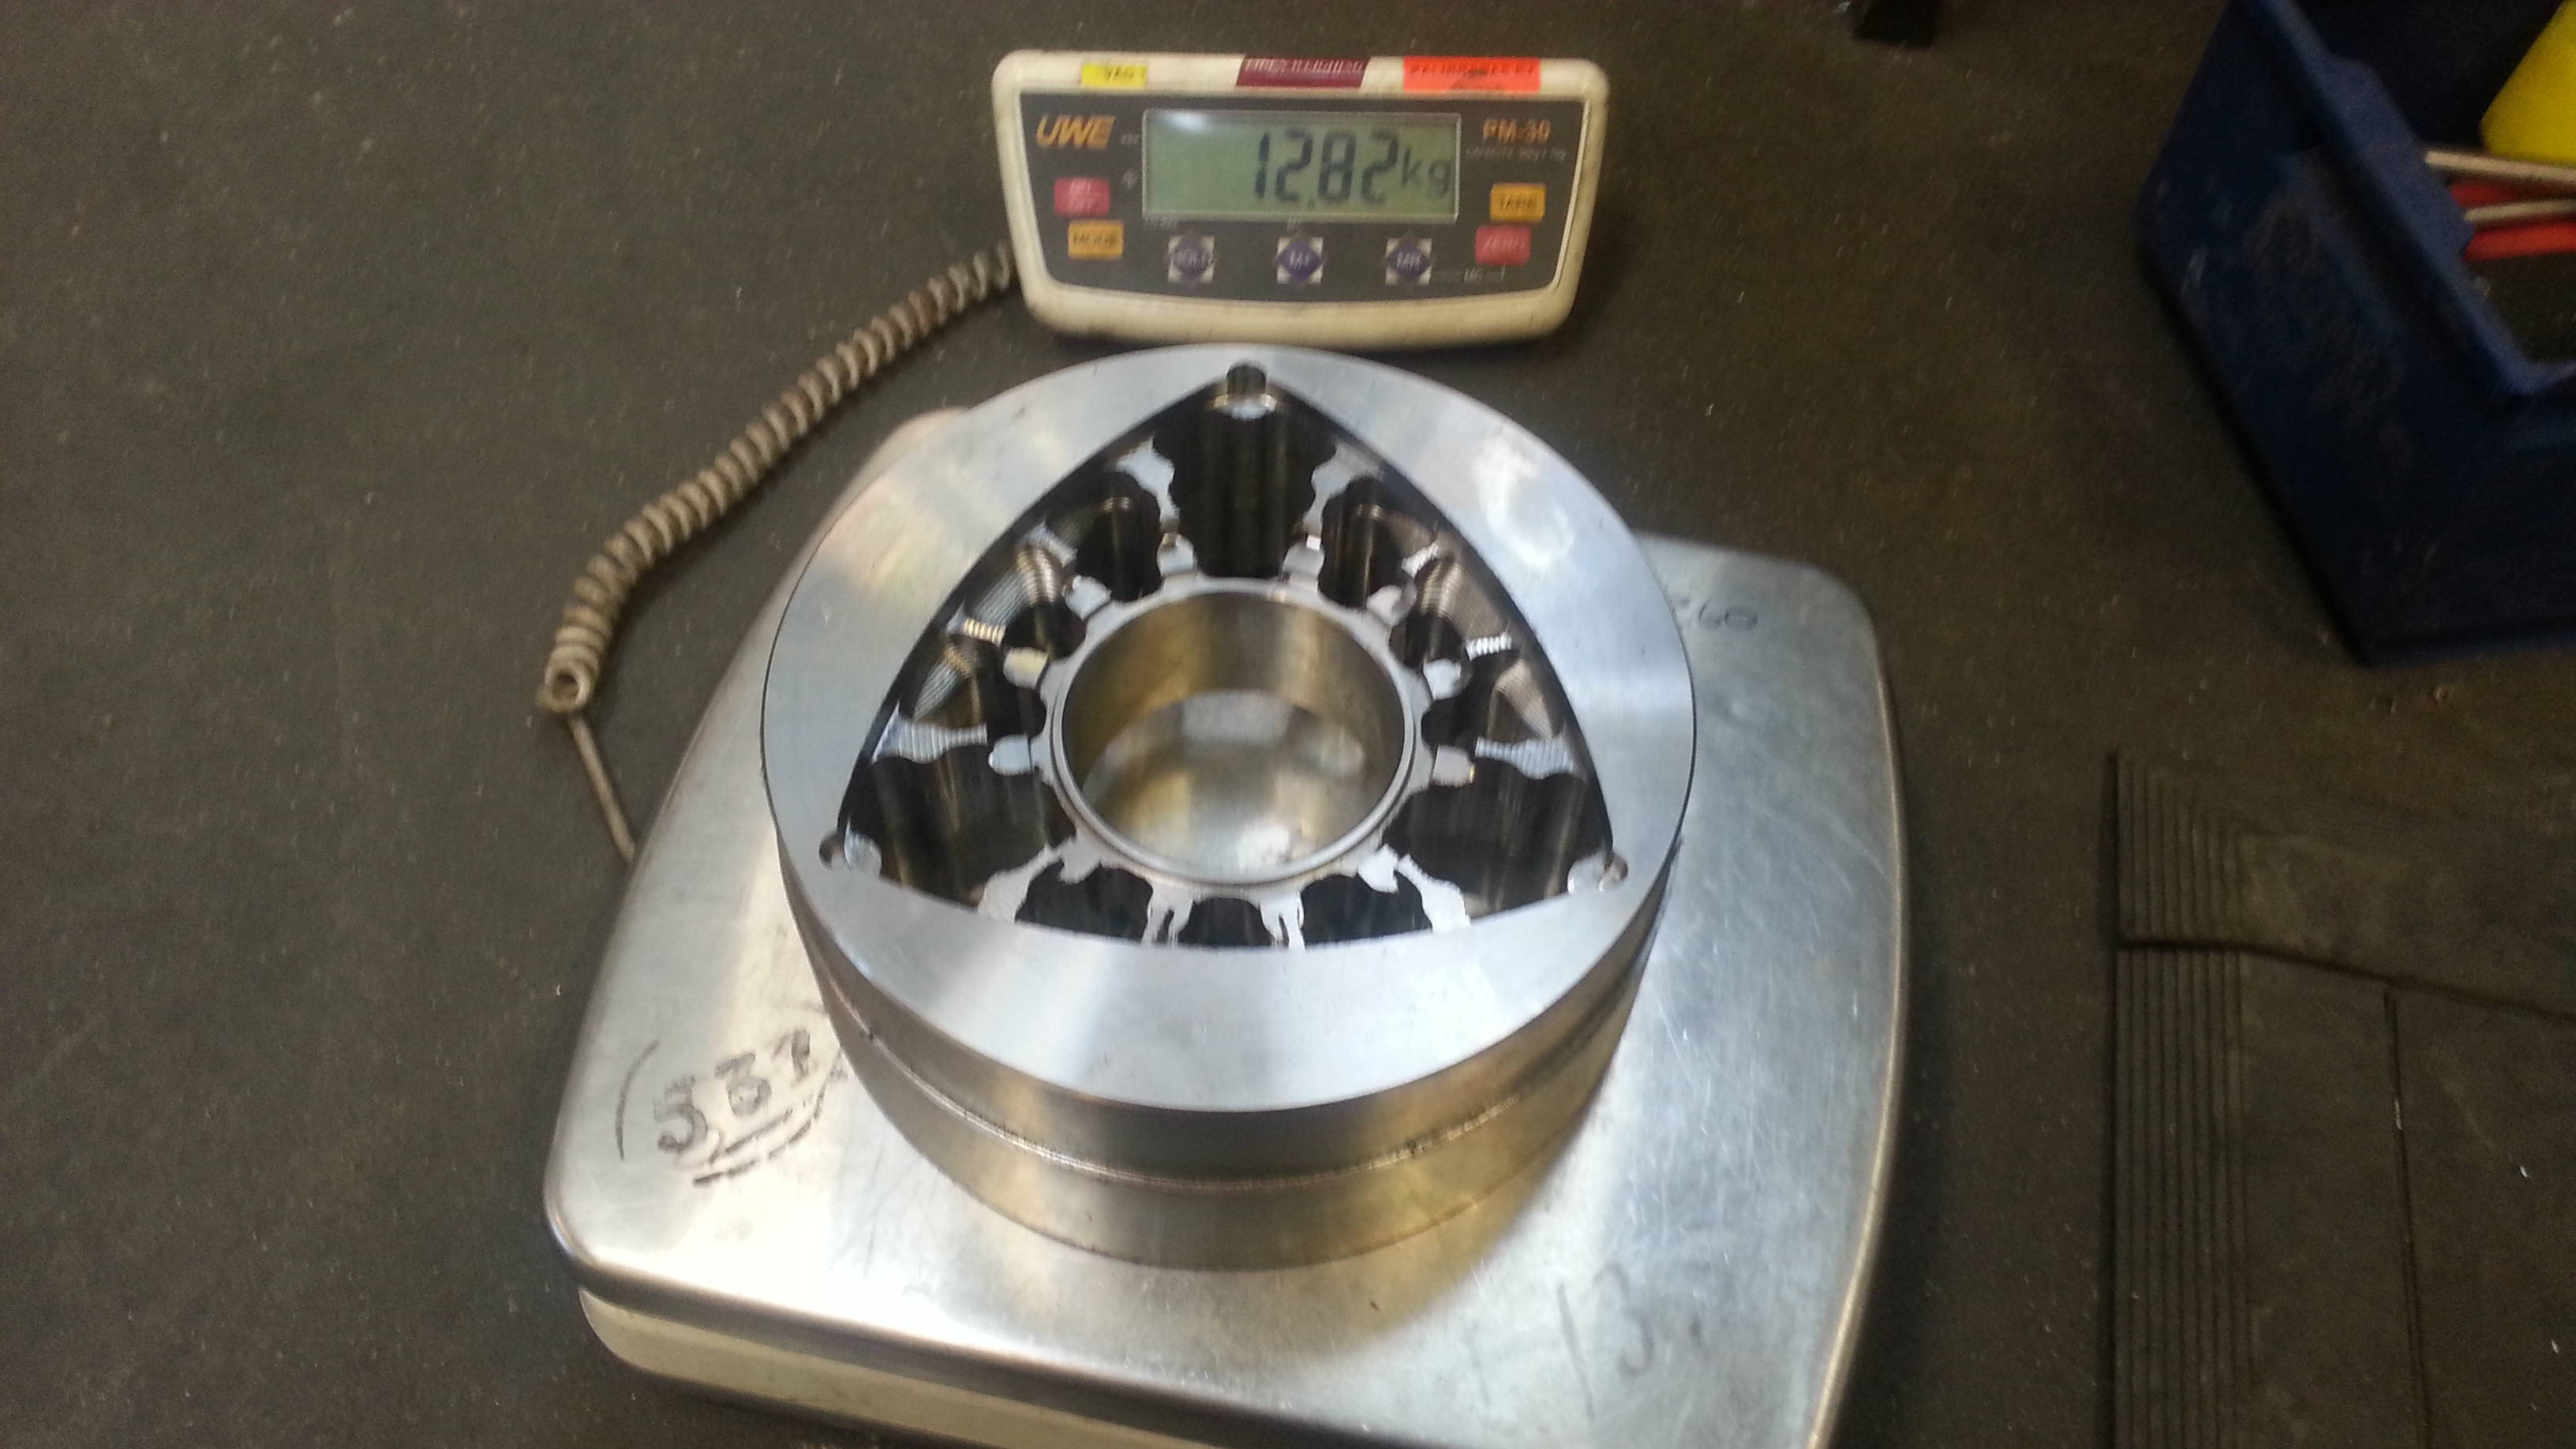
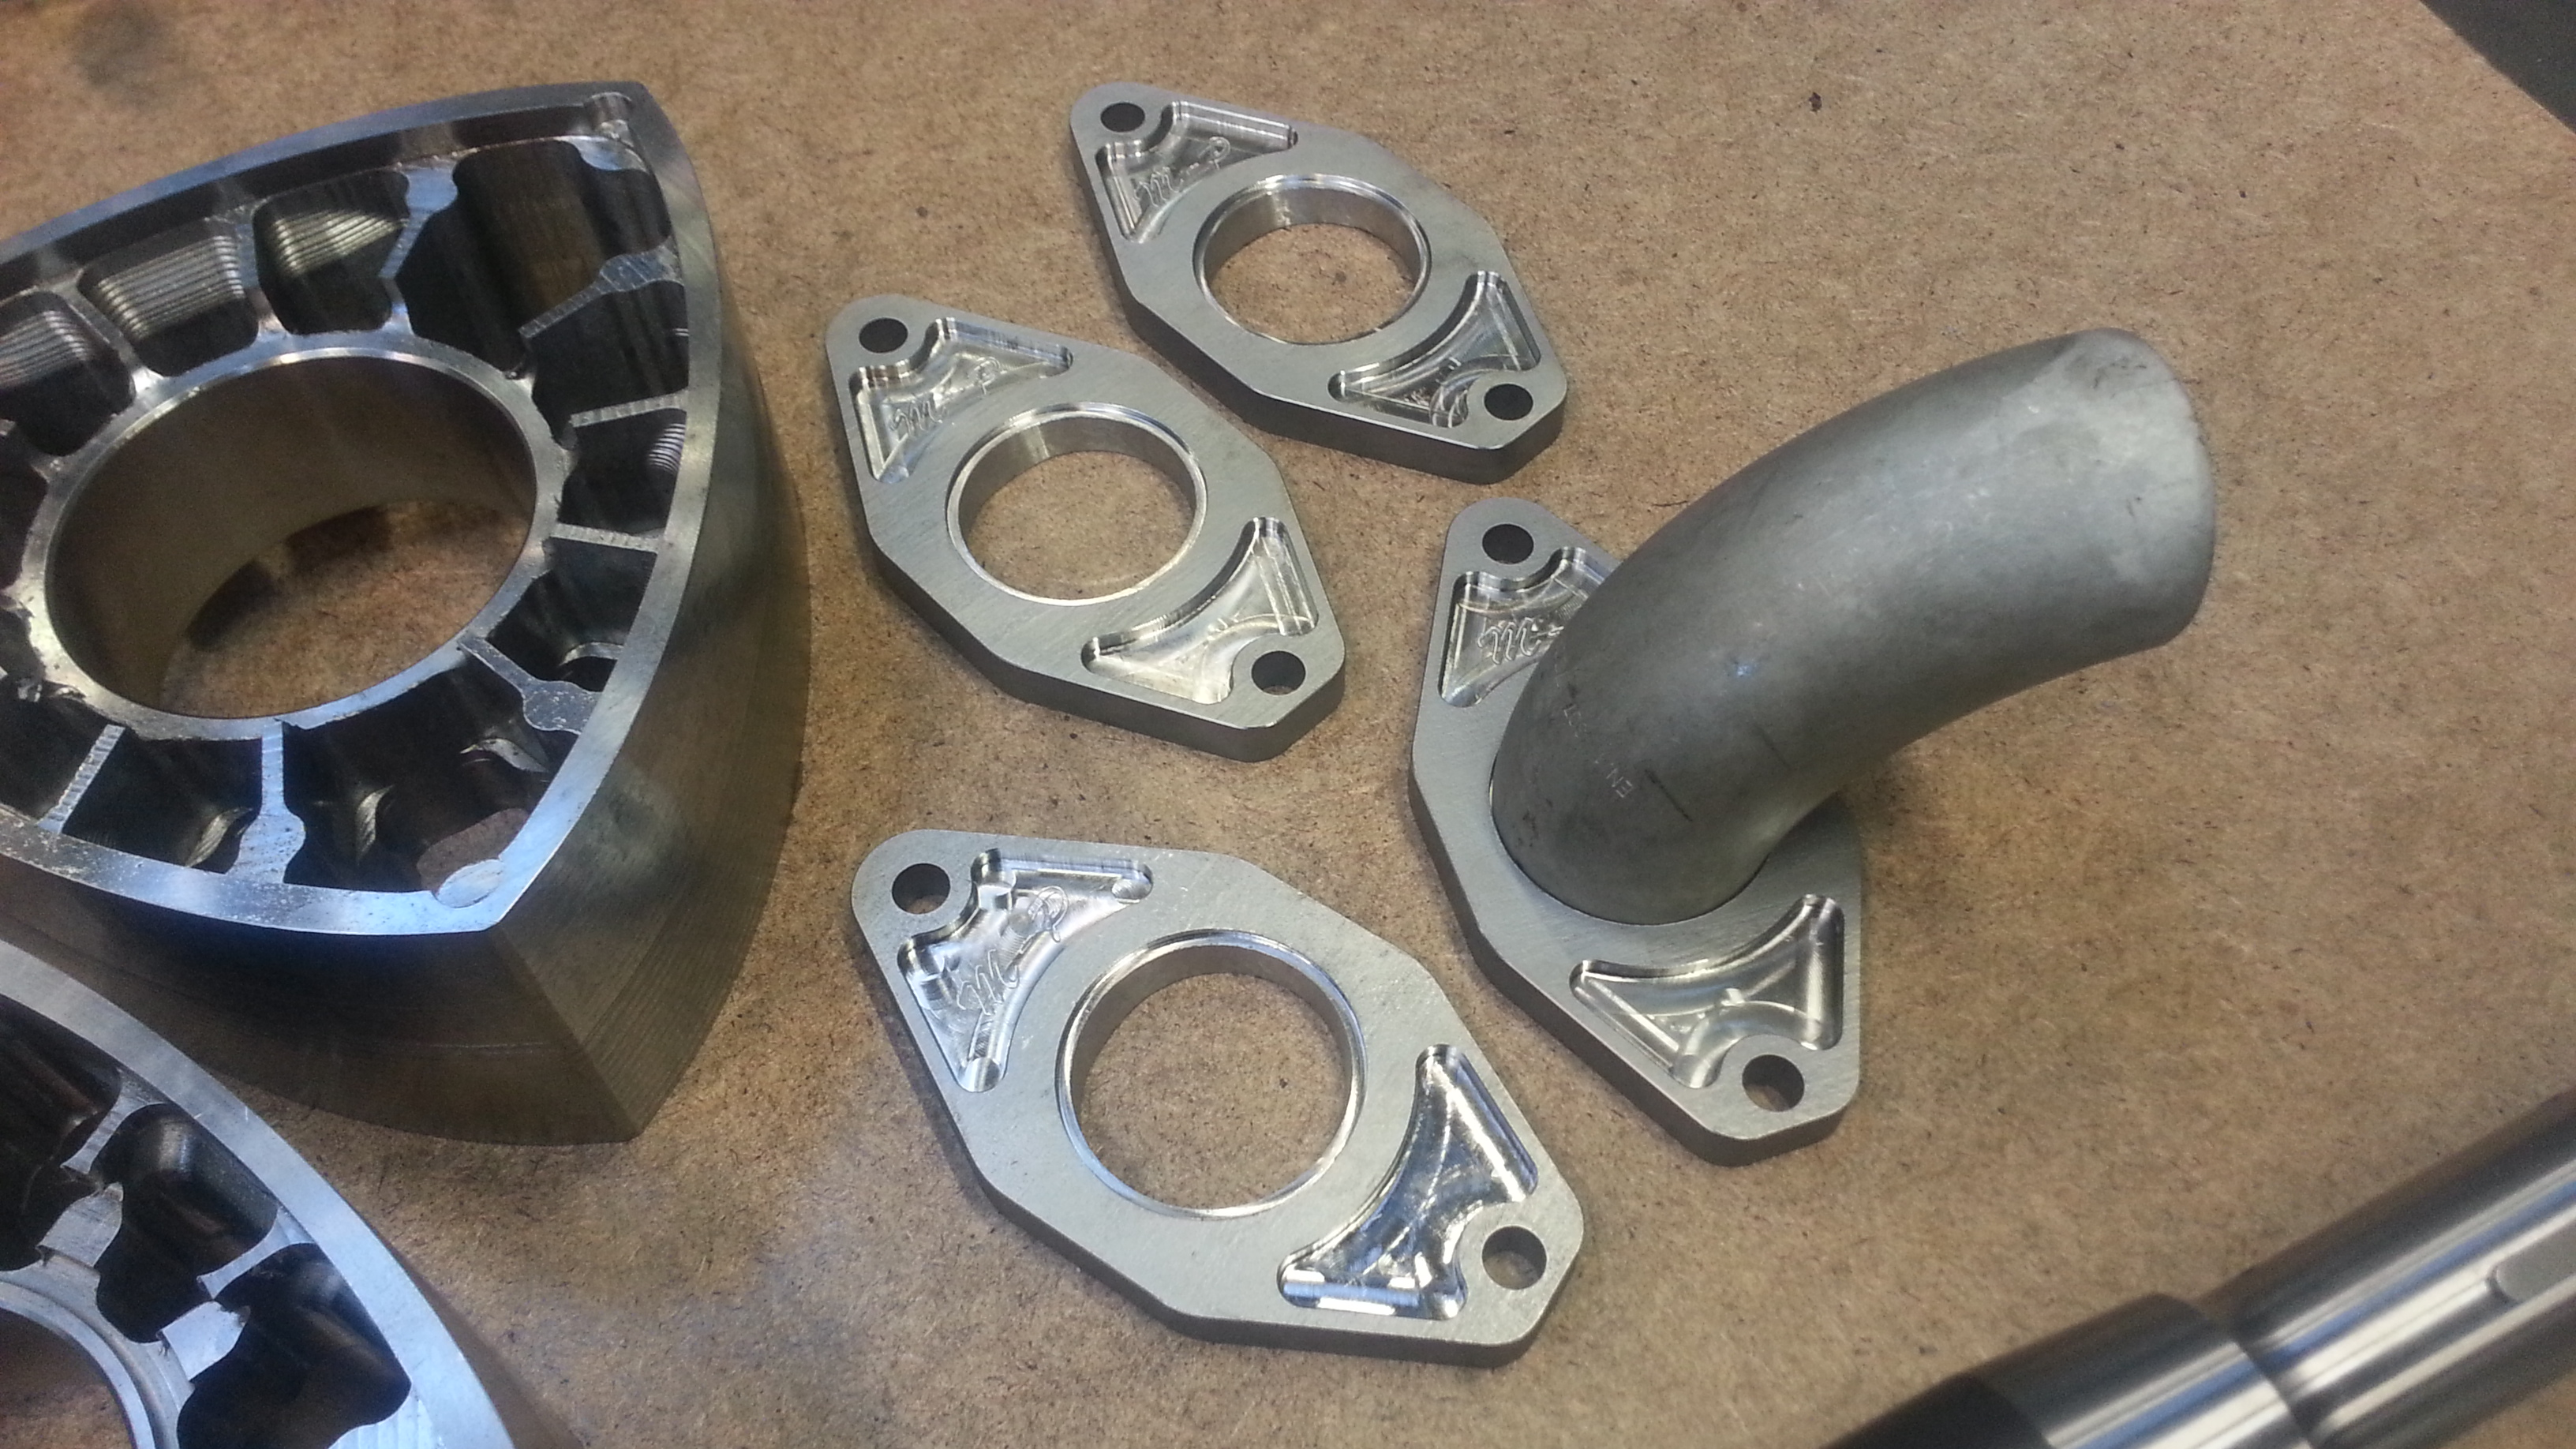
Today I have continued on the rotors.
Did some roughing on the outer contour. Still 1.25mm left. Will be around 3.9kg when done.

Before
Name:  20130501_135158_zps9cf8807b.jpg
Views: 656
Size:  1.37 MB


After
Name:  20130501_135239_zpsc45149e7.jpg
Views: 592
Size:  1.55 MB
Name:  20130501_183254_zps86947182.jpg
Views: 593
Size:  1.65 MB

Also did some adjustments on the exhaustflanges. Now the tubing fits perfect!
Name:  20130501_183259_zpsa75b64c8.jpg
Views: 584
Size:  1.86 MB

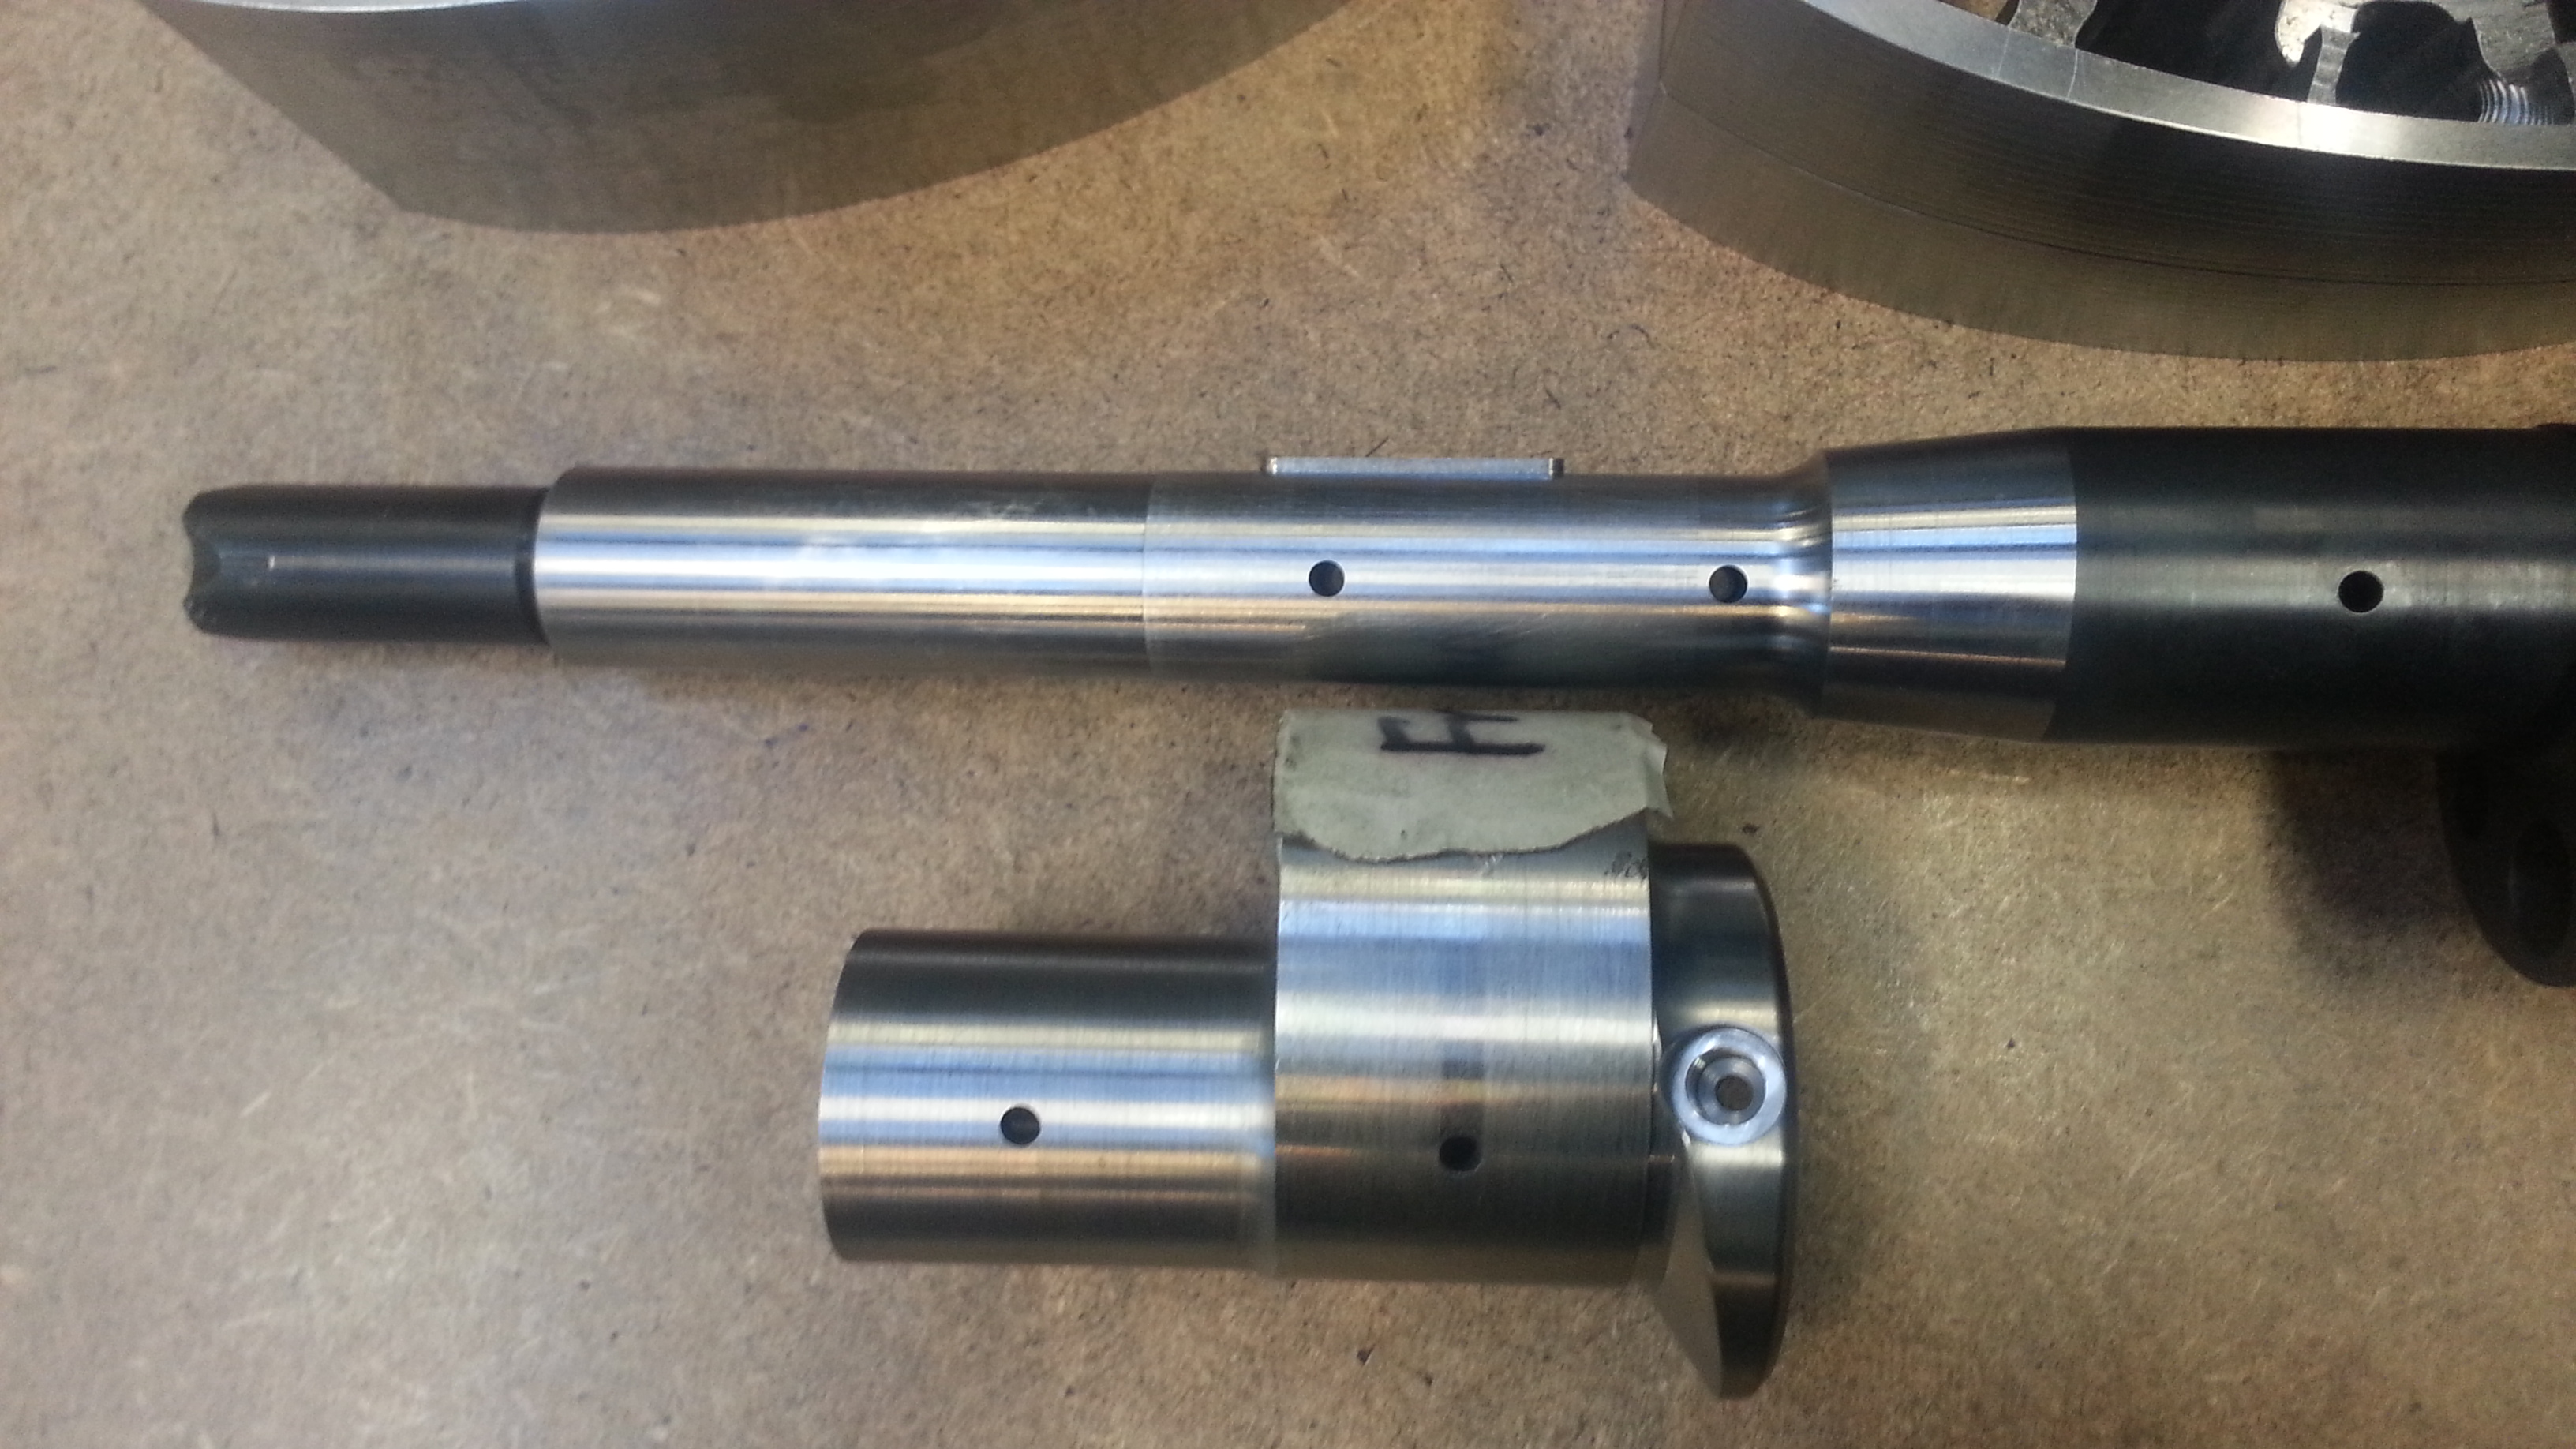
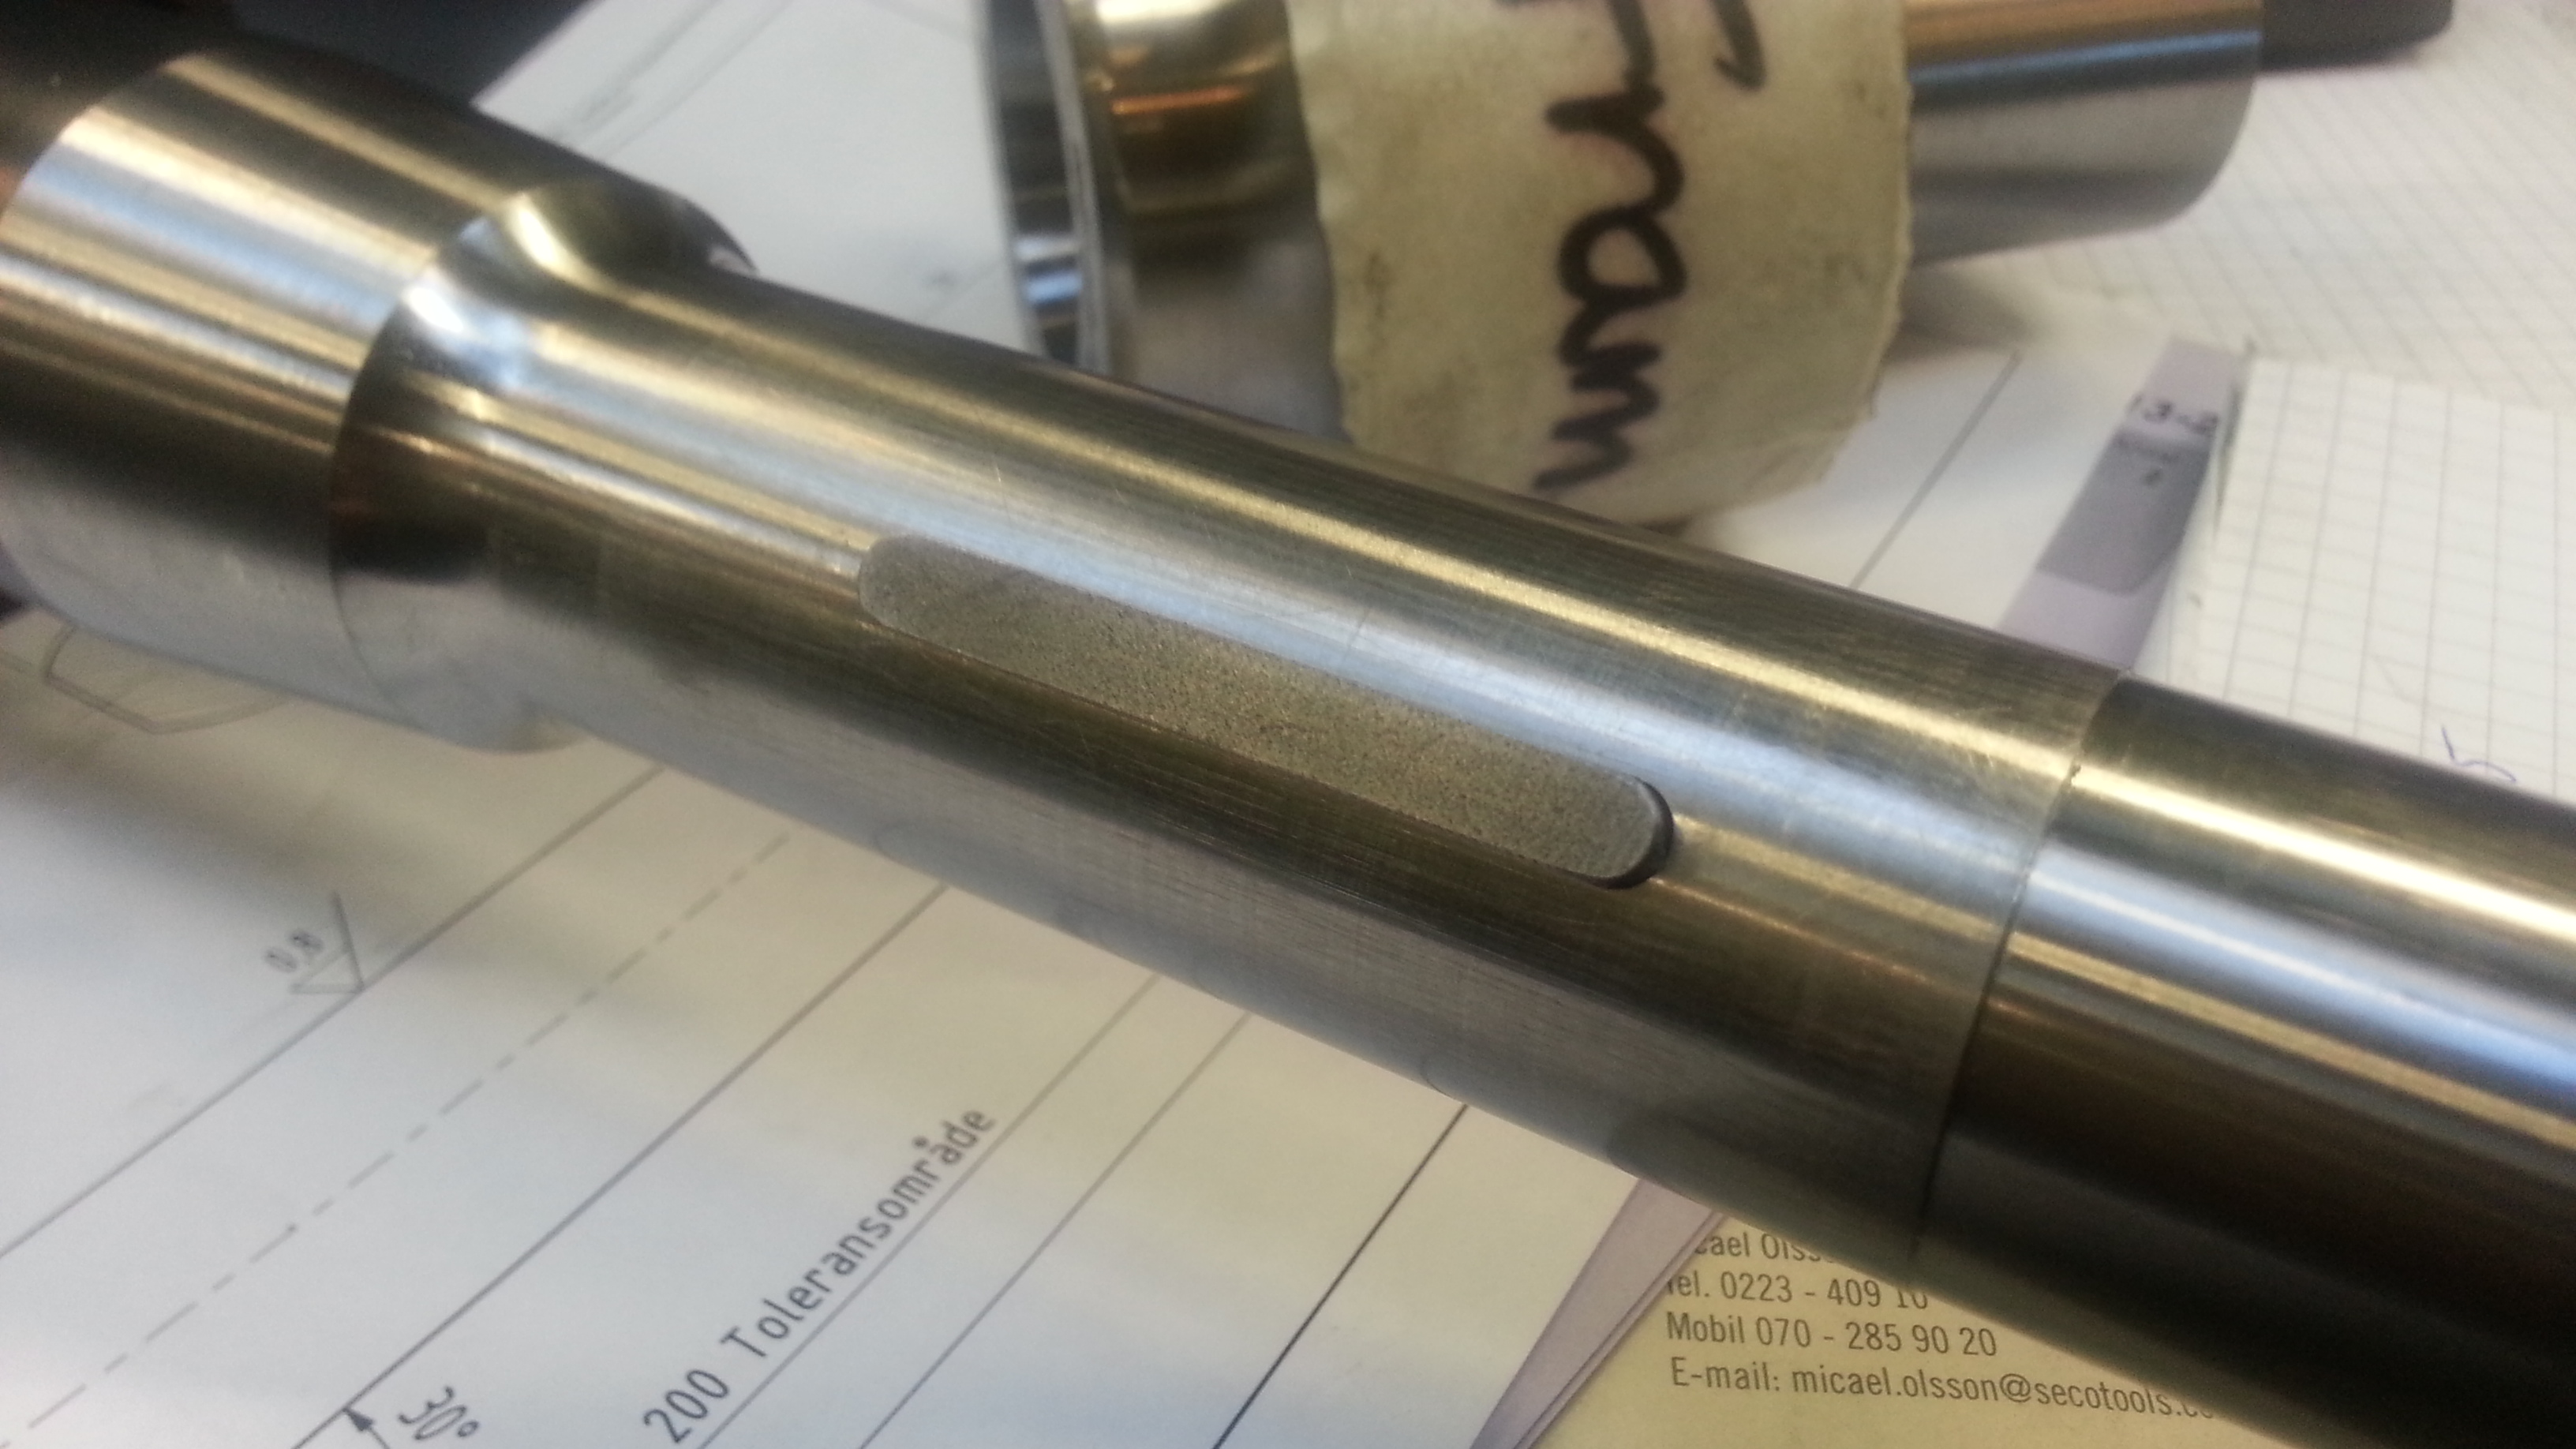
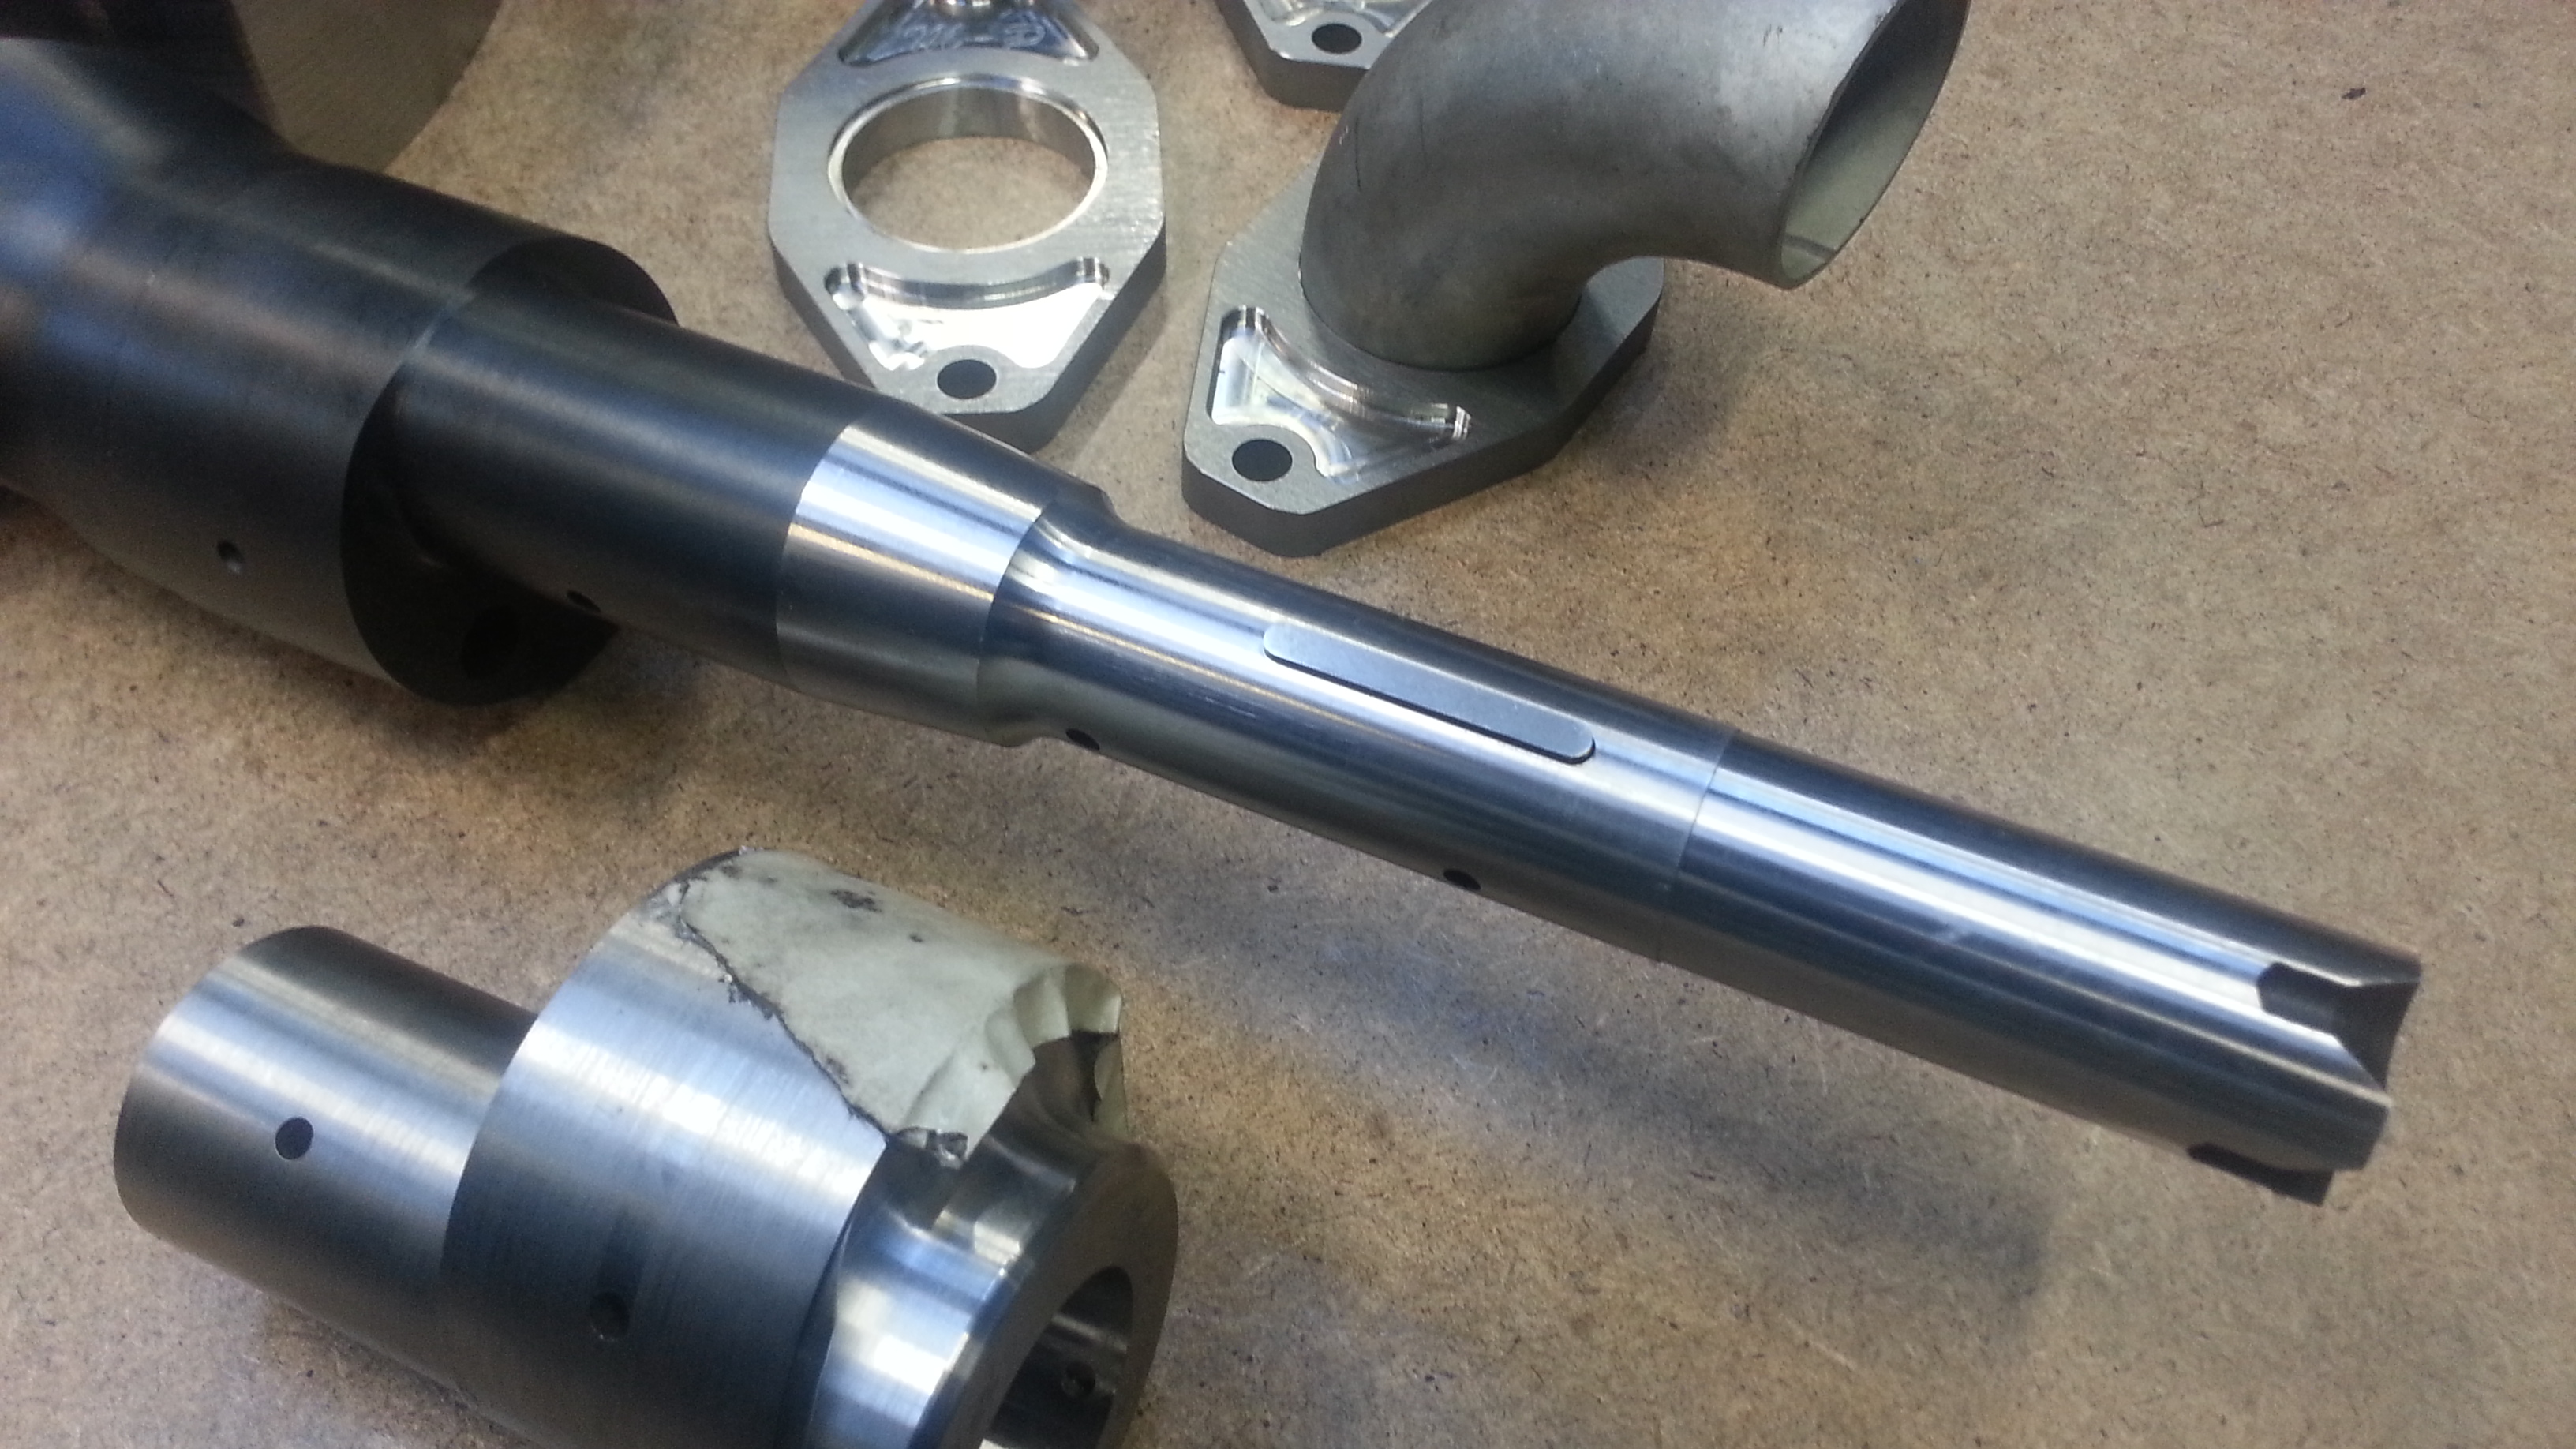
Last I did a key to the E-shaft. 5x5x48mm, and turned out well.
Name:  20130501_183243_zps77998d57.jpg
Views: 599
Size:  1.60 MB
Name:  20130501_183249_zpsa7e14619.jpg
Views: 582
Size:  1.48 MB
Name:  20130501_181803_zps2e6d3ade.jpg
Views: 589
Size:  1.18 MB


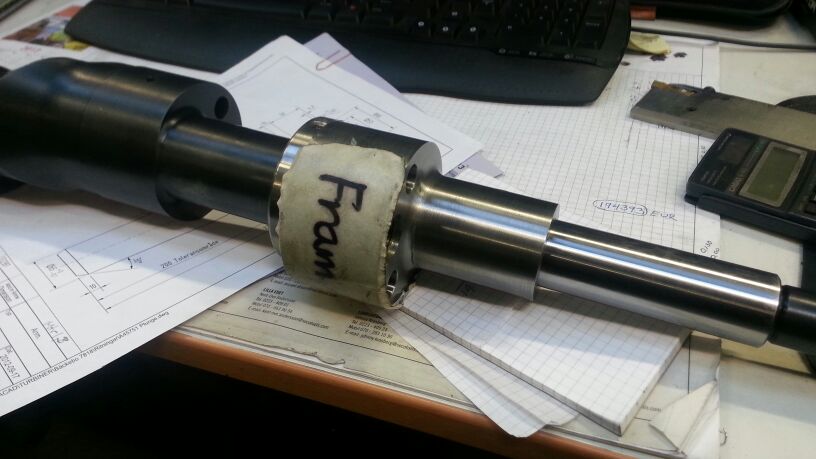
First assembly with grinded surfaces and the key. Perfect!
Name:  IMG-20130501-WA0010_zpscdd555e0.jpg
Views: 565
Size:  54.6 KB

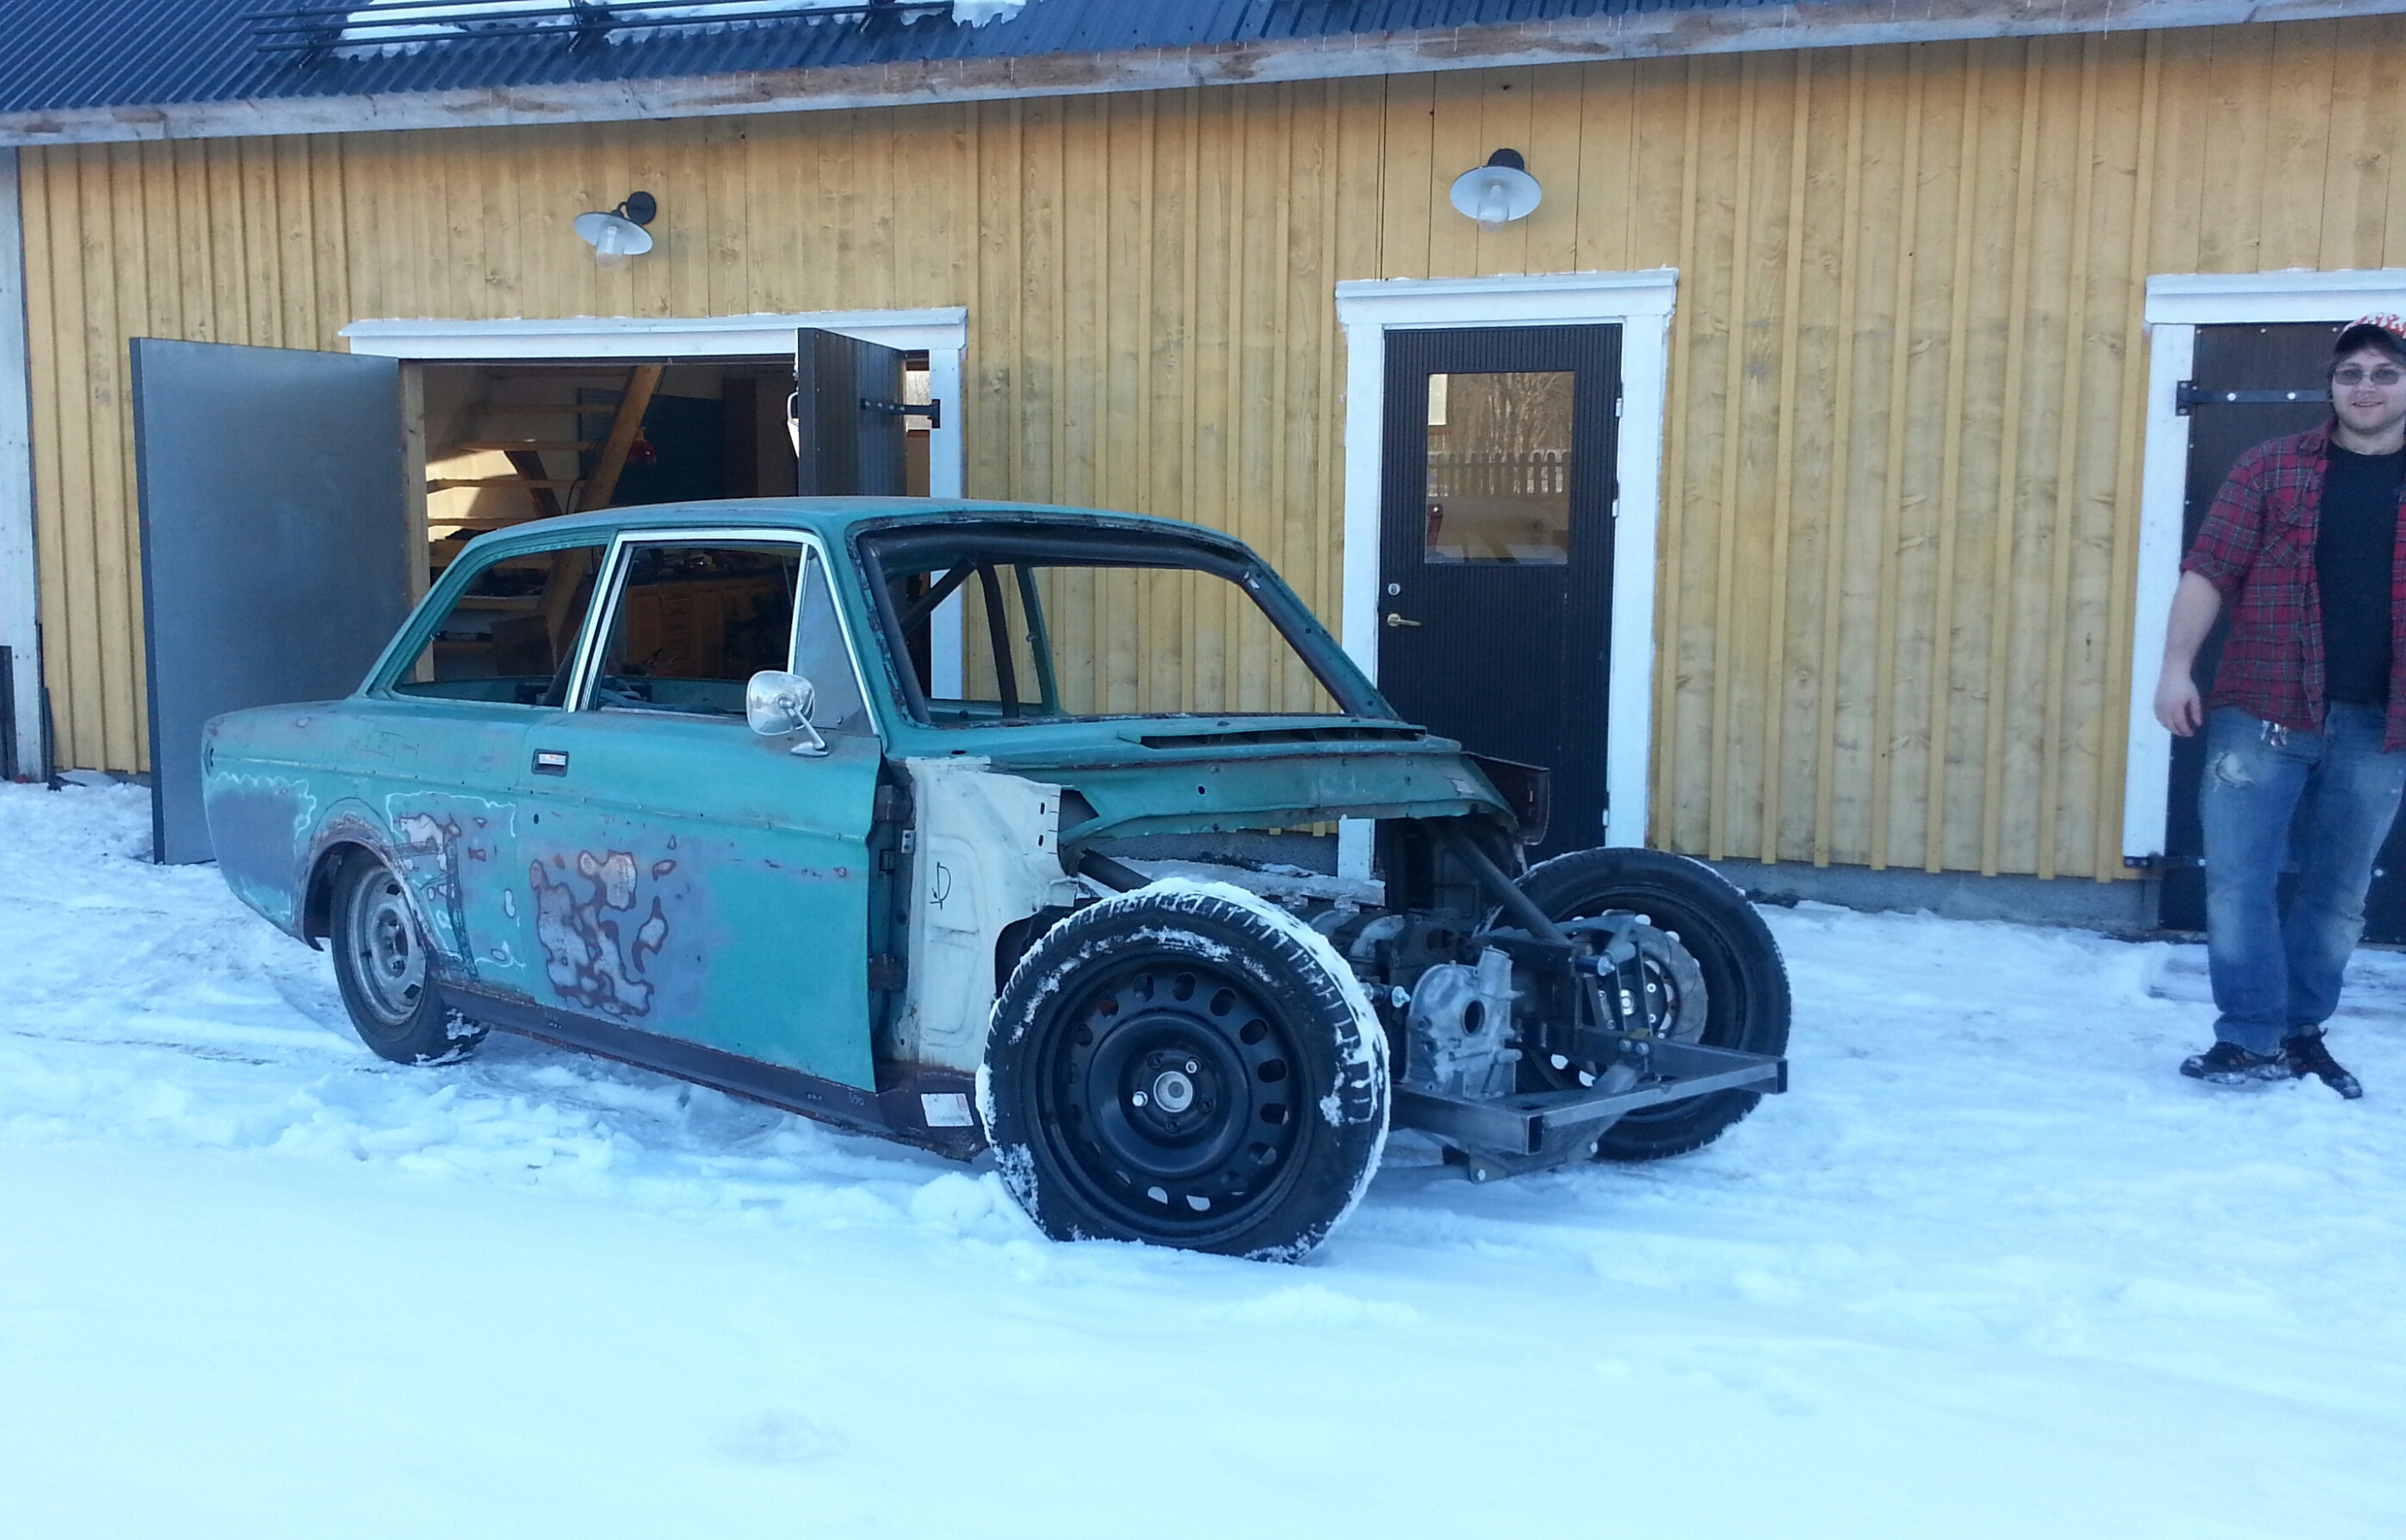
Photo on the group of todays game.
Name:  20130501_183226_zps8f54a924.jpg
Views: 658
Size:  1.65 MB
Old 05-01-13, 02:14 PM
  #817  
Rotary Enthusiast

iTrader: (2)
 
Furb's Avatar
 
Join Date: May 2005
Location: E-L Netherlands
Posts: 1,165
Likes: 0
Received 0 Likes on 0 Posts
Nice shaft you got there
Old 05-01-13, 02:50 PM
  #818  
Rotary Enthusiast

 
ChrisRX8PR's Avatar
 
Join Date: Oct 2007
Location: Plymouth, MN
Posts: 799
Likes: 0
Received 2 Likes on 2 Posts
Originally Posted by Furb
Nice shaft you got there
Lol...
Old 05-02-13, 10:43 AM
  #819  
Full Member

iTrader: (1)
 
mr rxeven's Avatar
 
Join Date: Jan 2013
Location: australia
Posts: 116
Received 5 Likes on 4 Posts
great work
Old 05-02-13, 12:46 PM
  #820  
Banned. I got OWNED!!!
iTrader: (11)
 
stevensimon's Avatar
 
Join Date: Aug 2003
Location: salt lake ut
Posts: 3,575
Likes: 0
Received 5 Likes on 5 Posts
no bathtubs for the rotors?
Old 05-02-13, 01:08 PM
  #821  
Goodfalla Engine Complete

iTrader: (28)
 
Monkman33's Avatar
 
Join Date: May 2005
Location: Kennewick, Washington
Posts: 3,238
Received 32 Likes on 25 Posts
he is going to add bathtubs eventually from the looks of it. look at the pictures of the rotors, you can see the extra material is there to allow for a bathtub.
Old 05-03-13, 05:24 AM
  #822  
Senior Member

Thread Starter
 
tegheim's Avatar
 
Join Date: Nov 2003
Location: Sweden
Posts: 533
Likes: 0
Received 2 Likes on 1 Post
The bathtub comes last. There is still 1.25mm left on the outer contour as well.
This was just roughing.
Old 05-03-13, 11:02 AM
  #823  
Senior Member

iTrader: (2)
 
demongo's Avatar
 
Join Date: Jul 2011
Location: CA
Posts: 255
Received 1 Like on 1 Post
Originally Posted by tegheim
The bathtub comes last. There is still 1.25mm left on the outer contour as well.
This was just roughing.
Just curious: are these 4 *new* rotors you've made? In addition to the others you made before? Or just putting the final touches on your earlier rotors?

Also: looking forward to seeing additional work on the housings! Will you be doing your own irons also?
Old 05-05-13, 09:56 PM
  #824  
Junior Member

iTrader: (4)
 
npcrs32's Avatar
 
Join Date: Apr 2011
Location: CA
Posts: 38
Likes: 0
Received 3 Likes on 3 Posts
I love this thread your work is inspiring.
Old 05-05-13, 11:02 PM
  #825  
Original Gangster/Rotary!


iTrader: (213)
 
GoodfellaFD3S's Avatar
 
Join Date: Mar 2001
Location: FL-->NJ/NYC again!
Posts: 30,529
Received 539 Likes on 326 Posts
Amazing, all of it.

That's super light for 19inch wheels, Magnesium has some advantages in this regard most definitely. Love the BBS style too


Quick Reply: Tegheim - Home made 4 Rotor Wolvo project


All times are GMT -5. The time now is 05:58 PM.