Tegheim - Home made 4 Rotor Wolvo project


 11-13-12, 12:06 PM
#710
Duuuude....
That means the ports will have to go through the sleeve and into the housing?
Will you then need to create "port sleeves" that mount flush to the interior surface of the housing sleeve and extend into the housing itself?
I would think there would be major opportunities for leaks.
Very interested in your engineering approach for this.
11-13-12, 12:48 PM
#711
Senior Member
Thread Starter
Duuuude....
That means the ports will have to go through the sleeve and into the housing?
Will you then need to create "port sleeves" that mount flush to the interior surface of the housing sleeve and extend into the housing itself?
I would think there would be major opportunities for leaks.
Very interested in your engineering approach for this.
That means the ports will have to go through the sleeve and into the housing?
Will you then need to create "port sleeves" that mount flush to the interior surface of the housing sleeve and extend into the housing itself?
I would think there would be major opportunities for leaks.
Very interested in your engineering approach for this.

Large problem is more fun than small ones
 11-14-12, 10:14 AM
#713
Rotary Enthusiast
iTrader: (2)
Join Date: May 2005
Location: E-L Netherlands
Posts: 1,165
Likes: 0
Received 0 Likes
on
0 Posts
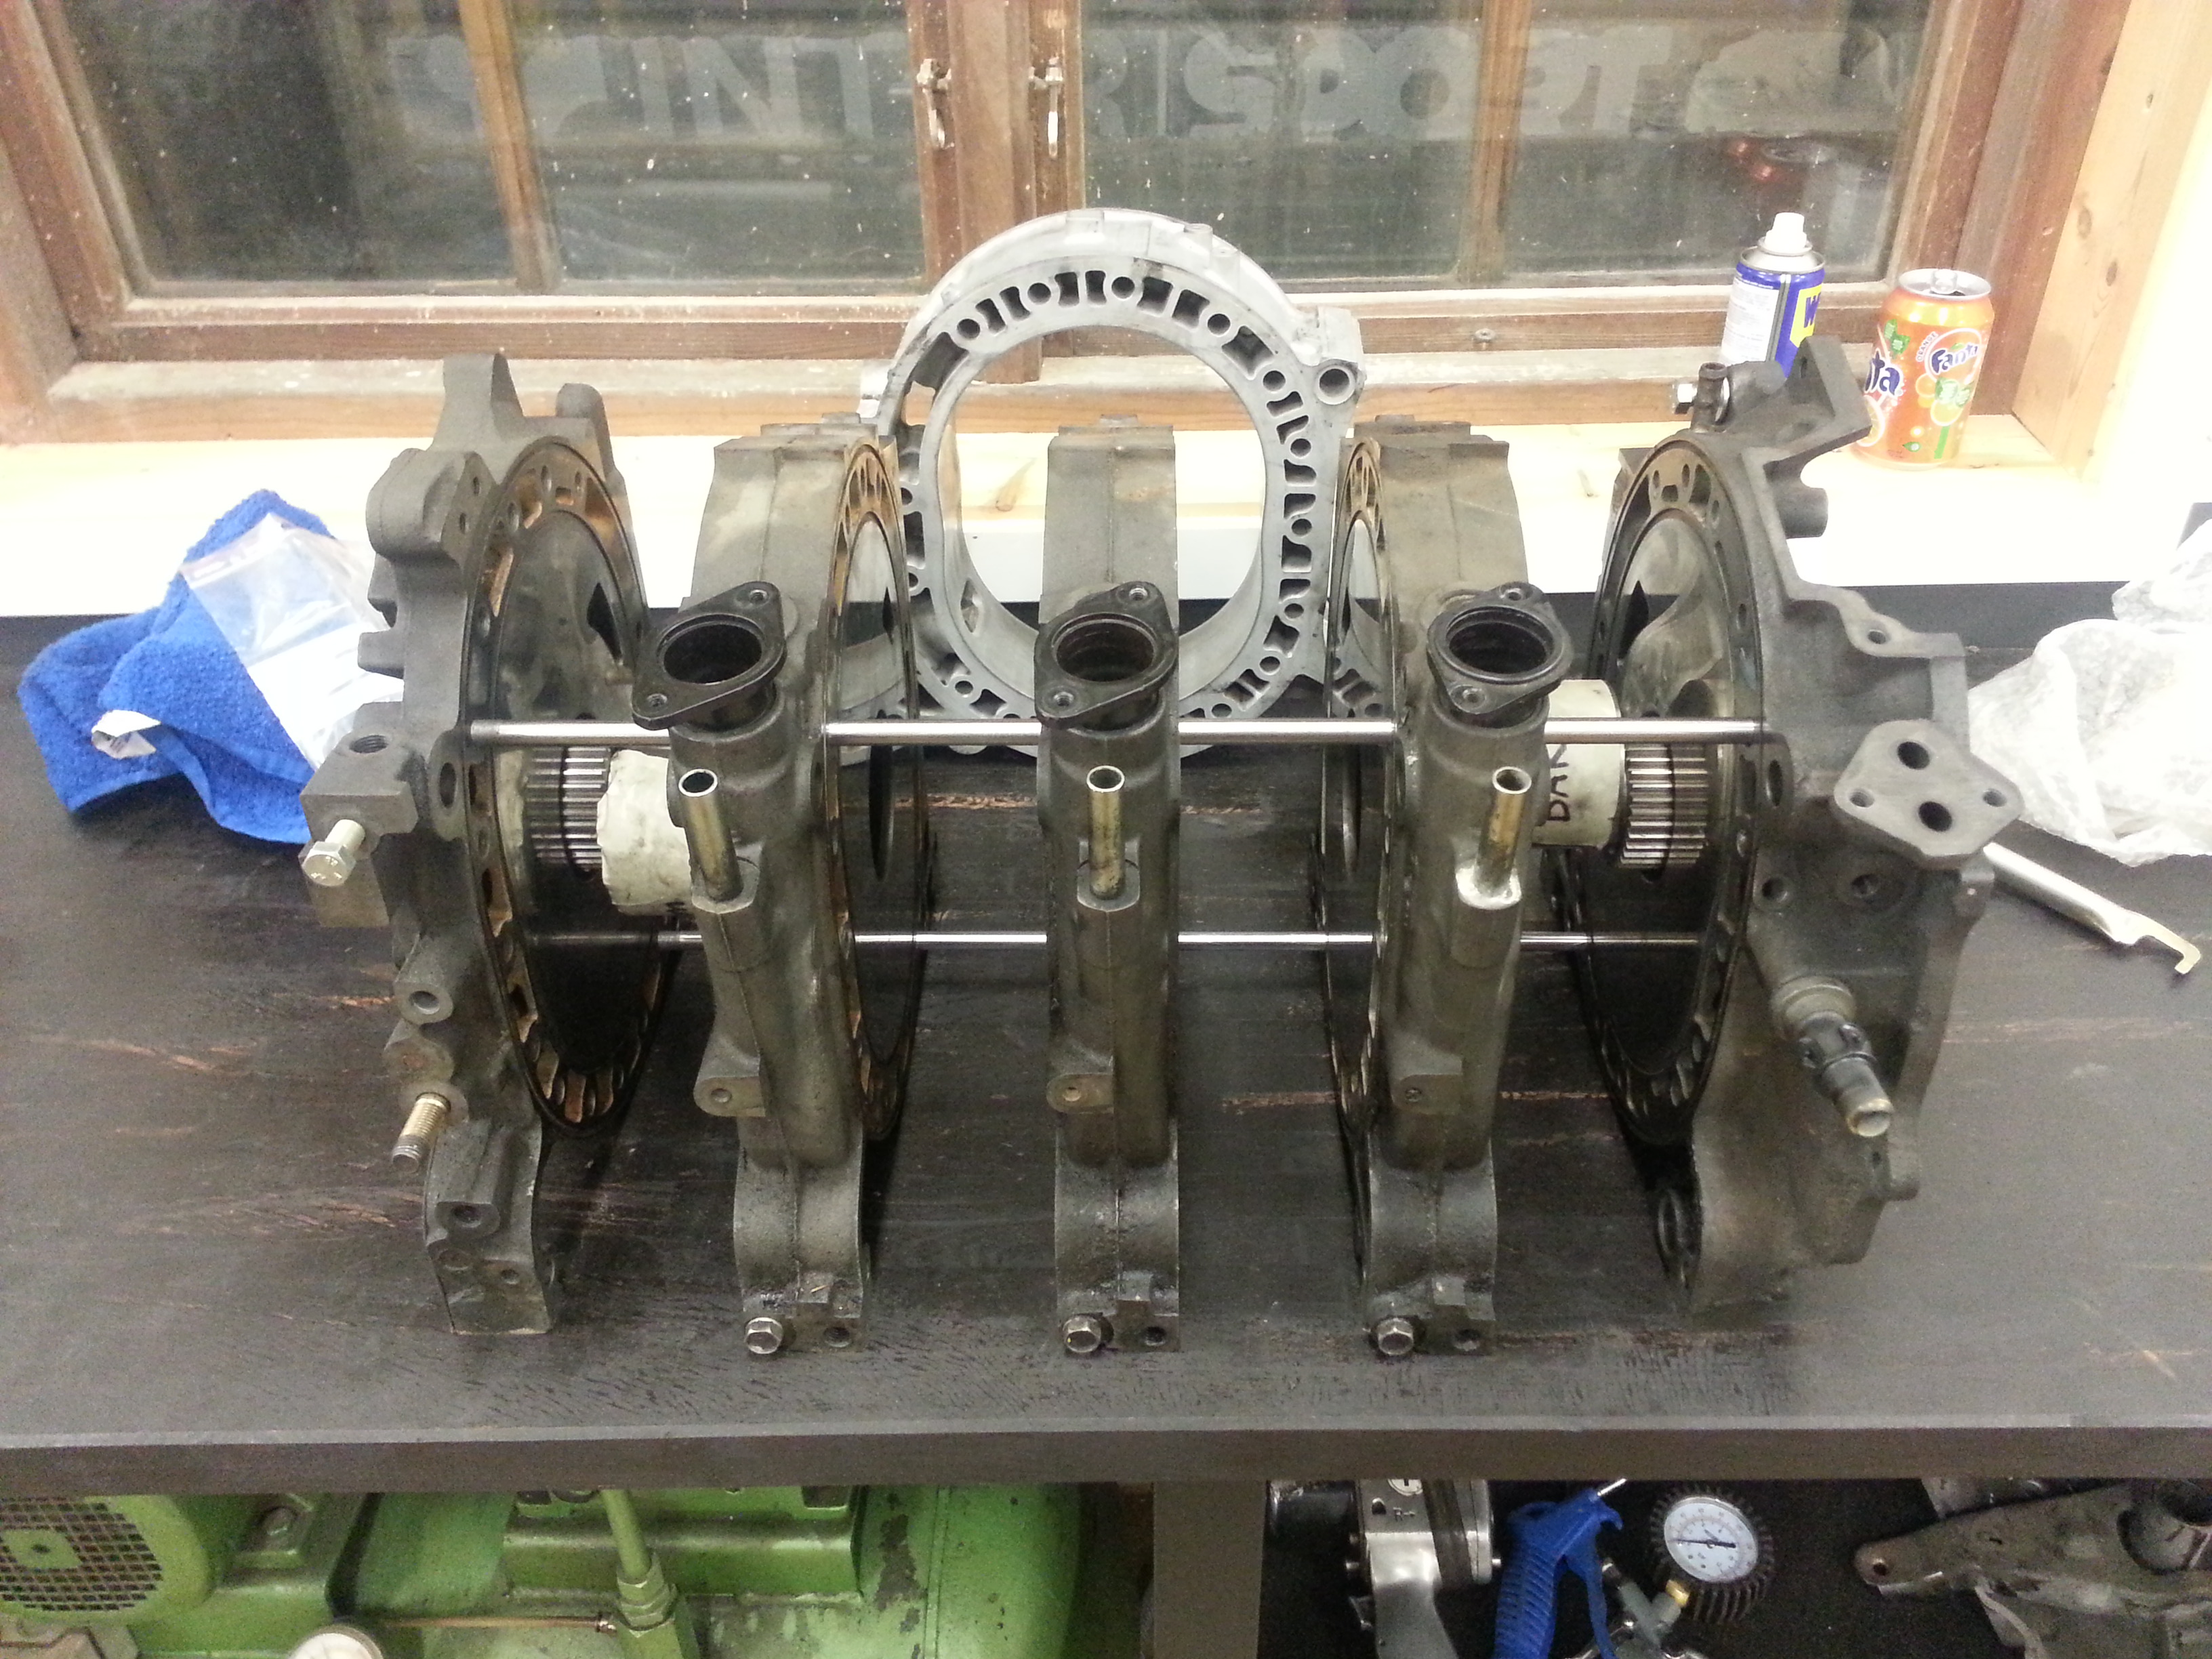
You are totally bonkers! Should become a wicked rotor
Mass production in a few years to keep the "old" rotary scene alive?
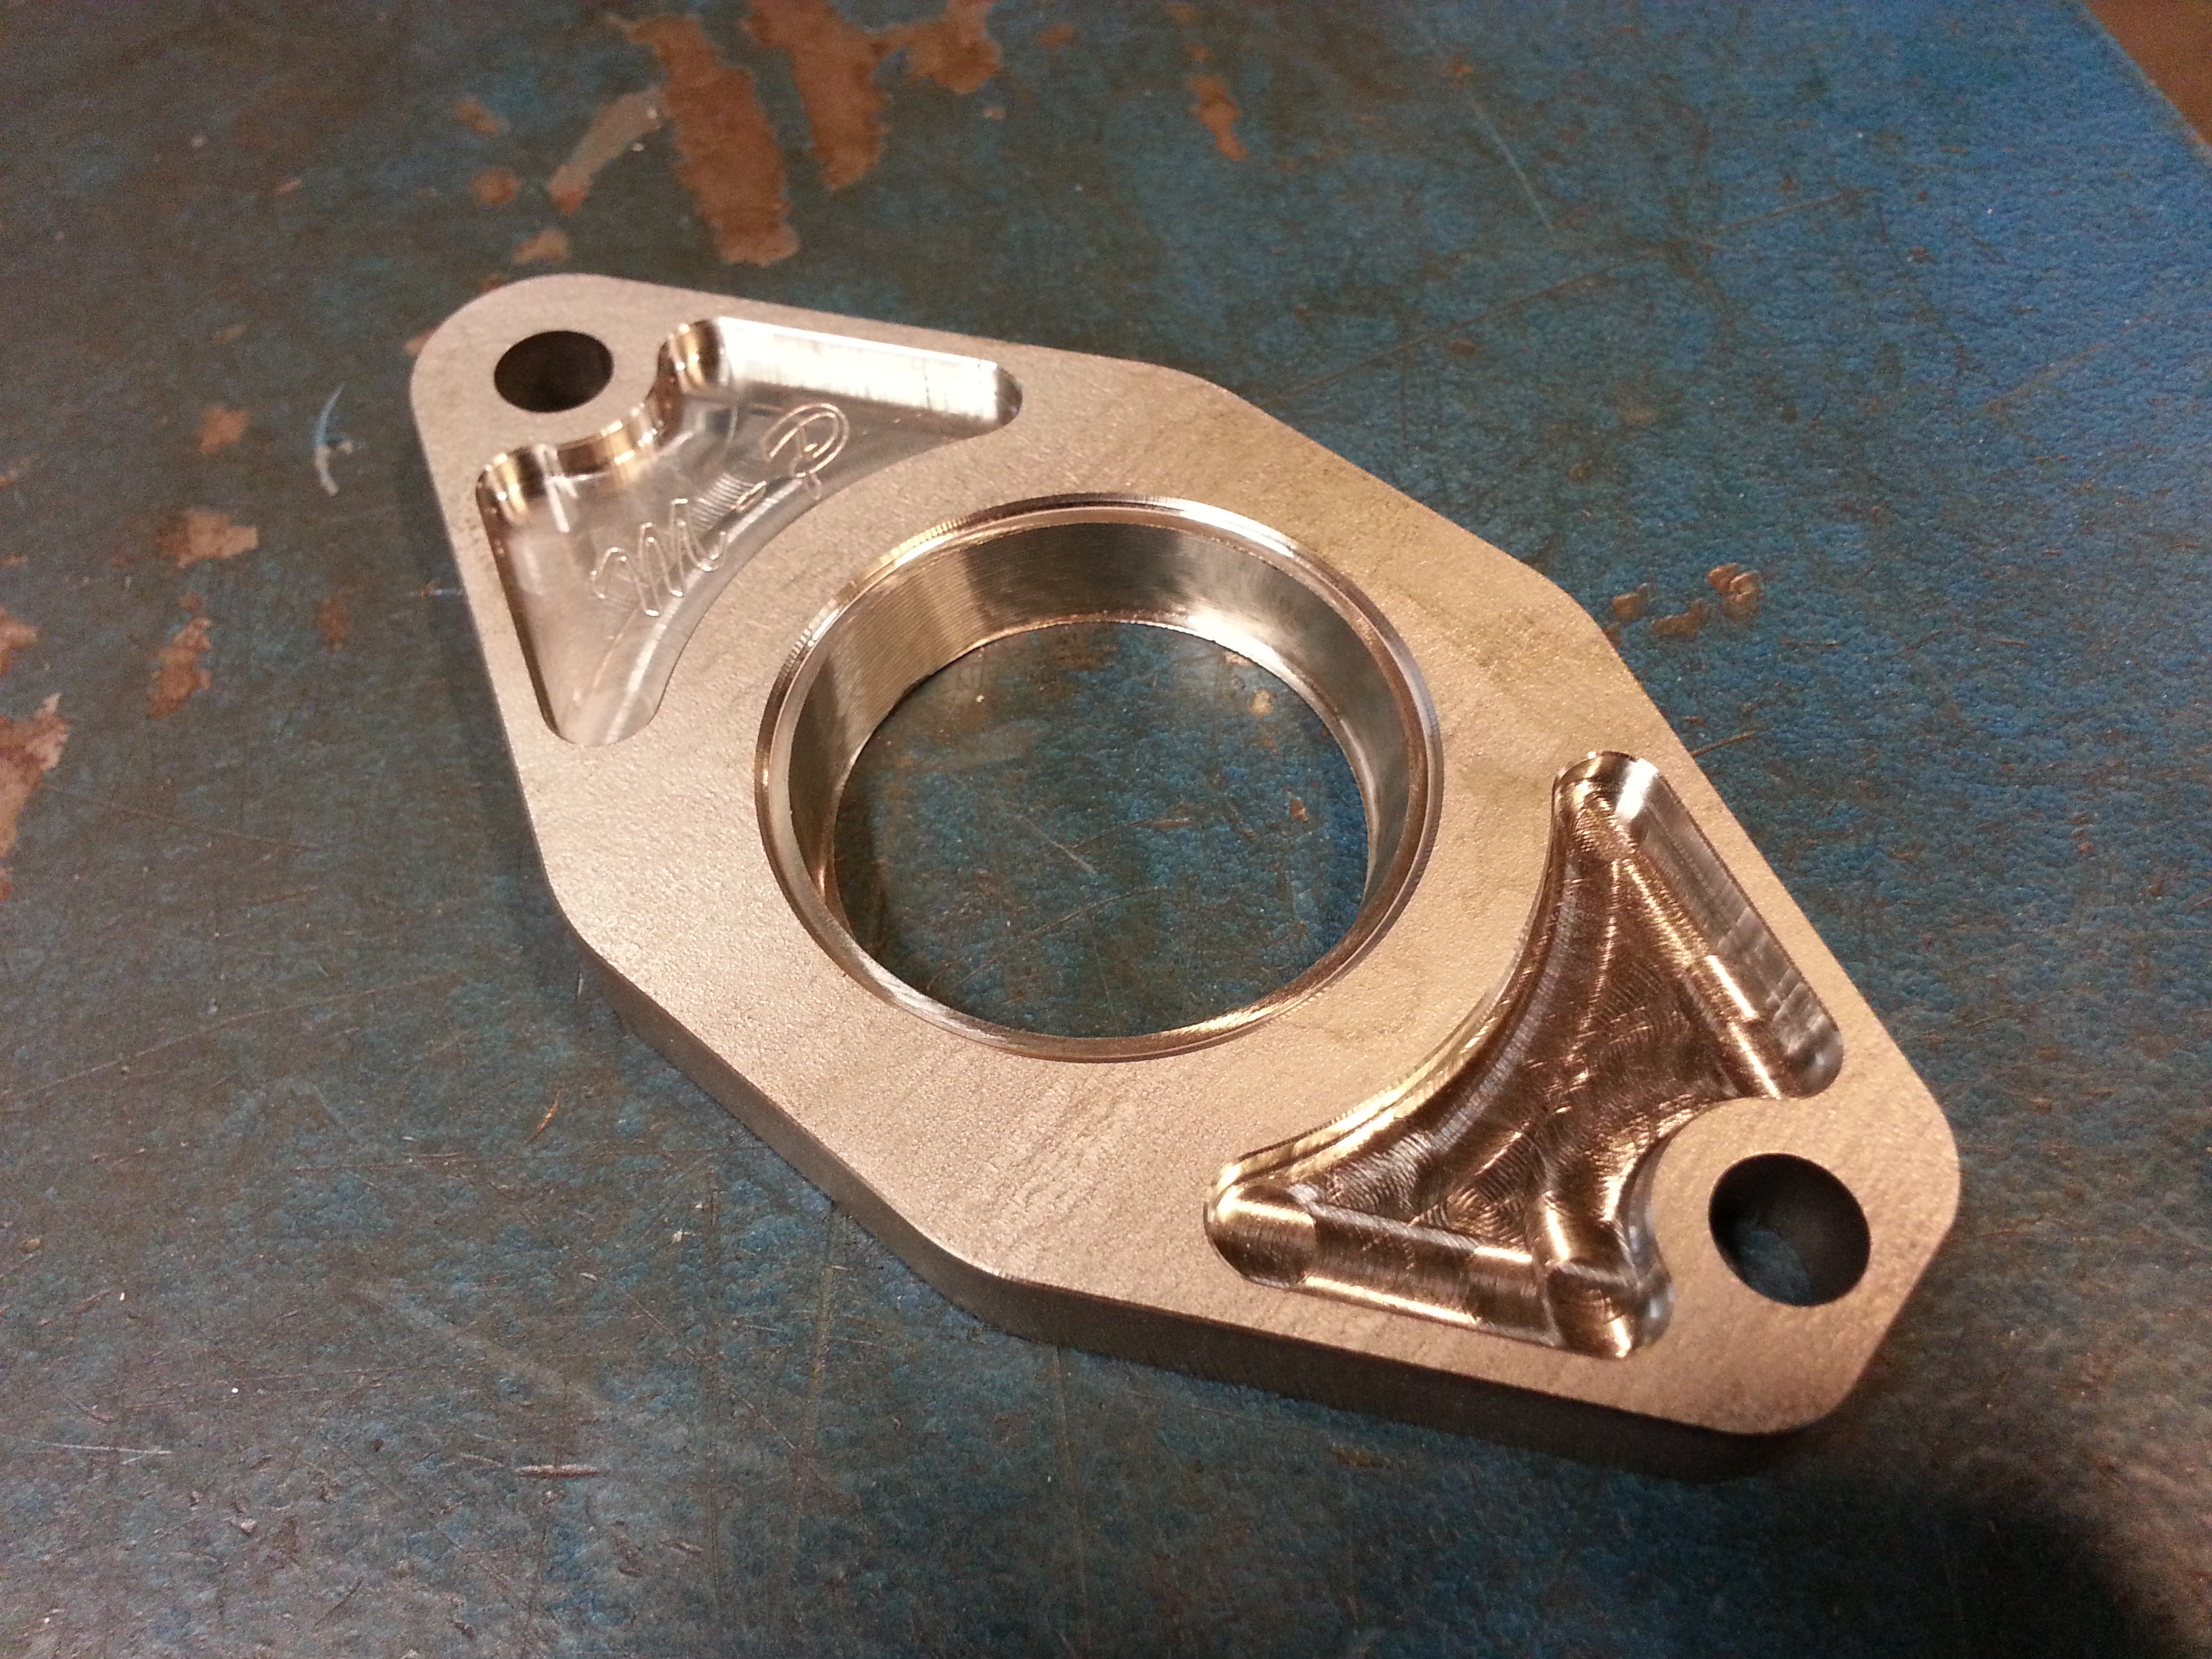
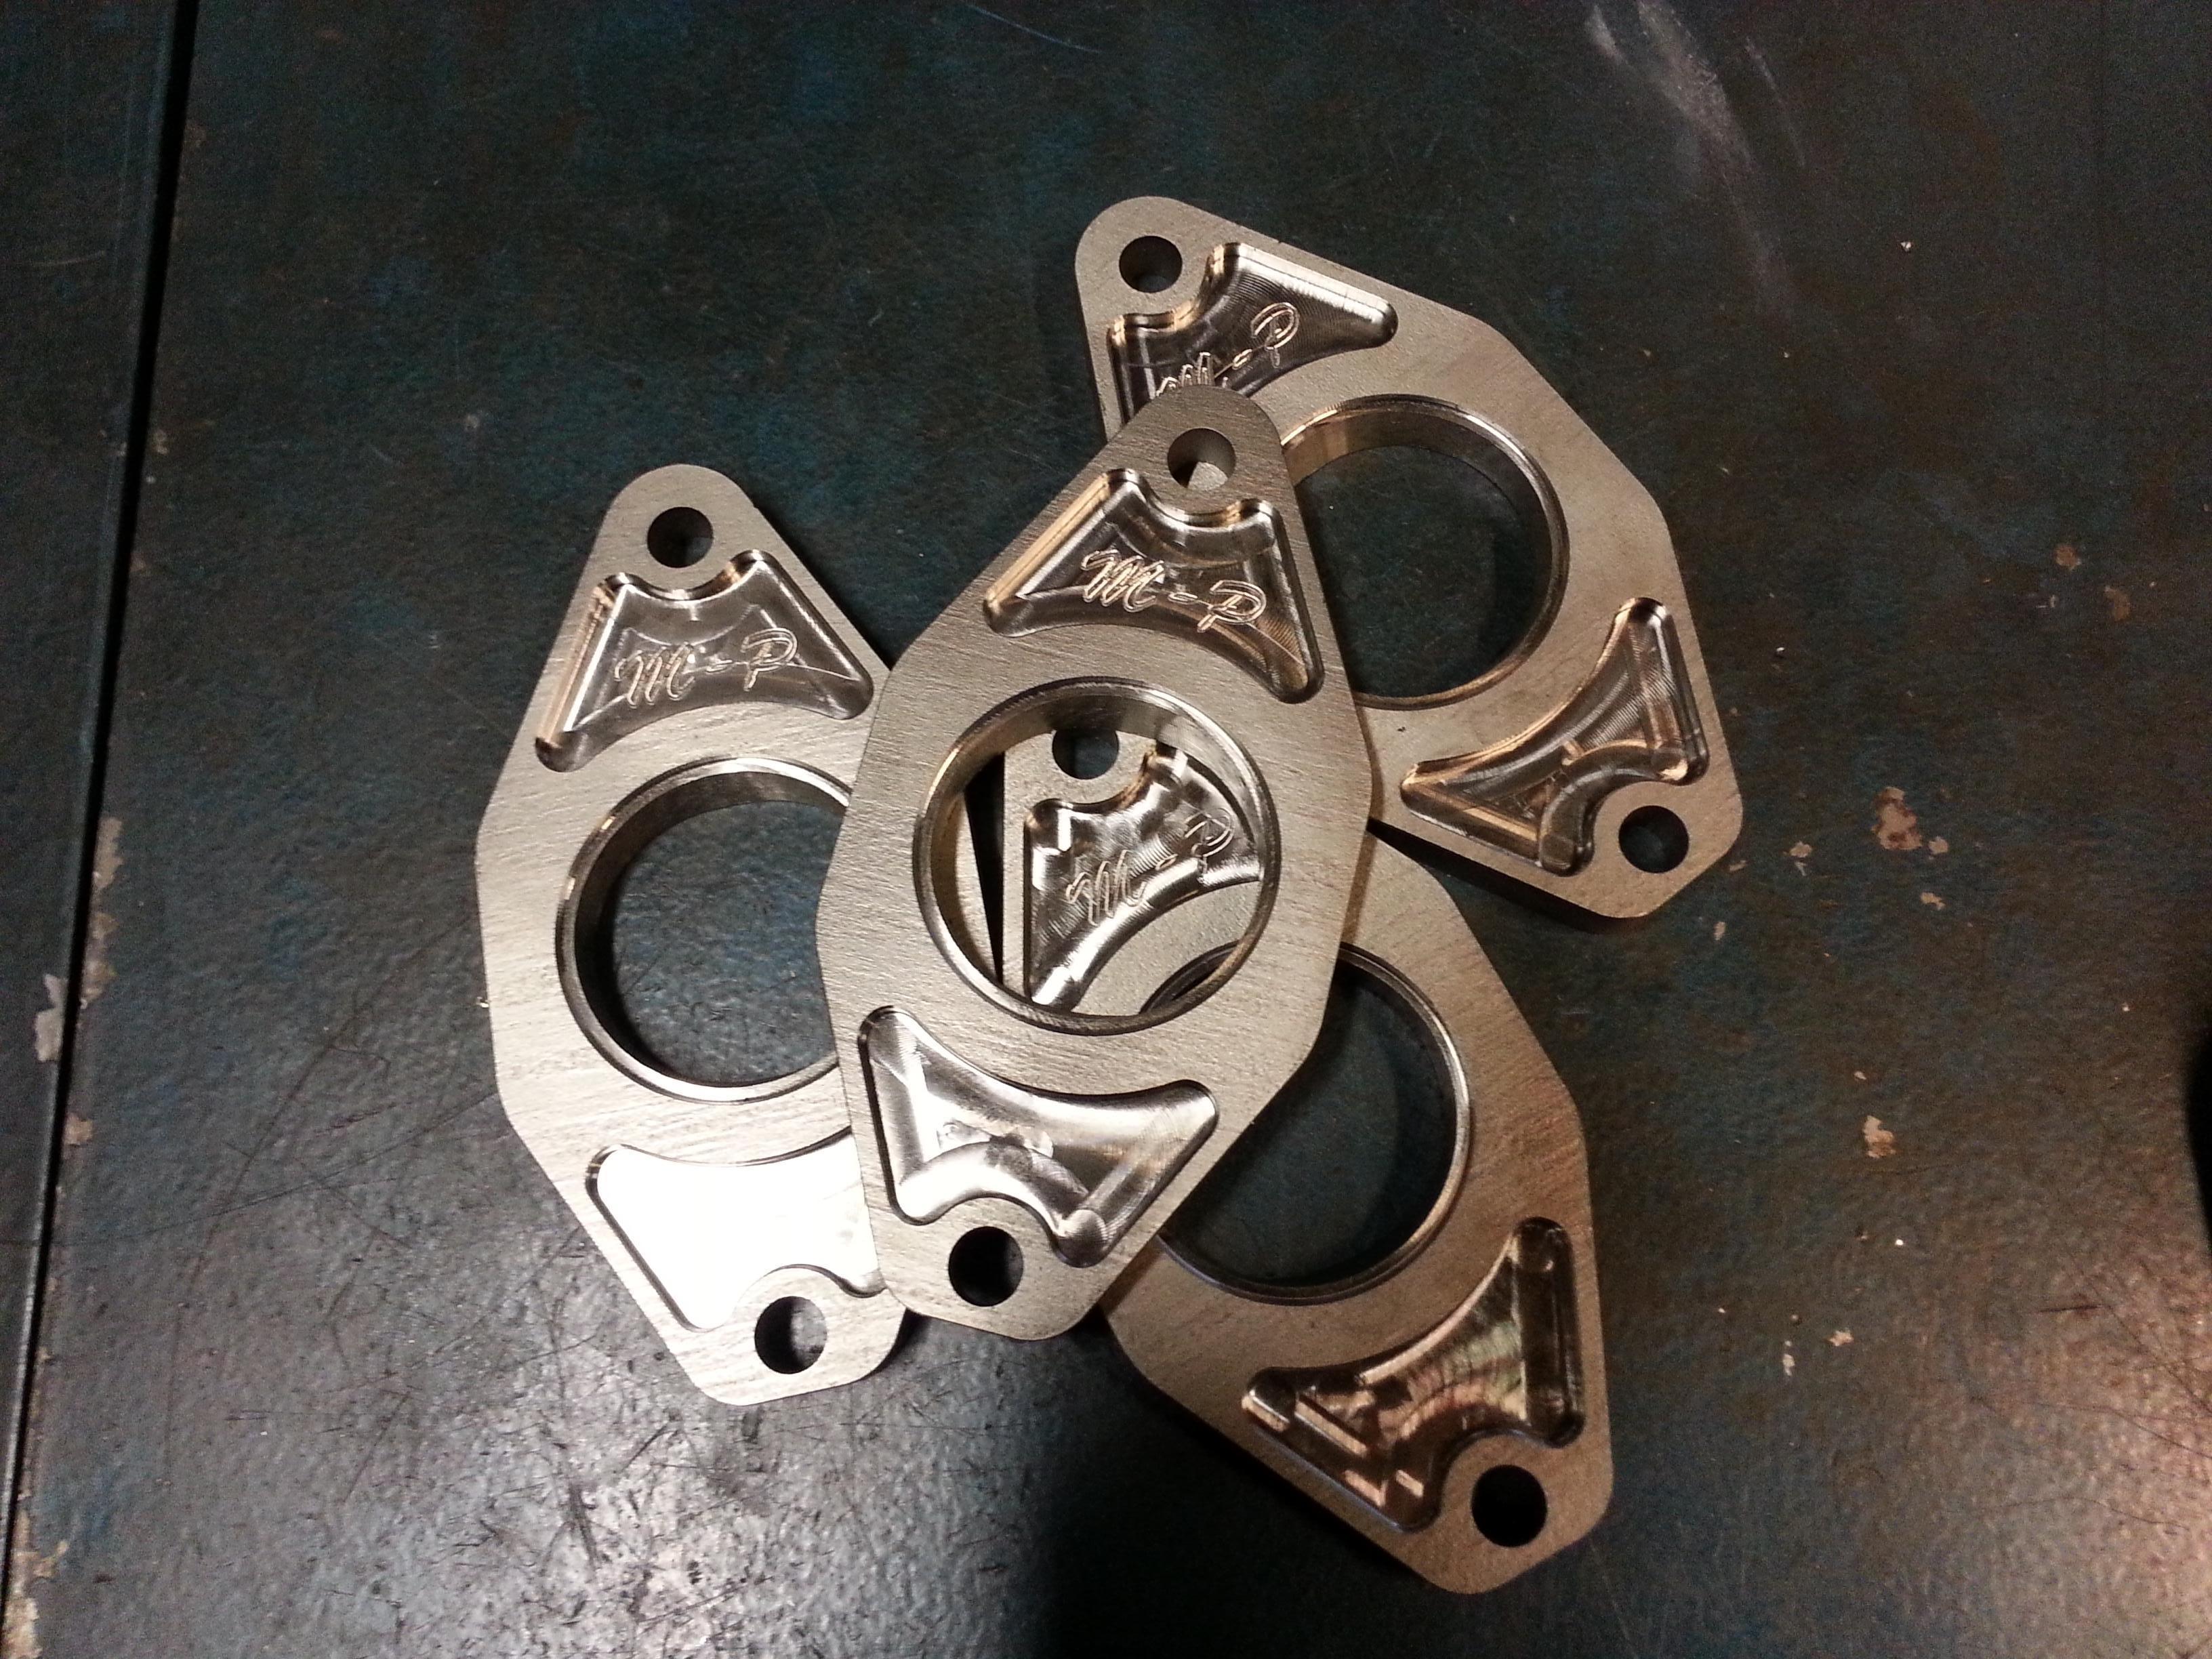
You've never seen home-made peripheral port housings?
They all have to make sleeves
Mass production in a few years to keep the "old" rotary scene alive?
Duuuude....
That means the ports will have to go through the sleeve and into the housing?
Will you then need to create "port sleeves" that mount flush to the interior surface of the housing sleeve and extend into the housing itself?
I would think there would be major opportunities for leaks.
Very interested in your engineering approach for this.
That means the ports will have to go through the sleeve and into the housing?
Will you then need to create "port sleeves" that mount flush to the interior surface of the housing sleeve and extend into the housing itself?
I would think there would be major opportunities for leaks.
Very interested in your engineering approach for this.
They all have to make sleeves

 11-24-12, 01:54 AM
#718
Senior Member
Thread Starter
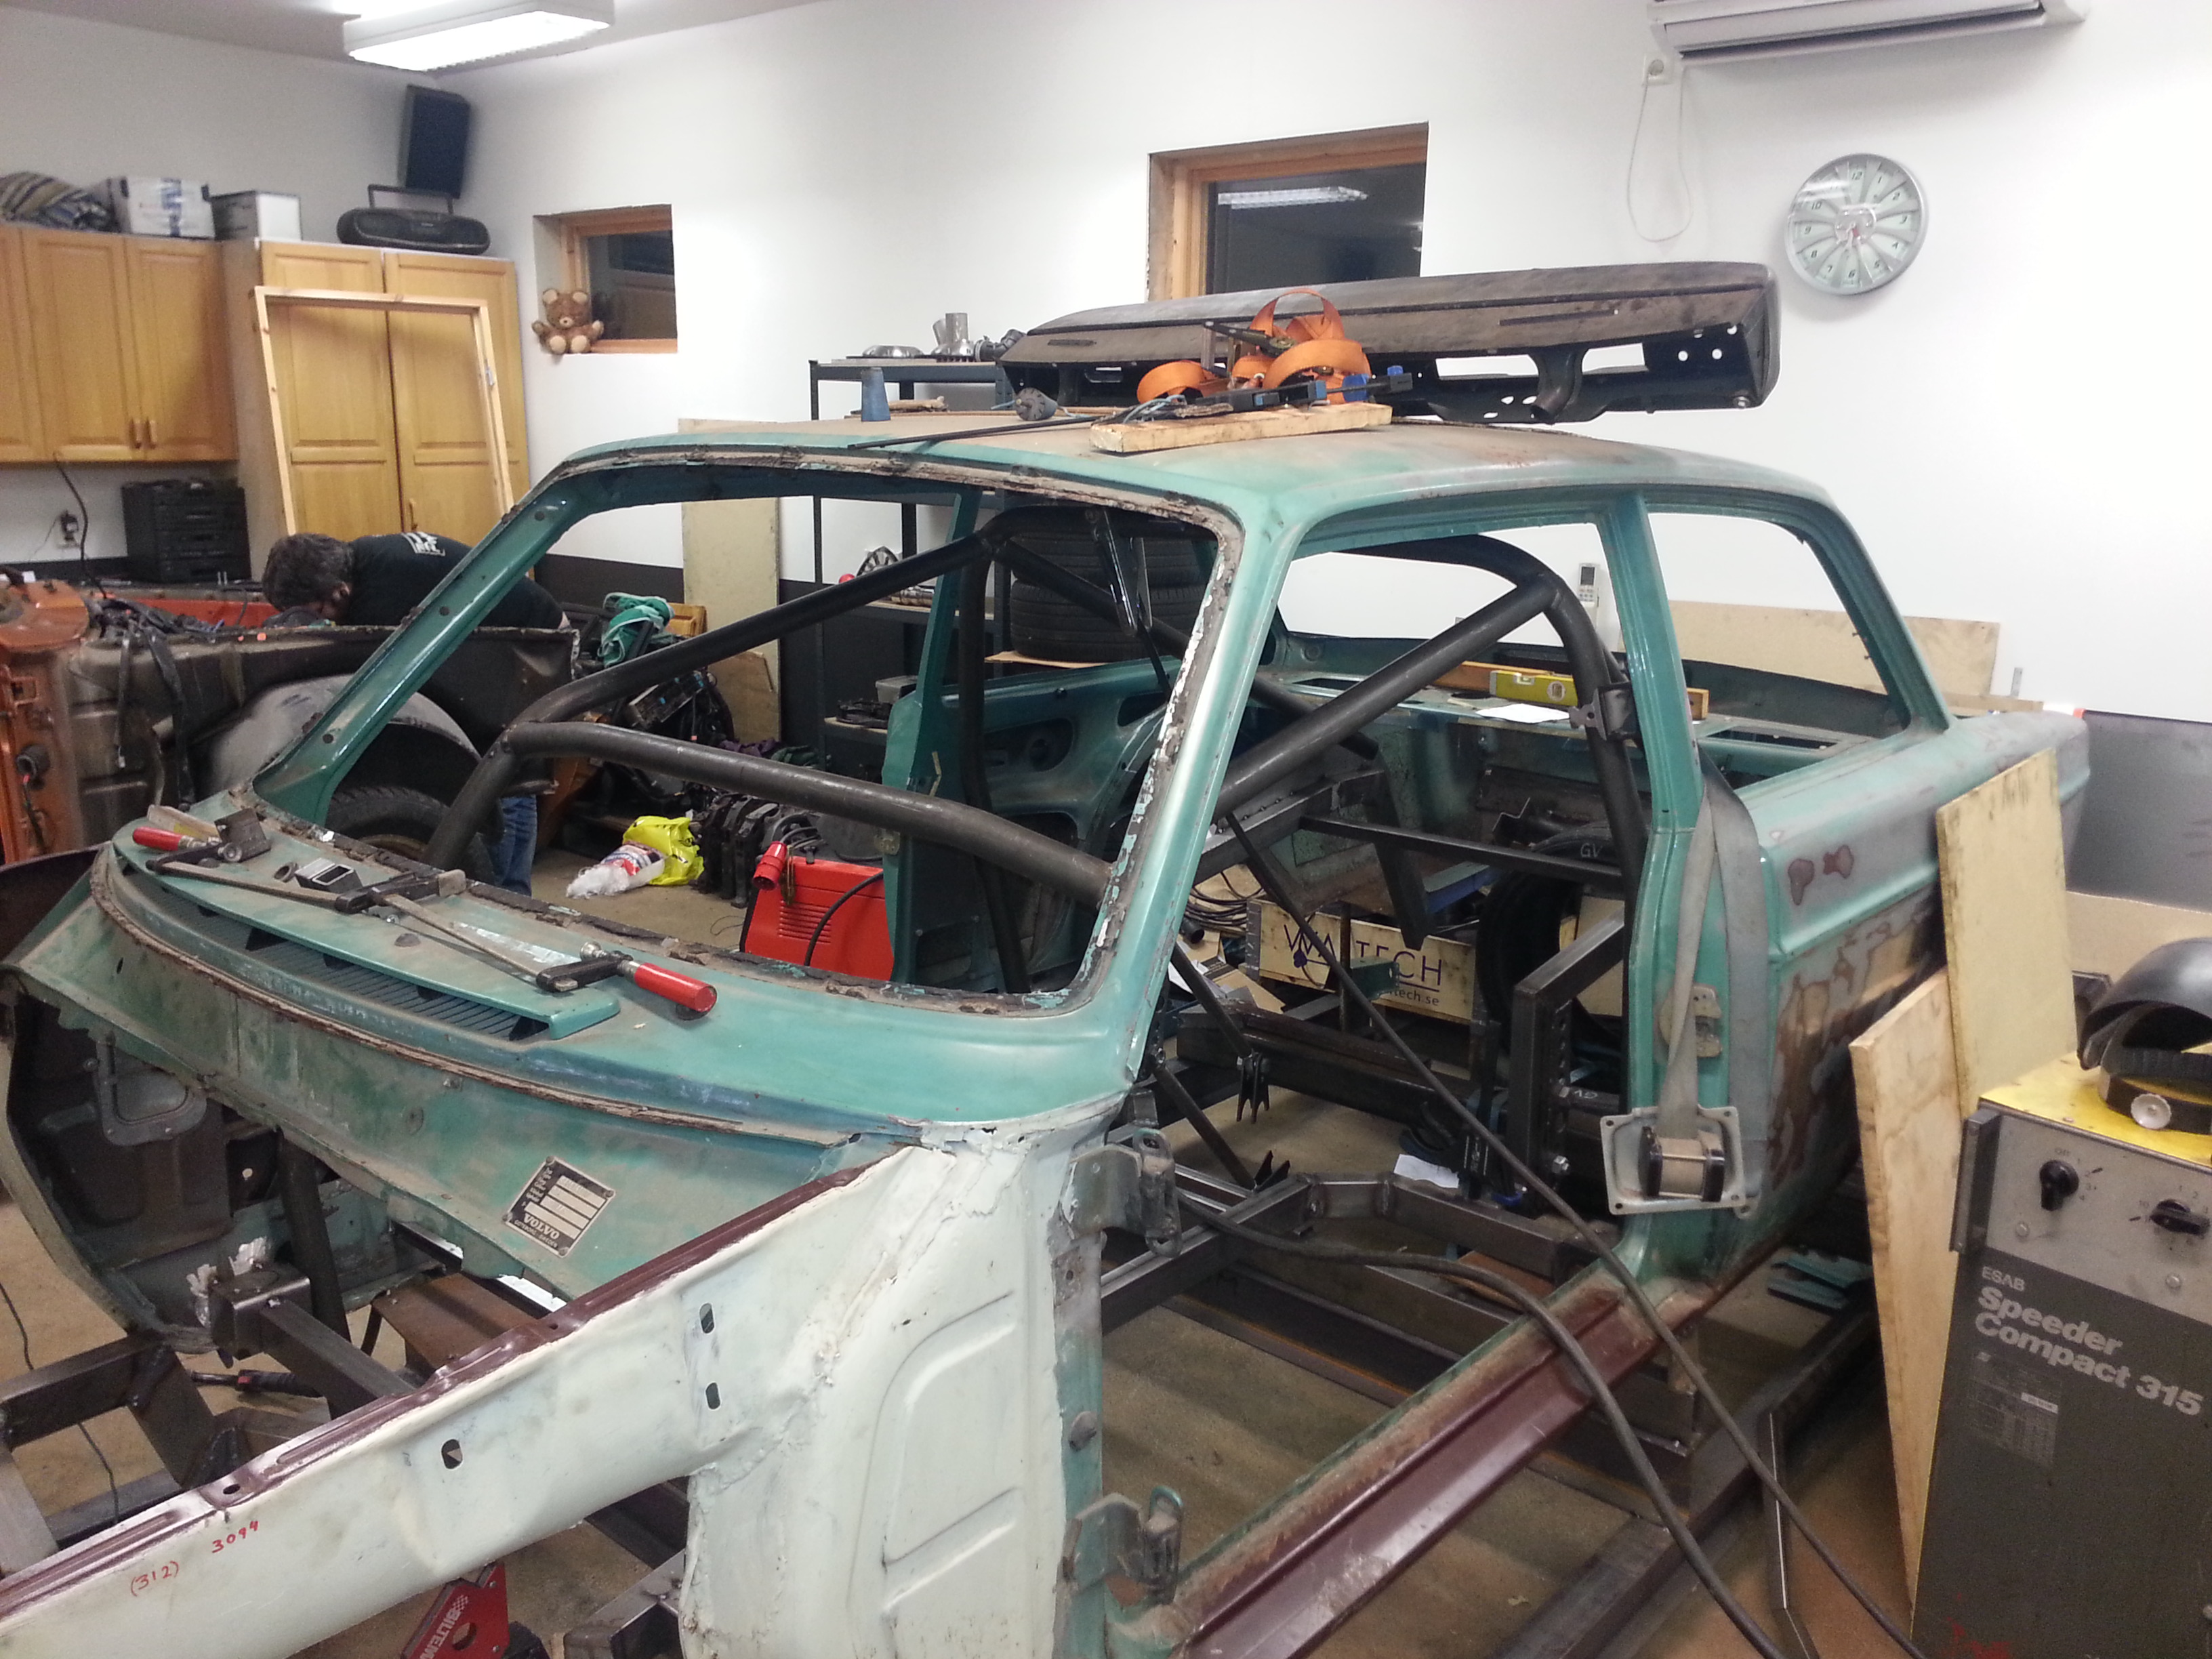
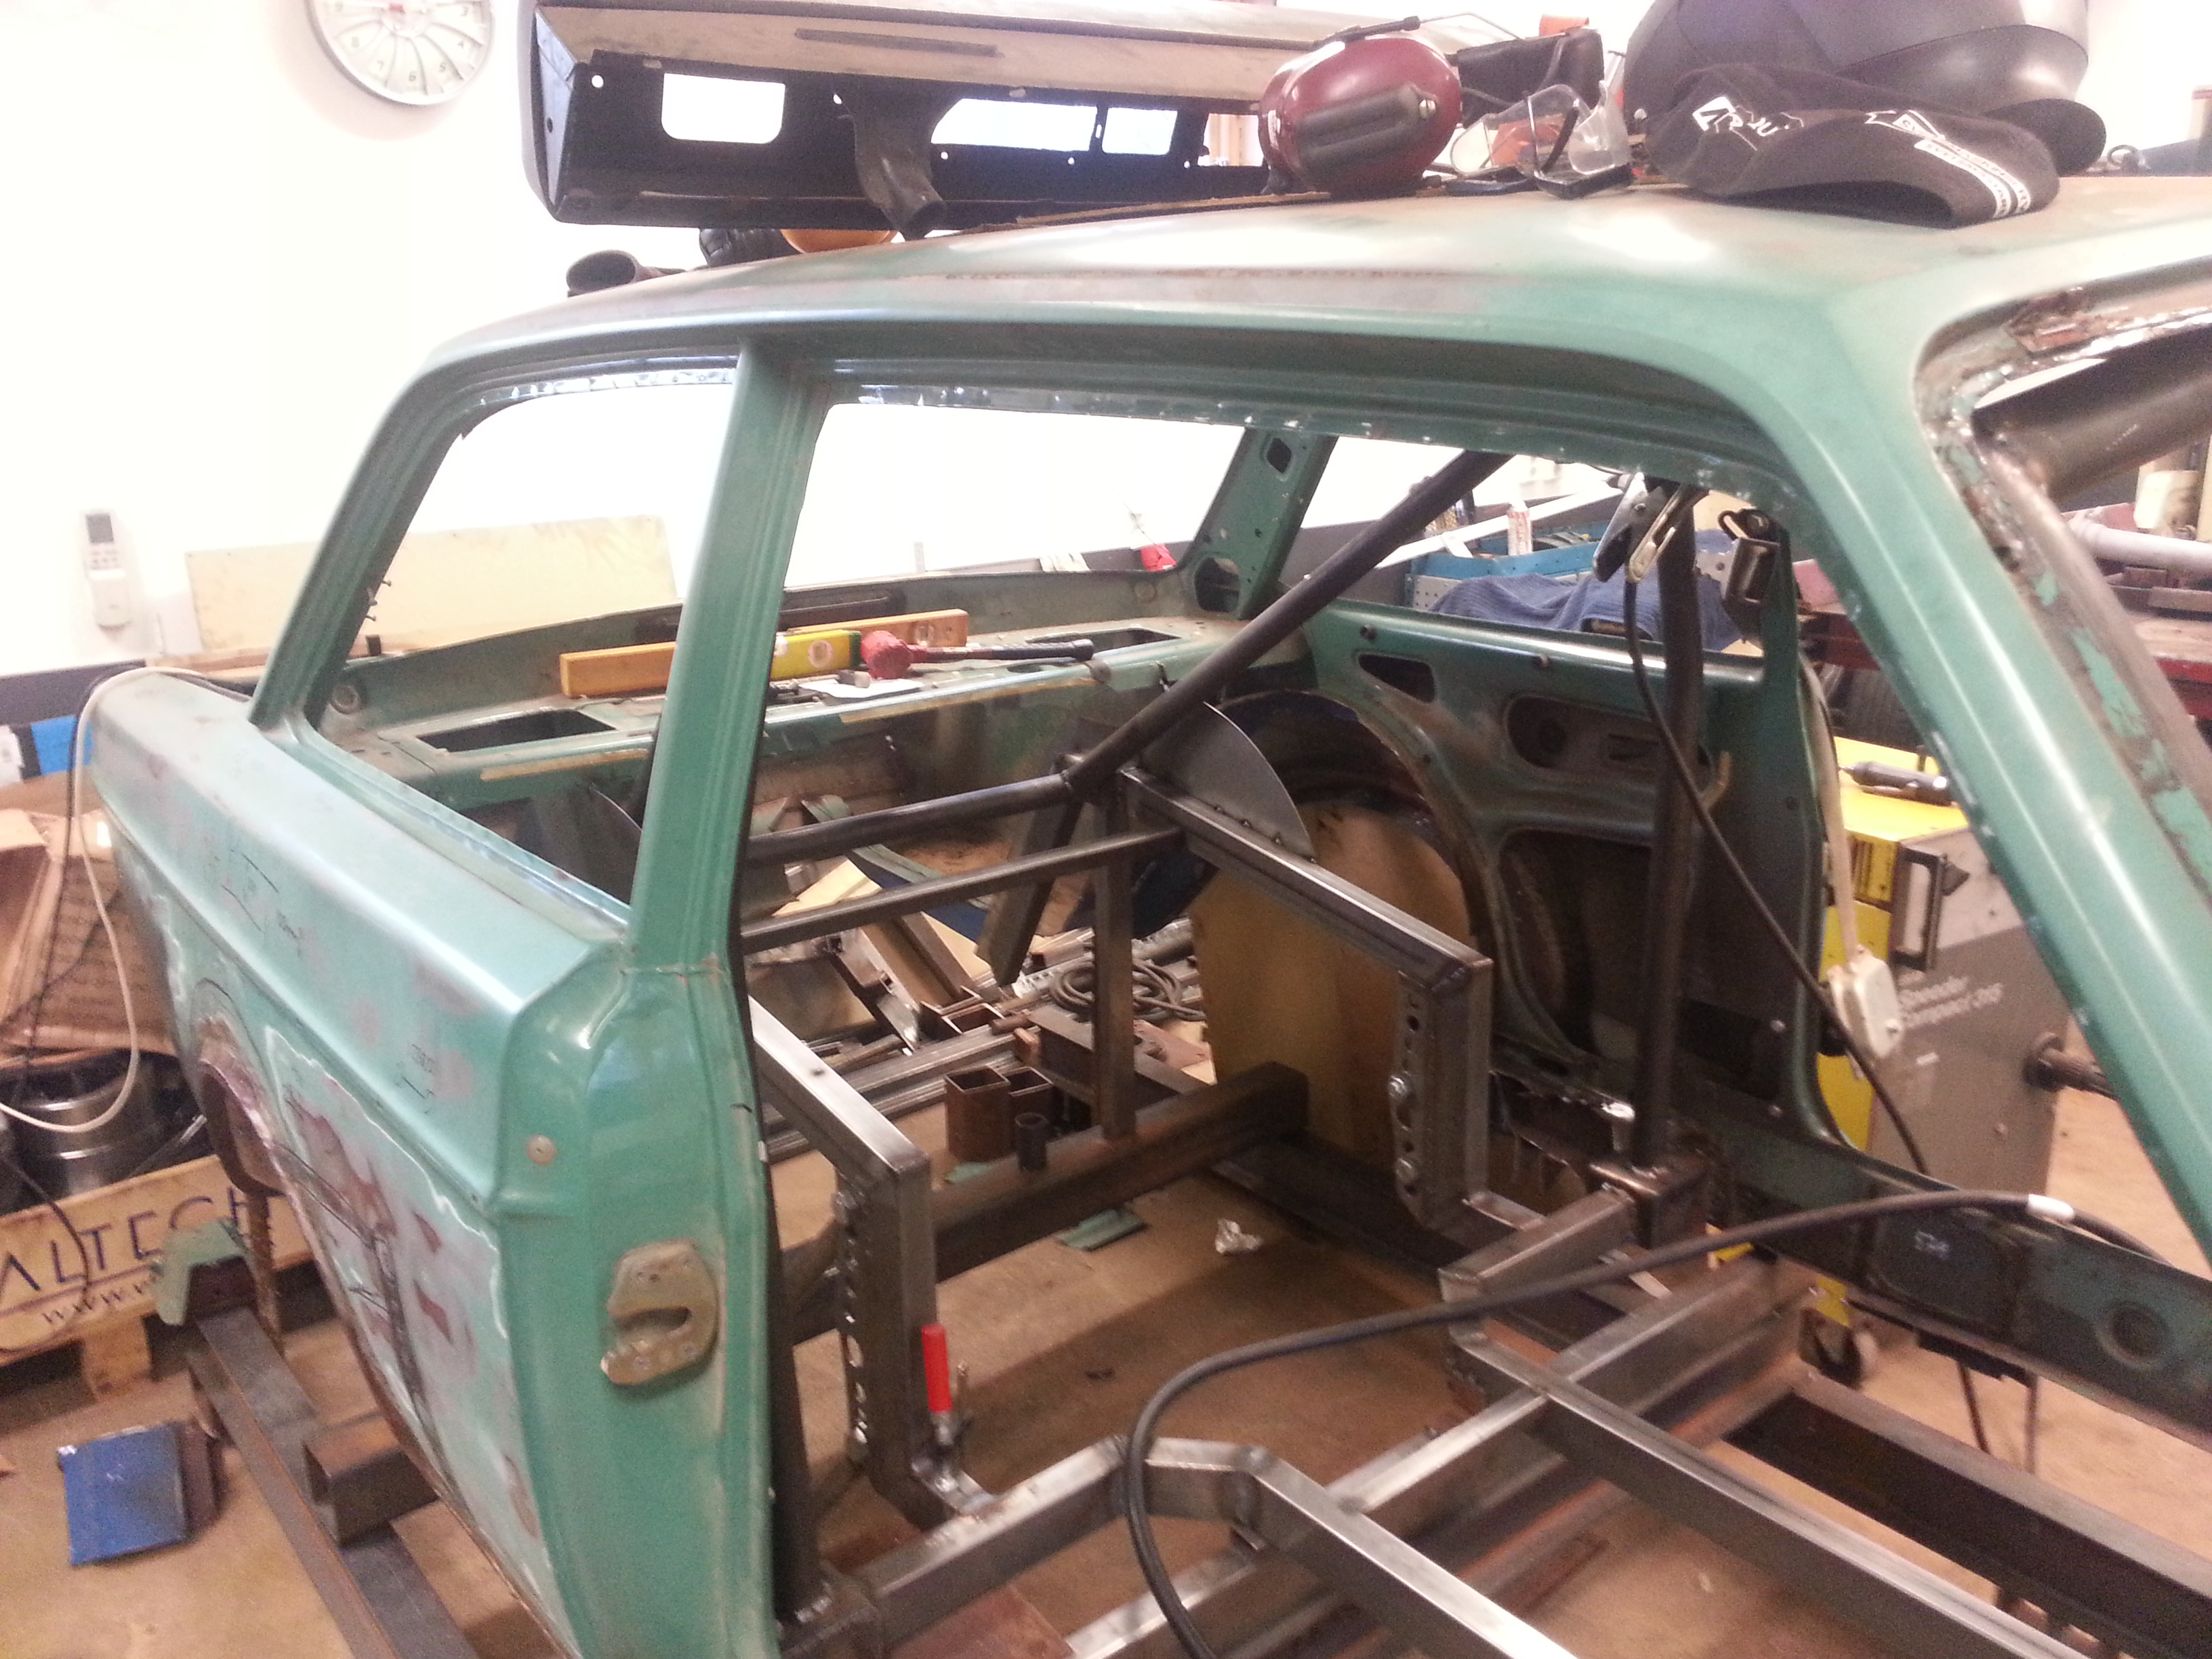
It rolls on! Have got so far that I could push the cage down from the boxes and start welding.
We have a total chaos in the garage right now, it use to be pretty crowded, but now it's extremely ...
We've only 100m2 to share
Started with one side, it took a terrible time because I was terrified to grind too much every time. Think I lift up that pipe in place hundreds of times.
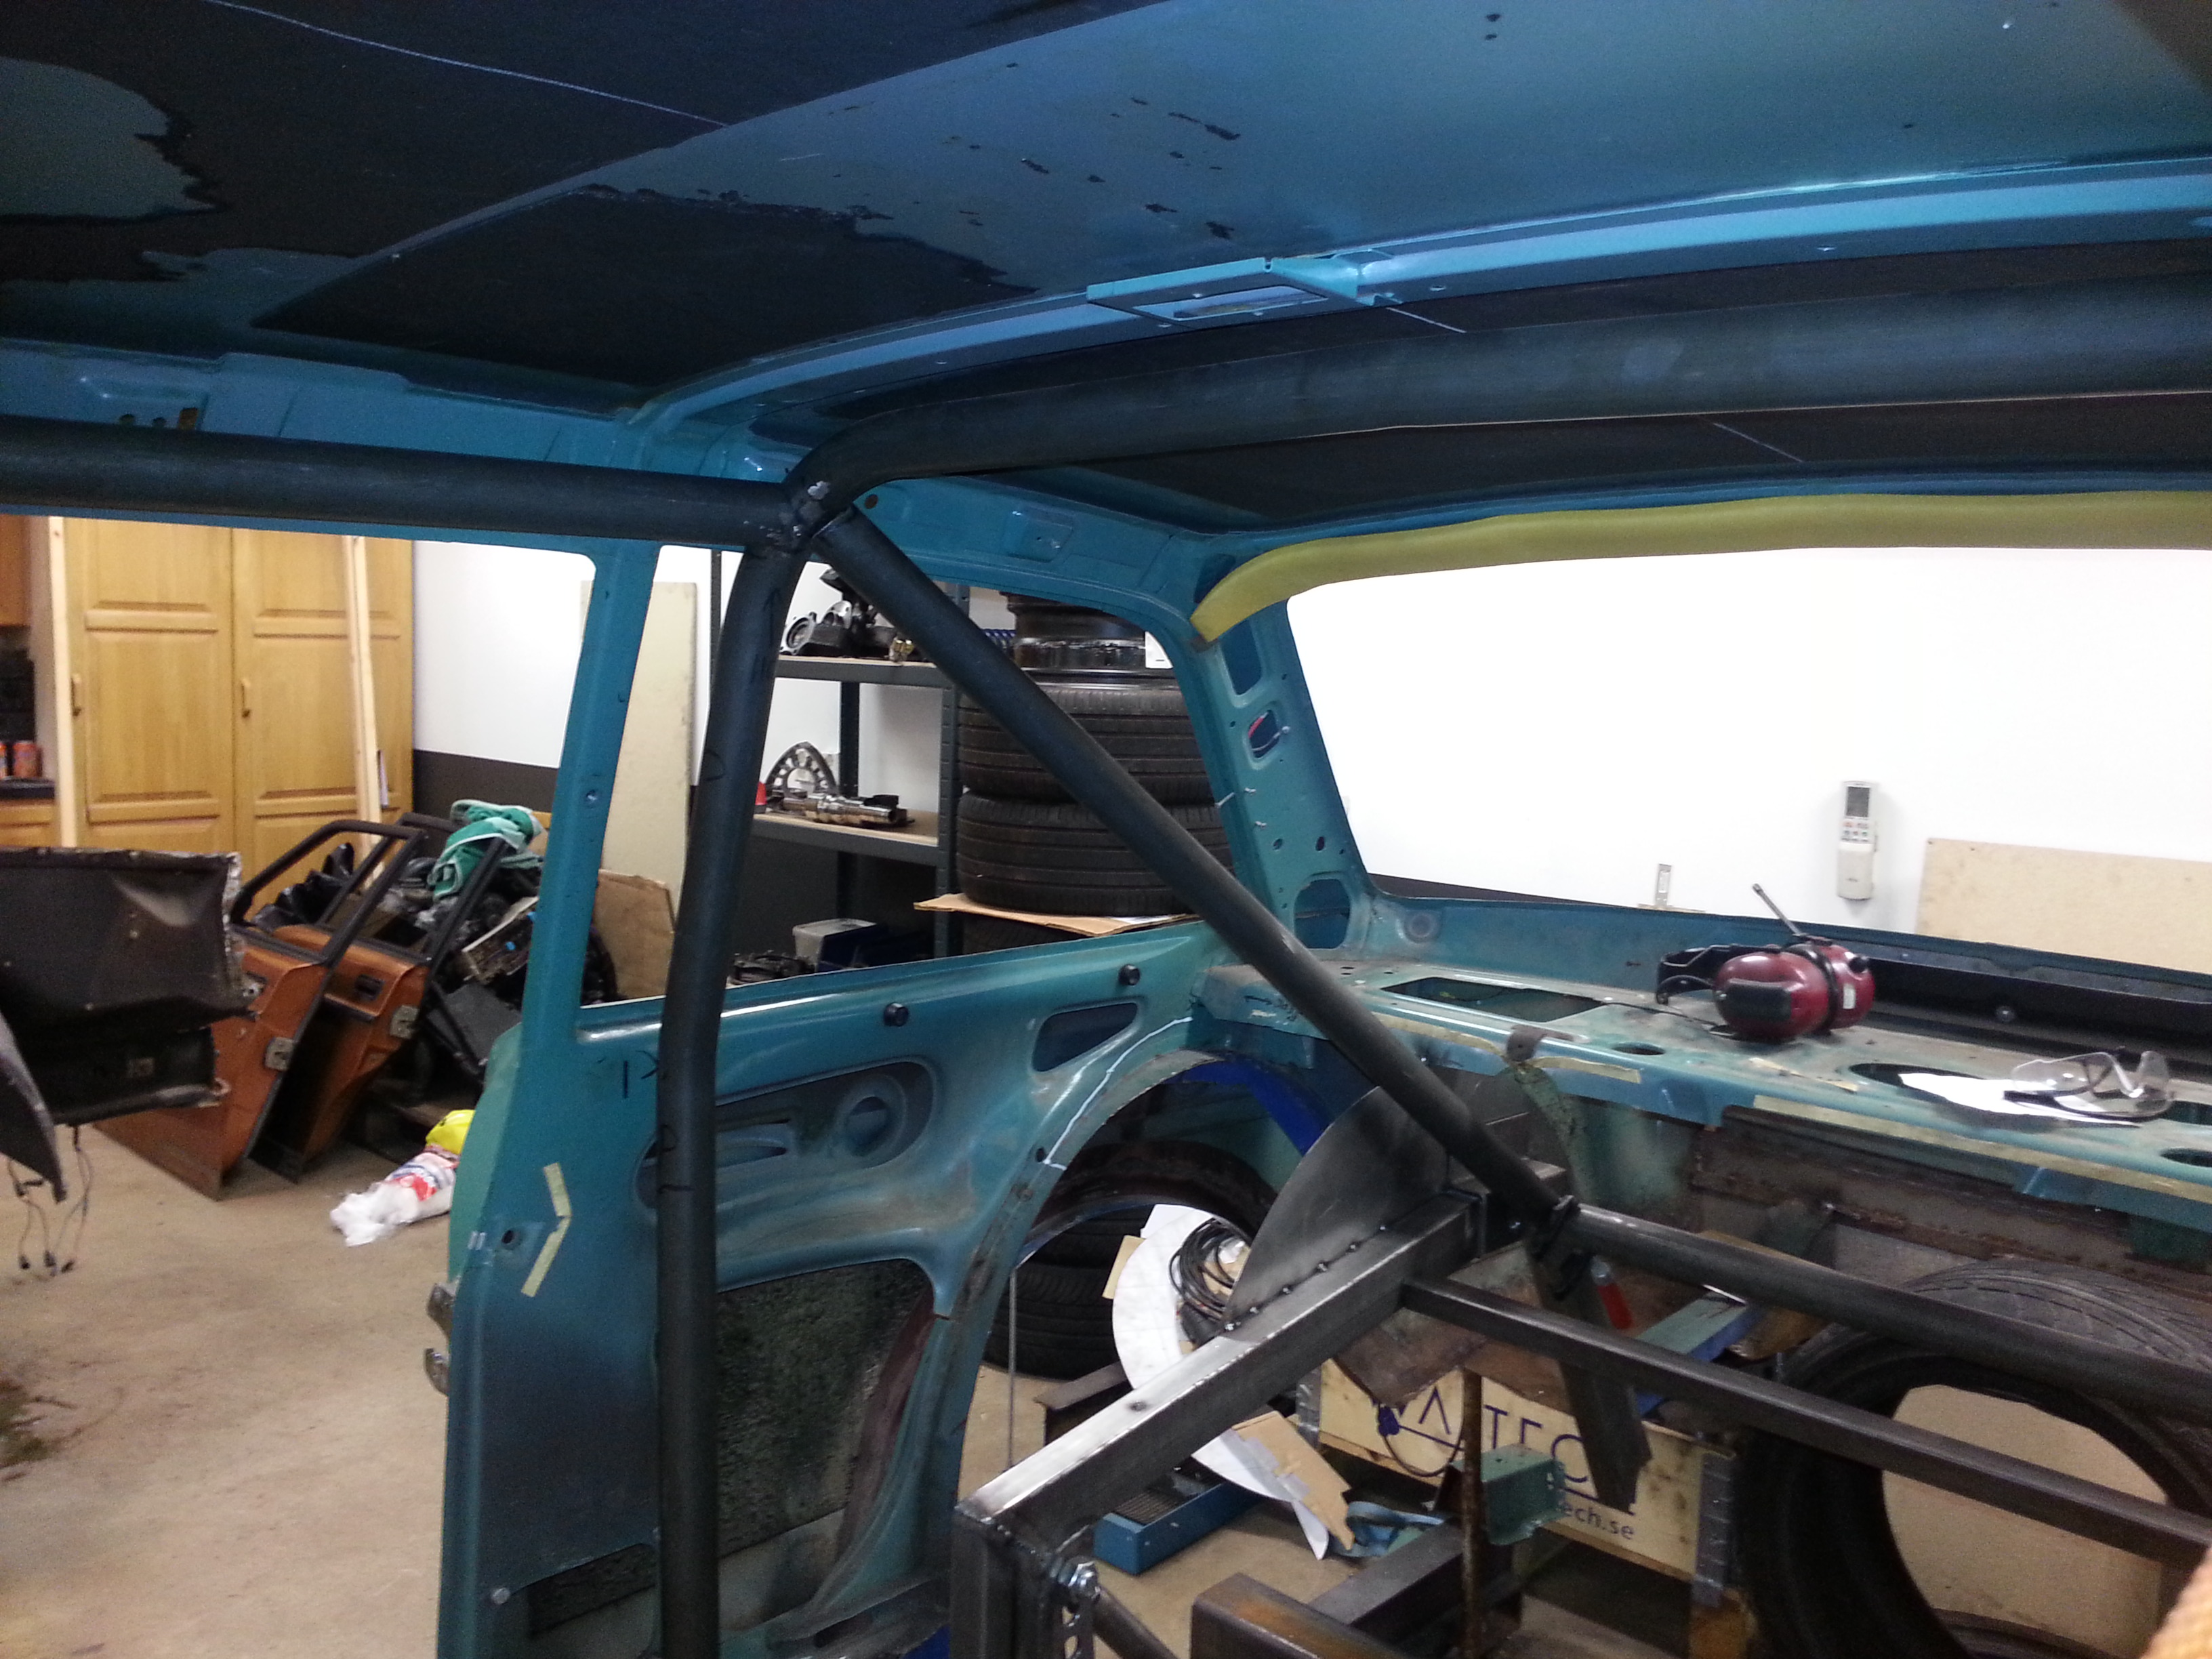
Pipe number two took 10minuter
Suspect everyone is doing like this, but I simply took two paper and rolled around the ends of the finished tube. Templated by, measured the distance between the papers on the tube, and made sure the seams were aligned with each other.
Then I took off the paper, and turned inside out on the next tube. Mirror: D
Again, it was I who was a coward, leaving a few millimeters on the first try, but then I put on like a glove!
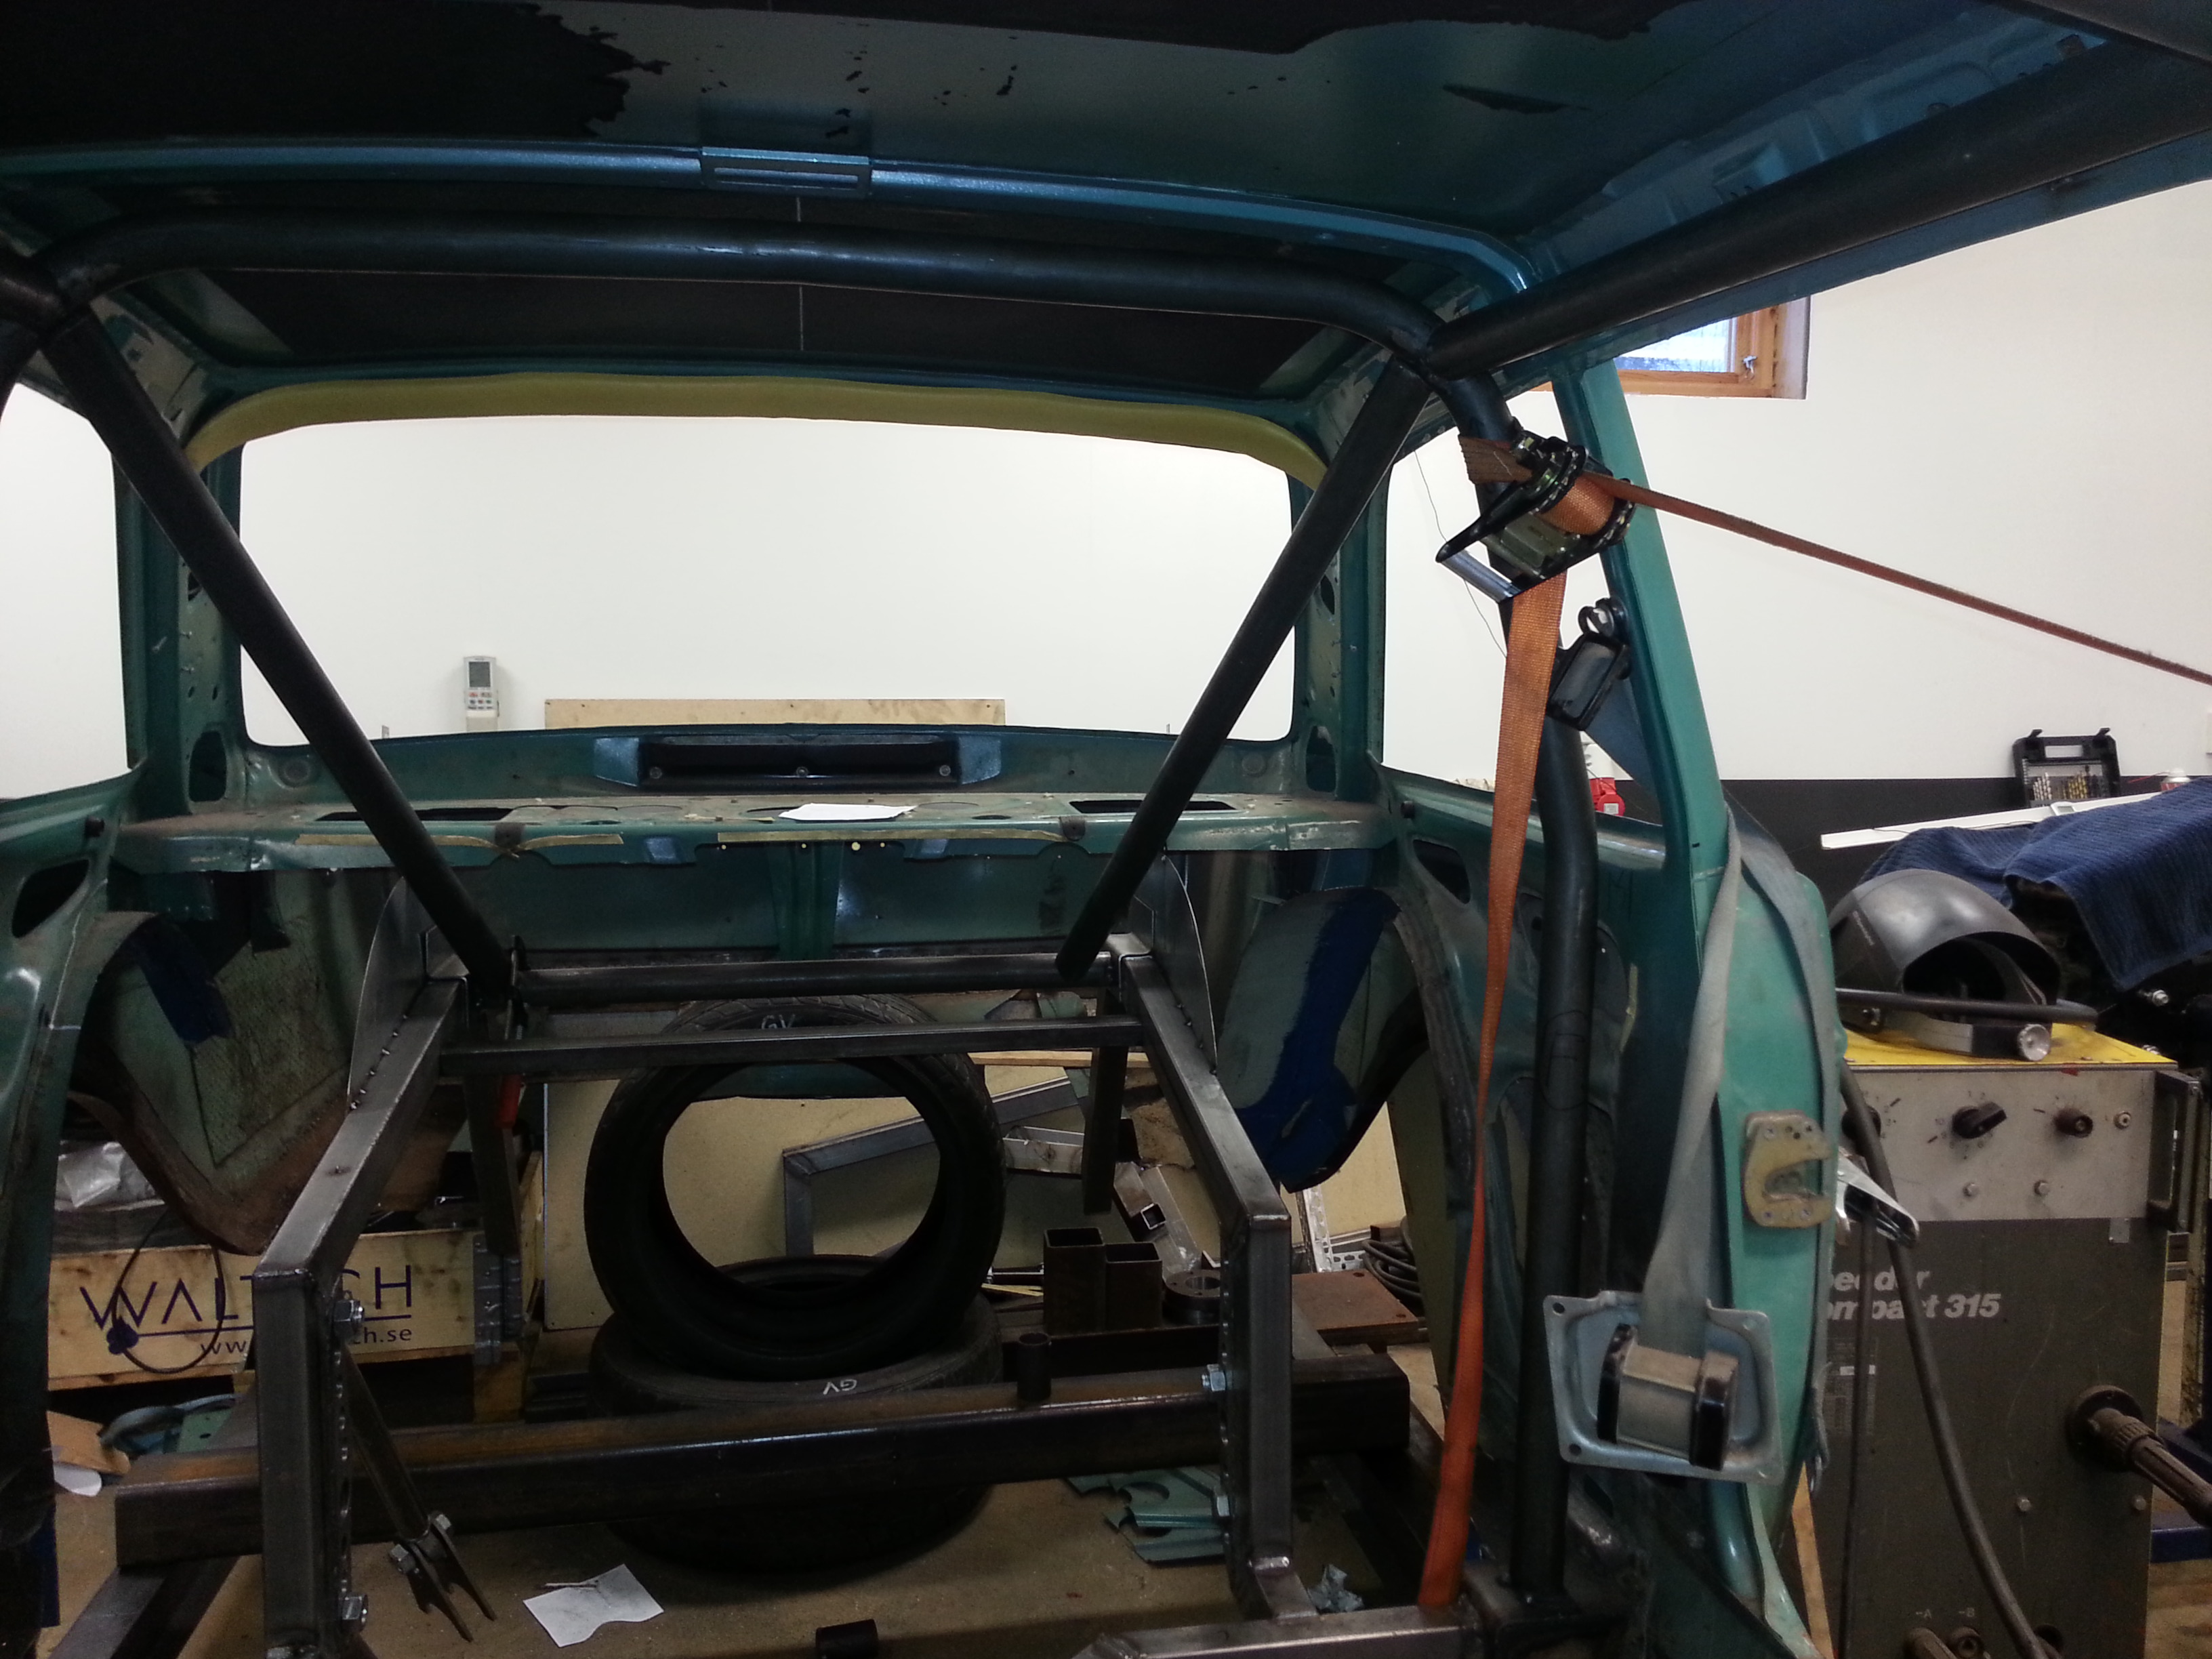
Here is a view through the speaker hole. The passenger side rear view.
Welding!
It was at the famous, that it was possible to bring down the cage when it is so tight everywhere.
Had to break away mounts to the dashboard.
We have a total chaos in the garage right now, it use to be pretty crowded, but now it's extremely ...
We've only 100m2 to share
Started with one side, it took a terrible time because I was terrified to grind too much every time. Think I lift up that pipe in place hundreds of times.
Pipe number two took 10minuter
Suspect everyone is doing like this, but I simply took two paper and rolled around the ends of the finished tube. Templated by, measured the distance between the papers on the tube, and made sure the seams were aligned with each other.
Then I took off the paper, and turned inside out on the next tube. Mirror: D
Again, it was I who was a coward, leaving a few millimeters on the first try, but then I put on like a glove!
Here is a view through the speaker hole. The passenger side rear view.
Welding!
It was at the famous, that it was possible to bring down the cage when it is so tight everywhere.
Had to break away mounts to the dashboard.
 12-01-12, 09:44 AM
#725
Senior Member
Thread Starter
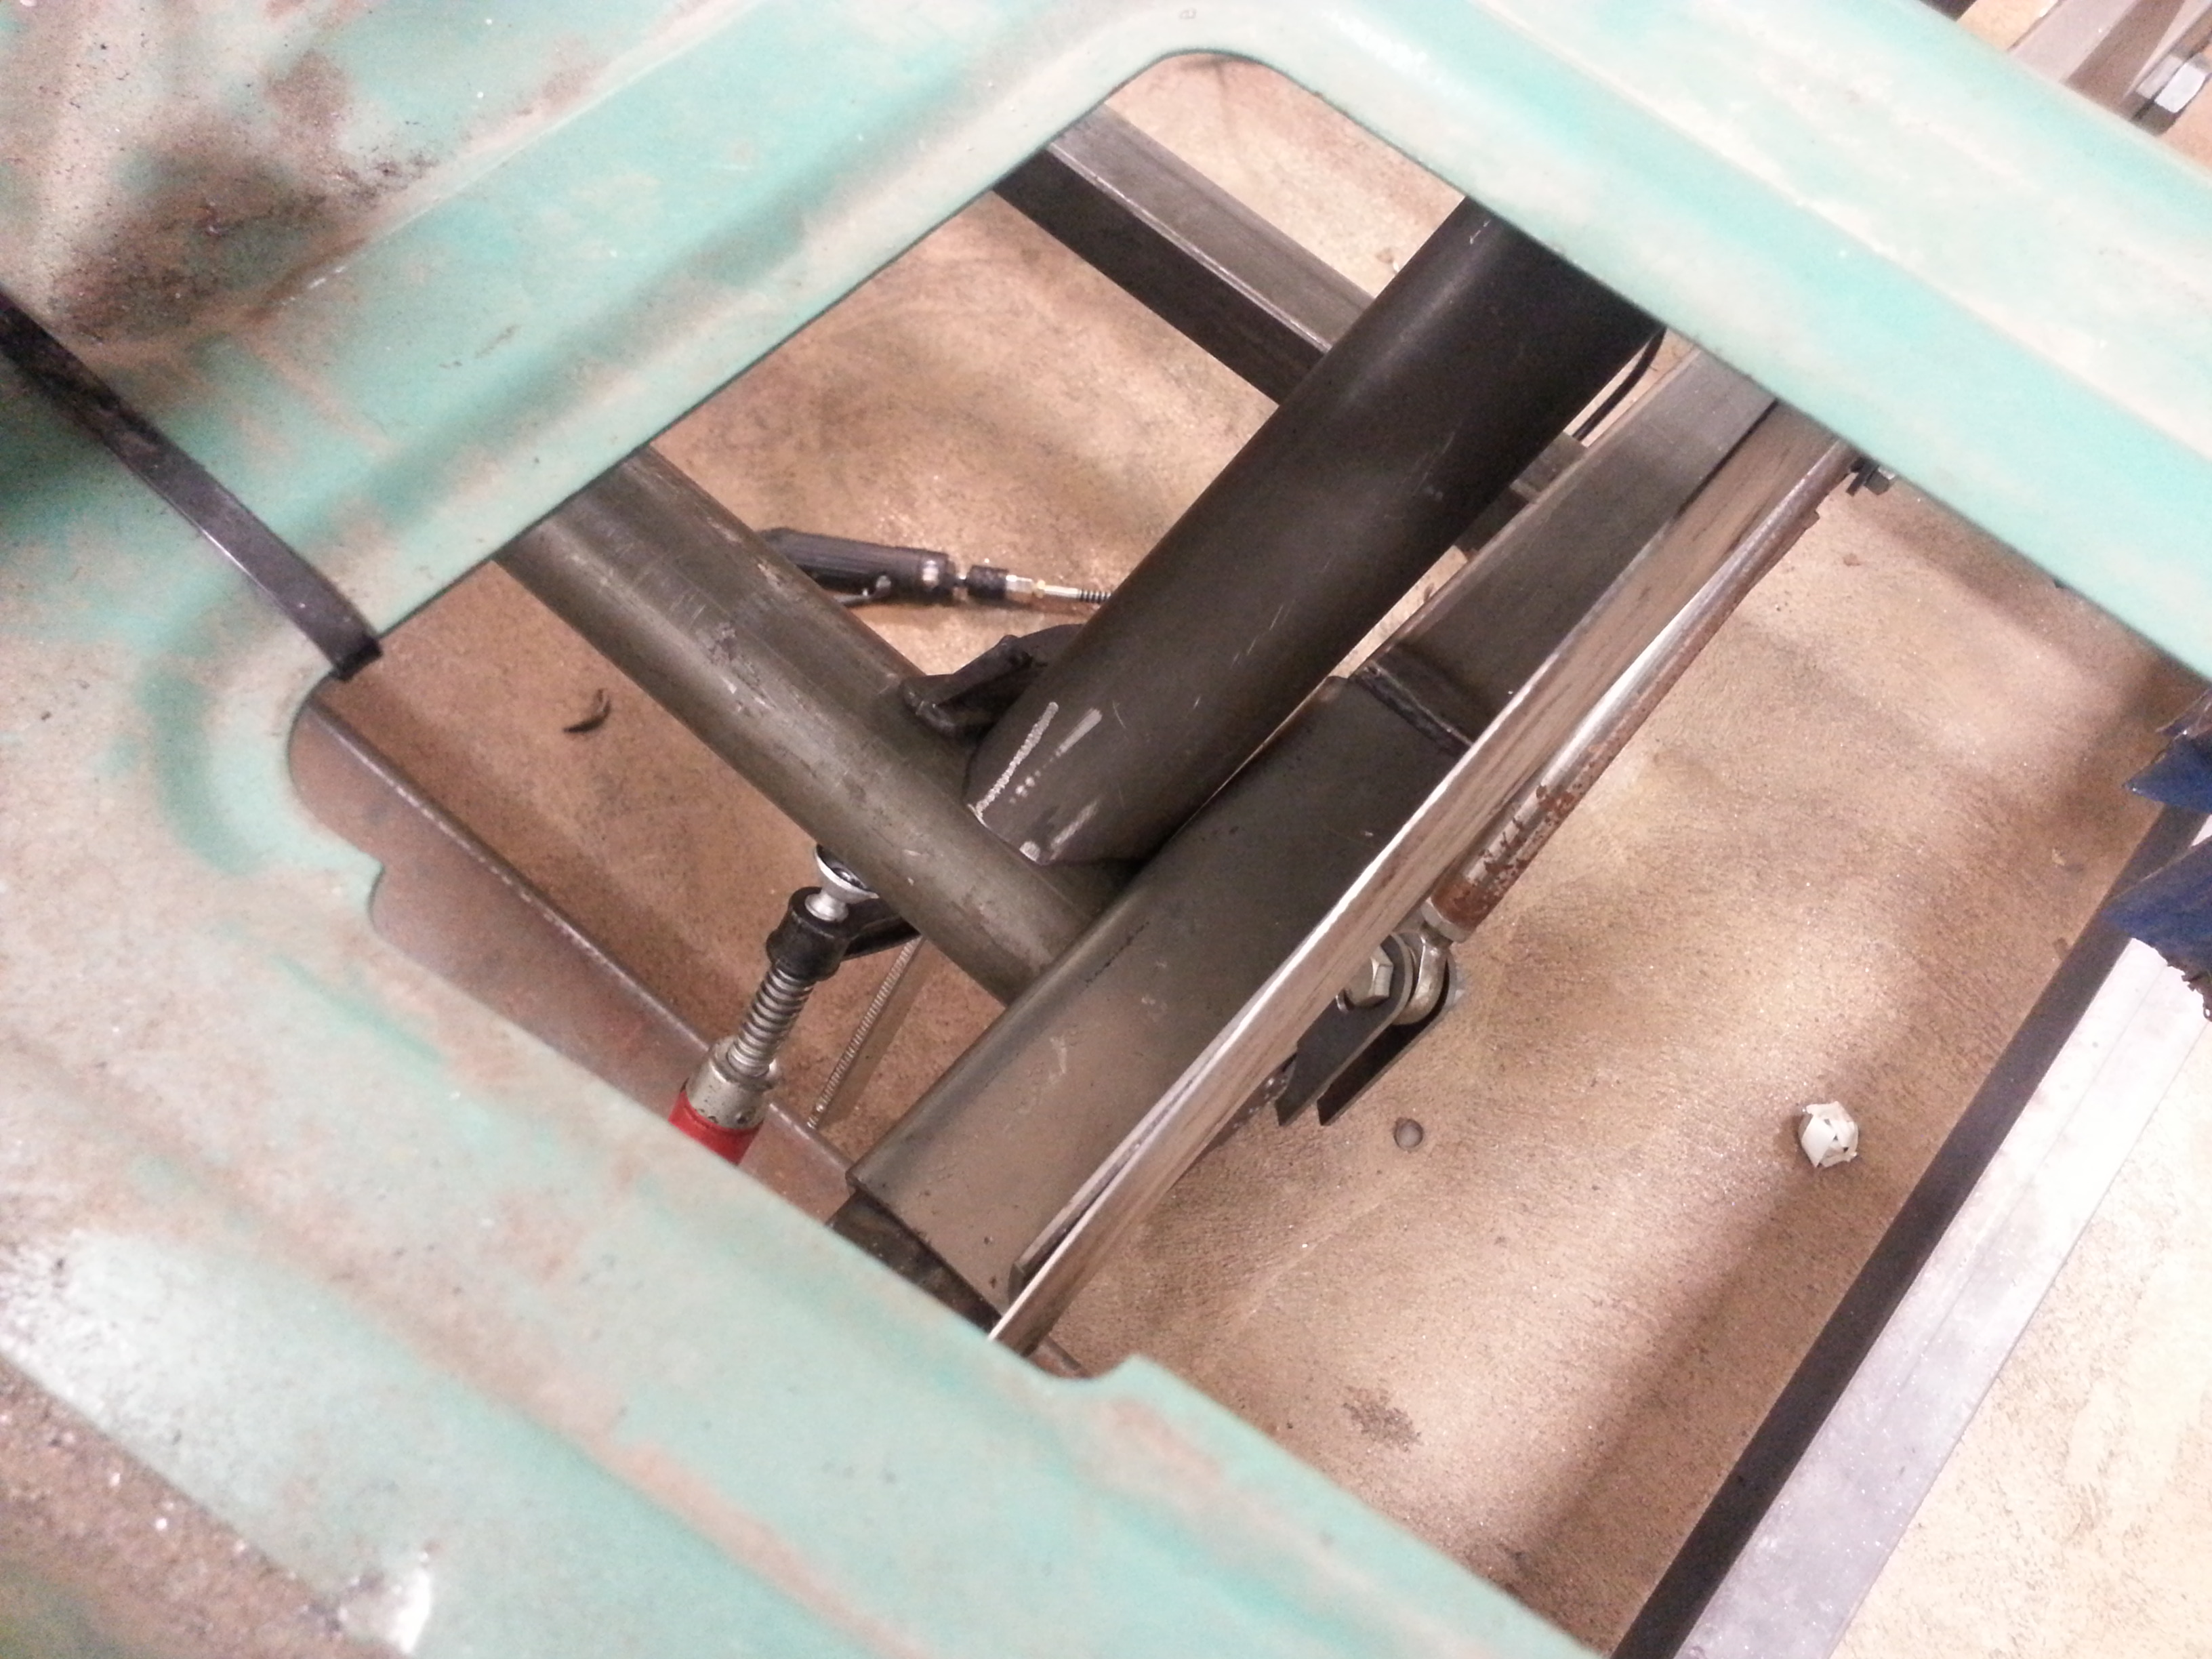
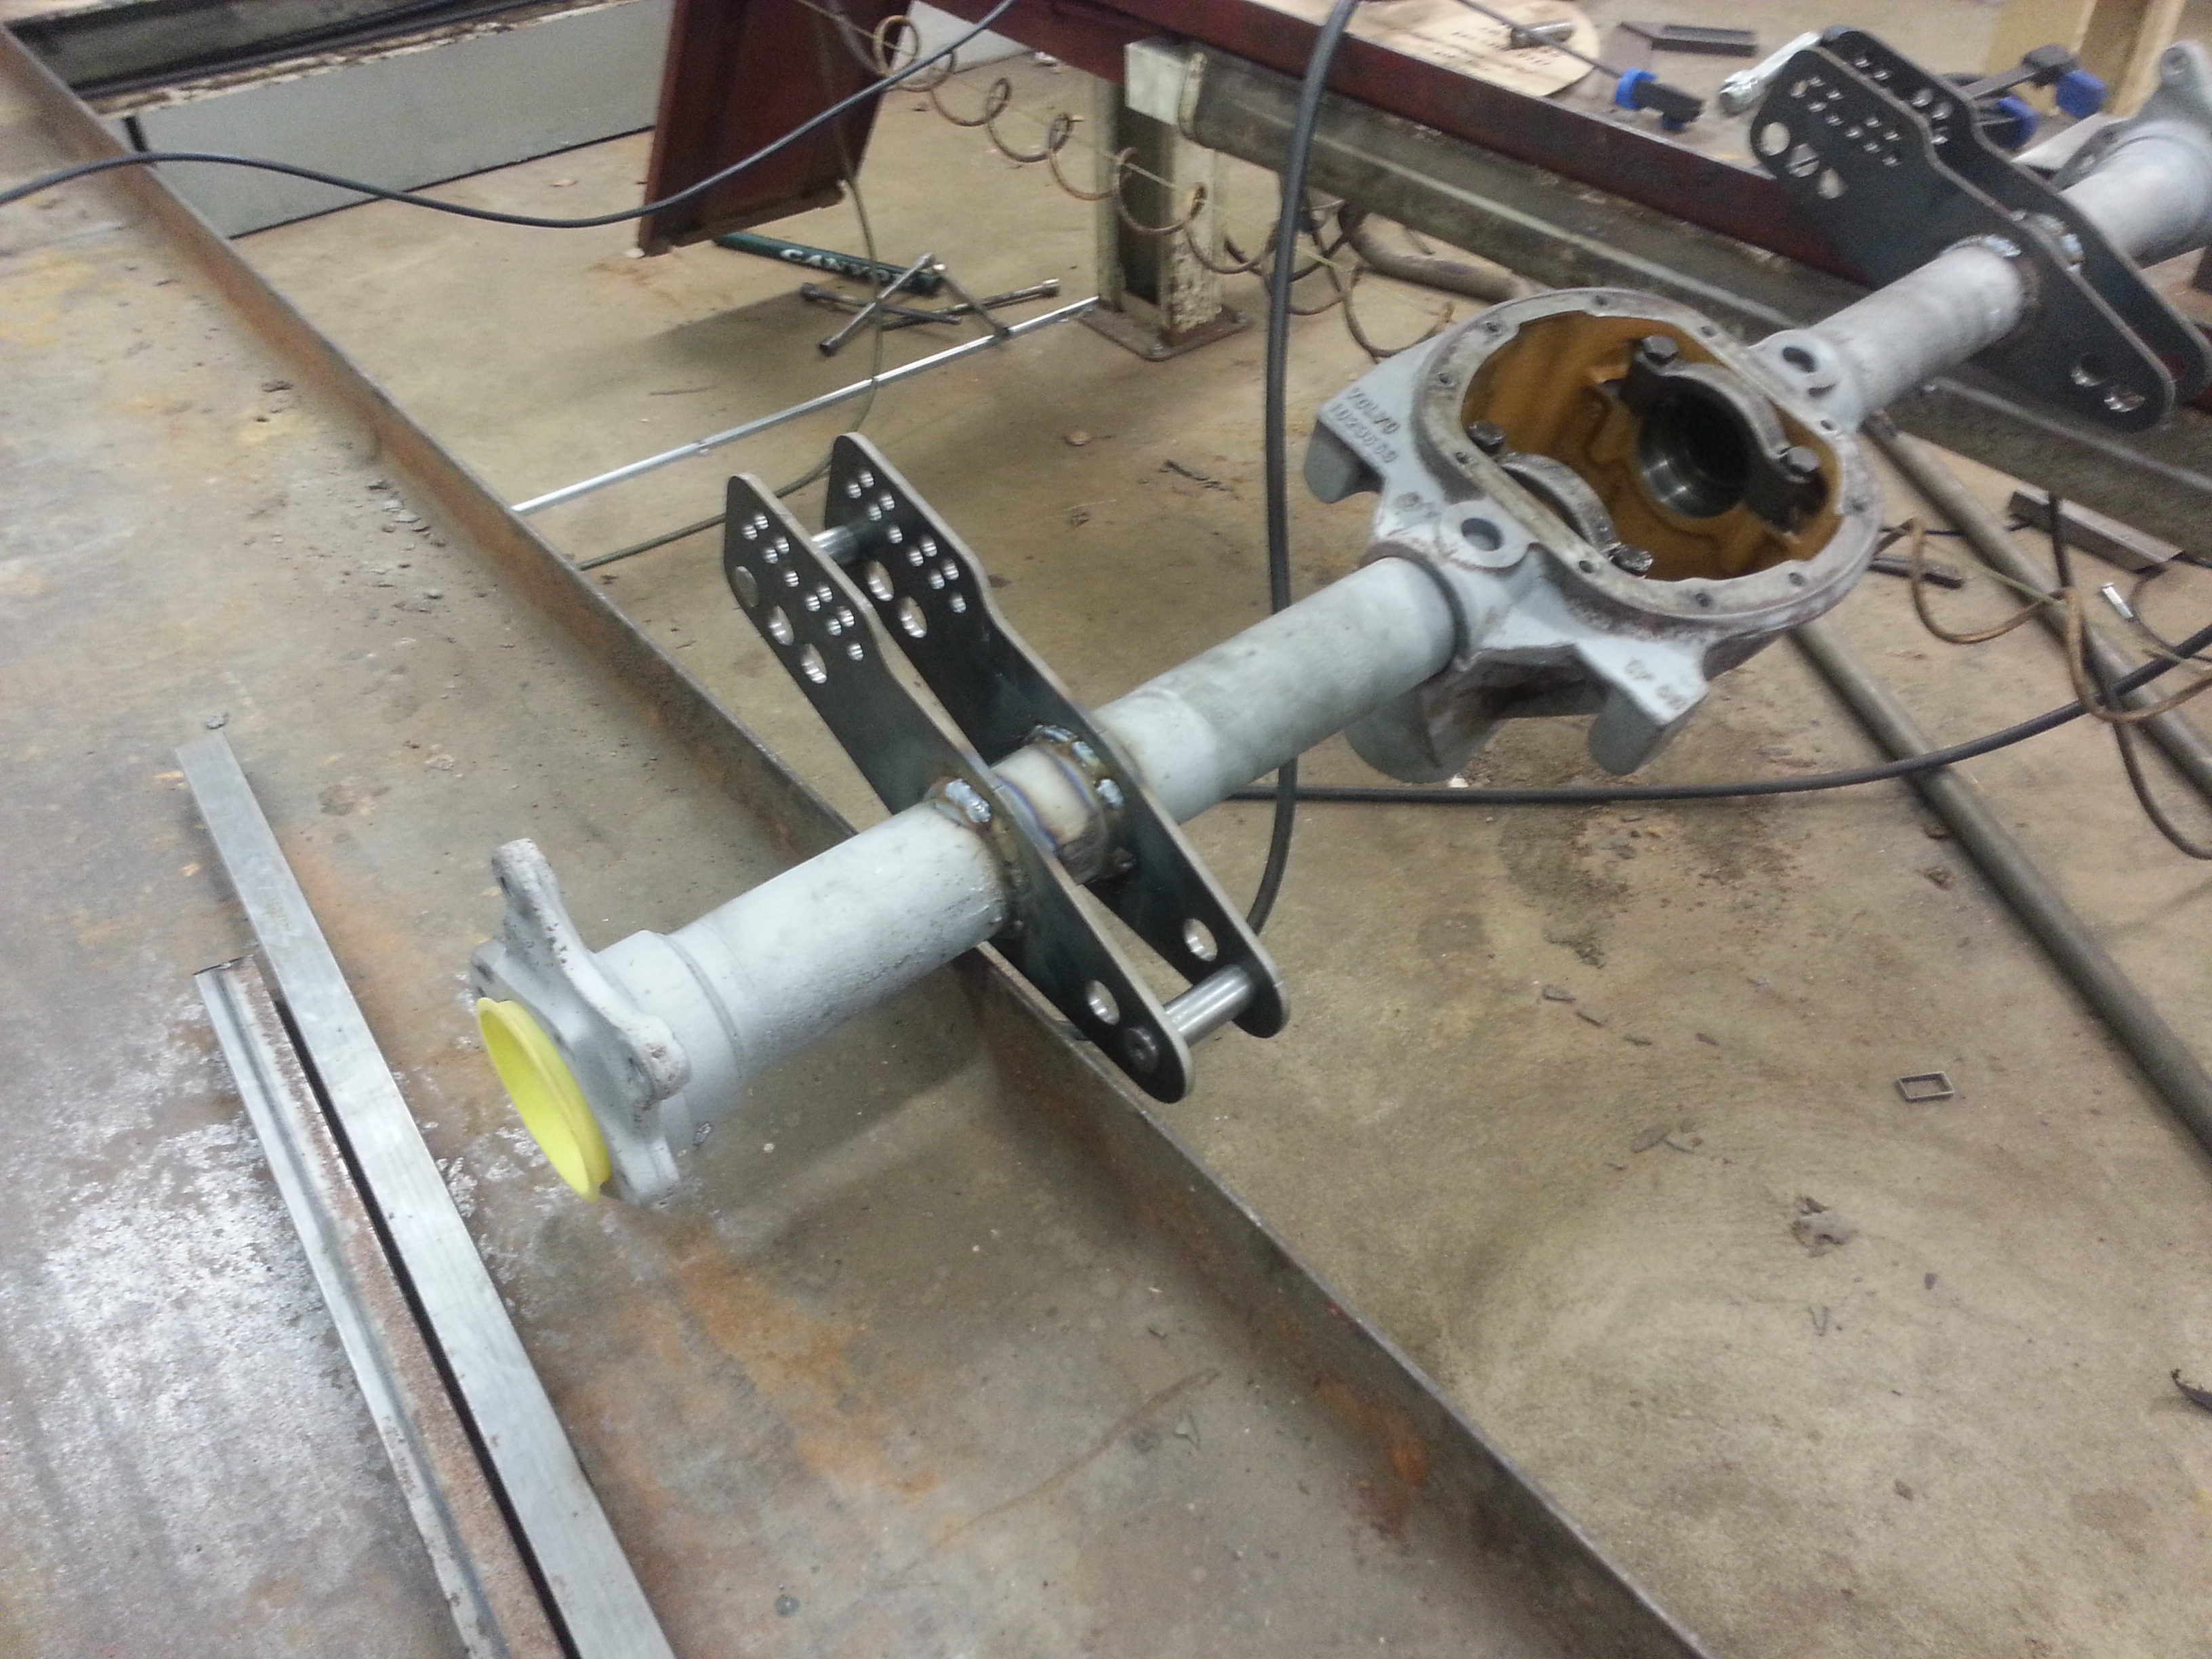
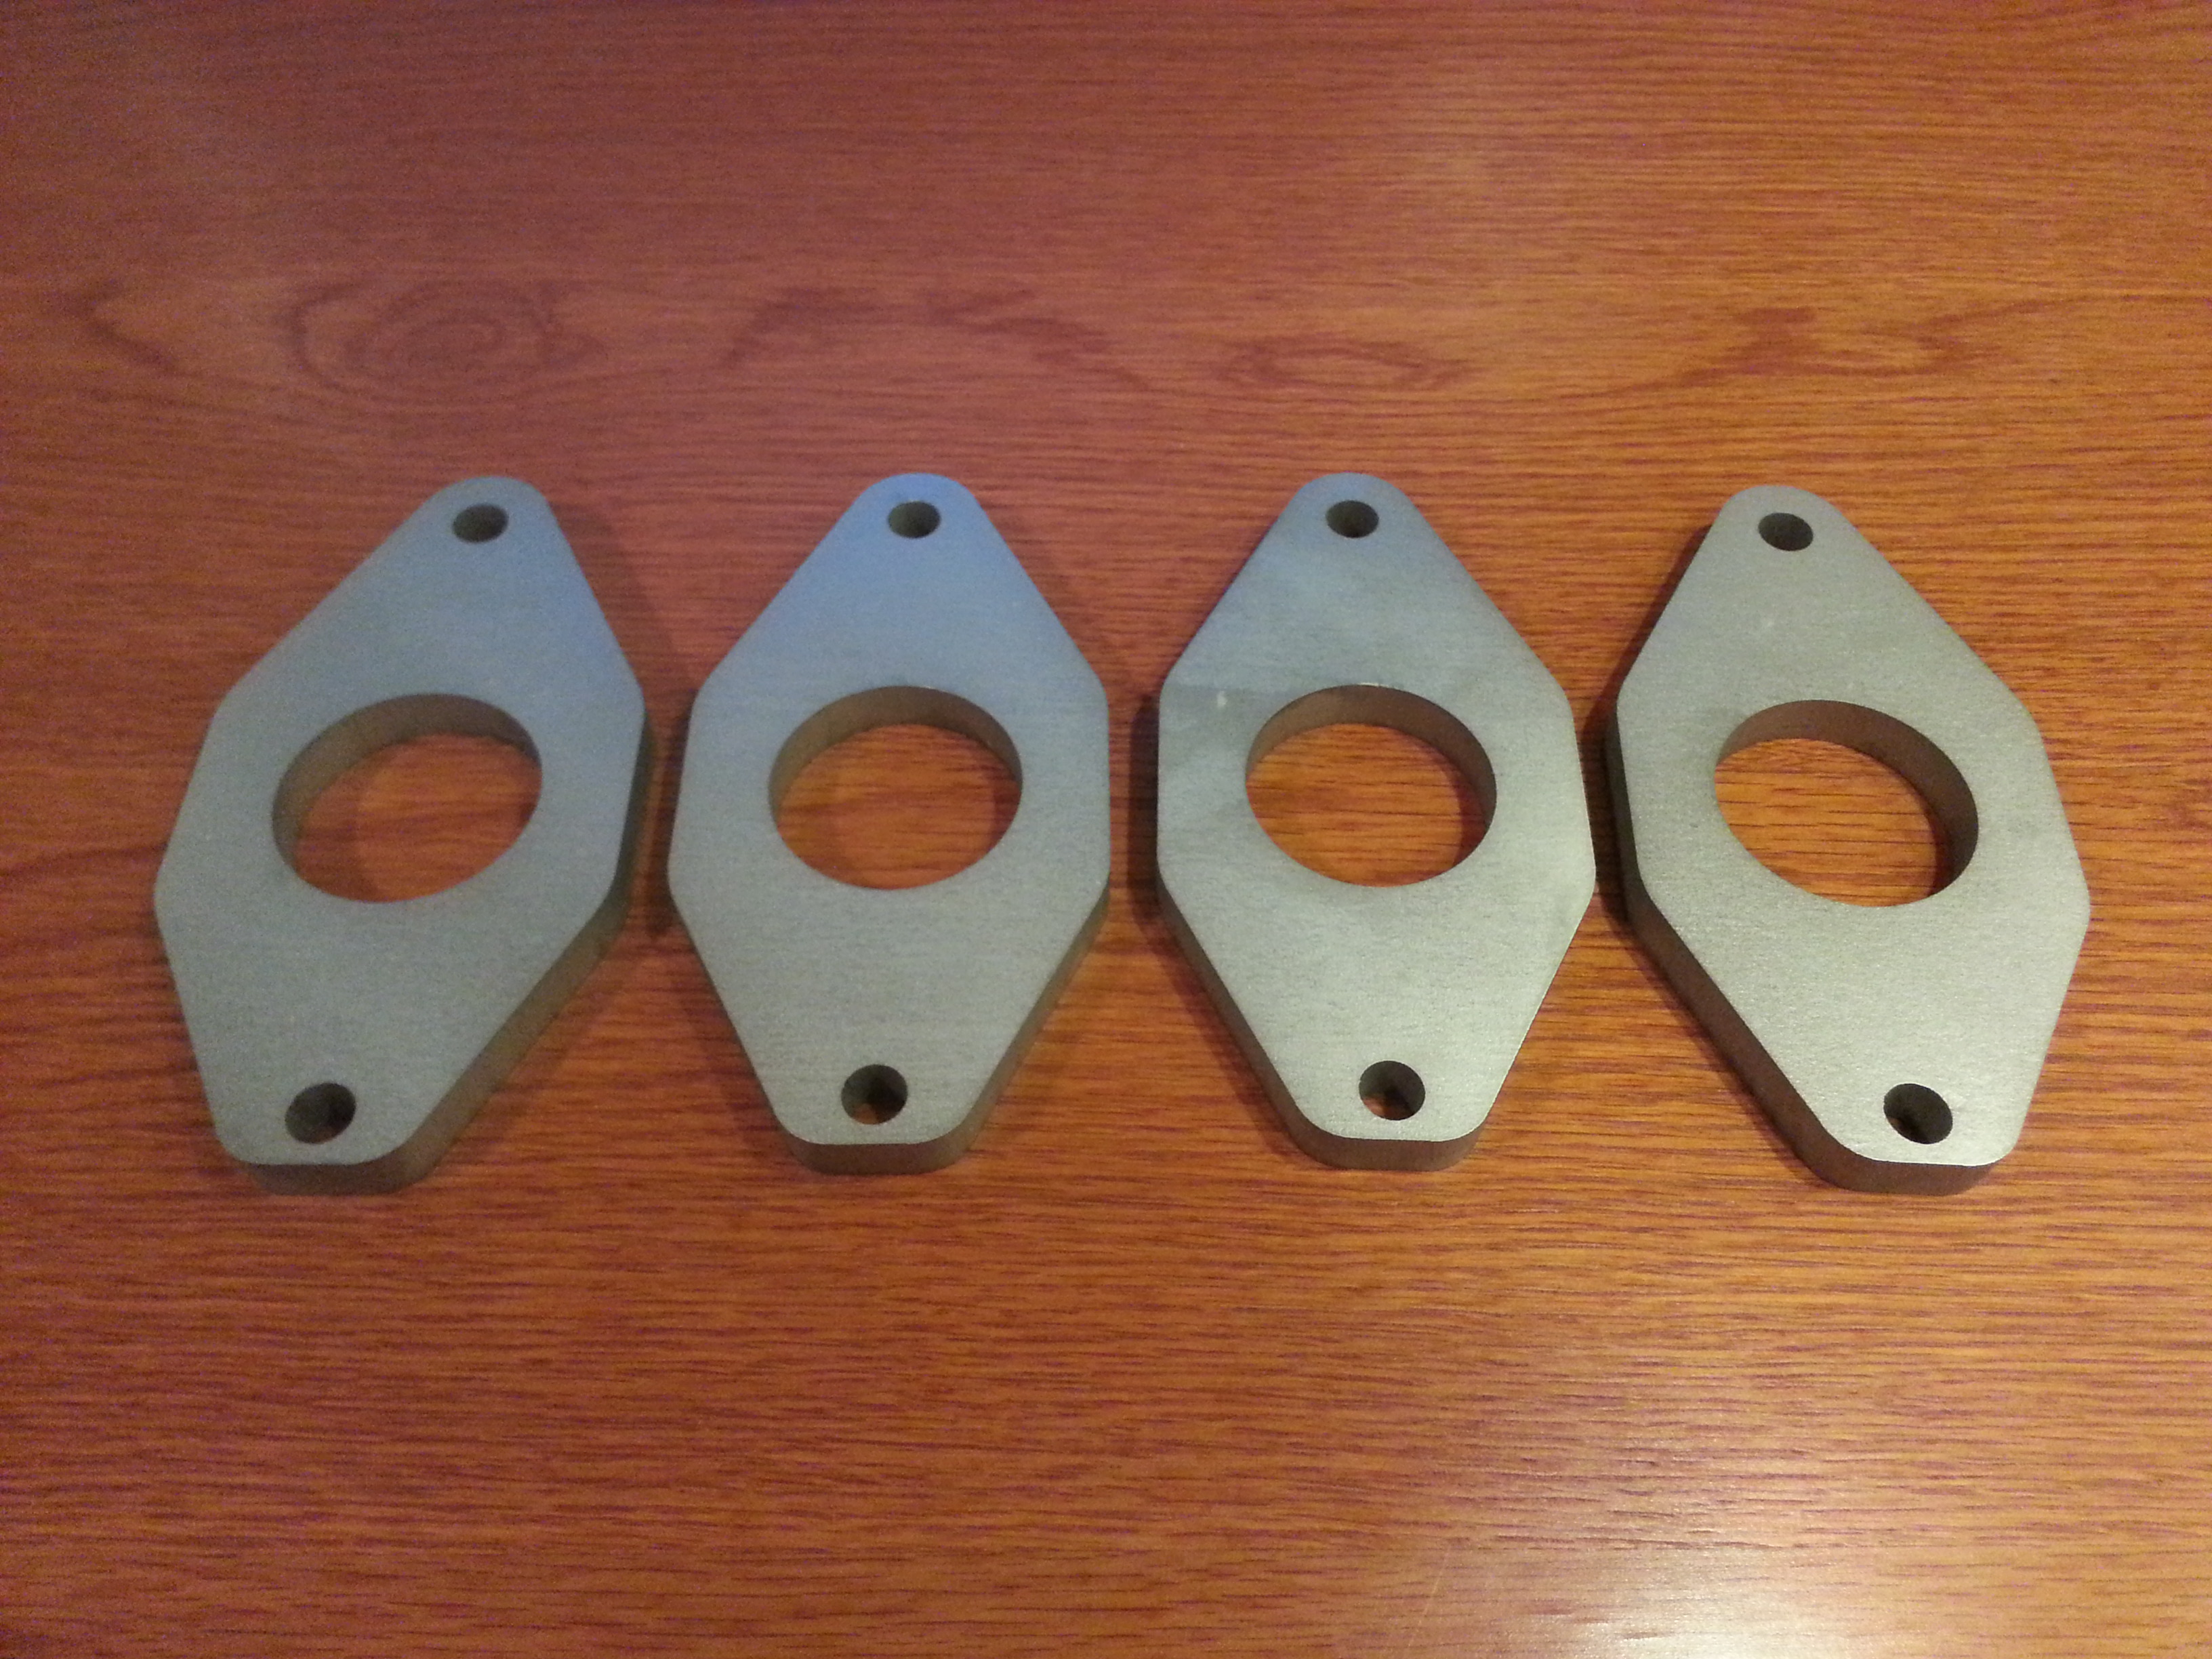
Have used the CNC Lathe to turn my bushings to all wishbones today. Also has a movie on this, but it is so cruel big, so I have to do something there ...
Acetal (POM), also called Delrin, and stainless steel sleeve which is internally reamed to tight fit the bolts.
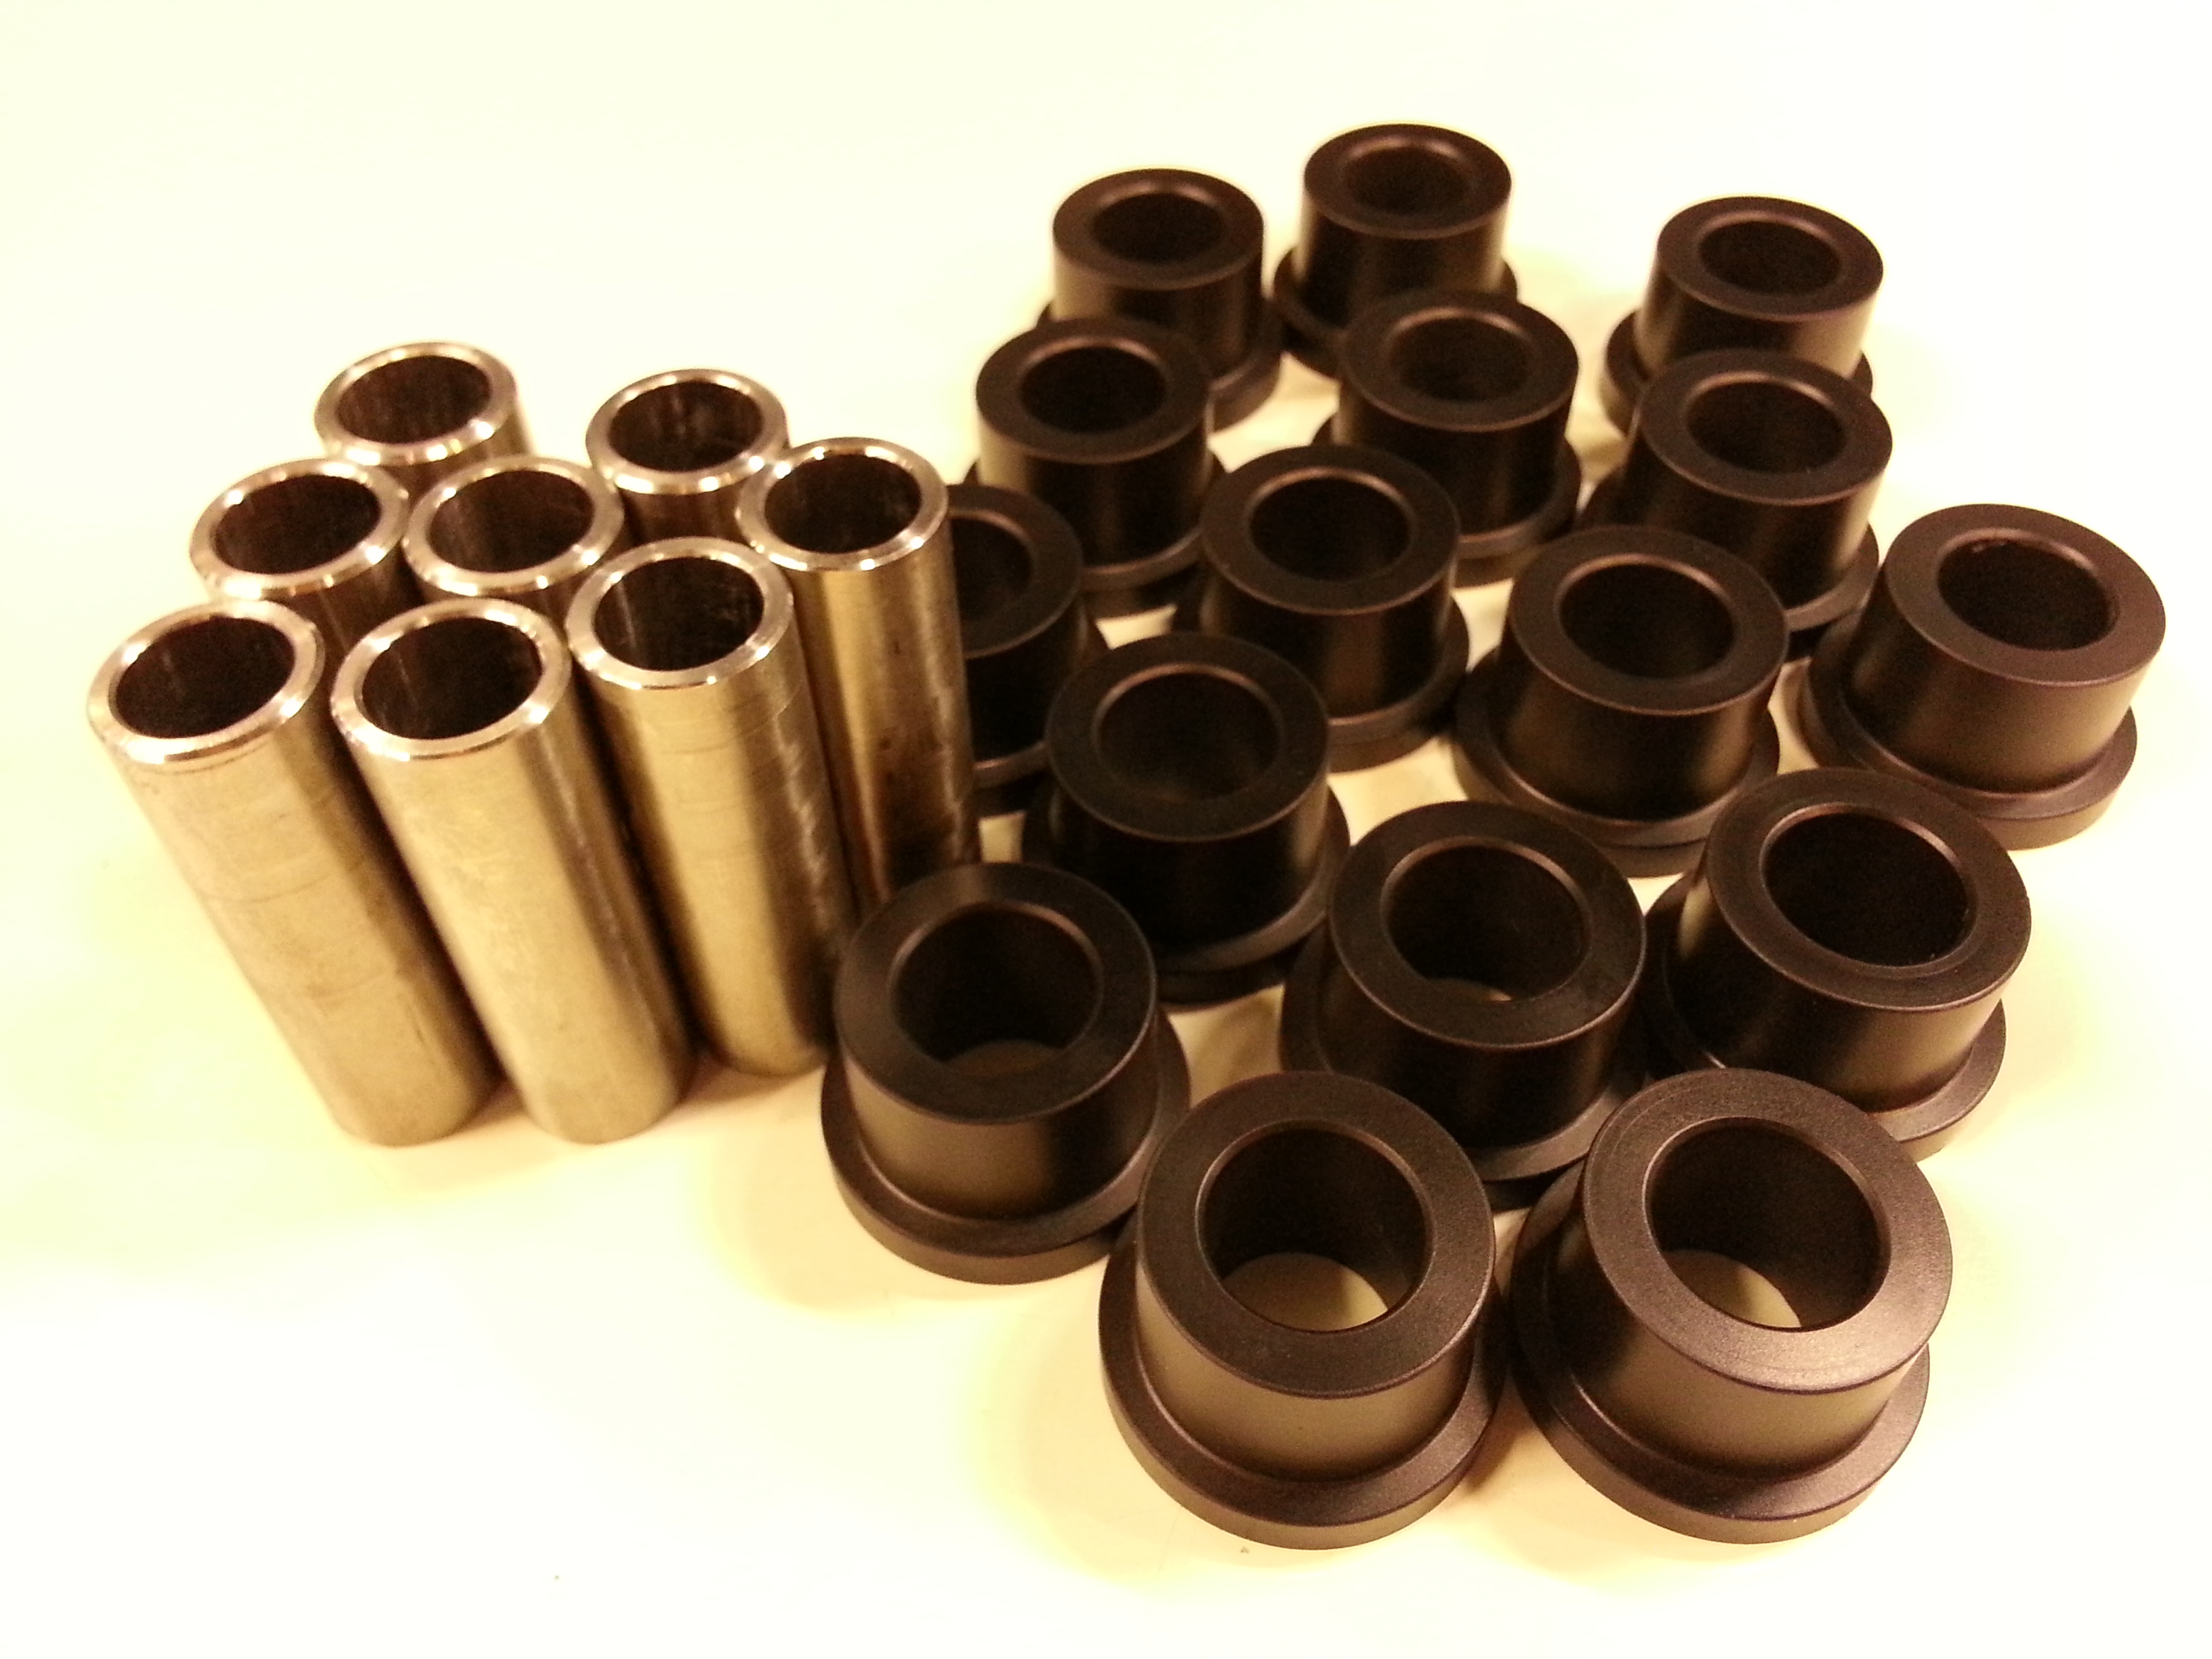
Acetal (POM), also called Delrin, and stainless steel sleeve which is internally reamed to tight fit the bolts.