
Tegheim - Home made 4 Rotor Wolvo project

Thread Starter
Senior Member
Joined: Nov 2003
Posts: 533
Likes: 3
From: Sweden
Bought a piece of SS2541-03 material. �220mm and 100mm "long".
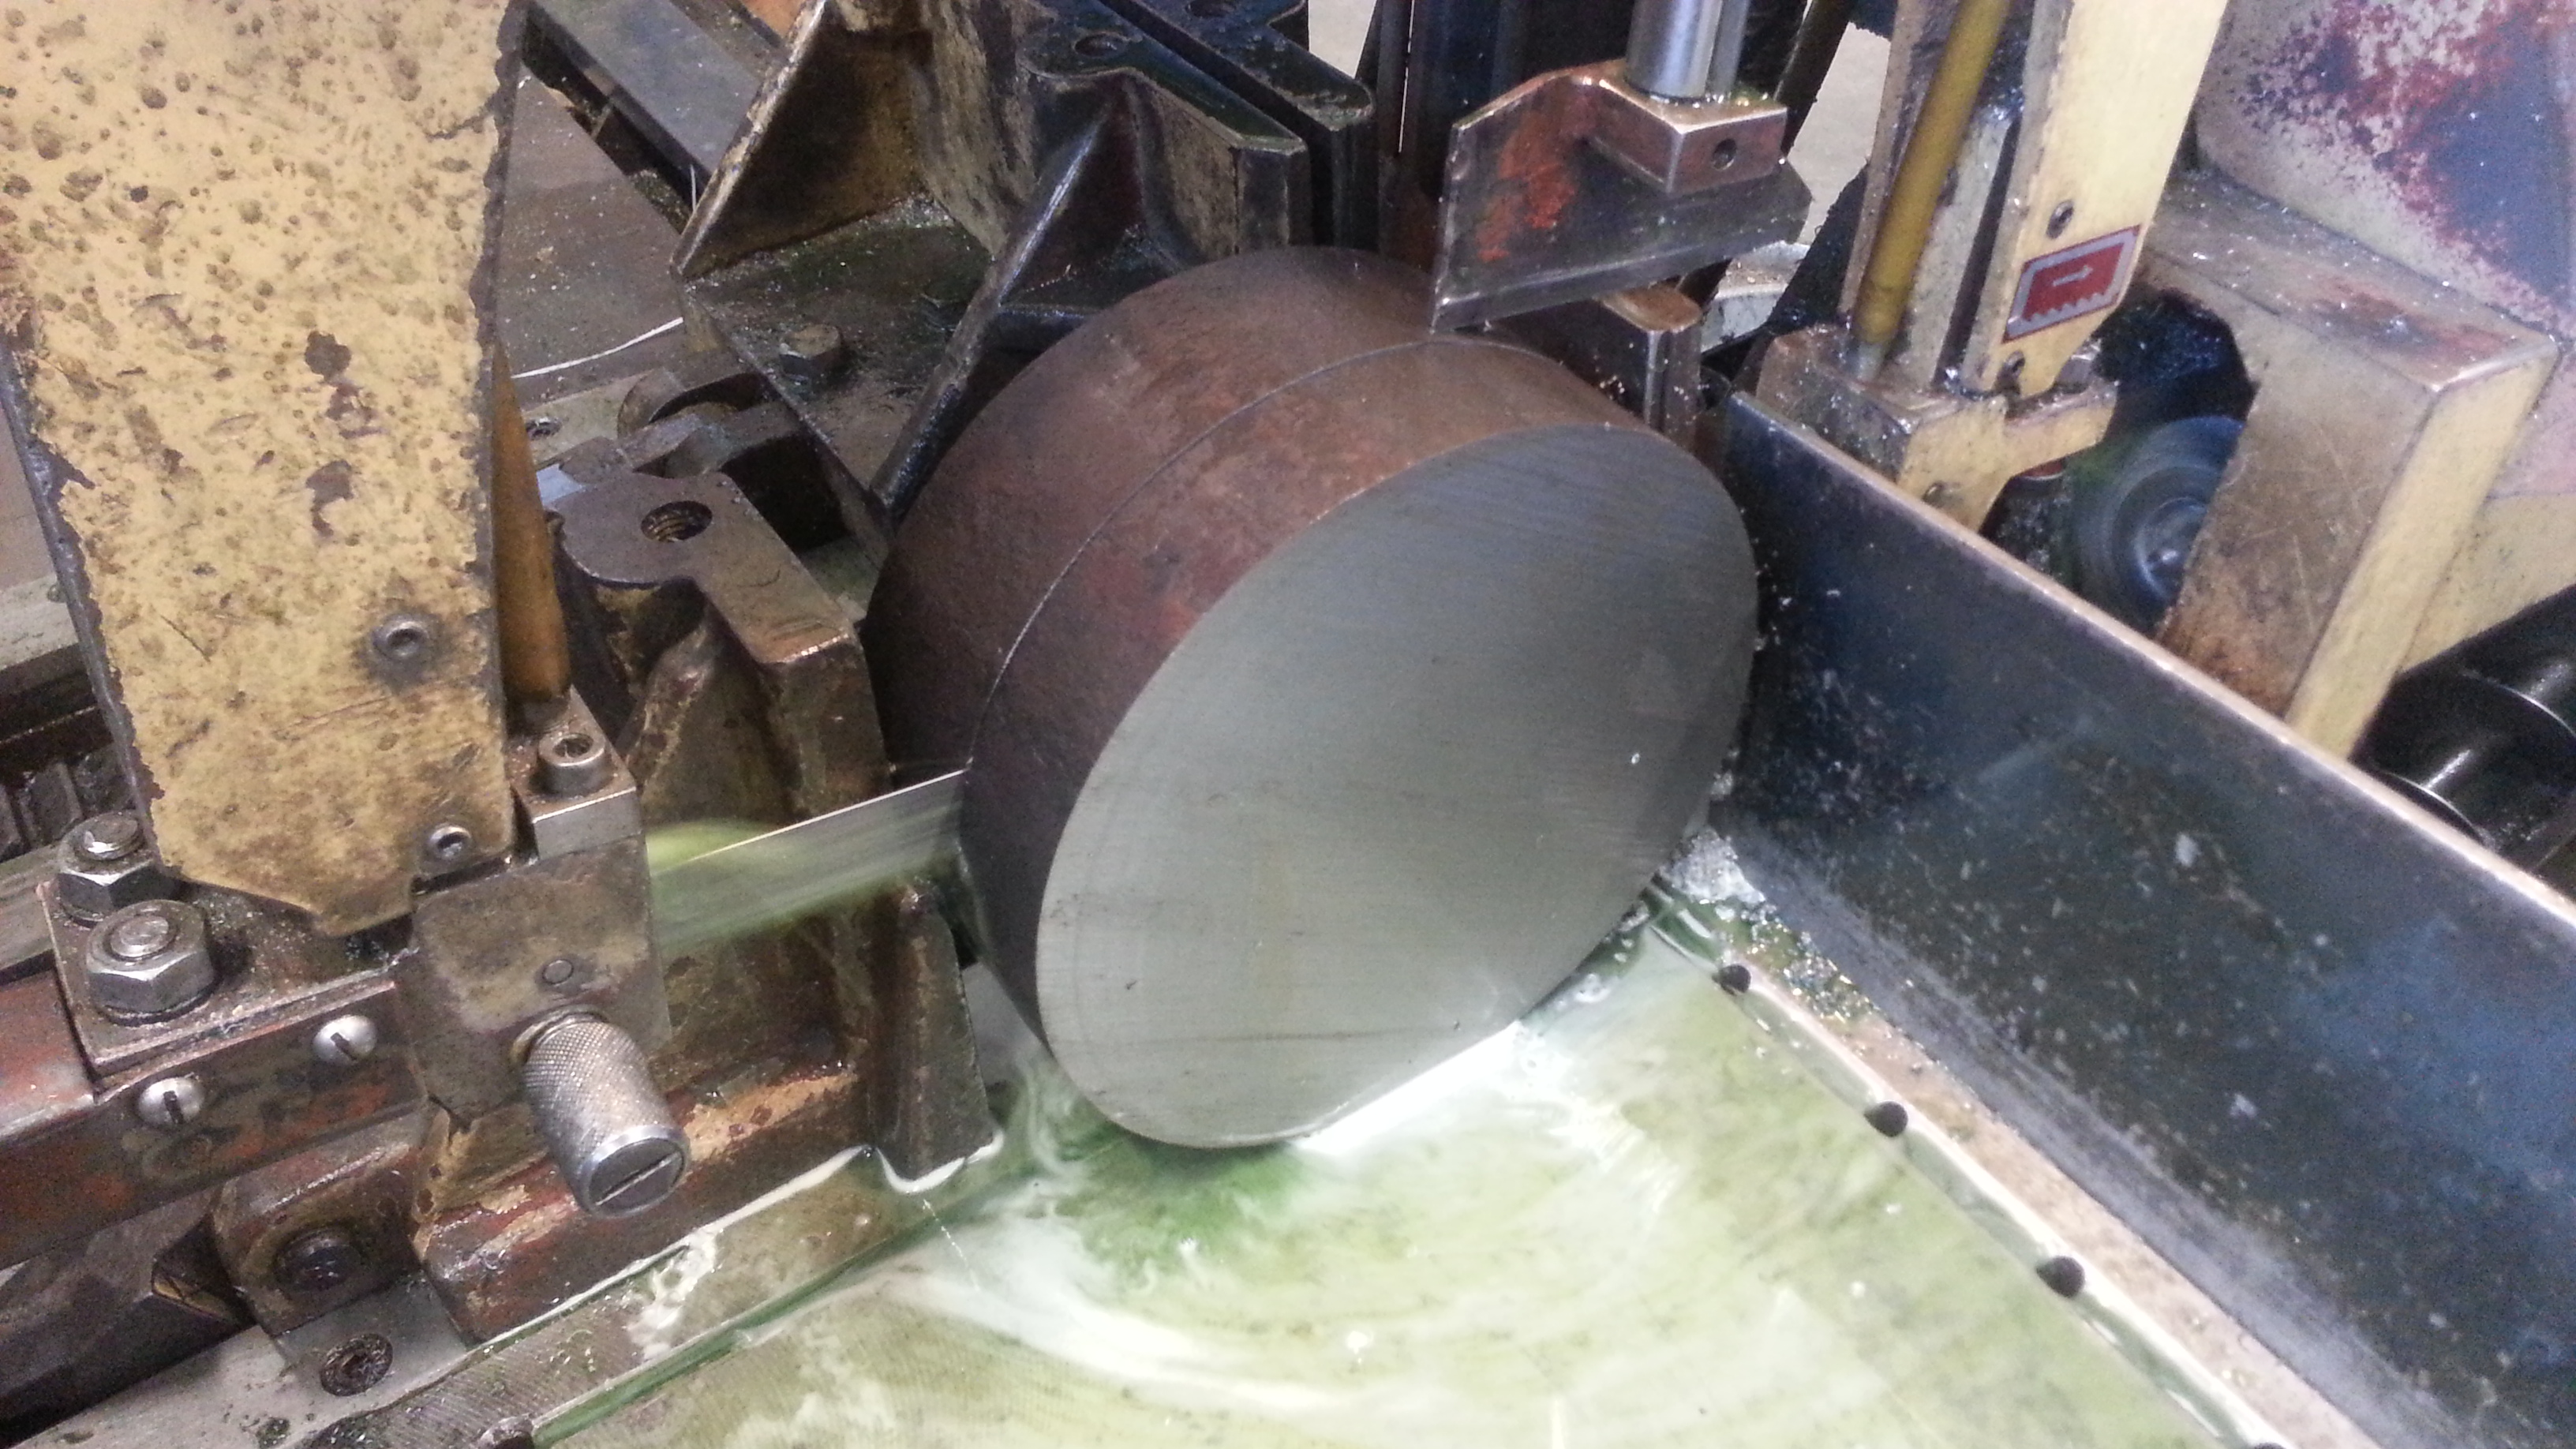
First side
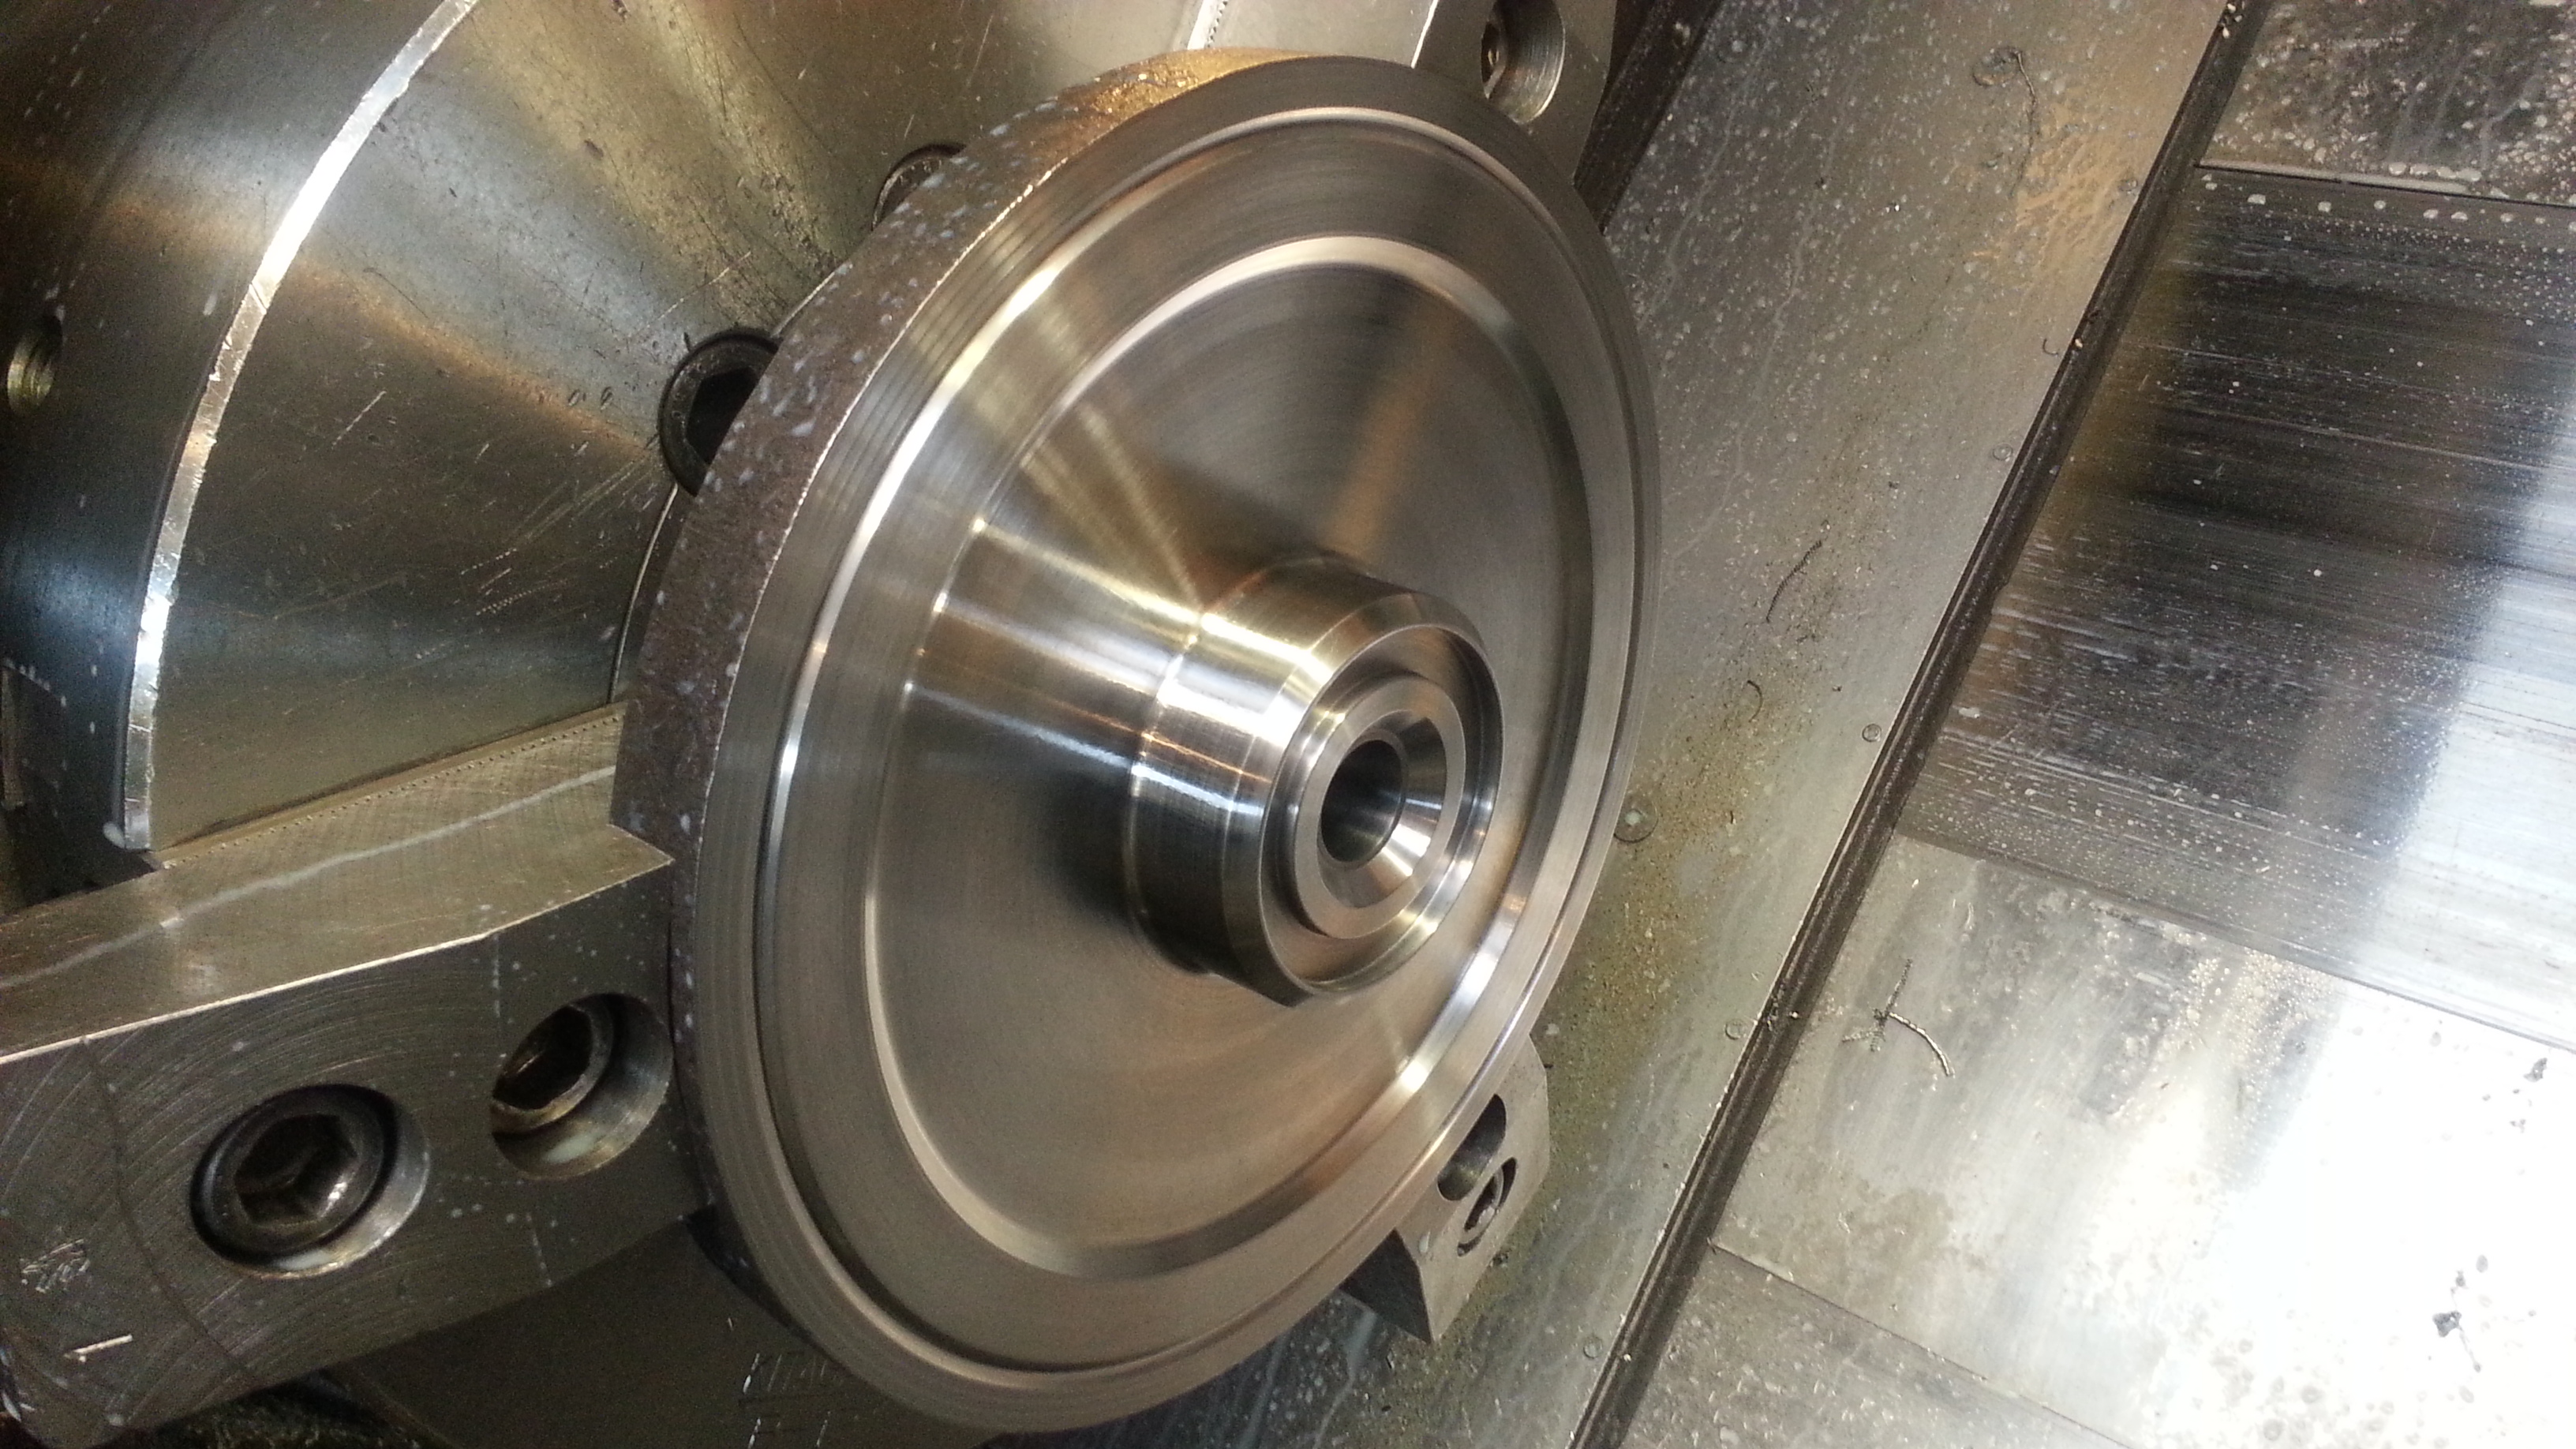
Finished
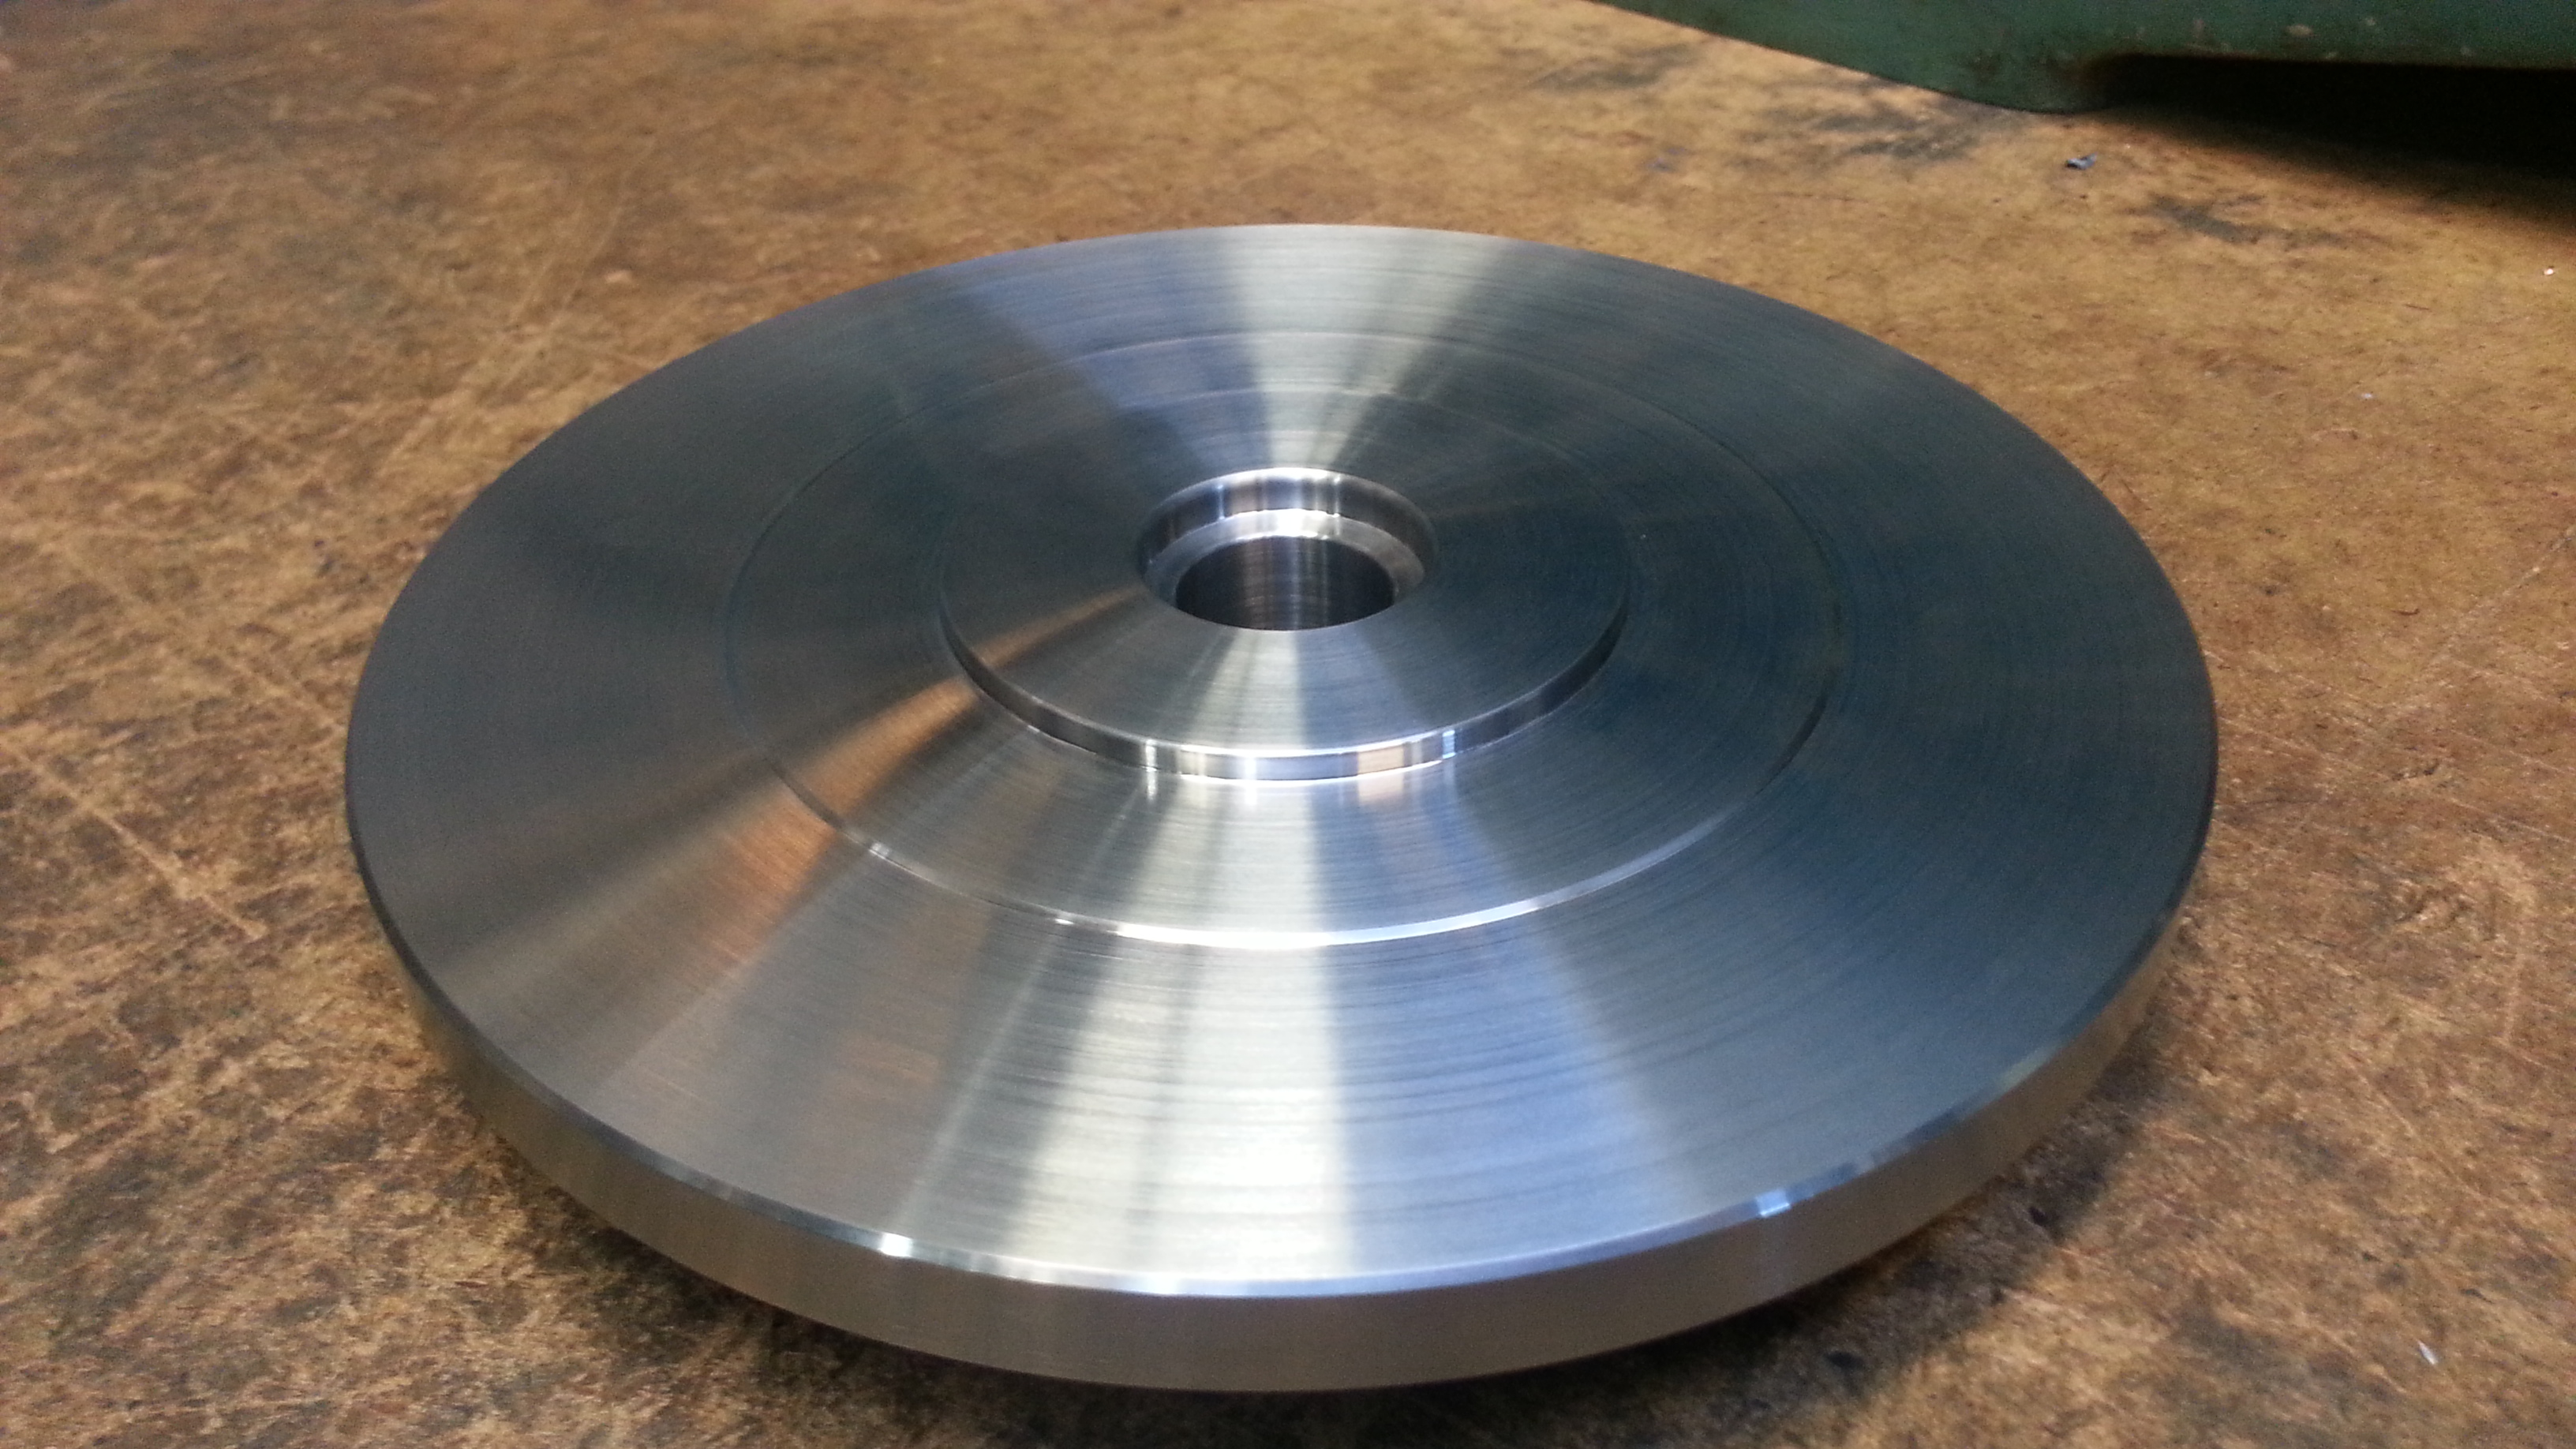
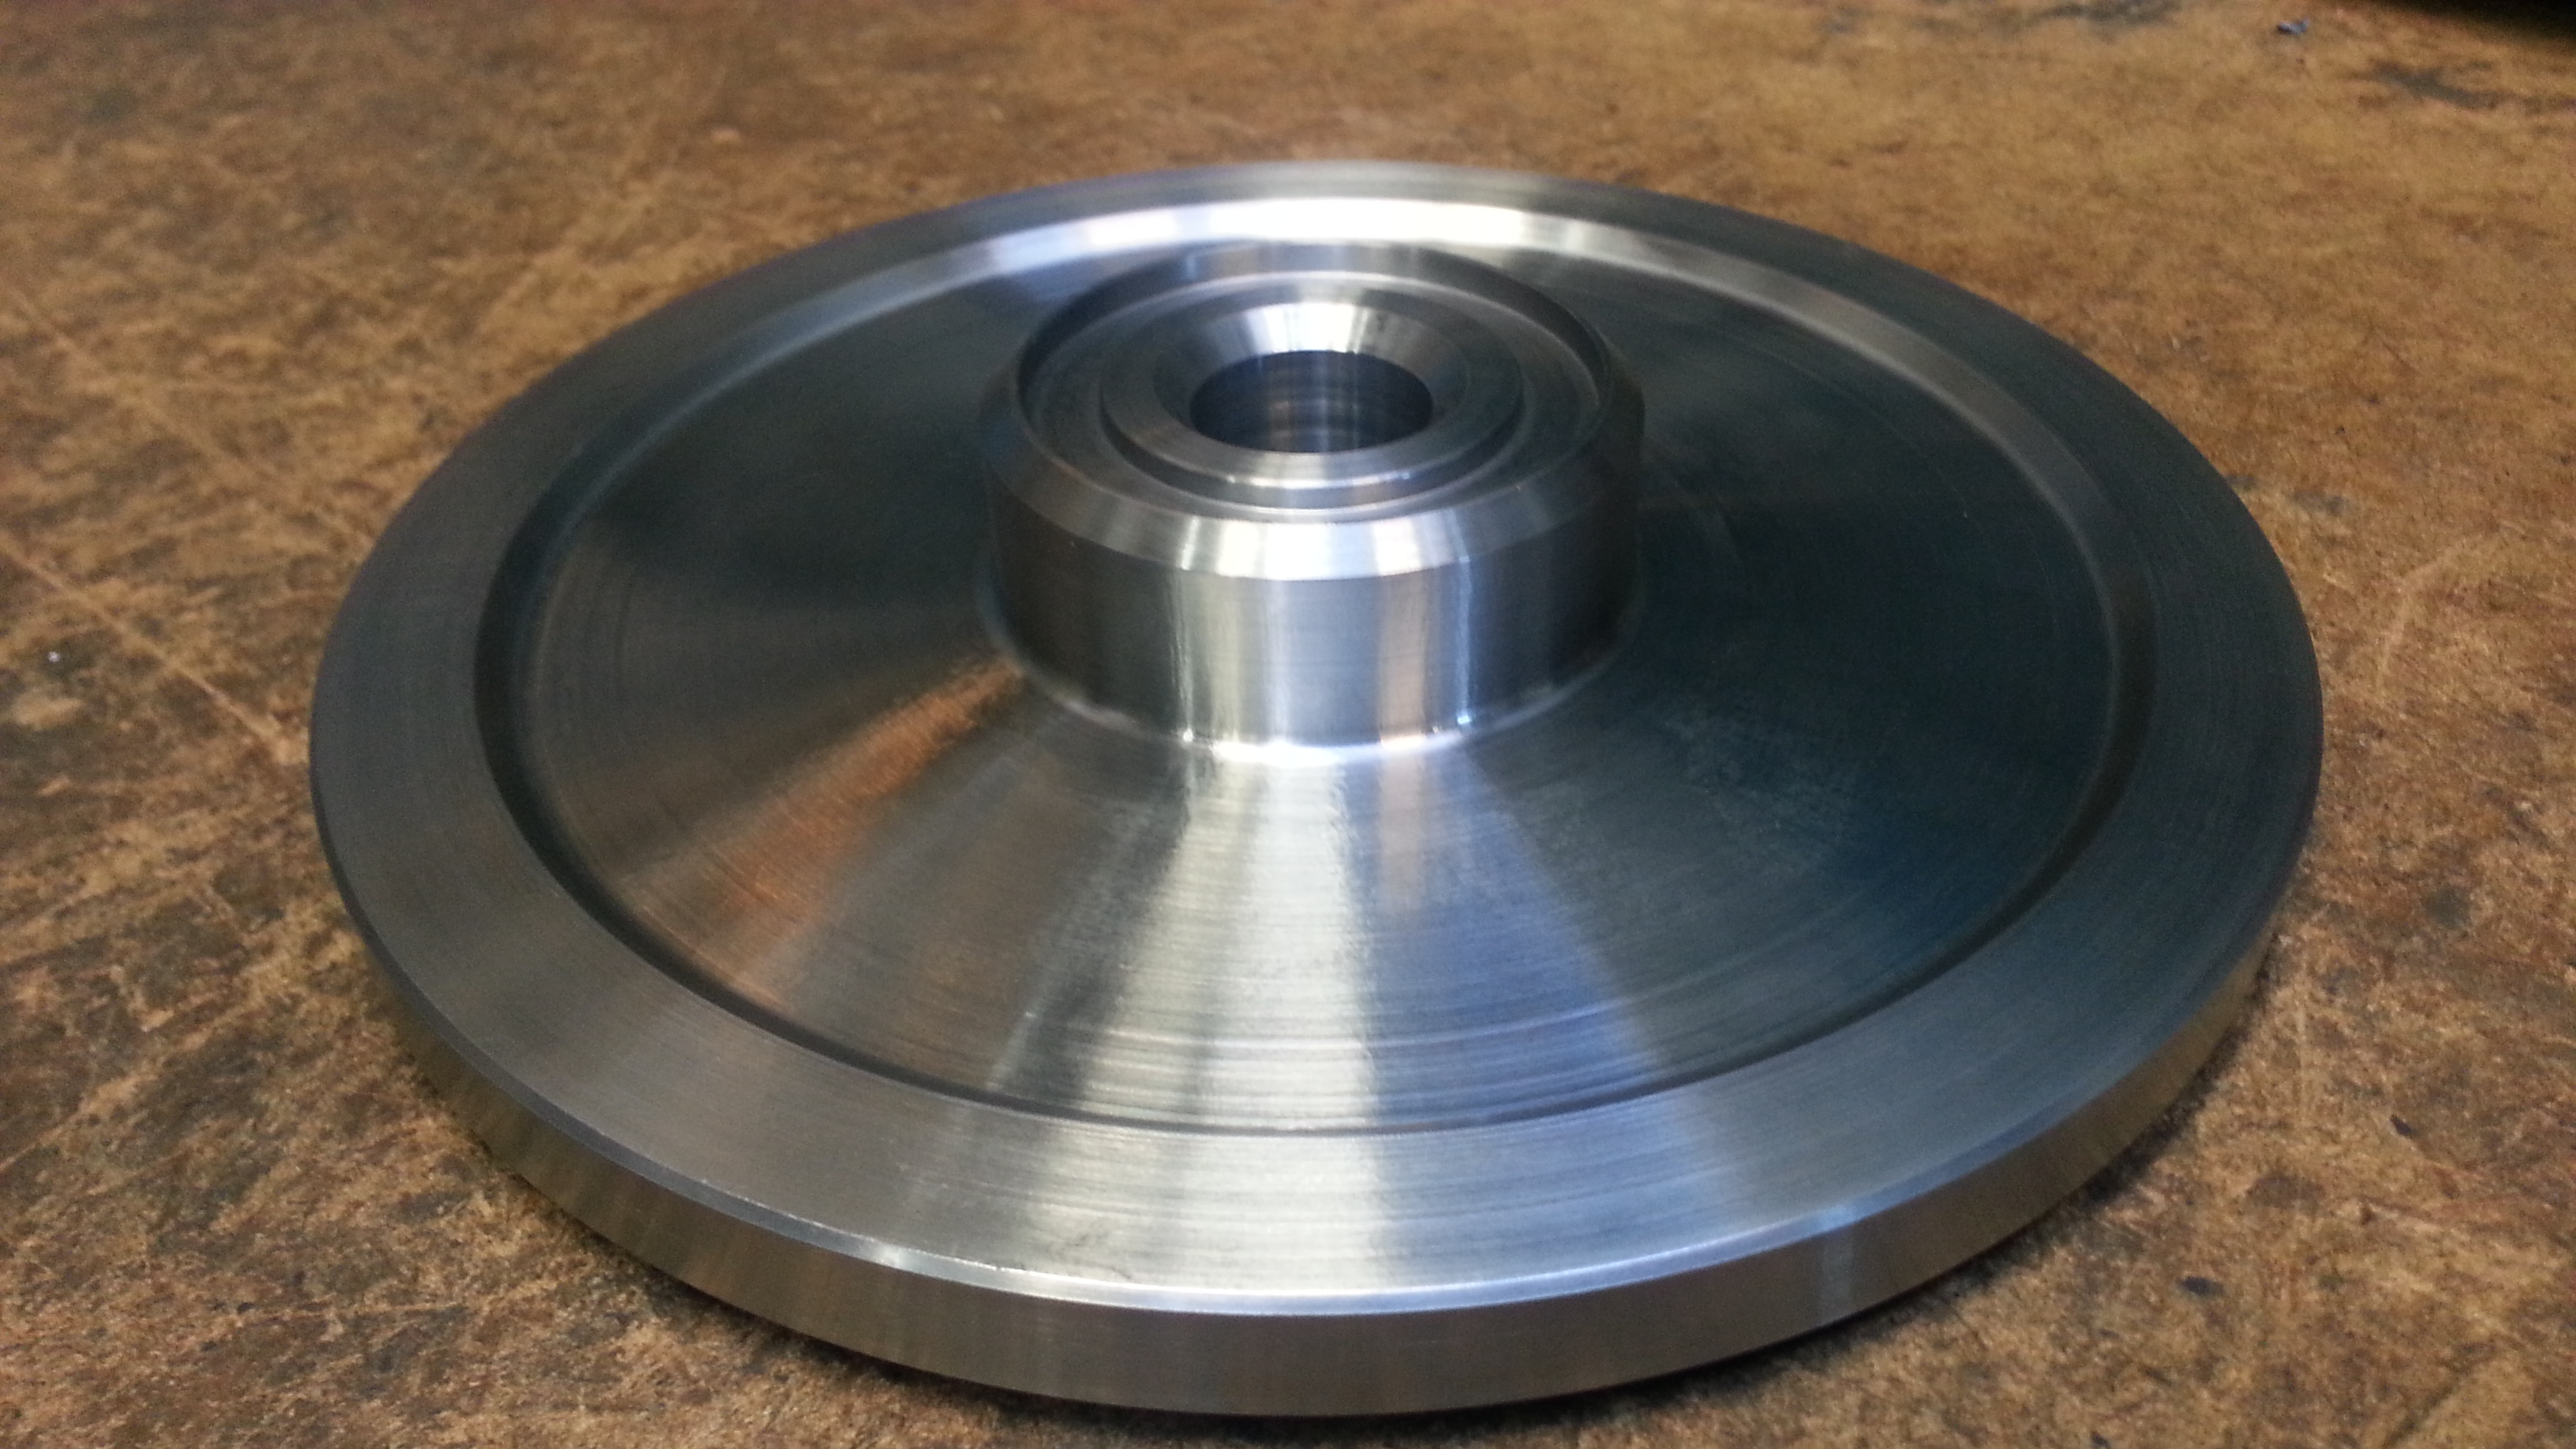
Now I will get this to a man who will help me with wire cutting.
Will do some splines inside to fit the e-shaft. Will do with one spline loss, so it only can fit i one place. Will be better when its time for balancing.
First side
Finished
Now I will get this to a man who will help me with wire cutting.
Will do some splines inside to fit the e-shaft. Will do with one spline loss, so it only can fit i one place. Will be better when its time for balancing.


Thread Starter
Senior Member
Joined: Nov 2003
Posts: 533
Likes: 3
From: Sweden
I'm thinking about the drysump.
Does anyone have a clue how much oil-feed a 4-rotor will need? I really havn't desided if I'm going for a custom frontcover with internal oilpump, or a extern drysump-pump. A 2, or 3-stage will do I think.
Any ideas? Would be interesting to discuss :-)
Does anyone have a clue how much oil-feed a 4-rotor will need? I really havn't desided if I'm going for a custom frontcover with internal oilpump, or a extern drysump-pump. A 2, or 3-stage will do I think.
Any ideas? Would be interesting to discuss :-)
Thread Starter
Senior Member
Joined: Nov 2003
Posts: 533
Likes: 3
From: Sweden
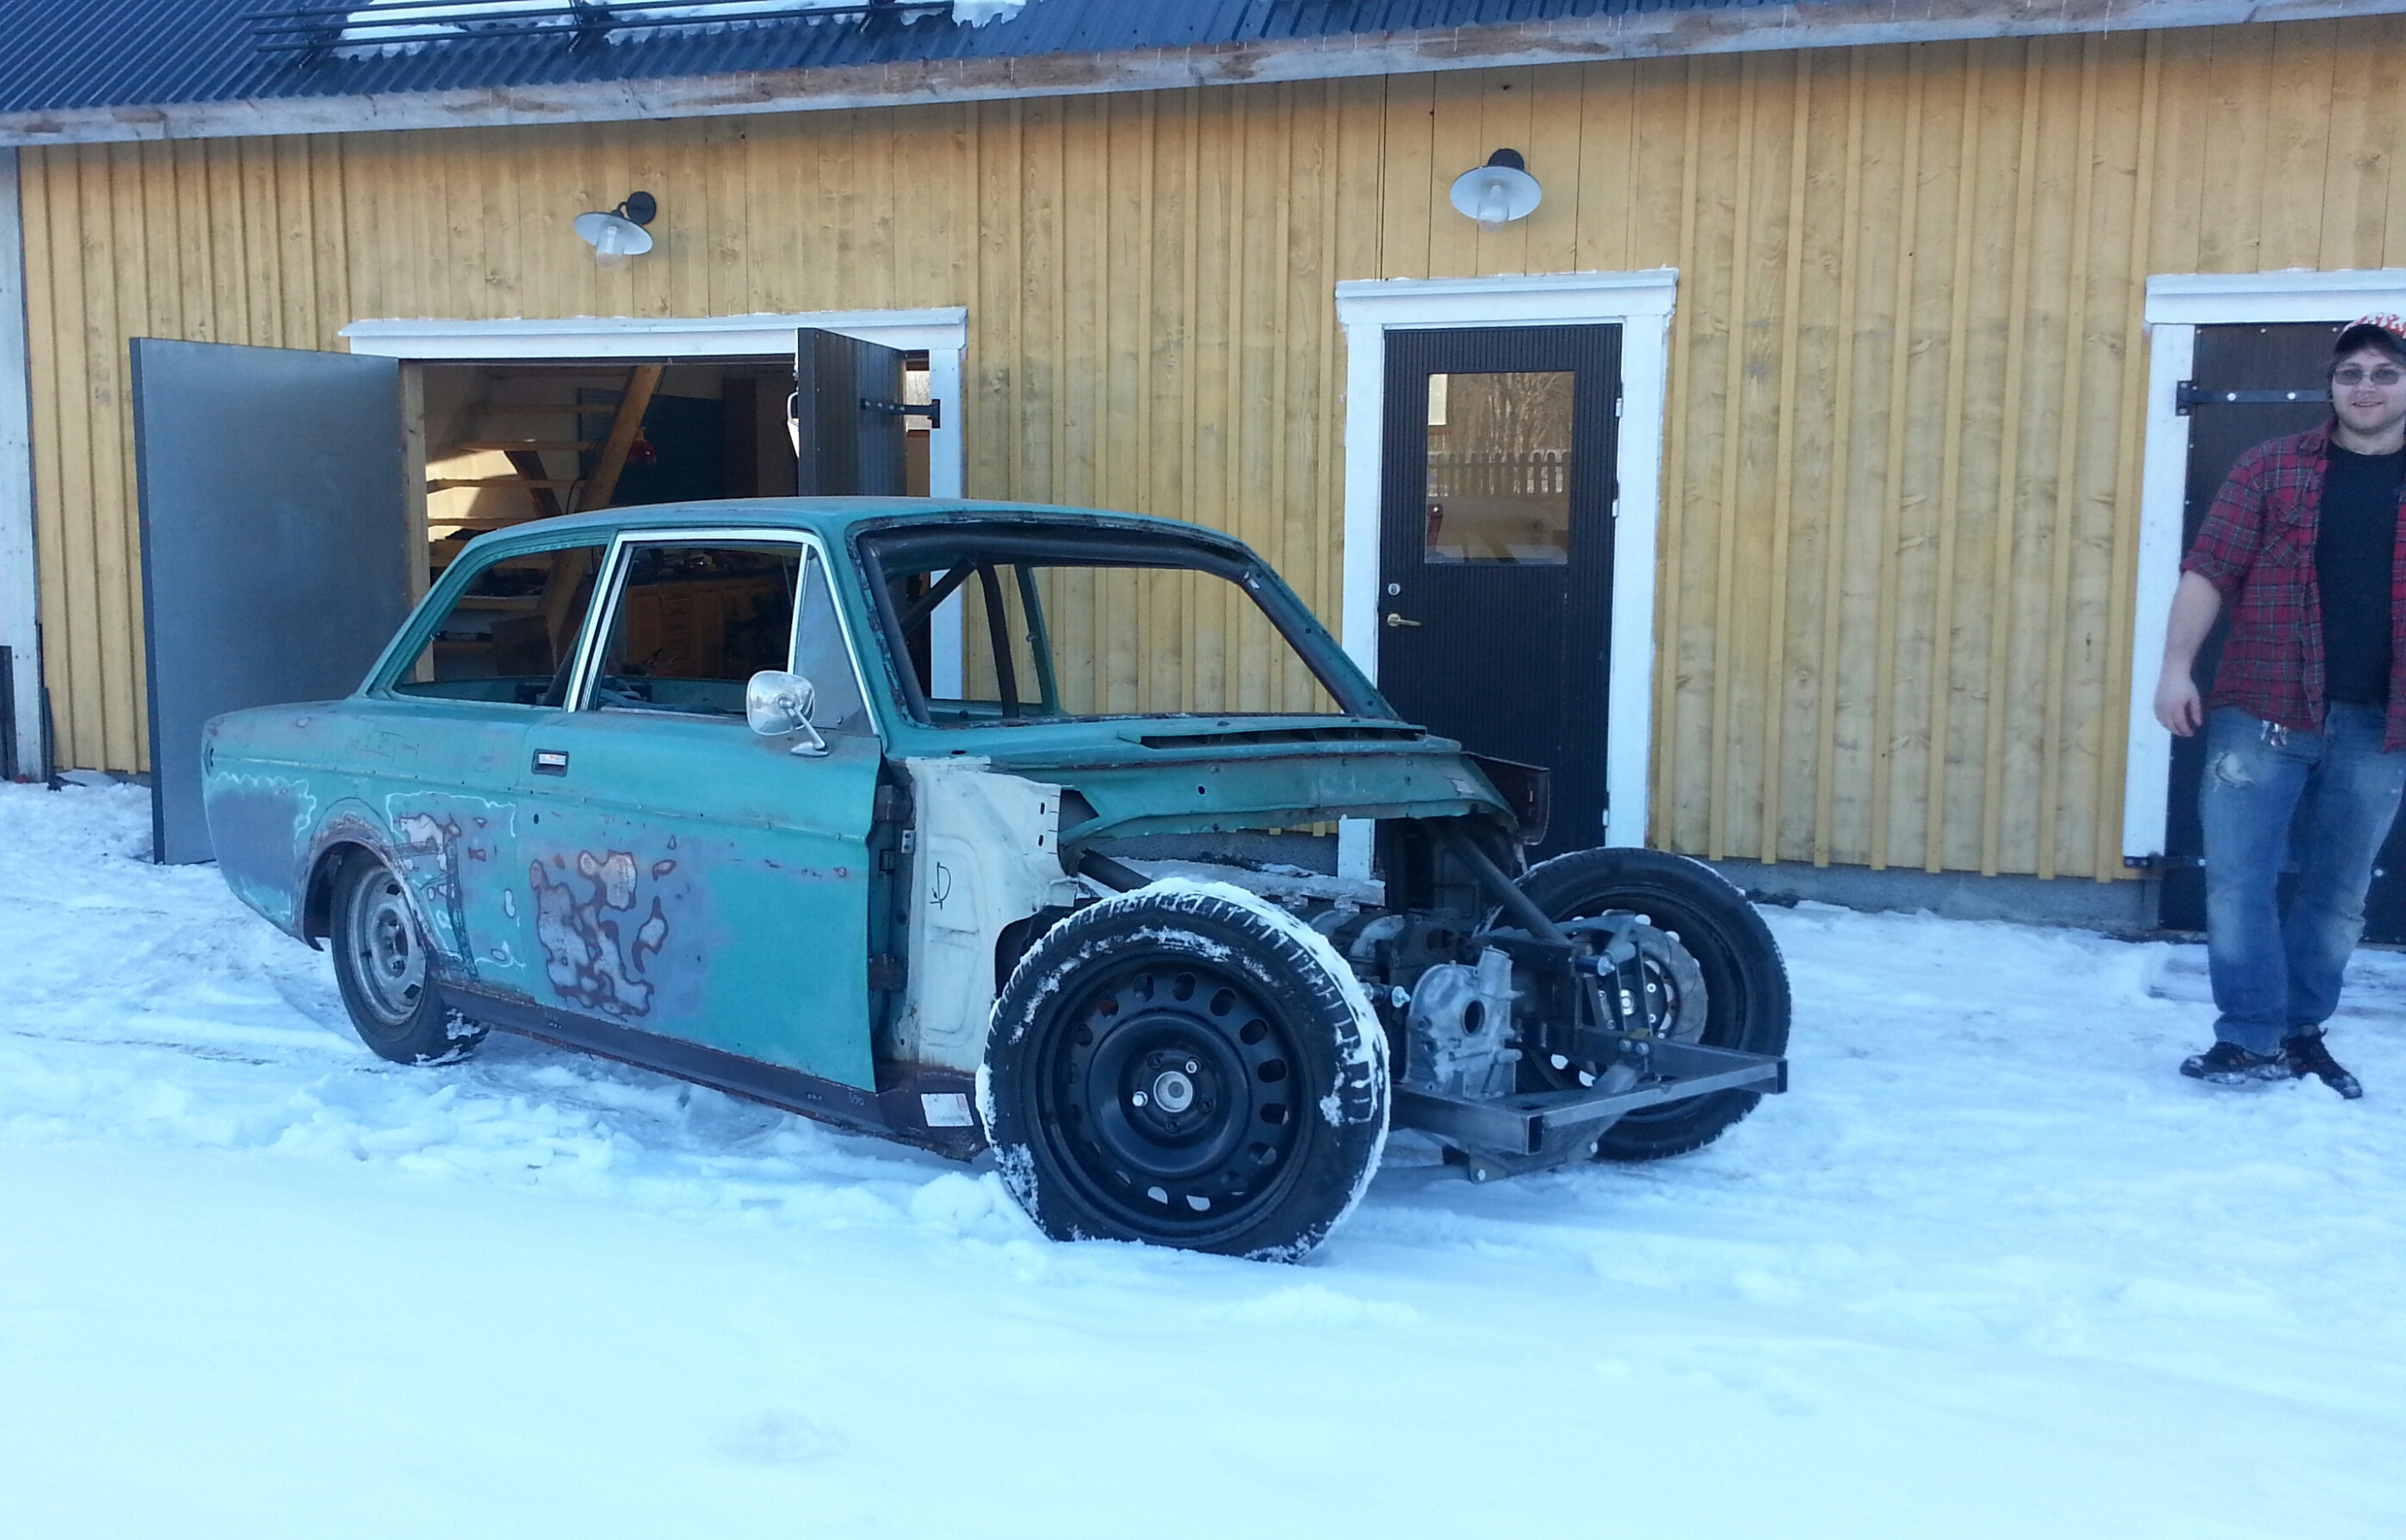
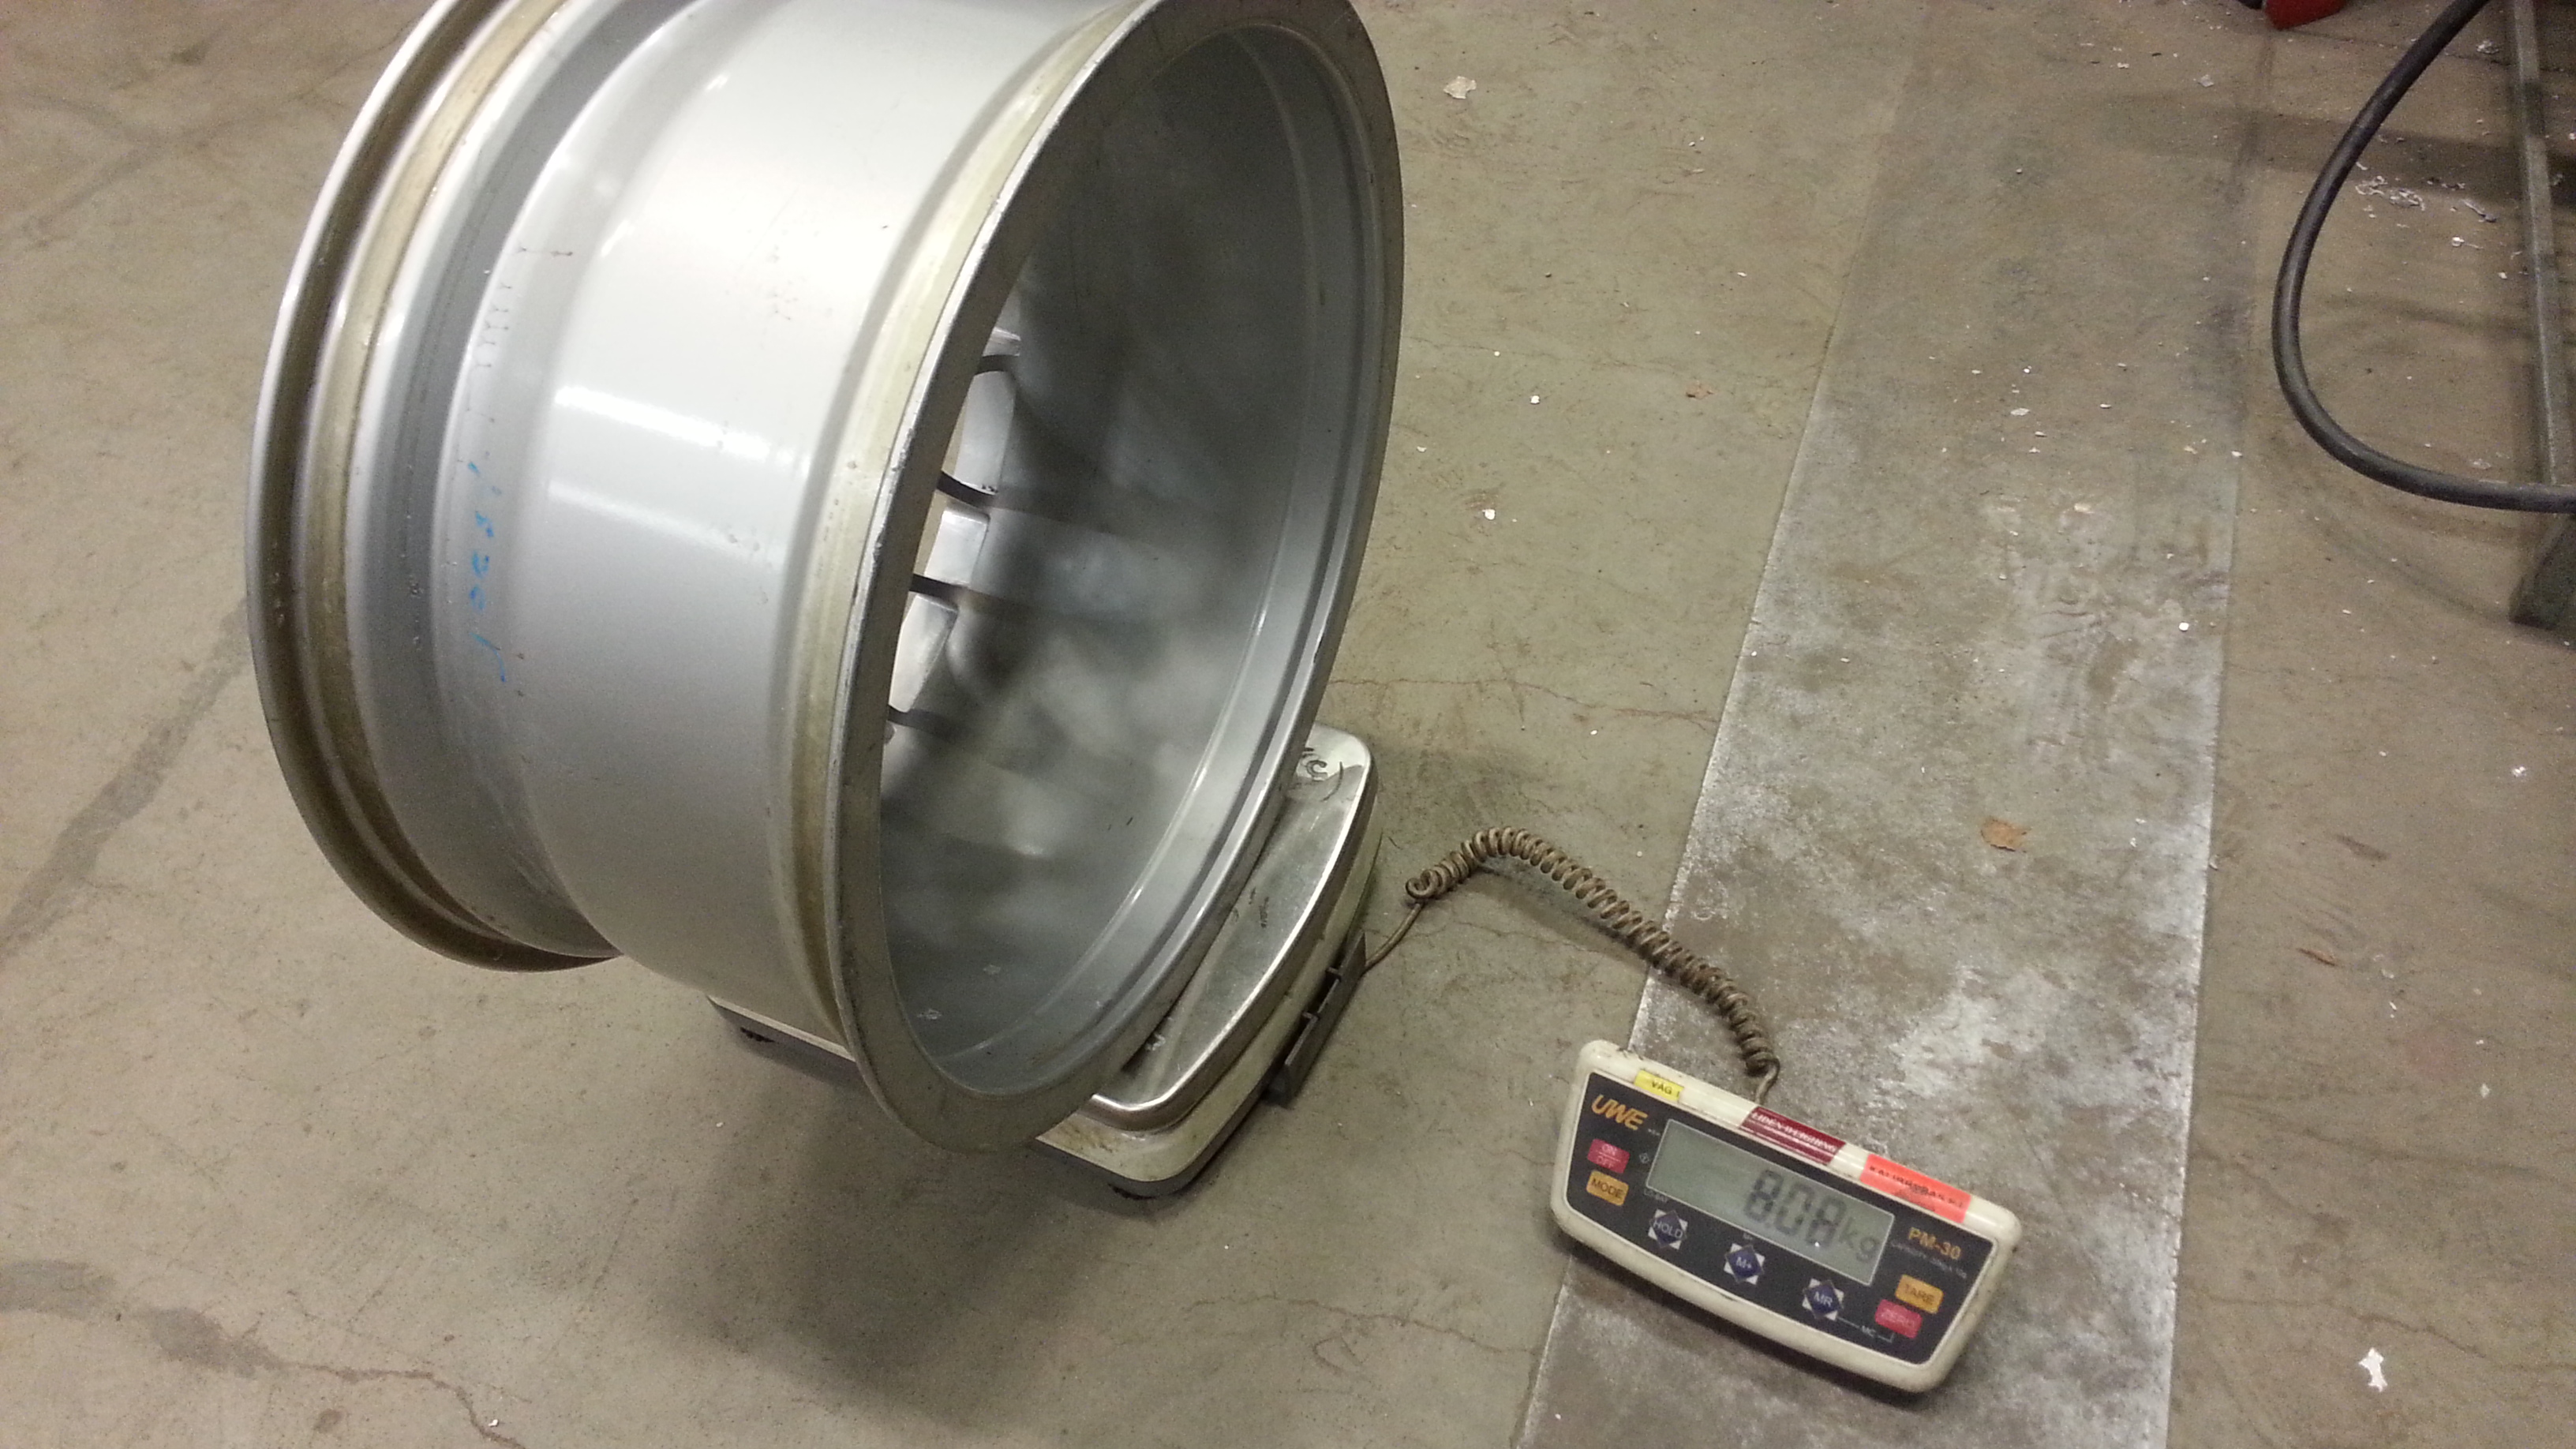
This weekend me and my brother did a 600km roadtrip to get this result.
19x9.25" BBS Magnesium.
8kg och centerlock.
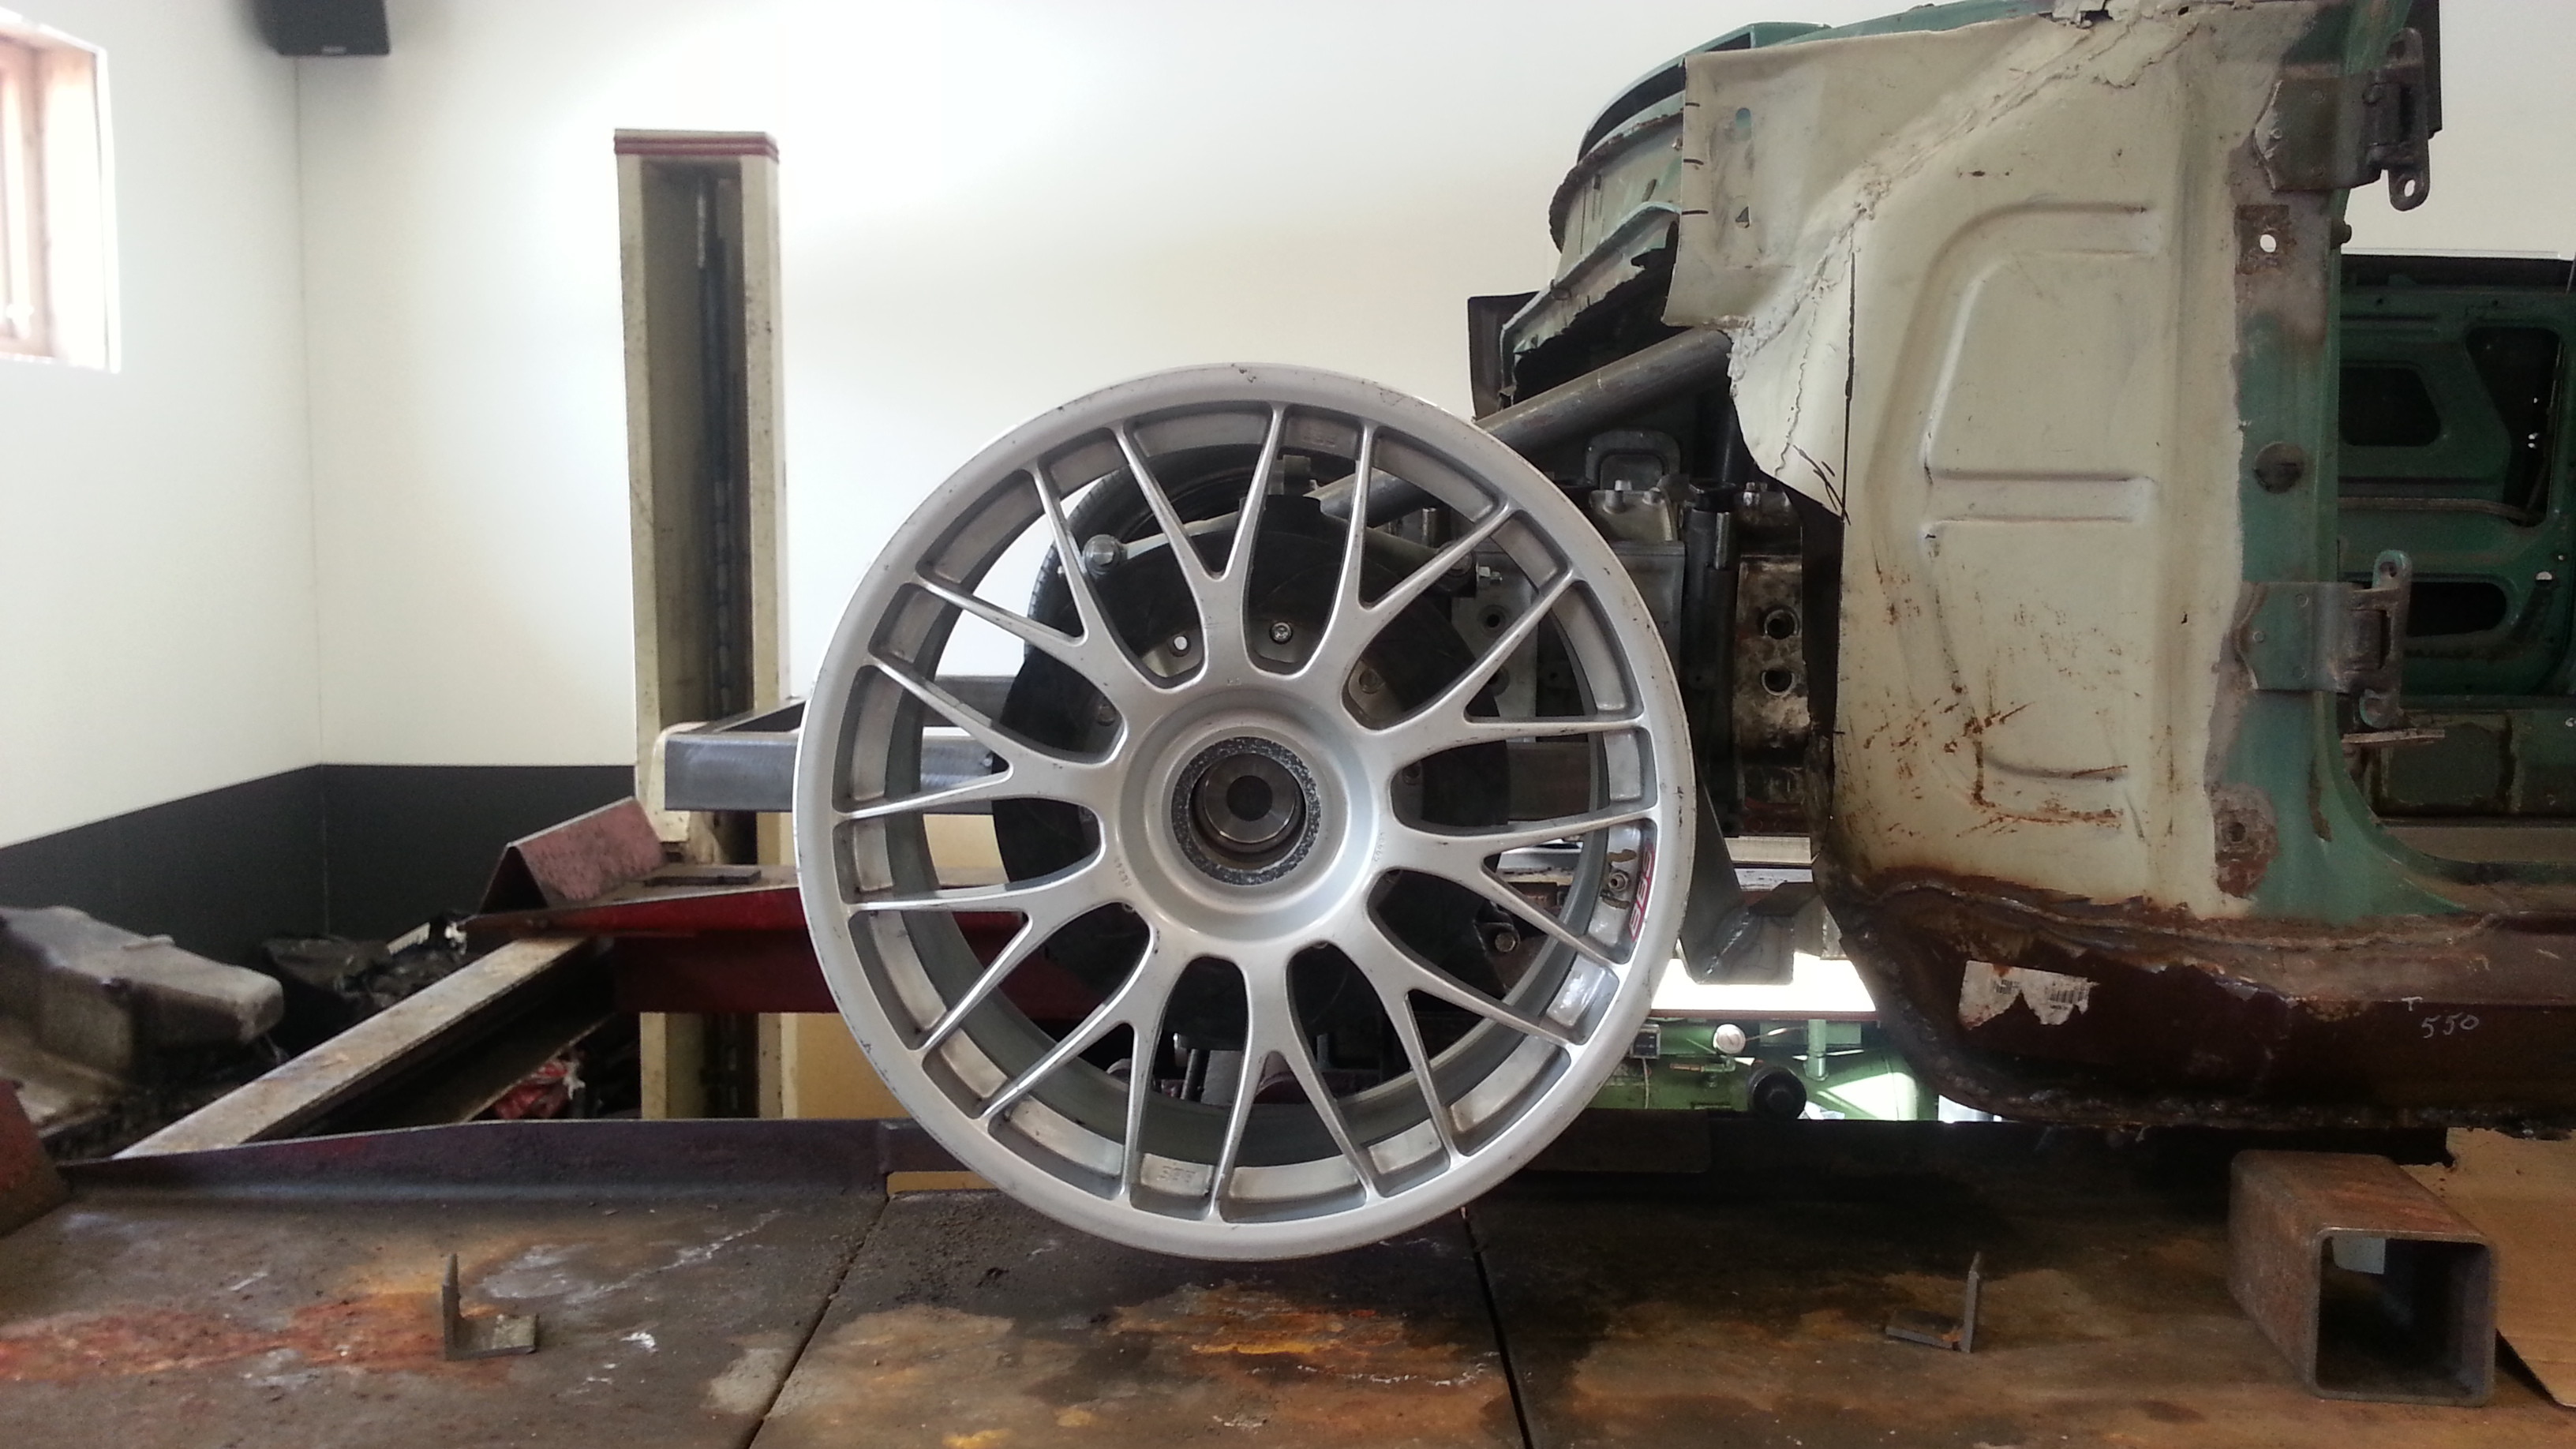
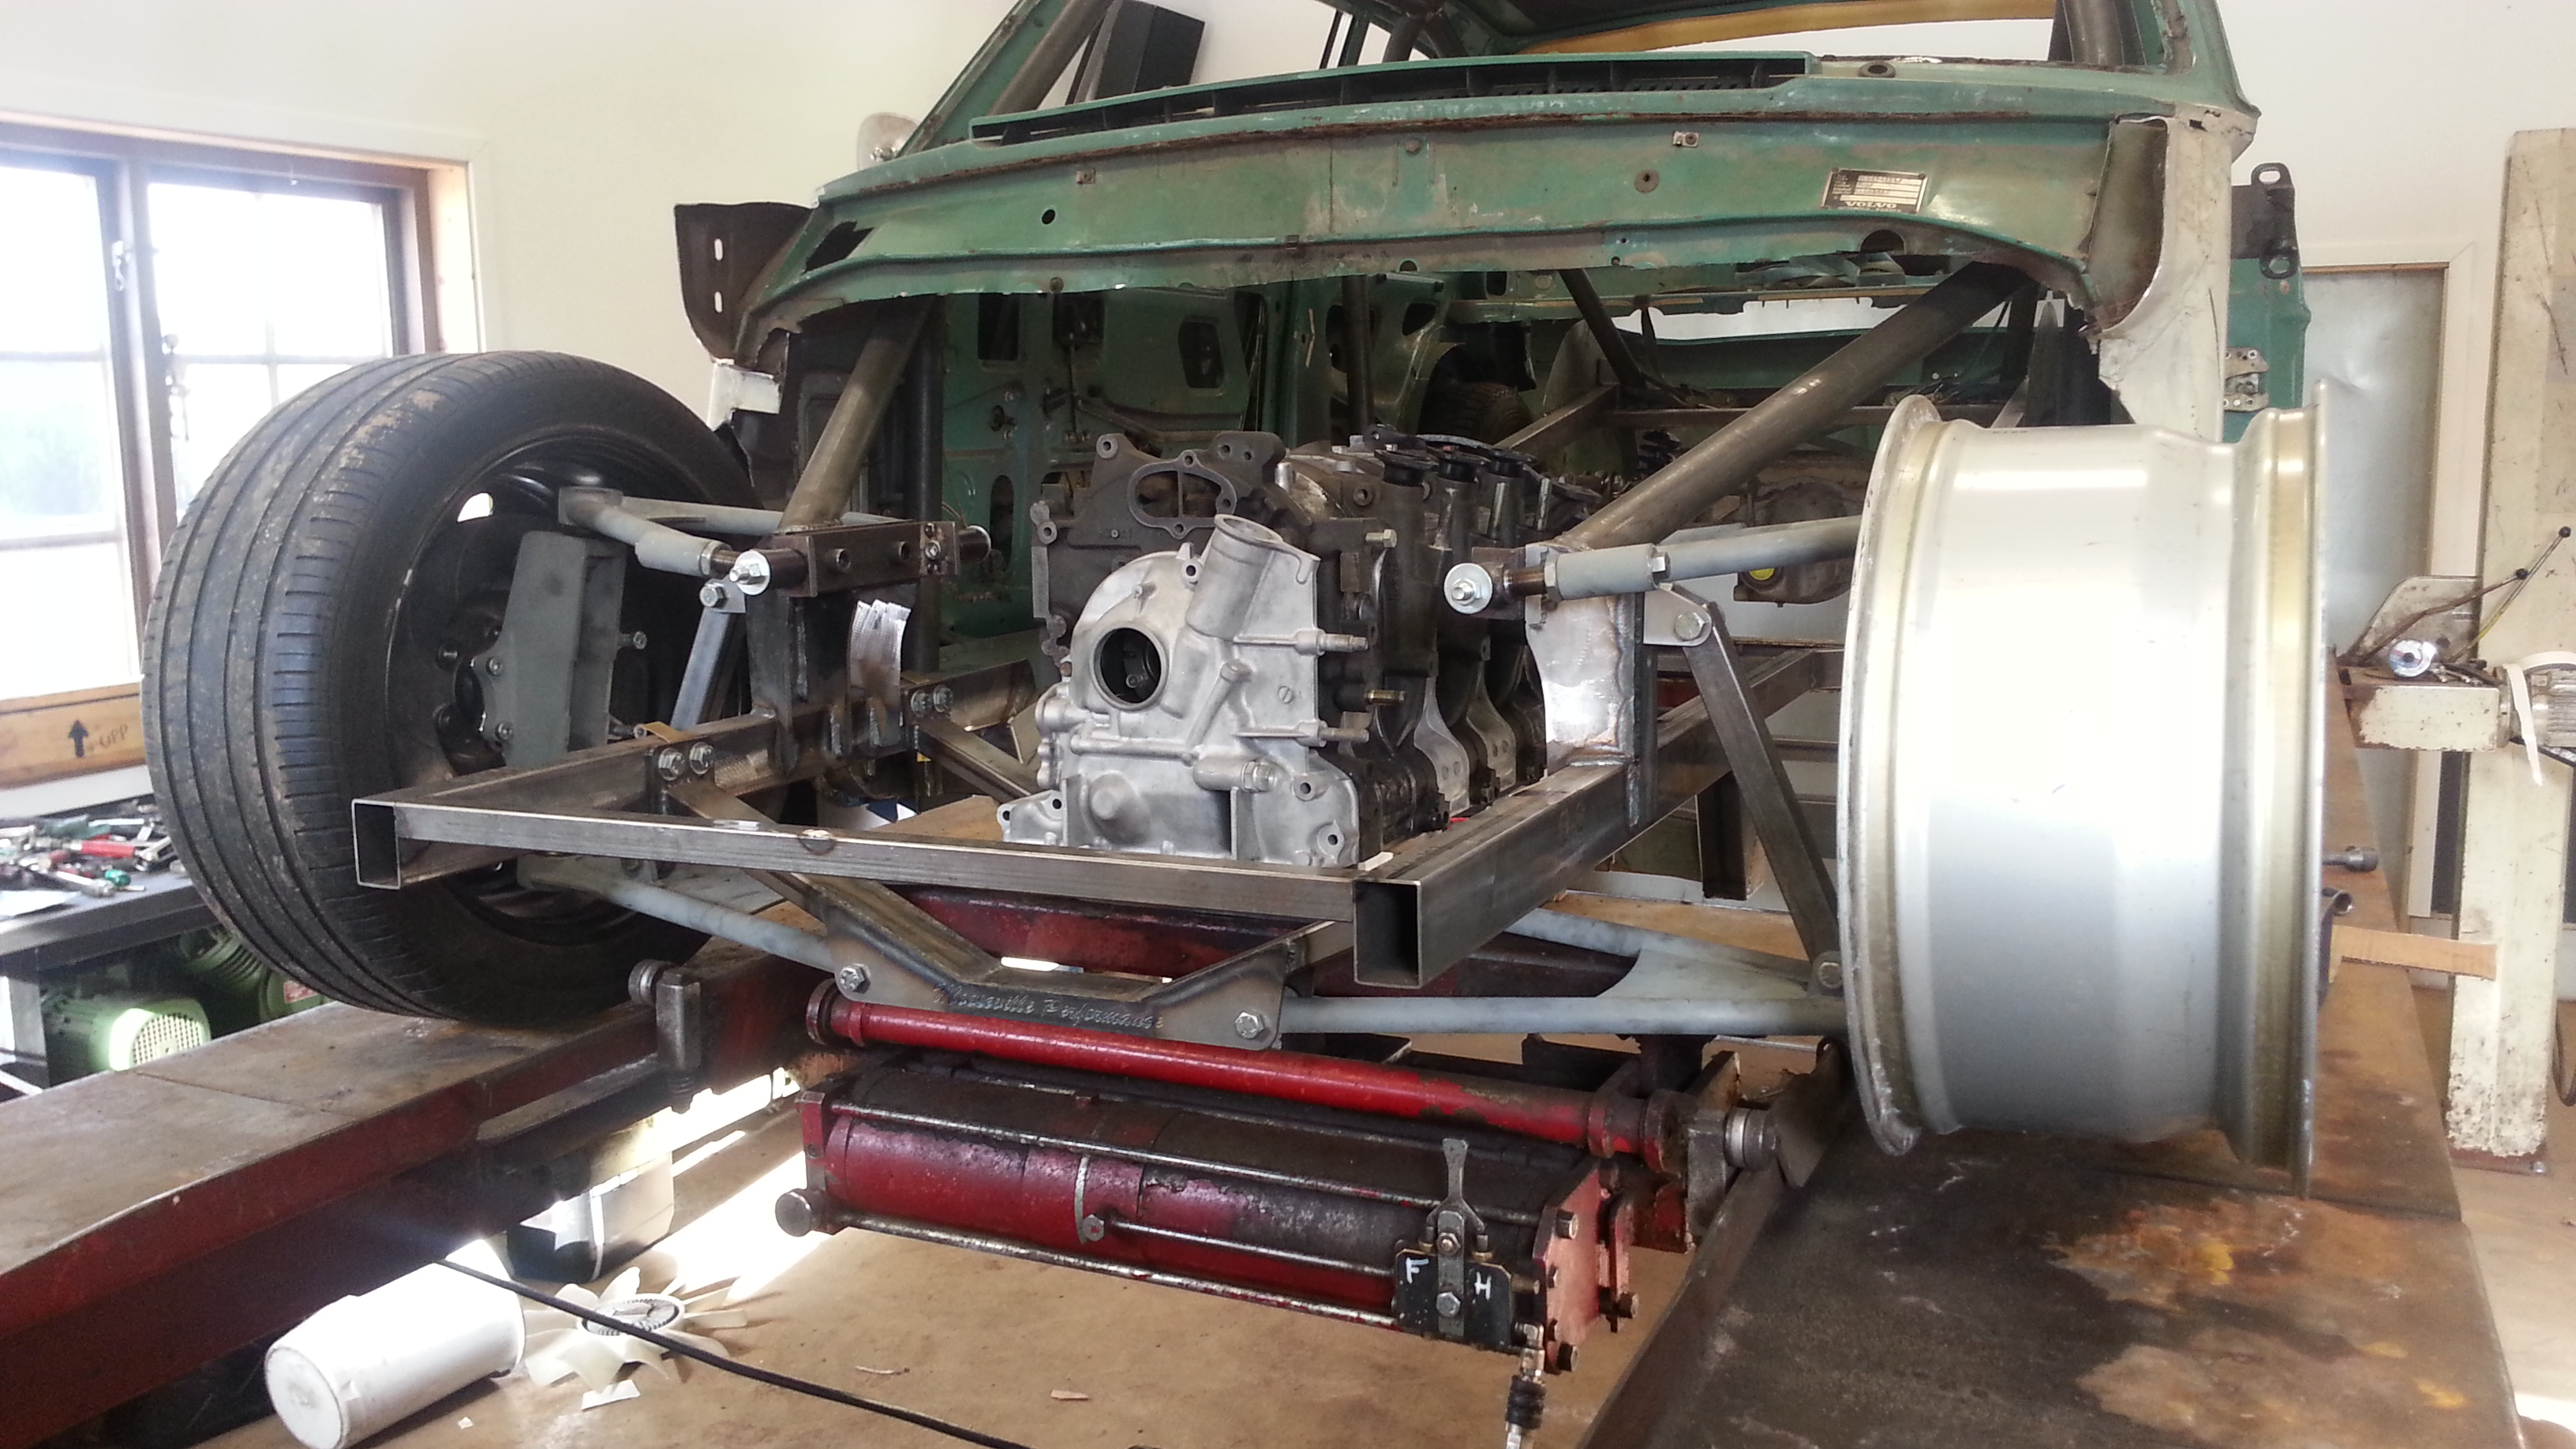
Also started on the wheel-hub, with design help from Ronnie at Hilmersson Racing
19x9.25" BBS Magnesium.
8kg och centerlock.
Also started on the wheel-hub, with design help from Ronnie at Hilmersson Racing
Thread Starter
Senior Member
Joined: Nov 2003
Posts: 533
Likes: 3
From: Sweden
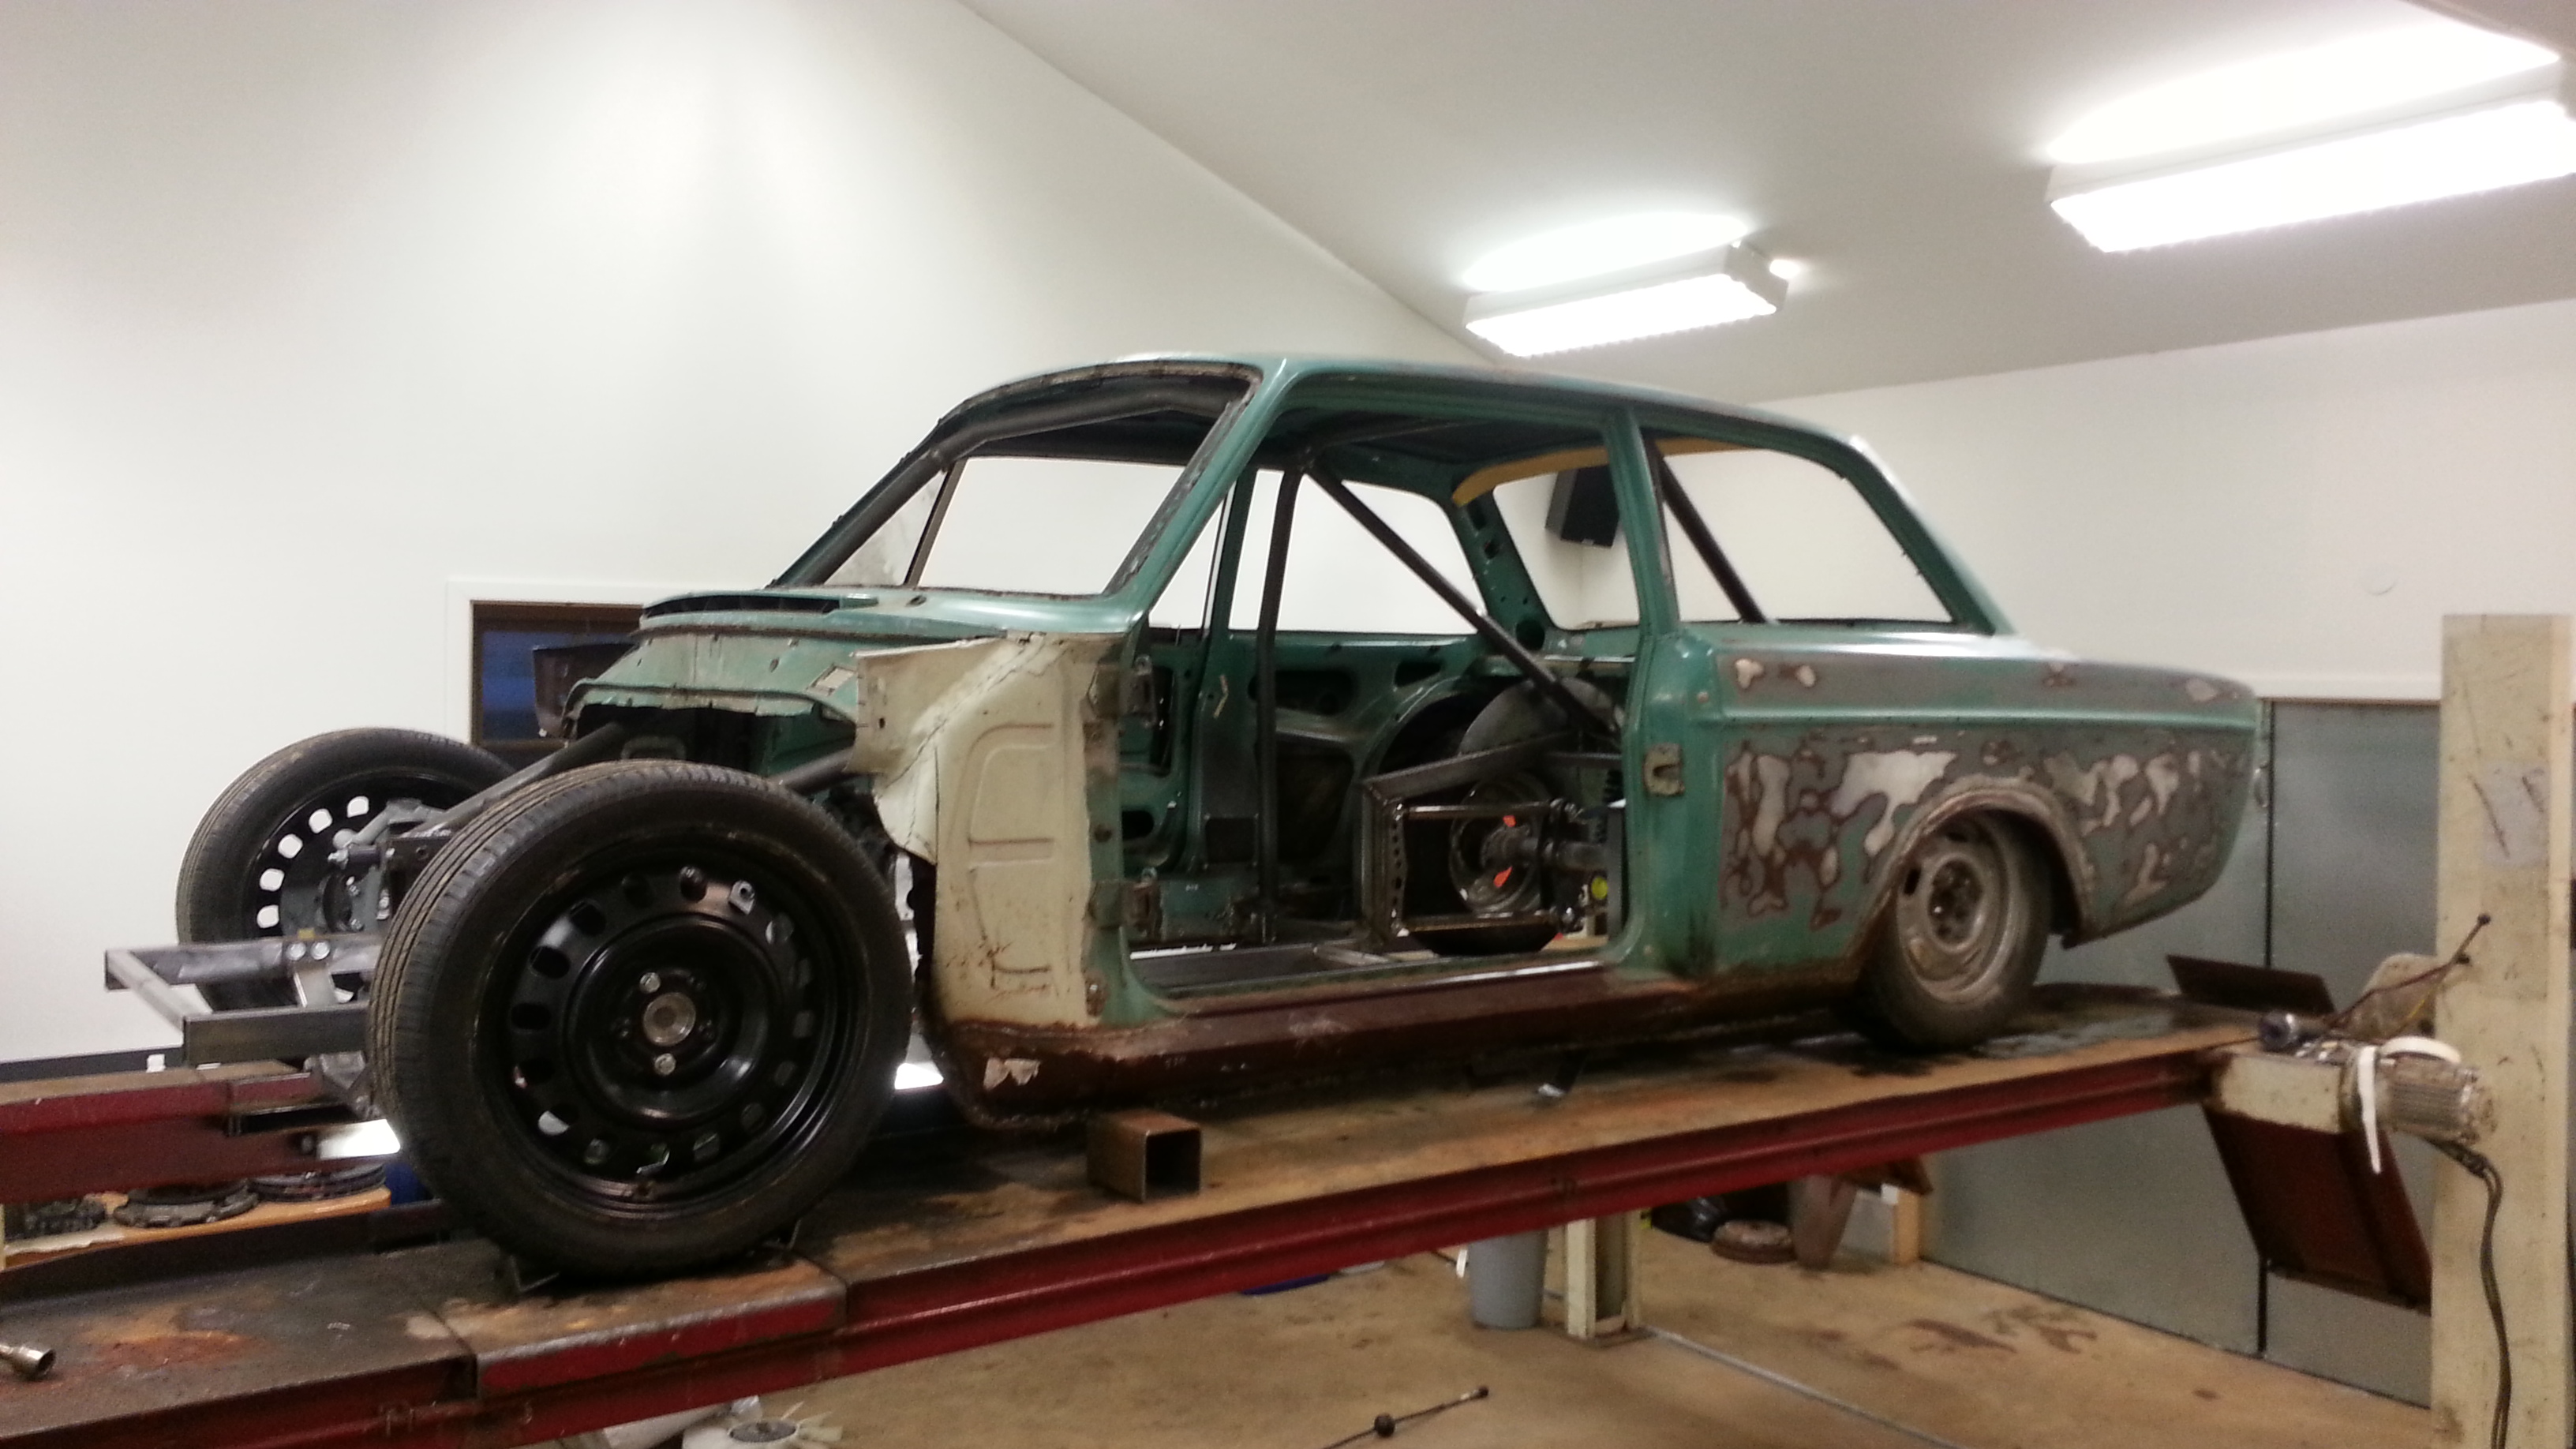
Some lack of motivation. Thought I would be going mad when the car dropped down on the floor, but thats not what happend.
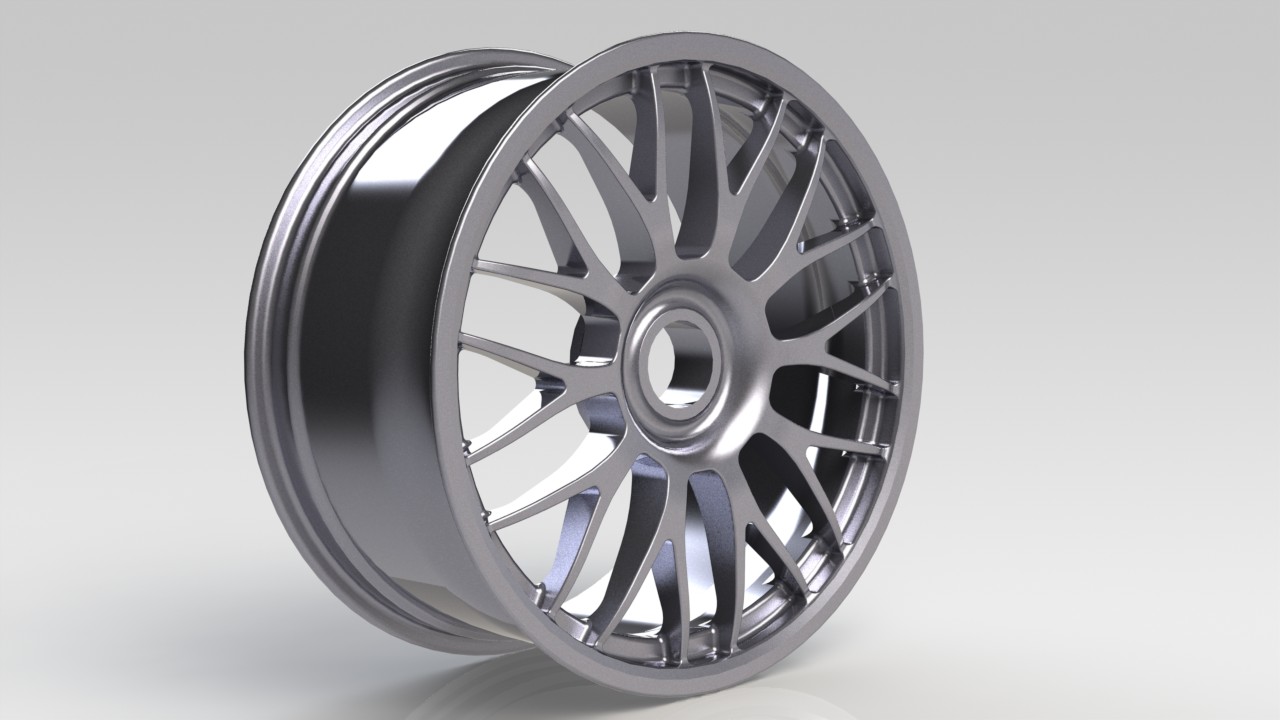
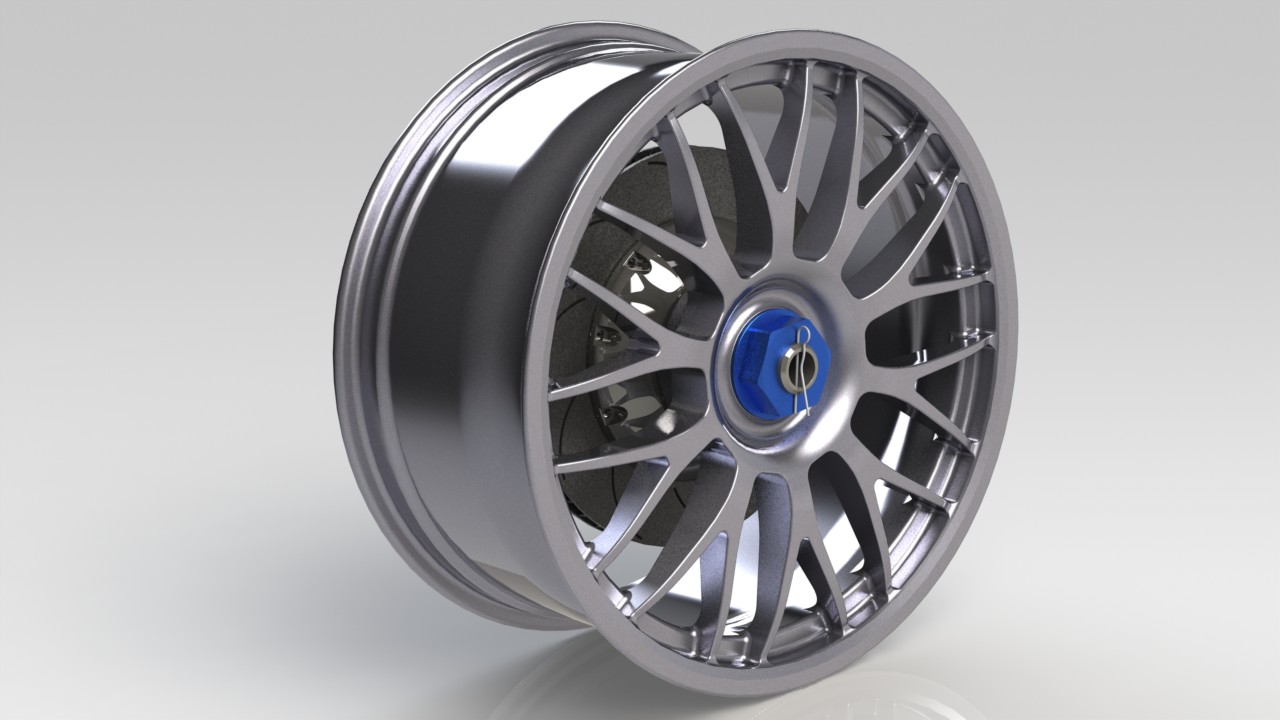
Yesterday I drawed my new rims in SolidWorks. I really like to just sit there and relax and draw.
I also checked out the weight of the rims. 8.08kg/each aren't bad for 19" I think.
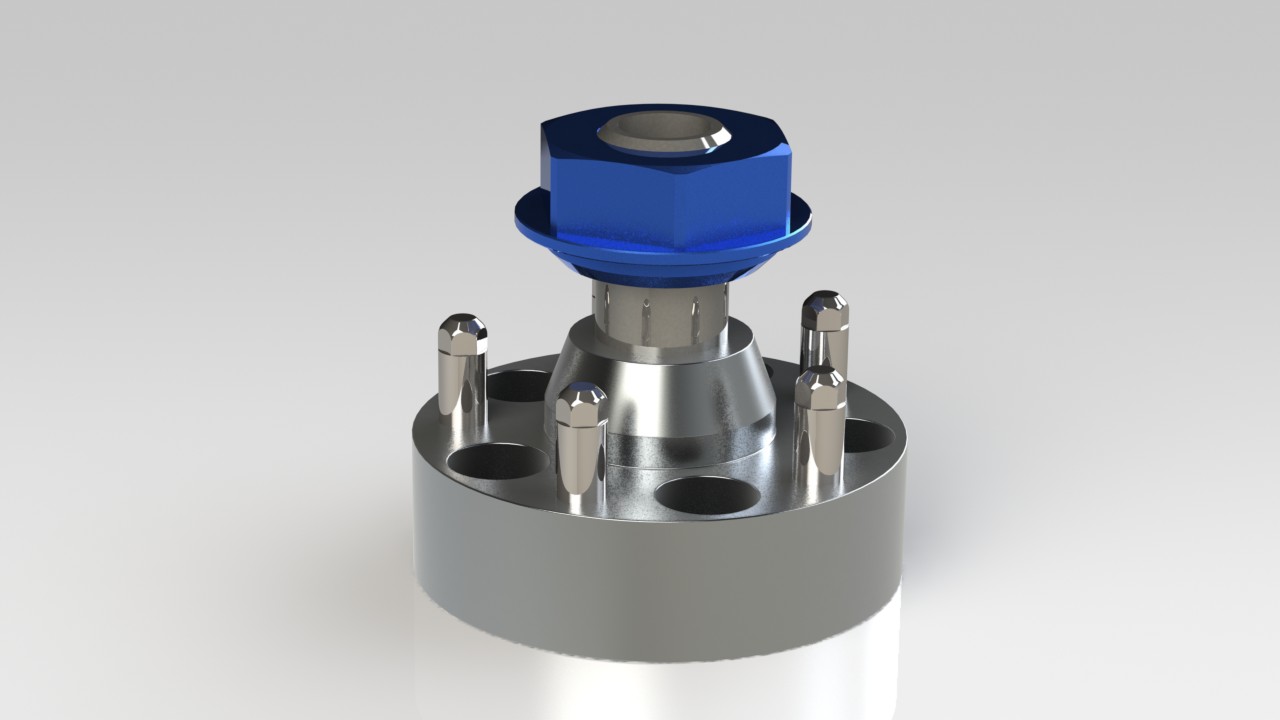
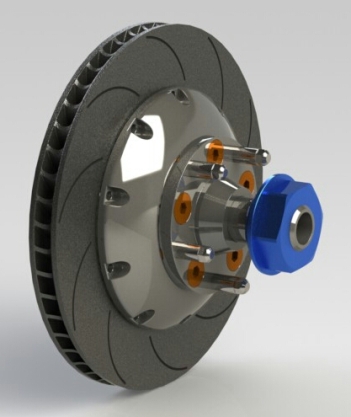
A little adapter as well. I want it as low as possible because the car isn't that wide. And I have long controller-arms. Maybe I will do some new wheelhubs as well
This is the digitalized BBS's I did. All measurement are corrent and it turned out good!
The whole package togheter.
Feel free to join my Facebook-group!
www.facebook.com/moosevilleperformance
Yesterday I drawed my new rims in SolidWorks. I really like to just sit there and relax and draw.
I also checked out the weight of the rims. 8.08kg/each aren't bad for 19" I think.

A little adapter as well. I want it as low as possible because the car isn't that wide. And I have long controller-arms. Maybe I will do some new wheelhubs as well

This is the digitalized BBS's I did. All measurement are corrent and it turned out good!

The whole package togheter.

Feel free to join my Facebook-group!
www.facebook.com/moosevilleperformance


 but hey it's a test
Thread Starter
Senior Member
Joined: Nov 2003
Posts: 533
Likes: 3
From: Sweden
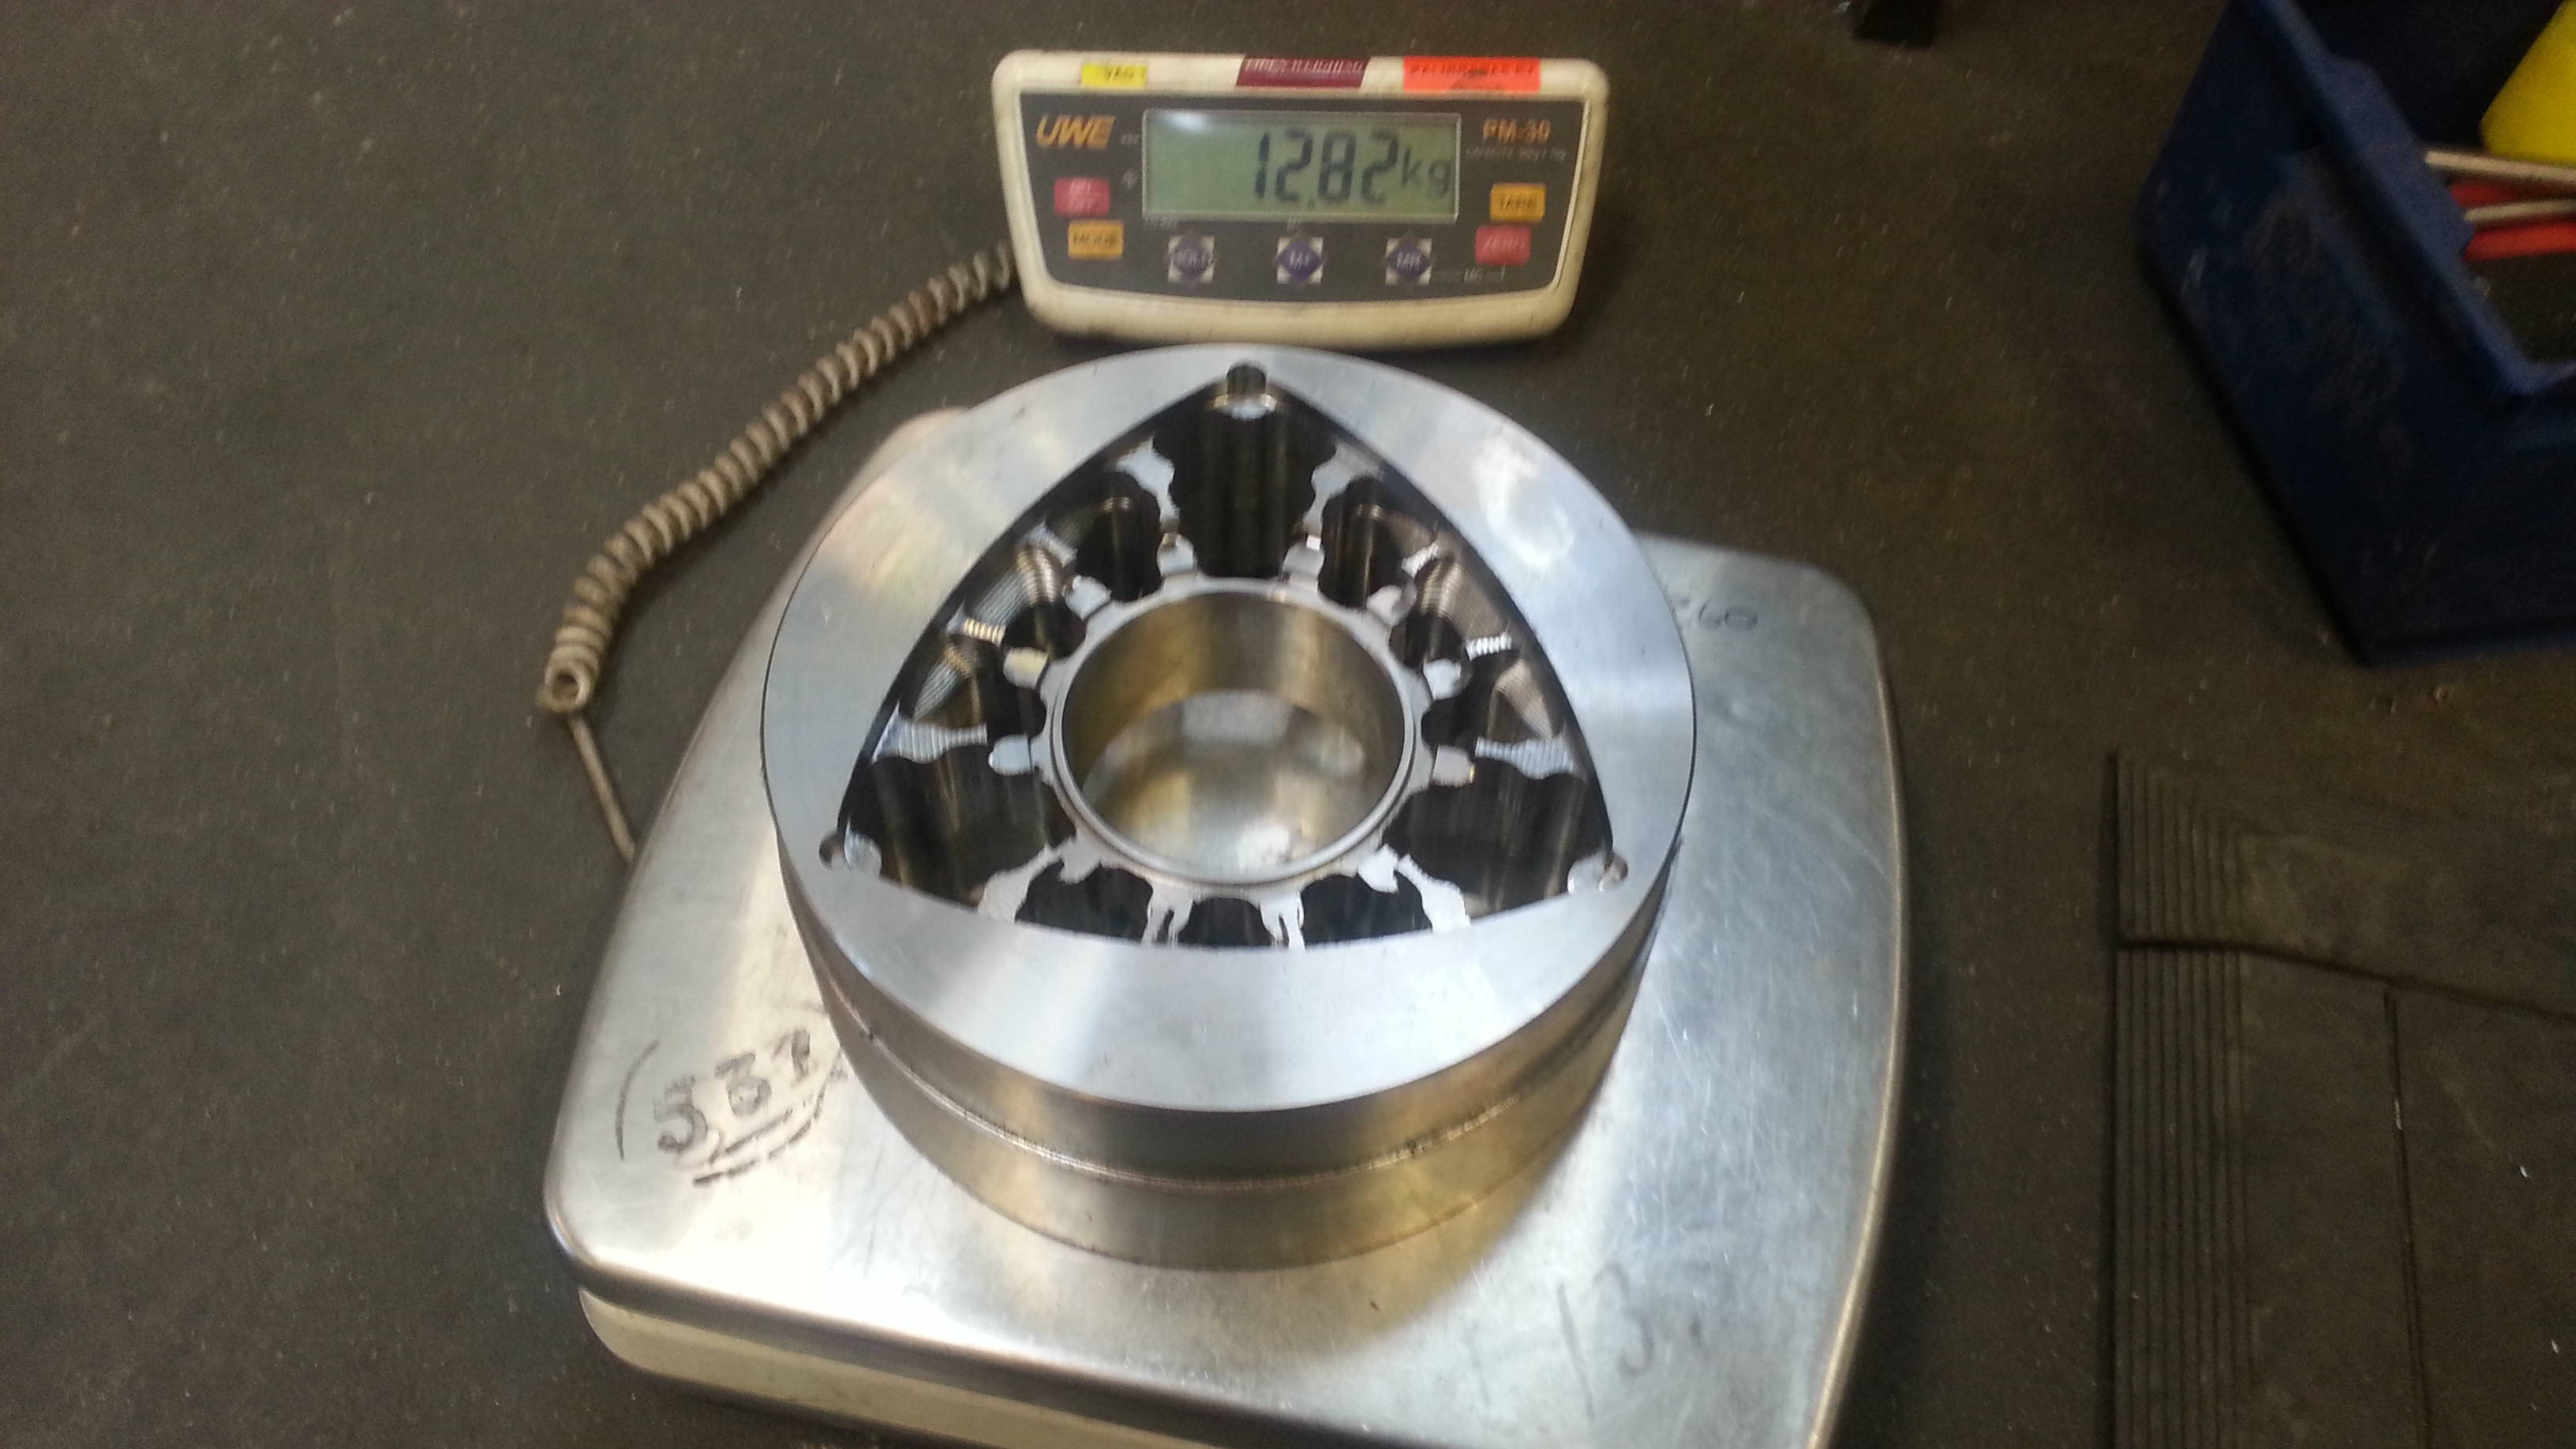
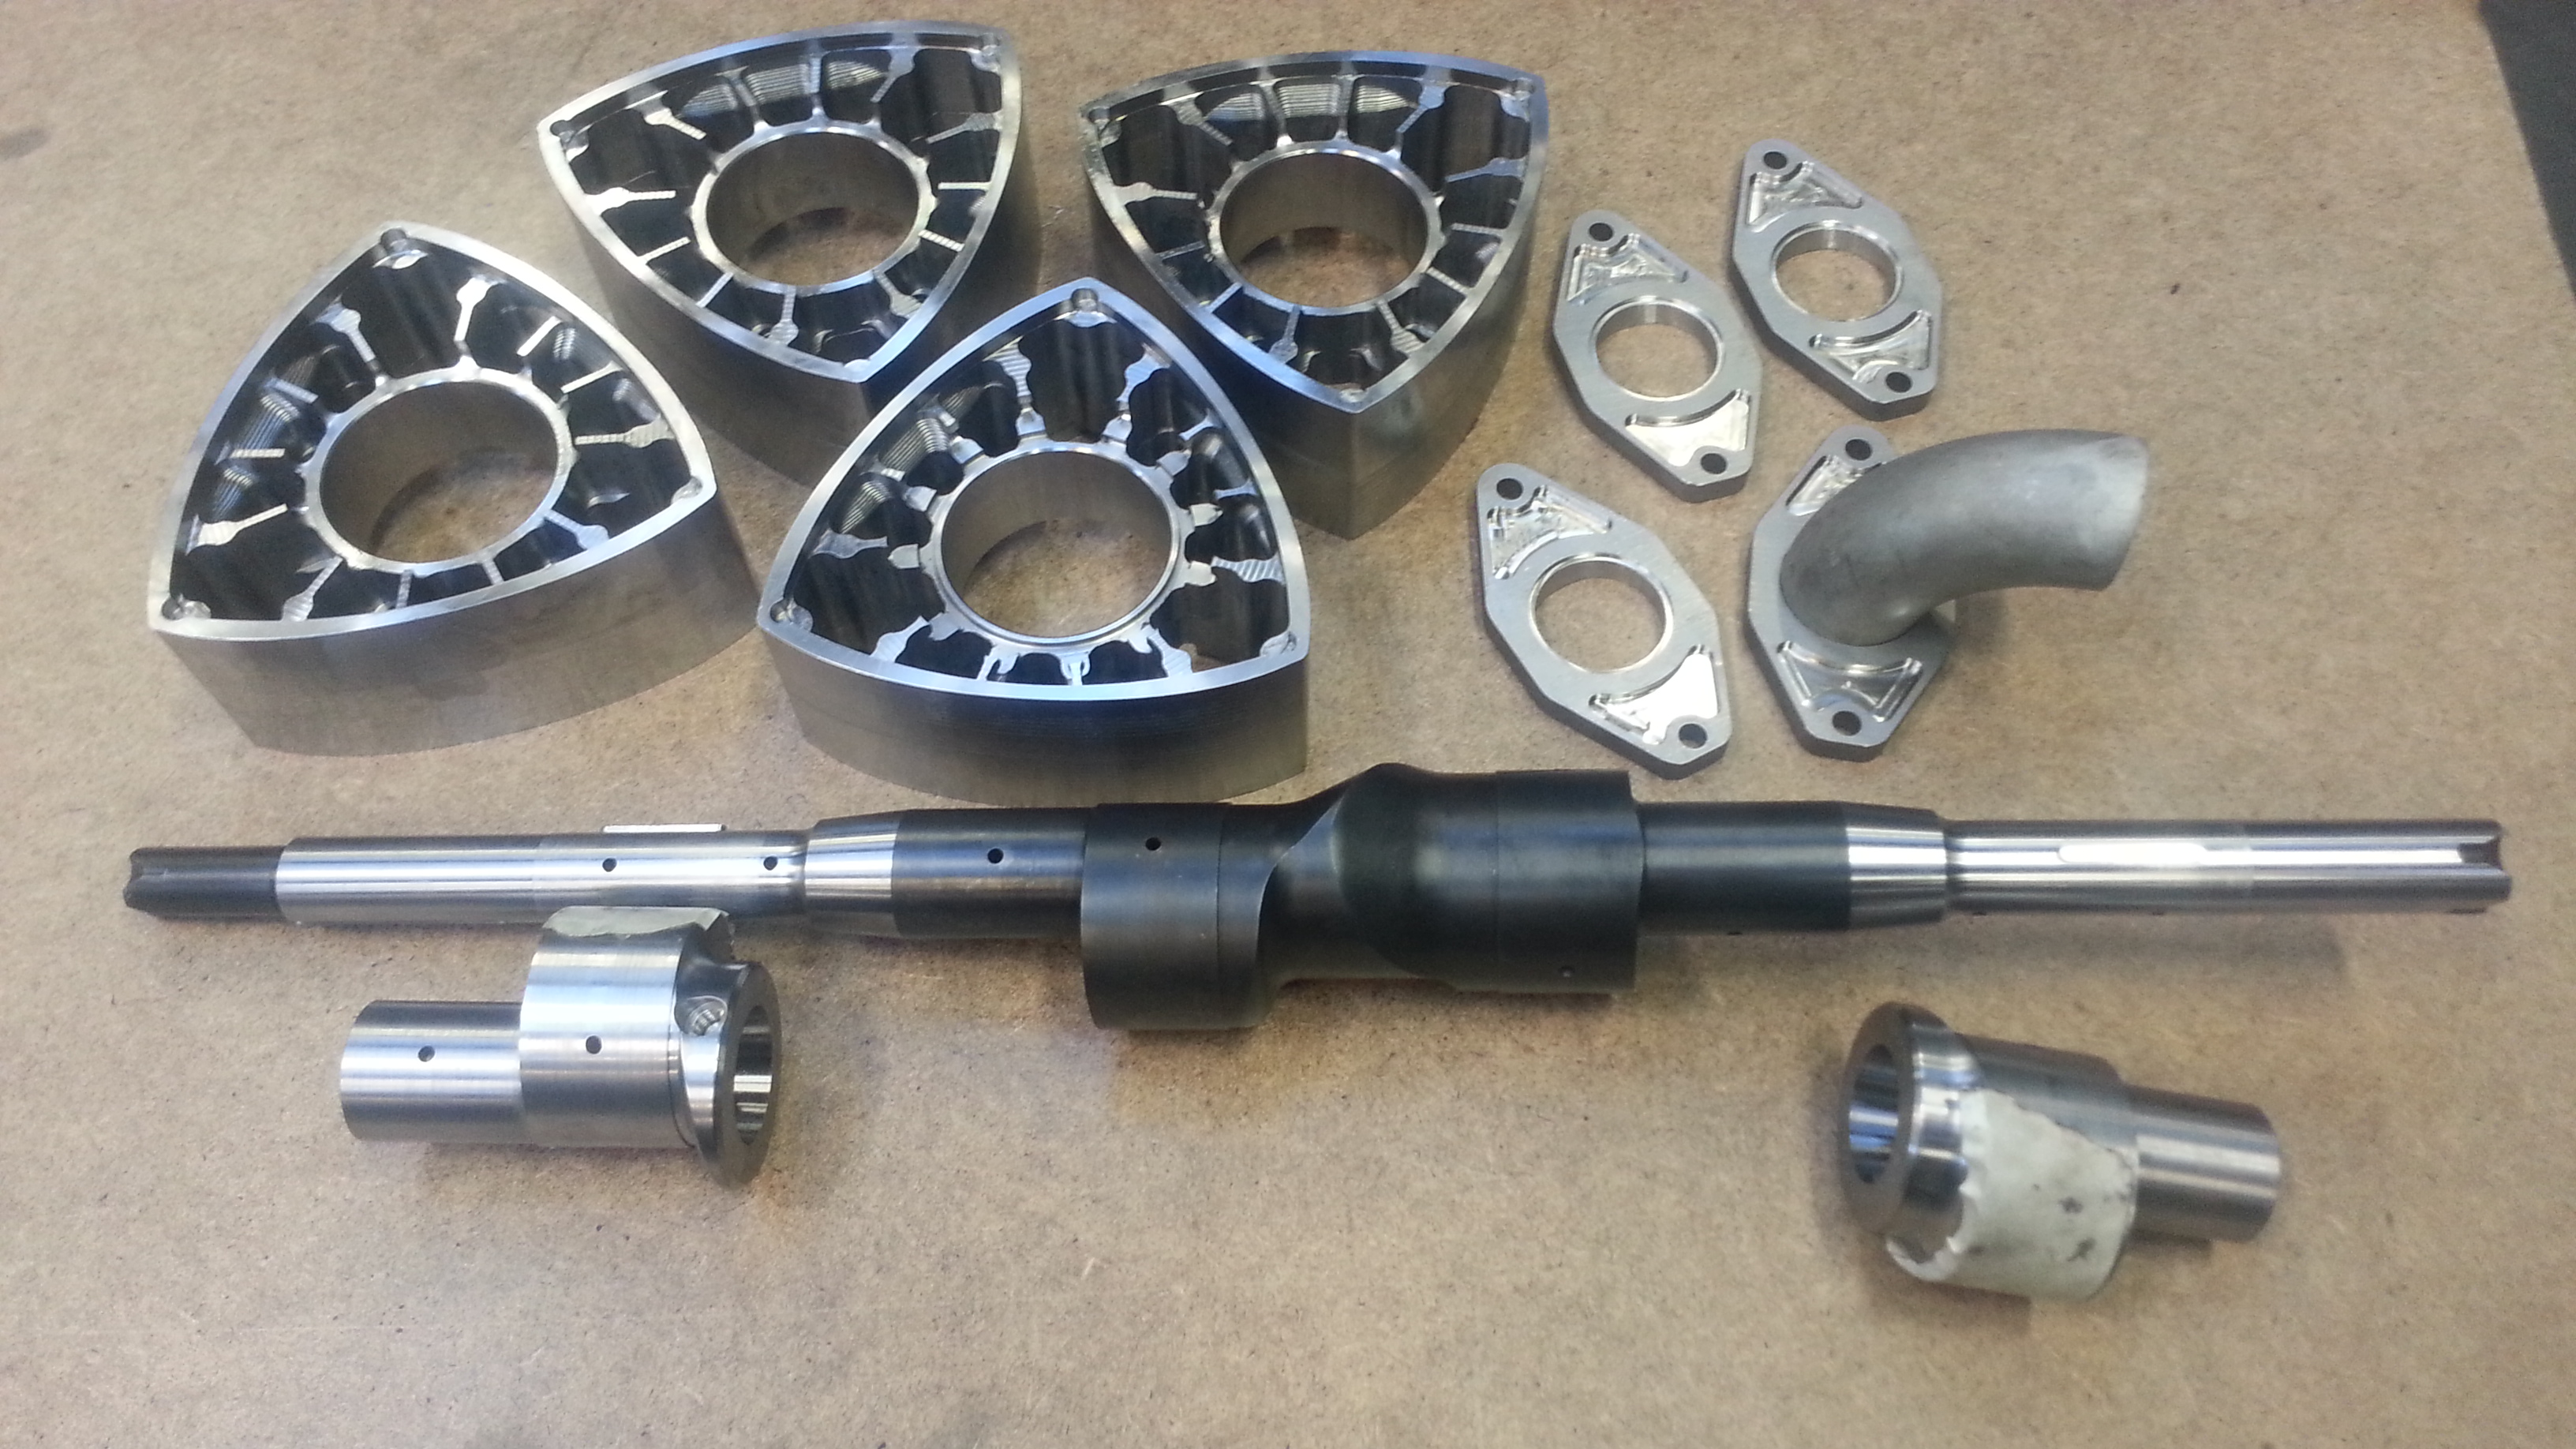
Today I have continued on the rotors.
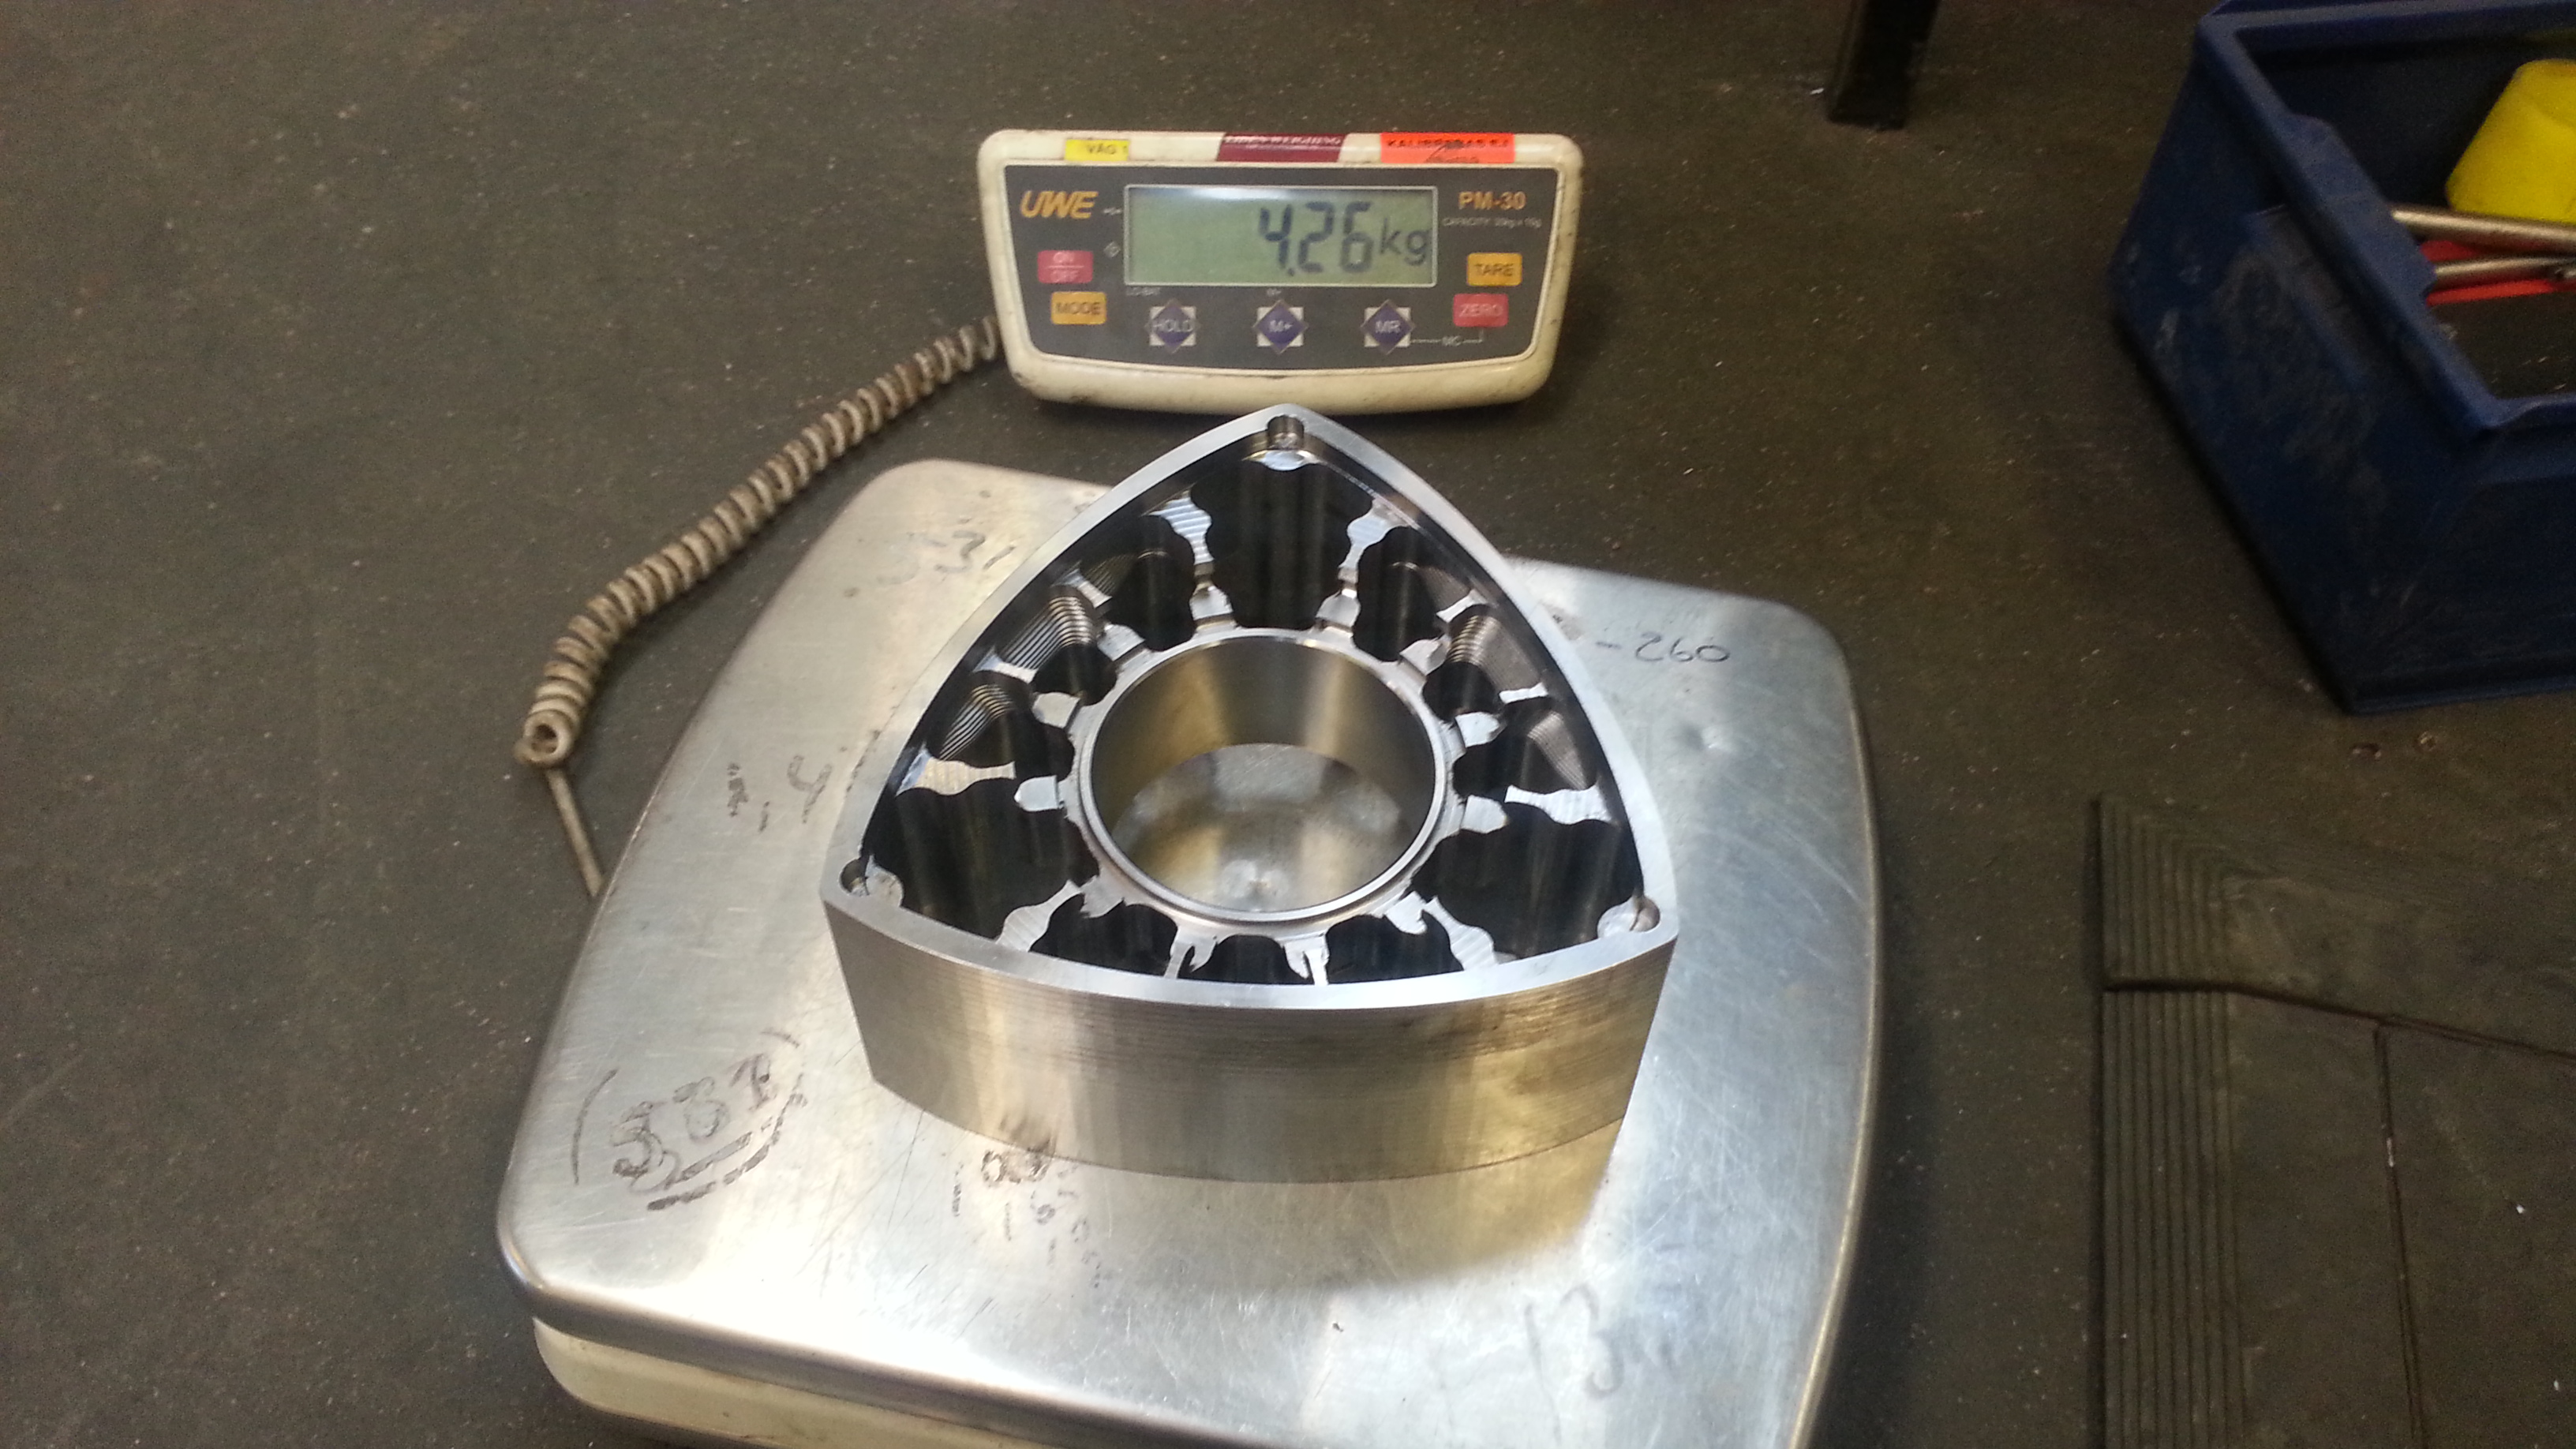
Did some roughing on the outer contour. Still 1.25mm left. Will be around 3.9kg when done.
Before
After
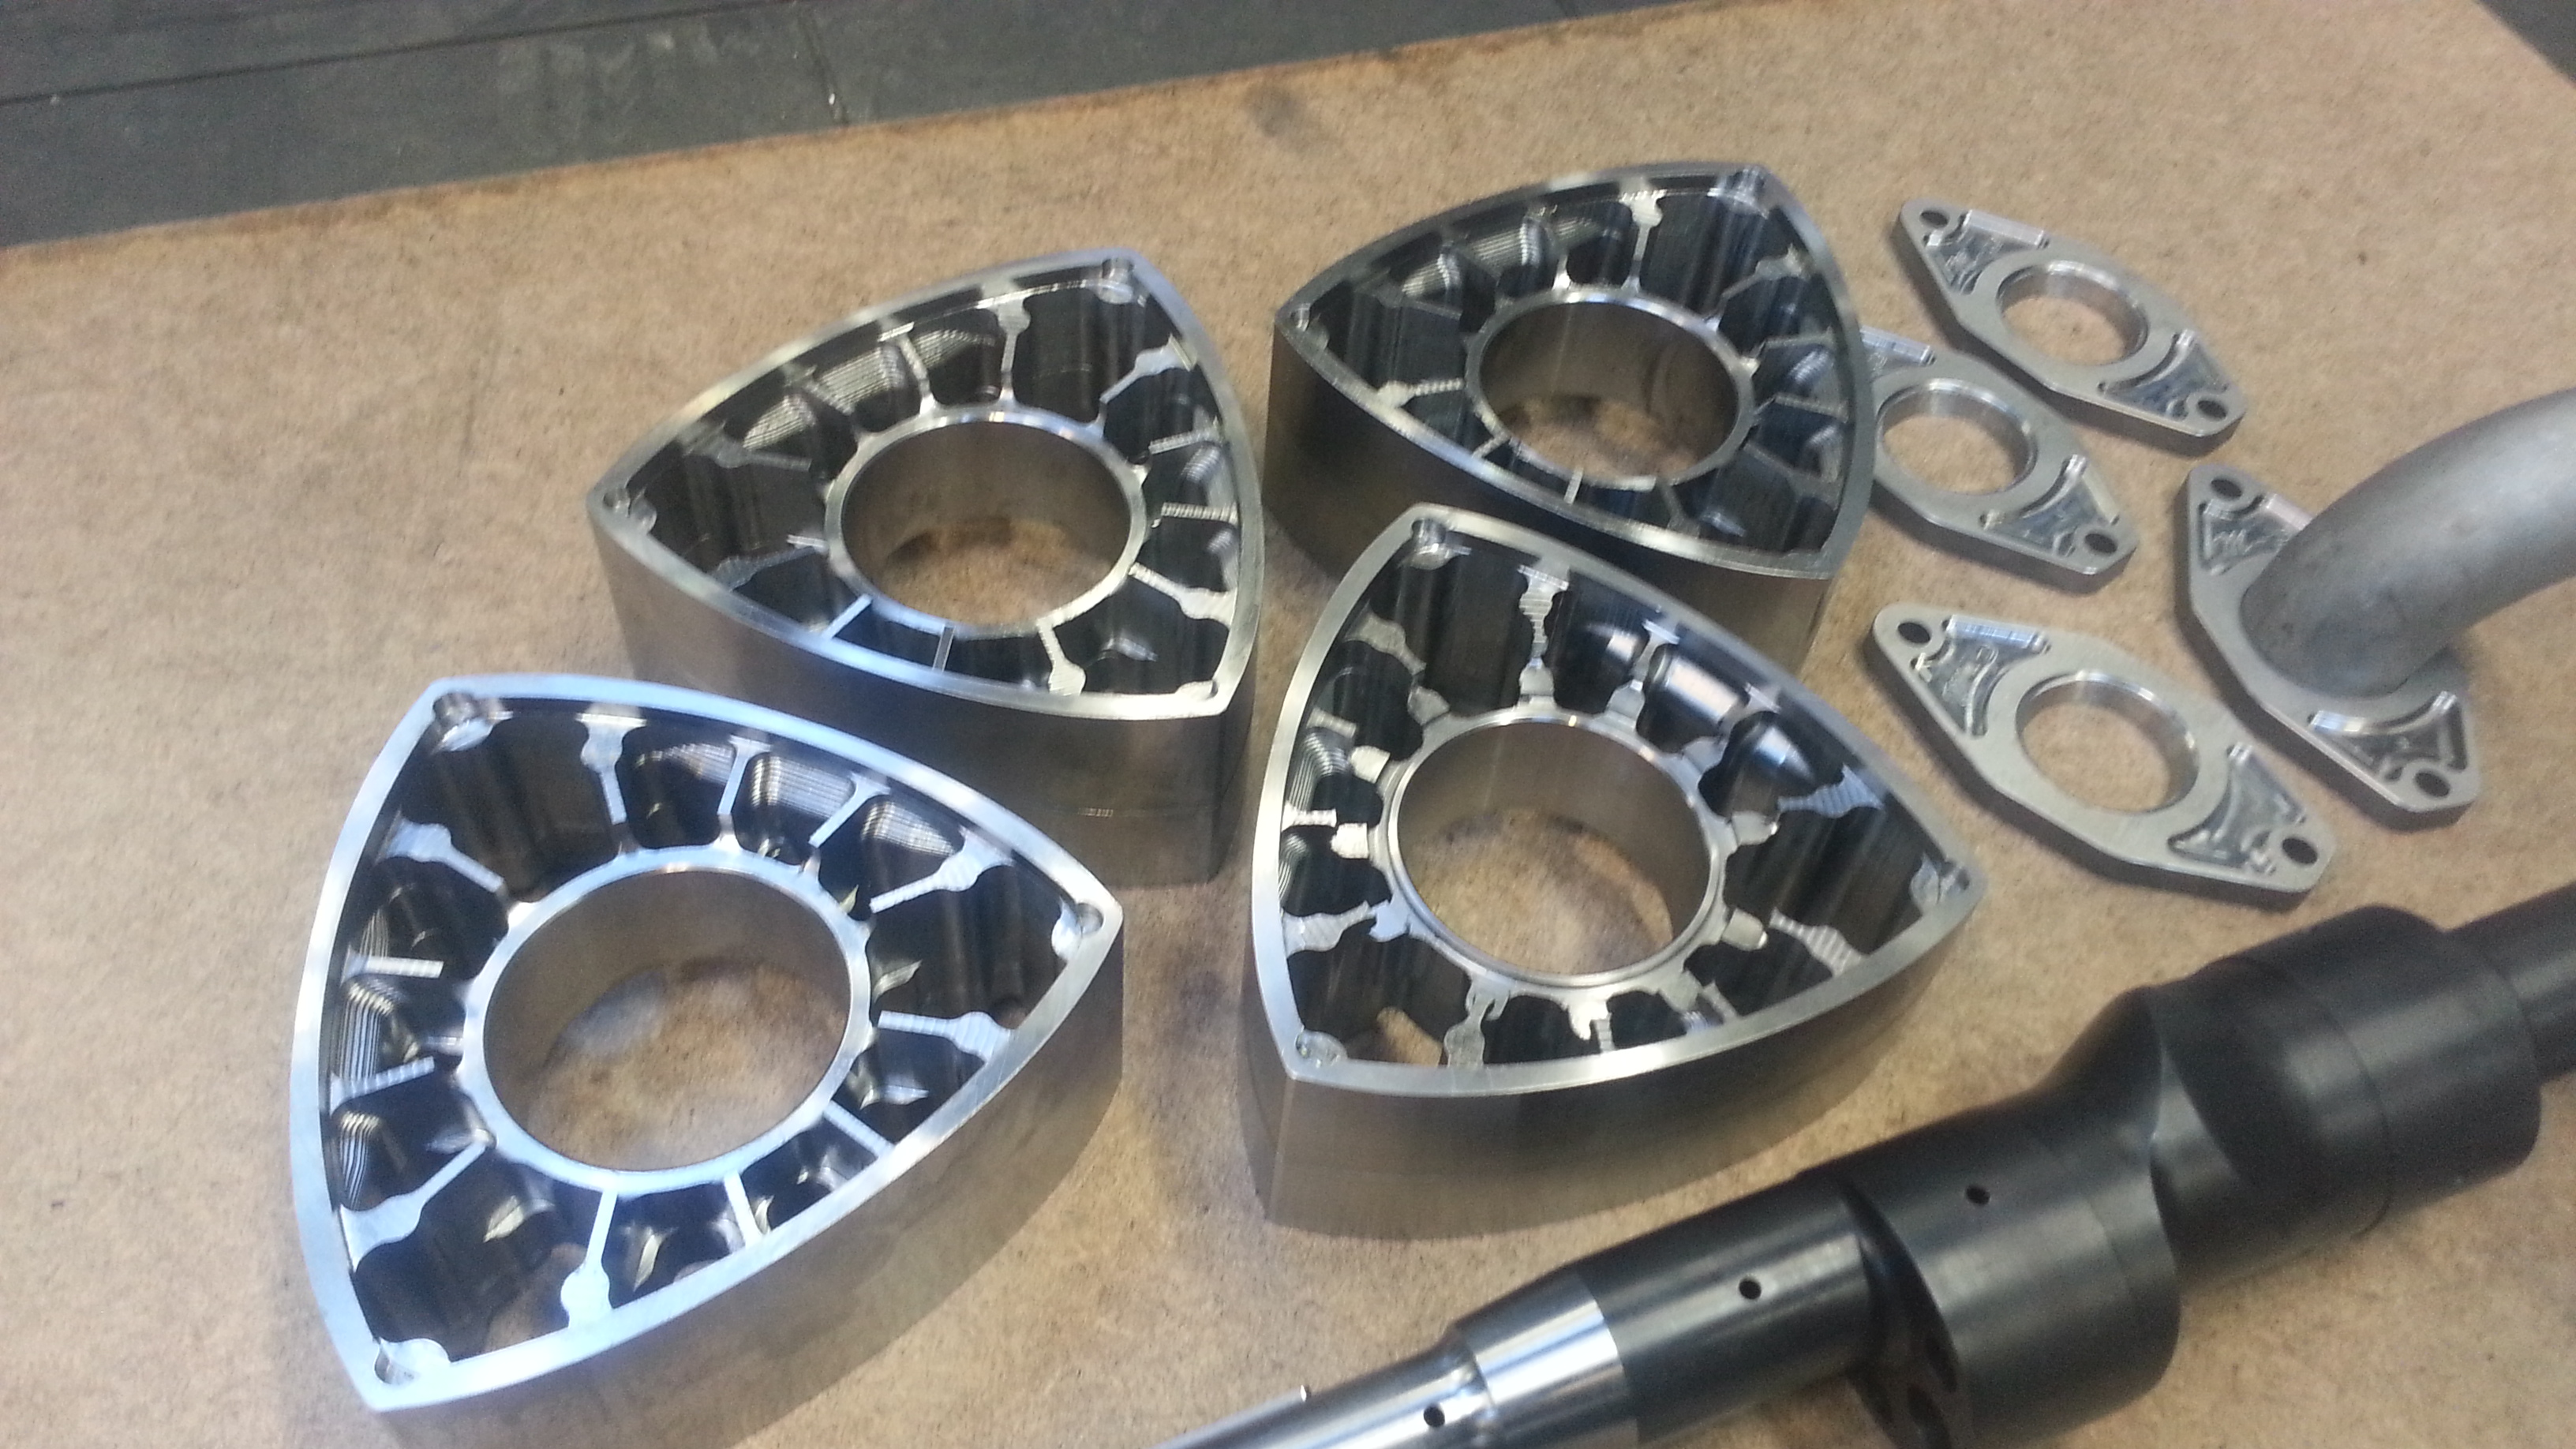
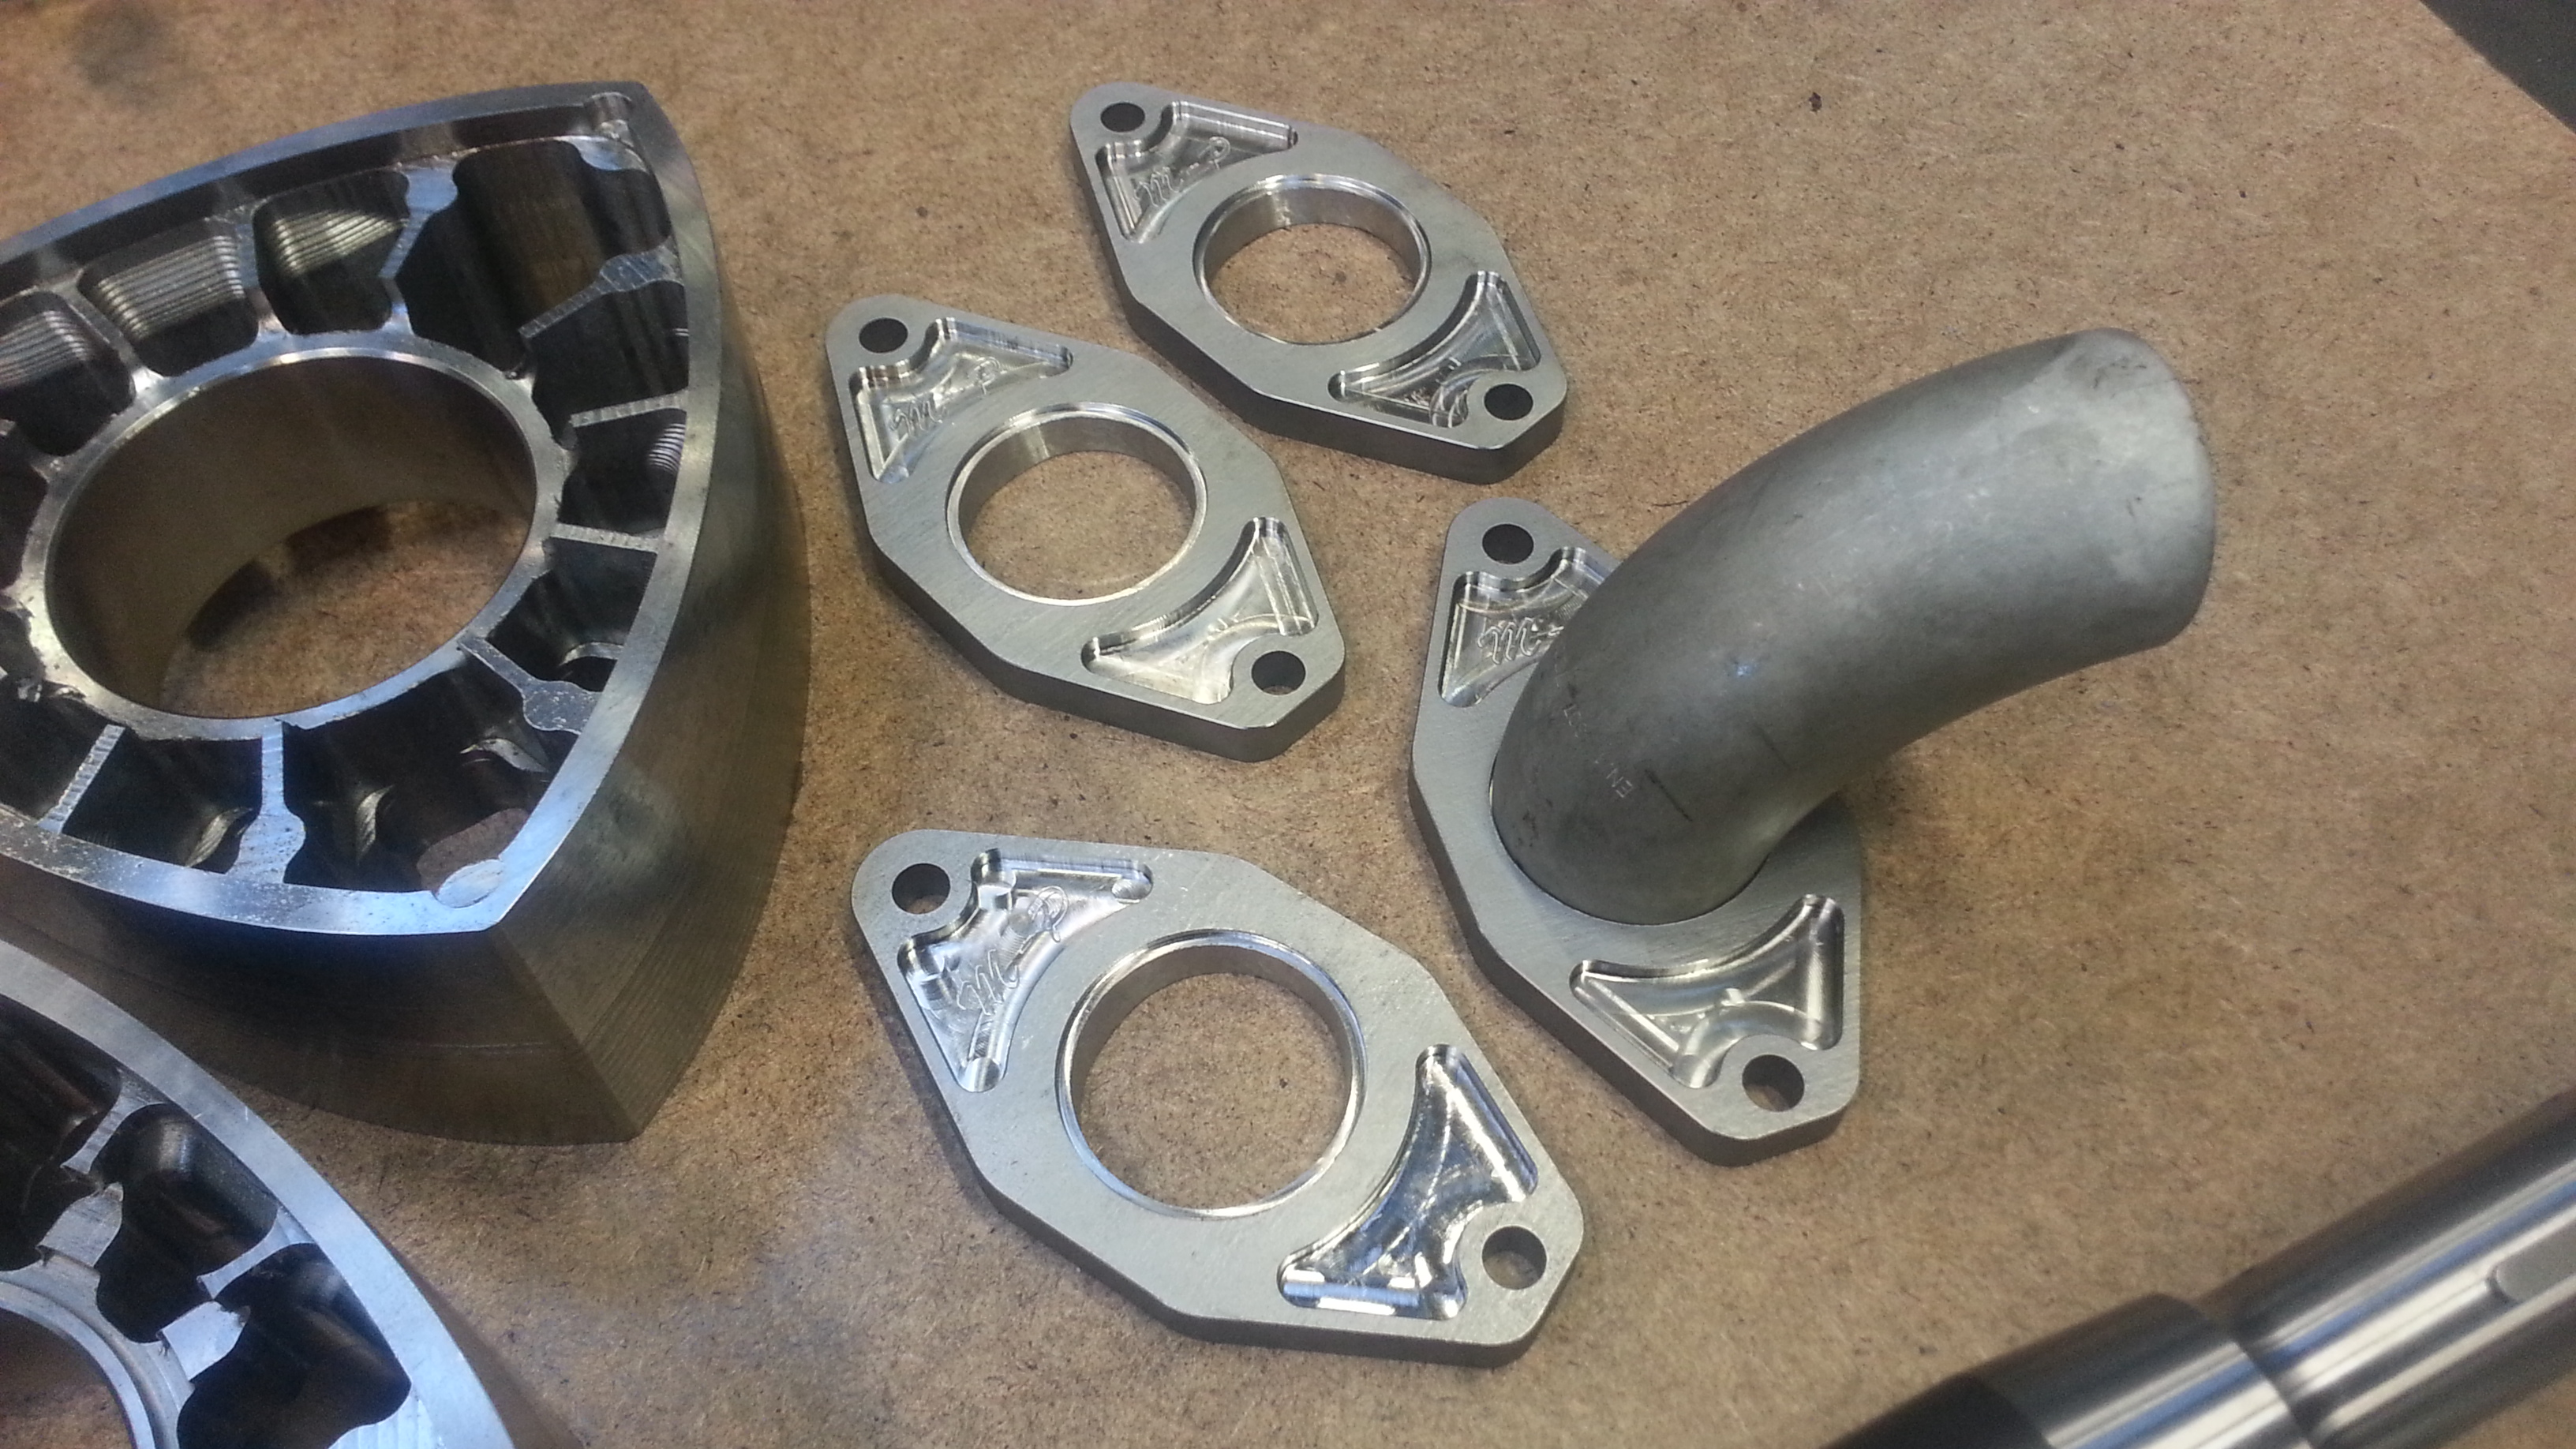
Also did some adjustments on the exhaustflanges. Now the tubing fits perfect!
Last I did a key to the E-shaft. 5x5x48mm, and turned out well.
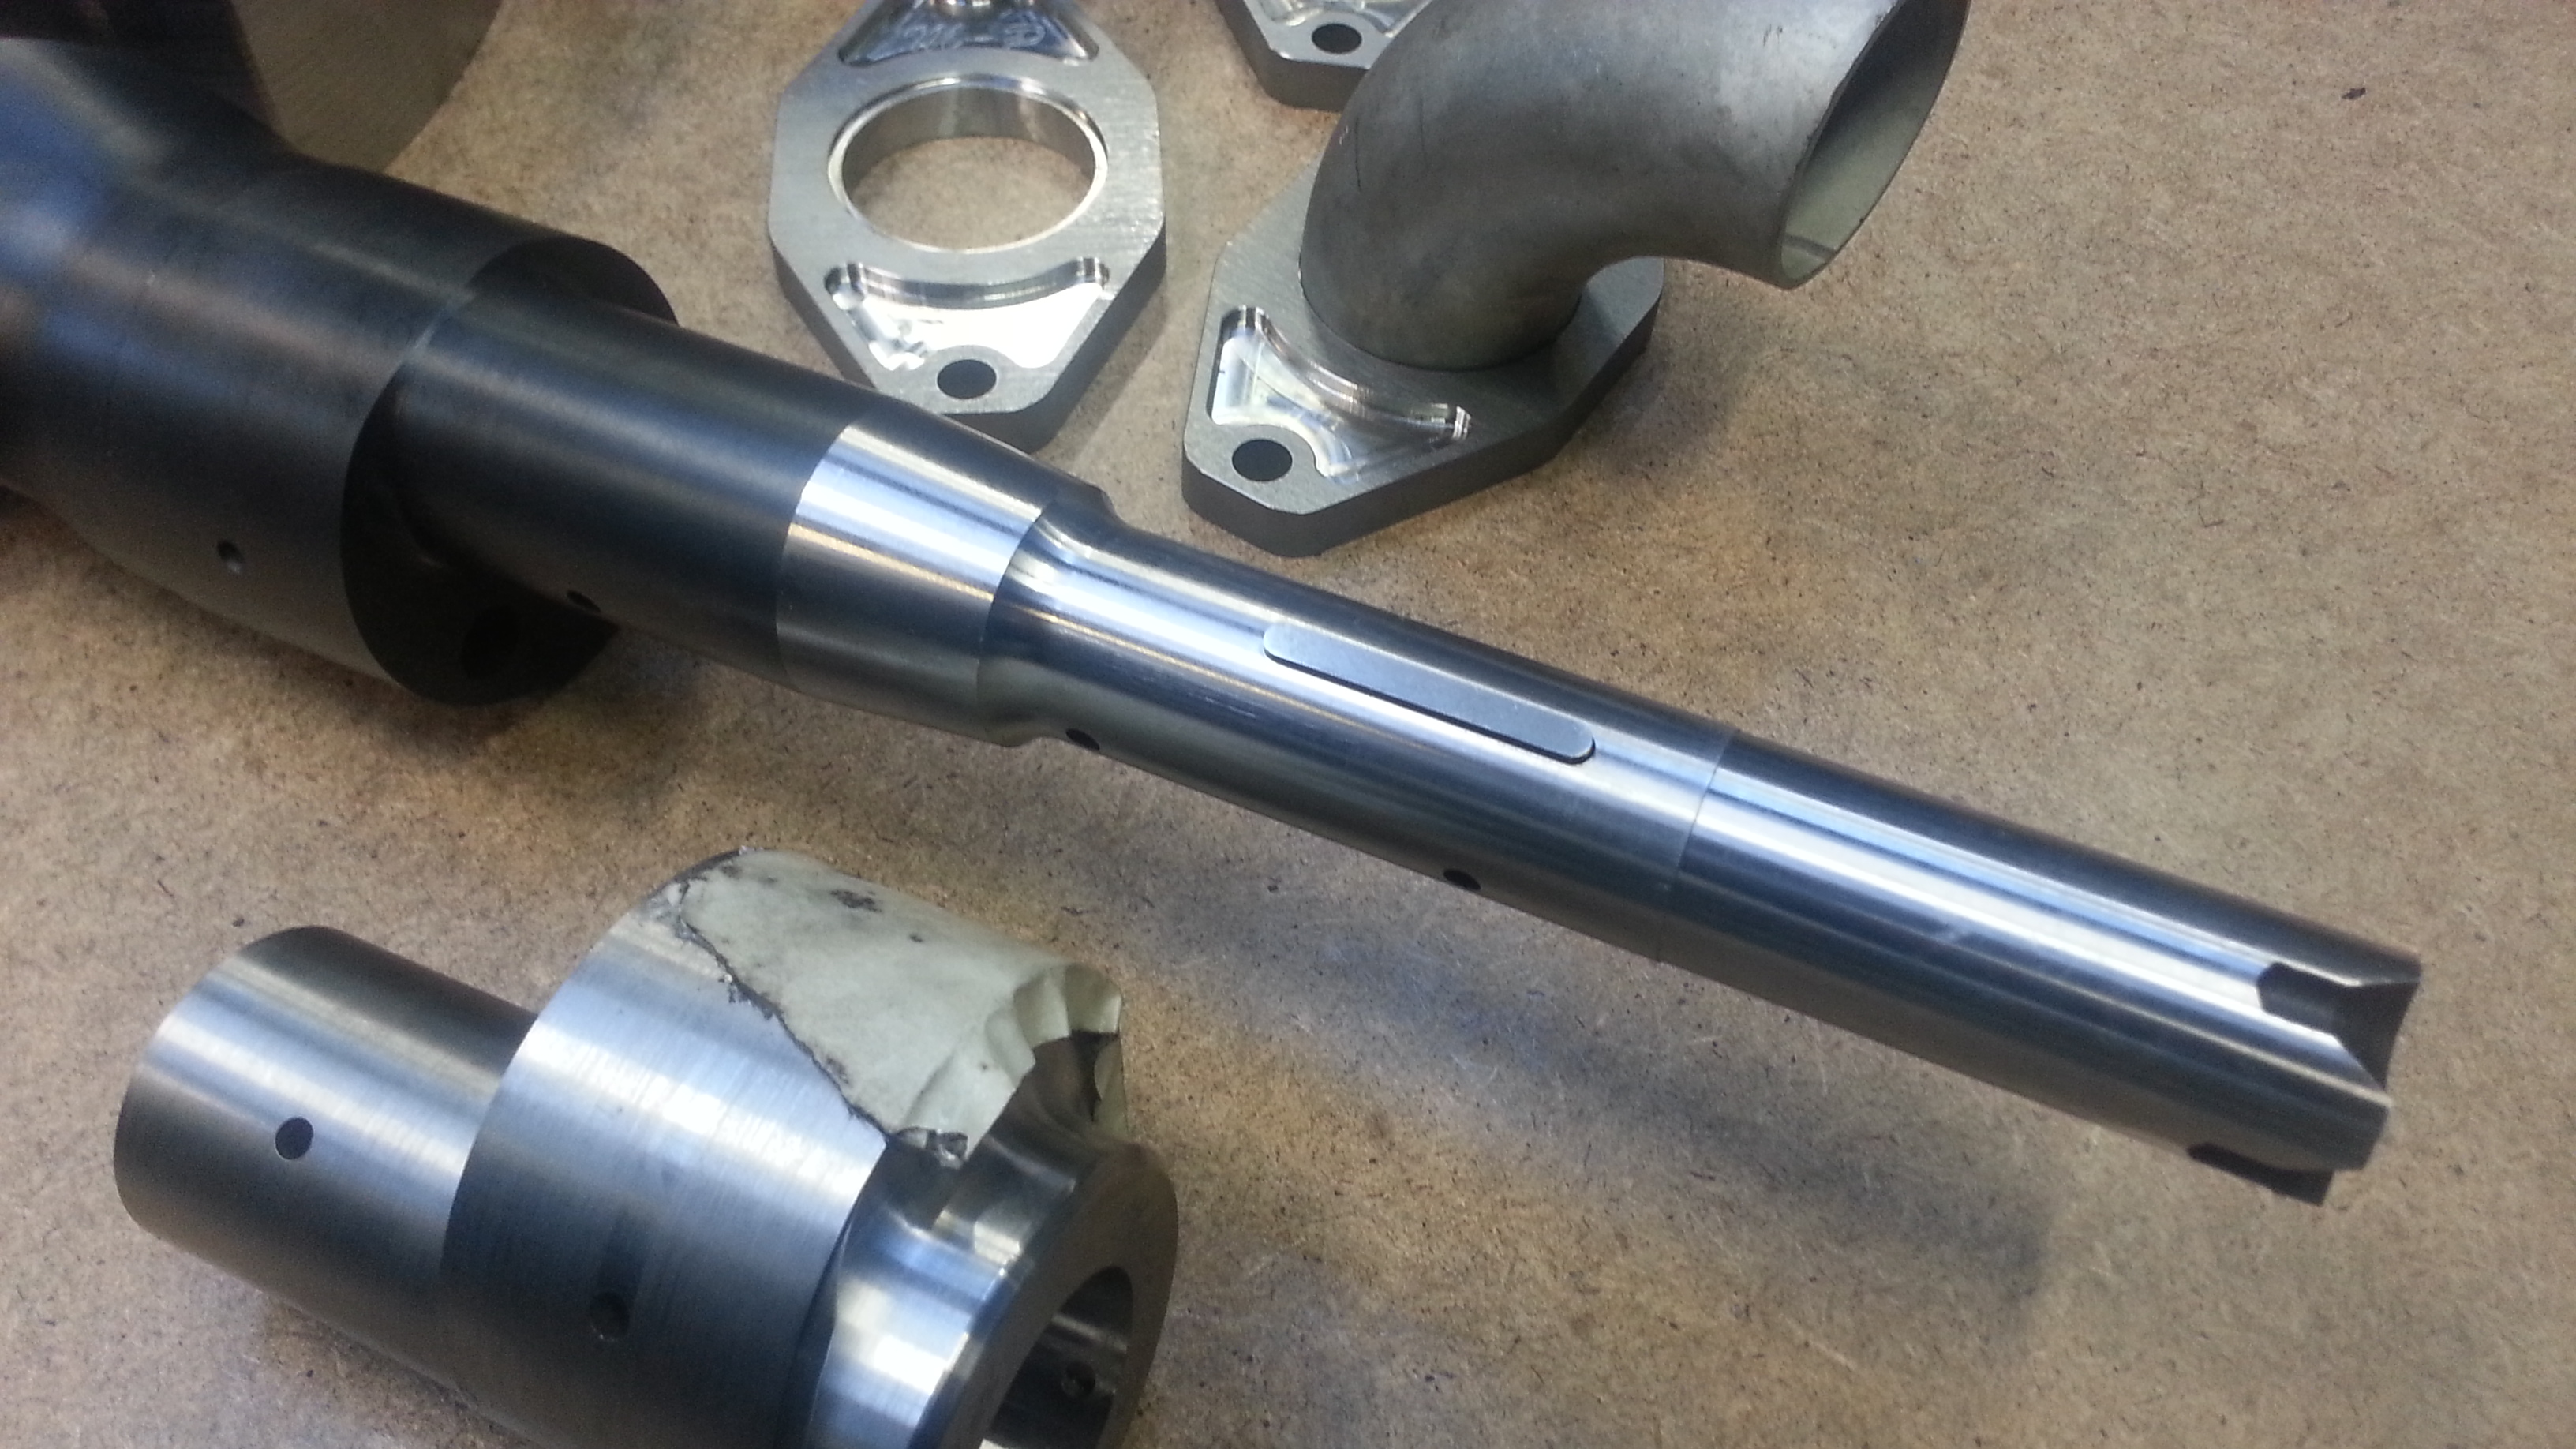
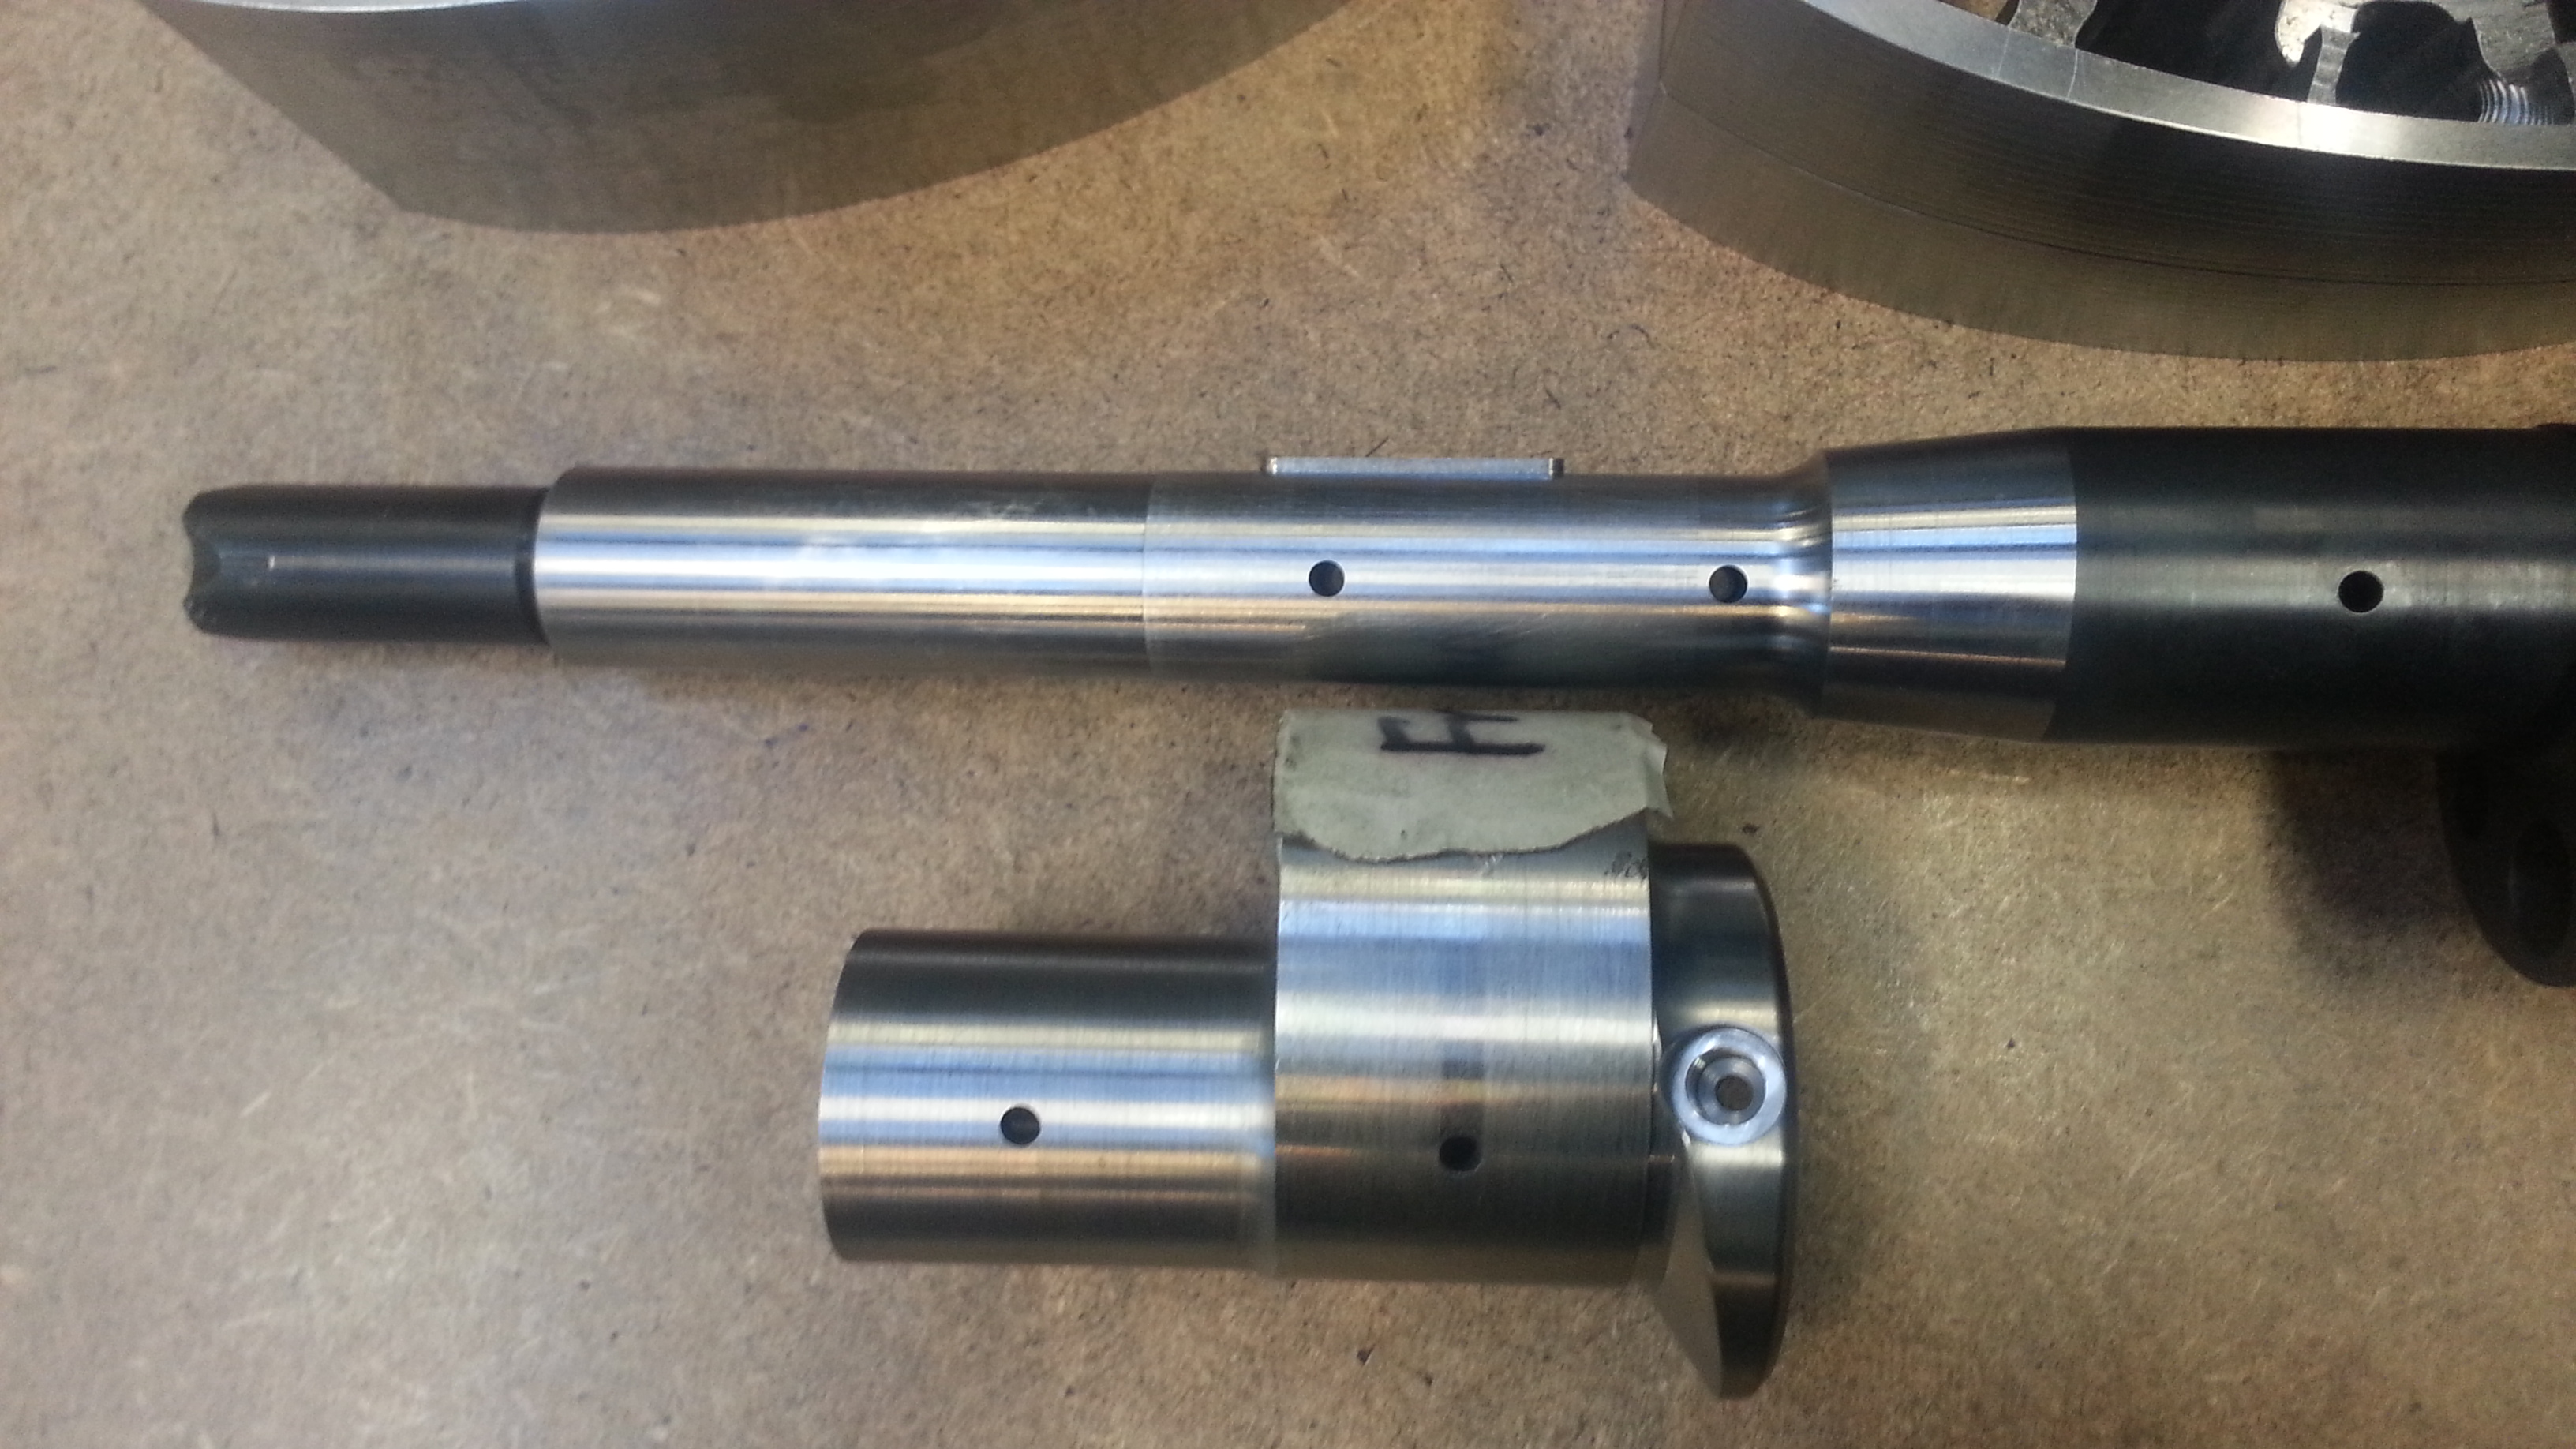
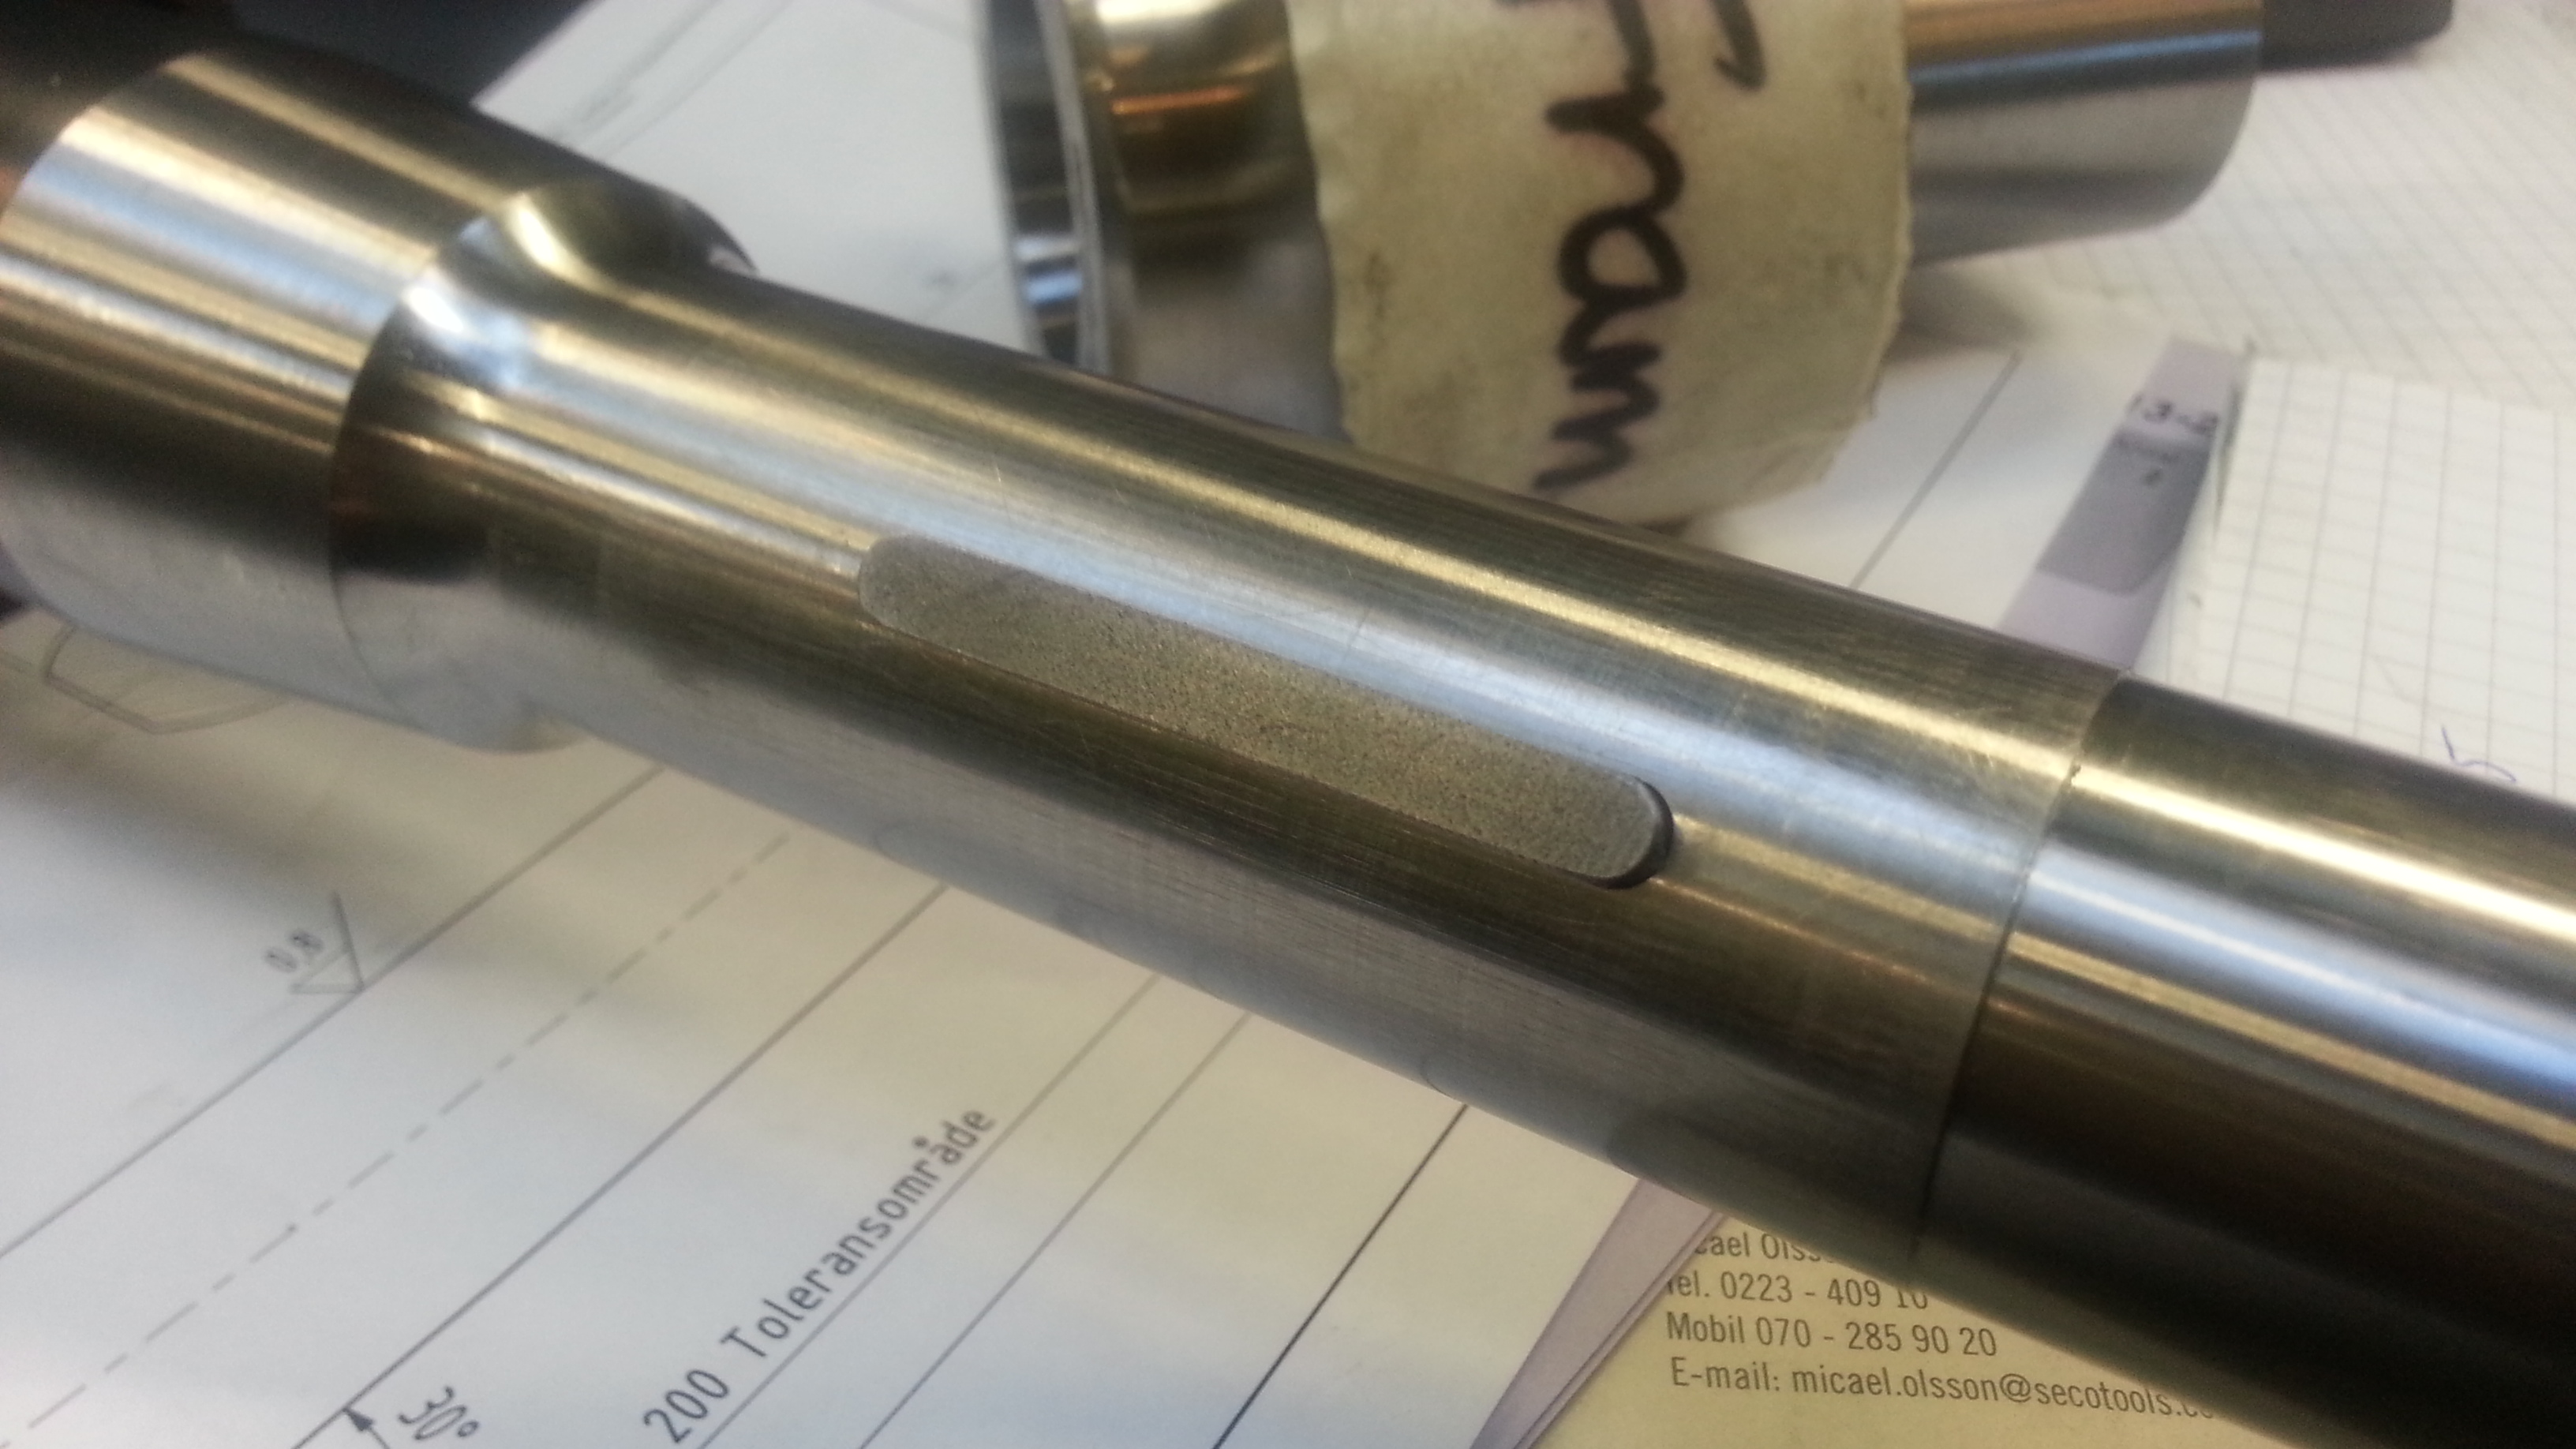
First assembly with grinded surfaces and the key. Perfect!
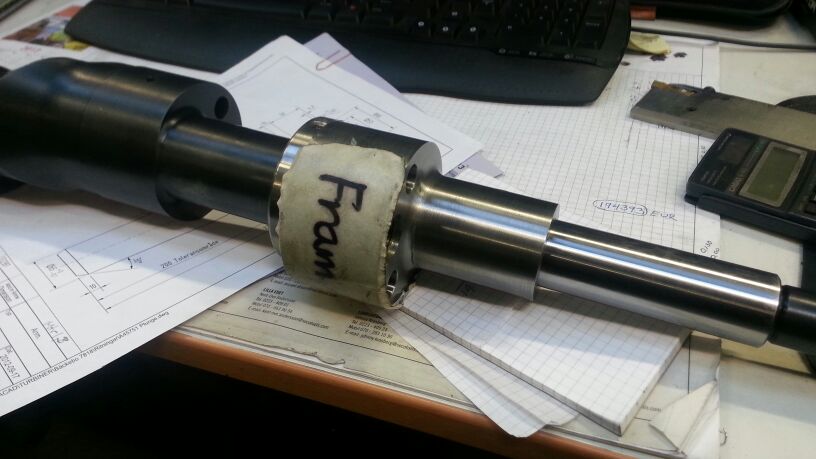
Photo on the group of todays game.
Did some roughing on the outer contour. Still 1.25mm left. Will be around 3.9kg when done.
Before

After


Also did some adjustments on the exhaustflanges. Now the tubing fits perfect!

Last I did a key to the E-shaft. 5x5x48mm, and turned out well.


First assembly with grinded surfaces and the key. Perfect!

Photo on the group of todays game.


Joined: May 2005
Posts: 3,243
Likes: 42
From: Kennewick, Washington
he is going to add bathtubs eventually from the looks of it. look at the pictures of the rotors, you can see the extra material is there to allow for a bathtub.

Also: looking forward to seeing additional work on the housings! Will you be doing your own irons also?


