When you click on links to various merchants on this site and make a purchase, this can result in this site earning a commission. Affiliate programs and affiliations include, but are not limited to, the eBay Partner Network.
All part of owning and working on 30+ year old Japanese cars. Been where you are now,acetylene glow red hot heat is your friend for best chance of removal of fasteners like that. Looks like you're well on your way to get out remains of that bolt.
Owned,worked on a lot of these,the corrosion,rust is specific to each car even two cars from same area. Garage kept cars tend to be in best shape when it comes to chassis rust but not always. 1st gens that have been outside all their life tend to have more,where they've been geographically makes all the difference.
Have seen cars with bodys so rotted you wouldn't look at them twice,but flip them over and chassis underpinnings right down to brake lines are golden=parts car. The other way around is really a shame where the body/paint/interior looks to be in good condition,runs good but out of sight rust that's beyond economical to repair even with DIY skills also makes it a parts car. Some you just can't save,have learned this the hard way. Really makes you appreciate a sound rust free car,these are the ones that though you may have to invest some coin to get it to where you want,it'll be around for a long time. A plus is they are much easier to work on.
I could not get it out. Welding a nut to it. Acetylene torch.pb blaster. You name it I threw the book at it. Every other bolt came out like it was put in yesterday. I'm very defeated. Probably going to have to drill it larger and tap it for a bigger bolt. And then I'll over engineer it and add a nut on the back side that's tacked in place. I had a great day working on the car Friday. Did all new suspension links in the rear and sway bar bushings. And now I'm at a stand still.
Looks like you have your drilled hole pretty much on center. As you get near the size of original hole,step up bit size very slowly til just a shell left in there and take a small punch and collapse the shell away from threads. With some finesse you can use an air powered hacksaw with a thin blade and cut thru most of the shell in 2-3 places and using a punch/pick,break out the sections to expose the original threads/hole size. I do this a fair amount for broken off fasteners in motorcycle engine cases where i need to save original threads and drilling oversize or heli coiling is not an option.Tedious,but works.
It is possible that bolt was cross threaded on install last time it was out and hammered home with an impact gun,not 1st time i have seen that happen in that piece you're working on. Threads may still be repairable.
Last edited by GSLSEforme; Mar 31, 2019 at 12:08 PM.
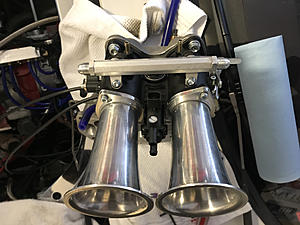
Did a little work to my jdm 12at today... Going to start being more proactive on the build... Made a flange for my now 3rd turbo manifold lol... Yes it is a real 12at!
Got a chance to finish installing my efan today...
All soldered wiring and relays and wires all tucked nicely...
Next thing to order my electric water pump and controller... And fuel injection parts..
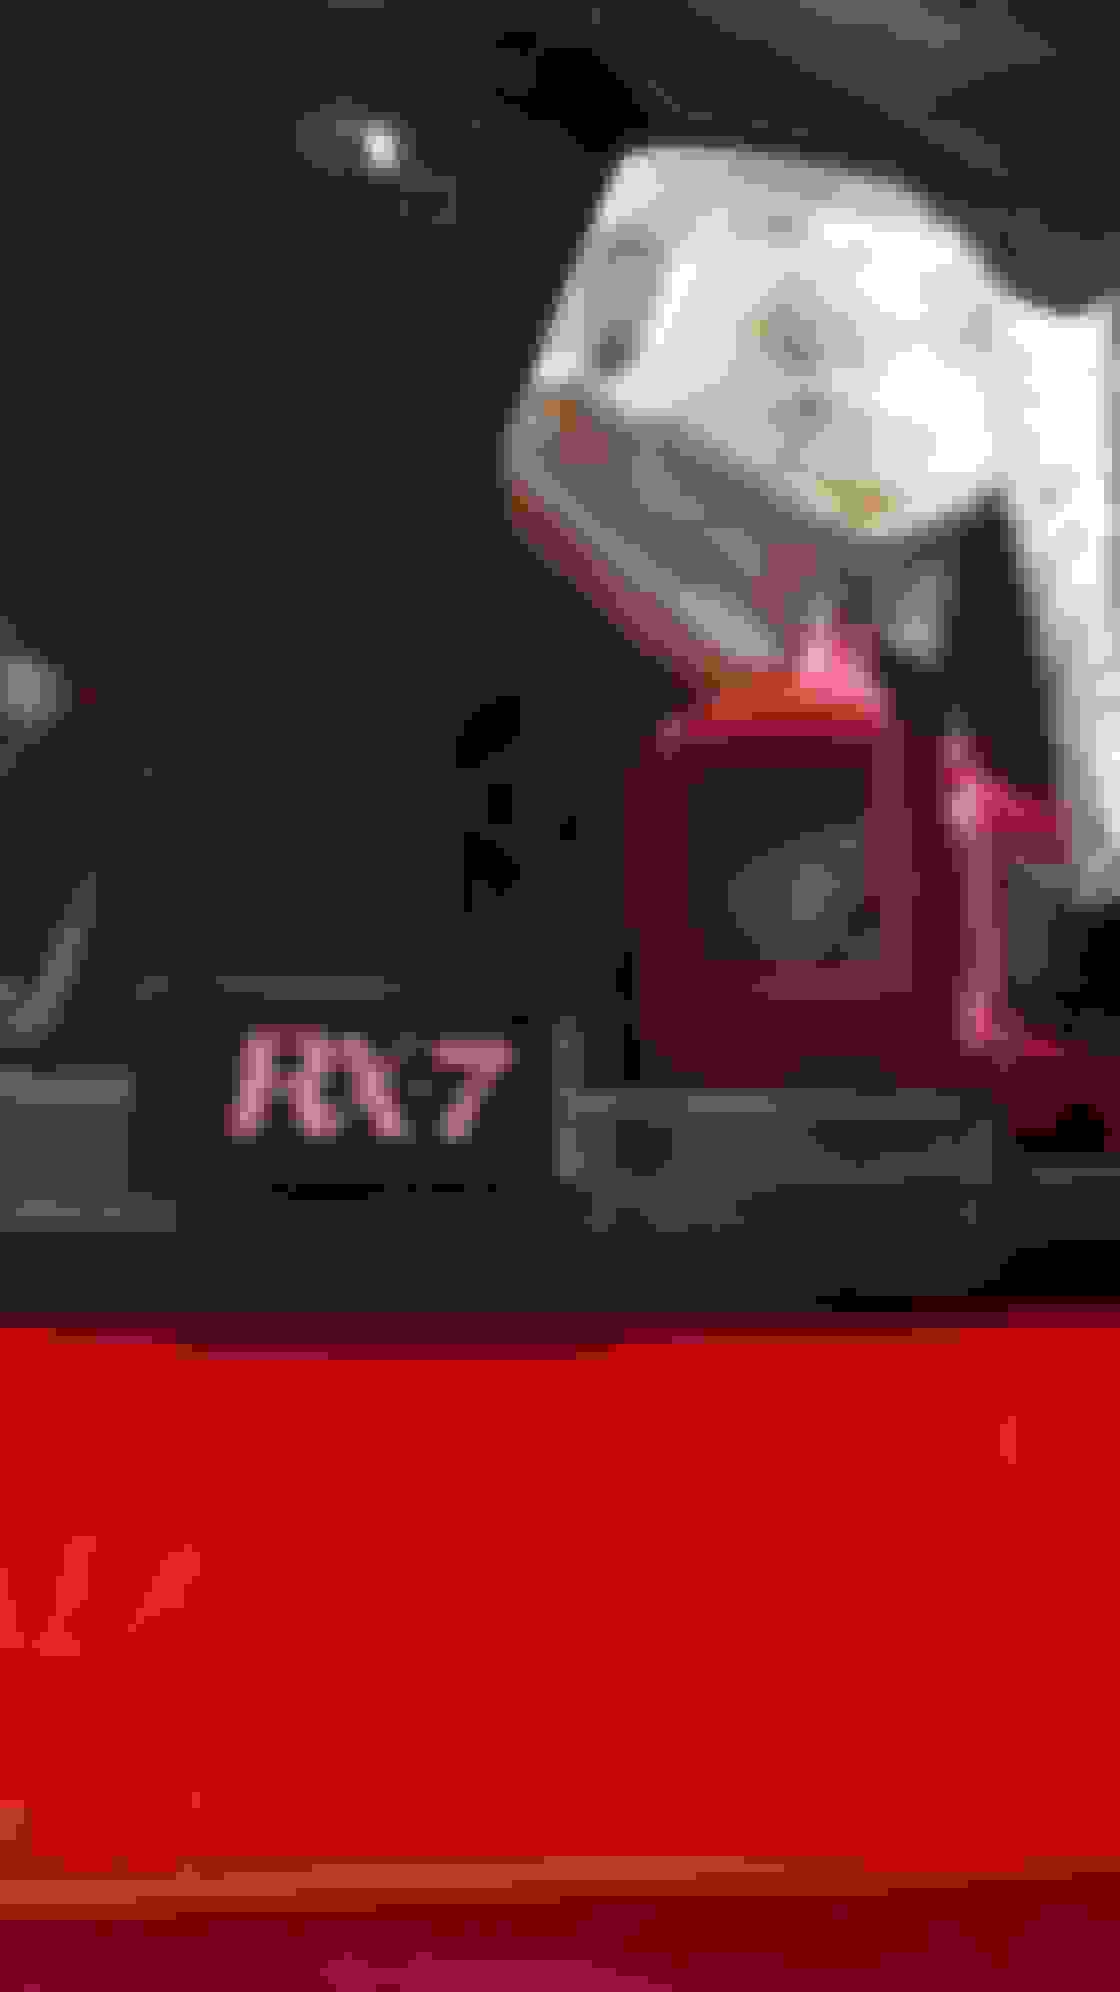
It was finally warm enough to install the rear hatch "replacement decal" on the black metal piece that the hatch latch attaches to.
I bought it on Ebay from an Australian vendor. It truly is a perfect match to the OEM RX-7 logo colour and letter outline.
It doesn't stand out too much and looks just like OEM, minus 37 years of fading. Just gotta touch up some of the paint chips with gloss black.
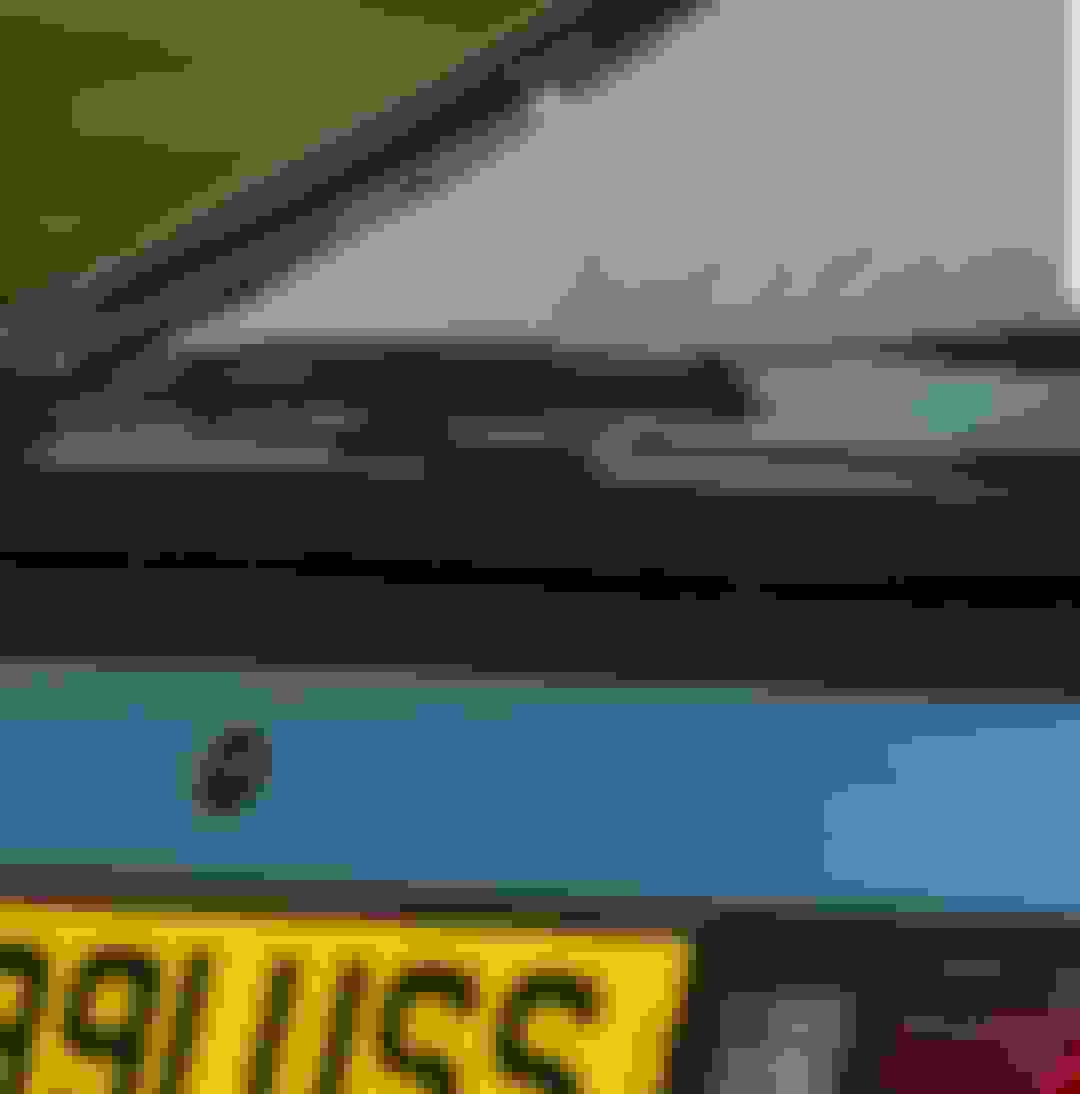
It is an excellent reproduction and looks great on your car, well done, but it's definitely not the original colour. The original hatch latch cover logo was a darker metallic bronzey-black colour, as shown by the following photo of a NOS replacement:
Poopy brown one is a NOS part from the US (I actually got the photo from a user on this forum). It is exactly the same part number as Australia and Japan (I have checked against the parts manuals). It is not unknown for Mazda to change small details like colour etc between years, but they usually indicate this by sticking a different letter after the part number (A, B, C etc). The part number for the part I listed was exactly the same as the original parts fiche.
Unfortunately it's no longer available new for me to look at in person.
I got my RX-7 20 years ago and I remember the hatch cover was in perfect condition at the time, but I couldn't tell you with any confidence anymore what colour it was because I have thought about it too much!
I managed to get some closeups of the British tender blue series 3 RX-7 with only 200 original miles that was featured on Jalopnik. As shown below, it has the dark coloured logo. I strongly suspect this finish either rubbed off or faded leaving it looking whitish over time.
Poopy brown one is a NOS part from the US (I actually got the photo from a user on this forum). It is exactly the same part number as Australia and Japan (I have checked against the parts manuals). It is not unknown for Mazda to change small details like colour etc between years, but they usually indicate this by sticking a different letter after the part number (A, B, C etc). The part number for the part I listed was exactly the same as the original parts fiche.
I
Unfortunately it's no longer available new for me to look at in person.
I got my RX-7 20 years ago and I remember the hatch cover was in perfect condition at the time, but I couldn't tell you with any confidence anymore what colour it was because I have thought about it too much!
poopy brown or what I call dark bronze is the original color on mine. Mone has been indoors all the time and retains the original color. I�ll get a pic and post it soon.
poopy brown or what I call dark bronze is the original color on mine. Mone has been indoors all the time and retains the original color. I�ll get a pic and post it soon.
This would be fantastic. If I could somehow find a way to get an accurate colour match from it (Pantone card?), I know the guy that made those hatch logo stickers and may be able to get him to offer in the original colour. Or I have my own sticker guy who could do it as well.
Since I bought the car my wiper washer squirters didn't work. The pump motor works, but the squirters don't squirt (happens to the best of us). I opened the cowl and found the tubing "splitter Y" was broken and the fluid would just dump out there. Mazda doesn't list this part for the FB anymore, but they still make it for other models. And it's the exact same part, just like the check valve for the drivers side squirter. For tubing I used blue aquarium tube. Squirt Squirt, they work great now.
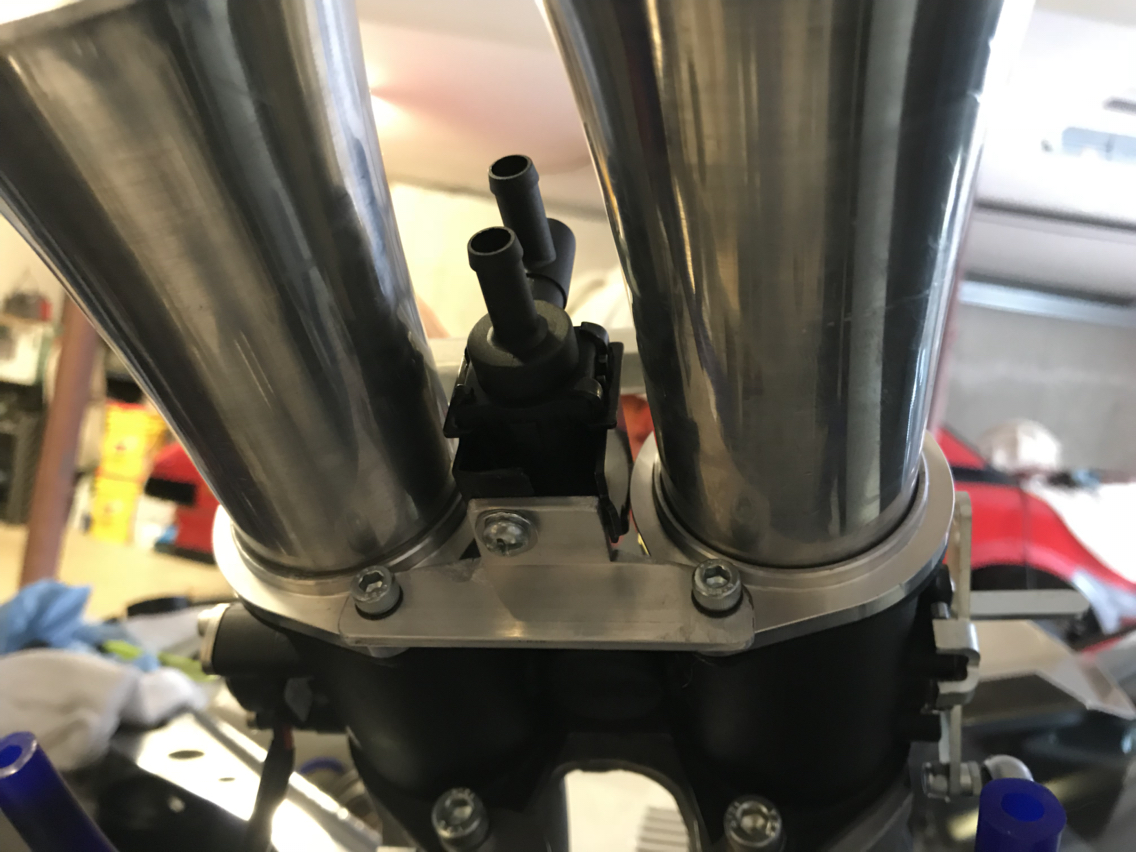
Going to attempt to use a Toyota VCV to add some cold start idle air to my ITB setup. Hoping this provides enough air. Fits 8mm hoses. If it's too much air, I can manually adjust the flow with the set screw. The inlet will attach to air filter element. The outlet will tee into the two idle air ports on the throttle body.