When you click on links to various merchants on this site and make a purchase, this can result in this site earning a commission. Affiliate programs and affiliations include, but are not limited to, the eBay Partner Network.
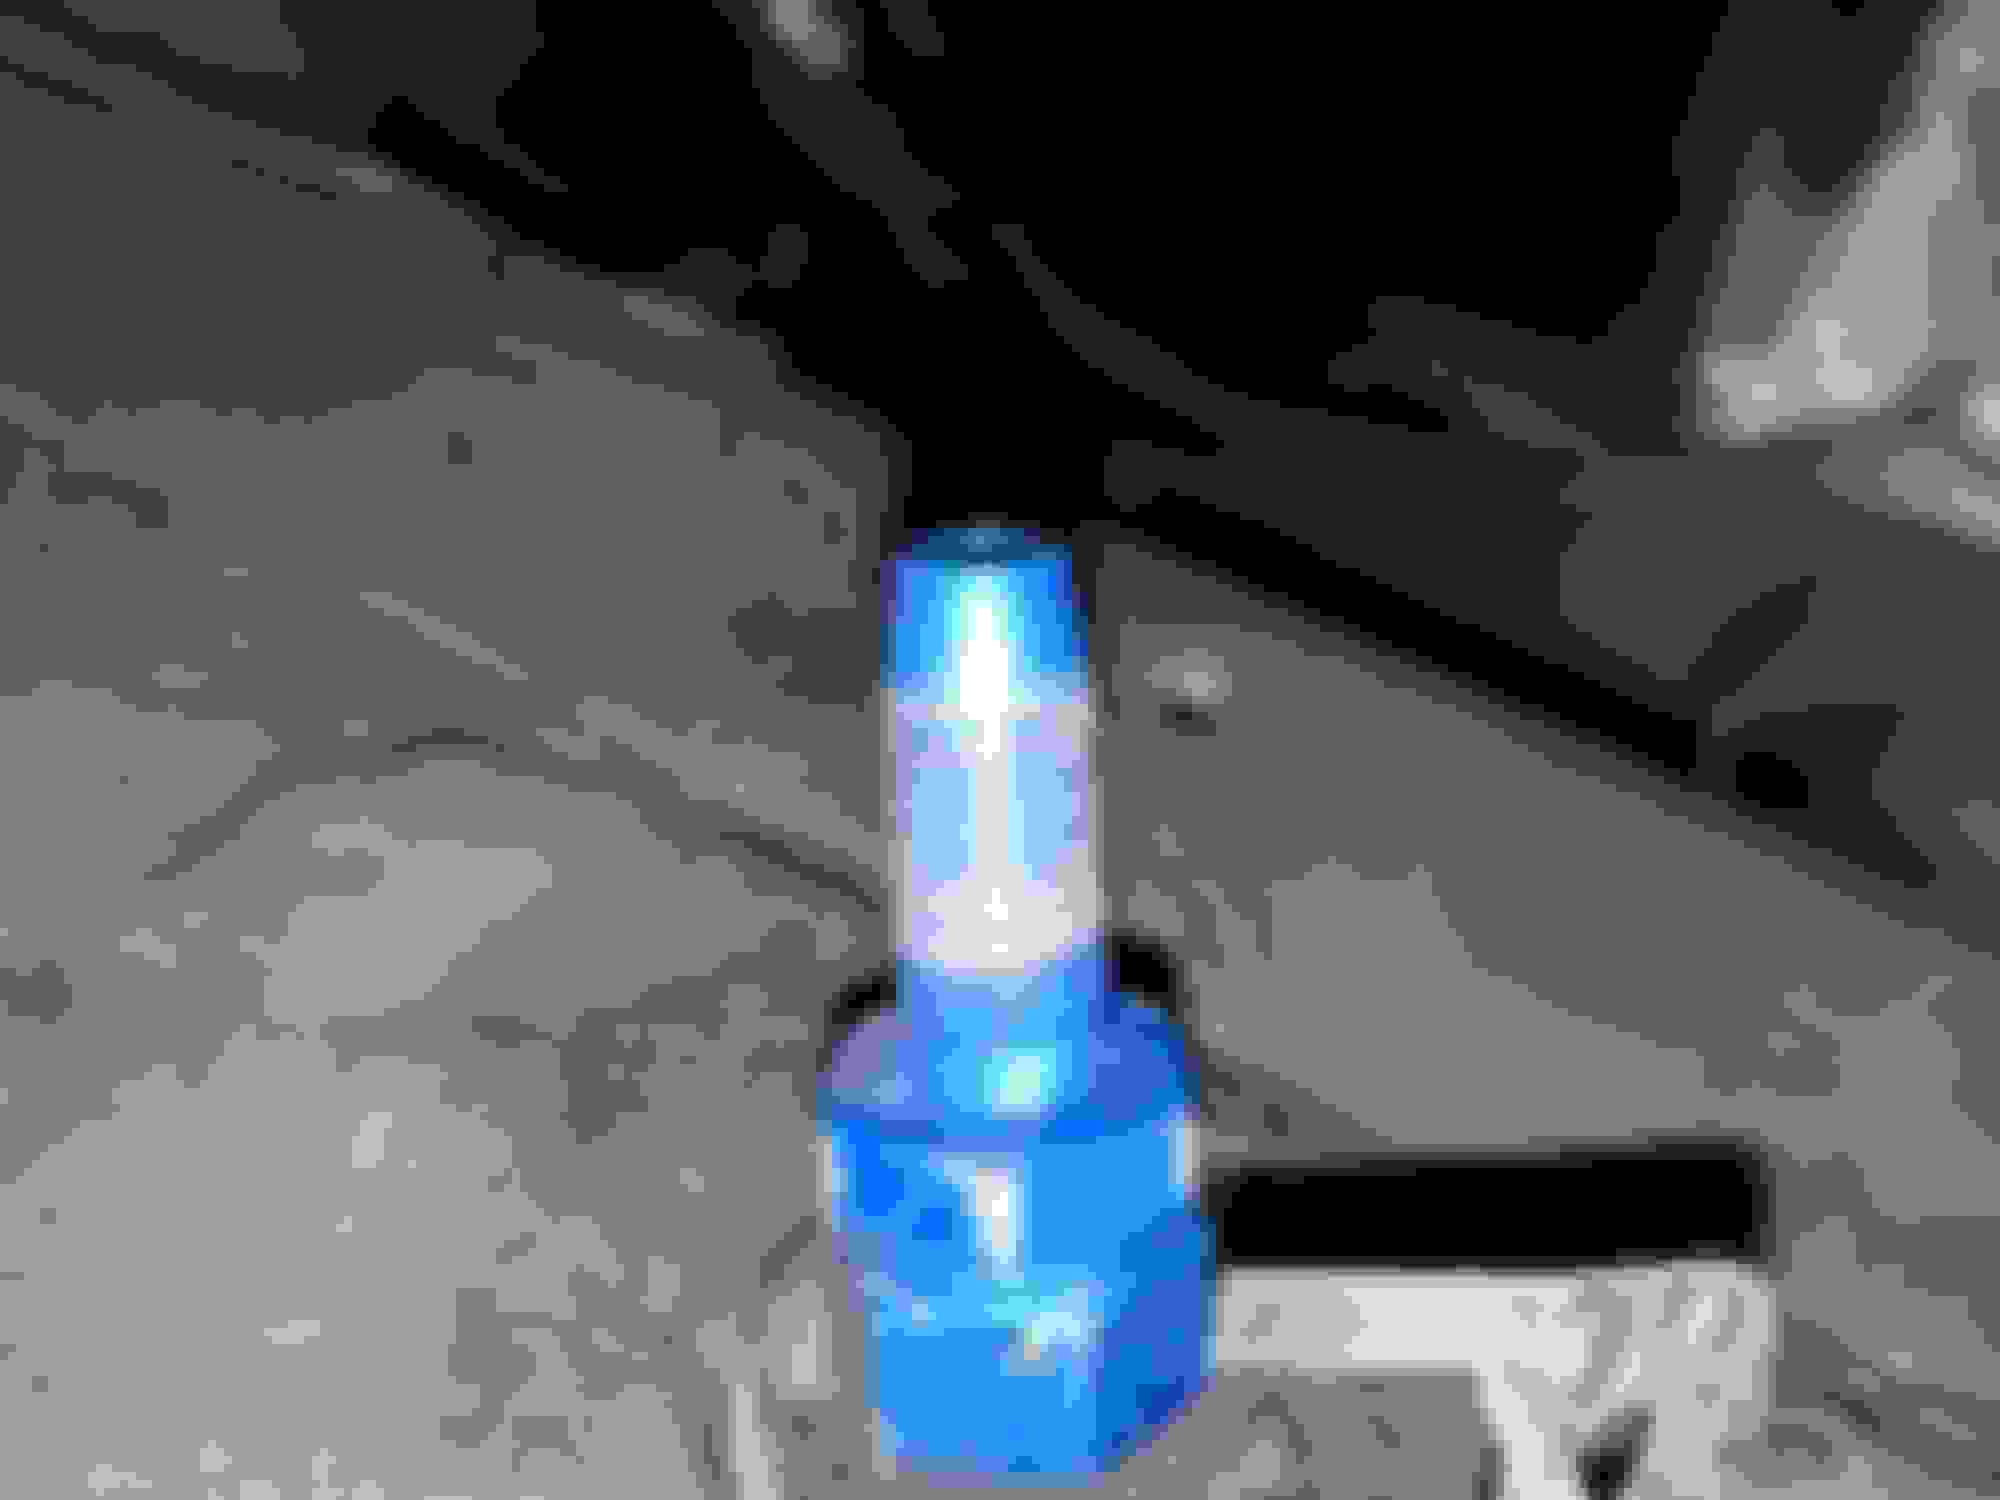
Thanks GSLSE, I'm gonna try my darndest to get the bolts out cleanly. They snapped off right at the surface of the housing, so nothing to really grind down or weld to if I wanted to try (which I don't). Getting a well-centered punch mark is my first concern. Have you ever tried torching the aluminum to expand it away from the bolt? I've done this with steel in steel, but never on aluminum. I think it should work as long as I don't overdo it .
Also, I assume the factory uses low-grade (hardness) bolts so that you can drill them out if needed, since bolts seized in aluminum is pretty common. I was thinking of replacing with grade 8 w/ antiseize. Any thoughts?
Grade 5 bolts would be sufficient,unless you�re trying to make it bulletproof...
I would avoid too much heat to trans case, not a lot of material in that area,definitely don�t want to melt any of it away. This is dependent on your heat source,propane,Mapp gas,acetylene.
Acetylene is much hotter than the others,gives the best chances of loosening remains of bolts but also needs most care to not damage the aluminum trans.
Thanks GSLSE, I'm gonna try my darndest to get the bolts out cleanly. They snapped off right at the surface of the housing, so nothing to really grind down or weld to if I wanted to try (which I don't). Getting a well-centered punch mark is my first concern. Have you ever tried torching the aluminum to expand it away from the bolt? I've done this with steel in steel, but never on aluminum. I think it should work as long as I don't overdo it .
Also, I assume the factory uses low-grade (hardness) bolts so that you can drill them out if needed, since bolts seized in aluminum is pretty common. I was thinking of replacing with grade 8 w/ antiseize. Any thoughts?
I've used propane torch to free up a salt water corroded up outboard engine. It was an aluminum magnesium alloy which has a lower melting point than aluminum. Now that I've mellowed out with age, I prefer liquid wrench wd-40 and pb blaster. Followed up with anti seaze on reassembly
Spent WAY too much money on new suspension parts. And still didn't finish my trans mount install. Work all day and no energy left at night. But I'm free this weekend, so...
Replaced my faulty TPS (wallet still hurts), replaced a broken vacuum tee, and lubed up the driver's window tracks. Much more enjoyable now and drives so much better.
Oil change tomorrow and probably pull the radio out to have it torn down and cleaned/fix the damn crackling.
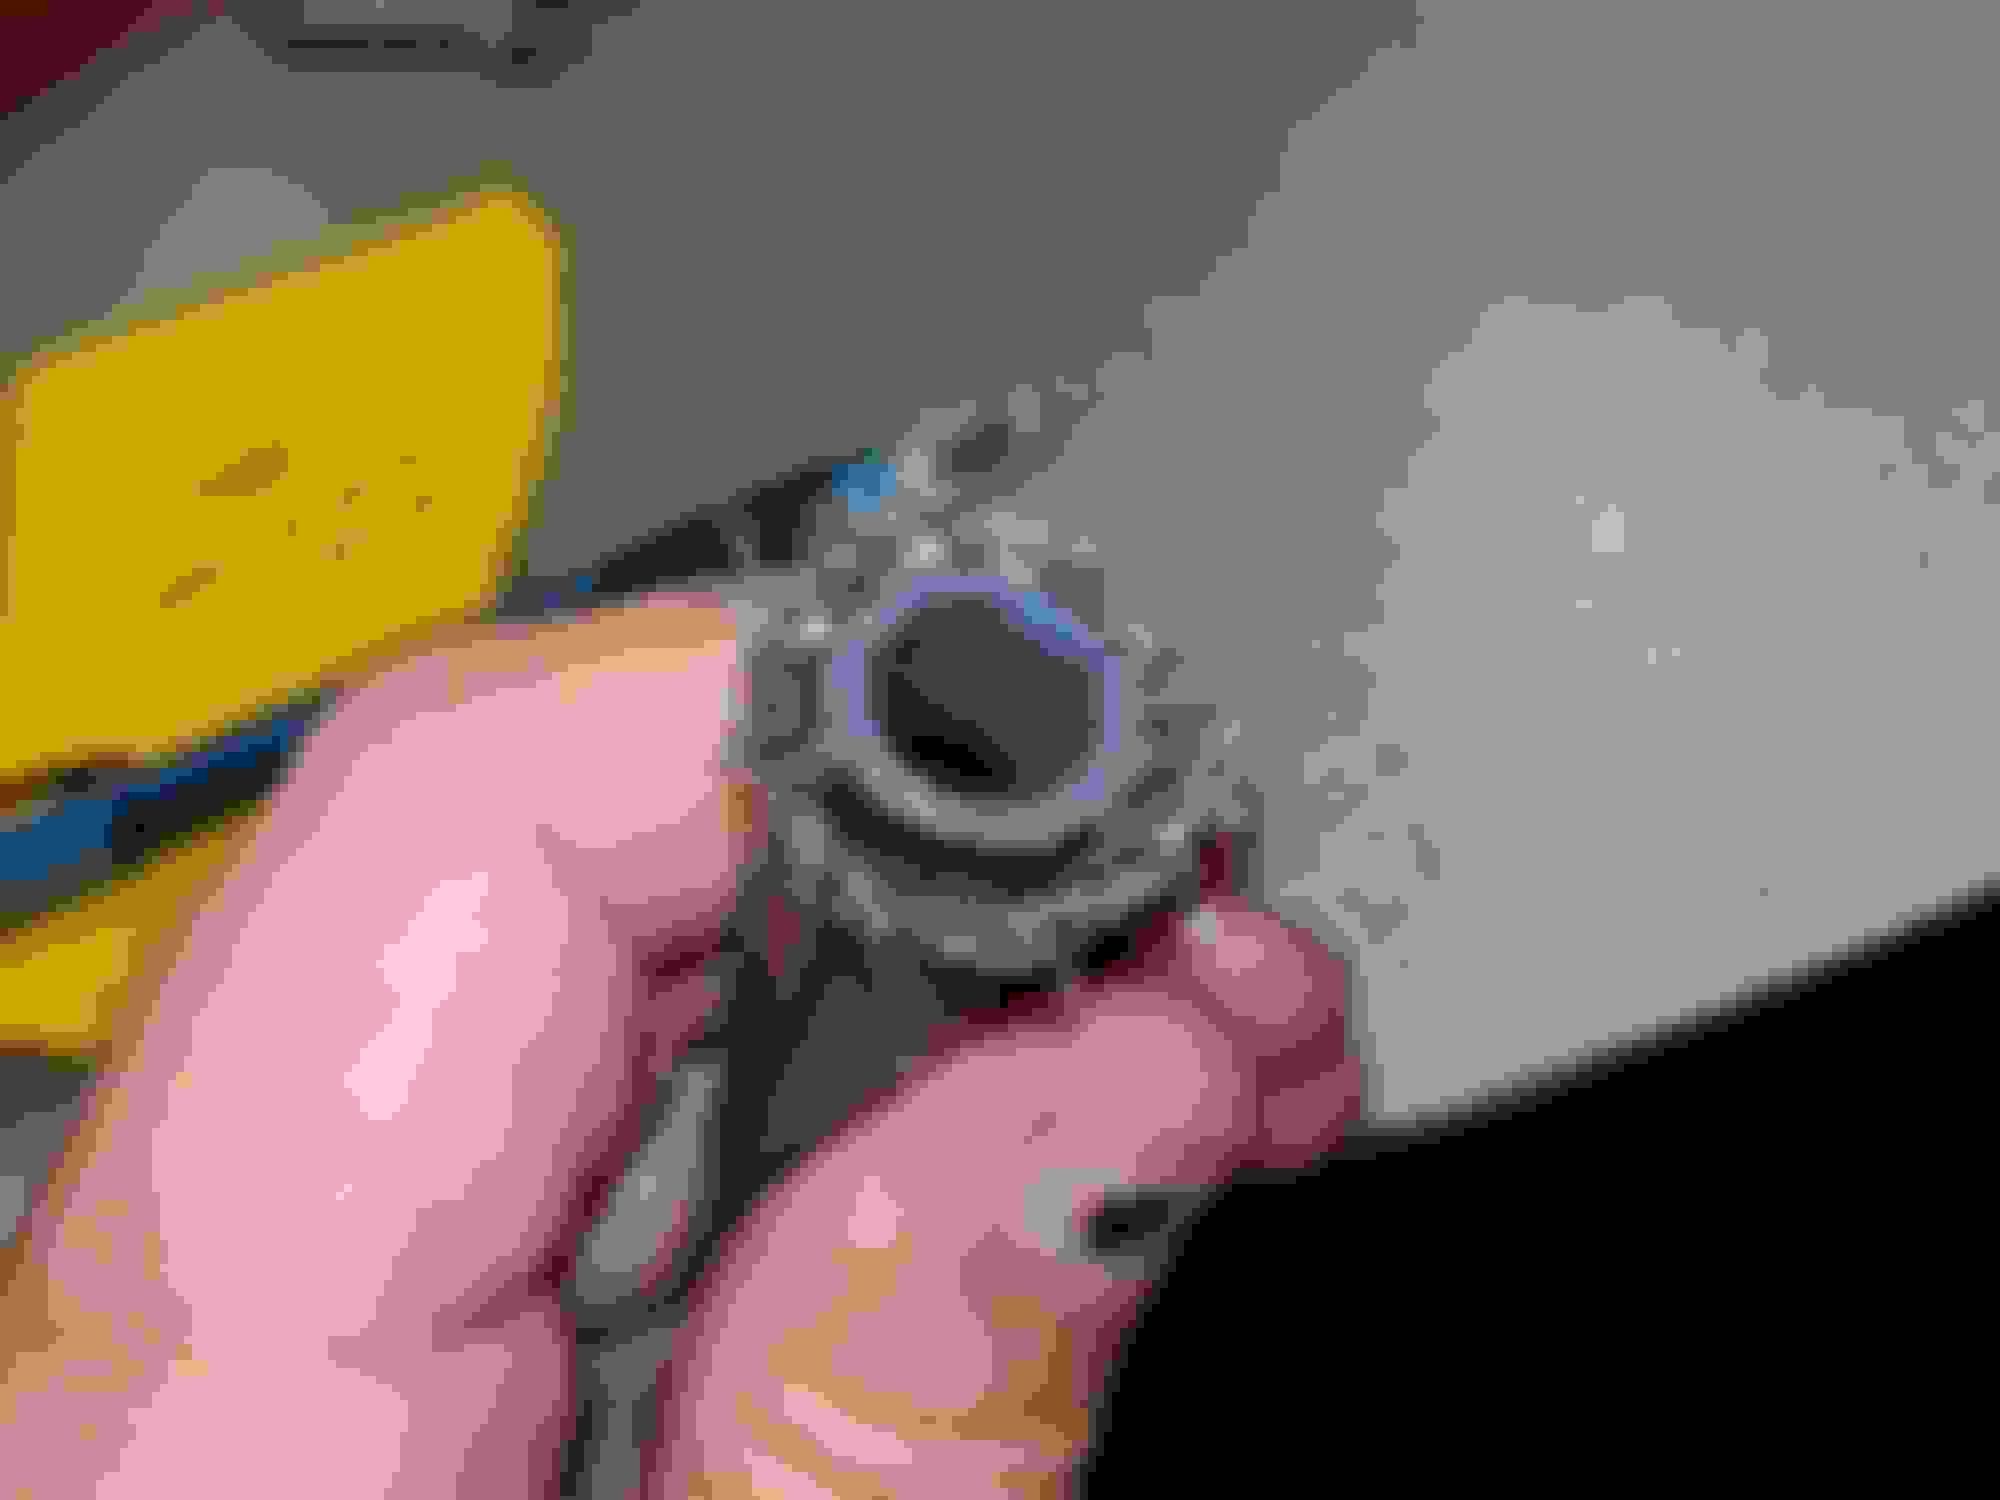
Finally got my Comp Trans Mount mounted. The extractor bits I bought for the broken bolt were useless and one broke off in the broken off bolt. Double whammy! Eventually got all the broken bits drilled out and used HeliCoils and new 8mm bolts as GSLSEforme suggested.
Yesterday finally got to put it out in the sunnsince finishing the paint.. today kept moving forward on getting the tune down - datalogged and sent log to tuner.. played around with the estreet boost controller, pulled springs from tial wg to check them
Yesterday finally got to put it out in the sunnsince finishing the paint.. today kept moving forward on getting the tune down - datalogged and sent log to tuner.. played around with the estreet boost controller, pulled springs from tial wg to check them
Began to cut out Autopower rollcage for increase in height for my 6' 3" size after dropping th pan 2 1/2 inches to install Racetech tall and wide composite race seat, removed the fire suppression system and nozzles, battery and accusump so cutting can begin with plasma torch, then welding new tubes in higher and tighter to roof. And cut door panels out for extended cage into door interior. Waiting for rain to stop so can clear out the garage and do some welding!
Also found source of fuel leak in as braided return line from ATL fuel cell, found
the rubber hose inside to be degraded at the fitting end and see that the Red Horse Performance fitting is softer than Aeroquip as the threads and concical sealing edge showed wear and missing anodization and raw aluminum and found prior owner had used blue painters tape on braided line and left it on the hose which prevented the eubber face from sealing flush. (I like to use shrink wrap to hold braided line when cutting and installing fittings). Getting tired of all this damn rain as I prefer to use disc cutter and grinder on roll cage outside in the fresh air!
"blue painter's tape" and anodized aluminum aircraft grade fittings and a fuel cell, gotta love it!
thought I was bad when I used iron clothes hanger wire on the lines that carried brake fluid from the reservoir down to the master cylinder on my 1968 10year old volkswagen
Yep, it was a podium car but I think they ran out of money twords the end and after you have success, sometimes you begin to cut corners and take more chances on and off track in car prep! Sometimes you just run out of time and rush it!
Found a an original Kamei front Air Dam on Craigslist with the original orange decal and a IMSA whale tail rear fiberglass spoiler! A Gen 1 fan had kept them for years and I was pleased to grab them and look forward to mounting them!
I ditched my oem door panels a long long time ago. The damp faux fiberboard cardboard was disgusting. In its place are stained and gloss coated 1/8 in luan board. Just like the stupid space wasting vinyl covered plastic center consul. Now I have 4 toggle switches and mounted on the same kind of luan board. Beauty is in the eye of the beholder, and stained gloss coated wood can't be beat.
Agree the stock panels were not lust inspired pieces but there are some OEM purists out there, I am not one to that degree! Nice job on the upgraded panels!
Drove Circuit of the Americas for the first time on Sunday and accidentally hit 8k rpm so today I decided to check out the insides with the cheap borescope.
This is the worst bit of flaking I found:
It's hard to tell the sense of scale since I couldn't control the camera position very well, but it's pretty small.
Not saying the "overrev" caused it, I've not stuck the camera in there in a couple years and I didn't take a good look back then so it could've been there for a long time.
So are you telling me i should stop burying my tach? 😳