
Project Keiko VI - Engine Build I

Thread Starter
Joined: May 2002
Posts: 5,972
Likes: 37
From: Ottawa, Soviet Canuckistan
Project Keiko VI - Engine Build I
Hey Guys!
---Edit: Here are the other chapters of the project, for easy reference---
Project Keiko - Helping a friend
Project Keiko Part II - Exterior, Seals, and Engine Bay Teardown
Project Keiko Part III - Engine Removals
Project Keiko Part IV - Tri-Engine Teardowns I
Project Keiko Part V - Tri-Engine Teardowns II
Project Keiko Part VI - Engine Build I
Project Keiko Part VII - Rotor Seals Assembly
Project Keiko Part VIII - Week Of Crazyness
Project Keiko Part IX - End of Season Update
Project Keiko Part X - Spring 2009 Update
Project Keiko Part XI - Another Engine, Ready to Start
Project Keiko Part XII - Up For Sale
---/Edit---
Well progress has been much slower than I had hoped, but I suppose that's how life happens sometimes.
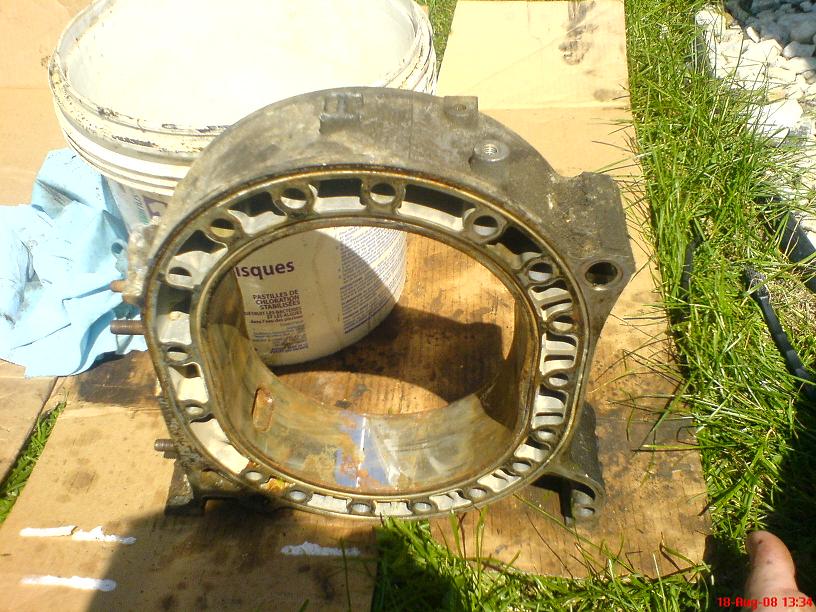
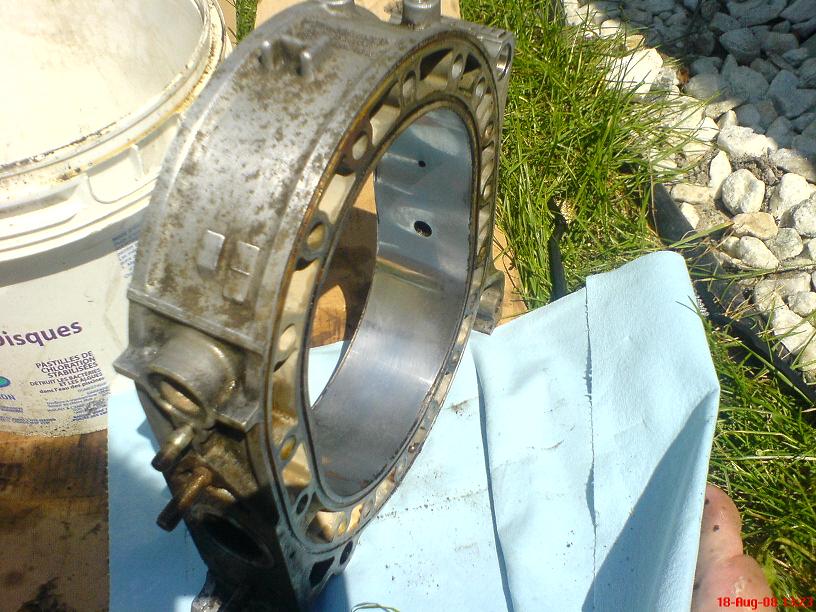
Last time we left off, I was looking for rotor housings because 4 of the 6 had CRAZY flake on them and the other two looked like crap because of all the rust deposits on them (from that first ultra-weathered engine we took apart).
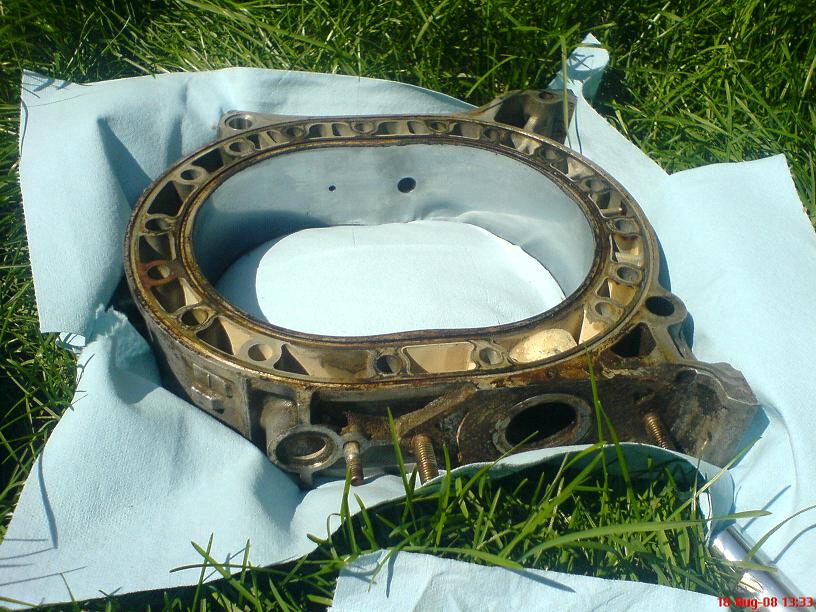
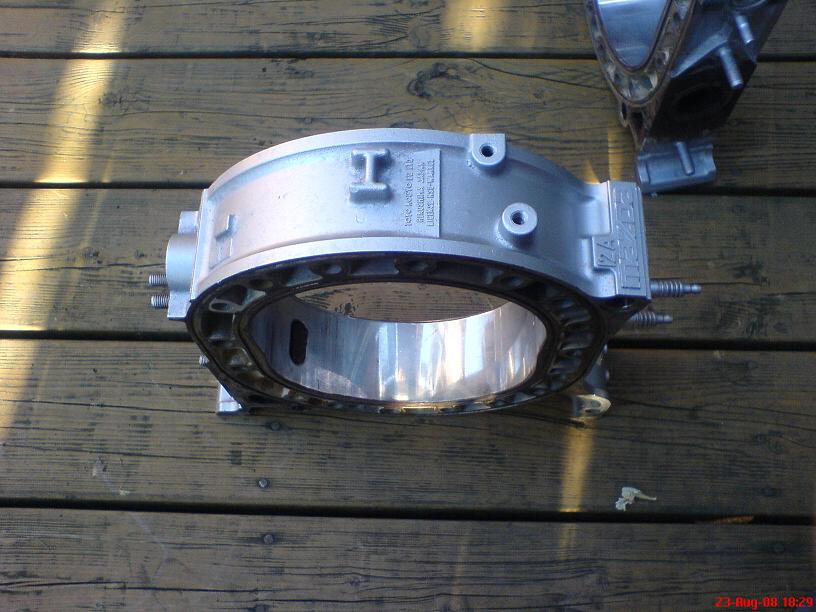
Monday of last week I sat down with some cleaning solution and a plastic scrub pad and went to town on the rusted ones just to see. I'm amazed how they turned out. They've only got about 1mm of flake on them, so it looks like I'm going to continue with my "use the best of the worst" on this build.
For your entertainment, here are before and after cleaning shots of the rotor housings.
Before:
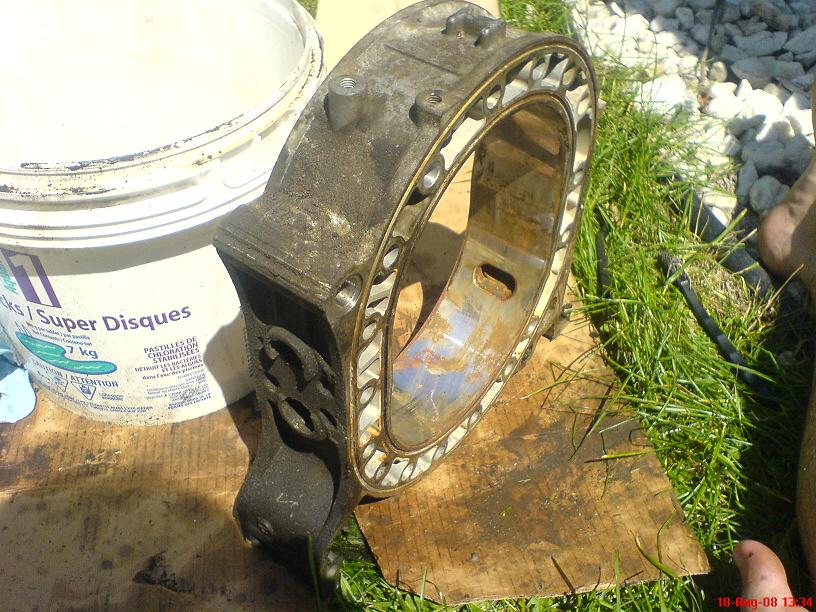
Half-done:
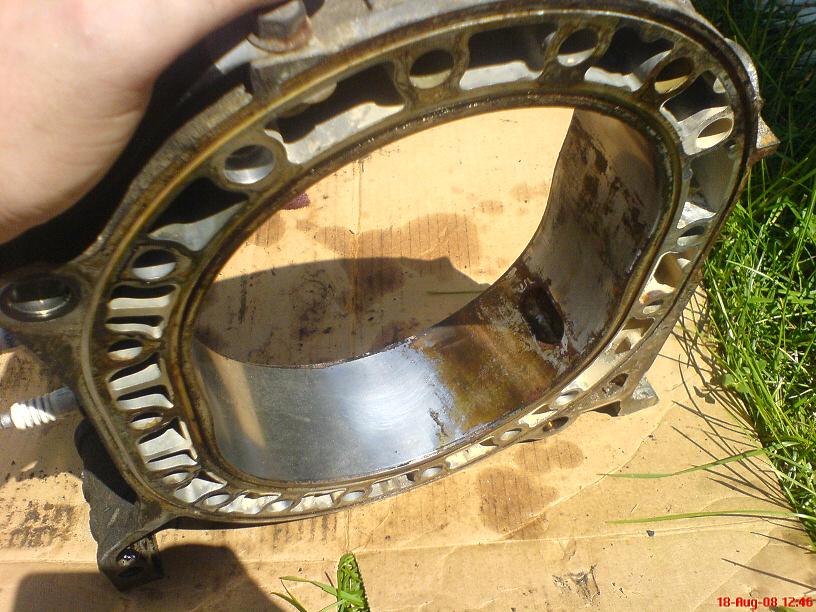
After:
---Edit: Here are the other chapters of the project, for easy reference---
Project Keiko - Helping a friend
Project Keiko Part II - Exterior, Seals, and Engine Bay Teardown
Project Keiko Part III - Engine Removals
Project Keiko Part IV - Tri-Engine Teardowns I
Project Keiko Part V - Tri-Engine Teardowns II
Project Keiko Part VI - Engine Build I
Project Keiko Part VII - Rotor Seals Assembly
Project Keiko Part VIII - Week Of Crazyness
Project Keiko Part IX - End of Season Update
Project Keiko Part X - Spring 2009 Update
Project Keiko Part XI - Another Engine, Ready to Start
Project Keiko Part XII - Up For Sale
---/Edit---
Well progress has been much slower than I had hoped, but I suppose that's how life happens sometimes.
Last time we left off, I was looking for rotor housings because 4 of the 6 had CRAZY flake on them and the other two looked like crap because of all the rust deposits on them (from that first ultra-weathered engine we took apart).
Monday of last week I sat down with some cleaning solution and a plastic scrub pad and went to town on the rusted ones just to see. I'm amazed how they turned out. They've only got about 1mm of flake on them, so it looks like I'm going to continue with my "use the best of the worst" on this build.
For your entertainment, here are before and after cleaning shots of the rotor housings.
Before:
Half-done:
After:
Last edited by vipernicus42; Aug 25, 2009 at 07:46 PM.
Thread Starter
Joined: May 2002
Posts: 5,972
Likes: 37
From: Ottawa, Soviet Canuckistan
So I got all the housings cleaned on Monday and that's where they sat for the rest of the week. The rotors were left to soak in the left over degreaser for the week and yesterday I got in there and masked and painted all the housings. I didn't take any pictures of the masking process but basically I traced the shape of the housings onto bristol board (posterboard), cut about 1cm off the entire outline, then used masking tape to tape it on.
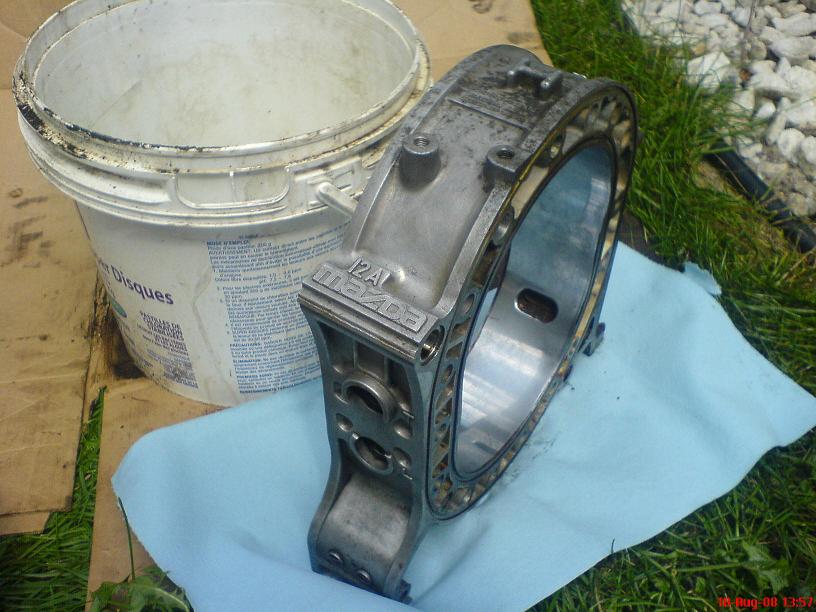
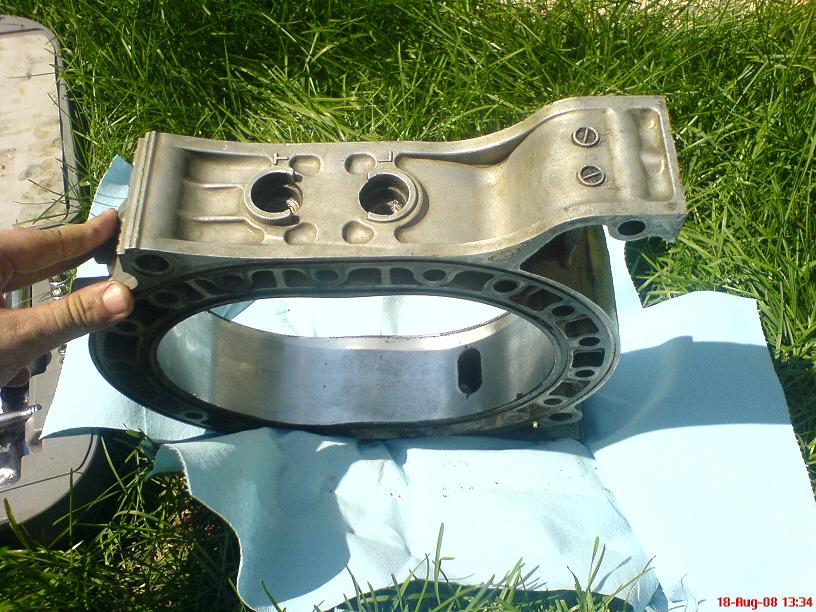
So here's the last of the "after cleaning" pics for comparison
And here's how they turned out after paint:
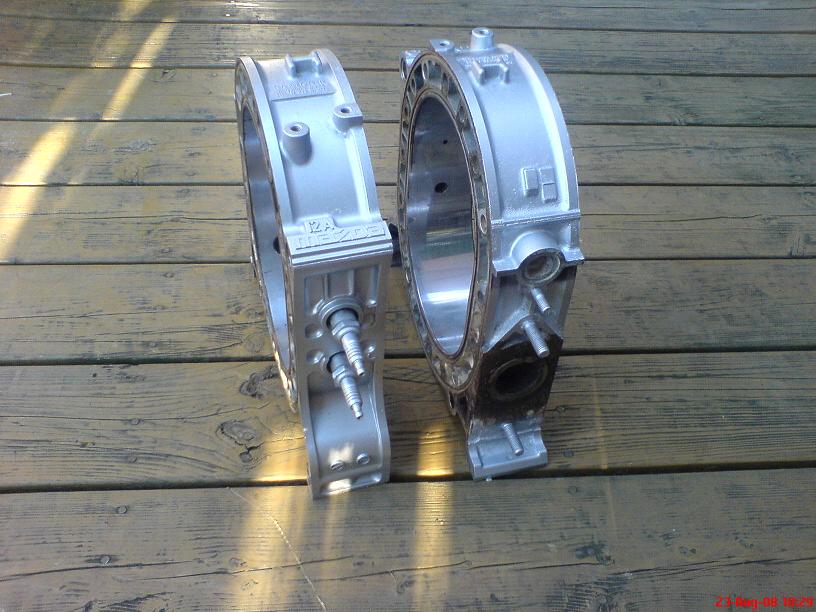
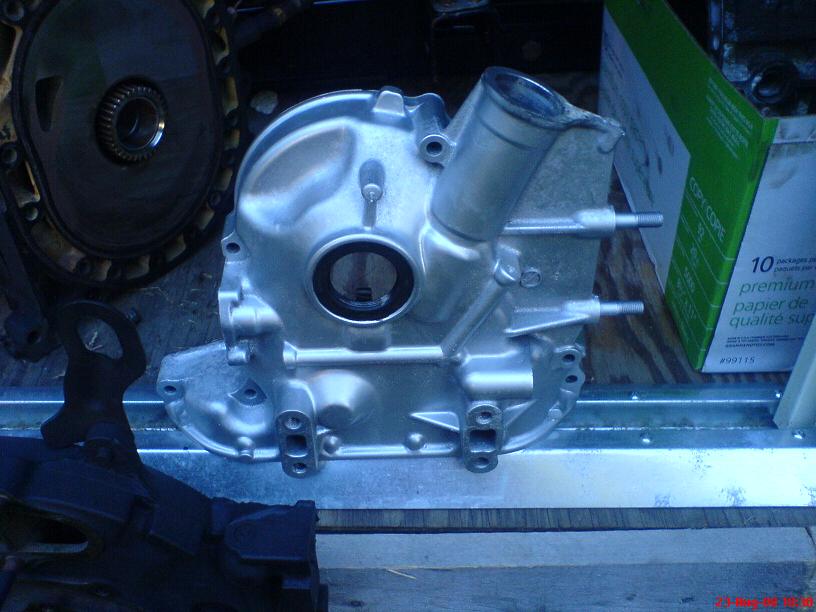
The front cover was done in the same silver:
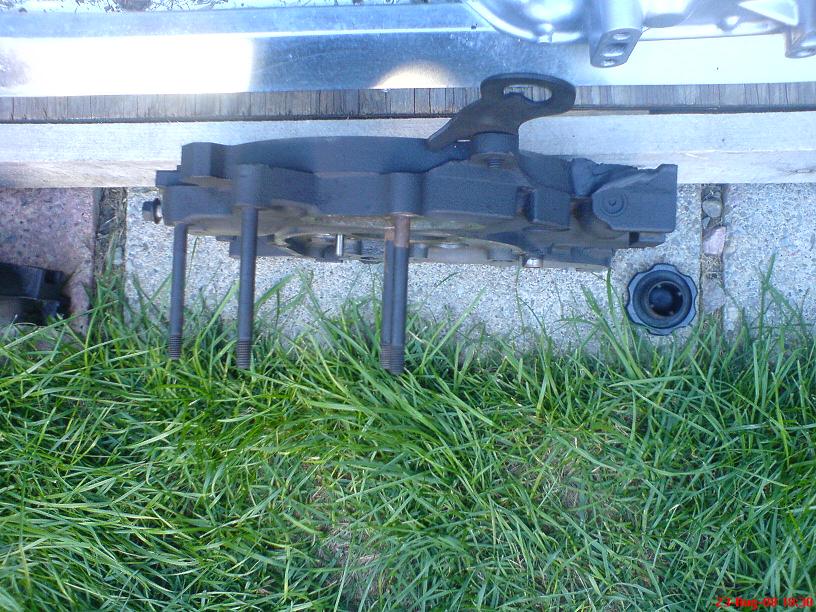
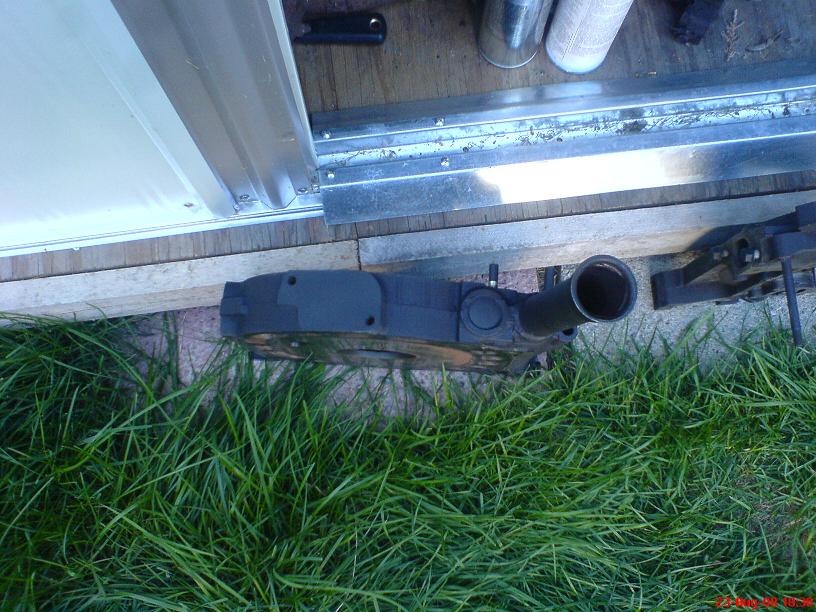
And I painted the irons with a high temp flat black I got
So here's the last of the "after cleaning" pics for comparison
And here's how they turned out after paint:
The front cover was done in the same silver:
And I painted the irons with a high temp flat black I got
Thread Starter
Joined: May 2002
Posts: 5,972
Likes: 37
From: Ottawa, Soviet Canuckistan
Here's the rear iron:
And then I put them all side-by-side to get an idea of what the engine will look like:
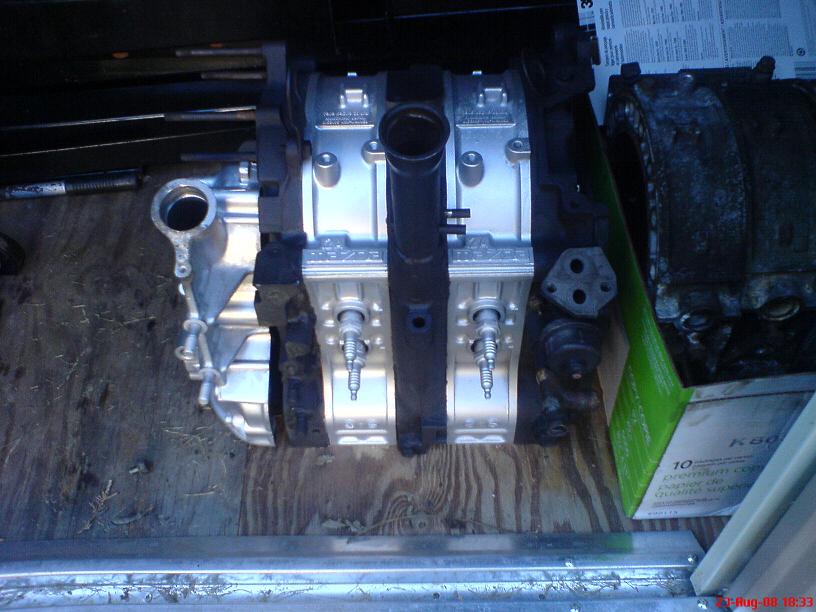
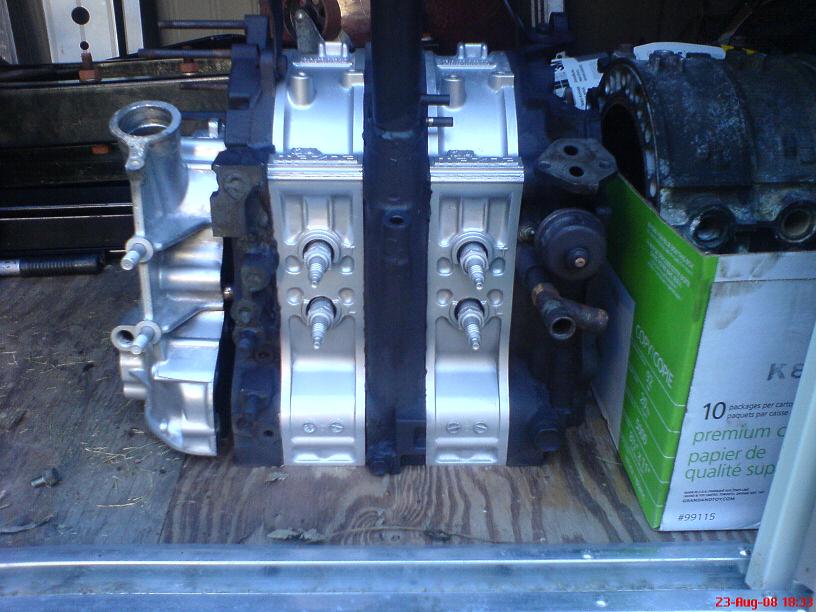
So all that's left is to actually put the damn thing together. I've still got some gasket scraping to do on the mating surfaces where the front cover mates to the front iron, but that can be done after main engine assembly takes place.
So after work tomorrow I'll assemble the rotors with all the seals and springs (except the apex seal springs) using lots of vaseline to keep everything together. Then some time this week I'll take the time to actually assemble the basic block.
Hopefully next weekend I'll assemble the front of the engine, clean the tranny, mate the two together and be ready for the reinstall (only about a month late)
I'll also need to get a fuel pump (didn't realize it didn't have one), put the level sender and the tubes back on the tank, mount the tank, get the exhaust taken apart by a shop, wirebrush it, paint it, reassemble it and put it all together. THEN it shall start! *evil laugh*
Jon
And then I put them all side-by-side to get an idea of what the engine will look like:
So all that's left is to actually put the damn thing together. I've still got some gasket scraping to do on the mating surfaces where the front cover mates to the front iron, but that can be done after main engine assembly takes place.
So after work tomorrow I'll assemble the rotors with all the seals and springs (except the apex seal springs) using lots of vaseline to keep everything together. Then some time this week I'll take the time to actually assemble the basic block.
Hopefully next weekend I'll assemble the front of the engine, clean the tranny, mate the two together and be ready for the reinstall (only about a month late)
I'll also need to get a fuel pump (didn't realize it didn't have one), put the level sender and the tubes back on the tank, mount the tank, get the exhaust taken apart by a shop, wirebrush it, paint it, reassemble it and put it all together. THEN it shall start! *evil laugh*
Jon
Thread Starter
Joined: May 2002
Posts: 5,972
Likes: 37
From: Ottawa, Soviet Canuckistan
I decided not to port.
Originally I was going to do a half-bridge or something but considering how delayed the engine build is already and how I'm running out of good weather season to finish the car in, I figured it's better to just get it done and built. I don't have a die grinder, or any porting materials or templates and since the entire thing is such a "budget" build I'm not going to spend money porting the housings.
As it is, we're taking bets as to IF the engine will run, and if it does, how well and for how long. Let's just say that the odds are stacked against it and at least one good engine builder has told me that even they would have trouble making this engine seal, run, and hold oil and coolant, lol.
Yes, a frankenmotor it surely is. I'm keeping my fingers crossed.
Thanks, let's hope it runs at least half as good as it looks There's a lot left to do, but if/when the project completes it will be worth it.
Jon
Originally I was going to do a half-bridge or something but considering how delayed the engine build is already and how I'm running out of good weather season to finish the car in, I figured it's better to just get it done and built. I don't have a die grinder, or any porting materials or templates and since the entire thing is such a "budget" build I'm not going to spend money porting the housings.
As it is, we're taking bets as to IF the engine will run, and if it does, how well and for how long. Let's just say that the odds are stacked against it and at least one good engine builder has told me that even they would have trouble making this engine seal, run, and hold oil and coolant, lol.
Yes, a frankenmotor it surely is. I'm keeping my fingers crossed.
Thanks, let's hope it runs at least half as good as it looks
There's a lot left to do, but if/when the project completes it will be worth it.Jon
Last edited by vipernicus42; Aug 24, 2008 at 07:59 PM.
Trending Topics
Can you take pics of the comp side of the rotor housings?
Thread Starter
Joined: May 2002
Posts: 5,972
Likes: 37
From: Ottawa, Soviet Canuckistan
Yeah I'll grab some tomorrow. There are some in the Part V thread but the quality of the pics isn't too high.
Well... Remember, I just took the best out of the set, cleaned them, and I'm going with them. They *look* good and have no bumps or grooves I can feel with my nails but that doesn't mean anything.... We'll see how they work.
Jon
Originally Posted by DivinDriver
You were lucky enough to find irons that did not need refinishing? That's excellent!
Jon
Last edited by vipernicus42; Aug 24, 2008 at 09:39 PM.
Thread Starter
Joined: May 2002
Posts: 5,972
Likes: 37
From: Ottawa, Soviet Canuckistan
Well between the apex seals being less than 7mm (when they start at 8.5mm and the lower limit is 7.5mm) and the chrome flake on the housings, that would make it hard to get compression.
Then you add the fact that I'm only using new springs for everything, but used side seals, corner seals, apex seals and the metal carriers for the oil control o-rings and you've got some other sealing issues there. I could see it burning some oil if the oil control o-rings and their carriers don't end up being perfect. Plus if I'm not careful around the dowel pins and whatnot I could end up with oil leaks.
For coolant, well I'm not sure why it would leak that. I noticed that the old coolant seals petrified themselves onto the irons so I had to spend some serious time making that area smooth so the new ones would seal properly.
All in all, it will be a challenge, but I think if I take my time with it we should end up with something that runs.... how well and how long it runs is another story but considering one of those crappy engines with the mega-flake actually ran in a car before I got it, I'm hopeful that we'll be able to get this working. We probably won't get much more than a season out of it and it won't win any performance records, but hey if it runs that's all we need.
Jon
Do you know racers "back in the day" used teflon coated electric wire instead of new coolant seals? Its CHEAP but works.
Maybe you could save some money on that, and find a set of used (but better) apex seals
Maybe you could save some money on that, and find a set of used (but better) apex seals
Thread Starter
Joined: May 2002
Posts: 5,972
Likes: 37
From: Ottawa, Soviet Canuckistan
I've got coolant seals. I got them as part of the Atkins rebuild kit. All the "Soft Seals" are included but none of the metal ones.
Good idea though.
Jon
Good idea though.
Jon
Thread Starter
Joined: May 2002
Posts: 5,972
Likes: 37
From: Ottawa, Soviet Canuckistan
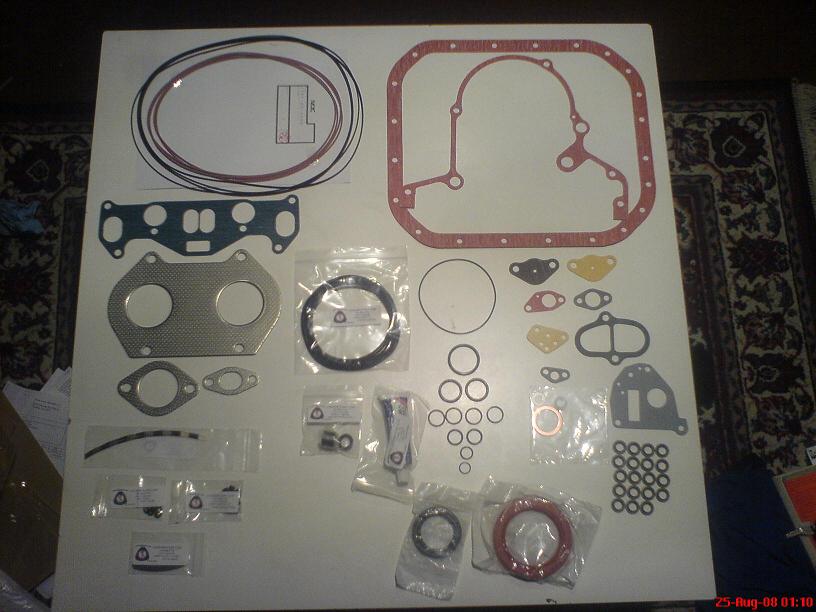
I opened up my Atkins Rotary Rebuild Kit "A" tonight and spread it out to make sure I had everything and knew what everything was.
As it turns out, I don't know what everything is. So I posted a thread in the 1st Gen Tech section about it if anyone wants to check it out. I'll post the overview pic of the rebuild kit here for interest to go with the thread
Thread in the Tech Section about what comes in the kit:
https://www.rx7club.com/showthread.p...=1#post8491713
Link where I got the kit:
http://www.atkinsrotary.com/store/pr...cat=590&page=1
Overview picture of the kit:


Thread
Thread Starter
Forum
Replies
Last Post