
Project Keiko Part III - Engine Removals

Thread Starter
Joined: May 2002
Posts: 5,972
Likes: 37
From: Ottawa, Soviet Canuckistan
Project Keiko Part III - Engine Removals
The Saga Continues...
---Edit: Here are the other chapters of the project, for easy reference---
Project Keiko - Helping a friend
Project Keiko Part II - Exterior, Seals, and Engine Bay Teardown
Project Keiko Part III - Engine Removals
Project Keiko Part IV - Tri-Engine Teardowns I
Project Keiko Part V - Tri-Engine Teardowns II
Project Keiko Part VI - Engine Build I
Project Keiko Part VII - Rotor Seals Assembly
Project Keiko Part VIII - Week Of Crazyness
Project Keiko Part IX - End of Season Update
Project Keiko Part X - Spring 2009 Update
Project Keiko Part XI - Another Engine, Ready to Start
Project Keiko Part XII - Up For Sale
---/Edit---
Yes, I said removals, plural!
Yesterday we threw ourselves into the project and despite some crappy delays (like the jack/ram part of the engine hoist breaking on us) we managed to get the engine out of Keiko, another blown engine out of my friend Eric's car and the engine that I acquired a few weeks back out of the passenger seat.
To start off with, we needed chain for the engine hoist:

Then we had to assemble the hoist:
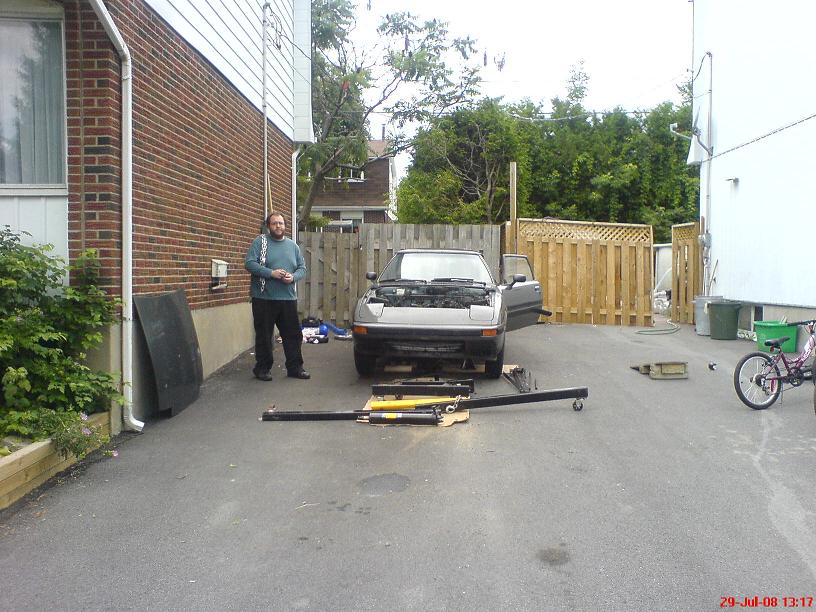
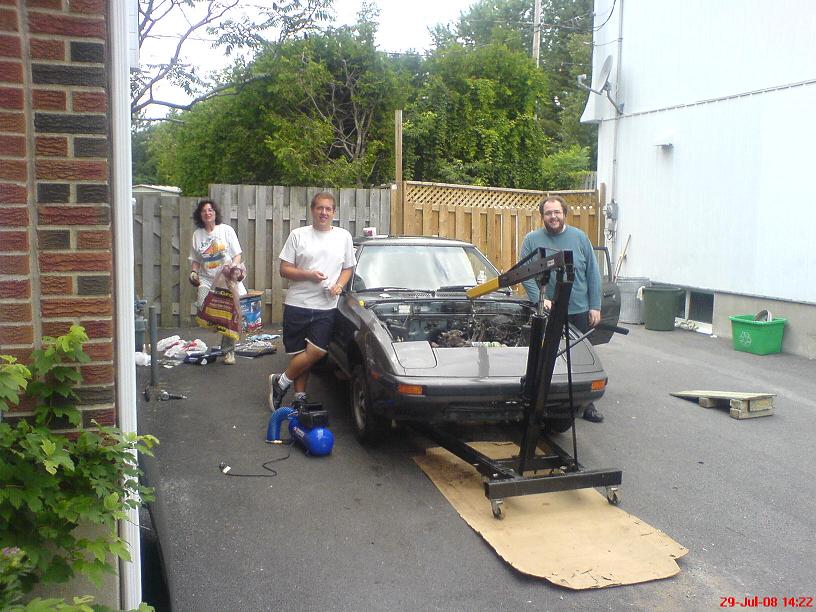
With the help of some friends we prepped the engine for removal, before discovering that the jack part of the hoist was toast:
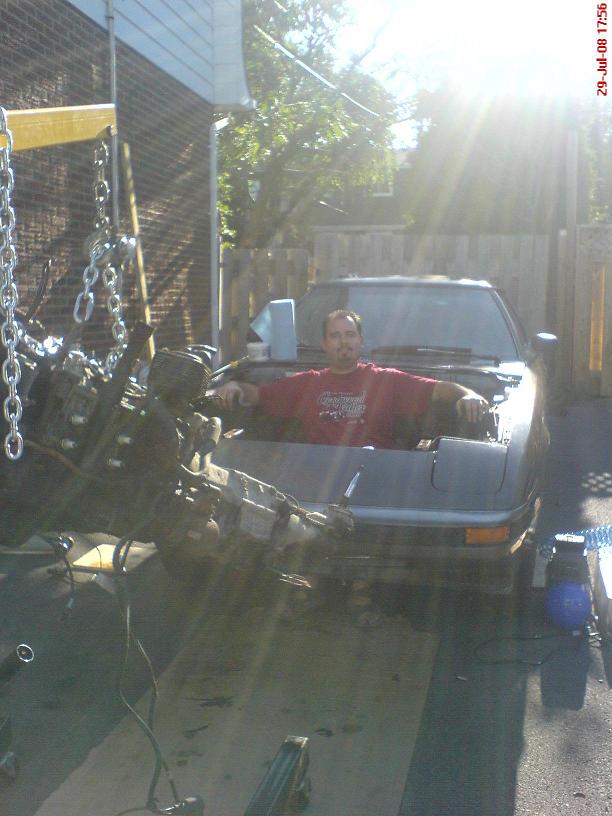
Eventually we did get the engine out, many hours later than we thought we would:
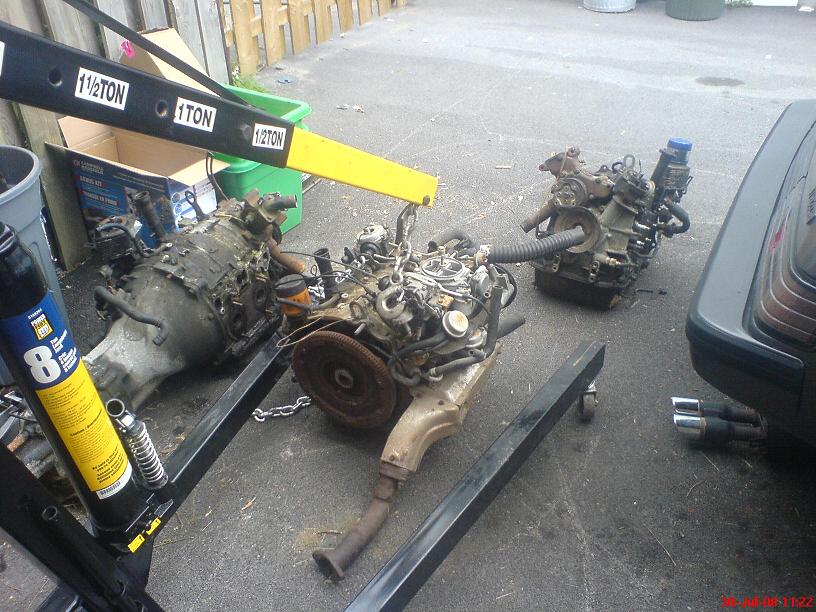
I didn't get a chance to take pictures of the second engine removal because we started at sunset and my cellphone cam hates low light... but in the end we ended up with a collection of 3 12a blocks to work with:
Now I'm just waiting for my 2 1/8" socket to arrive by mail. The Atkins rebuild kit arrived today by mail (with the packing slip signed "Thanks Jon, see you around the boards - Dan" - that was really nice, since I just ordered on the website and didn't think he noticed!). It's just the "Type A" rebuild kit, but it should be good enough for this budget build.
I plan to use the "Type C" in my engine build later. Hopefully there will be some leftover parts from these I can use in my build, but we'll see.
Jon
---Edit: Here are the other chapters of the project, for easy reference---
Project Keiko - Helping a friend
Project Keiko Part II - Exterior, Seals, and Engine Bay Teardown
Project Keiko Part III - Engine Removals
Project Keiko Part IV - Tri-Engine Teardowns I
Project Keiko Part V - Tri-Engine Teardowns II
Project Keiko Part VI - Engine Build I
Project Keiko Part VII - Rotor Seals Assembly
Project Keiko Part VIII - Week Of Crazyness
Project Keiko Part IX - End of Season Update
Project Keiko Part X - Spring 2009 Update
Project Keiko Part XI - Another Engine, Ready to Start
Project Keiko Part XII - Up For Sale
---/Edit---
Yes, I said removals, plural!
Yesterday we threw ourselves into the project and despite some crappy delays (like the jack/ram part of the engine hoist breaking on us) we managed to get the engine out of Keiko, another blown engine out of my friend Eric's car and the engine that I acquired a few weeks back out of the passenger seat.
To start off with, we needed chain for the engine hoist:
Then we had to assemble the hoist:
With the help of some friends we prepped the engine for removal, before discovering that the jack part of the hoist was toast:
Eventually we did get the engine out, many hours later than we thought we would:
I didn't get a chance to take pictures of the second engine removal because we started at sunset and my cellphone cam hates low light... but in the end we ended up with a collection of 3 12a blocks to work with:
Now I'm just waiting for my 2 1/8" socket to arrive by mail. The Atkins rebuild kit arrived today by mail (with the packing slip signed "Thanks Jon, see you around the boards - Dan" - that was really nice, since I just ordered on the website and didn't think he noticed!). It's just the "Type A" rebuild kit, but it should be good enough for this budget build.
I plan to use the "Type C" in my engine build later. Hopefully there will be some leftover parts from these I can use in my build, but we'll see.
Jon
Last edited by vipernicus42; Aug 25, 2009 at 07:47 PM.
Thread Starter
Joined: May 2002
Posts: 5,972
Likes: 37
From: Ottawa, Soviet Canuckistan
The guy doing the "OMFG I've got BLING!" is me. Yes, I'm making fun of it, I don't seriously ever pose like that.
The second picture has my friend Nick, and the third picture also shows my friend Ray and the motherfigure.
Jon
The second picture has my friend Nick, and the third picture also shows my friend Ray and the motherfigure.
Jon
So both of these guys are helping you build the car but they aren't the ones that you are building it for, right? I'm assuming that the guy who is going to receive the car, will be getting it as a surprise?
I noticed how nasty the carpet in the car is. A good cheap tip that I've always found useful. Pull the carpet out of the car and take it to the DIY car wash. Throw it down on the floor in the car wash. Use the pressure washer on the "soap" setting and spray the crap out of it for 5-10 minutes. The dirt and smell will come rolling out of it. Then use the pressure washer on the rinse setting to remove all the soap. Take the carpets home and hang them out in the sun to dry. After they are dry you can fluff them back up with a soft wirebrush if you want. Or a good vacuuming will do the trick sometimes too.
This is the ONLY way to shampoo your carpets. I have done this to 3-4 different cars, and it always works GREAT. Usually costs $2-3. No matter how terrible the carpet looks, it always looks practically new when you're done.
Jamie
Last edited by Glazedham42; Jul 31, 2008 at 09:16 AM.
Thread Starter
Joined: May 2002
Posts: 5,972
Likes: 37
From: Ottawa, Soviet Canuckistan
Thanks for the tip Jamie  We were thinking of doing something similar. We knew the carpets had to come out anyway, so that we could get a look at the floor for rust.
And yes, so far we've managed to keep this a complete secret from Marc.
Today I am hoping to tear into those engines. Still so much to do and so little time!
Jon
We were thinking of doing something similar. We knew the carpets had to come out anyway, so that we could get a look at the floor for rust.And yes, so far we've managed to keep this a complete secret from Marc.
Today I am hoping to tear into those engines. Still so much to do and so little time!
Jon
Thread Starter
Joined: May 2002
Posts: 5,972
Likes: 37
From: Ottawa, Soviet Canuckistan
With the b-day party yesterday and the weather the day before I haven't had time to tear those engines *apart* yet.. soon though, probably tomorrow.
Main list of things to do:
- Remove Carpet, clean it
- Install level sender, tubes on gas tank
- Install gas tank in car
- Tear apart Engines
- Clean and paint engine parts
- Build Engine with parts
- Reinstall engine
- Install Exhaust
- Install Engine Bay Stuff (This is a big list in and of itself!)
- Re-install wiring harness
- Test all electrical (headlights, taillights, etc..)
At that point I should have a car with a fully gutted interior that starts and runs and has all electrical bits working.
Then:
- Brake Pads and Shoes
- Bleed Brakes and Clutch
Then hopefully I can take it for a maiden voyage.
Then:
- Metal Work
- Interior
- E-brake Cable
- Final "check-everything" checklist
Jon

Thread
Thread Starter
Forum
Replies
Last Post
trickster
2nd Generation Specific (1986-1992)
25
Jul 1, 2023 04:40 PM
KAL797
Test Area 51
0
Aug 11, 2015 03:47 PM