Tegheim - Home made 4 Rotor Wolvo project

 11-17-11, 11:28 AM
#453
just a film of brass to prevent corrosion while in storage. once the engine is fired it embeds into the rotor to plate them.
originally i used it just for rotors that had all the original plating removed but noticed that rebuilt motors retained the coating and had little to no corrosion regardless of storage so i clean them all with brass now. simpler than having them re-plated.
i figured it would burn off due to heat but the surface temp of the rotors obviously isn't quite hot enough.
Last edited by RotaryEvolution; 11-17-11 at 11:33 AM.
 11-21-11, 08:56 AM
#457
talking head
We have done awsome progress this weekend. But we will not show it yet
all i manged to do this weekend was fight ( and lose ) to my home insurance company over a split pipe,, what a waste of time effort and sanity
( and it doesnt even freeze here )
 12-08-11, 10:11 AM
#459
Senior Member
Thread Starter
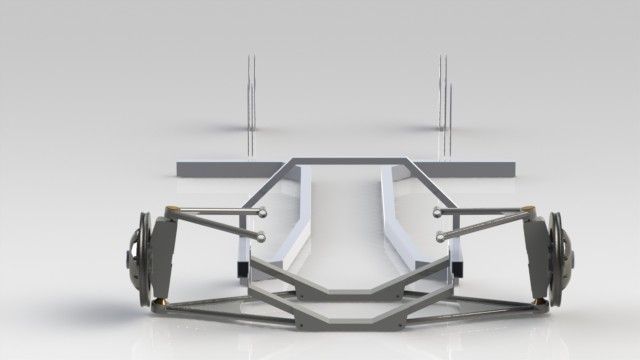
Everything goes according to plan, but everything has its time
Meanwhile, the graphic card goes hot in the computer.
Is updating my drawings on the chassis and so on. And when inspiration is short, so make it a nice rendering, so you will be happy again


Meanwhile, the graphic card goes hot in the computer.
Is updating my drawings on the chassis and so on. And when inspiration is short, so make it a nice rendering, so you will be happy again


 12-09-11, 12:05 PM
#461
Senior Member
Thread Starter
 12-10-11, 03:04 AM
#463
Senior Member
Thread Starter
I havn't done the upper arms attachments yet. Don't know right now how to solve this. But it will come
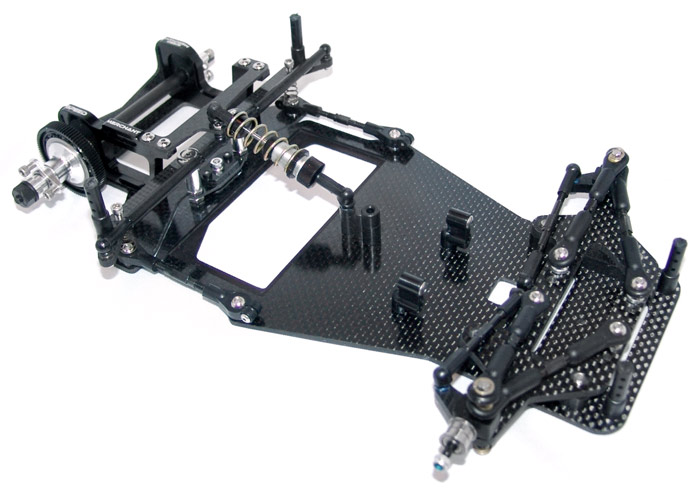
There will be a frame welded in the old body of the Volvo142, but with full rollcage.
There will be a frame welded in the old body of the Volvo142, but with full rollcage.


 12-16-11, 03:35 PM
#472
Senior Member
Join Date: Dec 2006
Location: Sylva, NC
Posts: 272
Likes: 0
Received 0 Likes
on
0 Posts
I'm so jealous...
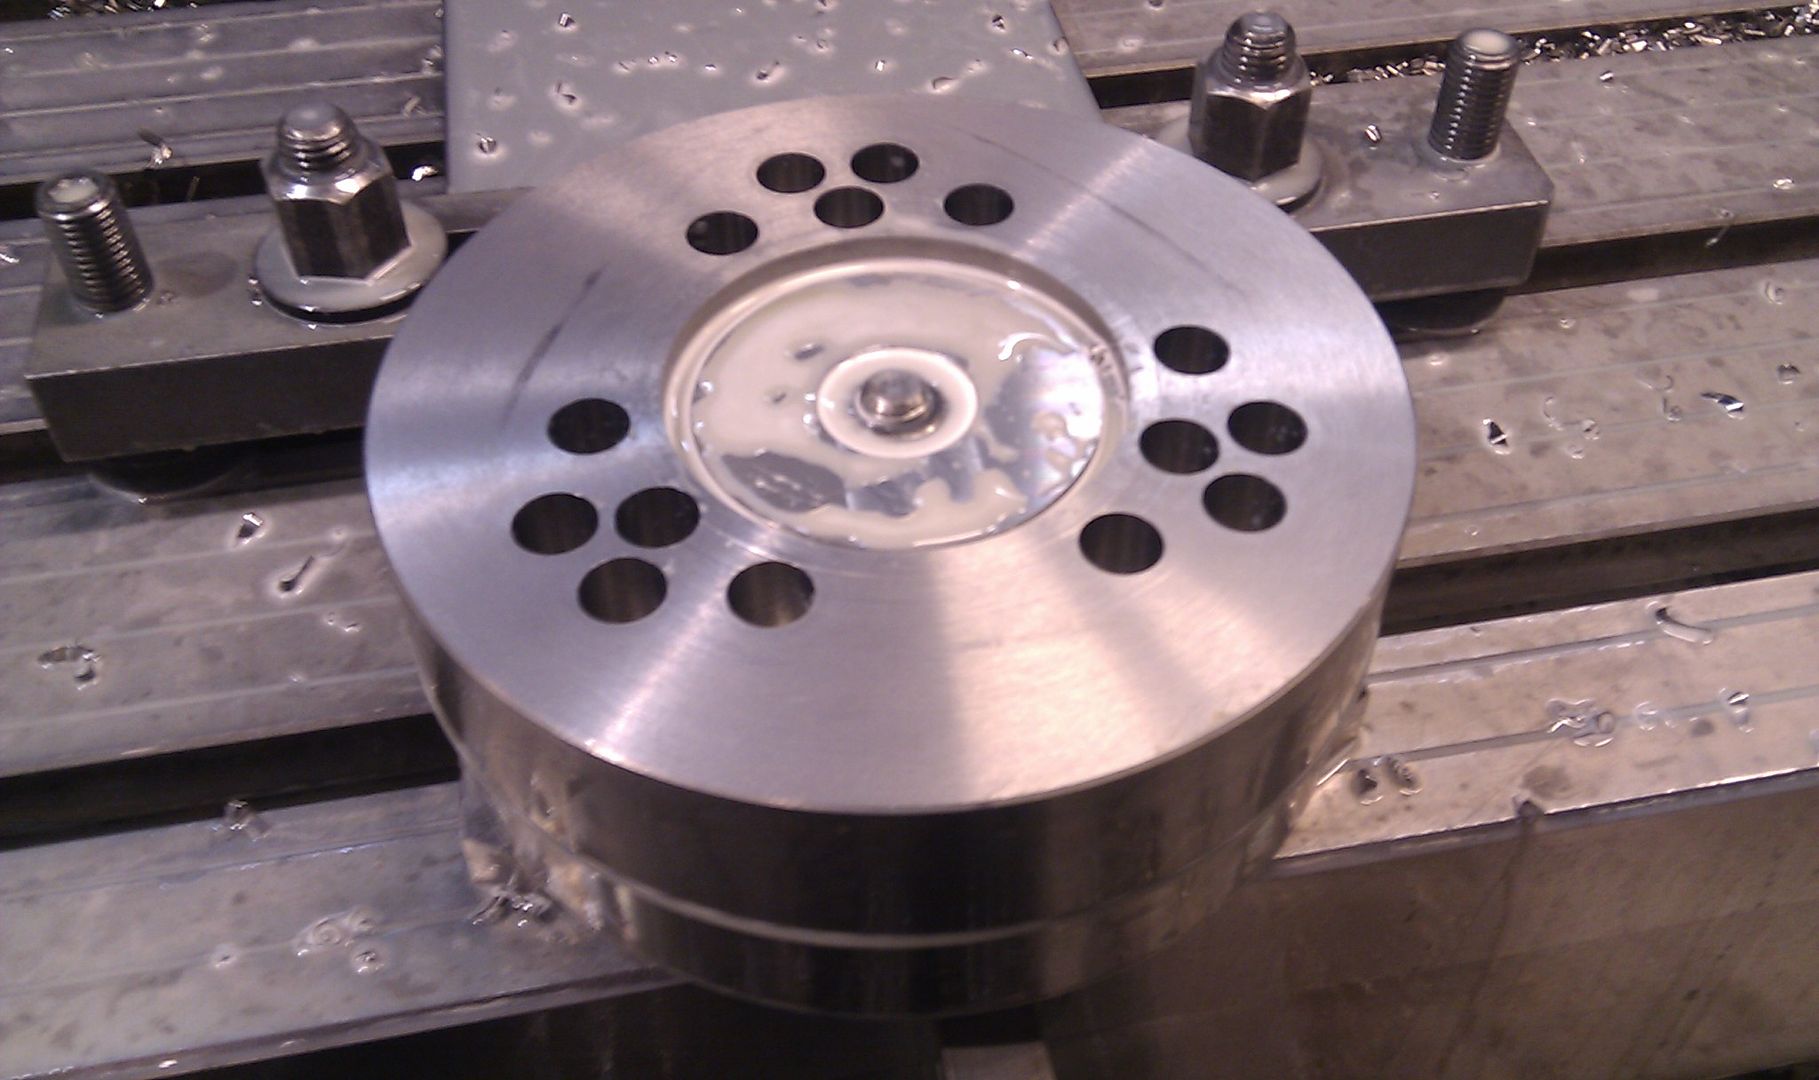
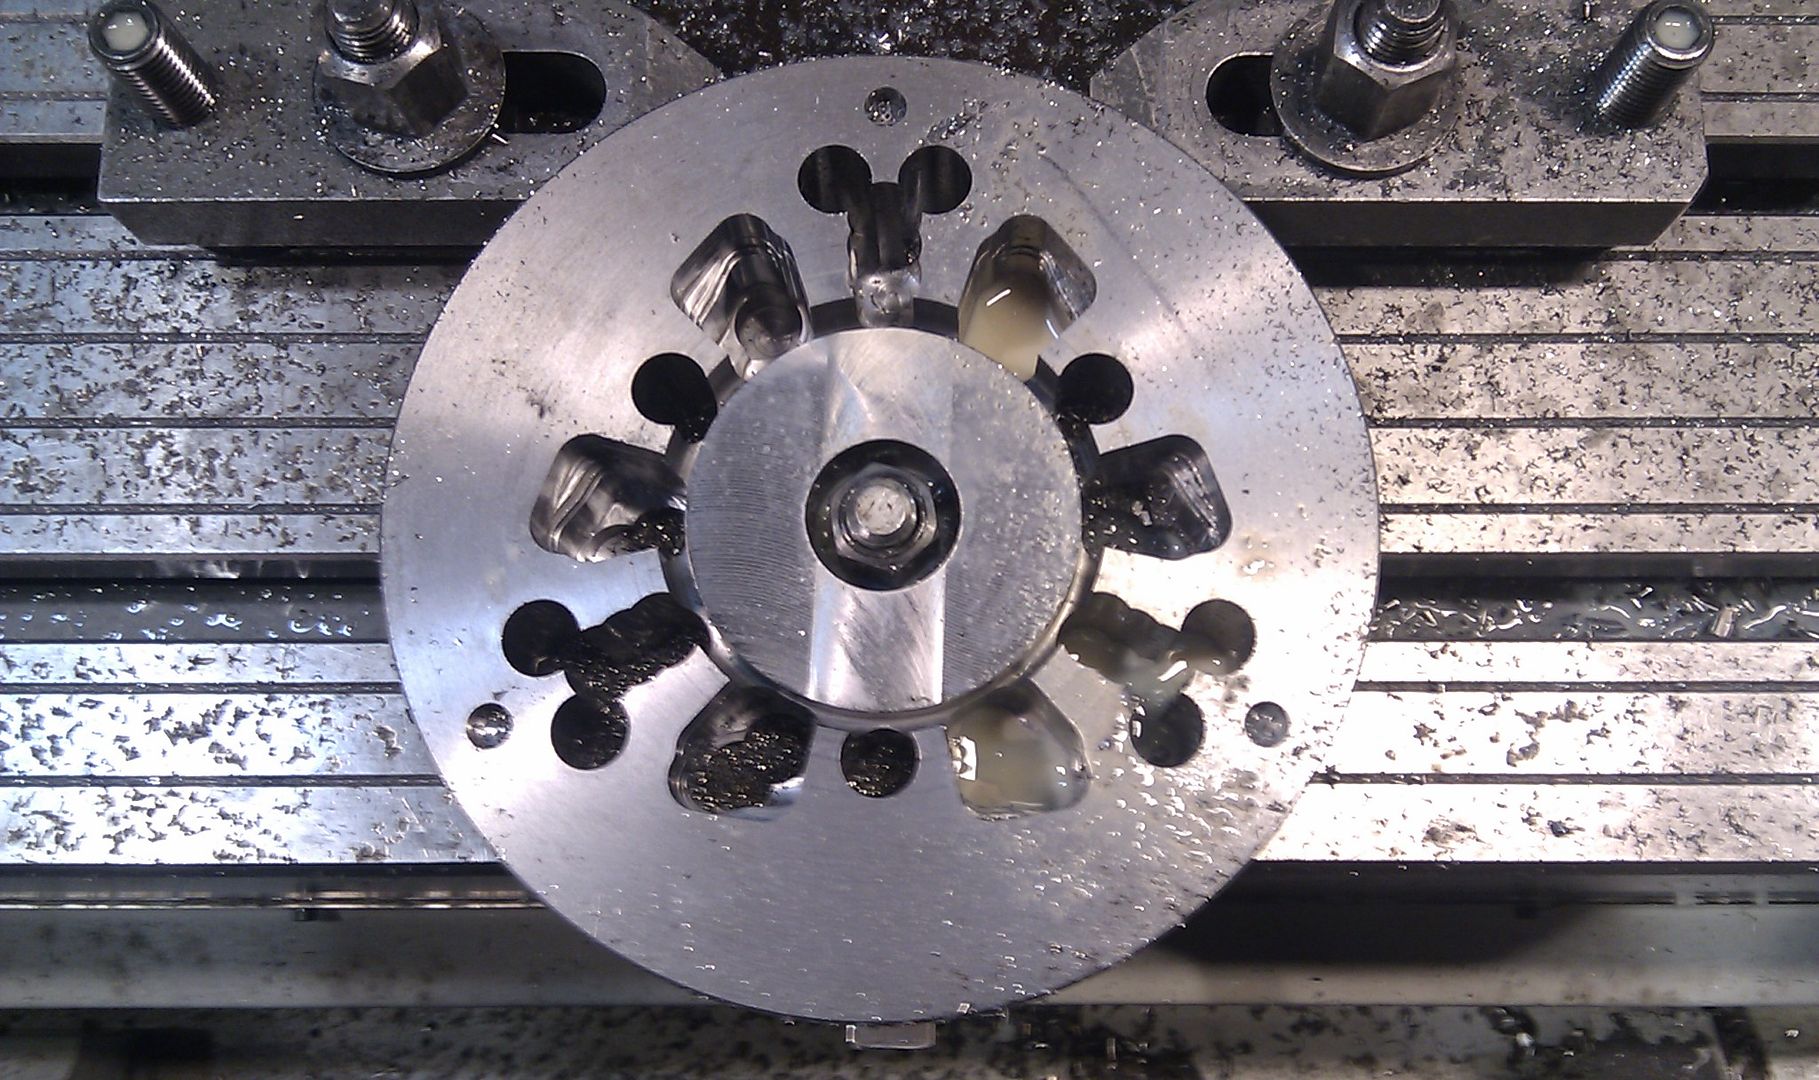
I'm also interested in seeing how you will machine the combustion pockets on the side of the rotors. I think that could be some tricky CNC code work.
I'm also interested in seeing how you will machine the combustion pockets on the side of the rotors. I think that could be some tricky CNC code work.
12-16-11, 06:28 PM
#474
Senior Member
Join Date: Dec 2006
Location: Sylva, NC
Posts: 272
Likes: 0
Received 0 Likes
on
0 Posts
Ah, I see them now. I'm interested to see how they are jigged up to machine the outside though too. Fantastic work so far though. I will be doing something similar in the spring hopefully.