When you click on links to various merchants on this site and make a purchase, this can result in this site earning a commission. Affiliate programs and affiliations include, but are not limited to, the eBay Partner Network.
Well tomorrow I tackle some interior bits. On the list so far are my new window channel seals, cleaning up the window regulators, removing the leaf that somehow made its way into my blower motor, and finally the sunroof leak (hopefully the last leak).
I've had the door cards off before, but are there any special tricks to the channel seals, or do the old just pop out and the new pop in?
I'm also still open to any pointers on removing the headliner intact. 1980 GS with the sunroof.
Many thanks and a happy - almost - new year!
As far as the window 'side seals' go,....There is no real 'secret' as they are pretty straight forward & simple to remove & replace.
just take the old off & install are new! BTW, I've been following Ur post as I too have some kinds of 'mystery leaks' ....that have proven NOT so simple to figure out.. I'm still chasing them... (the sunroof area, or the (clogging of the drain) I should say, I believe is the main cause in THAT location)....LOL.. Good luck with it all.
Sam
Actually I had meant channel seals. The exterior side seals were the first thing I replaced a while back and did help the leak issue a little bit as the originals were so dryed and cracked, peices were missing. The channel seals are what run around the perimeter of the window in the 'channel' and guide rails. While the channel seals don't contribute much to sealing water, they do keep air out and prevent the window from rattling around in the door frame. My driver's side door was actually missing a chunk on the upright rear section, meaning I couldn't close the door with the window cracked open because the glass would slap the frame. I also got a nice breeze coming though on the highway. I successfully completed the replacement earlier today and I will say to anyone who wishes to do it, it is much simpler if you remove the window. Adding some WD or similar on the BACK - and I stress back because otherwise you will have oily marks on your window for a good lot of time - of the seals will help them slide down inside the door. You can also pull the front side of the door seal down the track if you remove some of the door plastic (necessary for removing the window anyways). For removing the plastic, if you pull away the glue from the door, often times it has enough stick left to re-adhere. I managed both doors without adding glue or damaging the plastic on either. That said, I also cleaned up the regulators, although unfortunately I installed the spring on the driver's side incorrectly and so I'll have to take it back off (it was installed wrong when I removed it and so I just put it back the same way. The passenger side spring was installed correctly and so now I know how to fix the driver's side).
I haven't had a chance yet to do the sunroof. Hopefully tomorrow I'll have time to start investigating that. While unrelated, I also need to install my headlight bushings so.... busy day tomorrow.
I will say chasing leaks is not too much fun, but the end product is definitely worth it. When you drive a wet car for a while and then drive or ride in a dry one, you realize how much you are missing out. That's not even to mention the benefits in terms of rust prevention and cleanliness - I no joke have had plants in my carpeting with all that water that sits in there.
I'll keep this updated with things I find. Hope I don't break anything... and best of luck with your own mystery leaks .
Last edited by Benjamin4456; Dec 31, 2018 at 11:38 PM.
I will say chasing leaks is not too much fun, but the end product is definitely worth it. When you drive a wet car for a while and then drive or ride in a dry one, you realize how much you are missing out. That's not even to mention the benefits in terms of rust prevention and cleanliness - I no joke have had plants in my carpeting with all that water that sits in there..
I once lived in a dorm with a leaky bathroom, one morning I found mushrooms growing out of the floor boards. Of course, there are worse places to have plants growing (like the guy with the pea plant sprouting in his lung, https://www.medicalnewstoday.com/articles/197623.php)
I enjoy your threads, lots of interesting stuff in the DFI one too.
Oh my, all the wonderful places plants can be and really shouldn't. Glad you enjoy my threads, I enjoy making them
Anywho, on with the update.
Today was a fairly productive day, although I still haven't gotten too far on the sunroof (I'll get back to that later). First thing I did was install my new headlight bushings. I only had to do the long arm ones as the oem short arm bushings seem to stay on much better. May I say that those new bushings have made a world of a difference. No more clunking or squeaking (I lubed up everything else while I was at it); it's just so nice to not hear anything but the motors whirring away. Small thing, I know, it's just such an improvement over the past. Second thing I got done was finishing up (fixing) my windows. Got the drivers side installed correctly and it's smooth as could be. The passenger side is better, although it's still more difficult than the drivers (undoubtedly from the lesser use it has seen over the years) and still squeaks a little bit. The doors do sound much better when closing though, as with the new channel seals the windows don't bounce around anymore. Can't wait to take it for a drive to see how much more quiet it is... doubt I'll hear a difference over my exhaust though - probably'll be the lack of a breeze that'll make the difference .
Now for the headliner... I got it out! Nothing broken, stretched, or anything weird. It's now hanging from the rear section as it doesn't need to be removed any further for what I'm doing. When it goes for removing the headliner, it's actually pretty simple (alert! Incoming tutorial...). The front is held on with a reverse guide thing (as I call it). Basically it's just a flange that sits up in a groove under tension from the headliner so that it doesn't fall out. First you've got to remove the two visors, mirror, A-pillar trim, and at least part of the headliner that runs under those black strips that go all the way around the door. Oh, those black strips also hold on the A-pillar trim, so you'll have to pull those back before going further anyways. Once all that is removed, pick a side to begin - I chose the drivers side. Now from here on is true for (I'm assuming) both the '79 and '80 cars, the FB's may be similar but I can't be certain. I'm working on 1980 GS with the sunroof in case someone reads this without seeing the rest of the thread. By prying back some of the headliner from the upper corner of the windshield you can see a black 'trim' piece and a white piece of plastic. Use a screw driver to push on the white plastic toward the windshield (forward and down relative to the orientation of the car). It may take some force, but once it is out you can just work your way across the windshield using your fingers to pull it down. If you don't have the sunroof, all that's left is the parts above the door which are simply glued on (under that plastic trim thing which surrounds the door and is simply pressed over the frame), and you can use a screw driver, your nail, or anything else to work the headliner free. If you've got a sunroof - like myself, you've got to remove the same bits above the doors, but now the sunroof is preventing removal. First remove the sunroof and stow it somewhere. Next, pull out the pop-up visor with the four screws holding it in place (it should be obvious which ones as the others are for the sunroof 'hinge'). Once that is out you will notice a split seam under where one of the brackets for the visor was. In much the same way as the windshield area, choose a 'side' to start on, and then use a screwdriver or other implement to pry up the trim. Don't damage your precious gasket in the process though, they be spendy. I would also suggest removing the 'raising mechanism' before you get to that area as it will reduce the chance that you will stretch the headliner. Work your way around the sunroof area, and voila! Headliner is free. If you need to fully remove it, I assume a similar process can be used to remove it from the sides and rear hatch.
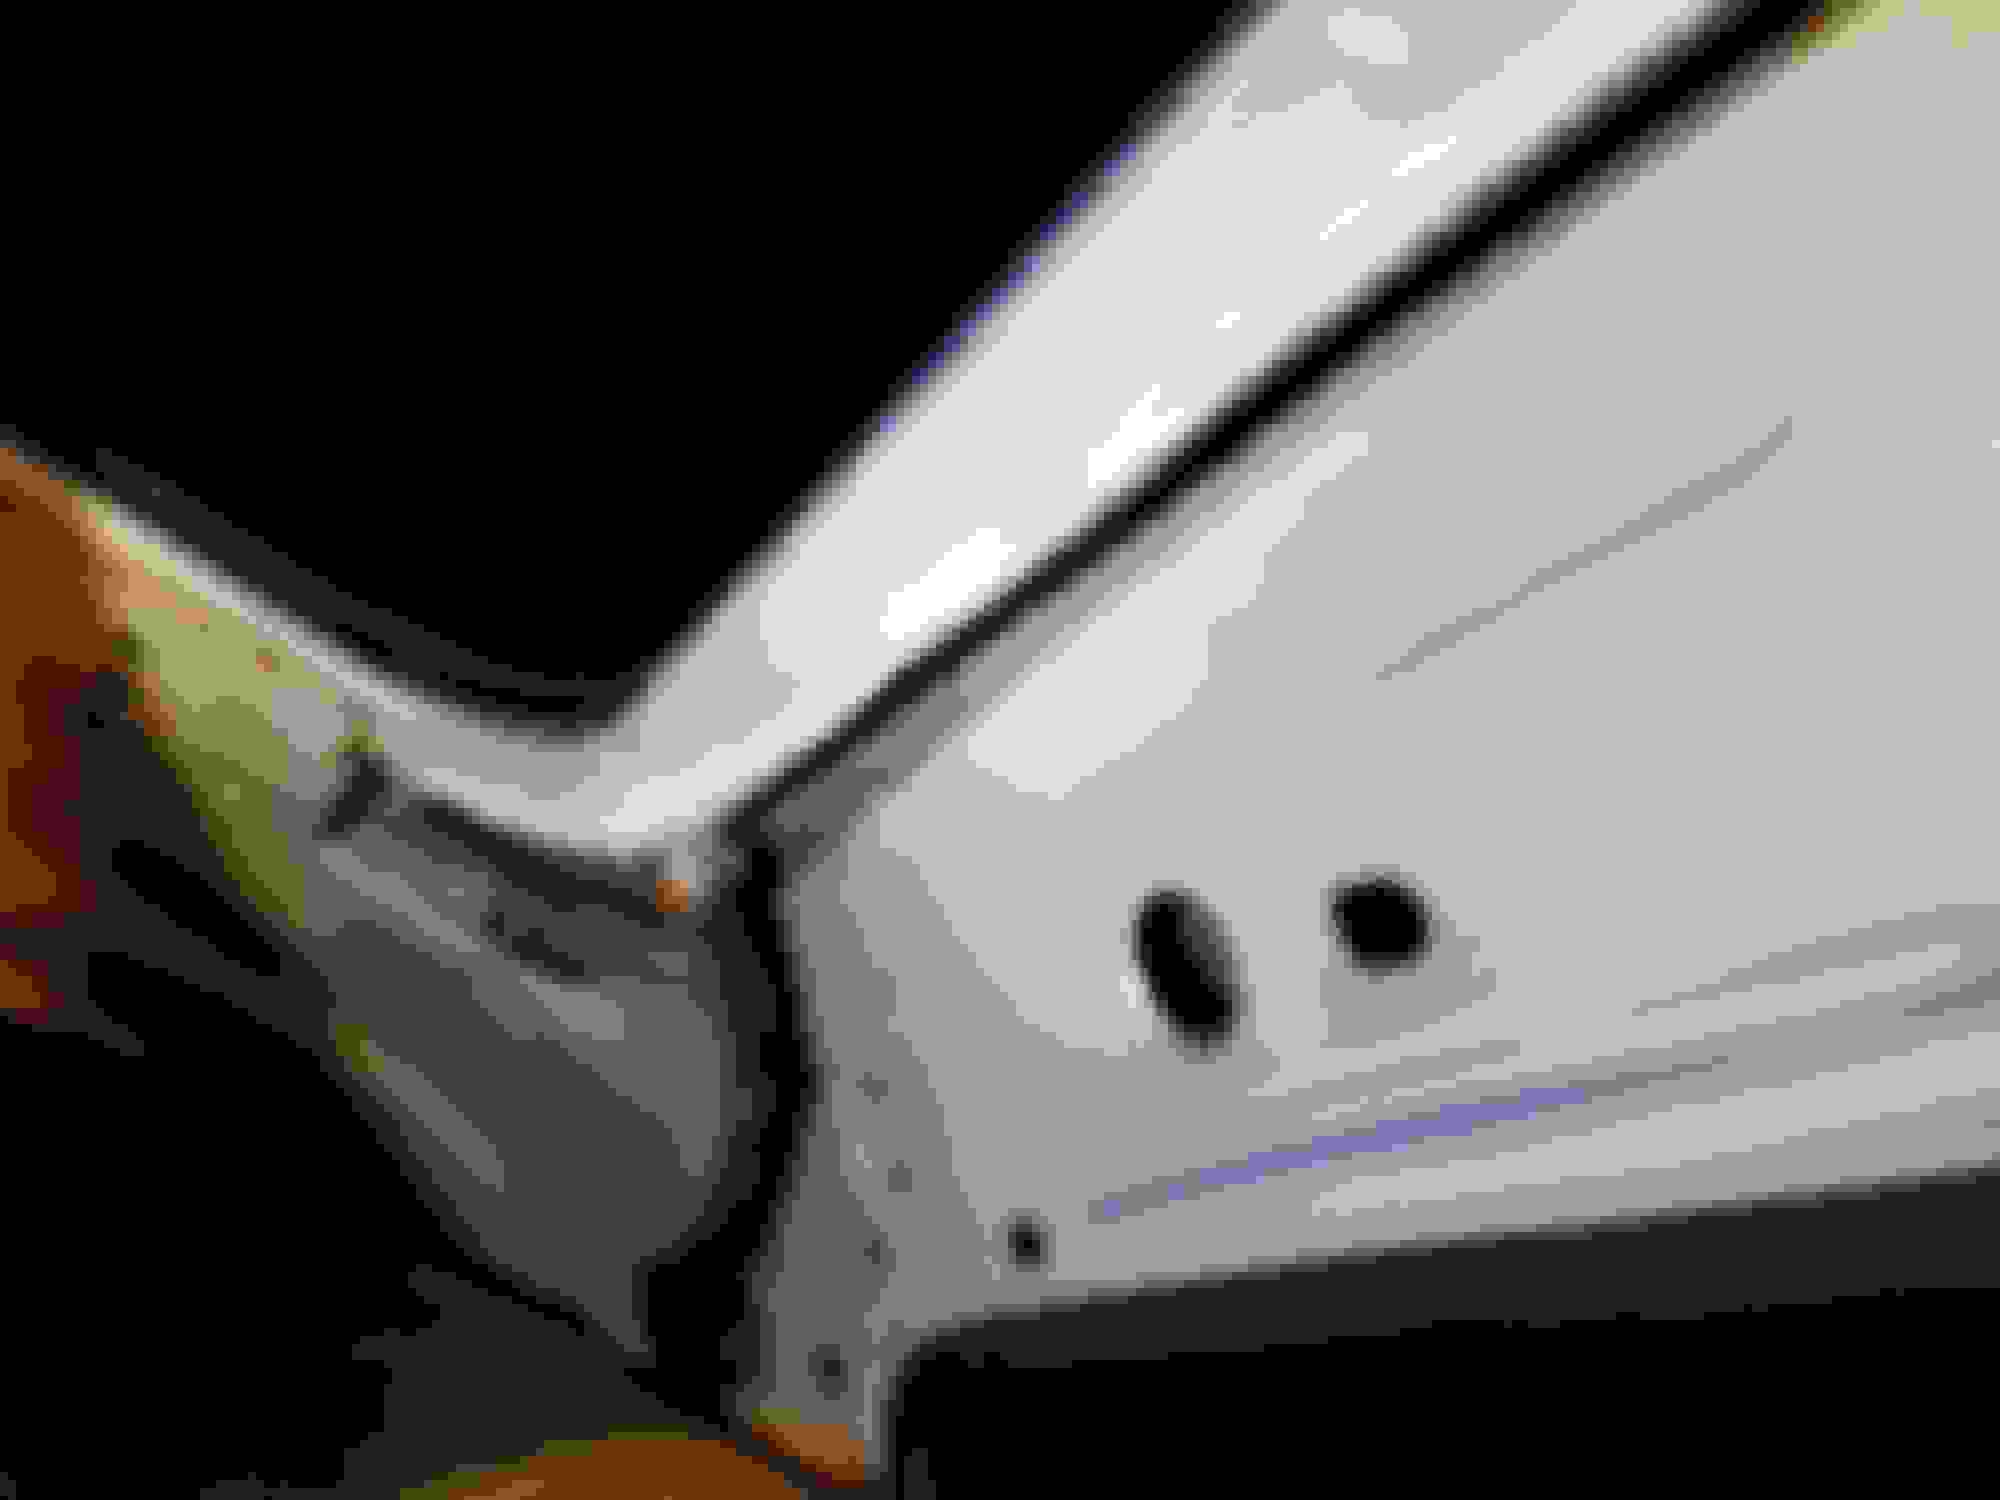
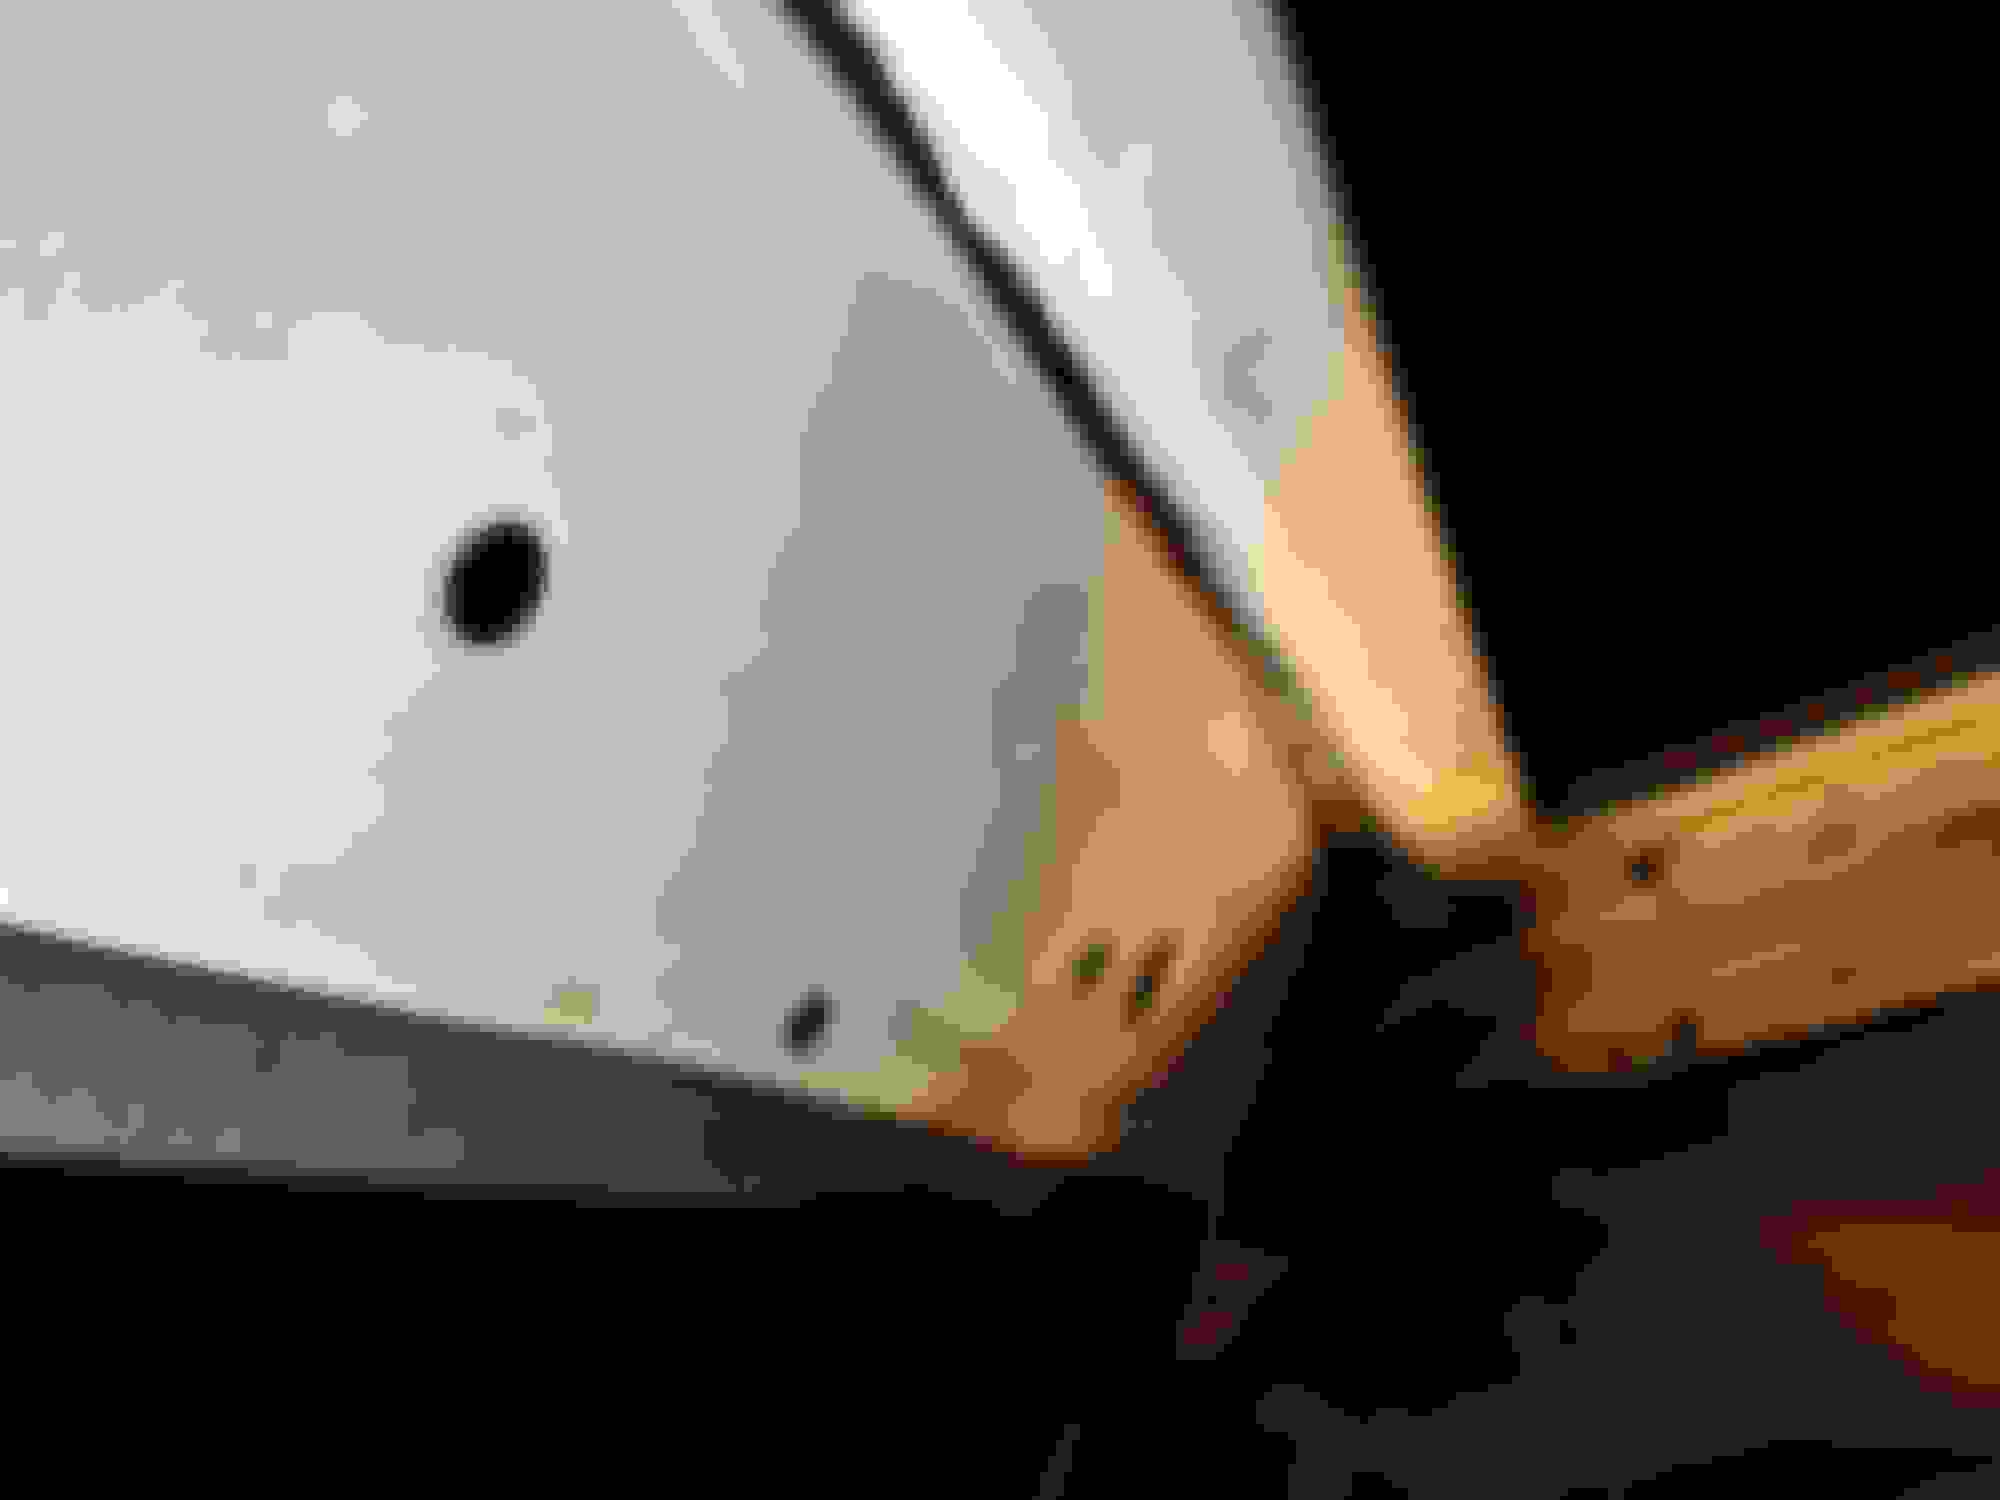
Now that the 'tutorial' is over, let me just say that we've got some rust. It's not as bad as it could have been but I've got my work cut out for me tomorrow. Here's a couple pictures of the damage.
This next picture is of the passenger rear corner - the drain that had completely clogged. While I doubt they are related, here is what I hope is the last mouse nest I find...
So all these pictures were taken before I started cleaning. Since taking these I have cleaned the headliner then moving it behind the seats, and vacuumed out that nest. Tomorrow I'll start cleaning and treating the rust. I'm planning on doing what has become my usual - wire brush, clean it, ospho, and then construction adhesive.
Speaking of construction adhesive, I removed the pesky leaf from my blower motor today, and I must say, the construction adhesive there is holding up just fine. No signs of water there either; hopefully the same will soon be true of my roof too.
You'll probably hear from me again tomorrow after I've gotten stuff all done up. Happy 2019!
Last edited by Benjamin4456; Jan 1, 2019 at 10:04 PM.
Well the leak report is in, but first I've gotta show what I've done.
Unfortunately I forgot to take any pictures of the rust after I had cleaned and treated it, but here are some of the final product.
Some of the rust spots still appear orange in the photos. I can assure you that this was either staining on the paint, or places where the converter hadn't fully cured yet (I didn't seal anything before the converter was dry). You can see some of the places where it had cured as they turn black. All in all I think it turned out pretty good. I also figured out why the one drain wasn't doing its job - apparently sometime in this cars past, someone had the misfortune of dropping the perfect sized bolt down it. It was stuck in there so I had to cut open the tube which I was very hesitant about. I ended up only cutting it halfway through and then sealing it back up with some silicone. I was also going to wrap it in some strong duct tape but forgot; it should be fine...
We got some rain last night (I completed all the work on Wednesday night) and we are darned near leak free. Nothing is coming from the roof anymore as I checked the A-pillars by removing the trim and there were no signs of water. The passenger side is now completely dry (although we'll see again after some longer duration, heavier rain), and the drivers side just had two spots. I believe they are coming from up under the dash which is unfortunate due to all of the electronics being located there. For now though I'd say it's miles better than in the past (hmm, that sounds familiar from when I fixed the blower motor leak...). I do believe that the leak quest is practically over, although I probably won't get to the under dash leak for a while yet.
Thanks for all the pointers, and to those who said check the sunroof, well.... I'd say y'all were right on the money.
I'll update eventually when I dive into the driver's side dash leak.
Yep, indeed it is. Also, removing the blower is pretty quick if you want to check yours. Just three 10mm nuts, the harness, and the main duct (depending on if you have AC; I don't). One is on the firewall and the other two are up top by the glove box and can be reached with an extension.
I have AC installed in my car still and I seem to be having this same leak. I used an endoscope to look from the top and it looks like there�s rust in there but I can�t see for sure from the top. Im having trouble finding the two top 10mm nuts to remove the blower box.
I have AC installed in my car still and I seem to be having this same leak. I used an endoscope to look from the top and it looks like there�s rust in there but I can�t see for sure from the top. Im having trouble finding the two top 10mm nuts to remove the blower box.
Im just finishing up repairing this same issue on mine. Lay in the floor board and looking up (might have to remove the lower dash covers), the blower plastic mounts attach to the cowls �bottom pan�. I don�t have the car in front of me currently so doing this from memory. It�s way up, but is possible to reach with a long extension etc. With the blower out of the way you should be able to see a bit better. In my case I pulled the entire dash I had places I can�t access with it in place. The metal �stack� in the cowl that mates to the blower I removed. As the seam sealer around it from inside the cowl and all the other seams had failed. I had water coming in from holes in the metal stack joint where it attaches to the cowl floor, as seen in this photo. I�ve highlight seams that were allowing water and rust to form. Also notice the 2 bumps on the right, those are likely the top of your studs for the blower motor mounts.
Last edited by rotary_fan; Jul 7, 2024 at 11:44 AM.
Does anyone have solid info about this?
I�m resealing and resolving my cowl water intrusion.
However I�m torn about this area (above photos) and how it works or should work. Originally you can see there was cloth tape over this area, in this photo I removed part of it to see underneath. When I pour water into the cowl some water dribbles out from underneath this thin opening where the tape was. Trouble is if I attempt to leave the taped area open and not place seam sealer I get water seeping inside at the firewall, cowl to side wall(where speaker is).
Clearly there was a reason this was left open and the tape placed, not fully sealed. Hoping someone has some insight? Other wise I�m leaning towards just sealing it up, but I have a feeling Ill regret doing this in the future maybe cause some other issues.
Last edited by rotary_fan; Jul 20, 2024 at 11:45 AM.
I've never had a leak in mine and here's what that area looks like in my bay...filled with sealer completely, but there is a little "gutter" that look like it wouldn't allow it to pool there.


 .
.

 .
.