Brandon's FC Build

Hello Forum and thank you for stopping by my thread. After talking to the guys at Goopy Performance they managed to convince me to start documenting my build.
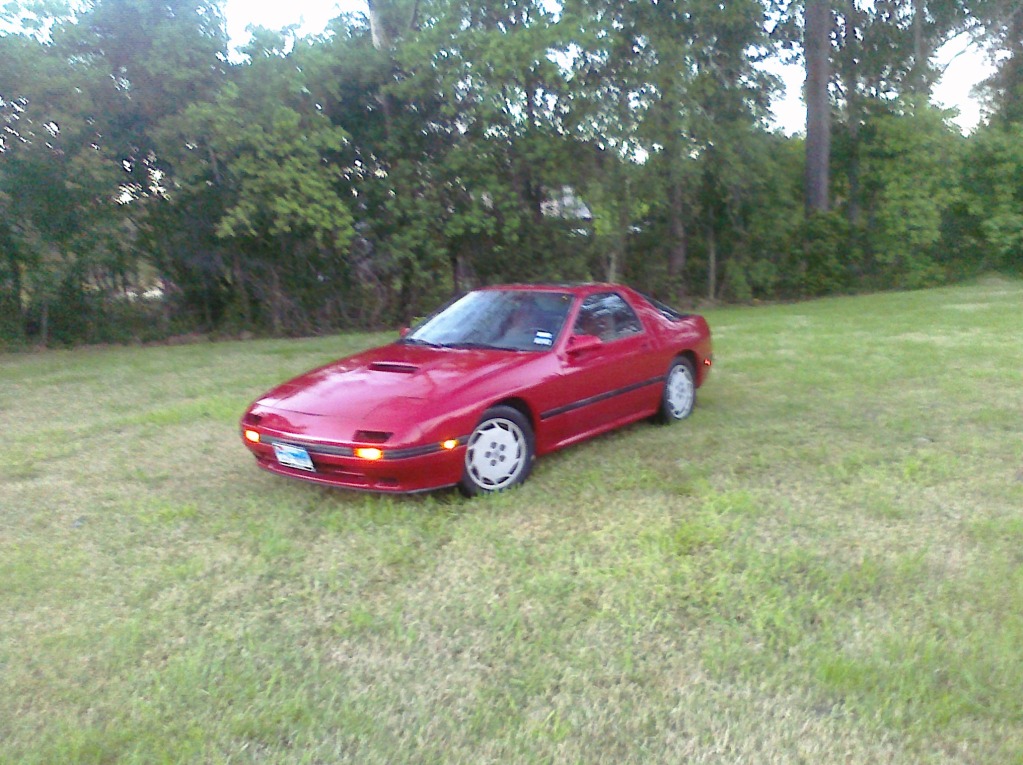
December of 2011 a week before christmas, after over a year of constantly checking Craigslist I stumbled across a ad that was almost too hard to believe. A 1987 RX7 Turbo II with 80,000 miles for sale, listed at $2000. I had just received a generous bonus check at the plant I work at for going beyond my employed duty as a CAD/CAM software Engineer and Maintaining/Troubleshooting the CNC machines that ran my programming.
After purchasing the car I drove it home and joined this forum not shortly after. The first Modification I put in was a Autometer Boost gauge and Hallman Boost controller. The Hallman is quite a nice piece of hardware, it is a manual boost controller but is adjustable from the driver seat. One of the most impressive power adders I put in the car to date. I started boosting to 7 psi and car drove very nice on the highway and just lightly feathering the throttle would send to boost all the way up no matter what gear you where in. Later I went ahead and put a Rtek 1.5 in the ecu so I could boost past the fuel cutoff and started pushing her up to 10 psi. It was amazing how cheap the horsepower came with this car, I wanted more but feared pushing the turbo any harder would cause the compressed gases to heat up so bad detonation would kill the engine.
A few months later I decided that it would be a good ideal to run some heavy duty injector cleaner through the tank. Little did I know things where about to change. If the car was cold it would start right up and run good, after arriving at the destination attempting to restart the engine proved to be very difficult. It displayed all the symptoms of being flooded, I would pull the fuel fuse and crank it but it made no difference. No matter what I tried the only thing that worked was to hold the throttle where only the primary ports where feeding and bump the starter until it sputtered and finally started. It seemed like the longer it sat the more difficult it was to start. I knew it had something to do with the injectors.
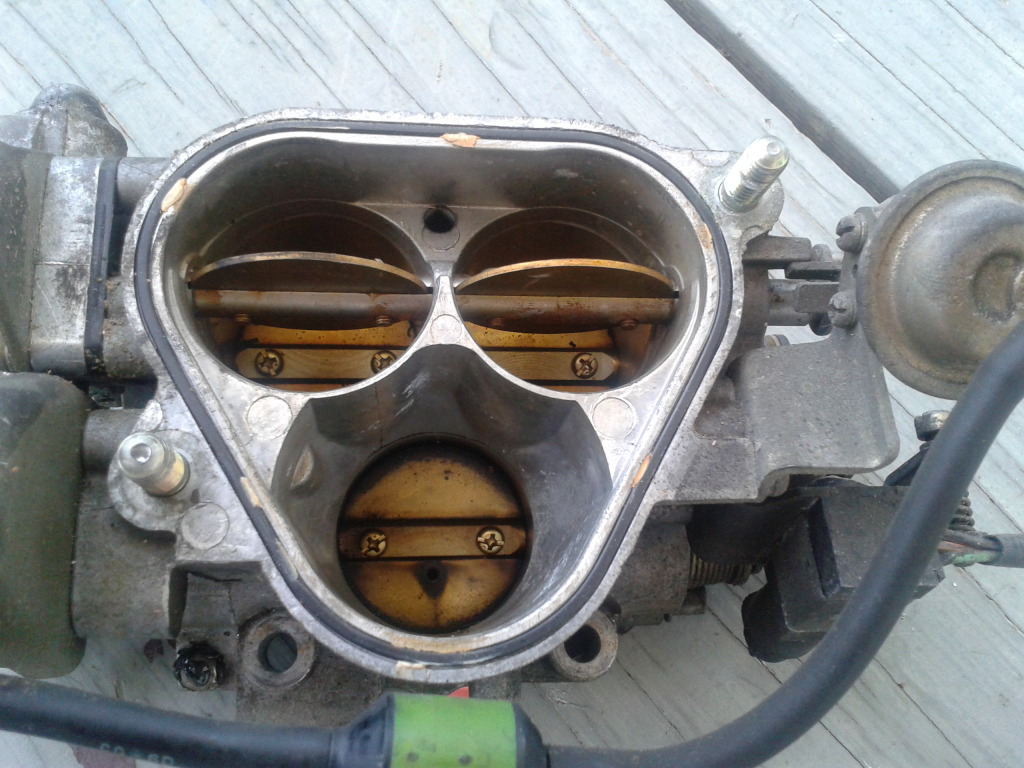
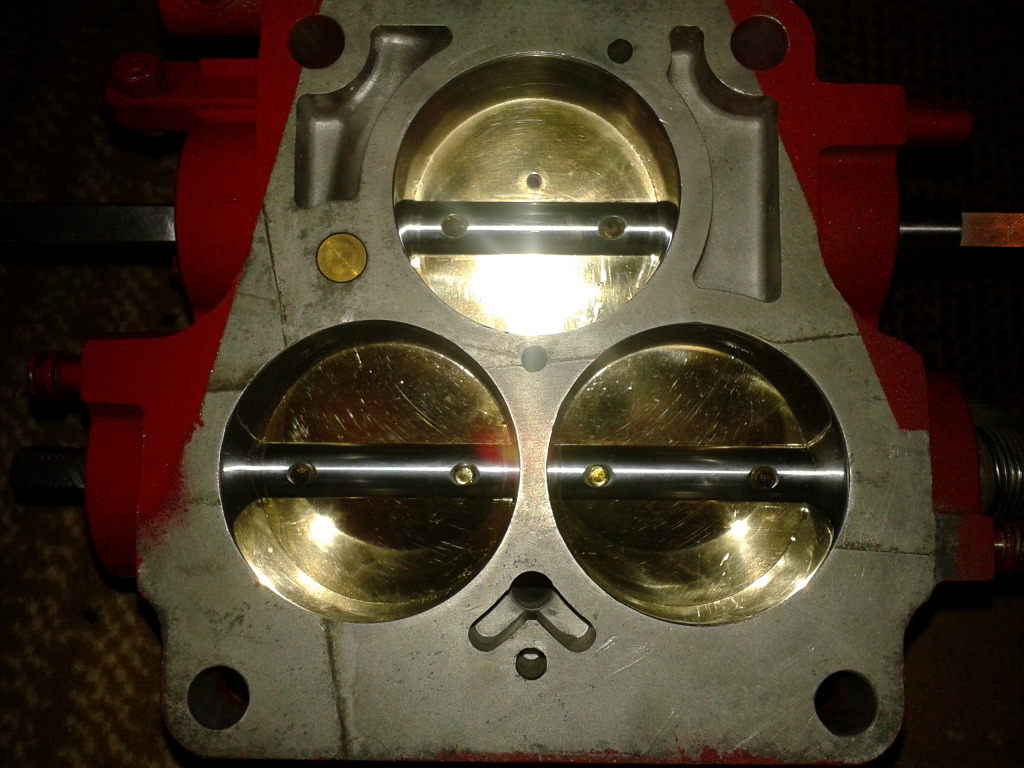
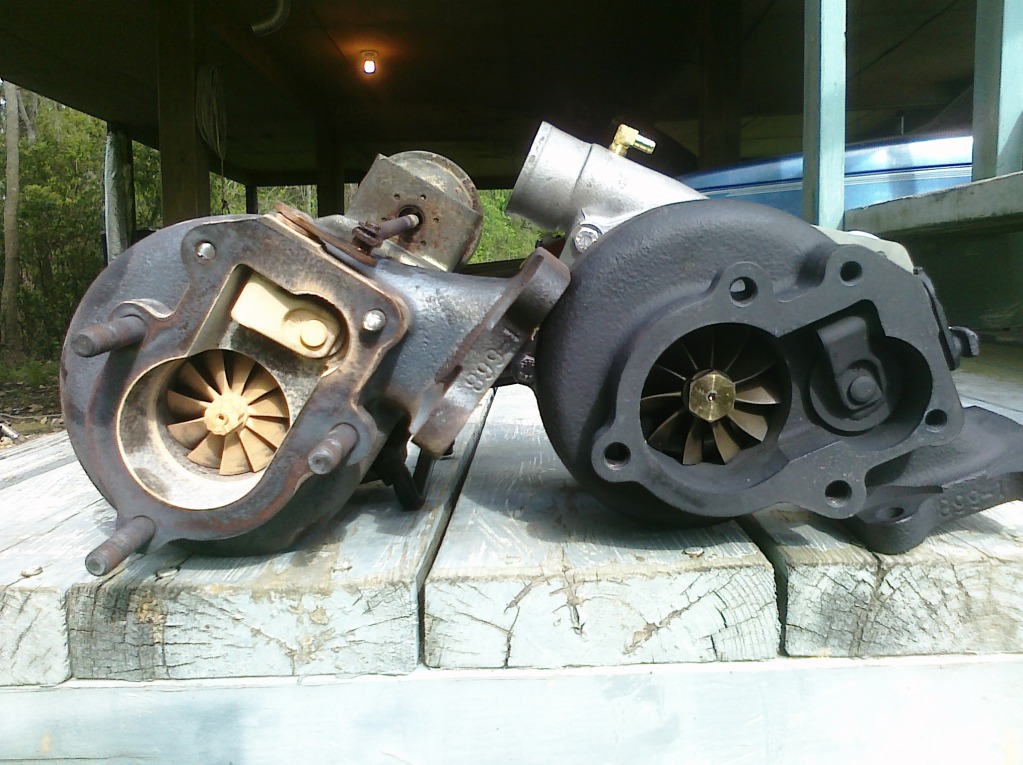
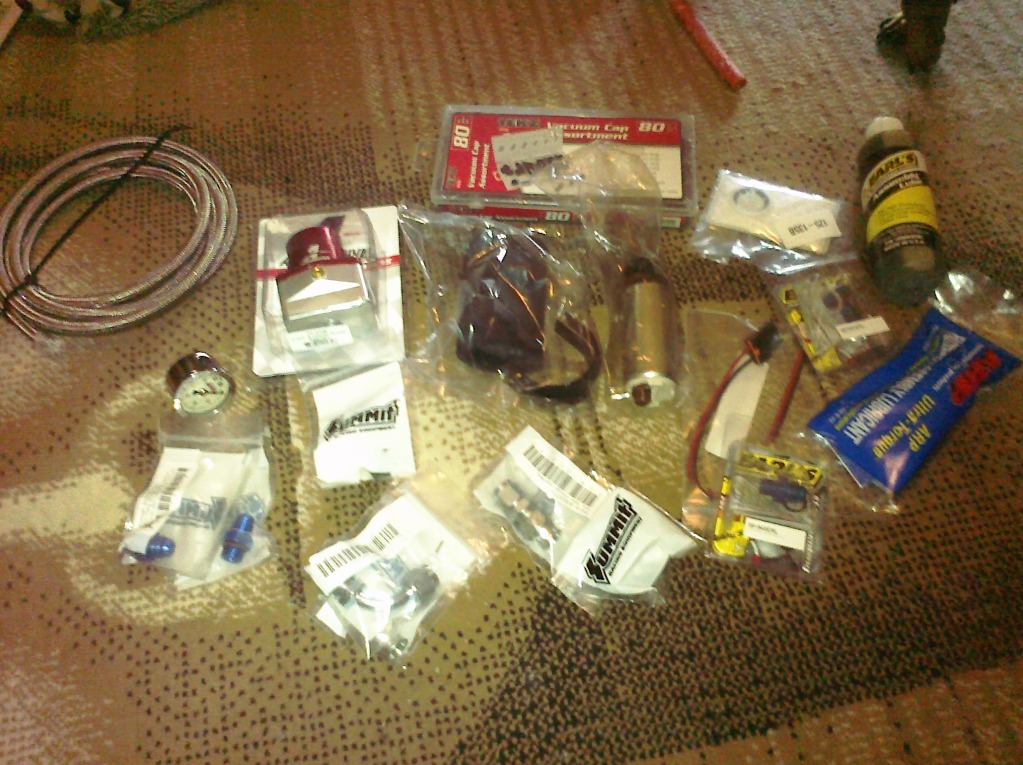
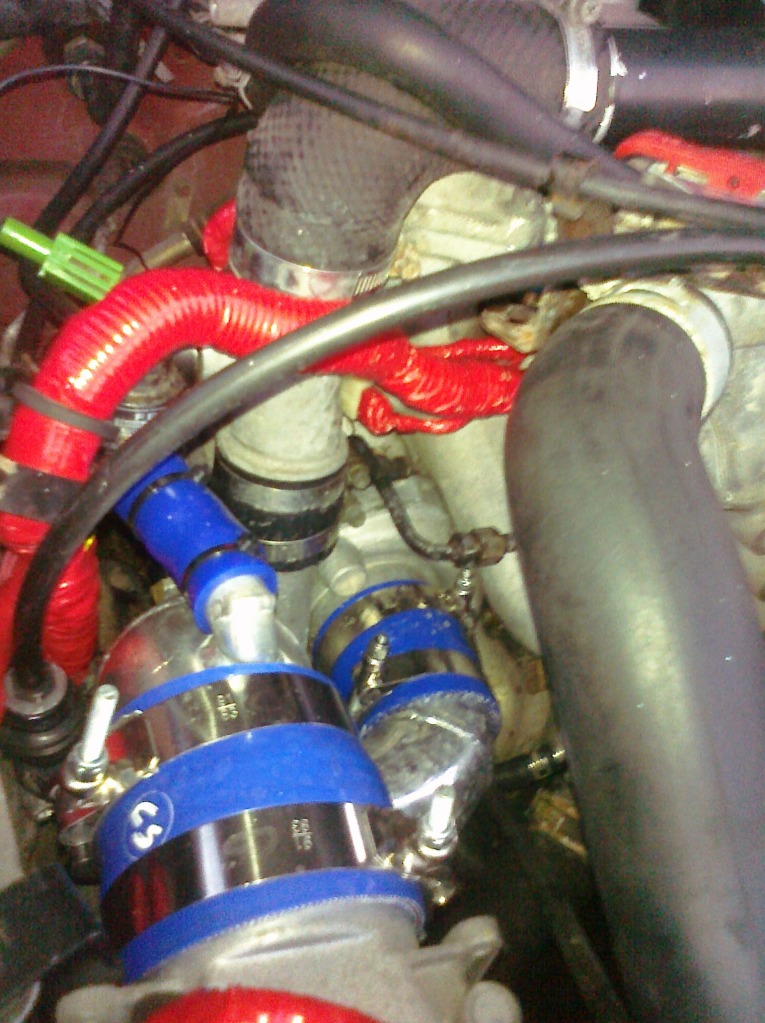
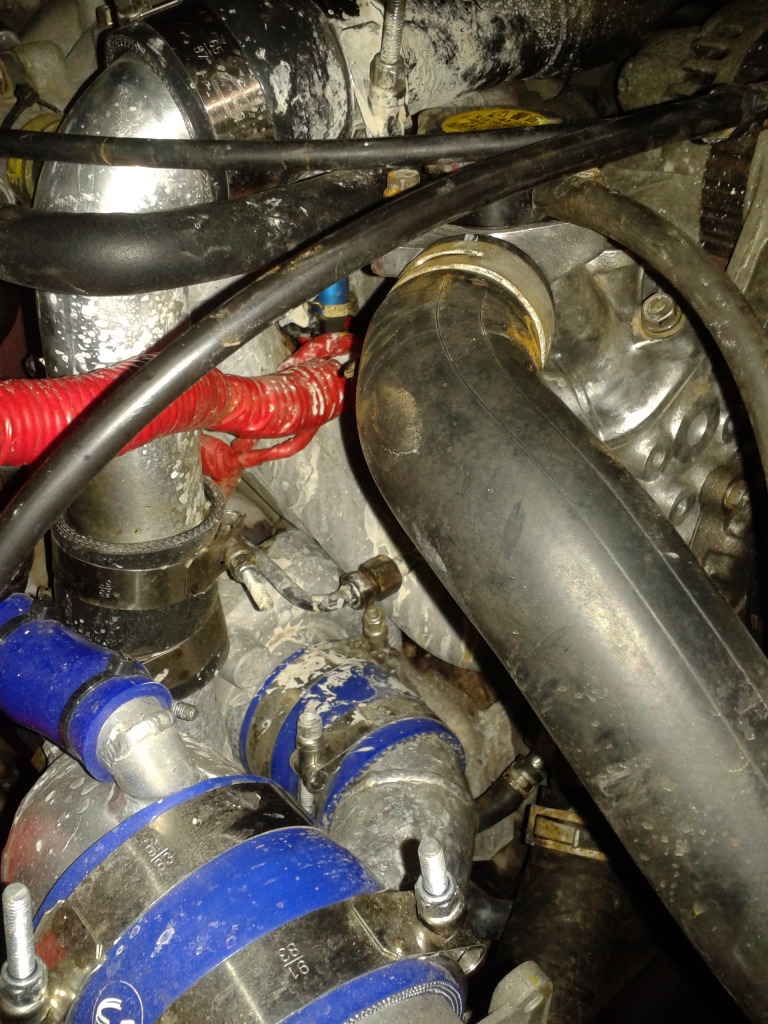
I decided to get a Rtek 1.8 and a BNR Suoercars stage 4 turbo, a T04b/T3 Hybrid with a P-trim 60:1 compressor wheel, enlarged wastegate and Injector Dynamics 725cc primaries and 850cc secondaries. Upon disassembly of the intake and fuel system I ran across a few things that really opened my eyes and let me know how blessed I was to have the hard starting issue. The screw had fallen out of my pulsation damper and I was on the verge of catching the car on fire. When I pulled the fuel rails lose in noticed that the strainers inside the injectors where full of rust that the injector cleaner �cleaned' out of the fuel tank. I made a trip to Orielly's Auto parts to buy all new hoses while I had the engine tore down. The guy behind the counter sold me 3/8 low pressure fuel line that I realized would not work when installing it. After pricing 5/16 high pressure injection hose I decided to check summit racing first and found their -6 AN Teflon stainless braided hose was $1.50 per foot cheaper than the crap at the parts stores it had a 5/16 ID and the fitting where $5 a pop. Aeromotive claimed that their fuel pressure regulator also handled pulsation and was priced cheaper than a replacement pulsation damper. I also found a nice used set of Greddy thrust turbo back exhaust pipes on Craiglist for $500, a steal of a deal and I did not have to worry about boost creep. I also removed all emissions and used the CNC machines at work to fab block off plates out of 1/8 H32 Aluminum plate double stacked. I topped this all off with a AEM Wideband to know when to stop boosting.
The first drive after the build was to say AMAZING, the hybrid turbo built more power on less boost. 7 psi felt more like 15 psi. The car pulled hard and I kept cranking the boost up until I hit 13 psi and stopped because of the stock intercooler. Fuel mixture was perfect under boost but I had a problem of running lean during cruize. I was holding 11 � 10 afr under boost and during higher than cruizing vacuum. Cuizing @ 55 mph would run 13-14 afr which was where I mainly drove since I live 2 miles from the factory. When I would hit the highway around 70 mph the afr would get crazy 15 creeping up to 18. If I goosed or lifted the accelerator the afr would run perfectly for about 30 seconds then lean out again. Some threads claimed that this was a �Fuel Saving� mode but I went ahead and corresponded with Rtek. Turbo2ltr thought I may have to do with the Rtek not compensating for the Injector Dynamics very and I mean very short dead time compensation. ID Injectors are not Bosch style injetors, they are piezoelectric injectors that are the latest and greatest in injection technology. The max out at 95% duty cycle and love fuel pressure.
One day driving between plants being the Director of Maintenance now I managed to run low on coolant on a hot day. The temperature gauge never went above � but I had steam coming from the hood when I got to my destination. I had done it, finally I successfully blew my motor, the feeling of failure and anger had me distraught and distracted for a month.
About Hallman Boost Controllers
Rtek7 ECU Upgrade Detailed Information
BNR Supercars - Bryan Nickell's Rotary Supercars - Mazda RX-7 2nd Generation (1987-1991)
Injector Dynamics - Injectors
http://fc3spro.com/TECH/MODS/FUEL/pararail.jpg
Summit Racing SUM-220984 - Summit Racing® PTFE Hose - Overview - SummitRacing.com
Aeromotive 13109 - Aeromotive A1000-6 Injected Bypass Regulators - Overview - SummitRacing.com
Craigslist > Cities
AEM Wideband O2 UEGO Gauge - Monitor Air/Fuel Ratio with the Digital 30-4100 - Wideband O2 UEGO, Water/Methanol, Stand Alone Engine Management, Piggyback F/IC, Tru Boost Controller, Gauges, Automotive Performance Electronics
December of 2011 a week before christmas, after over a year of constantly checking Craigslist I stumbled across a ad that was almost too hard to believe. A 1987 RX7 Turbo II with 80,000 miles for sale, listed at $2000. I had just received a generous bonus check at the plant I work at for going beyond my employed duty as a CAD/CAM software Engineer and Maintaining/Troubleshooting the CNC machines that ran my programming.
After purchasing the car I drove it home and joined this forum not shortly after. The first Modification I put in was a Autometer Boost gauge and Hallman Boost controller. The Hallman is quite a nice piece of hardware, it is a manual boost controller but is adjustable from the driver seat. One of the most impressive power adders I put in the car to date. I started boosting to 7 psi and car drove very nice on the highway and just lightly feathering the throttle would send to boost all the way up no matter what gear you where in. Later I went ahead and put a Rtek 1.5 in the ecu so I could boost past the fuel cutoff and started pushing her up to 10 psi. It was amazing how cheap the horsepower came with this car, I wanted more but feared pushing the turbo any harder would cause the compressed gases to heat up so bad detonation would kill the engine.
A few months later I decided that it would be a good ideal to run some heavy duty injector cleaner through the tank. Little did I know things where about to change. If the car was cold it would start right up and run good, after arriving at the destination attempting to restart the engine proved to be very difficult. It displayed all the symptoms of being flooded, I would pull the fuel fuse and crank it but it made no difference. No matter what I tried the only thing that worked was to hold the throttle where only the primary ports where feeding and bump the starter until it sputtered and finally started. It seemed like the longer it sat the more difficult it was to start. I knew it had something to do with the injectors.
I decided to get a Rtek 1.8 and a BNR Suoercars stage 4 turbo, a T04b/T3 Hybrid with a P-trim 60:1 compressor wheel, enlarged wastegate and Injector Dynamics 725cc primaries and 850cc secondaries. Upon disassembly of the intake and fuel system I ran across a few things that really opened my eyes and let me know how blessed I was to have the hard starting issue. The screw had fallen out of my pulsation damper and I was on the verge of catching the car on fire. When I pulled the fuel rails lose in noticed that the strainers inside the injectors where full of rust that the injector cleaner �cleaned' out of the fuel tank. I made a trip to Orielly's Auto parts to buy all new hoses while I had the engine tore down. The guy behind the counter sold me 3/8 low pressure fuel line that I realized would not work when installing it. After pricing 5/16 high pressure injection hose I decided to check summit racing first and found their -6 AN Teflon stainless braided hose was $1.50 per foot cheaper than the crap at the parts stores it had a 5/16 ID and the fitting where $5 a pop. Aeromotive claimed that their fuel pressure regulator also handled pulsation and was priced cheaper than a replacement pulsation damper. I also found a nice used set of Greddy thrust turbo back exhaust pipes on Craiglist for $500, a steal of a deal and I did not have to worry about boost creep. I also removed all emissions and used the CNC machines at work to fab block off plates out of 1/8 H32 Aluminum plate double stacked. I topped this all off with a AEM Wideband to know when to stop boosting.
The first drive after the build was to say AMAZING, the hybrid turbo built more power on less boost. 7 psi felt more like 15 psi. The car pulled hard and I kept cranking the boost up until I hit 13 psi and stopped because of the stock intercooler. Fuel mixture was perfect under boost but I had a problem of running lean during cruize. I was holding 11 � 10 afr under boost and during higher than cruizing vacuum. Cuizing @ 55 mph would run 13-14 afr which was where I mainly drove since I live 2 miles from the factory. When I would hit the highway around 70 mph the afr would get crazy 15 creeping up to 18. If I goosed or lifted the accelerator the afr would run perfectly for about 30 seconds then lean out again. Some threads claimed that this was a �Fuel Saving� mode but I went ahead and corresponded with Rtek. Turbo2ltr thought I may have to do with the Rtek not compensating for the Injector Dynamics very and I mean very short dead time compensation. ID Injectors are not Bosch style injetors, they are piezoelectric injectors that are the latest and greatest in injection technology. The max out at 95% duty cycle and love fuel pressure.
One day driving between plants being the Director of Maintenance now I managed to run low on coolant on a hot day. The temperature gauge never went above � but I had steam coming from the hood when I got to my destination. I had done it, finally I successfully blew my motor, the feeling of failure and anger had me distraught and distracted for a month.
About Hallman Boost Controllers
Rtek7 ECU Upgrade Detailed Information
BNR Supercars - Bryan Nickell's Rotary Supercars - Mazda RX-7 2nd Generation (1987-1991)
Injector Dynamics - Injectors
http://fc3spro.com/TECH/MODS/FUEL/pararail.jpg
Summit Racing SUM-220984 - Summit Racing® PTFE Hose - Overview - SummitRacing.com
Aeromotive 13109 - Aeromotive A1000-6 Injected Bypass Regulators - Overview - SummitRacing.com
Craigslist > Cities
AEM Wideband O2 UEGO Gauge - Monitor Air/Fuel Ratio with the Digital 30-4100 - Wideband O2 UEGO, Water/Methanol, Stand Alone Engine Management, Piggyback F/IC, Tru Boost Controller, Gauges, Automotive Performance Electronics
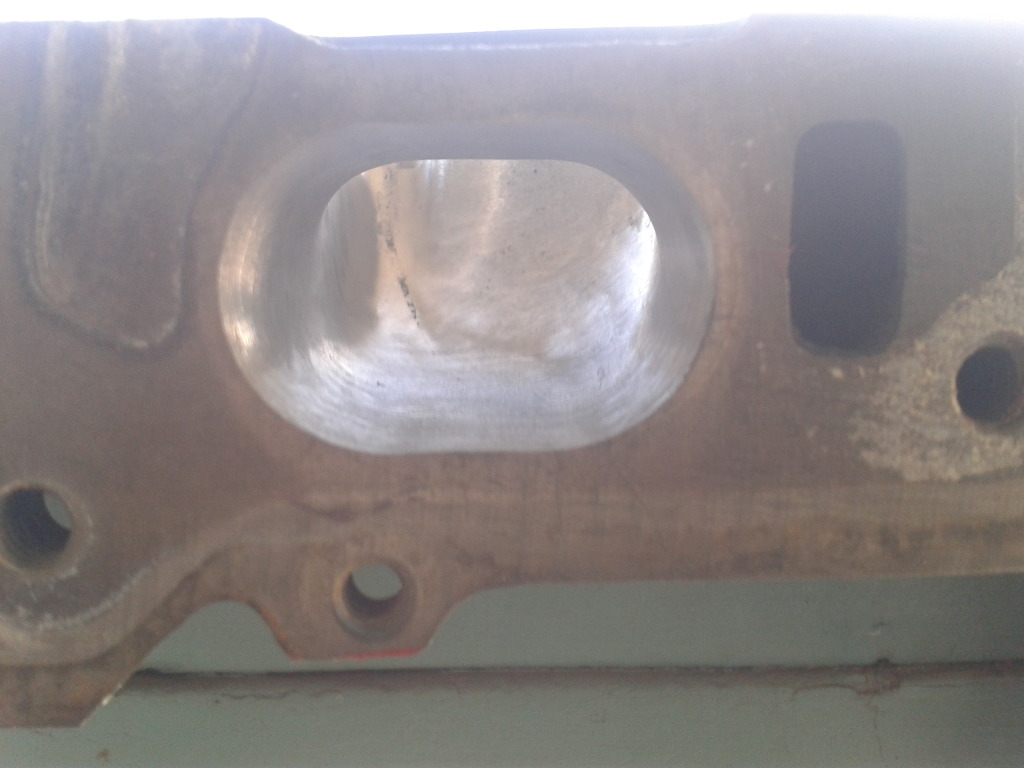
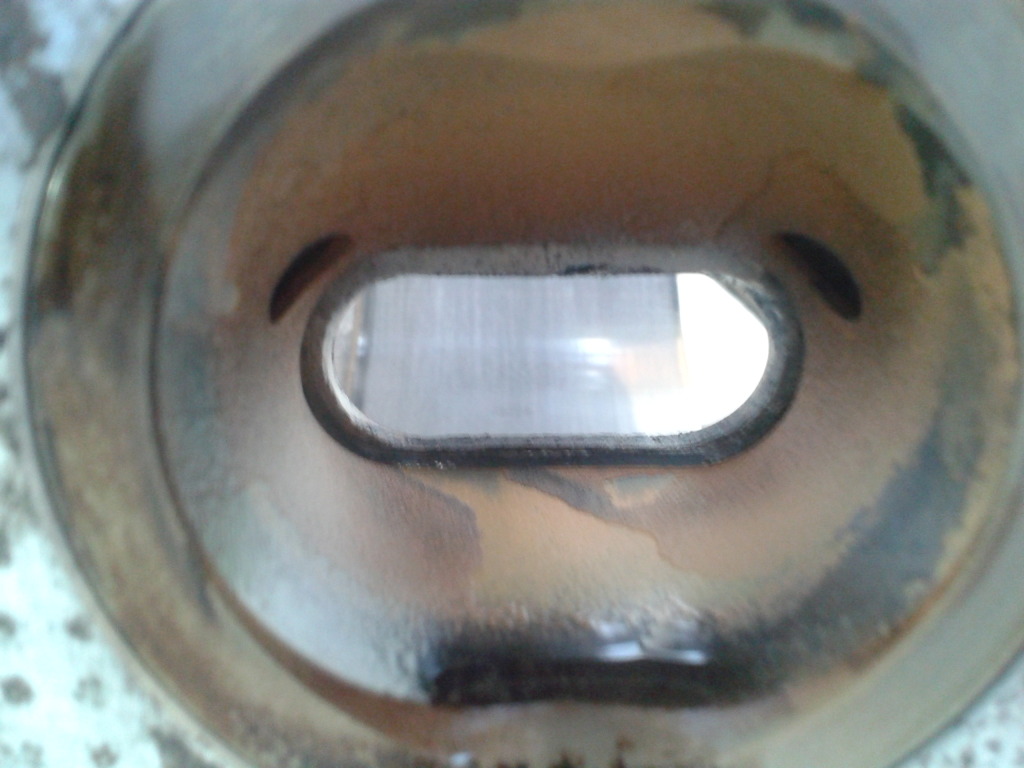
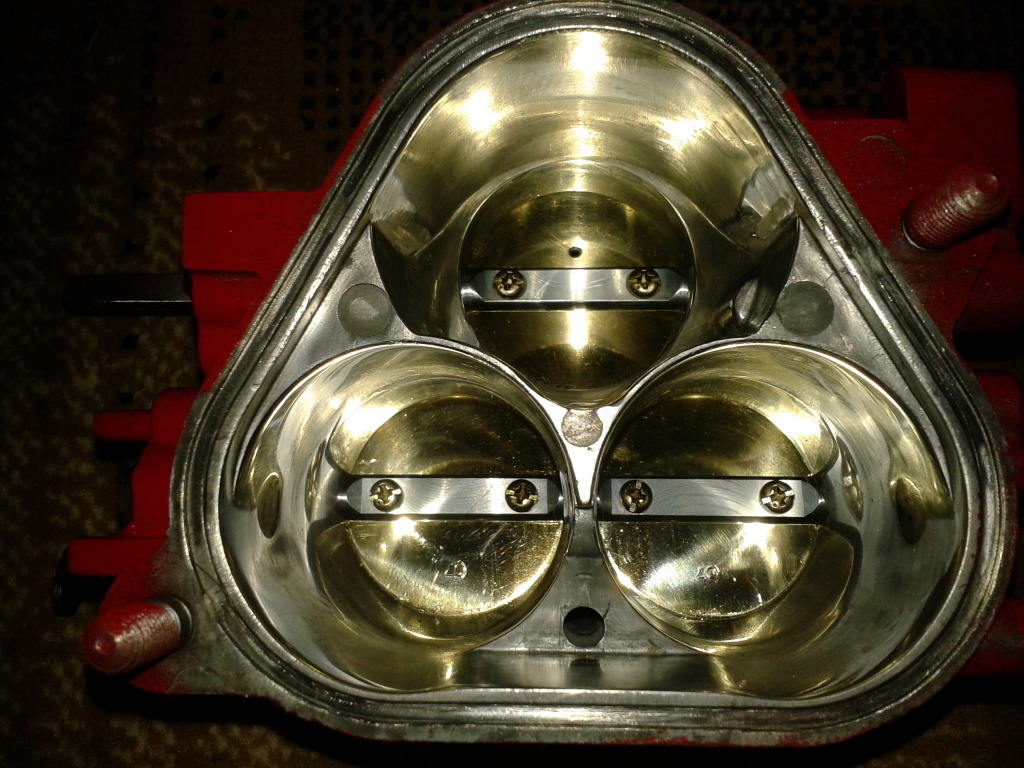
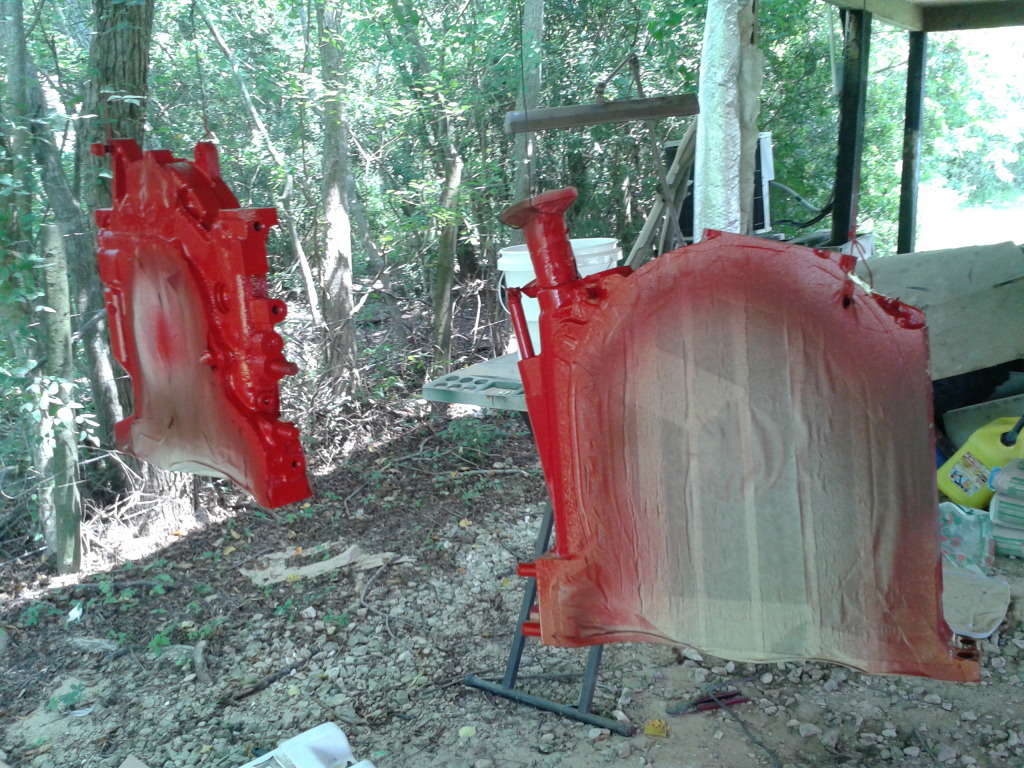
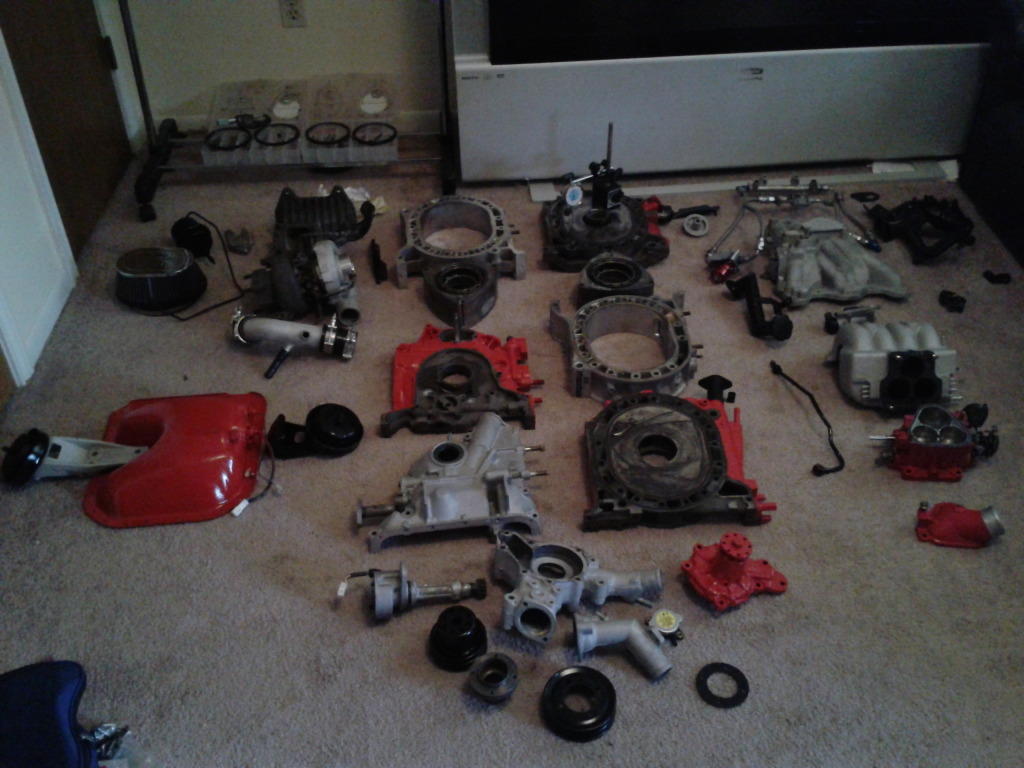
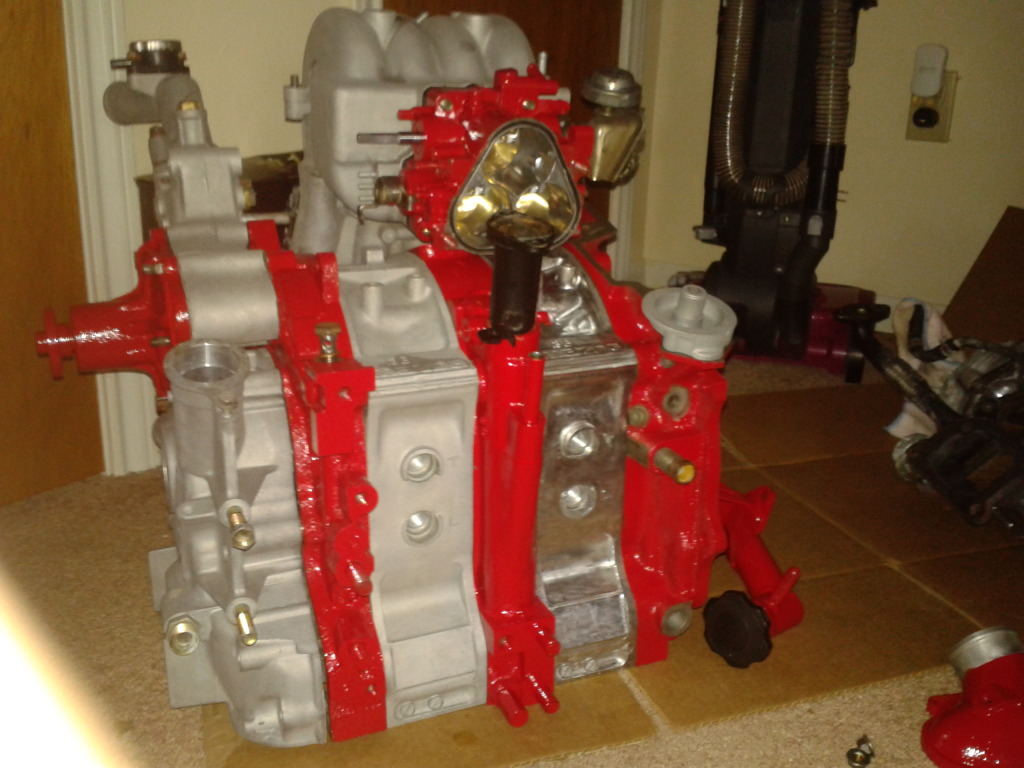
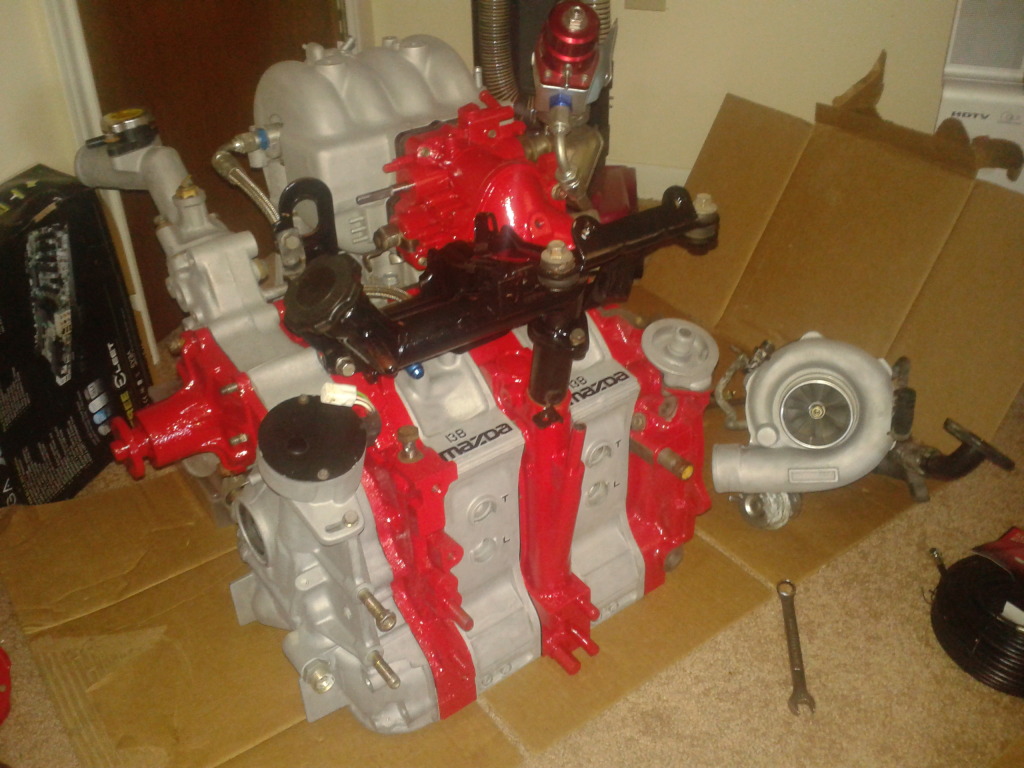
I found a S4 N/a motor on craigslist for $100, leftovers from a V8 swap, I bought it for parts and practice. I went through with buying a used Haltech E6X with harness for $500 off Craigslist and getting some Pineapple Racing medium streetport templates.
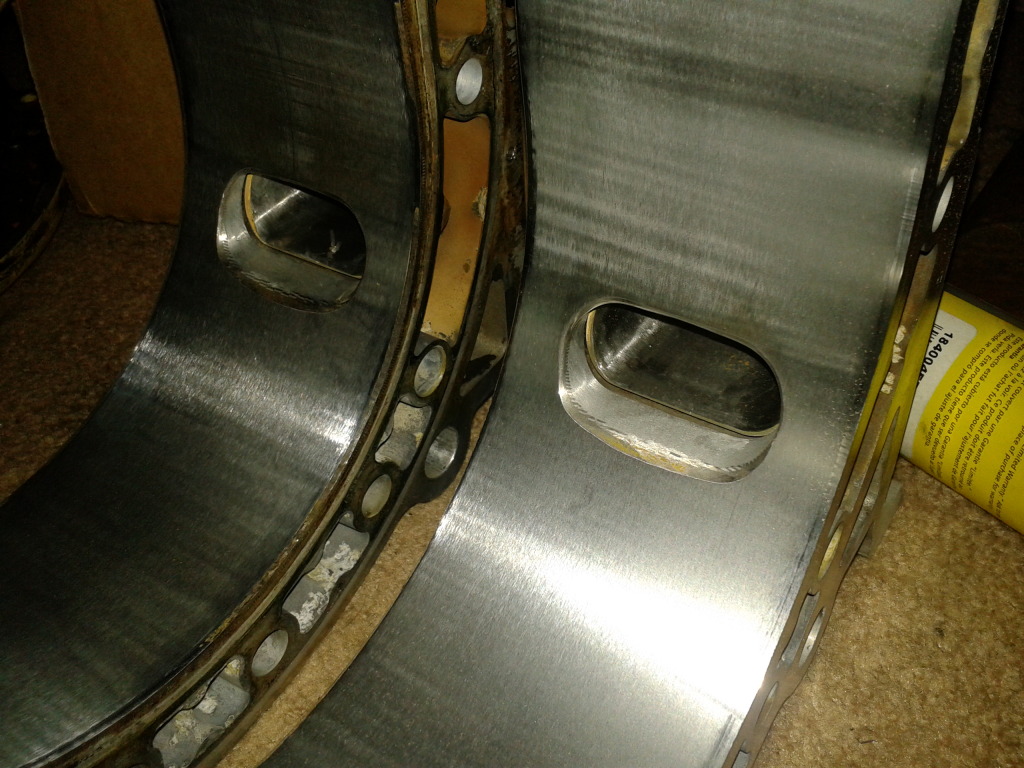
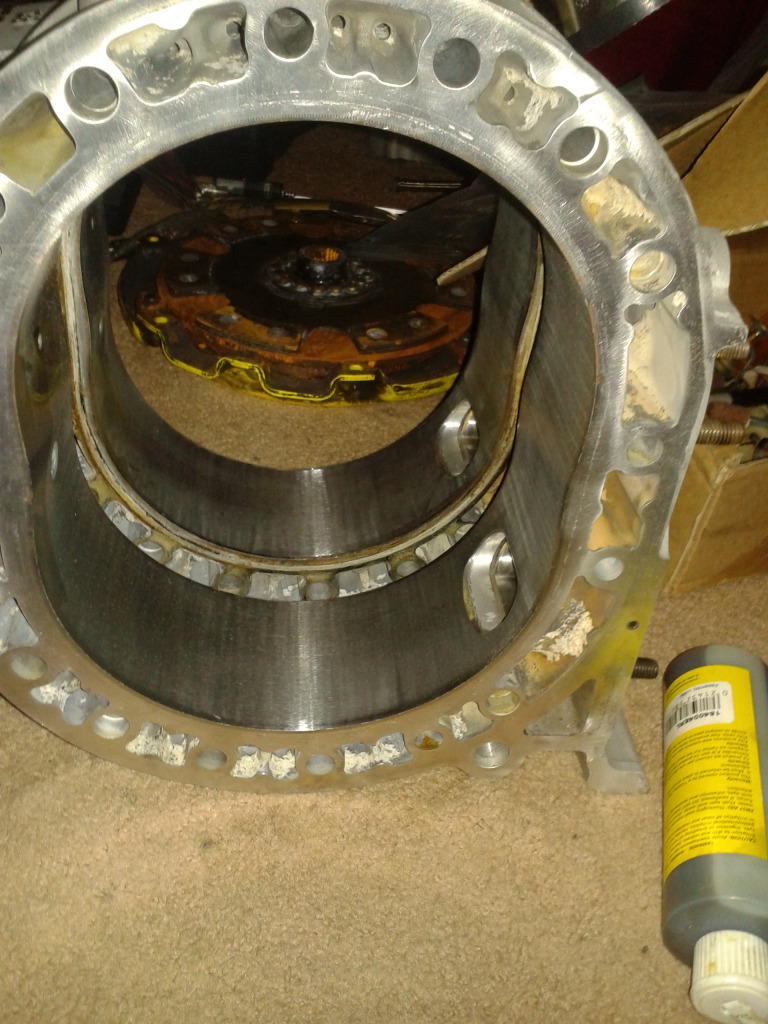
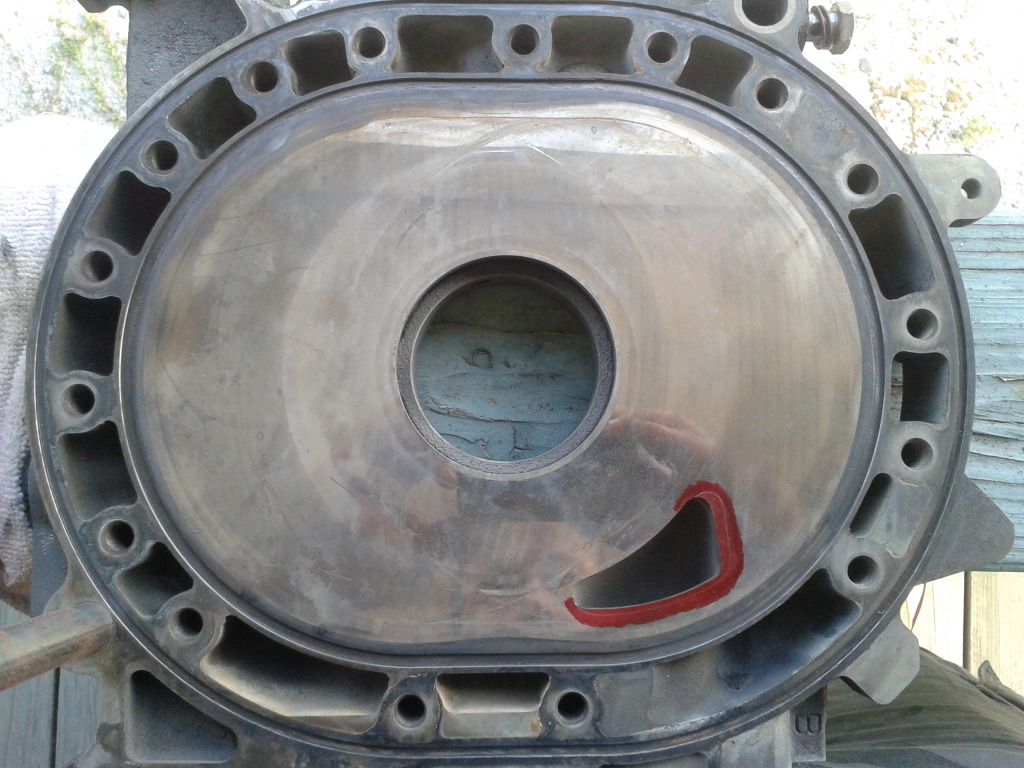
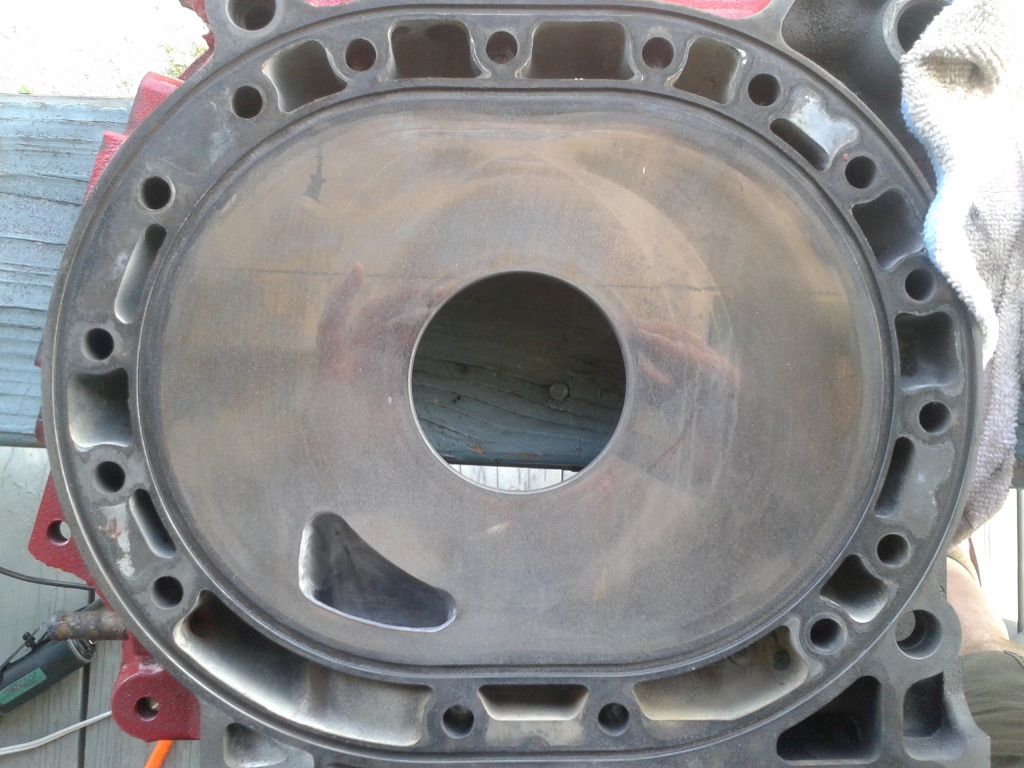
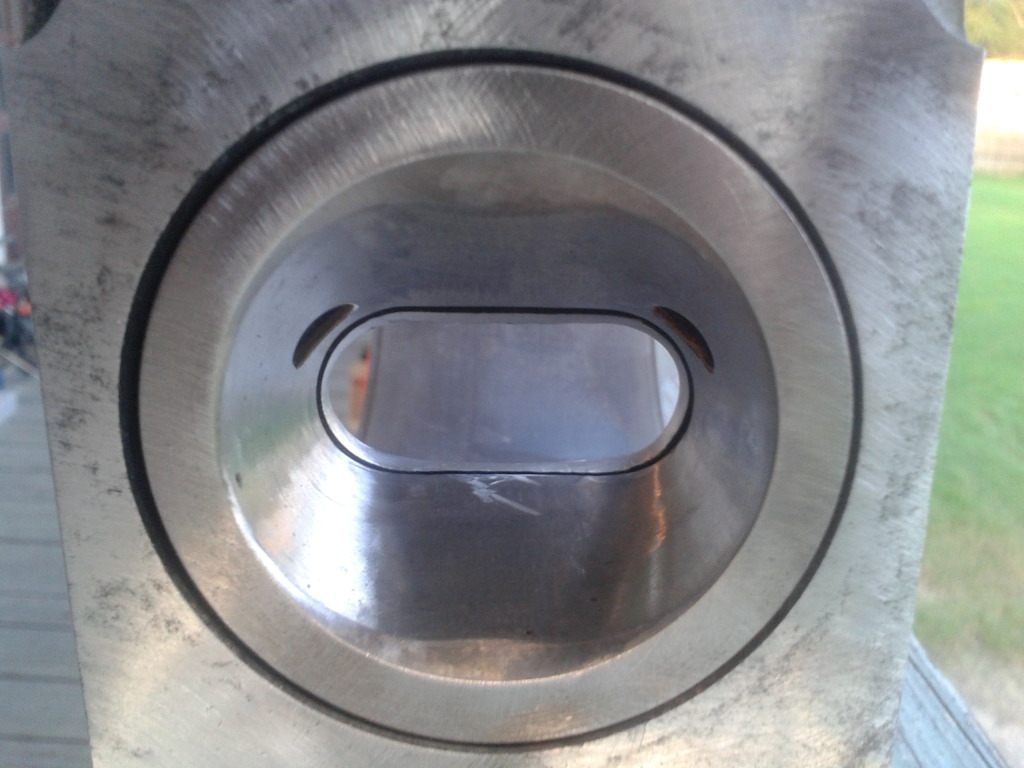
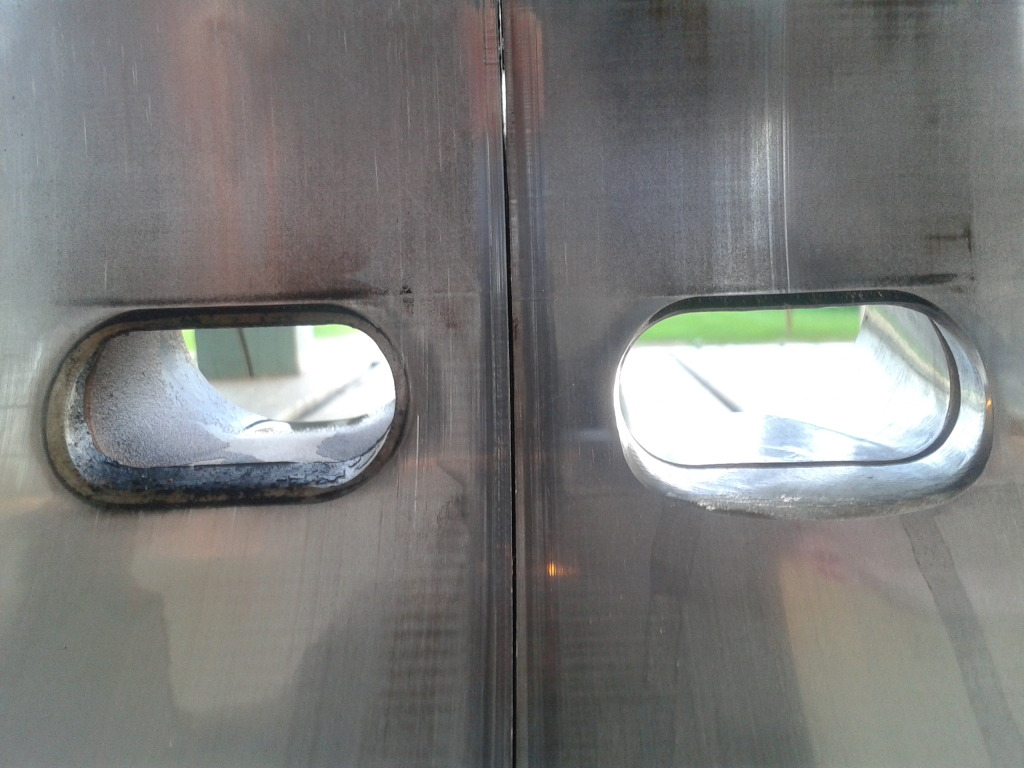
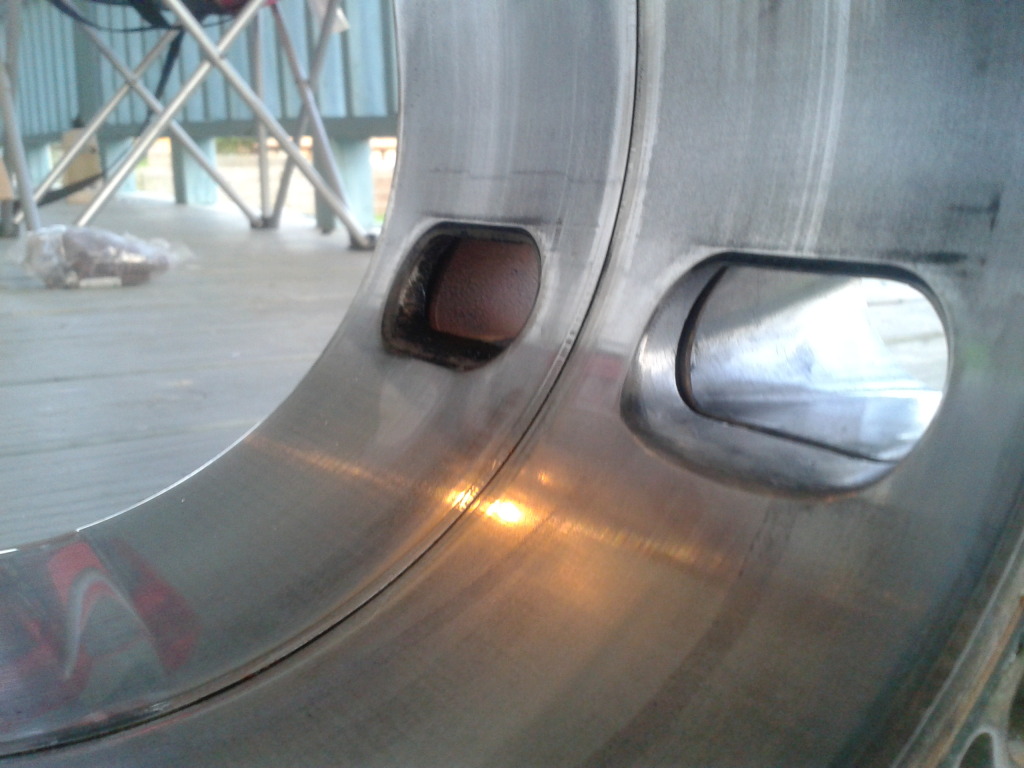
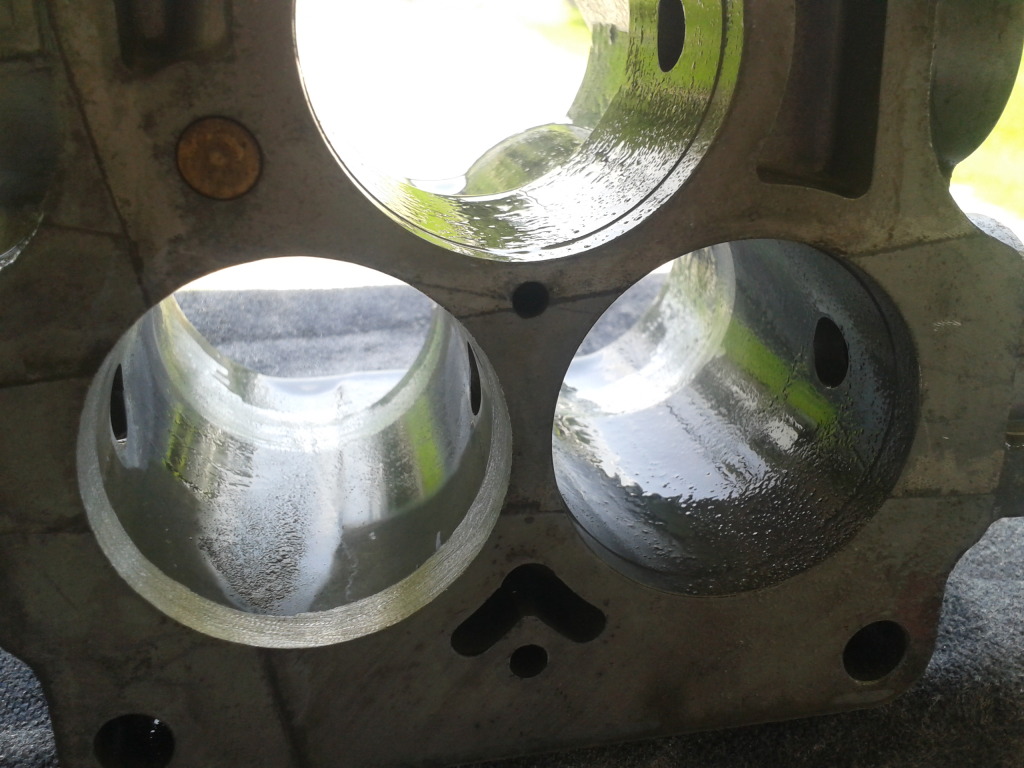
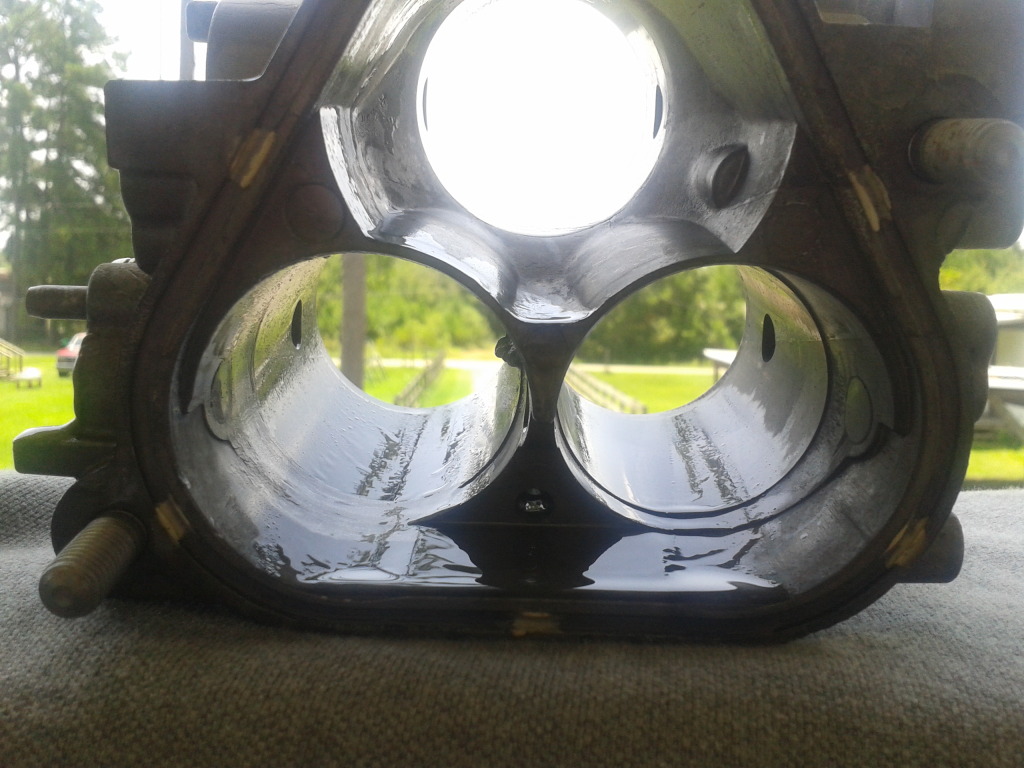
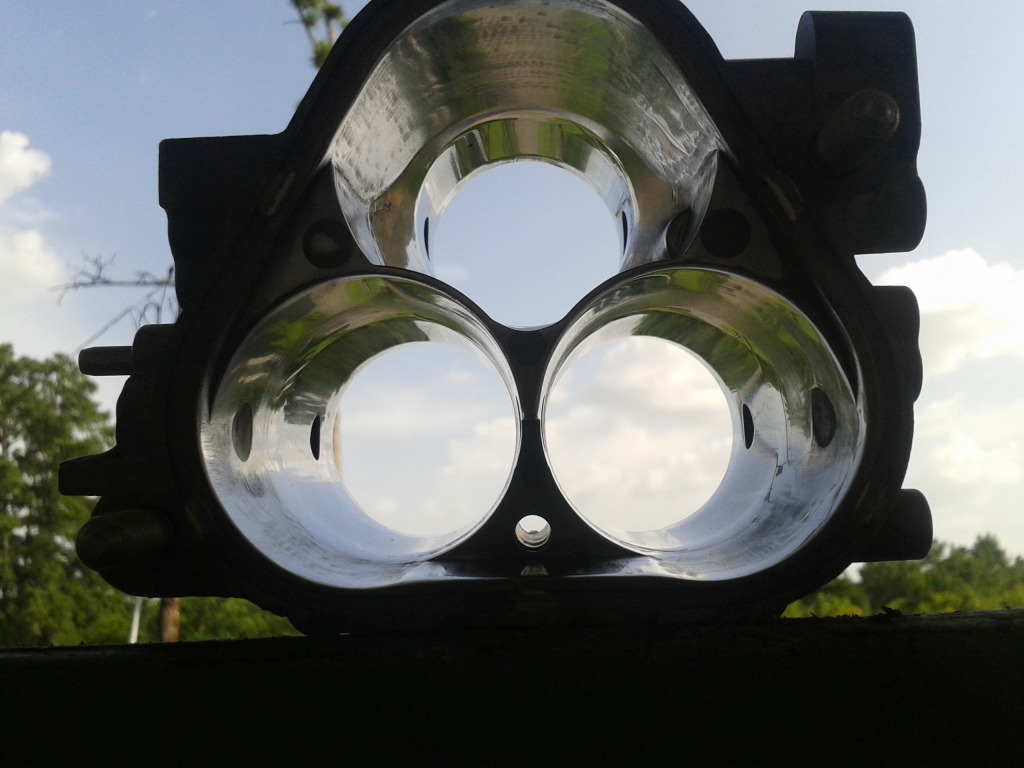
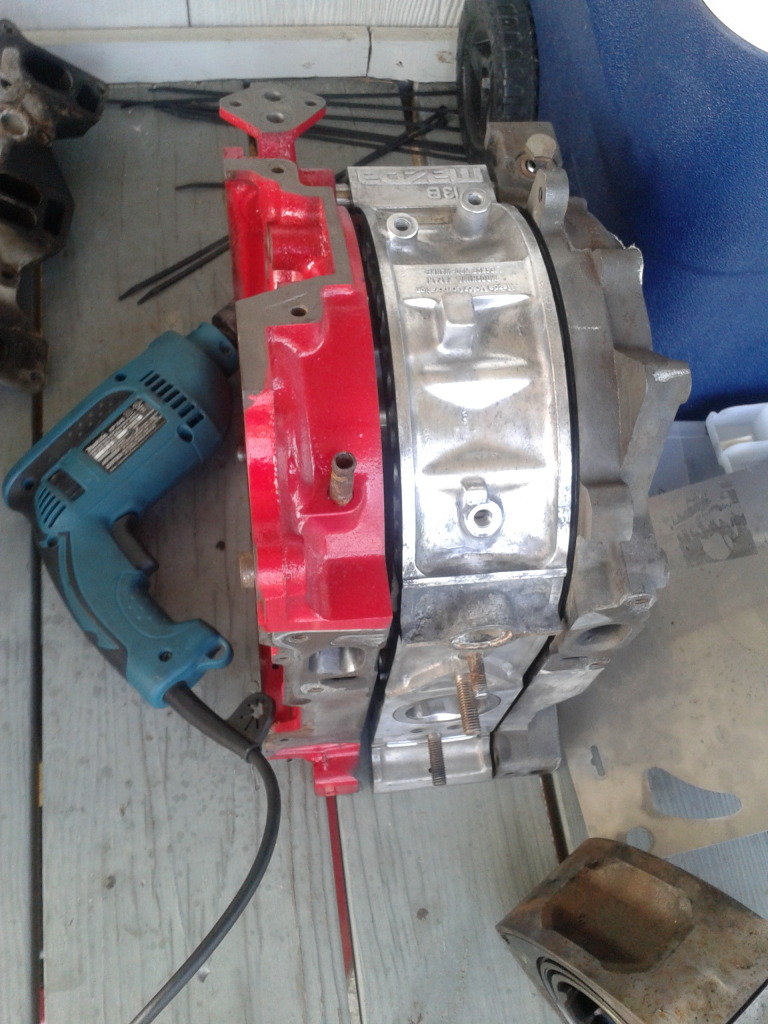
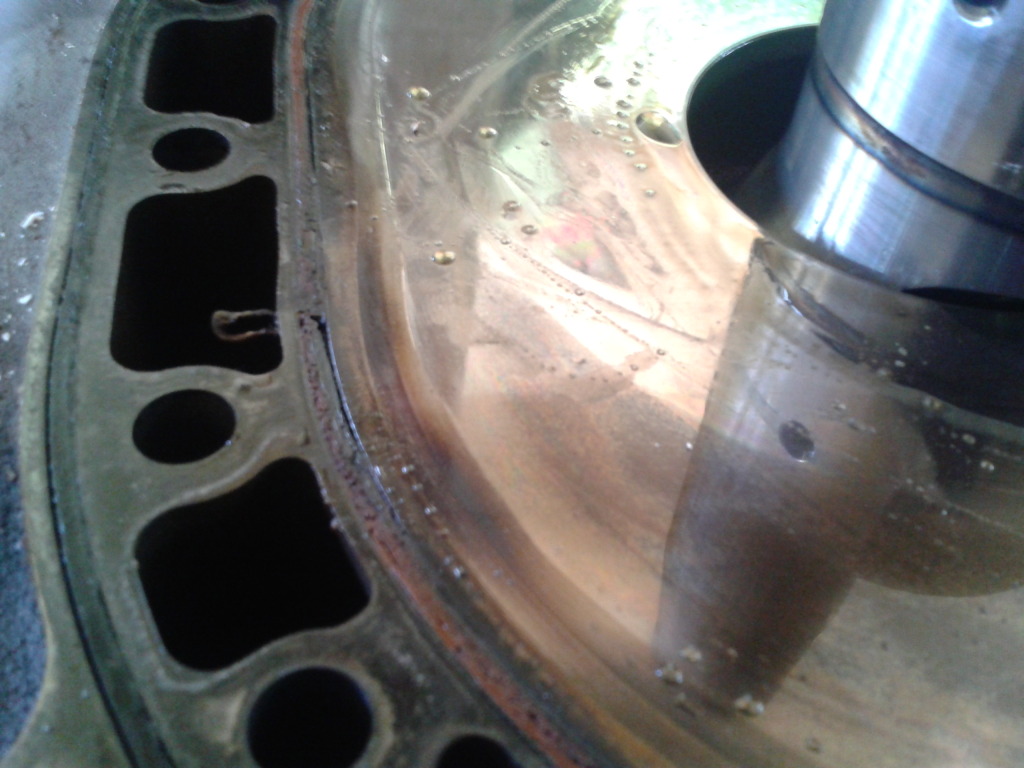
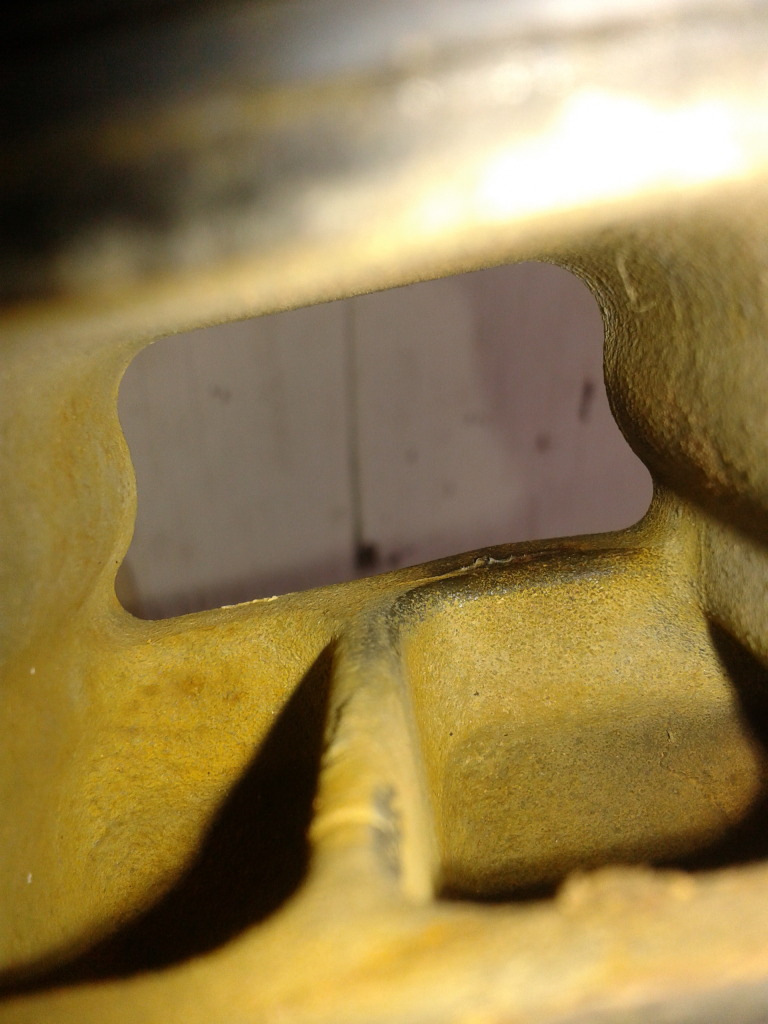
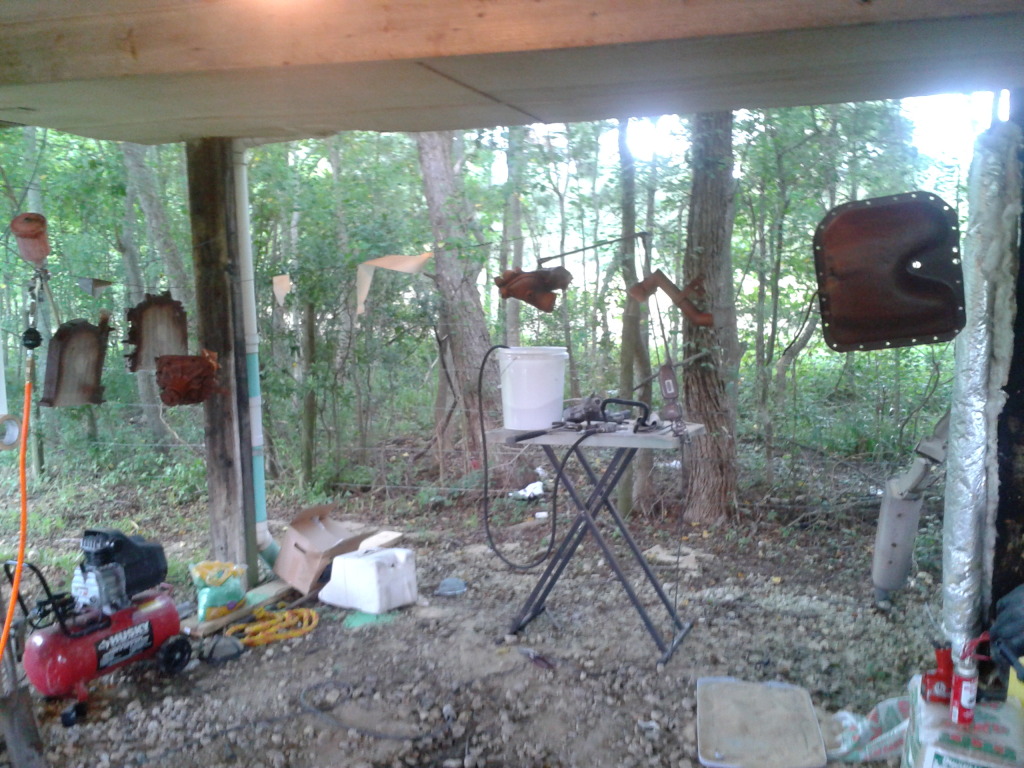
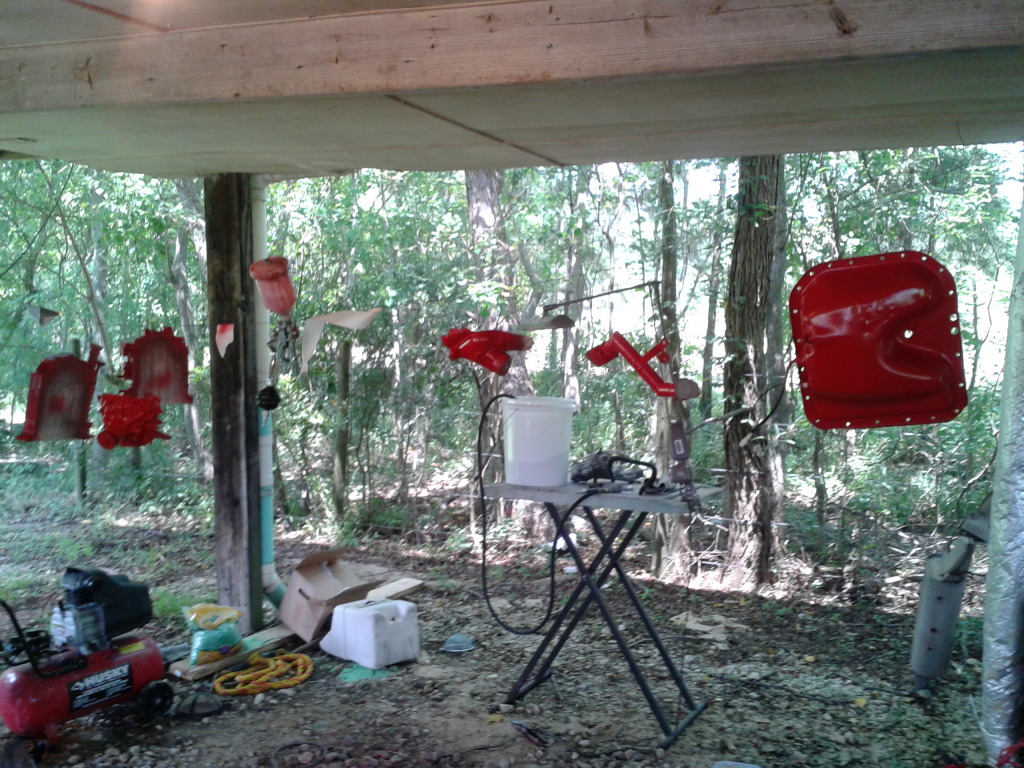
I found that Purple Power Degreaser is very good at cleaning parts. I bought a tub and five gallons of purple power and soaked each cast iron for a week. Berryman's B-9 Carb Cleaner for the rotors and I procured a spot sand blaster for everything else. I decided to do away with the three piece Mazda Seals and after many days of research and debate I decided to go with Goopy Performance Apex seals and Rotor housing resurfacing. Instead of dowel pinning I am going to use the Goopy engine bolts. I was on the phone taking to Goopy when they called to tell me that my housings came out perfect when I asked him how I could spool the turbo up better. The larger hybrid turbo does not really spool and boost until 3500-3700 rpm but when it does it screams. I decided to streetport so more flow would run the turbo better but they said that S4 N/A rotors would make my turbo scream. He is a really nice guy who is full of information and I would recommend Goopy to any rotor enthusiast. Forgive my inability to remember his name.
I found that Purple Power Degreaser is very good at cleaning parts. I bought a tub and five gallons of purple power and soaked each cast iron for a week. Berryman's B-9 Carb Cleaner for the rotors and I procured a spot sand blaster for everything else. I decided to do away with the three piece Mazda Seals and after many days of research and debate I decided to go with Goopy Performance Apex seals and Rotor housing resurfacing. Instead of dowel pinning I am going to use the Goopy engine bolts. I was on the phone taking to Goopy when they called to tell me that my housings came out perfect when I asked him how I could spool the turbo up better. The larger hybrid turbo does not really spool and boost until 3500-3700 rpm but when it does it screams. I decided to streetport so more flow would run the turbo better but they said that S4 N/A rotors would make my turbo scream. He is a really nice guy who is full of information and I would recommend Goopy to any rotor enthusiast. Forgive my inability to remember his name.
Haltech Notes:
Aux Input � Clutch pedal switch - flatshift
Spare A/D input � Fuel Pressure off GM 3 wire oil pressure sensor
Trim input � GM Knock sensor and module trimming ignition maps
EGR input � AEM Wideband running closed loop control
IAC stepper control - Rising RPM - Product - IAC Manifold
PWM output 1 � Twin Scroll actuator
PWM output 2 � Water/Alcohol Injection
PWM outout 3 � Tachometer
PWM output 4 � Turbo Timer
Vehicle Speed input � Cruise control used for launch control disable.
TPS � S5 tps cam and custom adapter bracket for s4 sensor.
Internal Map Sensor
LS1 Coils � no waste spark
MSD Crank trigger


Trending Topics

 Injectors


Brandons FC3S pictures by lysdexic79 - Photobucket
More to come, I have to earn the money though... Buy some of my spare parts and help fund this awesome build...
https://www.rx7club.com/2nd-generati...parts-1010496/
More to come, I have to earn the money though... Buy some of my spare parts and help fund this awesome build...
https://www.rx7club.com/2nd-generati...parts-1010496/
Last edited by Brandon Robinson; Sep 14, 2012 at 05:25 PM.
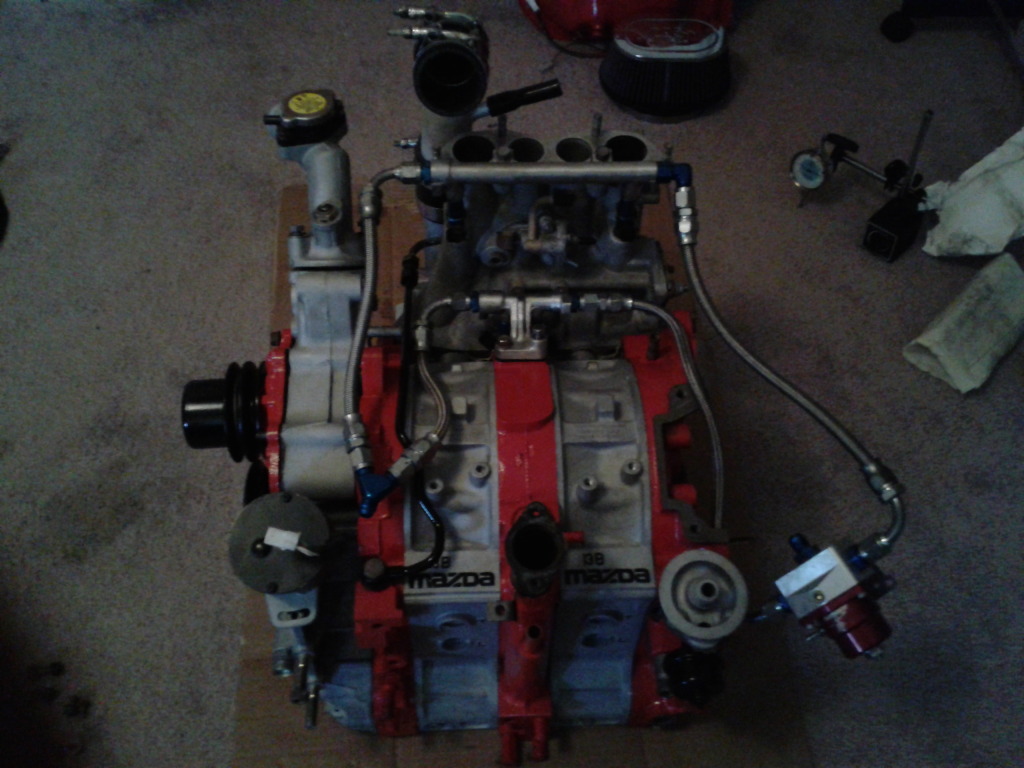
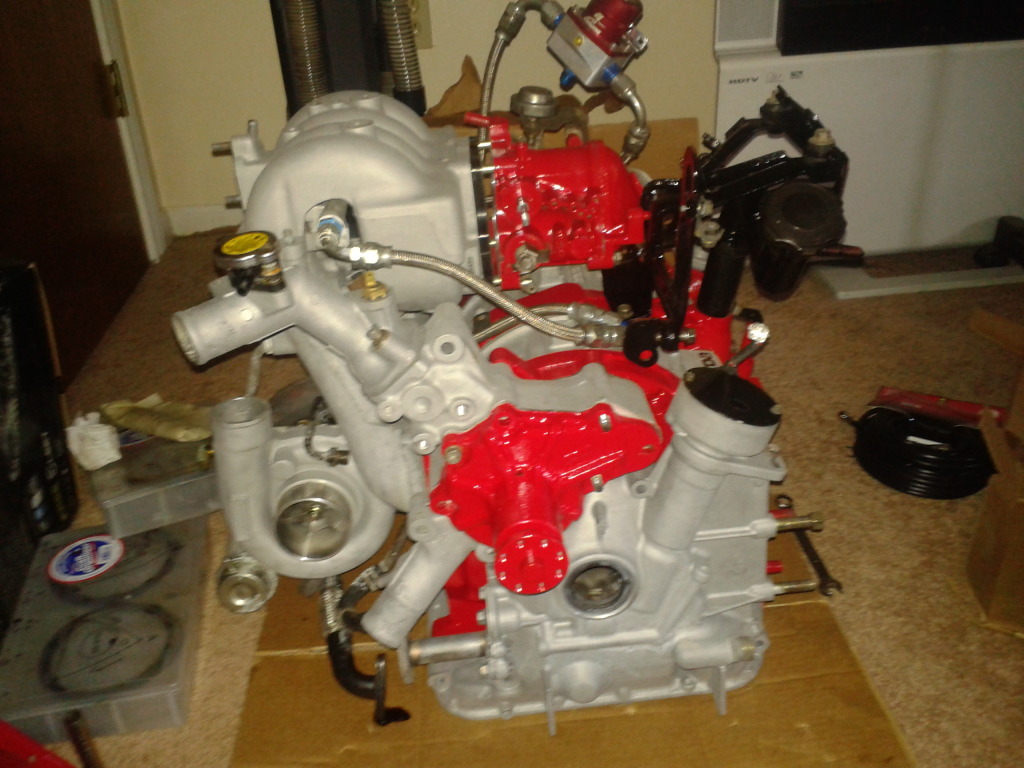
We used the Banzai Racing oil pan brace and really like it.

Not everyone has access to CNC machines! Here is a commercial one for the RX8 and another concept one for the FC that came up when I ran the Google search I listed.
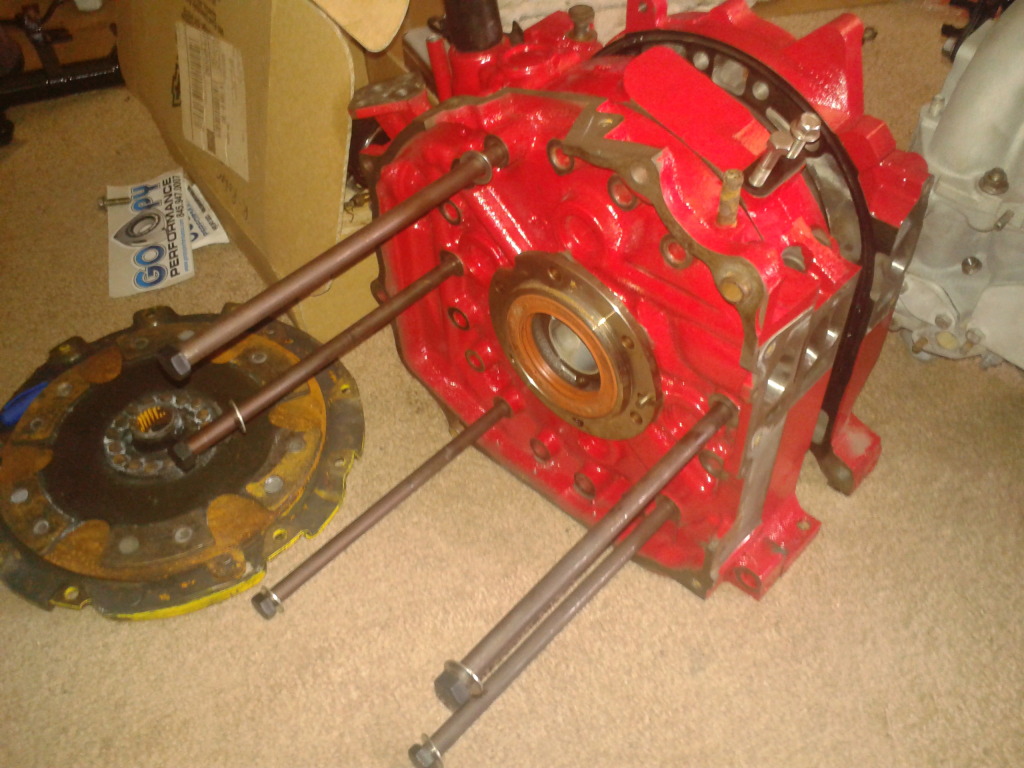
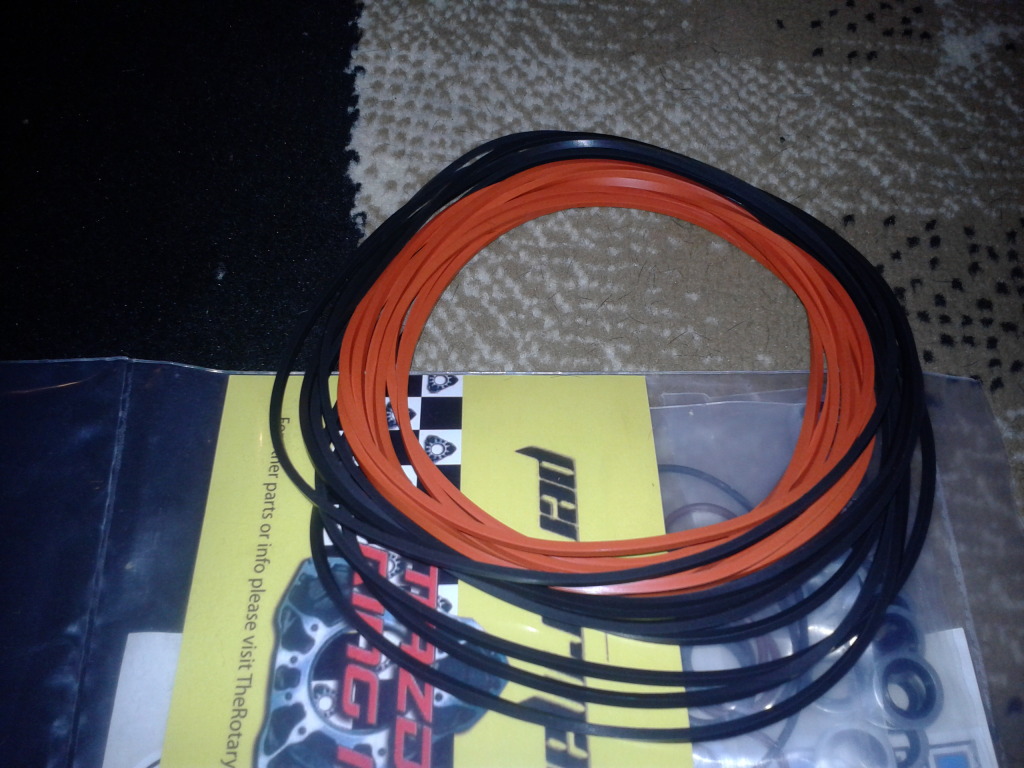
Well i have been hard at work aquiring new goodies. I finally recieved my housings and rebuild parts back from Goopy prformance. I also married a corksport sharge pipe to a HKS flange.