When you click on links to various merchants on this site and make a purchase, this can result in this site earning a commission. Affiliate programs and affiliations include, but are not limited to, the eBay Partner Network.
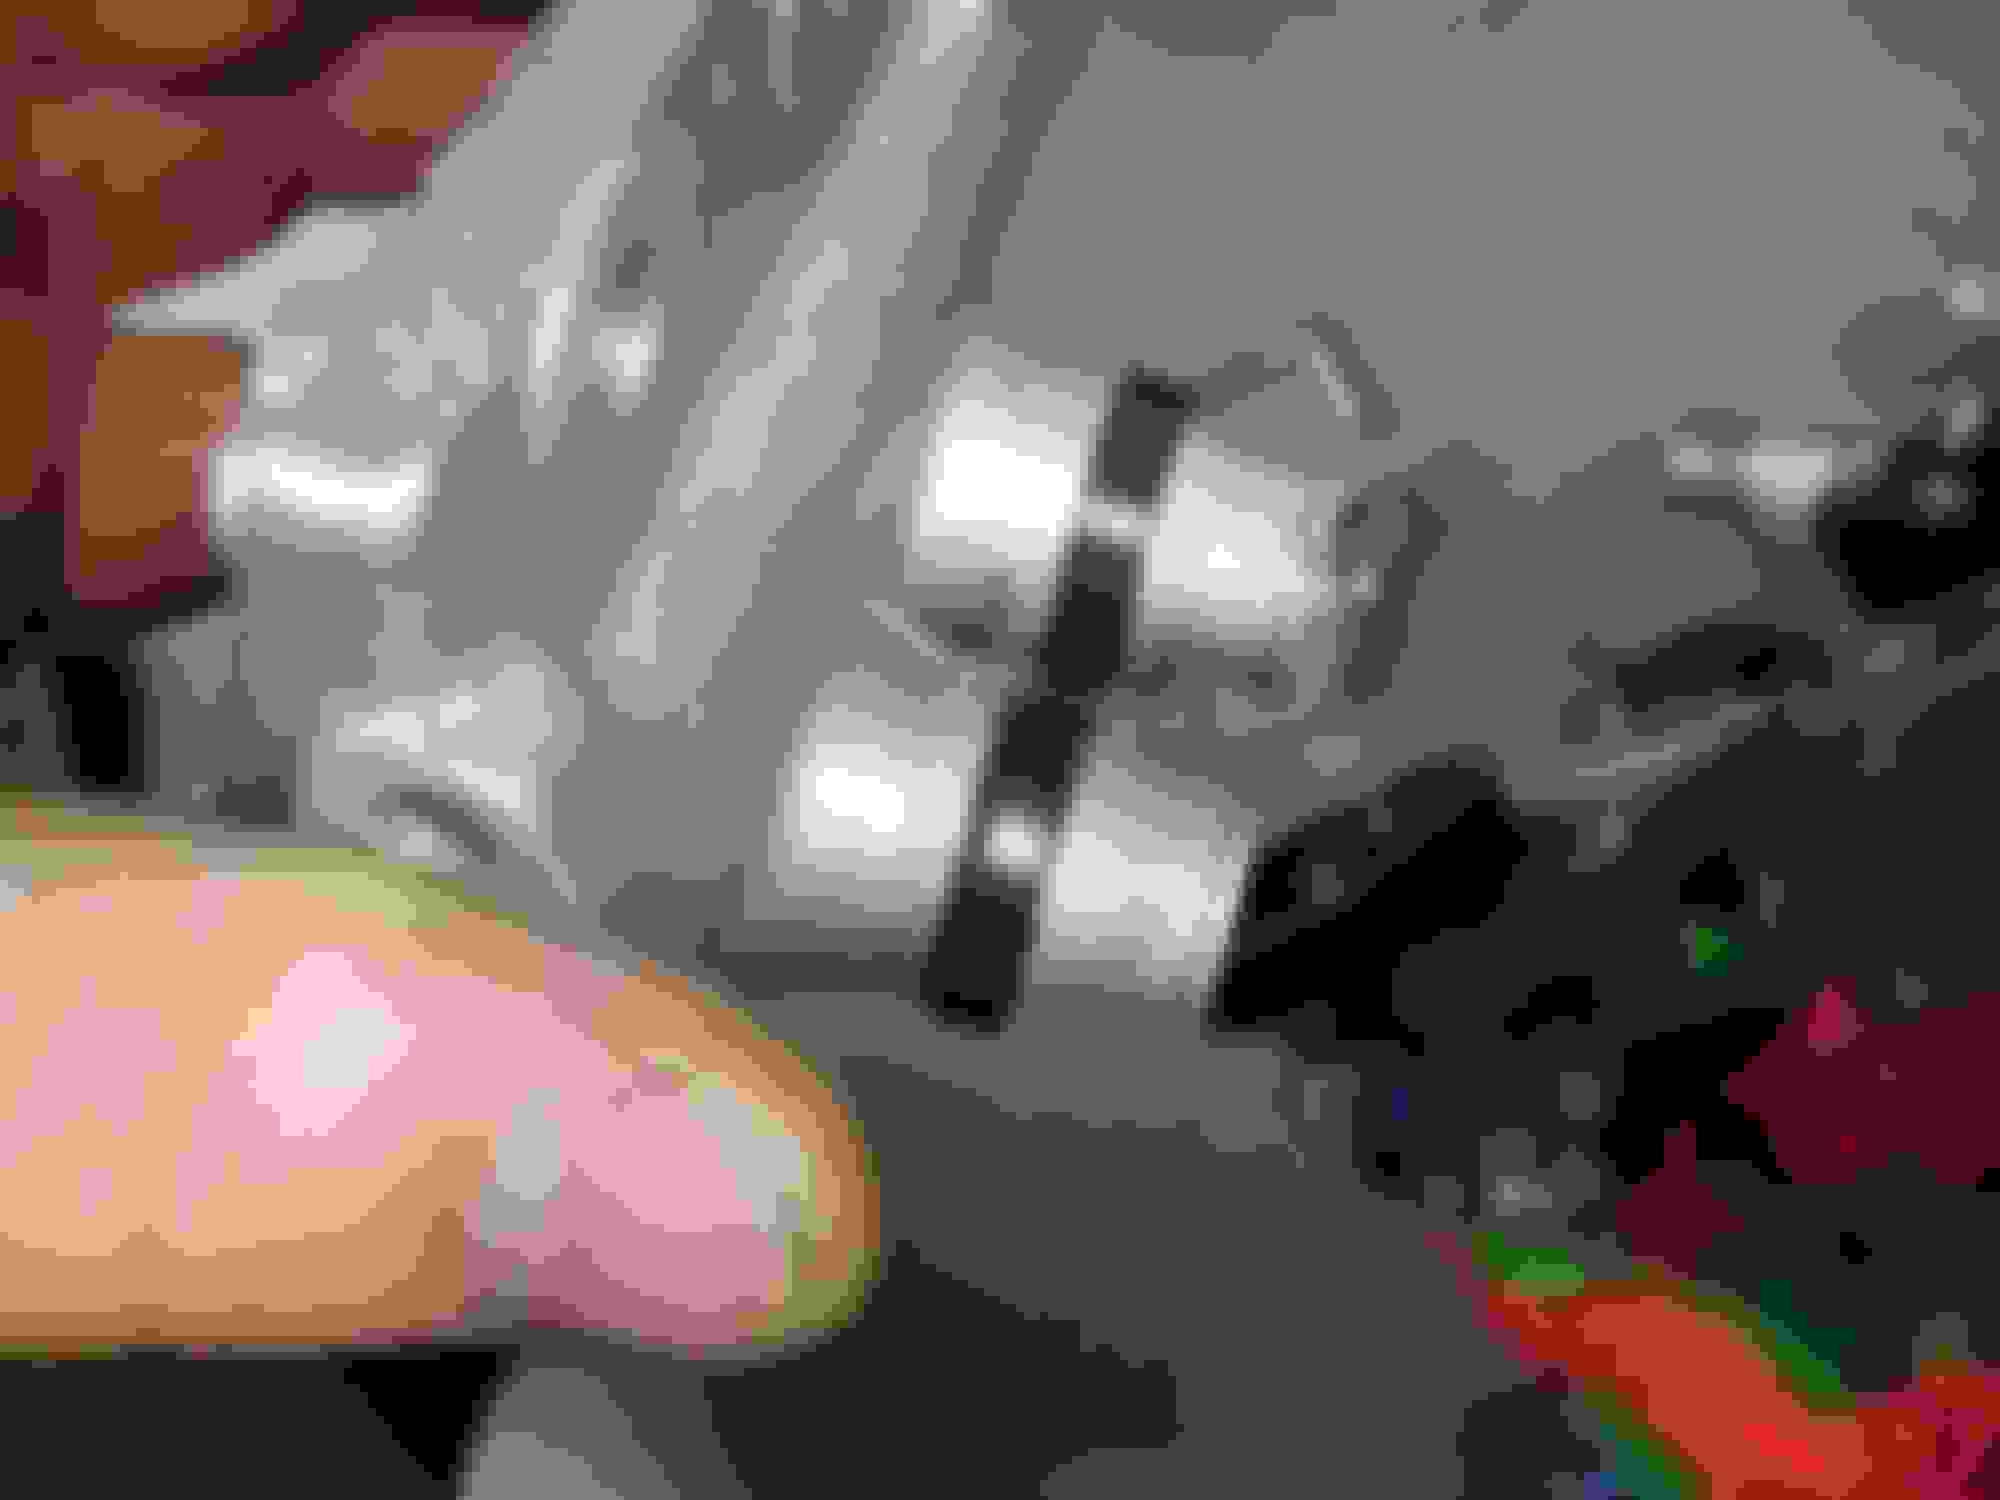
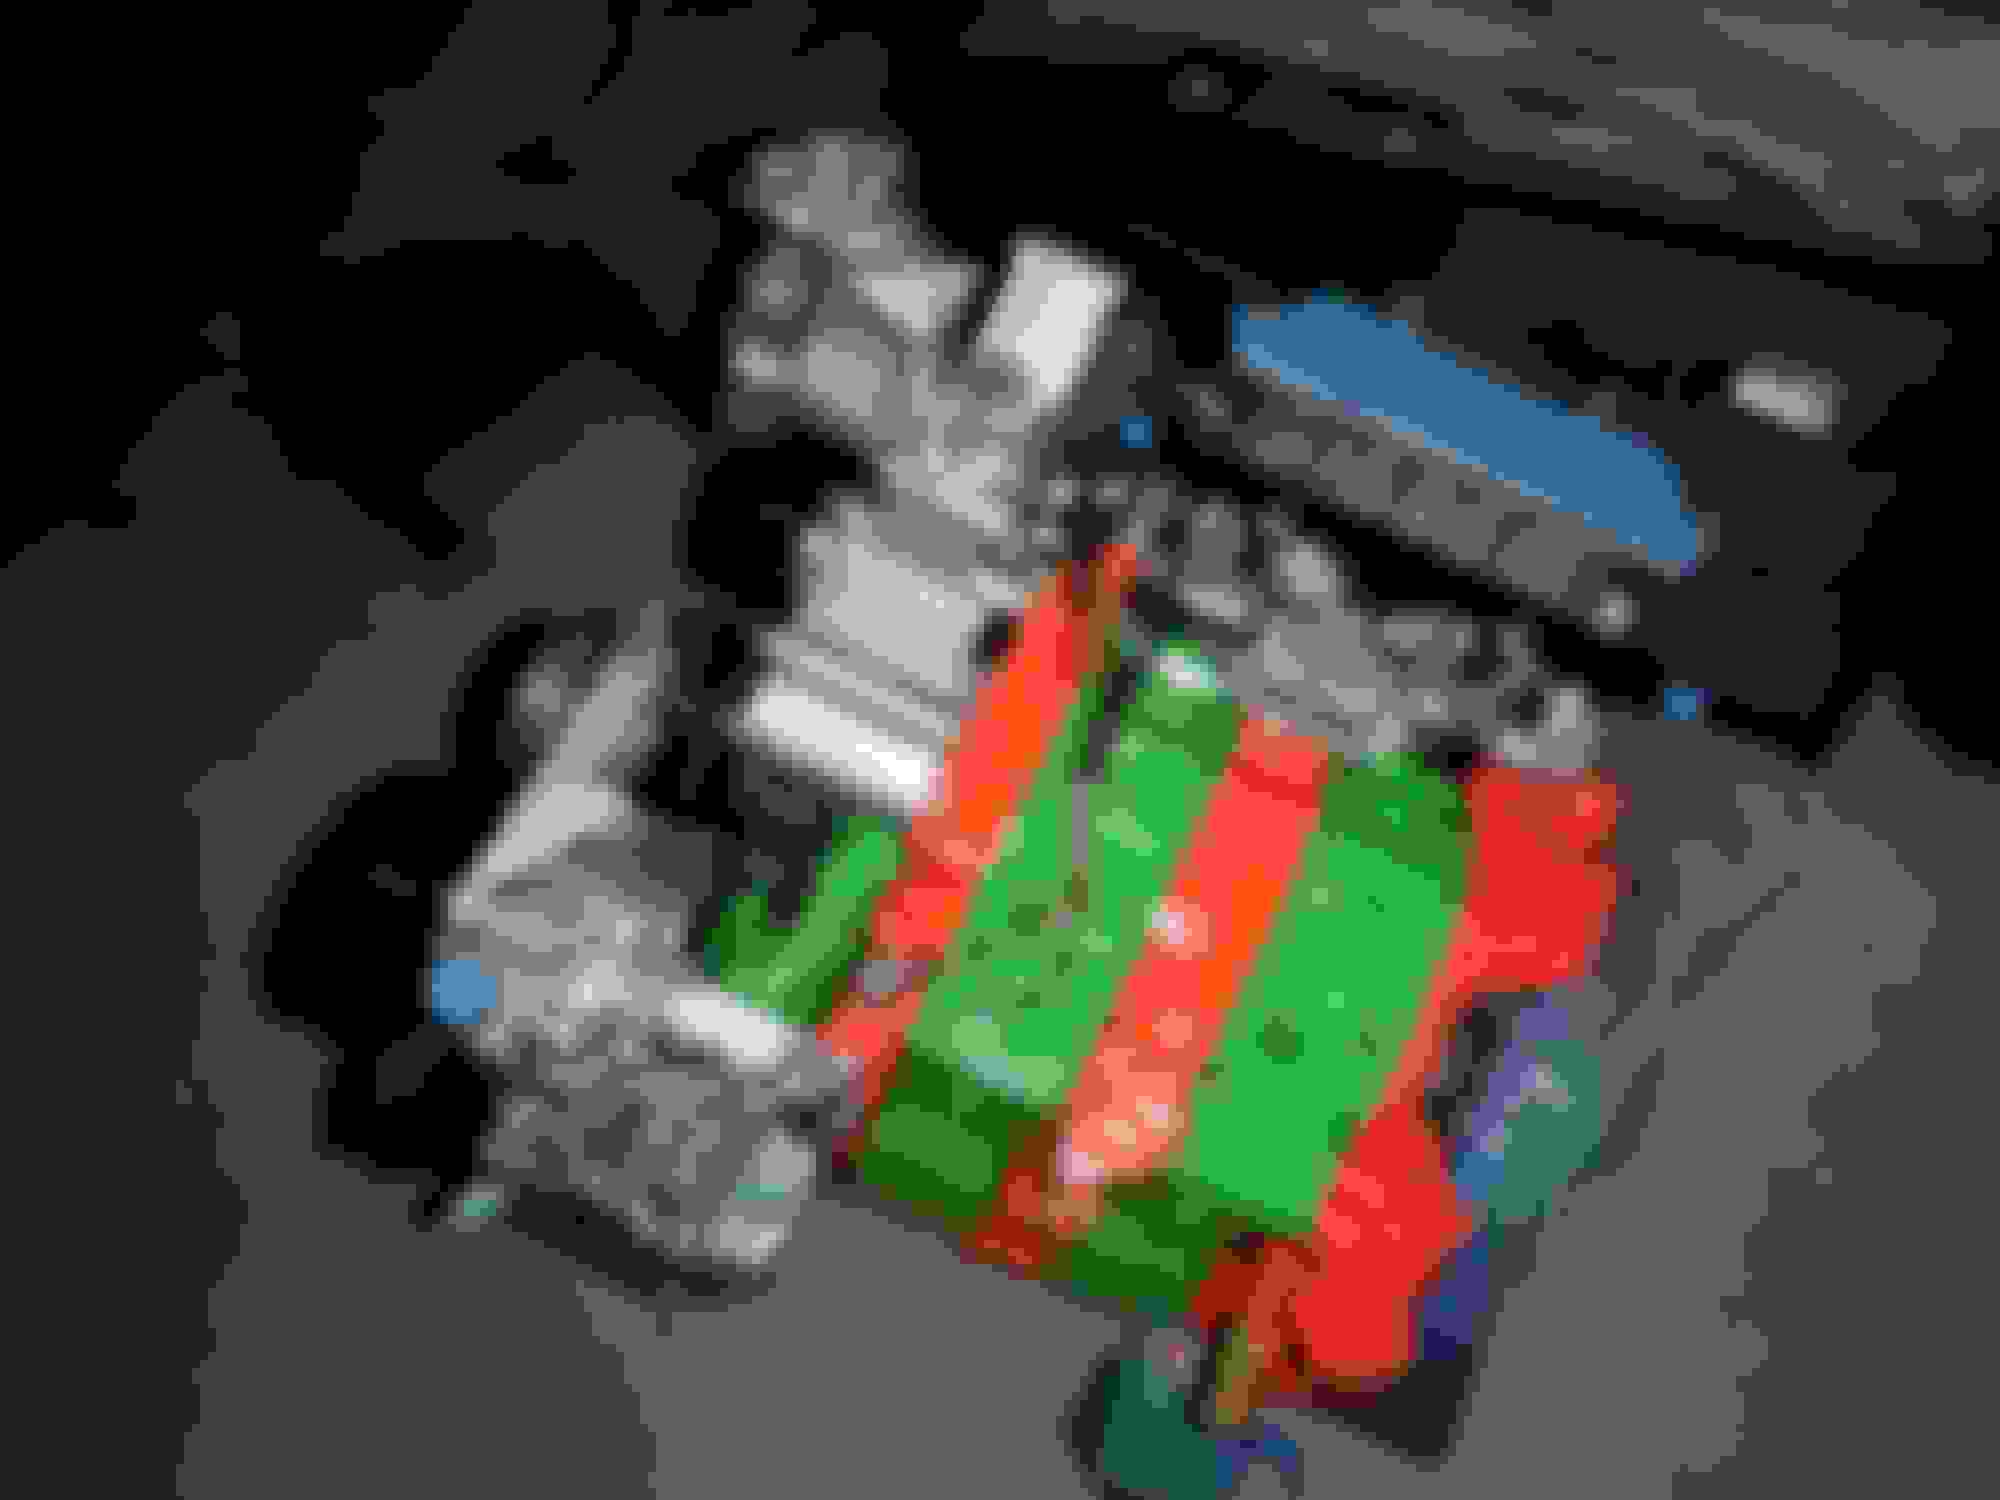
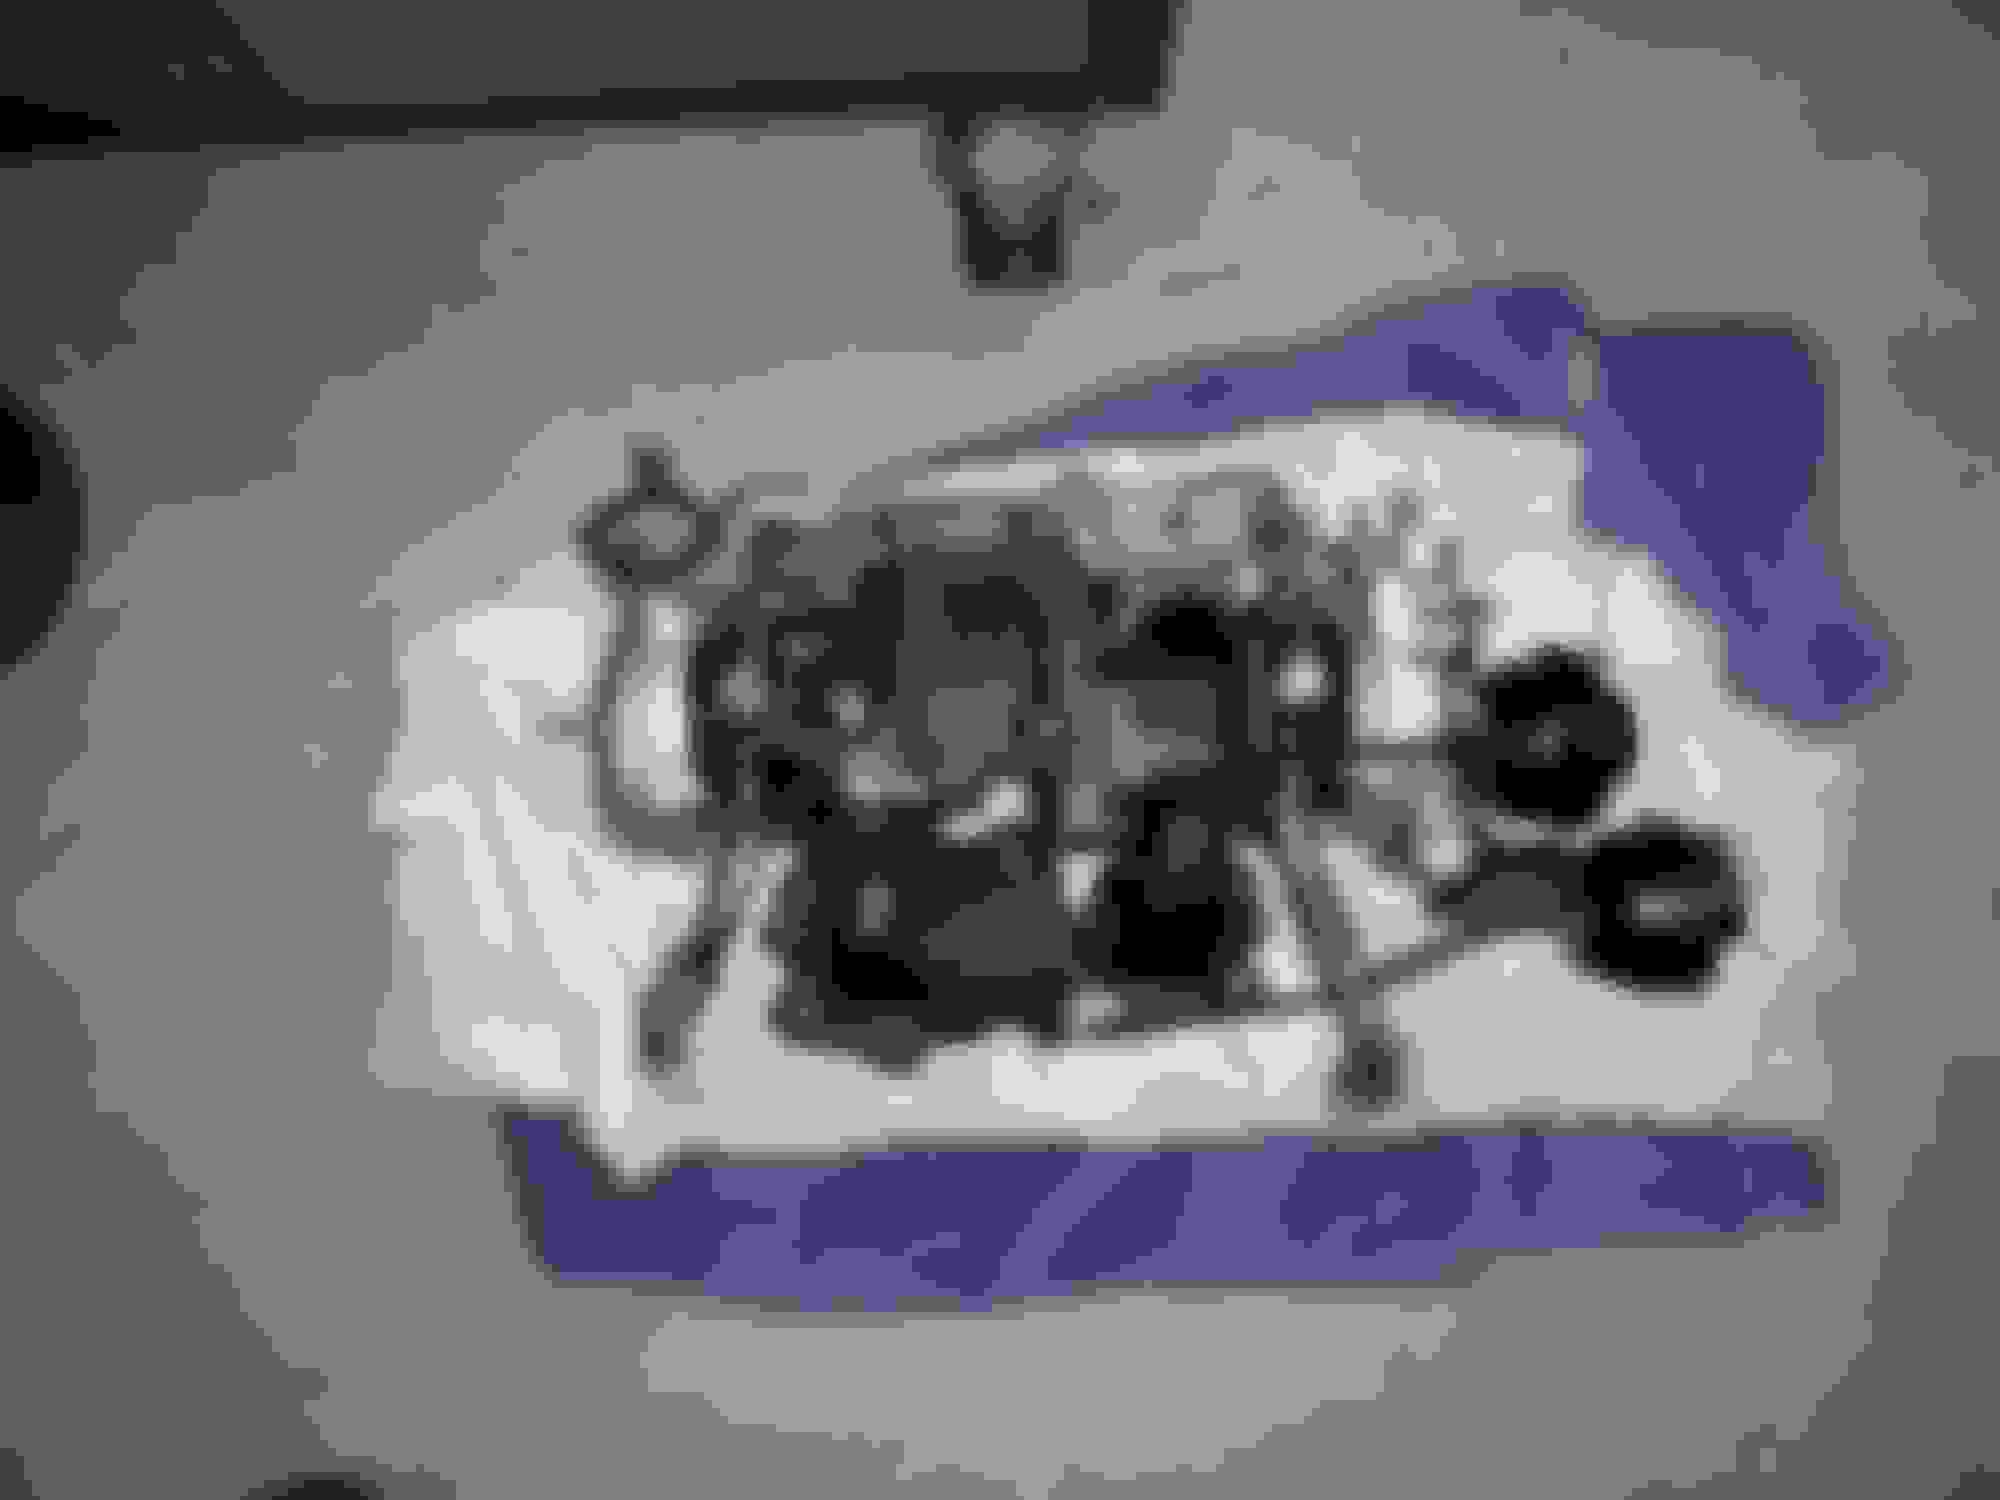
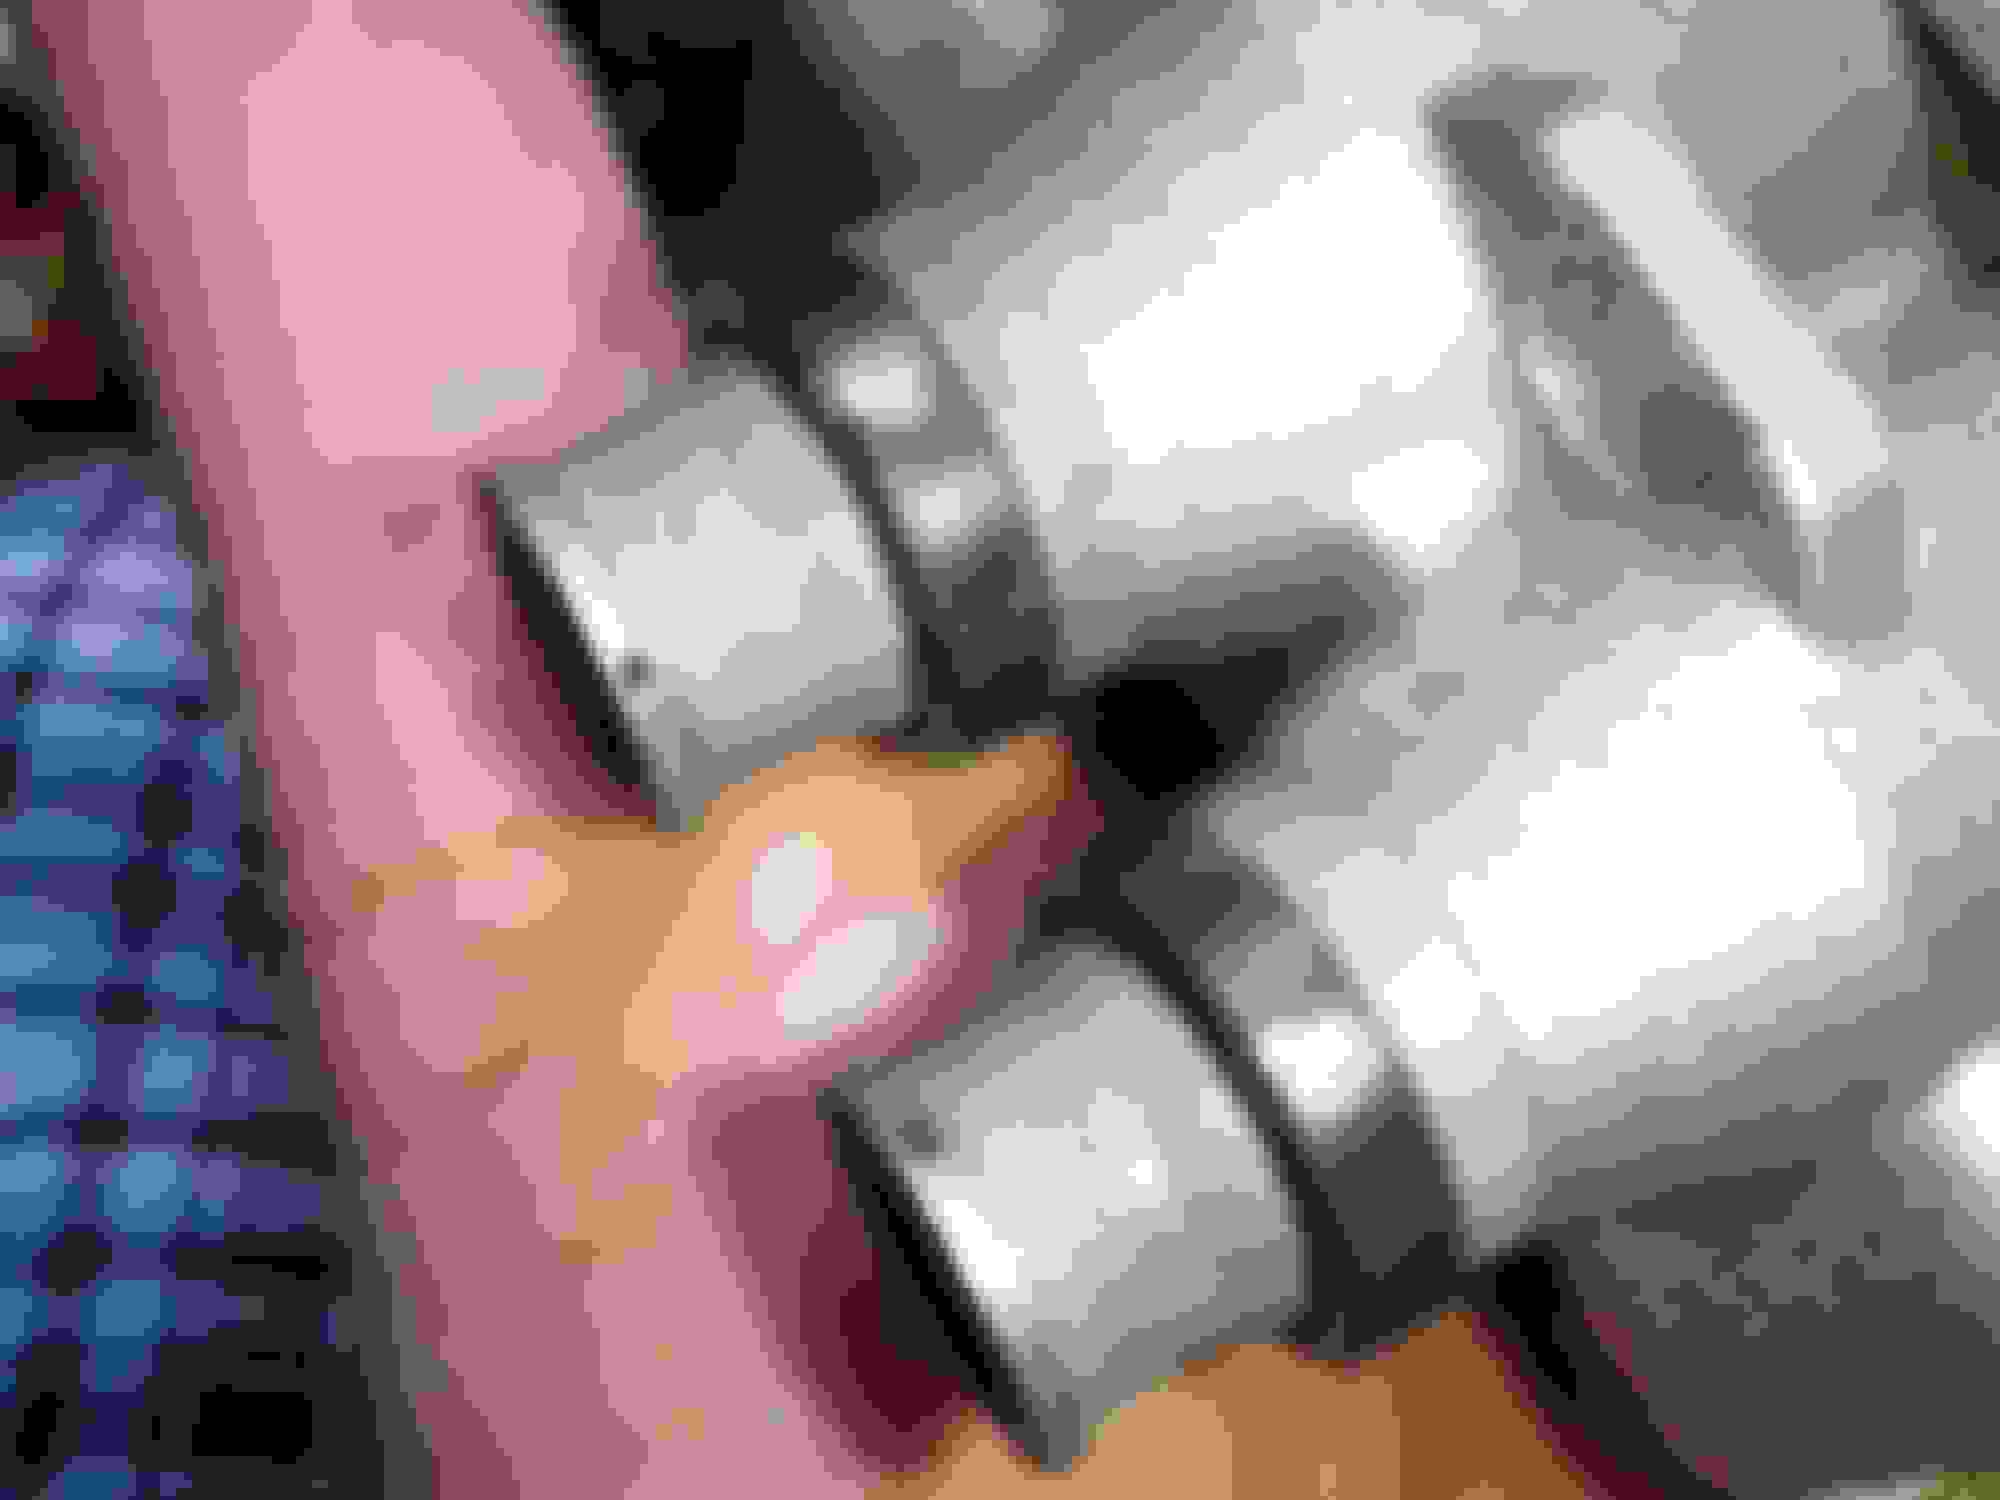
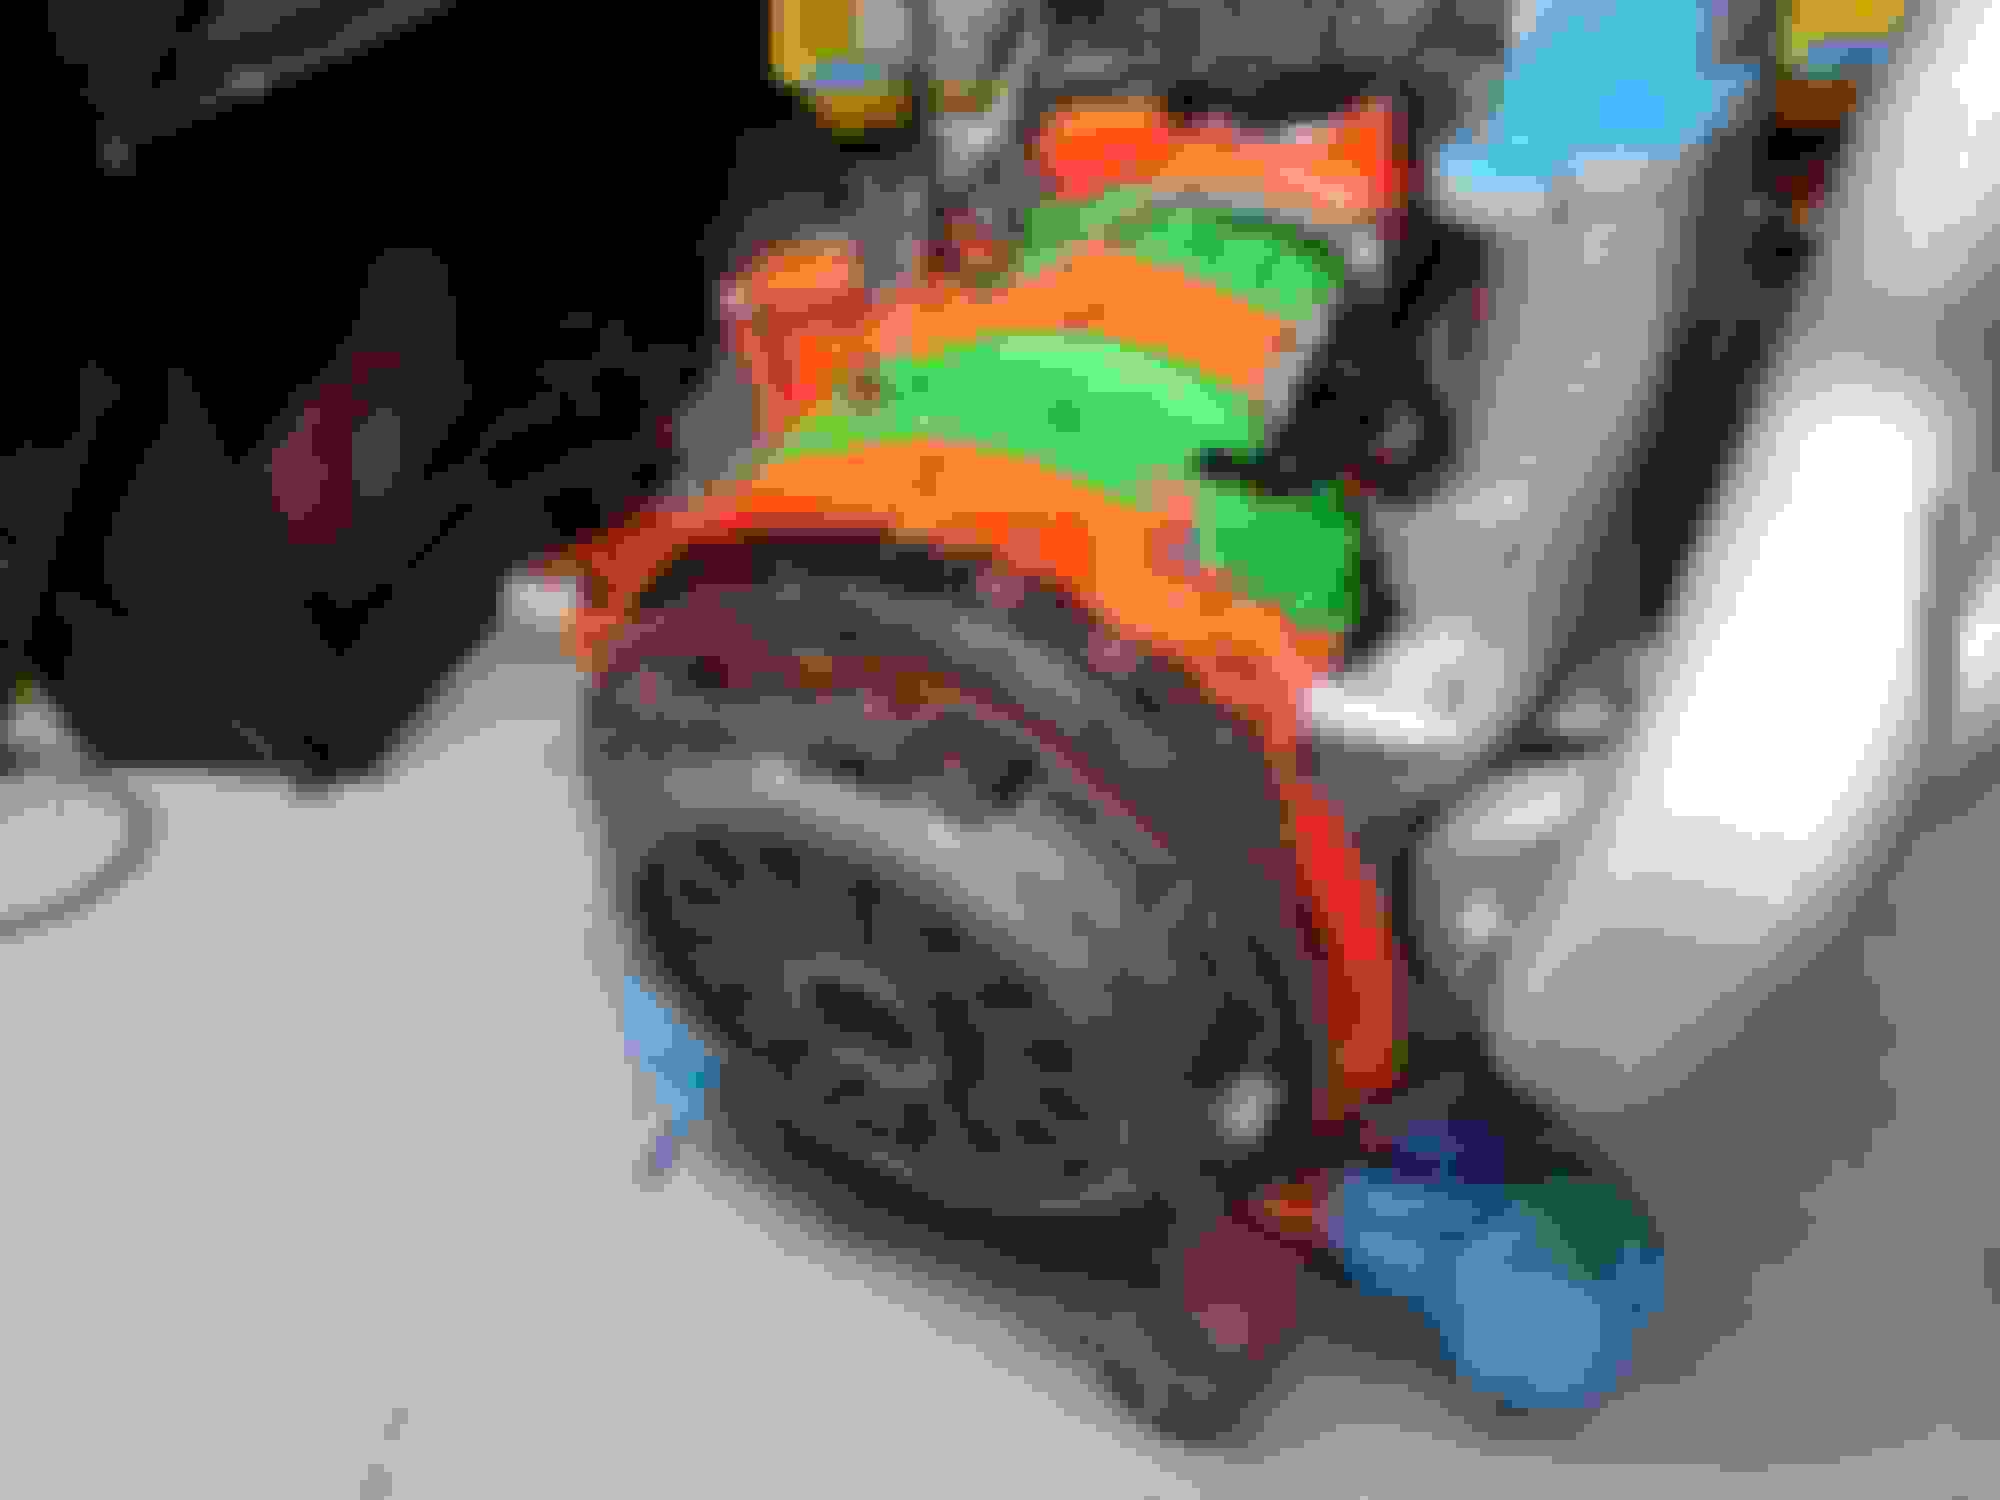
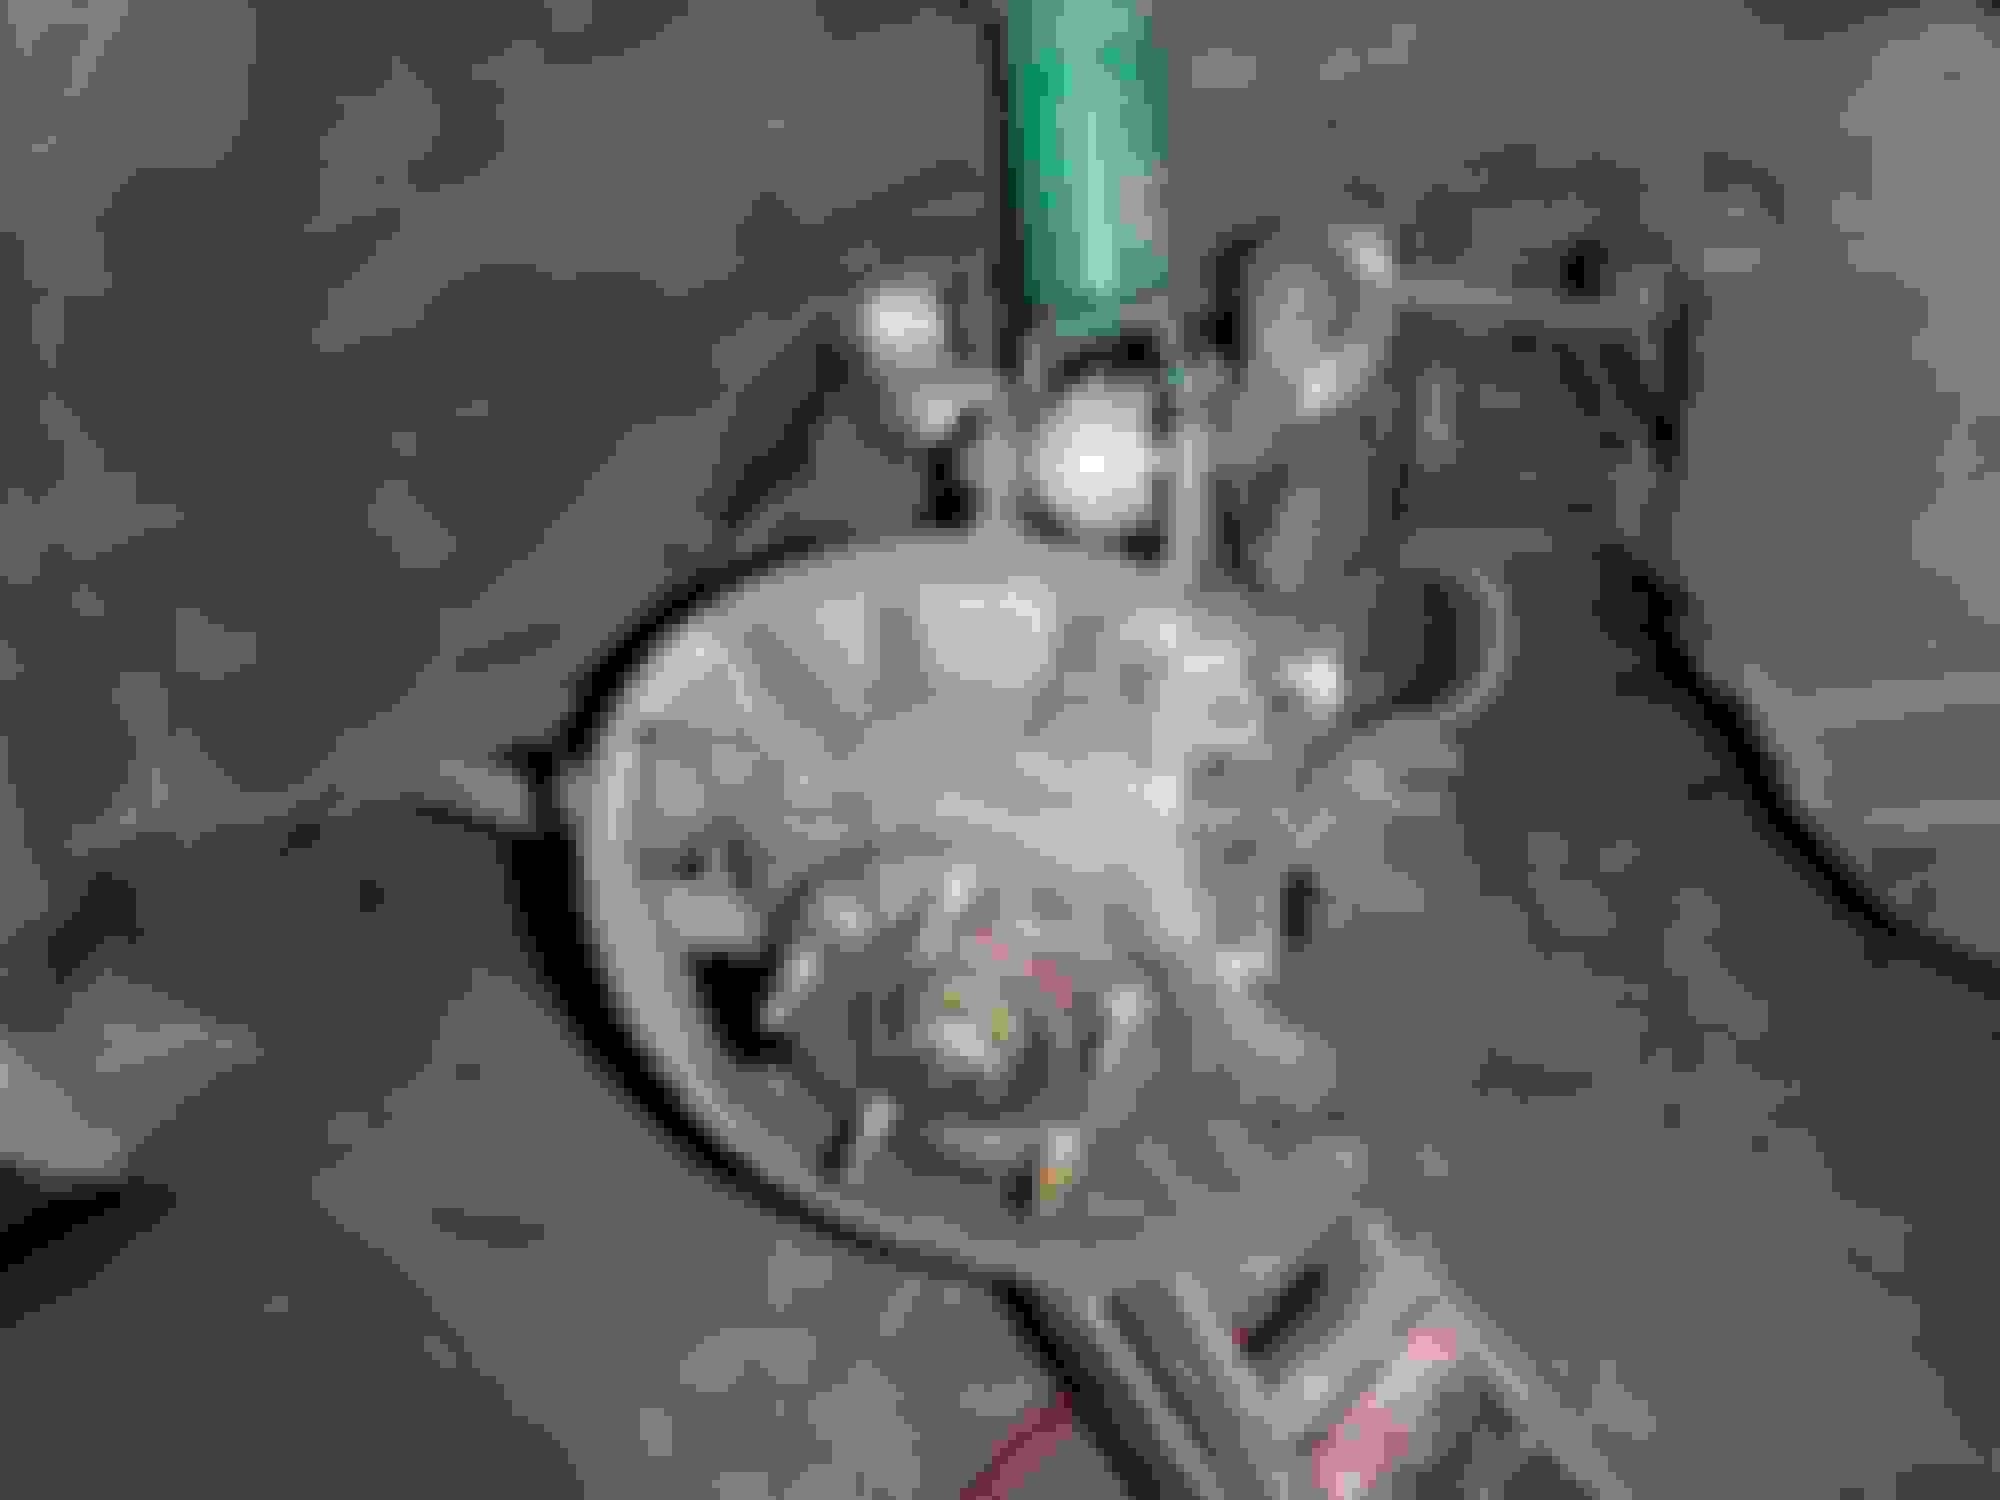
The little bit of rust on the old pulleys were bugging me so I painted the AC Pulley, Main Pulley and the Tensioner Pulley with rustolium sating black. Im letting it dry over night before I even try to touch them. I also installed the PS pulley.
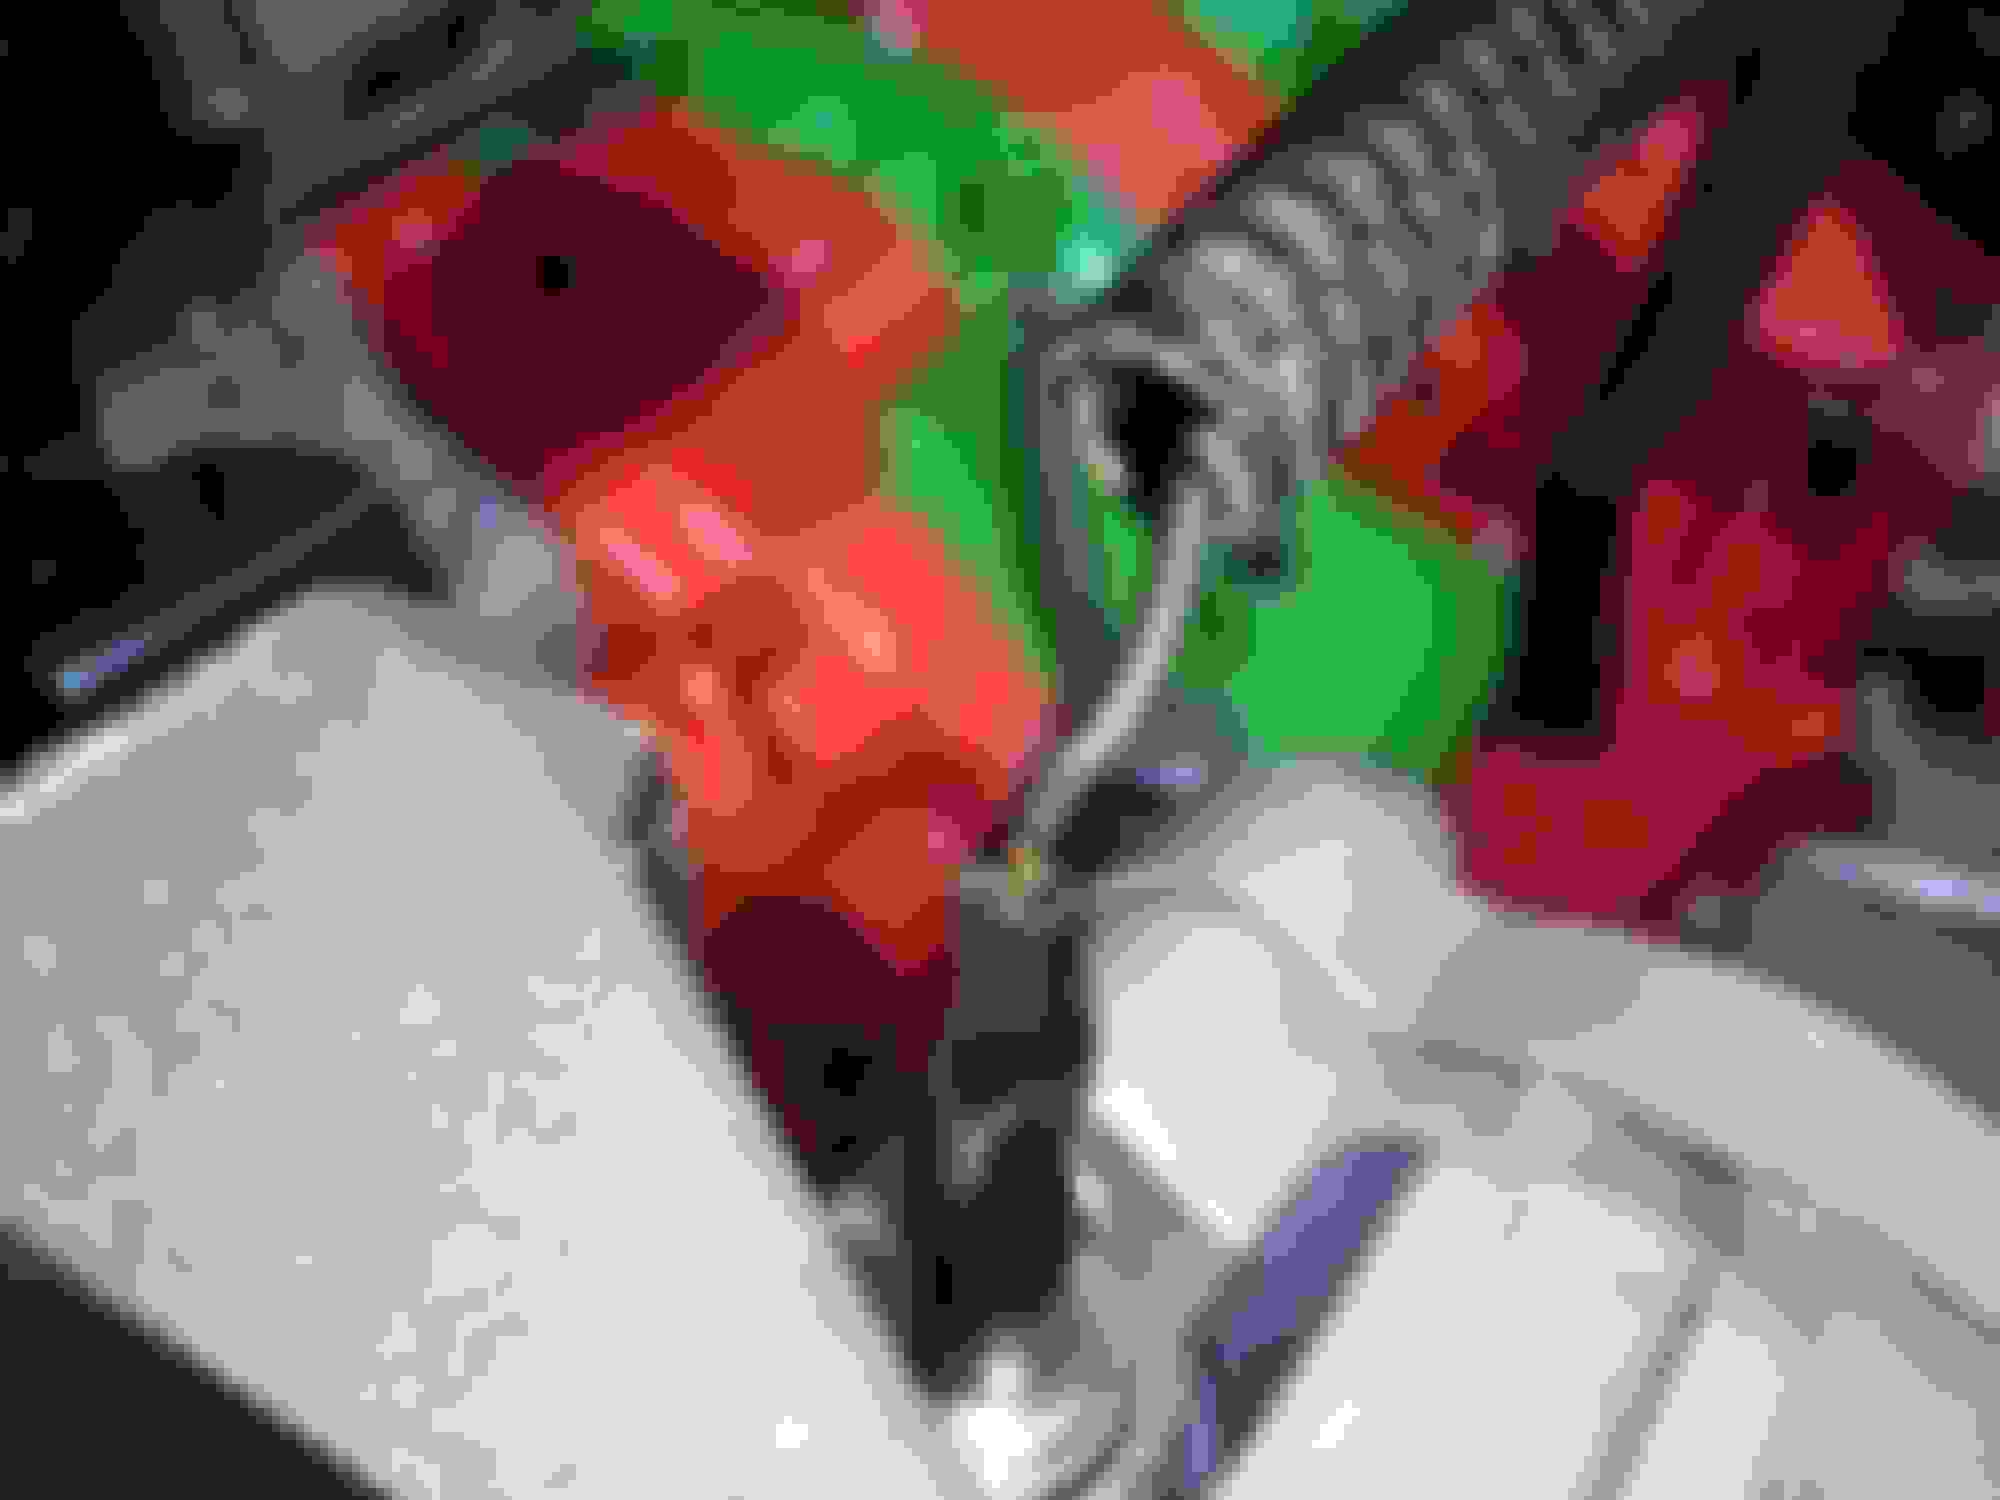
I got the primary rail in. The rubber flat o-rings gave some resistance but the 8mm bolts made it easy to snug it down. The secondary CJ motorsports rail was a different story. The little blue inserts in the Xcessive LIM were a little different then the black inserts from CJ motorsports and Im so glad I got them. I used my bolt extractor to get the blue inserts out (super easy) and popped in the new ones. My ID2000 were the shorter ones but had top hats making them longer. Unfortunately they were still too short for the stand-offs so I took 1/4 off the stand-offs but then had to add a washer for a shim. I also did not get / or lost the hardware to bolt down the sec fuel rail. Right now I just have a long bolt to hold everything in place. I ended up the CJ sec rail with FPD.
Tomorrow Ill go to the hardware store - again - and get 3.5 inch 8x1.25 bolts or 2x 85mm and 2x 90mm and see which one fits best for the fuel rail. I will also install the AC pump again and the other 2 pulleys.
And then tonight I'll research ways to connect the rails (parts needed).
Last edited by rotaryextreme; Mar 26, 2020 at 10:28 PM.
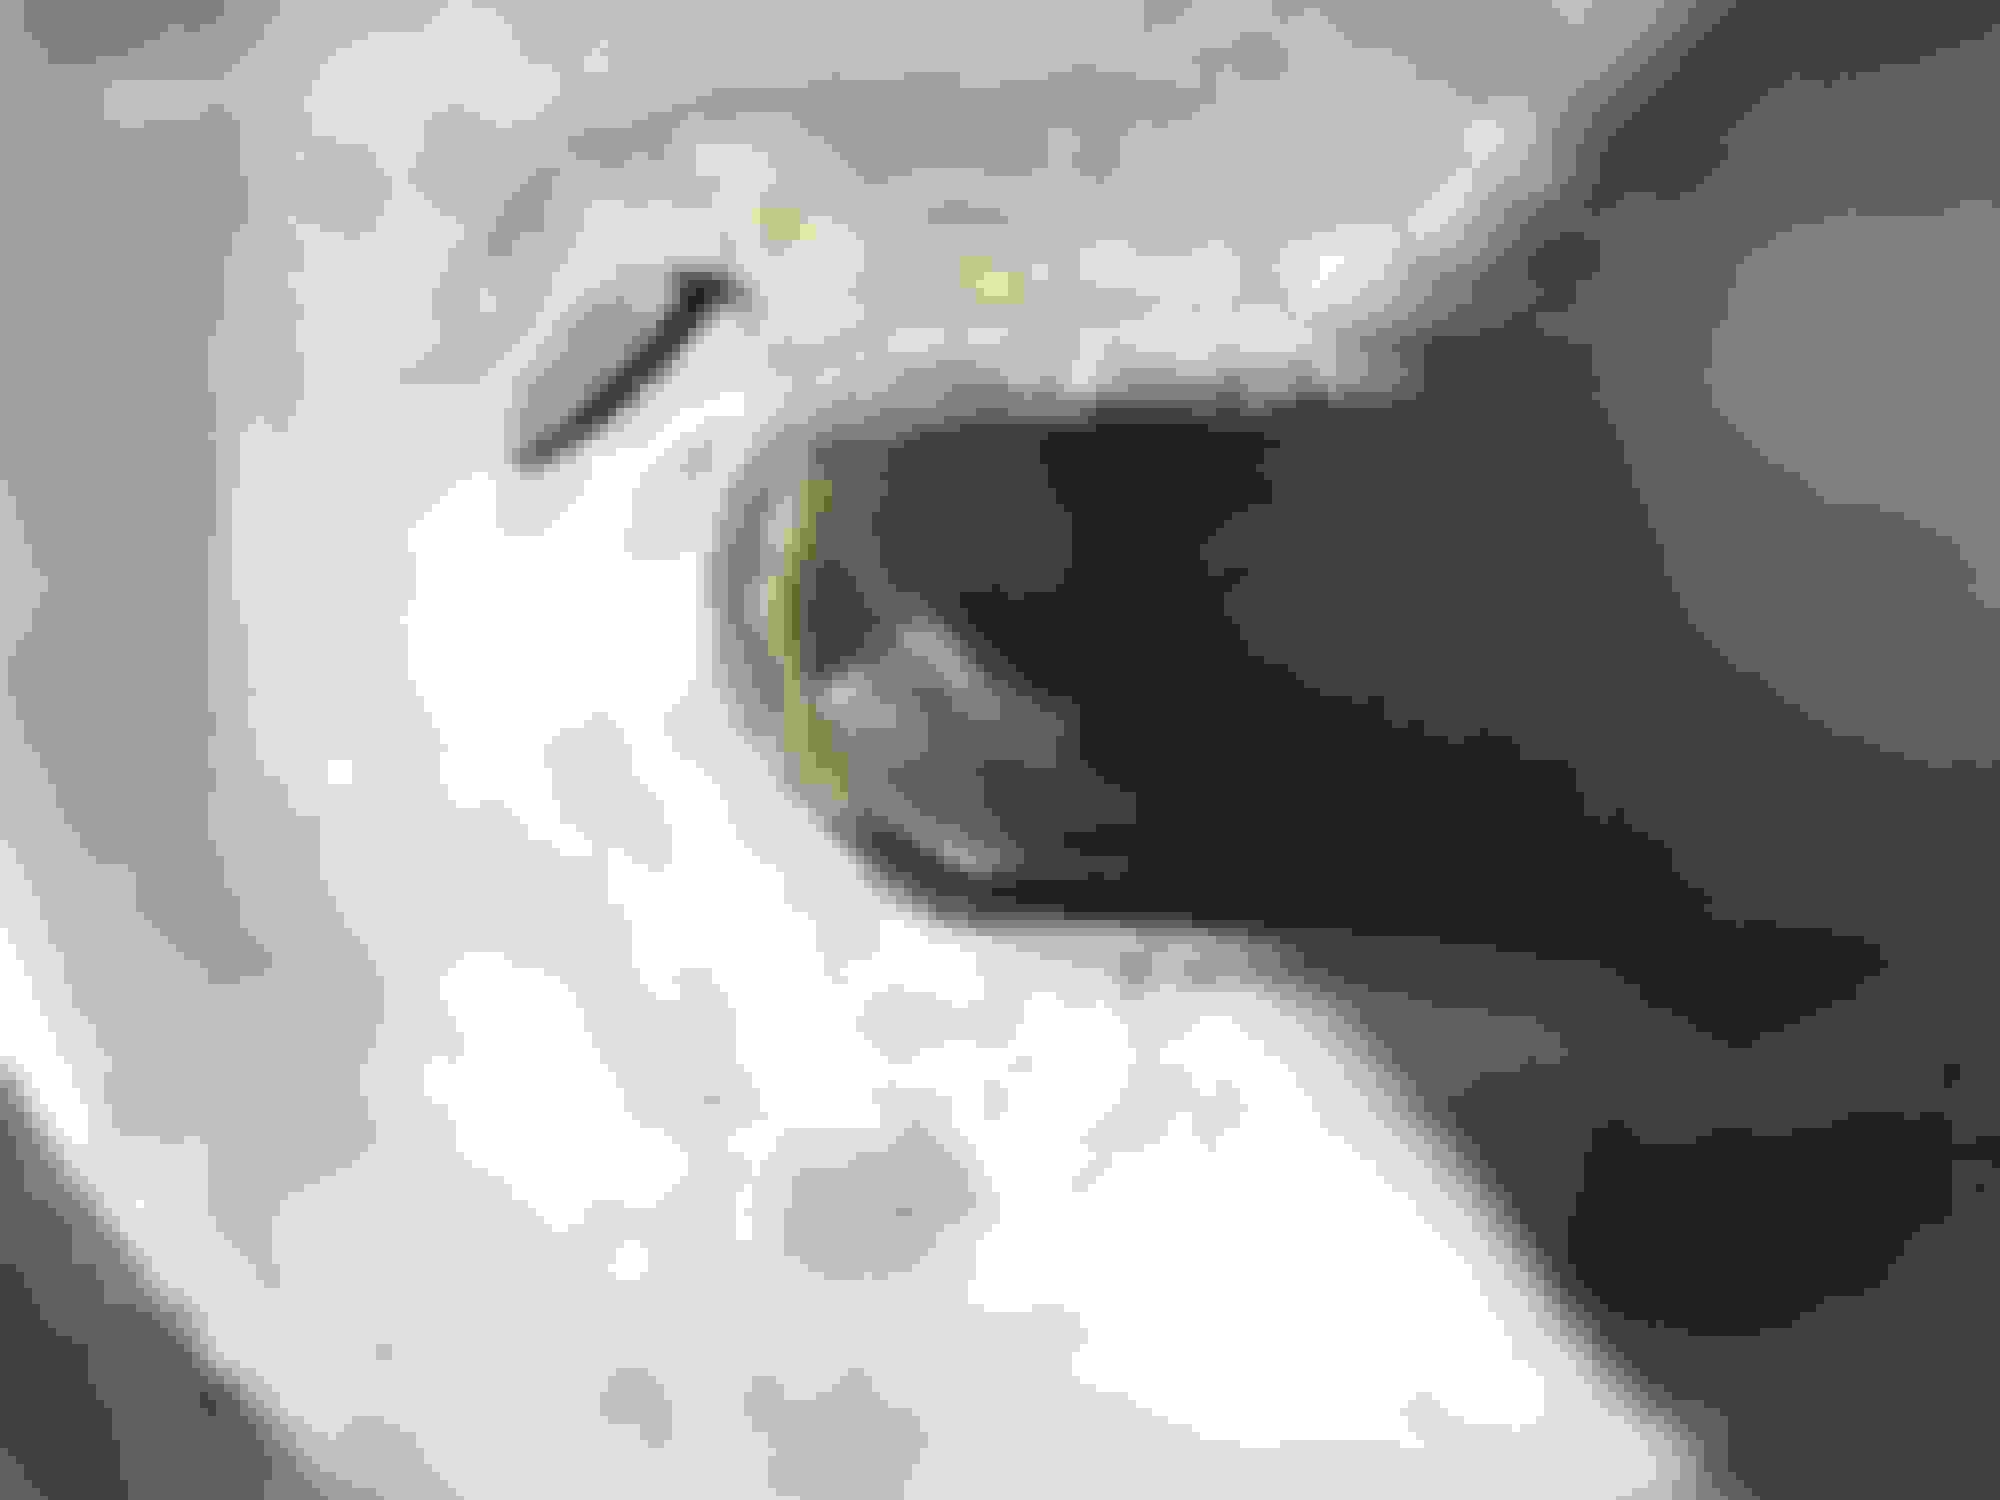
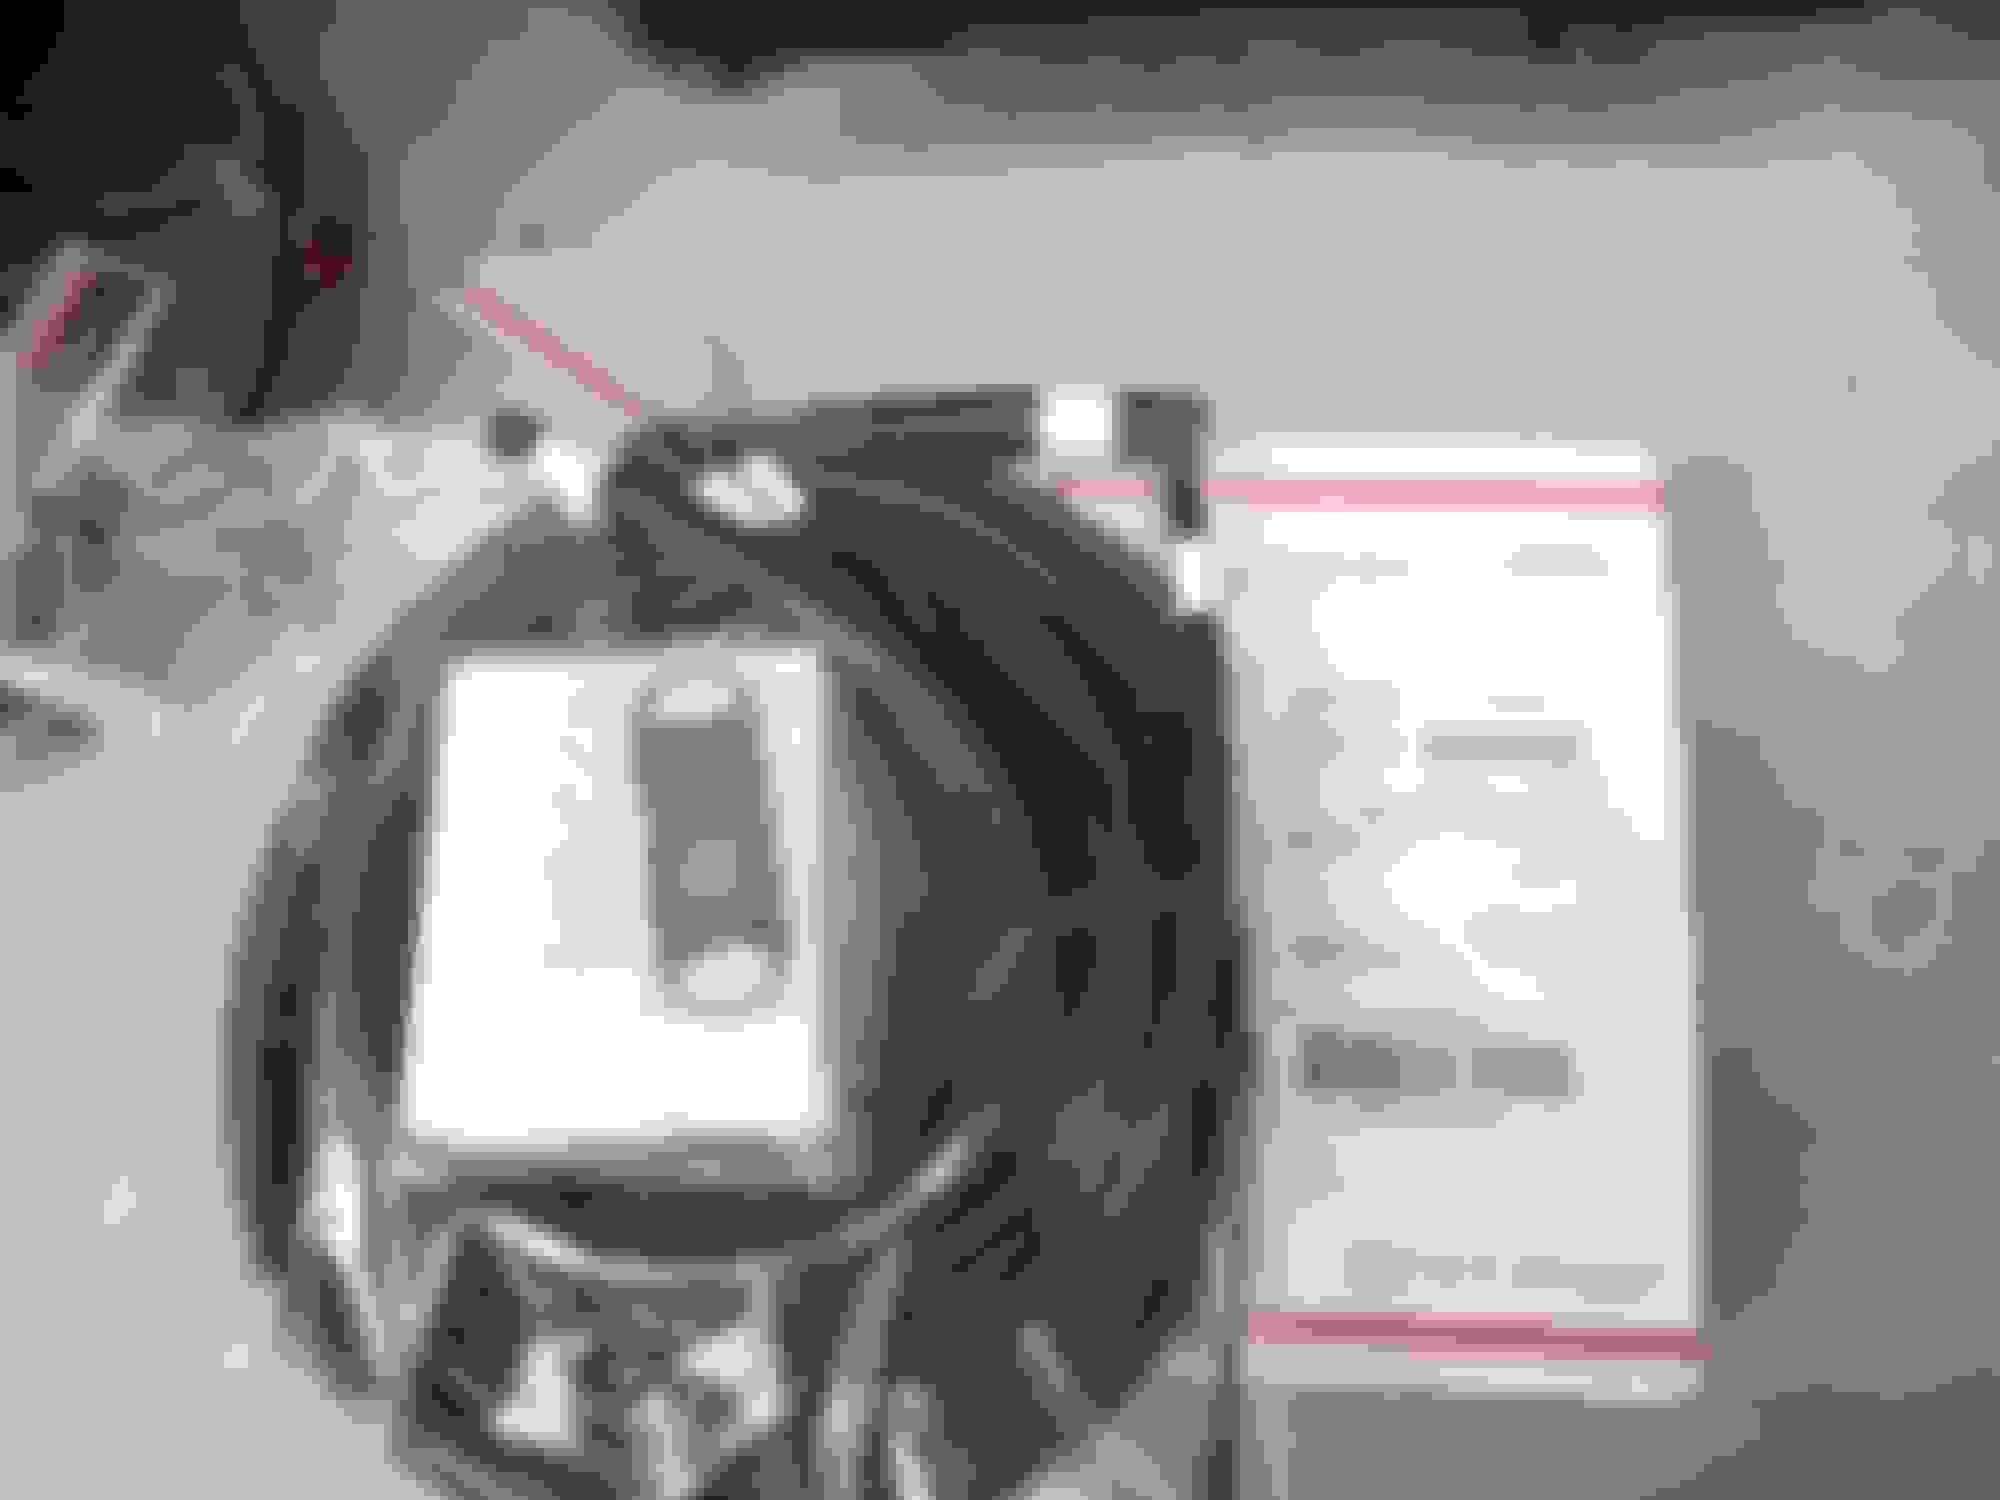
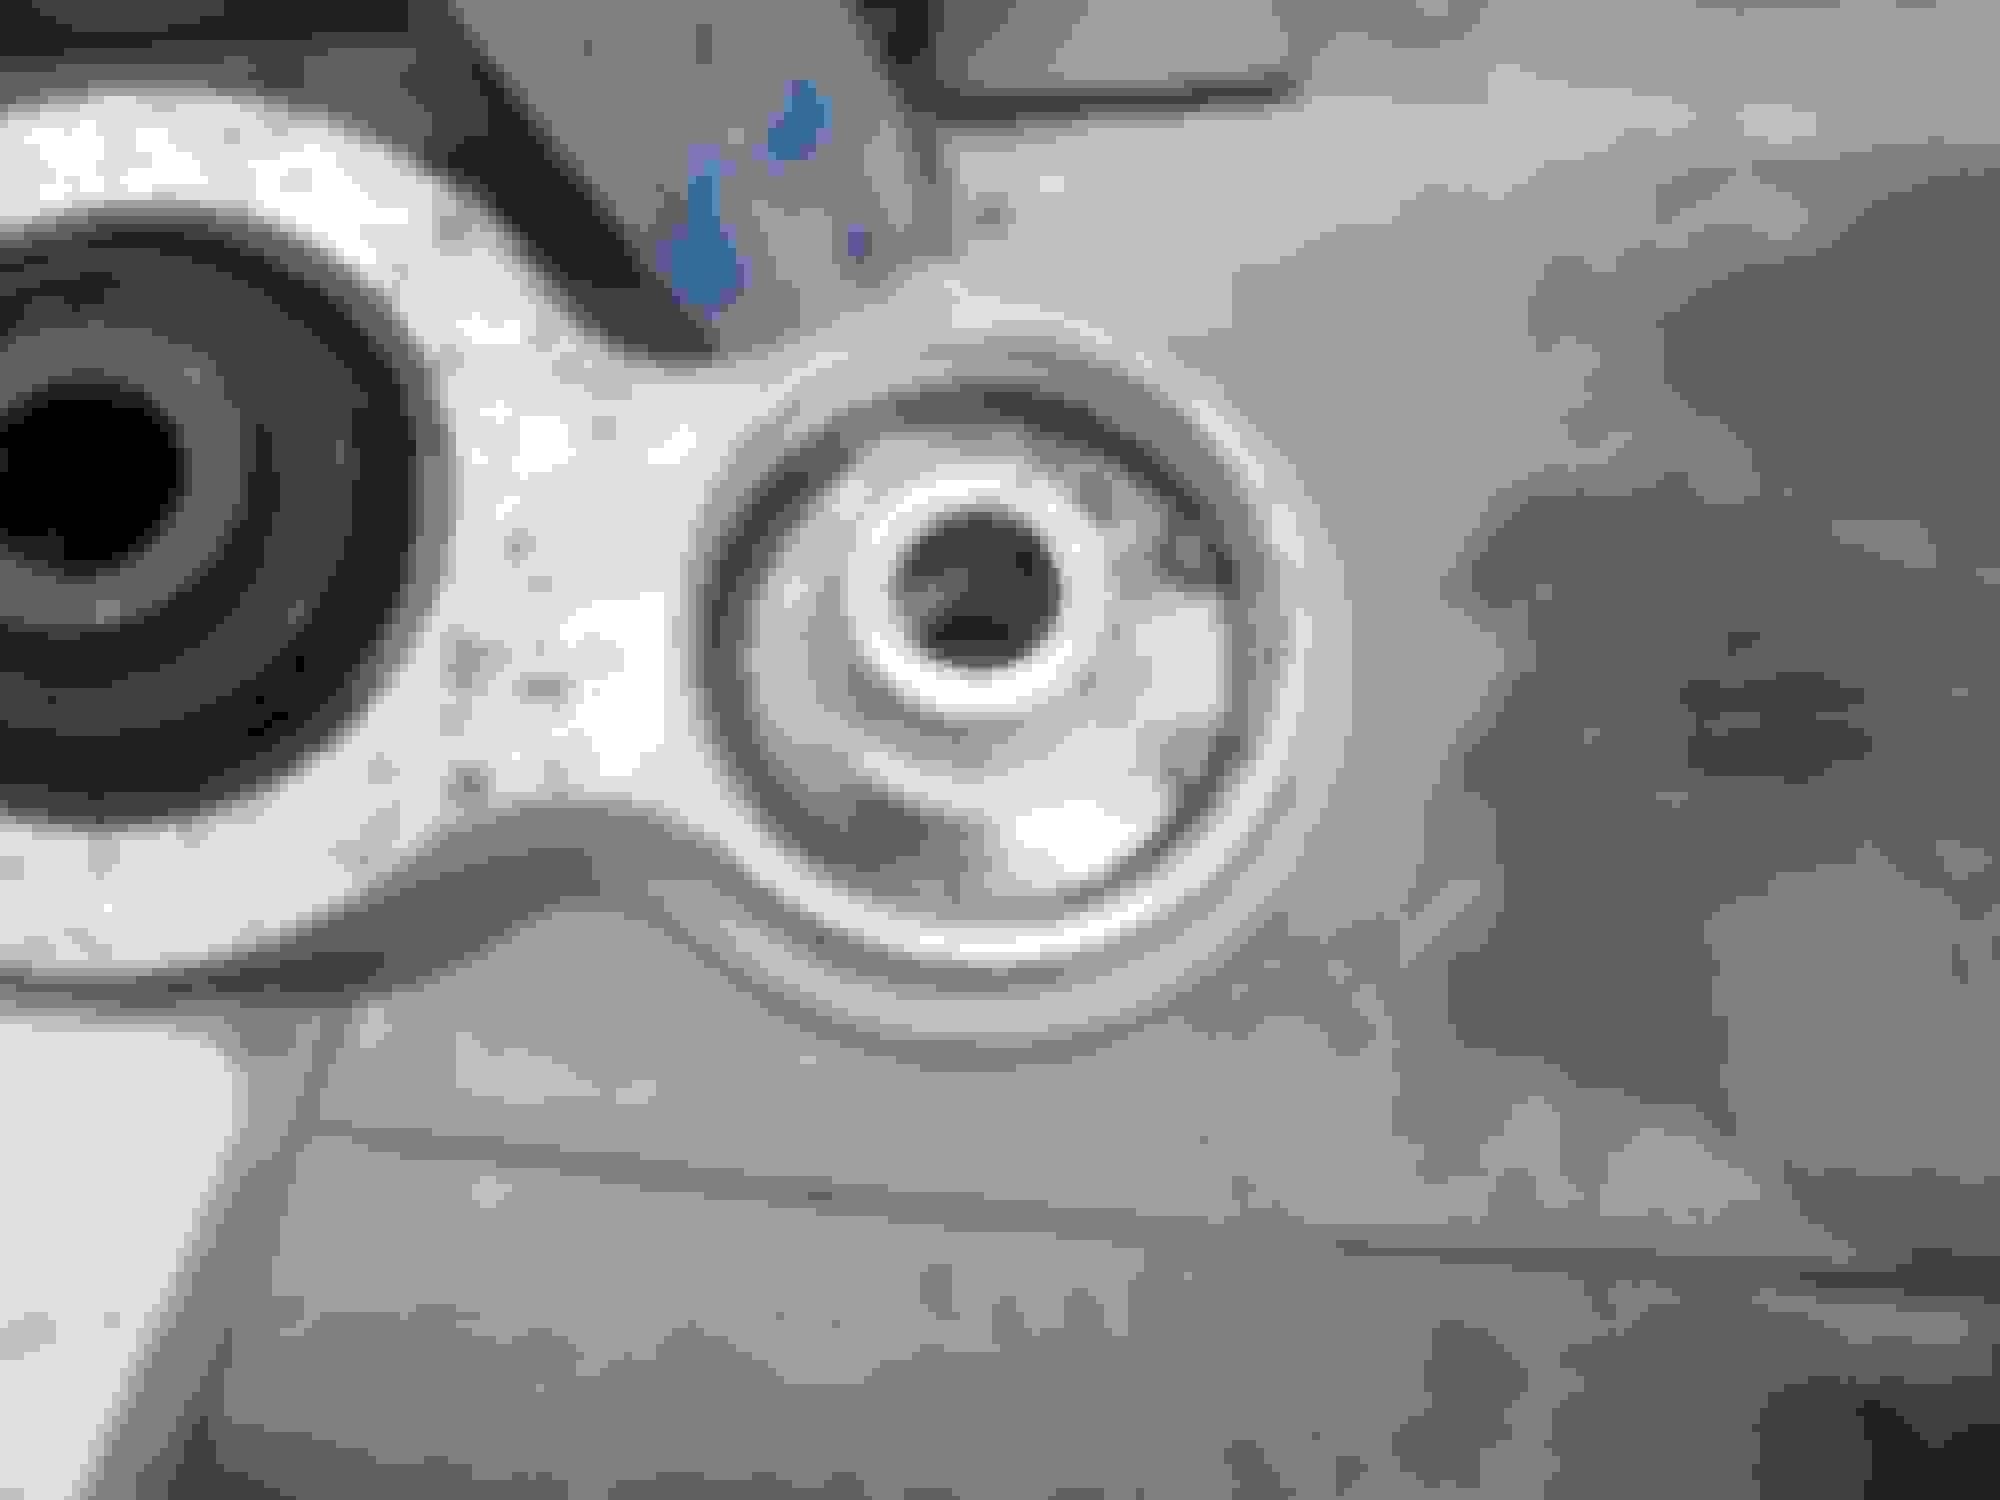
While looking for my fuel fittings online I noticed that there is a plastic fuel spacer under the primary fuel rail. Now I know why there was some resistance. I did not have fuel rails on this engine and the stock blown motor I sold I left the fuel rails on it.
Obviously the rubber seats are smashed. I ordered the spacer and rubber seats from Atkins.
That spacer is a phenolic spacer to help keep the heat from the center iron from transferring to the primary fuel rail and boiling the fuel. Good thing you found it wasn't there before you tried to start it up!
That spacer is a phenolic spacer to help keep the heat from the center iron from transferring to the primary fuel rail and boiling the fuel. Good thing you found it wasn't there before you tried to start it up!
Dale
Dale,
Yeah right!!
Im putting this engine together with missing pieces from the get go.
I was also missing the pri fuel rail injector diffusers
So I ordered 3 things from atkins for my primary rail.
1. the spacer
2. the rubber isolators
3. the pri rail diffusers
In the meantime I'll finish bolting the fuel rails together with the hardware I picked up.
Last edited by rotaryextreme; Mar 27, 2020 at 11:18 PM.
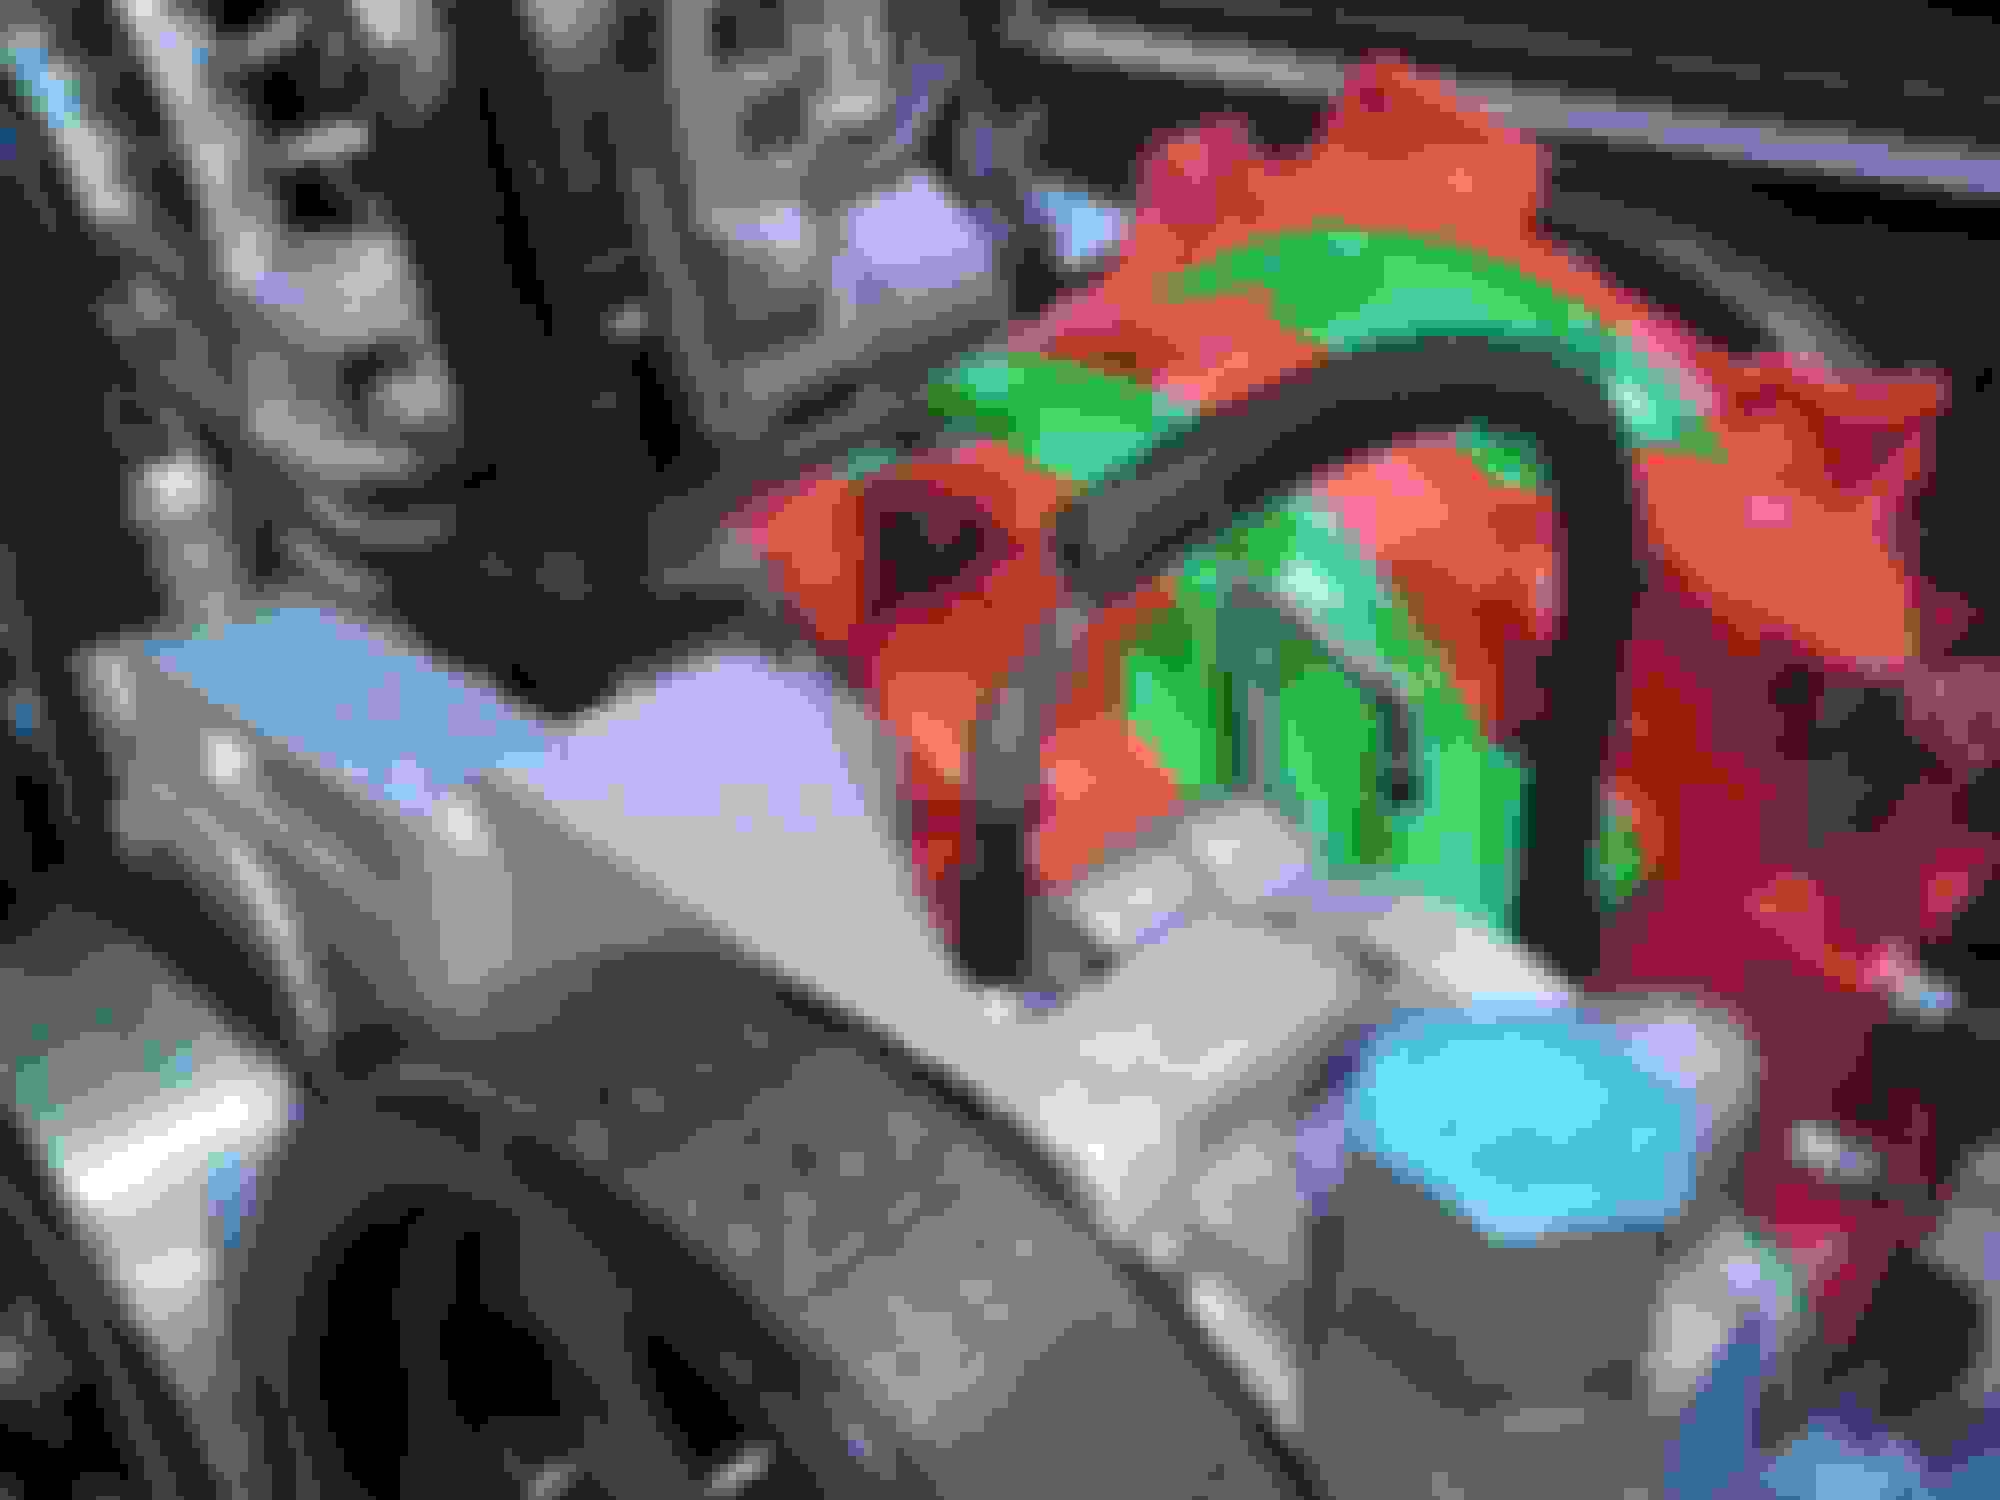
So all in all, I was just really missing the primary fuel rail spacer, still good thing it was missing because it prompted me to do some further investigation.
I looked a little closer into the pri fuel ports and low and behold the diffusers were in there. Since I already bought new ones I wanted to pull these out for inspection - good thing I did. The rubber seals were shot !!!!!!!!!!! I used a broken bolt remover tool to get the diffusers out.
The pri rail outside rubber isolaters weren't that bad, but they are still going to be replaced.
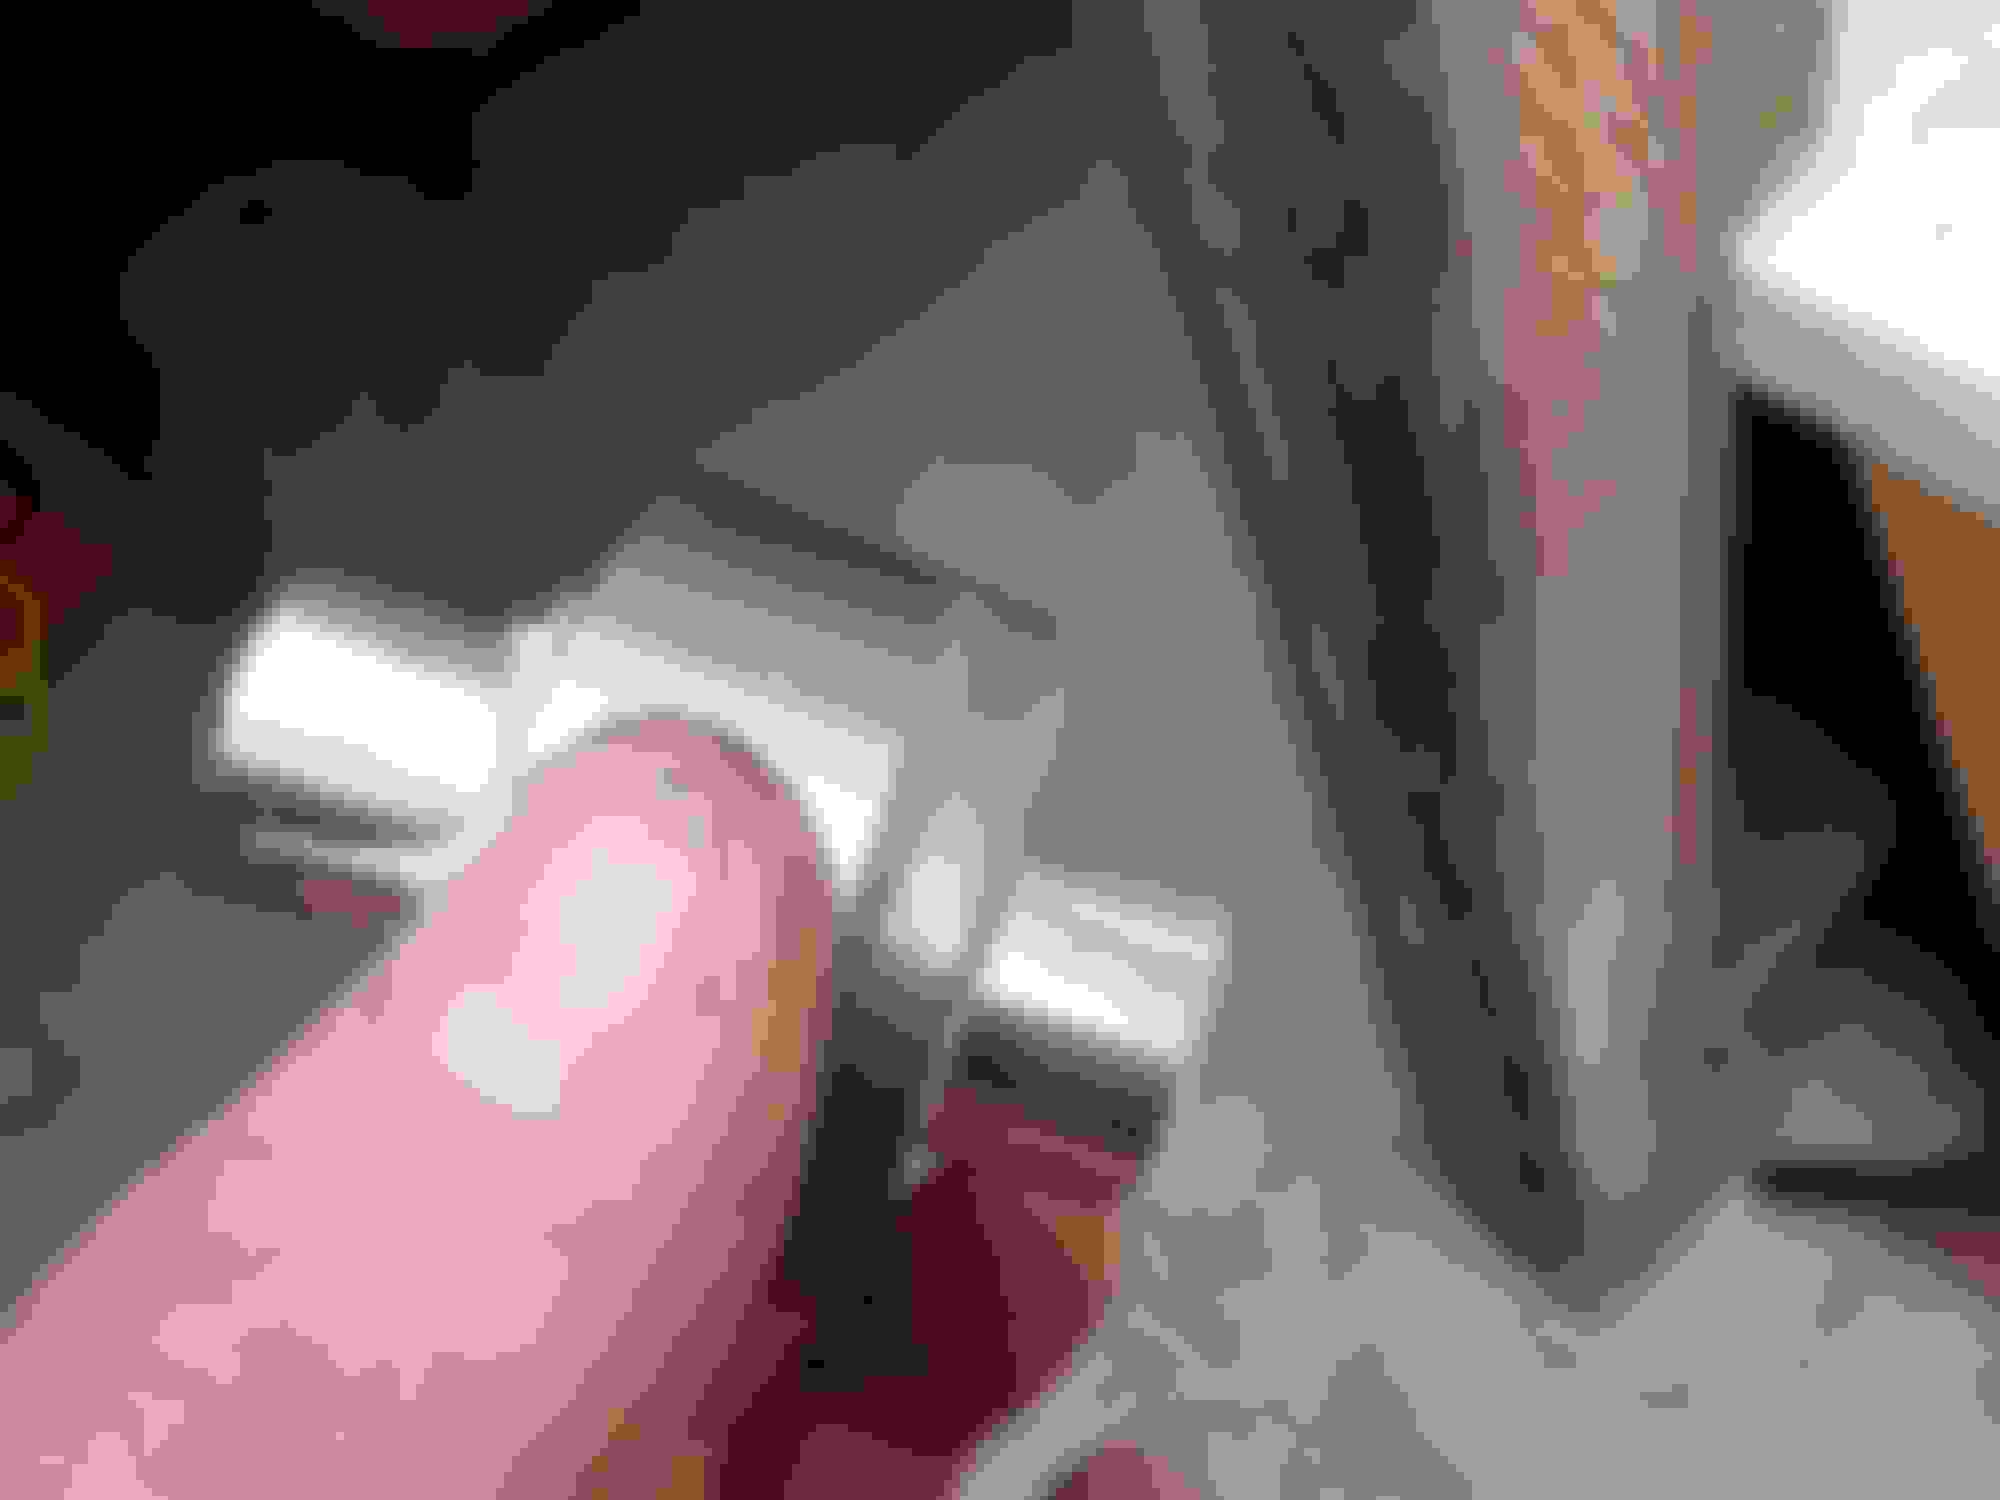
Im using banzai racing FPD delete write up and putting 1/4 NPT with 5/16 barb on both sides of the pri fuel rail.I didnt want to ruin my pri rail paint job so I bolted it to a bracket and then held the bracket on the vice. After tapping the threads there was some roughens on the inside where the fuel injector o-ring sits. I used some 1500 grit to sand it smooth. I greased the injector o-rings and put them back into the fuel rail and now they are just chillin in place waiting on parts.
For the secondary fuel rail I ended up using 8x1.25 - 90mm to hold the rail in place. I grabbed my black AEM FPR from a stash of fuel parts I'll be selling later on. I ended up getting a 90 degree 6an female to 5/16 barb and running a fuel line to the pri rail. the other side of the sec rail will have a straight 6an to 5/16 barb going to a fuel line then upto the FPR. I bought a bunch of 6an to 5/16 barb fittings to finish this all up.
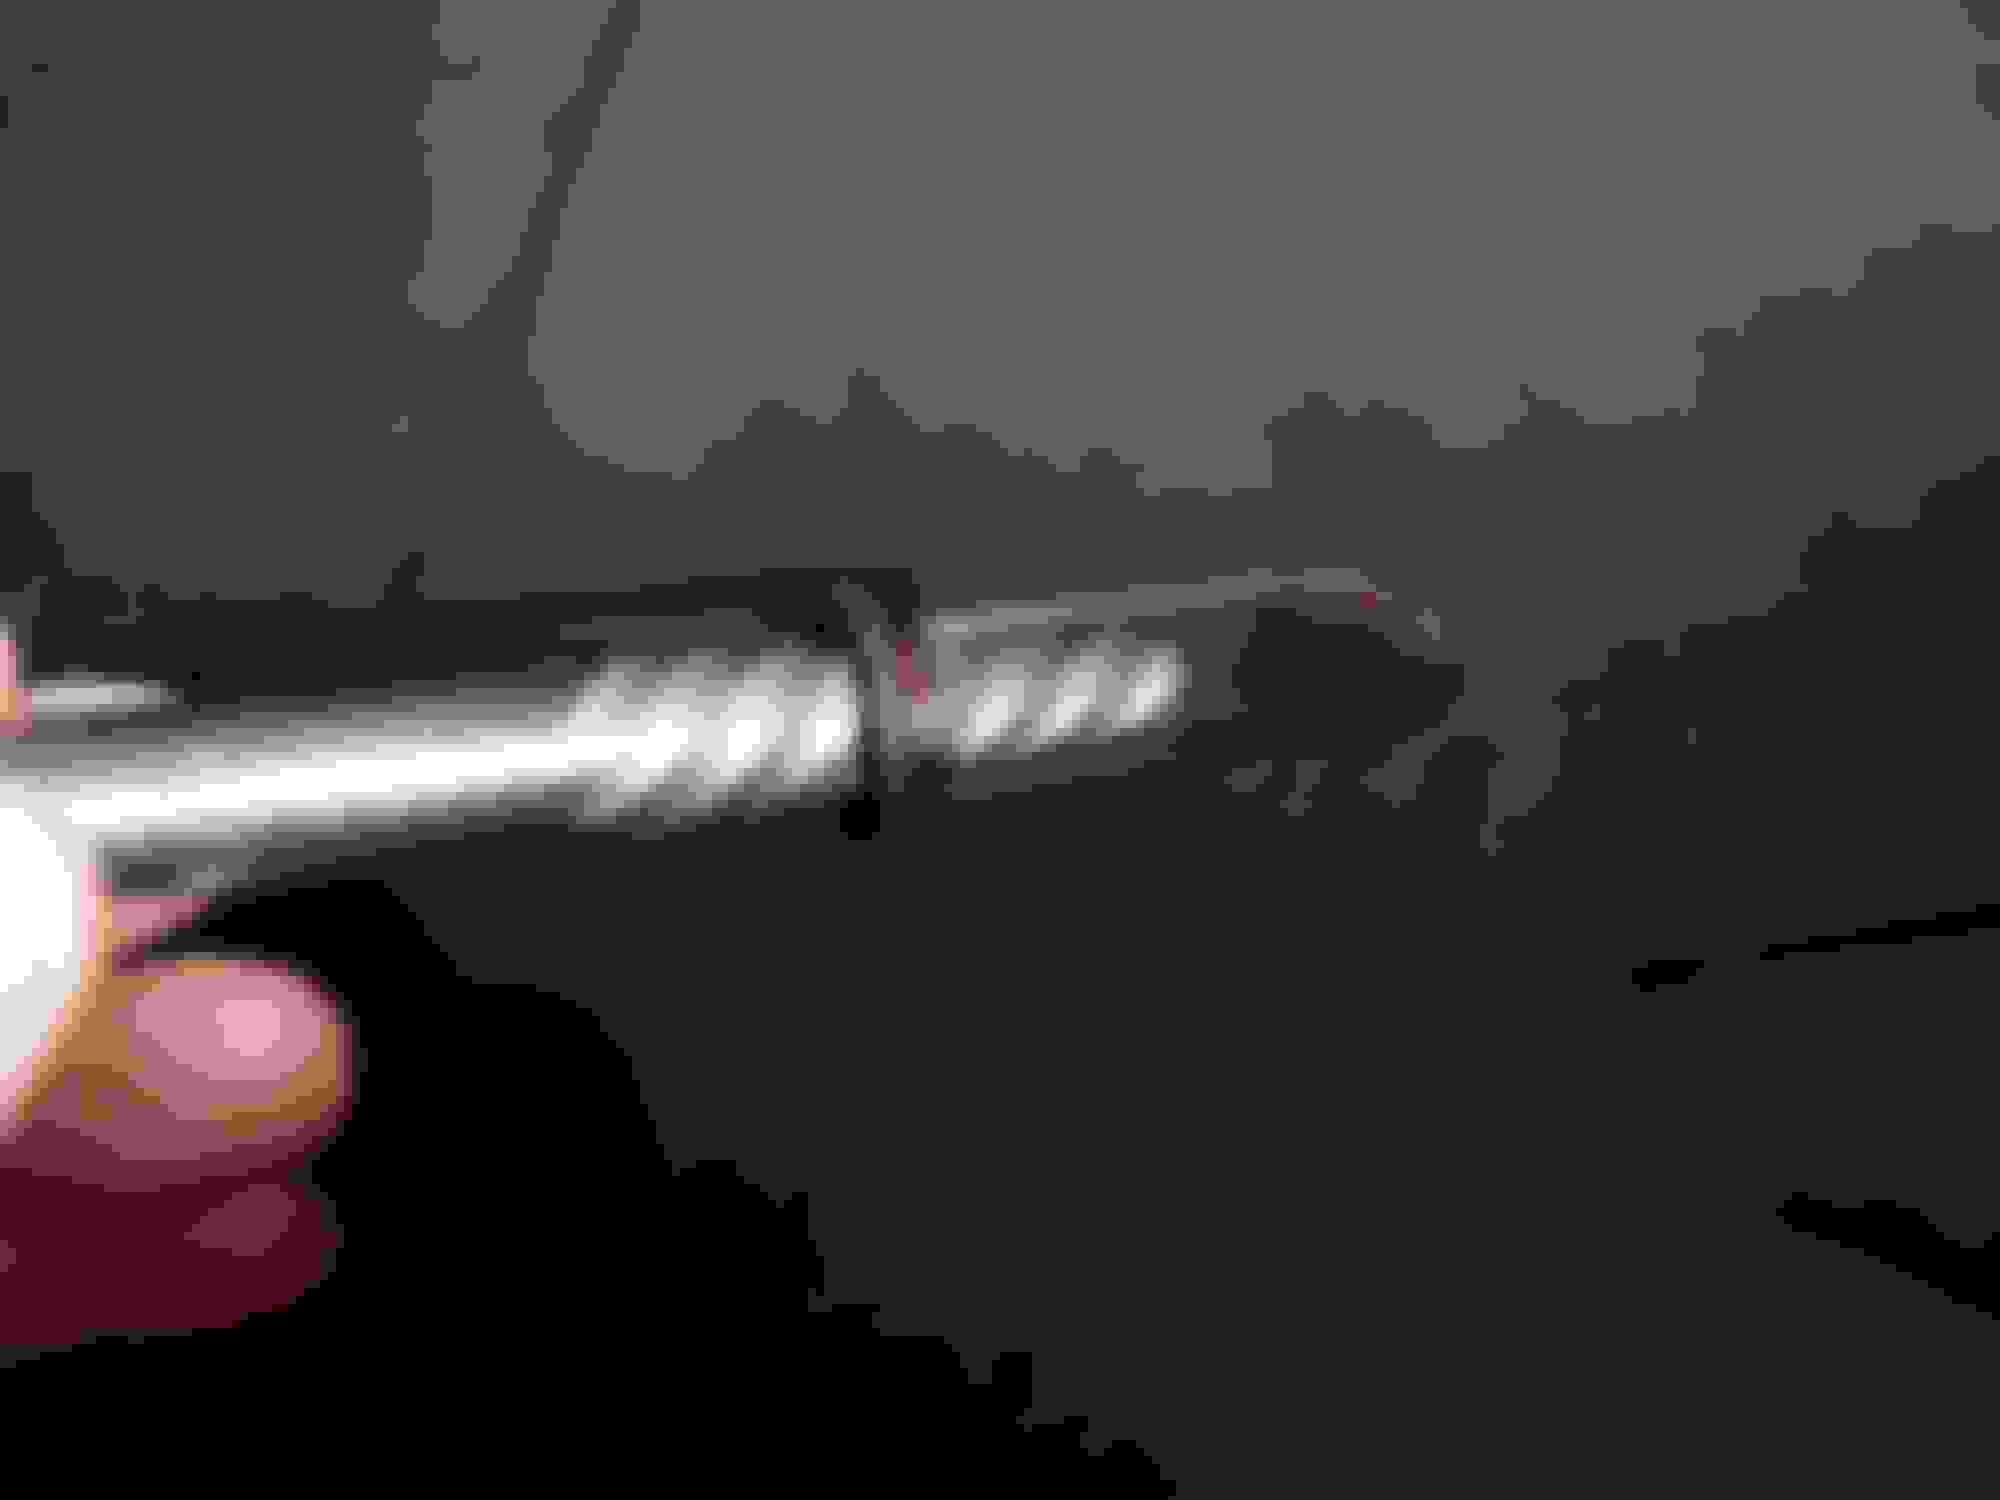
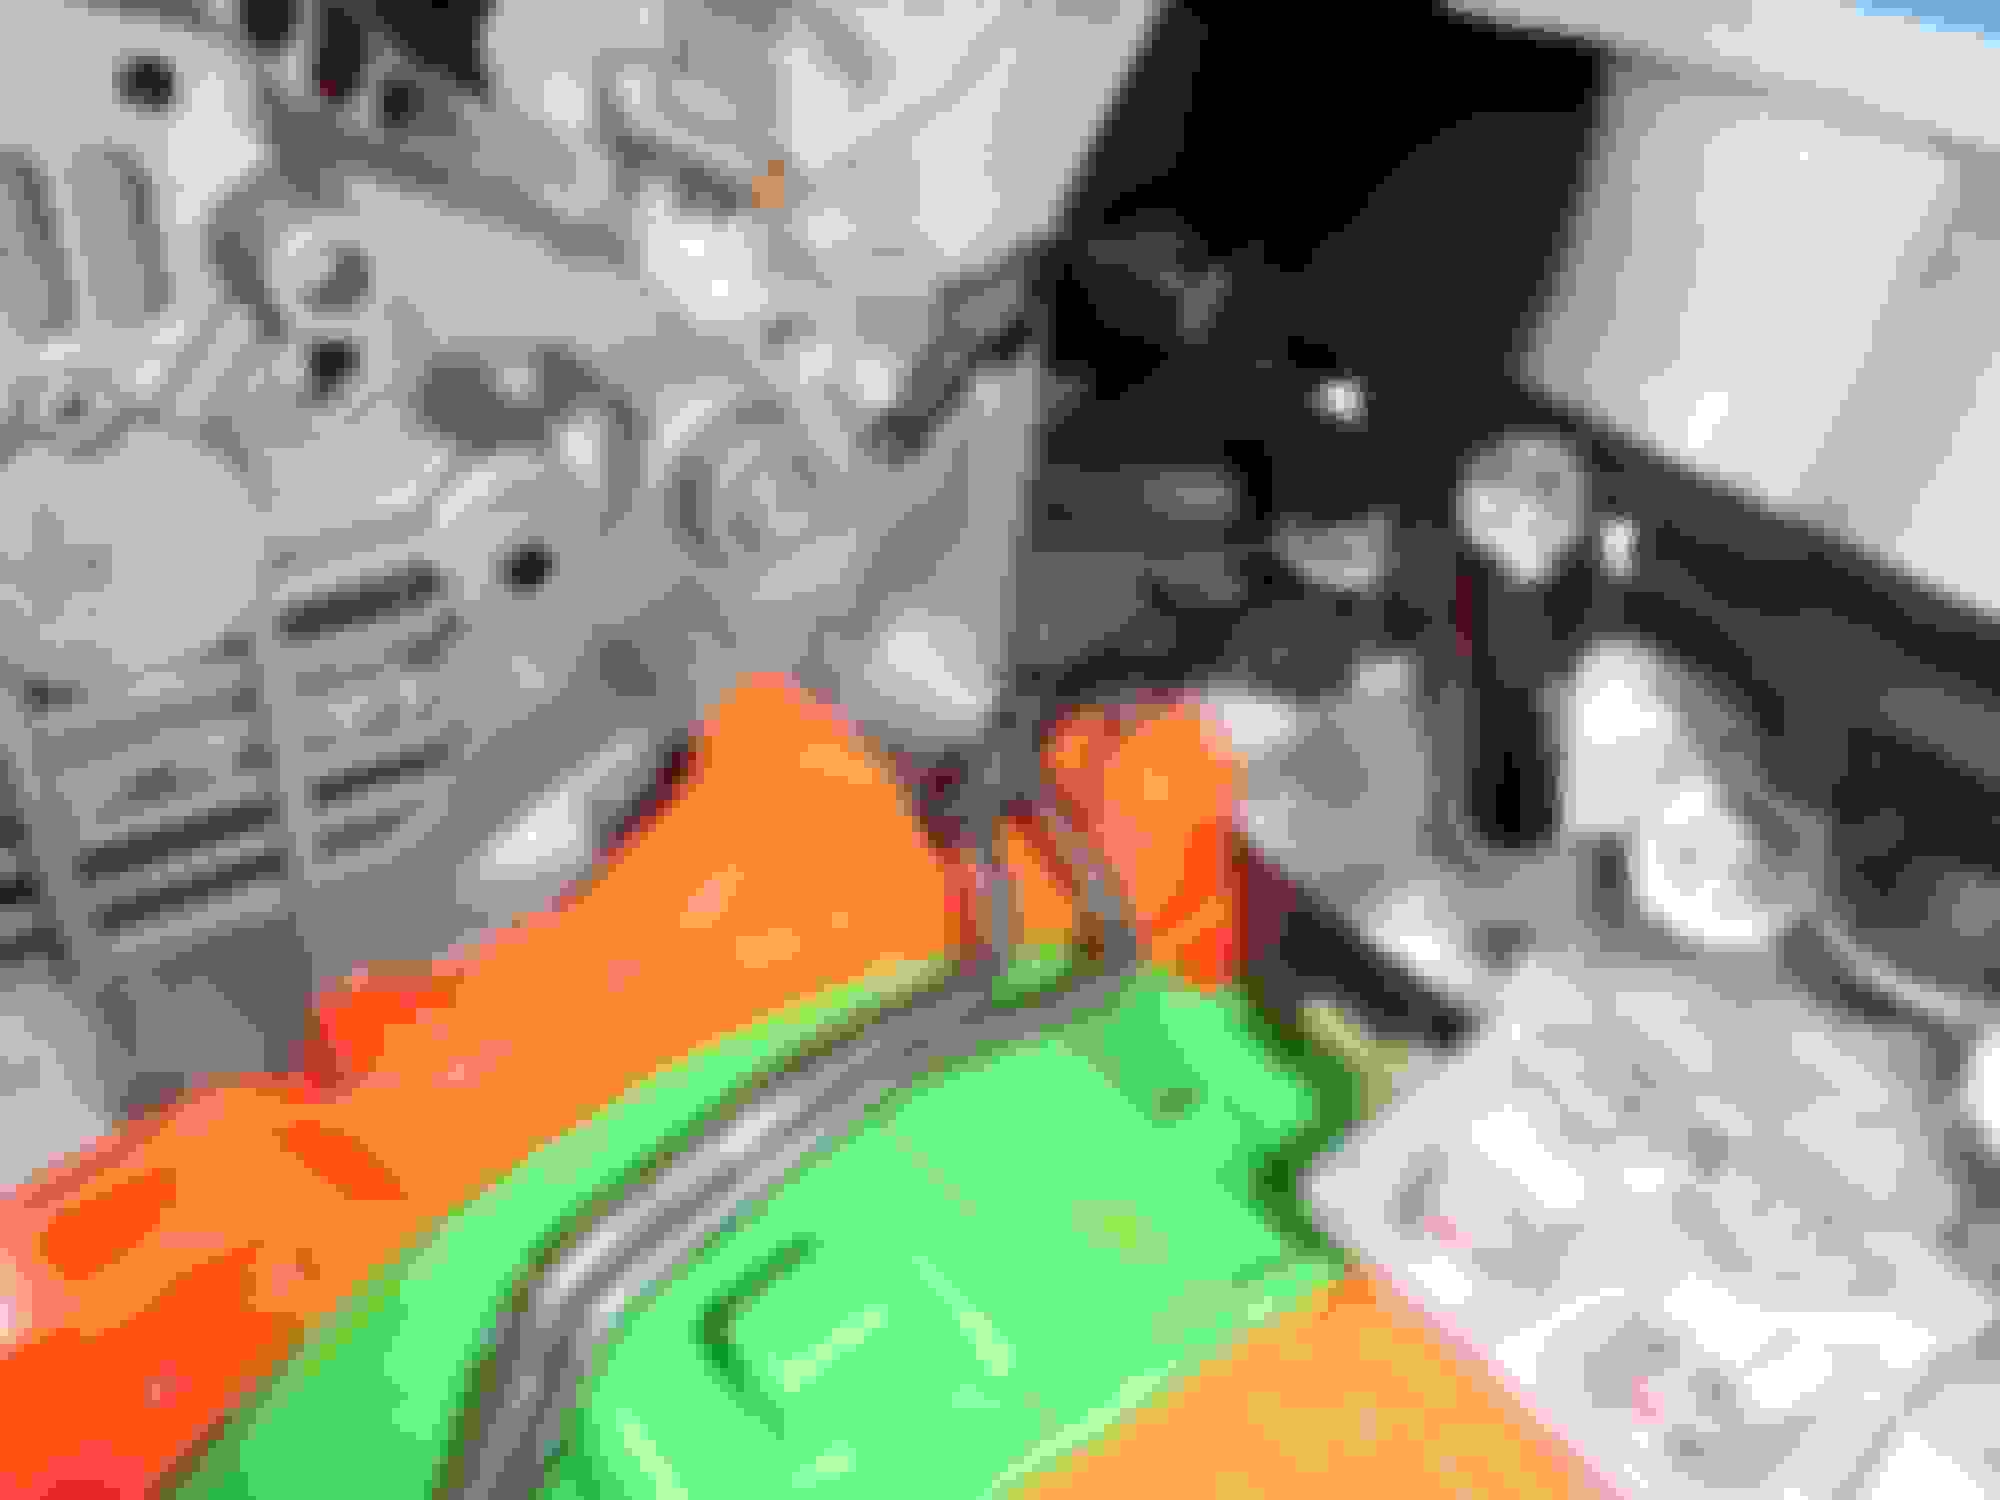
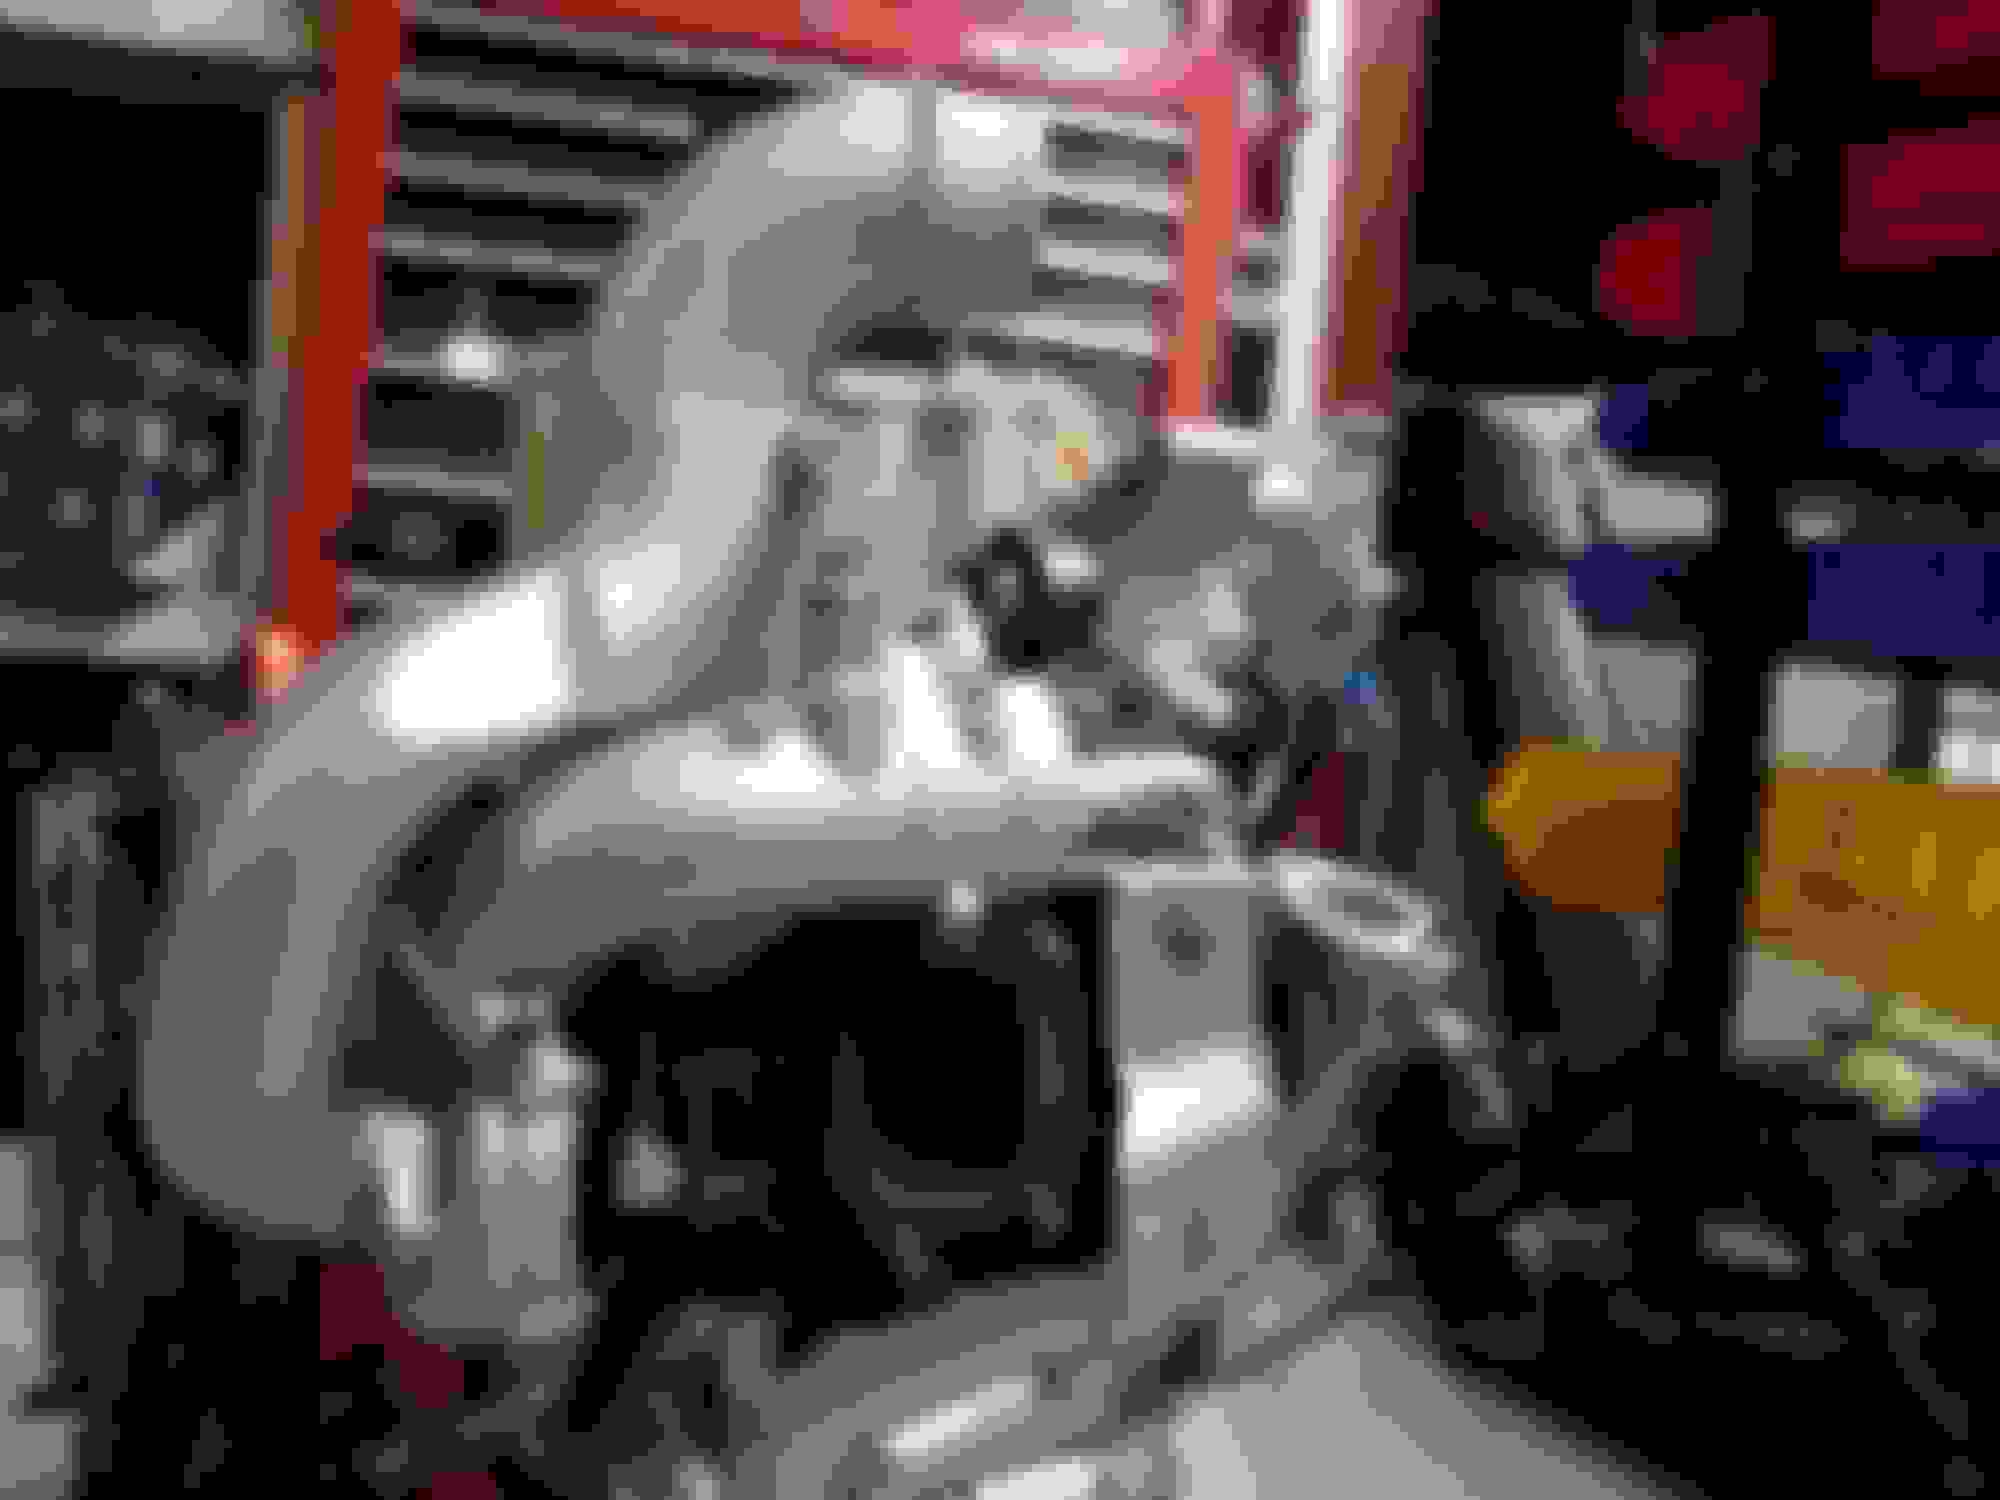
I also installed the AC back on, the tensioner and the main pulley.
Parts - I finally got my Racing Beat clutch in !!! I also got some misc wire loom sizes so I can re-wrap the harness once I have it all organized.
Last edited by rotaryextreme; Mar 27, 2020 at 11:51 PM.
My Guardian Angel was watching over me today !!!!!!!!!!!!
Day 27
Lets start with the very very very bad and then end with the good.
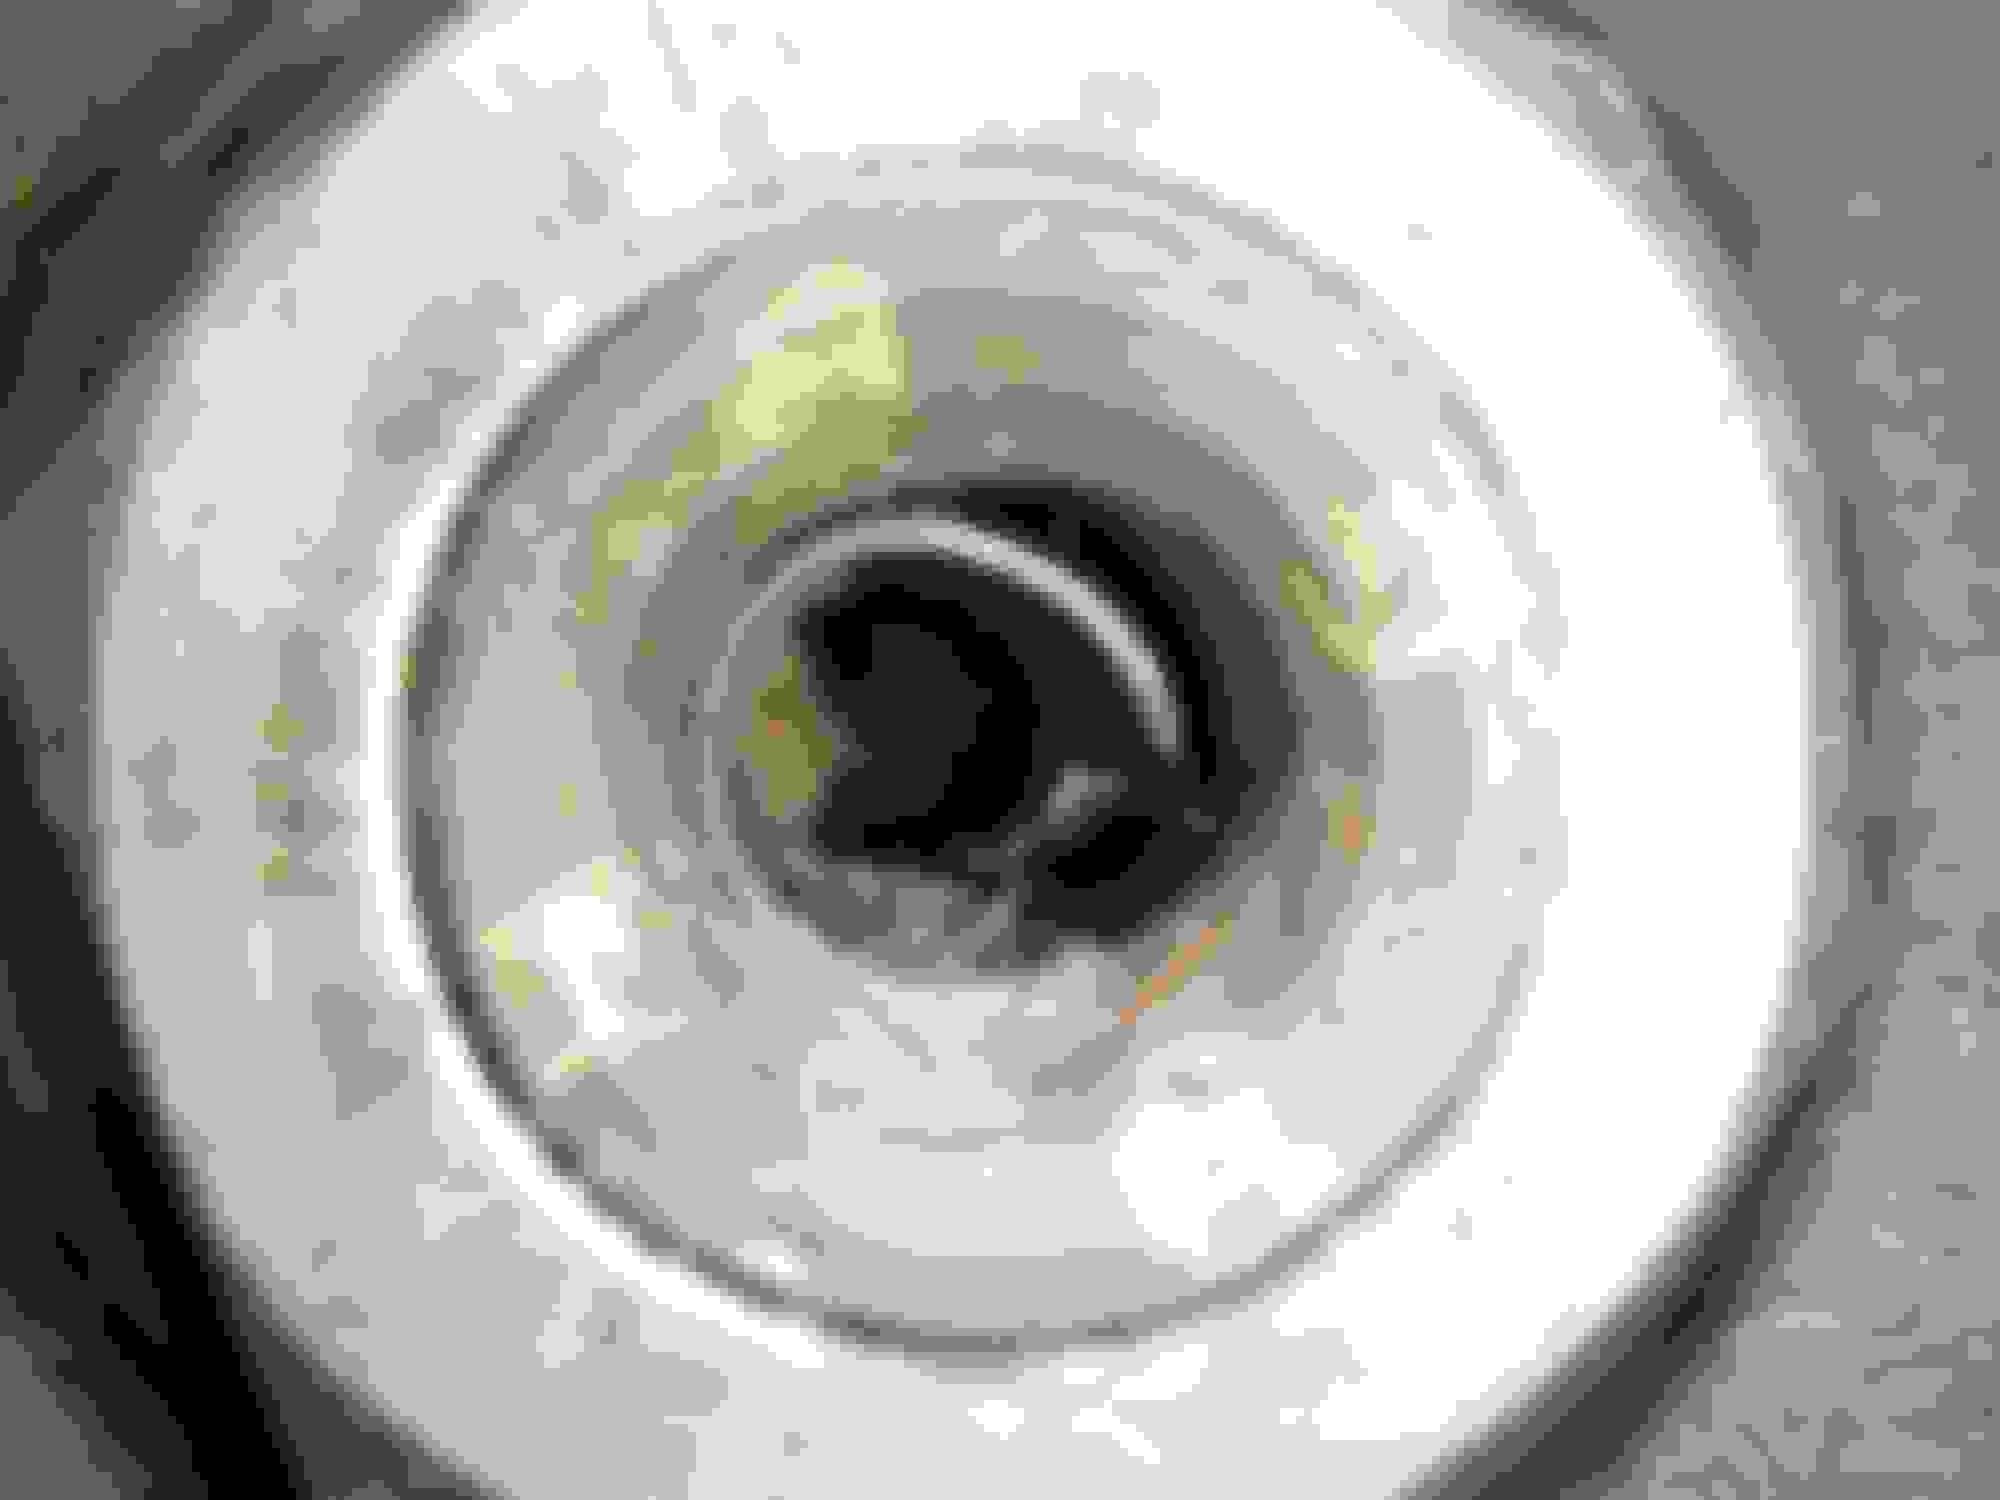
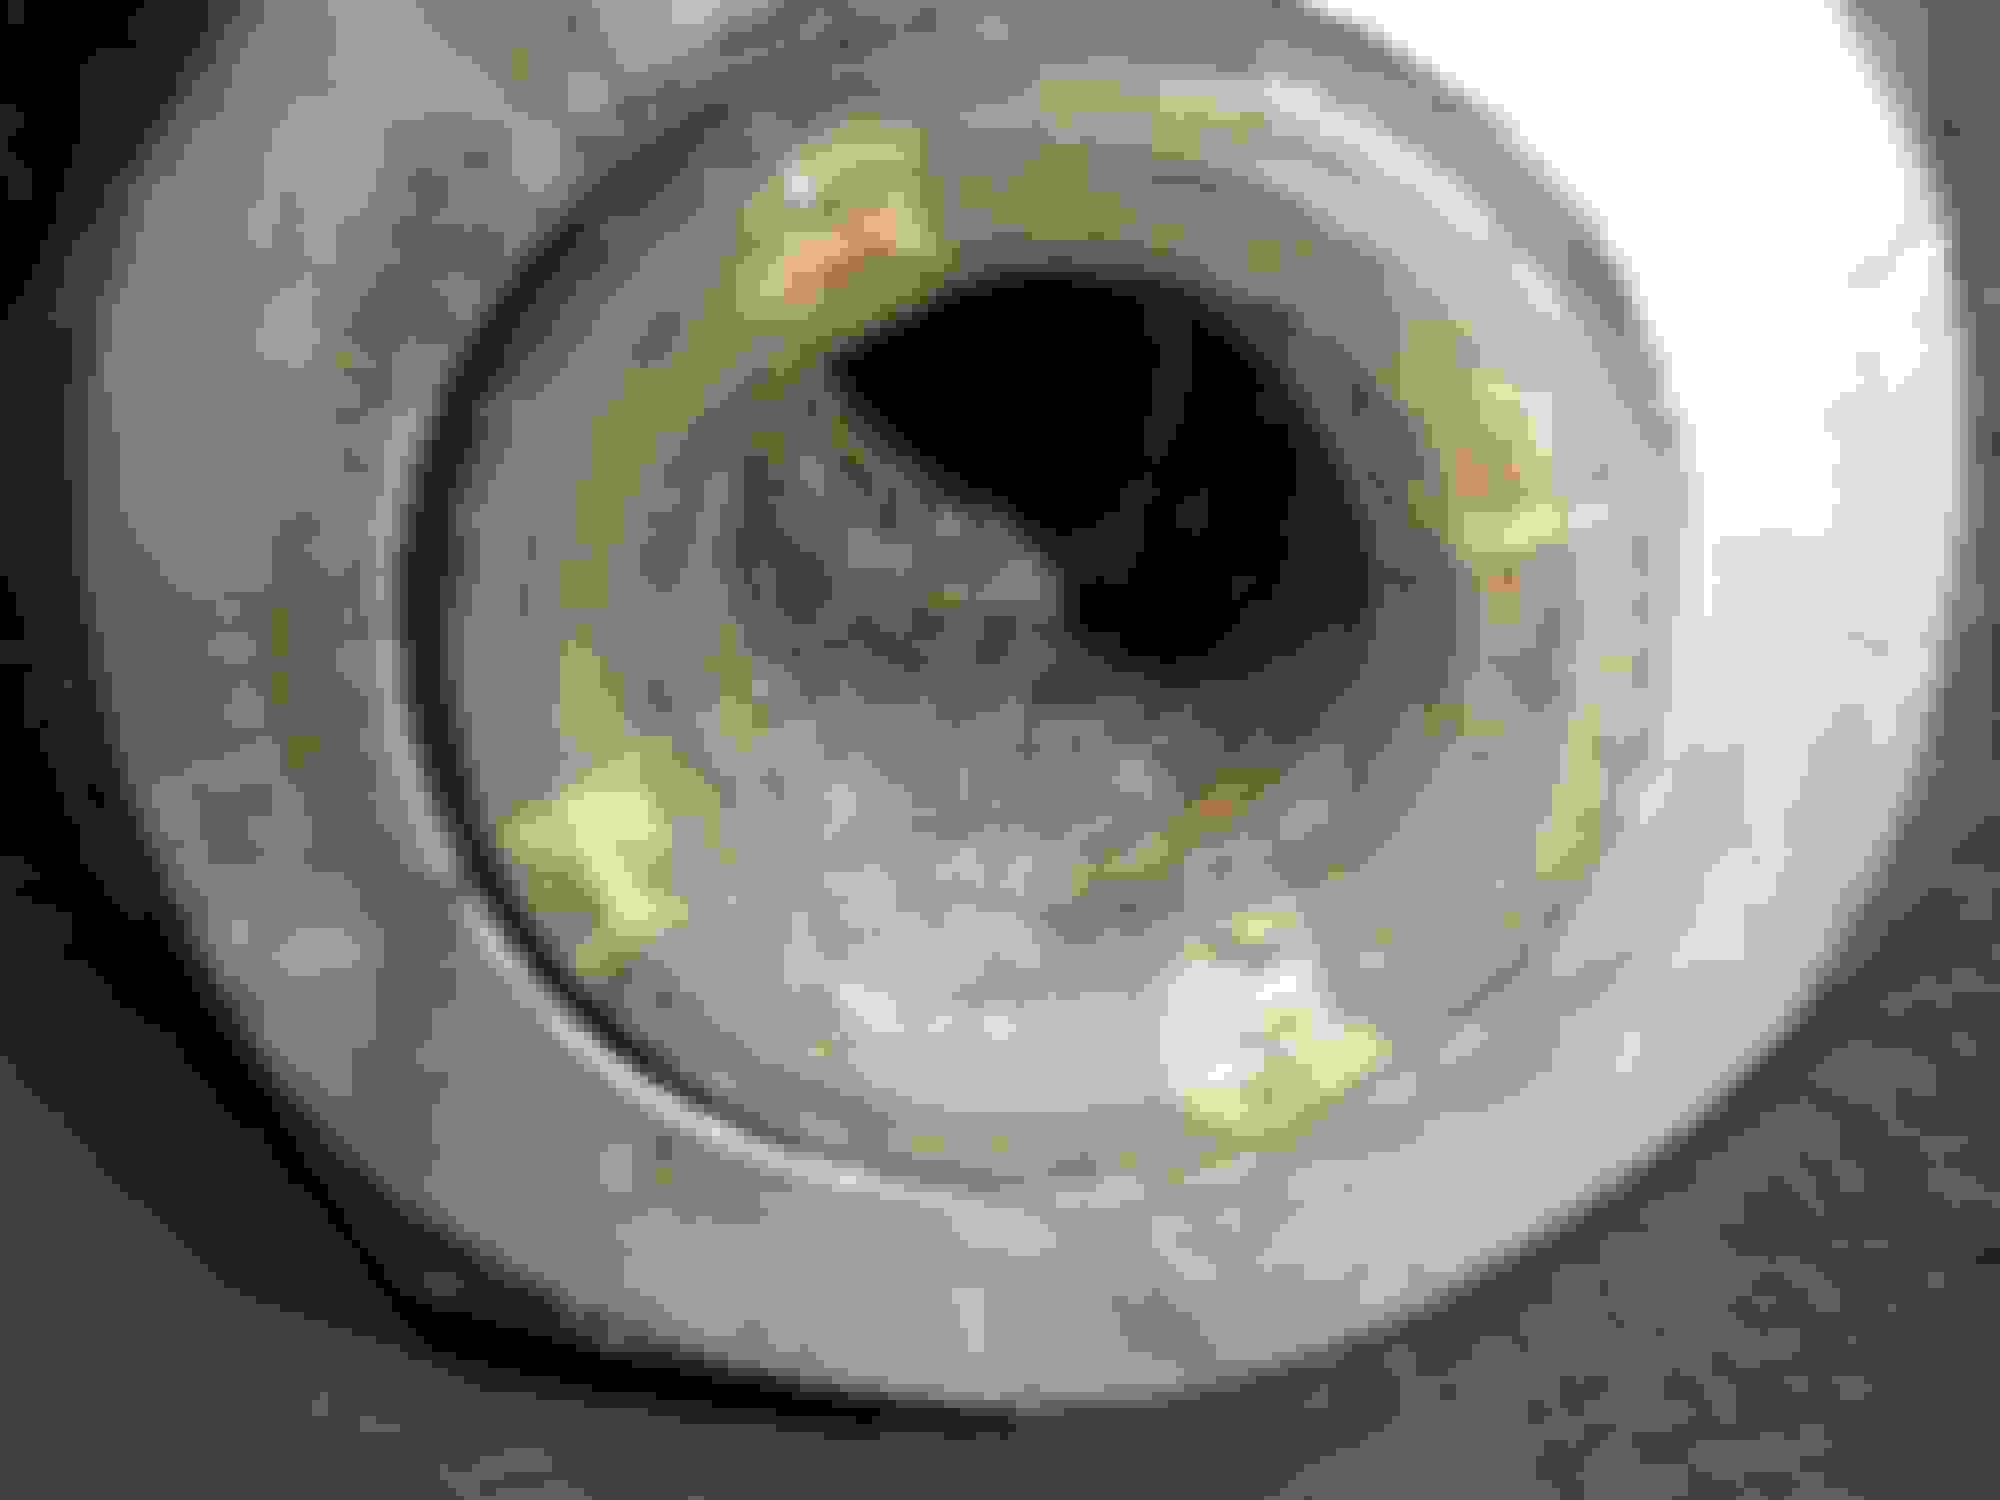
While I was installing the belts I wanted to spin the engine, so I got about 1/4 turn then it stopped. I went the other way and got about 700 degree of rotation then it stopped. I went back about another 2 turns then it stopped. Well I think the shaft rotates 3 times for every one rotation of the rotor so I knew something was stuck. - Oh crap
I was thinking maybe some silicone fell in when I removed the fuel inserts, but that was not it. So I took of the turbos and the exhaust manifold and guess what I saw - BLUE PAPER SHOP TOWELS !!!!!!!
What happened was the towels I put in the spark plug holes for painting were sticking into the chamber. When I rotated it the first time it pulled off some pieces inside. When I took off the exhaust I saw a little piece in each exhaust port. But these we not the show stoppers so I kept rotating while inspecting the rotors through the exhaust port and BAM !! - there it was. A big piece of towel smashed against one of the faces of the rotor. With the skills I learned from playing that old game called DOCTOR I was able to use some long needle nose pliers and pull it off the rotor. I continued to rotate the engine and it was smooth sailing. PUFF PUFF PUFF PUFF PUFF PUFF PUFF PUFF PUFF PUFF PUFF PUFF PUFF PUFF all good. How many of you guys just went PUFF a bunch of times...lol
I reassembled everything and the only thing I did not like was the feeling of the bolts securing the front turbo oil return to the front pipe. I switched them out and I was able to get the snug feeling. Looking at the old bolts they looked like they were ready to strip.
I wanted to share that I have a special tool for break hoses loose and pulling them off. Its a needle nose pliers with a curved section creating a circle. With these you can rotate hoses to break them free. When I installed my hoses I used my aluminum welding rod trick and put some grease on the inside of the hose so I could install it easily and allow the hose to not be twisted.
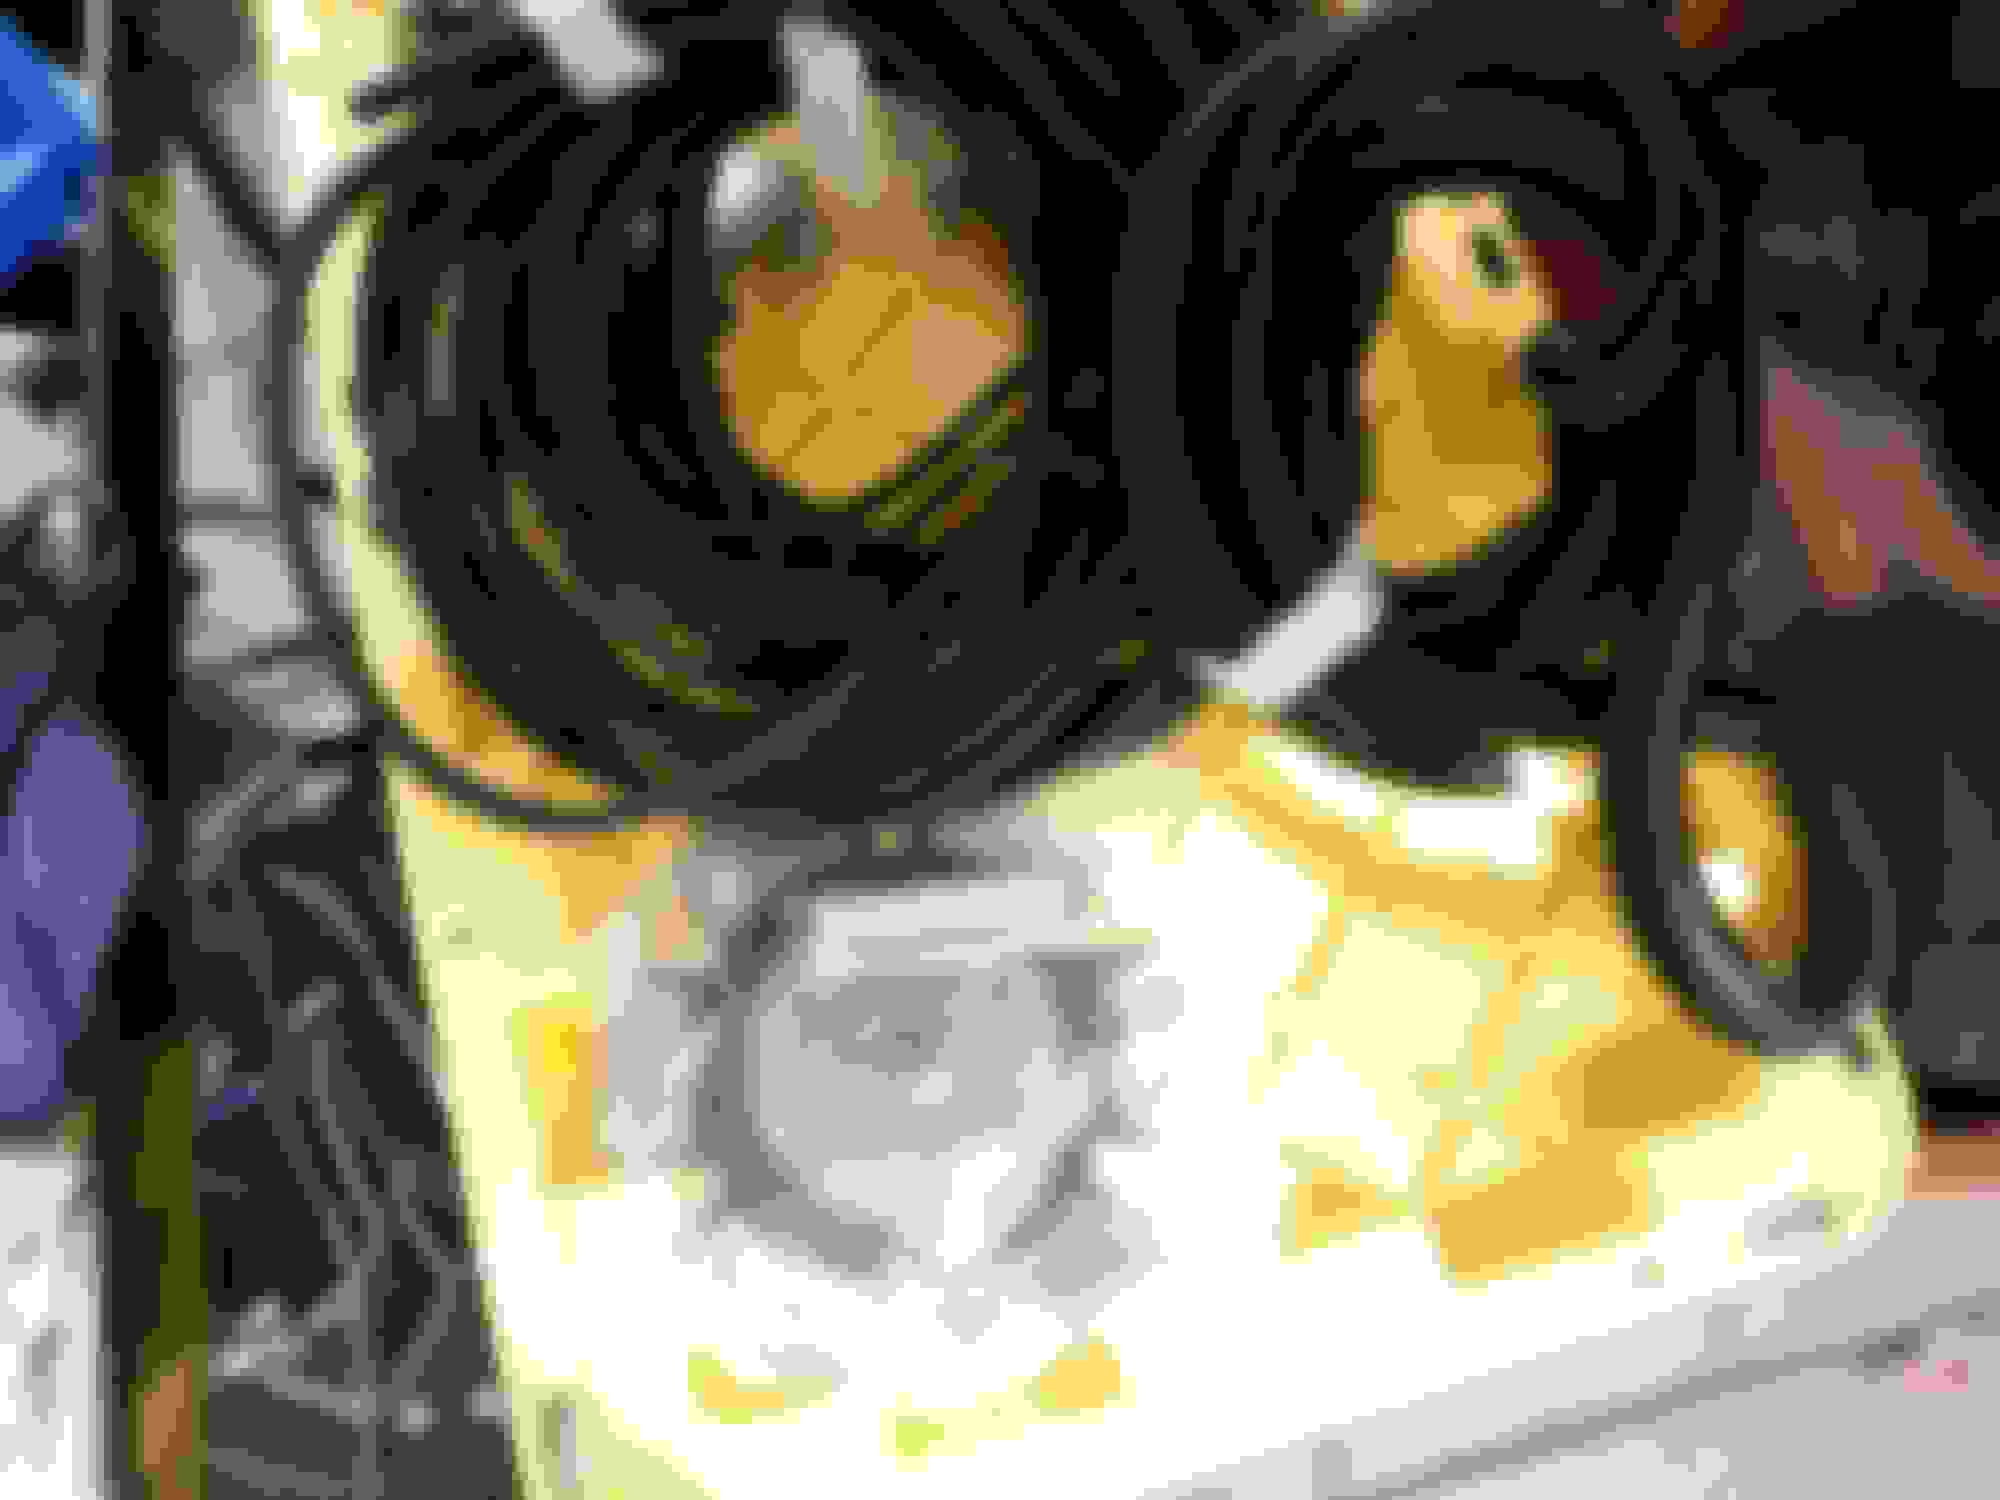
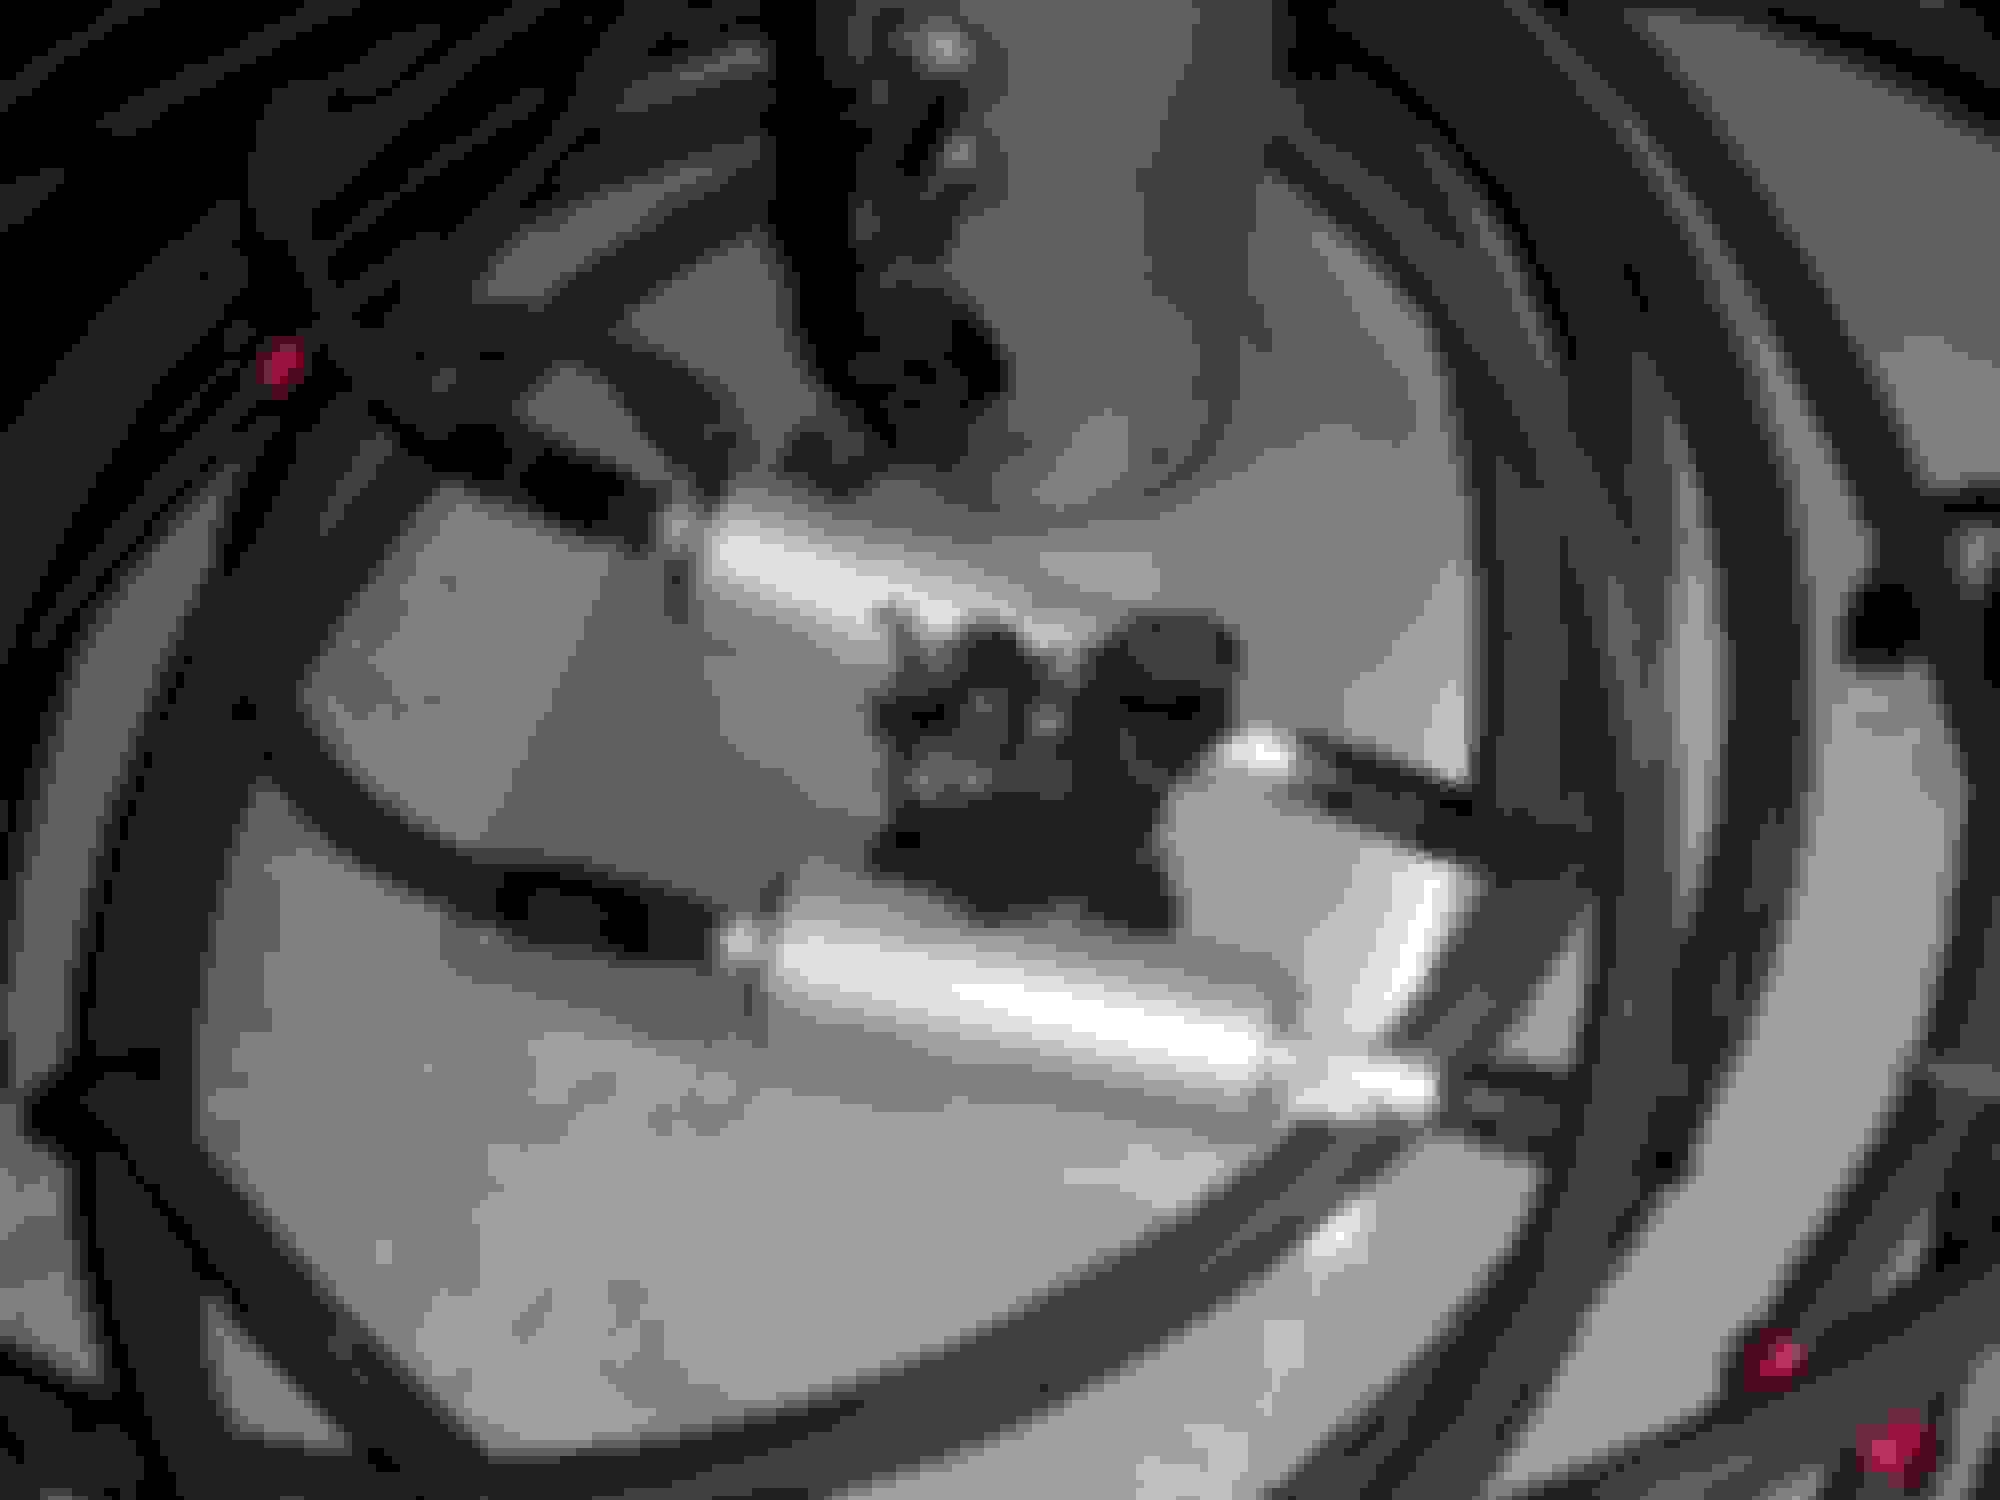
Accomplishments for today were installing the alternator and both Belts. I also assembled the 2nd turbo charge relief upper pipe which is just chilling on the 2nd turbo for now, I see the resting position is open so I guess when the cars running is uses vacuum to hold it close. And I screwed in the spark plugs into the engine to keep dirt out.
Banzai Racing stuff is so cool. The oil pedestal is dope !!
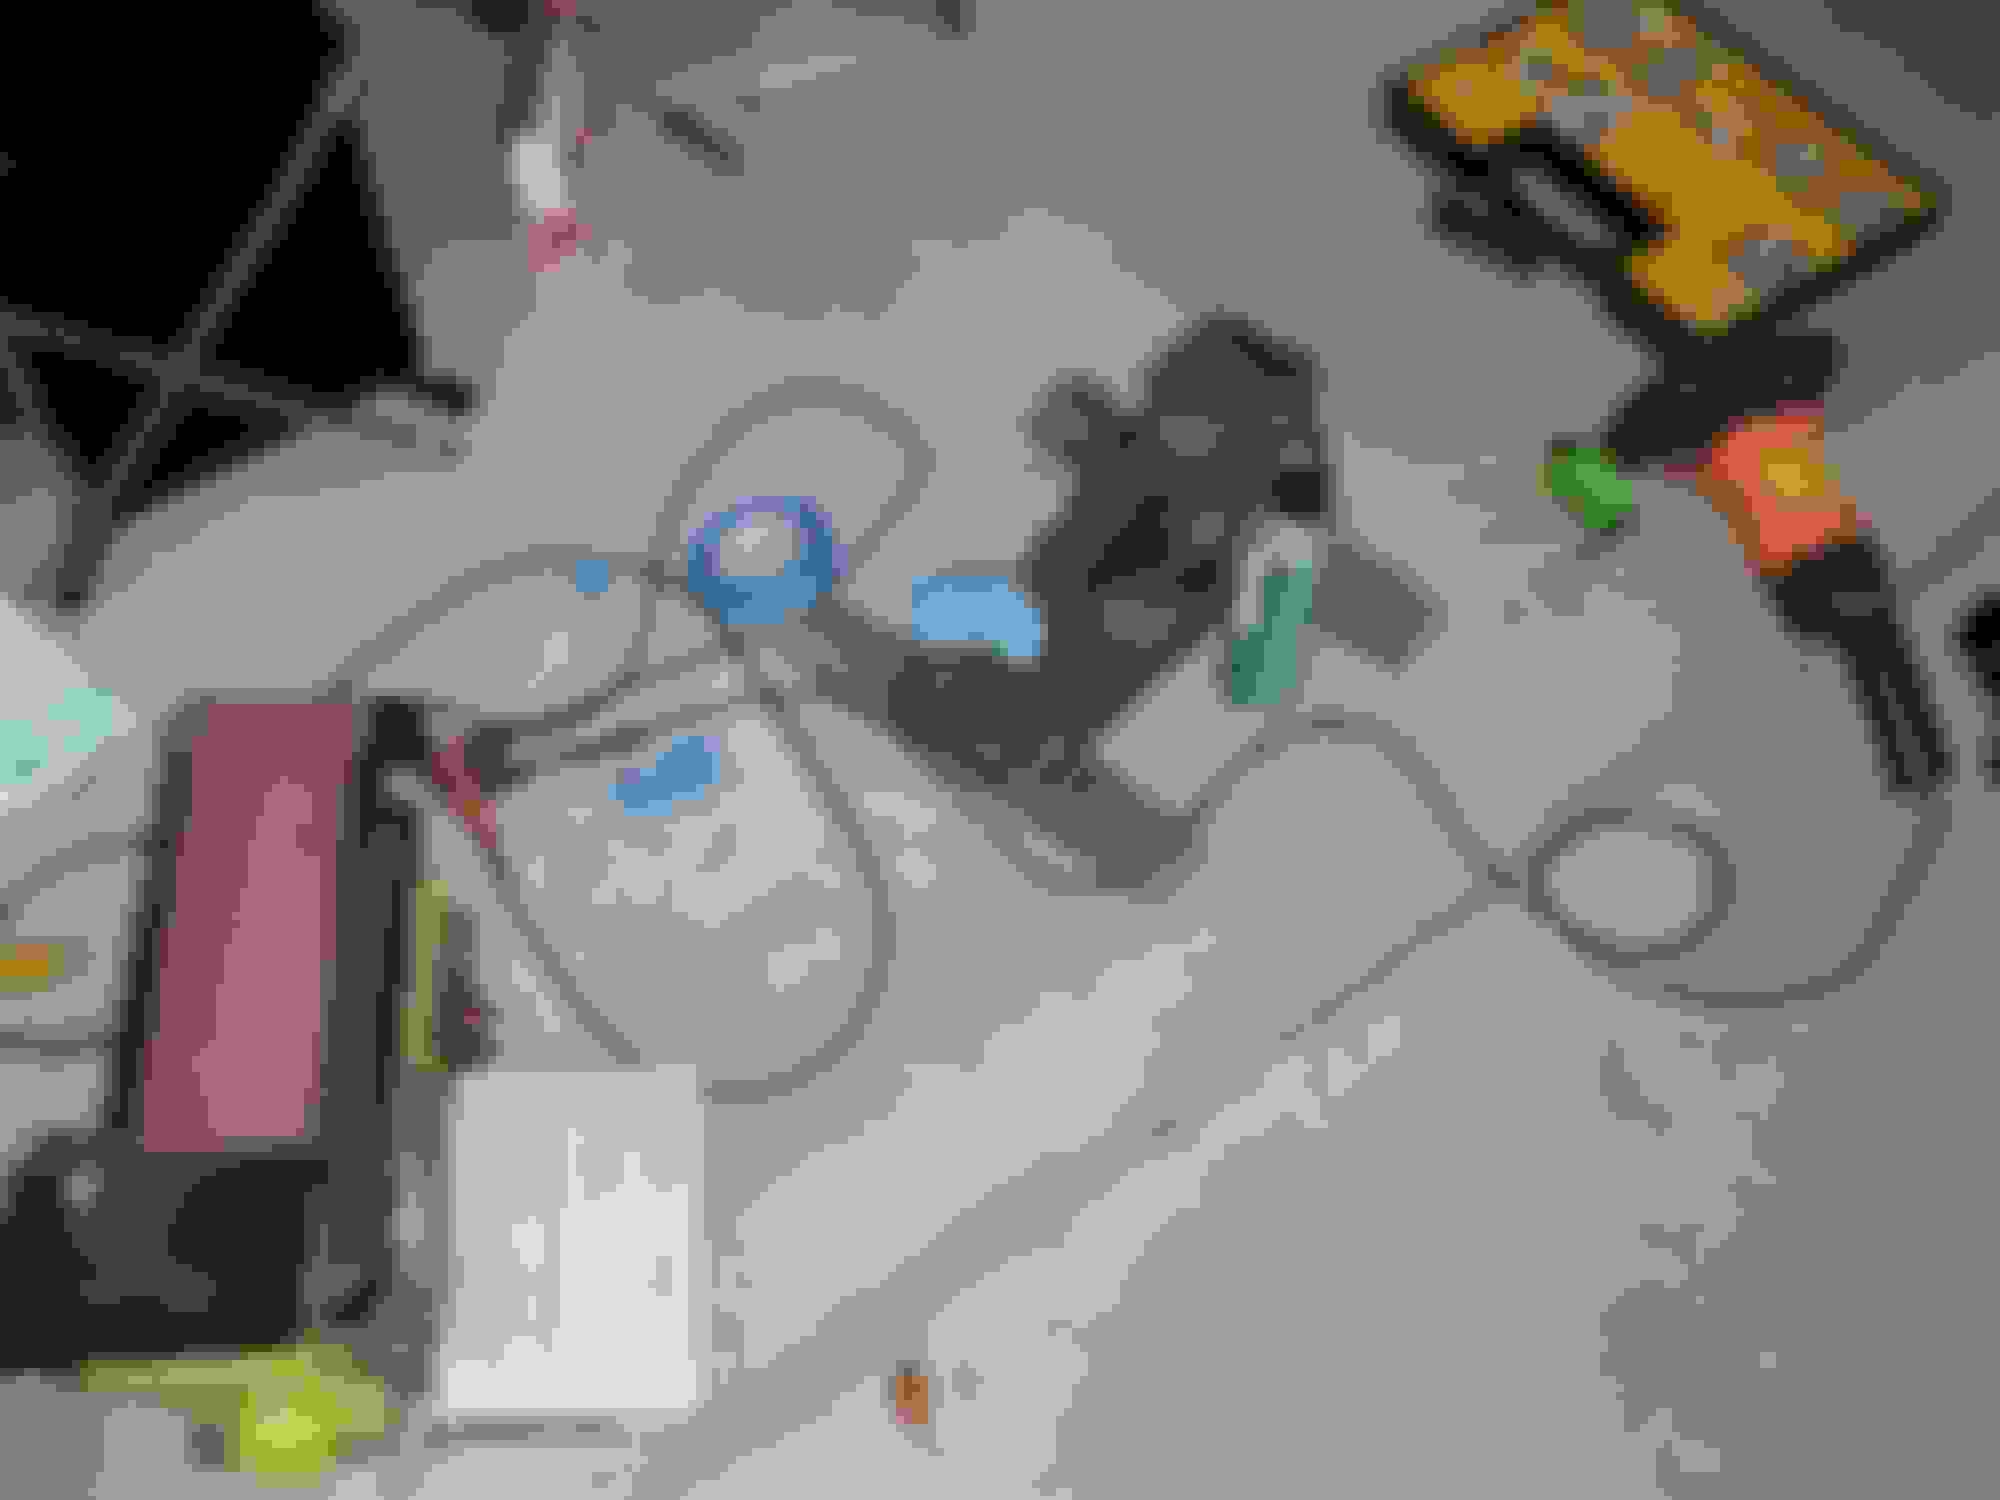
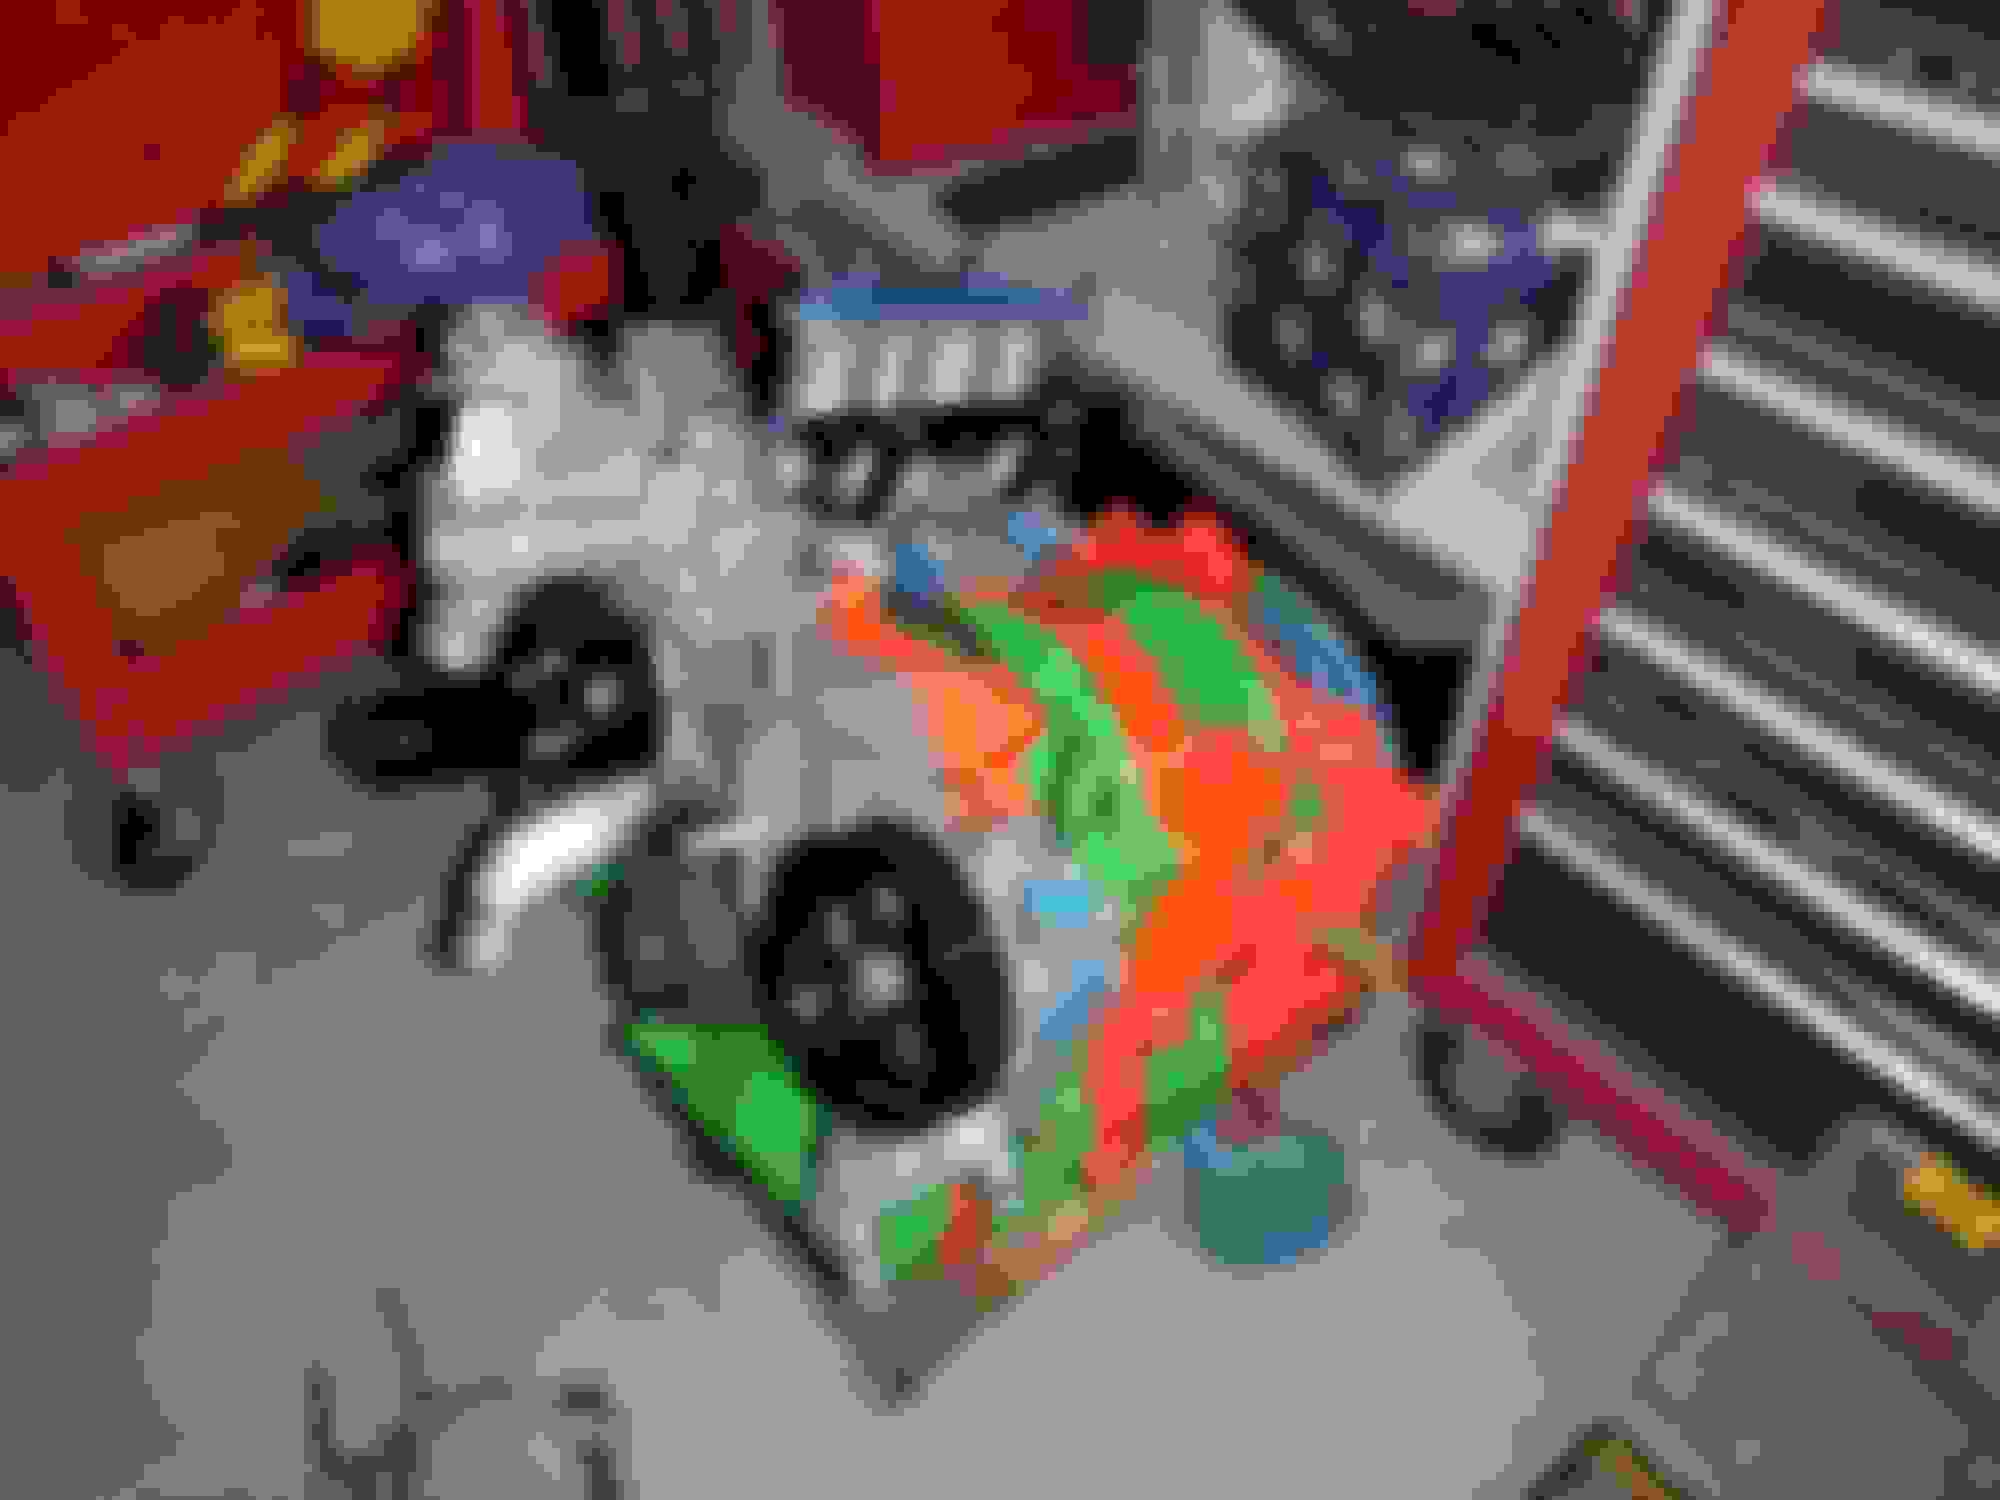
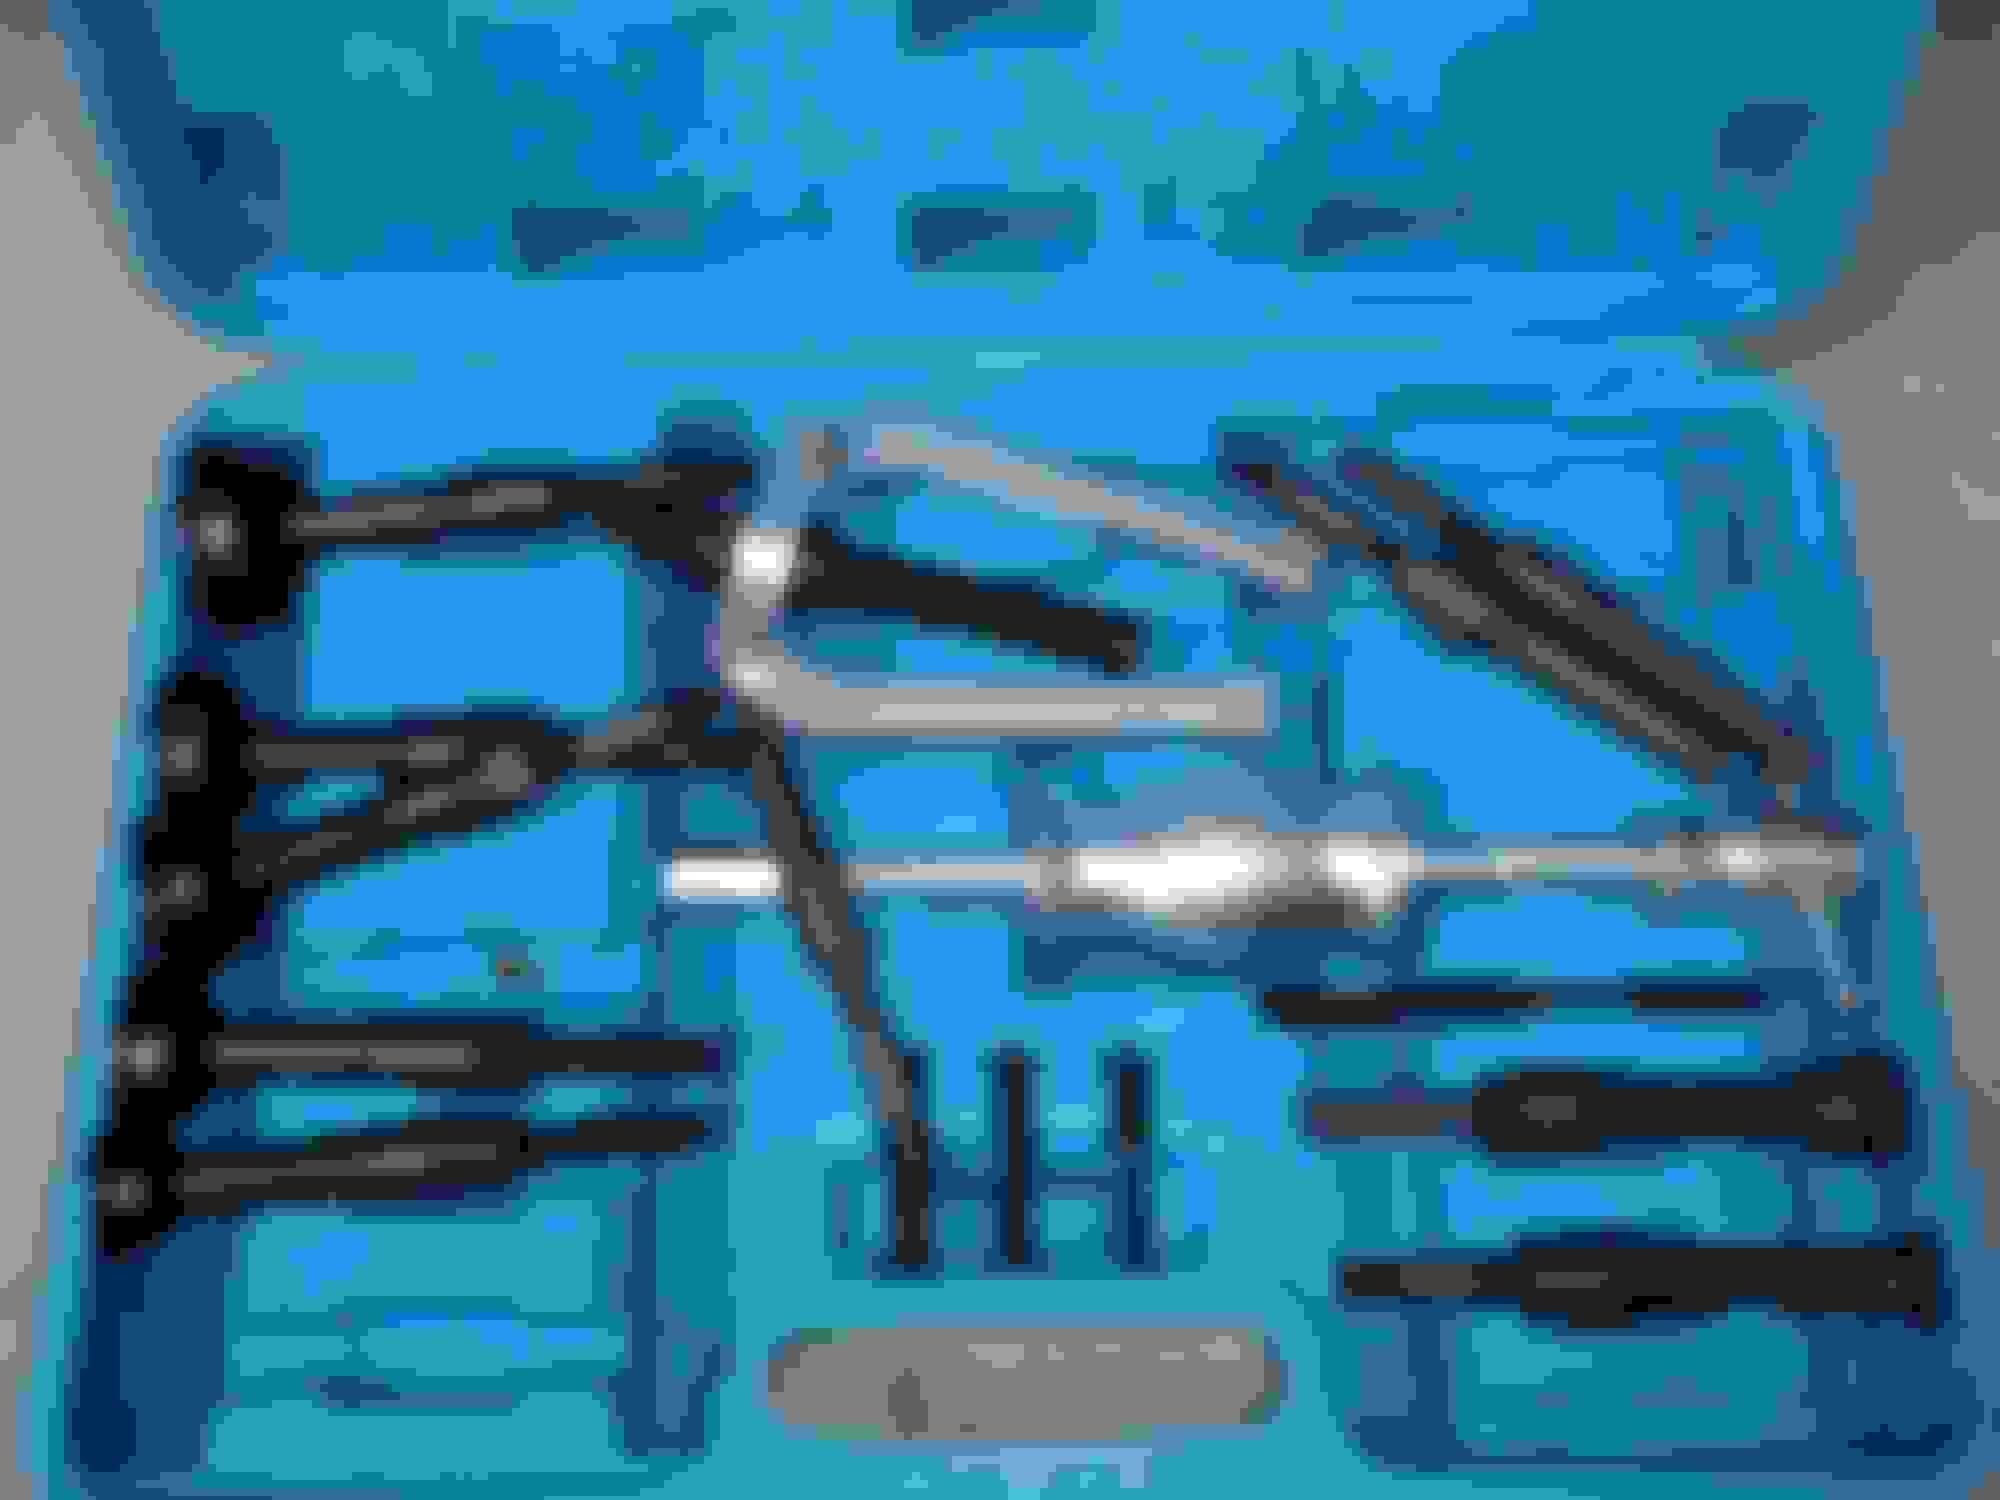
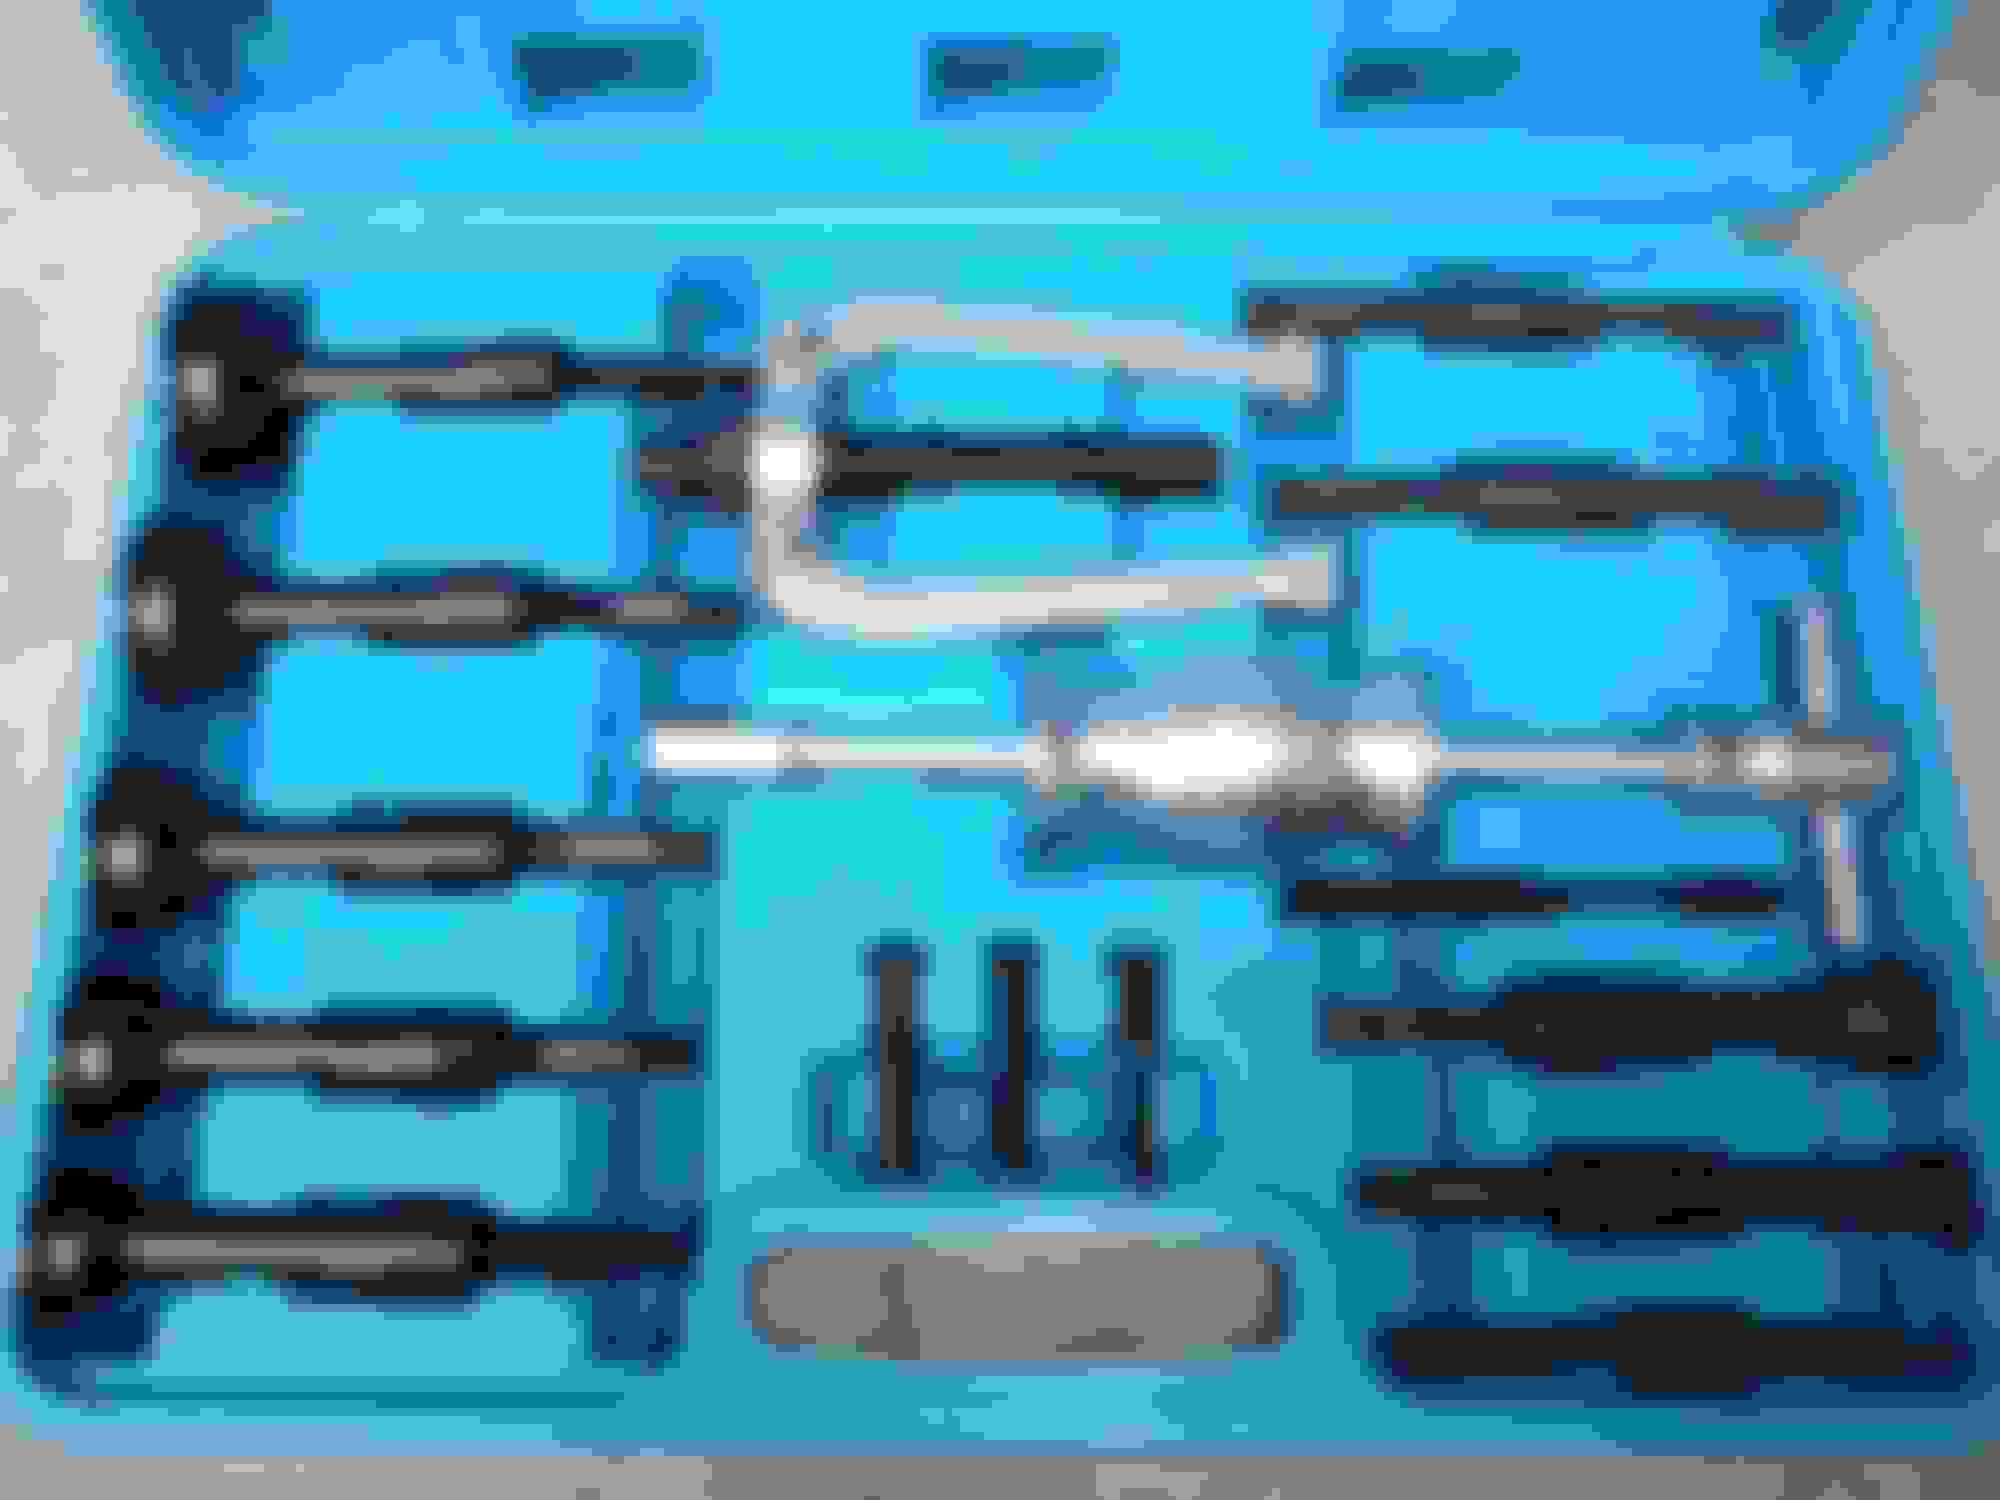
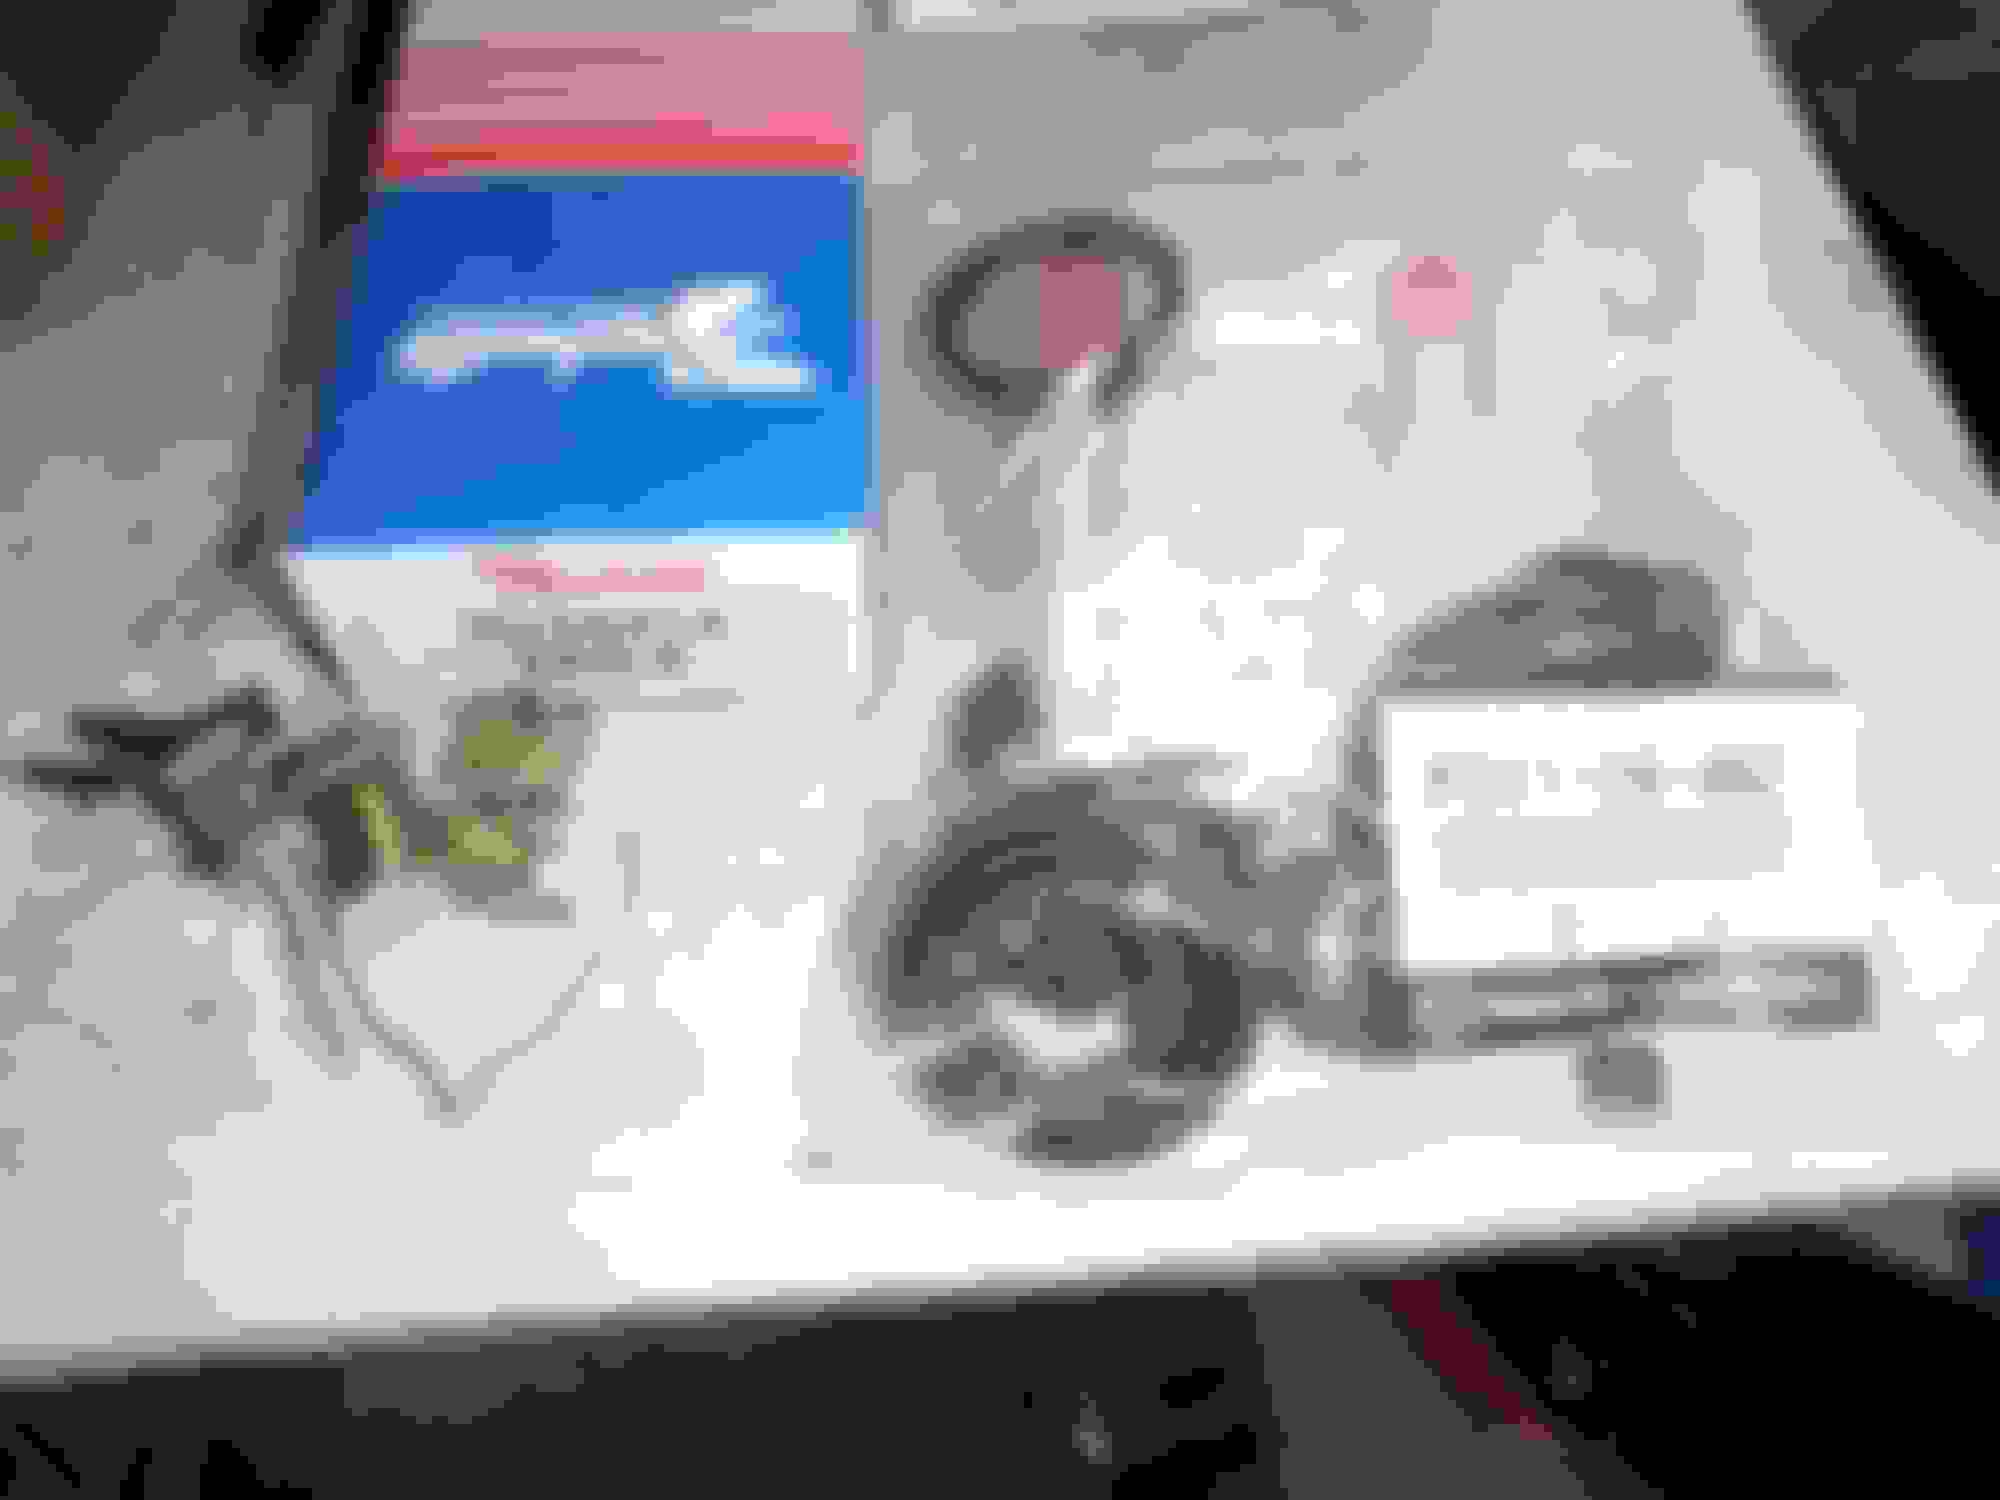
Parts that came in: Banzai stuff (oil pedestal, viton 1 way check valves, more belts). Misc 6AN to 5/16 barb fuel fittings, Hi Performance Store FD3S silicone hose kit and my Pilot bearing removal tool kit.
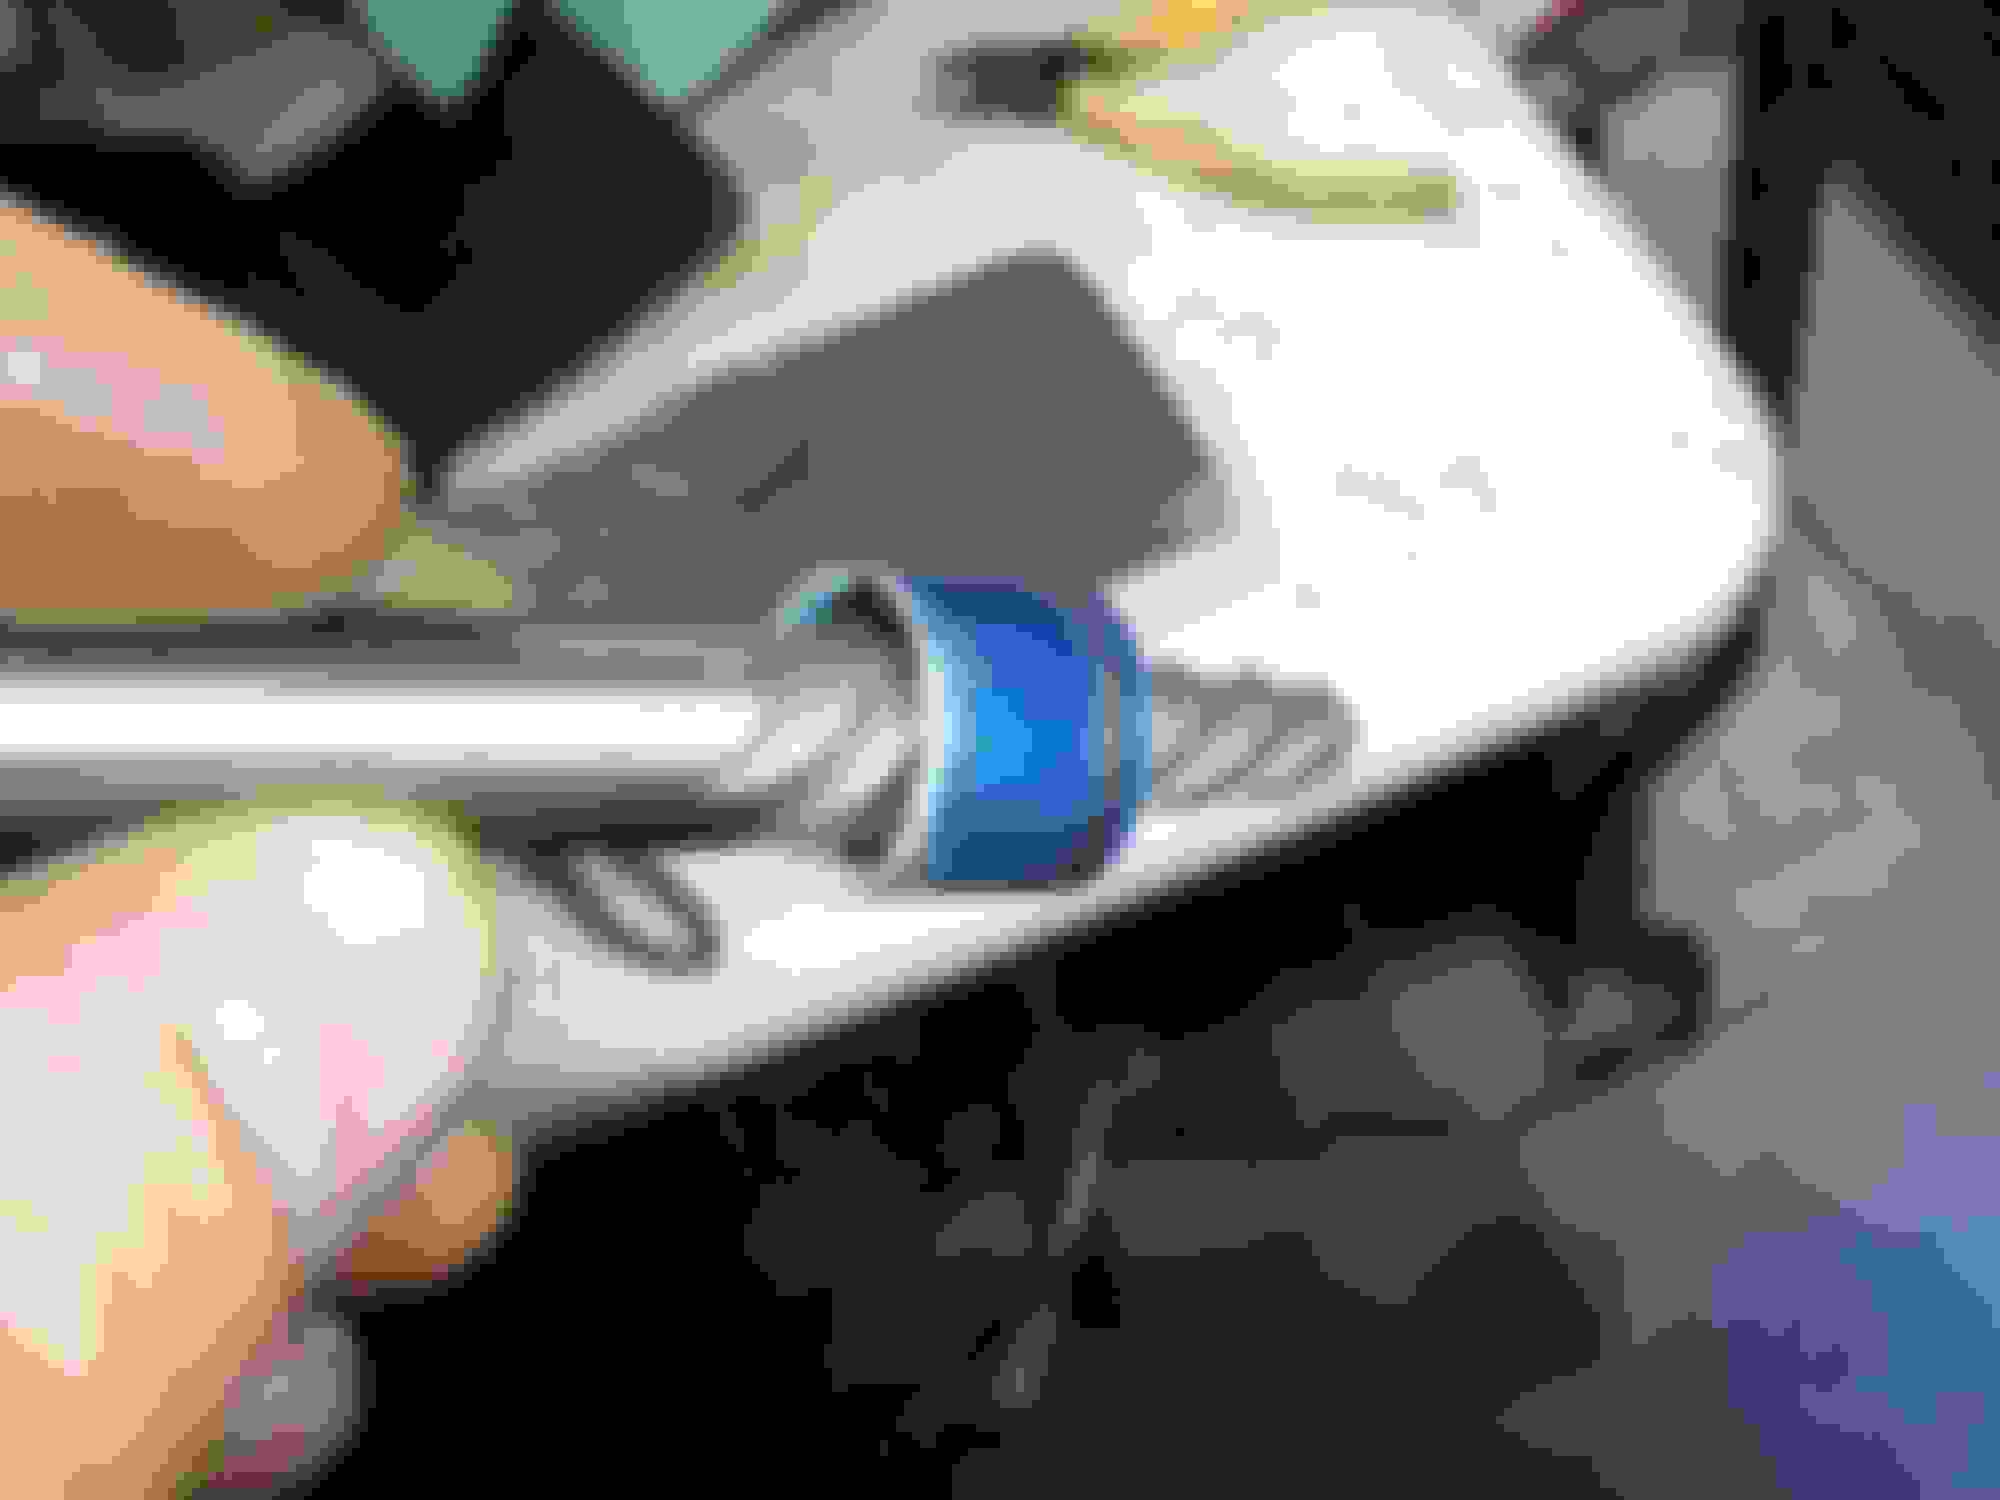
I tried to fit the 90 degree 6an to 5/16 barb on the rail and it was no bueno. It was hitting the front water housing assembly. I ordered a 150 degree 6AN F2F and a 6AN M to 5/16 barb for this. If that does not work I also ordered a tight radius piece that's like 3 weeks out from China on Ebay (actually my first choice - less connections to leak) On the end I put a straight 5/16 barb but took it back off in favor of a 45 degree 6AN to 5/16 barb that I ordered today as well a bunch of other misc 6AN fittings. So Fuel still in progress. I cleaned an AC intermediate harness and stuck it back on the AC pump. I plugged in the PS pump connector and noticed the wire insulation coming off so I covered it with some black RTV.
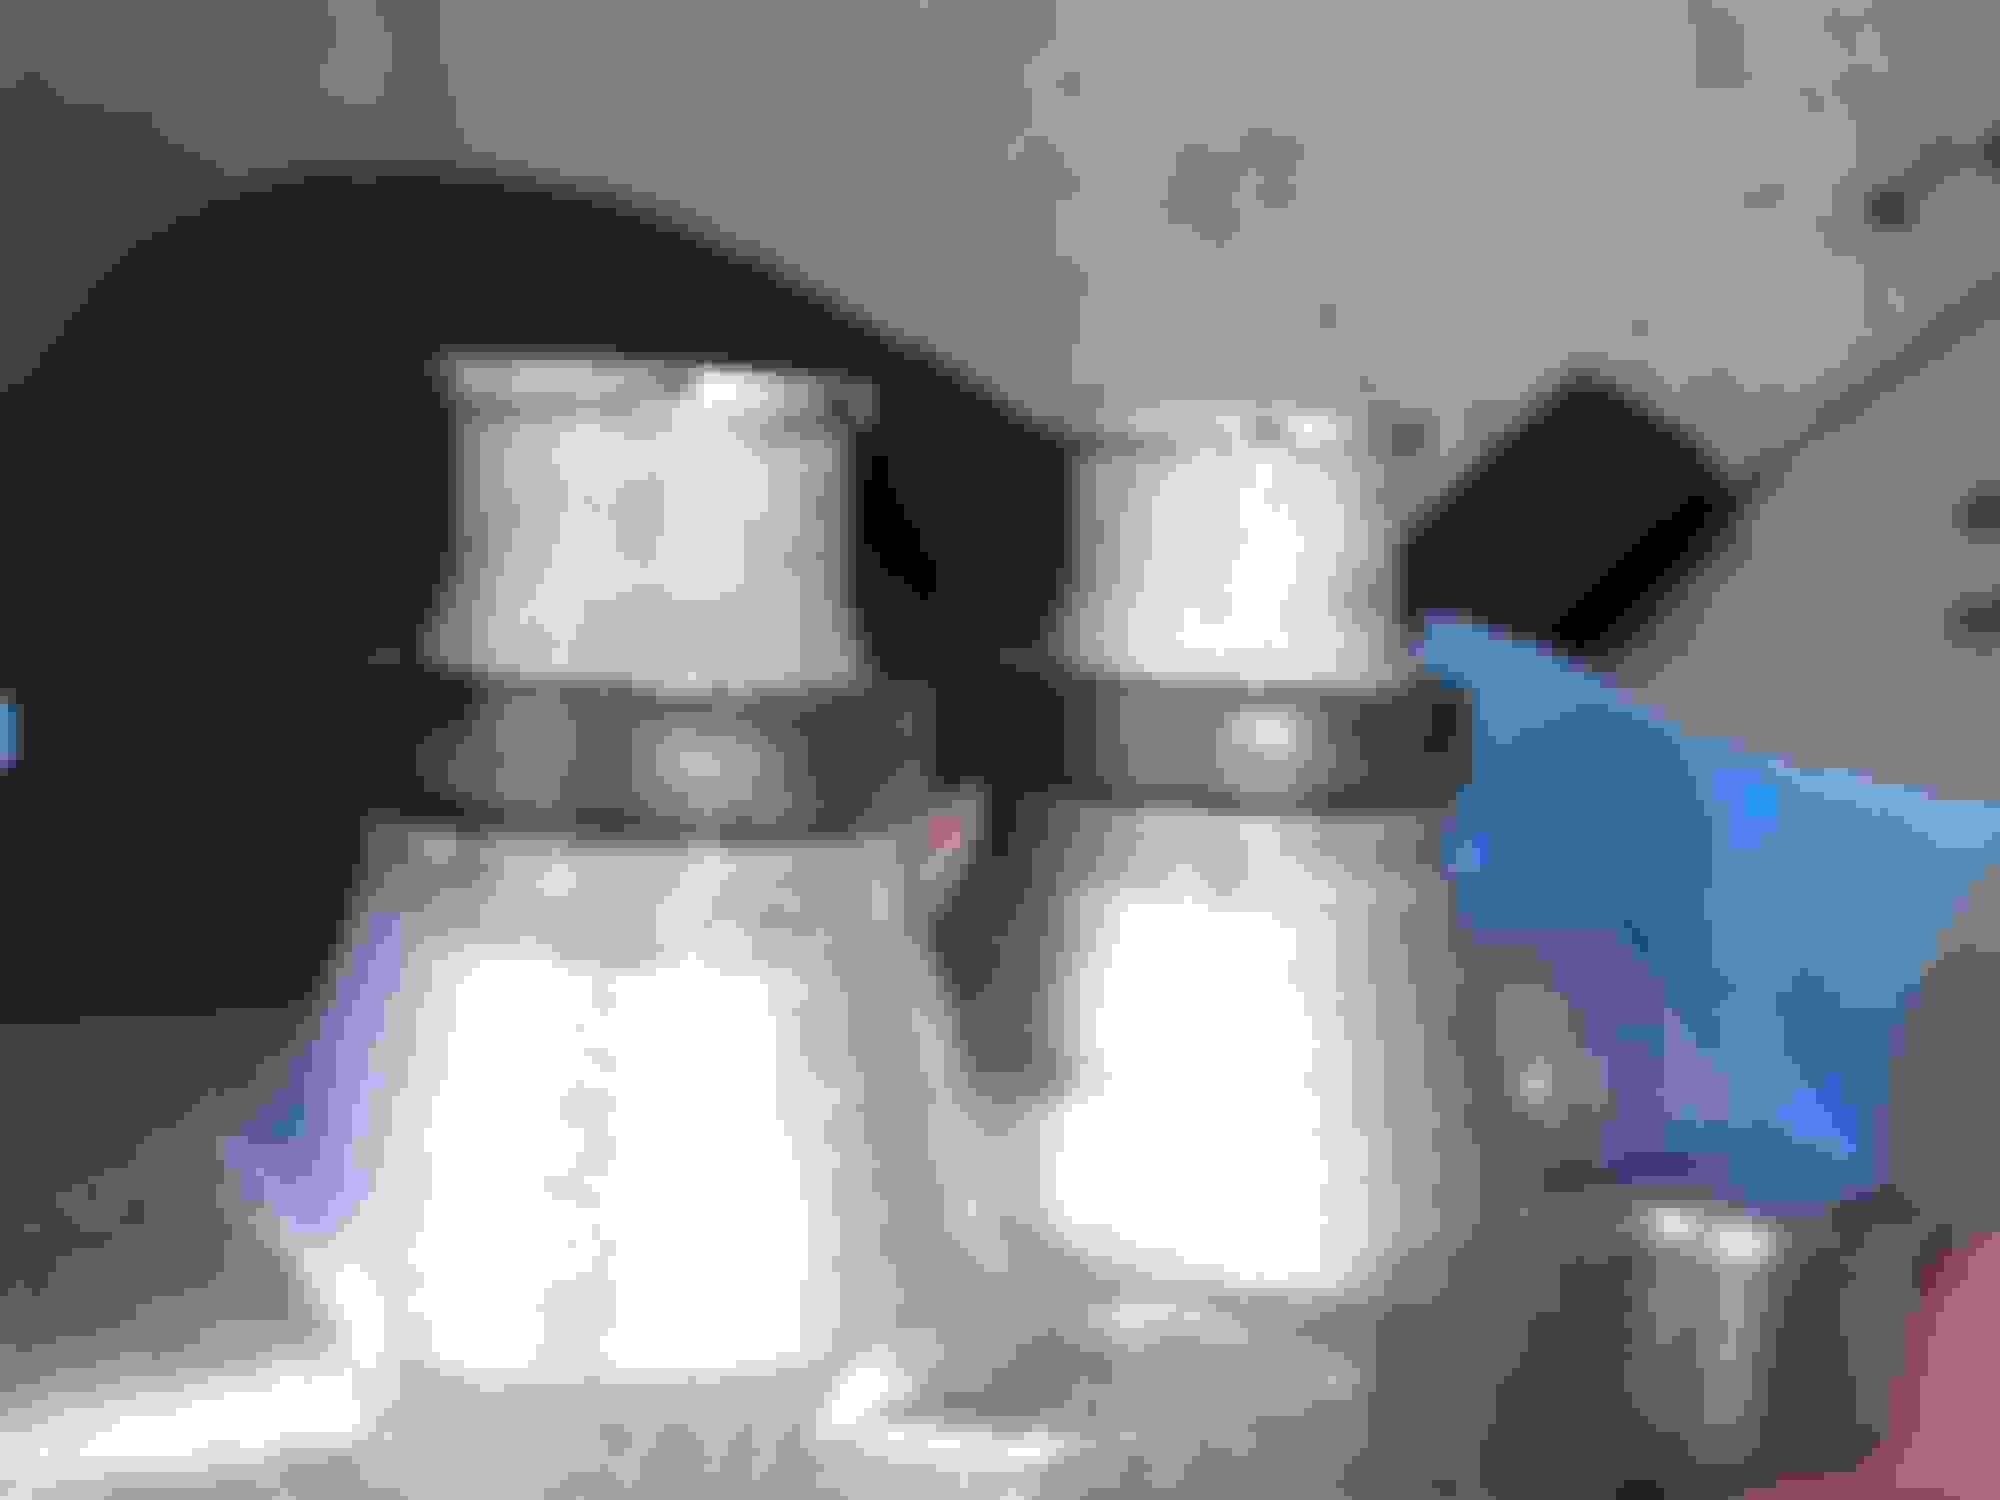
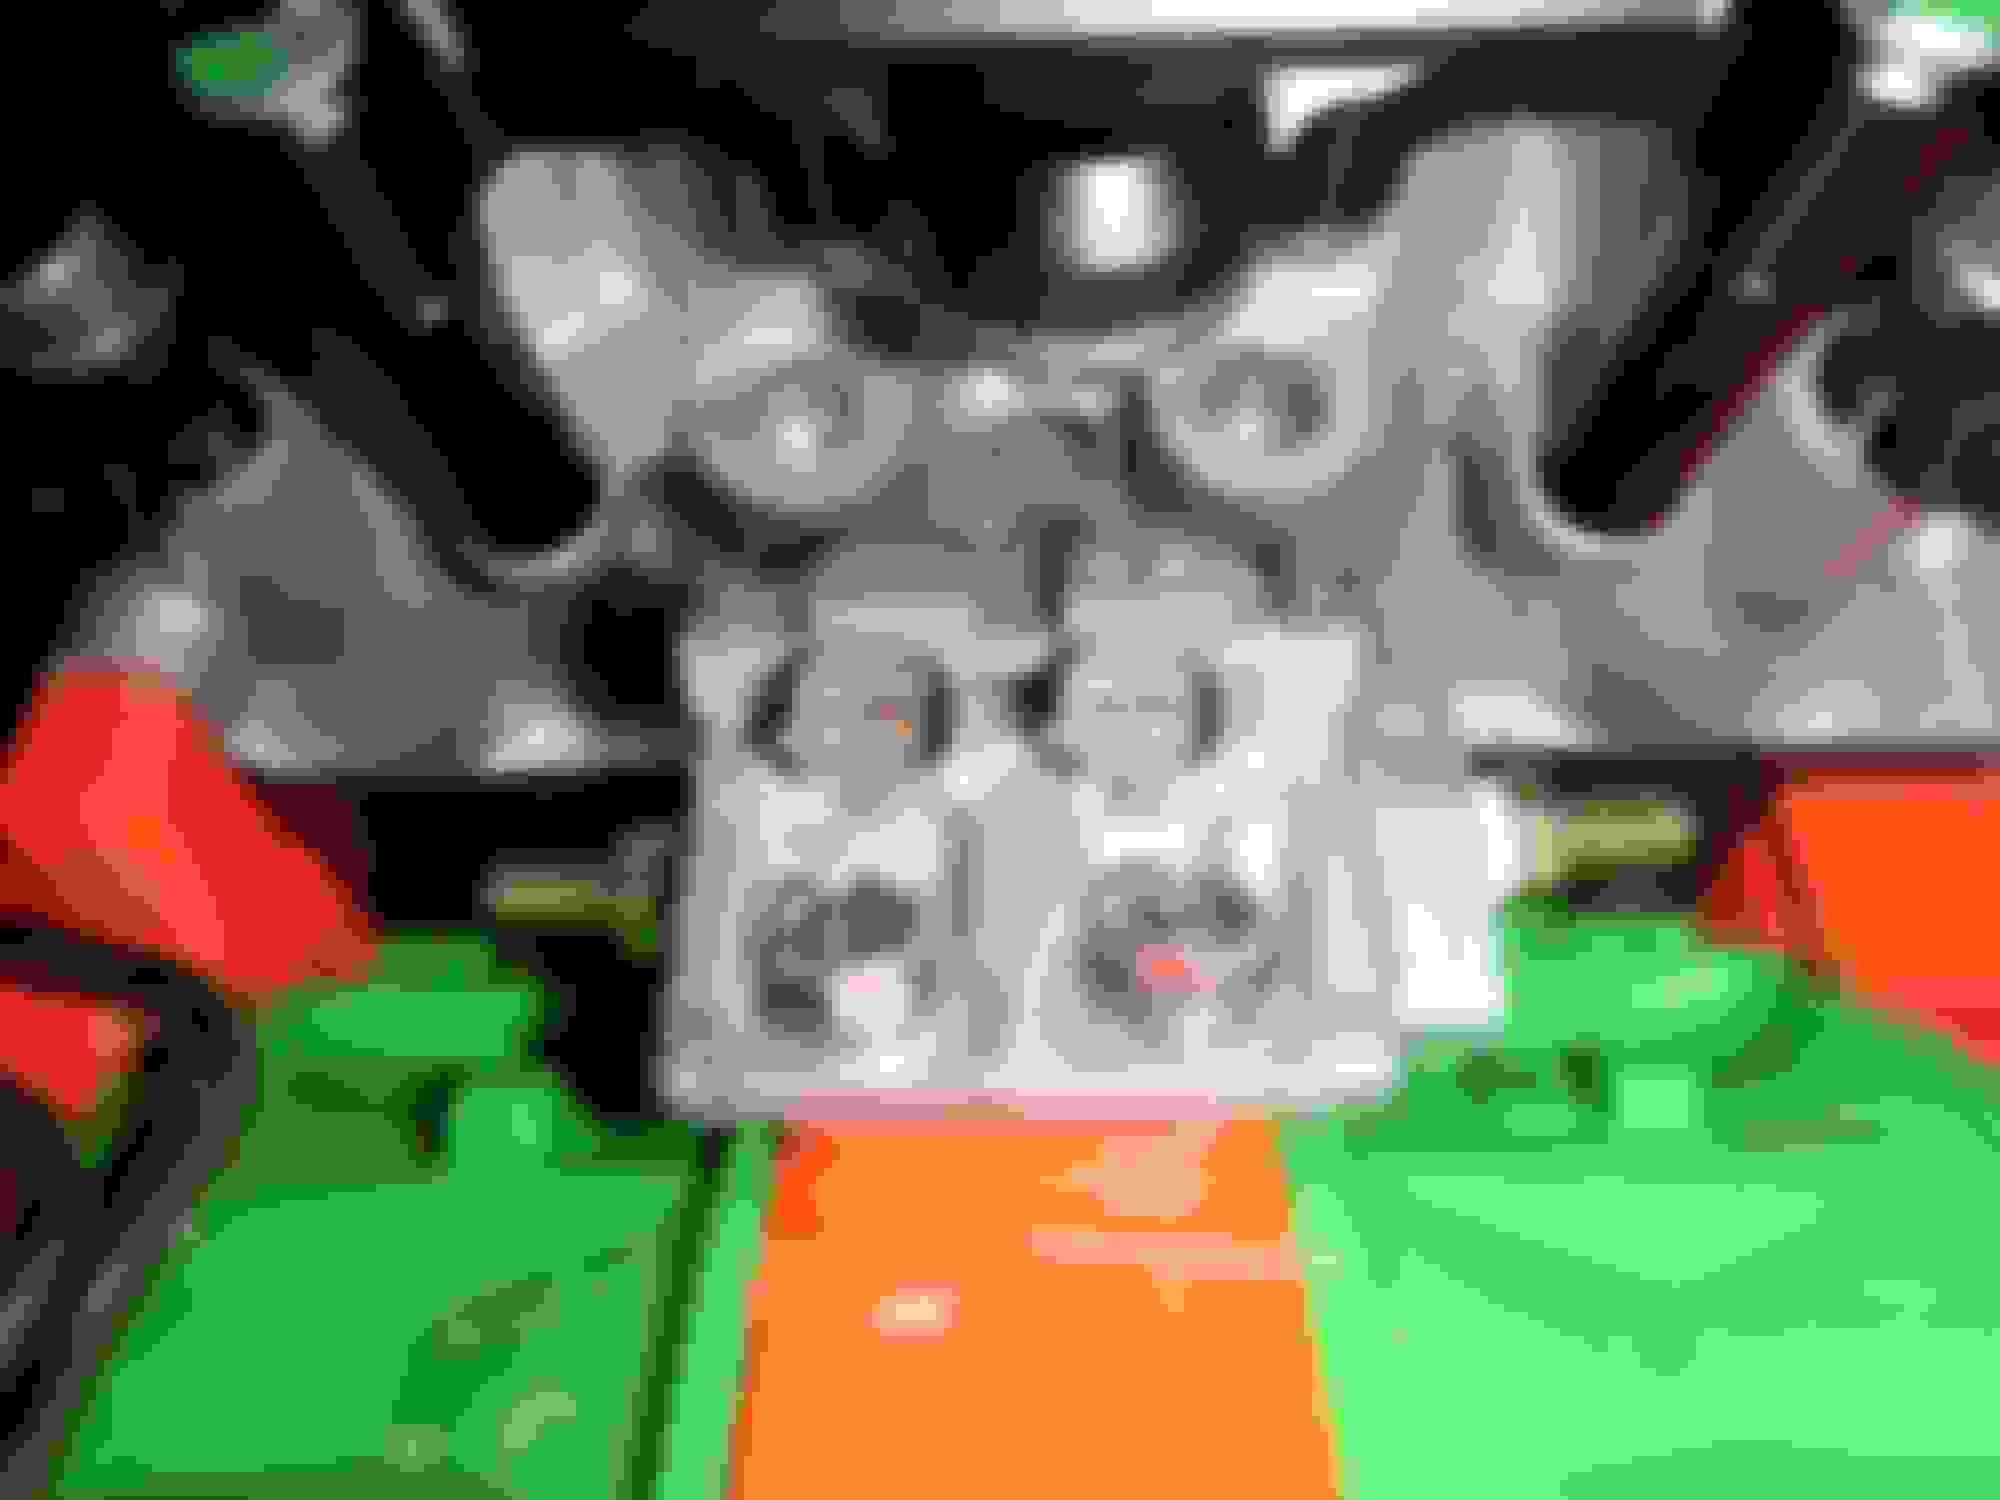
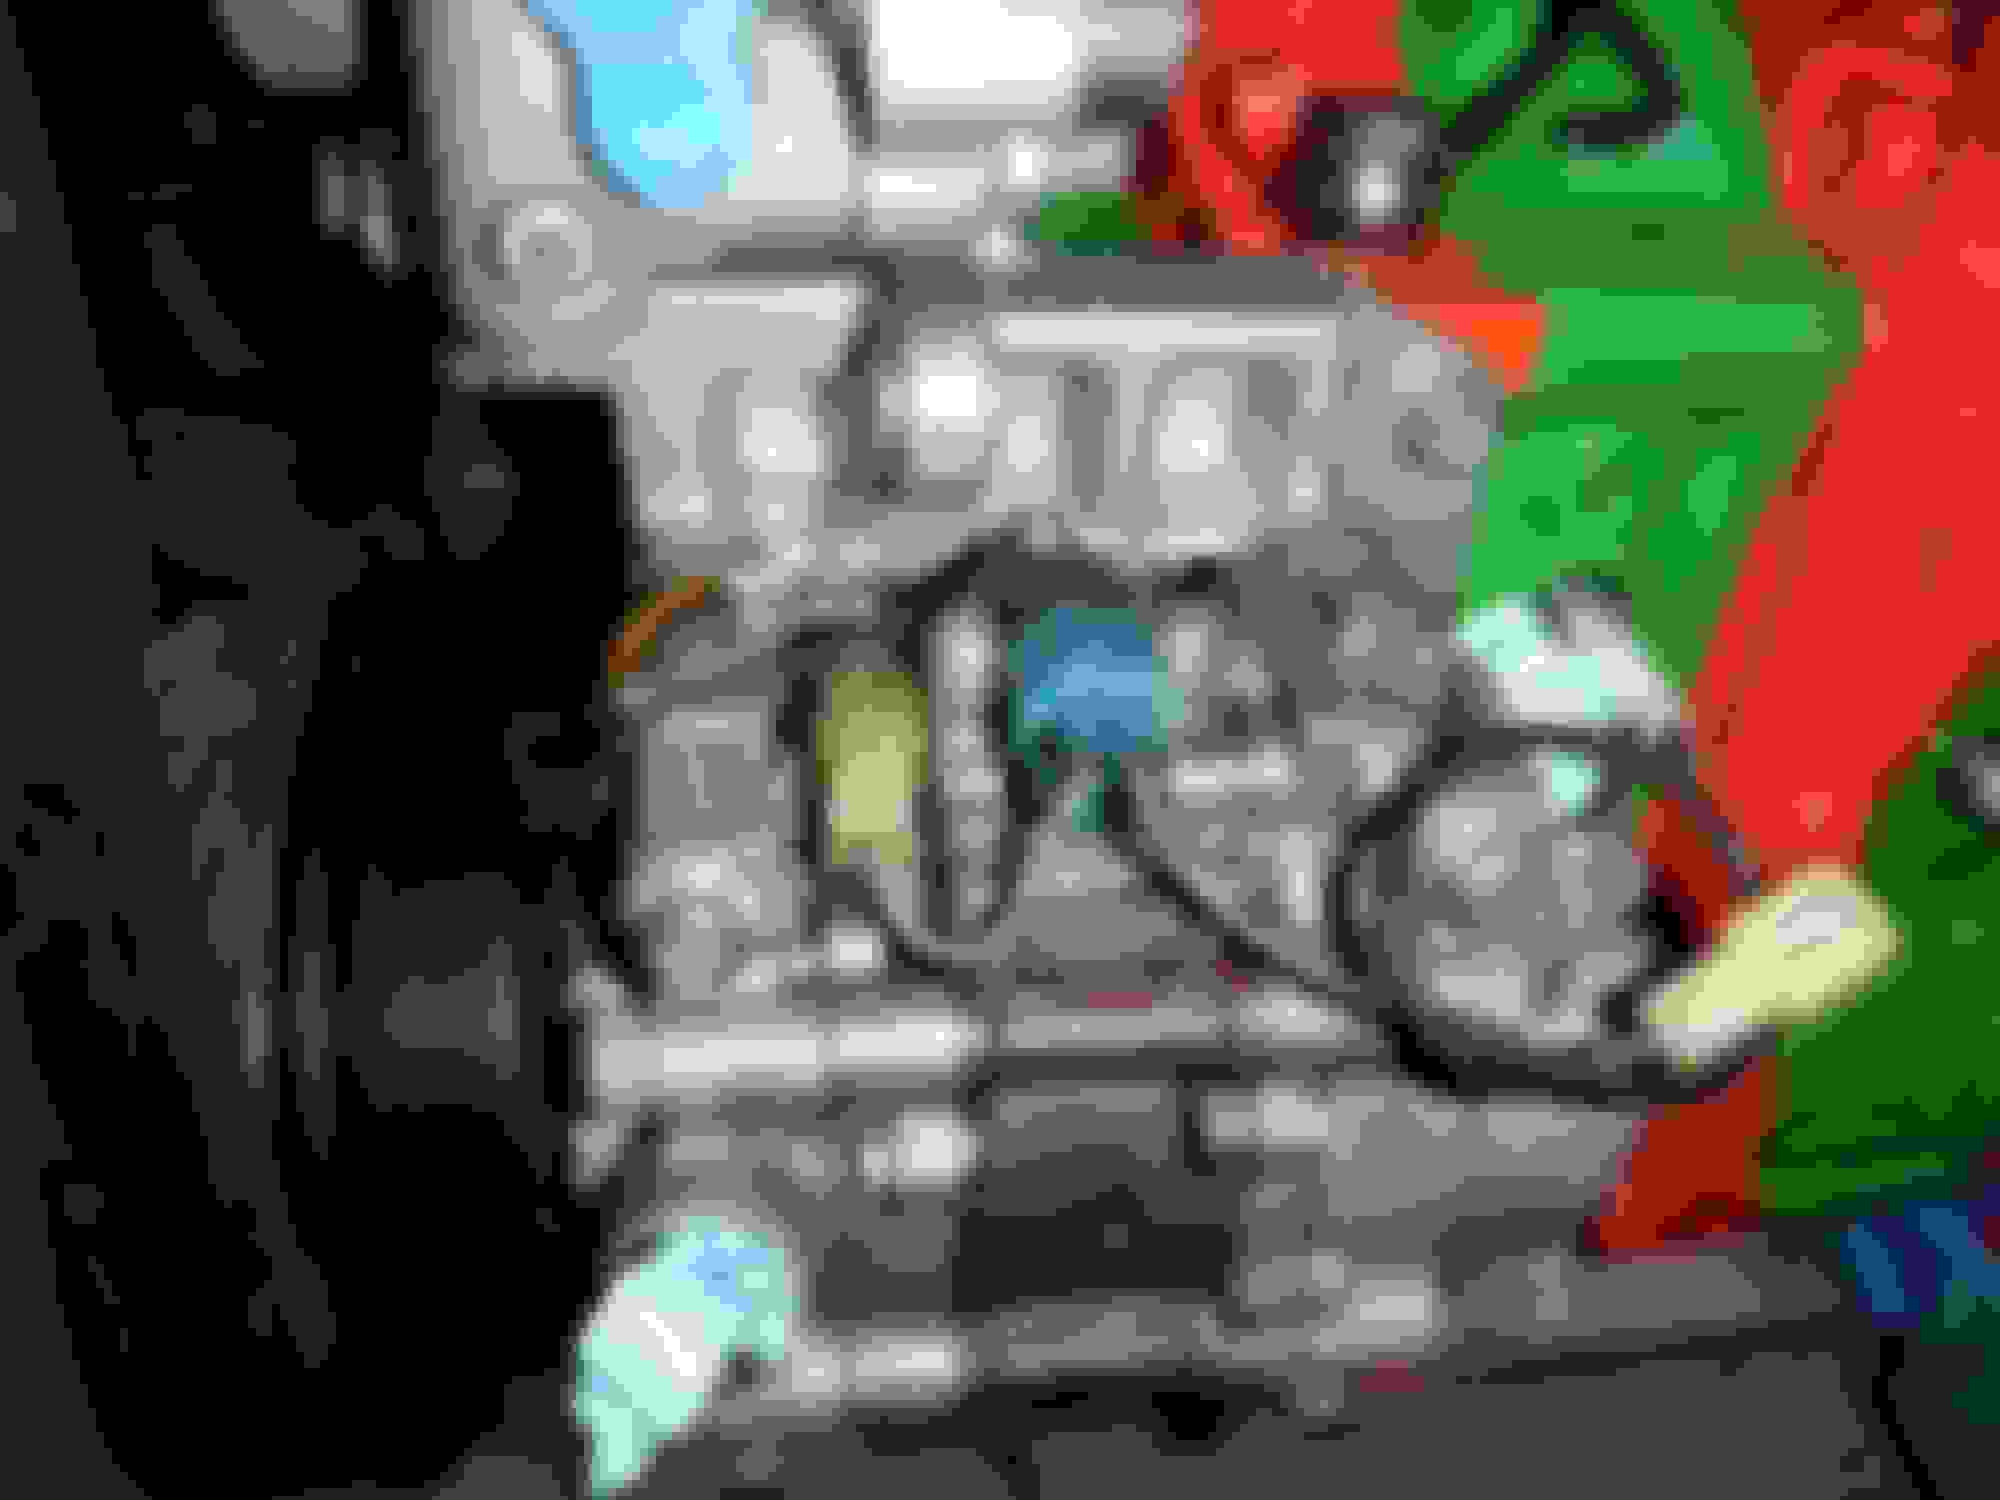
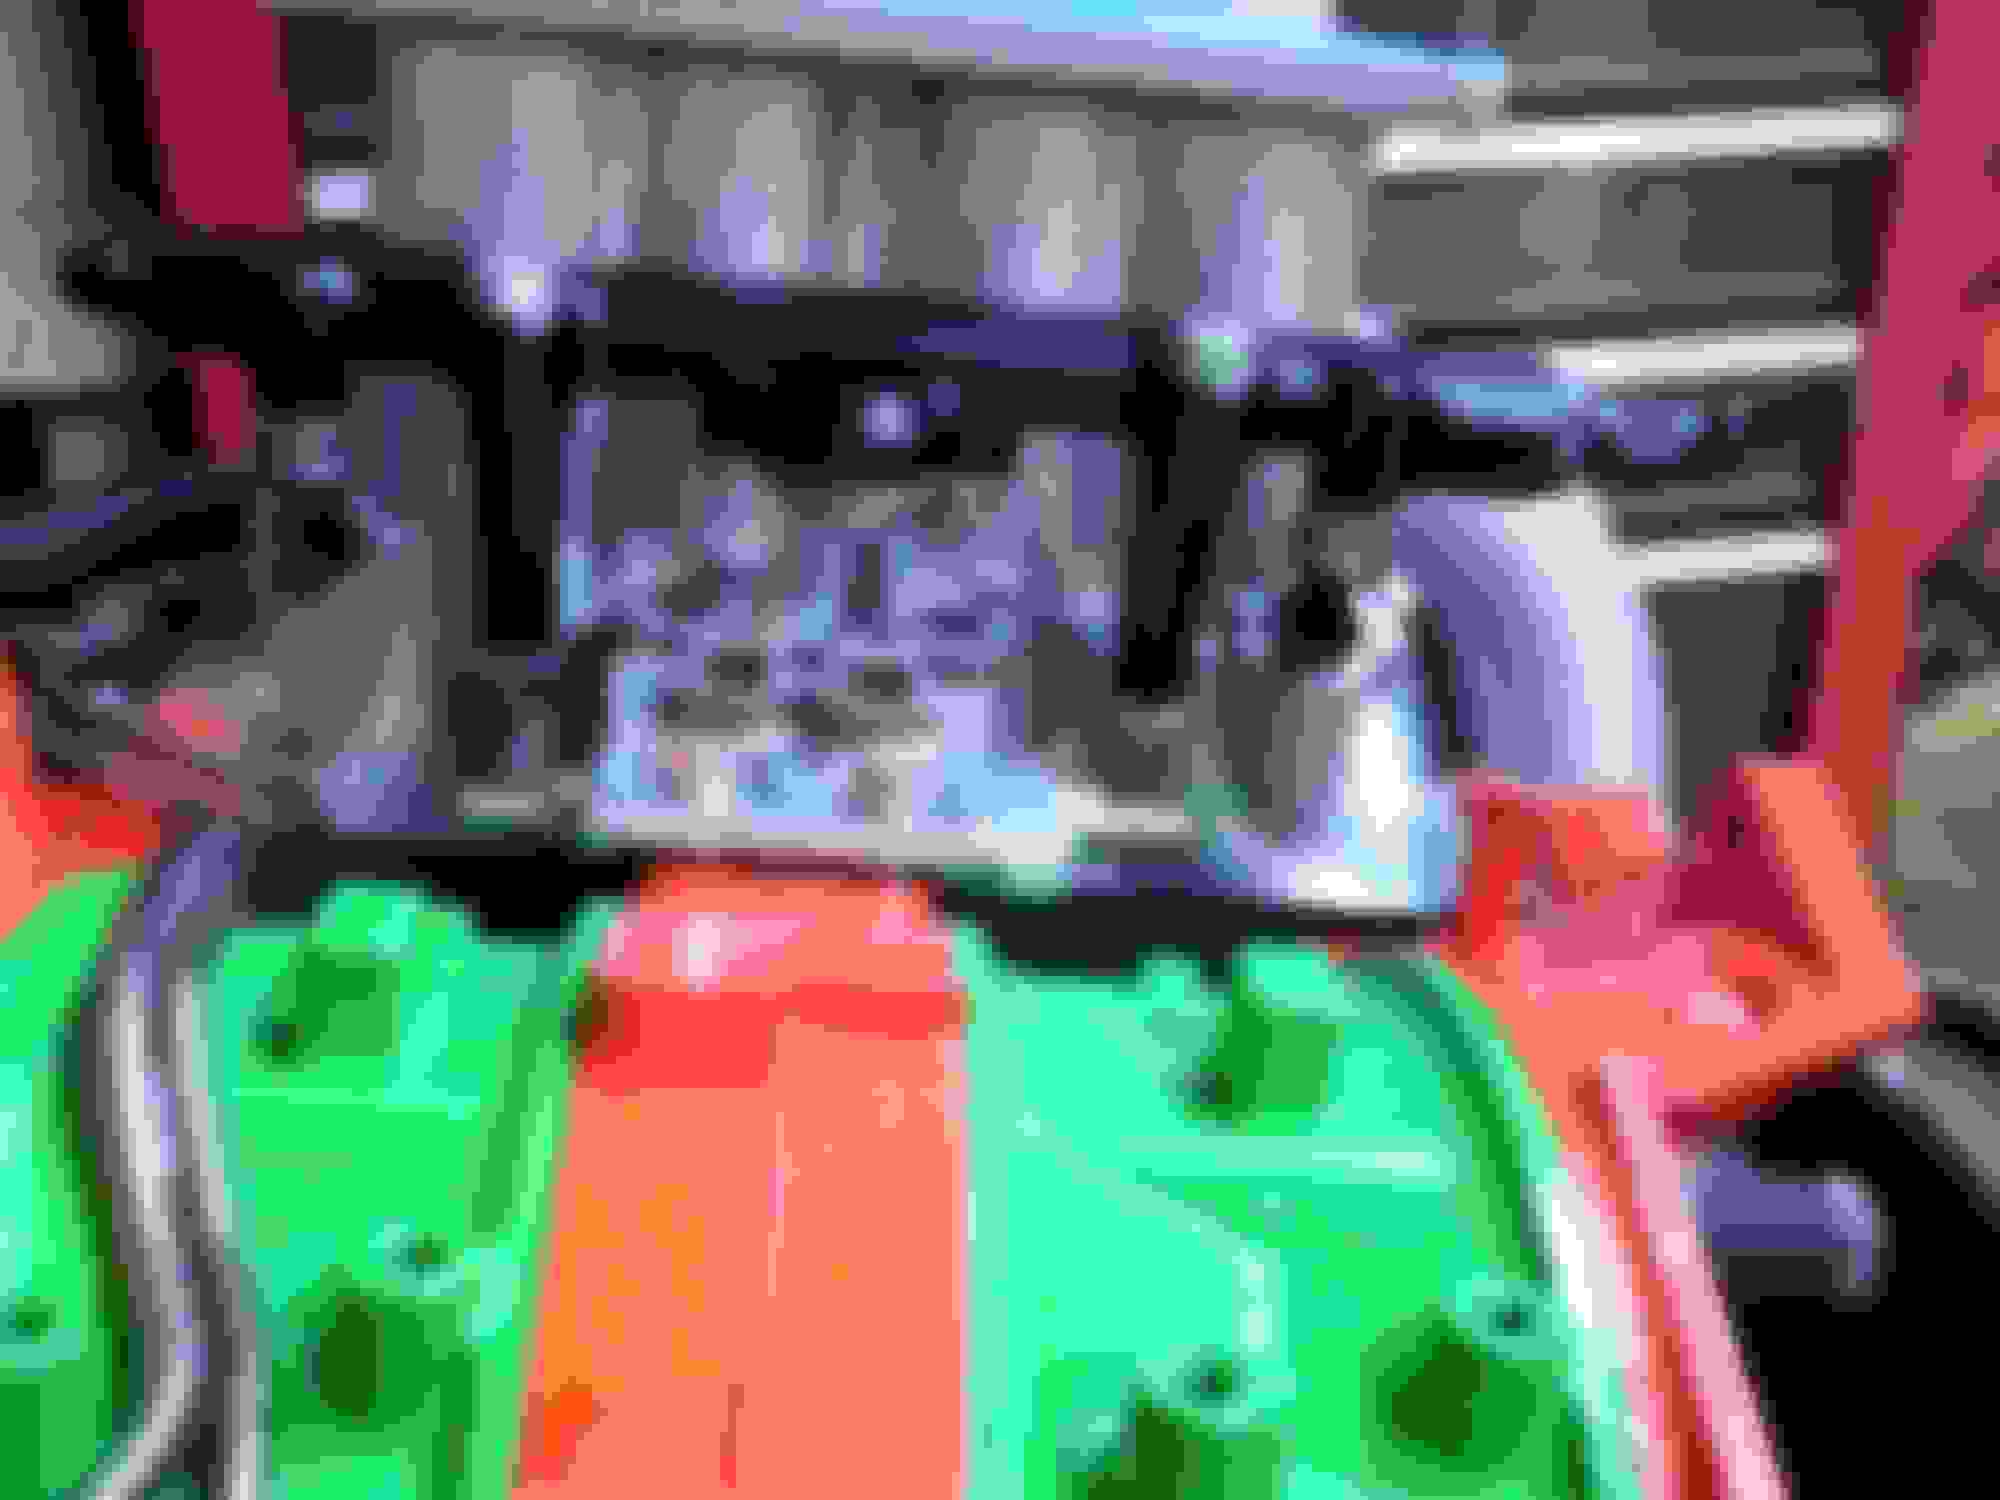
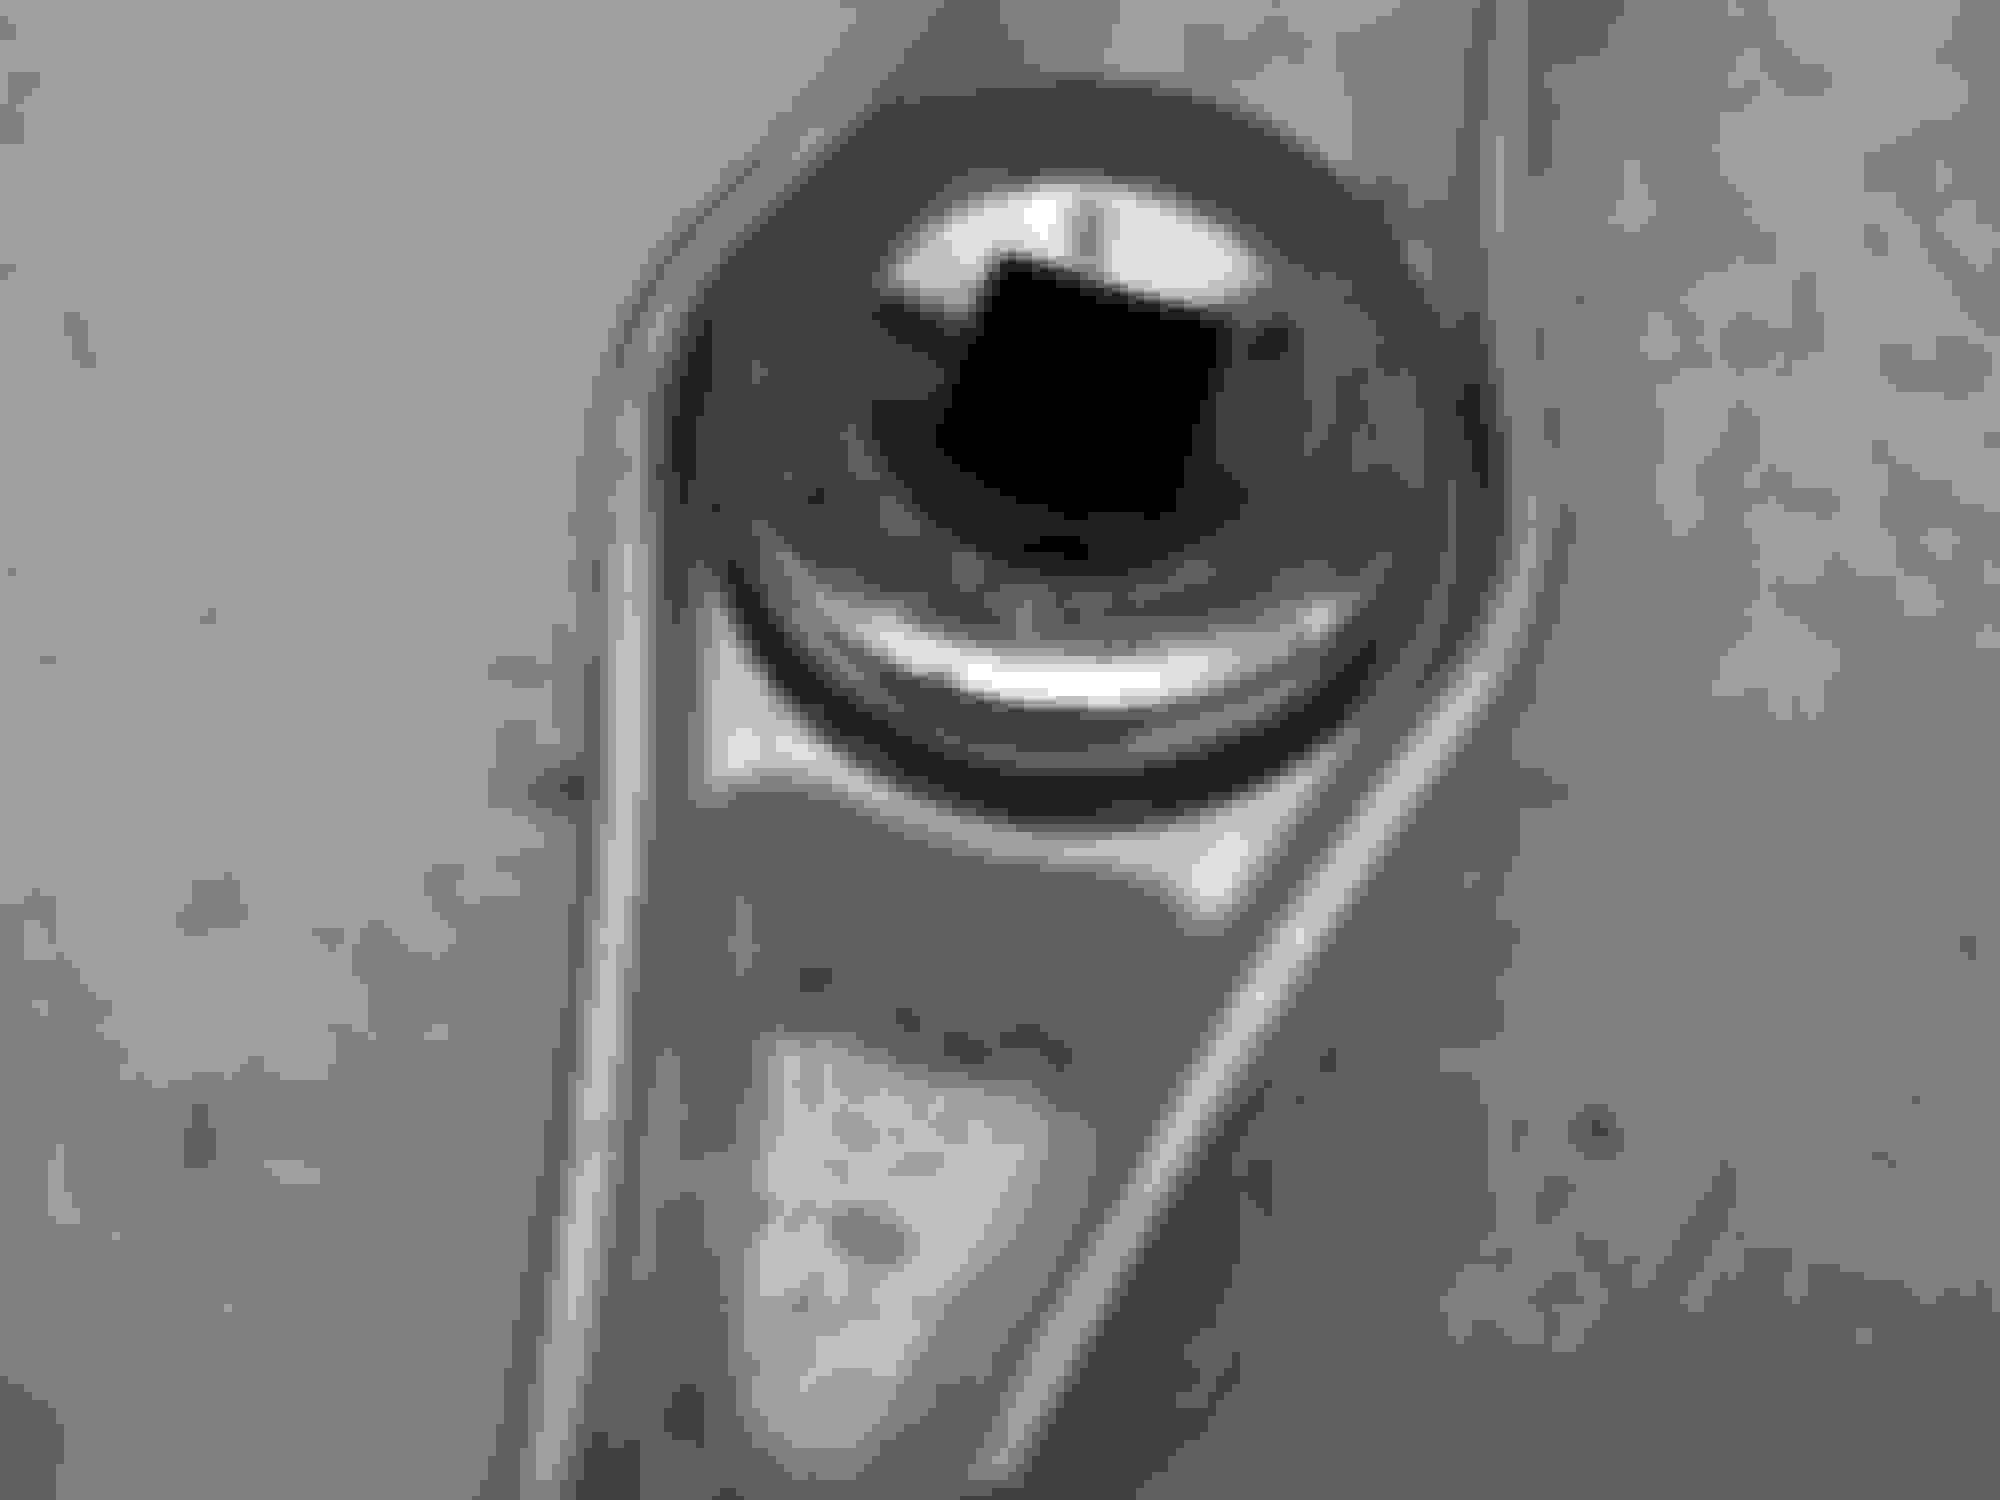
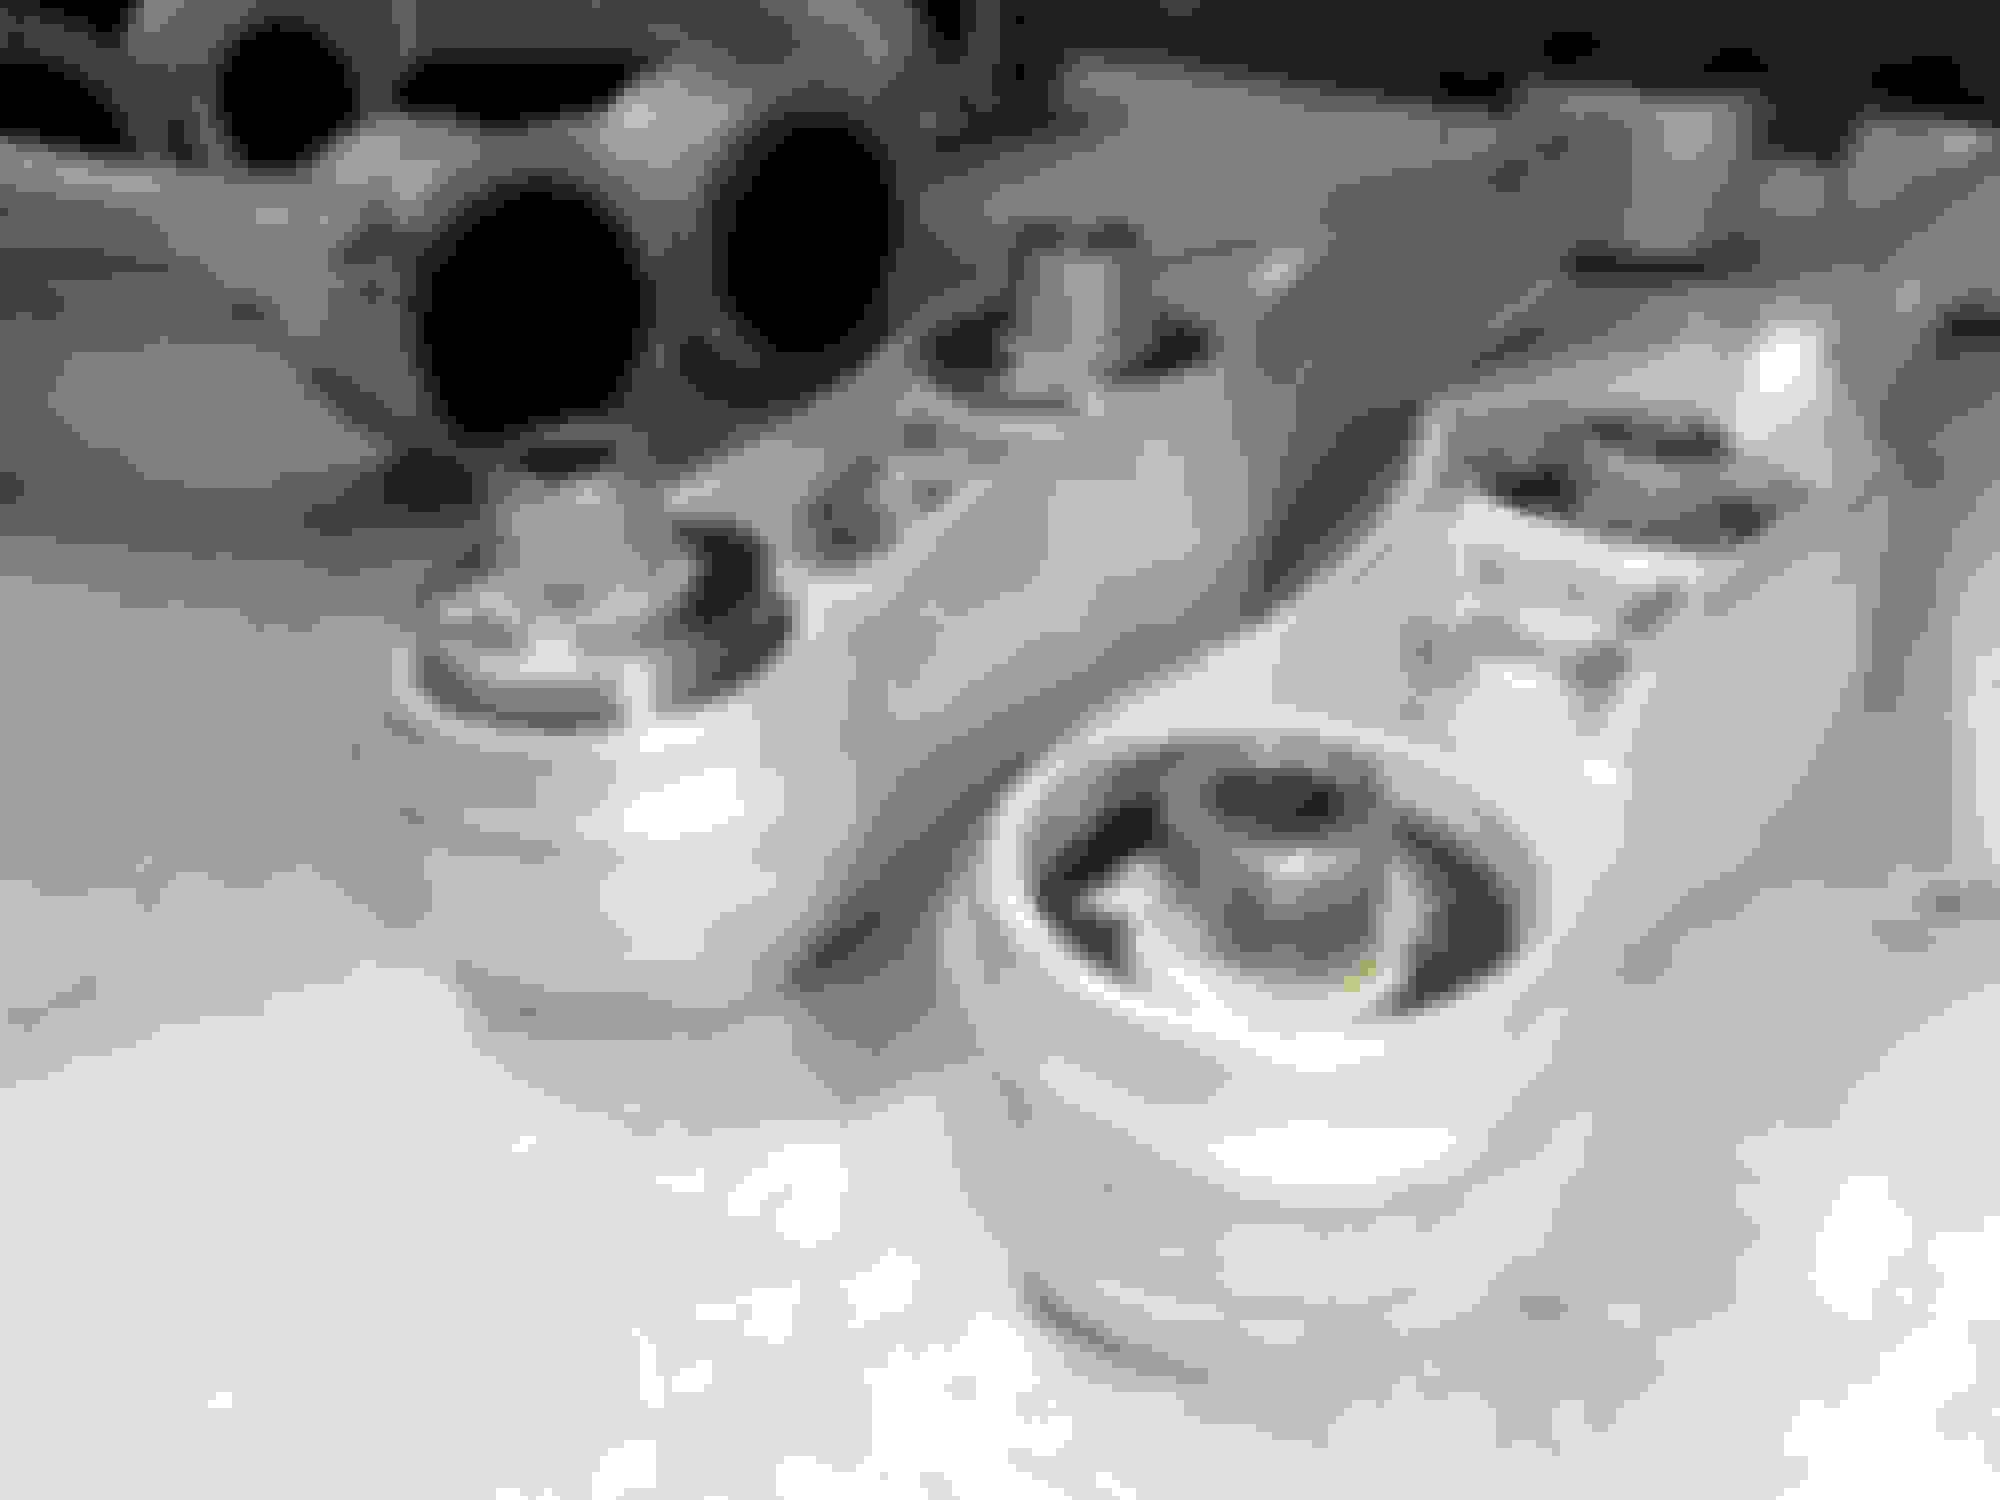
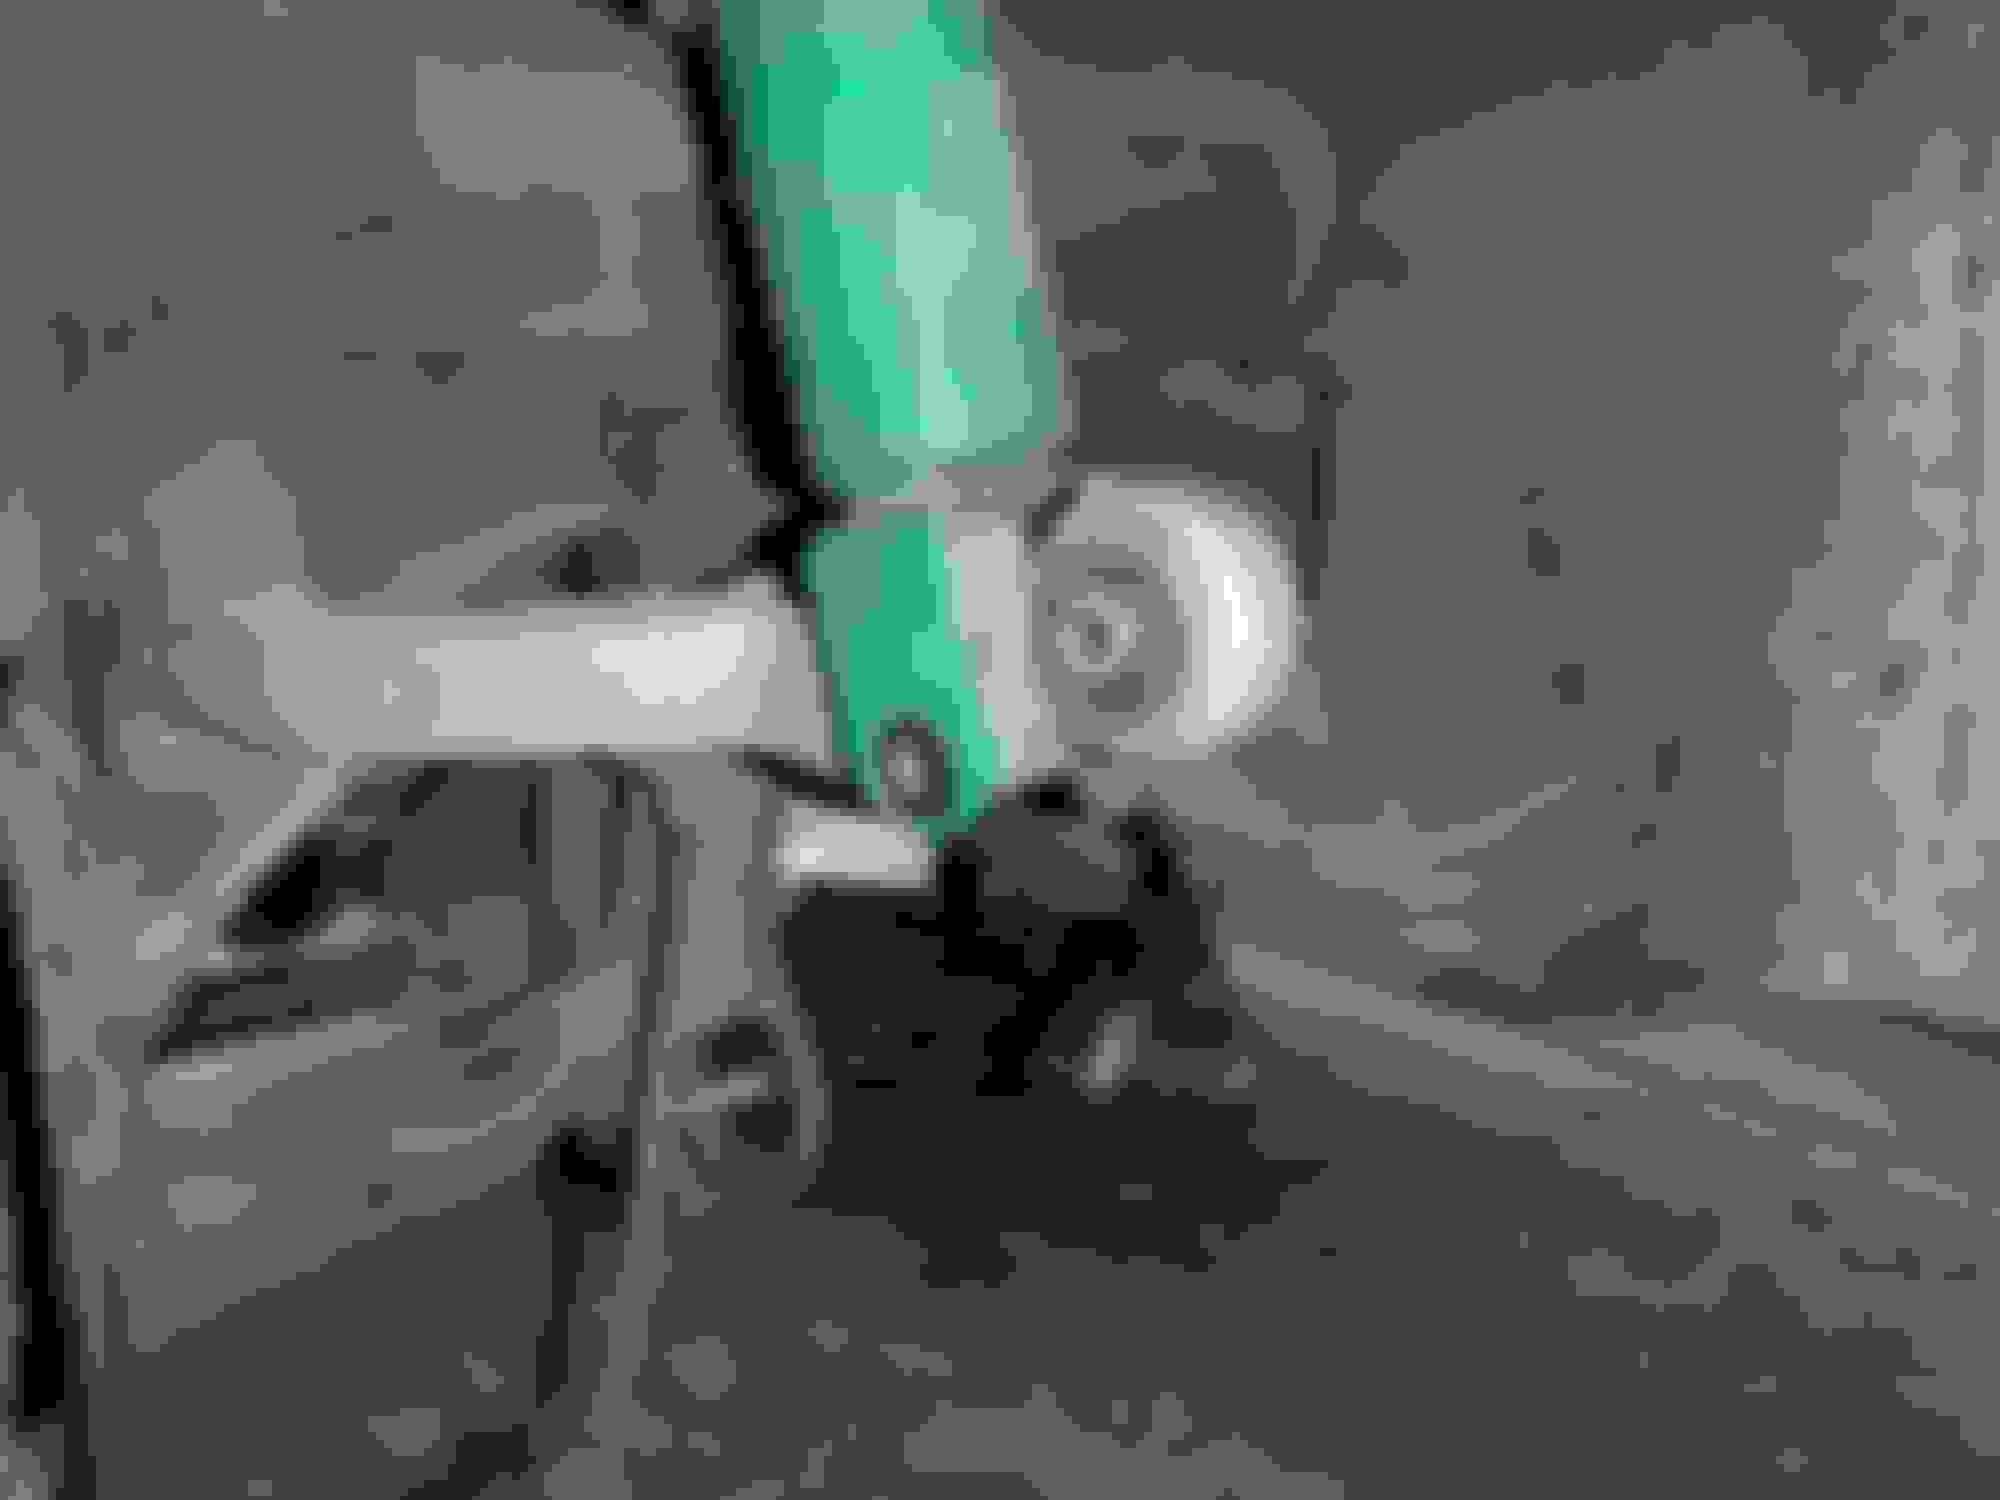
I cleaned up and installed the factory oil temp and oil pressure sensors. I cut small strips of Teflon and put it on the back half of the threads to help with leaks. I choose the Banzai Oil pedestal over all because it does everything. Oil filer, sensors and main oil cooler line all go to it. It comes with plugs for unused holes and I can attach my aftermarket prosport sensors to it. I wanted to show how well its machined to the oil ports on the engine. You can see the outline of the grease from the o-rings circling the oil ports on the back plate. The nuts provided have the serrated flange head. Now I have a prosport and greddy sandwich plate for sale..lol
One thing about getting older - its harder to see. For doing close up work I have to use a headlamp and some $10 walmart 2.5 power glasses.
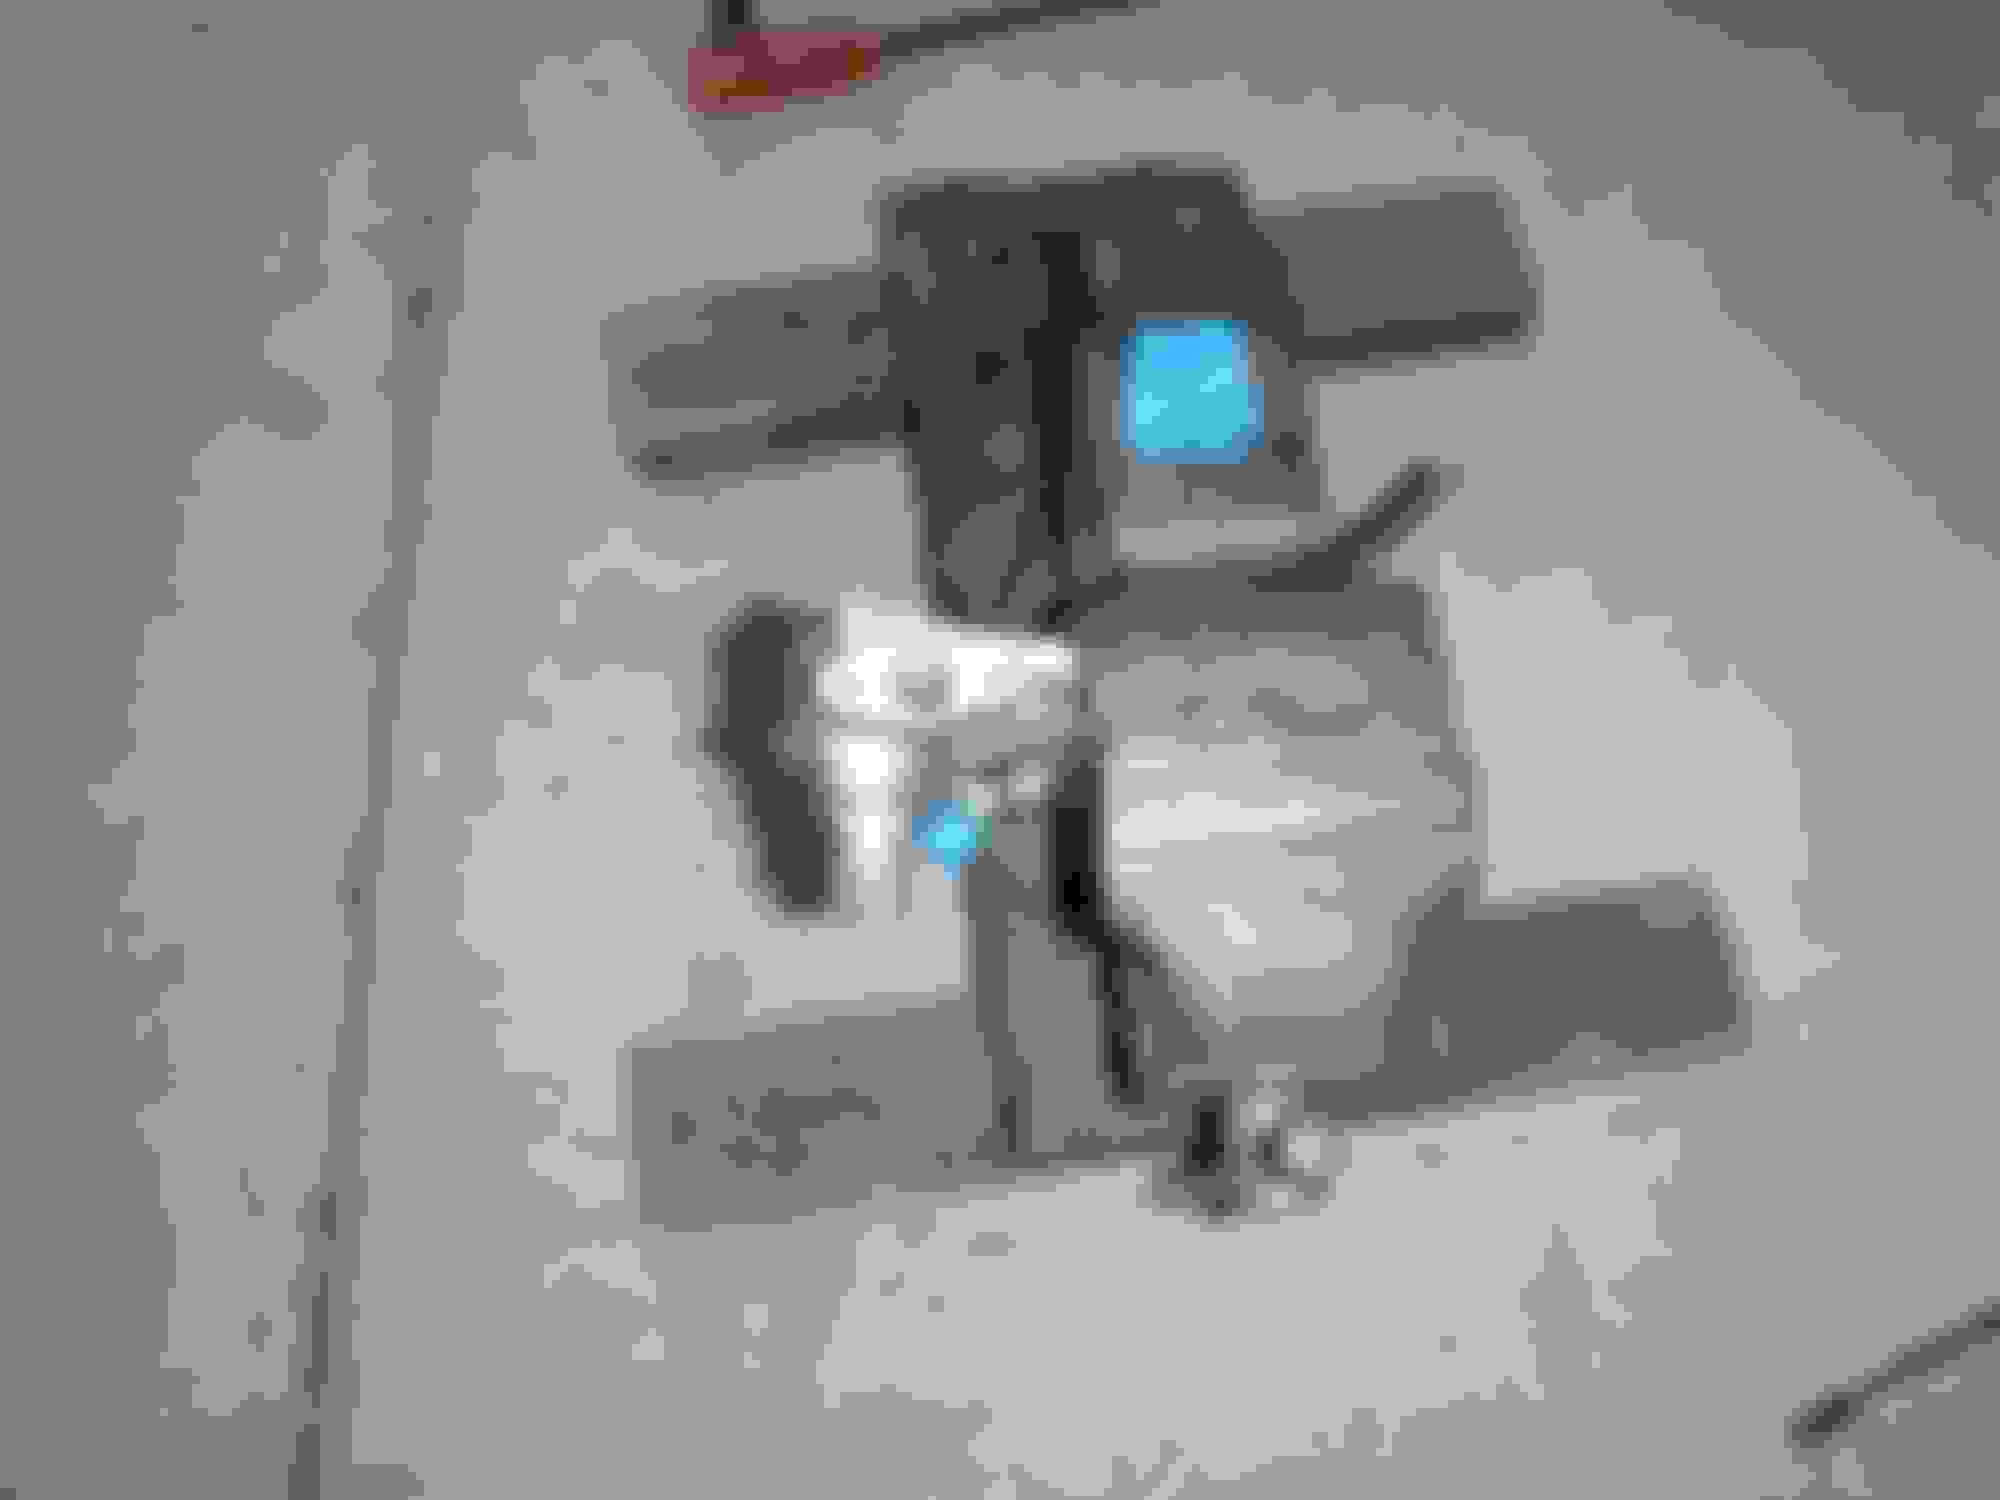
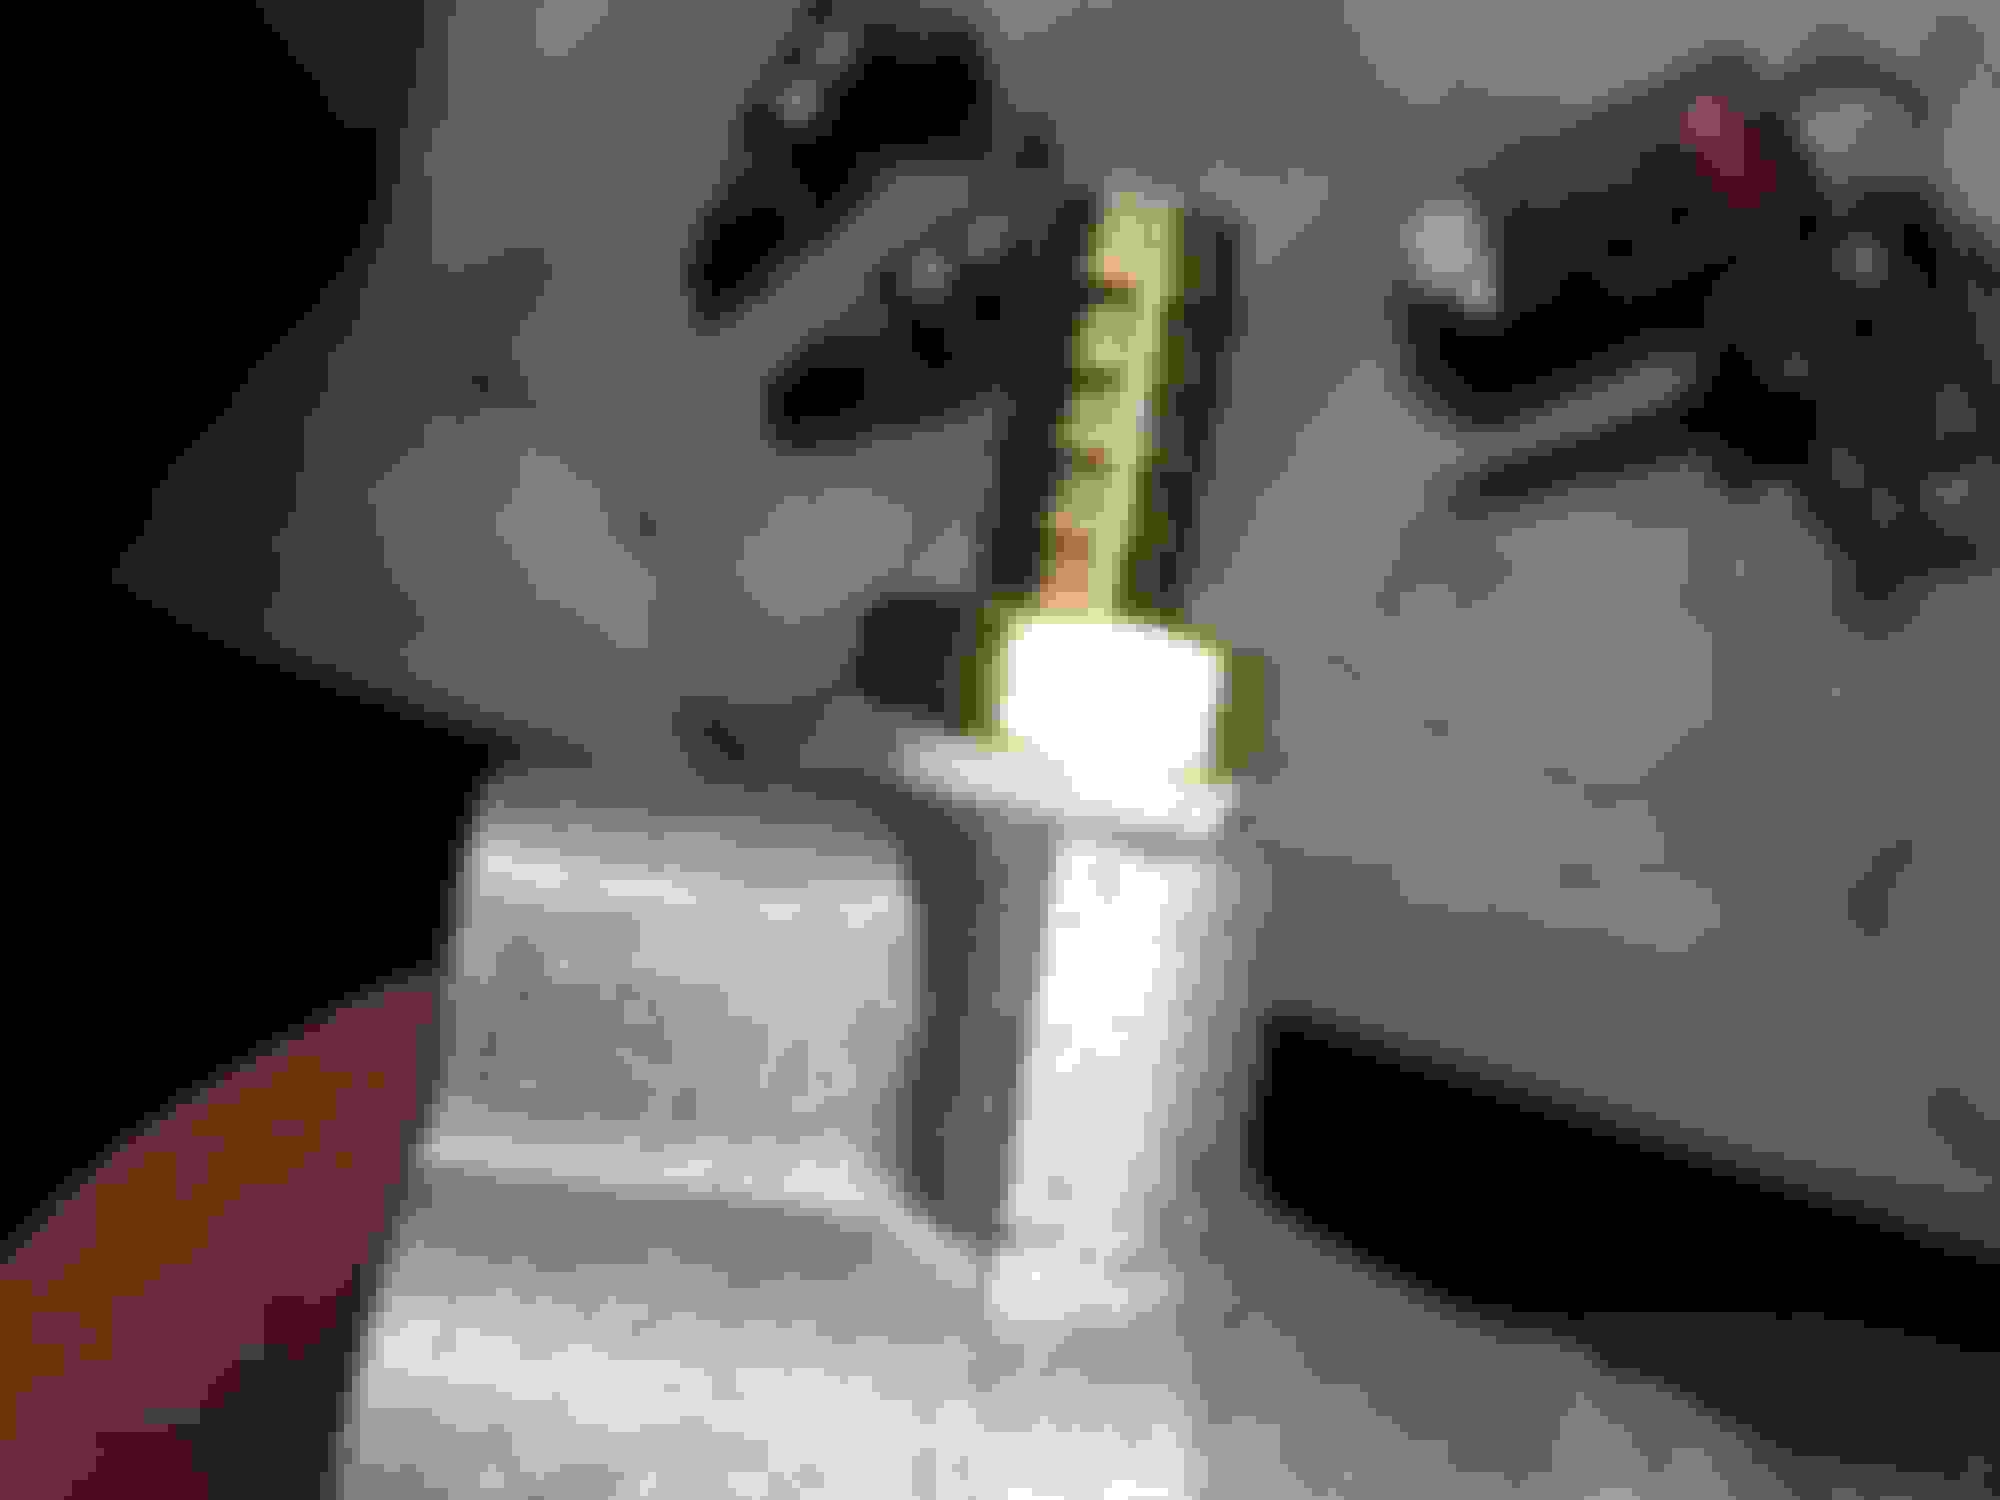
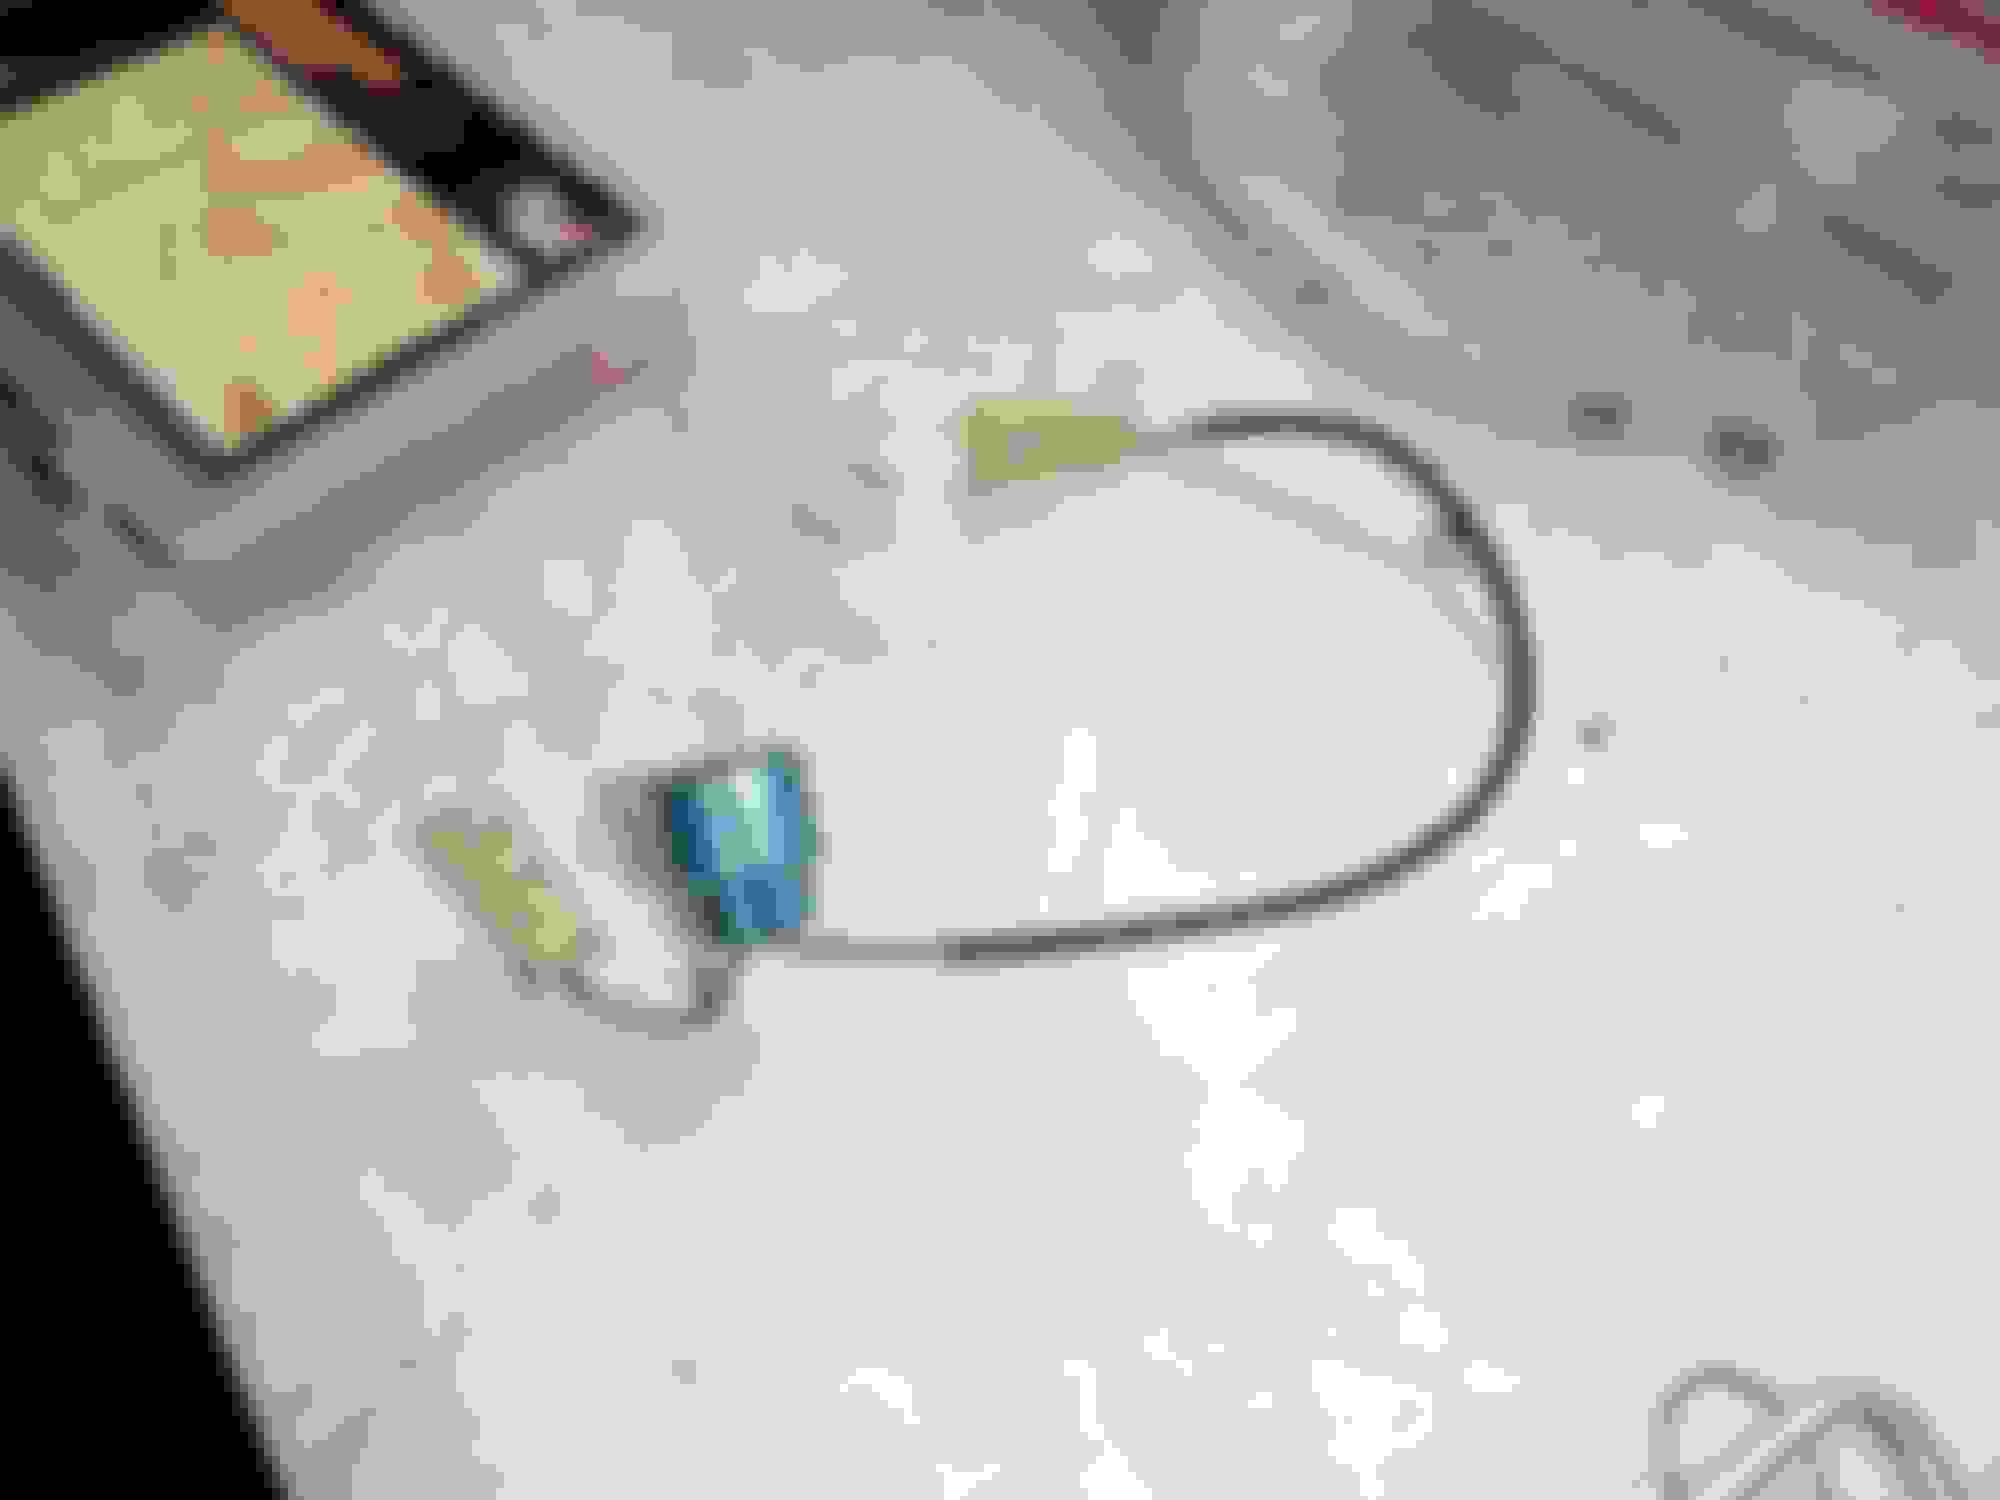
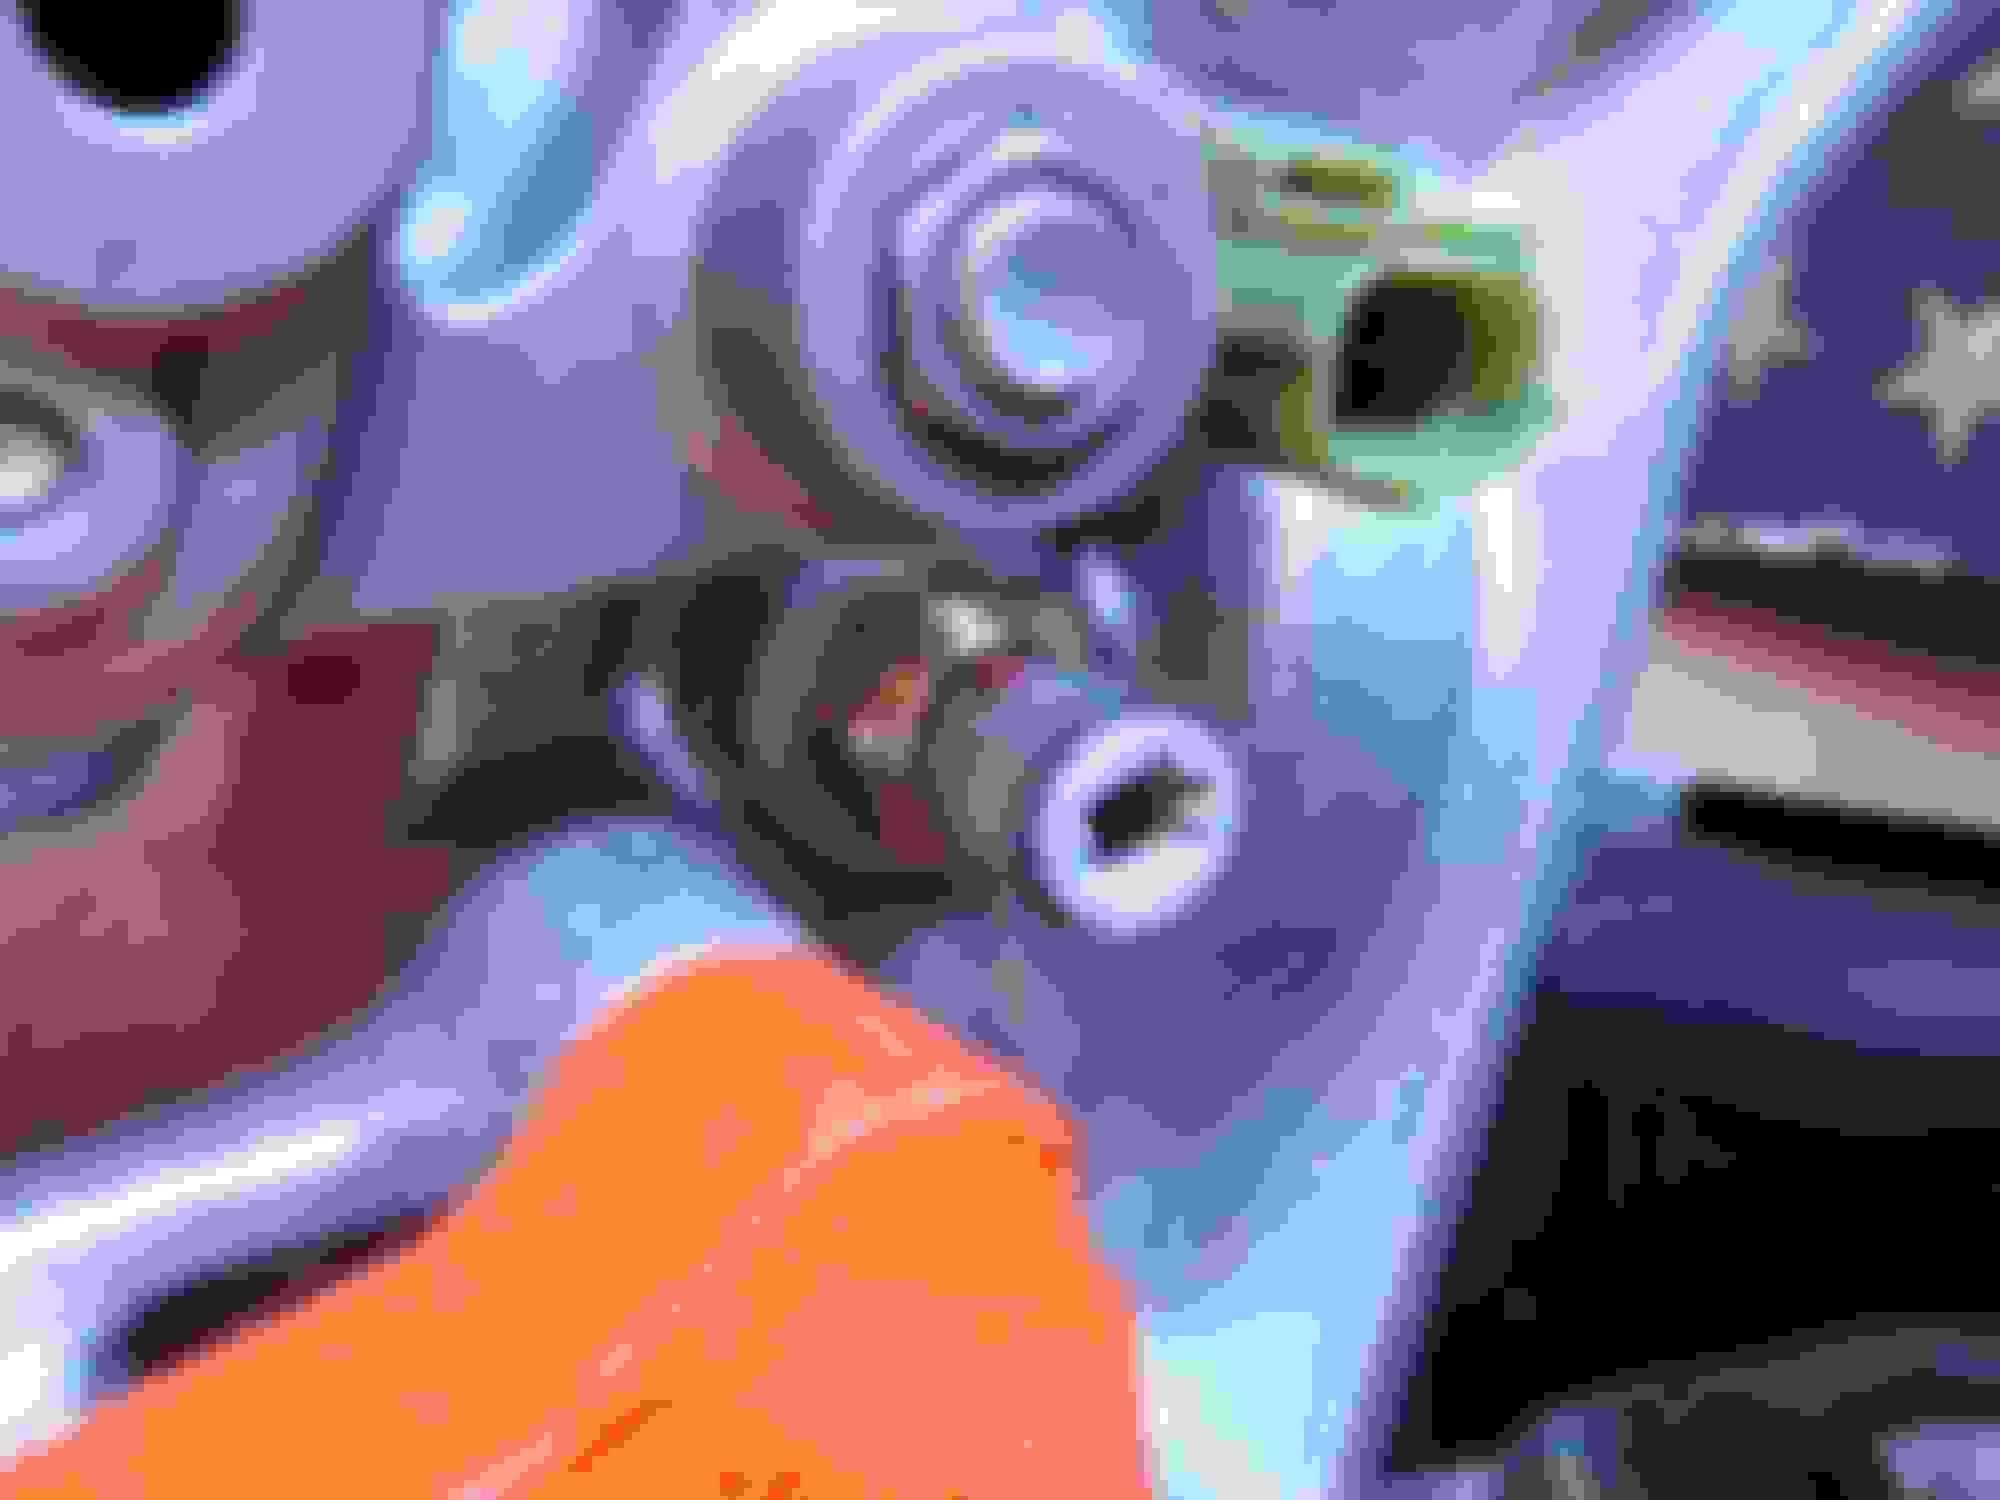
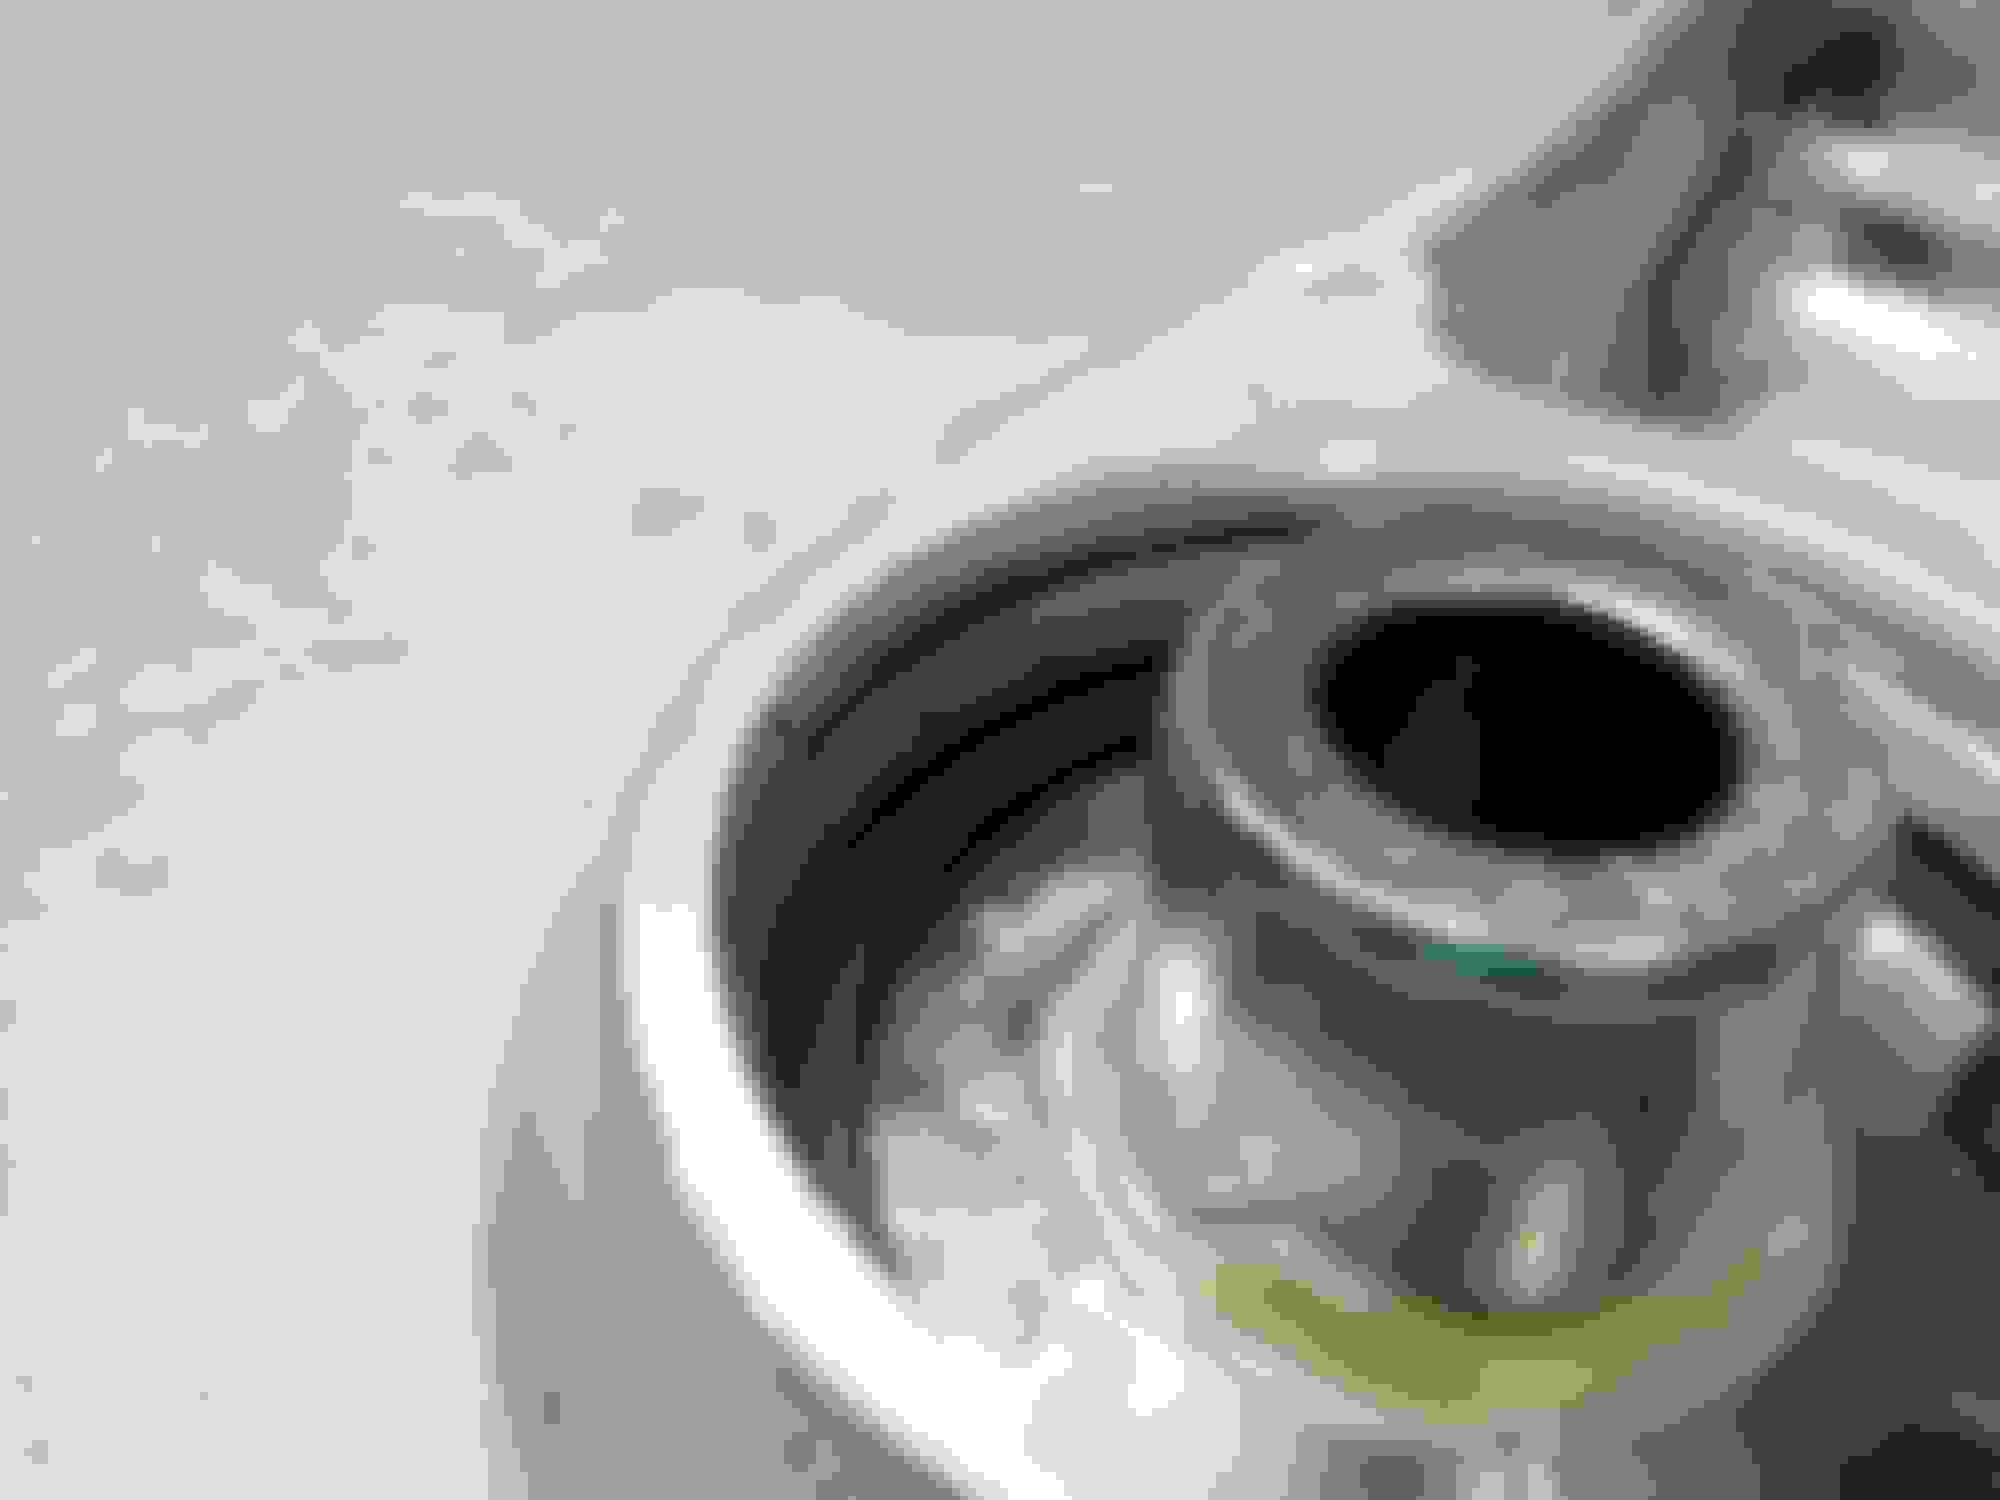
Im glad I have a ton of black o-rings, green AC specific o-rings and copper crush washers - it really helps with putting things back together. I wanted to get the water sensors in place so I cleaned them up and prepped for install. The front rubber spacer is still good and the threads are plastic so I wrapped it with Telfon and snugged it down. The front water sensor also had some torn insulation so I laid it in the orientation that it would be routed and then I put some black RTV on it. The back upper water temp sensor with the green plug got a new crush washer. The lower back sensor is the fan control. While cleaning it I thought the tip was dirty so I took my finger nail to it and a piece chipped off exposing a very small wire sticking out. This did not look right to me so I did some research and found out the the little tip coating had corroded off. So I also ordered a new fan control sensor - hopefully it comes with a new o-ring. Lastly I was wondering about the extra hole on my thermostat housing. The threads were gunky so I chased the threads with a 1/8 NPT tap. I did not tap it any deeper, just chased it to clean it. I vacuum out the old gunk and screwed in my Prosport water temp gauge sensor. I added 2 wraps of Teflon and it sealed up nice right at the end but I might want to use some RTV instead. I see 2 wires for the sensor so maybe it does not have to be grounded to the engine. I think I'll pull it back out and I'll hook some leads up to it and heat it up and see if I get a change on the meter. If I do then I'll reinstall with some RTV.
Taking a break for tomorrow.
Have a happy shelter in place !!
Last edited by rotaryextreme; Mar 30, 2020 at 10:23 PM.
I wanted to install the clutch and pressure plate today but I ran into some issues.
Pilot Bearing was seized inside - I could not get it out for the life of me with the slide hammer. I read all the tricks about bread, grease, homemade tools....well I got it out and heres what I had to do.
I did not have the exact correct size and the smaller puller that fit inside was unable to expand behind the bearing. Just to get the larger bearing remover tool inside I had to drill out the pilot bearing bearings..lol. Now I was able to get a good bite and after 30 minutes of messing around I gave up on the puller and slide hammer. I took my trusty porting bits and grinded down the from bearing seal until it had a small notch. Then I used a small screwdriver and tapped the lip up until I was able to grab it with the dike and pull it out.
After I got the from seal out I tried for another 30 min minutes of messing around I gave up again on the puller and slide hammer. Sooooo I did the same thing with the shell of the pilot bearing. I grinded it down until I had a channel. The I used a small screw driver and tapped it in with a hammer until I could bend up a lip. I eventually was able to get it to bend enough so I could grab it with the dike a pull it out.
It was a complete mess on the inside so I wrapped a socket in sand paper and smoothed everything out on the inside.
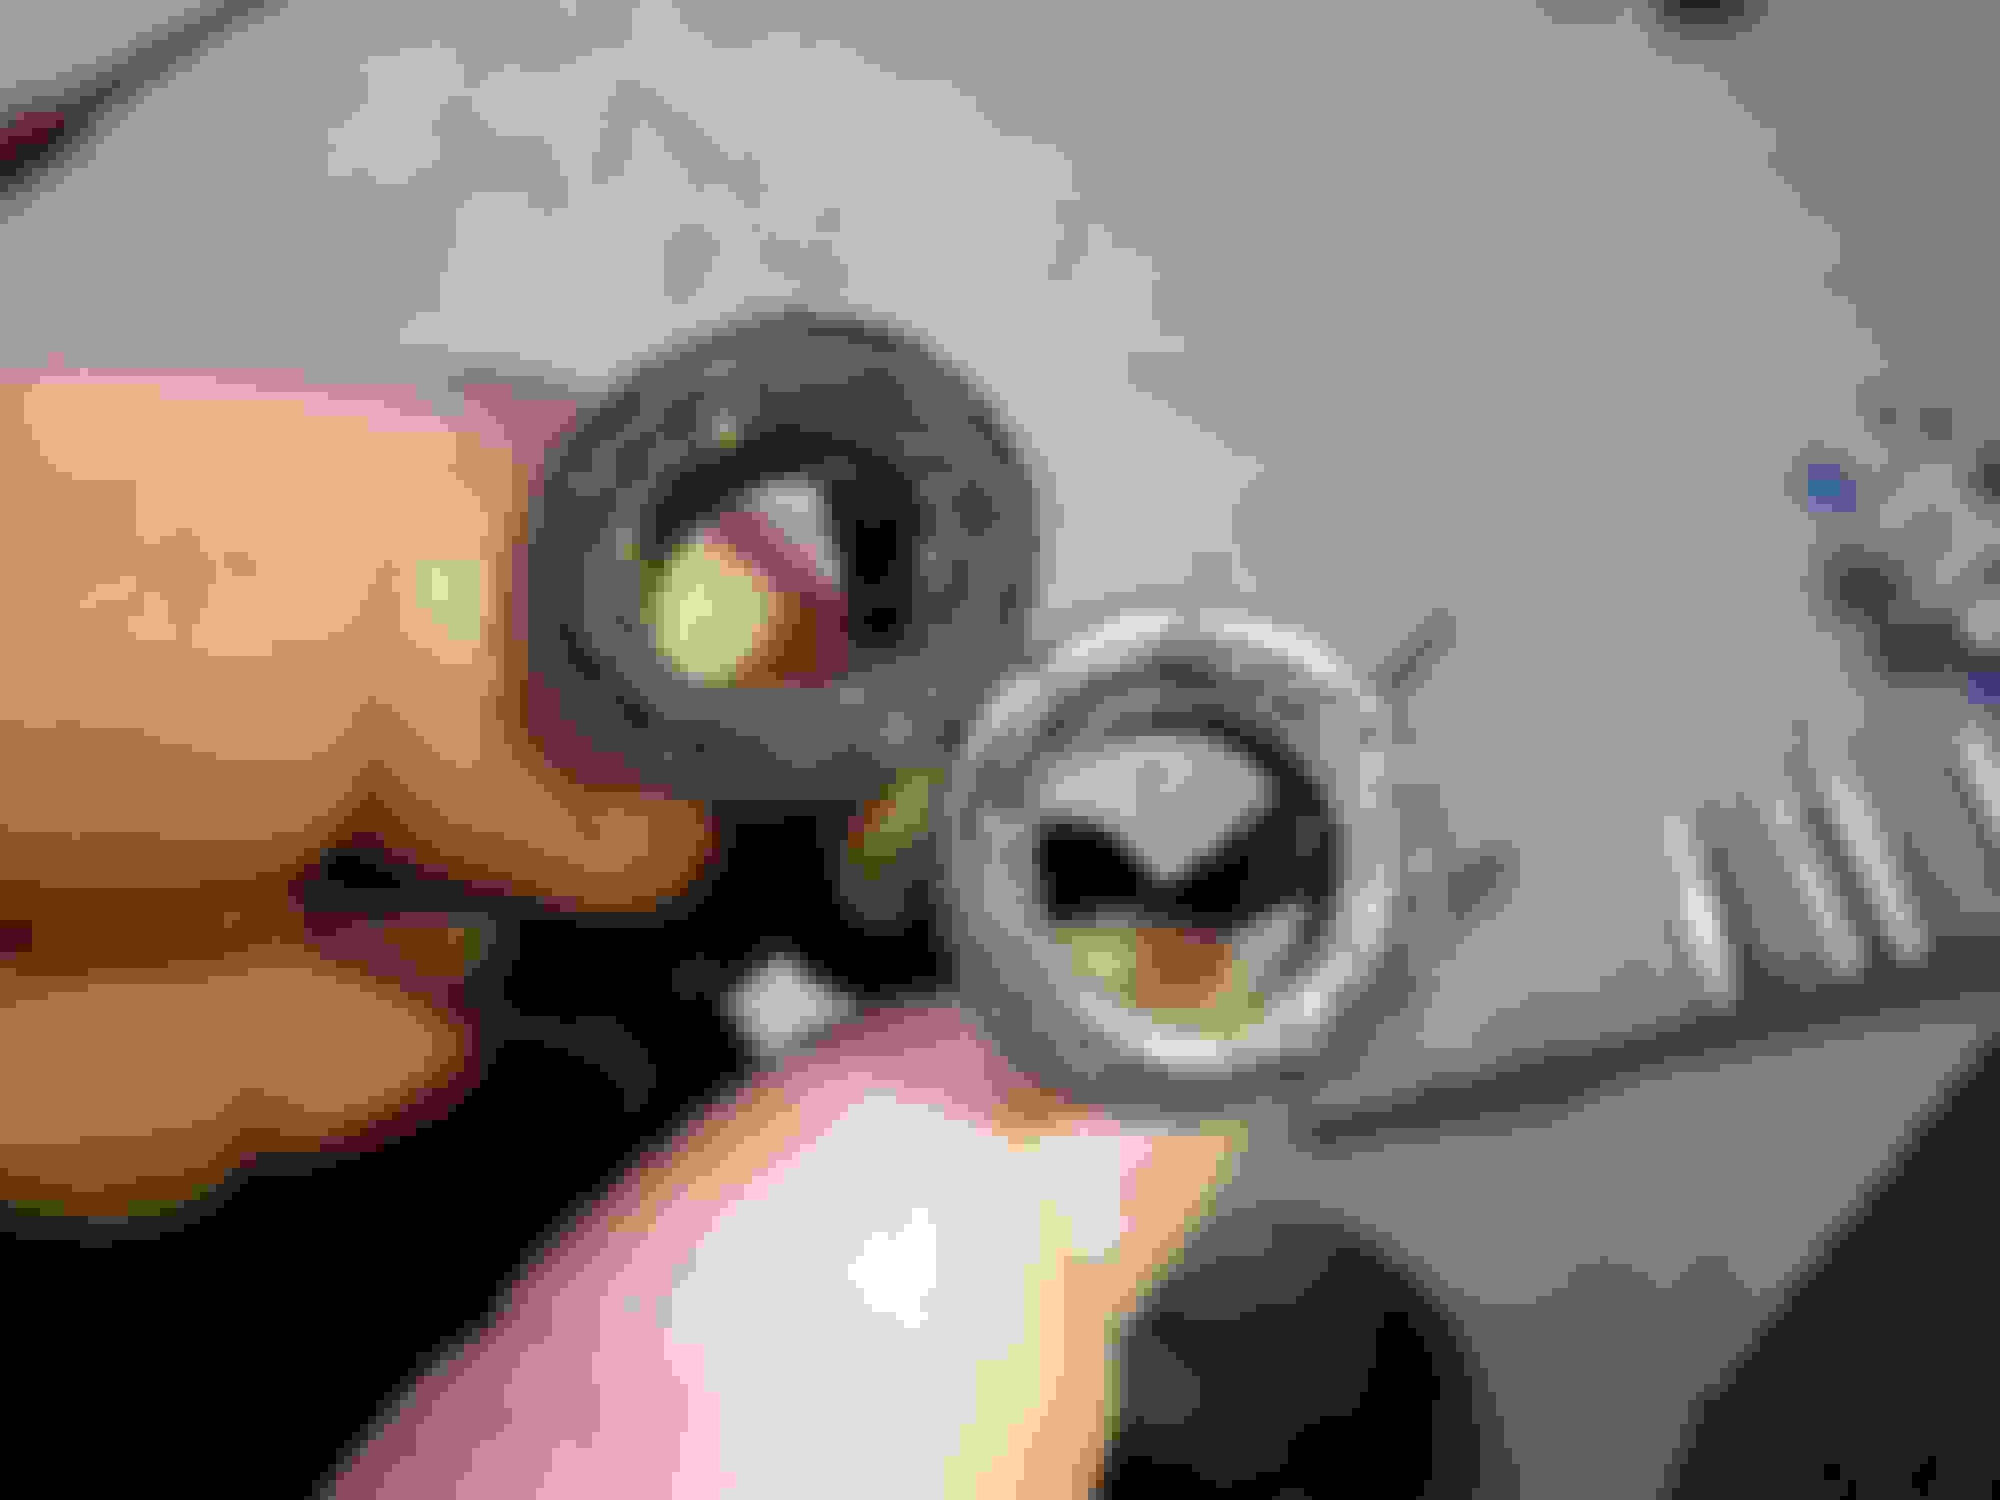
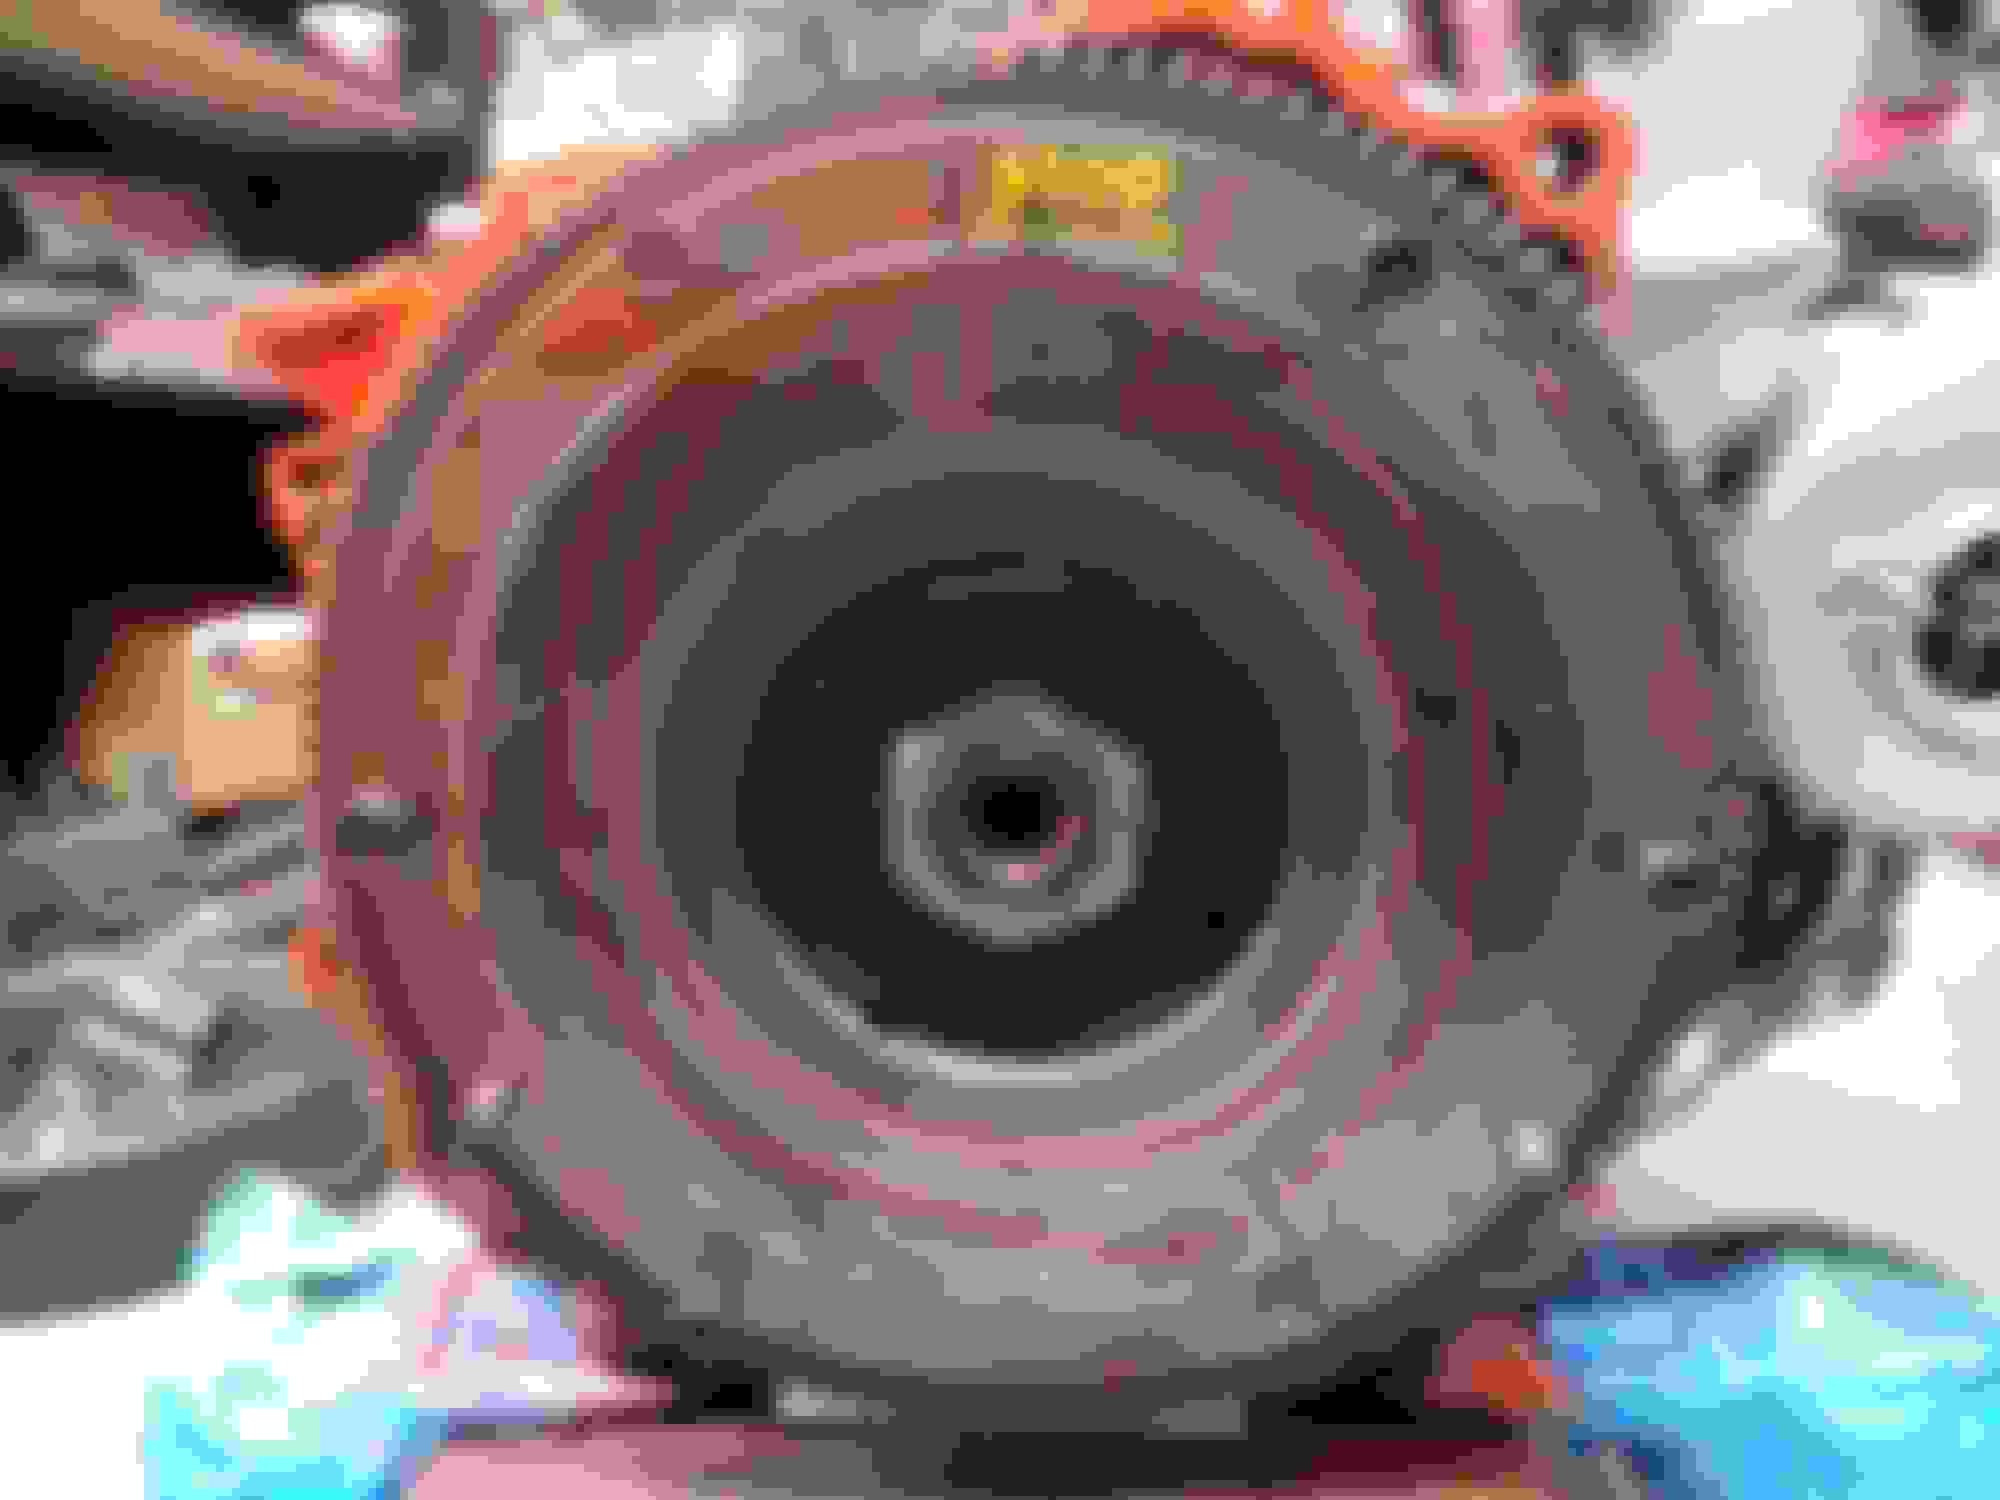
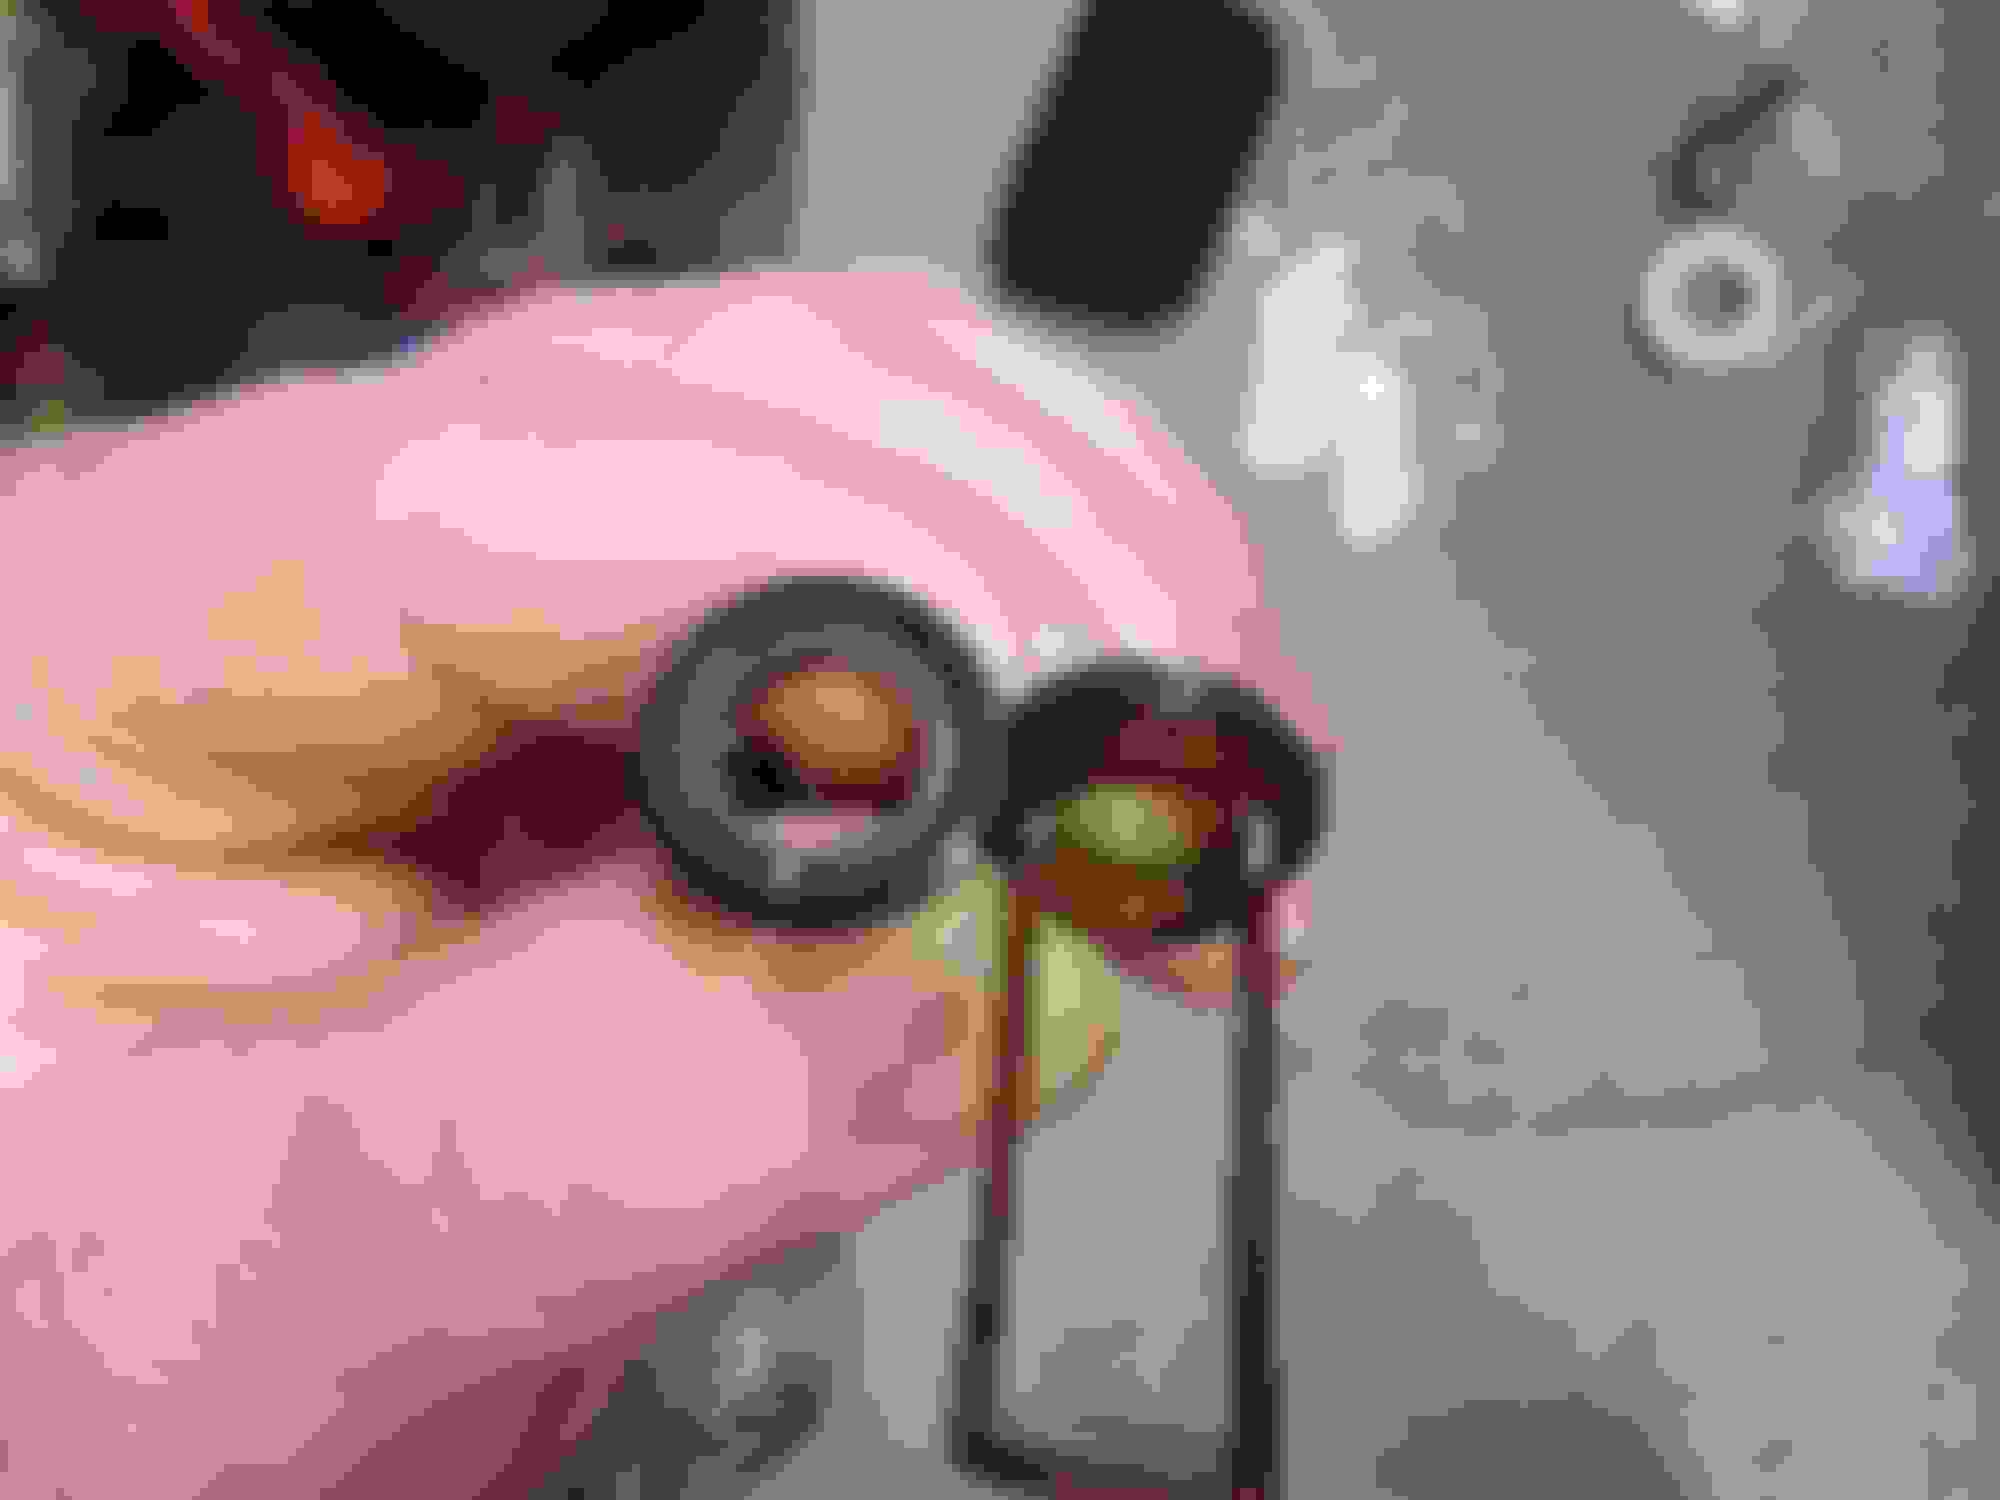
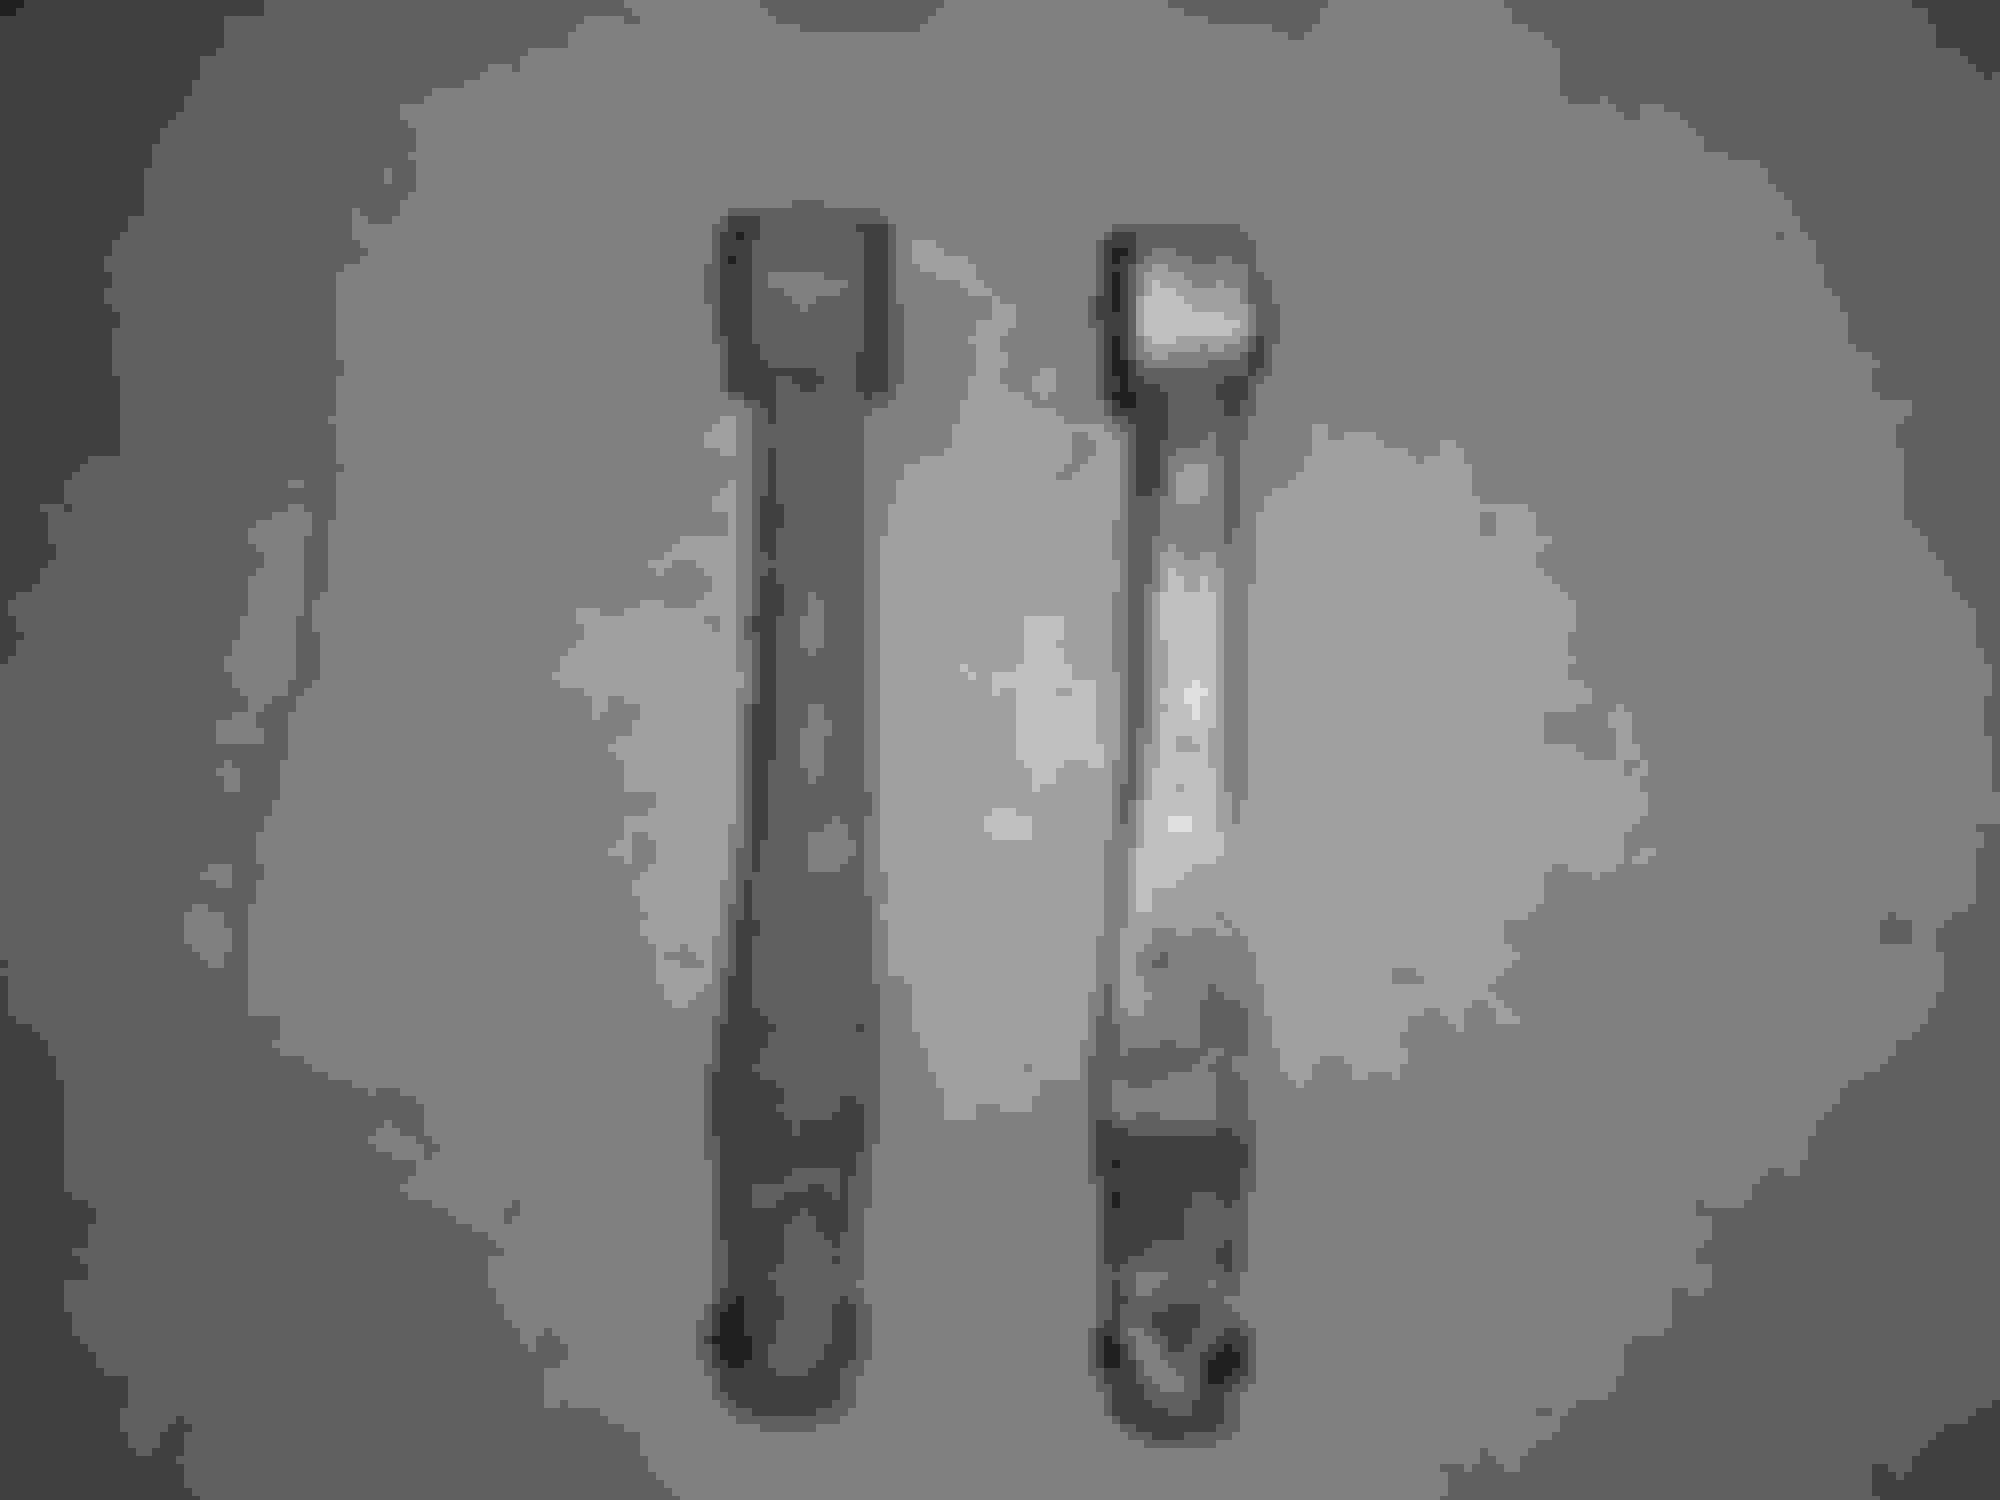
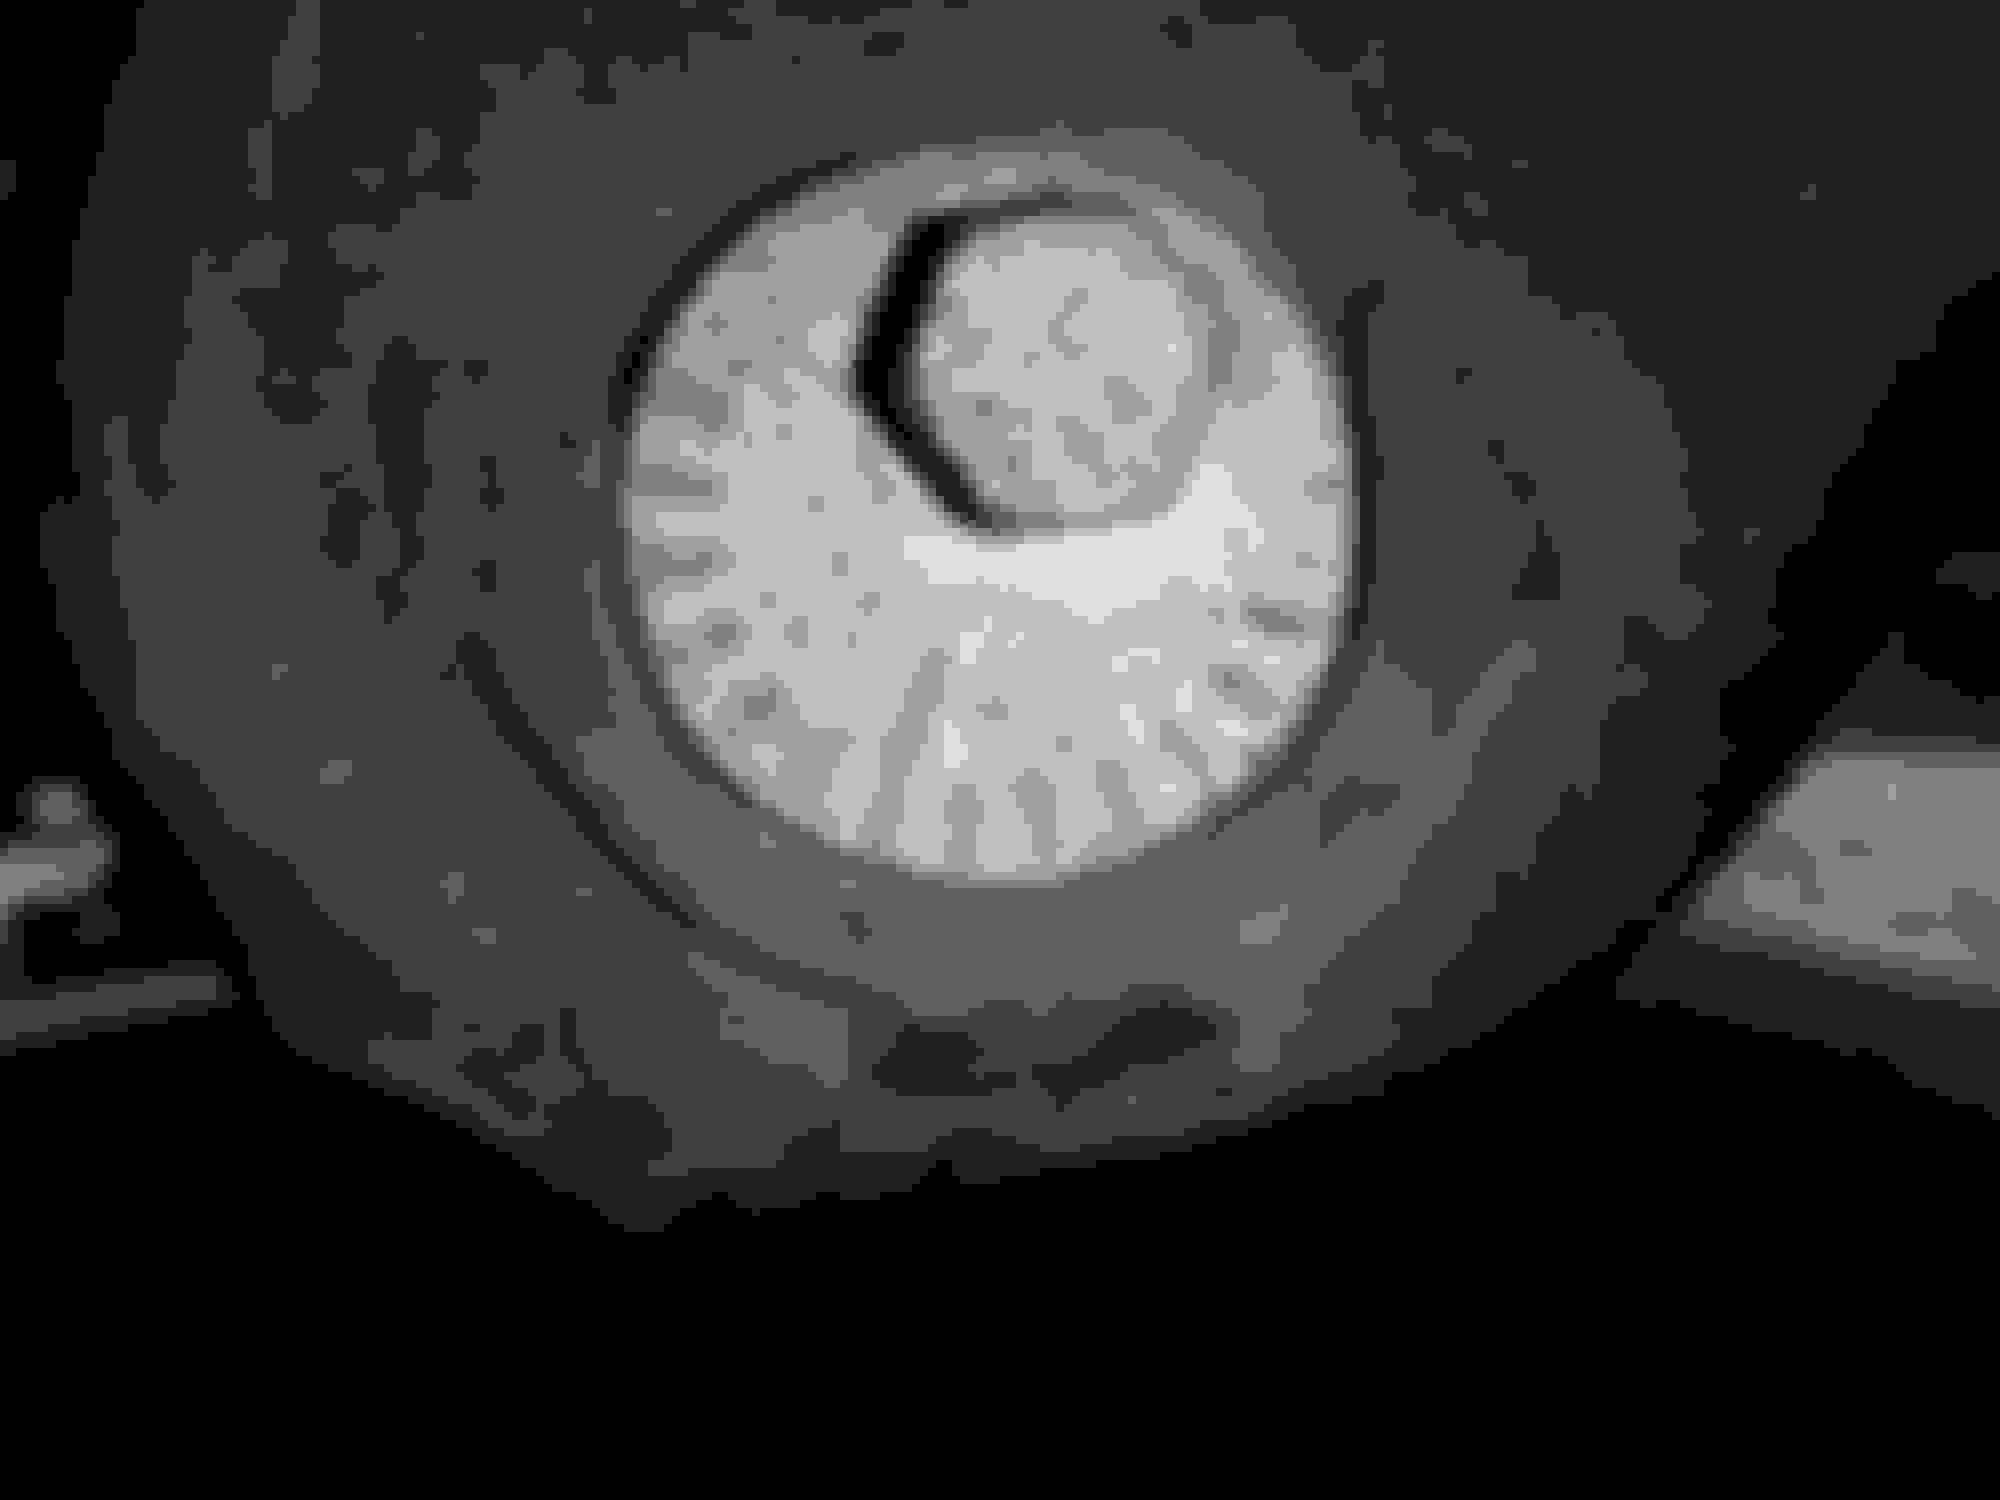
You can see whats left of the pilot bearing and the seal next to the new parts.
I put the new one in using a socket with the same diameter and it went in pretty damn snug. I spun the bearing with my finger and everything felt fine. I greased it up with my aluminum welding rod trick and then placed the seal in with the seal facing the bearing and the metal exposed edge facing out. I also had to tap this in with the deep socket.
I thought I bought an alignment tool but that was not the real problem at all. The real question is did I get a legit clutch from Racing Beat !?!?!?!?!?!
My original clutch is made by California Custom Clutch for Racing Beat.
On Racing Beats site the 6 puck sprung clutch and the California Custom Stage 6 puck sprung clutch match my old clutch.
The clutch I received Does not have the slots in the middle of each puck, the springs are not retained the same way and there in no marking for clutchnet mfg.
Old clutch: matches pictures, slots on pucks, springs have separate metal retainer on both sides with small windows and clutch say clutchnet mfg.
New Clutch: does not match picture or my clutch, full face covering springs on top, bottom piece is the actual clutch cut open to retain the rest of the spring, no slots on the puck and no clutchnet mfg name.
I emailed Racing Beat and California Custom Clutch - design change?? wrong clutch shipped??
While I wait for this issue I need to get another digital tq wrench that can go from 0 to 100lbs and the correct alignment tool.
Update on the clutch saga, it was a design change from California Clutch however if you want the original design you will have to call and specify it. I spoke with California clutch about this issue and the jist of it is a cost/performance type deal from a manufacturing stand point - I'll leave it at that. California Clutch does have an option to put new pads on my old disc, but I'll try out the new design. Im sure the new one will be fine for my driving.
I wanted to tq the clutch pressure plate today but realized that my blue thread locker was actually high strength red thread locker in a blue tube...dammit. I need the blue one which lets you break it loose easily. For now I have the clutch and pressure plate lined up, everything looks good and the new 6-puck matches the old wear pattern.
I got a bunch of small fuel fittings in but I'm still waiting on the special pieces I ordered to clear the front water pump housing. Other parts were the new rock auto performance brake kit (I know - but you should see my current brakes !!!!!!) and a positive and negative terminal boards for my gauges and lighting.
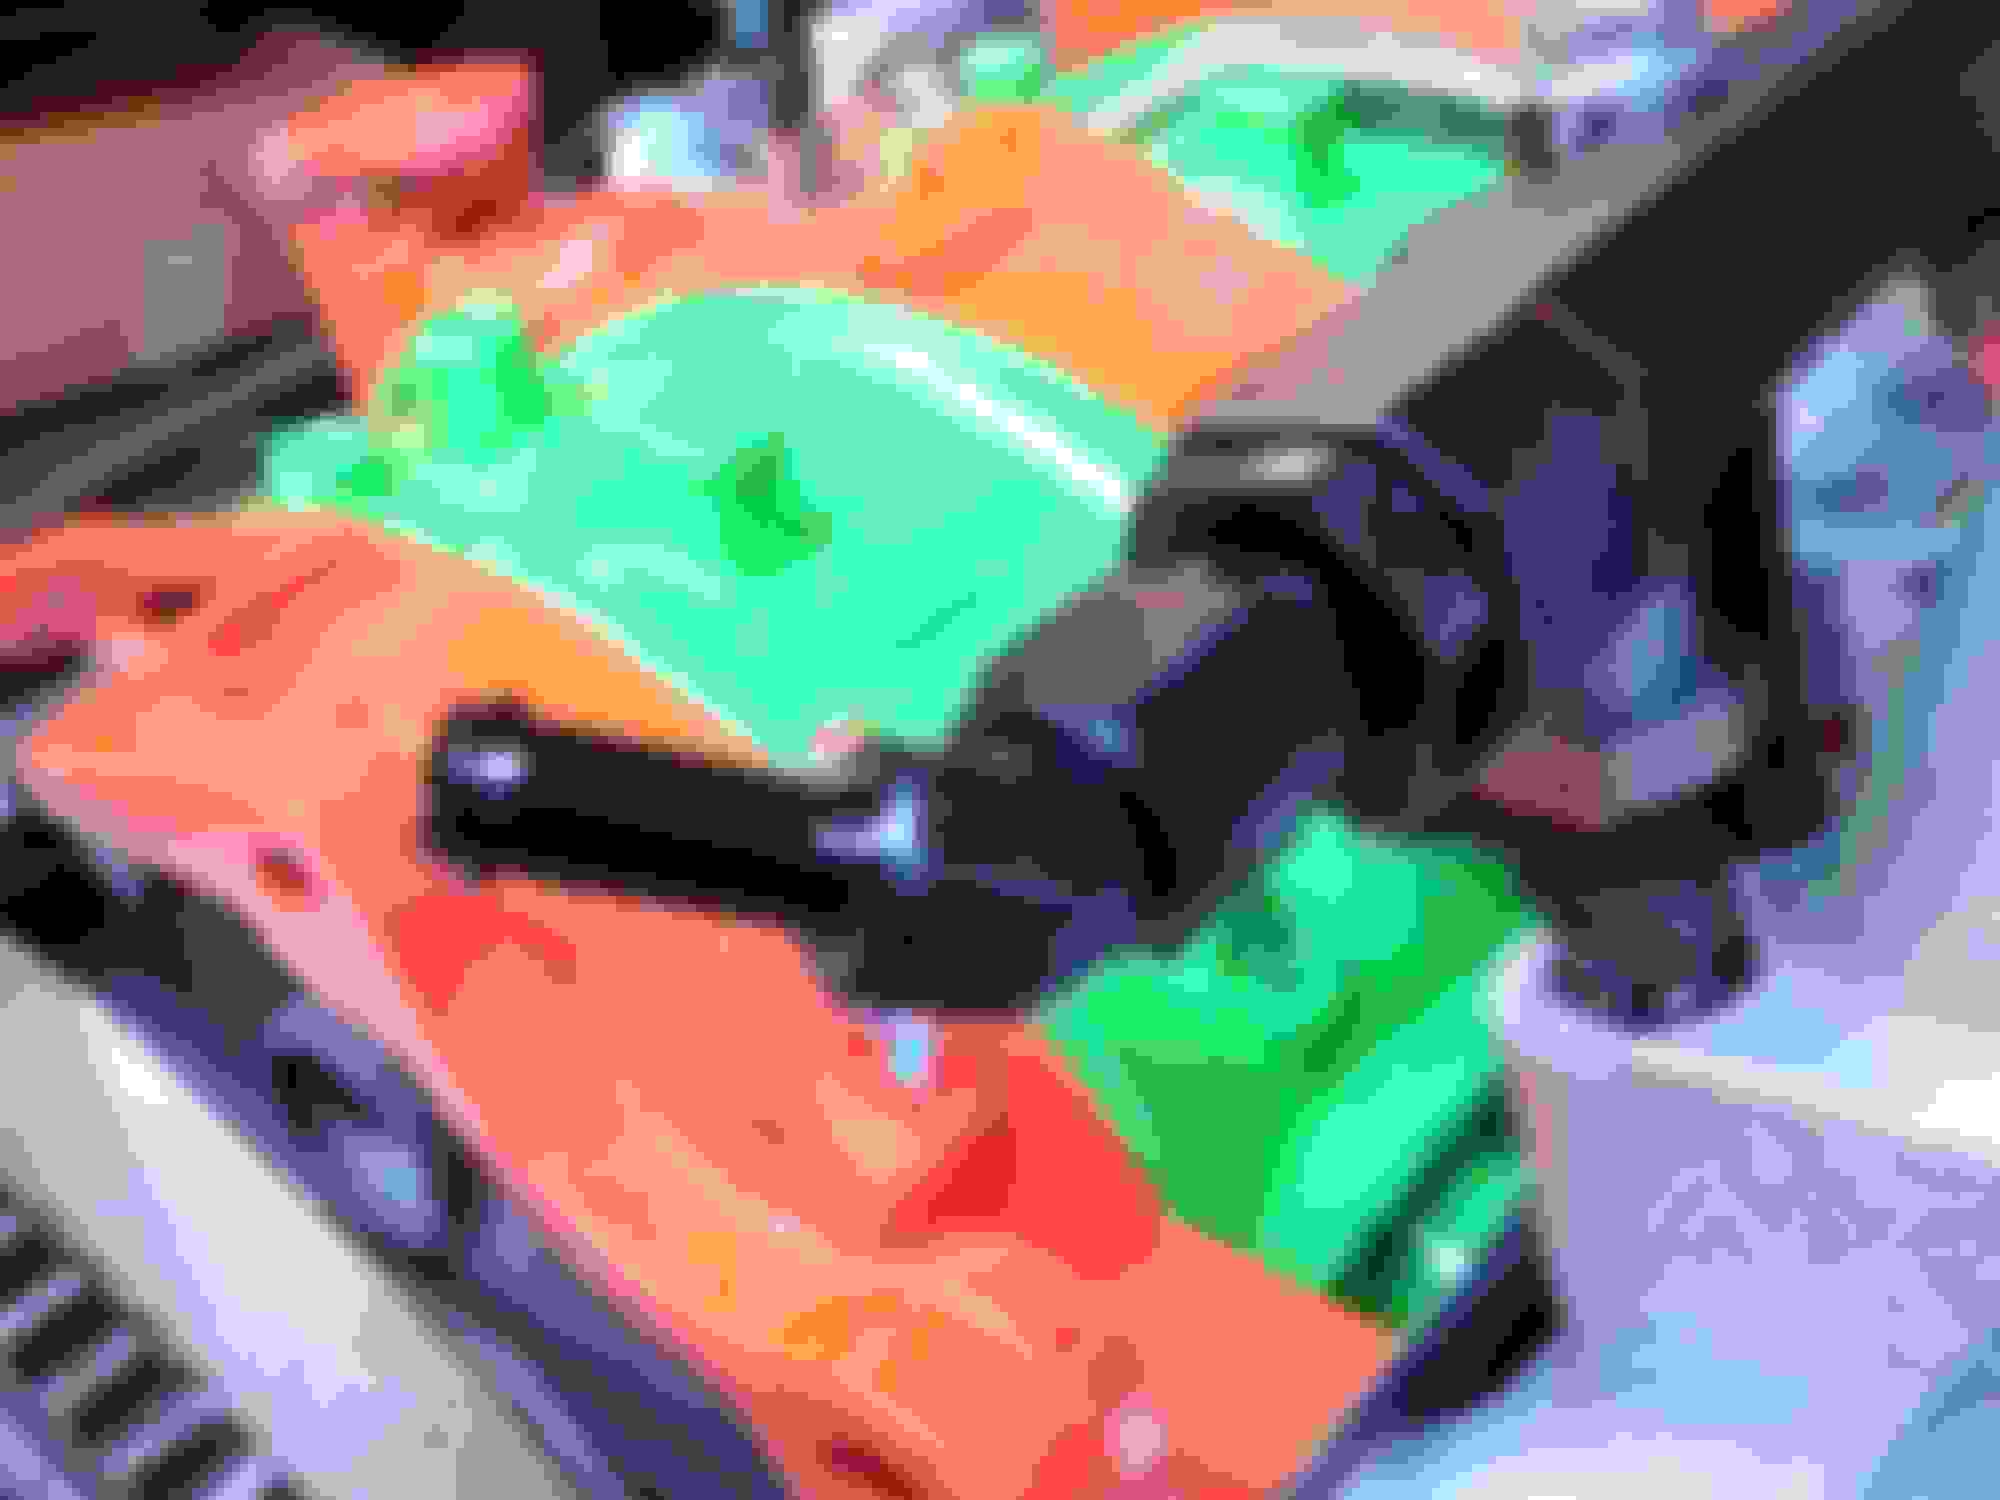
I installed the sec turbo inlet pipe - looks cool.
I finally got the primary fuel rail done. I installed the fuel injector diffusers and made sure the notches lined up. You also have to be careful that they both seat all the way down !! New orings for the pri fuel rail to engine seal and the spacer to fill the gap. Everything went together reall smoothly and new parts should. Lastly I got the 45 degree elbow for the back of the fuel rail. I hear the FPR has a built in FPD but my CJ secondary rail has the FPD built into it so this is why I feel I don't need the FPR attached to the rail. I will mount the FPR+gauge on the firewall.
Ok - I got the blue thread locker thats meant to be removable, and of course its in a red tube. I mean really...whats up with that ?!?!?!? Maybe its a sneaky way to double their sales. Marketing was all like - hey guys lets sell the permanent red thread locker in the blue tube and then well sell the removable blue thread locker in the red tube. Anyways pressure plate is tq to 20ft lbs.
I got another fuel fitting in and 4 more of the rear suspension pillow ***** in, I'm going to just replace all 6.
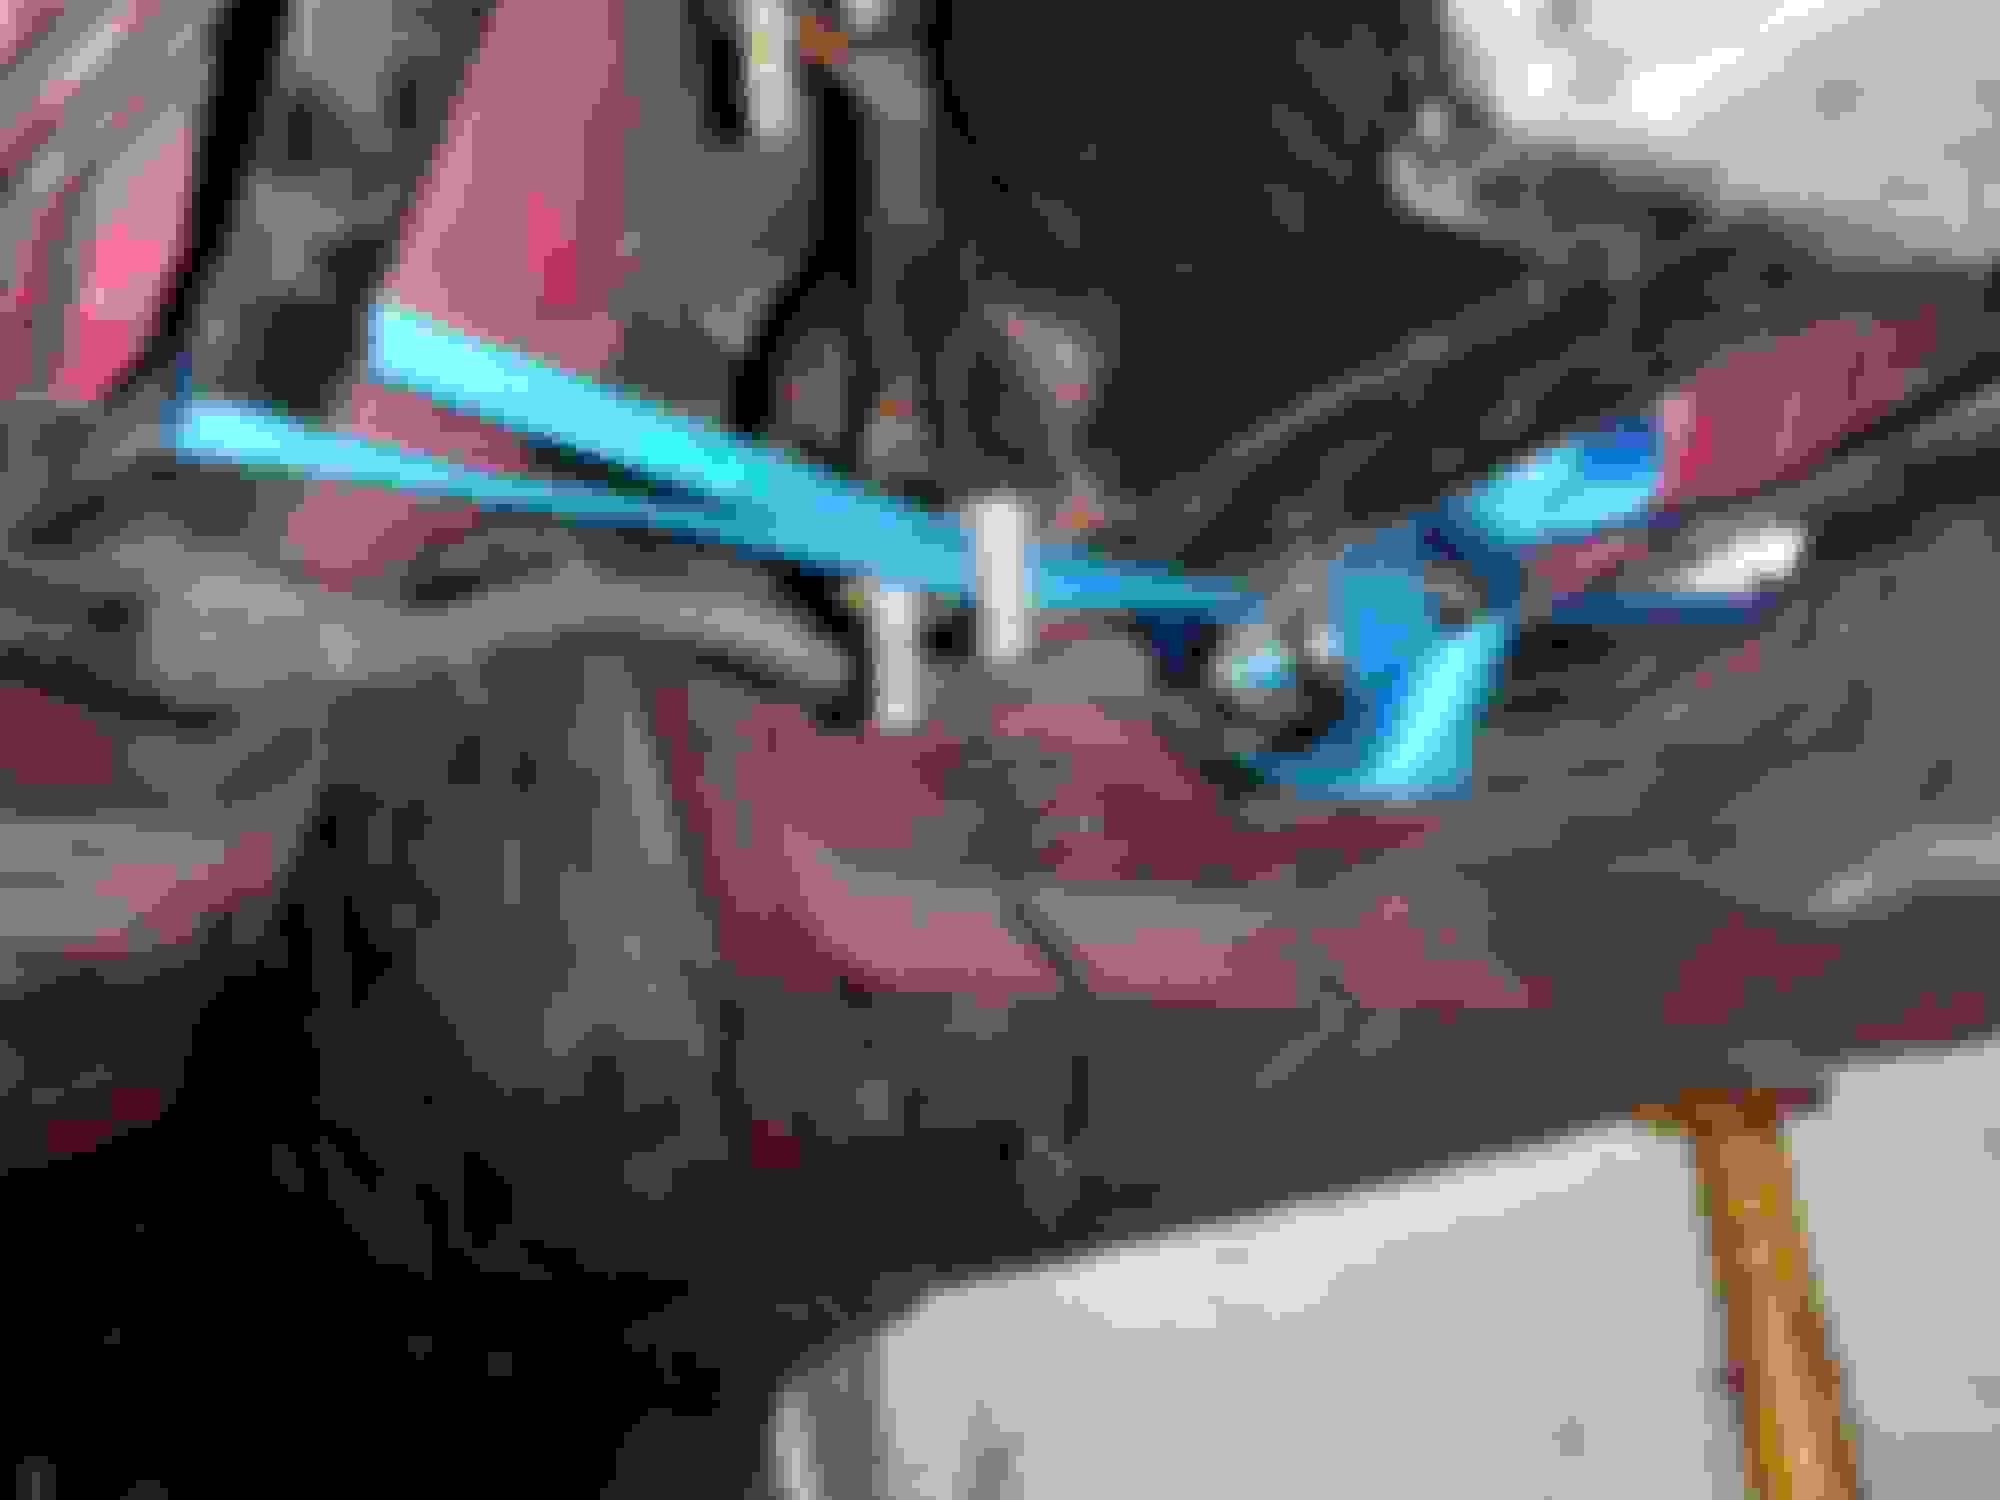
I got the rear end on the car using a jack. Once in place I bolted up the rear cross brace and hooked up a strop to hold the front of the diff up and to also limit pressure on the rear Greddy cover. The rear Greddy cover BARELY clears.
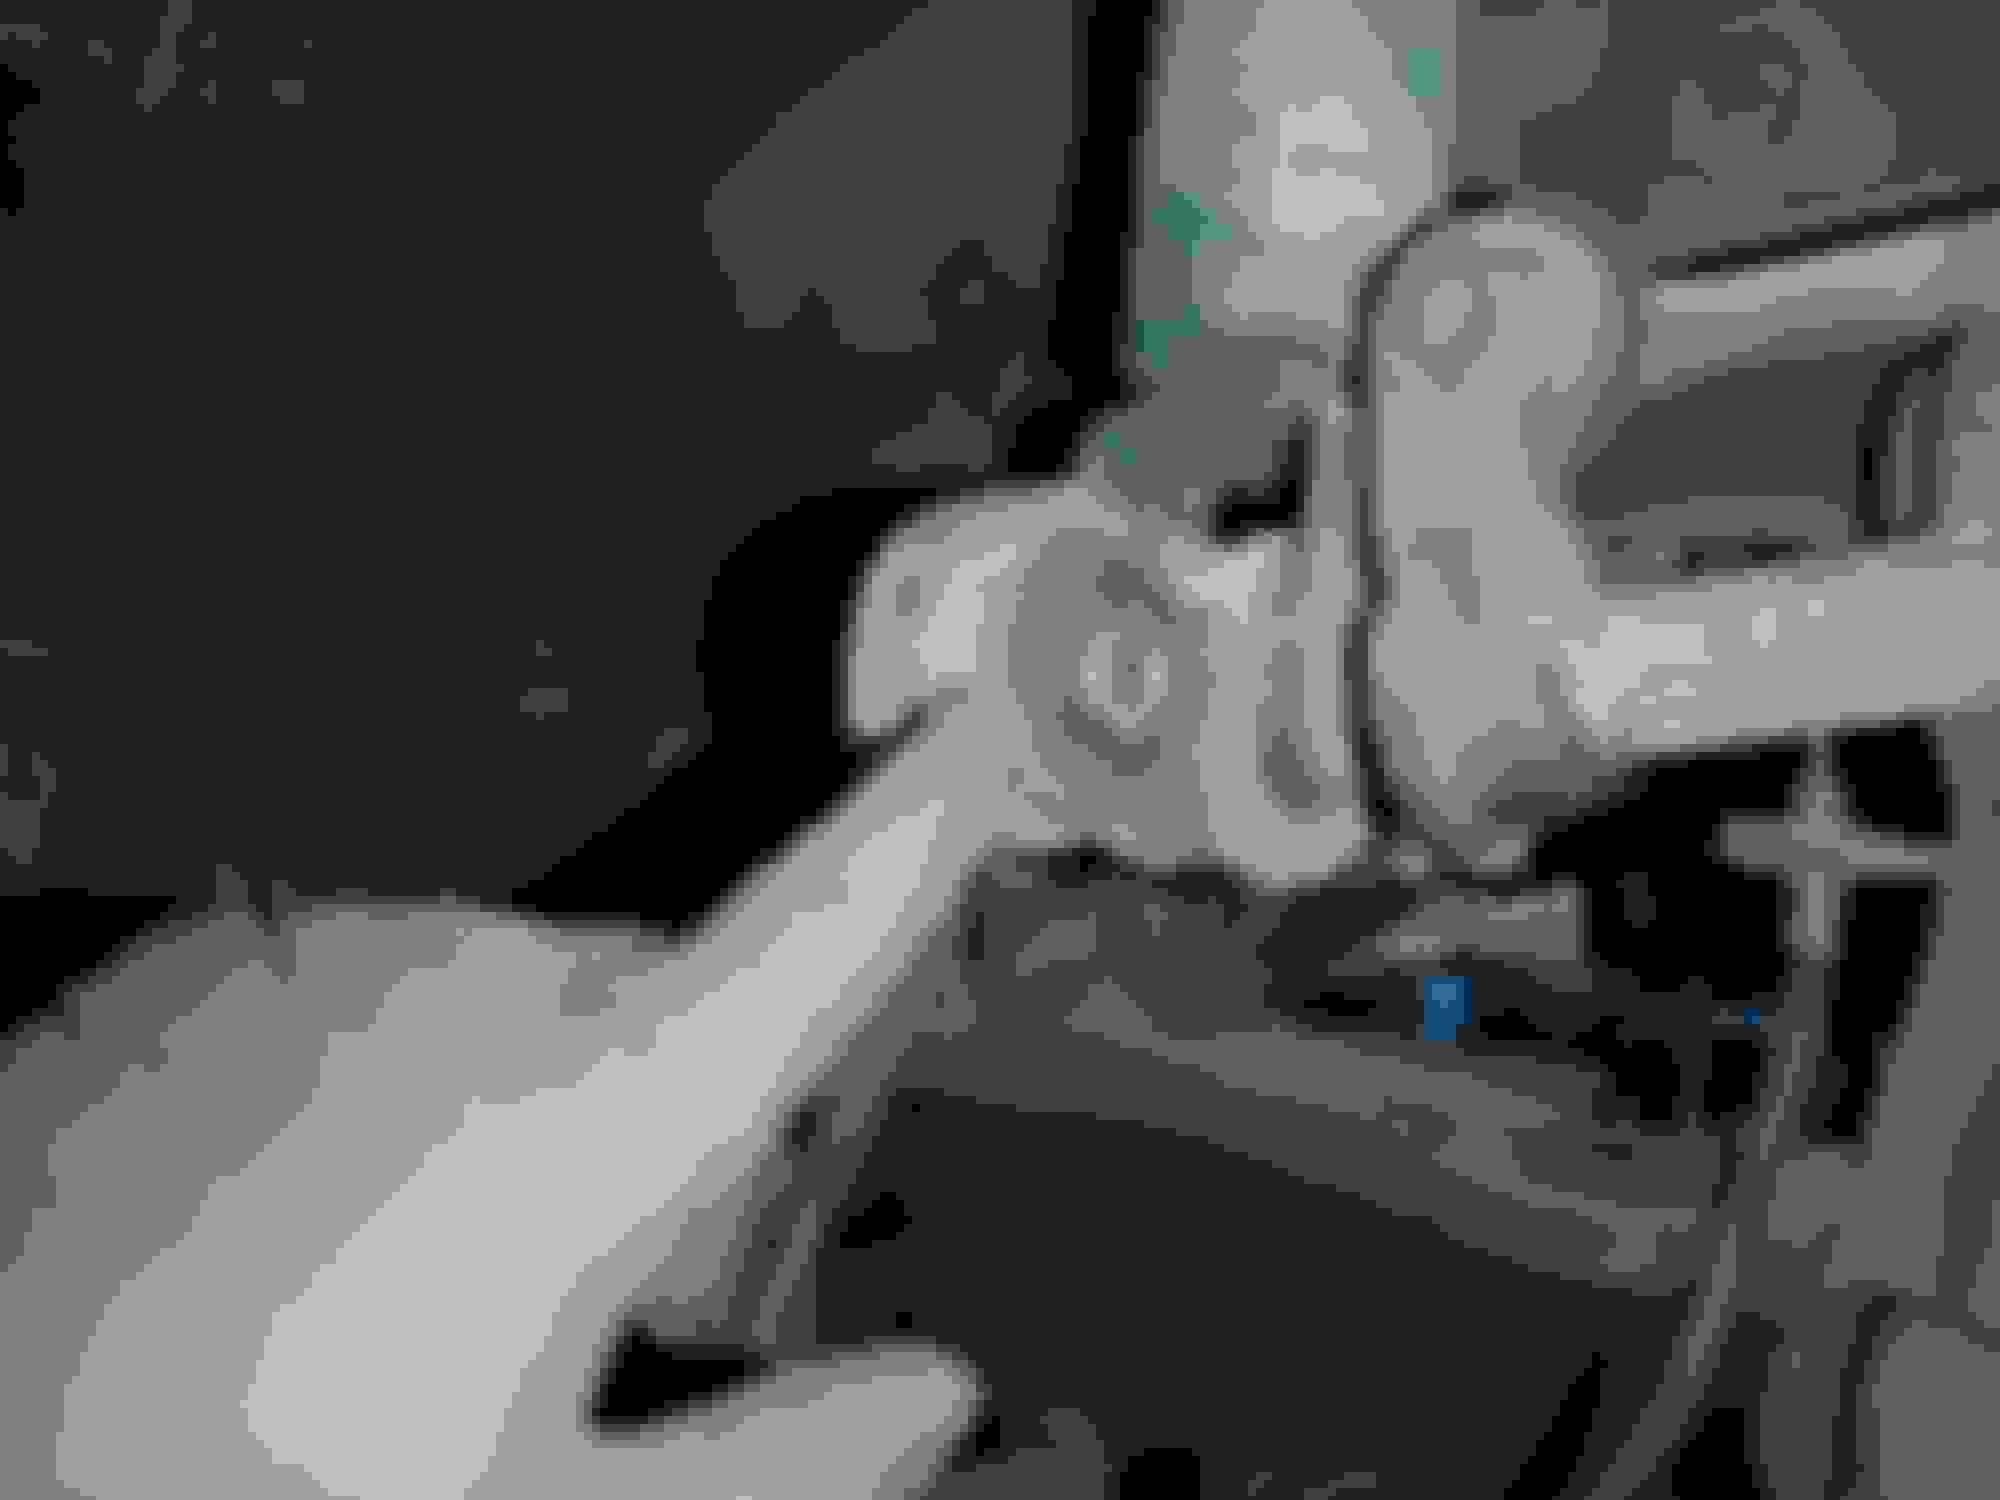
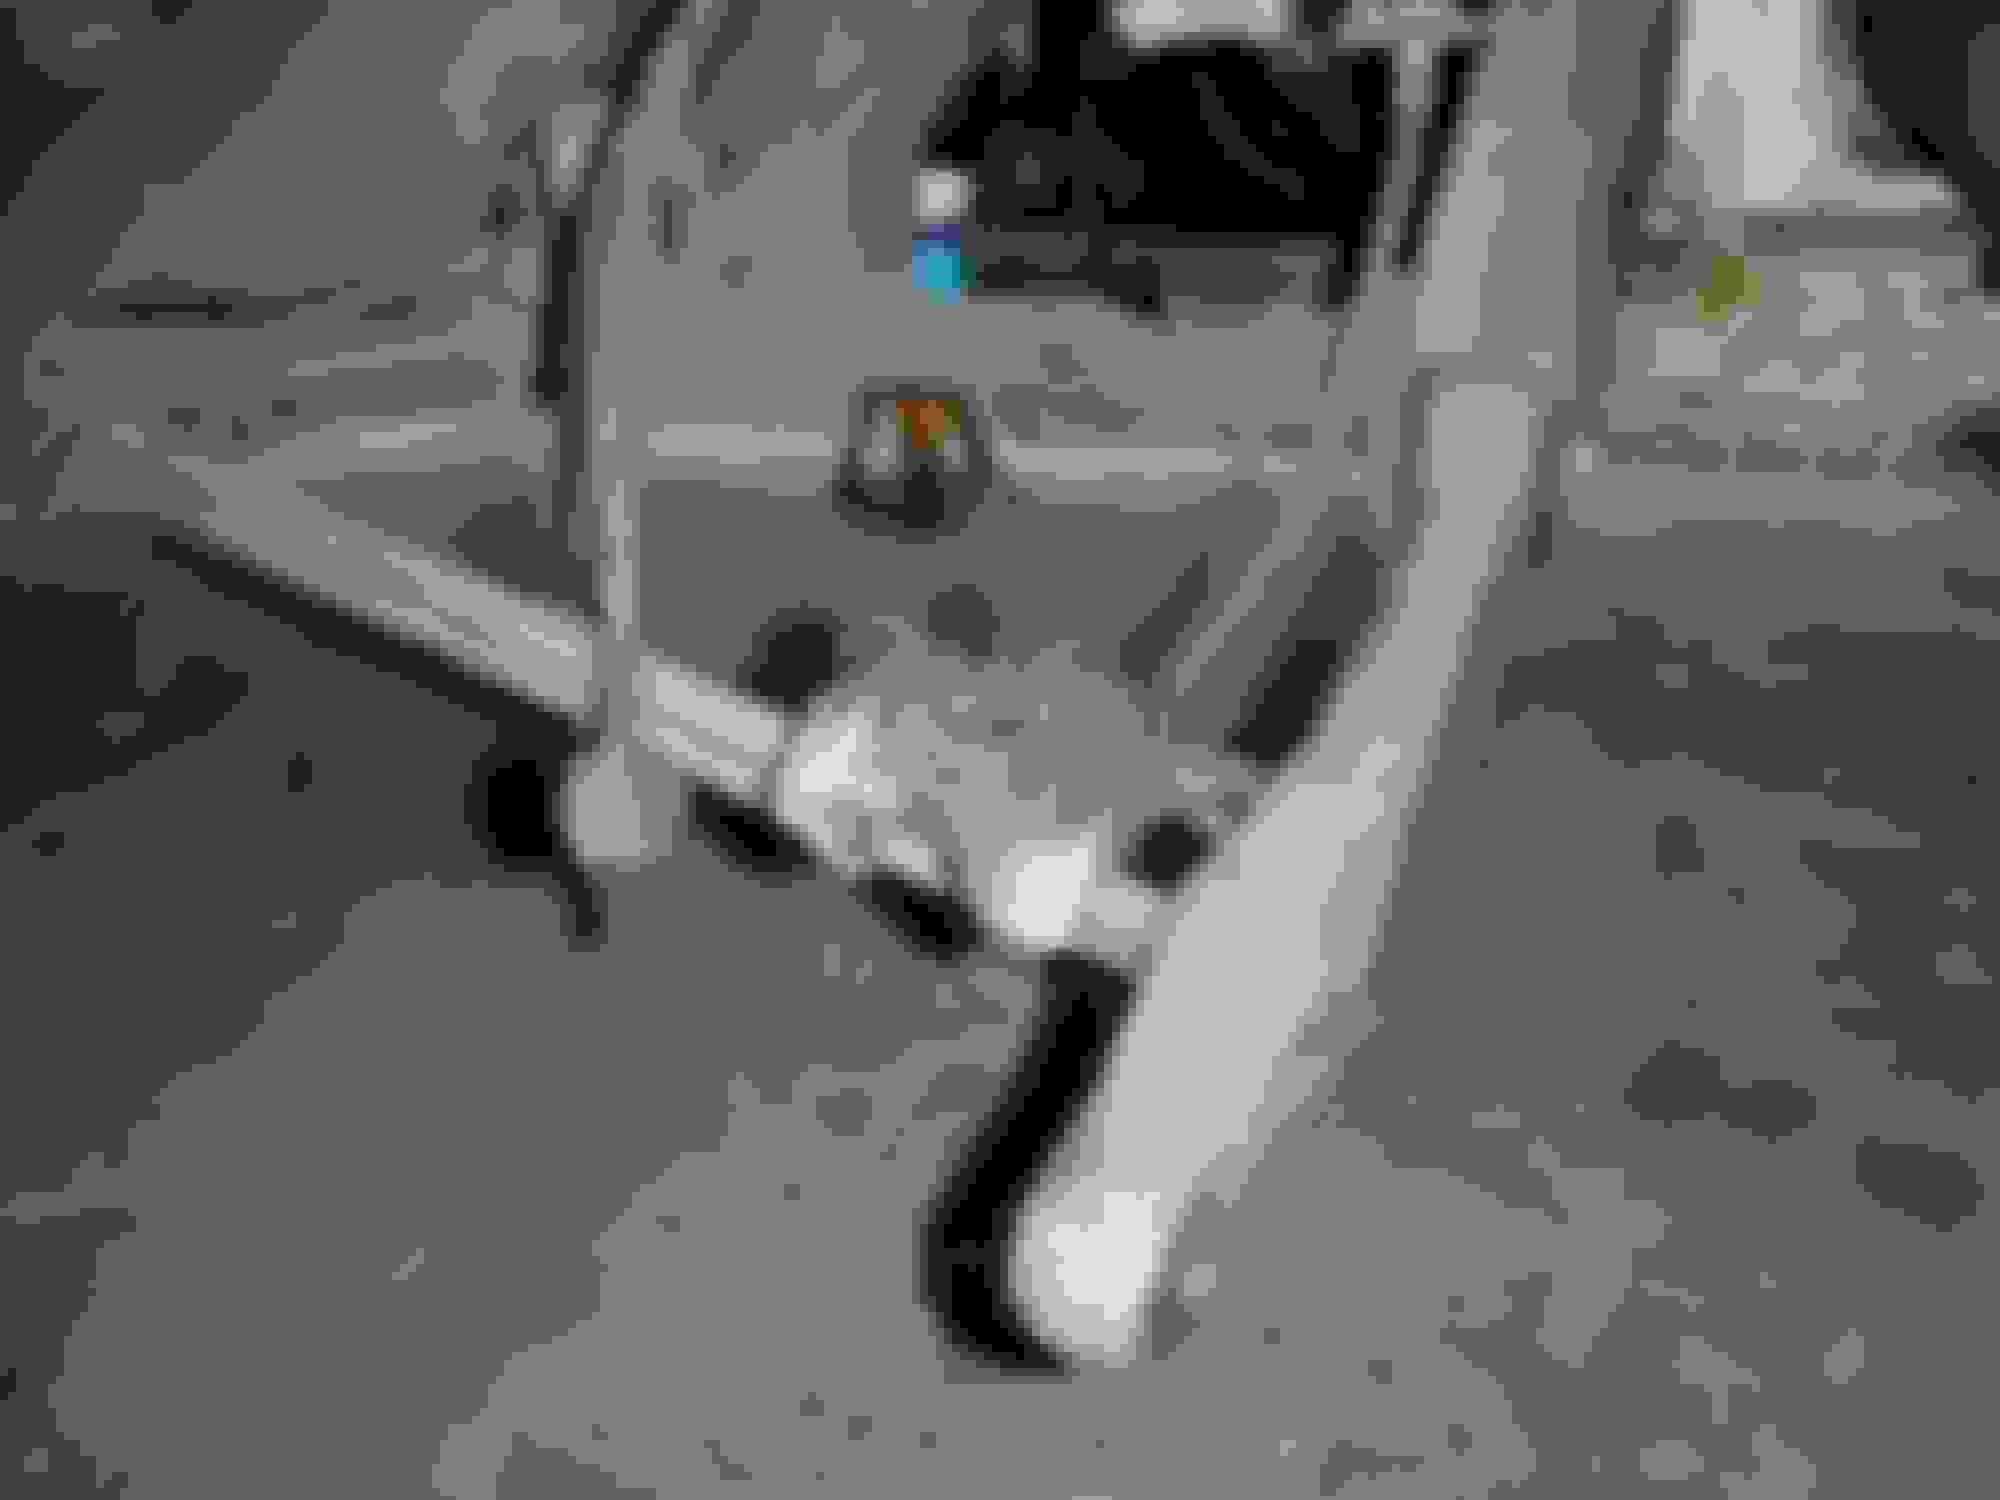
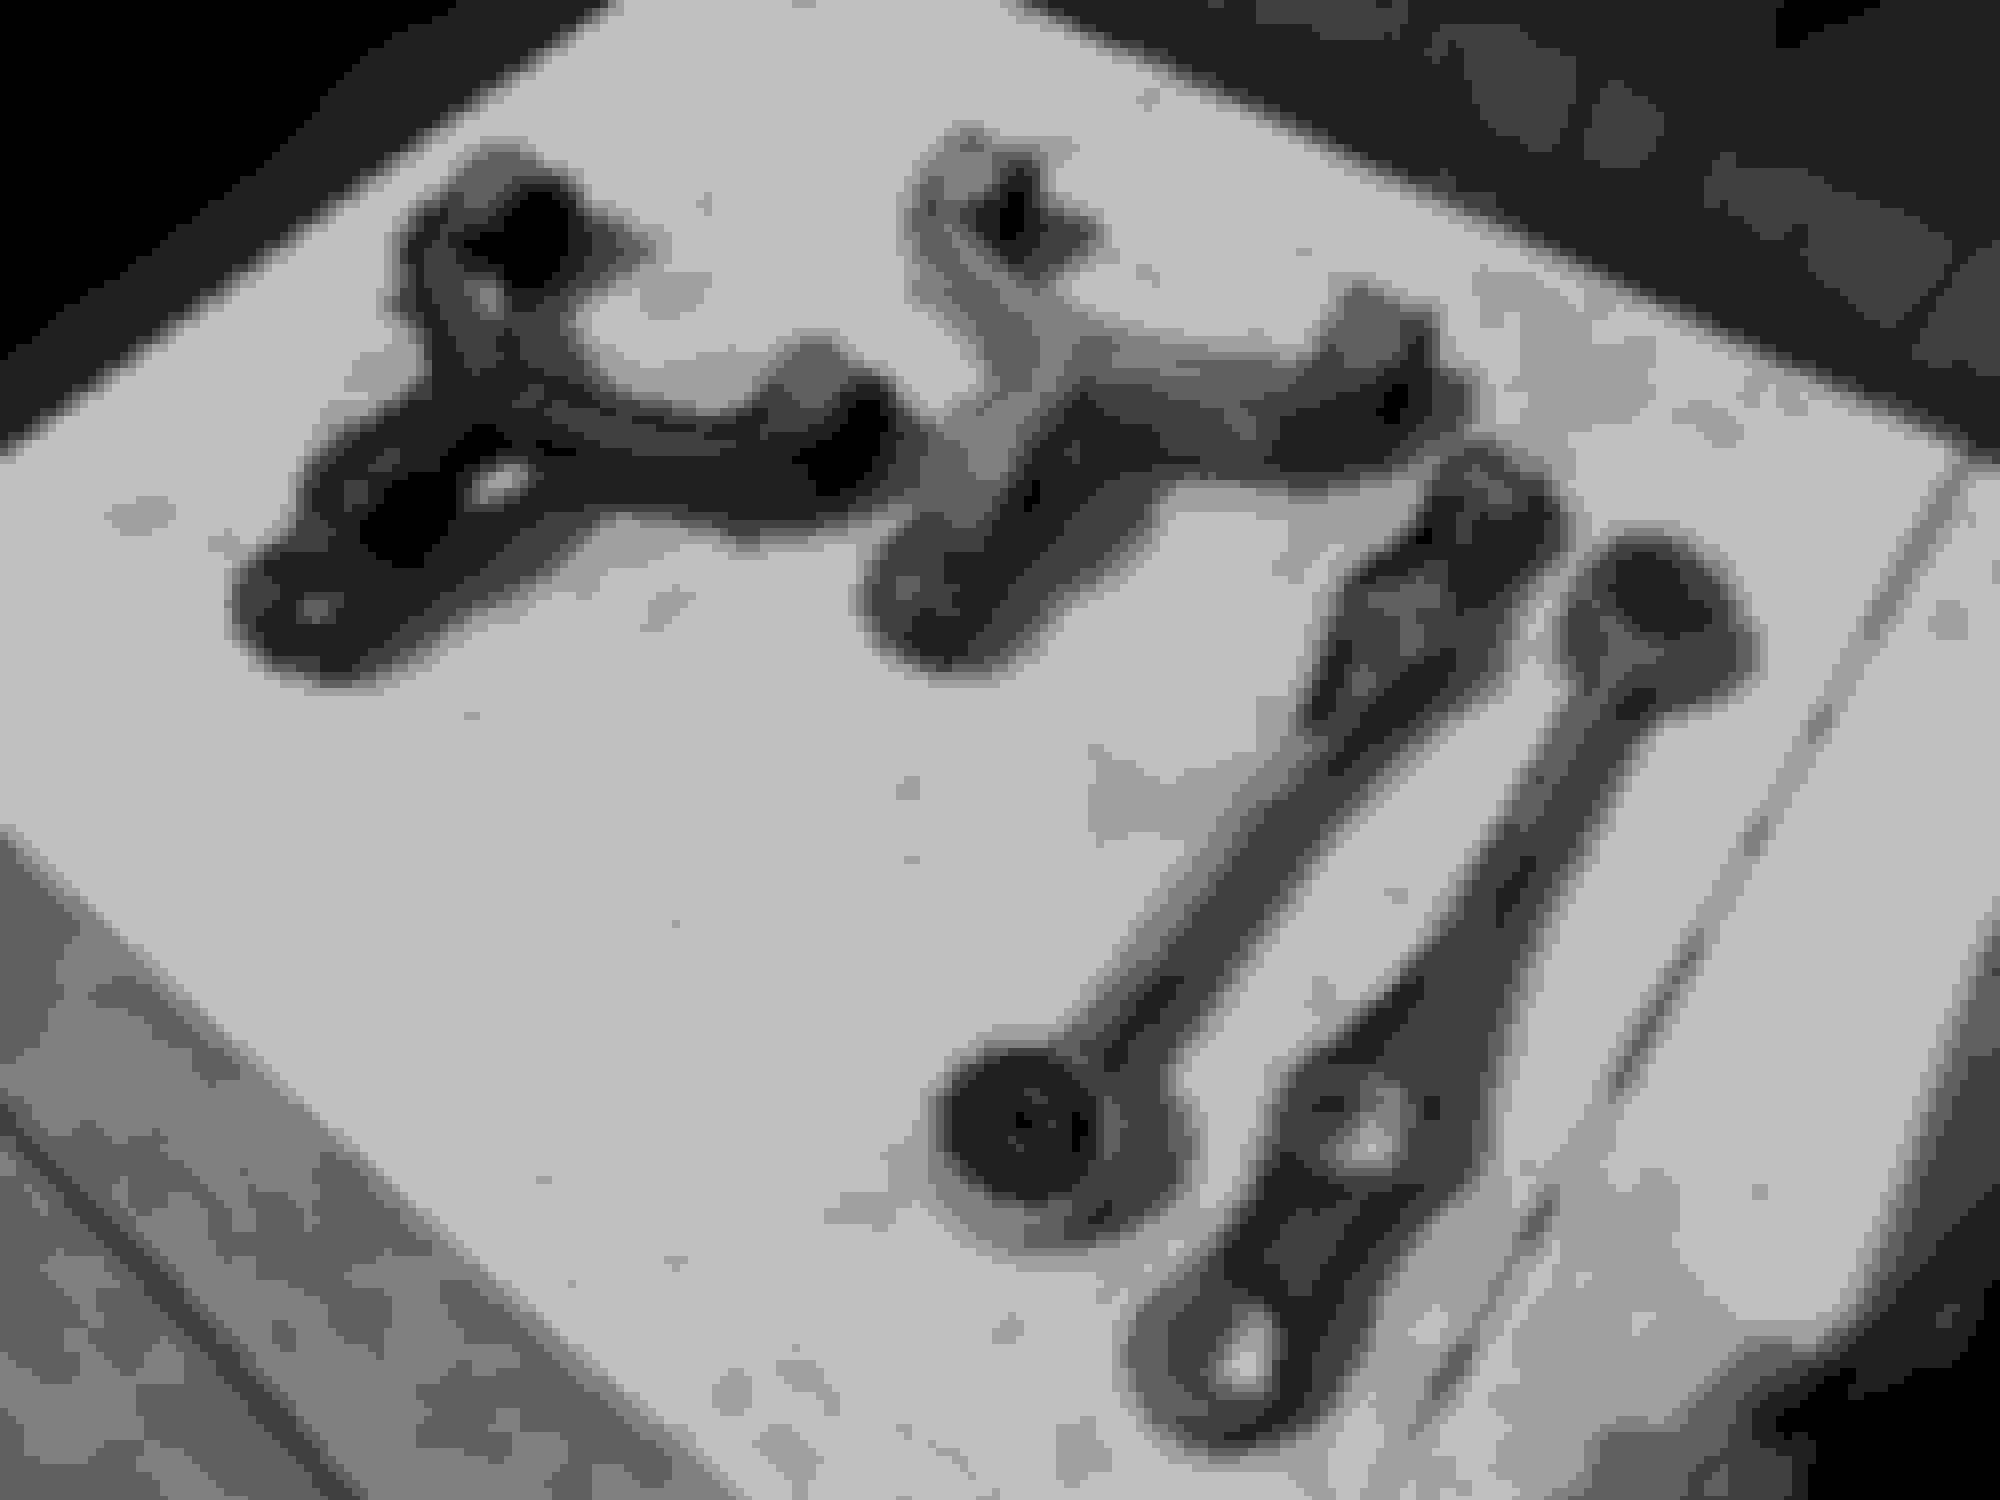
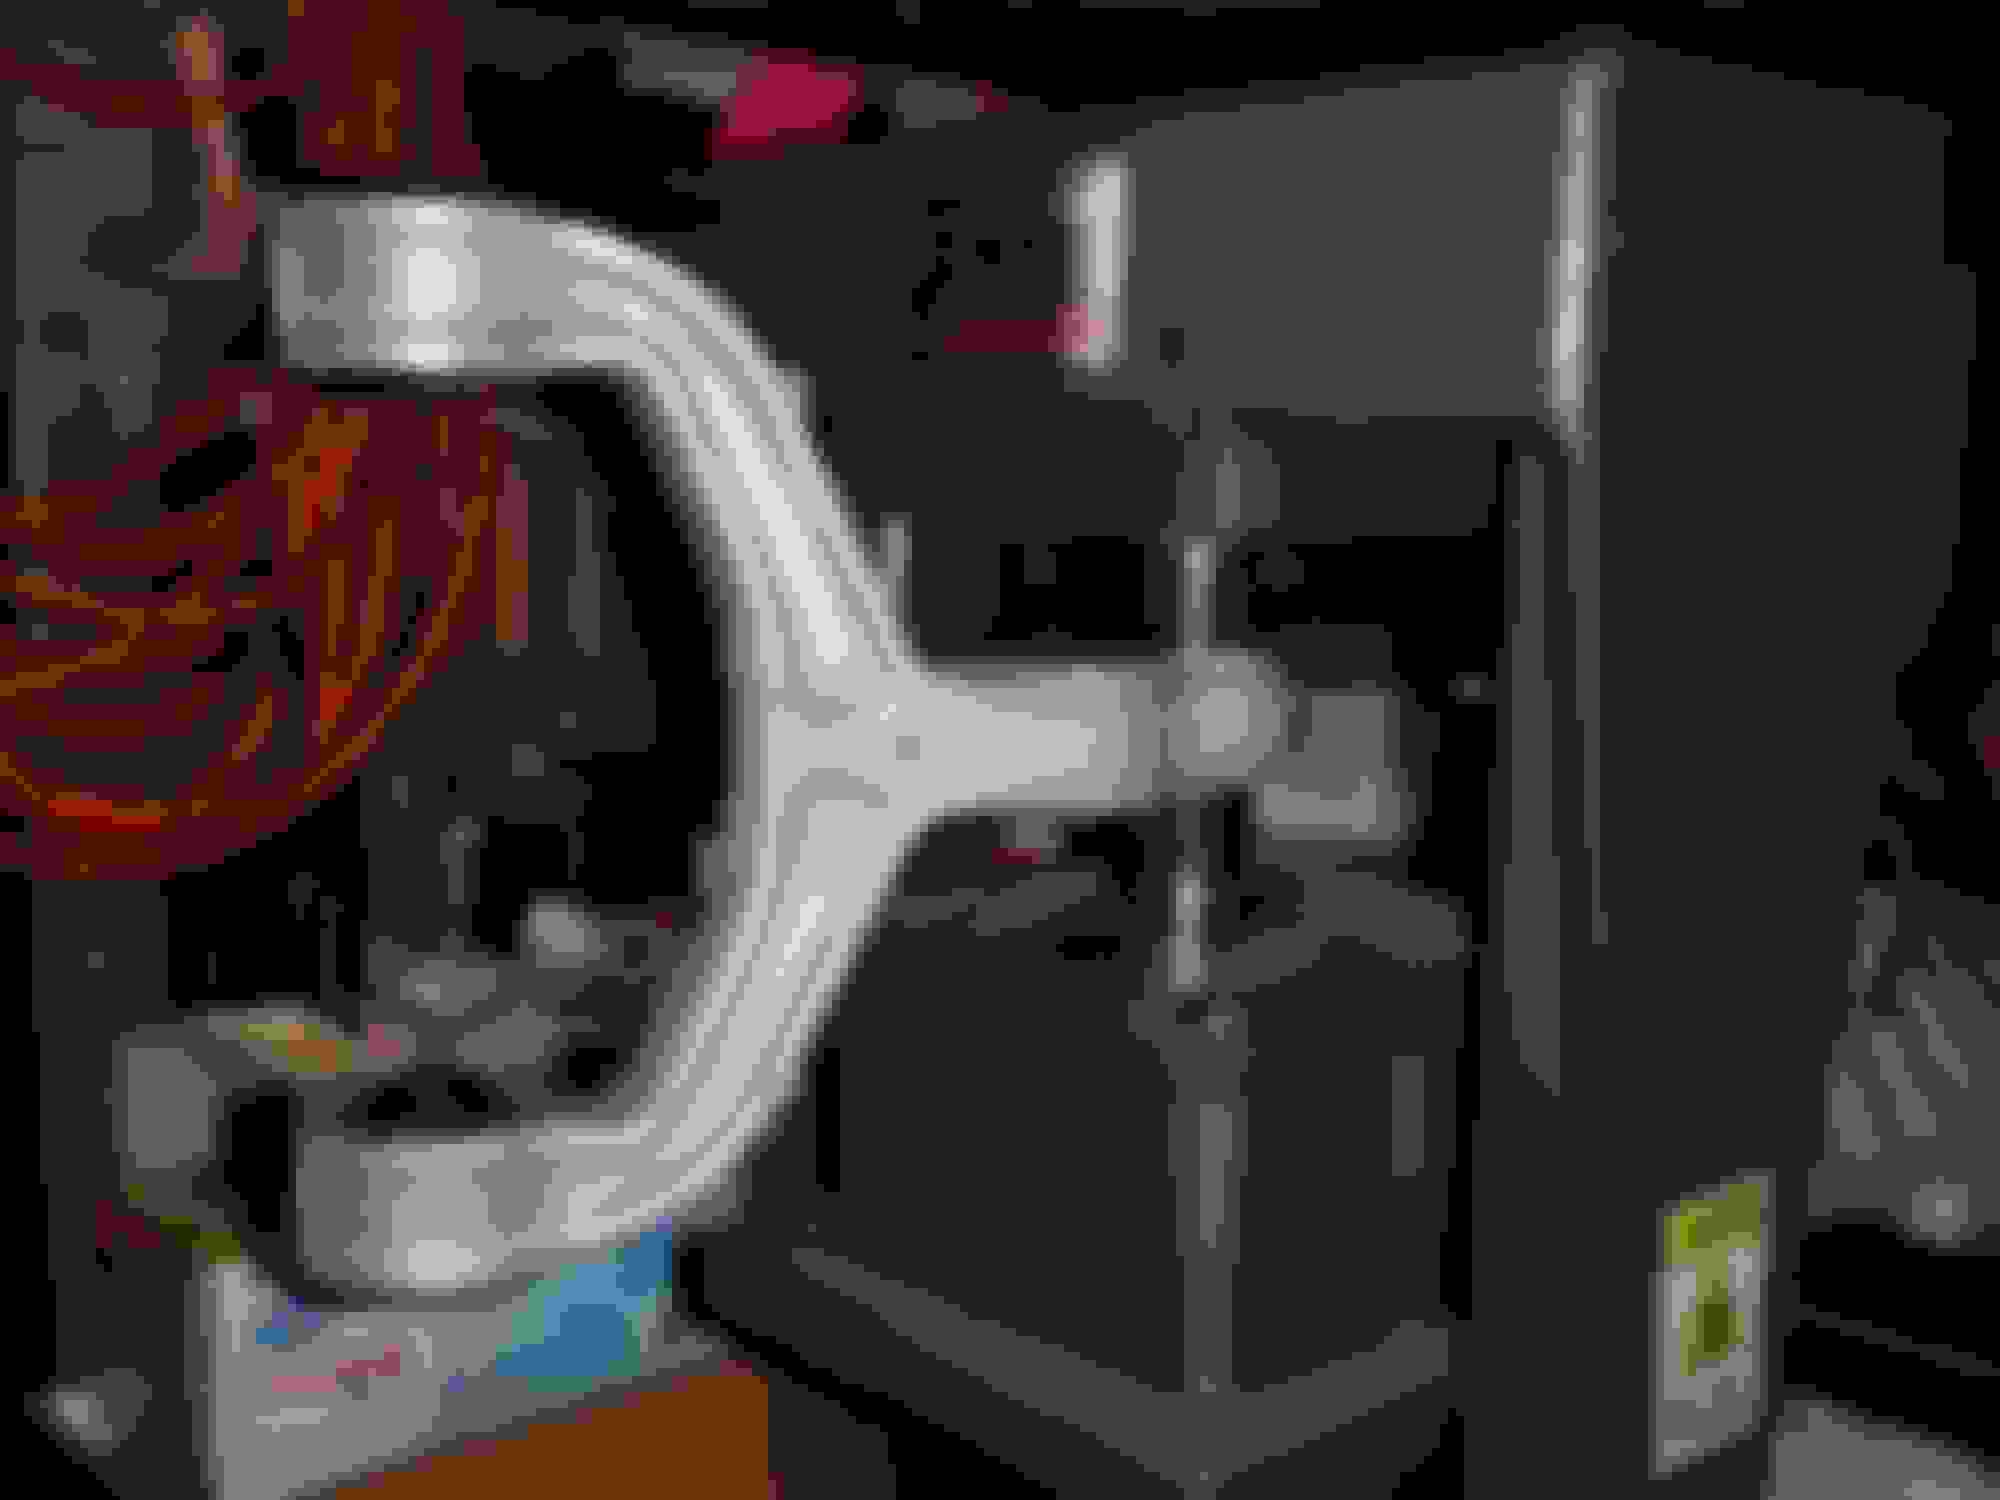
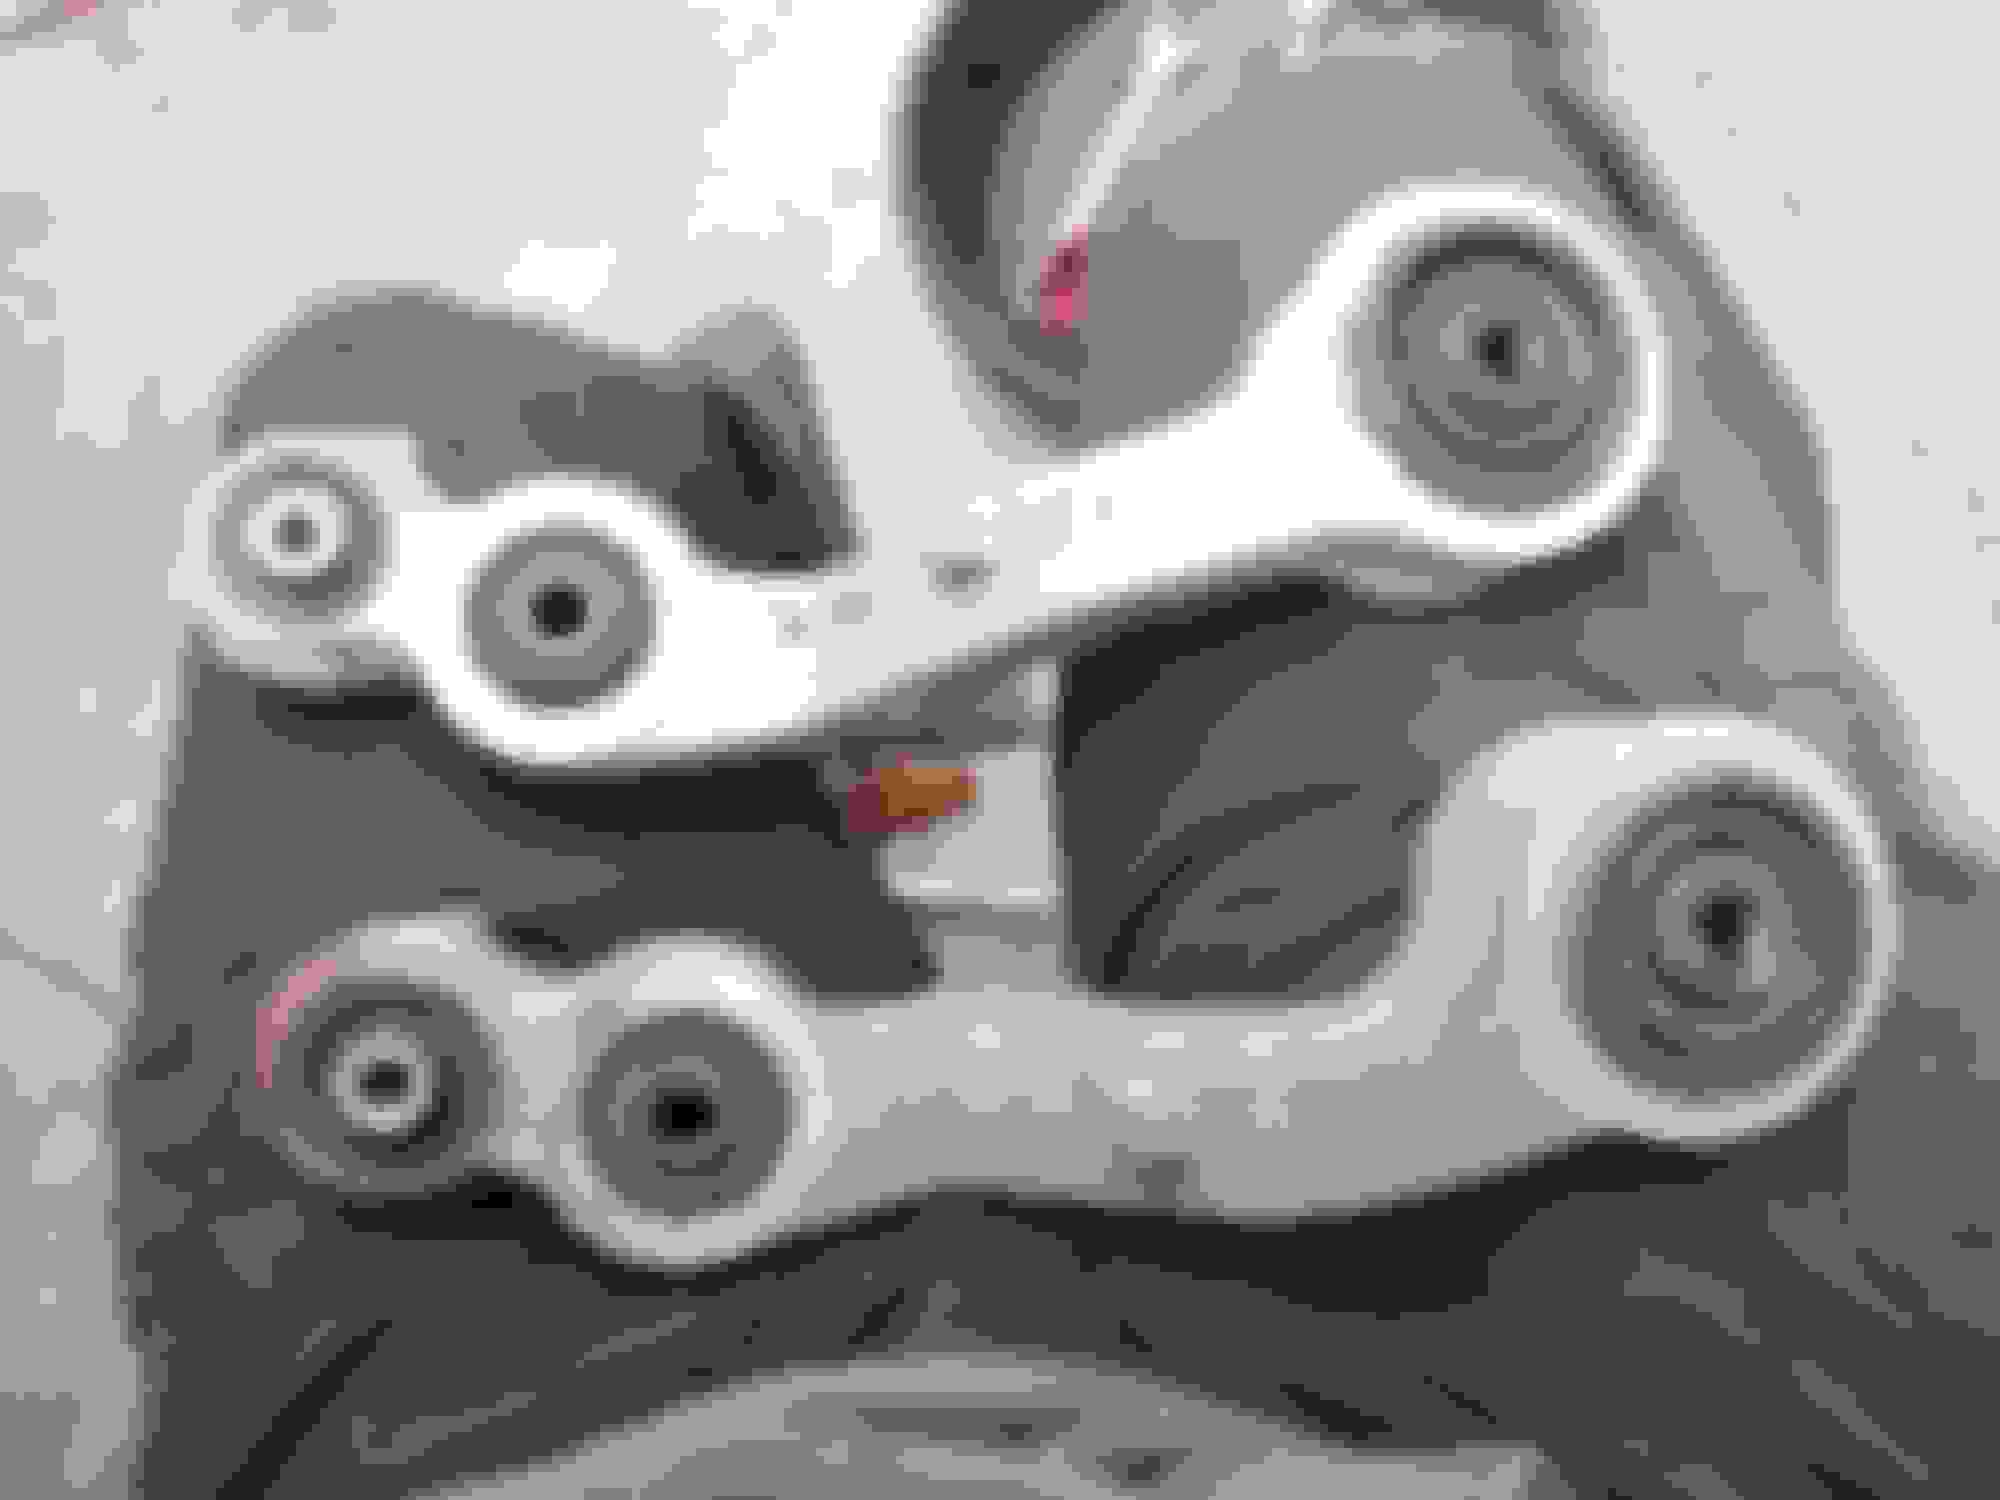
For the rear suspension Im going to replace the pillow ball on the rear upper control arm and the 2 in each rear lower control arms. I was told you just pull off the dust shield, pop off the c-ring and it'll just come out. smh.. I had to pull off the dust shields with pliers which felt like they had some glue. After removing the c-ring I used a 22mm socket and pressed out the pillow ball. Luckily I got some spare rear suspension pieces because the left rear lower control arm was slightly bent. You can see it in the pics. Next will be to clean the control arms and press the bearings back in.
My pillow ***** had some play. After taking off the dust shield you can see where water leaked in and damaged the inside. The pillow ball has two different sides and the side that is completely flush is going out with the c-ring.
What can I say....Eagle One mag and wheel cleaner is the shizzz
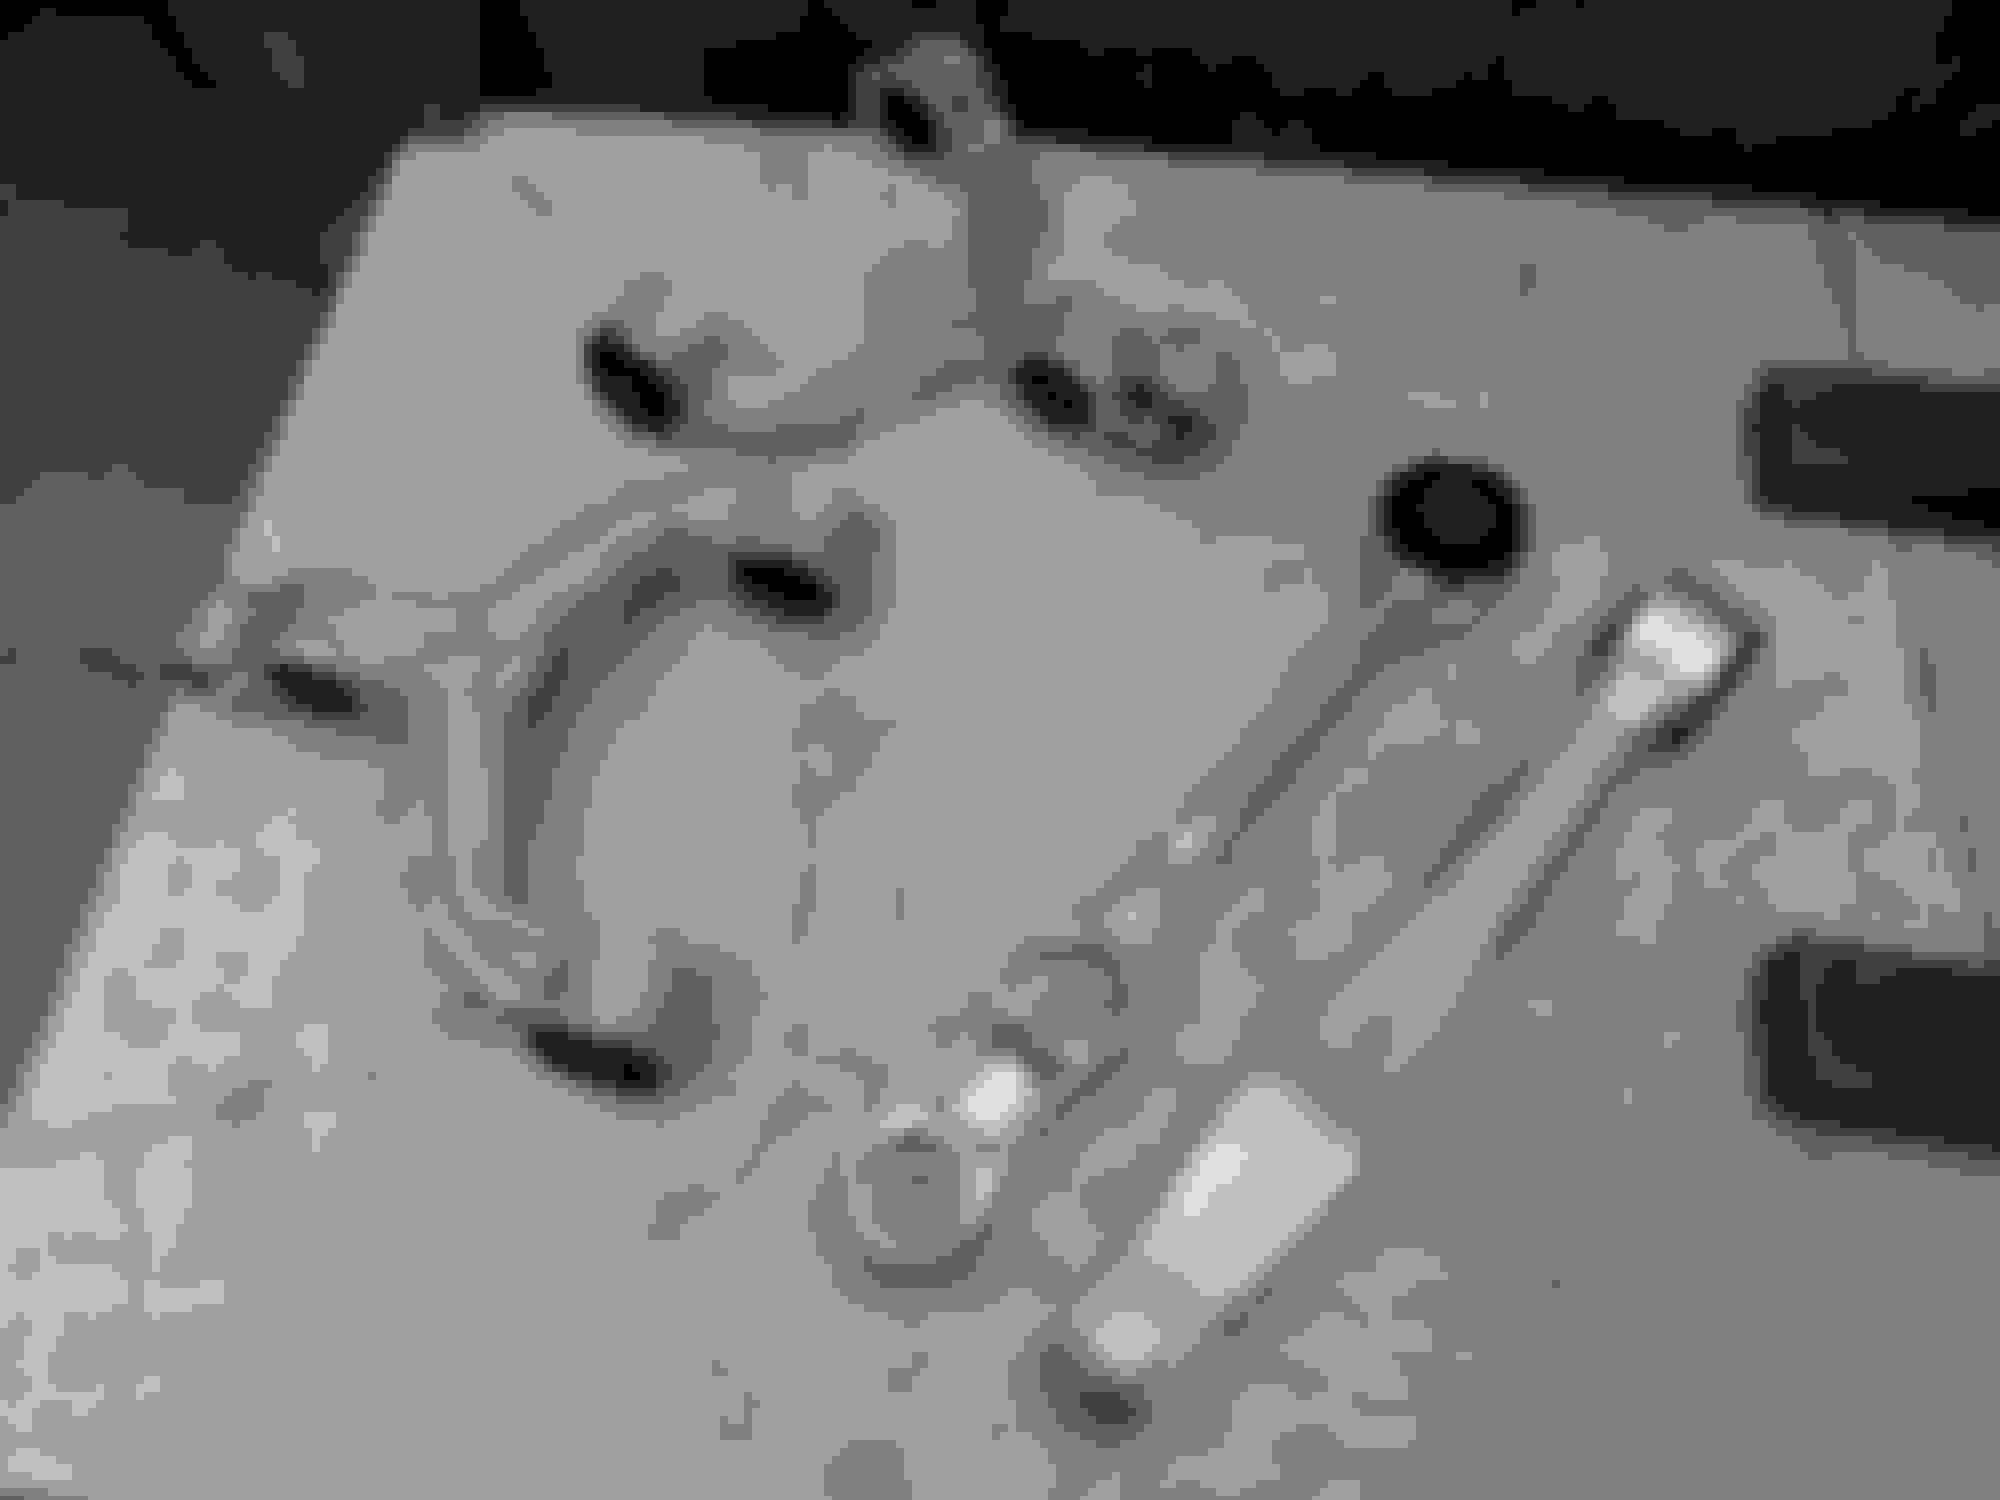
I wanted to clean the rear upper and lower control arms before putting in the new pillow ball bushings. I hit it up with a wire wheel and then cleaned them with the mag cleaner - omg !!
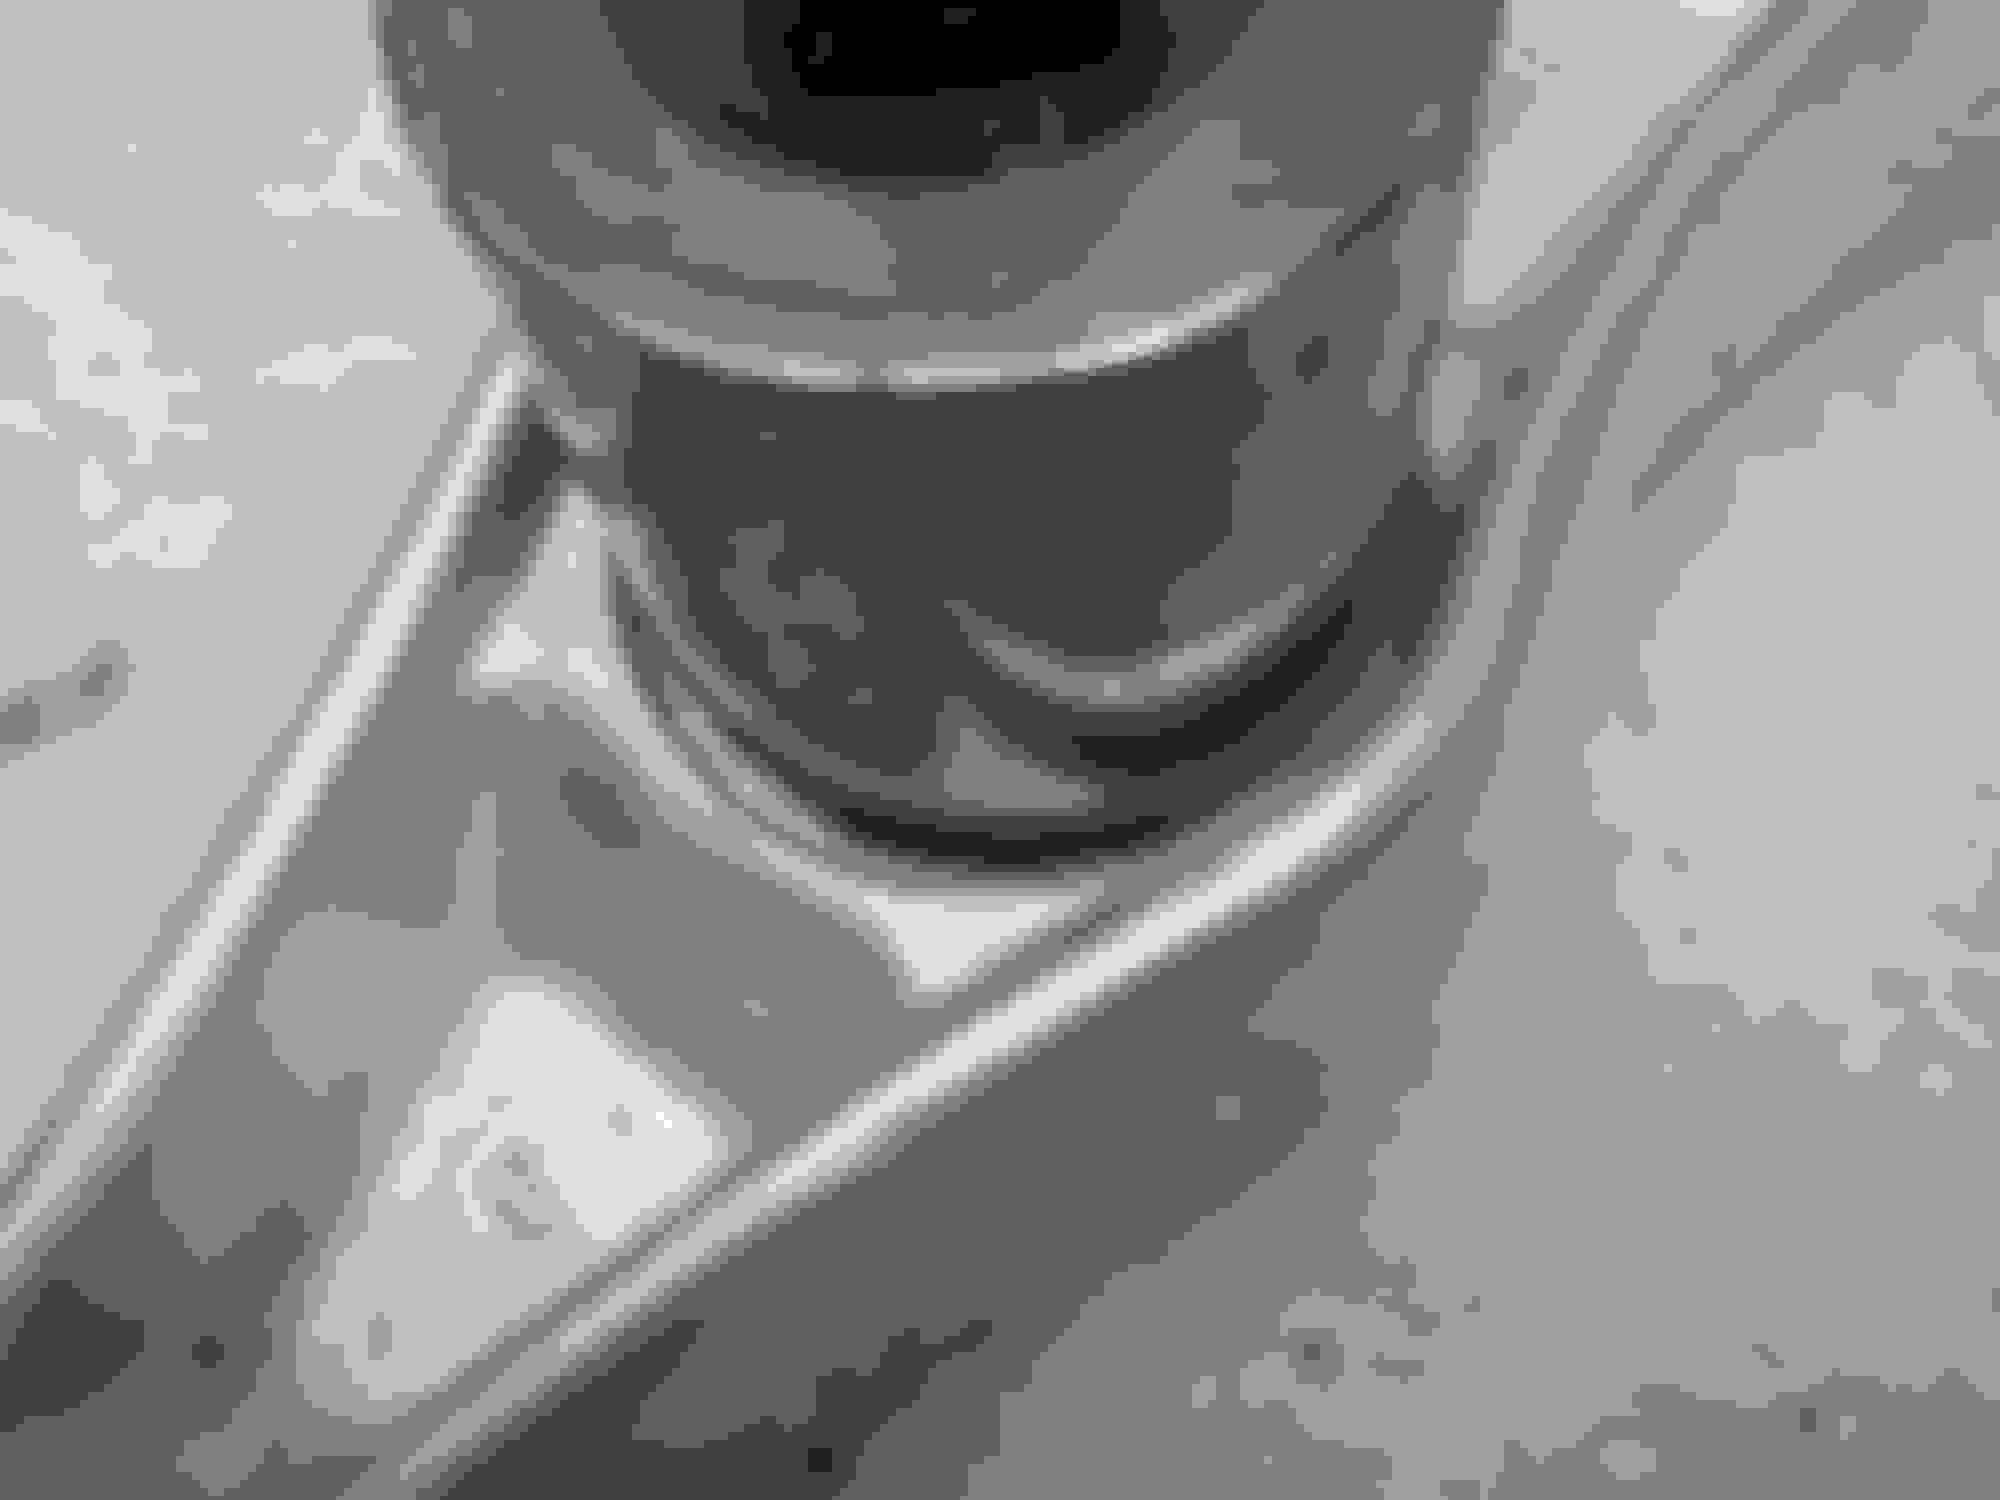
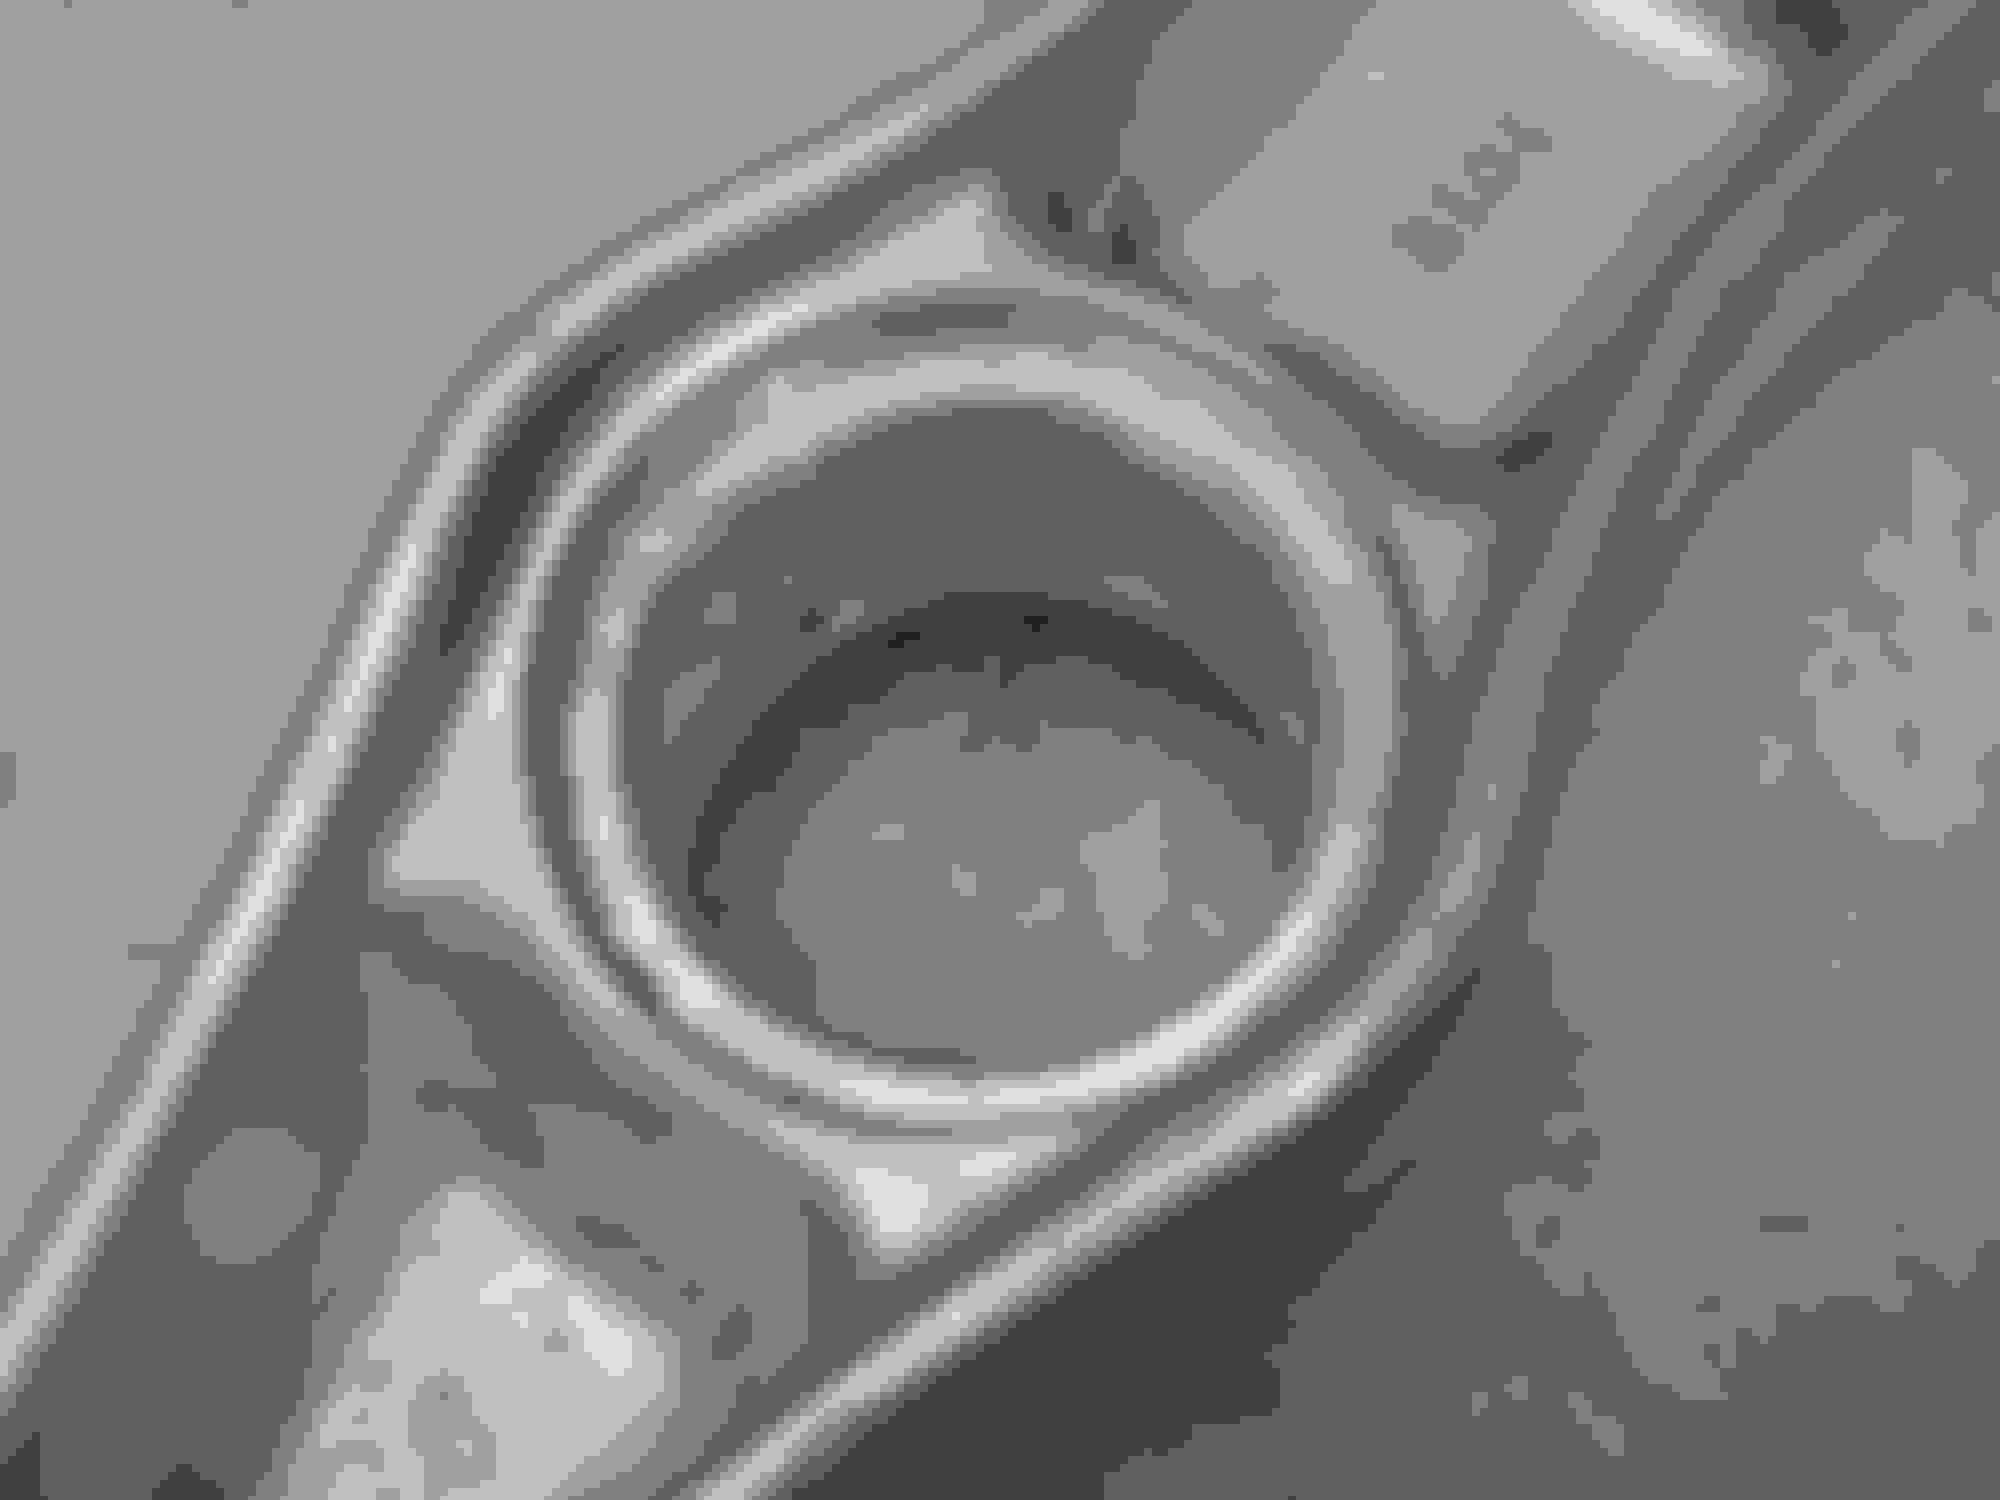
After the arms cleaned I pressed in the new bushings. I used a 29mm to support the arm where the bushing stops in the bottom of the hole. Then I used a 28mm to press down on the bushing. The 28 is good because it needs to push down into the hole without getting stuck. On one side of the bushing it has a shaved down section and that goes in first. Once down I then instThe pillow ***** already come greased so all I had to do was install the dust shields. The dust shields press into a groove and are really secure. I also glued a rubber isolator onto the rear lower control arm.
Last thing today was to change the front brakes. It all went together smoothly, only question is do you guys have any experience with "BLUE" brake fluid ????
well I think I should have just named them updates instead of days, however this update was over a period of a week but still totaled about 8 hours worth of work...lol
I forgot to put the shield on the back of the engine where the transmission bolts up so I took care of that. Looks better being all orange vs the black back plate with green shields.
The brakes parts I was waiting on were the springs for the back brake pads and the rear brake caliper rebuild kit. I was missing the rubber plunger on the guide pins and my piston boots were ripped.
When I swapped the rear upper control arms I noticed something different between them, on my 95 the bushing was a solid bushing under load where it bolts to the sub frame. On the spare upper control arms I had the were ones that spin, the same style where the shock bolts to the arm. It made things alto easier to set the pre-load height. Unfortunately I did not find this out until I took the rear strut bar and coil-over out...lol. Once I found this out I put the strut bar and shock back in and swapped both upper control arms with ease. Now I was ready to reassemble the rear suspension and brakes.
The way I reassembled the rear suspension.
1. Its easier to bolt the lower control arm to the trailing arm first before putting it into the sub frame, dont forget the removable blue thread locker.
2. Place the lower control arm into the sub frame and make sure the solid rubber insulator is facing towards the rear of the car, Install the alignment bolts. (I took a picture where they were before so I could put them back the same way. Easier for re-alignment)
3. Put the axle back into the rear end and support the weight of the hub with a floor jack while you try to line up the bottom bolt through the hub and lower control arm pillow ball. For me the bottom ones were easier.
4. Line up the top hub to the pillow ball in the upper rear control arm.
5. Hook up the toe link.
6. Bolt in the ABS sensor.
7. I raised the suspension about 2 inches ( I measured from the bottom of the top plate on the coilover to the bolt that goes through the top of the hub - 16 1/4 ")
8. Tighten the aligning bolt in the lower control arm the goes in the subframe - this one has a fixed bushing so It should be tightened usually when the car is on the ground - thats why I raised the suspension.
Sooooo - we all make mistake - right? Ummmm due to my nerve damage in my right arm I have lost some strength so I used the 2 wrench trick to tighten it more. The closed end goes over the nut and with the second wrench you put the closed end into the open end of the first wrench giving you a longer handle basically. I used this for the upper and lower bolts going to the hub. The first 3 snugged up fine but they were still able to be turned with some force - red flag 1. The last one did not get as tight as the others so I thought I might be stripping it. I backed it off and then started to re tighten it and then POP !!!!!!!!! The damn bolt broke where the should and threads meet. It took me a few minutes to find the bolt after it shot out the hole. I took a picture to see if you guys can see where the bolt ended up. Kinda like wheres waldo. After I report everything Ill say where it ended up. So - off to the hardware store to find replacement nuts and bolts. Dale Hardware come through again!!!! The orginal bolts say 10 on the head - Im guessing its strength is a 10??? Well I found some allen socket cap head bolts rated at 12.9 but the nuts were 10.9. The washers were also 10.9 for the Allen head side and I got some lock washers for the nut side. I got 4 and replaced the other 3 as well because Im pretty sure I over stressed the bolts. The new ones tightened up nicely with a predictable feel.
Now with the rear suspension done it was time to re-do the back brakes with the new parts. The rear piston boots were ripped so I pulled them out and the grease behind the boot was like paste and rust mixed together. I cleaned it all up and put the new boot in the channel and put the c-ring in to hold it in place. Then with a pair of pliers I pulled the boot open and with my aluminum welding stick I placed the orange grease inside. I used my pinky the smear it around evenly on the inside. This is what it feels like to be a dentist...lol. I pressed down the inner opening until it sat down below the ridge on the piston. I took a picture so you can see the outside and inside lips that hold the piston boot. Lastly I rotated the notch on the piston to line up with the post on the rear brake pad.
I ordered 2 kits to get the 4 springs - same kits but the springs were a little different from kit to kit. I see the rear pads get 1 spring on each side on the top but I put 2 on each side so it would have even spring force between top and bottom. I put the rubber plungers on the guide pins and greased everything up. The pads kept flying apart due to the springs so this is what I did to fix that.
The way I reassembled the rear brakes.
1. Put the rotor on.
2. Put the caliper bracket on.
3. Put the caliper on with just the bottom guide pin - add grease. (the other side I did the piston clean up with the caliper supported by the bottom guide pin)
4. Holding the brake pads install the bottom spring and rotate the caliper up until it holds the pads together.
5. Put the top spring in and continue to rotate the caliper in and verify the piston notch clears the brake pad post.
6. Put the top guide pin in with the plunger - add grease.
7. Reattach the e-brake and clip.
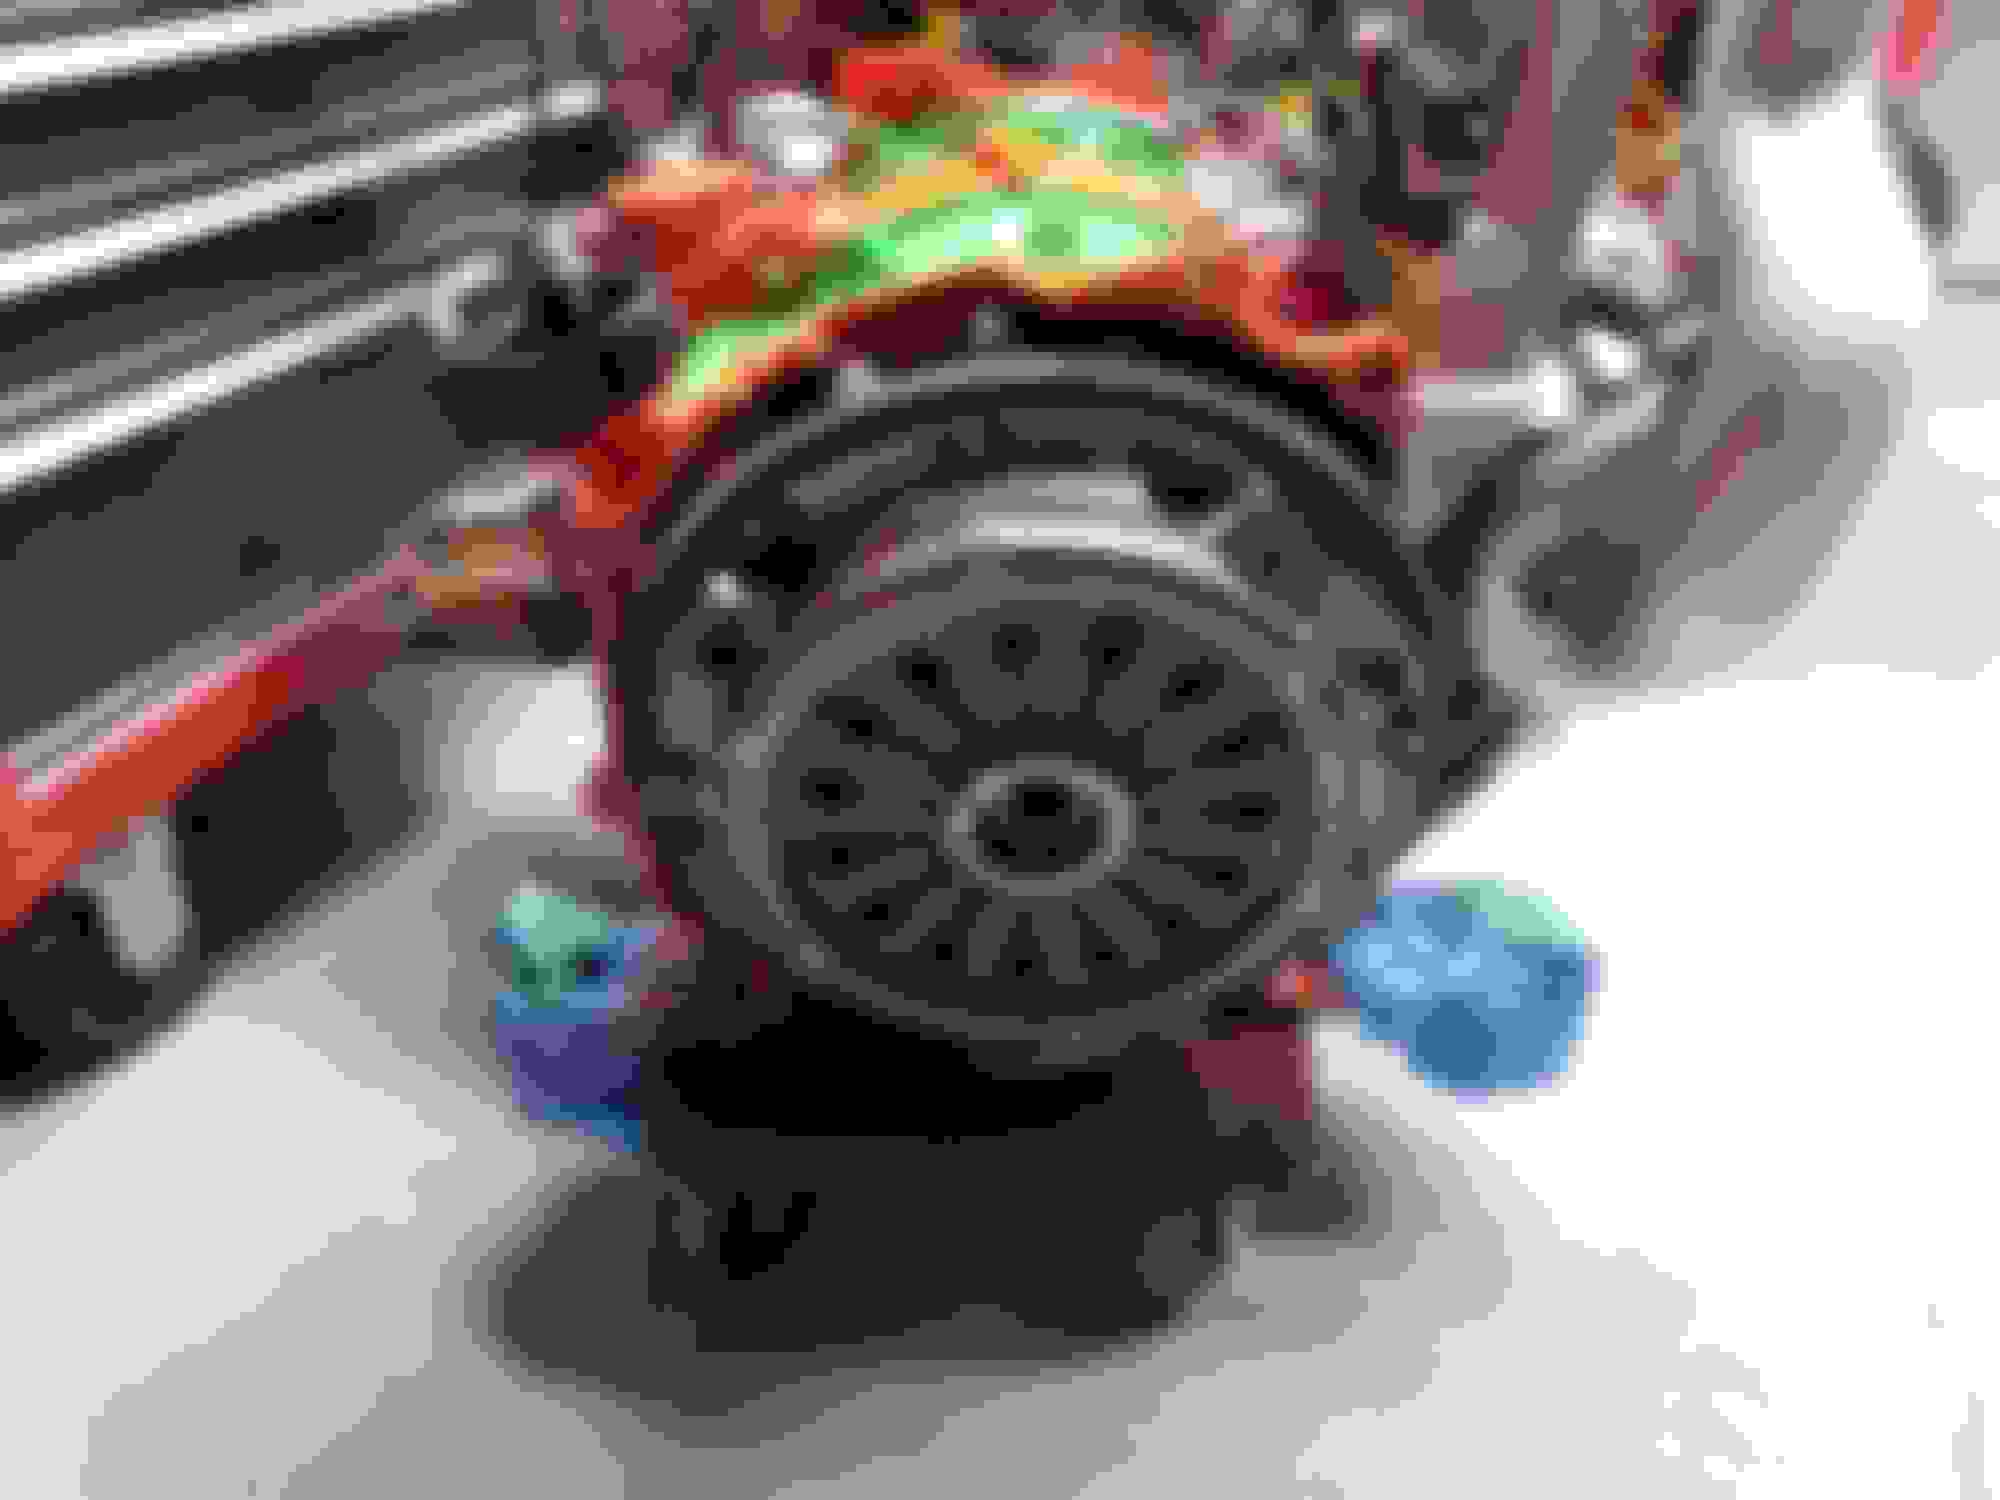
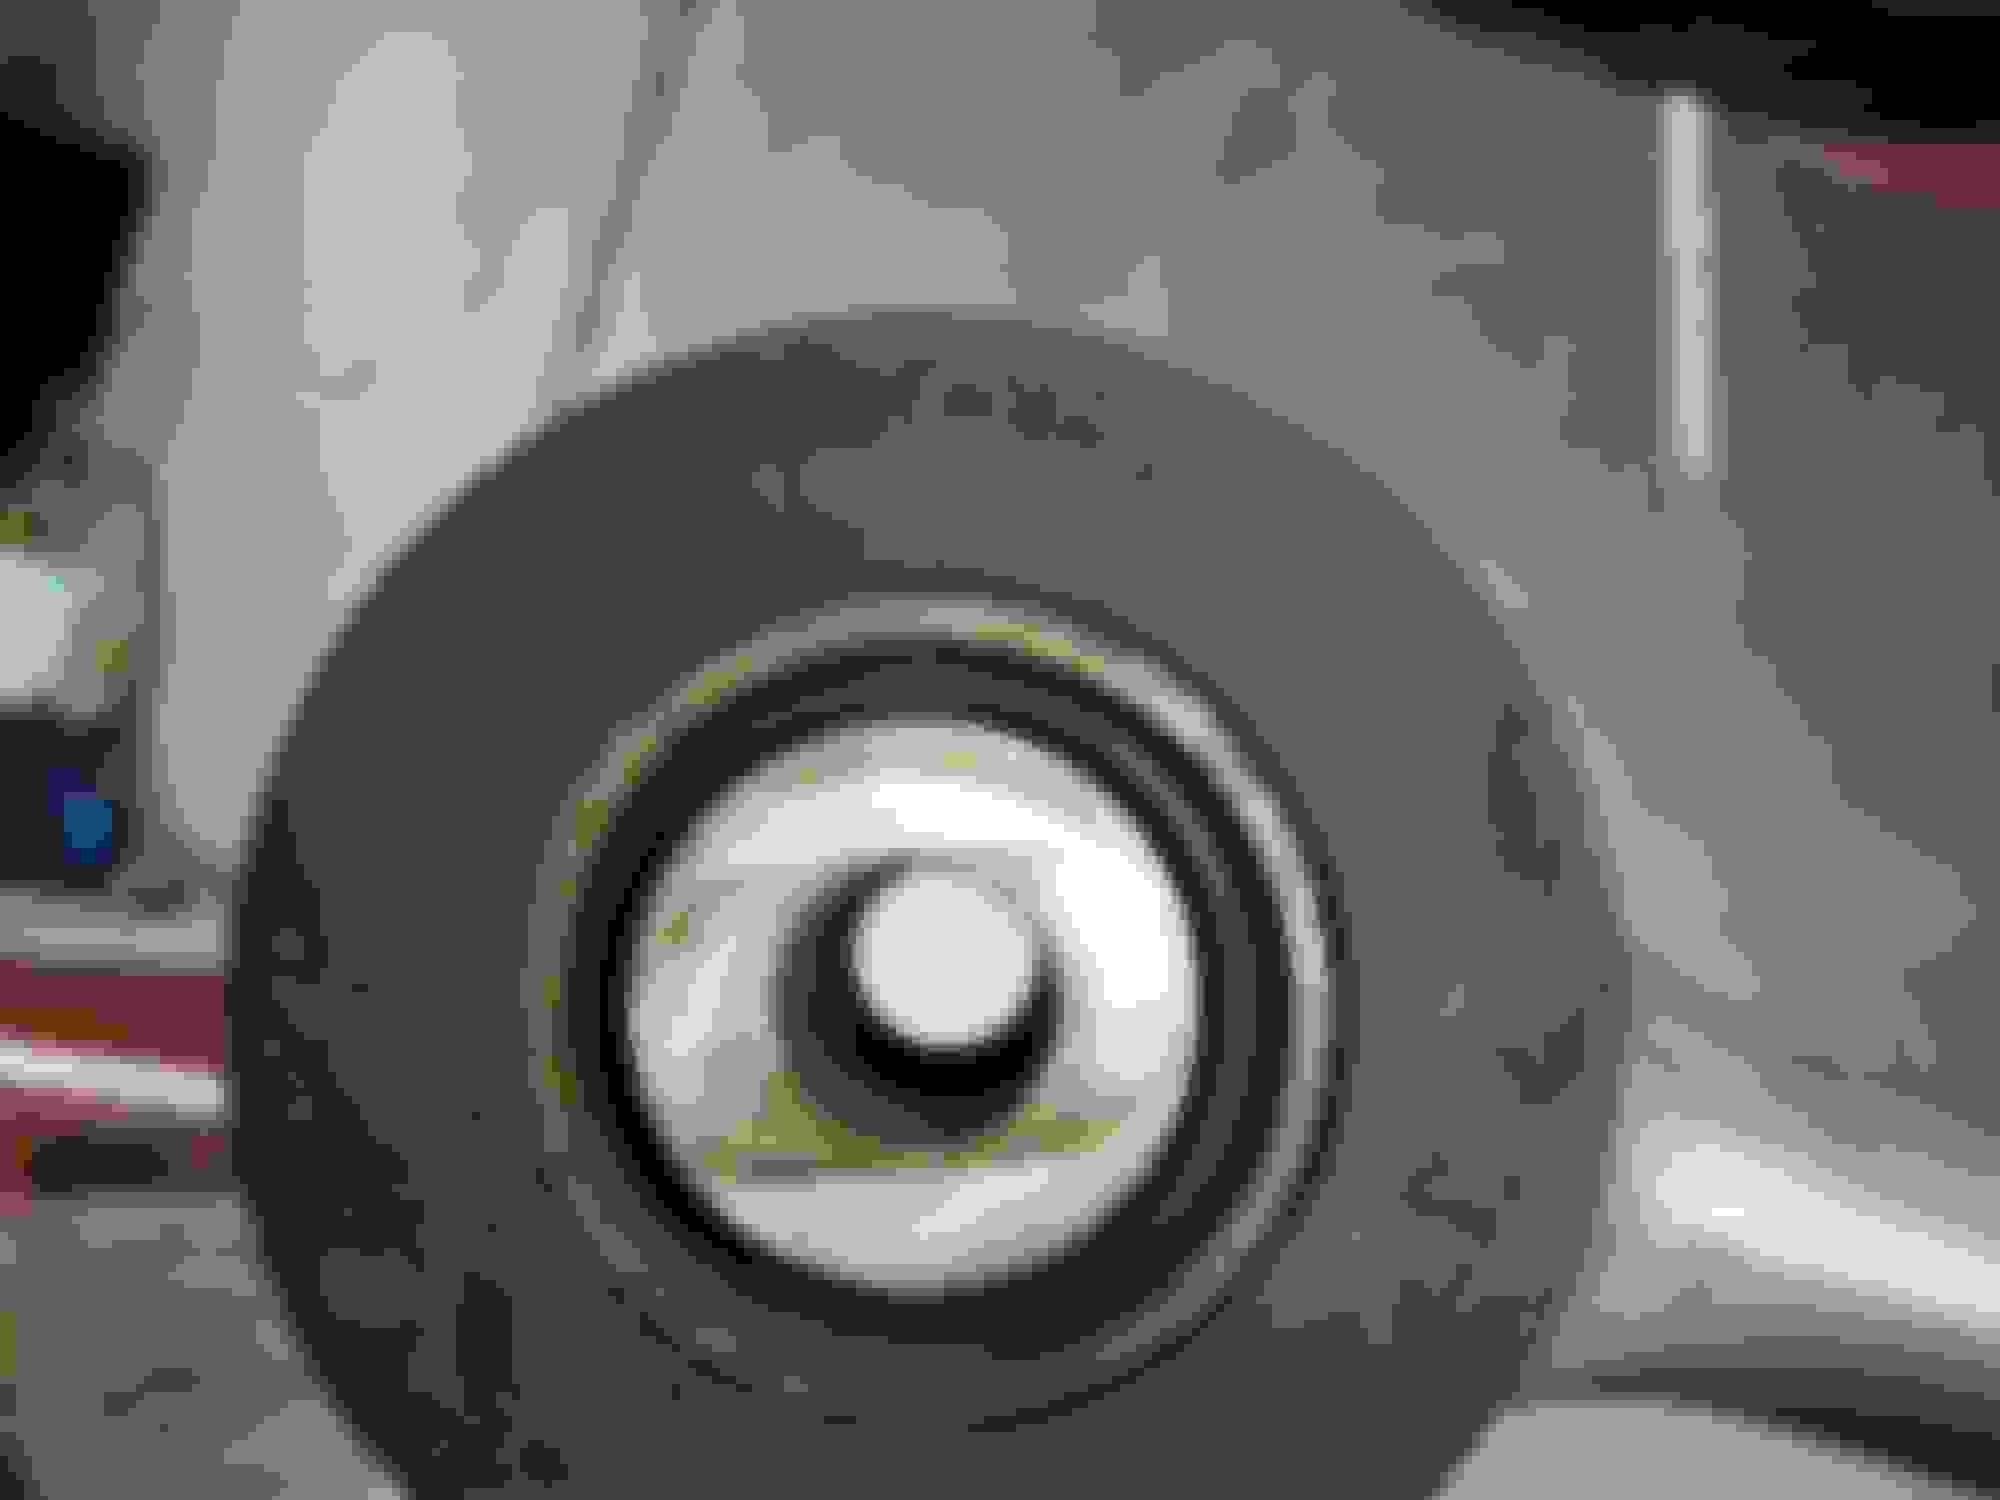
Finally I put the tires back on. The car is still in the air but man o man - does it feel great to see the wheels back on this thing.
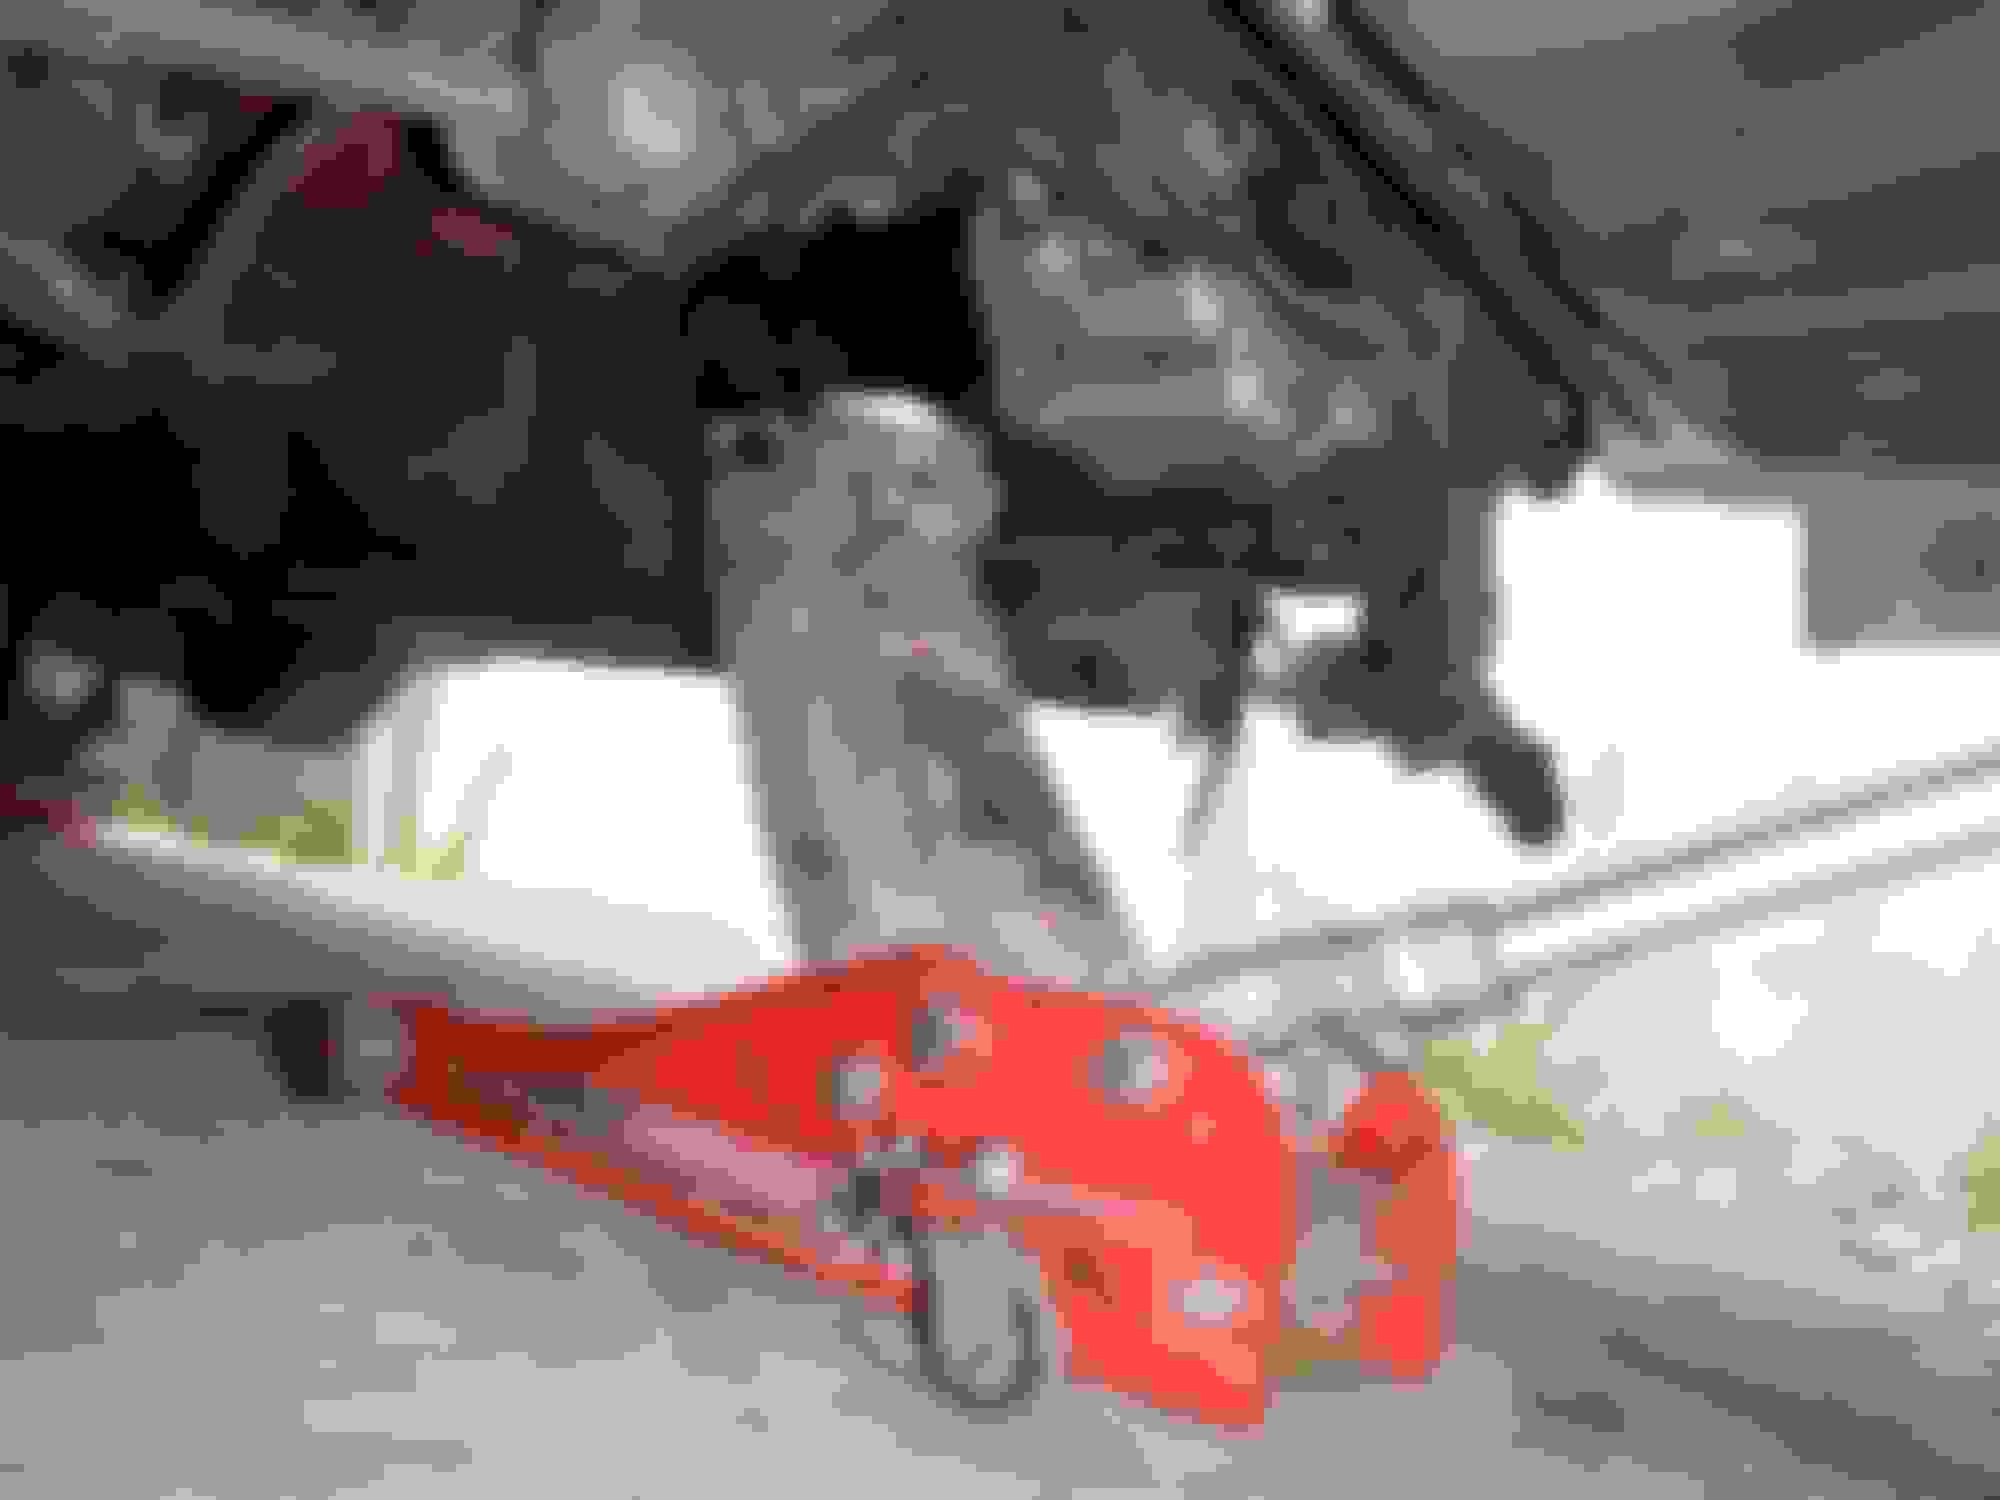
So the broken bolt - it flew through the 2 red jacks stand in front of the car and ended up under the transmission.
Until next update - Have a safe shelter in place.
Last edited by rotaryextreme; Apr 19, 2020 at 10:35 PM.