When you click on links to various merchants on this site and make a purchase, this can result in this site earning a commission. Affiliate programs and affiliations include, but are not limited to, the eBay Partner Network.
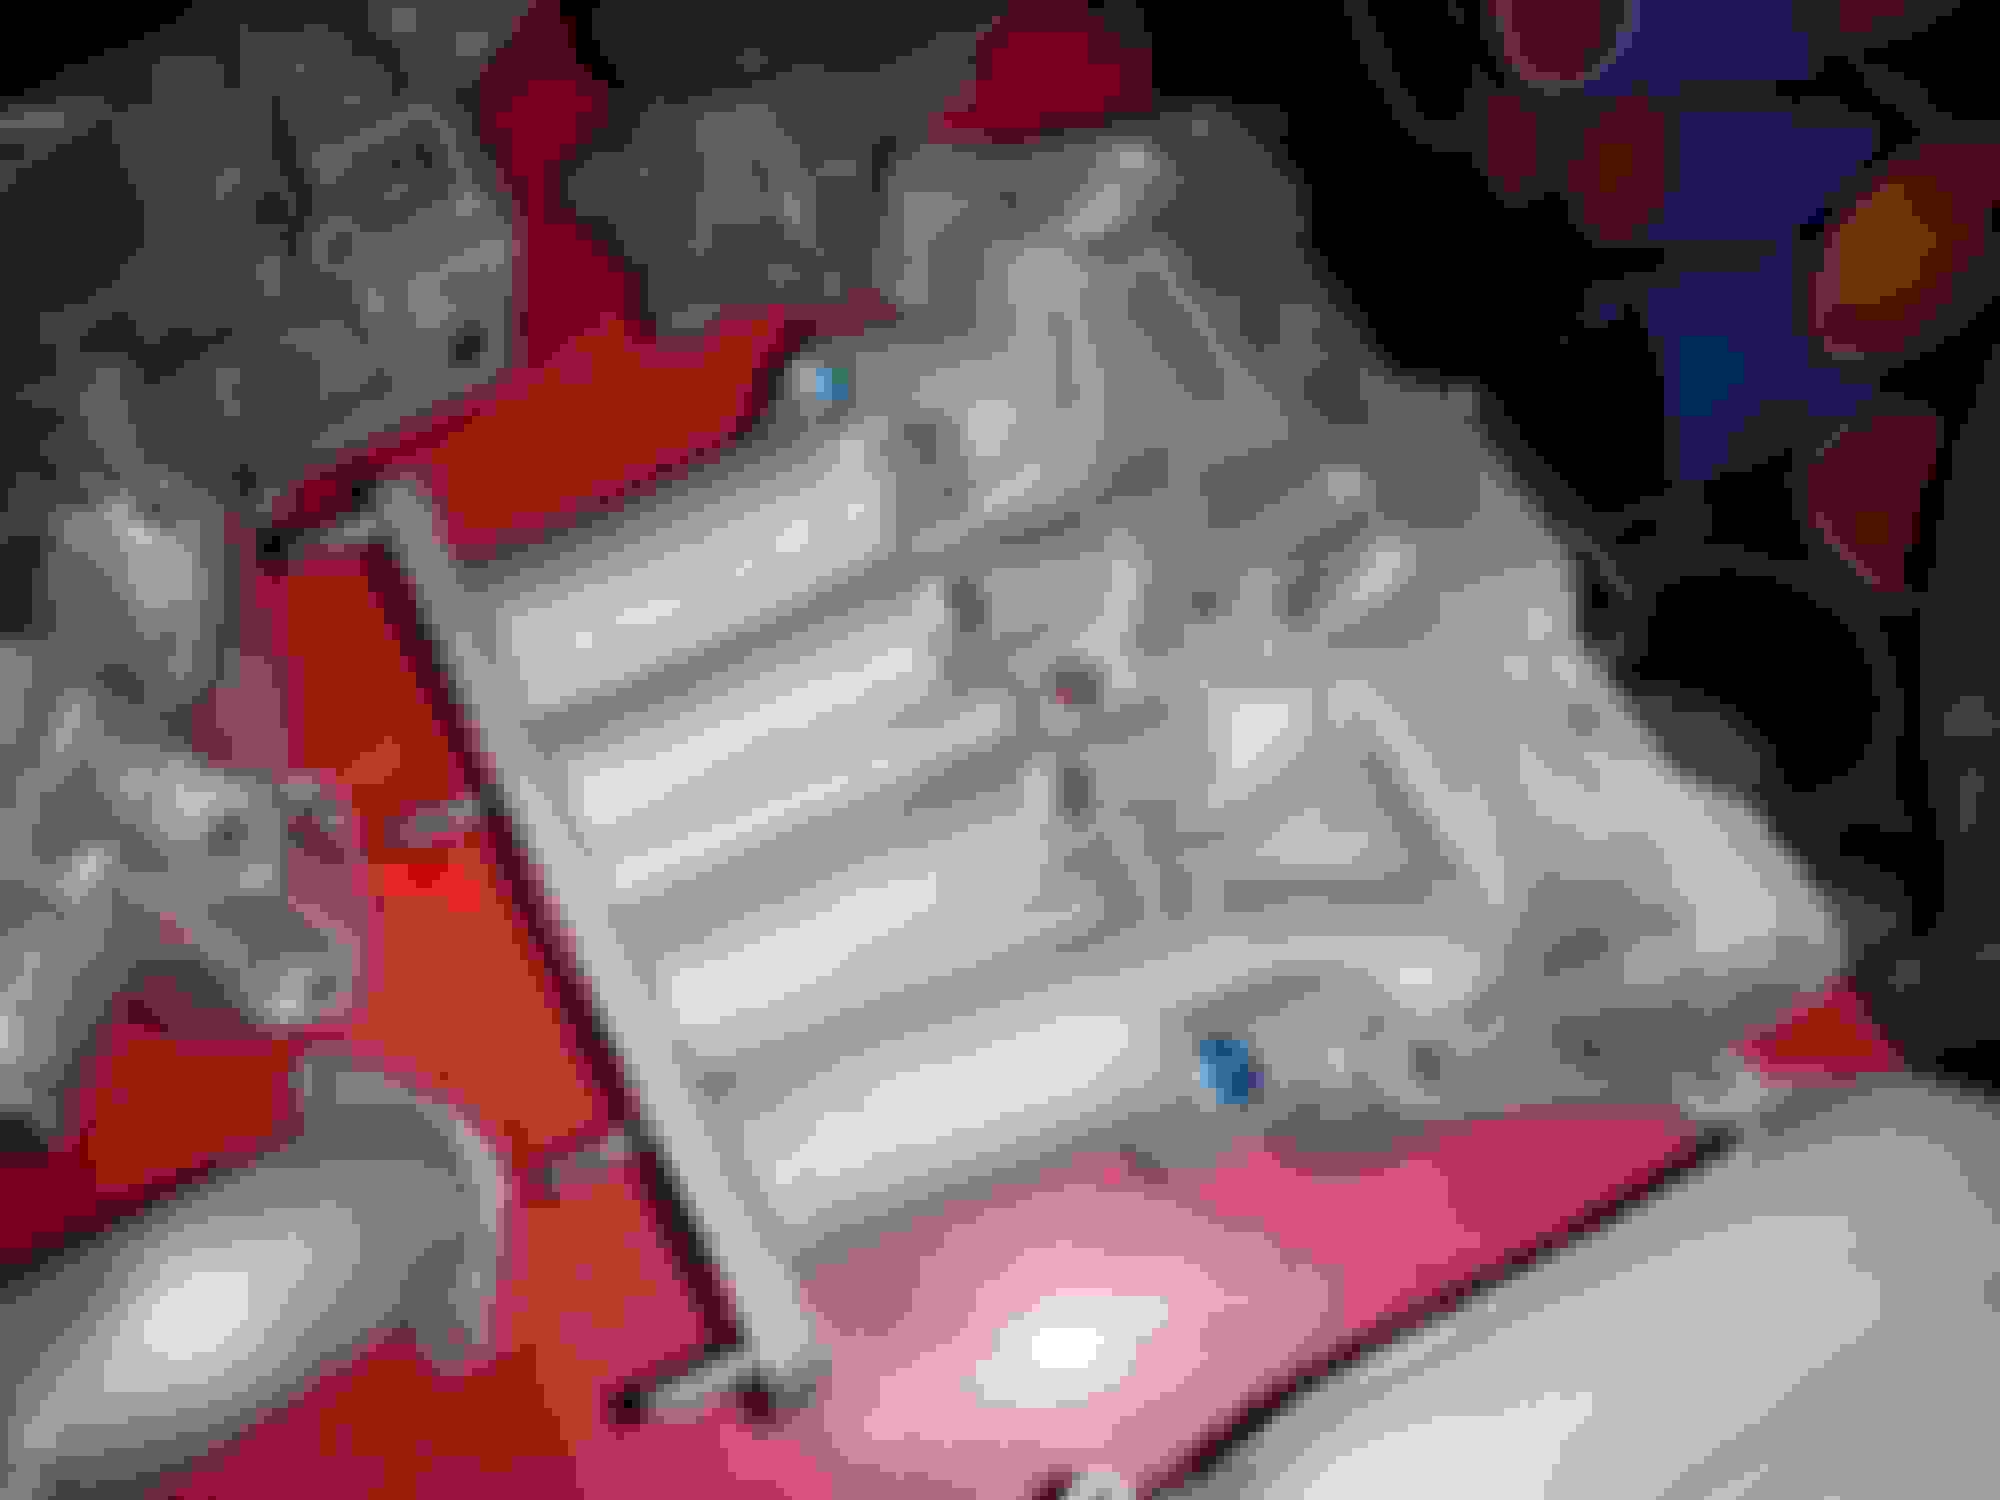
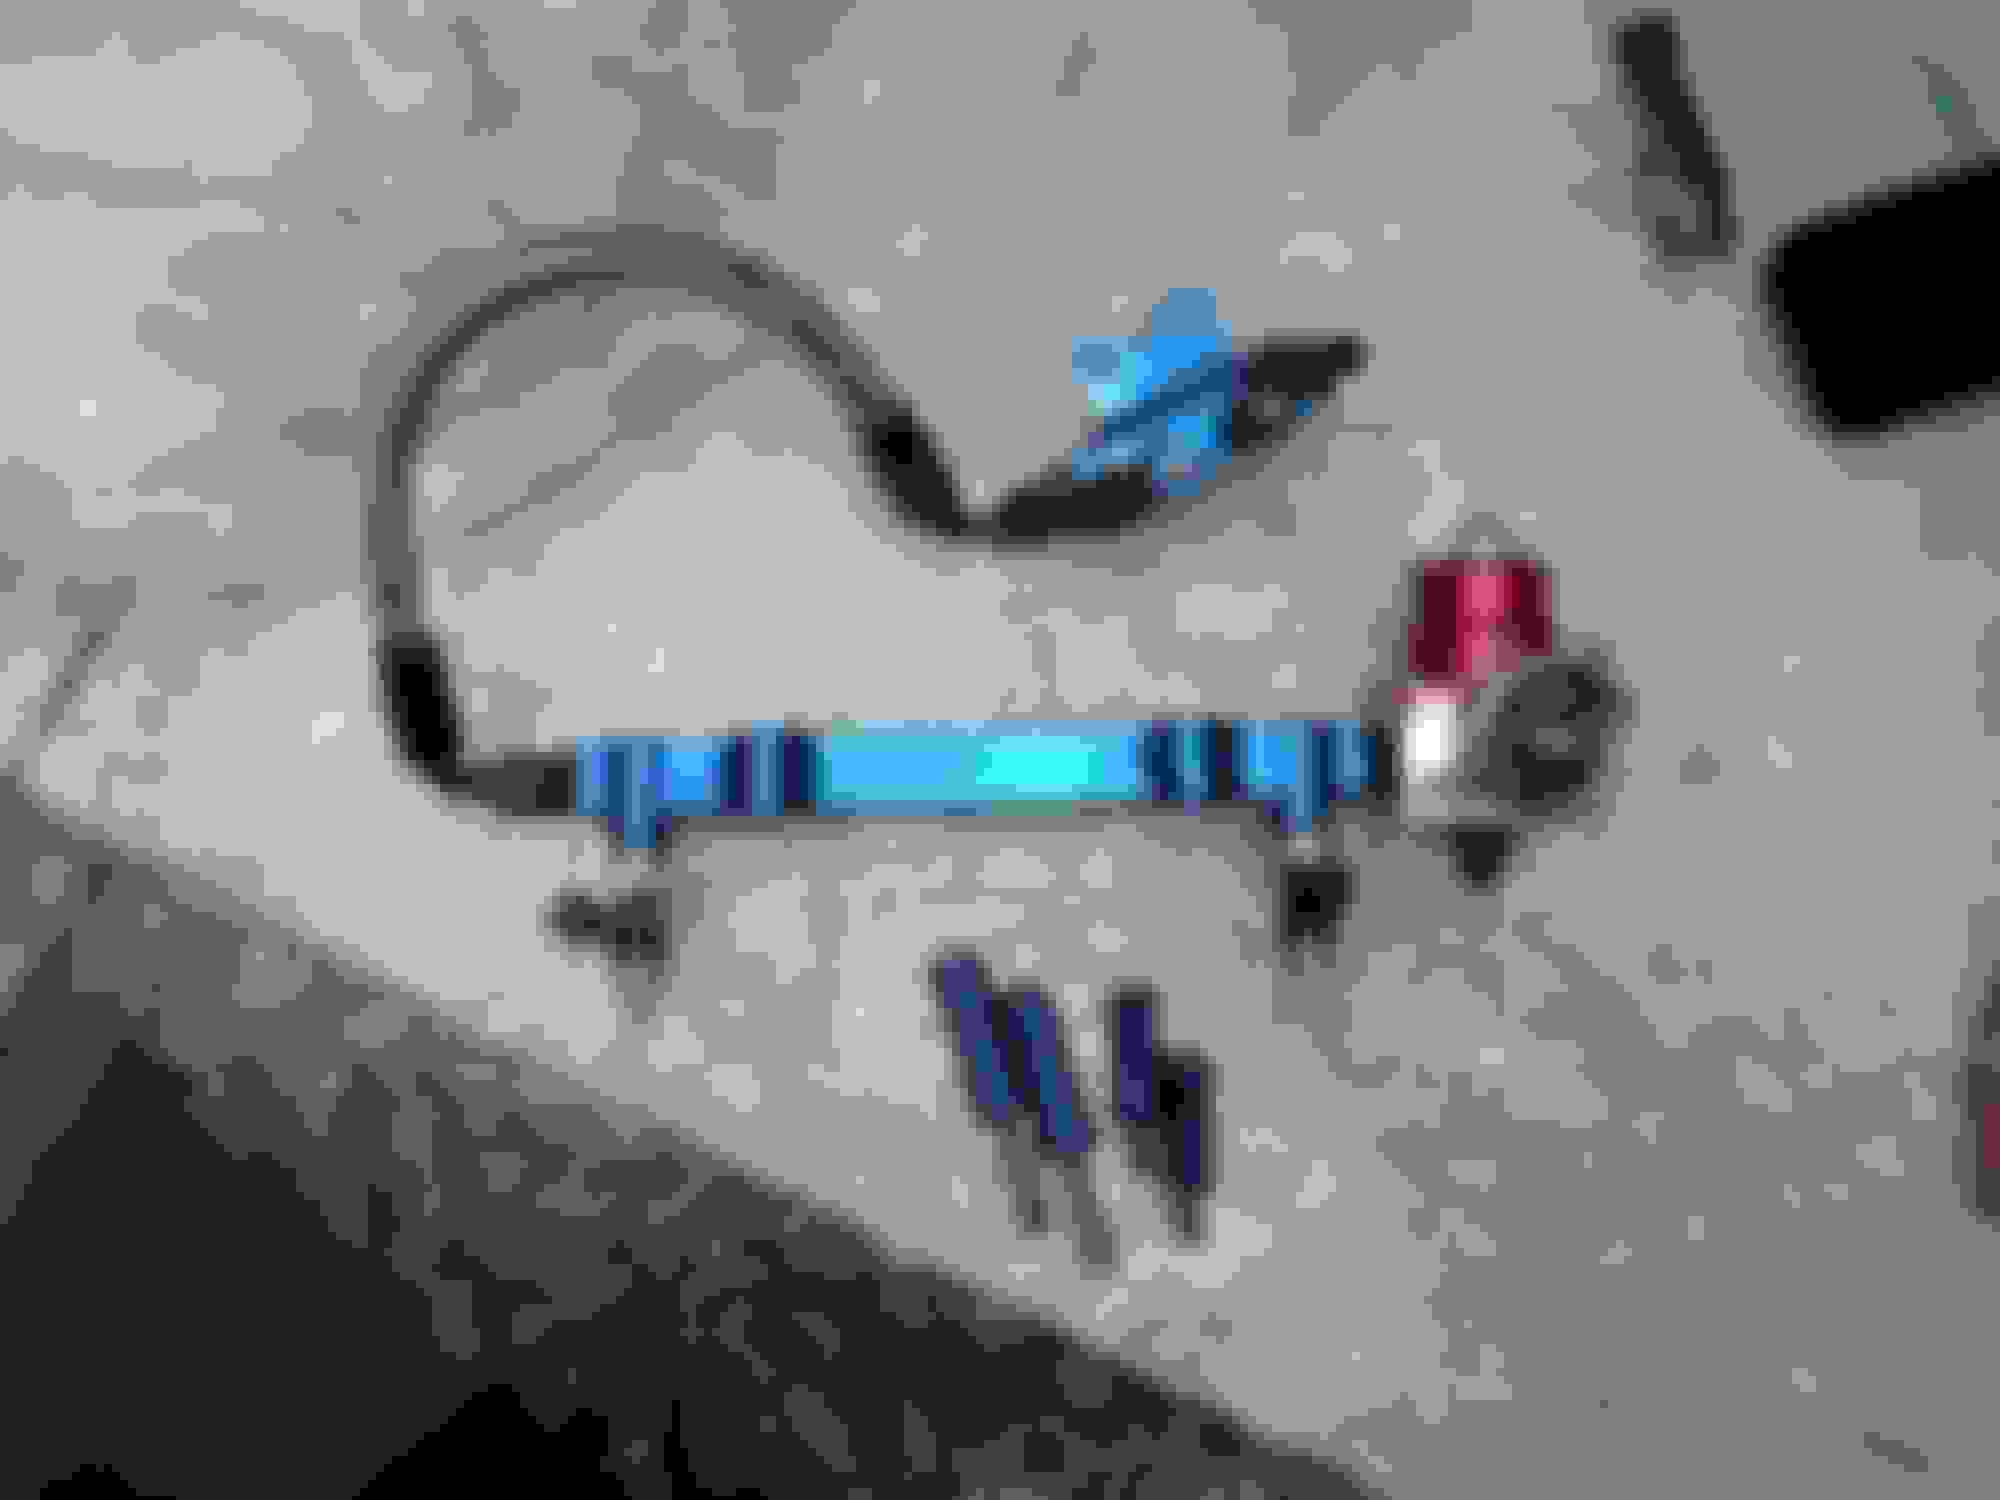
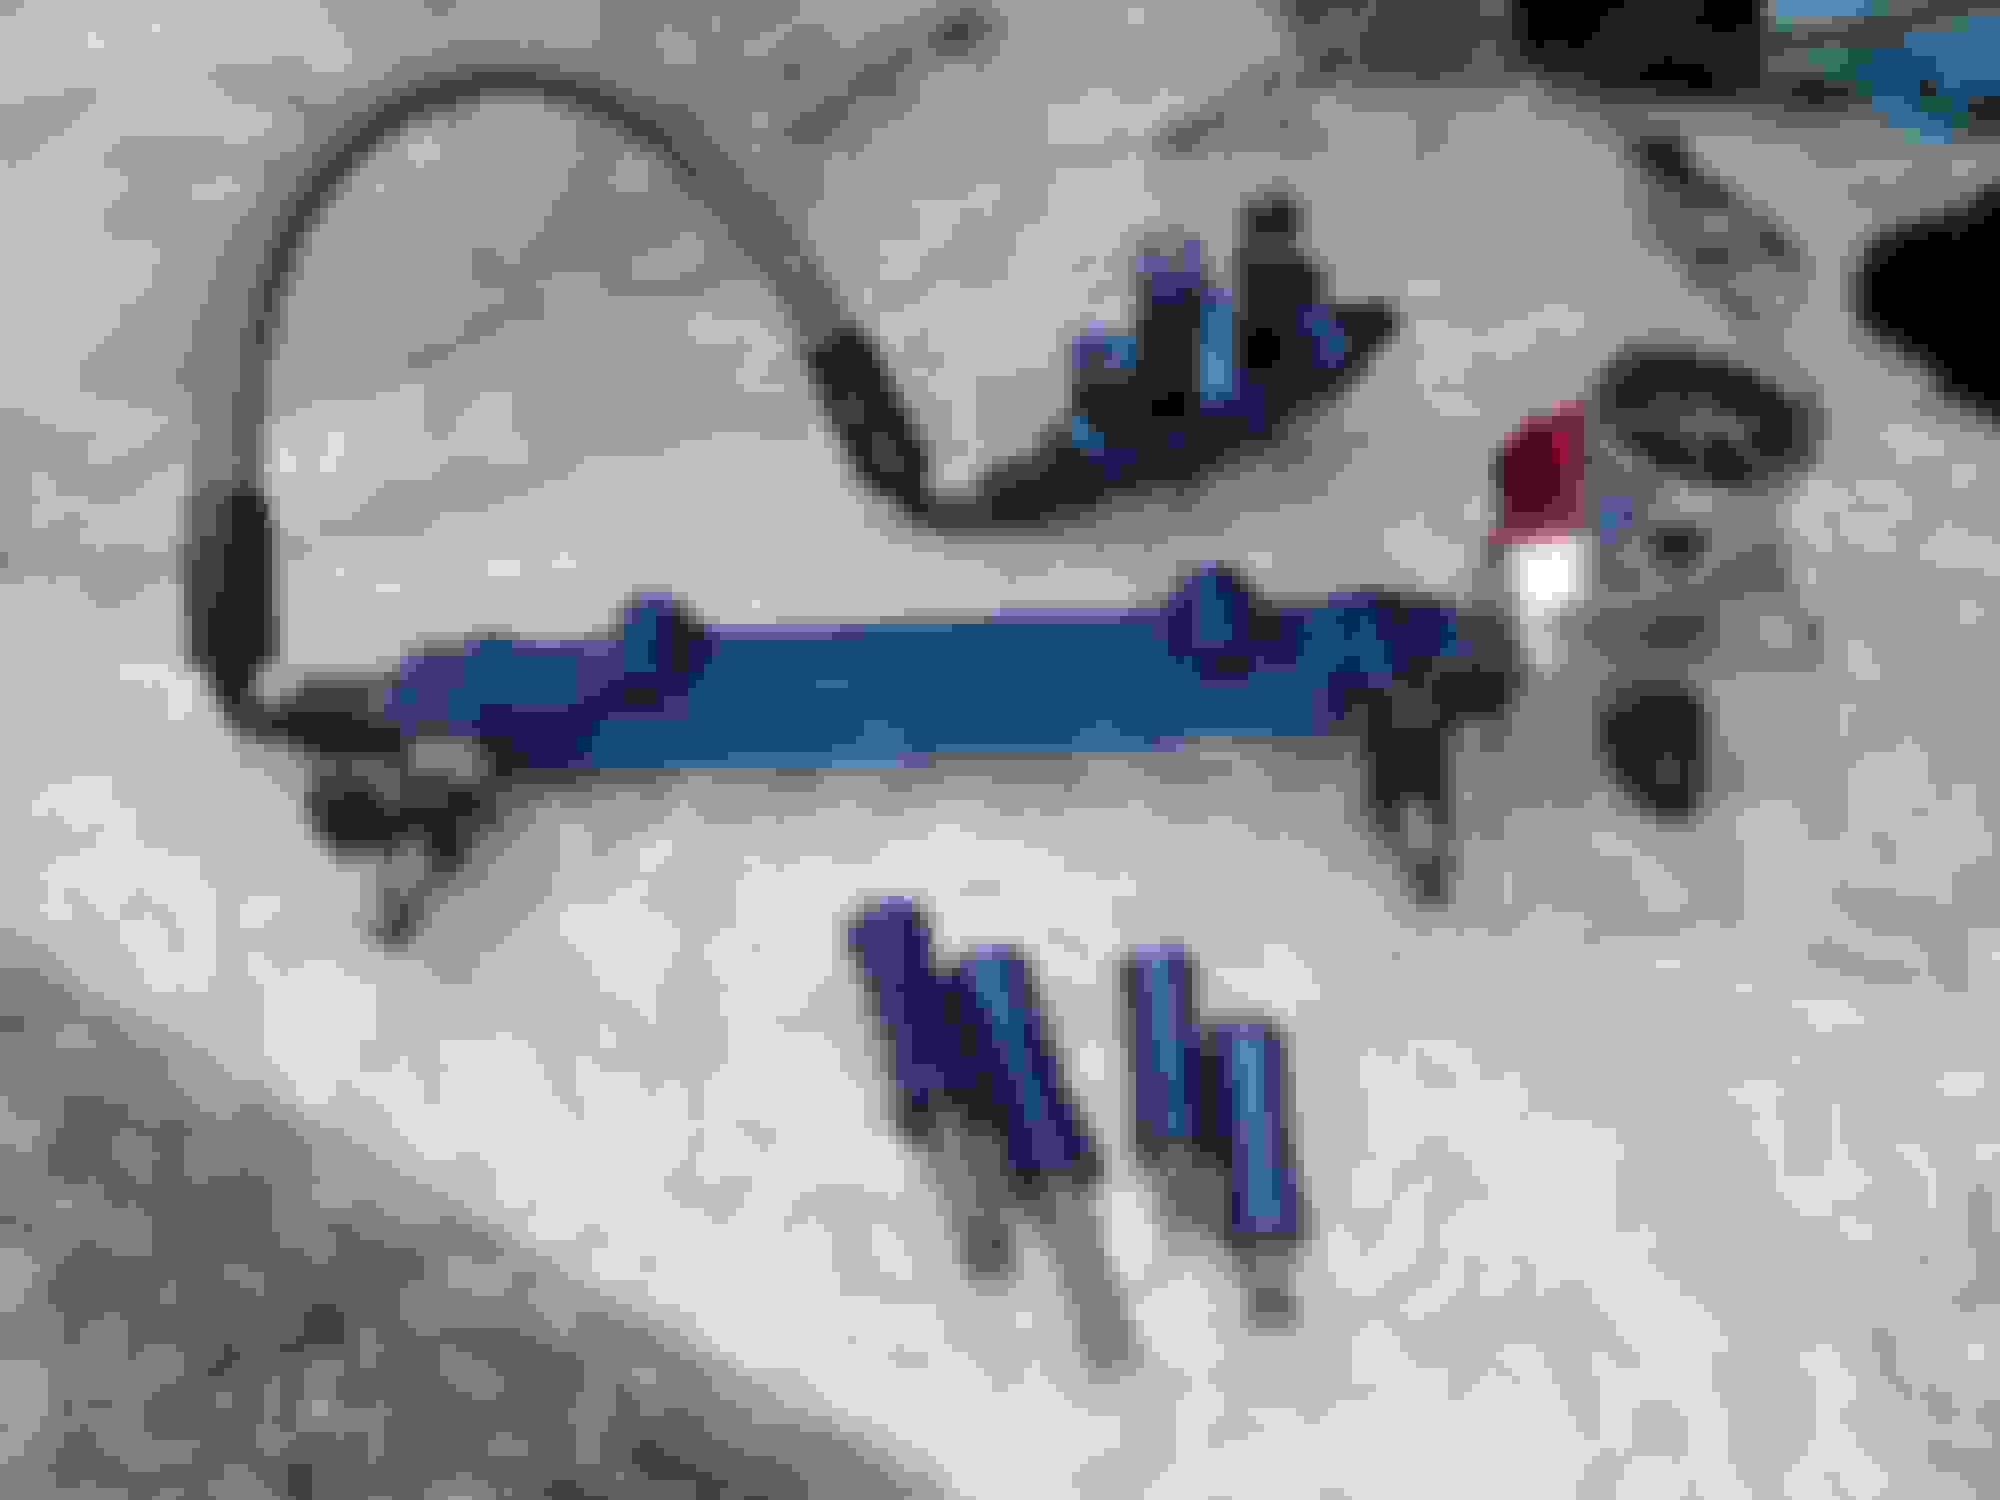
My FFE fuel rail set-up showed up.
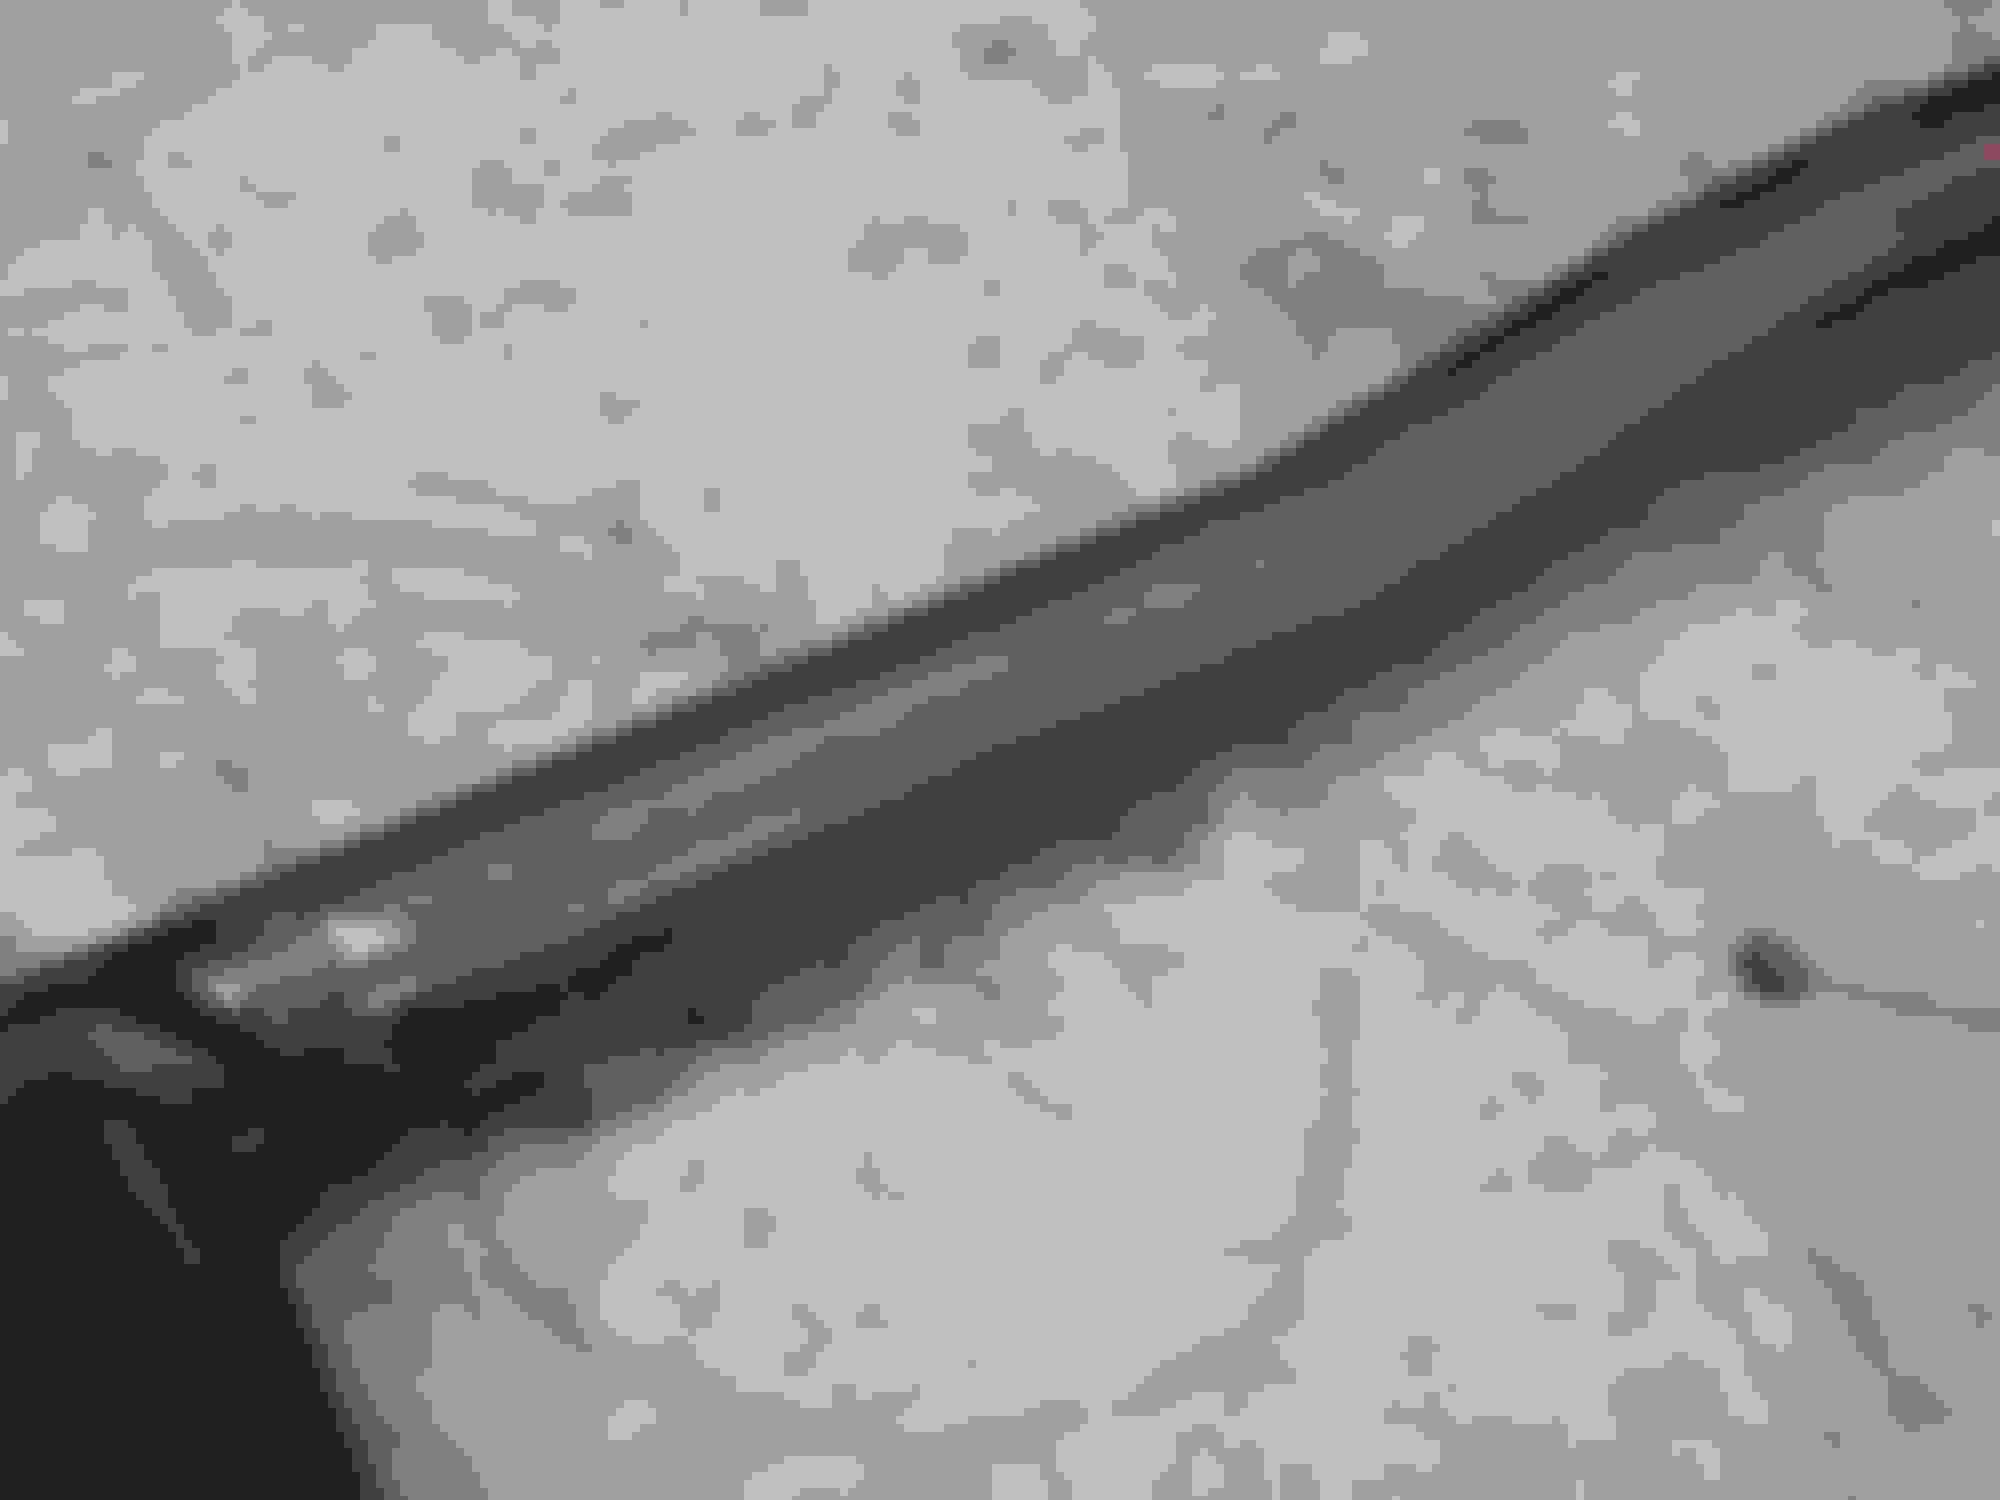
Secondary rail had 34mm ID2000 with hats making them 48mm - (will probably use theID2000 with the CJ secondary rail w/fpd)
Primary rail has 48 ID1000
Aeromotive FPR and a fuel pressure gauge.
Some inserts are missing, also the 2 90 degree AN fittings are actually bent/twisted - bummer
Day 9
I got my engine from Jamie - aka Battlecat - he painted it green and black
well...this whole time I was trying to figure out how I could tie it into my theme, i finally had a vision. I will paint the black parts orange. Paying respect to the Mazda 787B !!!!! Now the colors make sense...lol
Stripped the engine down even more for paint.
One bolt was seized and broke, I managed to drill it out and re-tap. I used my drill press and a small bit to make sure I had it centered up.
Collecting all the parts I want to polish or powder coat on the table. I will also do the turbo compressor housings.
Day 10
I cleaned up the engine and taped it ready for paint.
Made a little paint booth.
I used dupli color engine enamel with ceramic.
First I painted the black white, then I painted the orange to make the orange more bright.
I also painted the top and side transmission inspection pieces.
The orange paint code is DE1620 - Chevrolet orange.
I like how it came out - now I have the power of the 787B woot woot !!!!!!!
Day 11 part 1
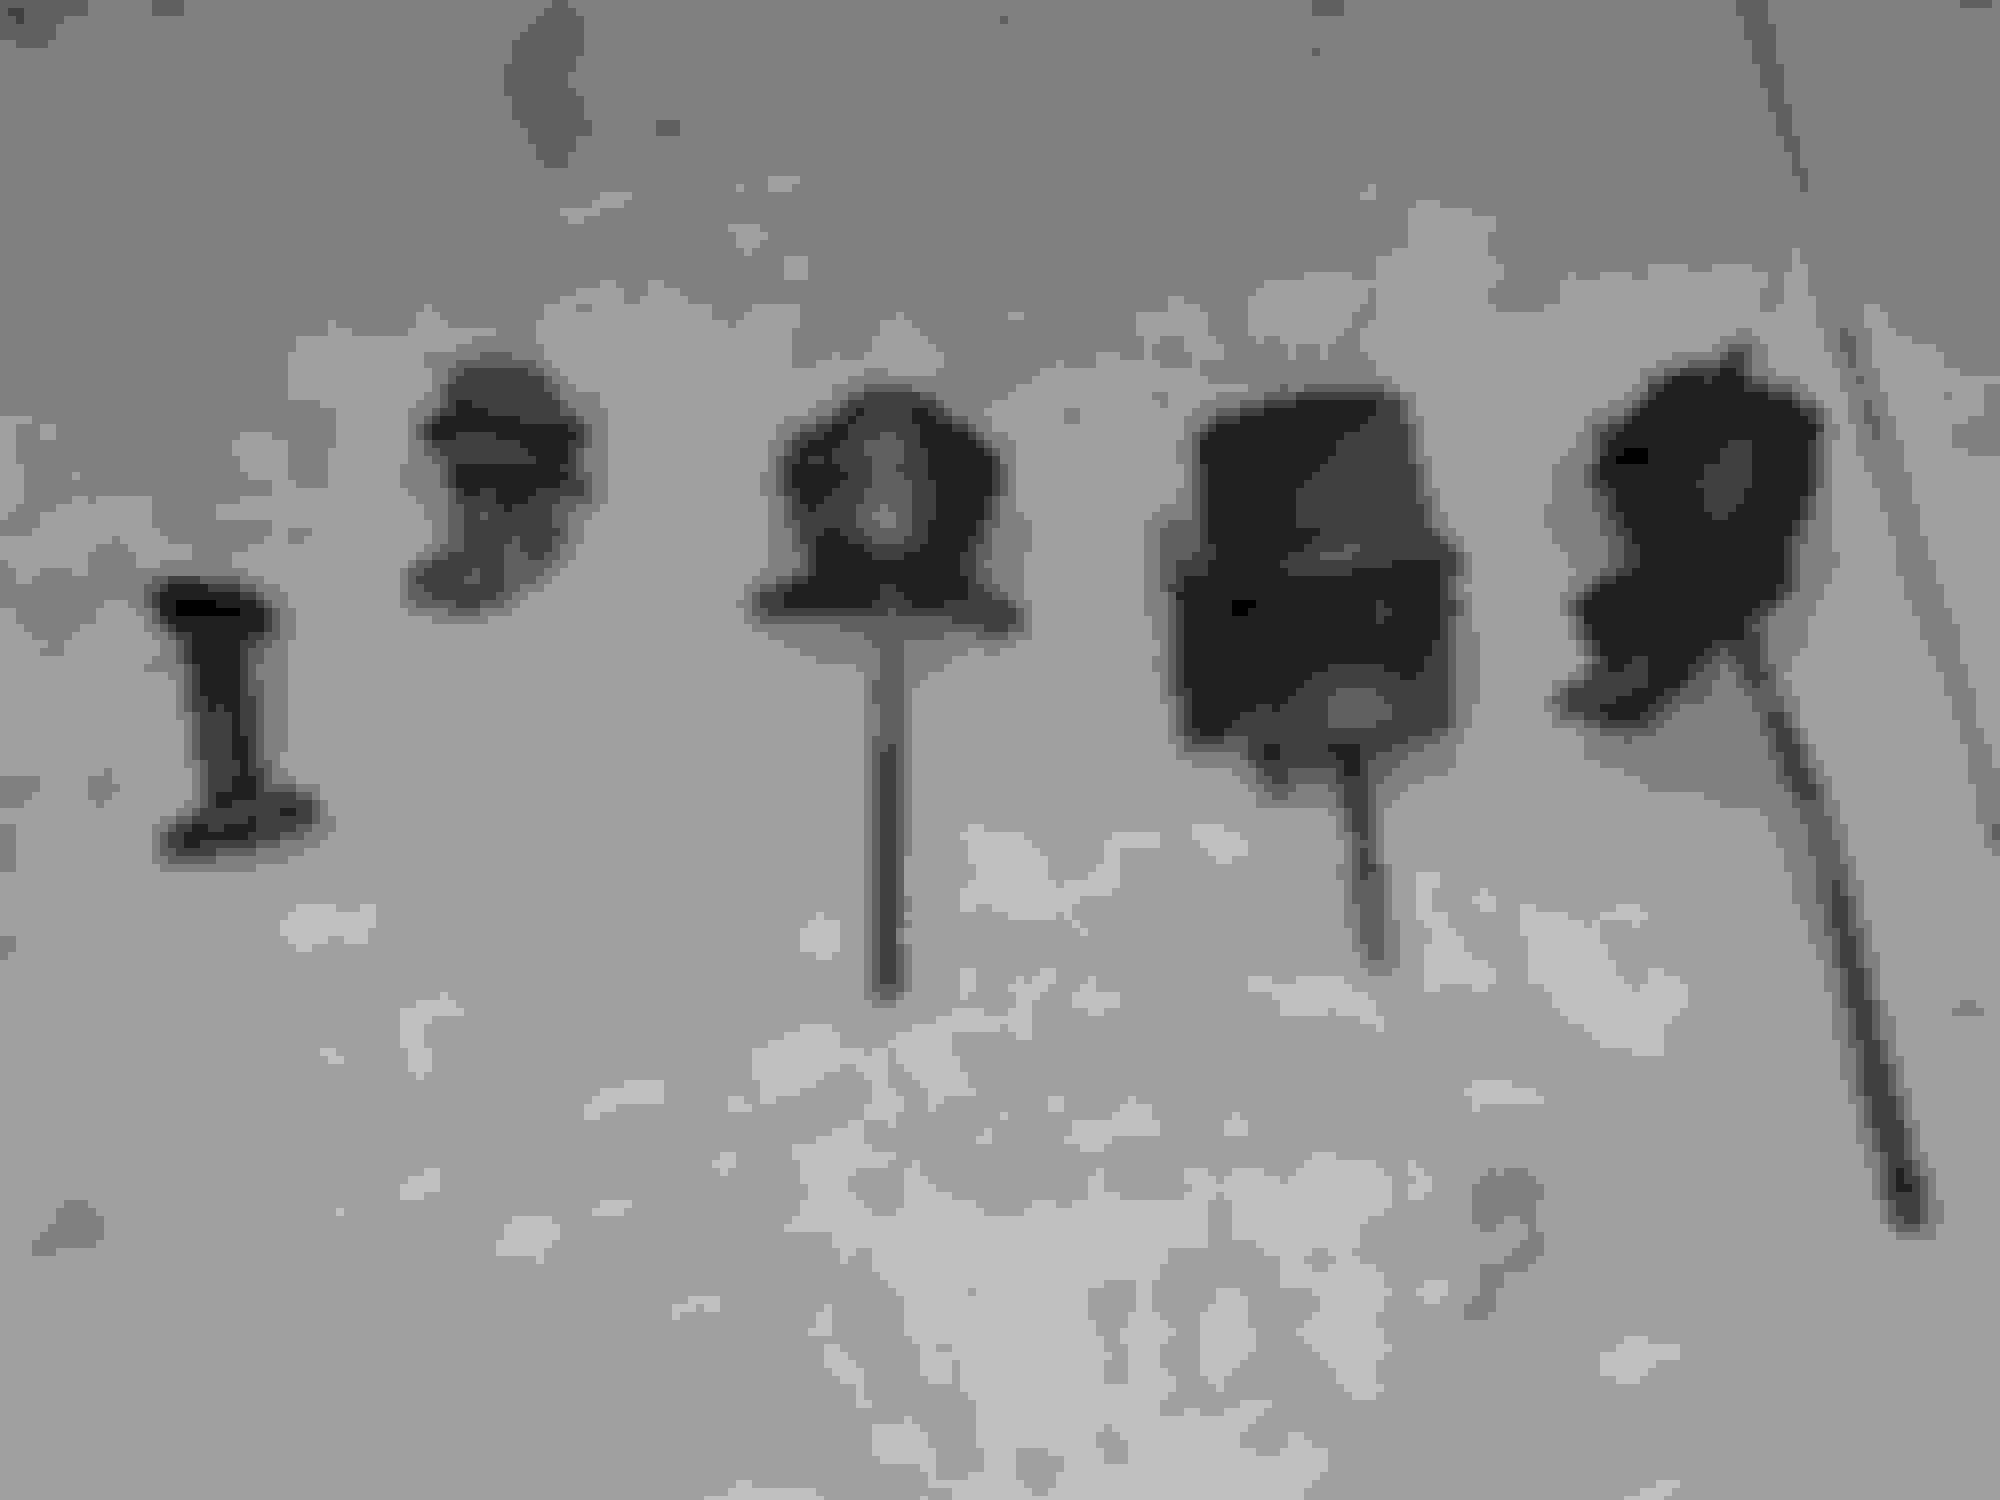
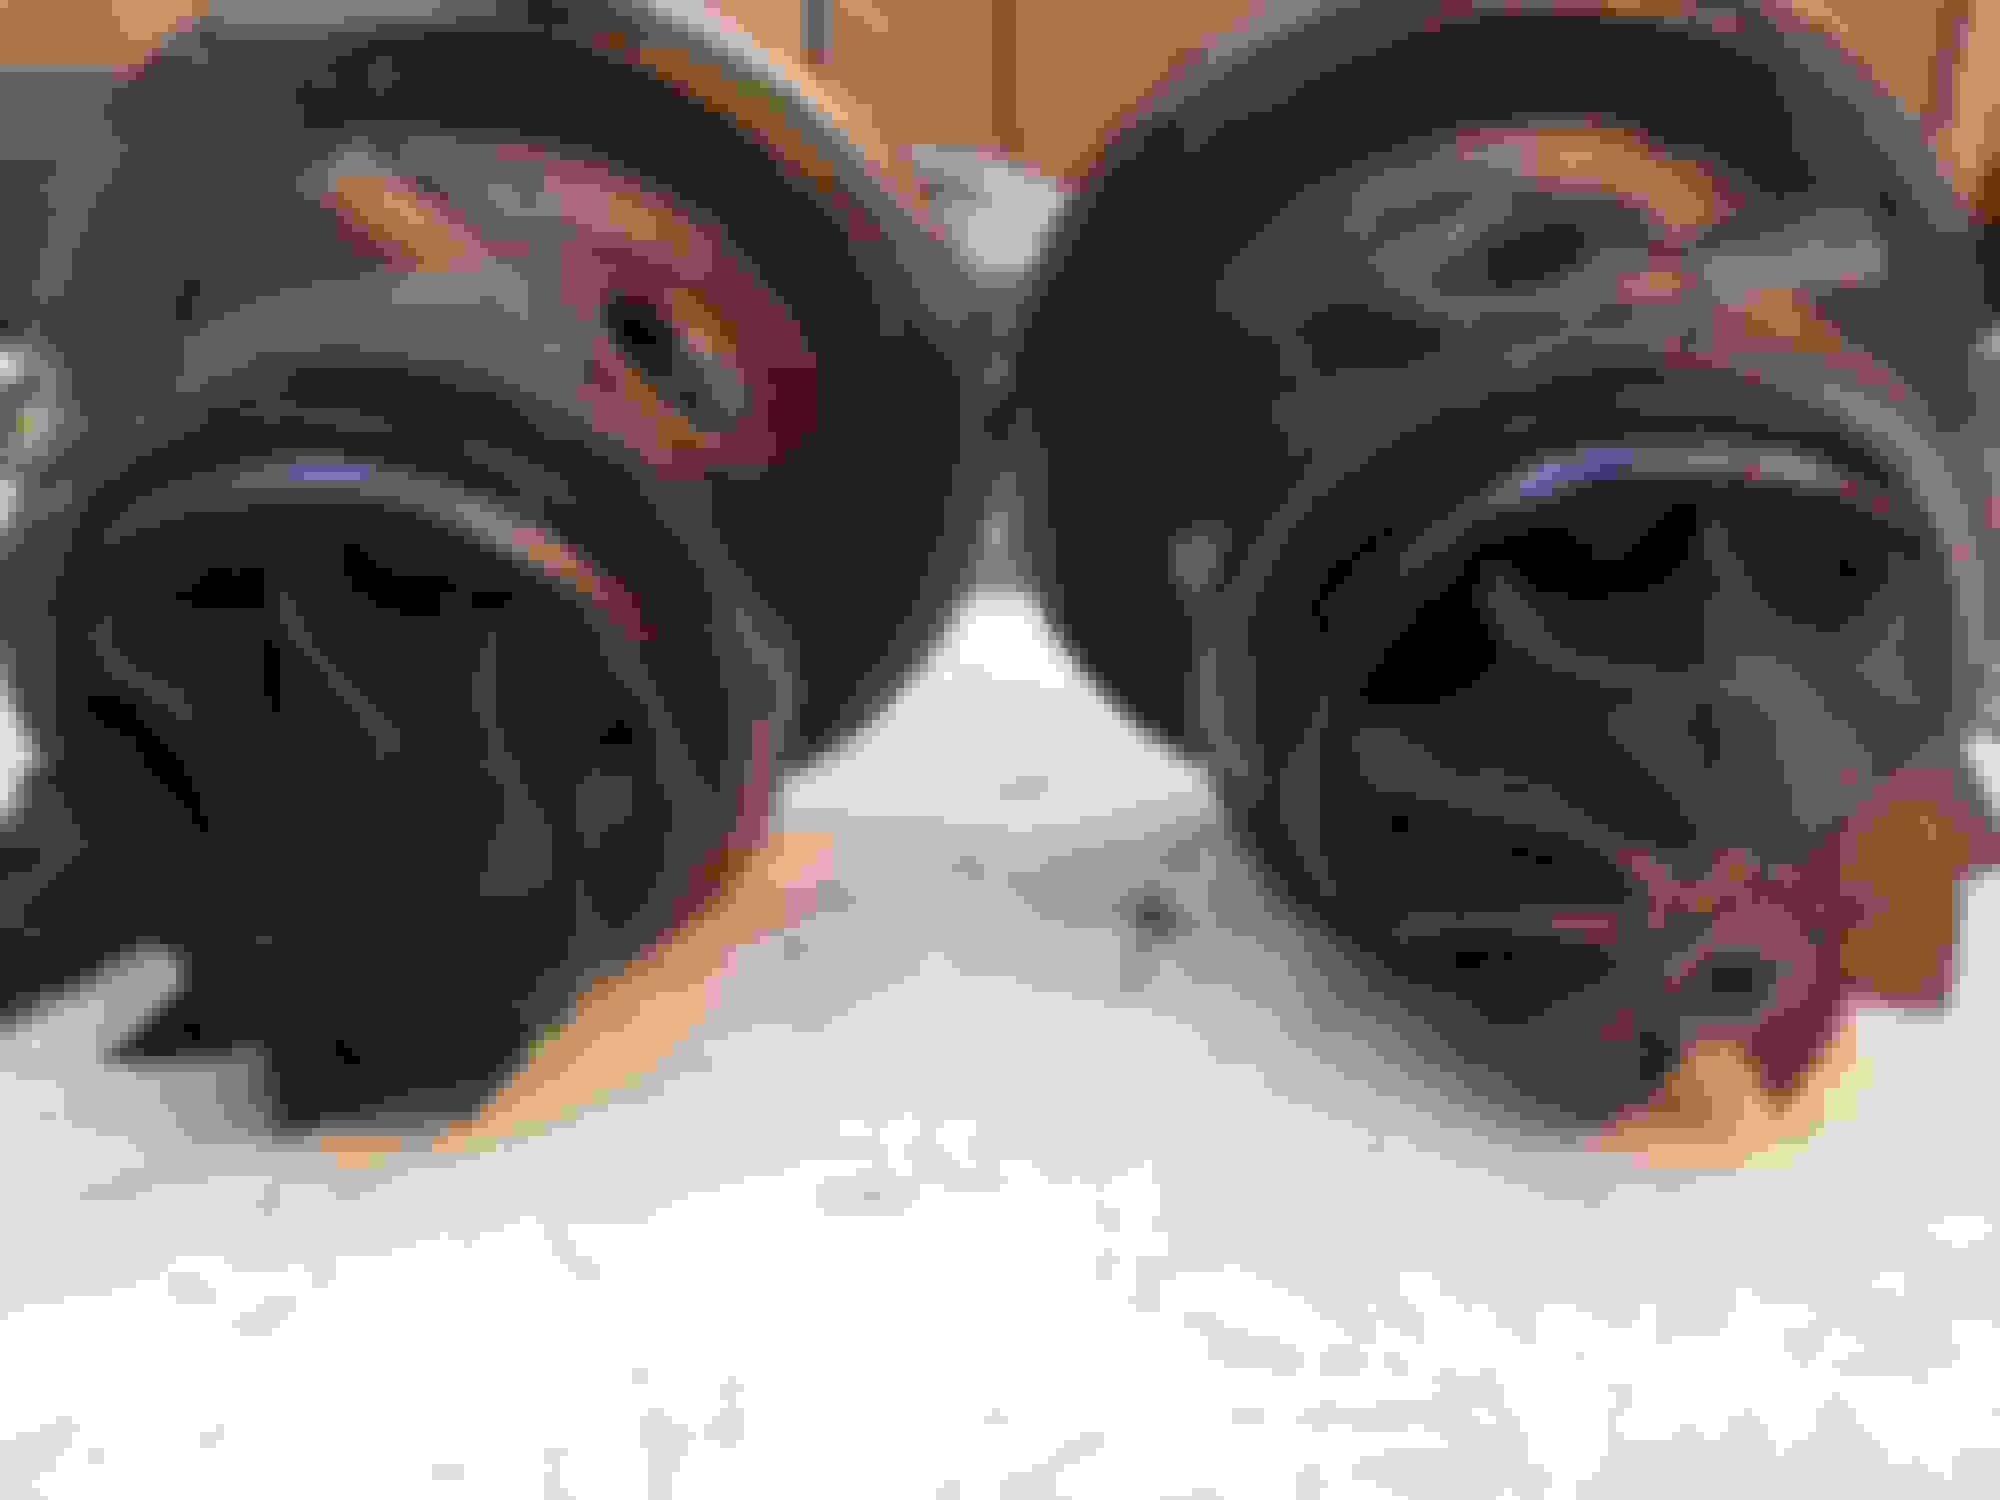
I took apart the 99 twins for inspection and cleaning and to port the primary wastegate.
The stock wastegate measured roughly 26mm (1.023 inch). Ive read to port it to 31.75mm (1.25inch).
The motor was blown so I was hoping not to find any damage on the blades.....well I did on the primary exhaust side. See Day 11 part 2 primary turbo.
You also see some weird porous type melting on the pri turbo plastic in the compressor housing and a small scratch in the sec turbo plastic in the compressor housing. Compressor blades look fine on both.
Again the harbor freight roll around bin holder was my best investment.
Day 12 - a complete disaster !!!!
Part 1 - found the green paint for my engine, cleaned up turbo exhaust shields.
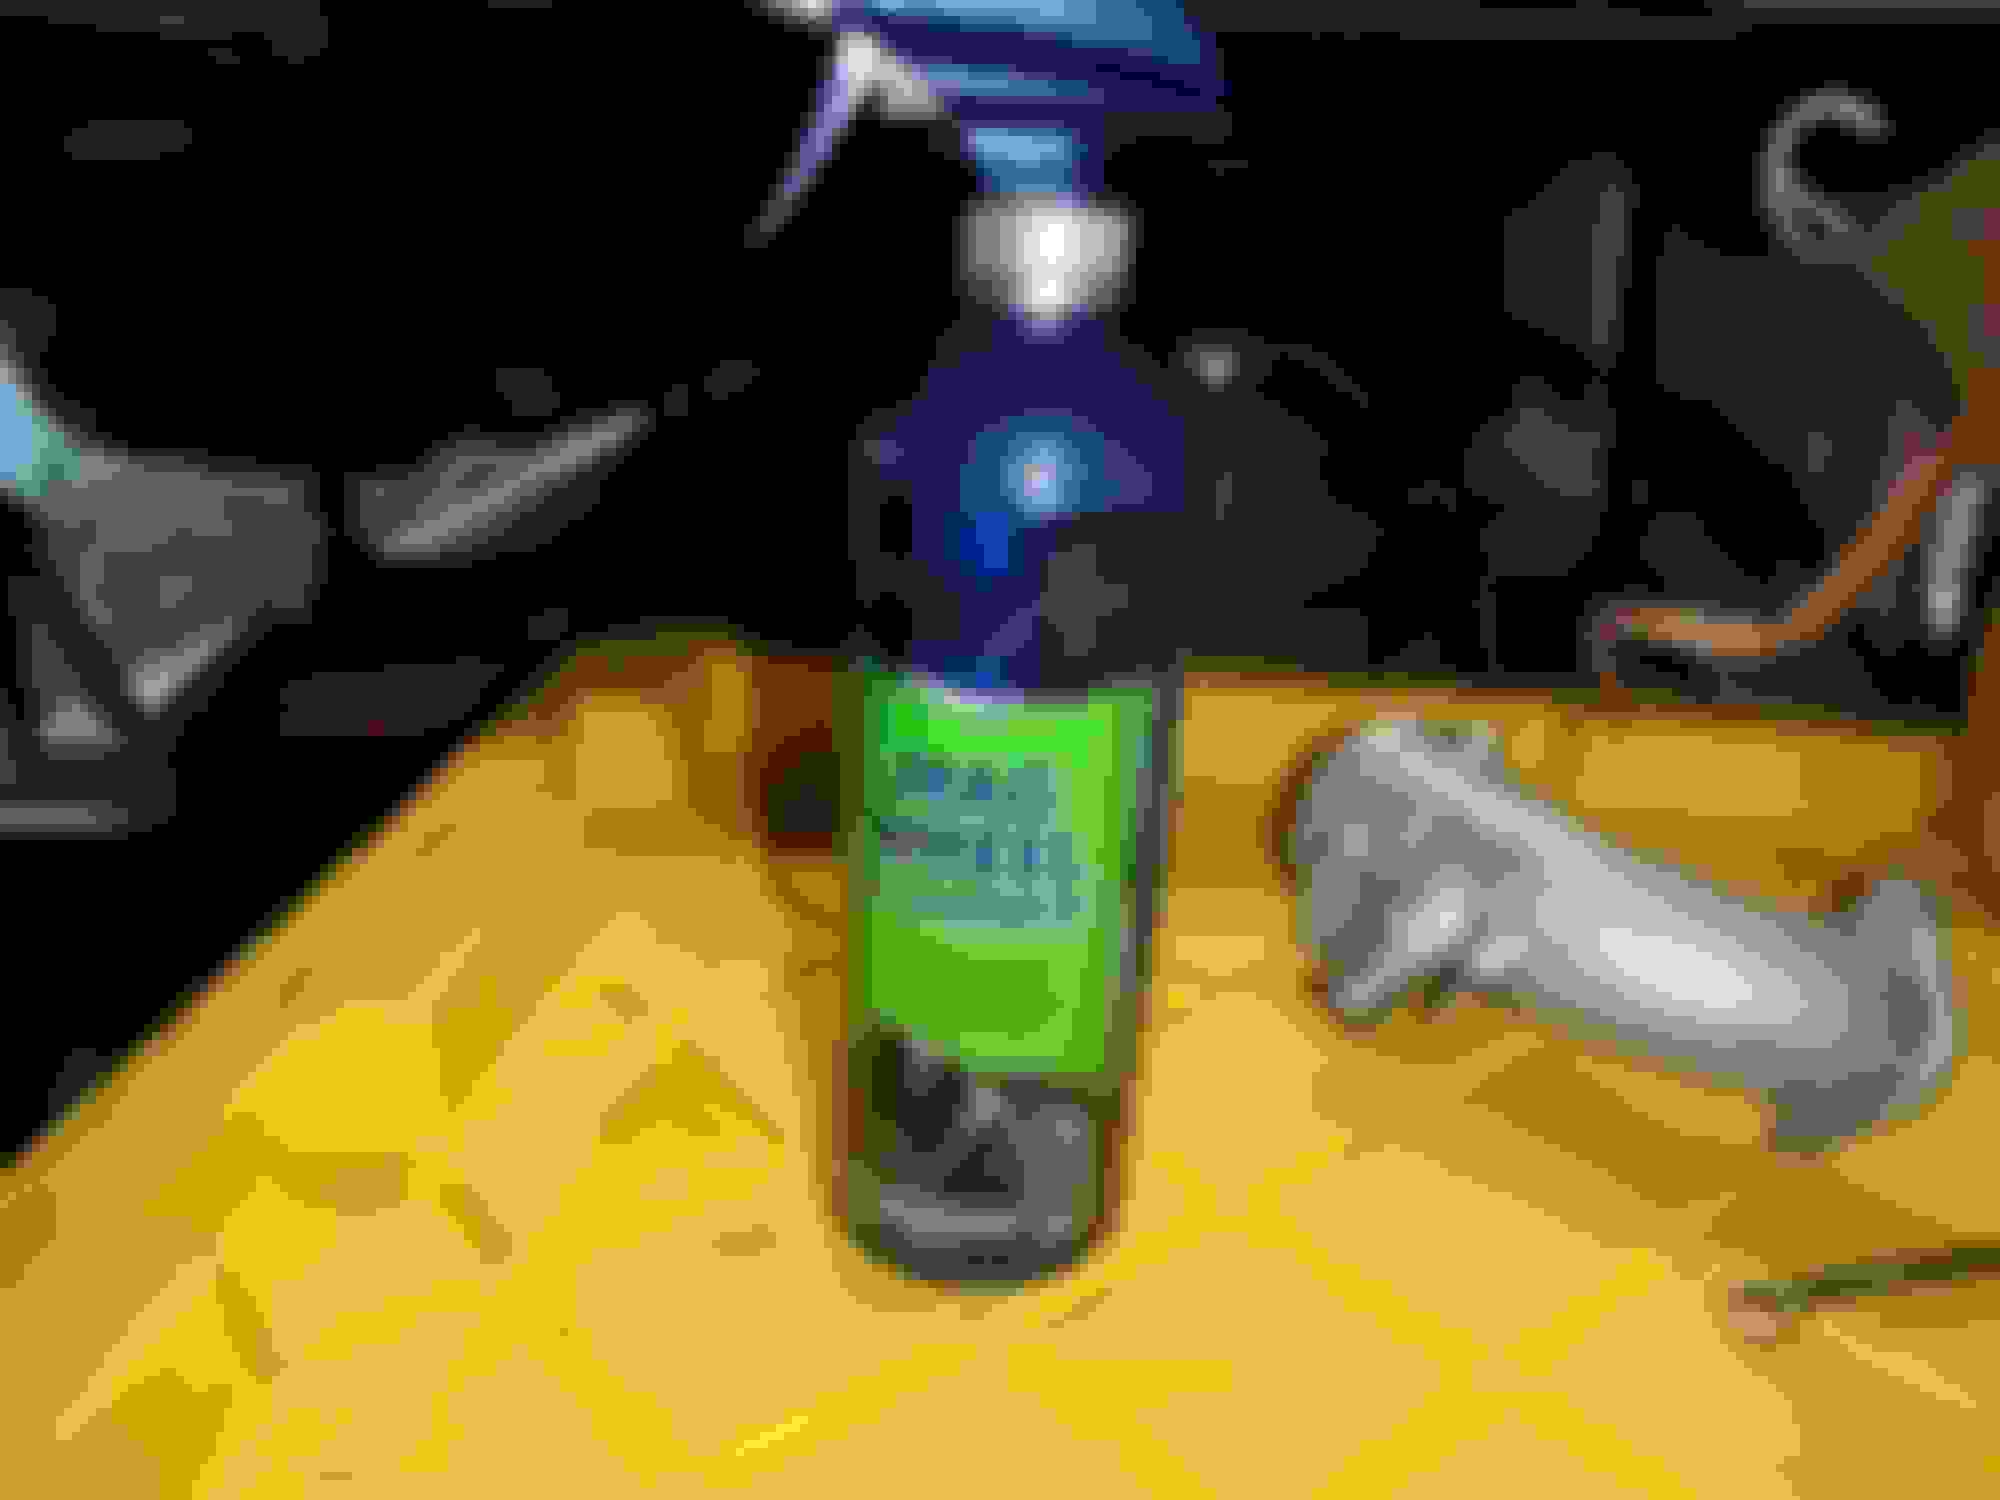
Part 2 - I made a mix of some cleaners and it turned the aluminum black . Luckily I have a power washer and I was able to get most of it off, but some of it was stained. Thank God I was going to repaint everything anyways. Also the chemical mix ate away at one of the blue anodized fuel inserts.
Part 3 - Anyone have an extra purge solenoid valve, I broke mine. I have a 95 Rx7 and apparently the tb cables are attached differently. My original throttle body was corroded so I took it apart to clean it. After doing so I am now just going to modify a clean TB to have the TB cables routed like the 95. I have no motivation after the aluminum cleaning incident. I also managed to use evey flat and philips head screwdriver trying to take the TB apart. A REAL PITA !!!!!!
Last edited by rotaryextreme; 03-05-20 at 09:21 PM.
Don't lose that spark of motivation man, that is one seriously thorough job you're doing!
Thank you so much. I will not be able to do it 100% what I want, stuff will be painted that should be powder coated, worn stuff will be reused. I just need to make it to sevenstock this year for mazdas 100 anny and to get some footage for the video.
Originally Posted by DaleClark
The TB with the green bracket - pretty sure that's a JDM throttle body. The throttle cable comes from the other side of the engine.
The gold bracket is a US TB for sure, that's actually for the cruise control. The actual bracket for the accelerator cable is on the UIM.
Lookin' good! Nice to make some progress!
Dale
Copy that. After looking at everything Im just going to set-up the us throttle / cruise control linkage onto the jdm tb. there is just so much corrosion on my us 95.
Originally Posted by Akomix
Looking good Ben! Solid stream of progress.
Thank you sir. Im just going with the rule - If it can be re-used, do it. Otherwise replace it. If its ugly - paint it....lol
quick visual
I had the AB-Flug GTM body kit on my rx7 back in 2000, I went to sevenstock 4 with it. (I think the rims were Volk GTN's)
I have 3 pics showing what the spoiler looks like in different angles.
I will use the AB-Flug GT7 widebody kit seen on the Panspeed time attack RX7, but it uses Panspeed sideskirts which I have.
The hood will be the R-Magic v. 2
Rims are Veilside as seen on the original red rx7 in the fast and the furious.
Last edited by rotaryextreme; 03-07-20 at 08:30 PM.
Day 13 - Greeaaattt Succeessssss !!!!!!
So I read the Eagle One mag and wheel cleaner cleans aluminum well. I was praying that it would work and it did, so well that it also took the green coating off of the parts on the Throttle body assembly.
I also got some alumprep 33 if the eagle one didnt work.
I re-cleaned all of the aluminum parts and swapped over the cable linkage from my US TB over to the JDM TB, now I have cruise control and a clean TB. The TB also had some metal shavings in it - yup its all gone now.
One thing worries me, after 2 days of sitting some corrosion reappeared on the aluminum parts. This time after cleaning I blew it dry with my compressor. Lets see how it does in a few days.
Re cleaned aluminum parts
Last edited by rotaryextreme; 03-07-20 at 08:35 PM.
I like the look of a clean Hitachi TT setup, some of those parts are hard to find.
Nice choice on the block colors!
Thank you!
Yes Im going to just make everything look new..lol
The green and orange 787B combo I think would work on any rx7 car with any body color because everyone knows the meaning of those 2 colors.
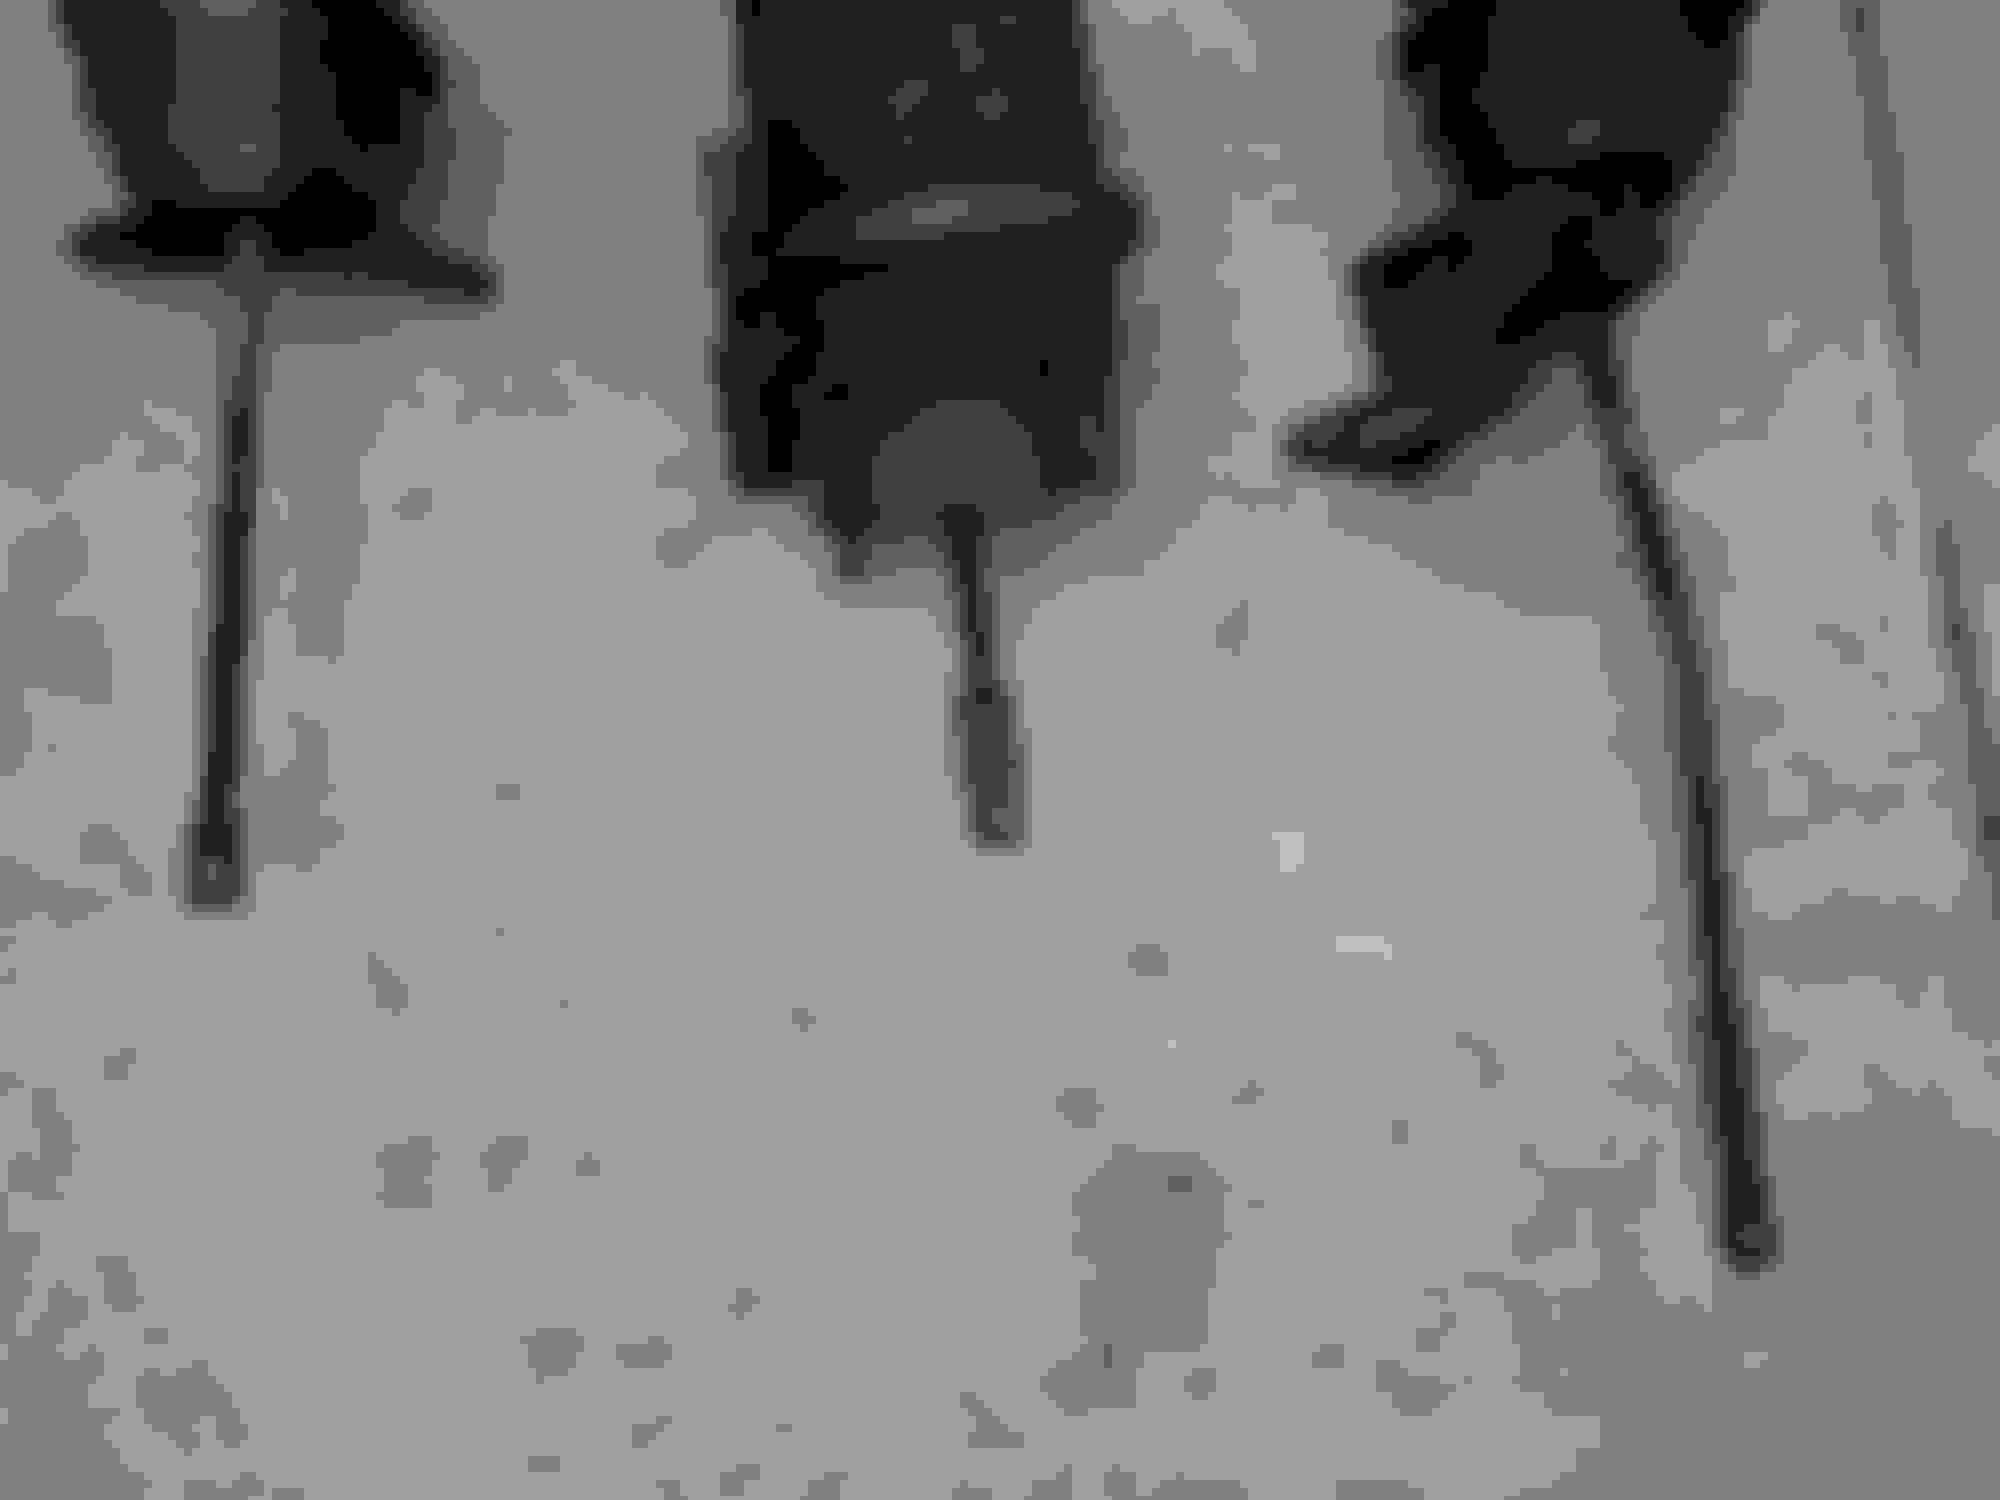
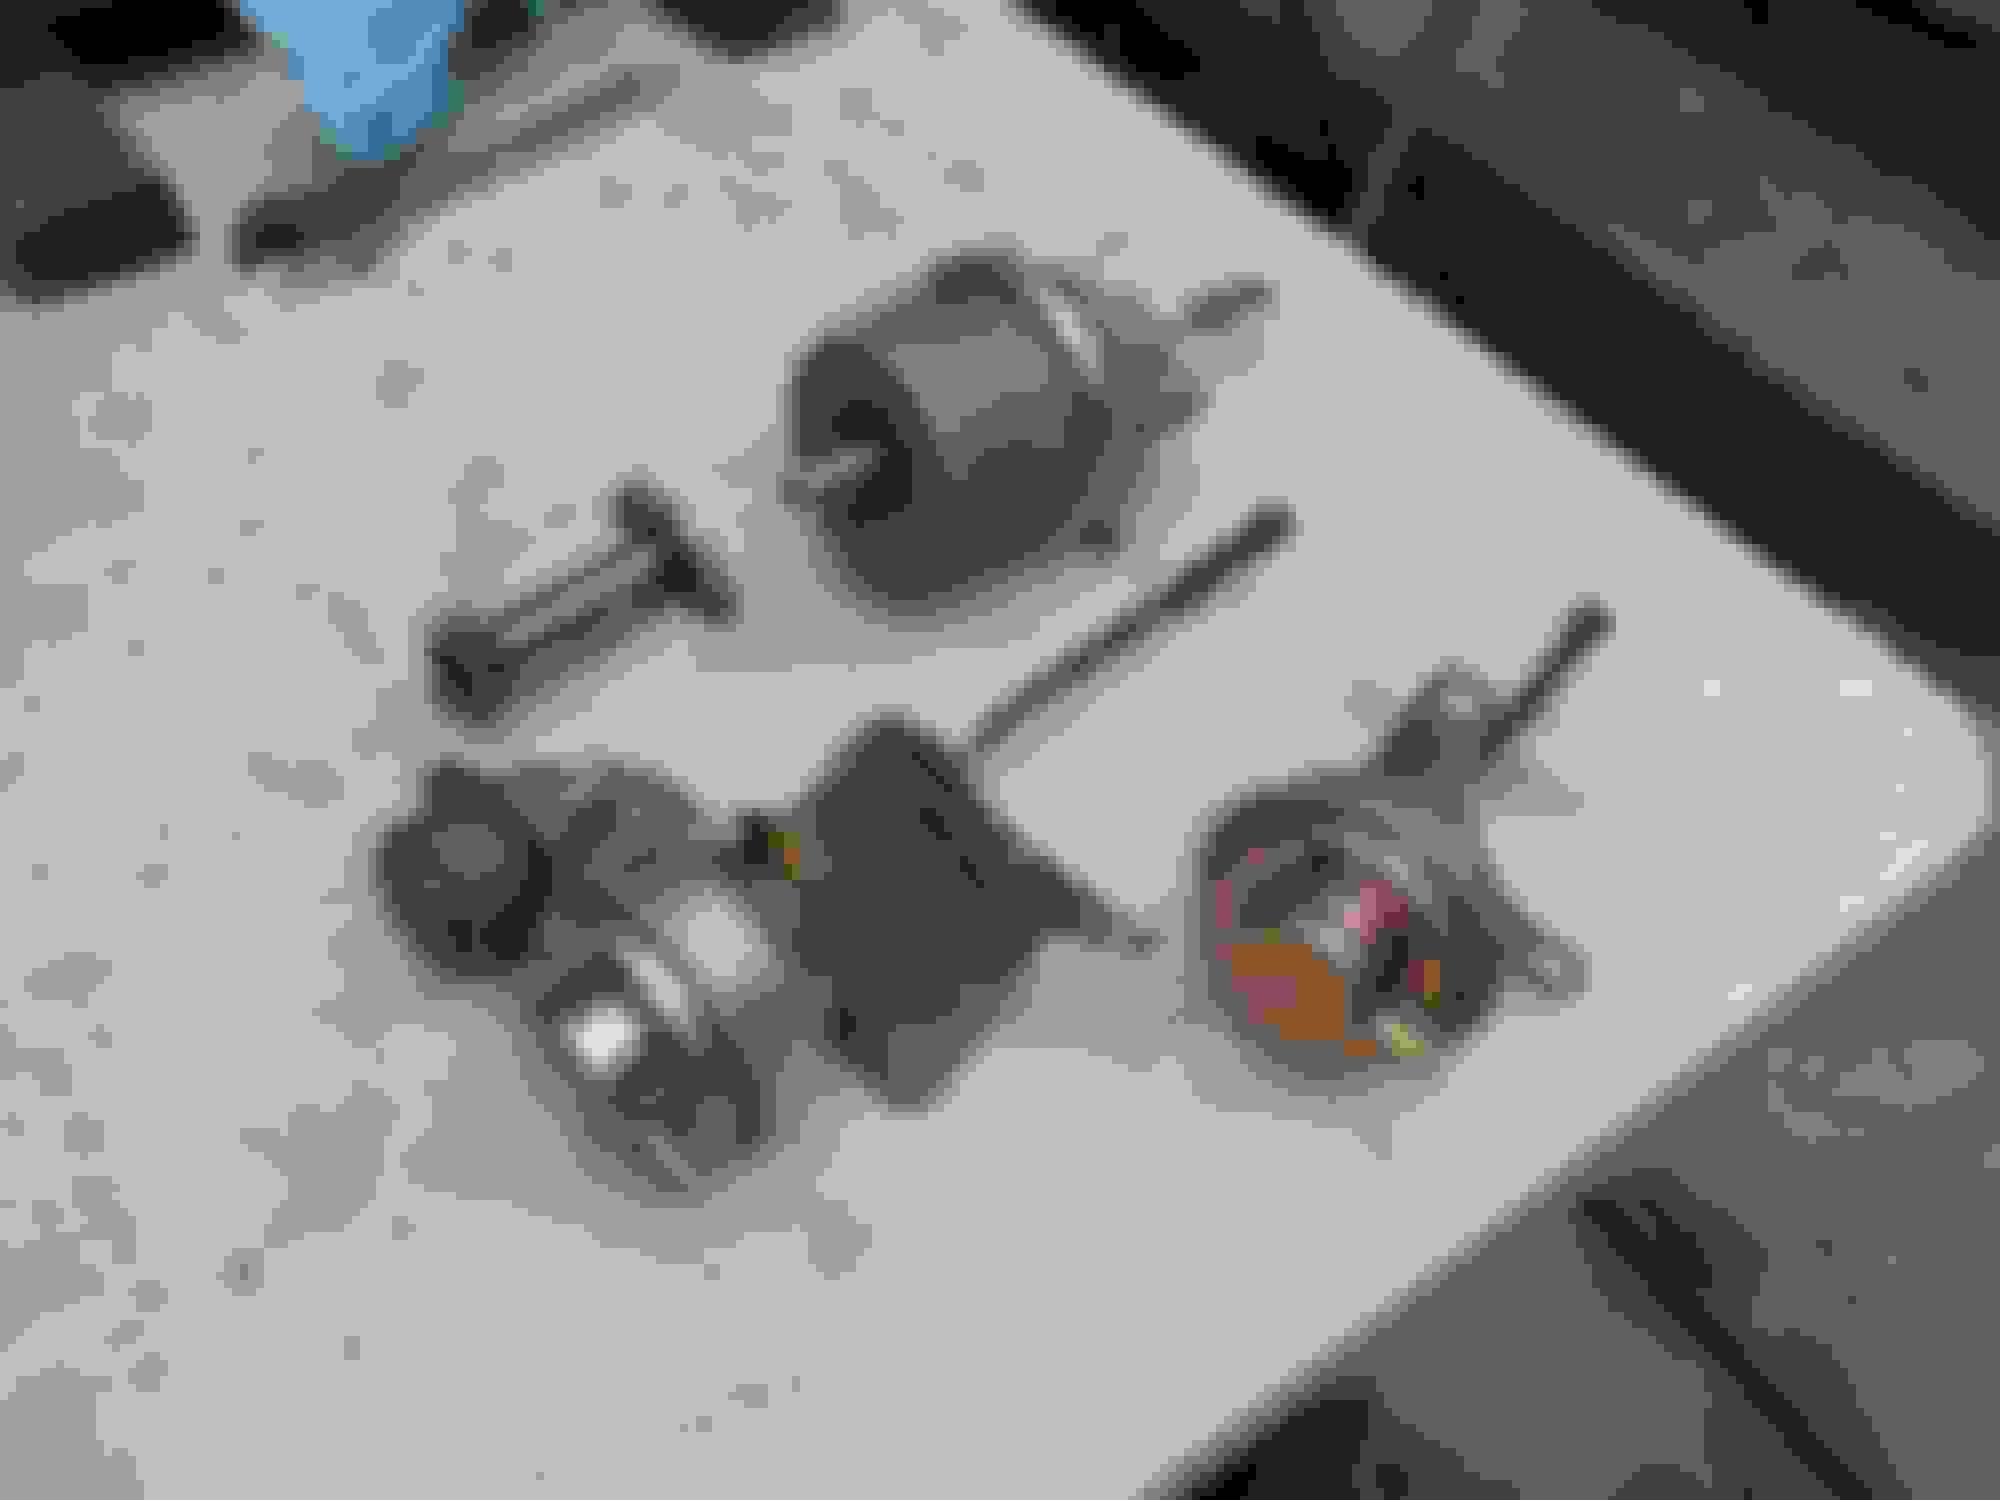
I cleaned the turbo actuators, sanded out some scratches on the pri turbo wastegate actuator (picture shown is not finished with sanding), used the eagle one again to remove some corrosion. It cleaned up the charge relief actuator pretty good. I also pulled off the oil pipe on the engine too.
The other thing I did was port the pri turbo wastegate to 1.22 inch or 31mm. I used my ebay bits !!!. I used my scribe to outline how far to port and I also drew a line around the edge of the port to make sure that when the gate is closed that I cant not see the sharpie mark. I happy with how it came out. The silver sharpie shows just how small the overlap is now.
Last edited by rotaryextreme; 03-08-20 at 08:10 PM.
That's a nearly perfect WG port job. I think 1.24" is the max. If the flapper doesn't seal, then the WG port is too large and the primary turbo will suffer from lack of boost/response.
Just FYI anyone who is looking at this build.
That's a nearly perfect WG port job. I think 1.24" is the max. If the flapper doesn't seal, then the WG port is too large and the primary turbo will suffer from lack of boost/response.
Just FYI anyone who is looking at this build.
yes, exactly. i was super scared to overdo it. i probably stopped and checked like 20 times while doing it.
thanks for the compliment.
Im going to paint all the aluminum parts with a glitter look. VHT cast aluminum, coated with glitter then sealed with VHT gloss coat - I heated the face of the test piece with a 900F heat gun and it held up fine.
I painted the Turbo water pipe line a nice blue color with a satin clear finish. I also polished the turbo heat shield just a little bit.
PARTS - I got some parts in with the money I made from my garage sale.
I have a small tear in the drivers seat - gonna try to repair it with a leather repair kit , if it doesn't work its ok because- Im putting black wool seat cover over my seats anyways.
150amp alternator, Banzai Racing black pulley kit, ( black so all the pulleys match - keeping the factory main pulley). Pineapple Racing normal Idler pulley, CJ Motorsports secondary fuel rail kit with FPD and Fuel Pressure Gauge, CJ Motorsports relay harness kit for the fuel pump and ign coil power mod. Rubber caps for open van lines, Xcessive oil filler neck for the Xcessive LIM I have, new throw out bearing and pilot bearing, new shifter bushing, water pump gasket, Rotary Performance O2 sensor, oil pedestal adapter for oil temp and pressure gauges and last but not least that awesome solenoid upgrade kit from Eric...woot woot !!!!!!!!
Last edited by rotaryextreme; 03-10-20 at 10:58 PM.


 03-01-20, 08:59 PM


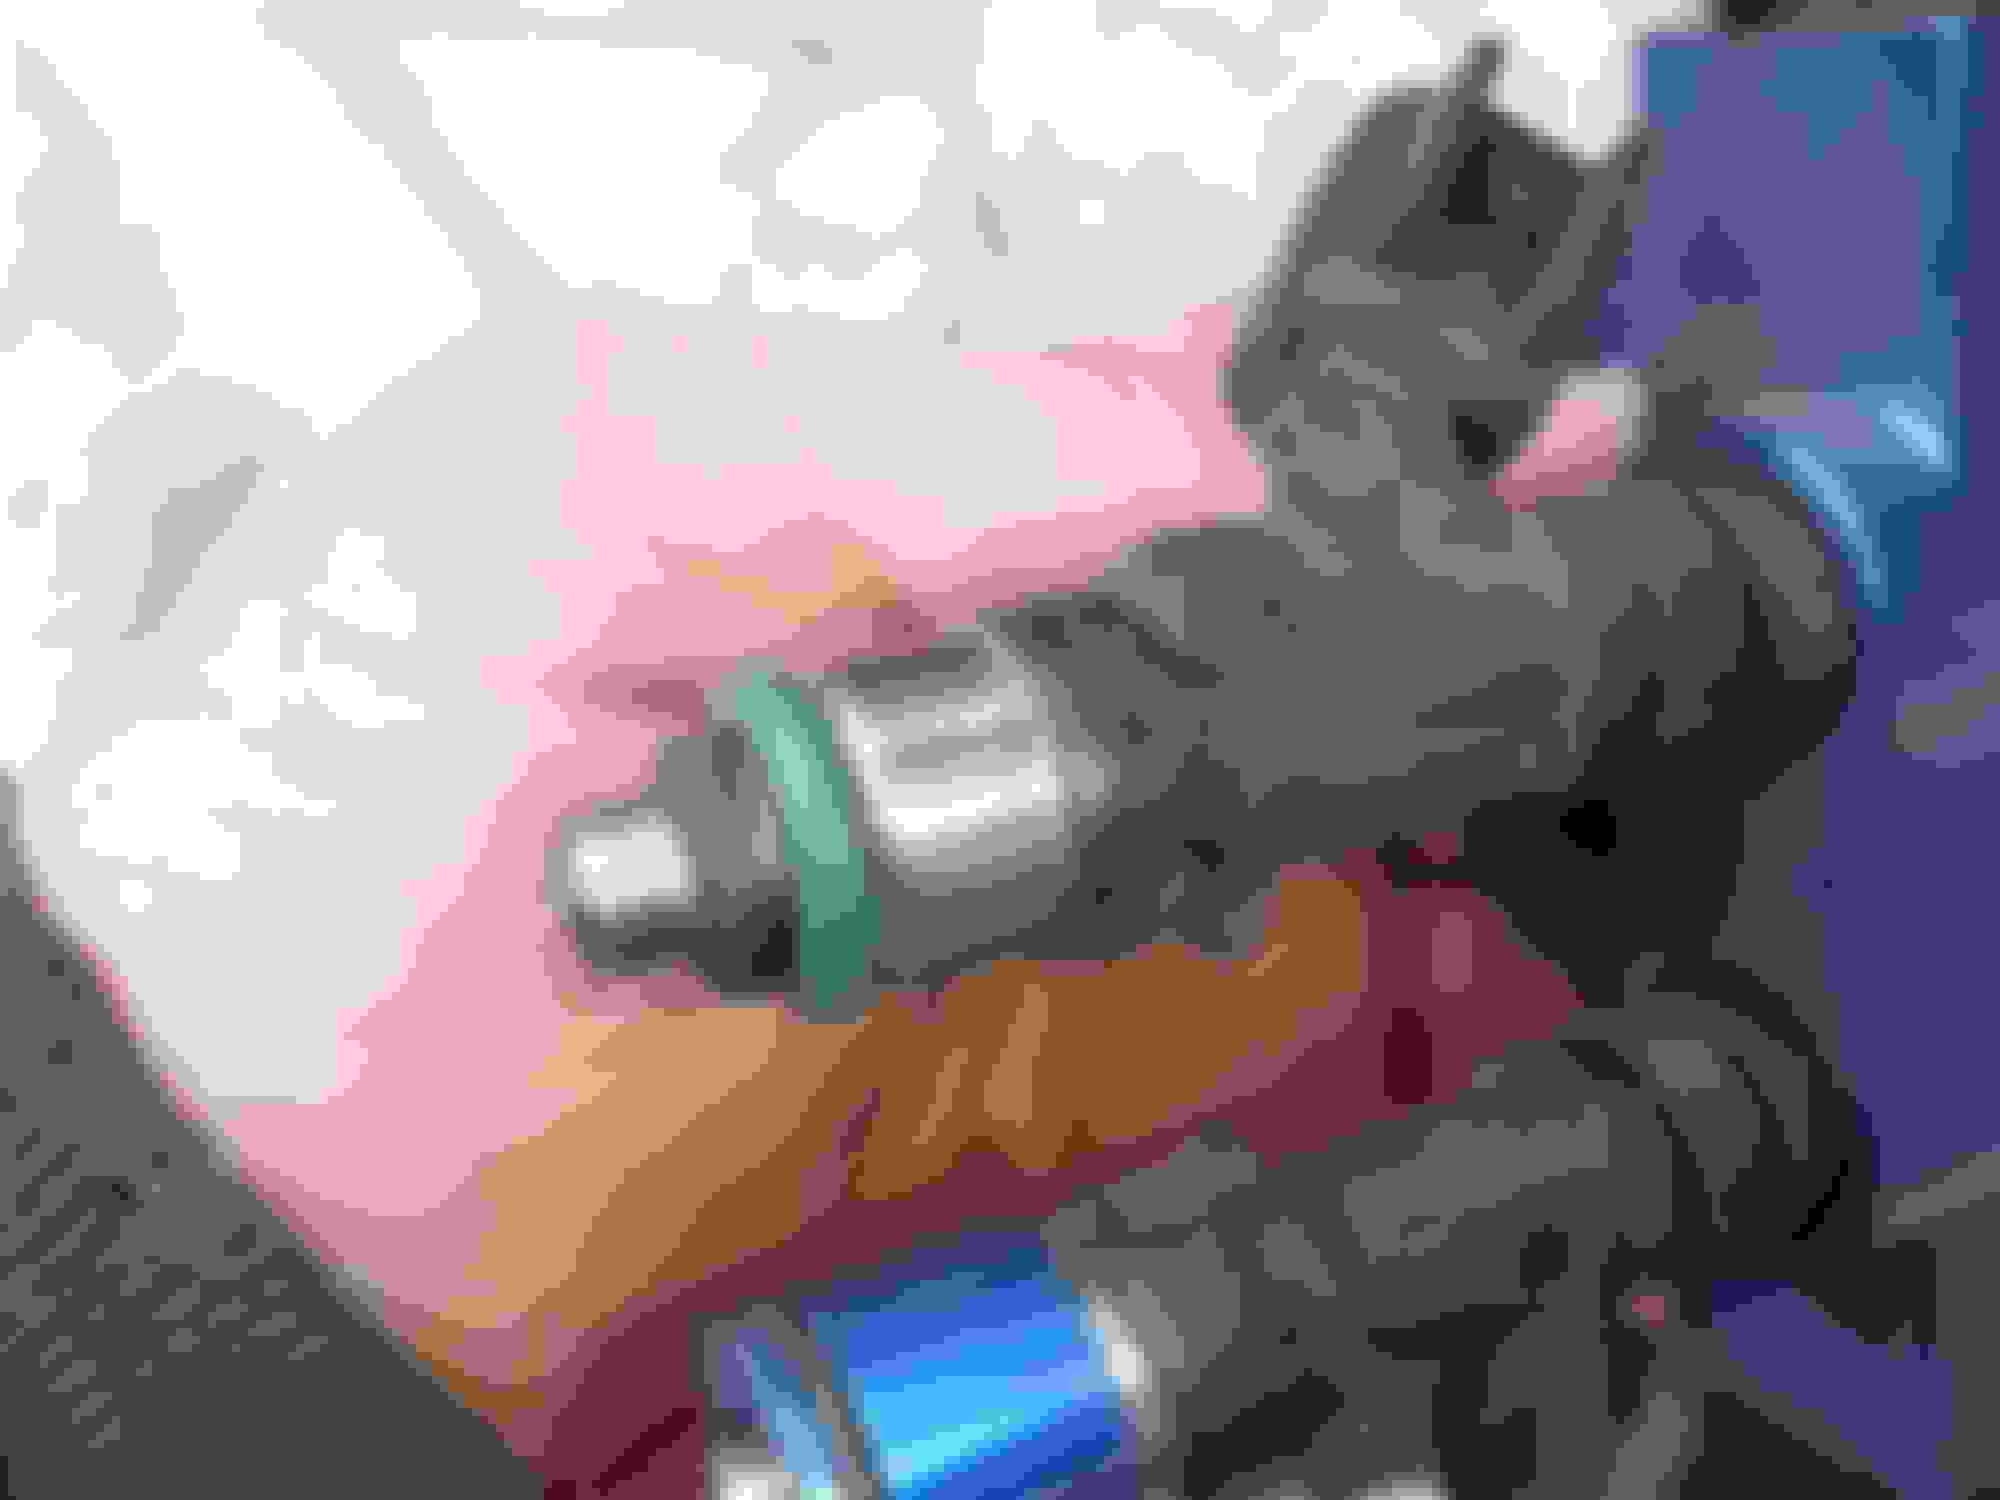


 . Luckily I have a power washer and I was able to get most of it off, but some of it was stained. Thank God I was going to repaint everything anyways. Also the chemical mix ate away at one of the blue anodized fuel inserts.