When you click on links to various merchants on this site and make a purchase, this can result in this site earning a commission. Affiliate programs and affiliations include, but are not limited to, the eBay Partner Network.
I know I'm honing in on the least cool item here, but I'm dying to know how that leather repair kit works out!
I'll do it soon for sure - maybe within the next 2 weeks
Originally Posted by TwinCharged RX7
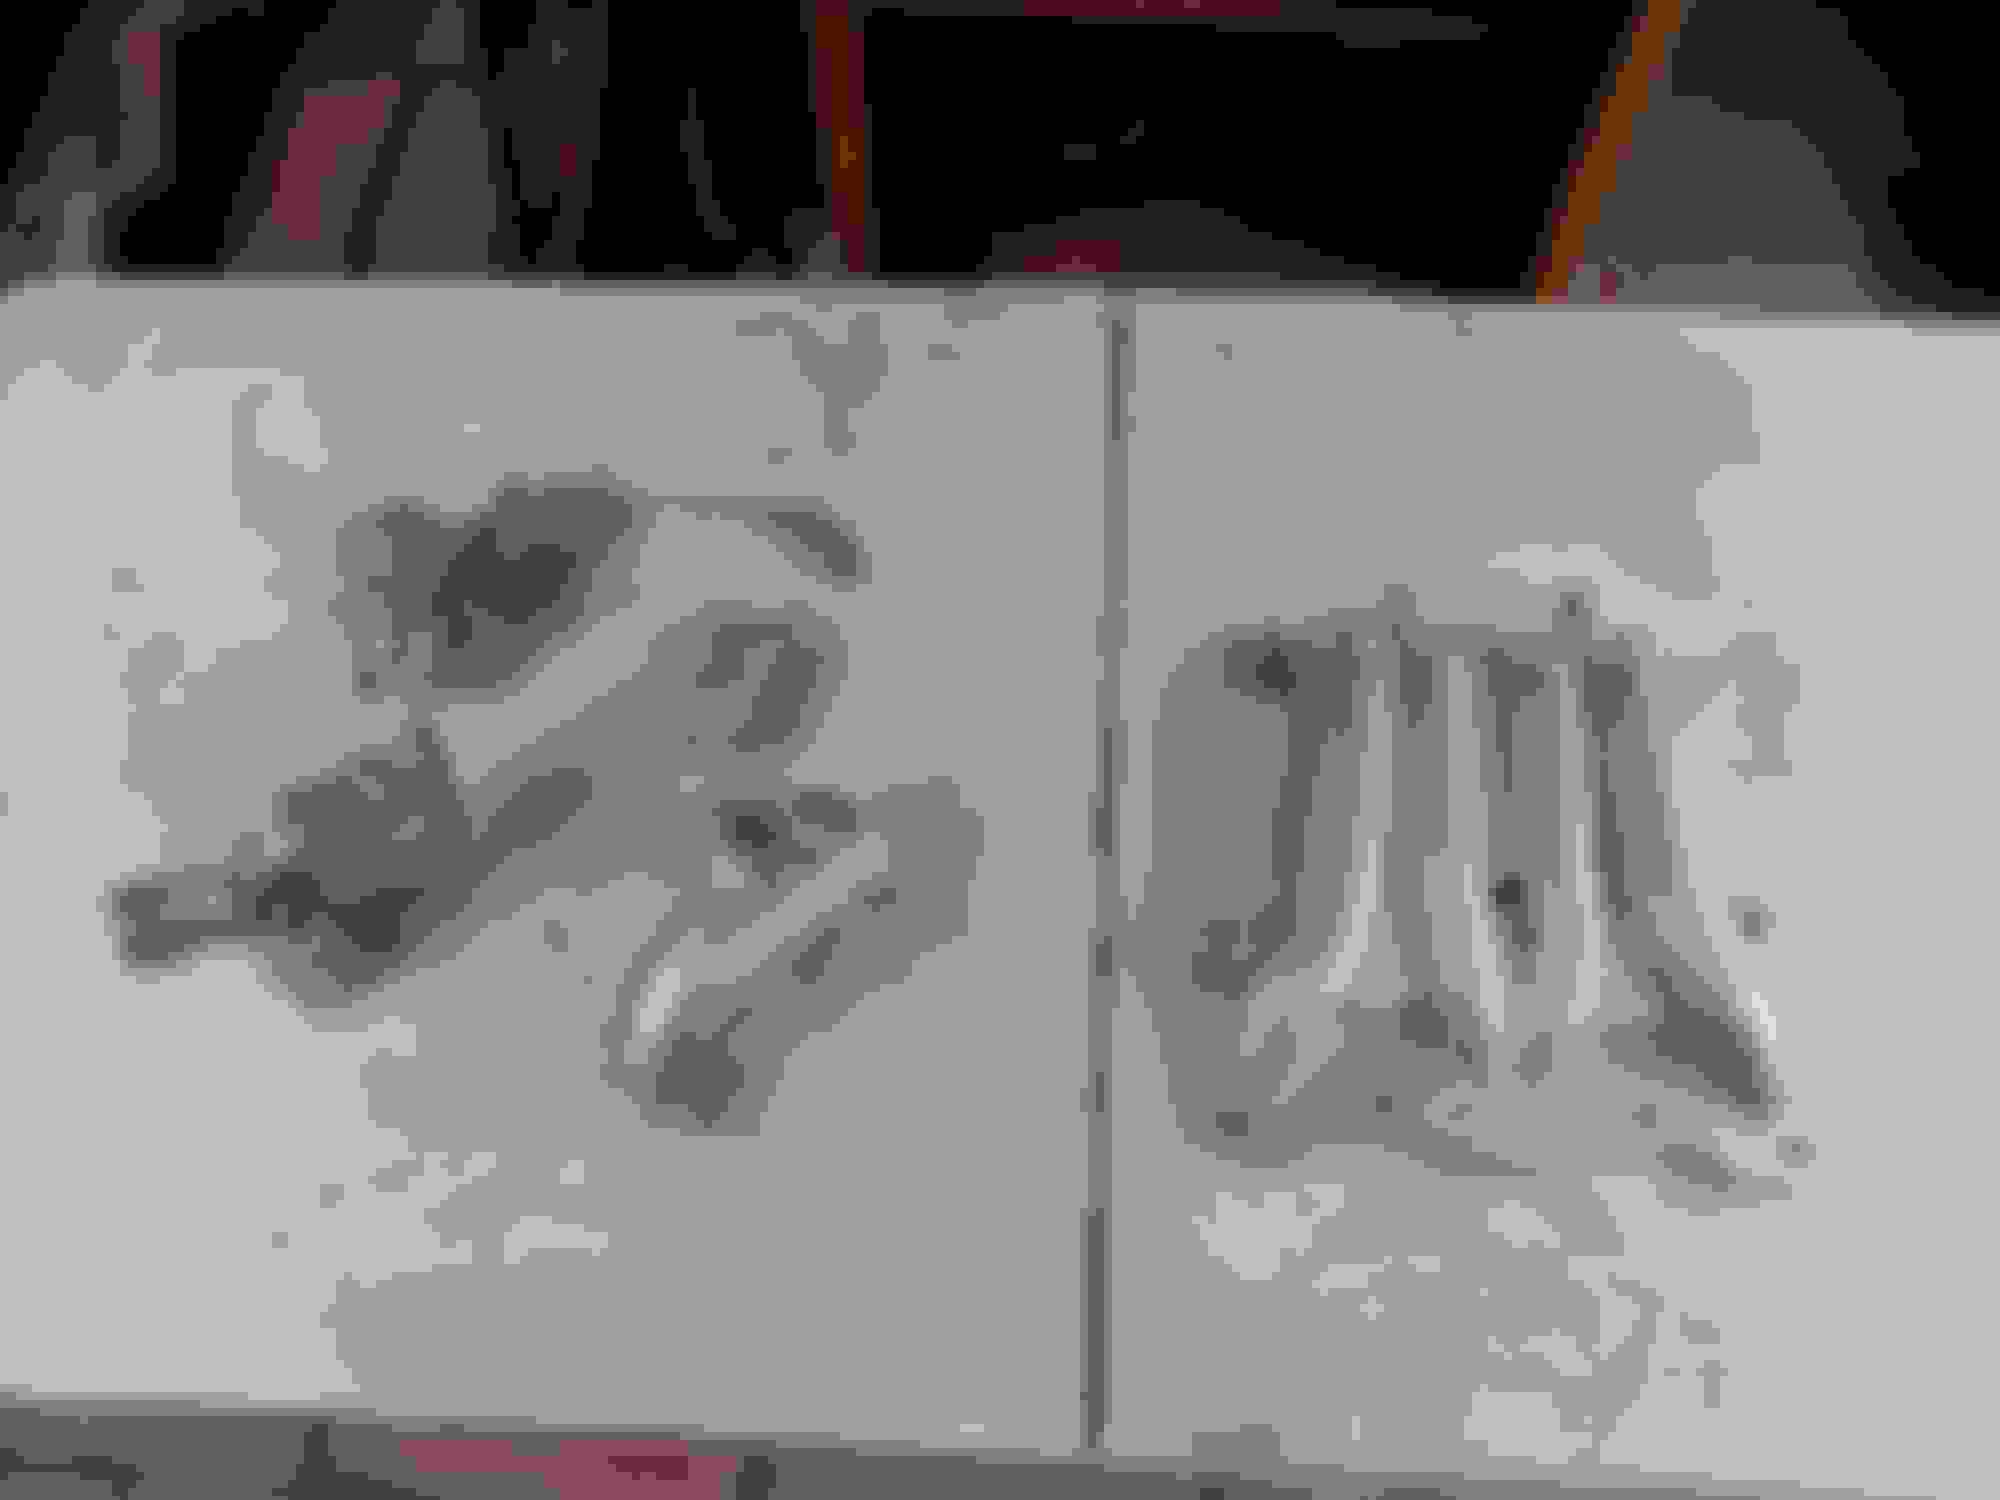
Nice solenoid Kit.
And I've never seen that Xcessive cast oil neck before.
I guess since it was an issue with the Xcessive LIM moving the UIM forward and and hitting the factory oil filler neck they came up with this. I first saw it on Pineapple Racing, but Xcessive obviously has it on their site too.
2 more parts arrived. My replica B&M short shifter and I got back my injectors from RC Engineering. I am so thankful I did this - probably saved me a motor.
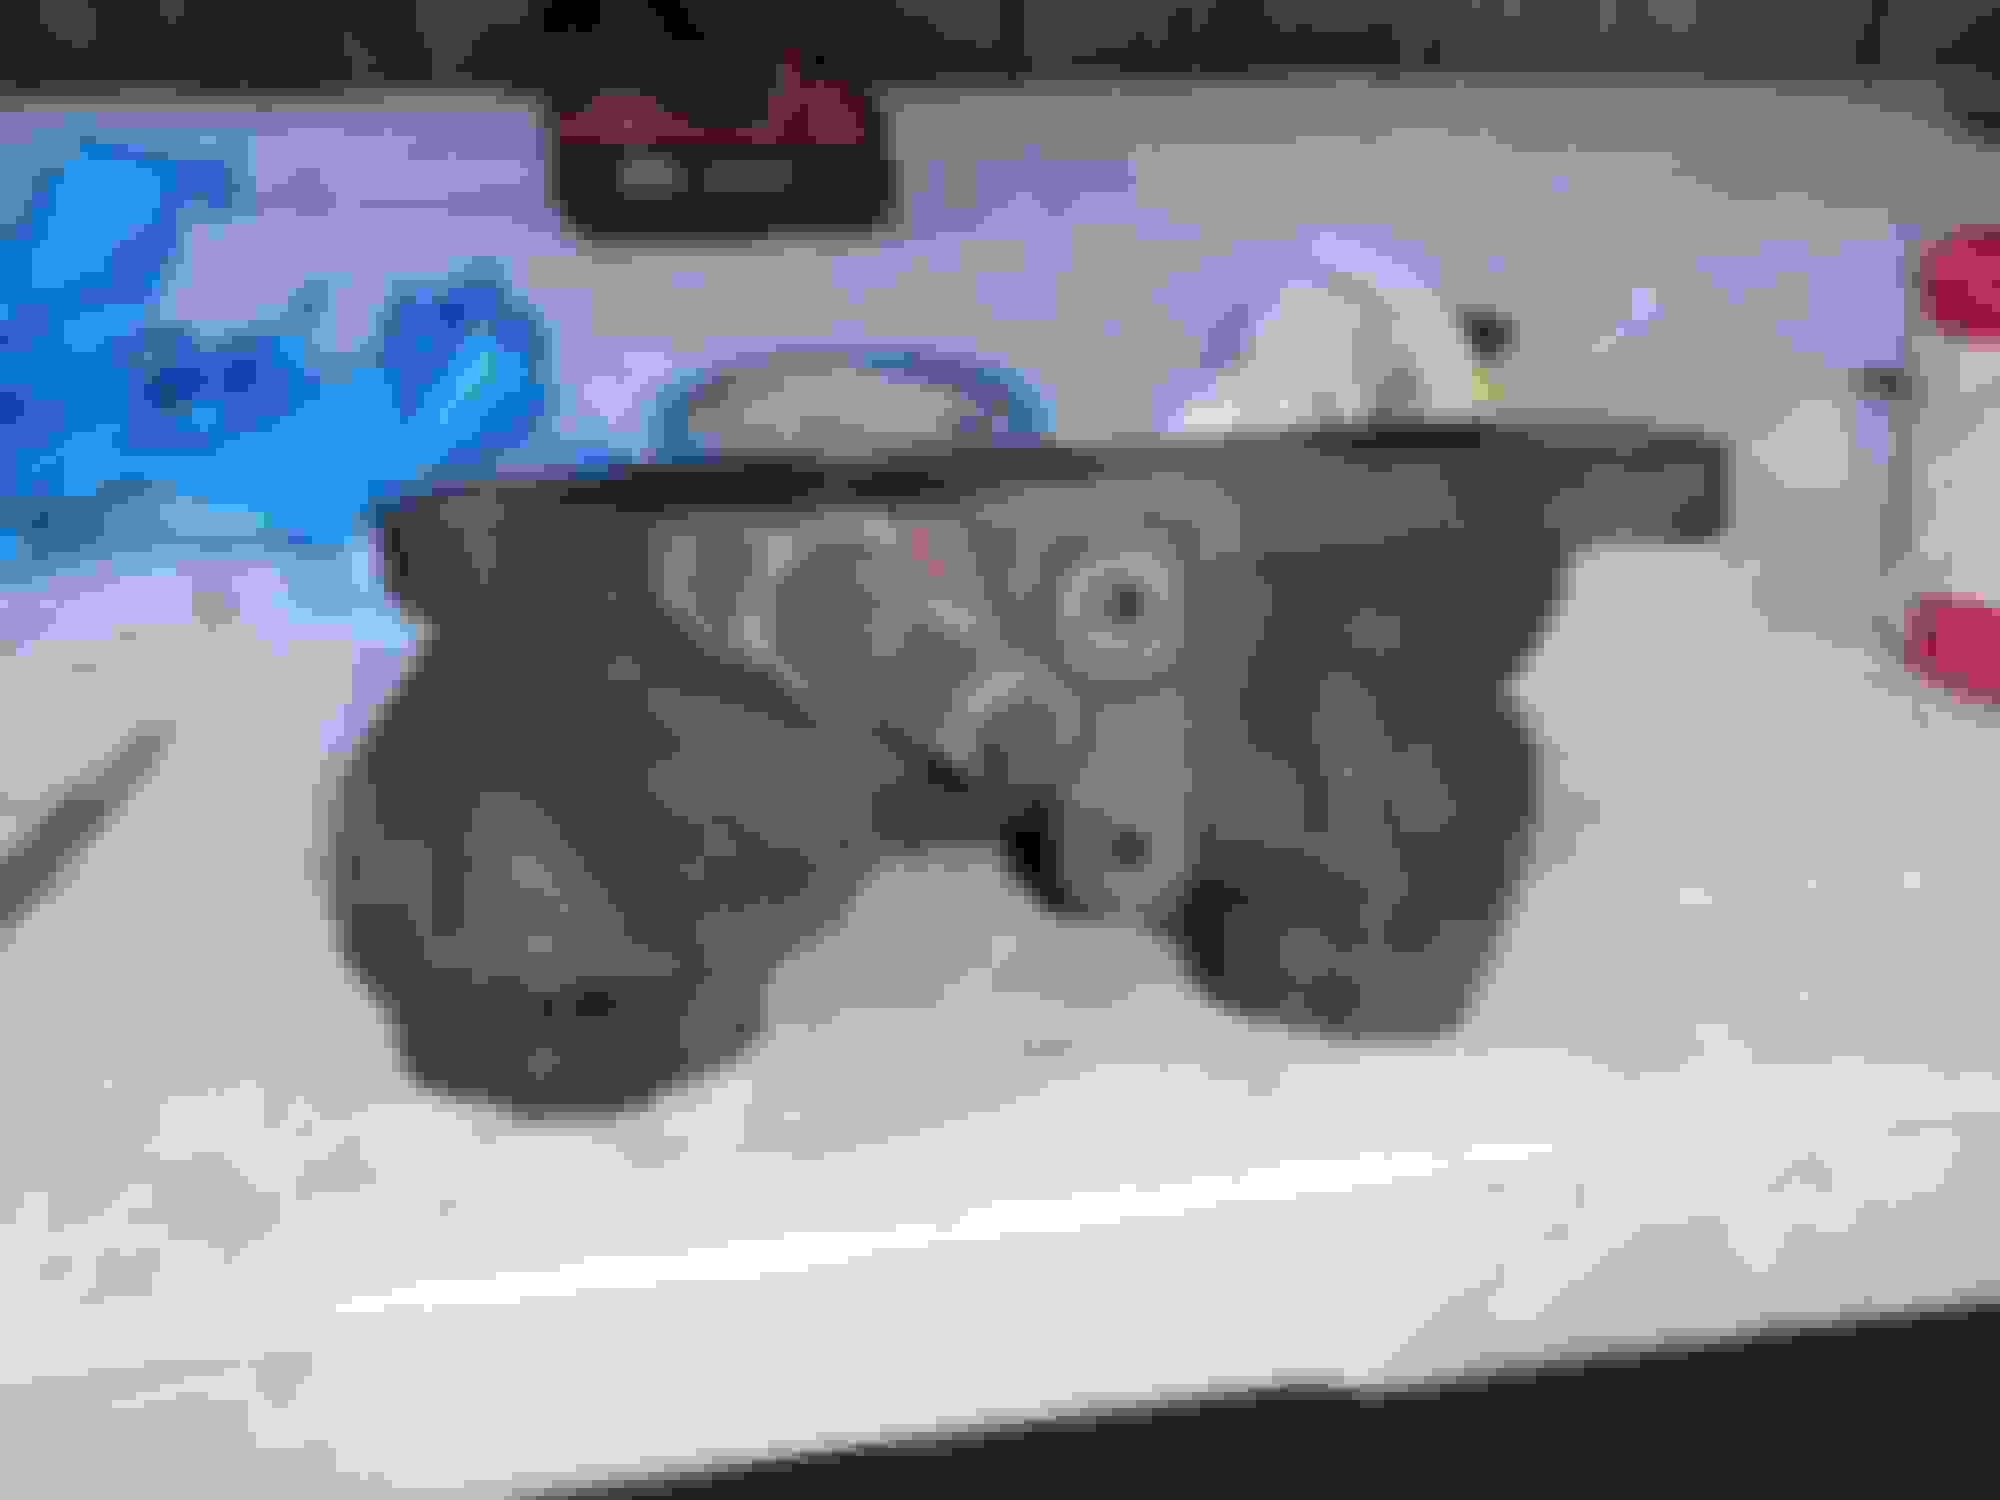
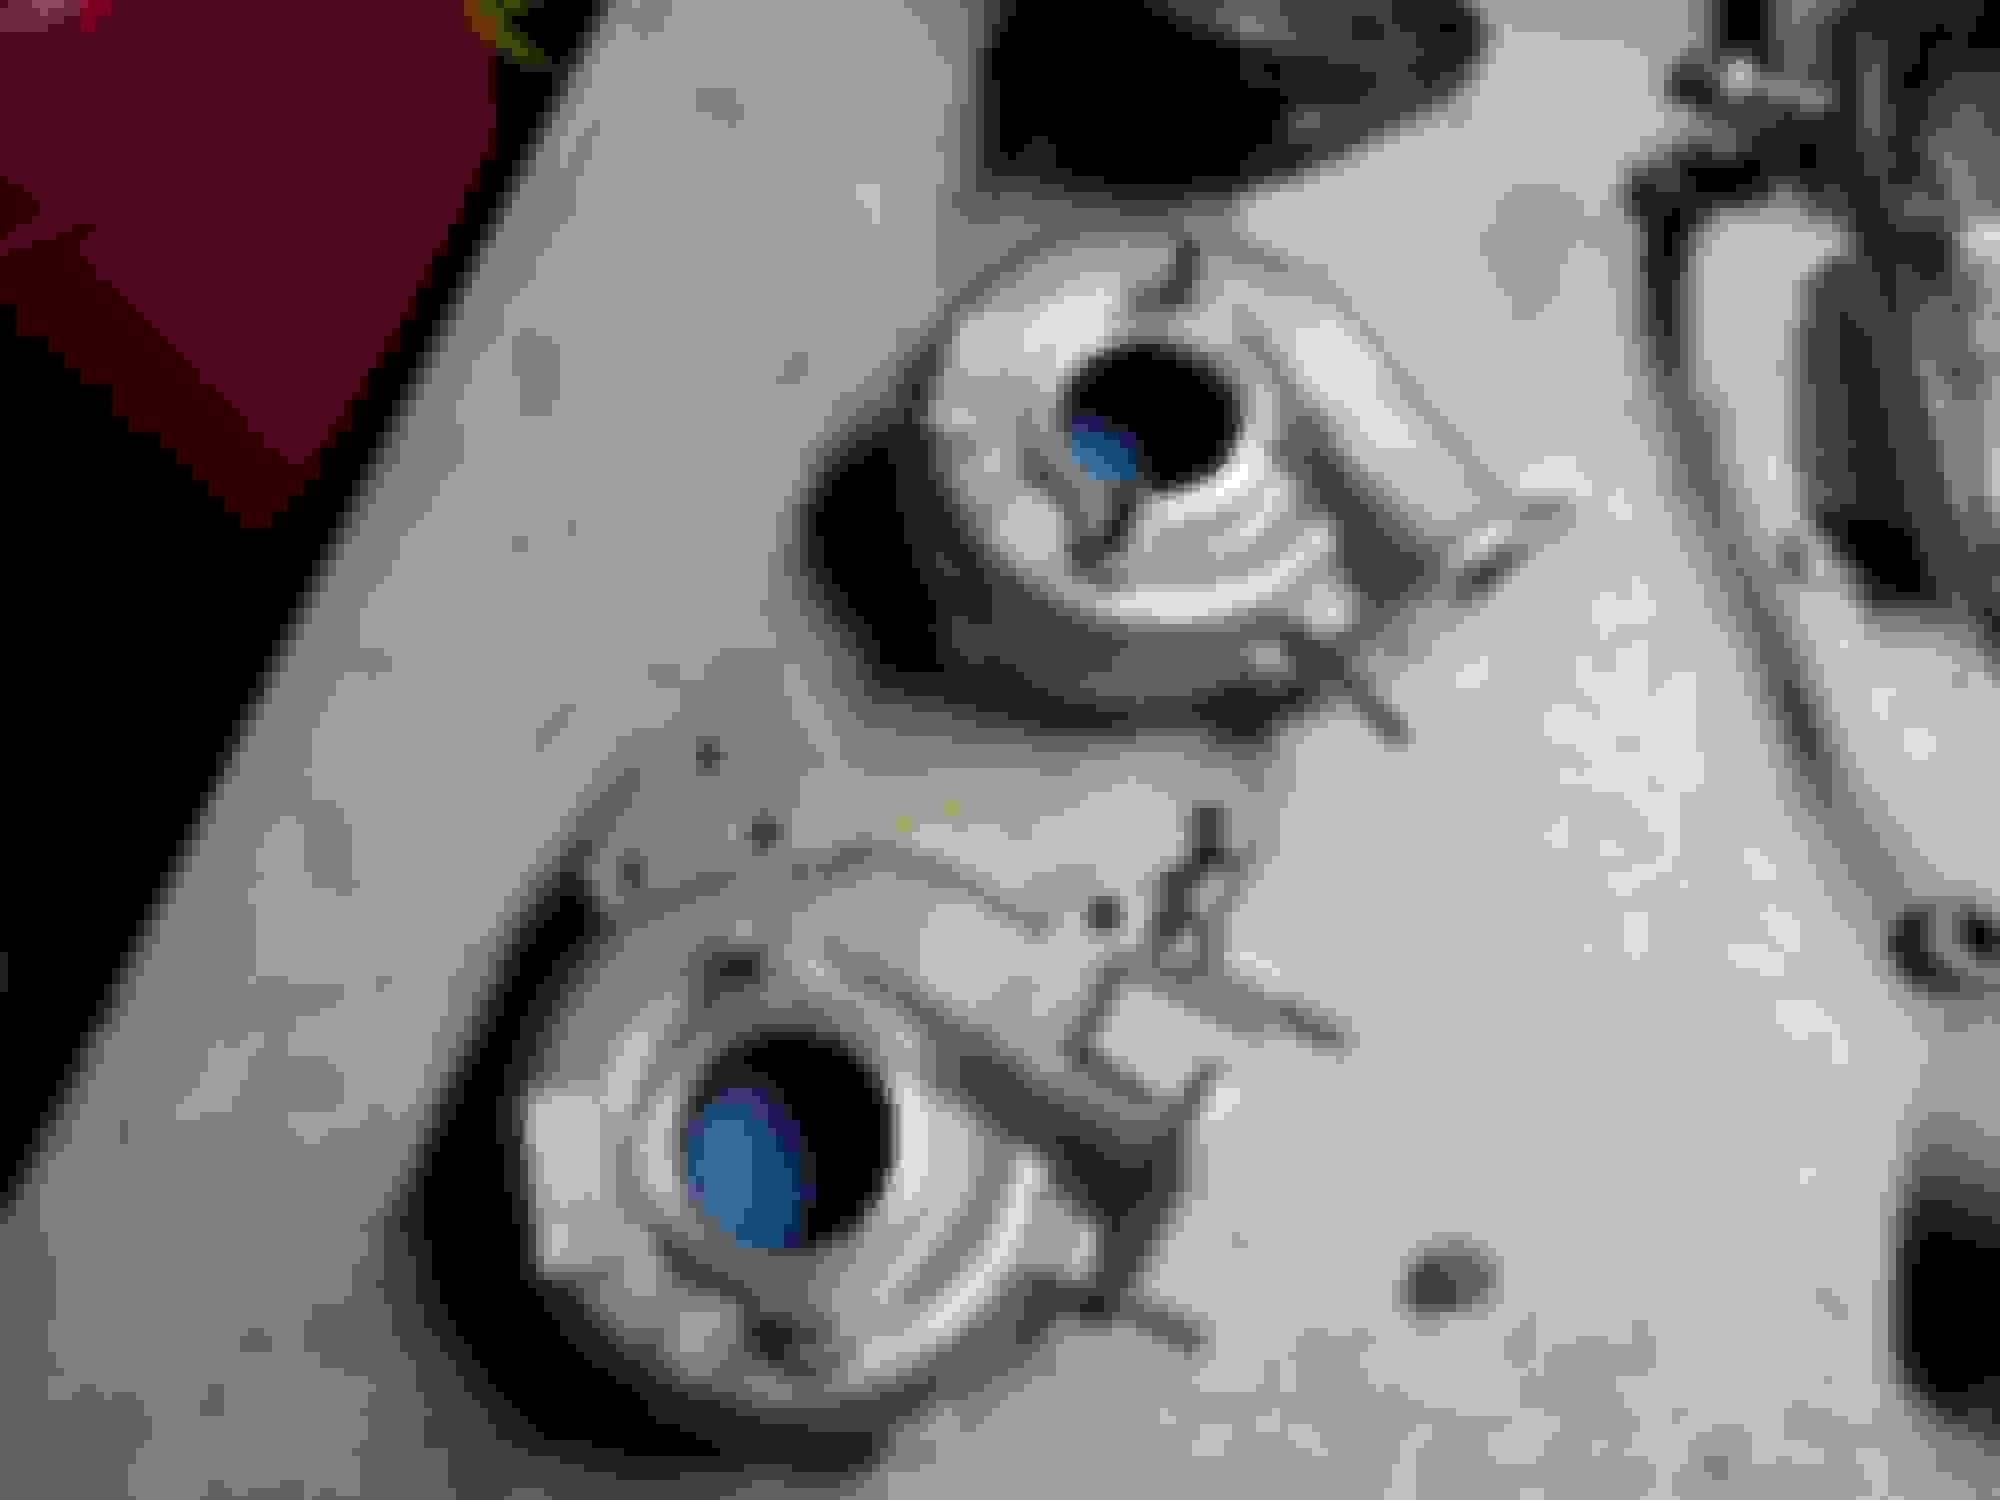
I was checking the ported wastegate and found out it would stick open sometimes. On the flapper door were some abrasions - maybe from when I was doing the porting. Also the ported area towards the back was right at the limit. I put a smooth rounded edge on the flapper door and also rounded the back edge of the port. I flipped the door 100 times straight and no more sticking - hope it works. Next time its best to leave more material in the back to prevent it from catching.
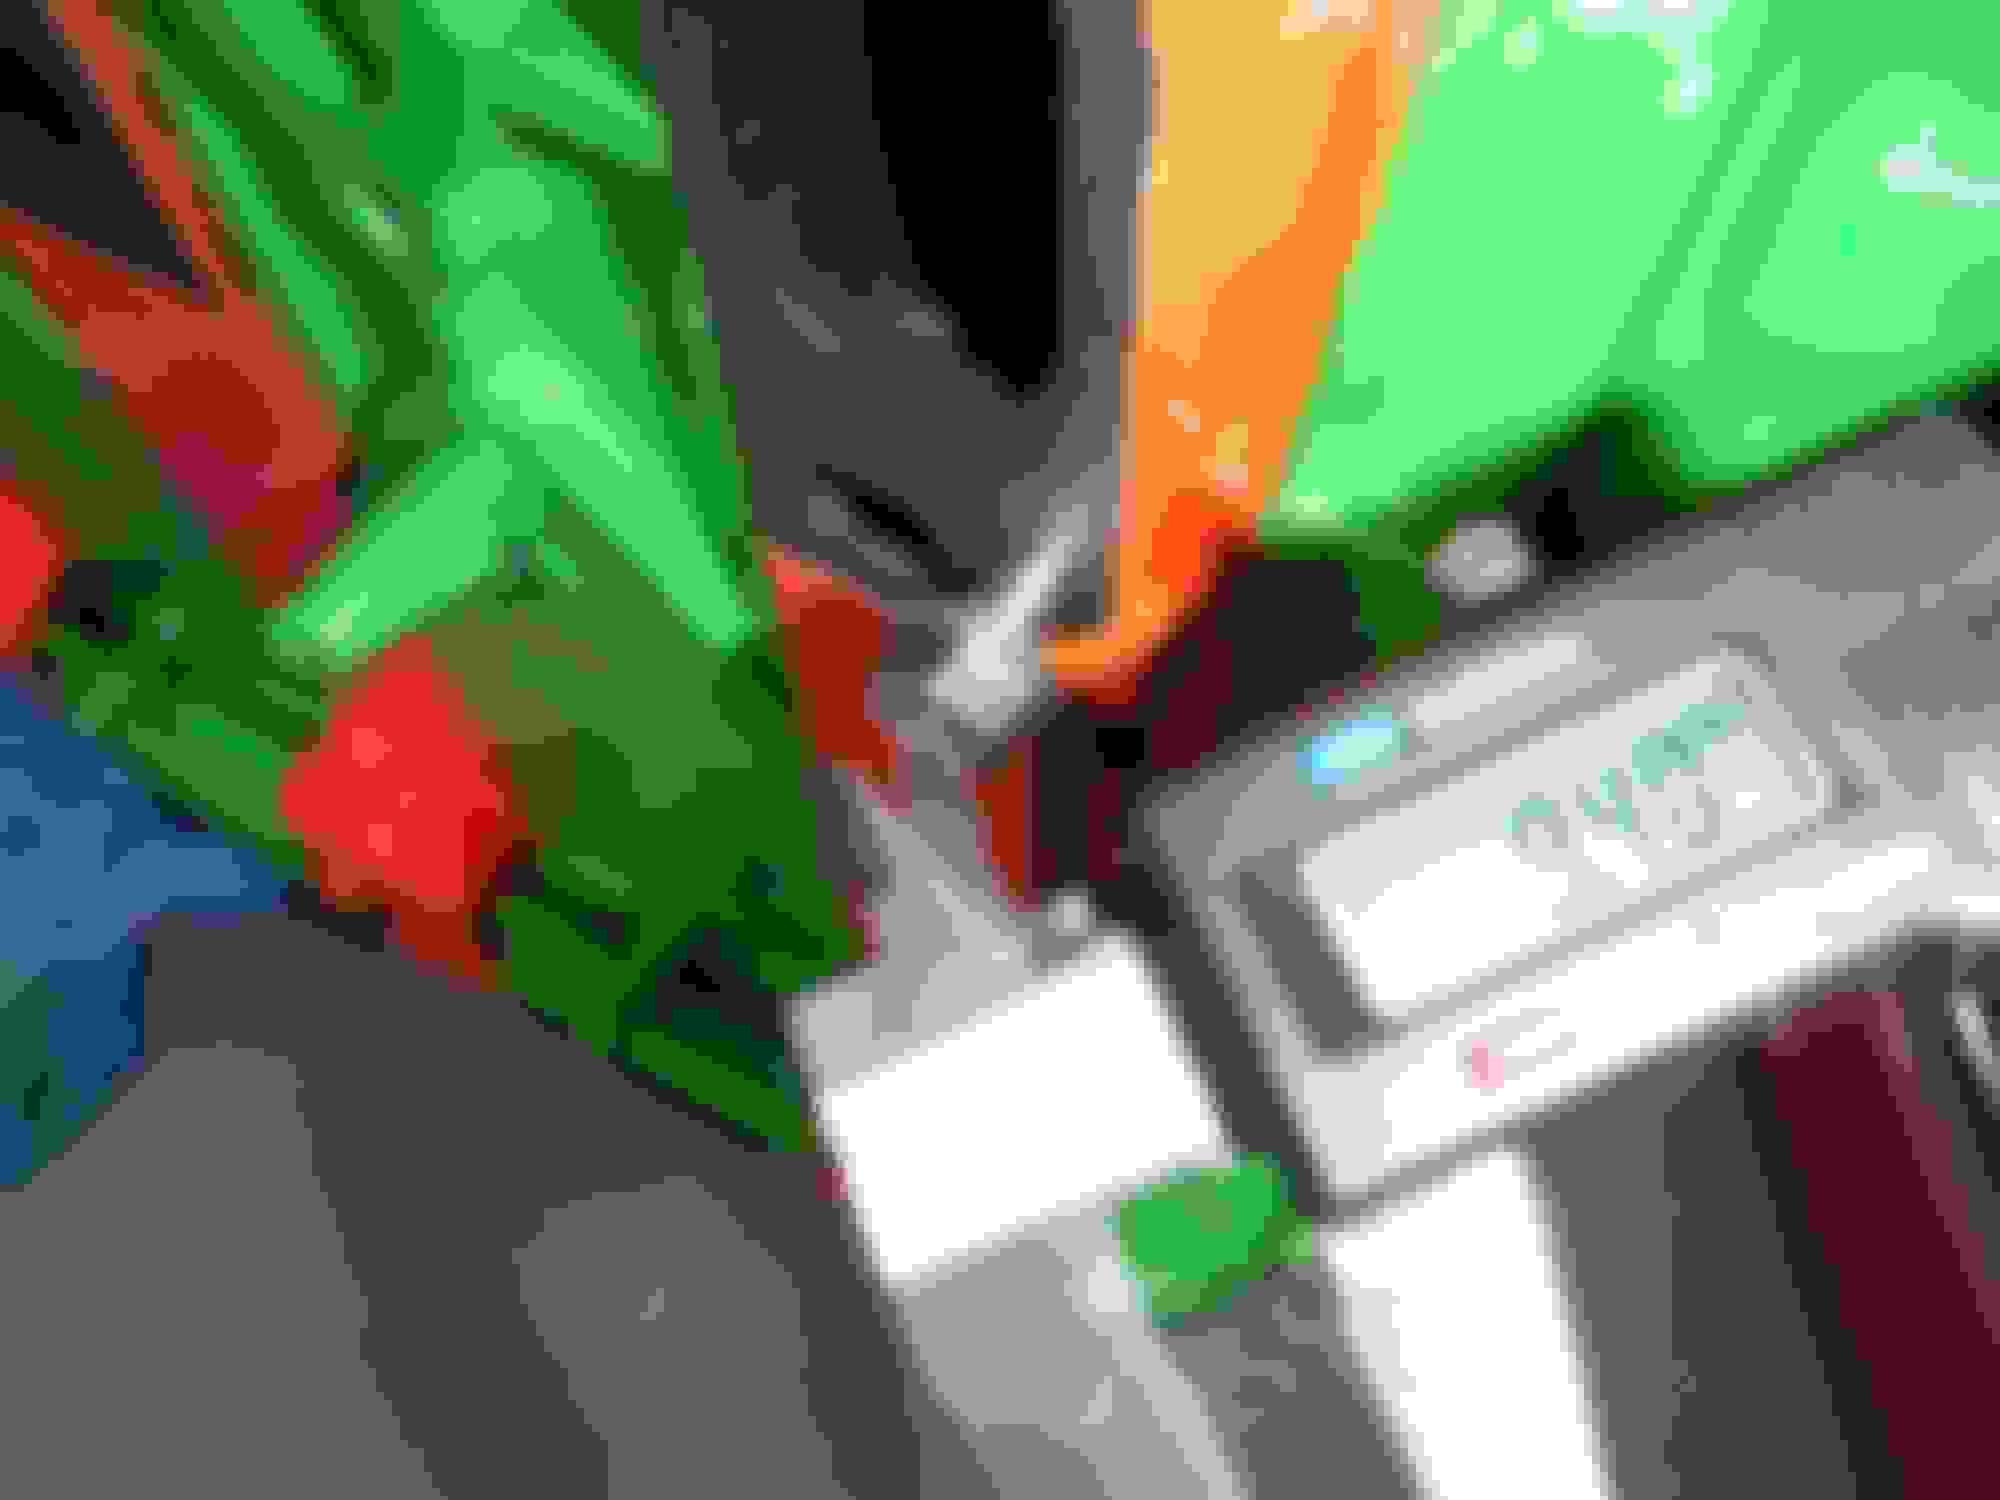
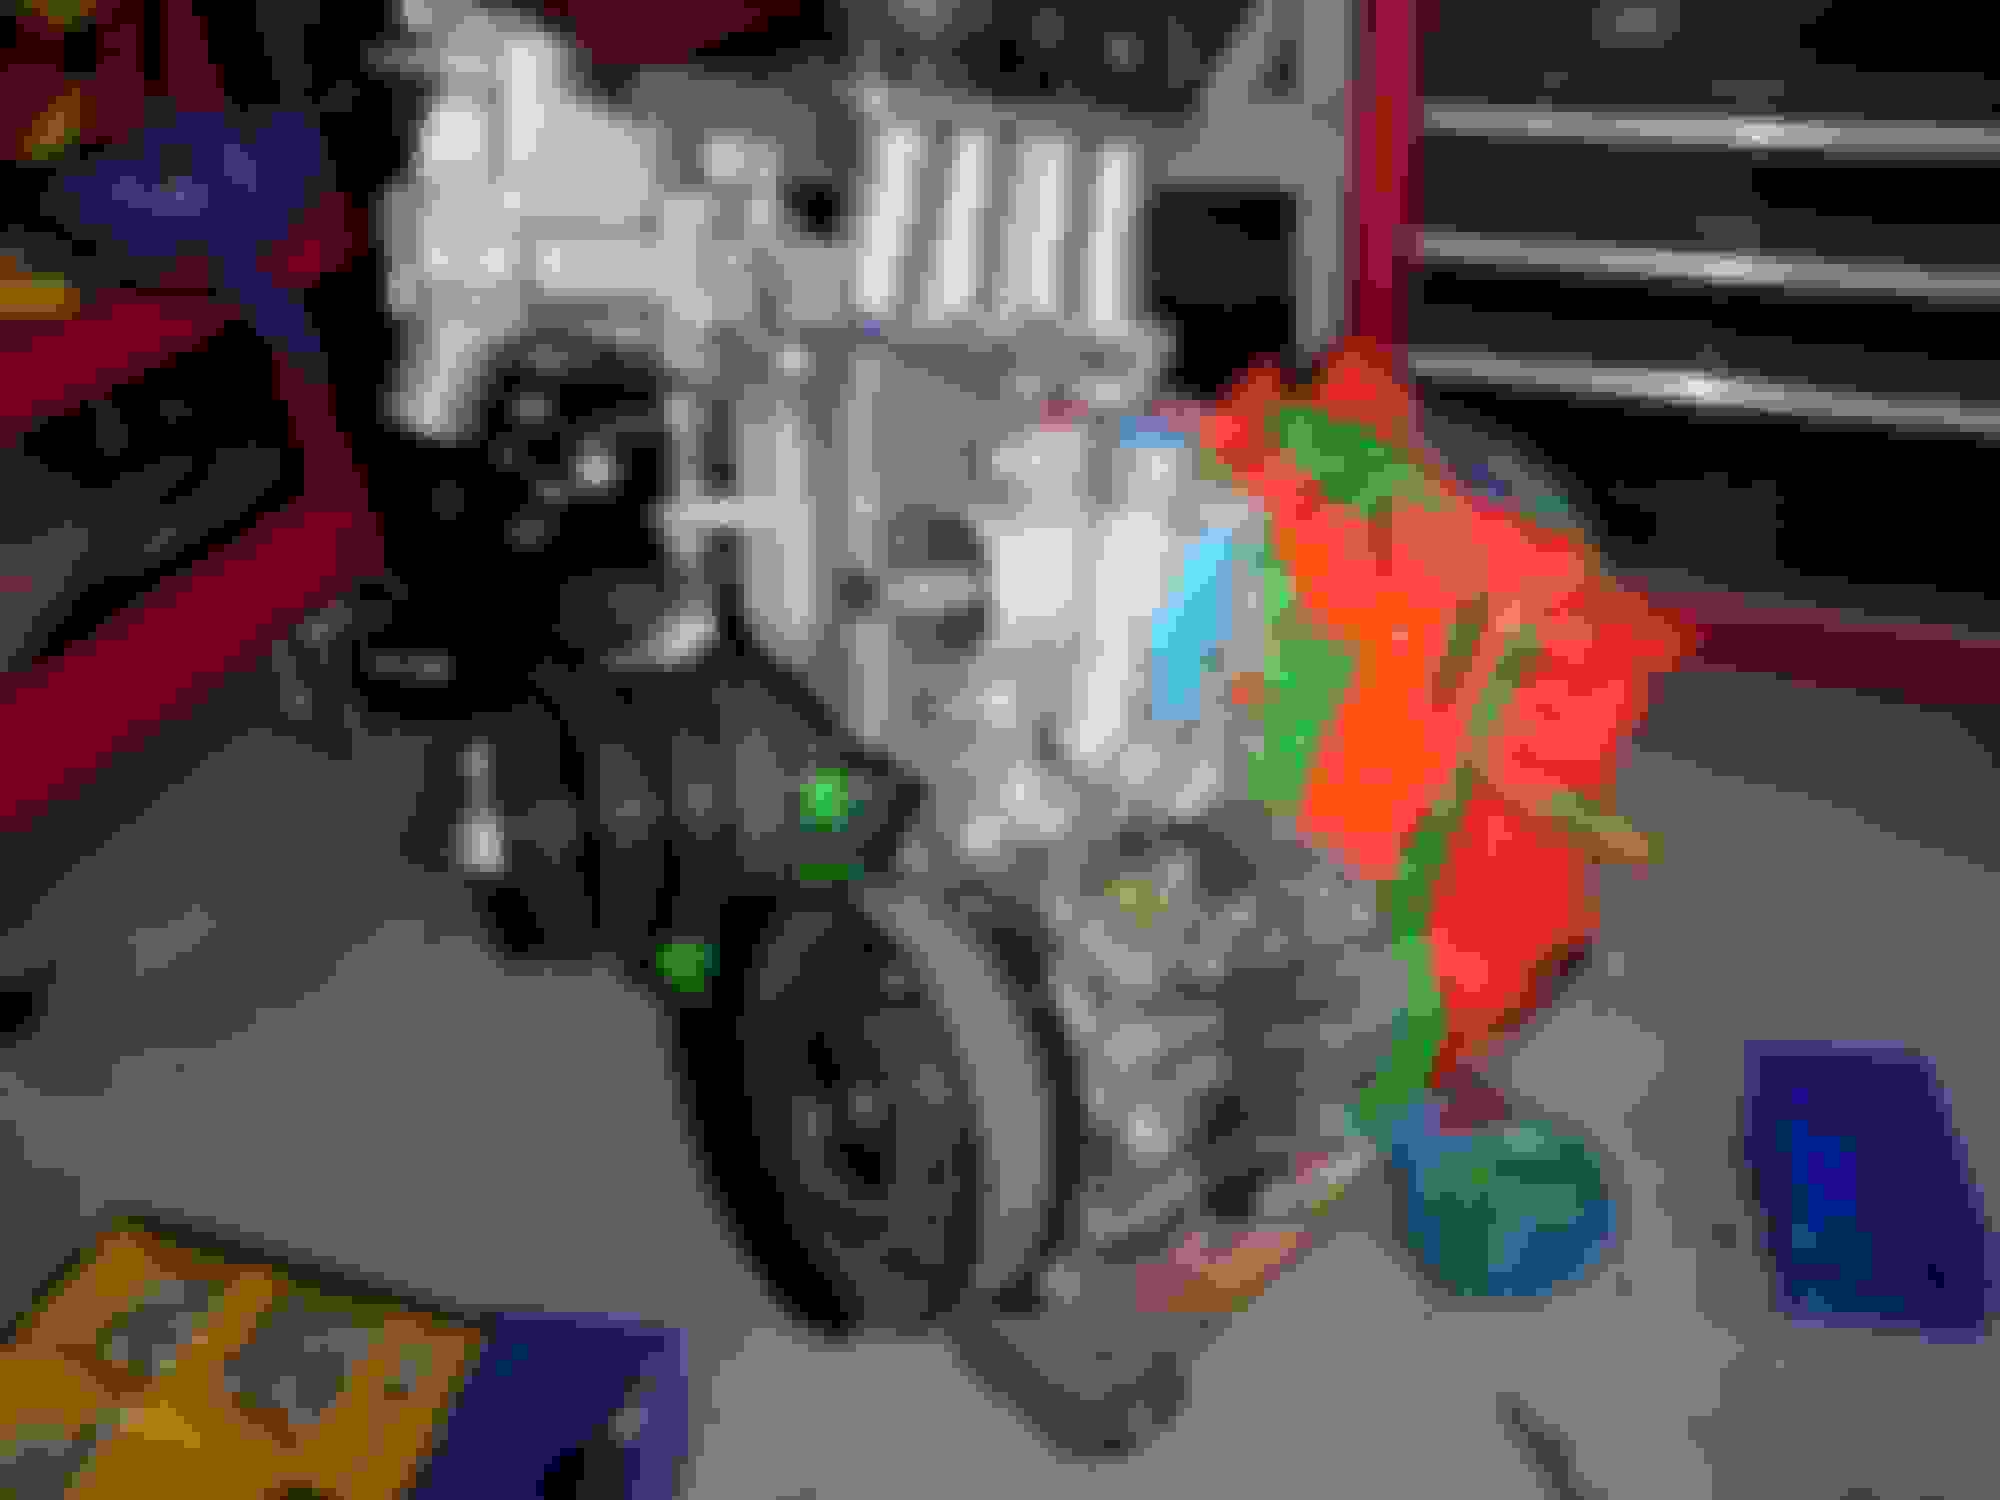
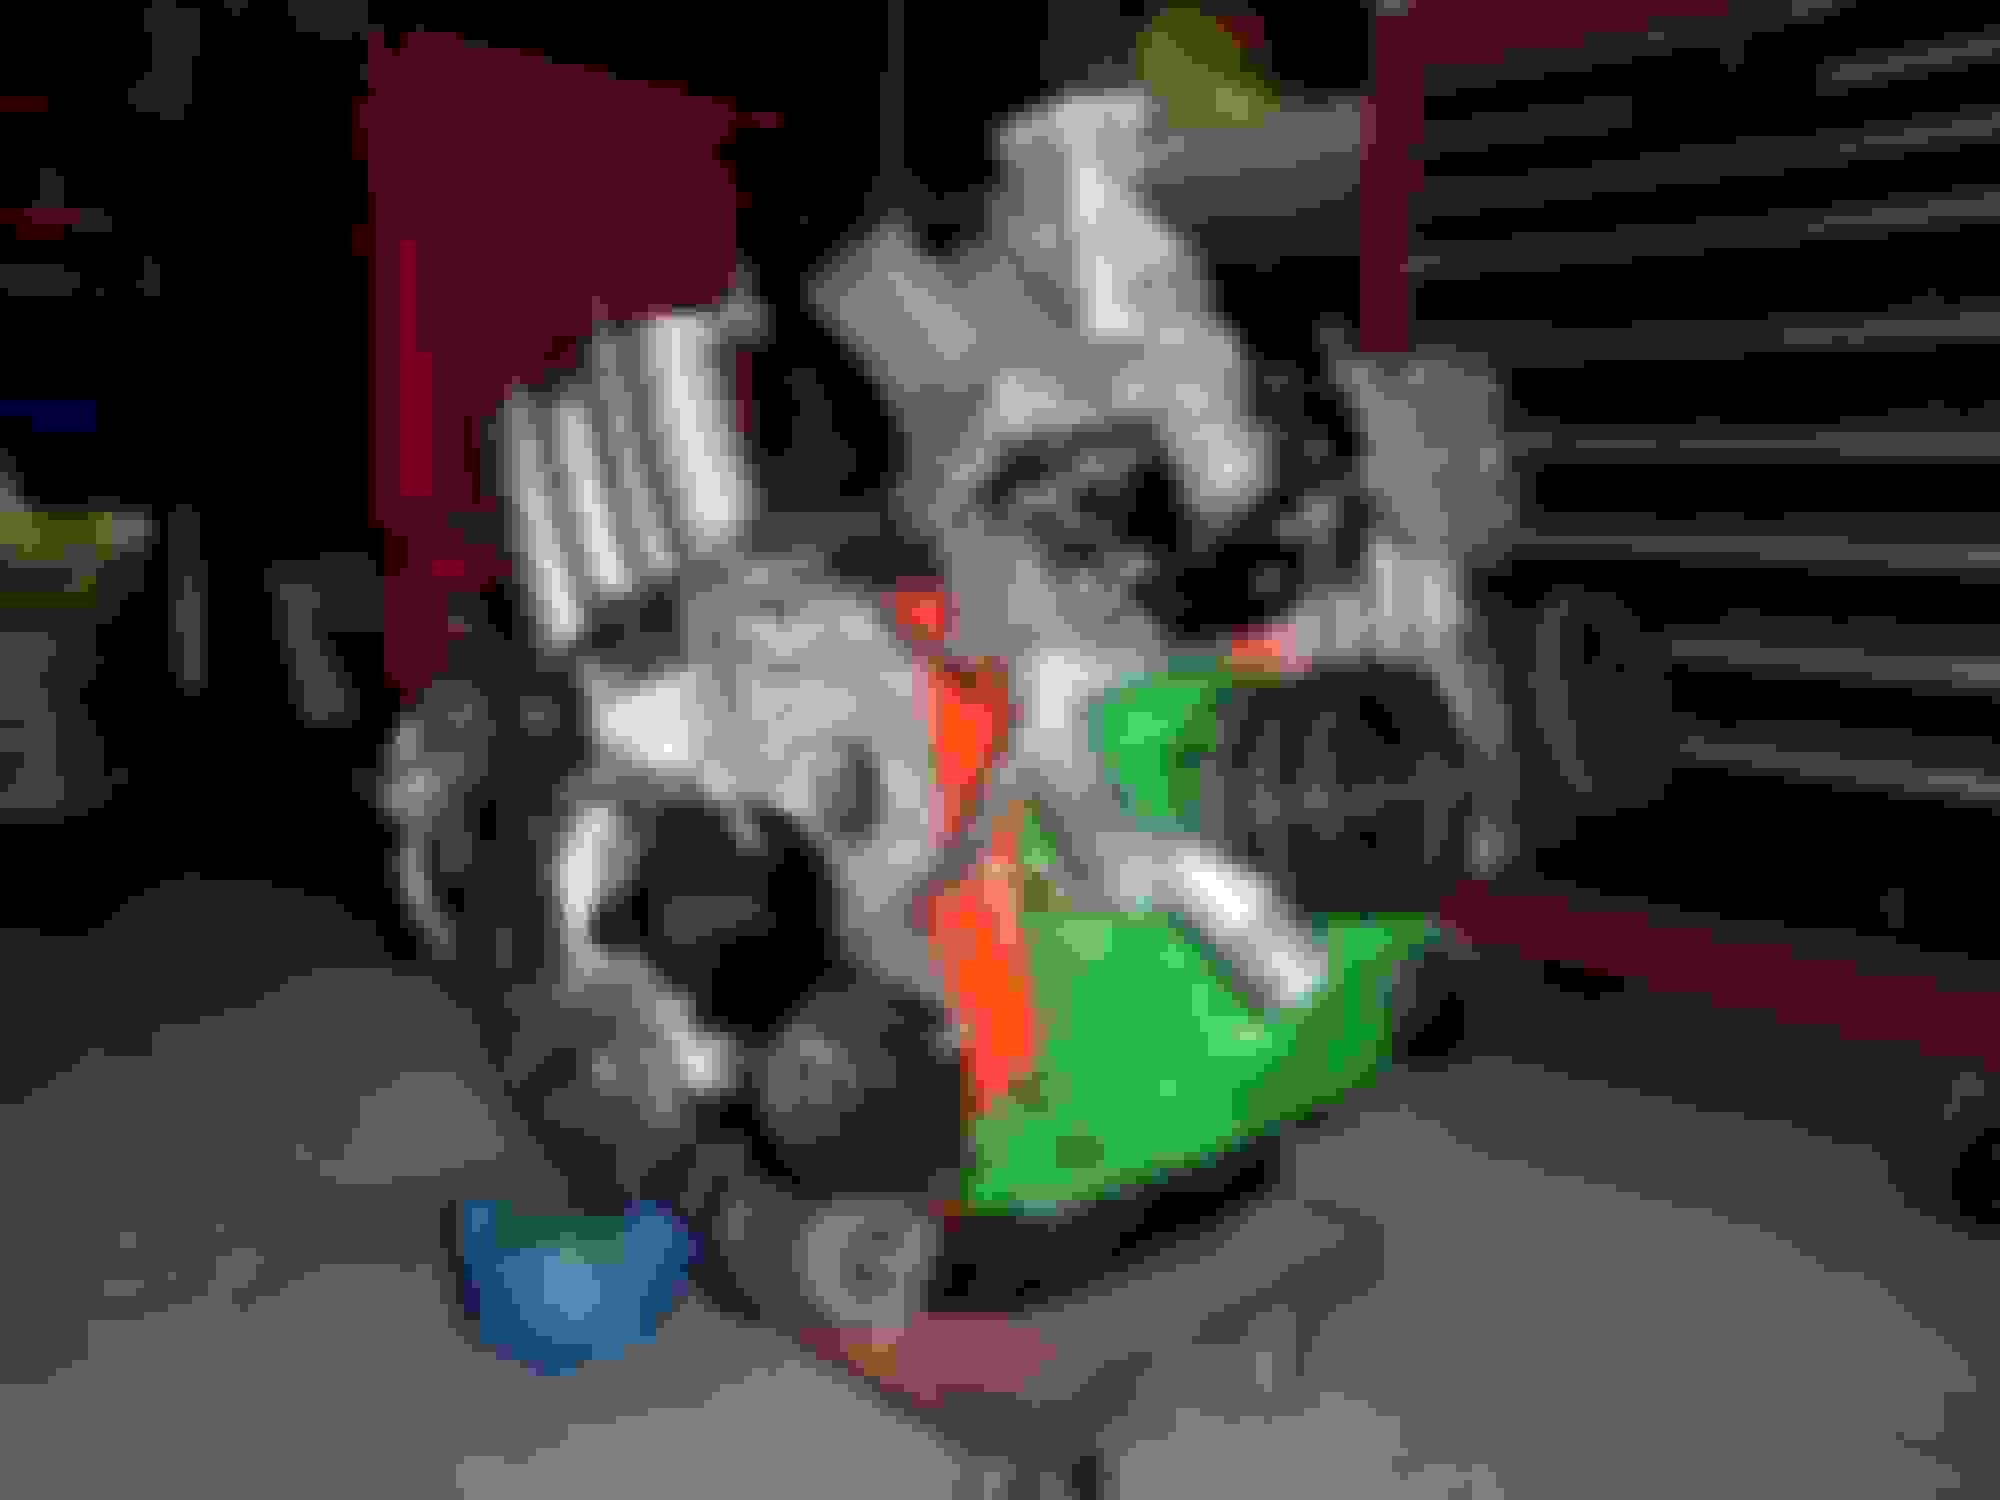
I repainted the orange part on the engine with clear coat, I will let it dry a few days before applying tape to paint the green part again. I also painted the 3 actuators flat black with the sating finish. The exhaust shields and the turbo actuator for the main manifold I just clear coated with the satin 2000F paint. I just want to see if the clear holds up and prevents rust, corrosion and whatever.
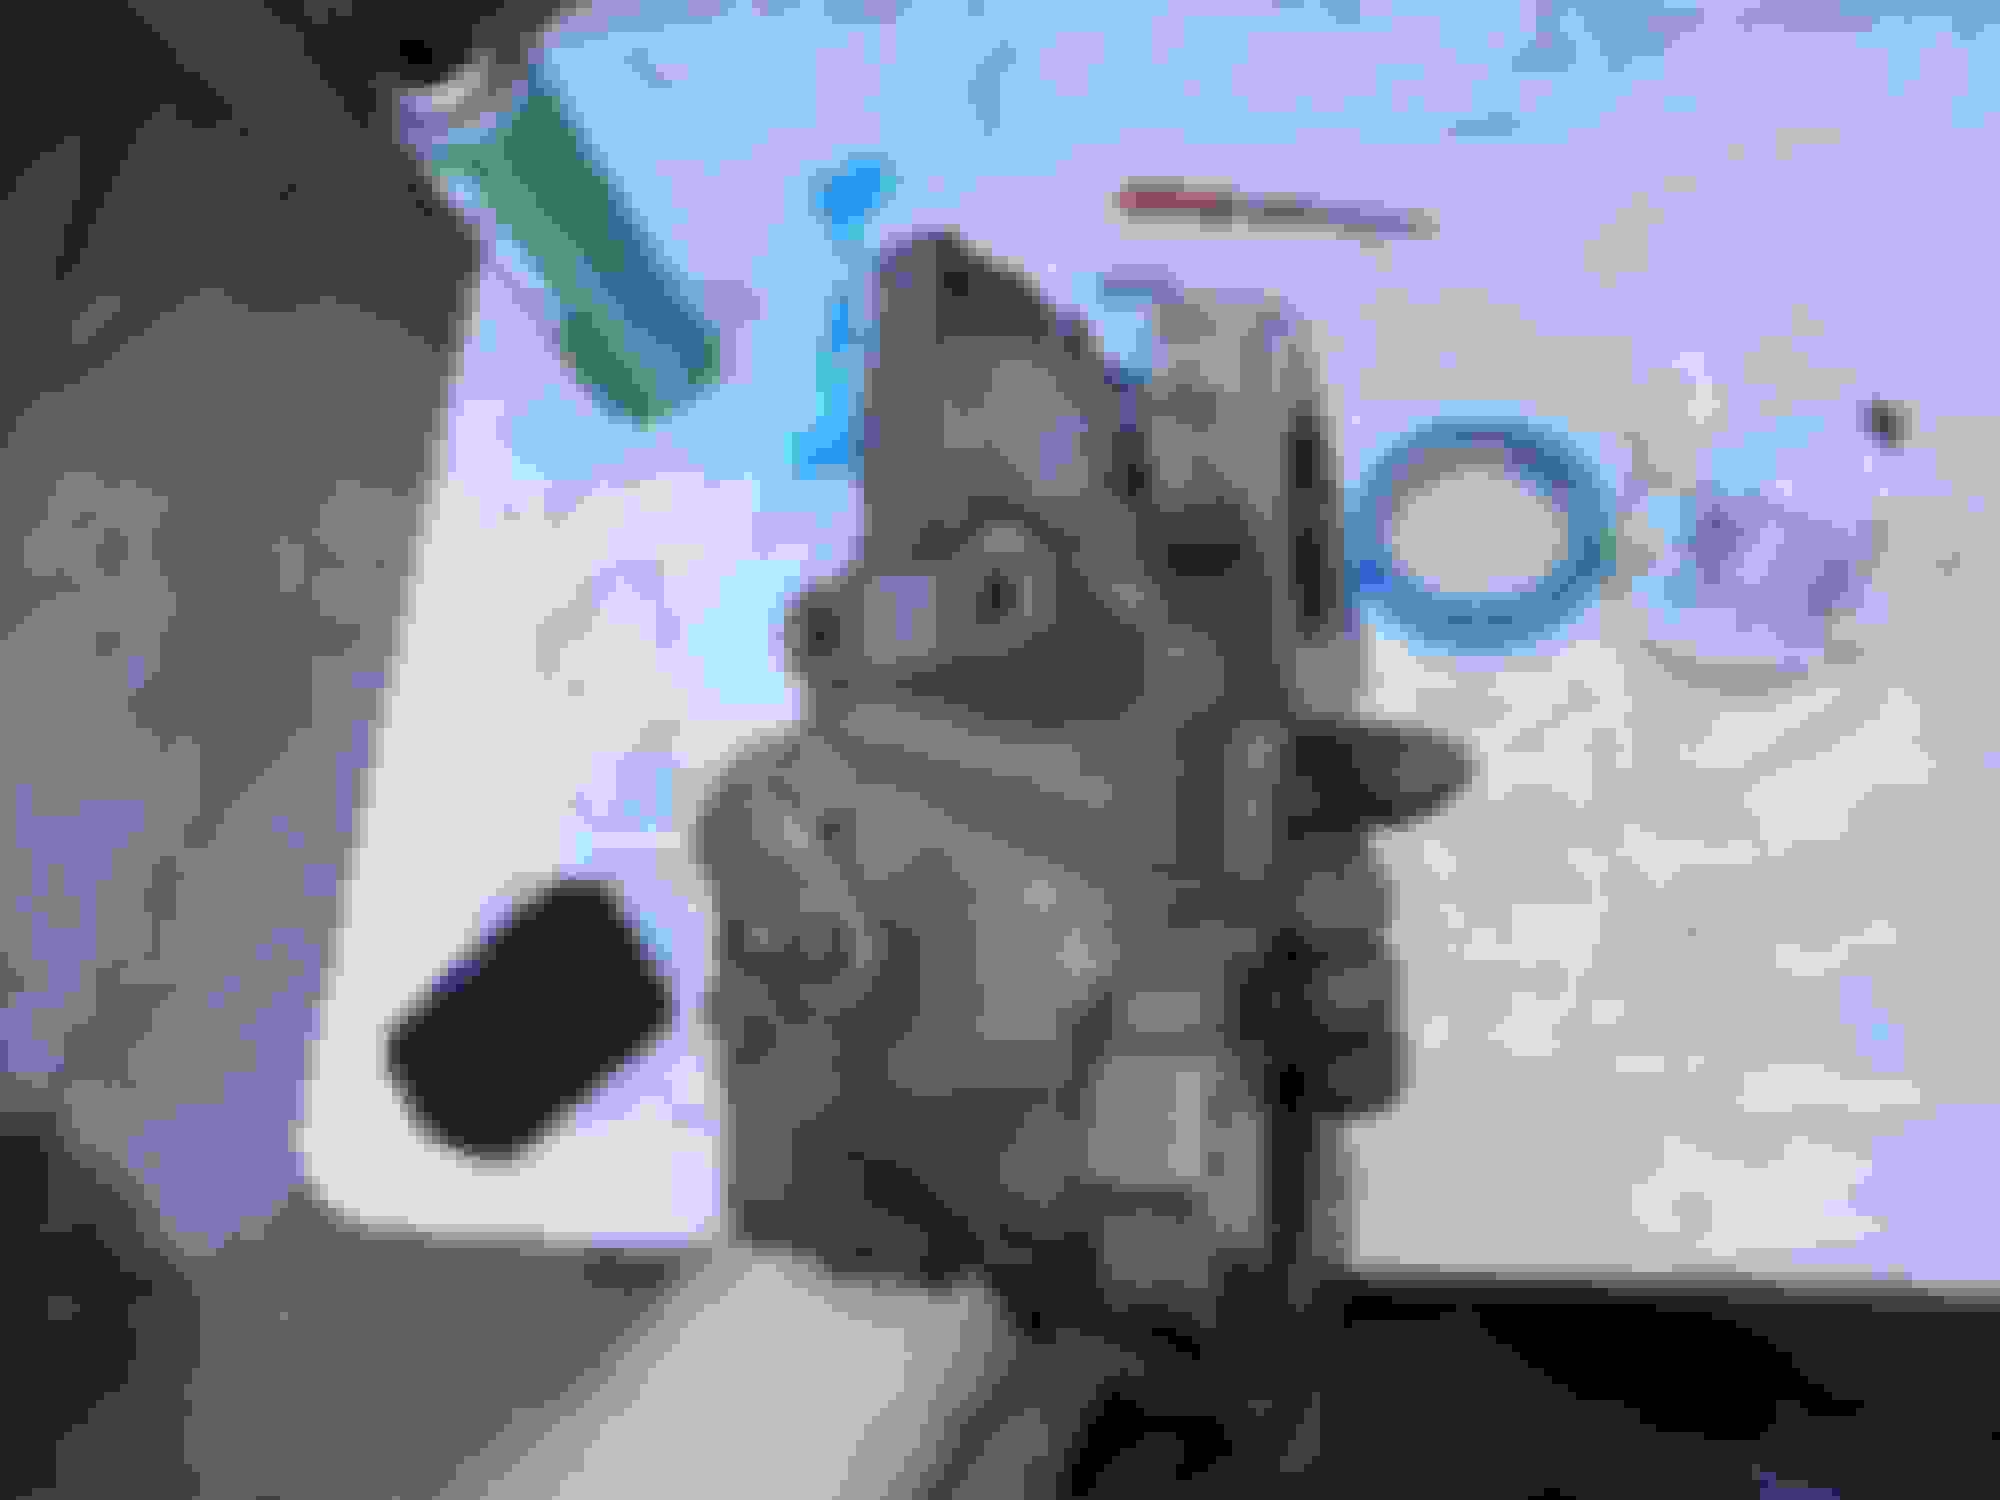
I think its the turbo pre-spool actuator - it has some oil on the inside, I flushed it with some electrical cleaner - I guess from sitting upside down it had a chance to come out. I may have to re-paint this guy.
I also cleaned the main manifold and both turbo CHRA's to be painted. Eagle one does wonders !!!
Last edited by rotaryextreme; Mar 12, 2020 at 09:49 PM.
Day 17
Painted both turbo CHRA's and the main exhaust manifold VHT header black with satin black 2000f paint. I painted my first glitter pieces - the turbo compressor housings.
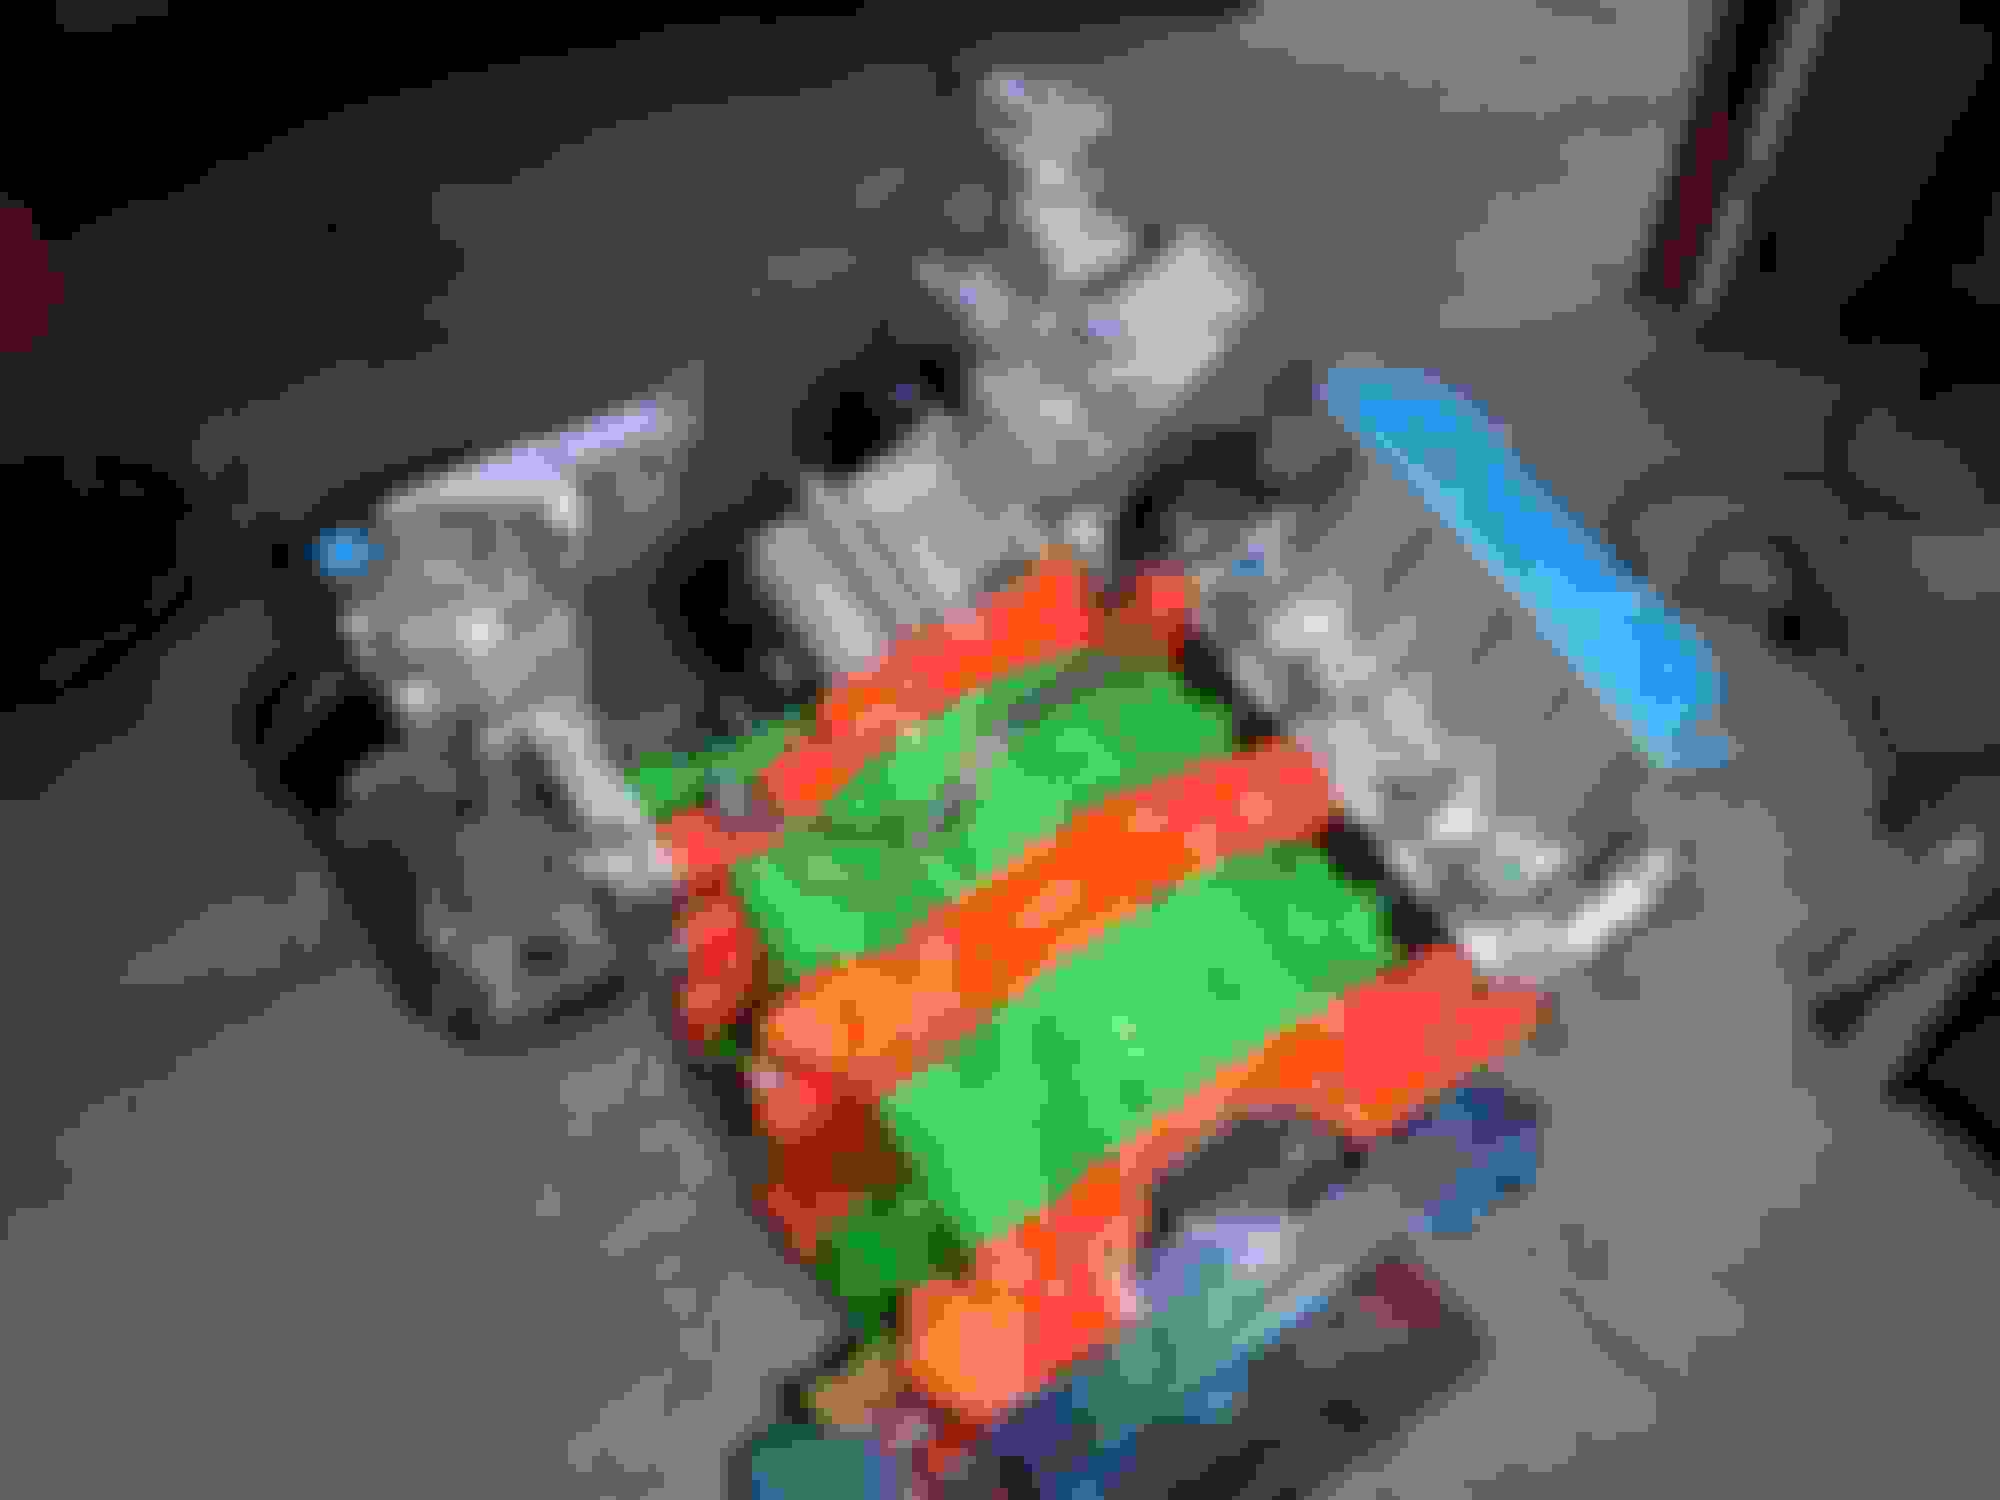
I finally finished re-painting the engine. I wanted to redo the green and when I pulled the tape off the orange some paint came off.
I sprayed the orange paint into a cap and used a q-tip for the touch up. I used VHT gloss engine paint to coat the whole engine - its shinny now.
I also painted the pri turbo oil return pipe that goes to the front cover the same color as the engine. This way the two SS oil return lines will stand out.
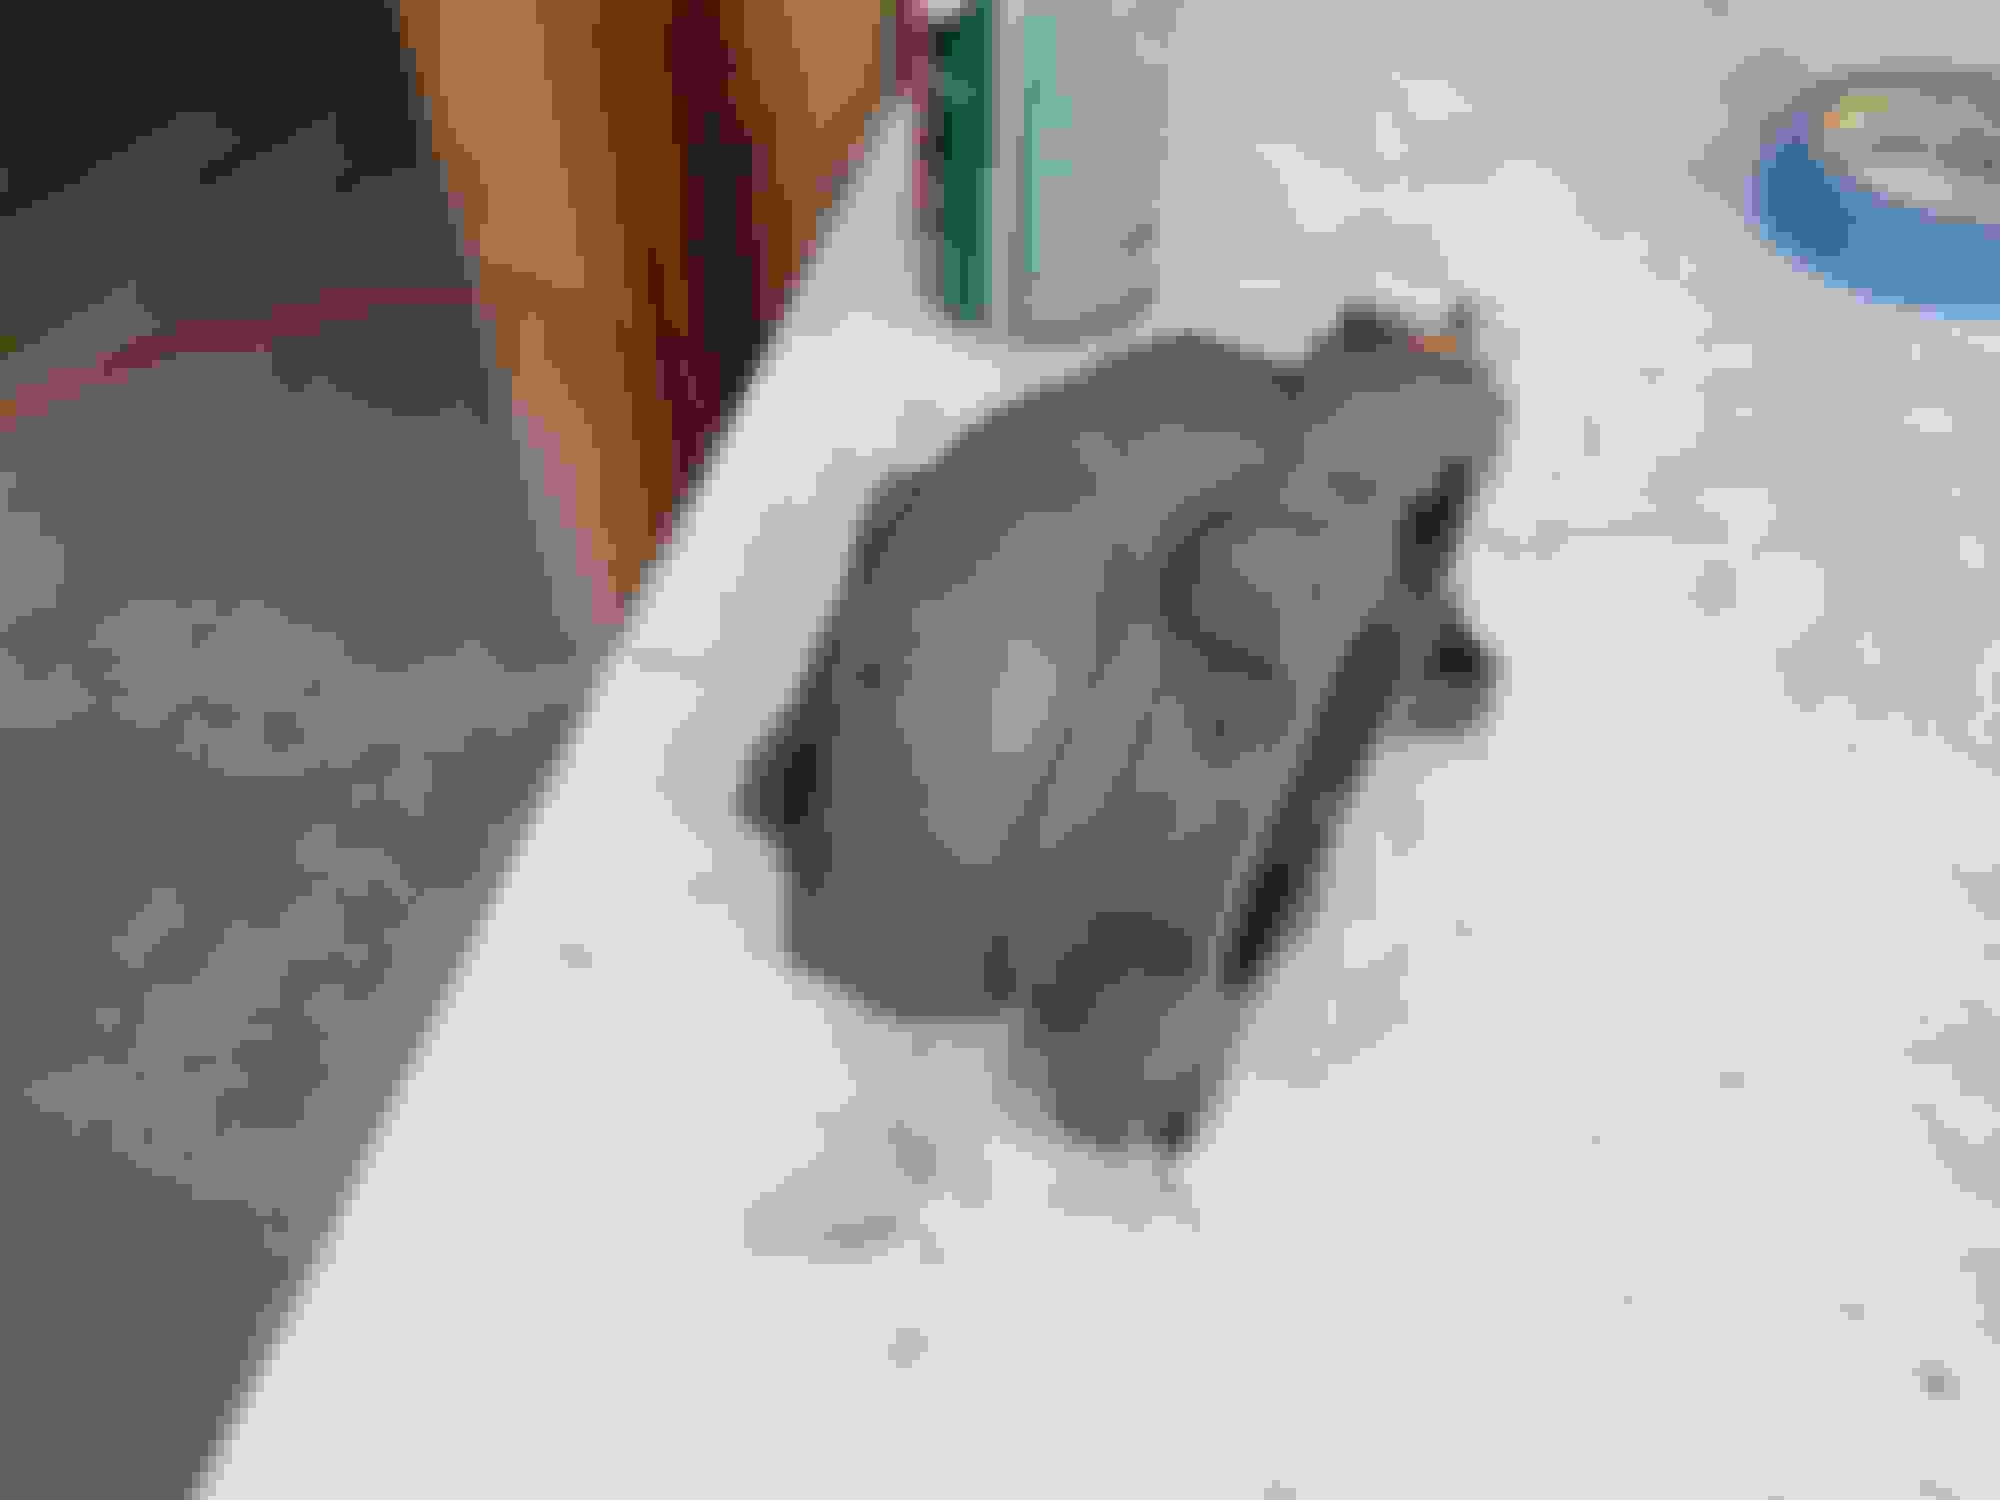
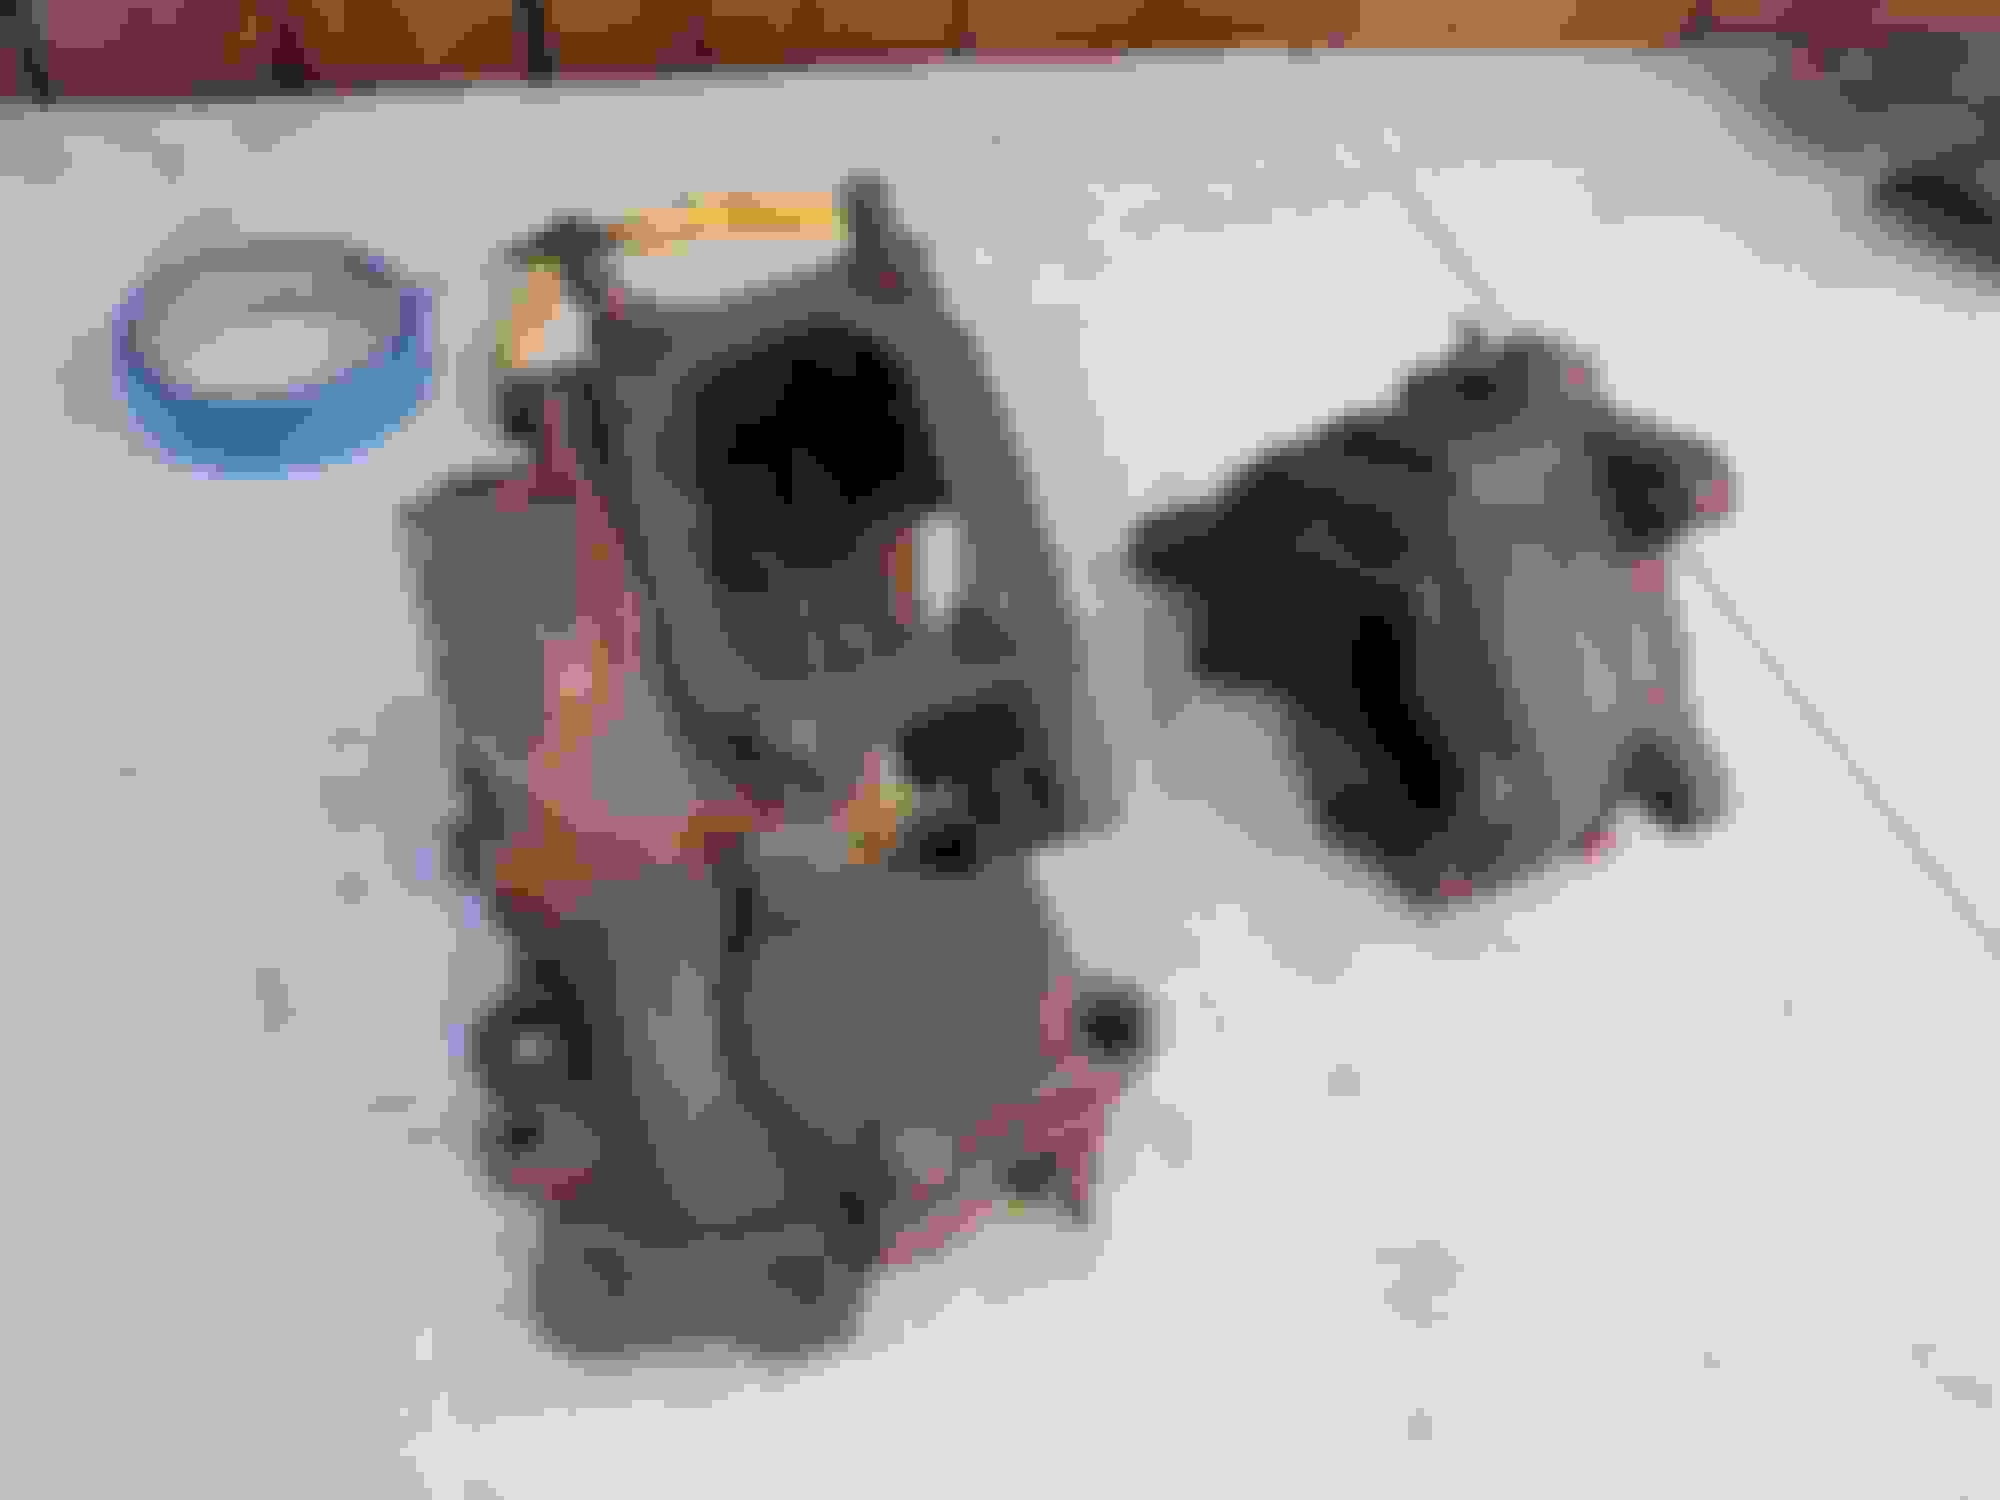
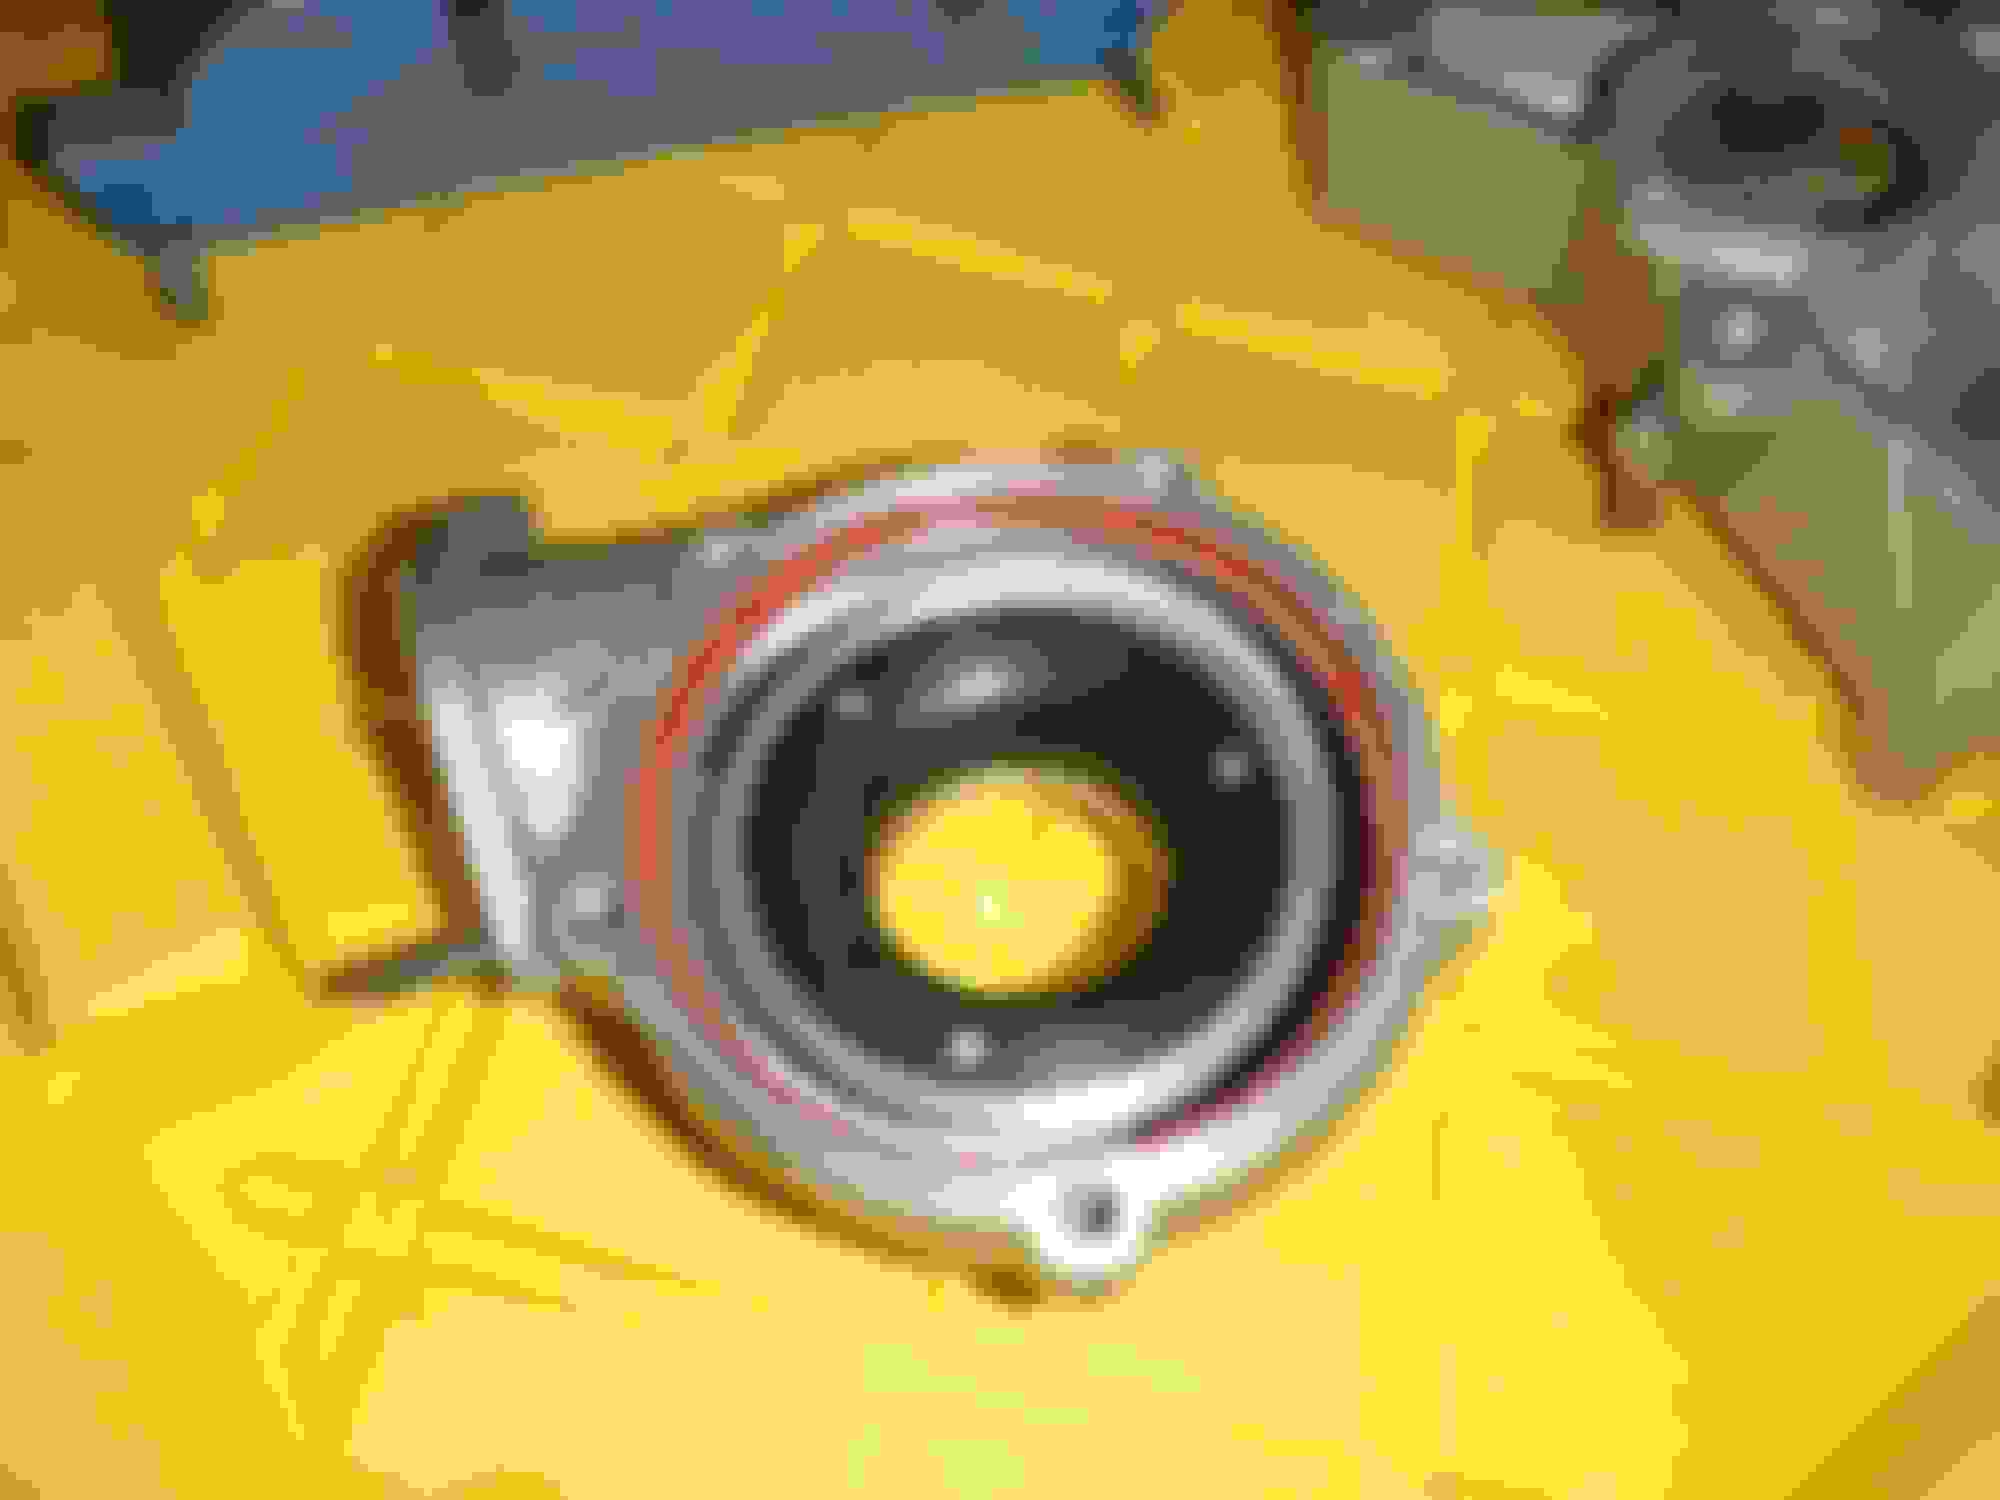
Parts - I finally got my diff back - looks cool with the new greddy back cover.
Last edited by rotaryextreme; Mar 13, 2020 at 11:04 PM.
I remembered that there were fitment issues with the twin turbo oil and water pipes. I vaguely remember someone saying that one of the turbo compressor housing was also rubbing but I cant remember if it was the stock ones or the BNR's or with the 99 spec so I decided to test fit the turbos prior to painting anything else - so glad I did.
While I was putting together the turbo assembly I noticed the play between the front and rear turbo exhaust sides. To prevent misalignment I lightly snugged the two turbo sides together and then bolted it to the main manifold to engine piece. Once everything looked good I did a final torque on the two turbo exhaust sides.
I was also missing the bolts to fit the Xcessive LIM so I had some bolts on hand and threaded them in. Not all 4 bottom row bolts were tapped the same depth so I measured the most shallow hole and fit bolts to that and I made sure the space in between the flange head and engine would still bite the LIM. I was also missing the top 3 bolts and measured each hole to get the right length. I also put the front assembly on that holds the water pump. The last thing was to put on the turbo manifold and to do so I had to take the main manifold off and yes of course - the 8mm bolt was jammed and I had to break it off. Another bolt to drill out and tap. I will replace that with a 12.9 strength socket head cap screw.
Now with all the major players in place, (LIM, front water pump assembly and the lower turbo to engine manifold) I was able to test fit the upper turbo exhaust section with the shield and yes - it hit. I used a ball pen hammer and bent in the shield where it hit the runners on the LIM. Once that was good I bolted the upper turbo exhausts in place and installed the CHRA's.
After putting in the CHRA's I added the lower oil drain pipes. I let the CHRA's self adjust as I was tightening down the oil drain pipes. (self adjust I mean I left the nuts and backing plates just loose enough to let the CHRA rotate).
Next was the water line. It was hitting the xcessive LIM so I stuck a philip screwdriver inside the tube and pulled it out until it cleared. Next was the oil feed pipe. The oil feed was pointing straight at the outside bolt on the LIM. I took the oil feed line off and grabbed a 17mm socket with an extension and placed it over the male side and pulled it towards the pri turbo side. I placed the oil feed back onto the turbos and pulled the remainder until I had a straight shot past the LIM.
The last adjustment was the oil feed line that runs across the top of the engine that is welded to another line. It look like it was tweaked before because there were already some bends, dents and plier marks on it. I managed to bend it so it fits more correctly with more space. The line has basically two 90 degree bends in it where it snakes past the engine front iron and front of the LIM. To get the length and clearance I needed I stretched it making it more of a two 75 degree bends. Then I used a philips screw driver in the tube of the male side and bent it towards the oil drain pipe on the turbos.
I also found a section I needed to paint orange when I removed the tape for the fron water pup assembly, That has been fixed too.
I have a prosport oil sandwich plate but I couldnt help getting the greddy one since it was on sale. I guess I'll see which one fits better then sell the other one.
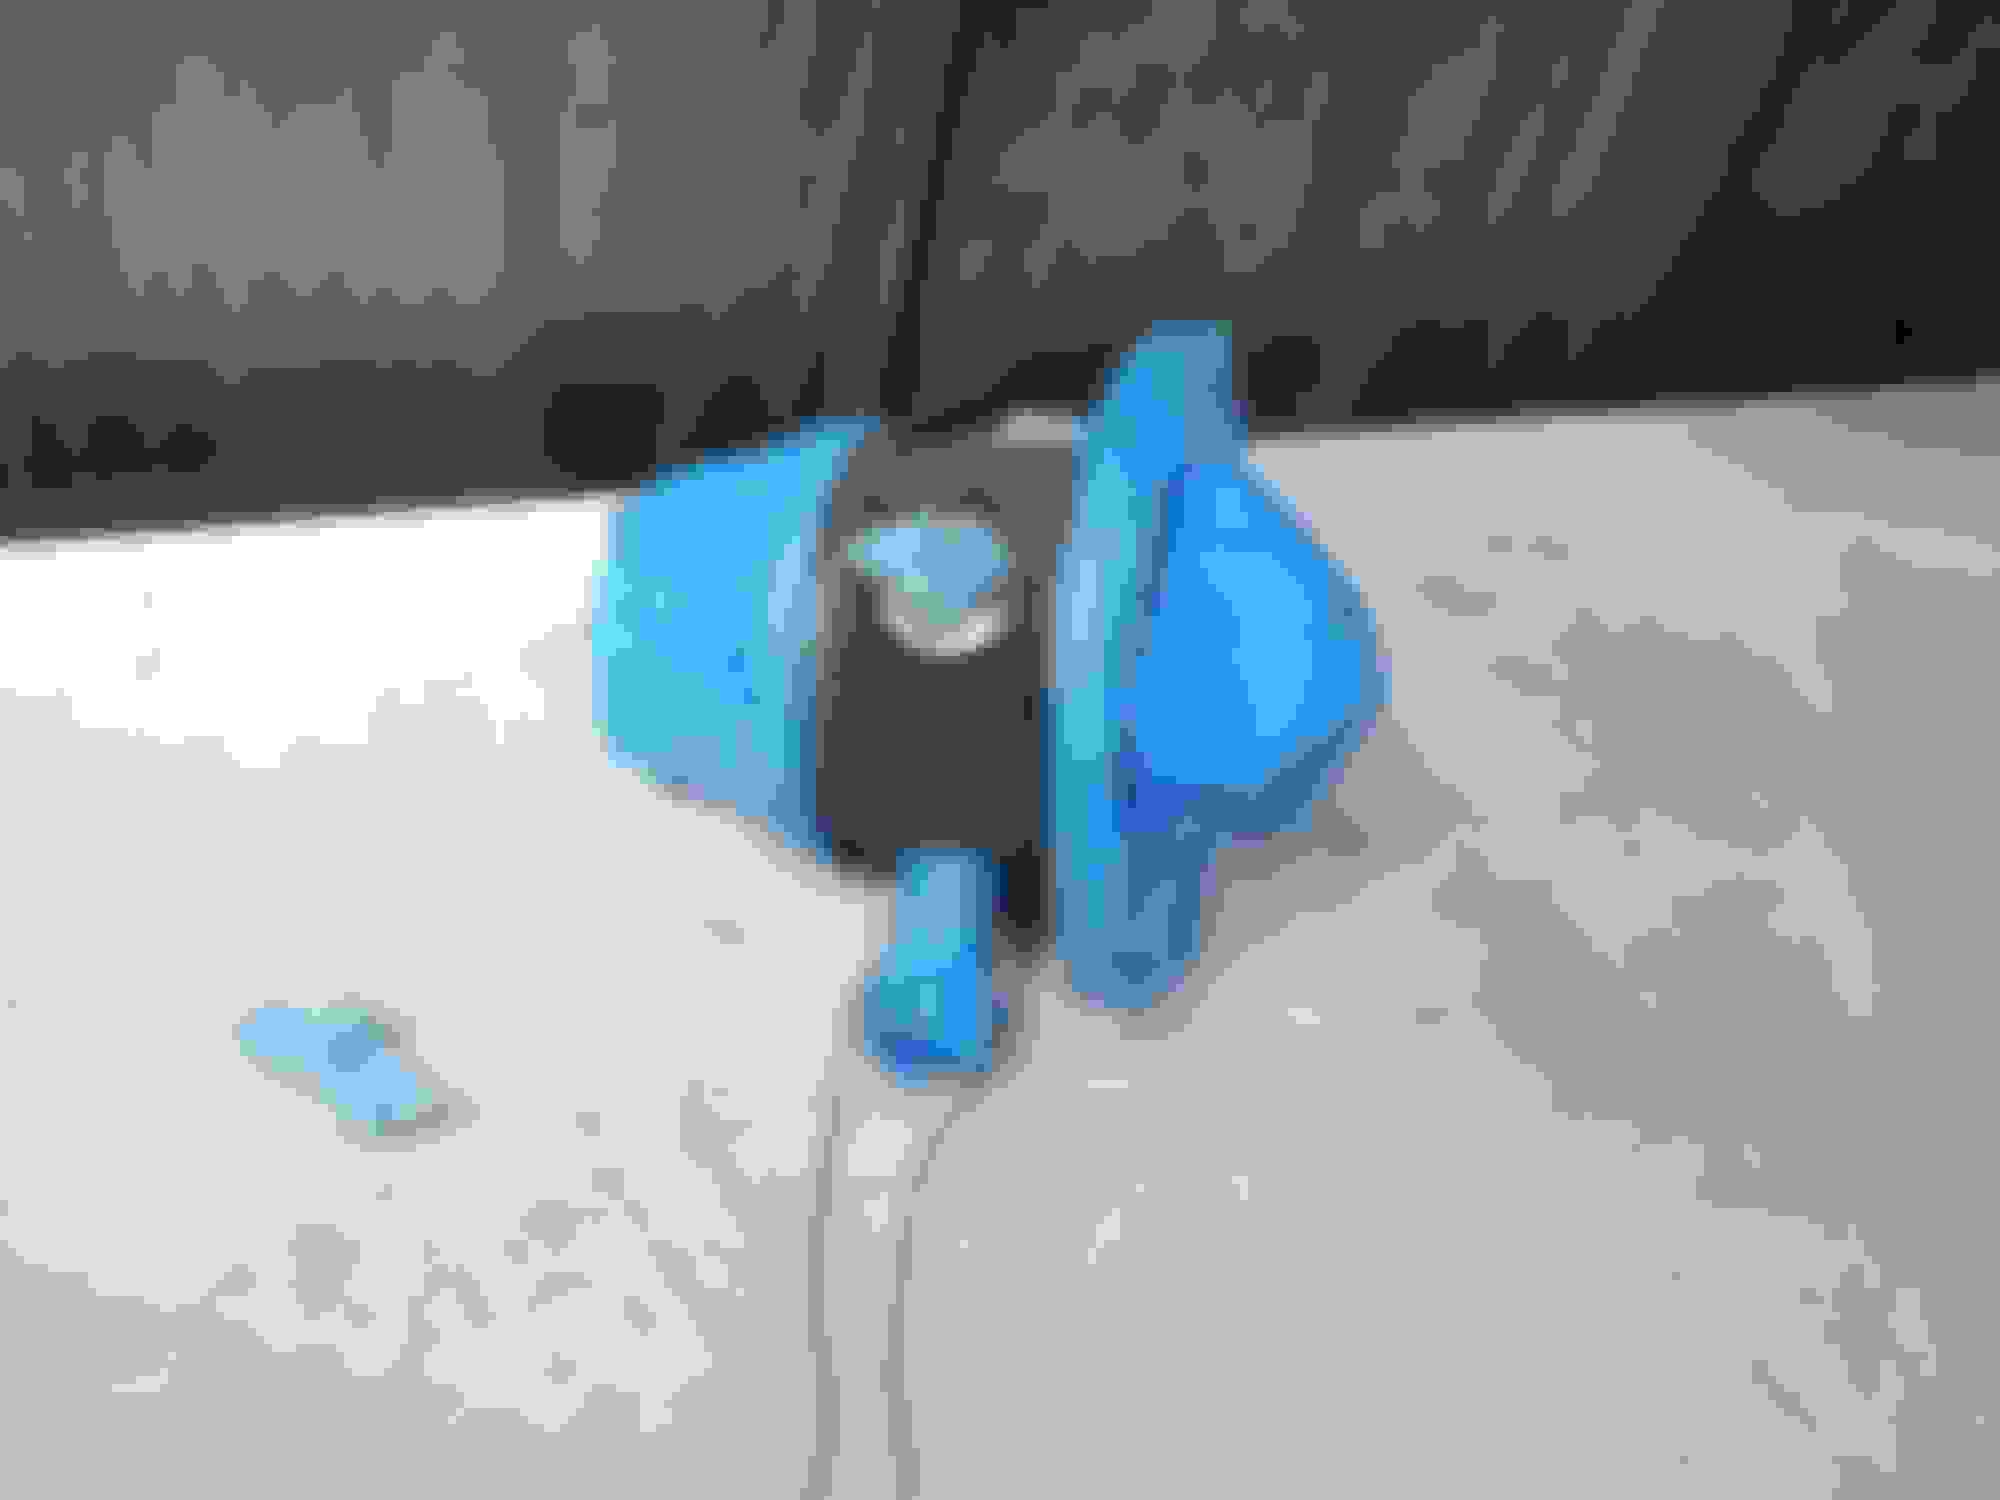
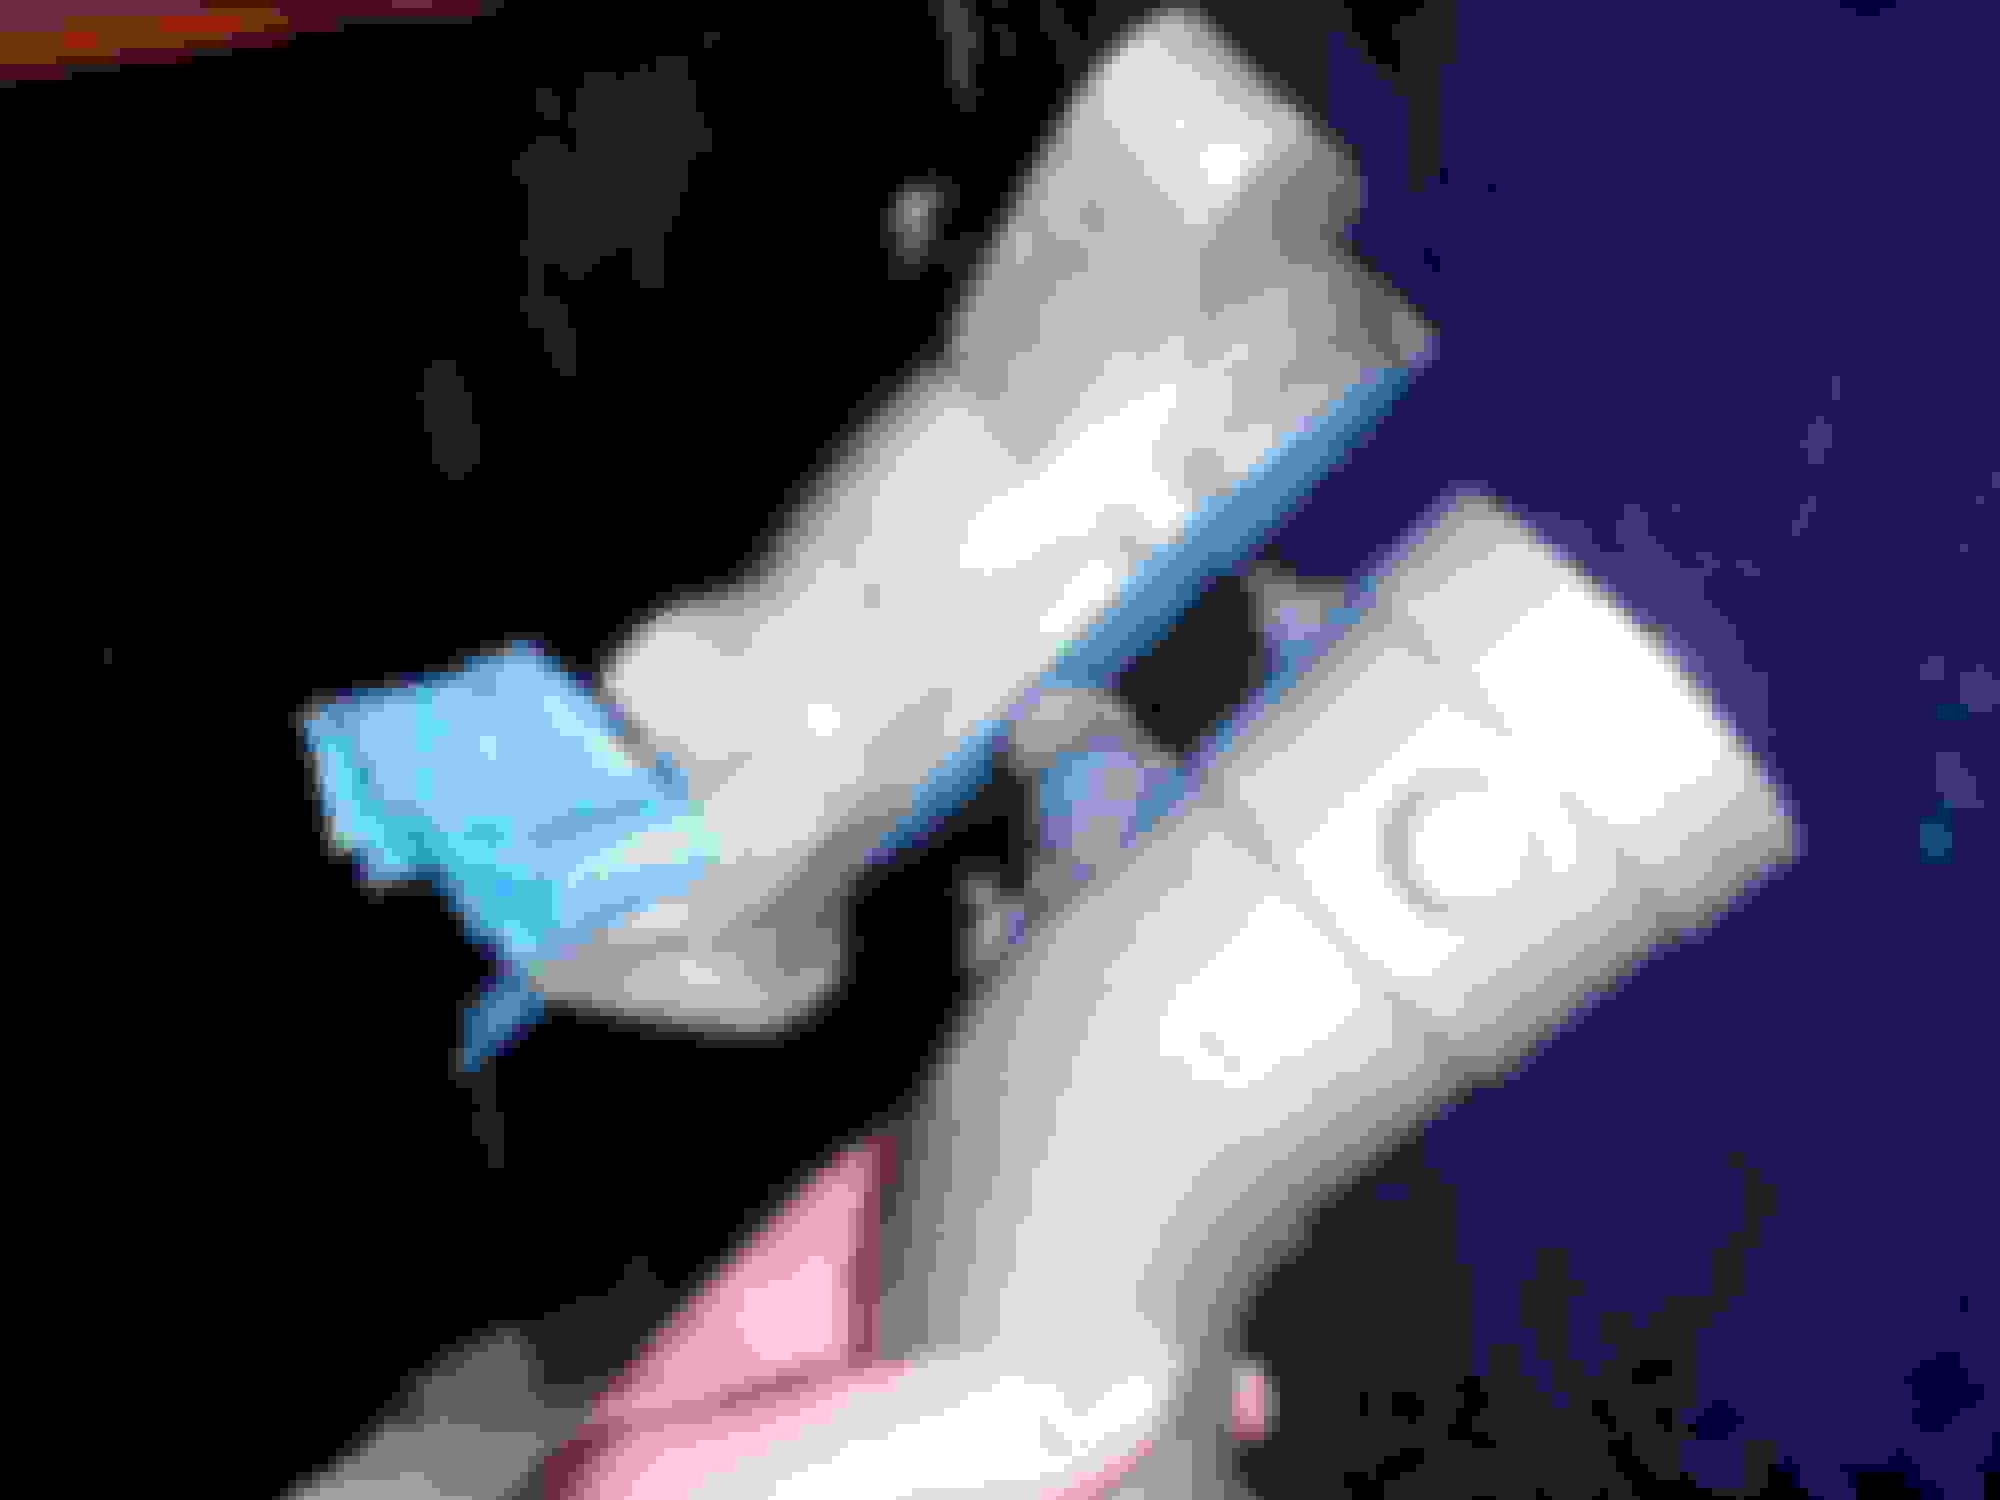
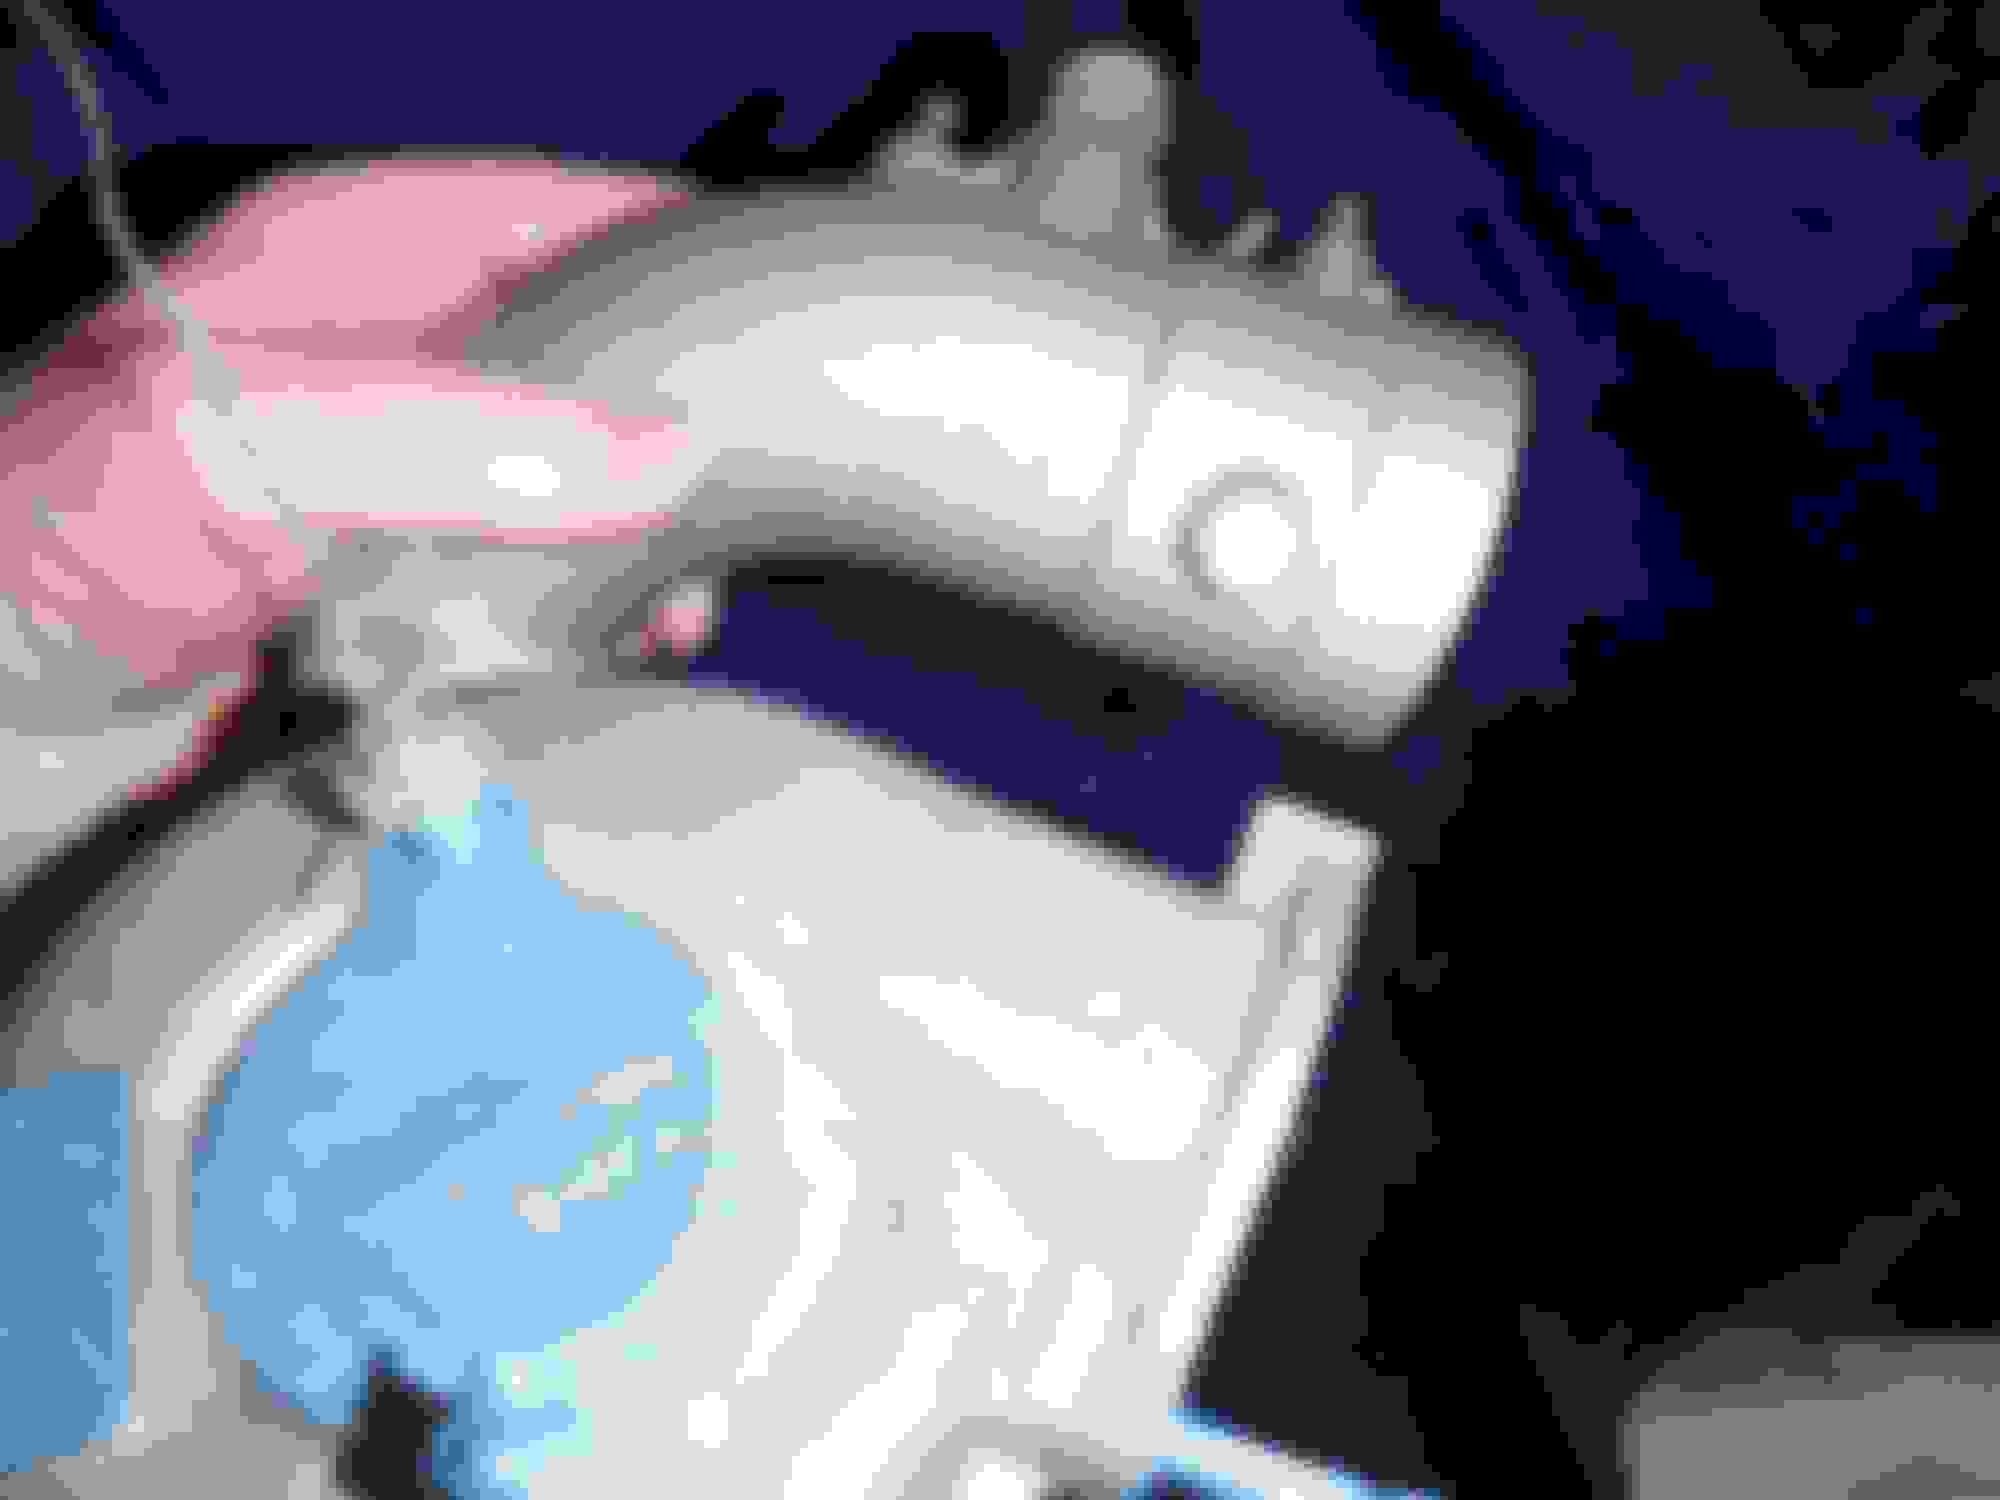
During the test fit the blue painted turbo water lines chipped easily. I guess the protective anti corrosive coating prevents paint from sticking well. I just stripped it down again and called it a day. At least they look clean and not covered in corrosion.
I prepped some parts for paint, (front wp assembly, ps/ac bracket and sec turbo touch up) and and cleaned up the xcessive LIM and wp with another wash of eagle one. Im letting those dry overnight. Tomorrow Ill paint the other items and get the lim and wp prep for paint too.
I also was able to drill out the broken bolt and ran a tap to clean up the threads. Always do a little pilot to make sure your centered up.It will hold but Im thinking I might want to do a helicoil. The top half of the threads help it get started and about half way down the threads are good.
Hopefully the hardware store is open tomorrow so I can see what they got.
Last edited by rotaryextreme; Mar 20, 2020 at 04:33 AM.
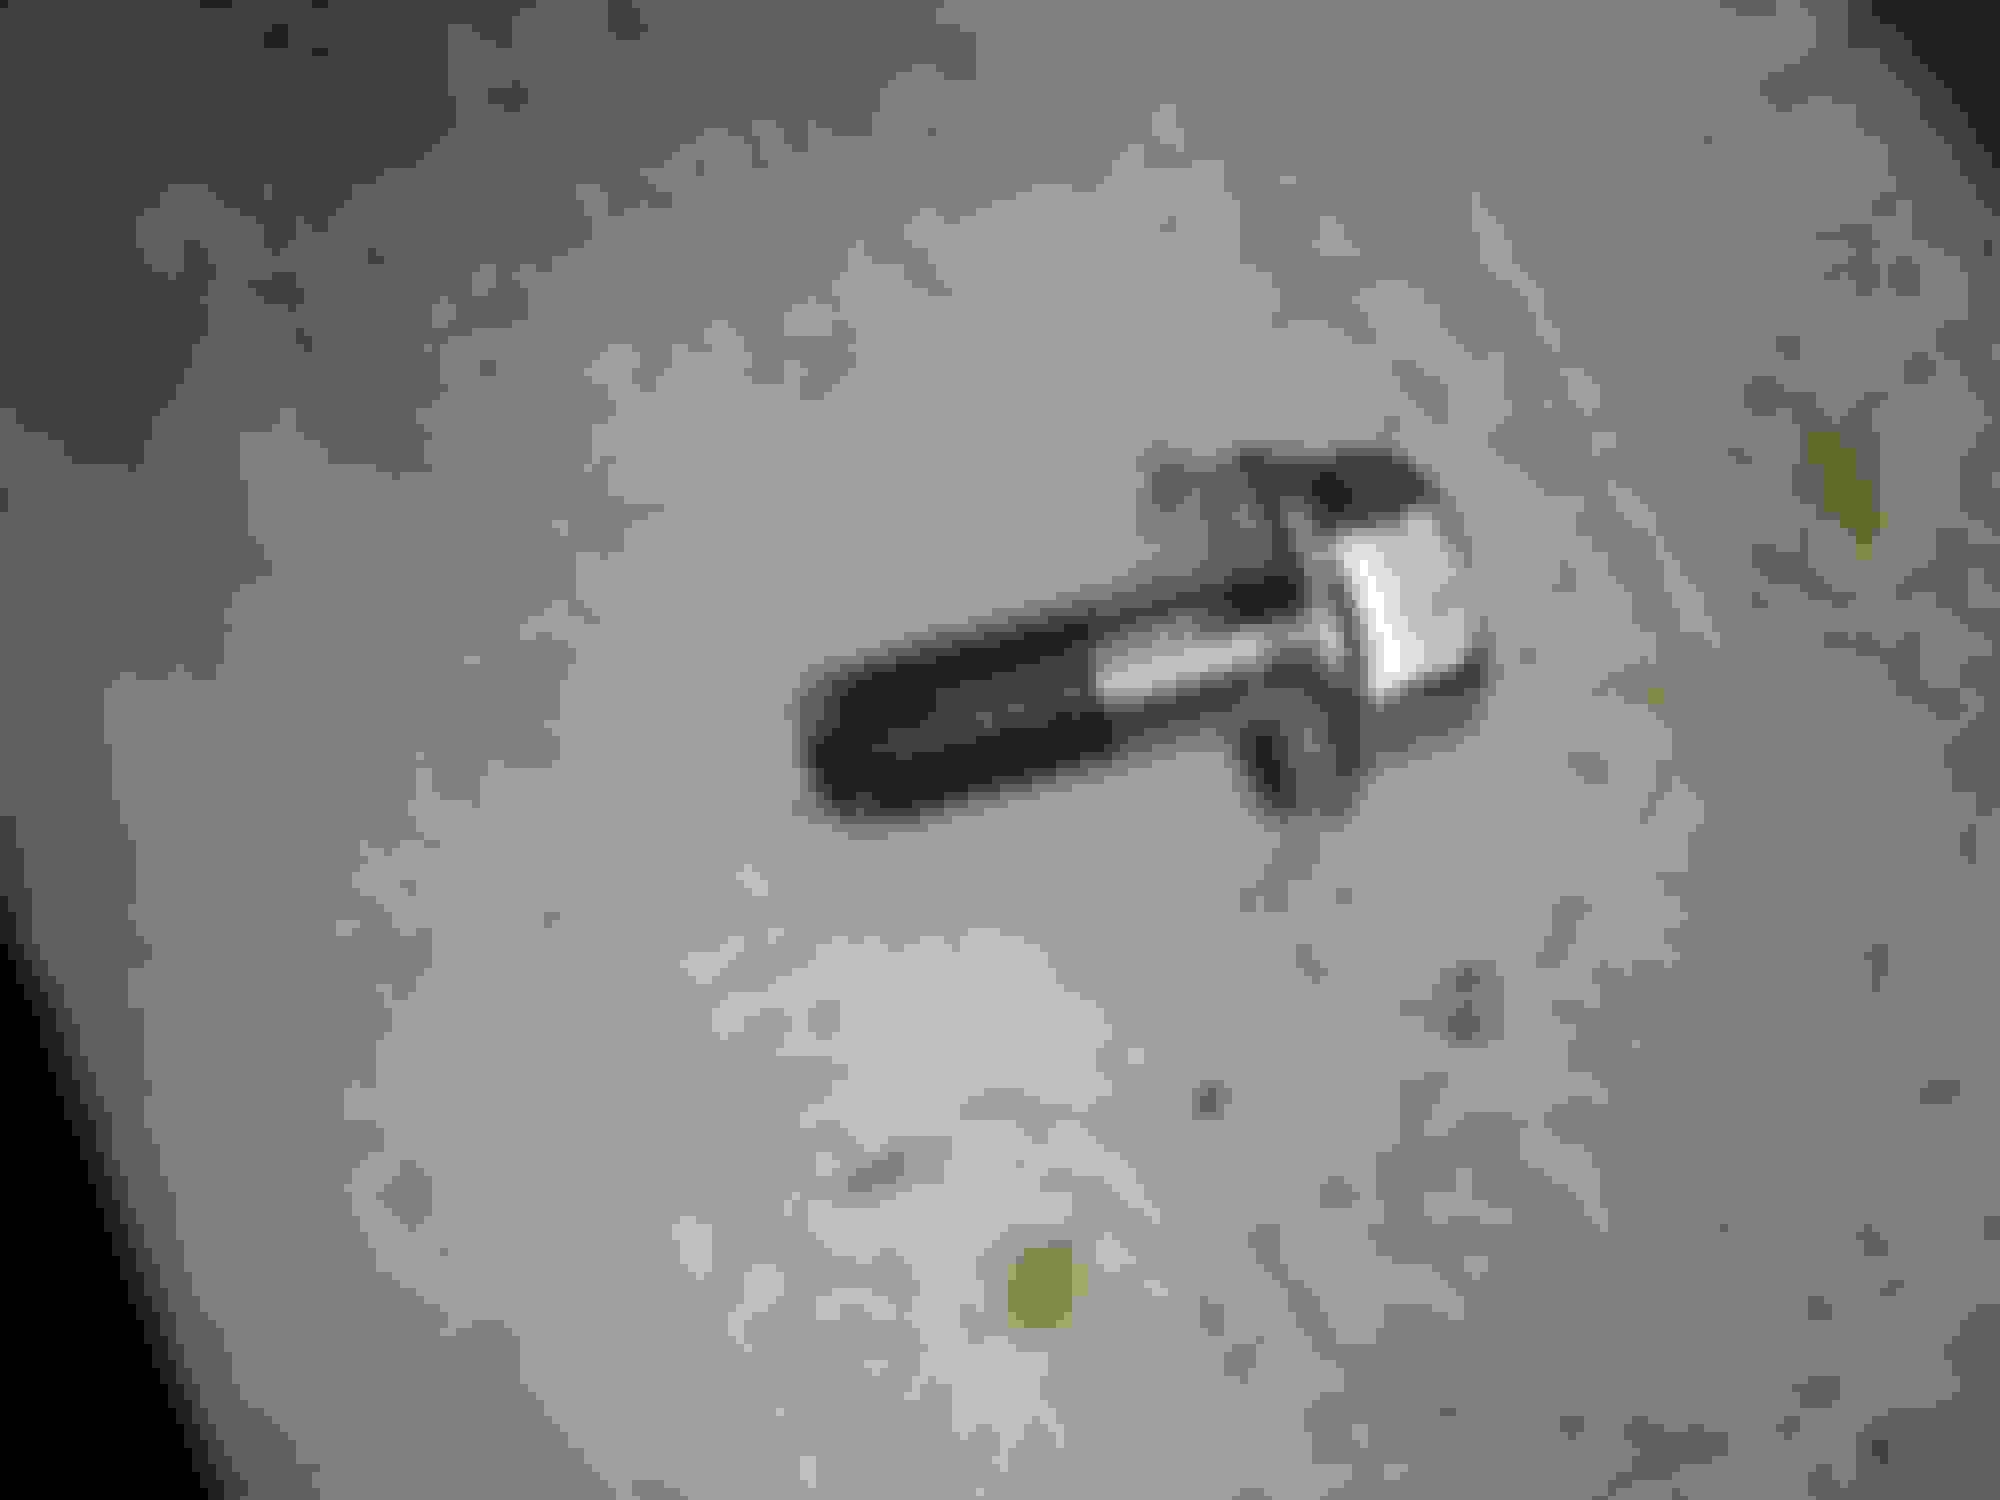
OK, so what I did not say about the whole turbo manifold broken bolt recovery ... was... at the very end after I took the pictures I was greedy and wanted to see if I could tap it deeper ... lol... giggity... well the tap broke and I had to drill it out and all the hard work went to ****. And thats why I said I think I might want to do a heli-coil in my previous post...lol
I got a kit with the tap, insertion tool and the heli-coils, I just had to by the drill bit. I set up the manifold on the drill press again and drilled it out. The next stp is super helpful if you want to make sure your tap starts level and at the same angle as the hole you just drilled. I put the tap in the drill press and started it by hand, once it was set then I ran it down with a wrench.
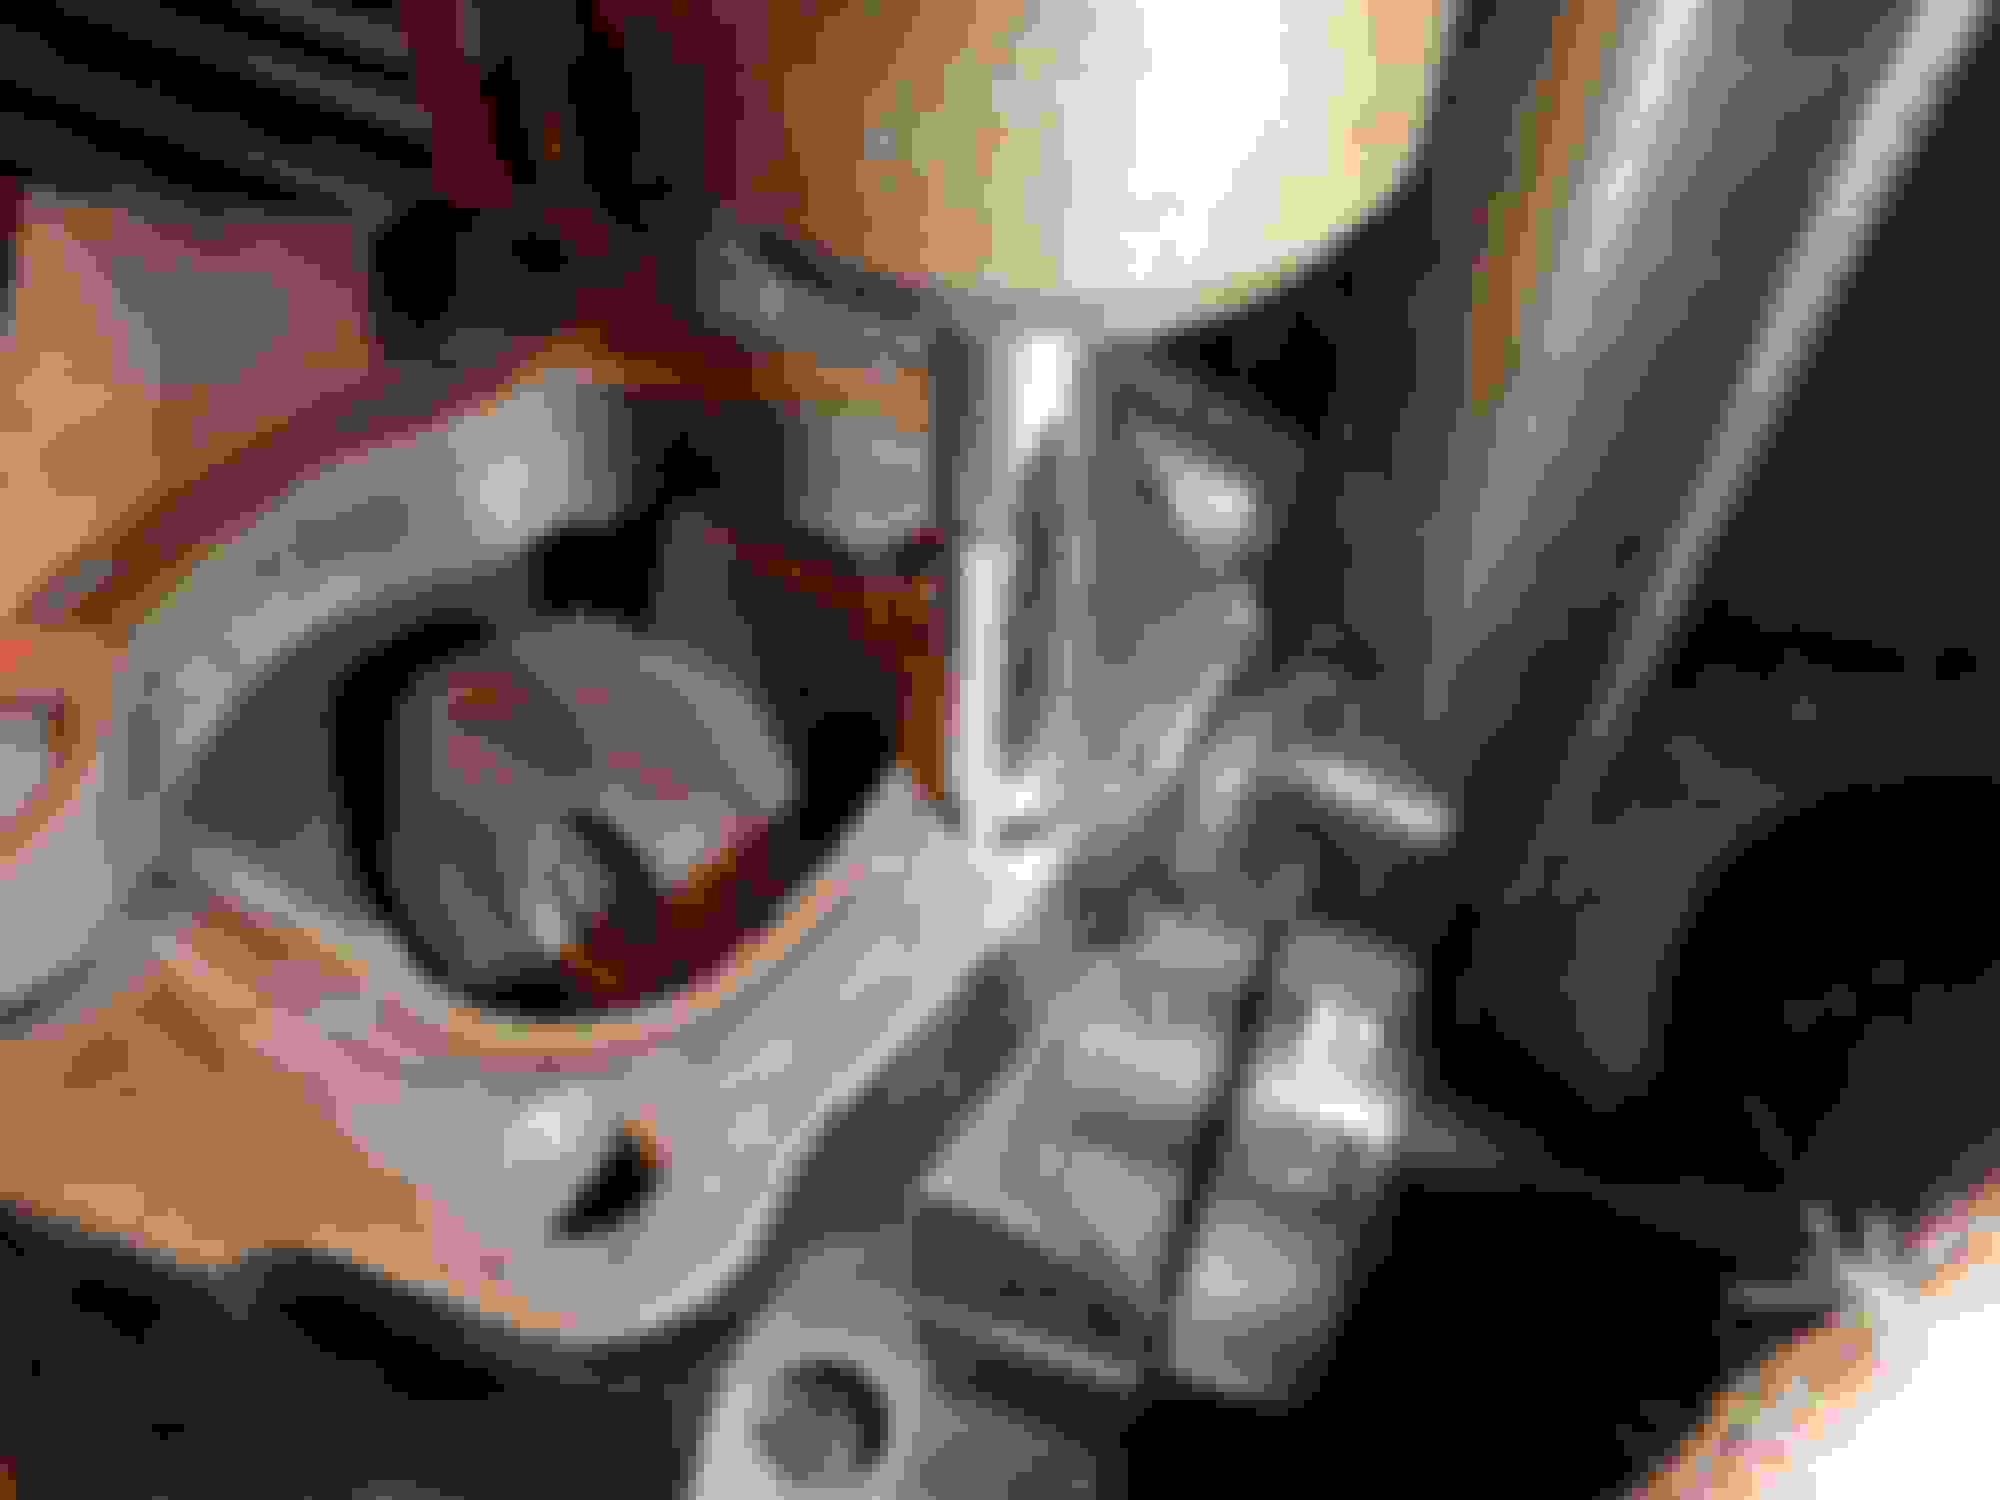
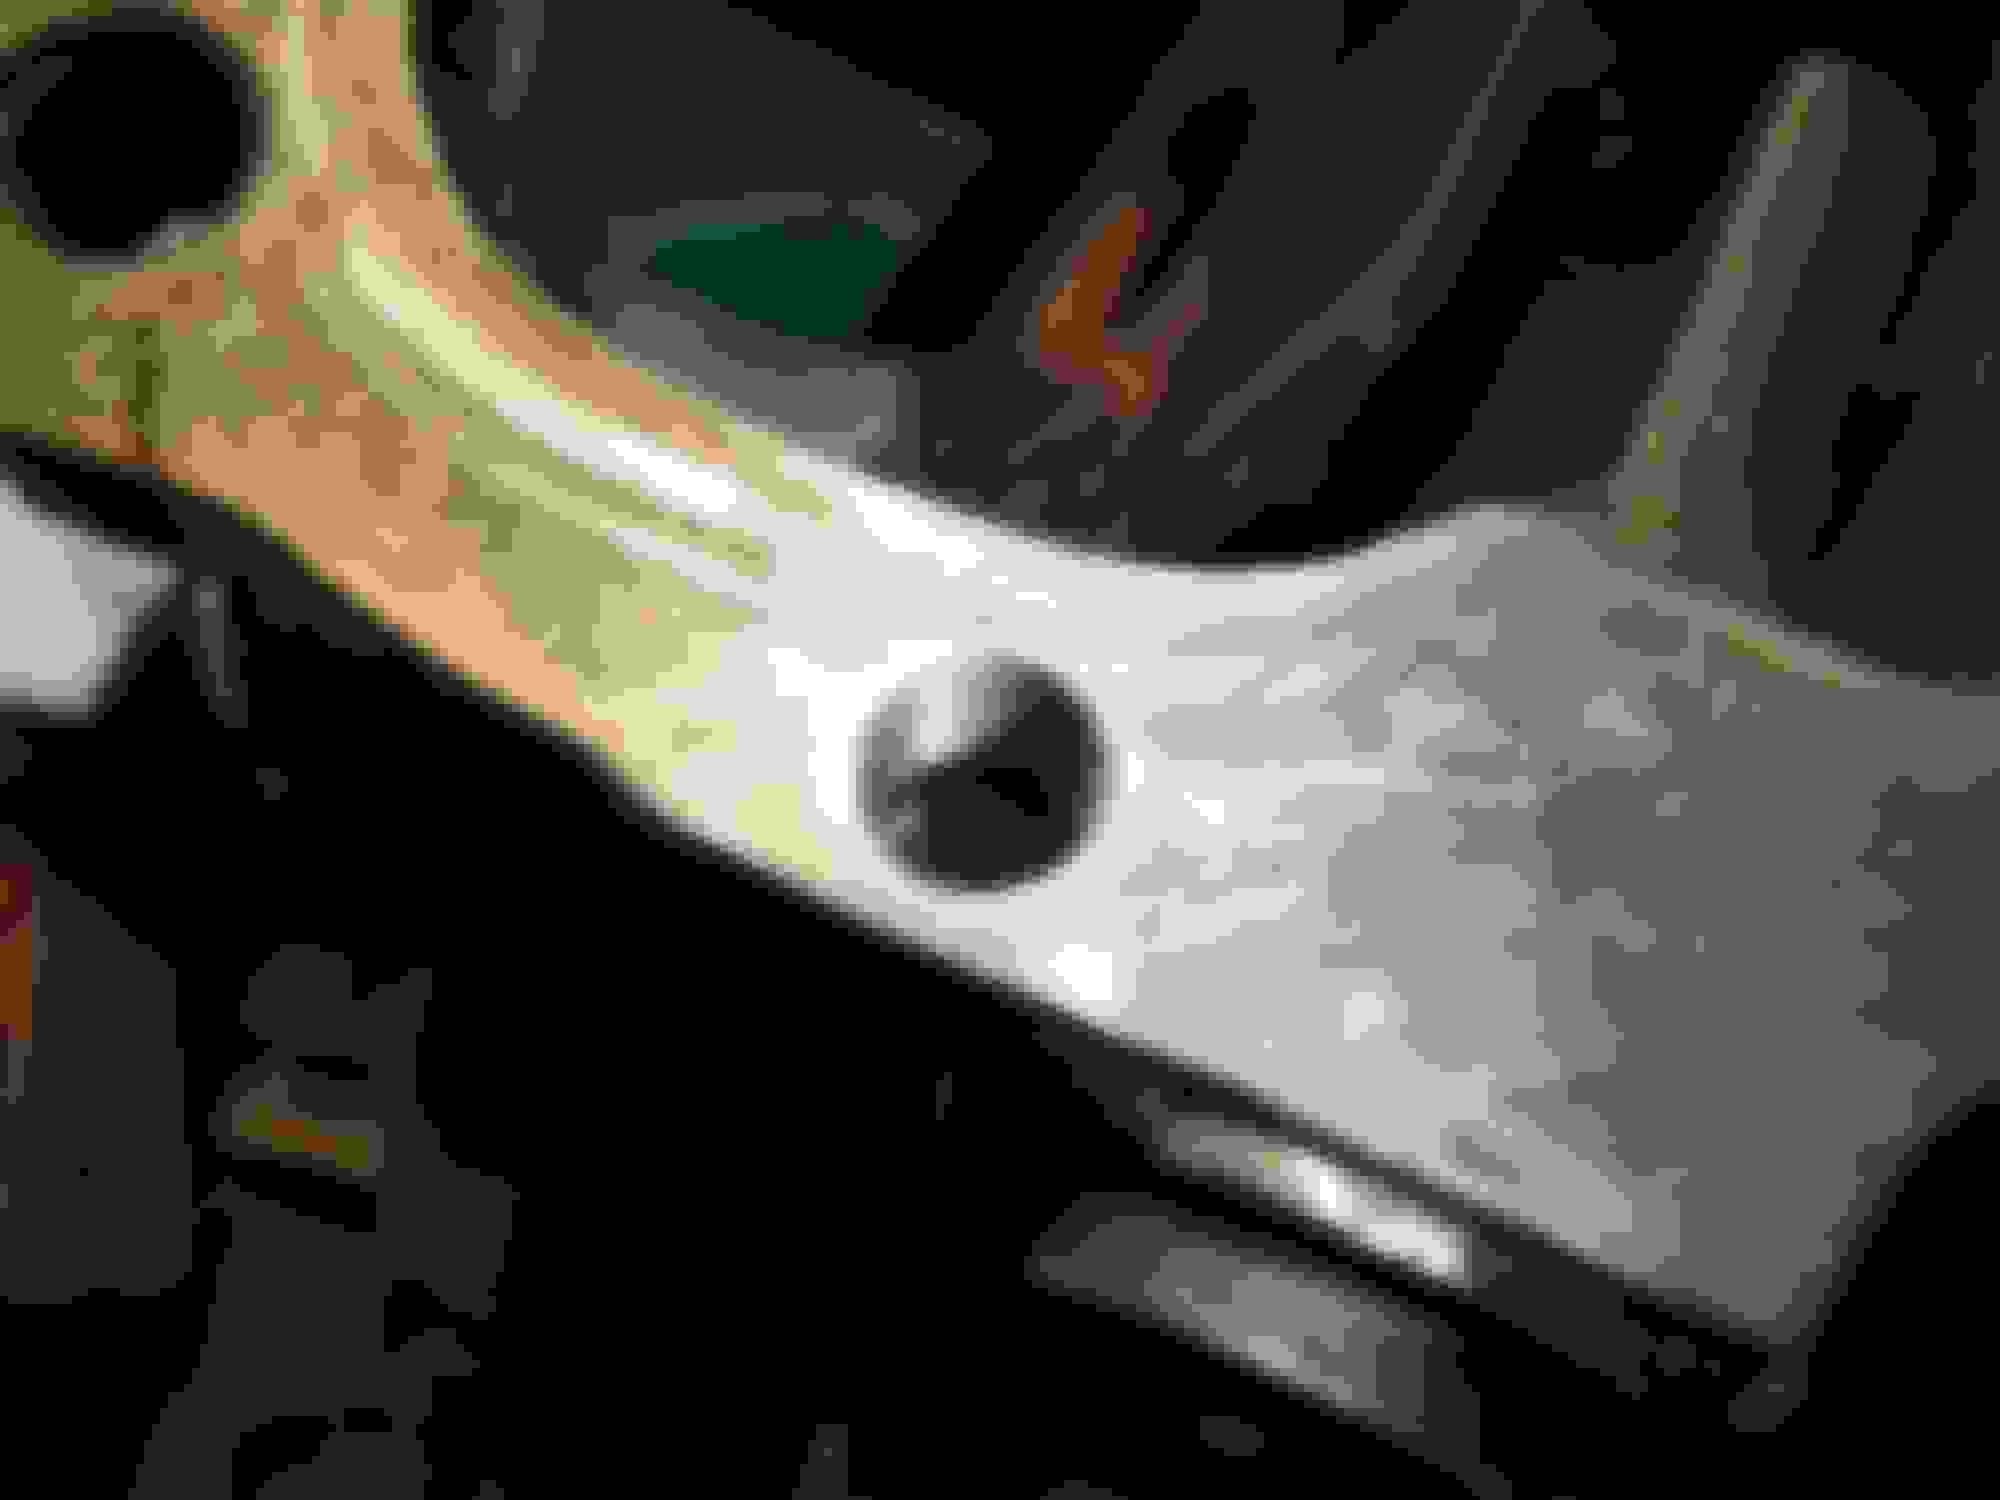
The heli-coil tool has an offset cut to grab the bottom part of the heli-coil that is bent. I screwed in the heli-coil and backed out the tool and wala - nice new threads. Now it sits on the engine waiting for assembly.
Today I painted the AC/PS bracket that goes on the side of the engine, the front water bracket assembly and a small fix on the sec turbo. I also took a pic of them hanging painted with just the cast aluminum color.
I prepped the wp, lim, primary fuel rail, charge relief and thermostat housing for paint tomorrow.
I wanted to get enough painted before the rain that way I can still assemble things and have forward progress.
Last edited by rotaryextreme; Mar 20, 2020 at 07:49 PM.
I painted the other pieces today, they are a tiny bit darker because I put a thinker layer of glitter. At this point I am not going to re-paint the other pieces - Im tired and want to move on...lol
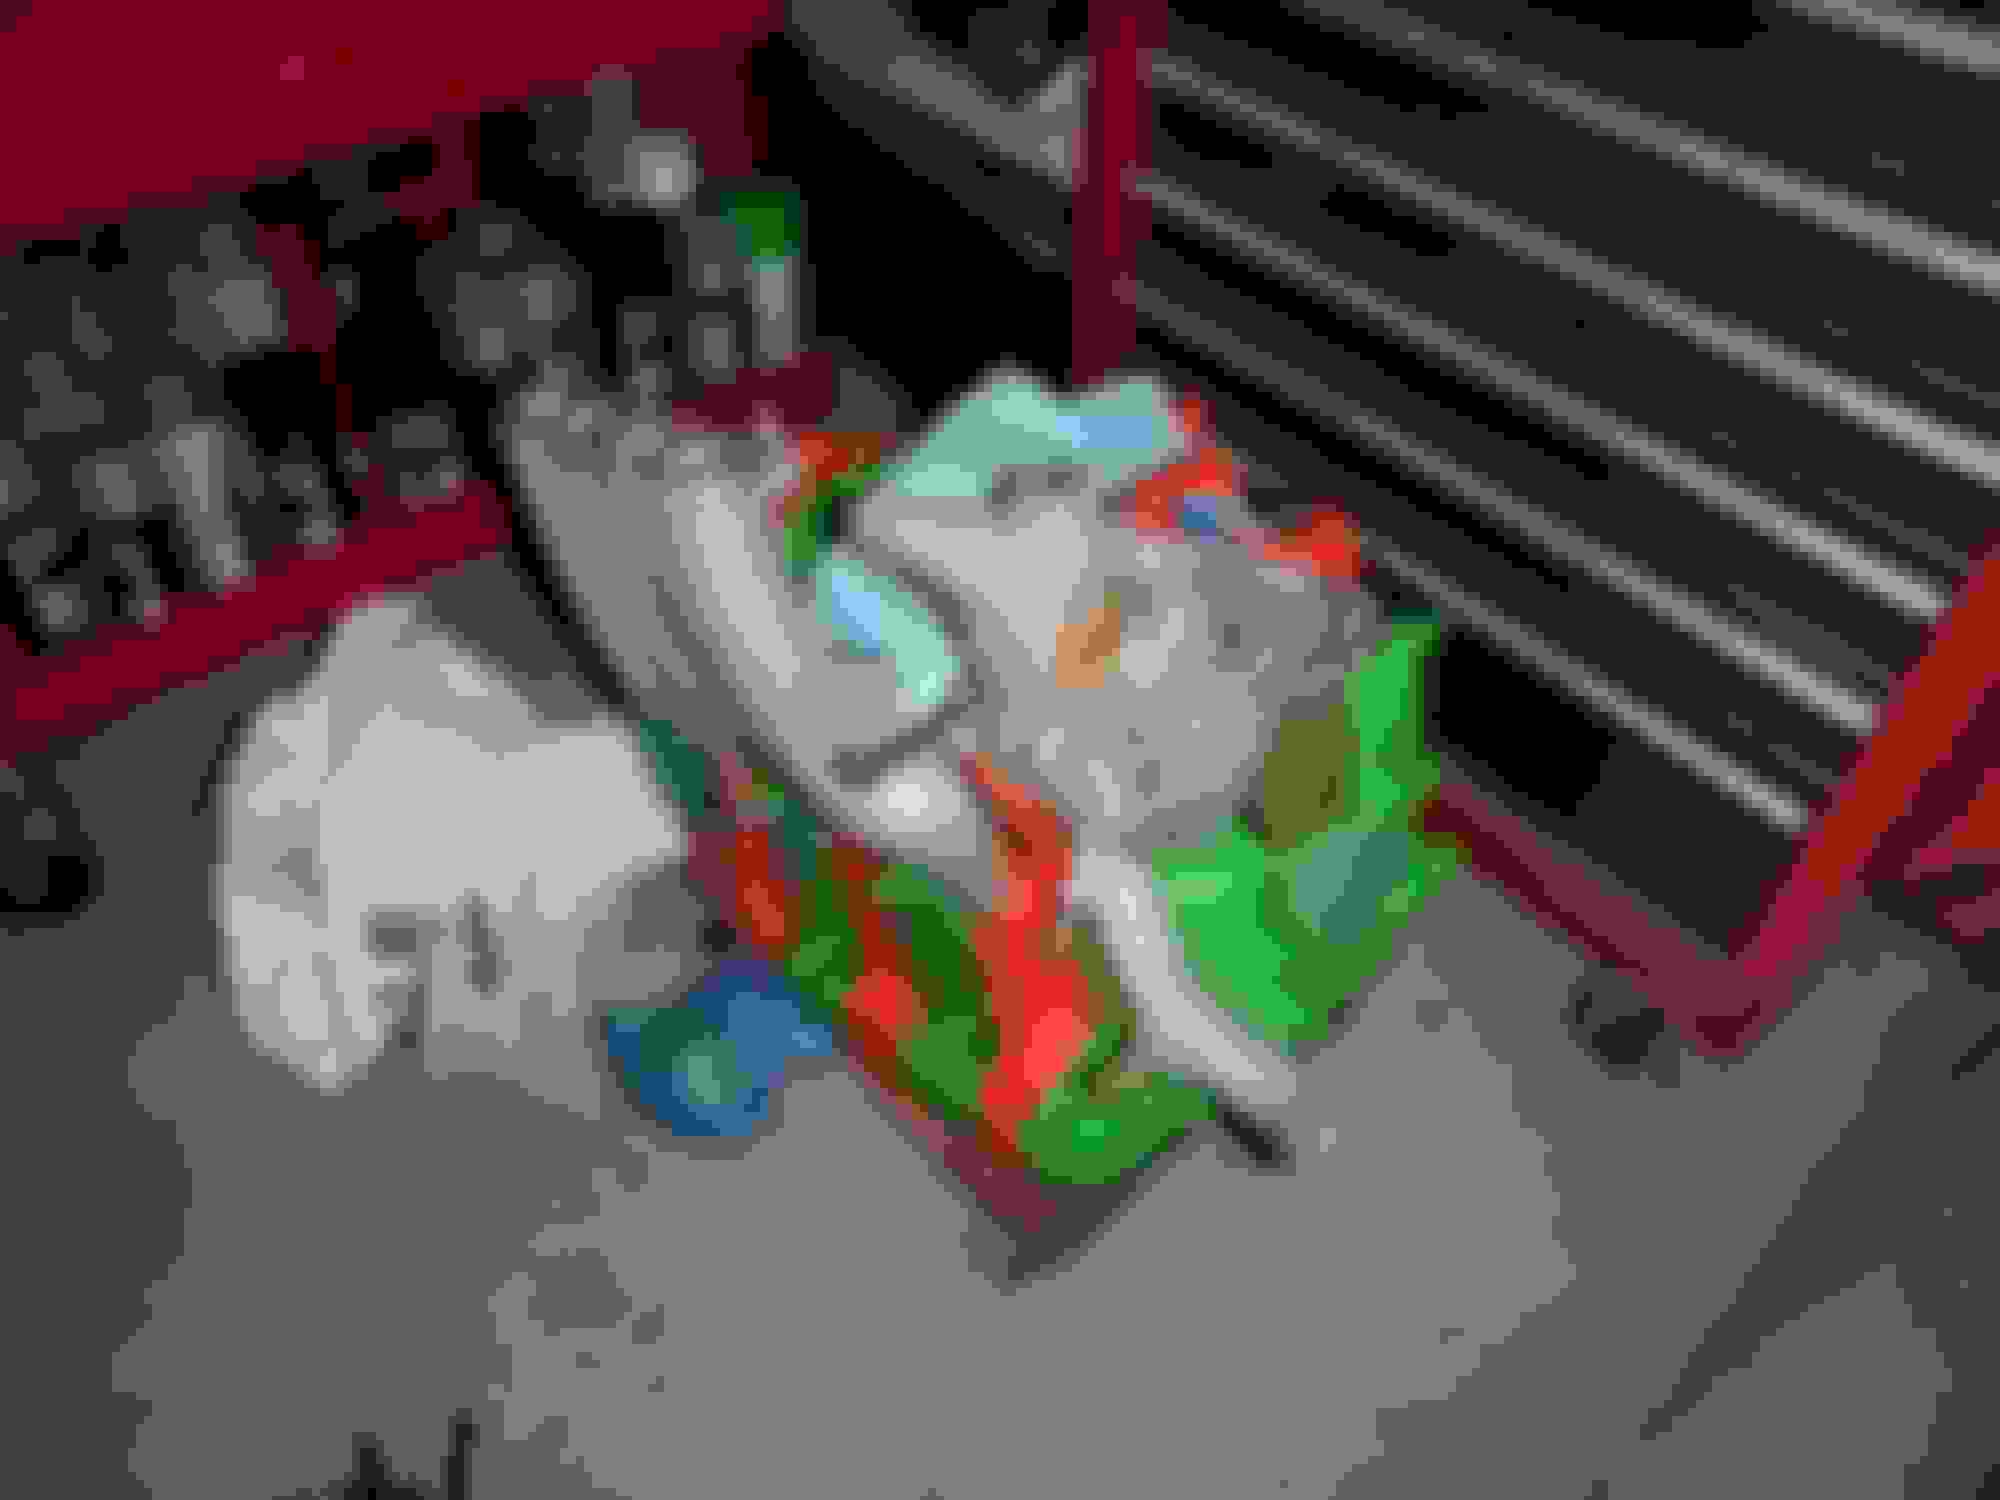
I also got in alot of parts for the assembly of the engine accessories.
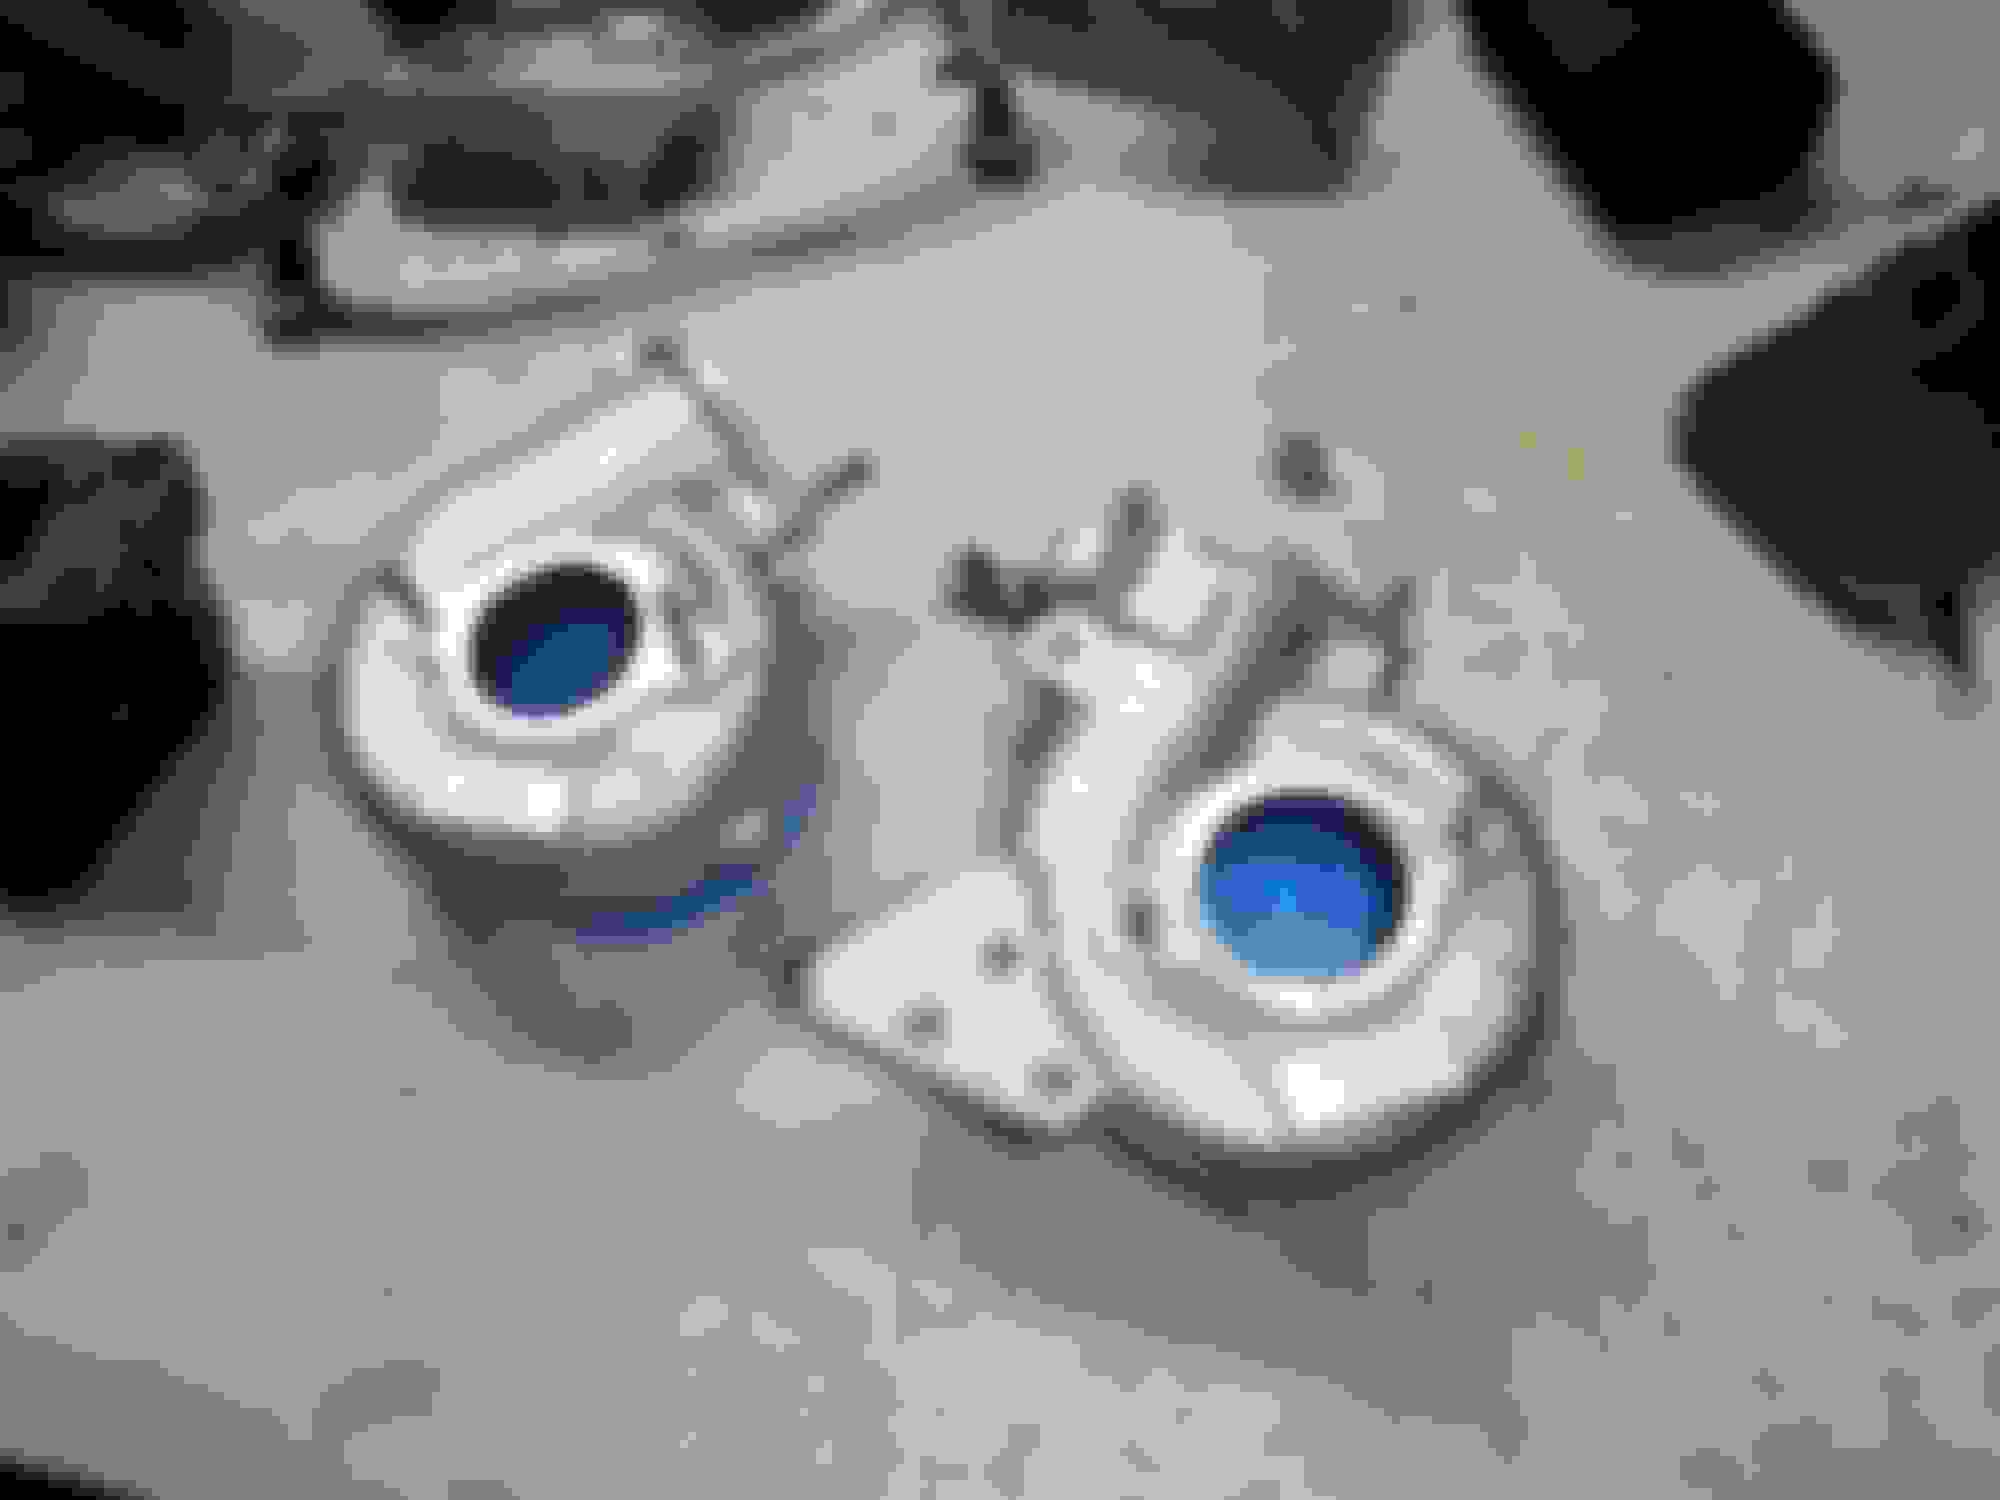
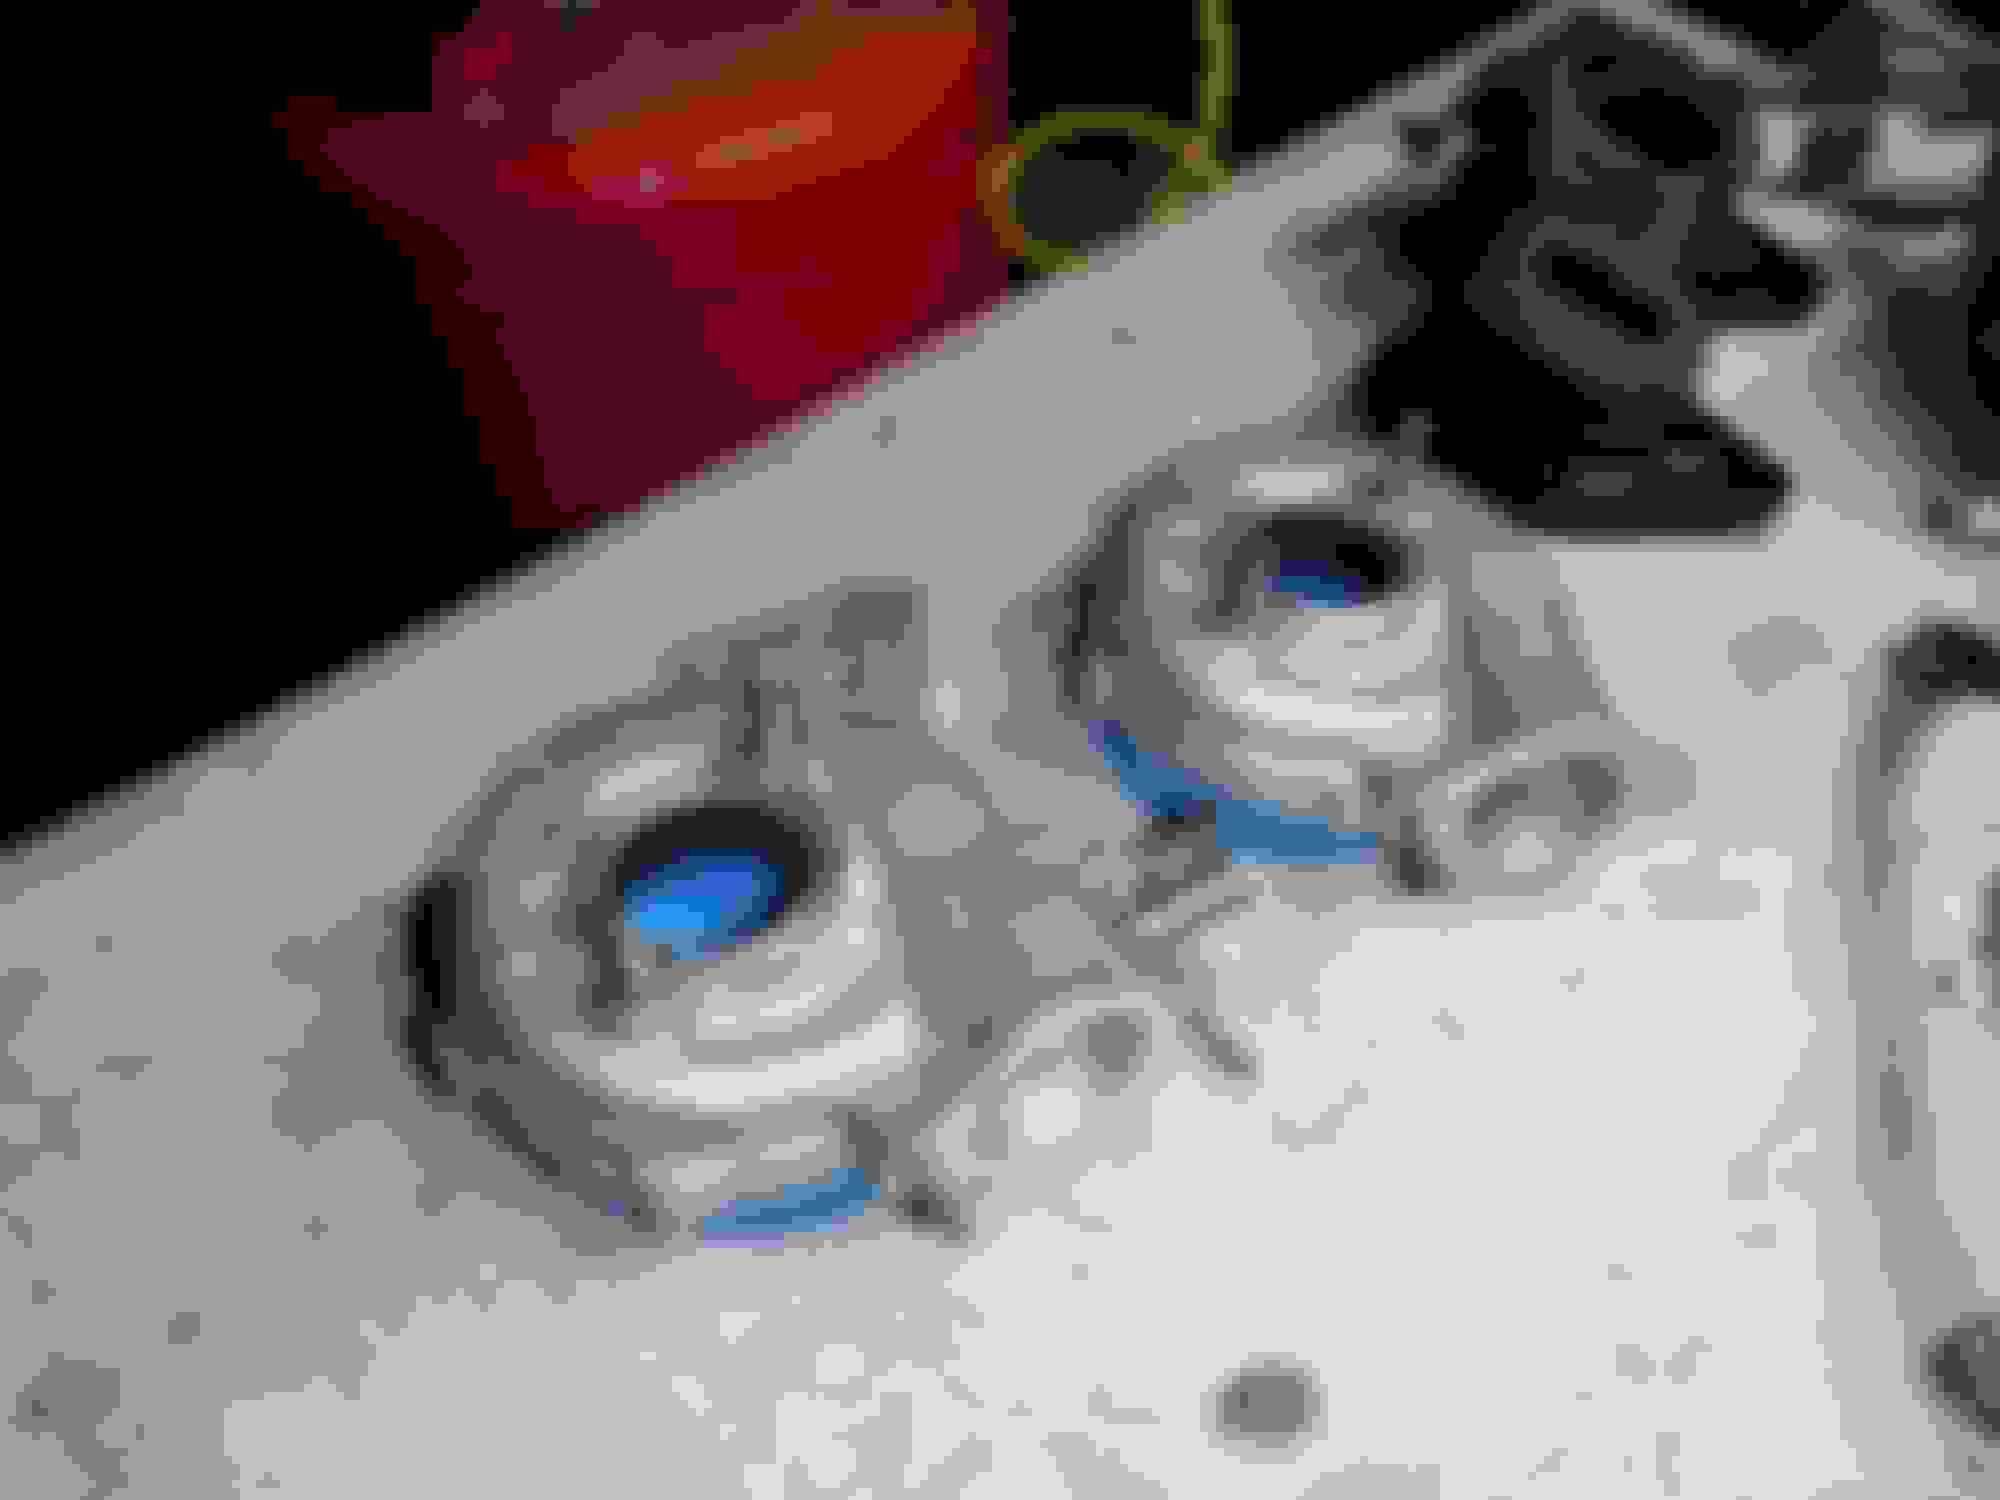
A bag of 100 random hose clamps and a bunch of mazda oem parts. Ray Crowe is the man. I got the coolant hose kit, the oil gaskets and two rear LCA pillow ball inserts.
+1. I never bought one of your VMounts, but followed all the threads. It's nice to see you have some time to work on your own projects.
Amen to that!!
It feels so good to have finished everyones parts first. 1. because its the right thing to do. 2. now I can take time (until sevenstock 2020 - corona-virus pending) to finish my own car.
It really feels good to work on my own car, the upside of having to refund a vm kit due to extended wait time is now I have a twin track kit to put on this car. So, I bought myself my own kit....lol.
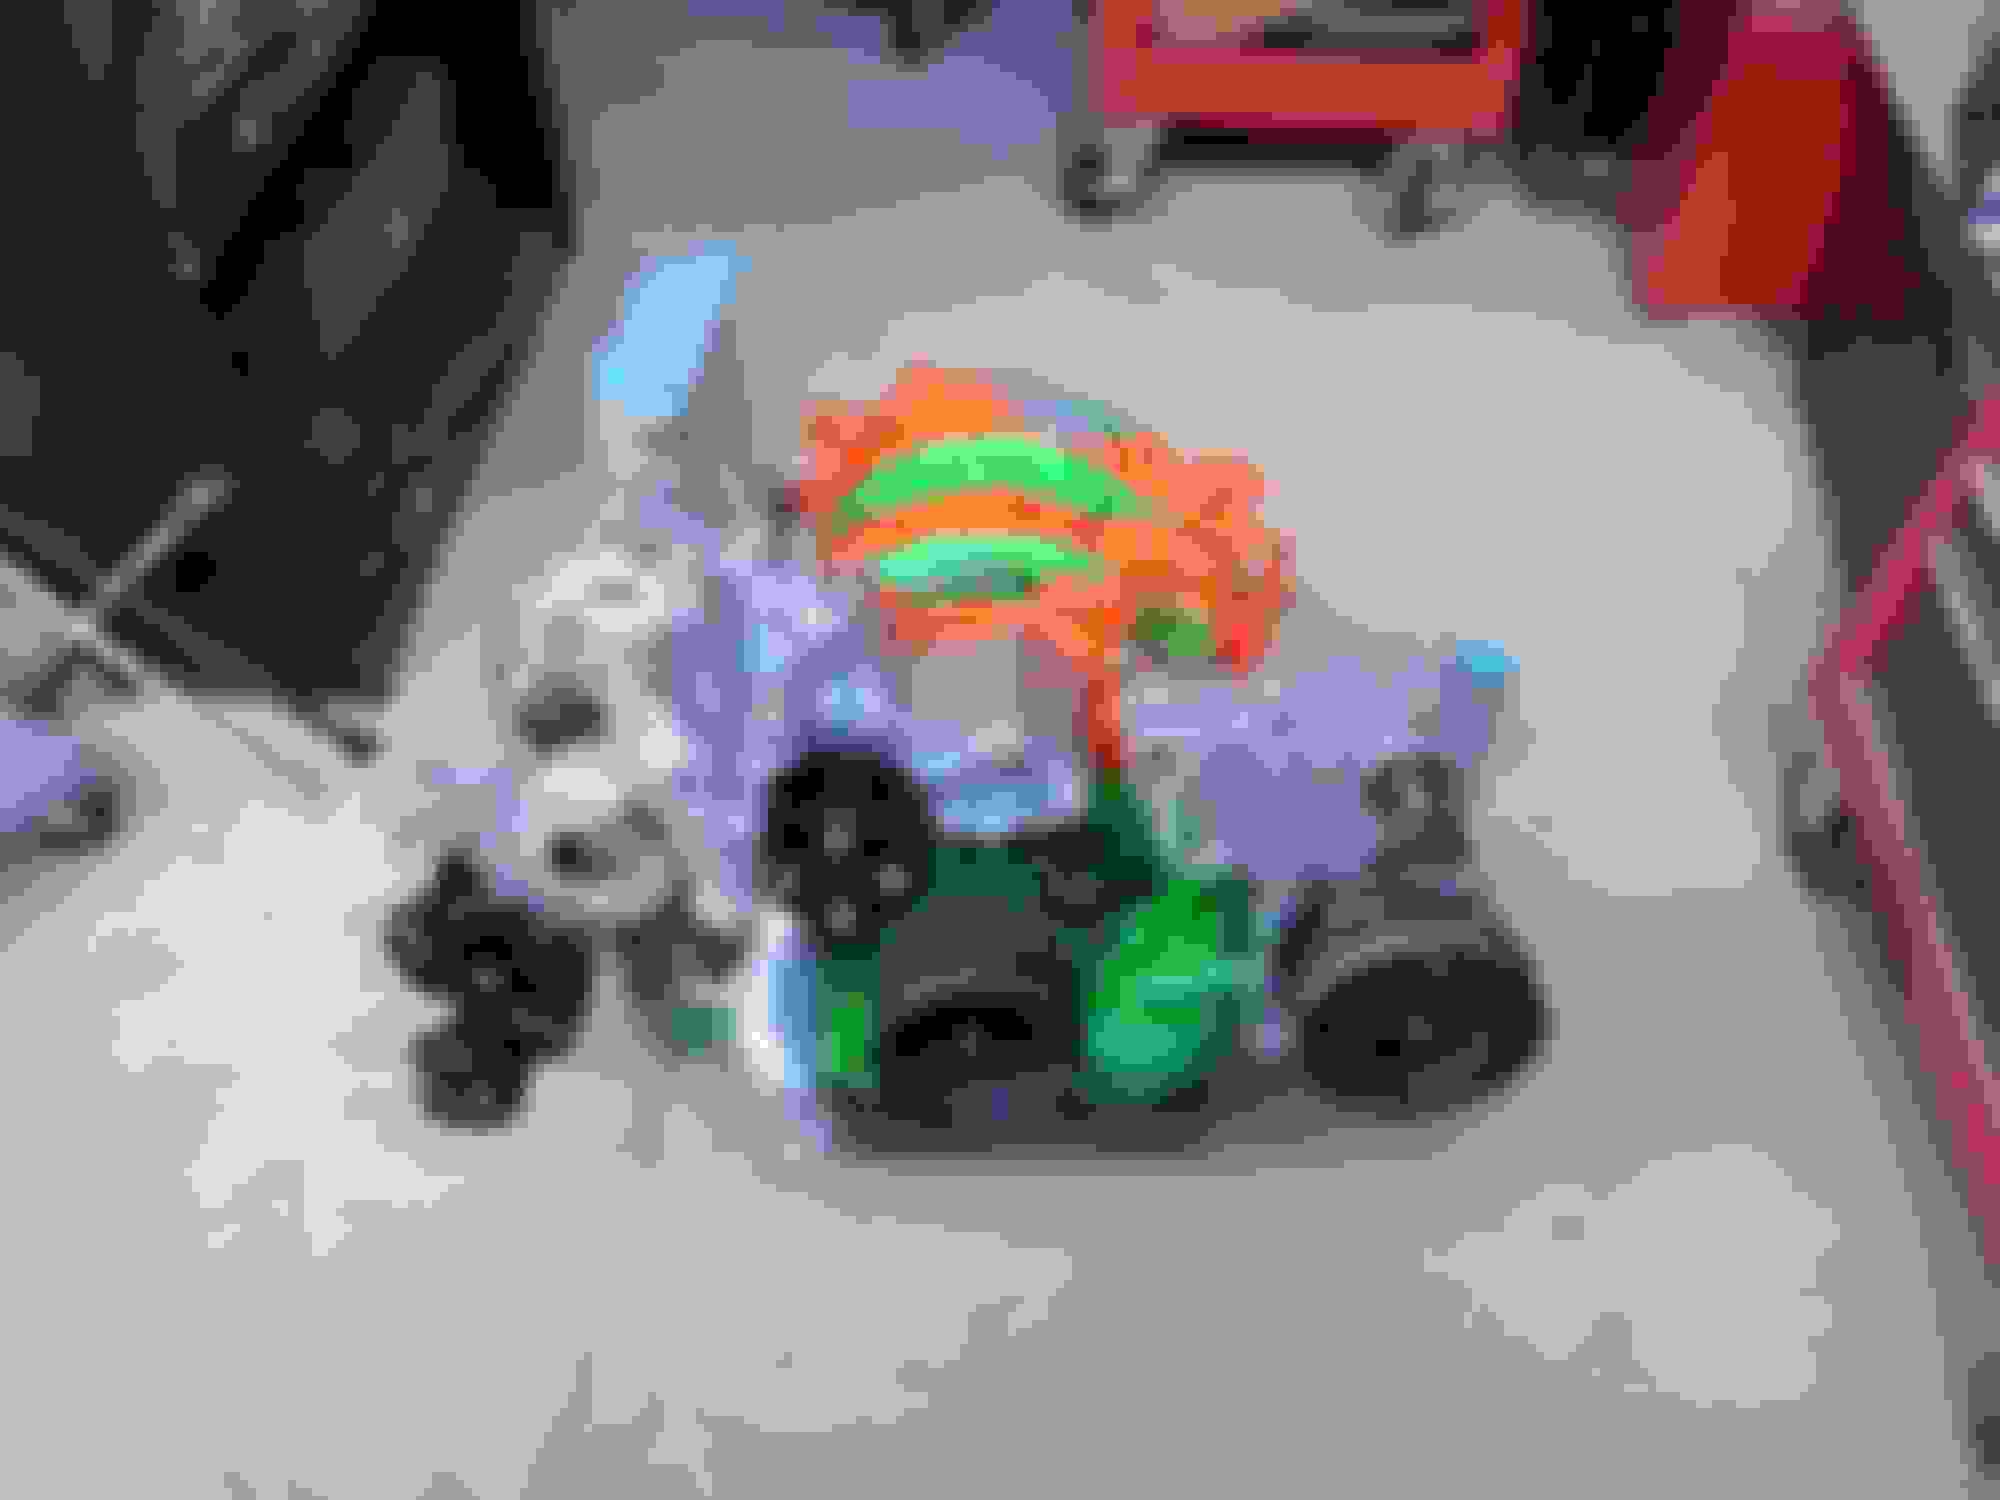
After I painted the LIM and the other pieces I noticed they were darker with more glitter. I thought I could deal with it but after working all night on the job all I could think about was the glitter difference. The ones with less glitter look more light - first 3 pics. So today I repainted the turbo compressors and the front water housing - Im glad I did, its a better match.
I also cleaned the PS pump and AC compressor. I had considered painting those but I decided not to. I will probably leave the PS / AC and ALT in their natural finish.
The cool thing about having a 95 RX7 is that it came with R134a from the factory ! My car has a build date 12/95. Maybe its one of the last ones imported for sale here in the states??
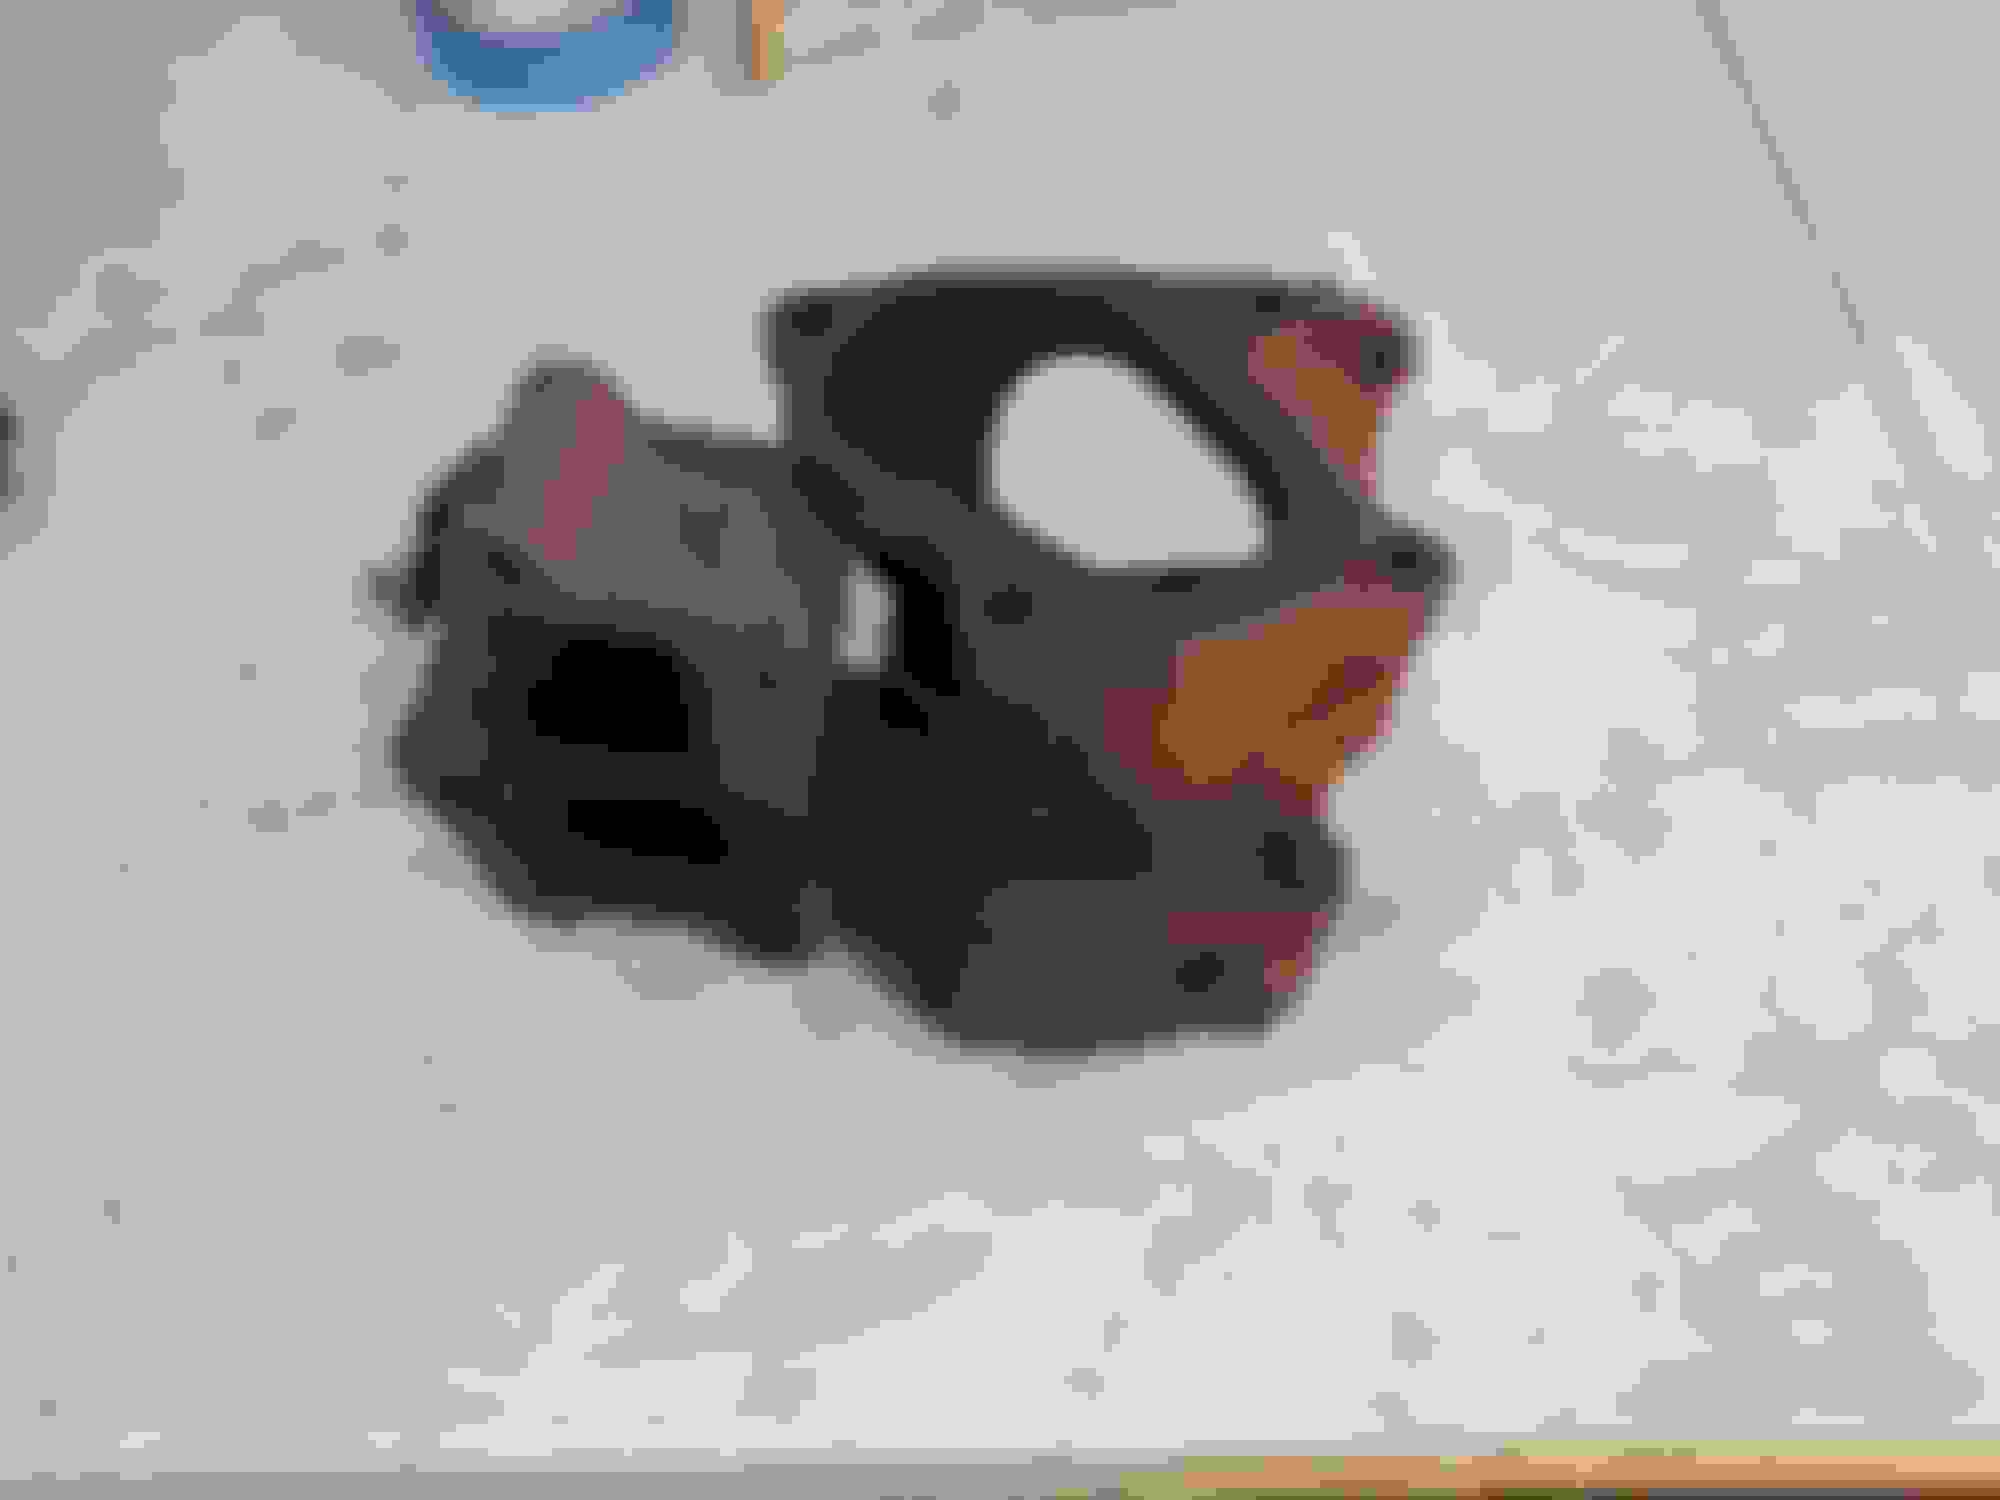
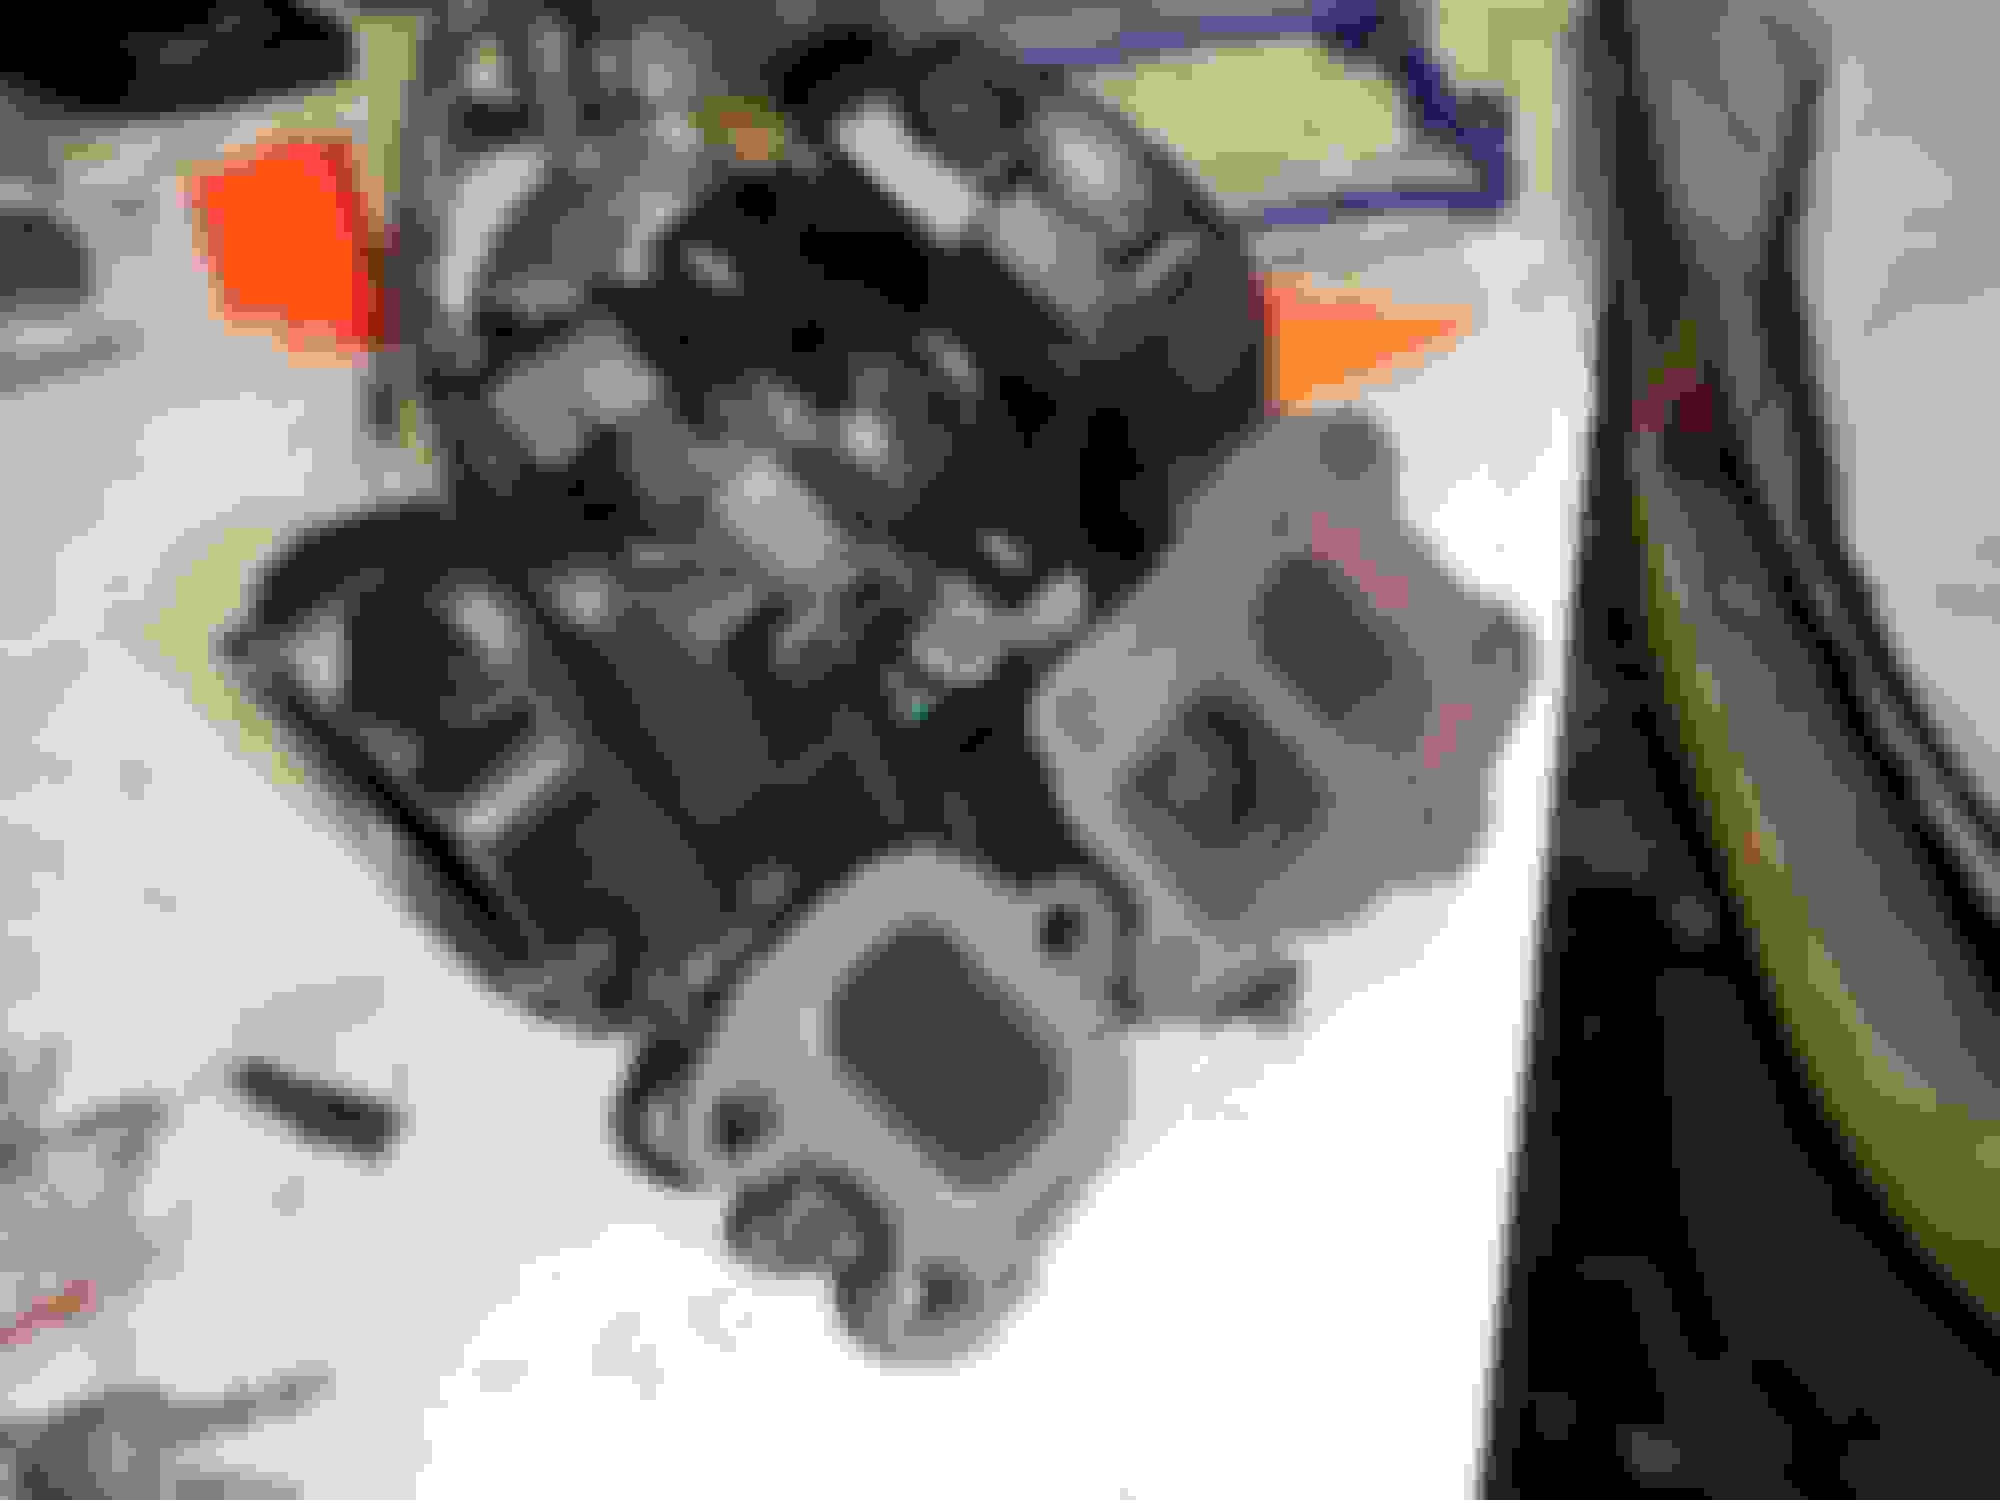
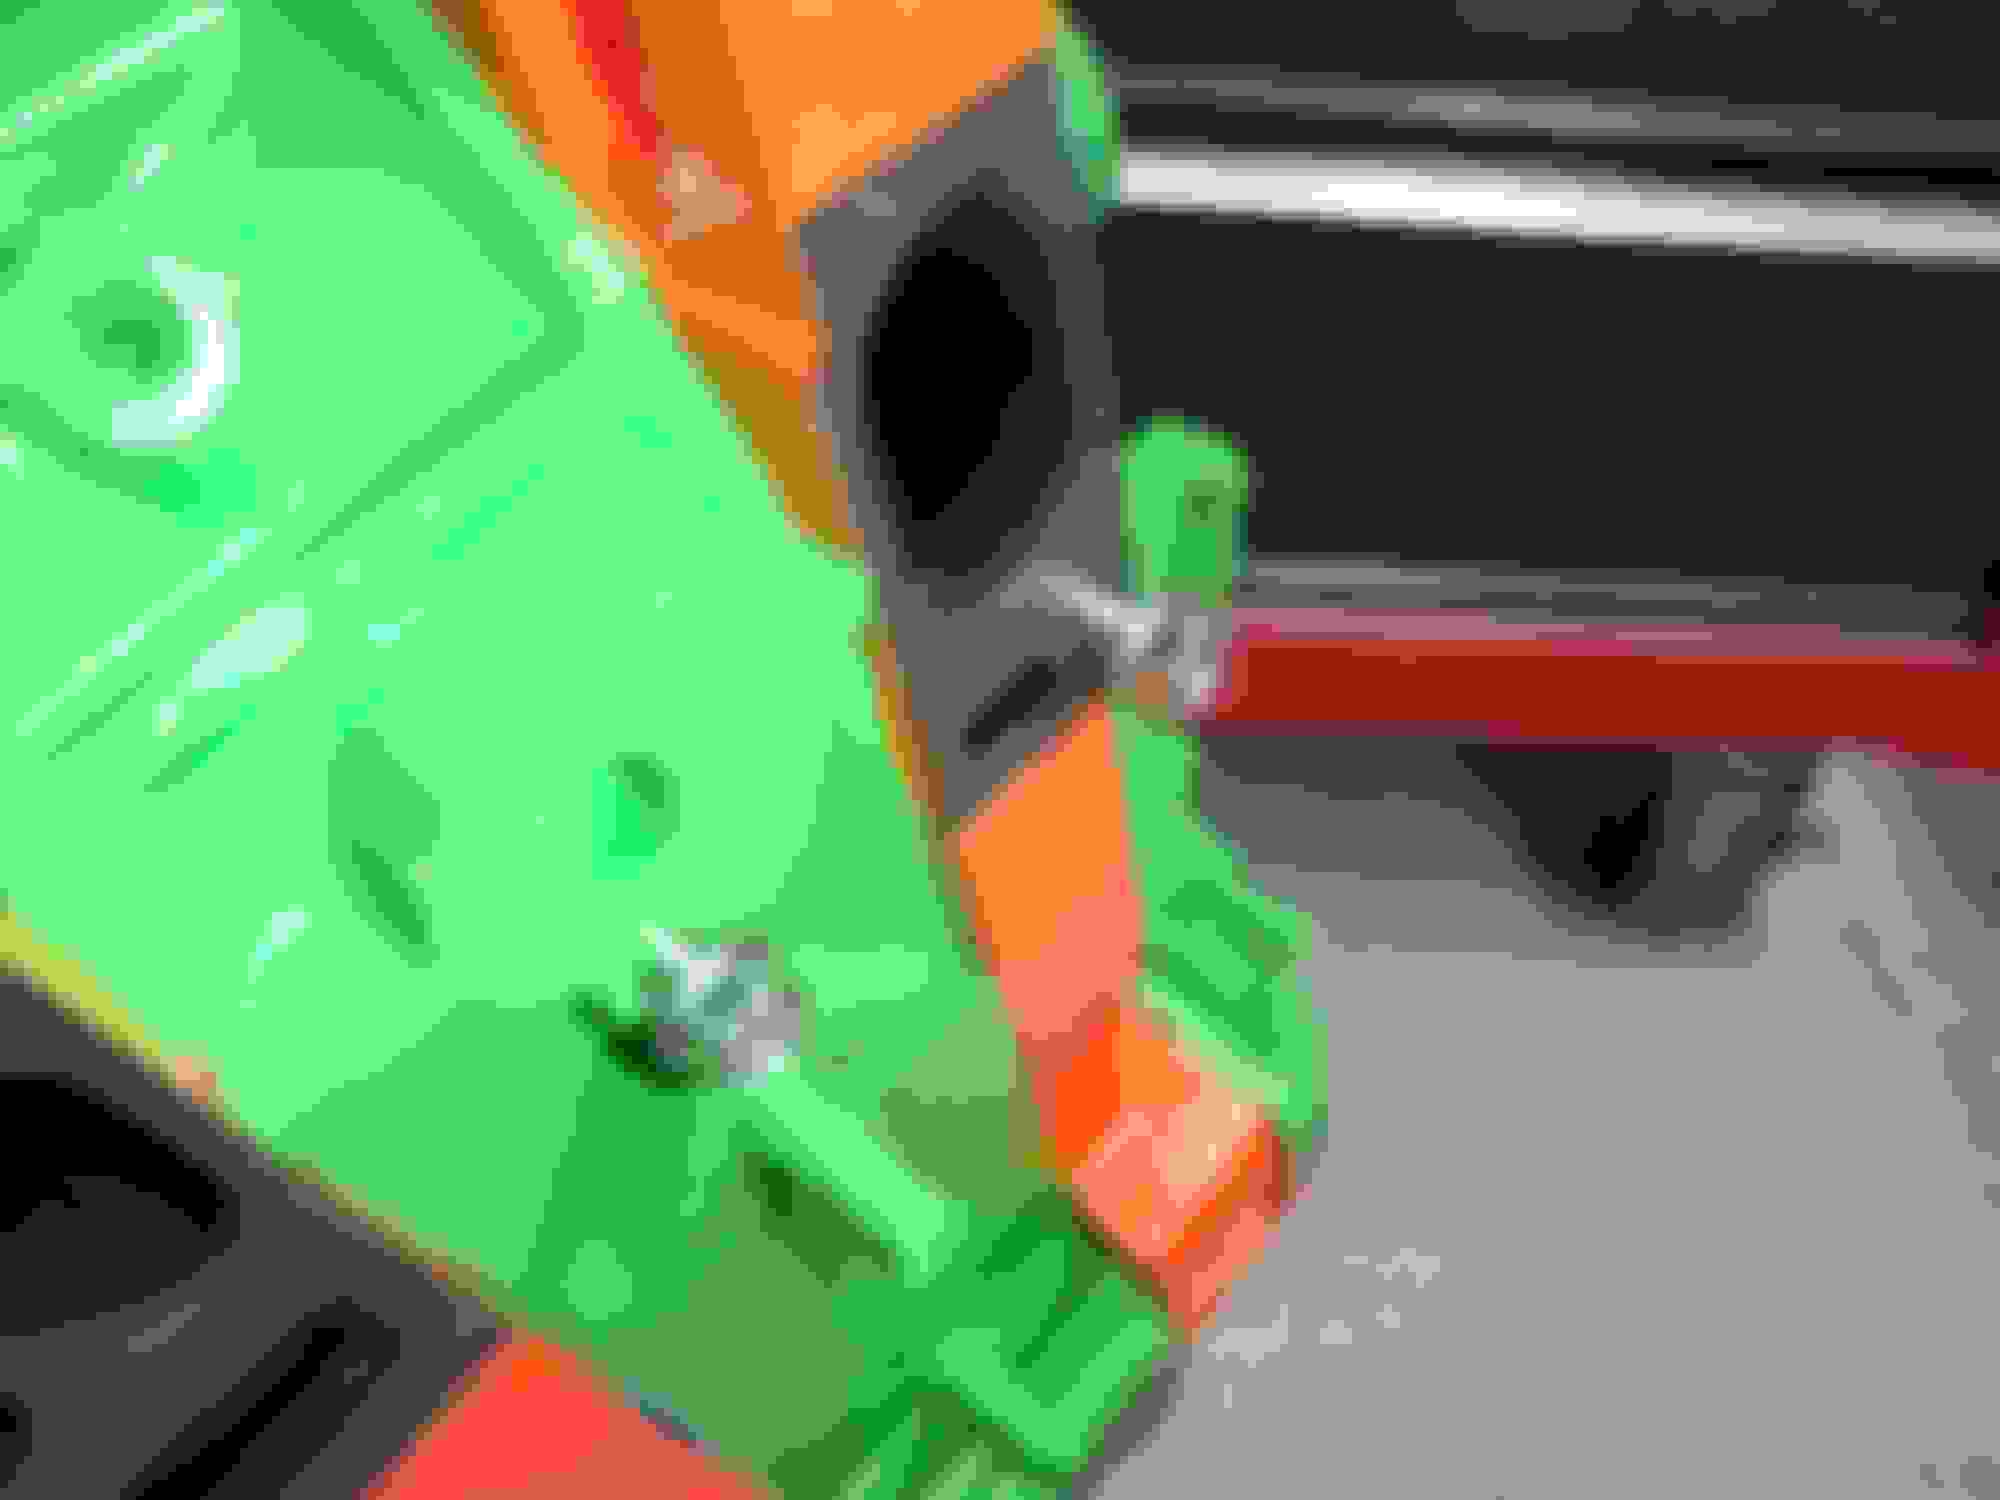
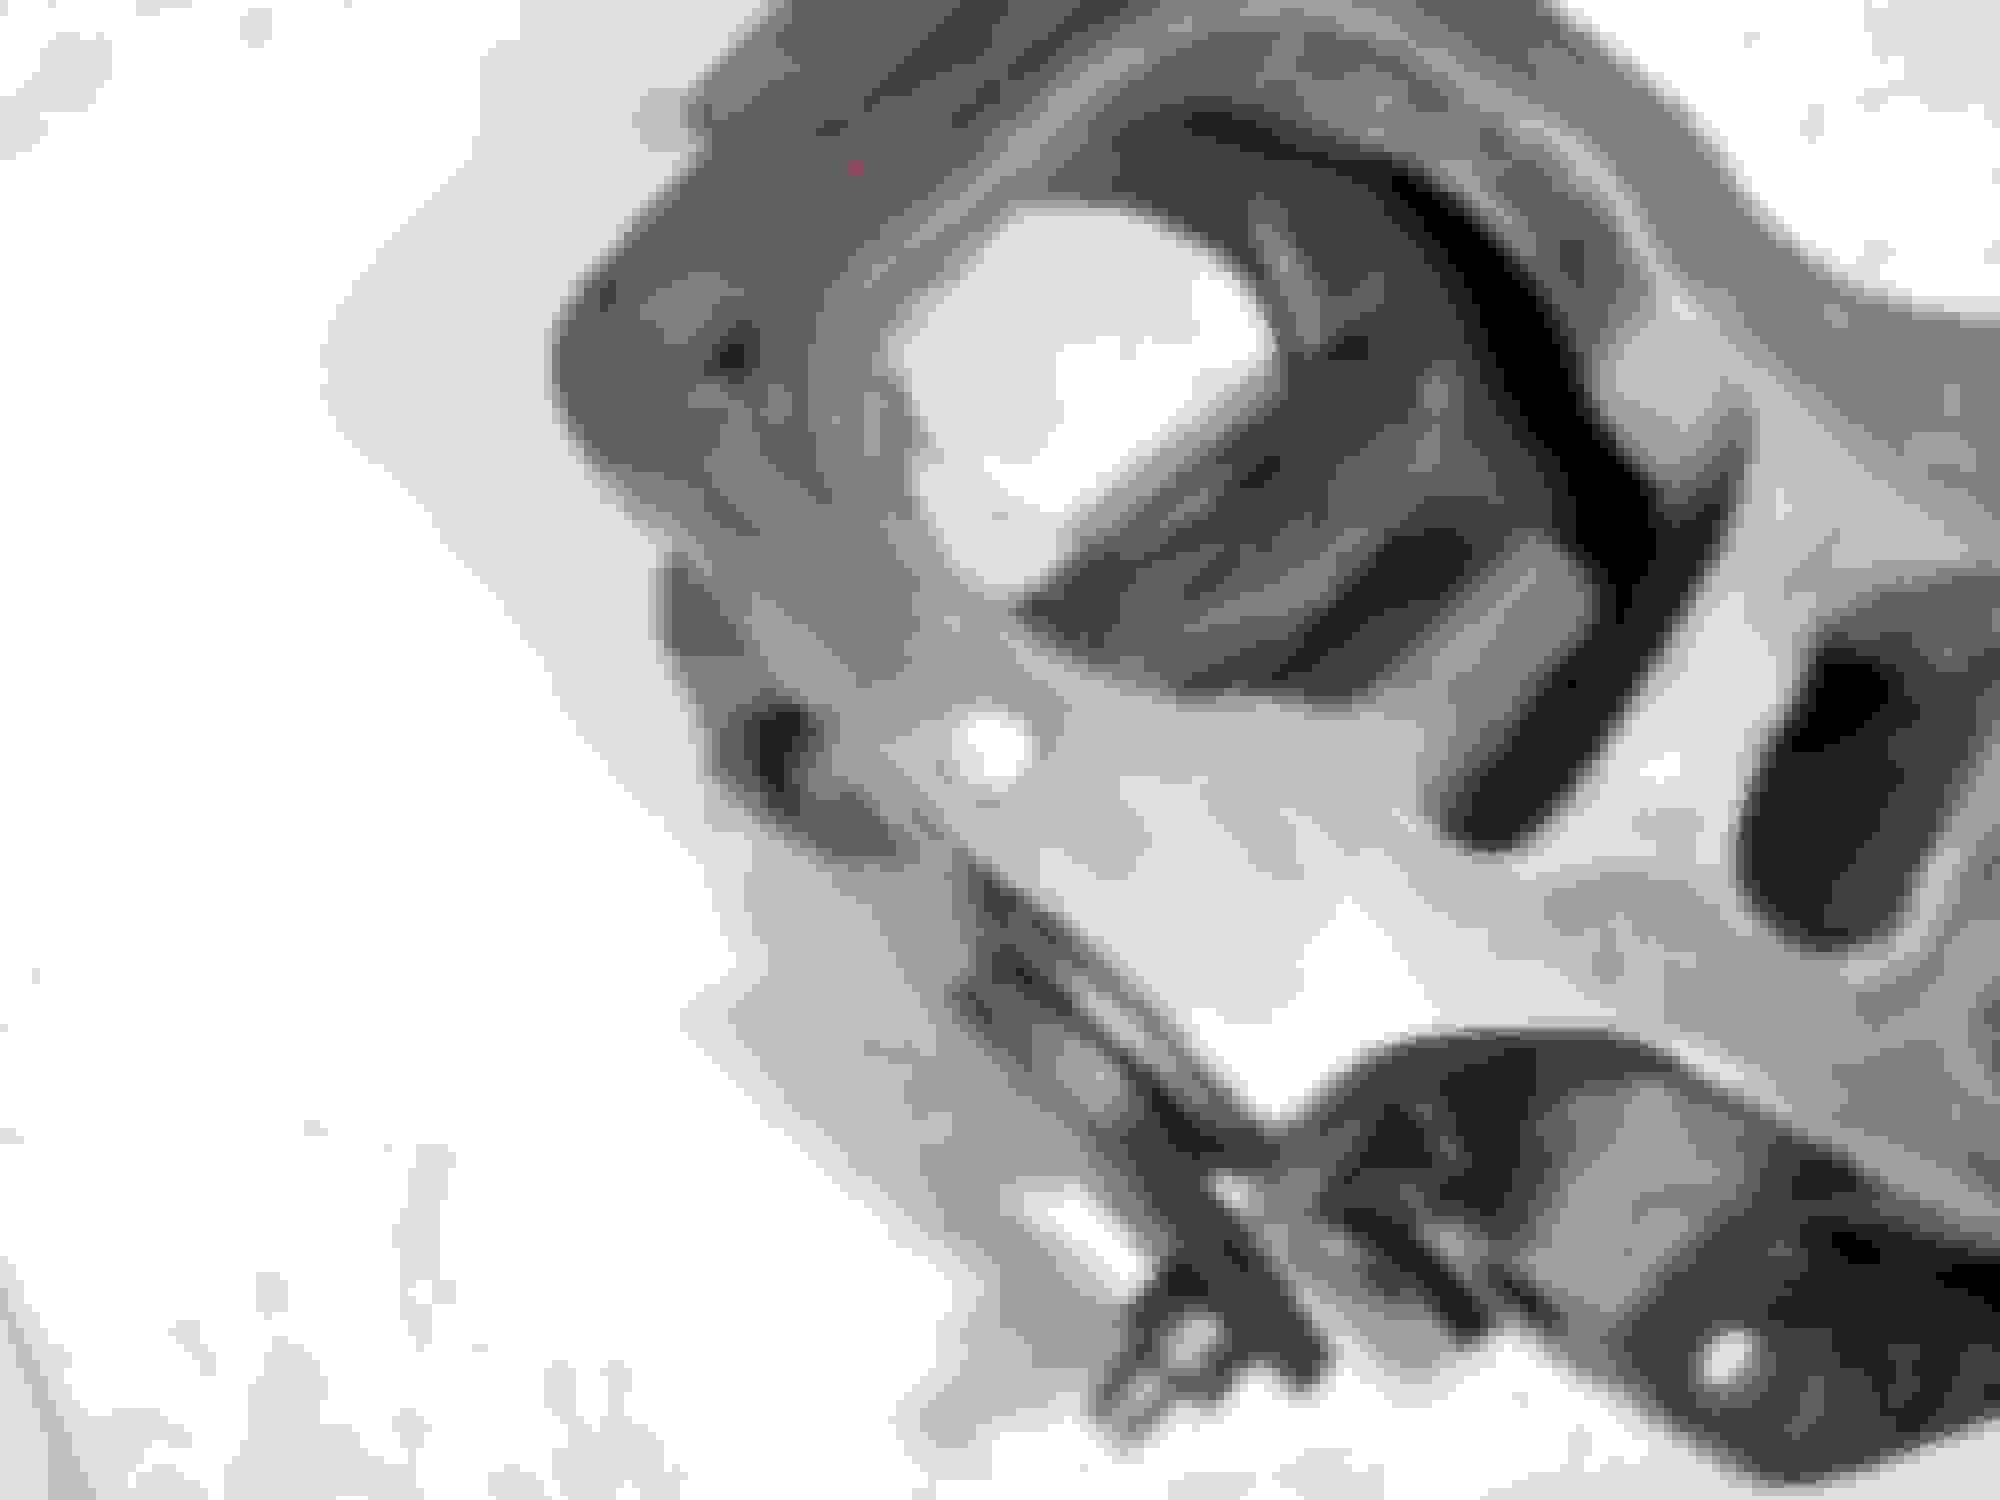
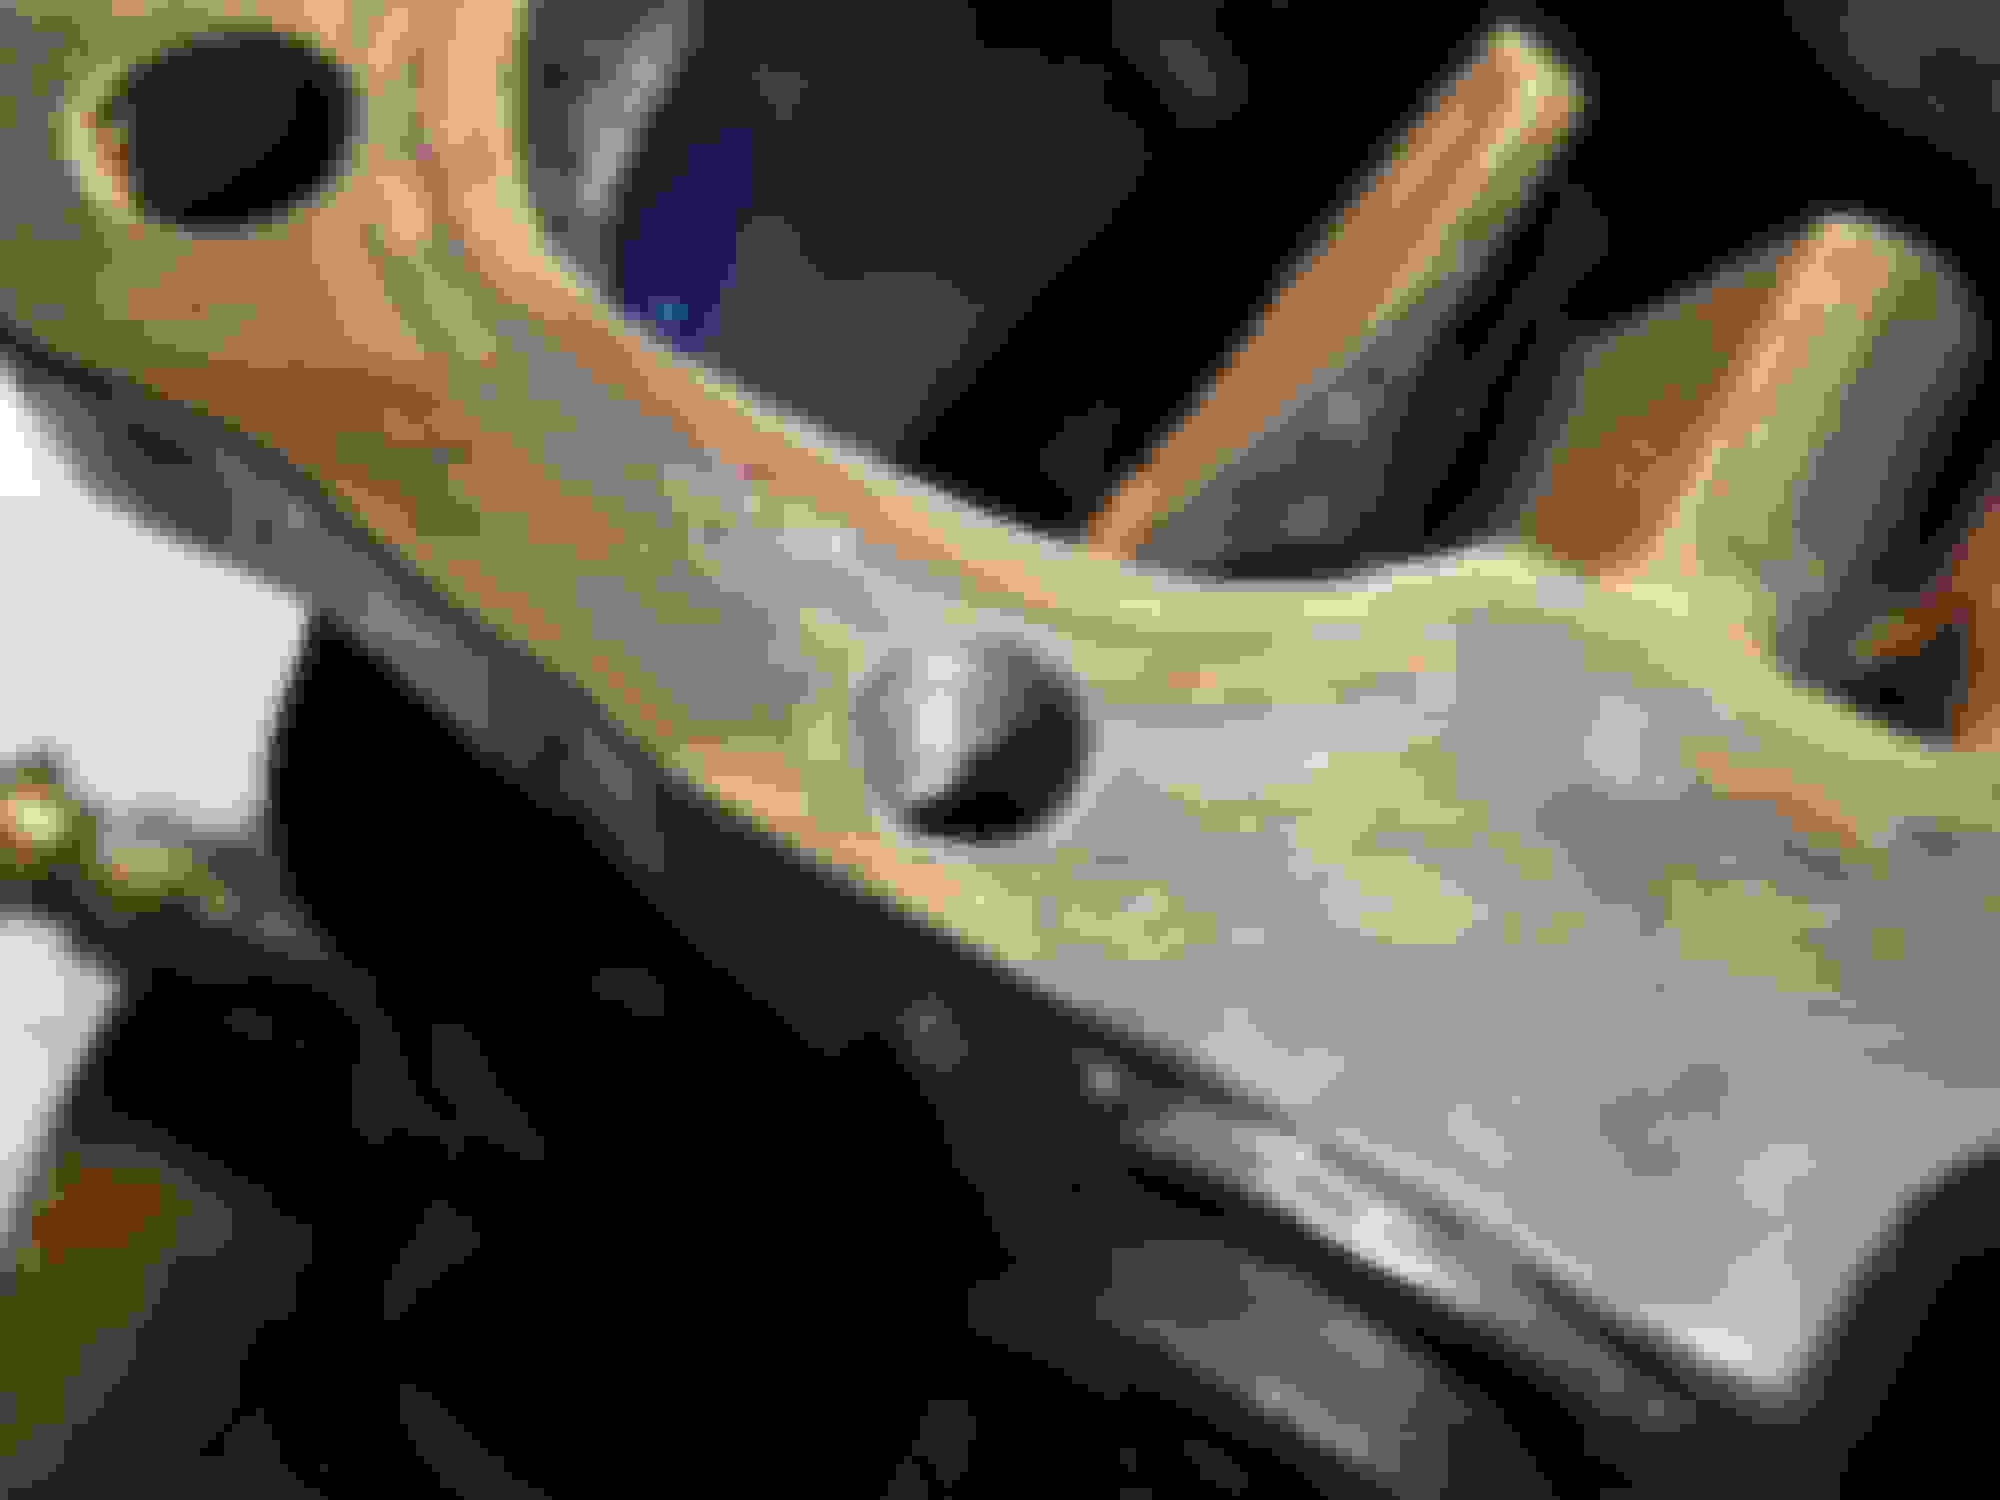
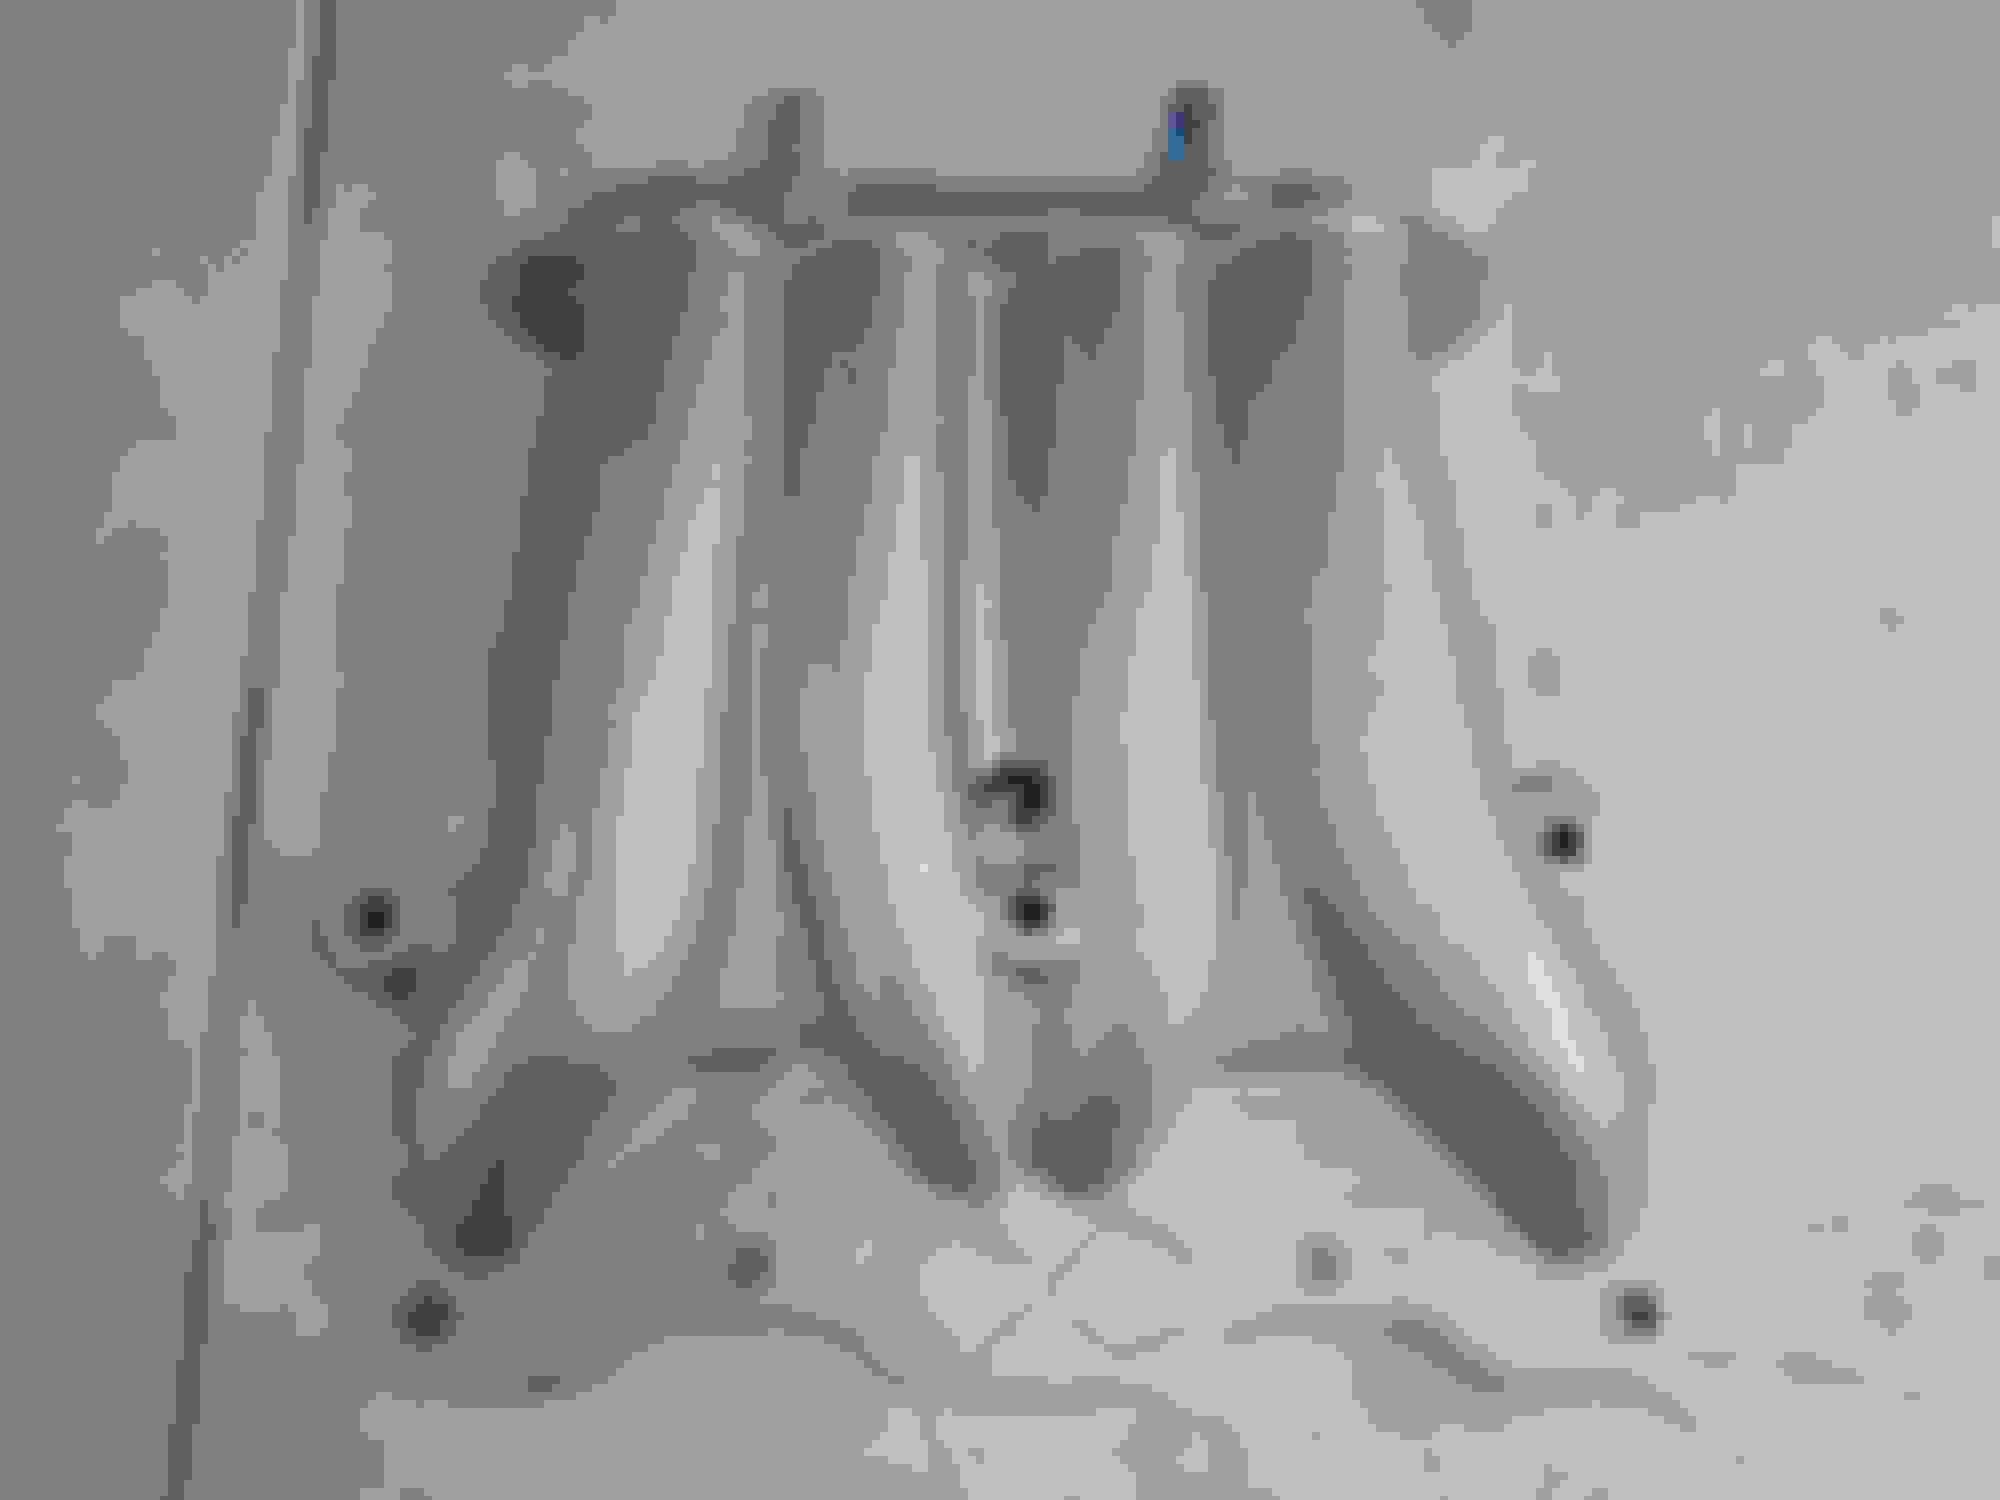
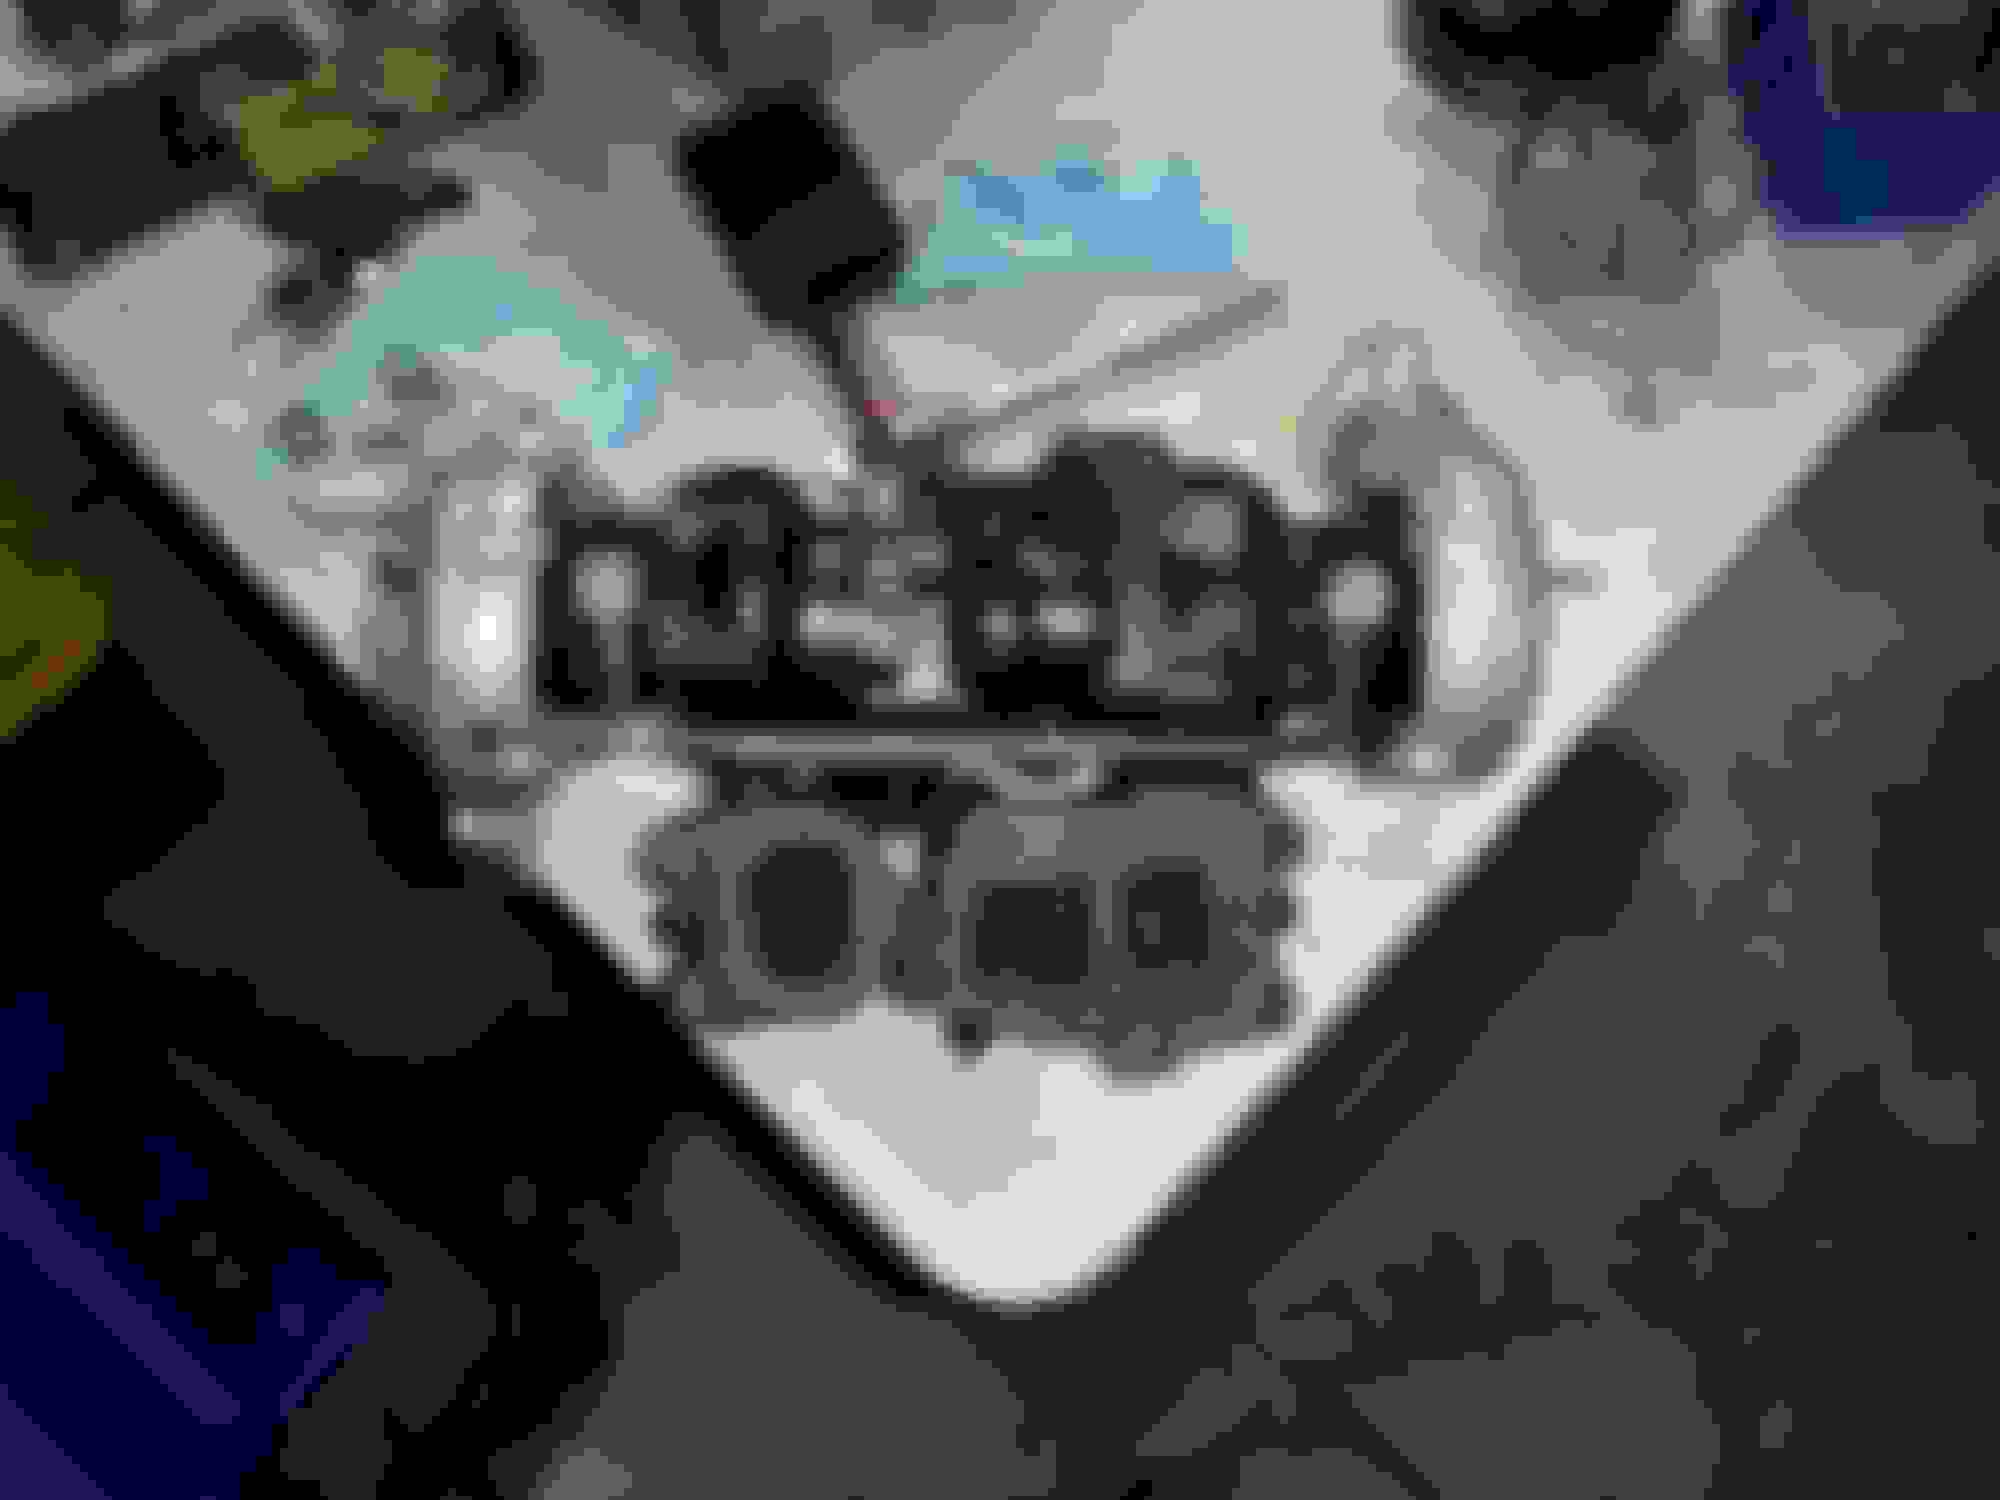
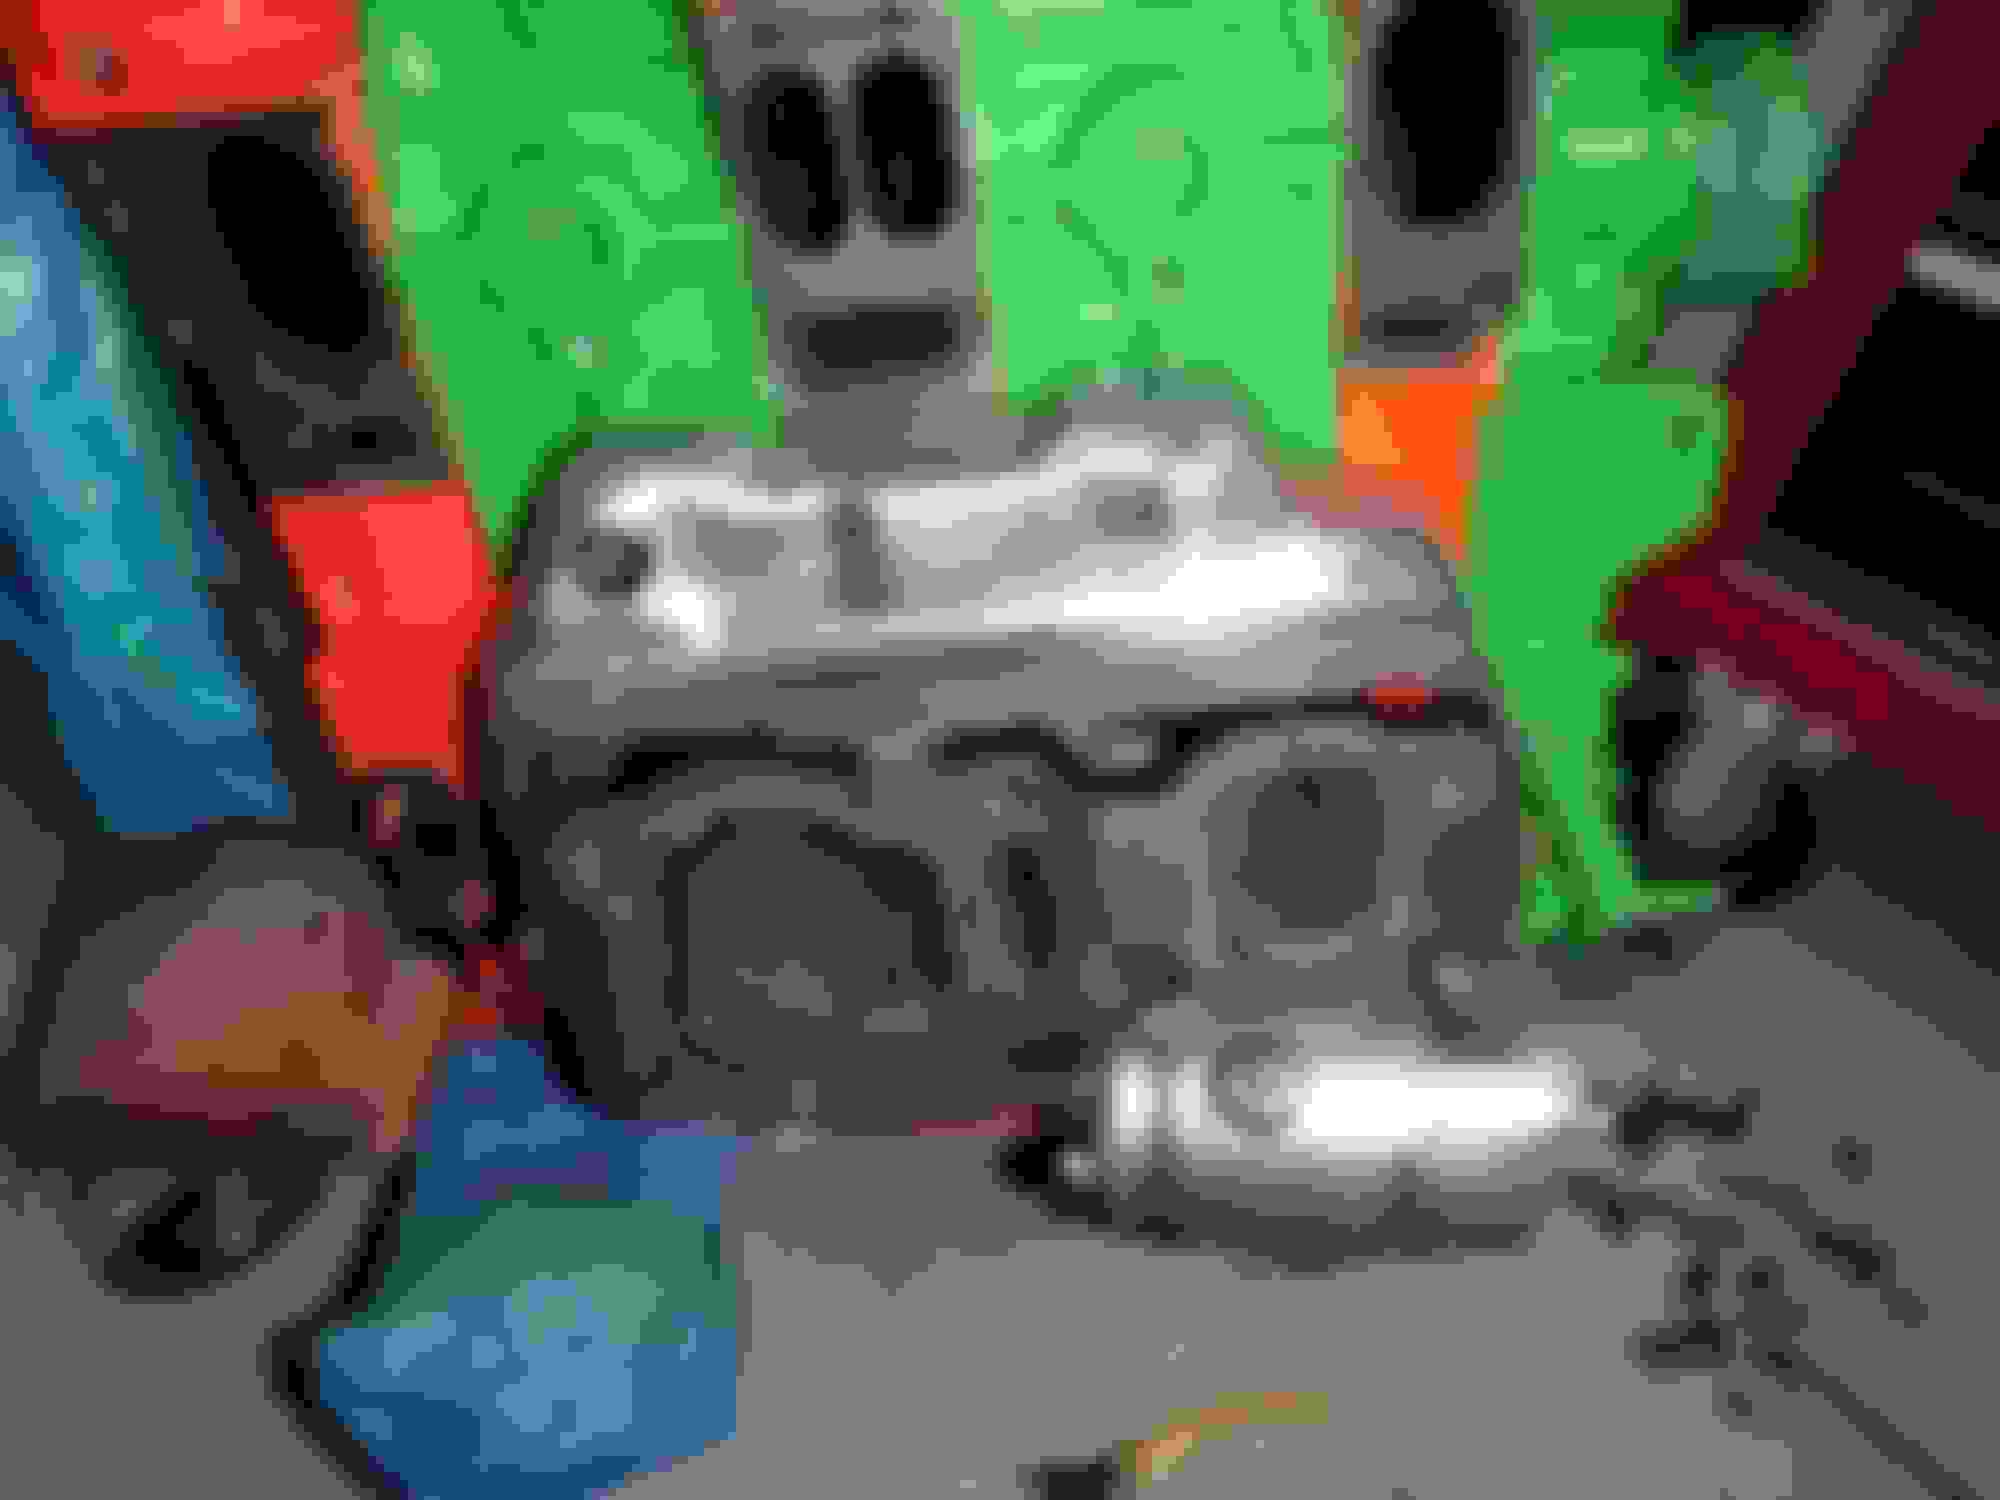
To re-cap - I am so glad that I put a heli-coil for the 8x1.25 mm because anything bigger would affect the gasket clearance in between the low and upper turbo manifold and the bolt hole clearance on the upper turbo manifold. You can see what I mean in the pics by looking at the wear from the outline of the gasket on the metal. Im also glad I test fit everything before painting the Xcessive LIM and other parts - it all went together like butter.
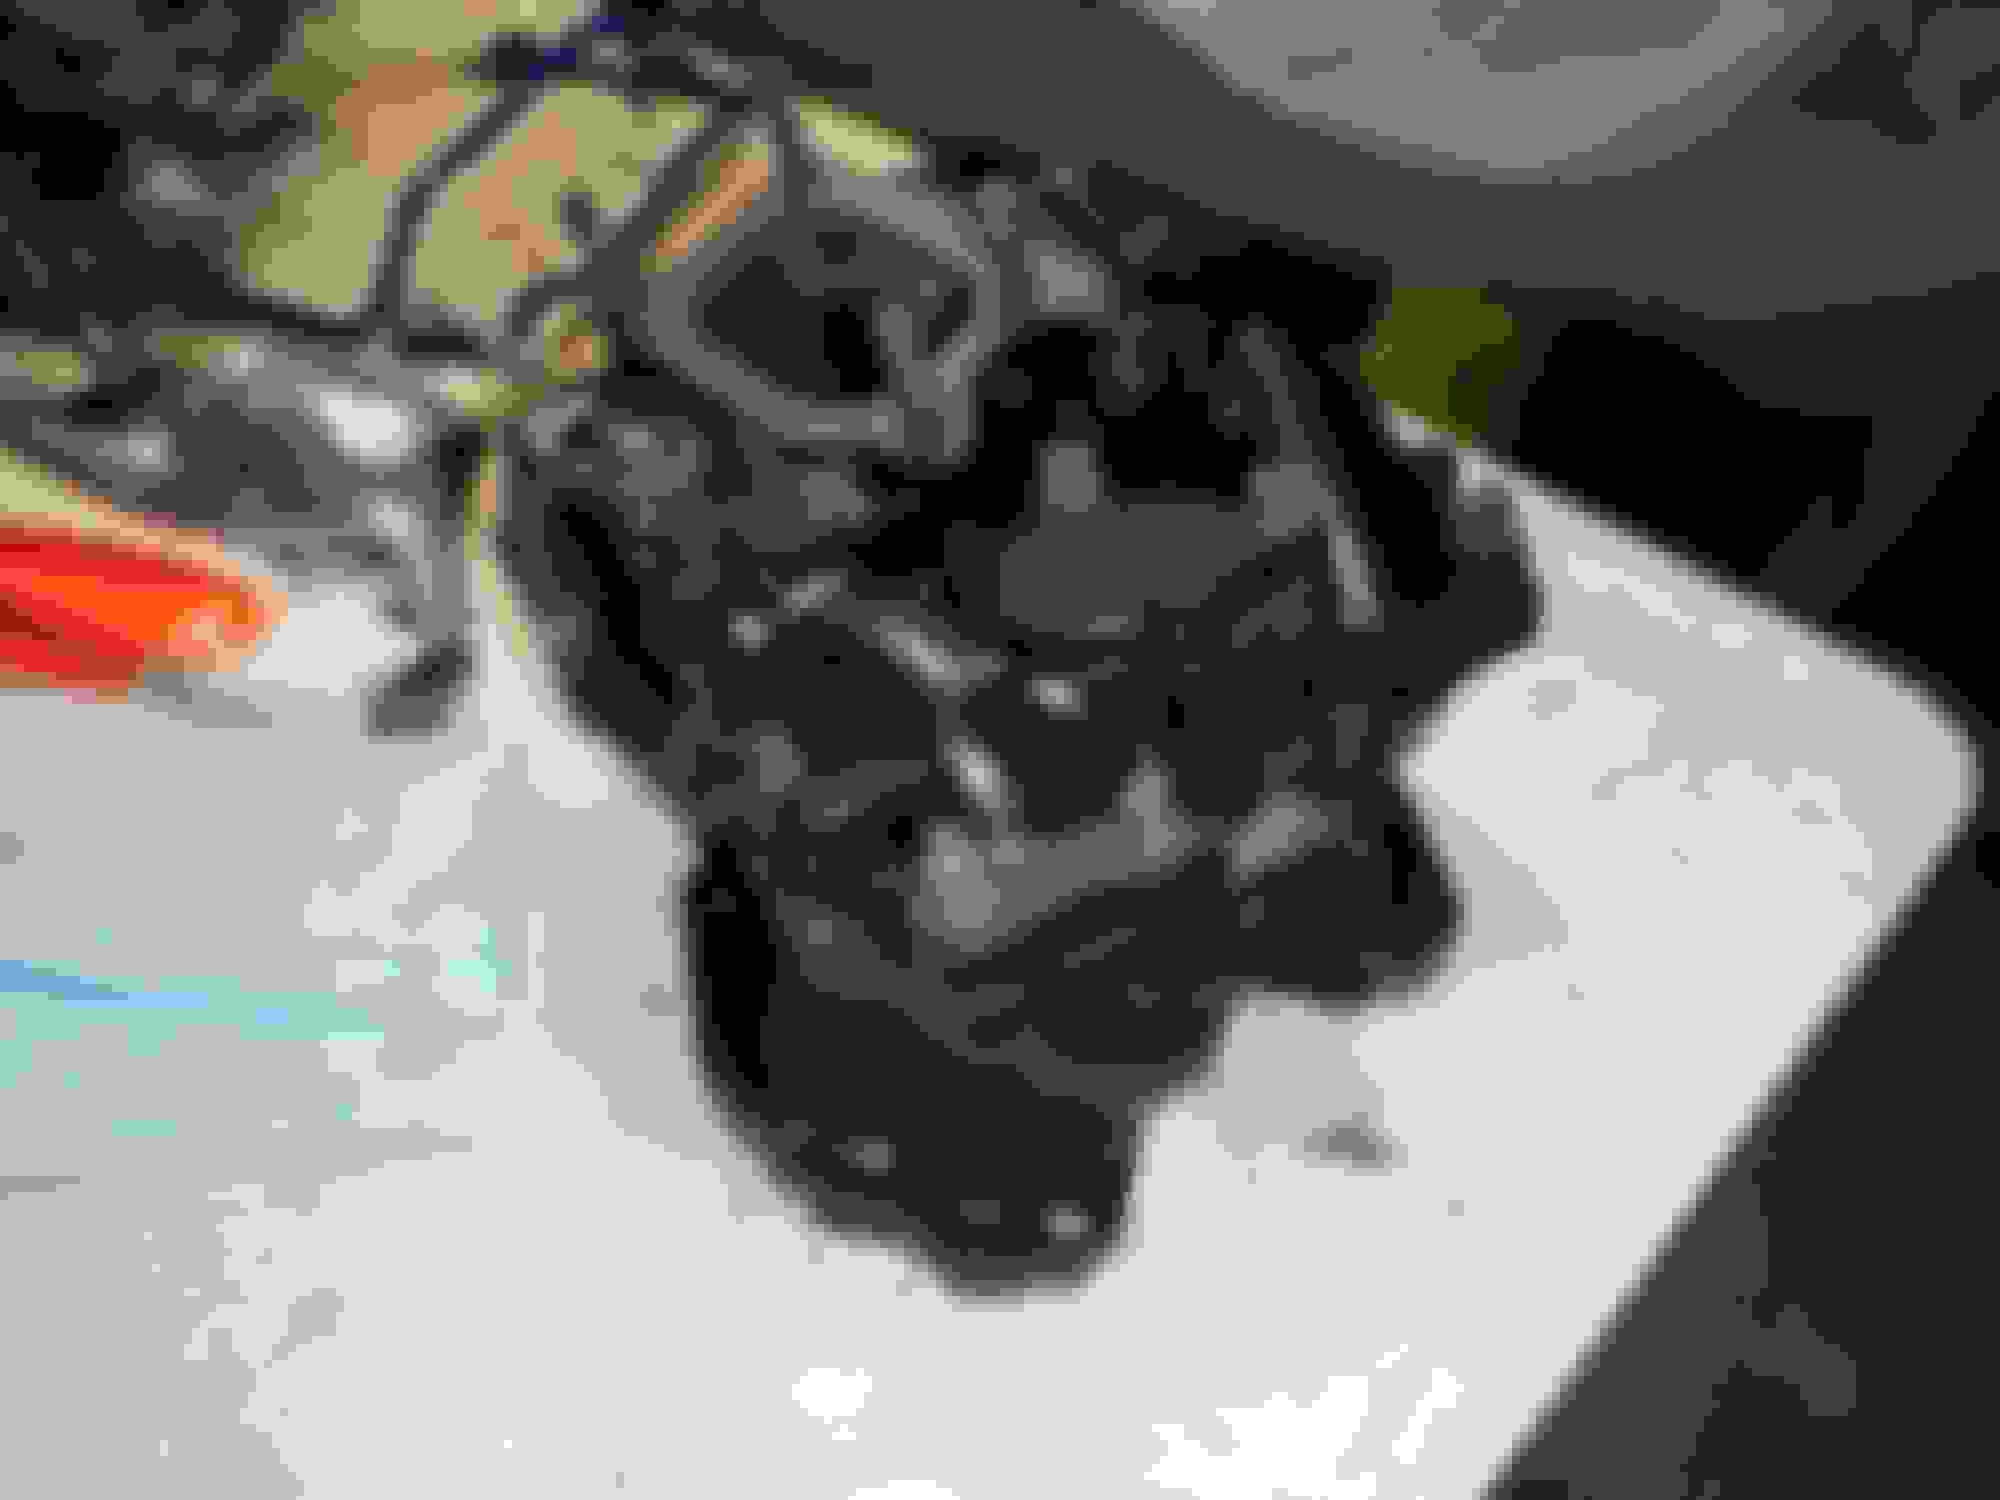
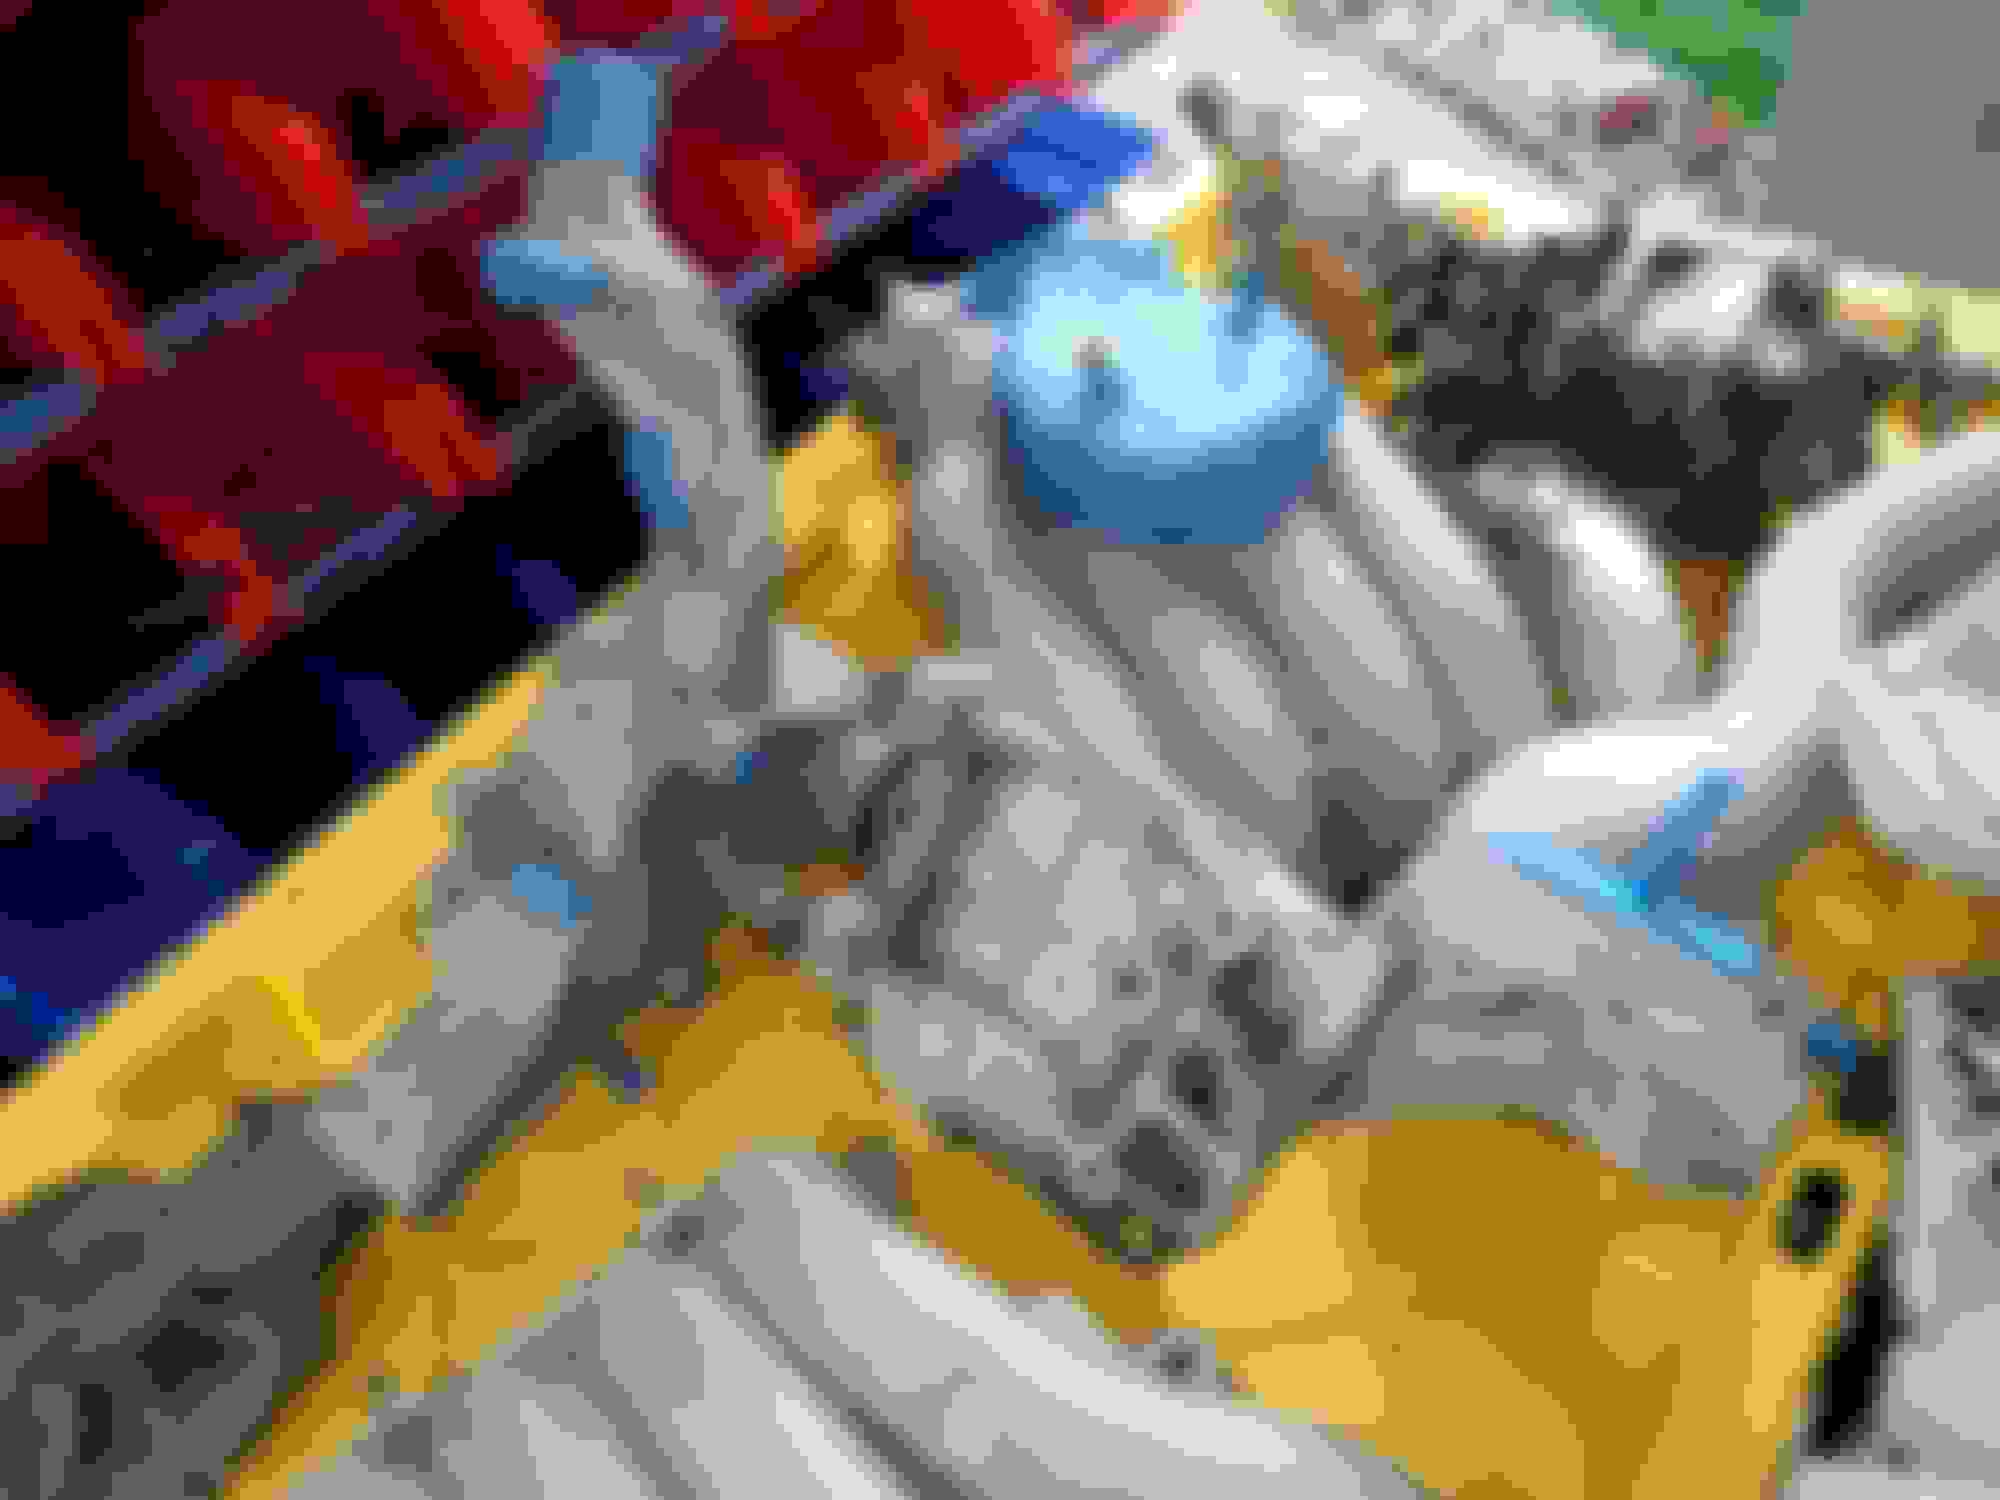
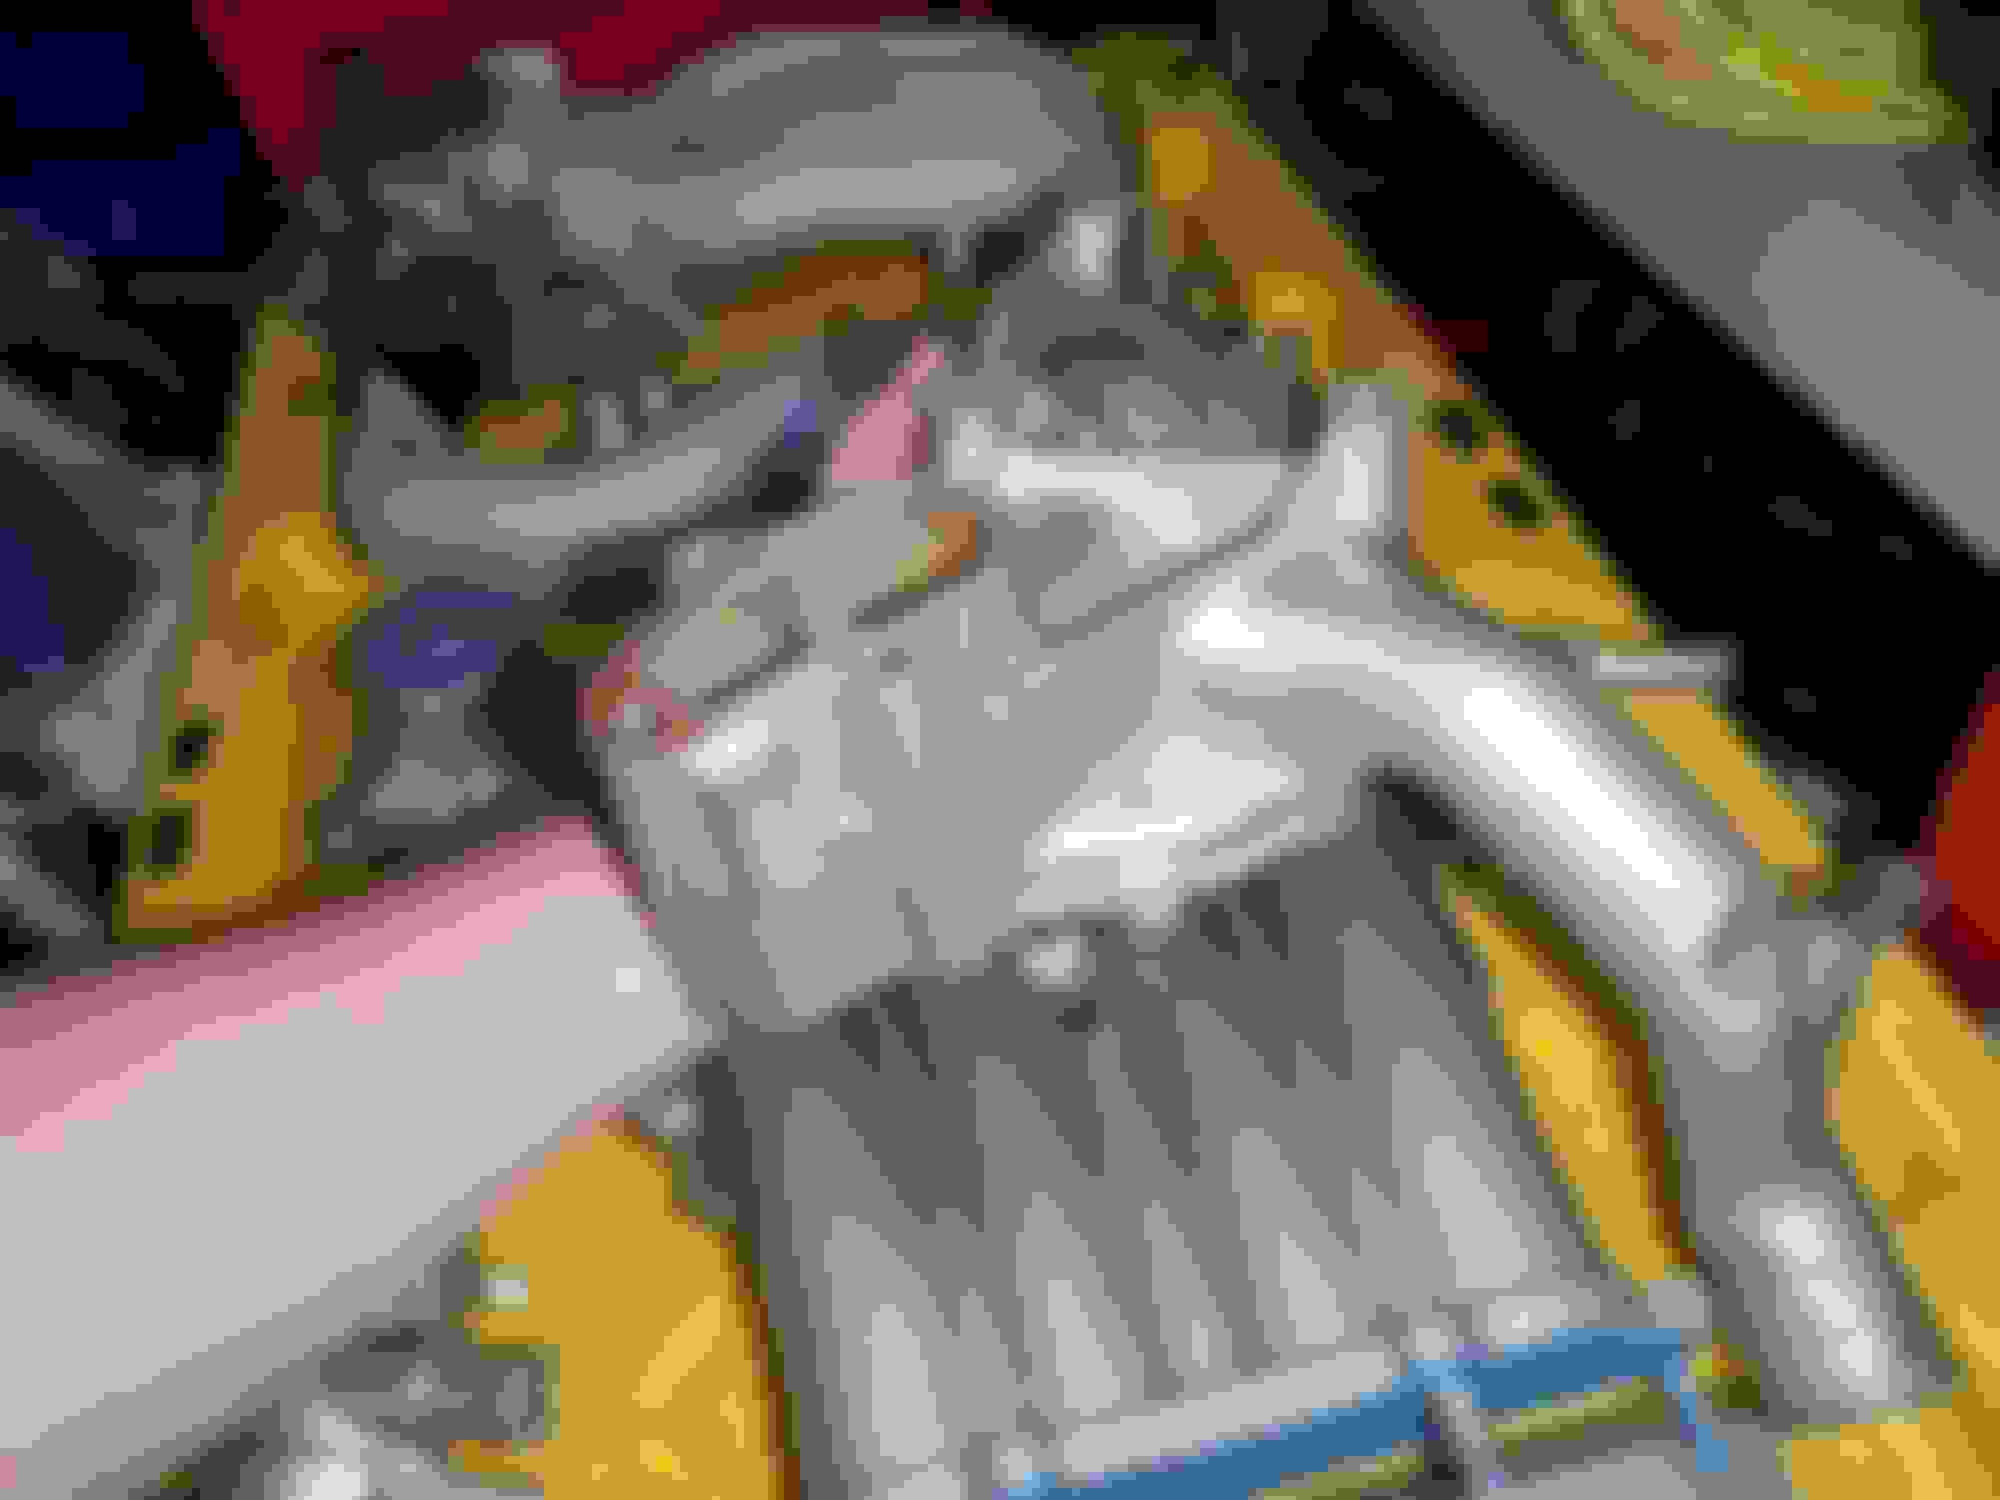
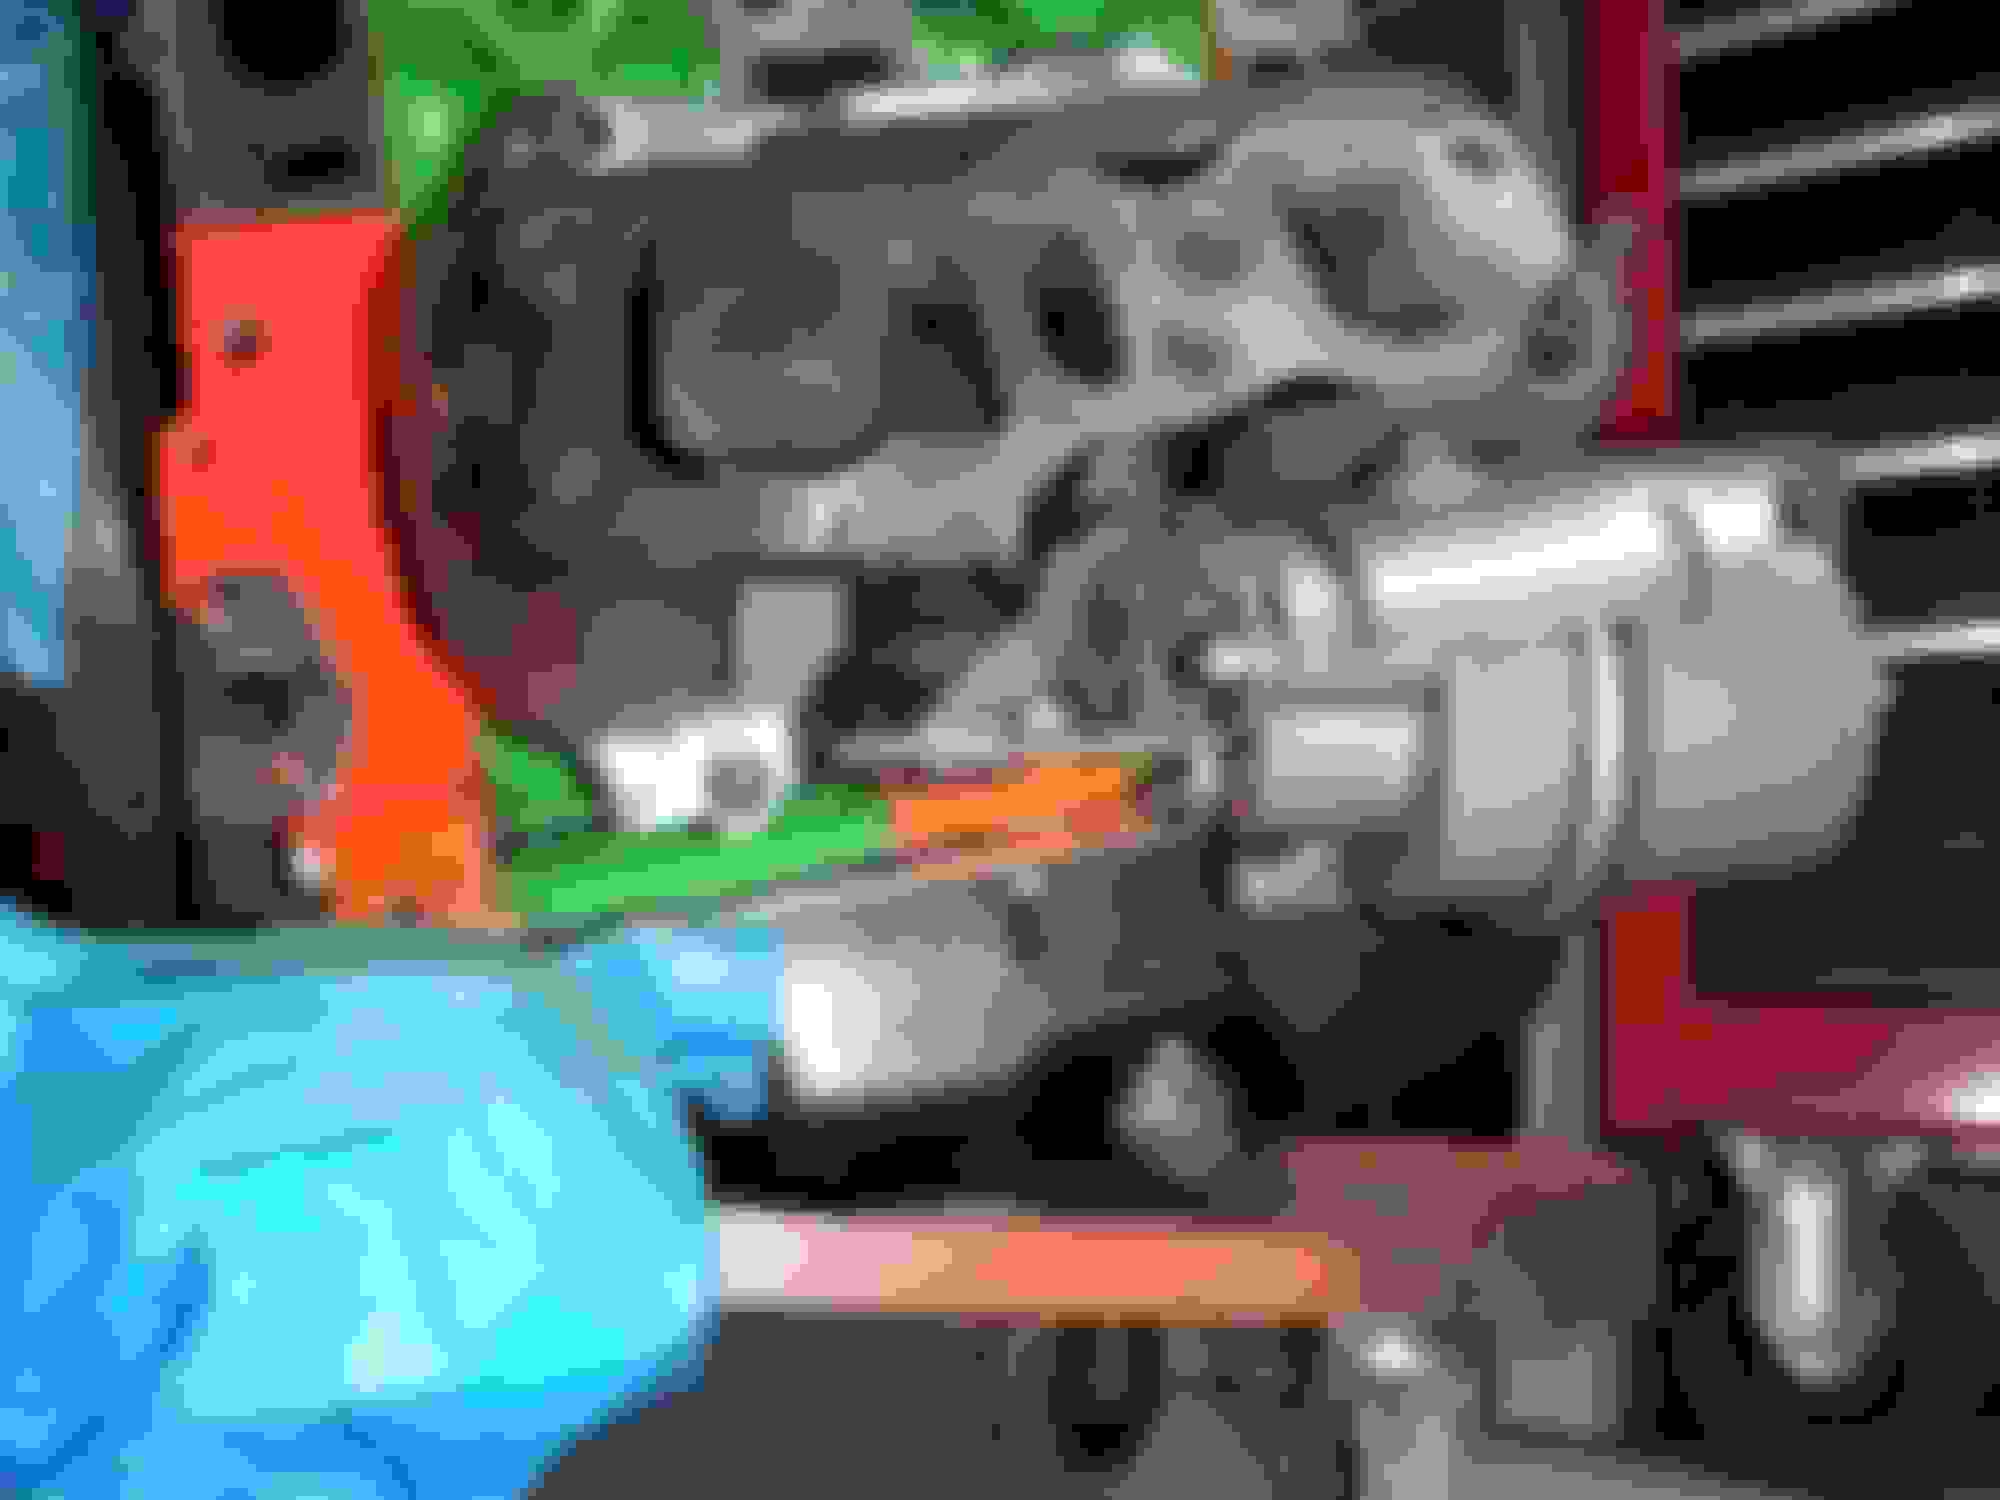
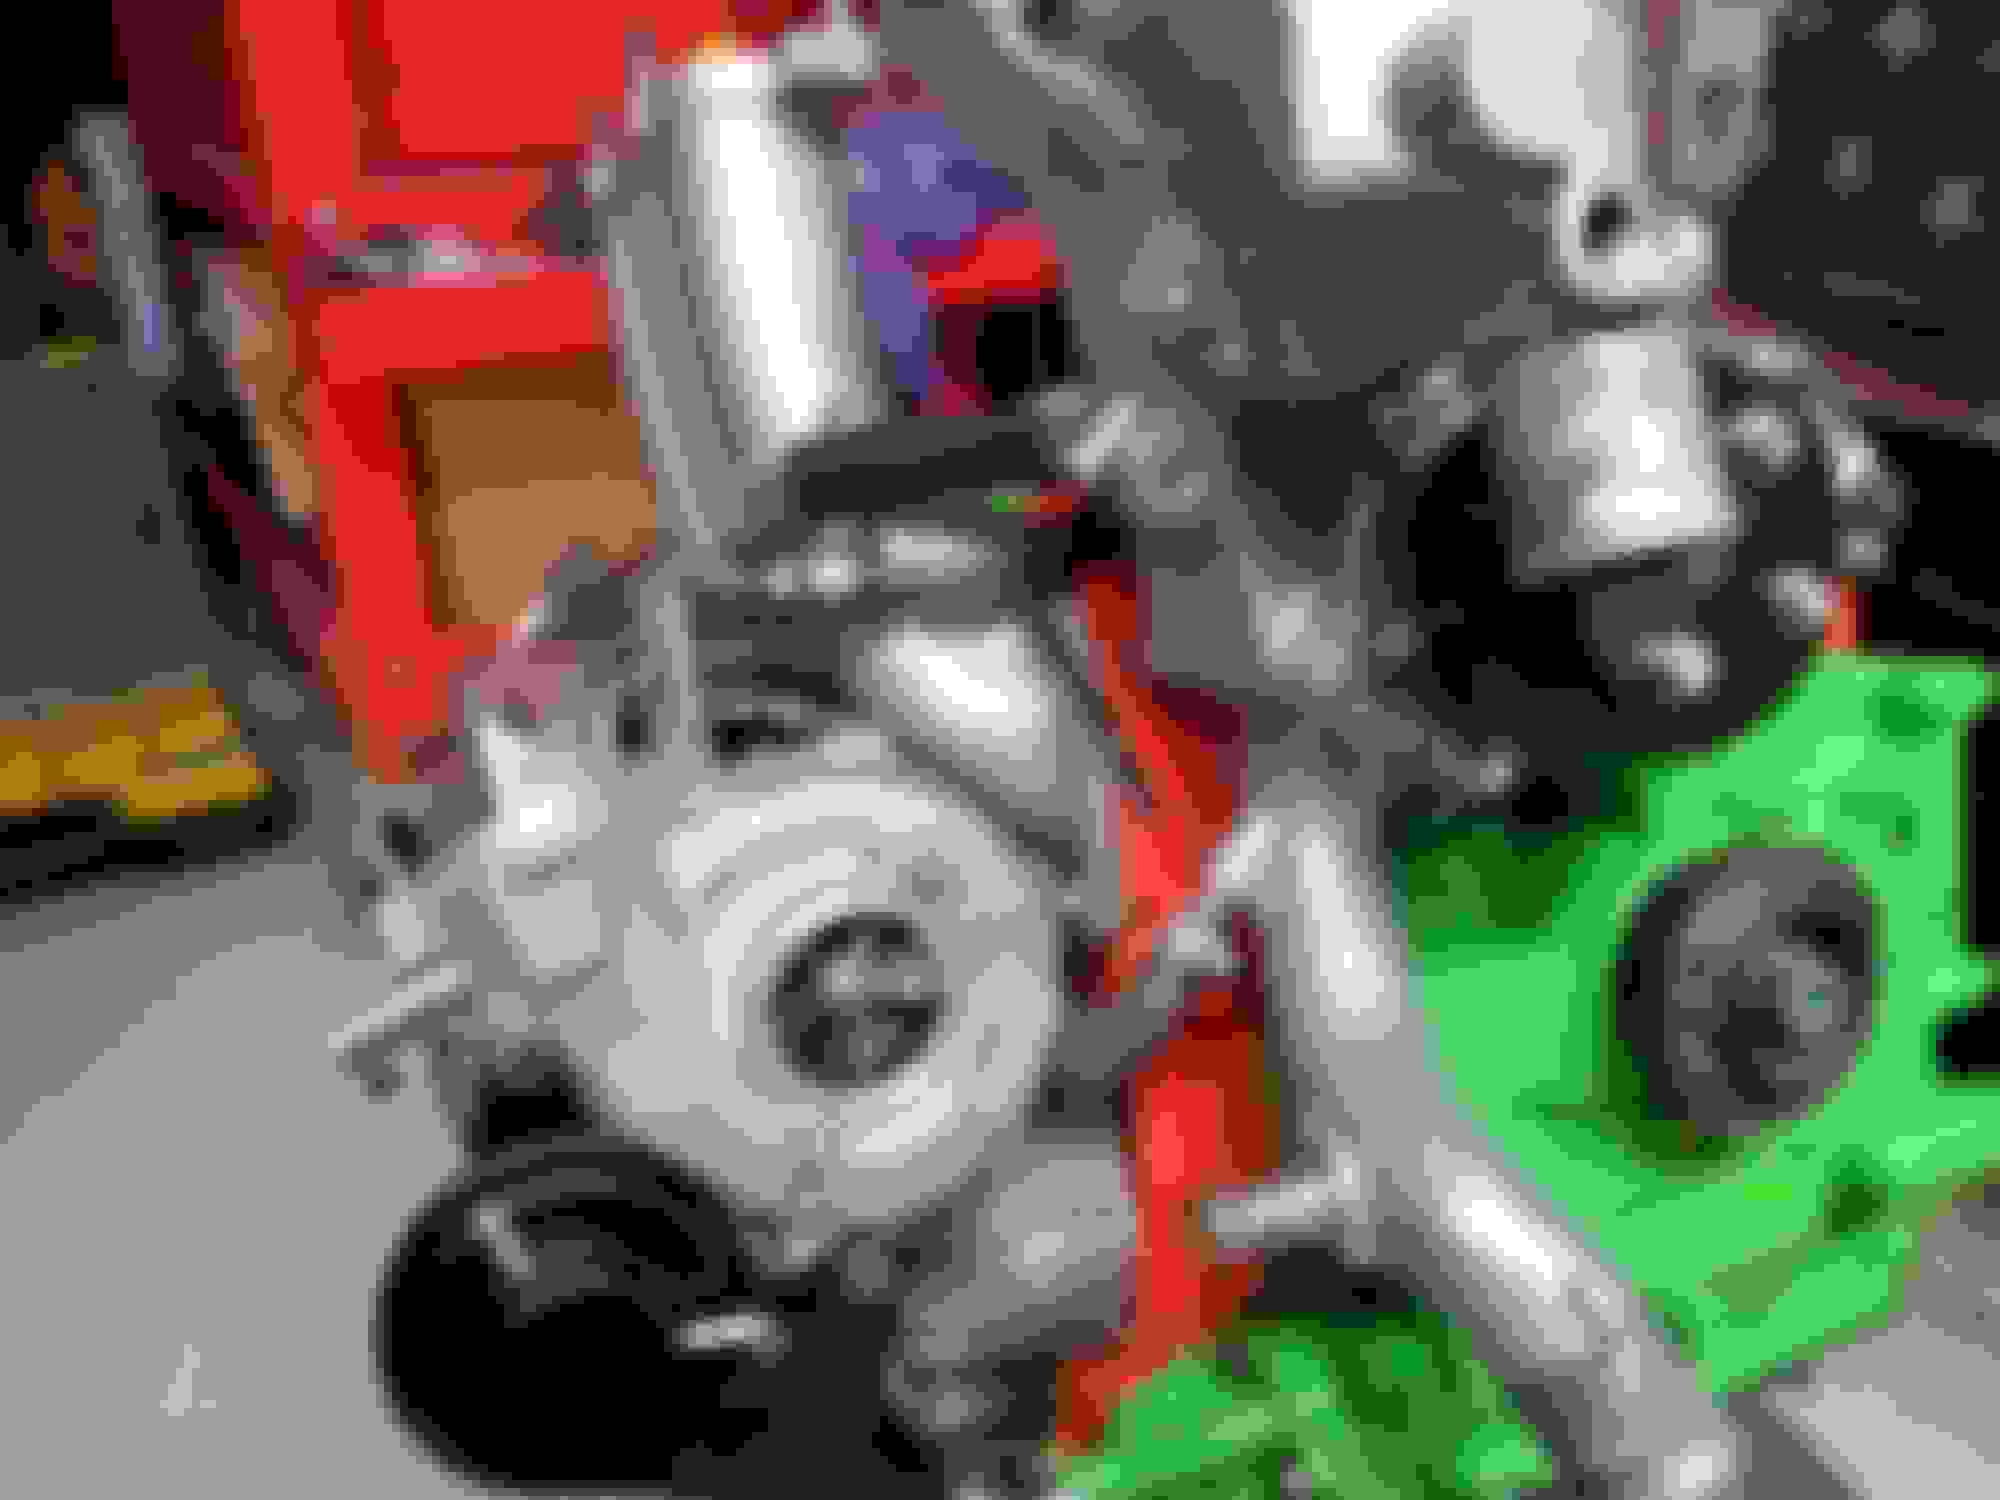
Today I finally got the turbo side mounted for keeps. On the bottom of the lower turbo manifold I formed the little heat shield to make sure there was no rubbing on the arm. Then I bolted on the lower turbo manifold and loosely fitting the heat shield. I wanted to make sure it could wiggle while installing other parts. I also installed the front lower oil pipe at this time too. Last I bolted on the turbo control actuator.
There are 5 oil gaskets and the offset bigger one goes between the front pipe and the bottom pri turbo oil drain pipe. Before I forgot I put the front coolant shim on the long bolts. Next was to add the red gasket material on the compressor side of the turbo CHRA's. I used a welding rod with a gob of red rtv on it to run it around the inner edge. I wiped up the extra with my finger - it worked really good.
After the turbos were together I installed the back water pipe and put the heat shield on over it. I installed the Xcessive LIM first and then the upper turbo manifold after. The lower turbo manifold shield had just enough lip going past the flange which allowed me to rest the gaskets on them. I installed the upper turbo manifold, outer water lines and the upper oil feed line. After that I installed the oil return pipes and then the waste gate and turbo pre-spool actuators. Lastly I installed the outer turbo heat shield.
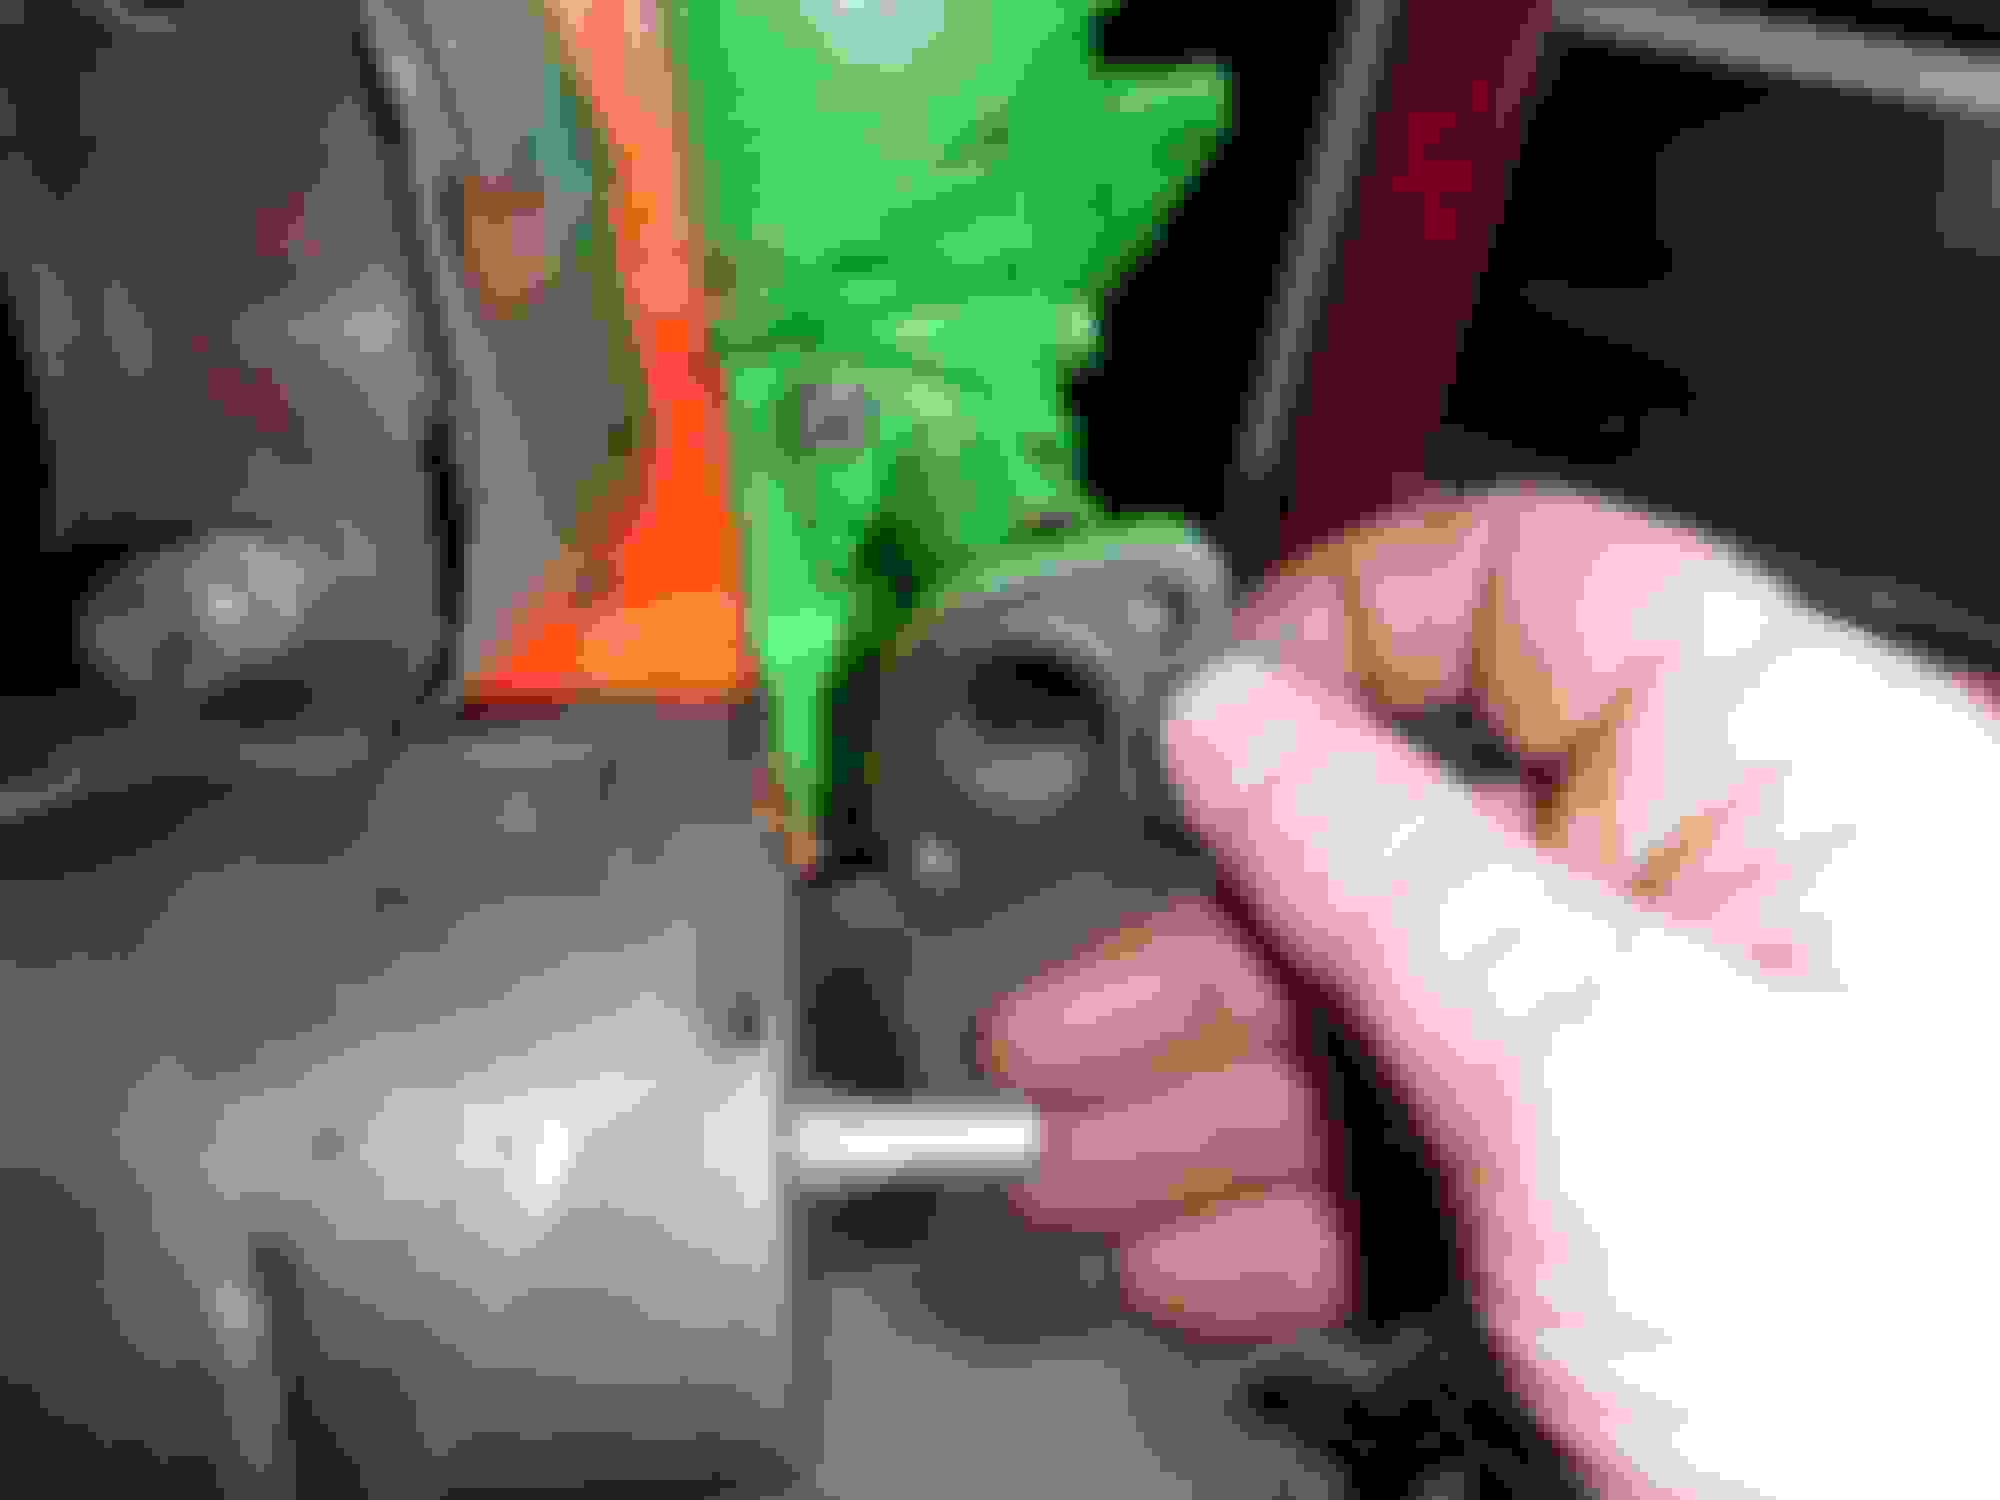
The last thing for tonight was installing the oil cross feed pipe for the turbos. I used a razor blade to remove the paint from the gasket mating surface. I attached the turbo side first and then laid the cross feed pipe down on the engine and connected the other side.
I wish it was brighter for the pictures but overall I happy with how its turning out.
Installed the front water pump assembly, AC and PS pumps.
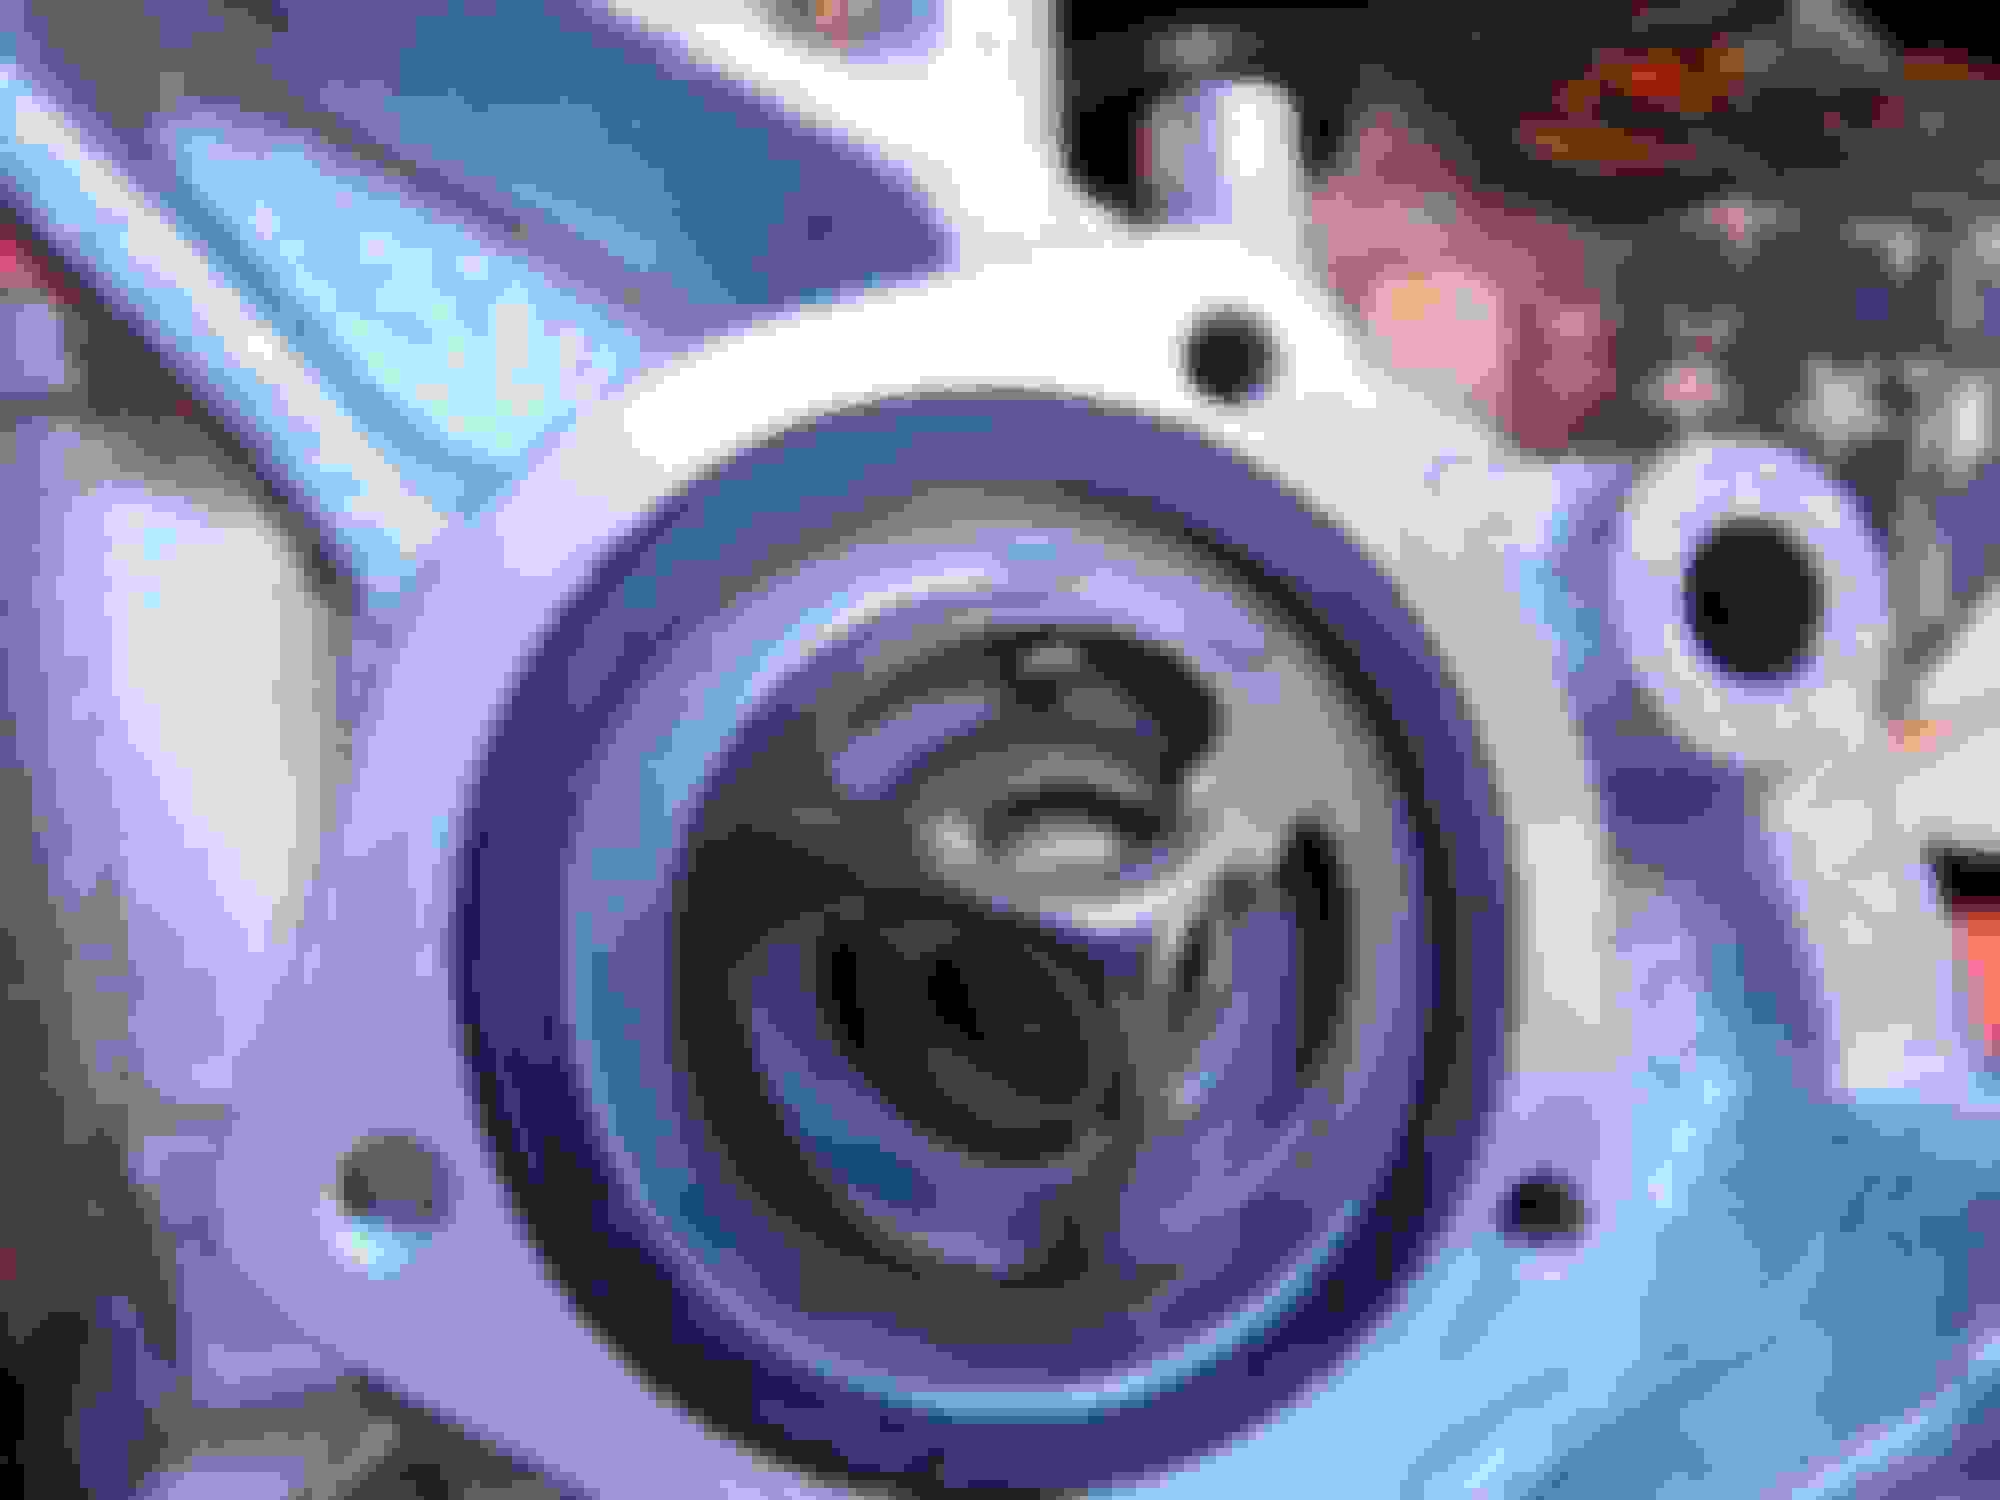
New thermostat with gasket, made sure the relief pin is on top.
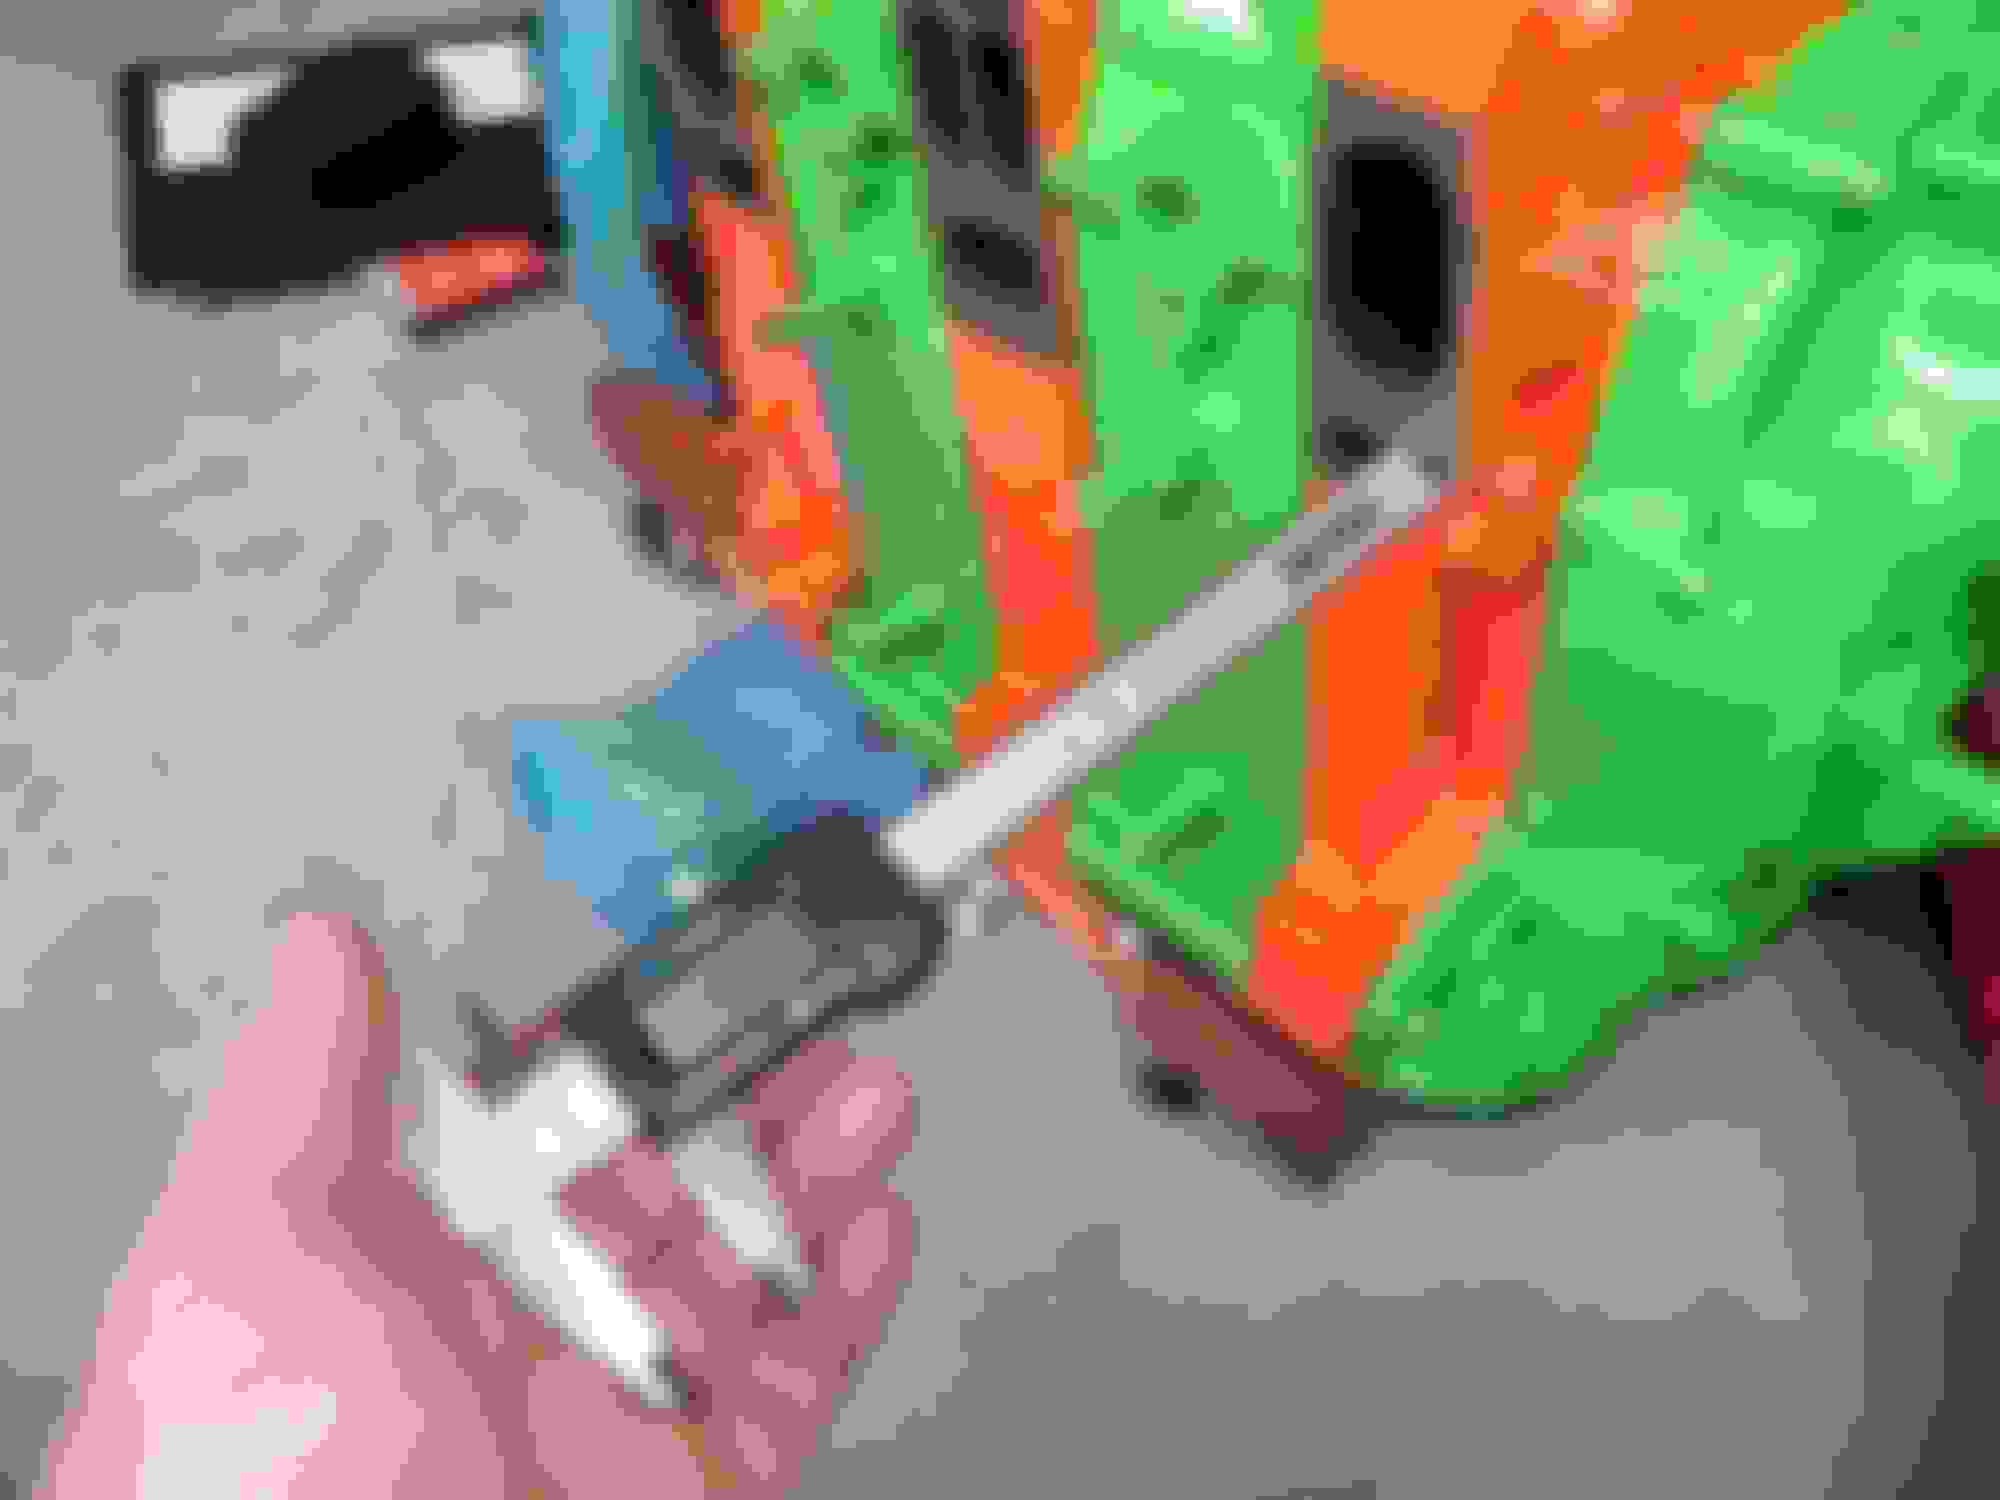
Installed the new turbo coolant hoses. I tried to use those clamps I got off ebay but they just were not tight enough. I was able to squeeze them open with my fingers so I went back to the worm clamps.
I also installed a Pineapple Idler pulley - talk about a tight clearance. I put the belt on to make sure there was no rubbing and all is good. It also comes with new hardware so I was able to relocate one of the long studs to the outside water pump hole. The bracket for the idler pulley bolts to the back wp housing and through the wp and may offset the flushness of your wp to the wp back housing. Mine is a little off now but it should be ok.
I remembered I had a walbro 255 pump sitting in my stash for like 8 years and lucky for me is is the high pressure pump.
Another main reason why I wanted to installed the PS and AC is to offset the weight of the turbo on the other side.
More to come tomorrow.
Last edited by rotaryextreme; Mar 25, 2020 at 09:02 PM.
Spring clamps have a VERY specific size they can clamp. Really I prefer spring clamps on fluid connections, they don't loosen up and they don't cut and damage the hose. You can get the OEM clamps from Mazda.
I dig the color scheme, never thought of the 787b colors! I will say that most of the paint on the turbos will last about 10-15 minutes, expect a LOT of smoking burn off when you start the engine. I tried it back in the day on my FC and it all burned off. The only thing that can really survive on the super hot stuff is some sort of ceramic coating and even then some of those can't cut it.
Dale
Hi Dale,
Thanks for chiming in.
The spring loaded clamps I had were the right size - but the fact that I could pinch them open was a red flag. I would prefer them too and thats why I got them in the first place. As for the screw clamps I just snugged them up and made sure that I did not see rubber coming up through the slots...lol
I believe you about the paint on the hot side - well see if VHT will last or no. I used the header paint with satin clear which both have 1800F ish rating. As for the glitter - I held a heat gun turned to 900F directly at it for 5 minutes - no signs of anything.
Well I did not have the money for powder coating and ceramic coating so I wanted to paint it to see if the investment would be good later on. I like the color scheme alot so I will do it next rebuild...lol
Dale, any other inputs - feel free!! Im here to learn.