Mannykillers/ AAPARKAH Street/time Attack/Drift Build (heavy Pics) #Thisisthewolf


Its interesting how we can justify our "priorities" like that.  I havent seen the light yet, I think its there, but hey who cares, Ill be going so fast Ill just end up passing it by & probably starting over again lol You only live once!
I havent seen the light yet, I think its there, but hey who cares, Ill be going so fast Ill just end up passing it by & probably starting over again lol You only live once! I think we are all collectively insane.
Likewise, I can drop thousands of dollars in a blink of an eye for my car... and wince when I've spent a few bucks too much at a restaurant. I don't get it... and I also try not to think about it too much
Hopefully there is a light at the end of the tunnel. When your car is done, or at least nearly done, I'm sure some form of normality can be reinstated.
ahhhhh kk... maybe I can make some type of little "key" and notch the shaft to accept the key that will fit over the original tps male fitting.. if that makes sense.
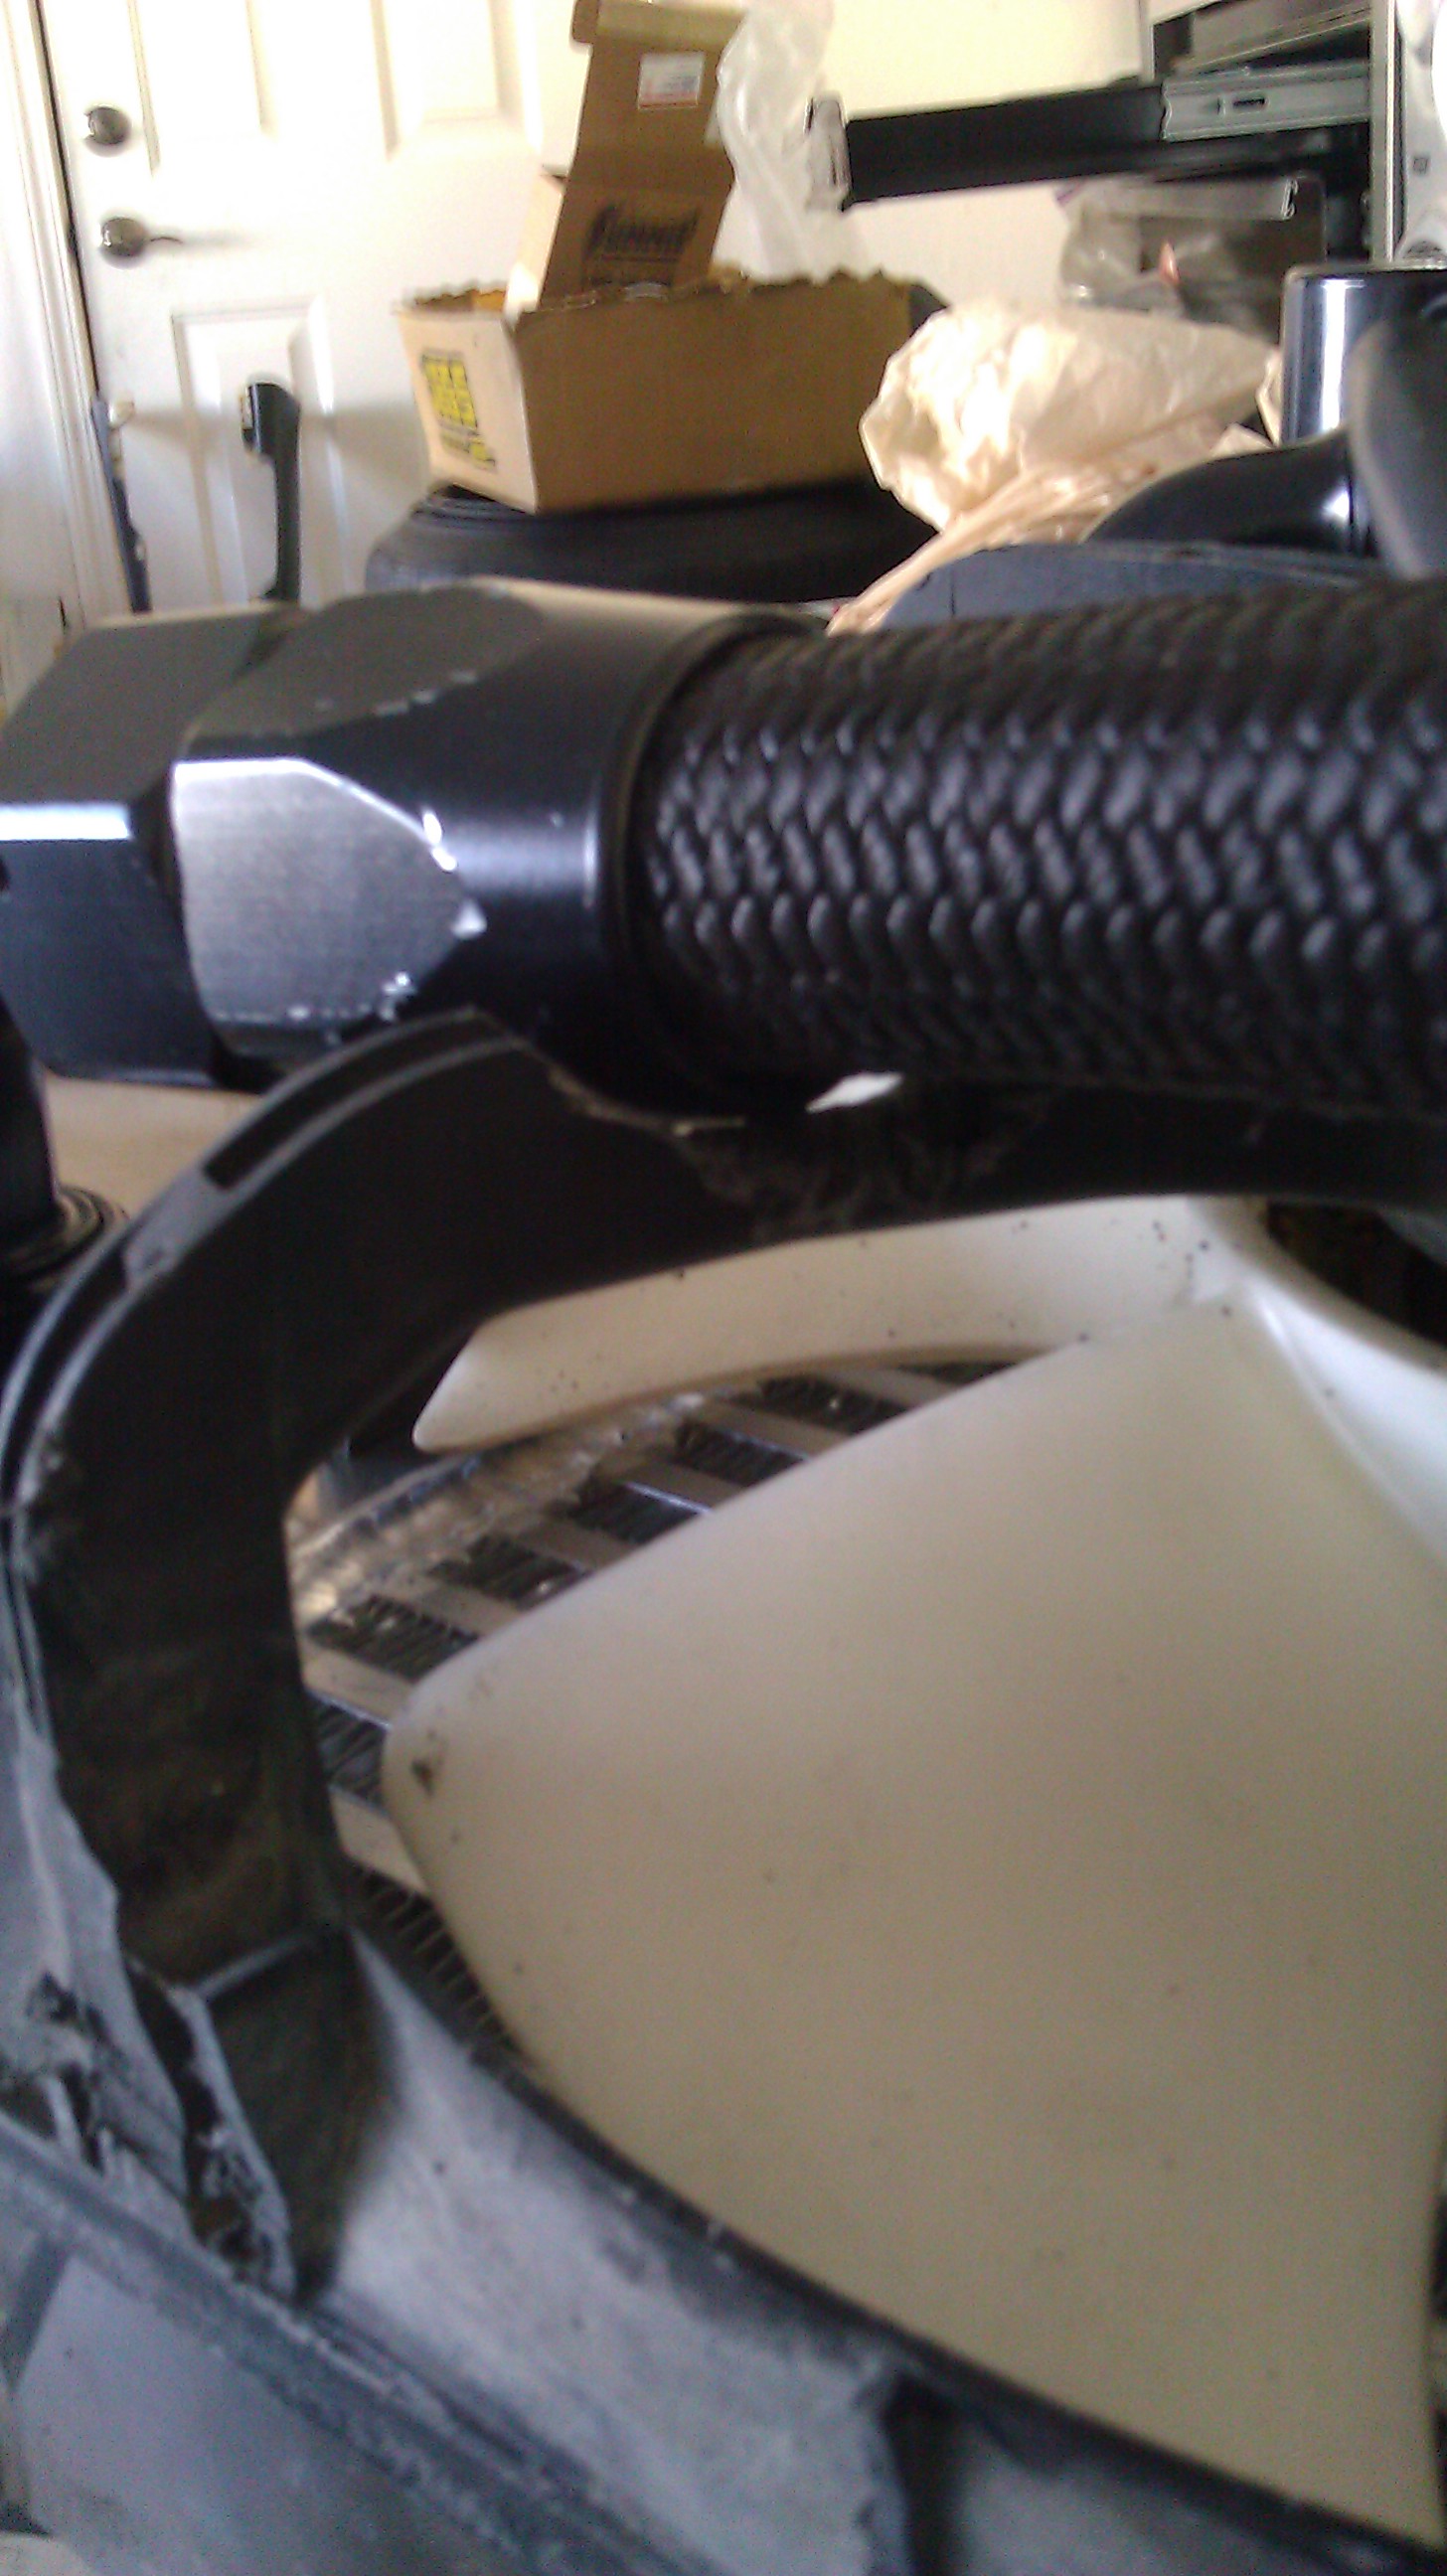
Not much of an update....But progress has been made.
I have been beyond busy as of late because I picked up the Quartz Hill High School Soccer program...which include both Varsity and Junior varsity teams. It's really taken all of my free time up and I haven't been able to get into the shop as much as i'd like. But anyways, bj called and told me that he finished up all of the welding that needed to be done to the down-pipe/mid-pipe and the manifold and that all that needed to be done was some blending. He said the car would be ready to take home by the end of today. So hopefully once the car is back home I can get putting the car back together.
I figured I needed to re-do my "to do" and "parts needed" list so I could start to plan out the last part of the build. I've realized one of the best things you could do is plan out your route of attack before hand that way you don't waste time/effort/money on things that you dont need, or parts that you will end up having to purchase twice. My first wake up call was with the AN fittings. For those of you who are going to be ordering them....waite till you know exactly what you need before you order them....otherwise you'll end up with extras...and they add up!!!
So here we go..
Parts etc:
I need the following Fluids:
OMP delete: Idemitsu 1 oz/gallon for street use, 1.5 oz/gallon for track
Transmission Fluid: Neo synthetic or Idemitsu, 75w90
Synthetic or Reg Motor oil? brand weight?
break in, Castrol VR1 Racing oil 20w50
after break in, Idemitsu synthetic 20w50
AEM Marine coils and harness from C. Ludwig
Main Pulley/alt Belt
NGK 7420 Spark Plugs (2) 10's leading, (2) 10.5's trailing
Magnacore Plug wires
To do:
Install Body Harness/Delete un-needed
Still need to address my TPS situation
Re-wire fuel pumps
Pull motor and trans and install new Wedge Clip and Ring
ATF motor
Paint engine Bay
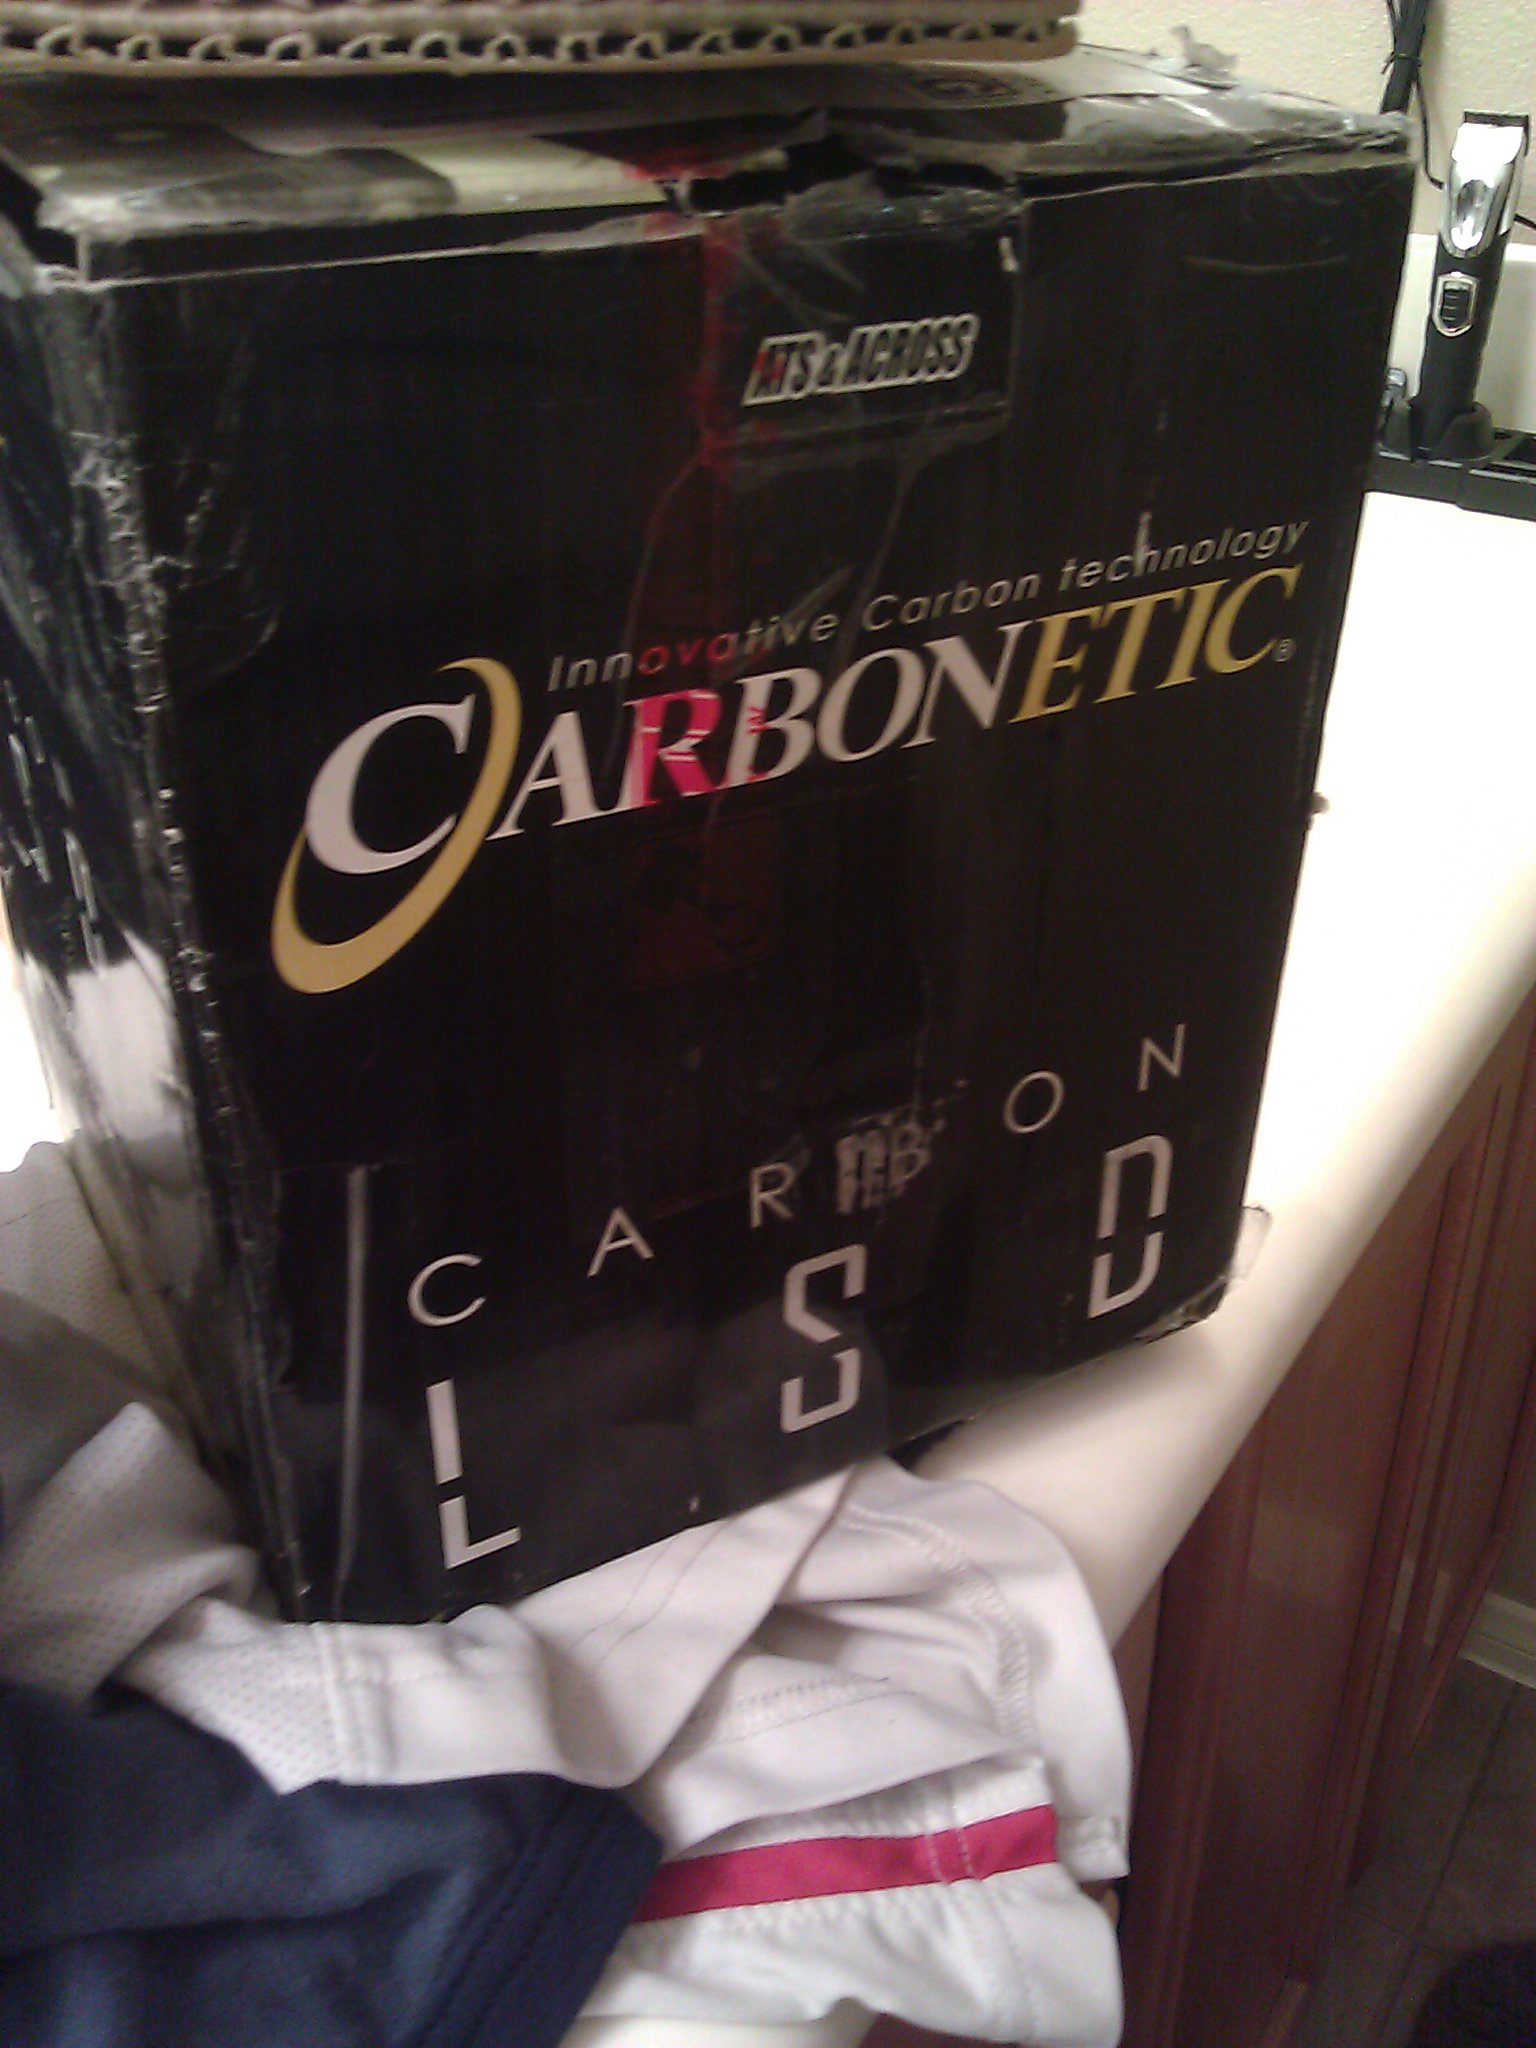
Install New Carbonetic 2-way Metal LSD
Finish 4" exhaust w/tips
Install EBC
Cut Hood for WG's
Ducting....
And i'm sure there's quite a bit more i'm missing...
I have been beyond busy as of late because I picked up the Quartz Hill High School Soccer program...which include both Varsity and Junior varsity teams. It's really taken all of my free time up and I haven't been able to get into the shop as much as i'd like. But anyways, bj called and told me that he finished up all of the welding that needed to be done to the down-pipe/mid-pipe and the manifold and that all that needed to be done was some blending. He said the car would be ready to take home by the end of today. So hopefully once the car is back home I can get putting the car back together.
I figured I needed to re-do my "to do" and "parts needed" list so I could start to plan out the last part of the build. I've realized one of the best things you could do is plan out your route of attack before hand that way you don't waste time/effort/money on things that you dont need, or parts that you will end up having to purchase twice. My first wake up call was with the AN fittings. For those of you who are going to be ordering them....waite till you know exactly what you need before you order them....otherwise you'll end up with extras...and they add up!!!
So here we go..
Parts etc:
I need the following Fluids:
OMP delete: Idemitsu 1 oz/gallon for street use, 1.5 oz/gallon for track
Transmission Fluid: Neo synthetic or Idemitsu, 75w90
Synthetic or Reg Motor oil? brand weight?
break in, Castrol VR1 Racing oil 20w50
after break in, Idemitsu synthetic 20w50
AEM Marine coils and harness from C. Ludwig
Main Pulley/alt Belt
NGK 7420 Spark Plugs (2) 10's leading, (2) 10.5's trailing
Magnacore Plug wires
To do:
Install Body Harness/Delete un-needed
Still need to address my TPS situation
Re-wire fuel pumps
Pull motor and trans and install new Wedge Clip and Ring
ATF motor
Paint engine Bay
Install New Carbonetic 2-way Metal LSD
Finish 4" exhaust w/tips
Install EBC
Cut Hood for WG's
Ducting....
And i'm sure there's quite a bit more i'm missing...
Well long story short... decided to bring the car home to get some extra work done on it since all thats really left to fabricate is the bash bar and blending on the turbo flange manifold to turbo side. Other than that.... a bash bar is in the works...but won't take much time at all. So me and johnny got his trailer and picked up the car from the shop and parked her back into my garage.
So I got a little work done on her inthe past couple days...but not as much as i'd like.
Anyways..
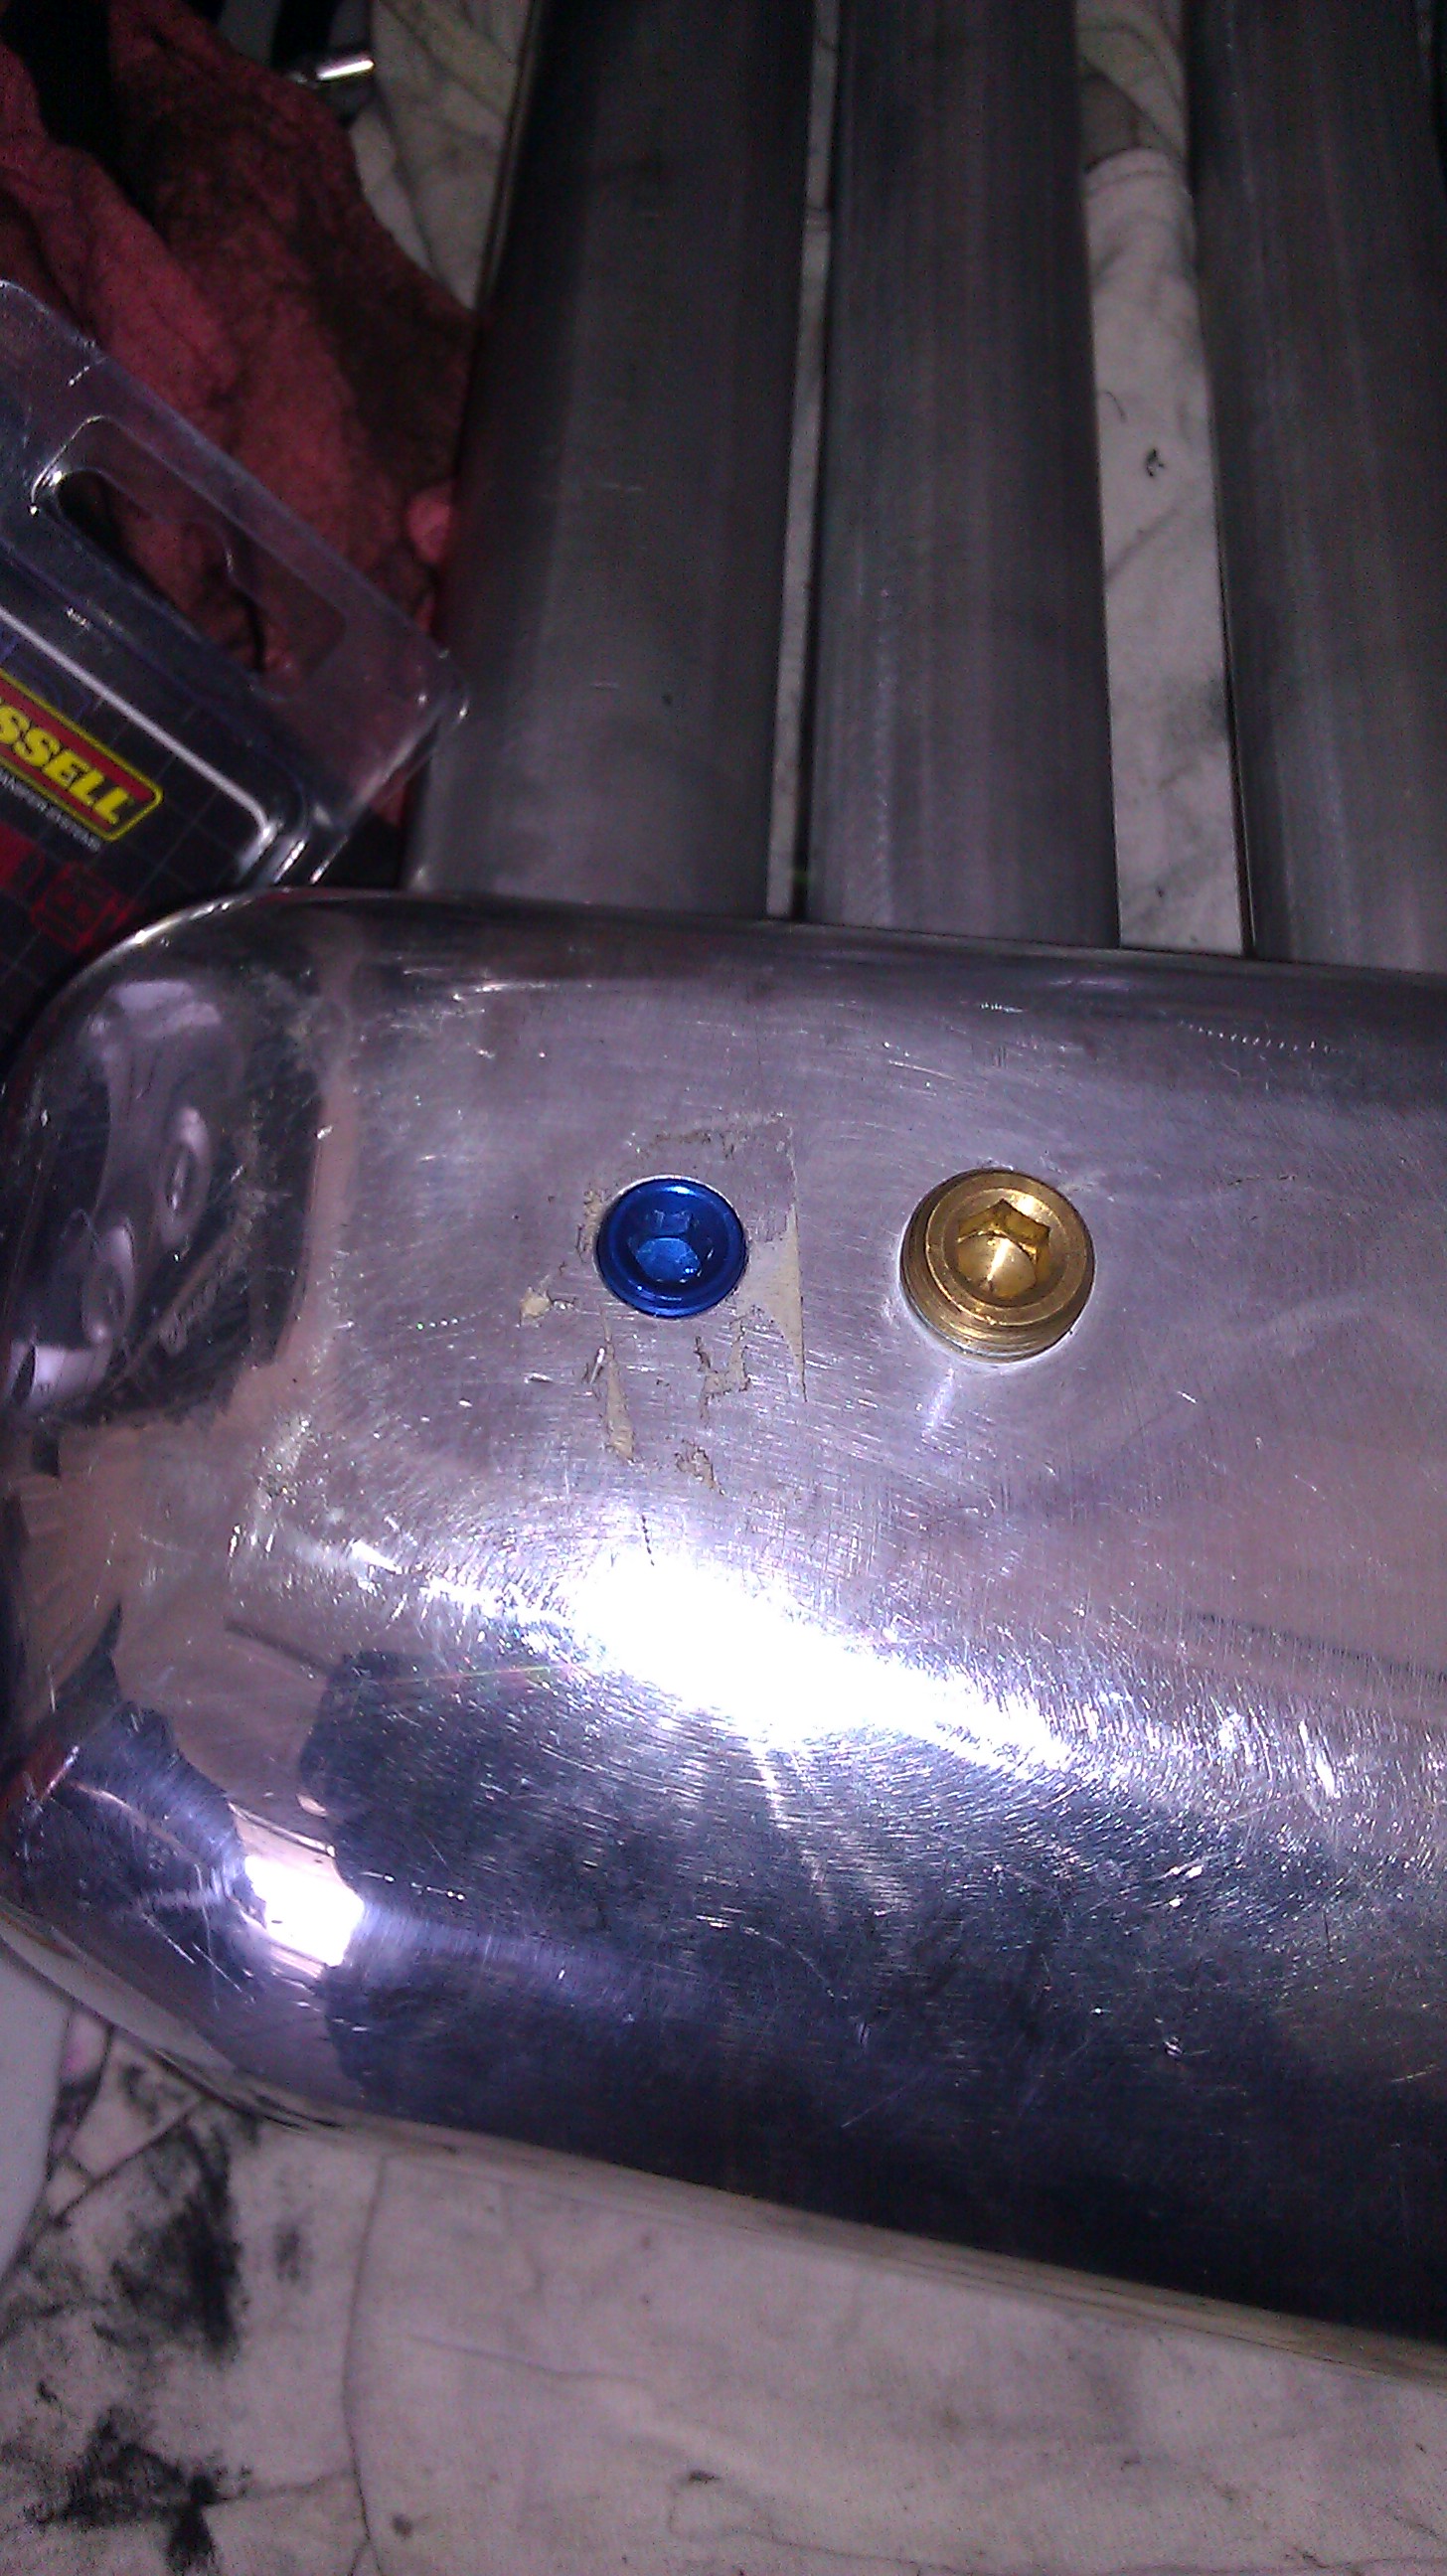
I got the Radiator Drain bung welded in the radiator
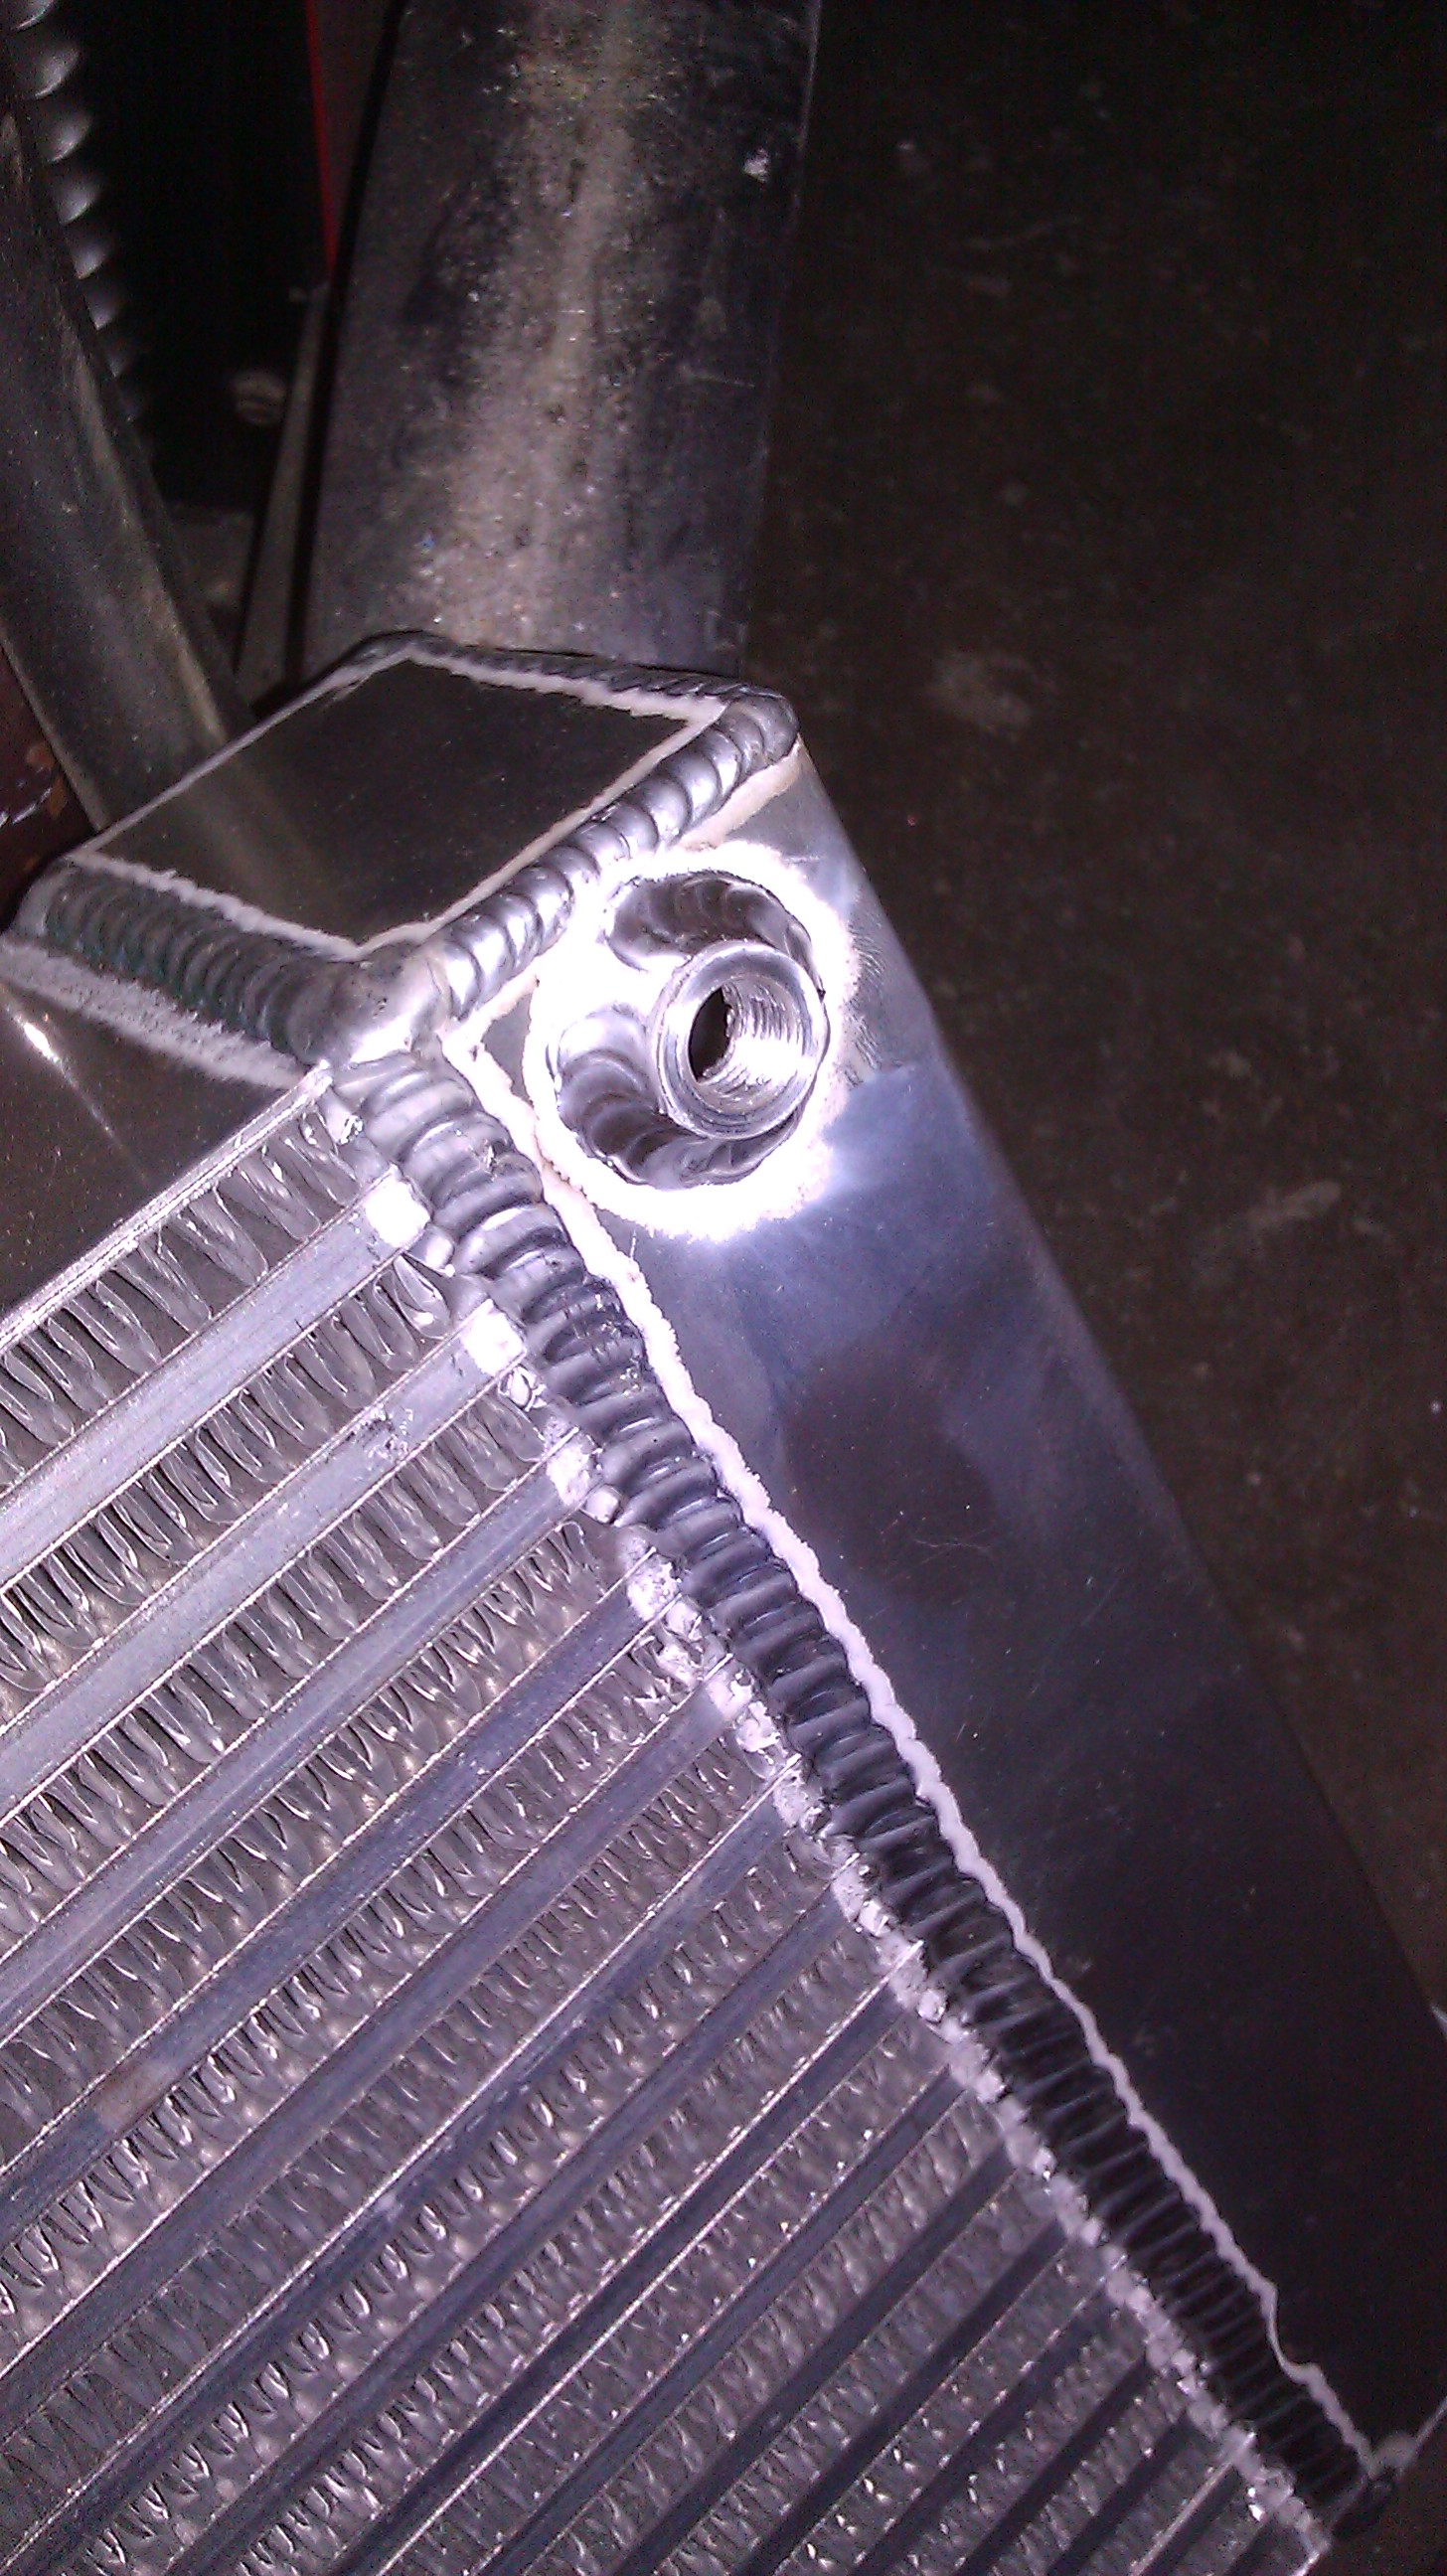
then put the actual drain in there. I spent the extra 3 bucks to get a name brand one from summit racing.. just don't want any crappy leaks haha.
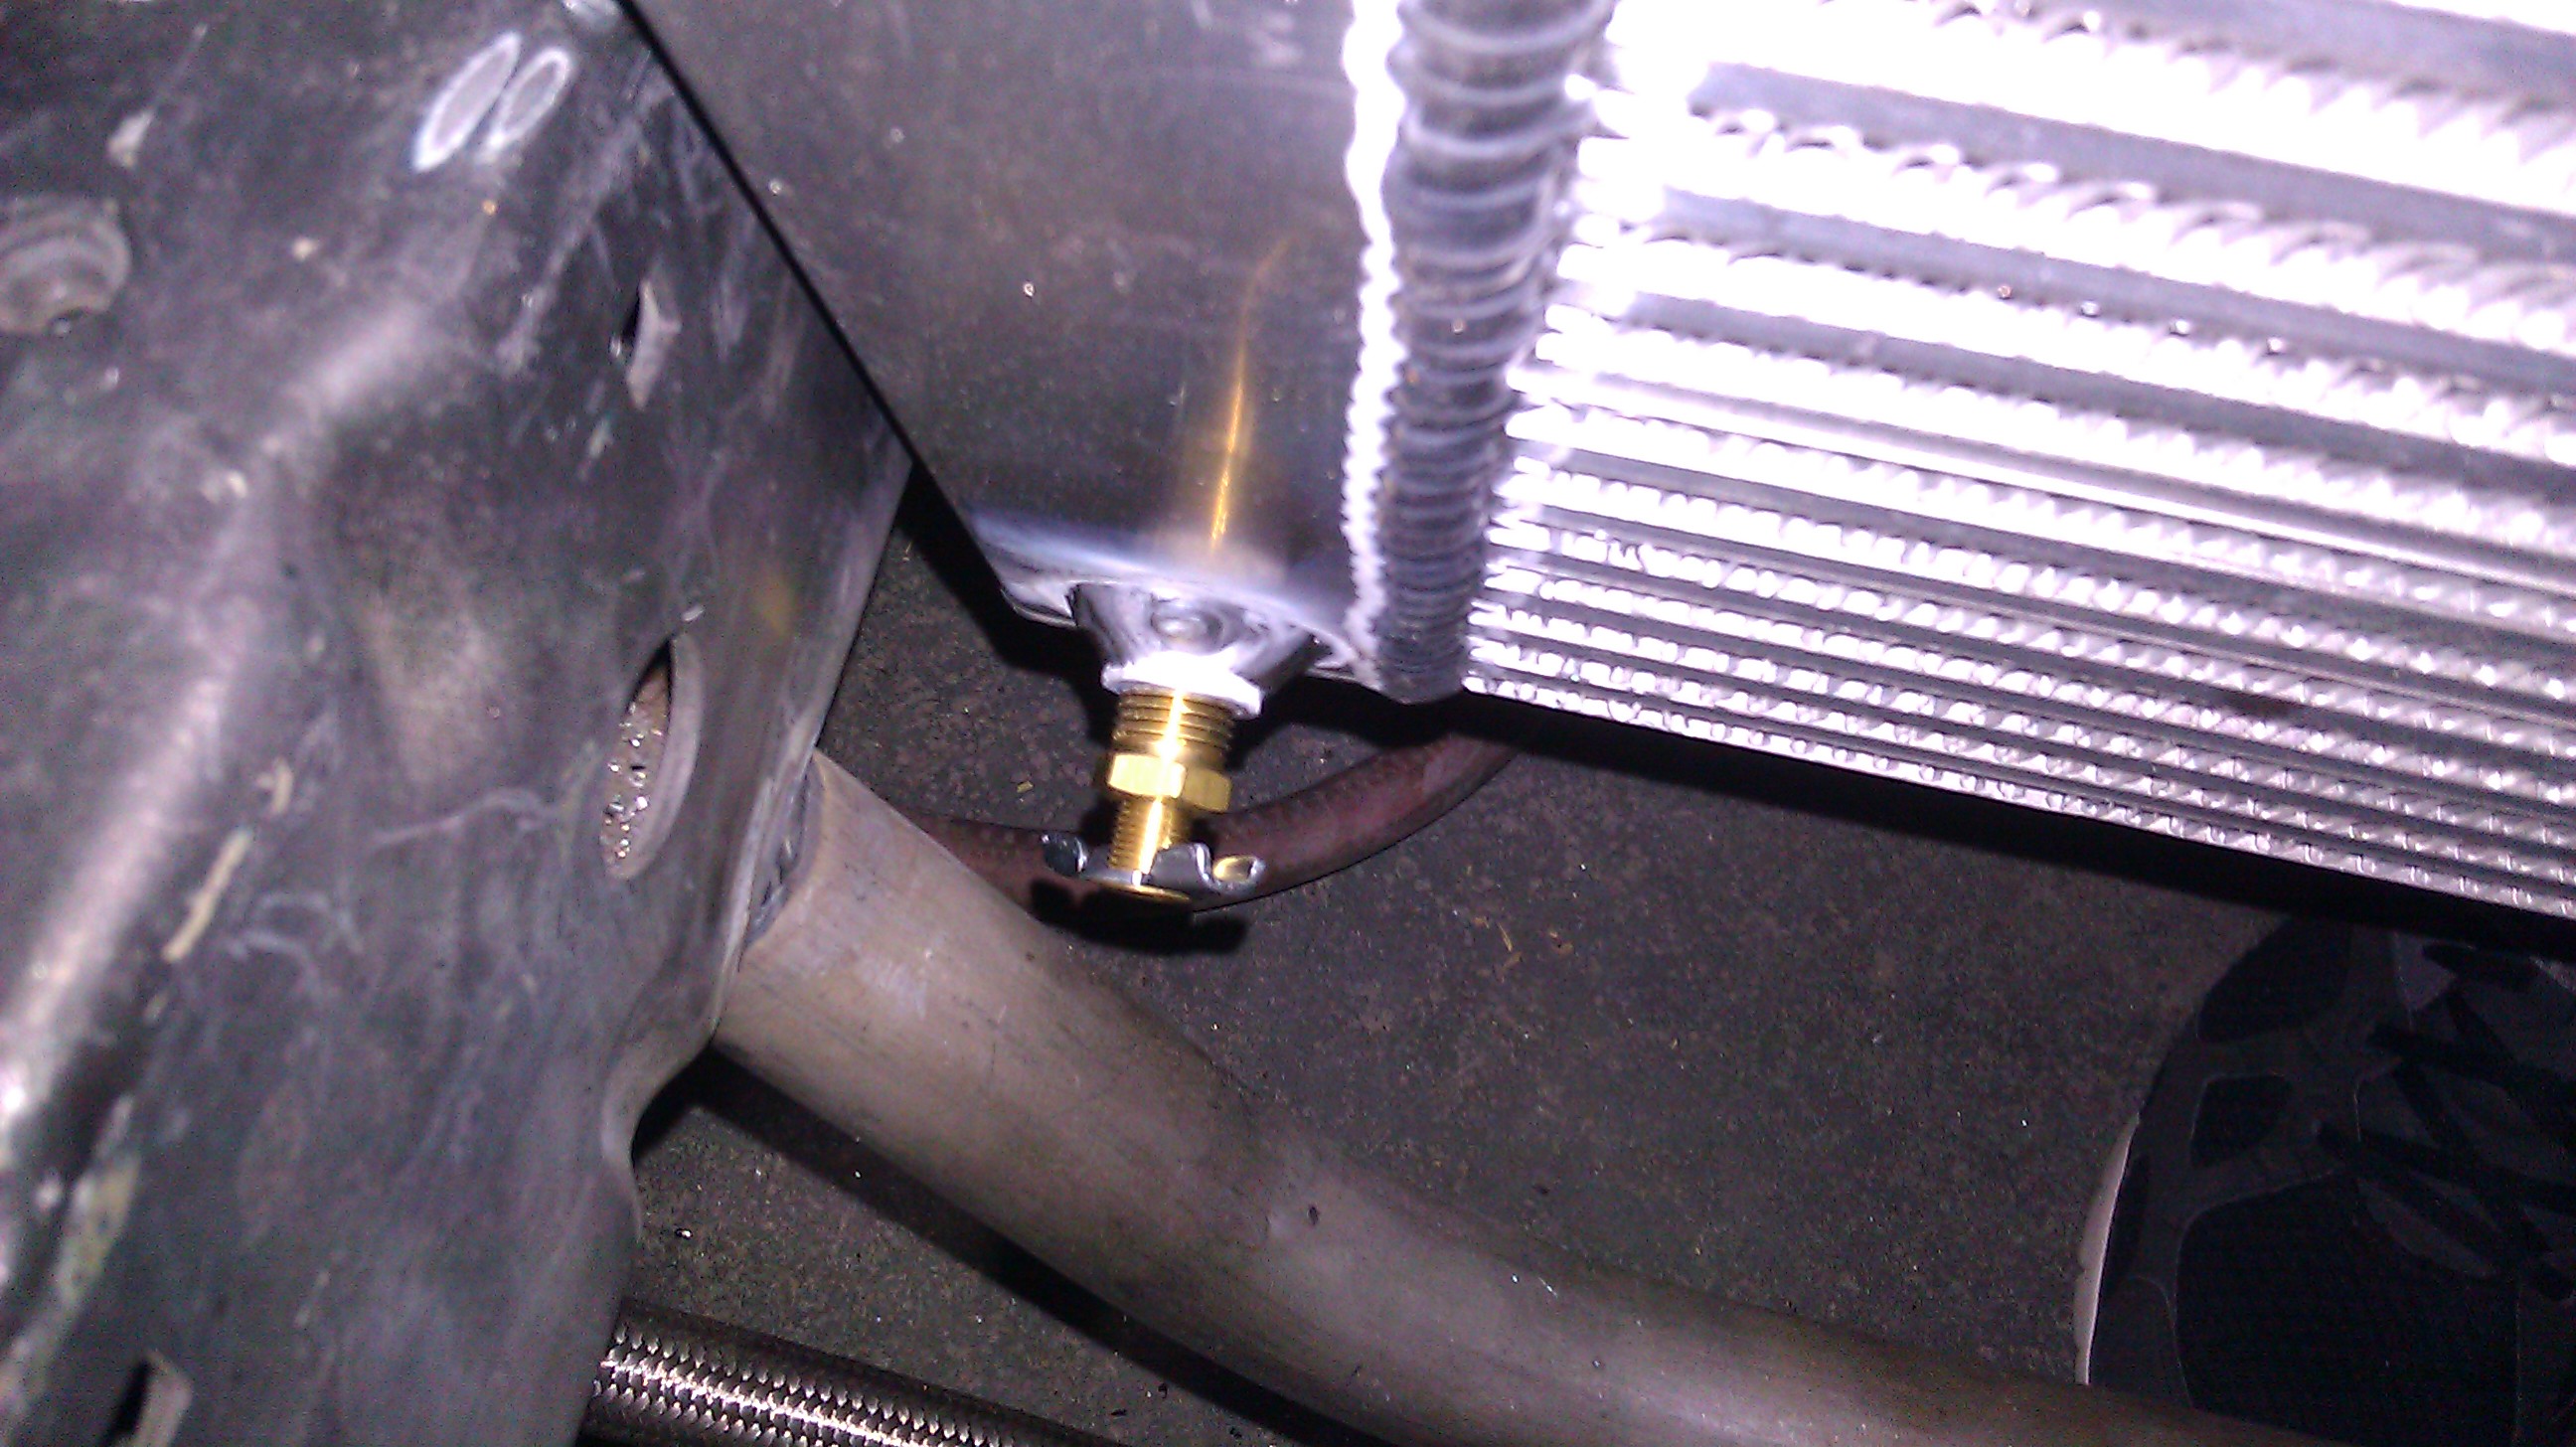
THen I drilled out the 8 holes I had already had for my Rad/IC mounts and ground down some Nuts so we could weld them into the frame of the car. This didn't take but about 35 min... a good drill and a belt sander worked flawlessly here =-)
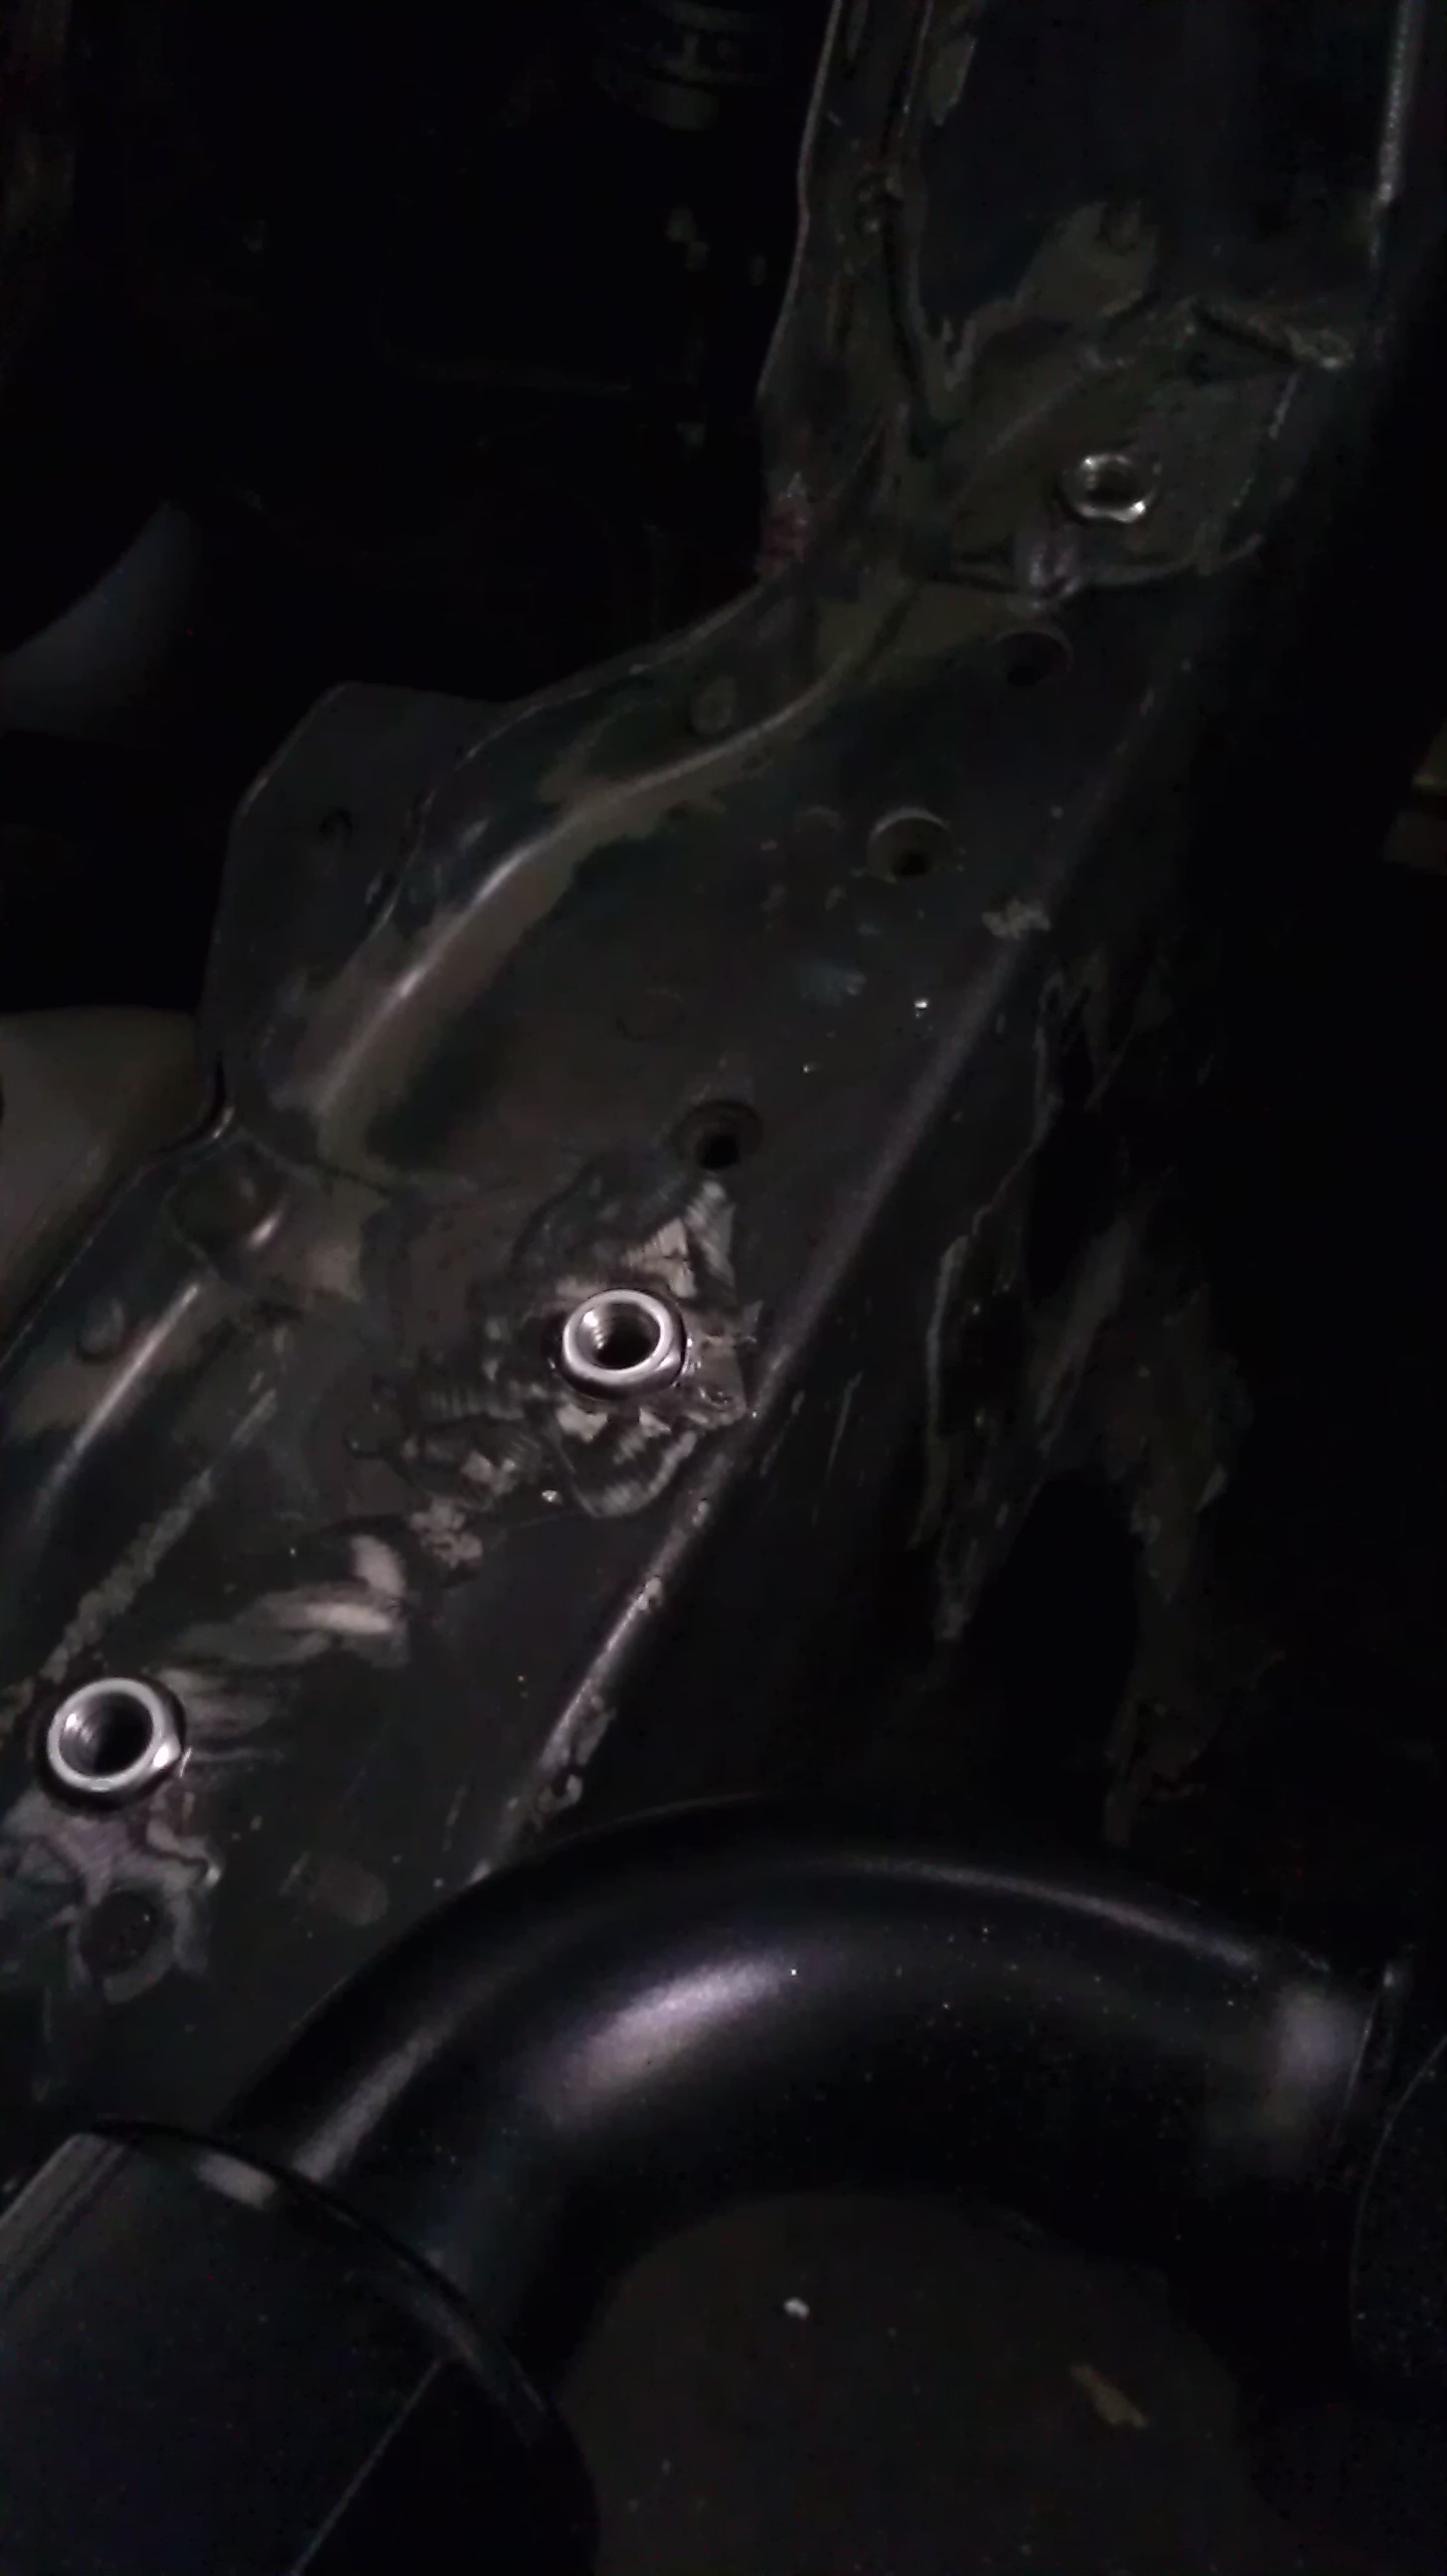
I think I might have forgotten to take pics of them welded in....but once they were I ground them down just a tad so they sat flush with the frame.
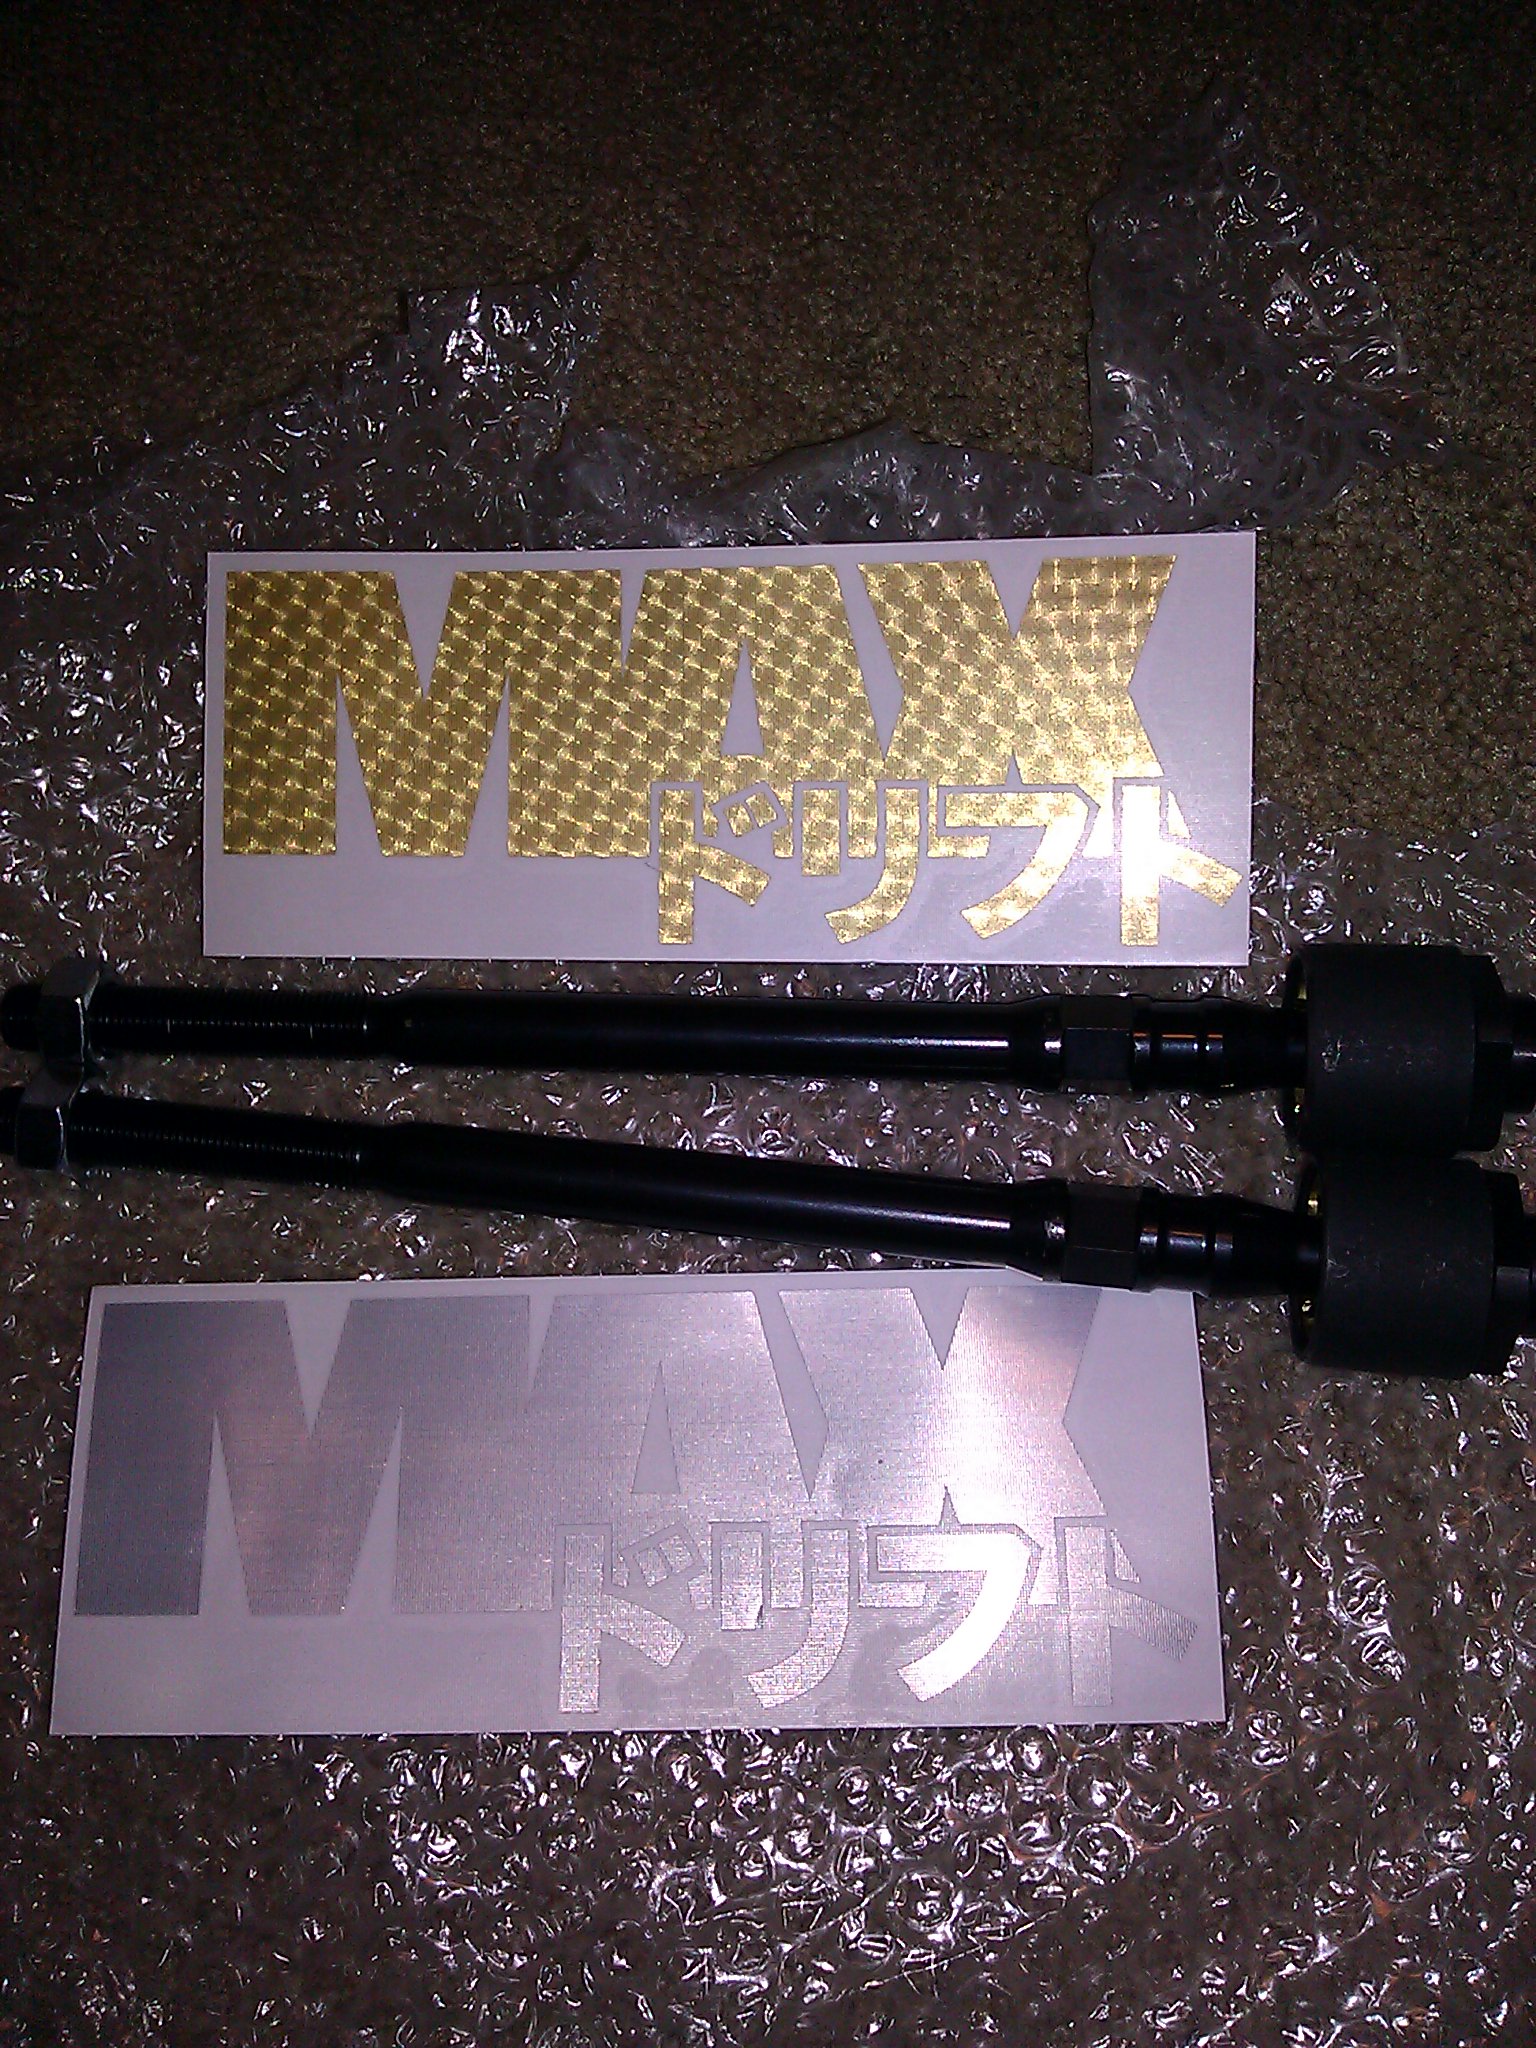
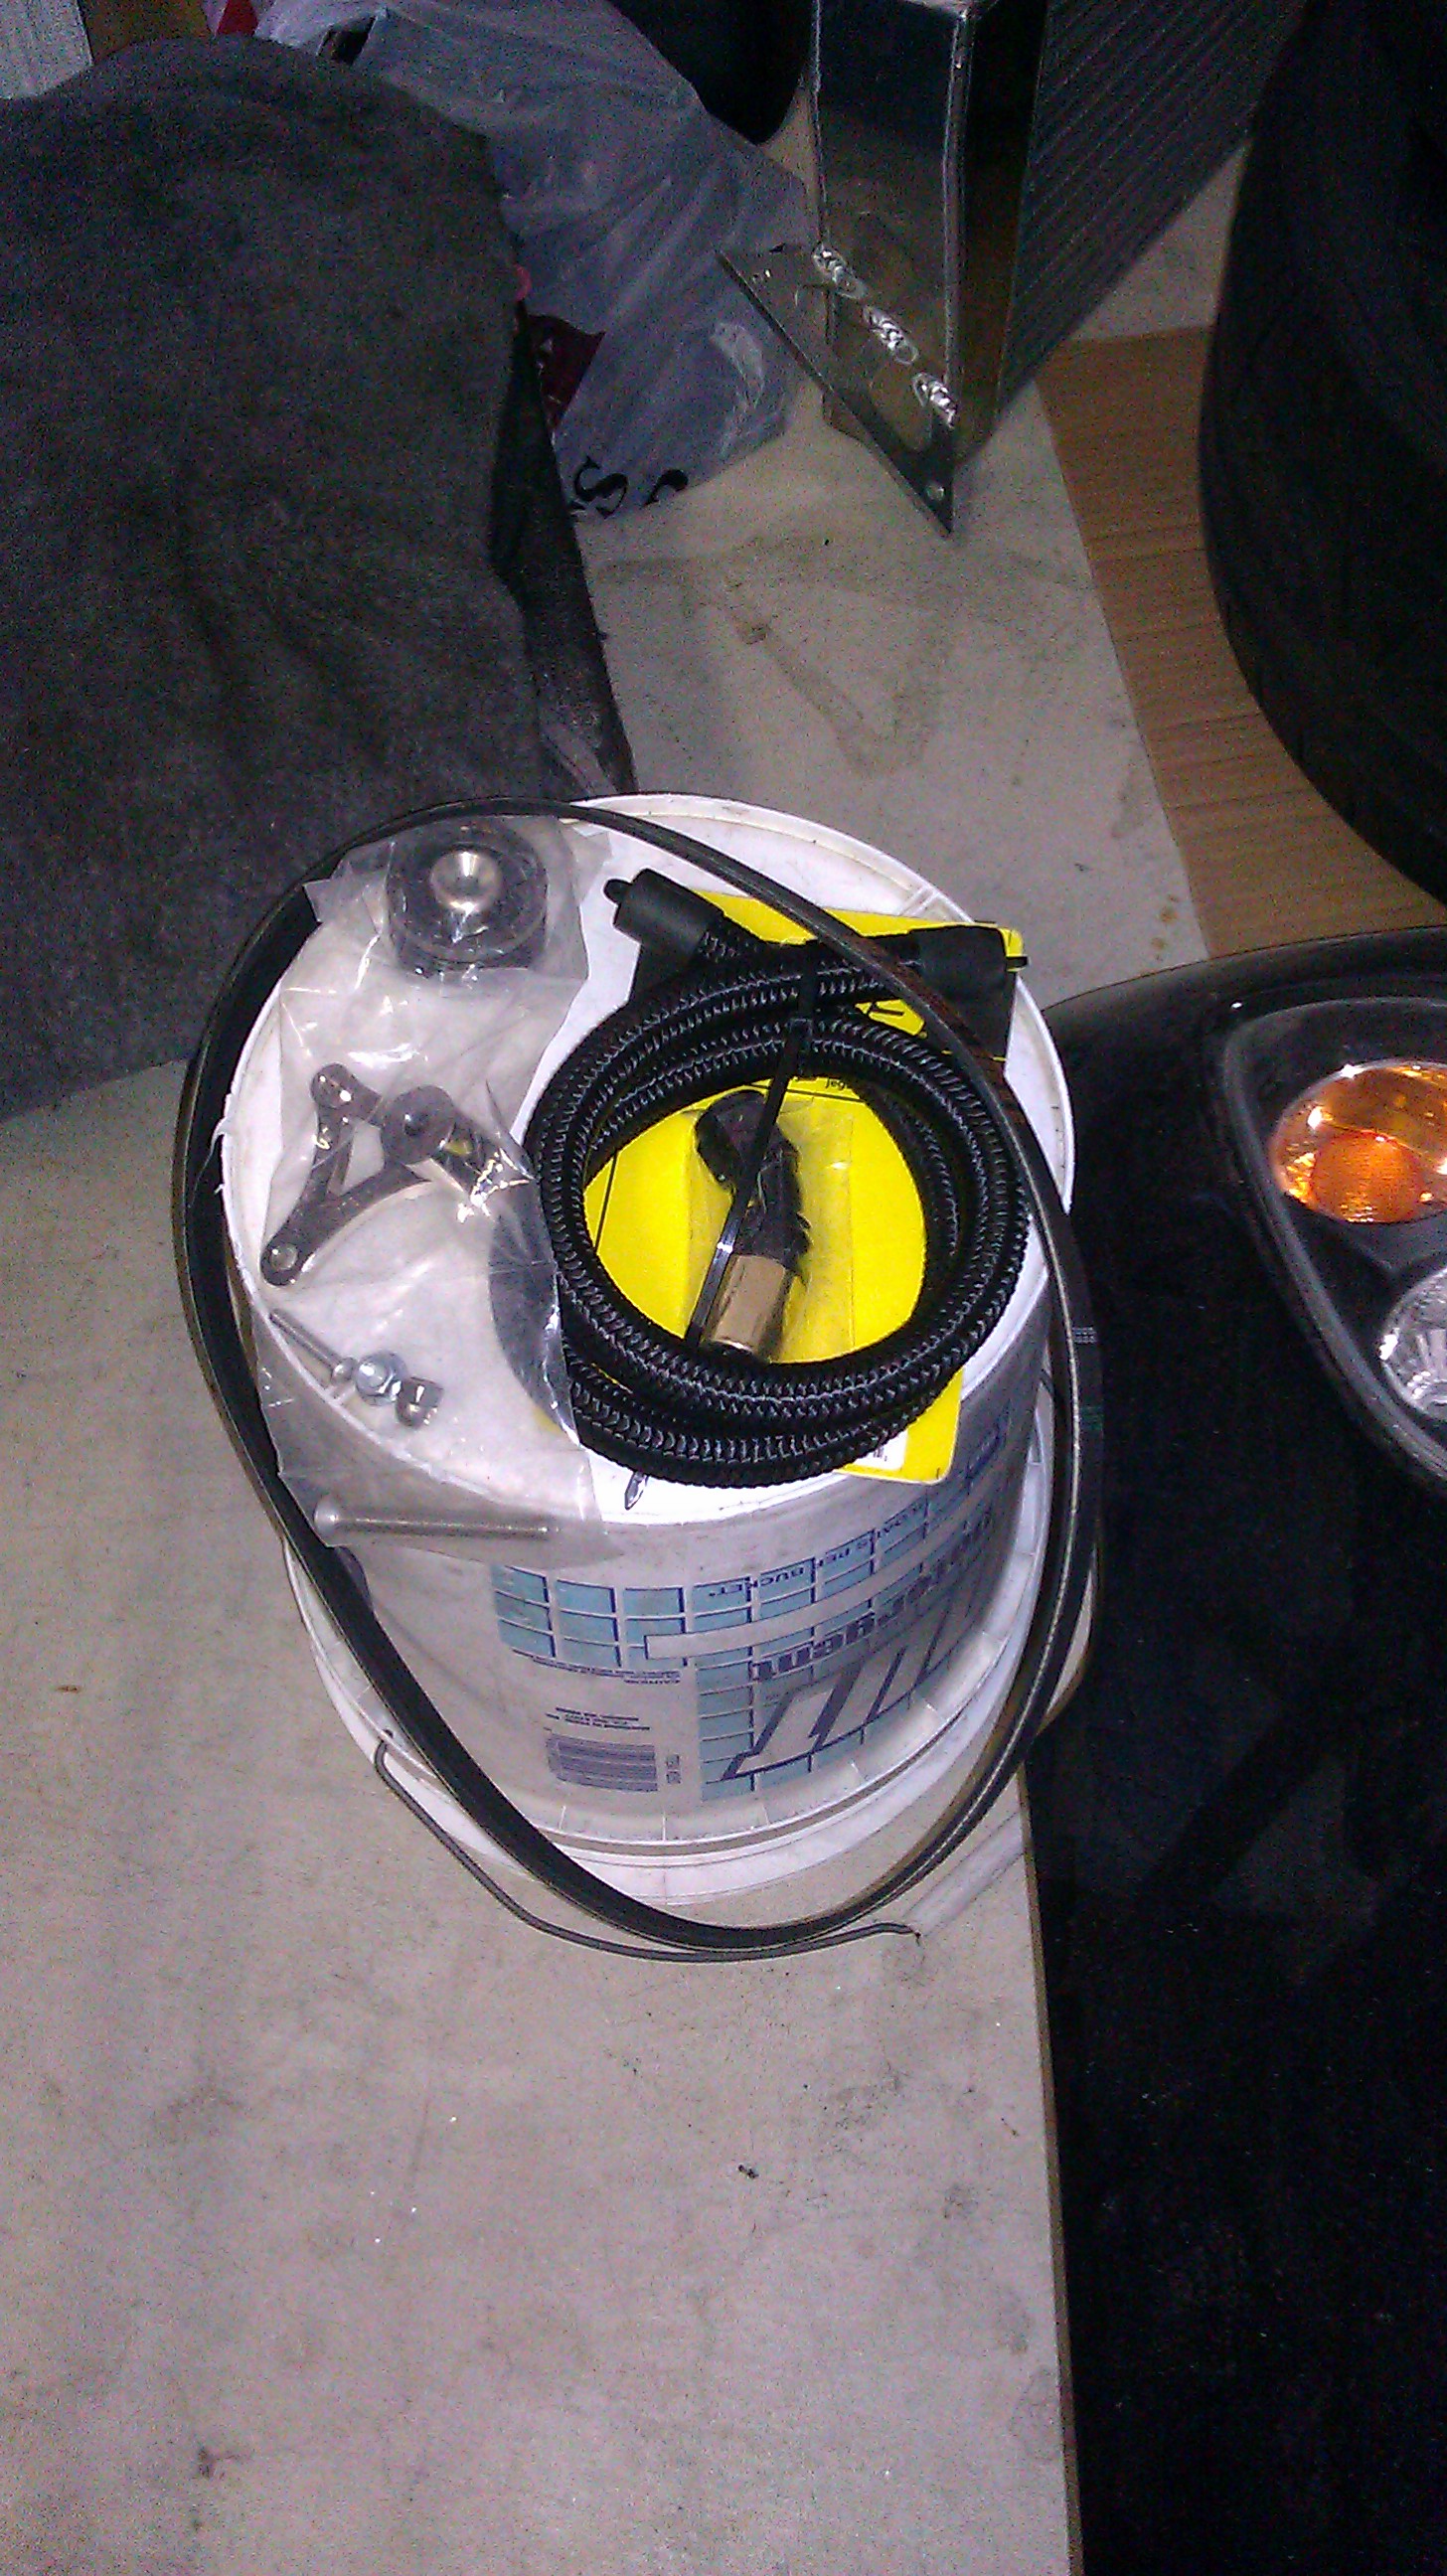
And to add to my pile of parts... these came in =-)
S13 PBM's with built in spacers!! up next their modded angle knuckles!
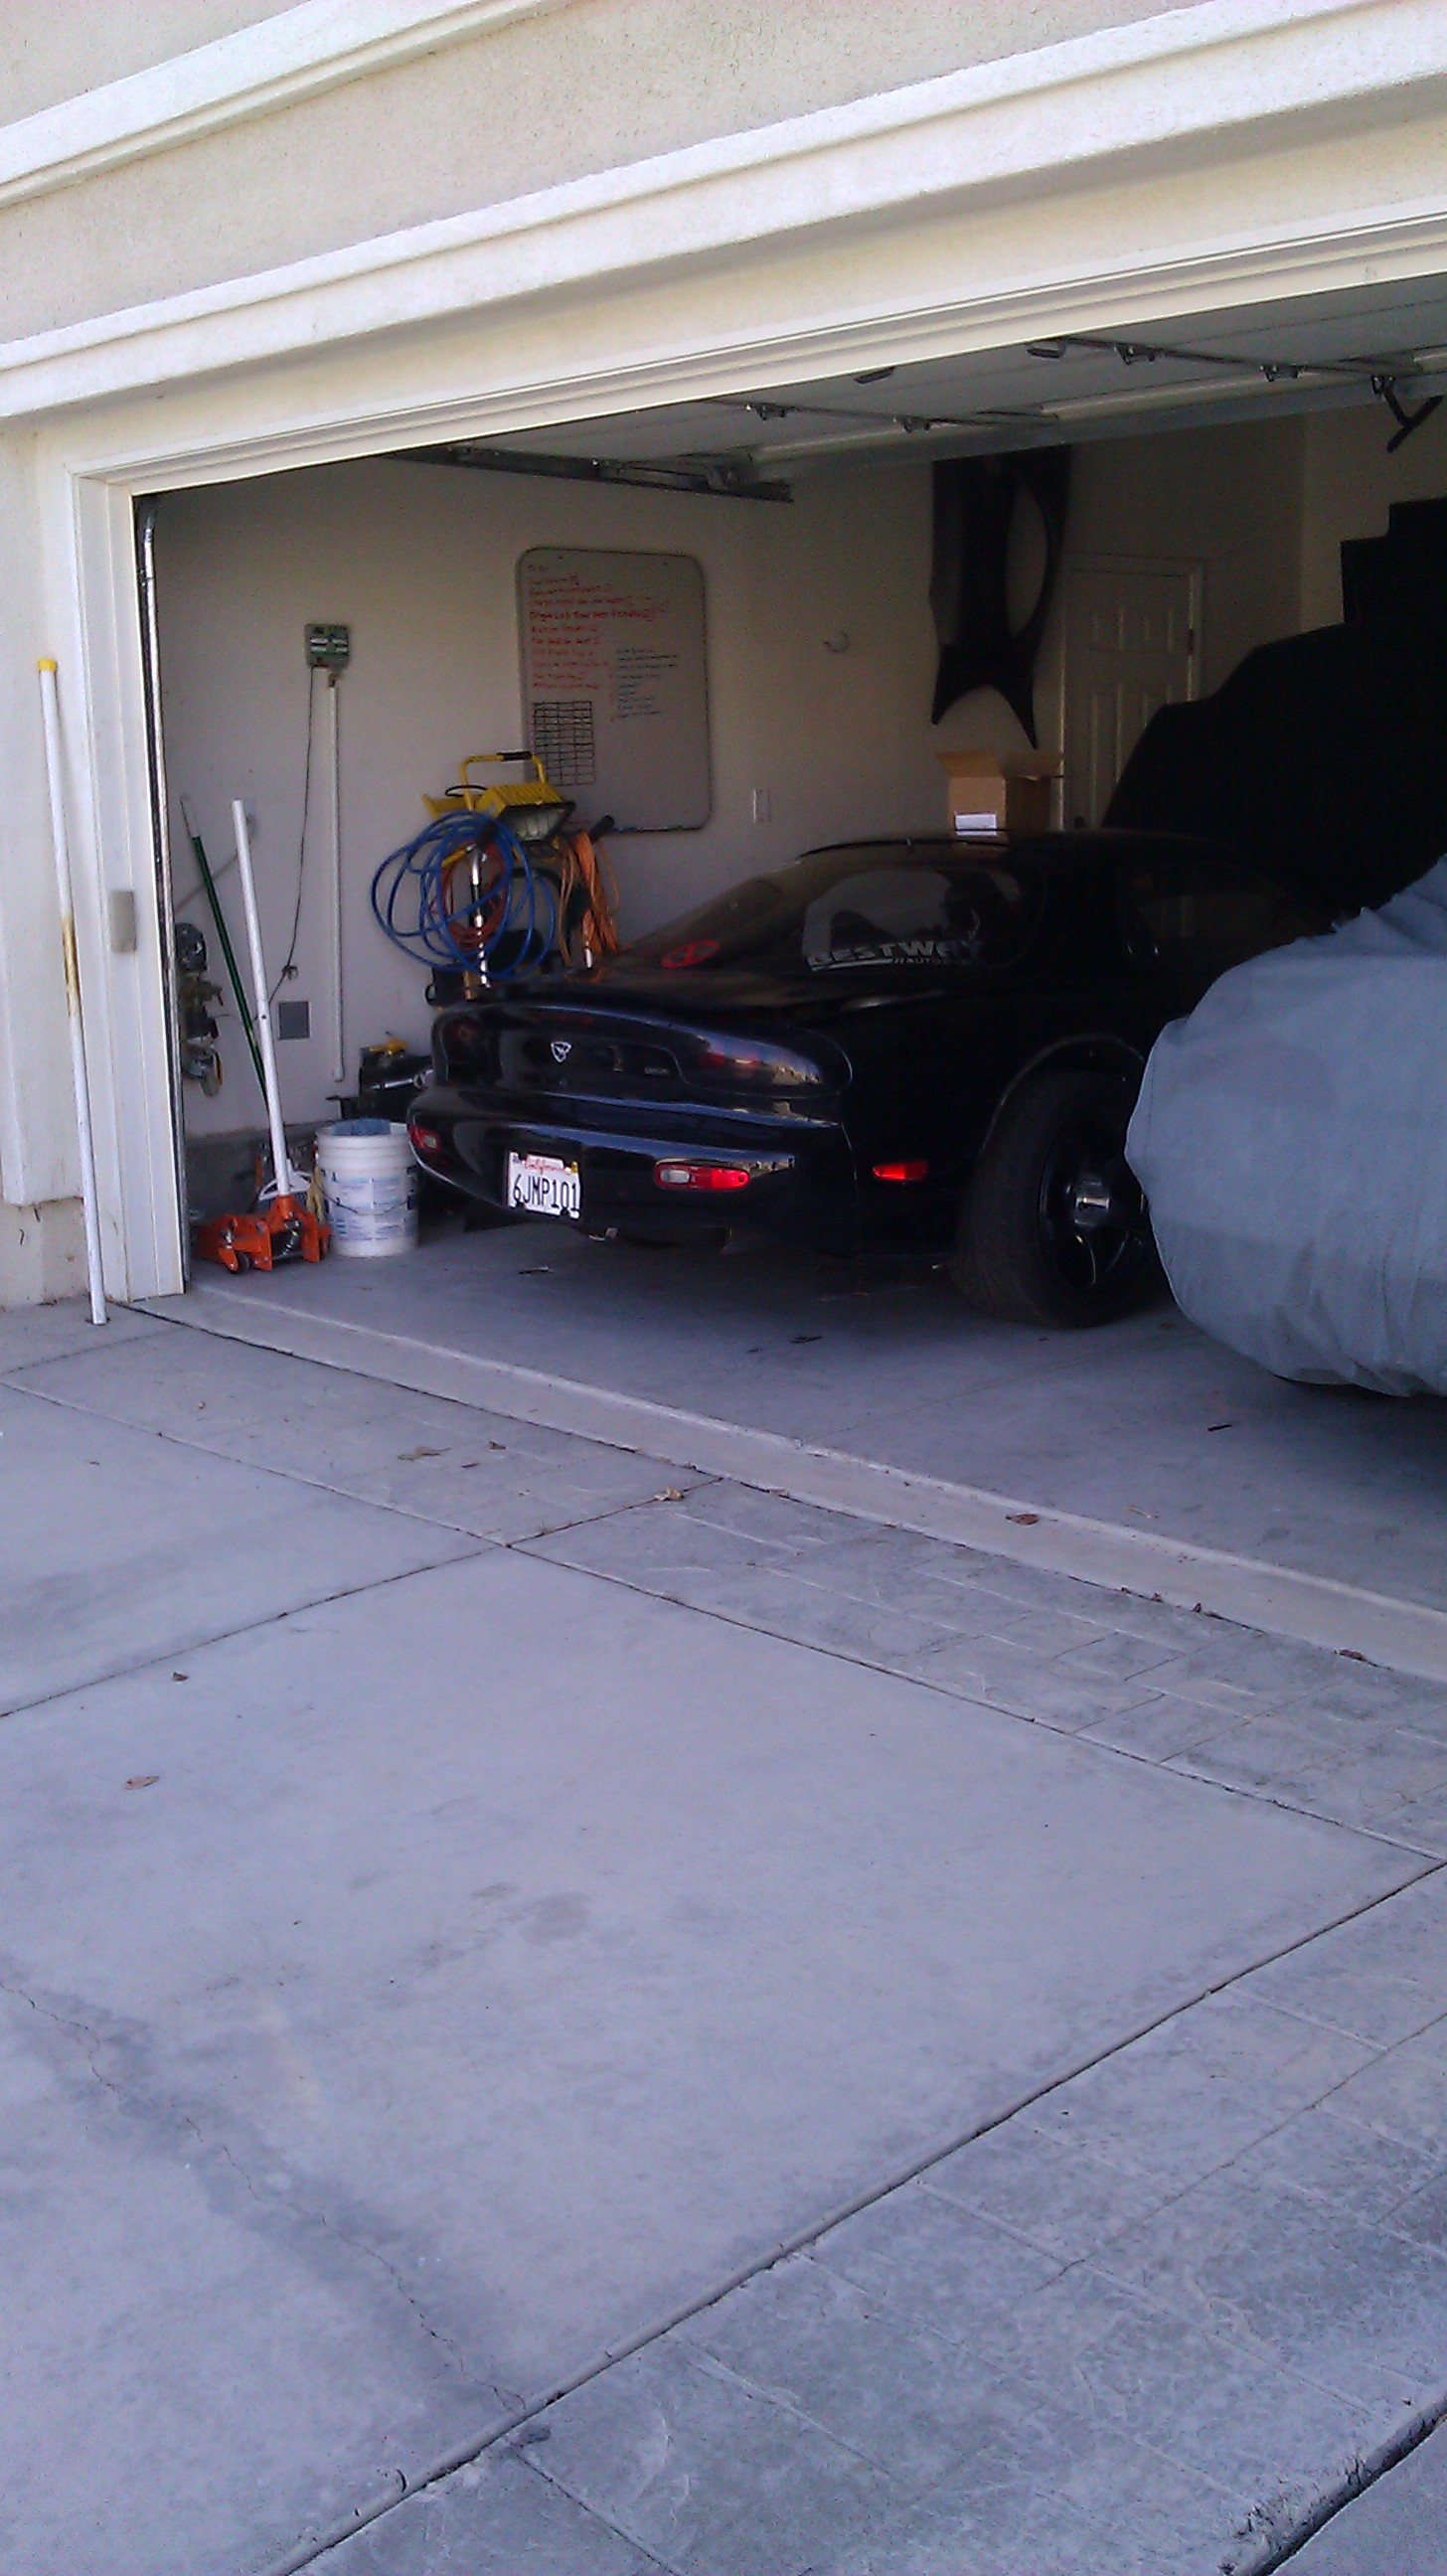
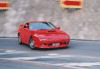
my car sitting at home after all these months!!
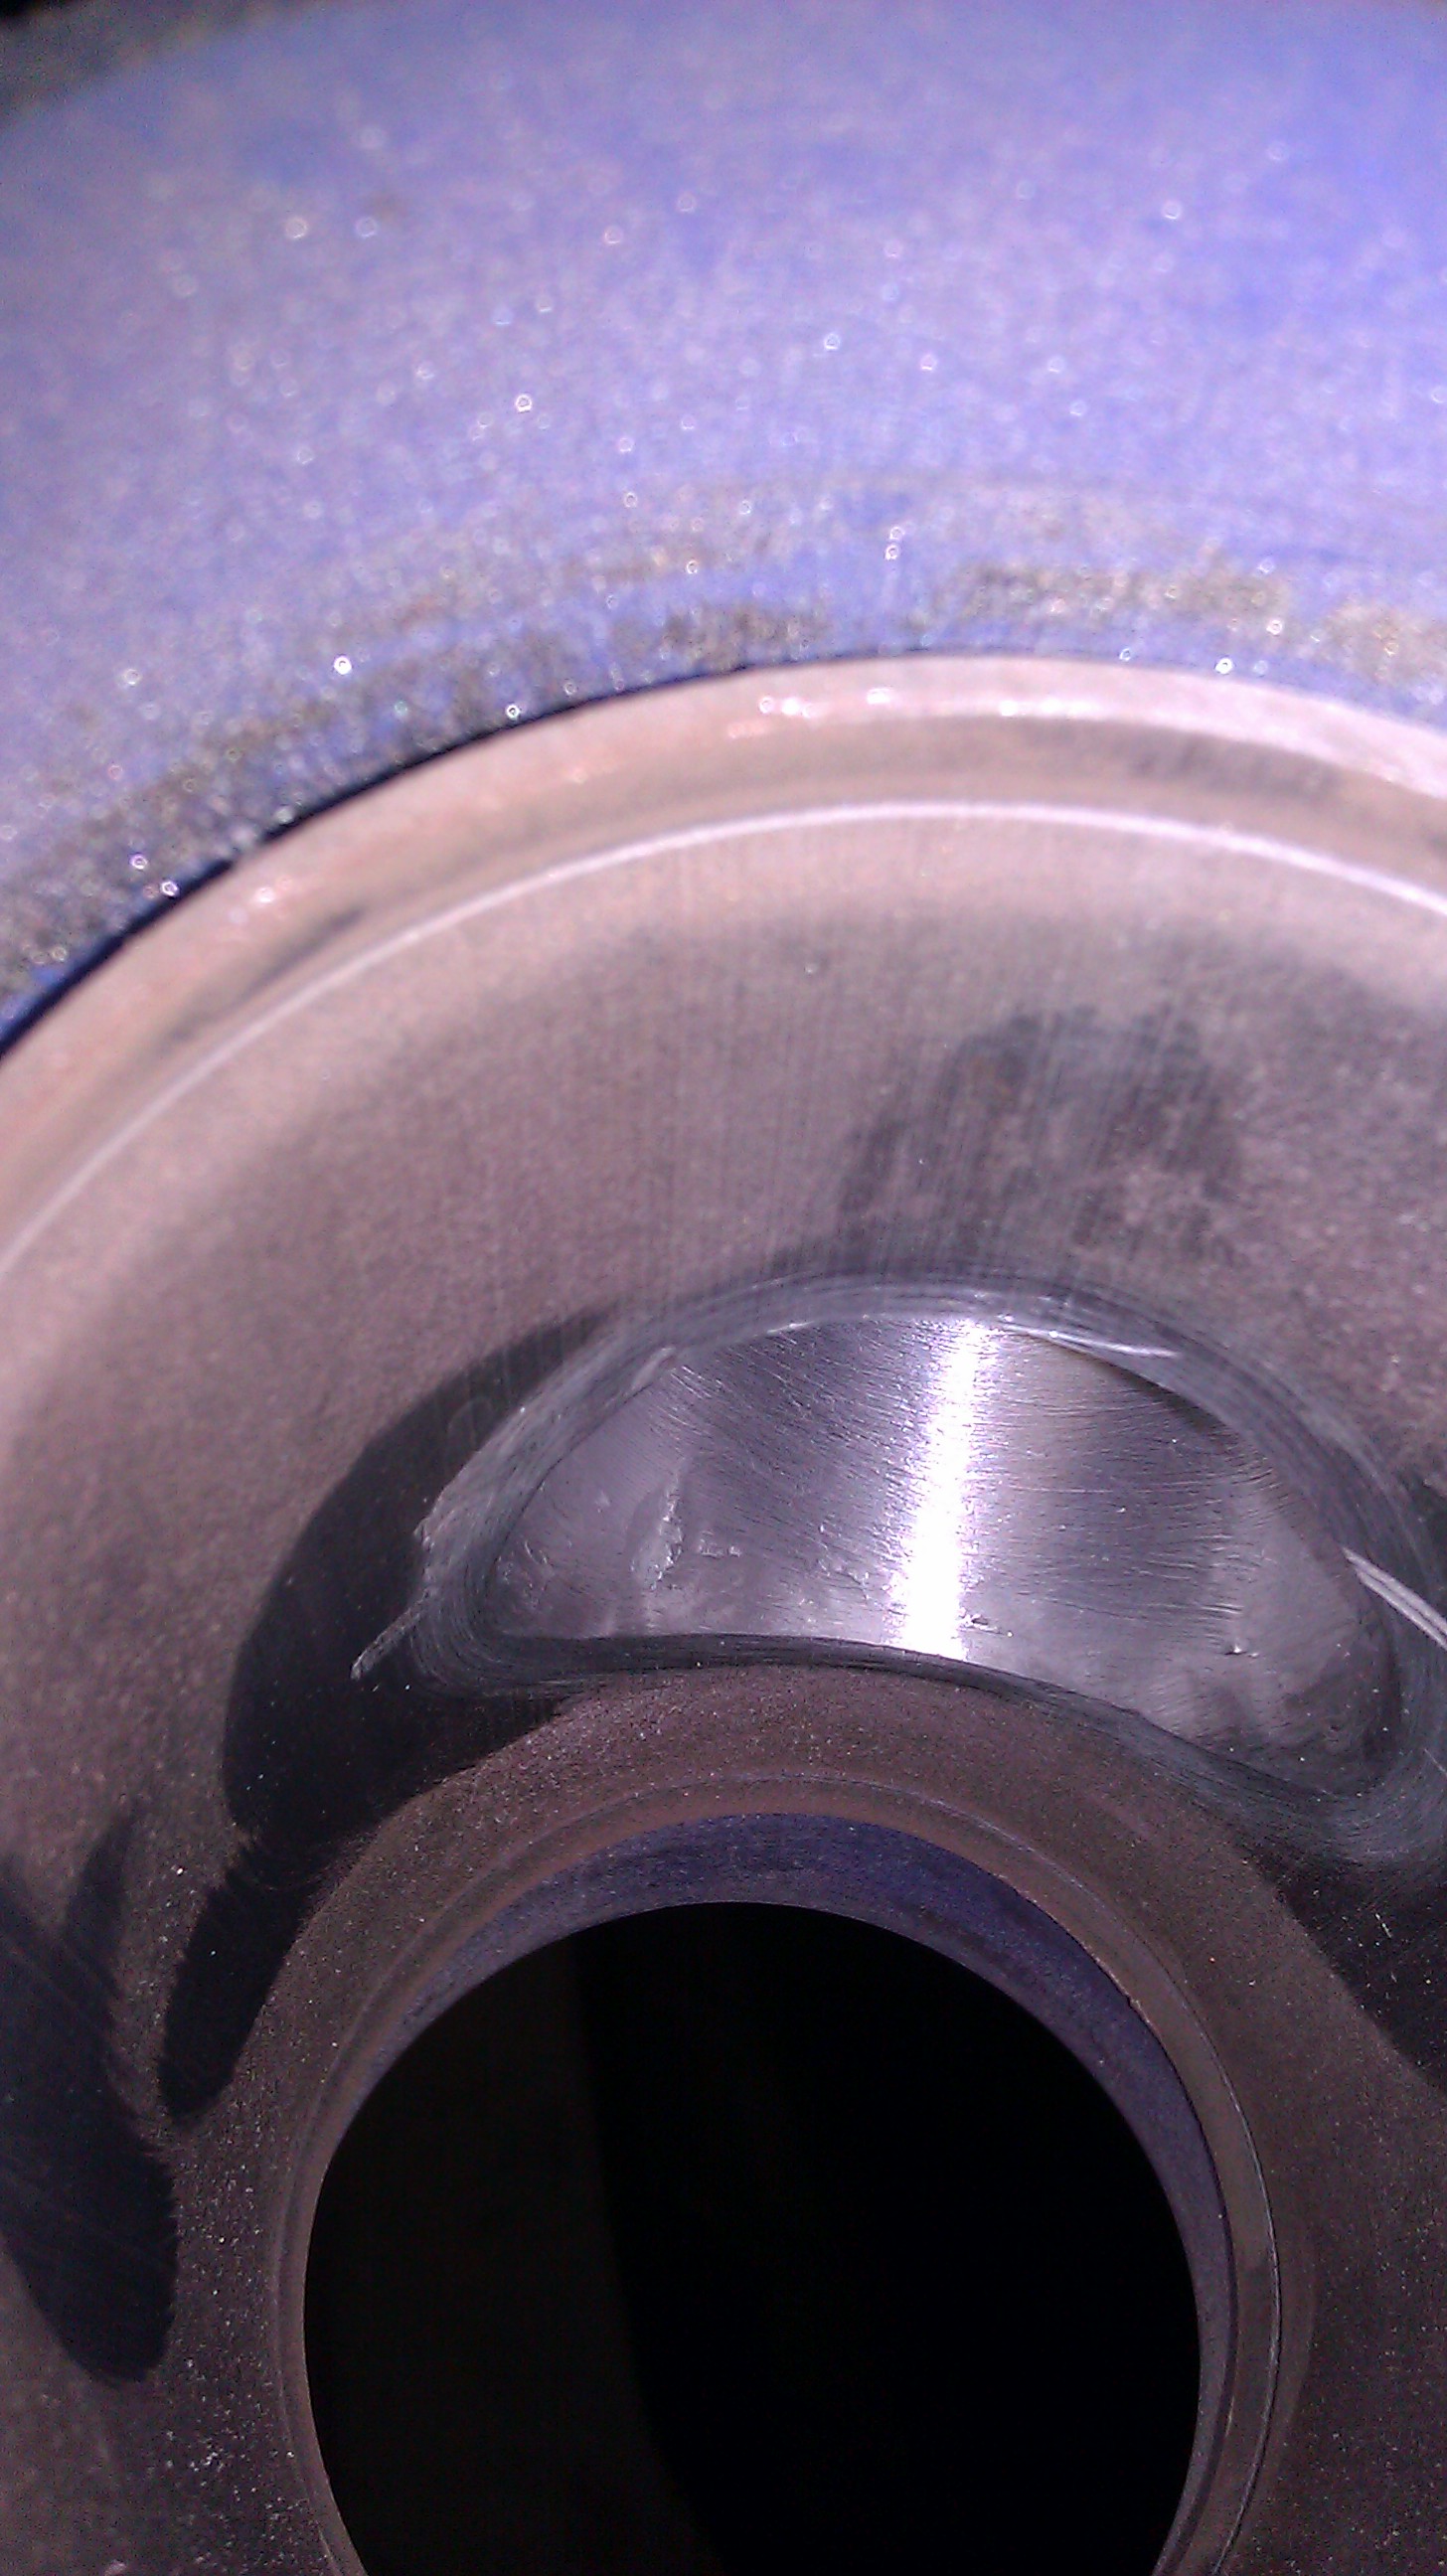
Then I started working on blending the turbo manifold. The welds on the inside needed a lot of smoothing out.... so I got to work accordingly.
Before
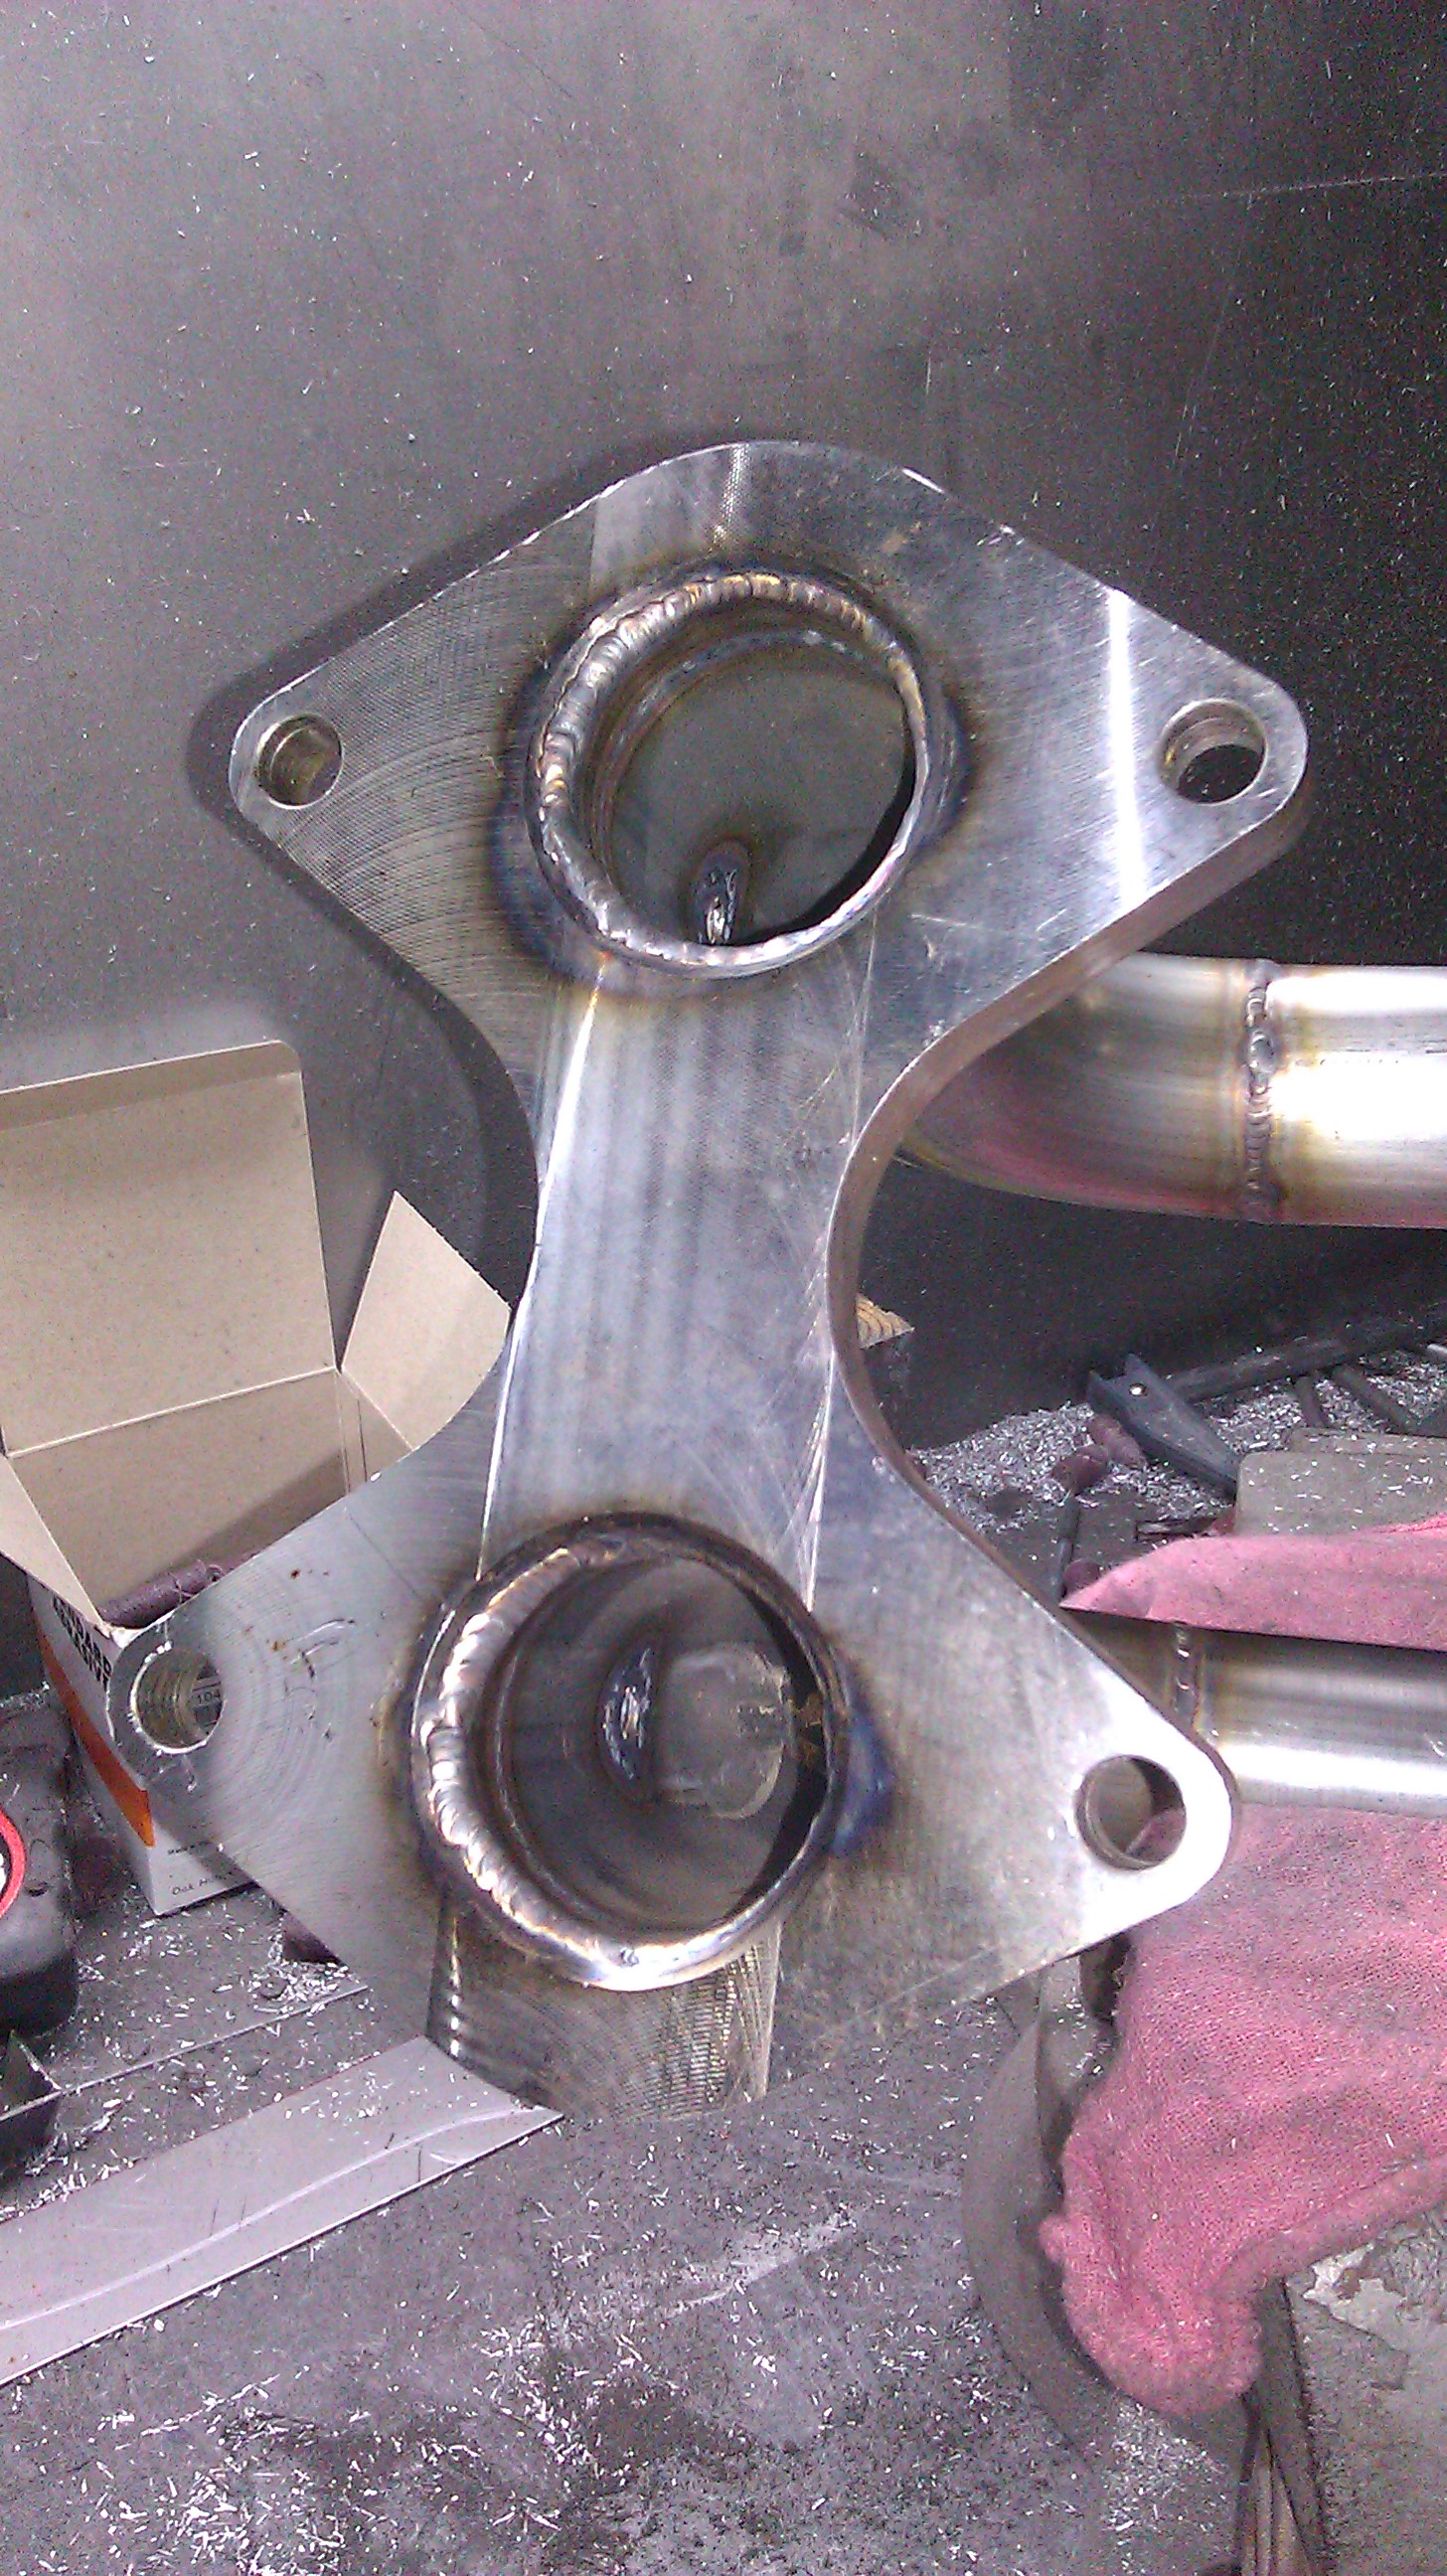
during
After
porting table madness
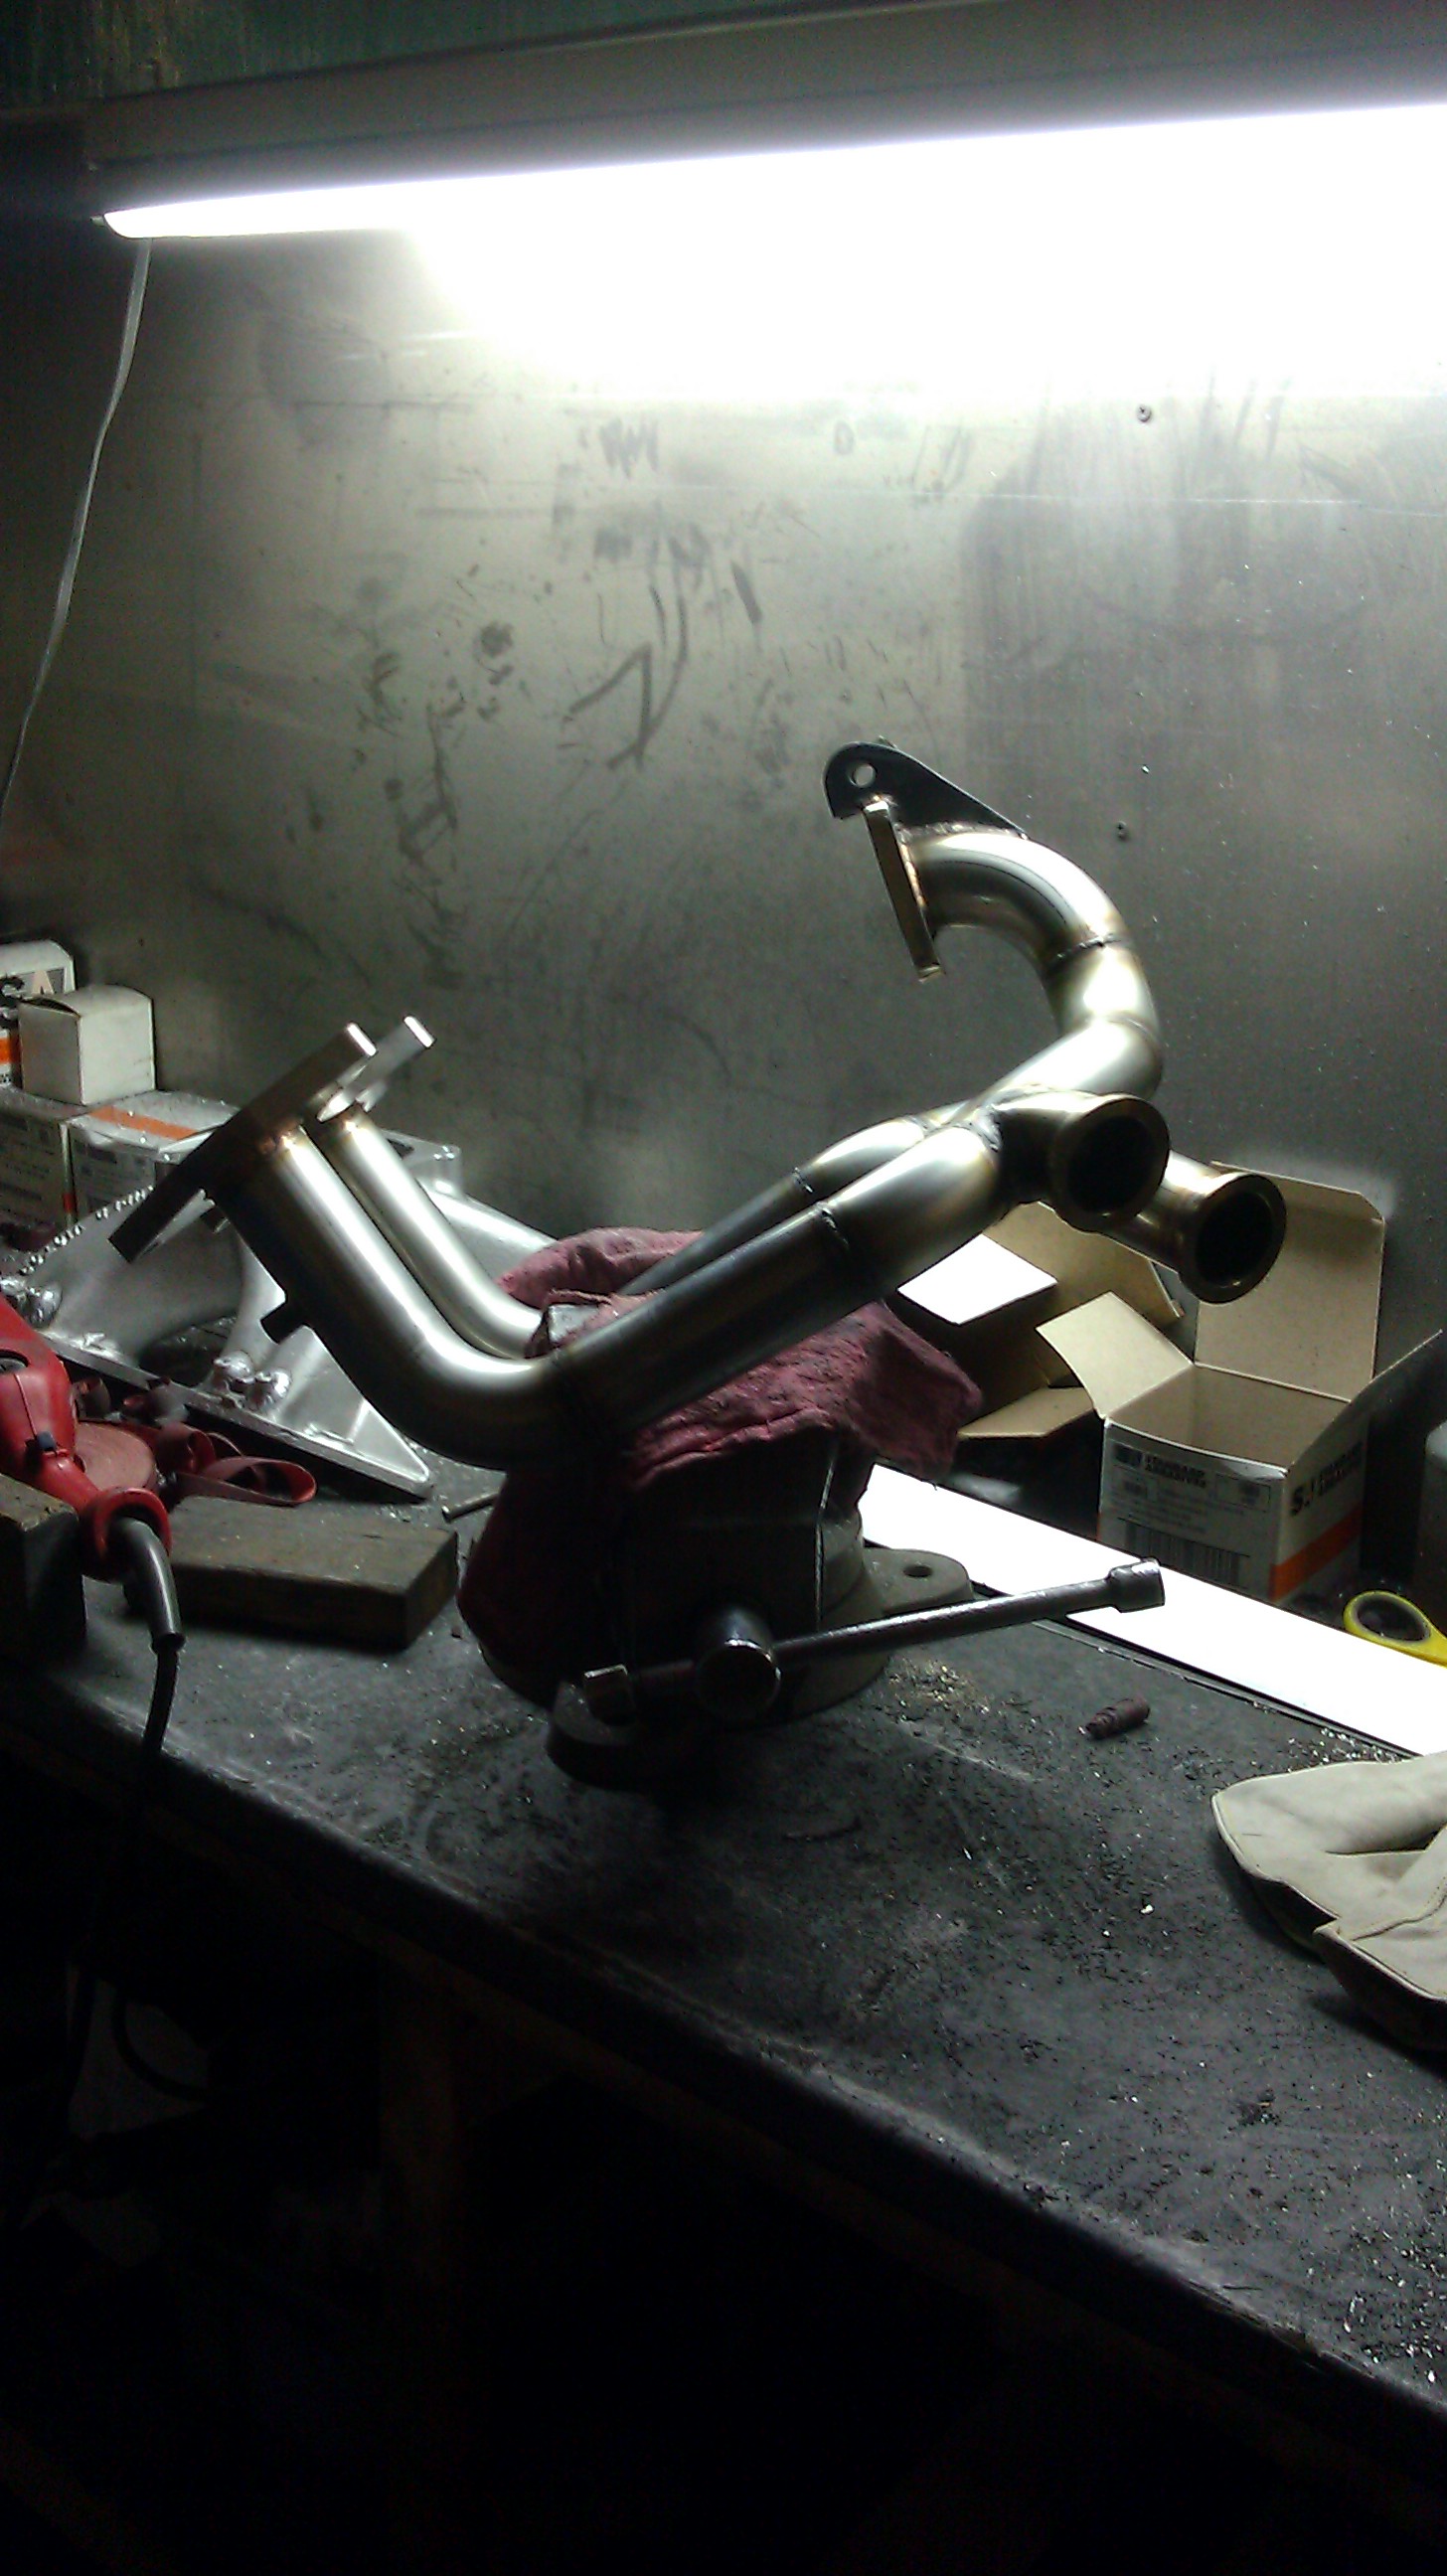
I really took my time on these..and I think it showed. Came out well... or at least i'm happy with it haha.And thats just about where I left off...
well I ordered some -10oil line for one of my coolers because the line wasn't long enough in it's newer location to fit.
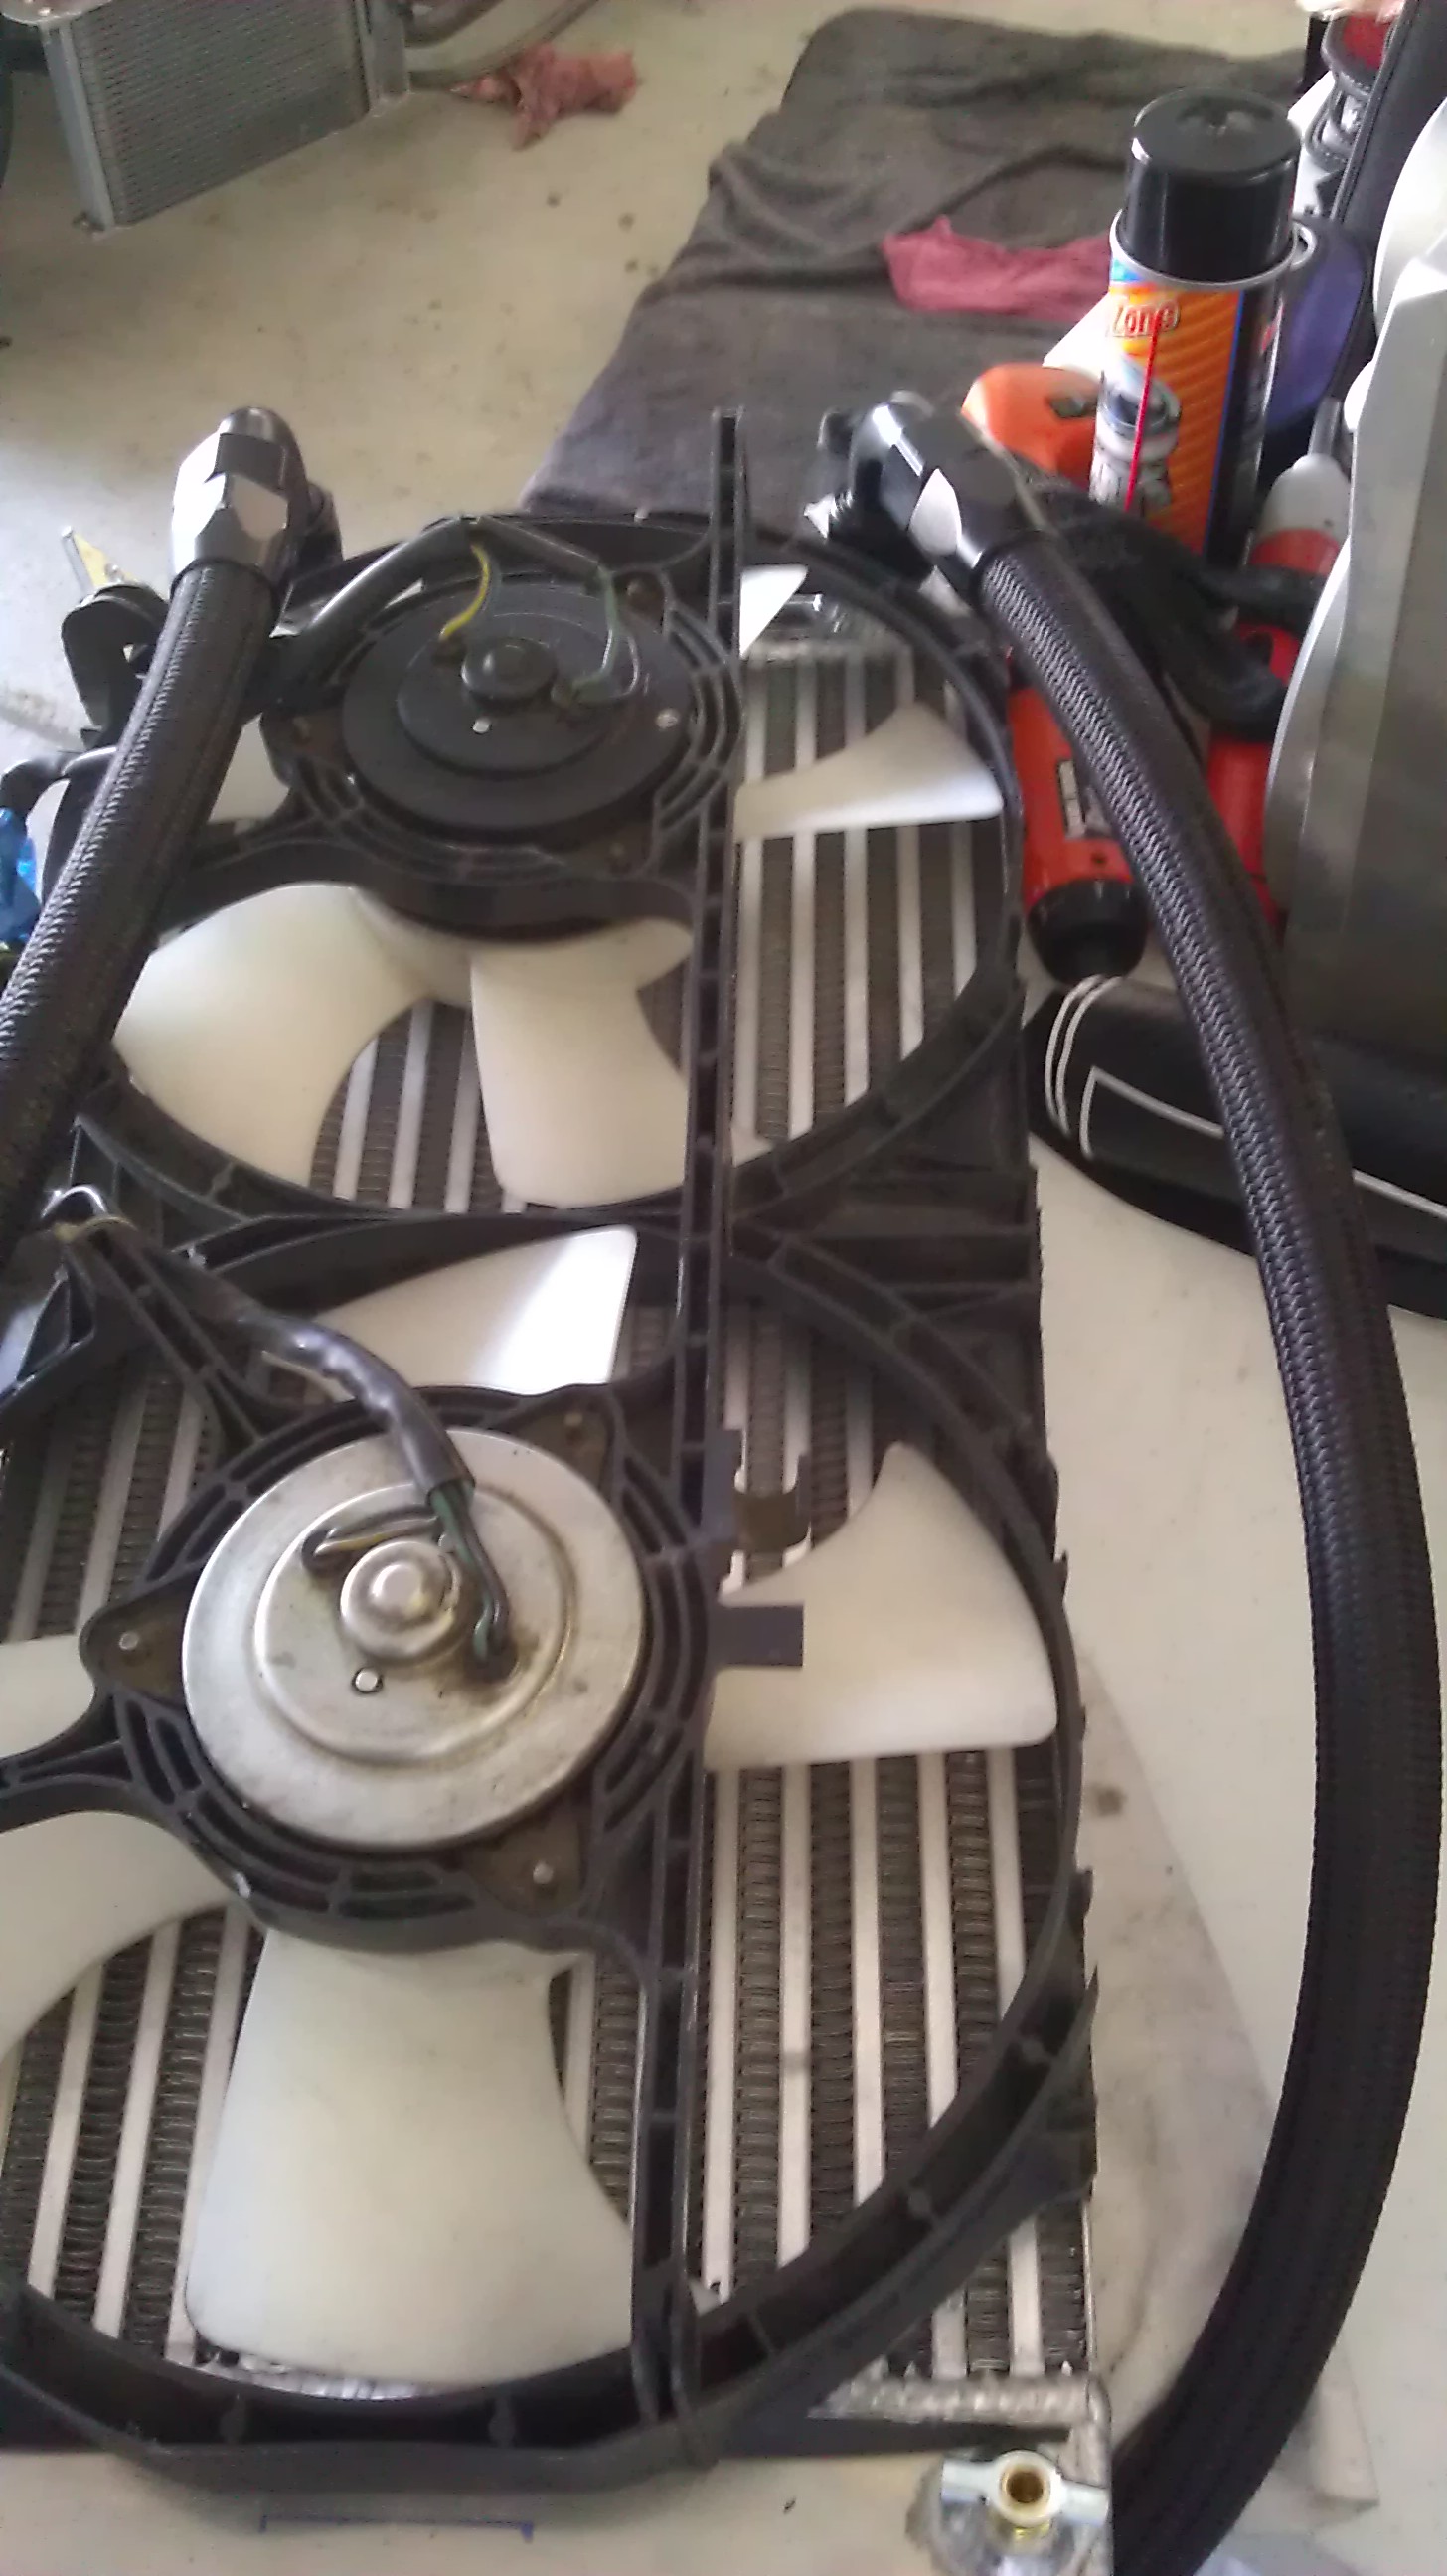
Also, gave up on trying to fit the OEM fans onto my 23x12" Radiator... I must've spent 3 hours carefully trimming them until I realized that it just wasn't going to work. They're just too wide depth wise.. they after trimming they were still just too bulky...they were crushing my radiator lines... so I said screw it i'll order slim fans
So I got a little work done on her inthe past couple days...but not as much as i'd like.
Anyways..
I got the Radiator Drain bung welded in the radiator
then put the actual drain in there. I spent the extra 3 bucks to get a name brand one from summit racing.. just don't want any crappy leaks haha.
THen I drilled out the 8 holes I had already had for my Rad/IC mounts and ground down some Nuts so we could weld them into the frame of the car. This didn't take but about 35 min... a good drill and a belt sander worked flawlessly here =-)
I think I might have forgotten to take pics of them welded in....but once they were I ground them down just a tad so they sat flush with the frame.
And to add to my pile of parts... these came in =-)
S13 PBM's with built in spacers!! up next their modded angle knuckles!
my car sitting at home after all these months!!
Then I started working on blending the turbo manifold. The welds on the inside needed a lot of smoothing out.... so I got to work accordingly.
Before
during
After
porting table madness
I really took my time on these..and I think it showed. Came out well... or at least i'm happy with it haha.And thats just about where I left off...
well I ordered some -10oil line for one of my coolers because the line wasn't long enough in it's newer location to fit.
Also, gave up on trying to fit the OEM fans onto my 23x12" Radiator... I must've spent 3 hours carefully trimming them until I realized that it just wasn't going to work. They're just too wide depth wise.. they after trimming they were still just too bulky...they were crushing my radiator lines... so I said screw it i'll order slim fans
Last edited by mannykiller; Jan 10, 2013 at 12:33 AM.
^ hey thanks! I'm actually going to be using nutserts for my Over fenders.. just wanted a little more permanent/rigid if that makes sense, guess I didn't want to chance it? I dunno.. sounded like a better idea just to weld them up. But how is your exhaust coming along? did you get that mani done? excited to see her all mounted etc!

Little Update:
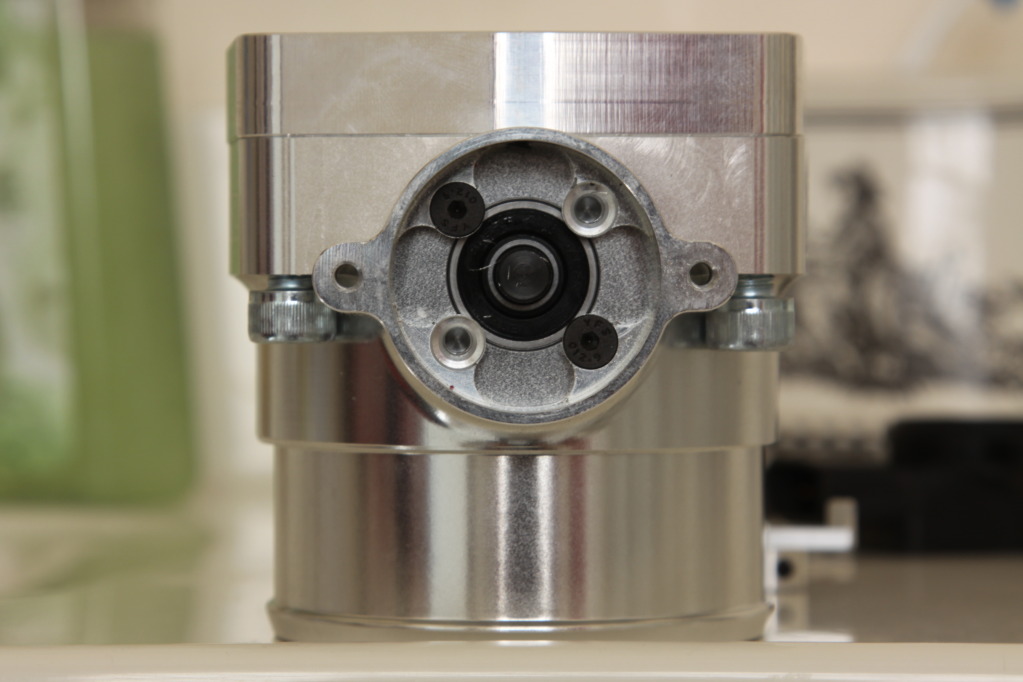
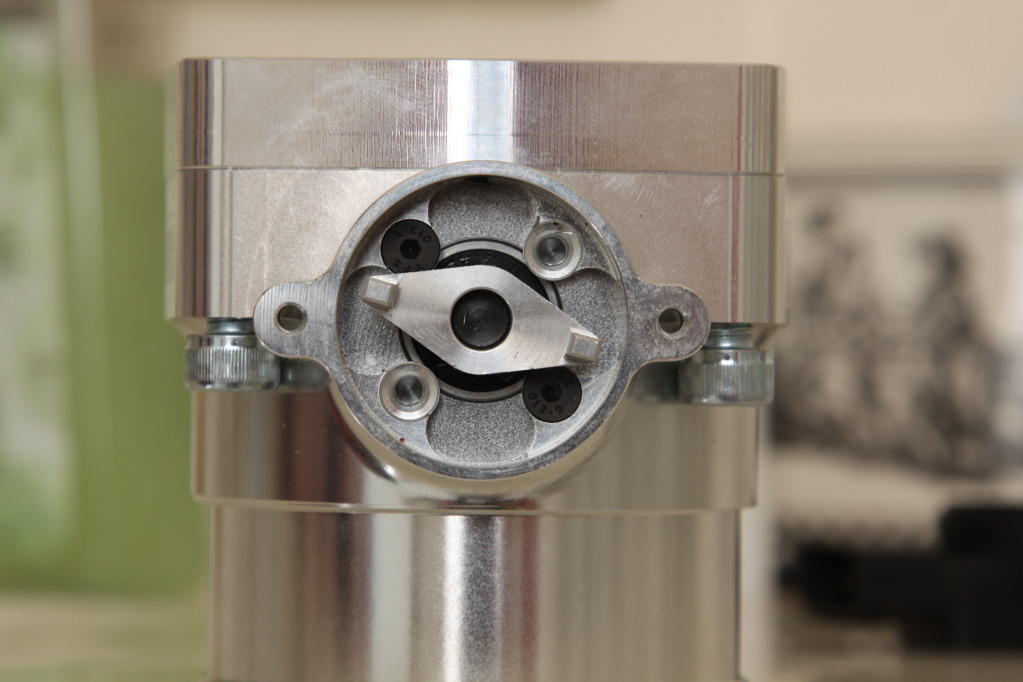
So I was looking at some of my parts yesterday morning and realized that I forgot to cut a hole in my BOV tube. So not having a large porting tool.. I drilled a series of holes around the aluminum and used a dremel to clean it up/port it nice and smooth. Came out damn good.. must say.. i'm getting pretty good at being patient and blending metals ;-)

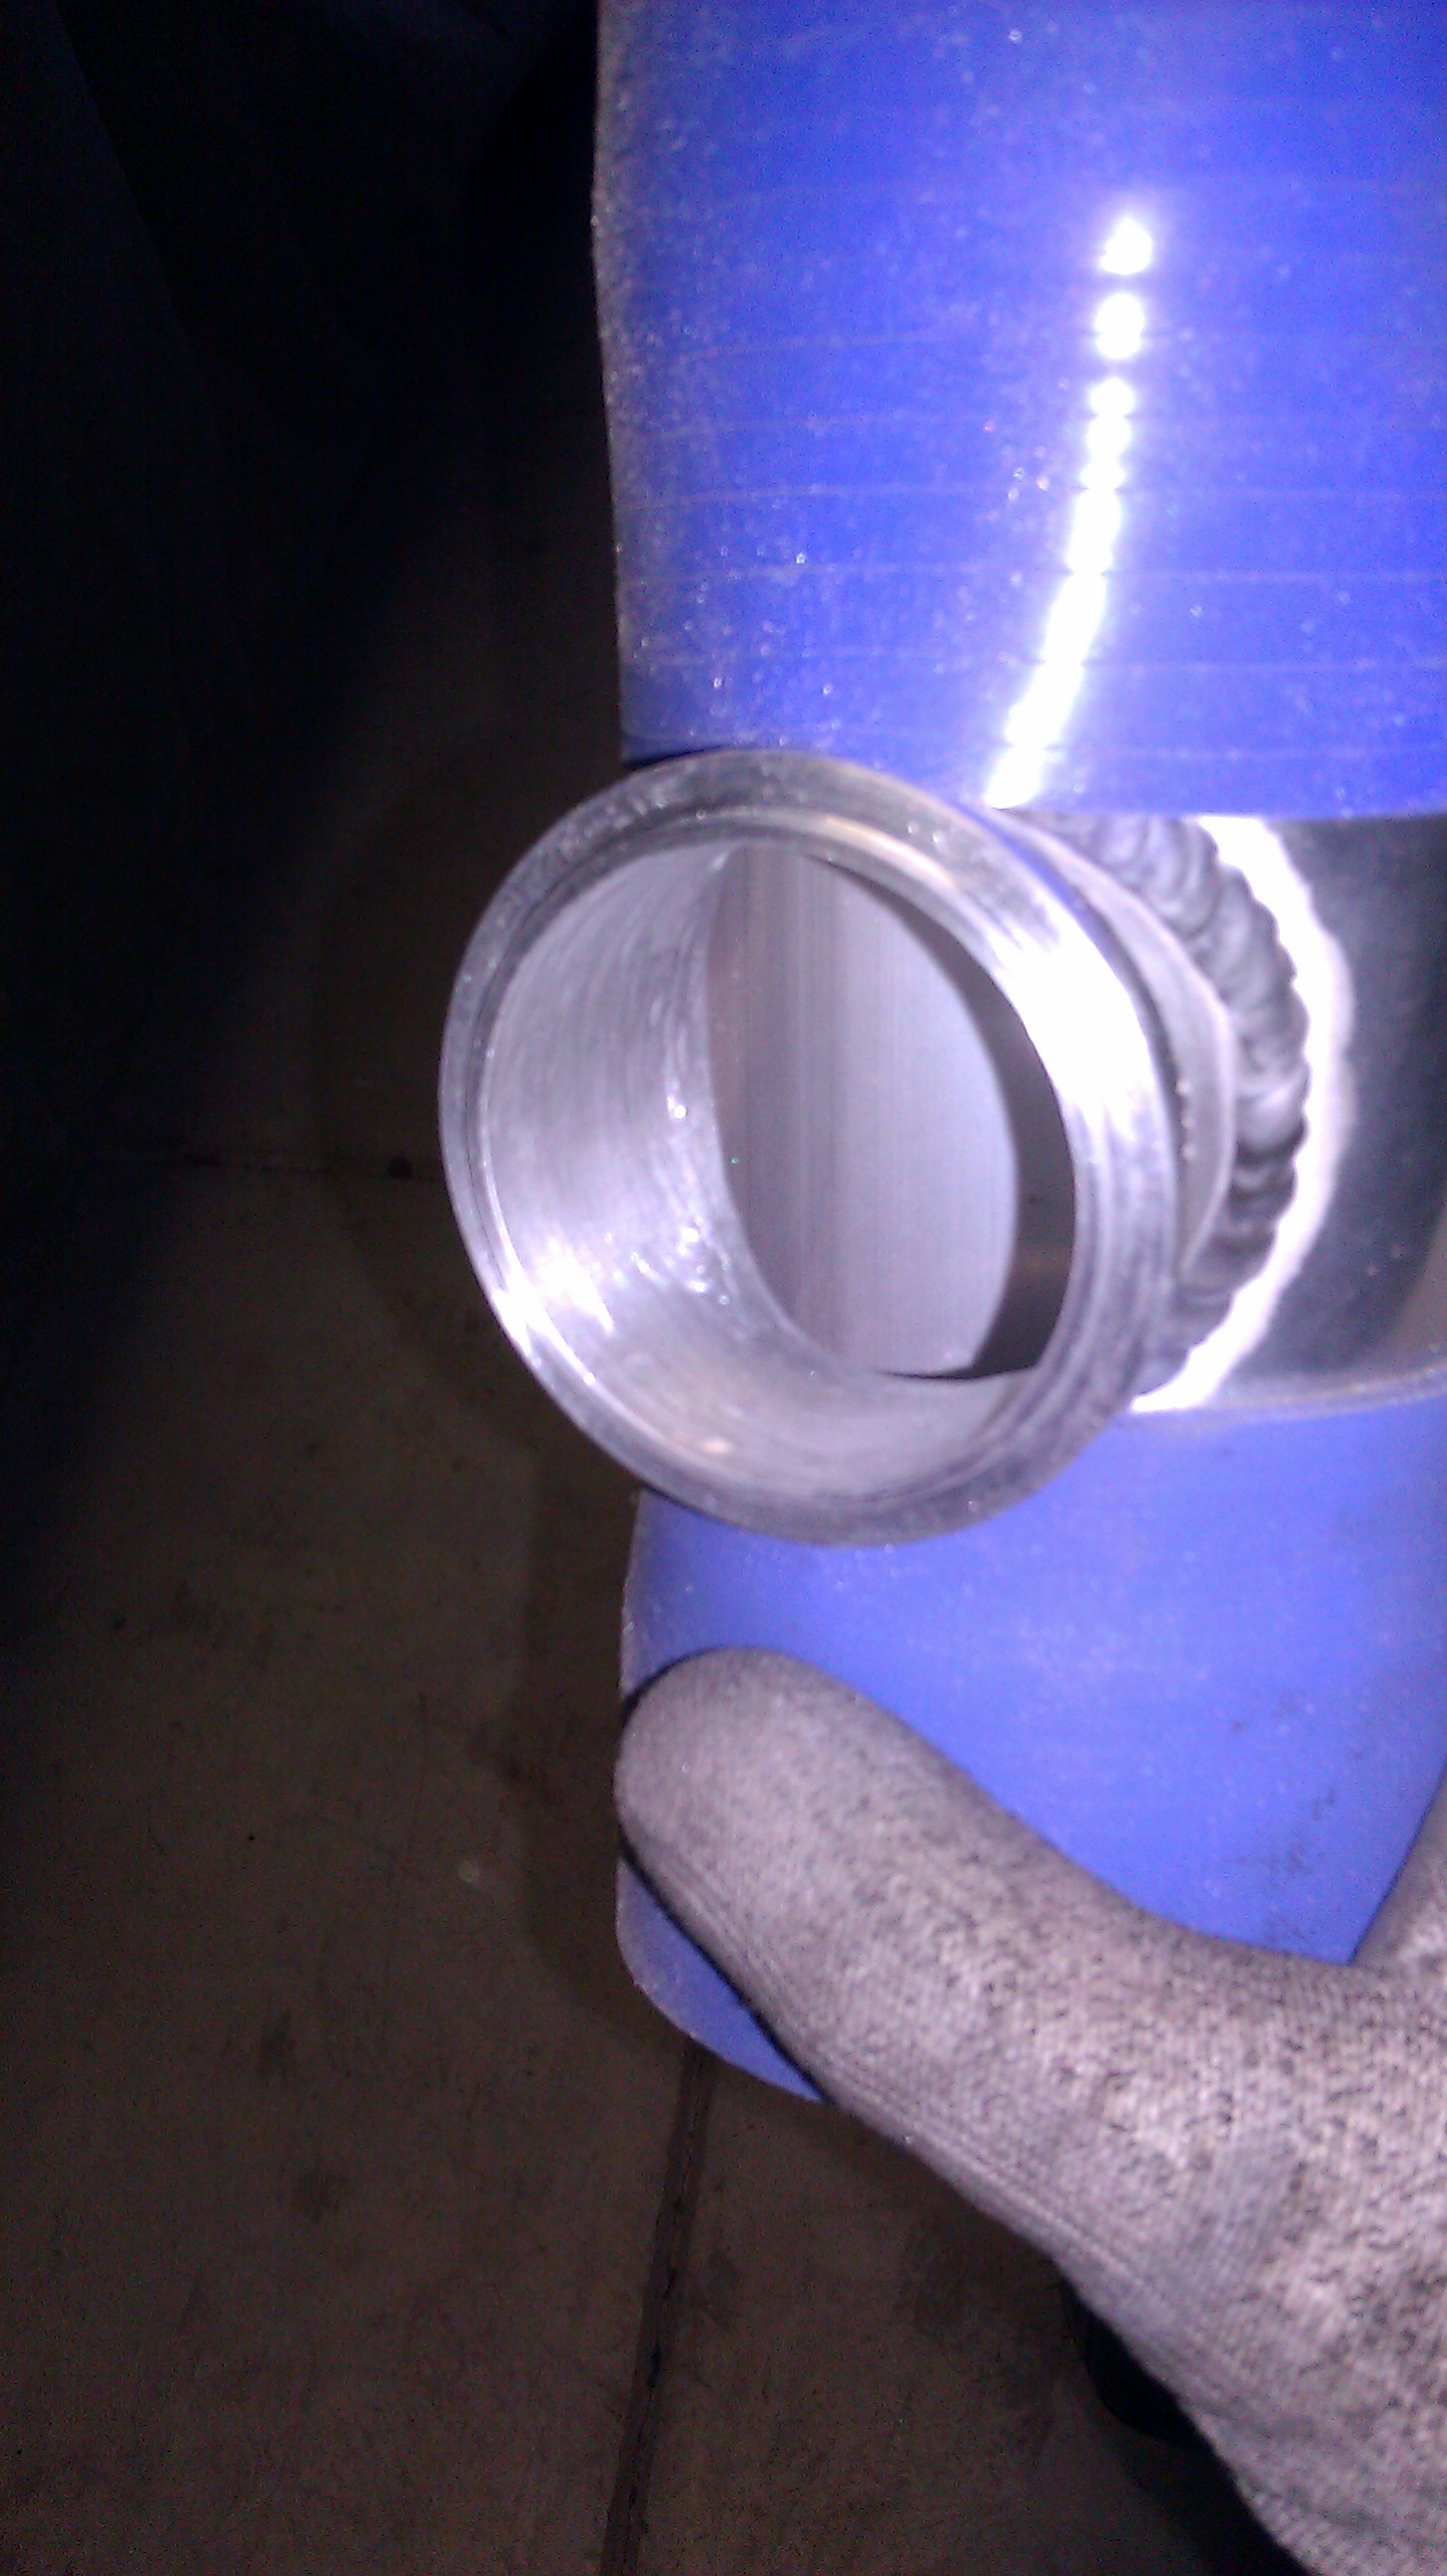
and all cleaned up and done
More Updates soon!
So I was looking at some of my parts yesterday morning and realized that I forgot to cut a hole in my BOV tube. So not having a large porting tool.. I drilled a series of holes around the aluminum and used a dremel to clean it up/port it nice and smooth. Came out damn good.. must say.. i'm getting pretty good at being patient and blending metals ;-)
and all cleaned up and done
More Updates soon!

Little Update:
This is always a good sign!!
good stuff!
Needed to re-make the oil line for my oil coolers that went from the motor to my thermostat
..came out good!
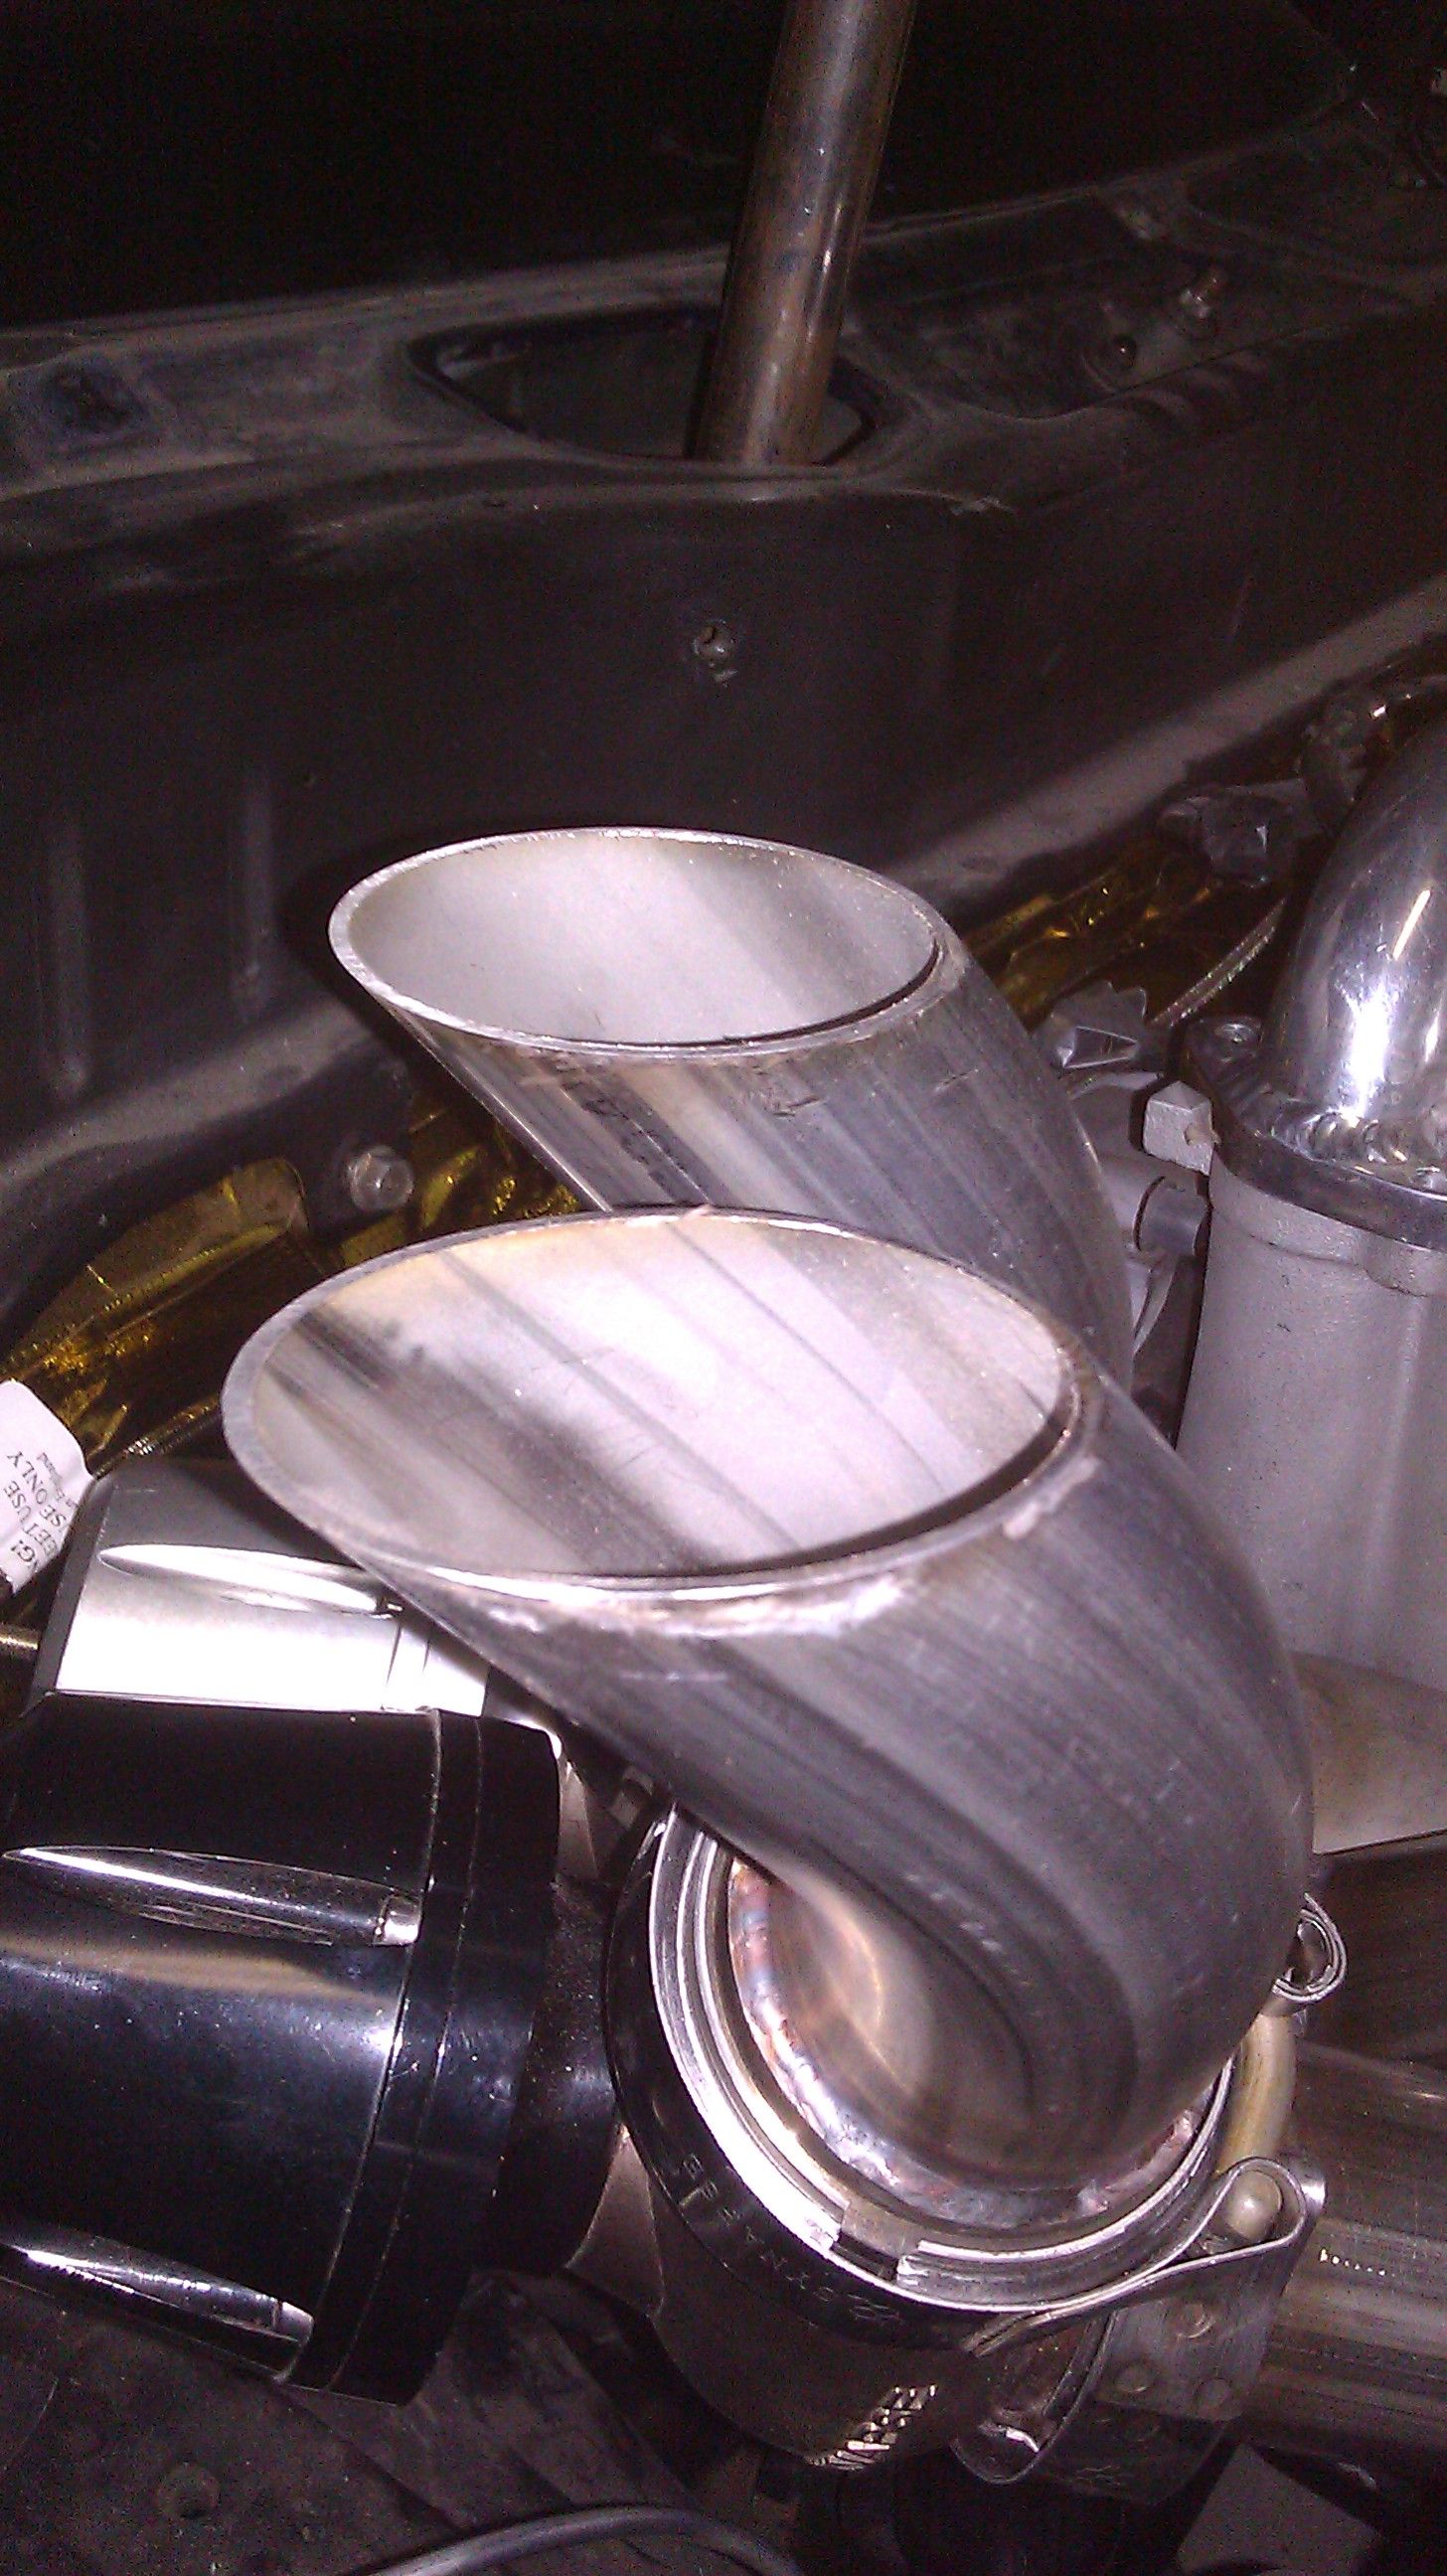
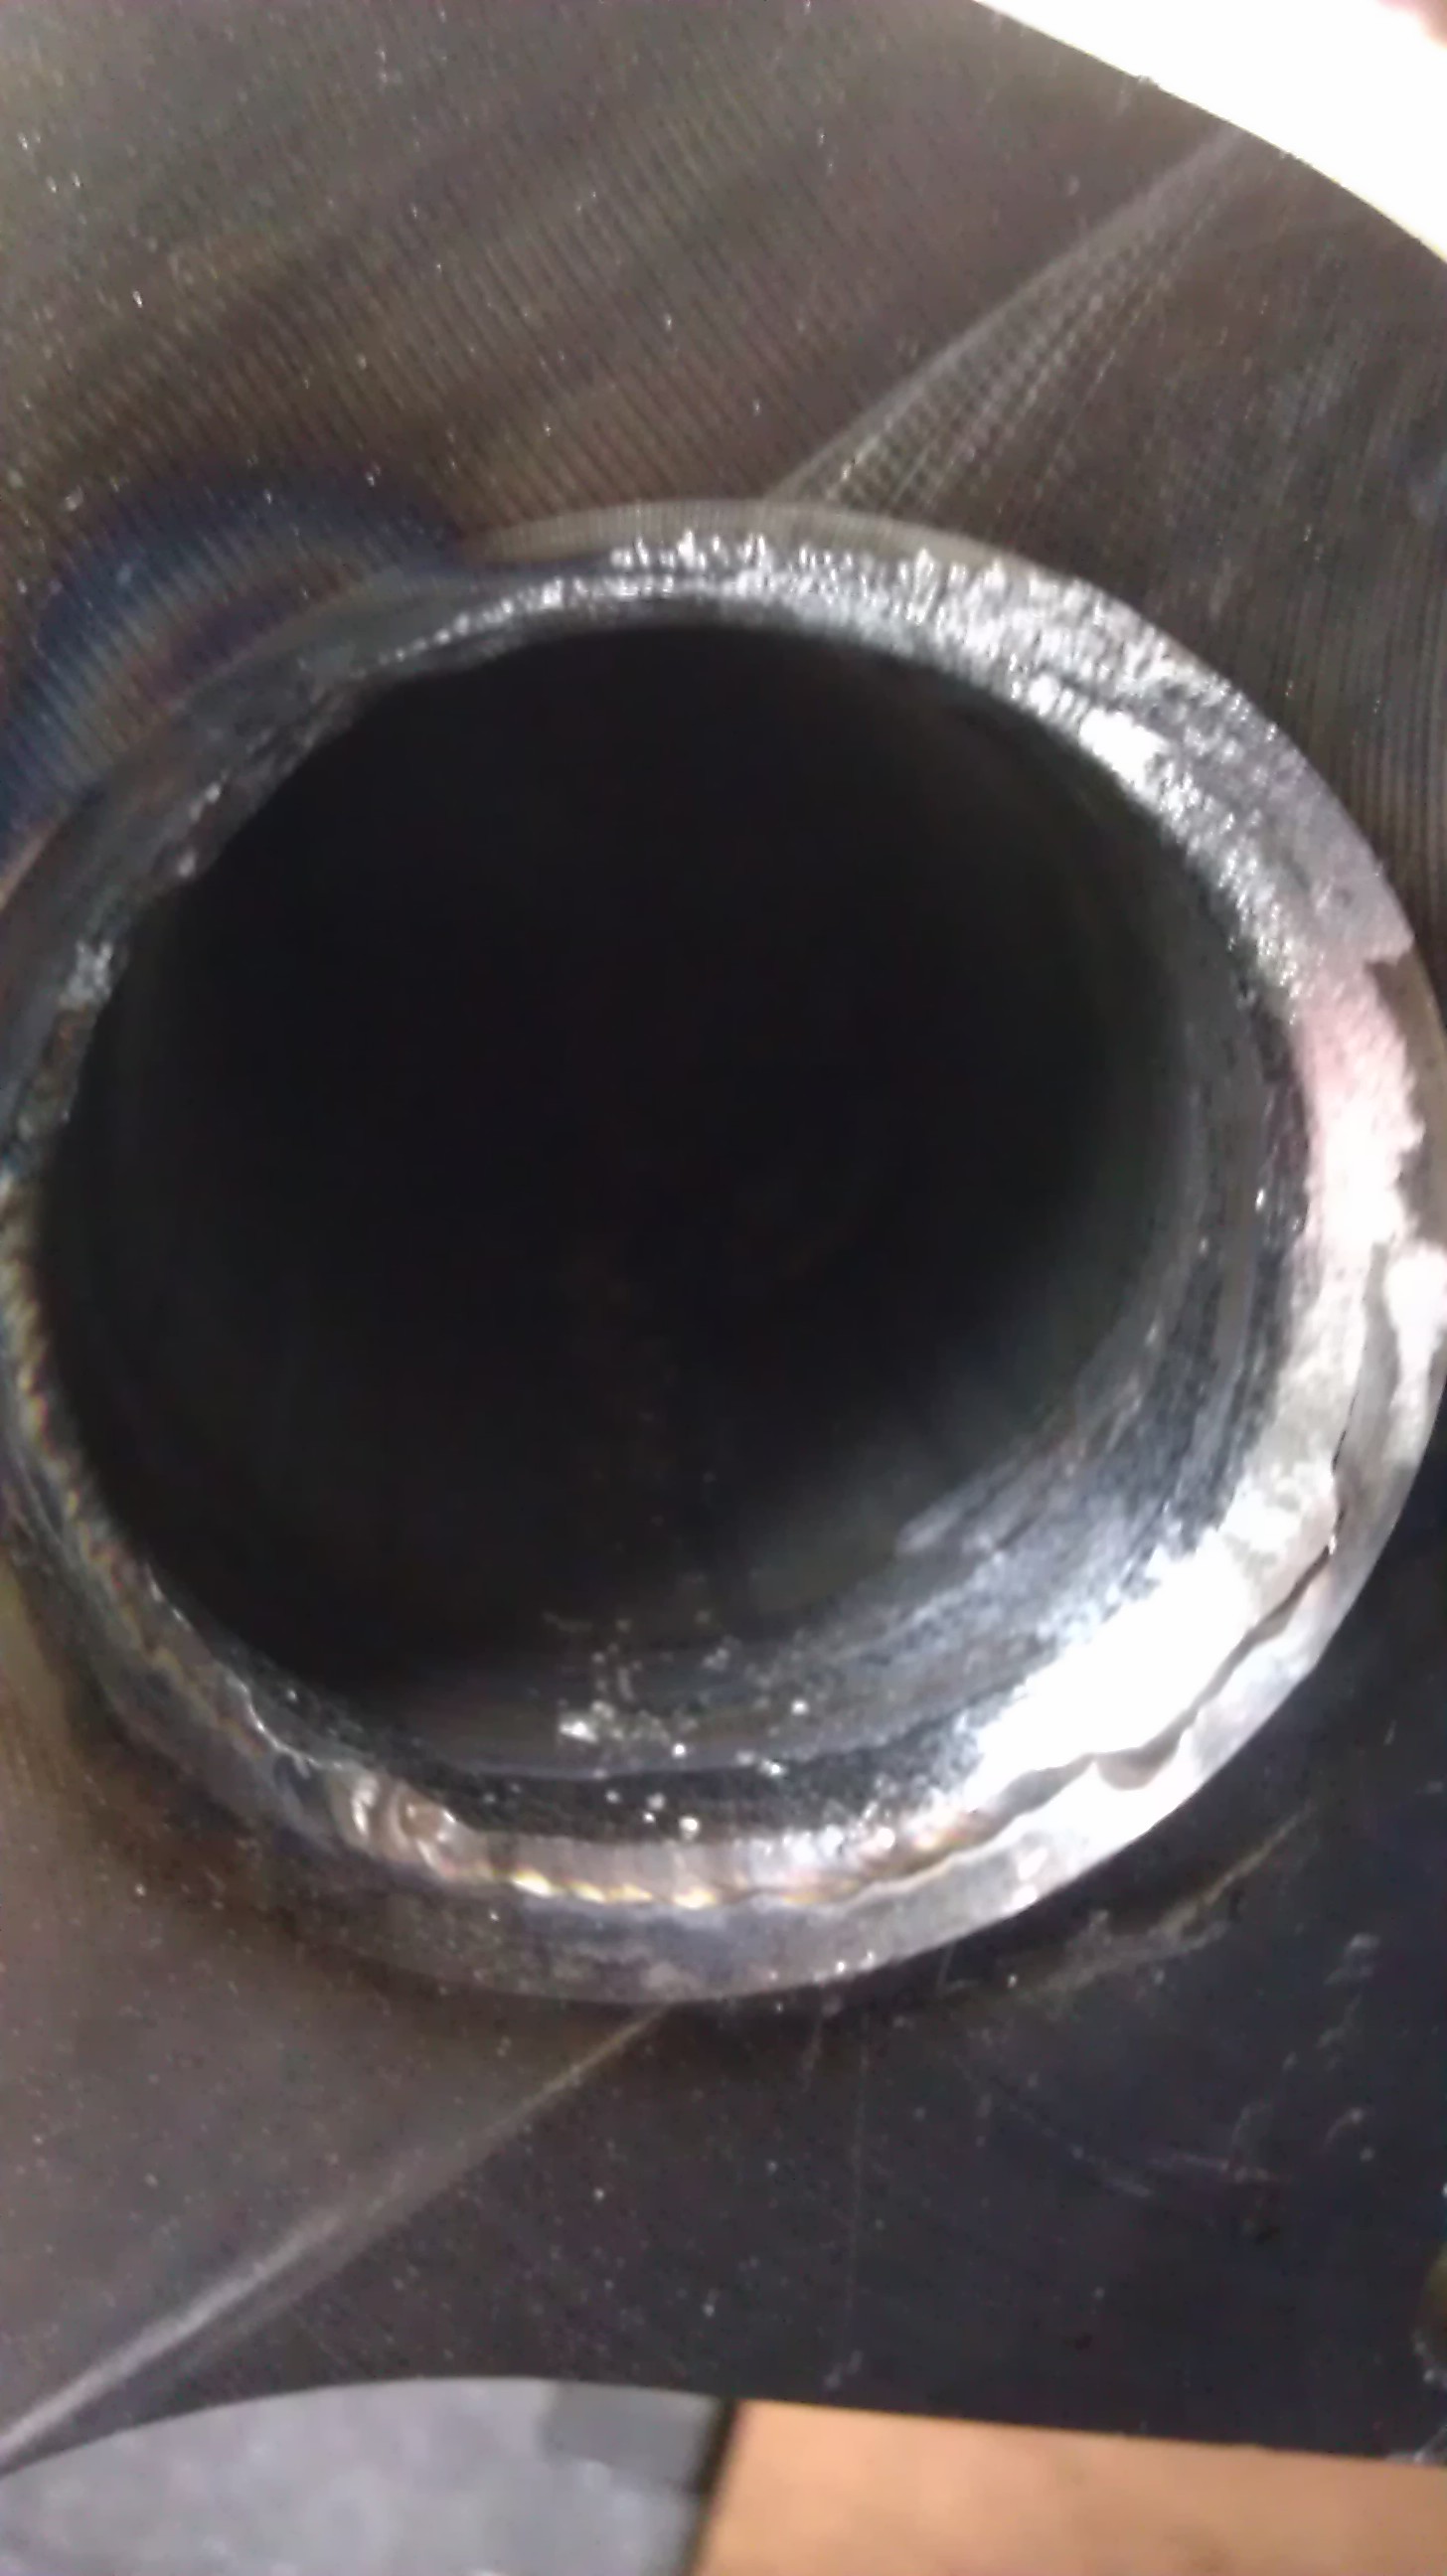
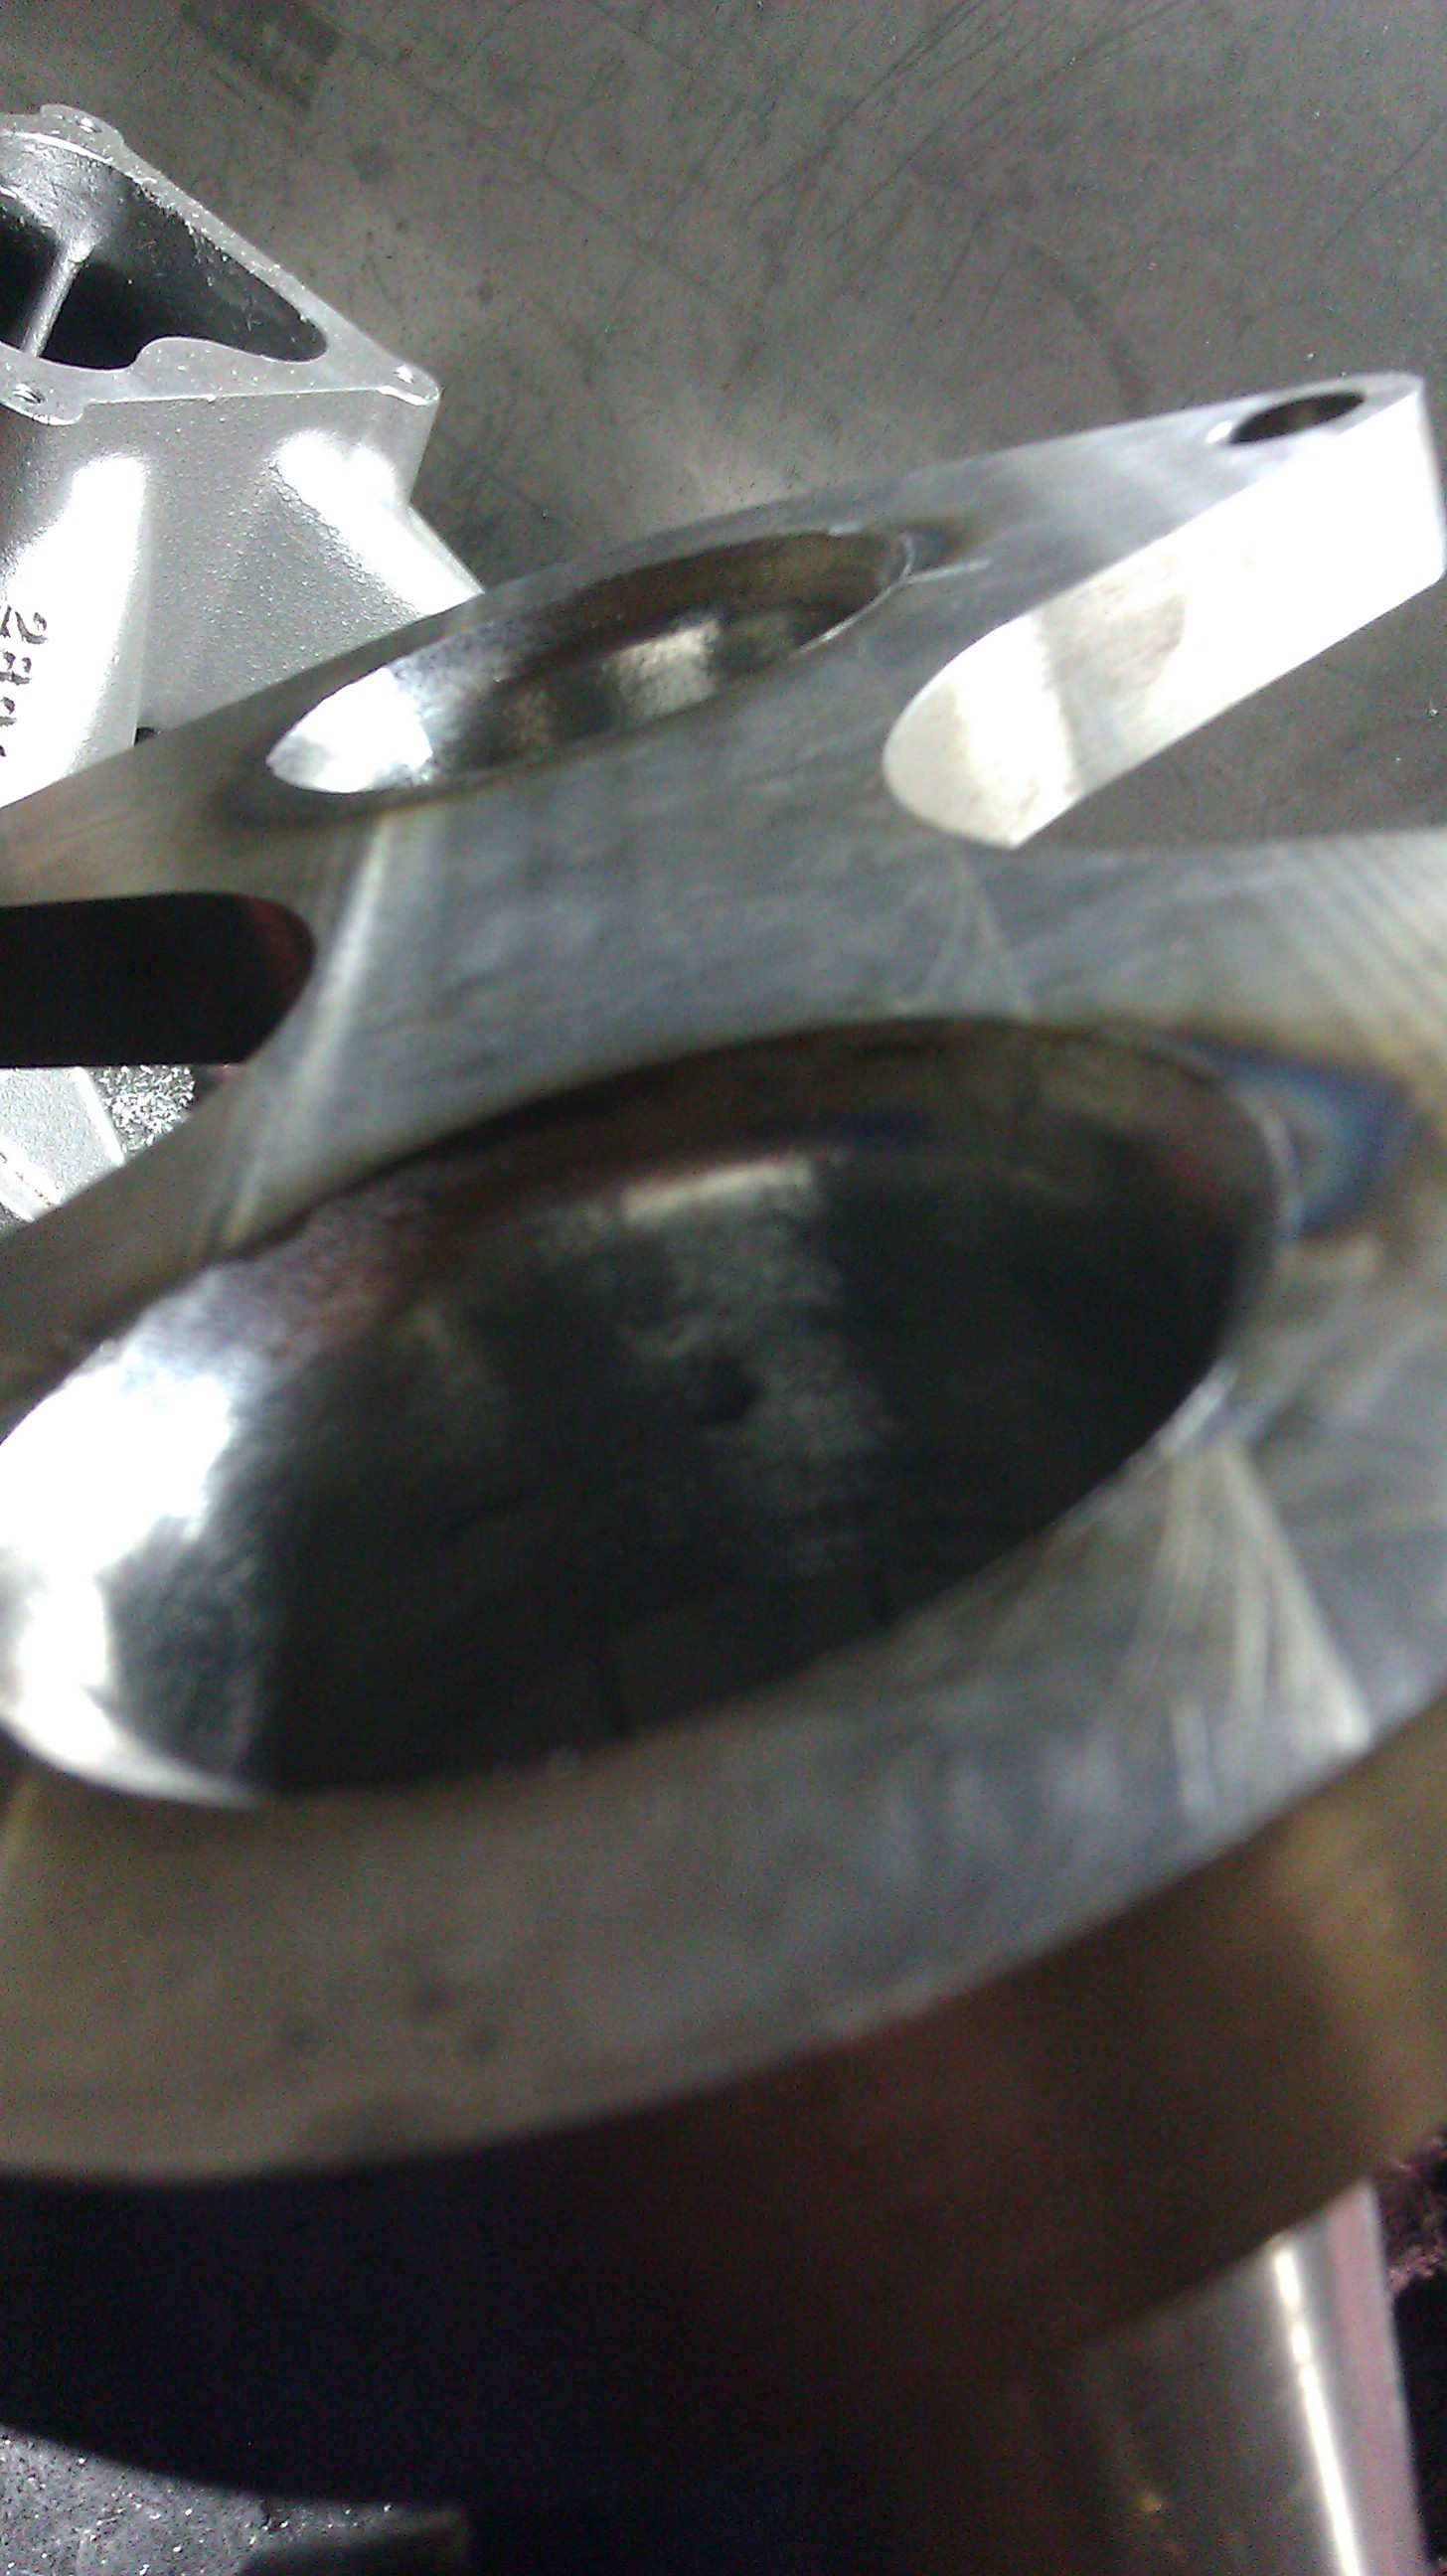
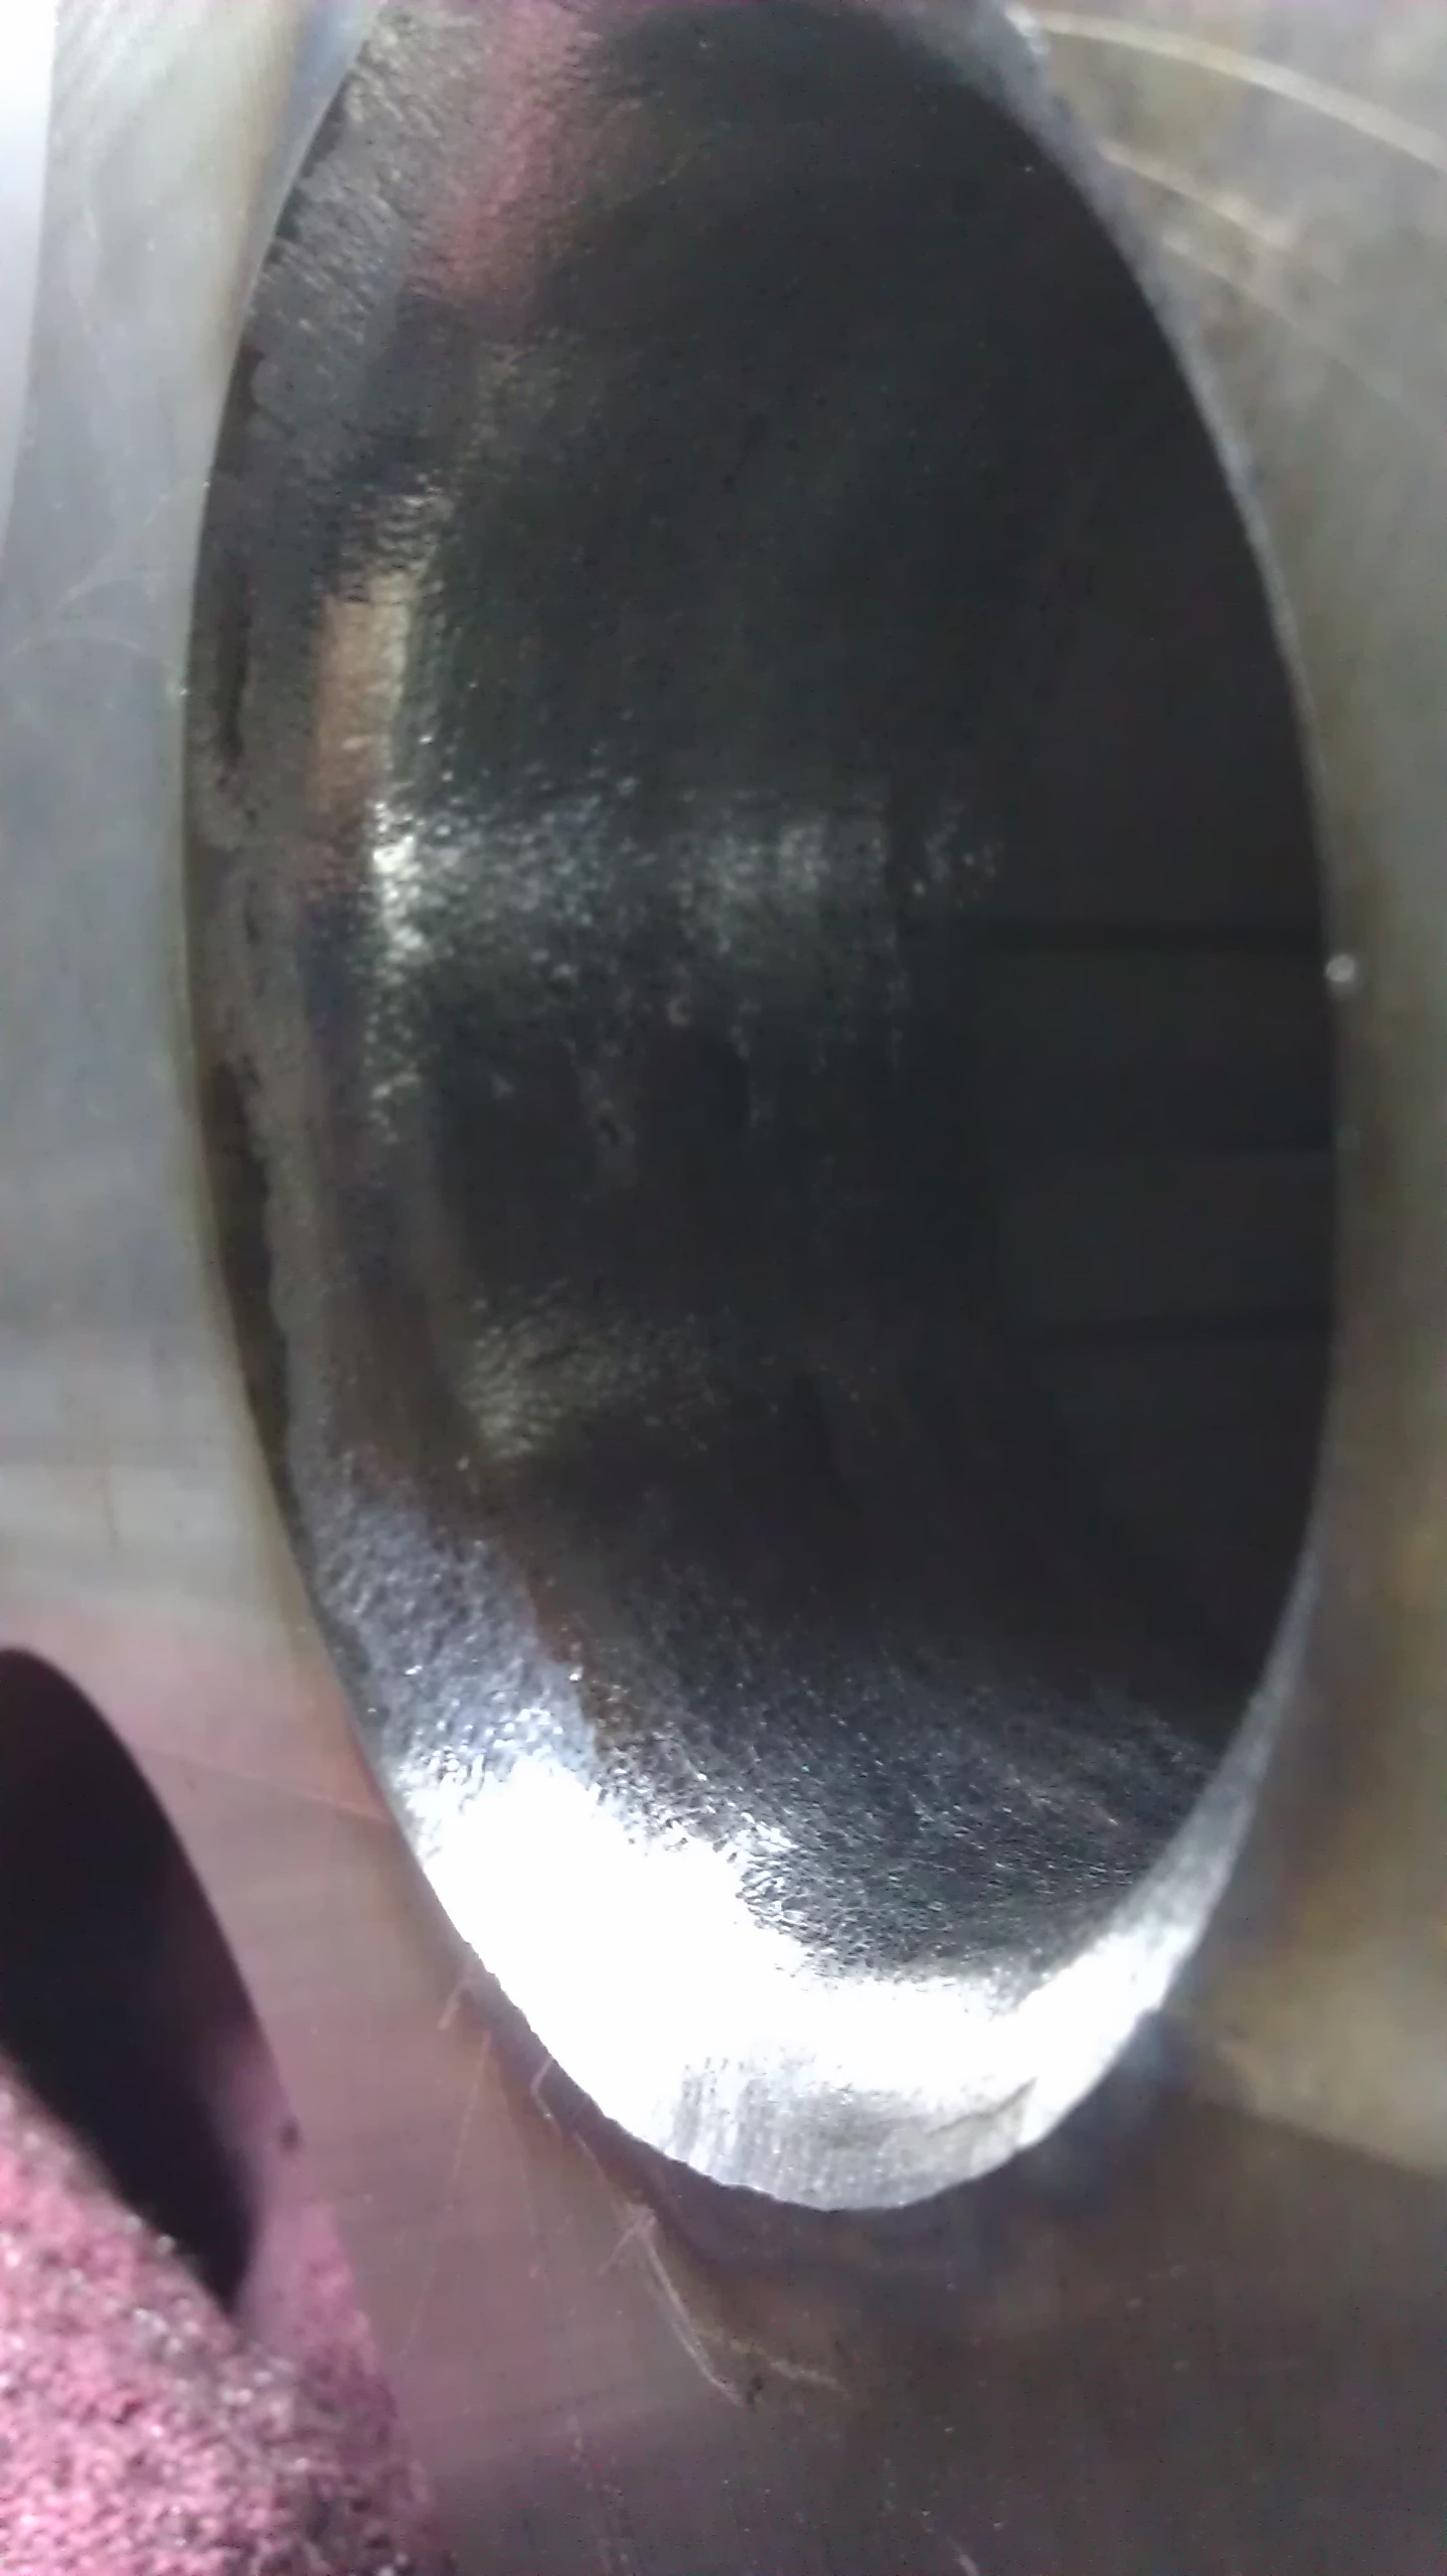
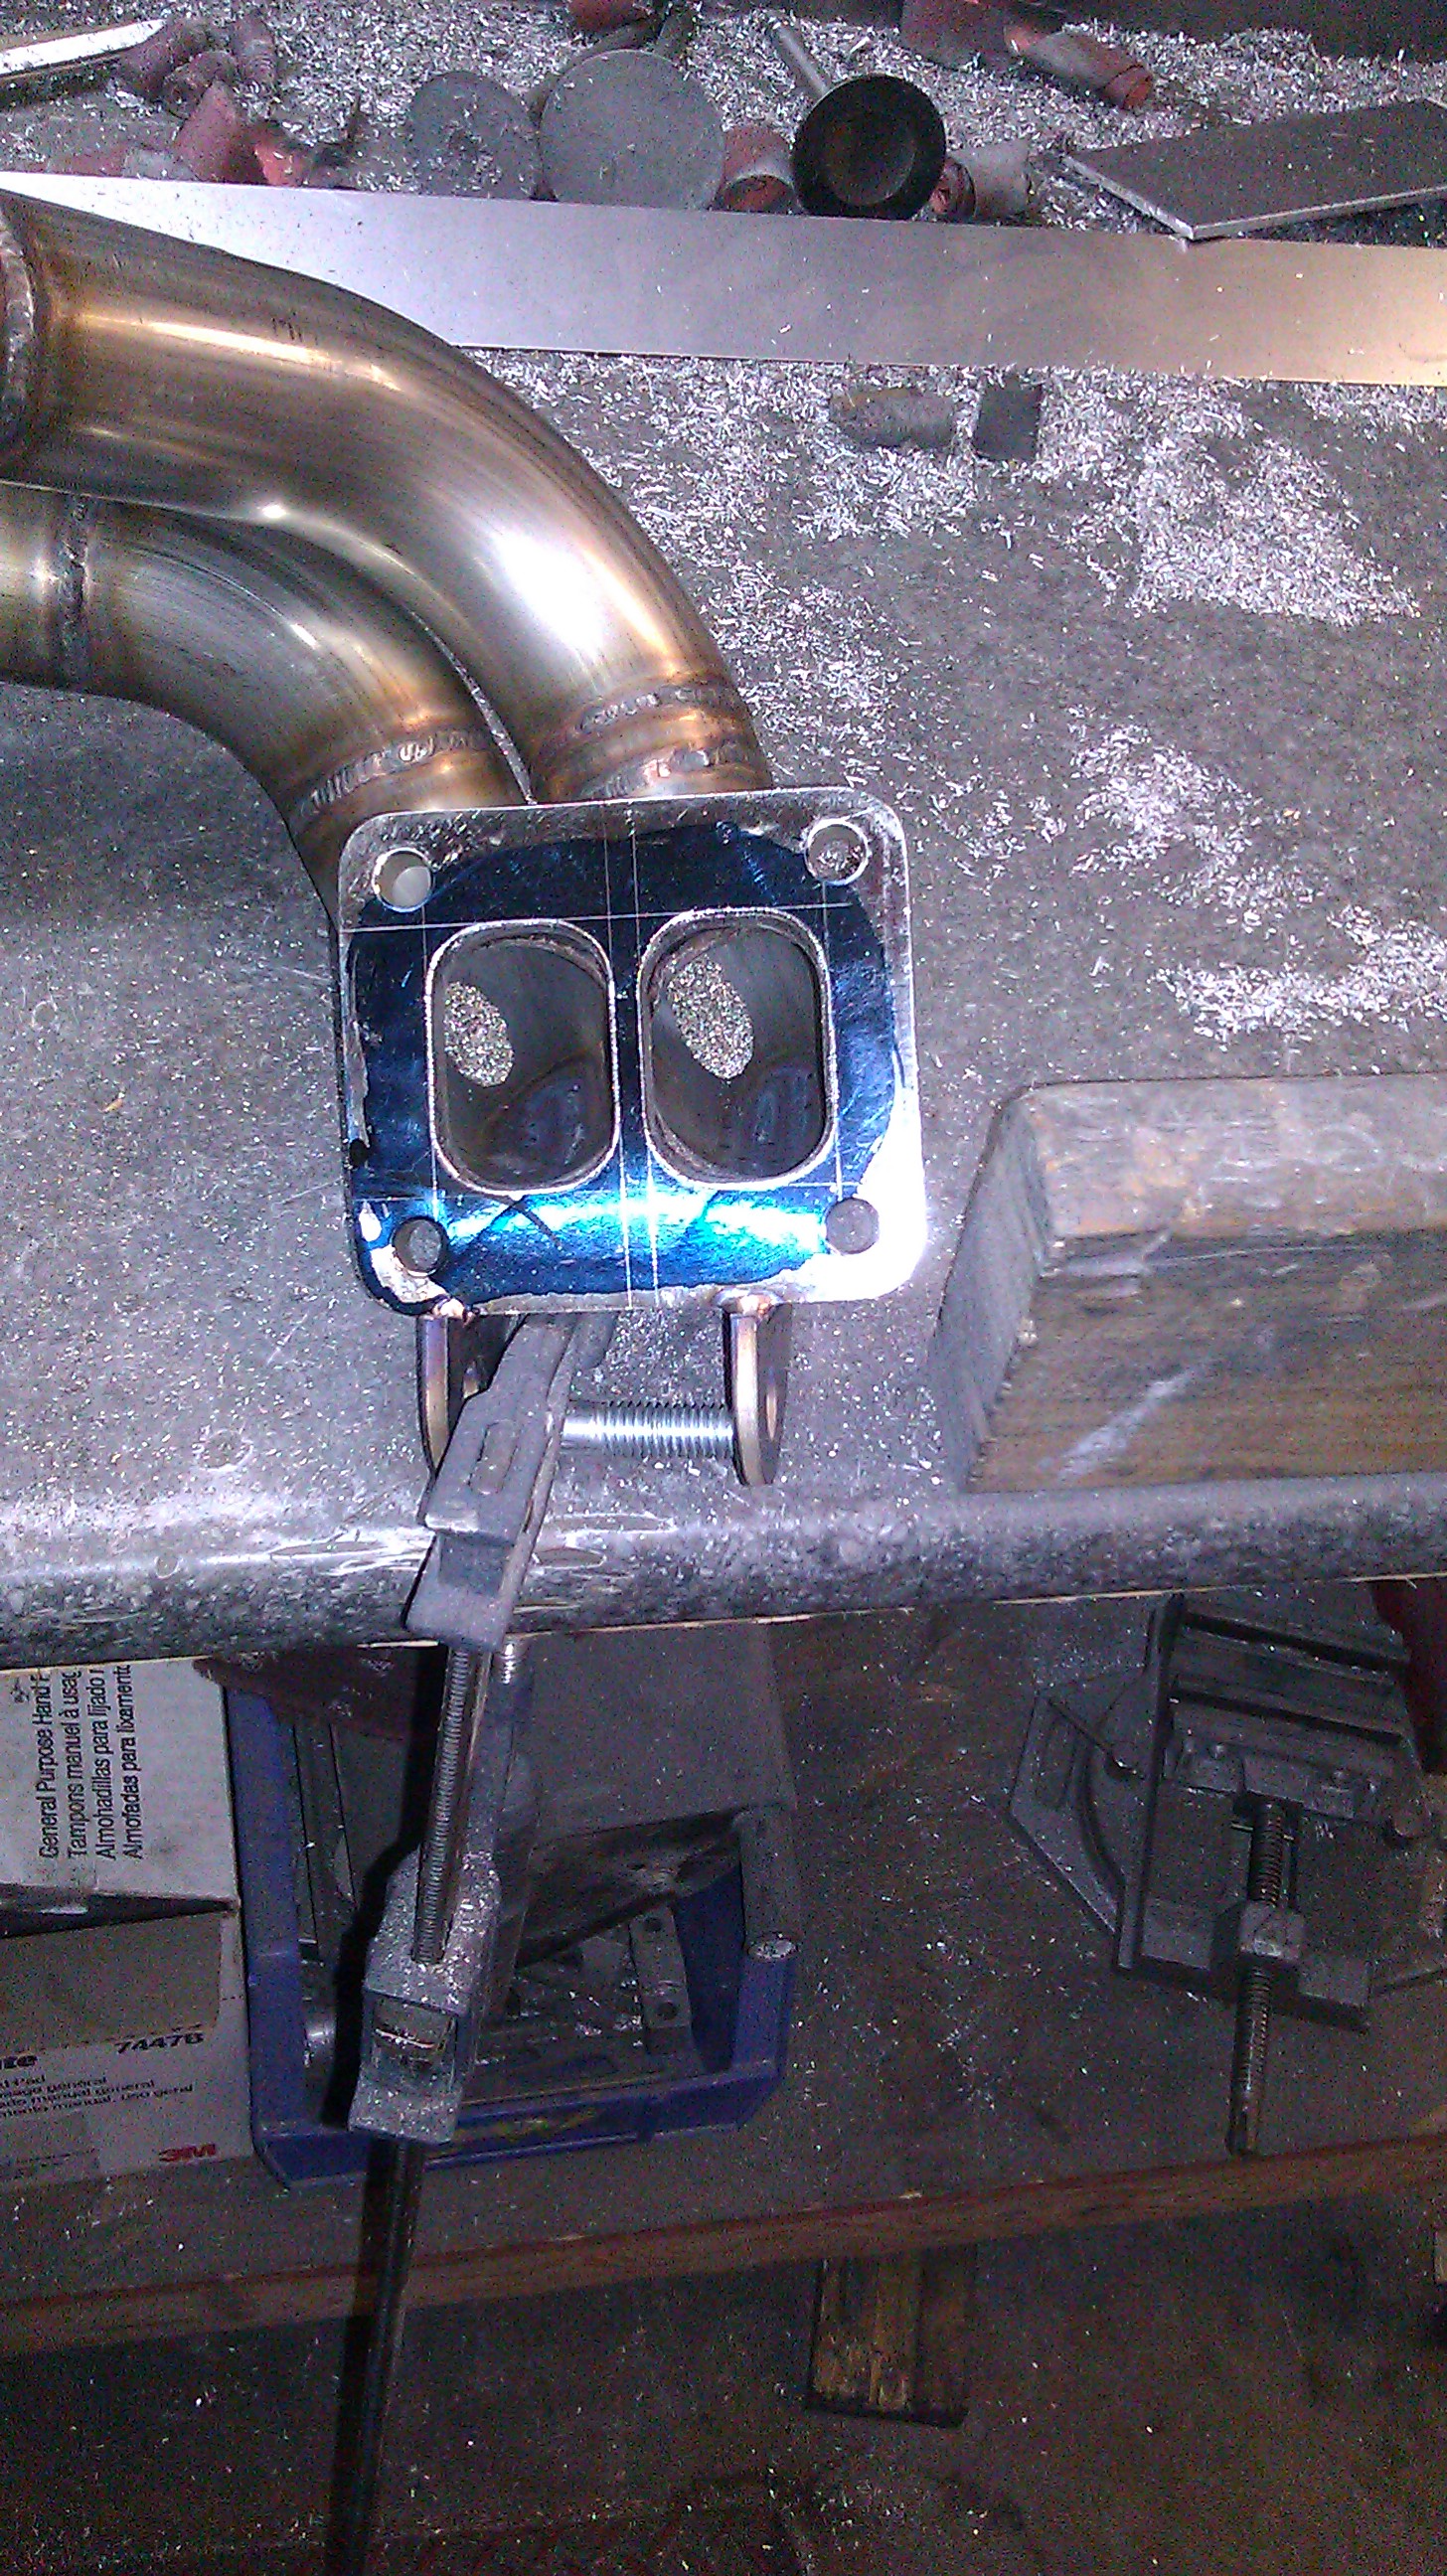
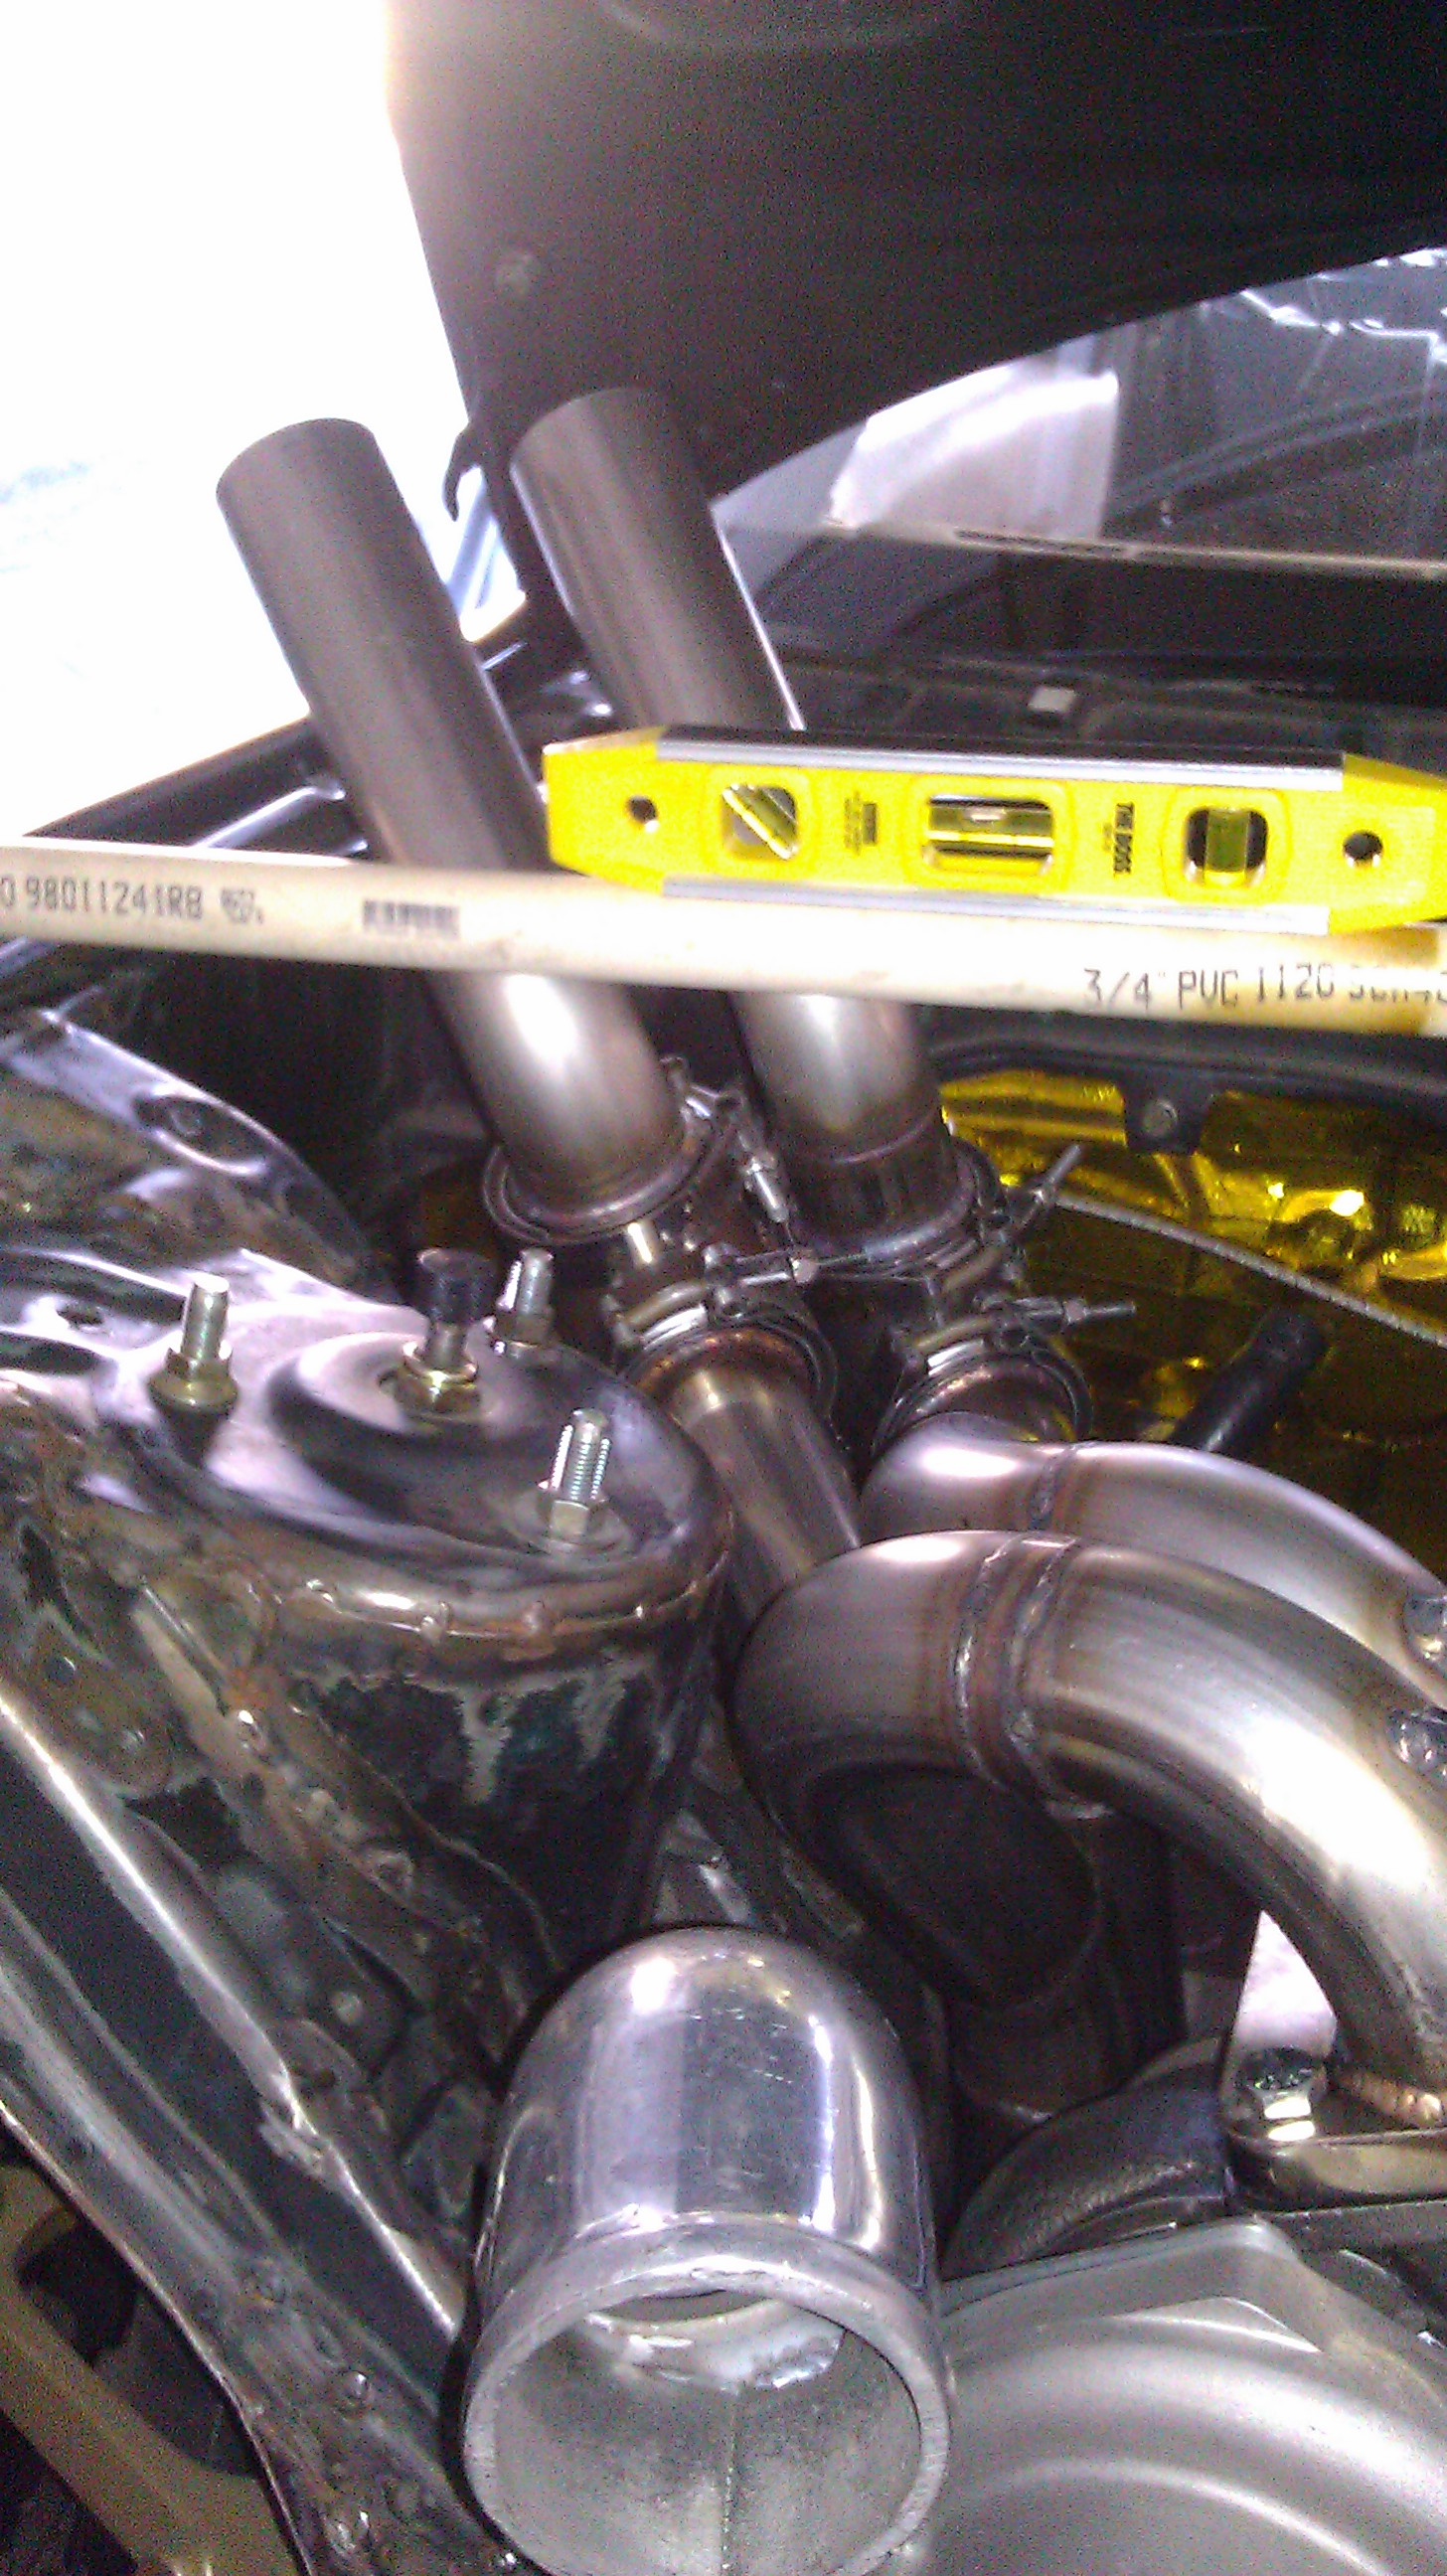
Finally got around to finishing up the manifold turbo flange..needed to be port matched to the divided housing. It was off alot. Don't have pics but it was off almost a 16th of an inch on the right side of each divided port..if that makes sense.
THis is finished though.
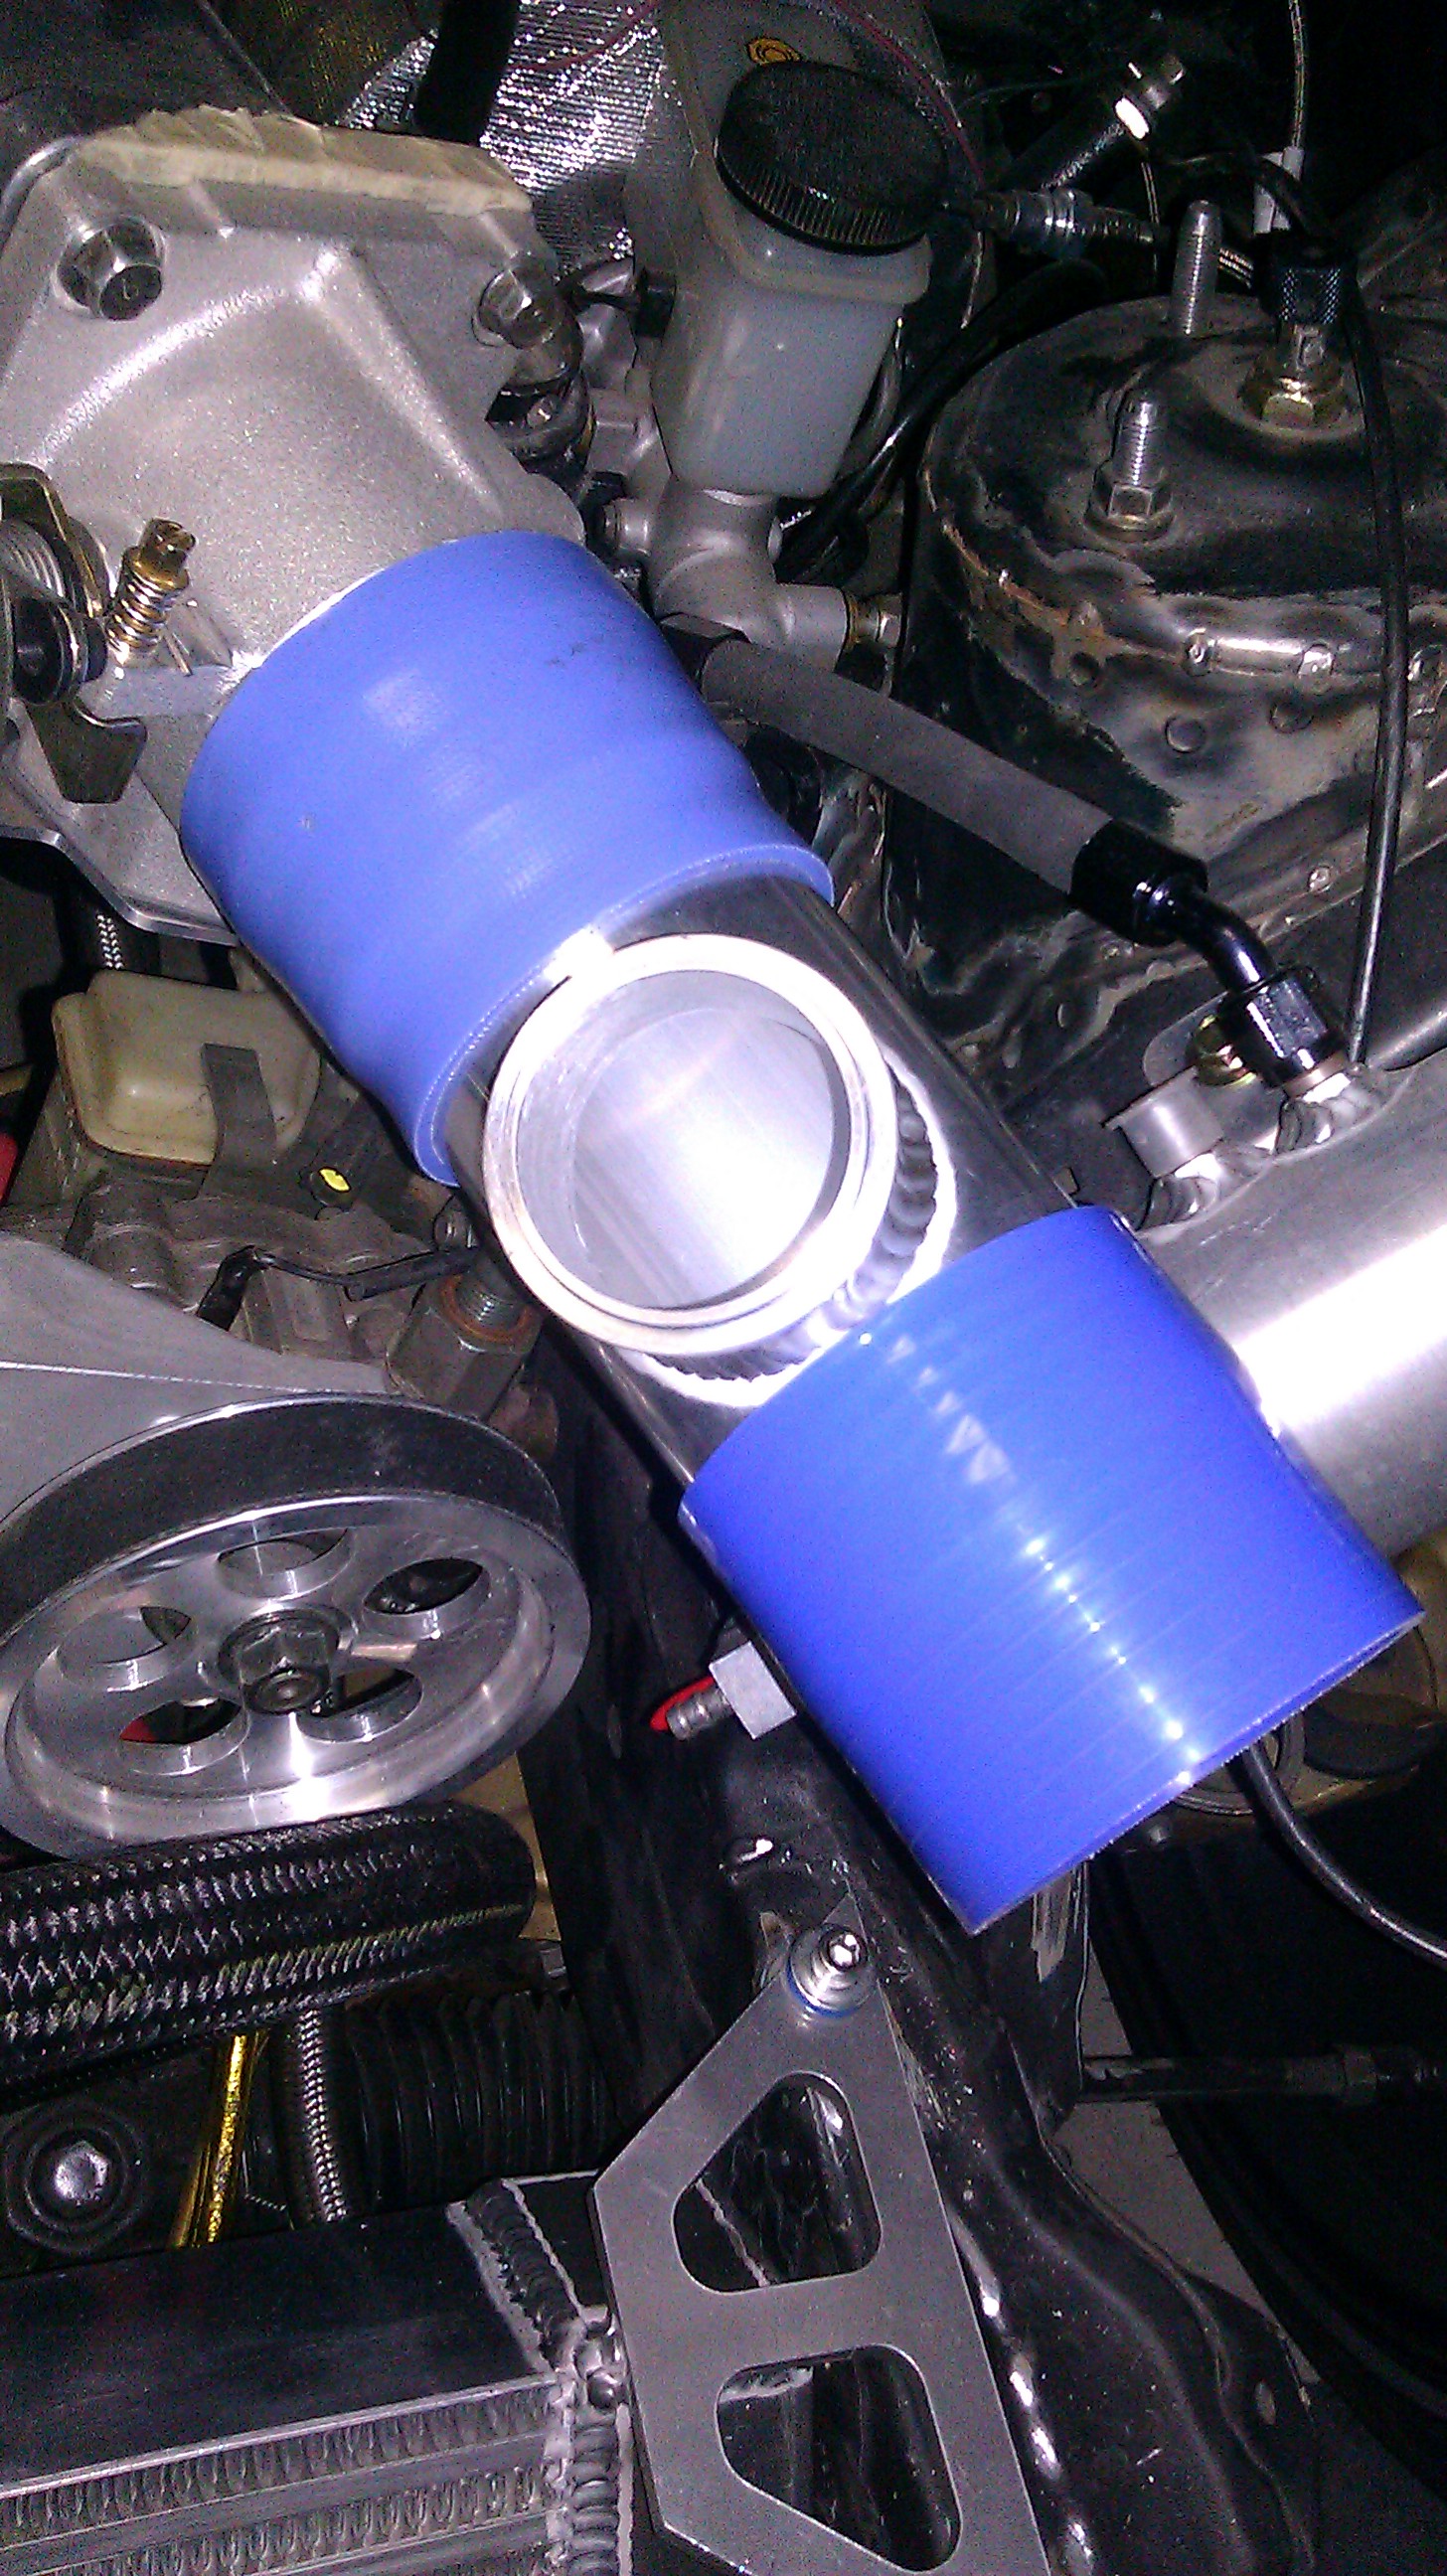
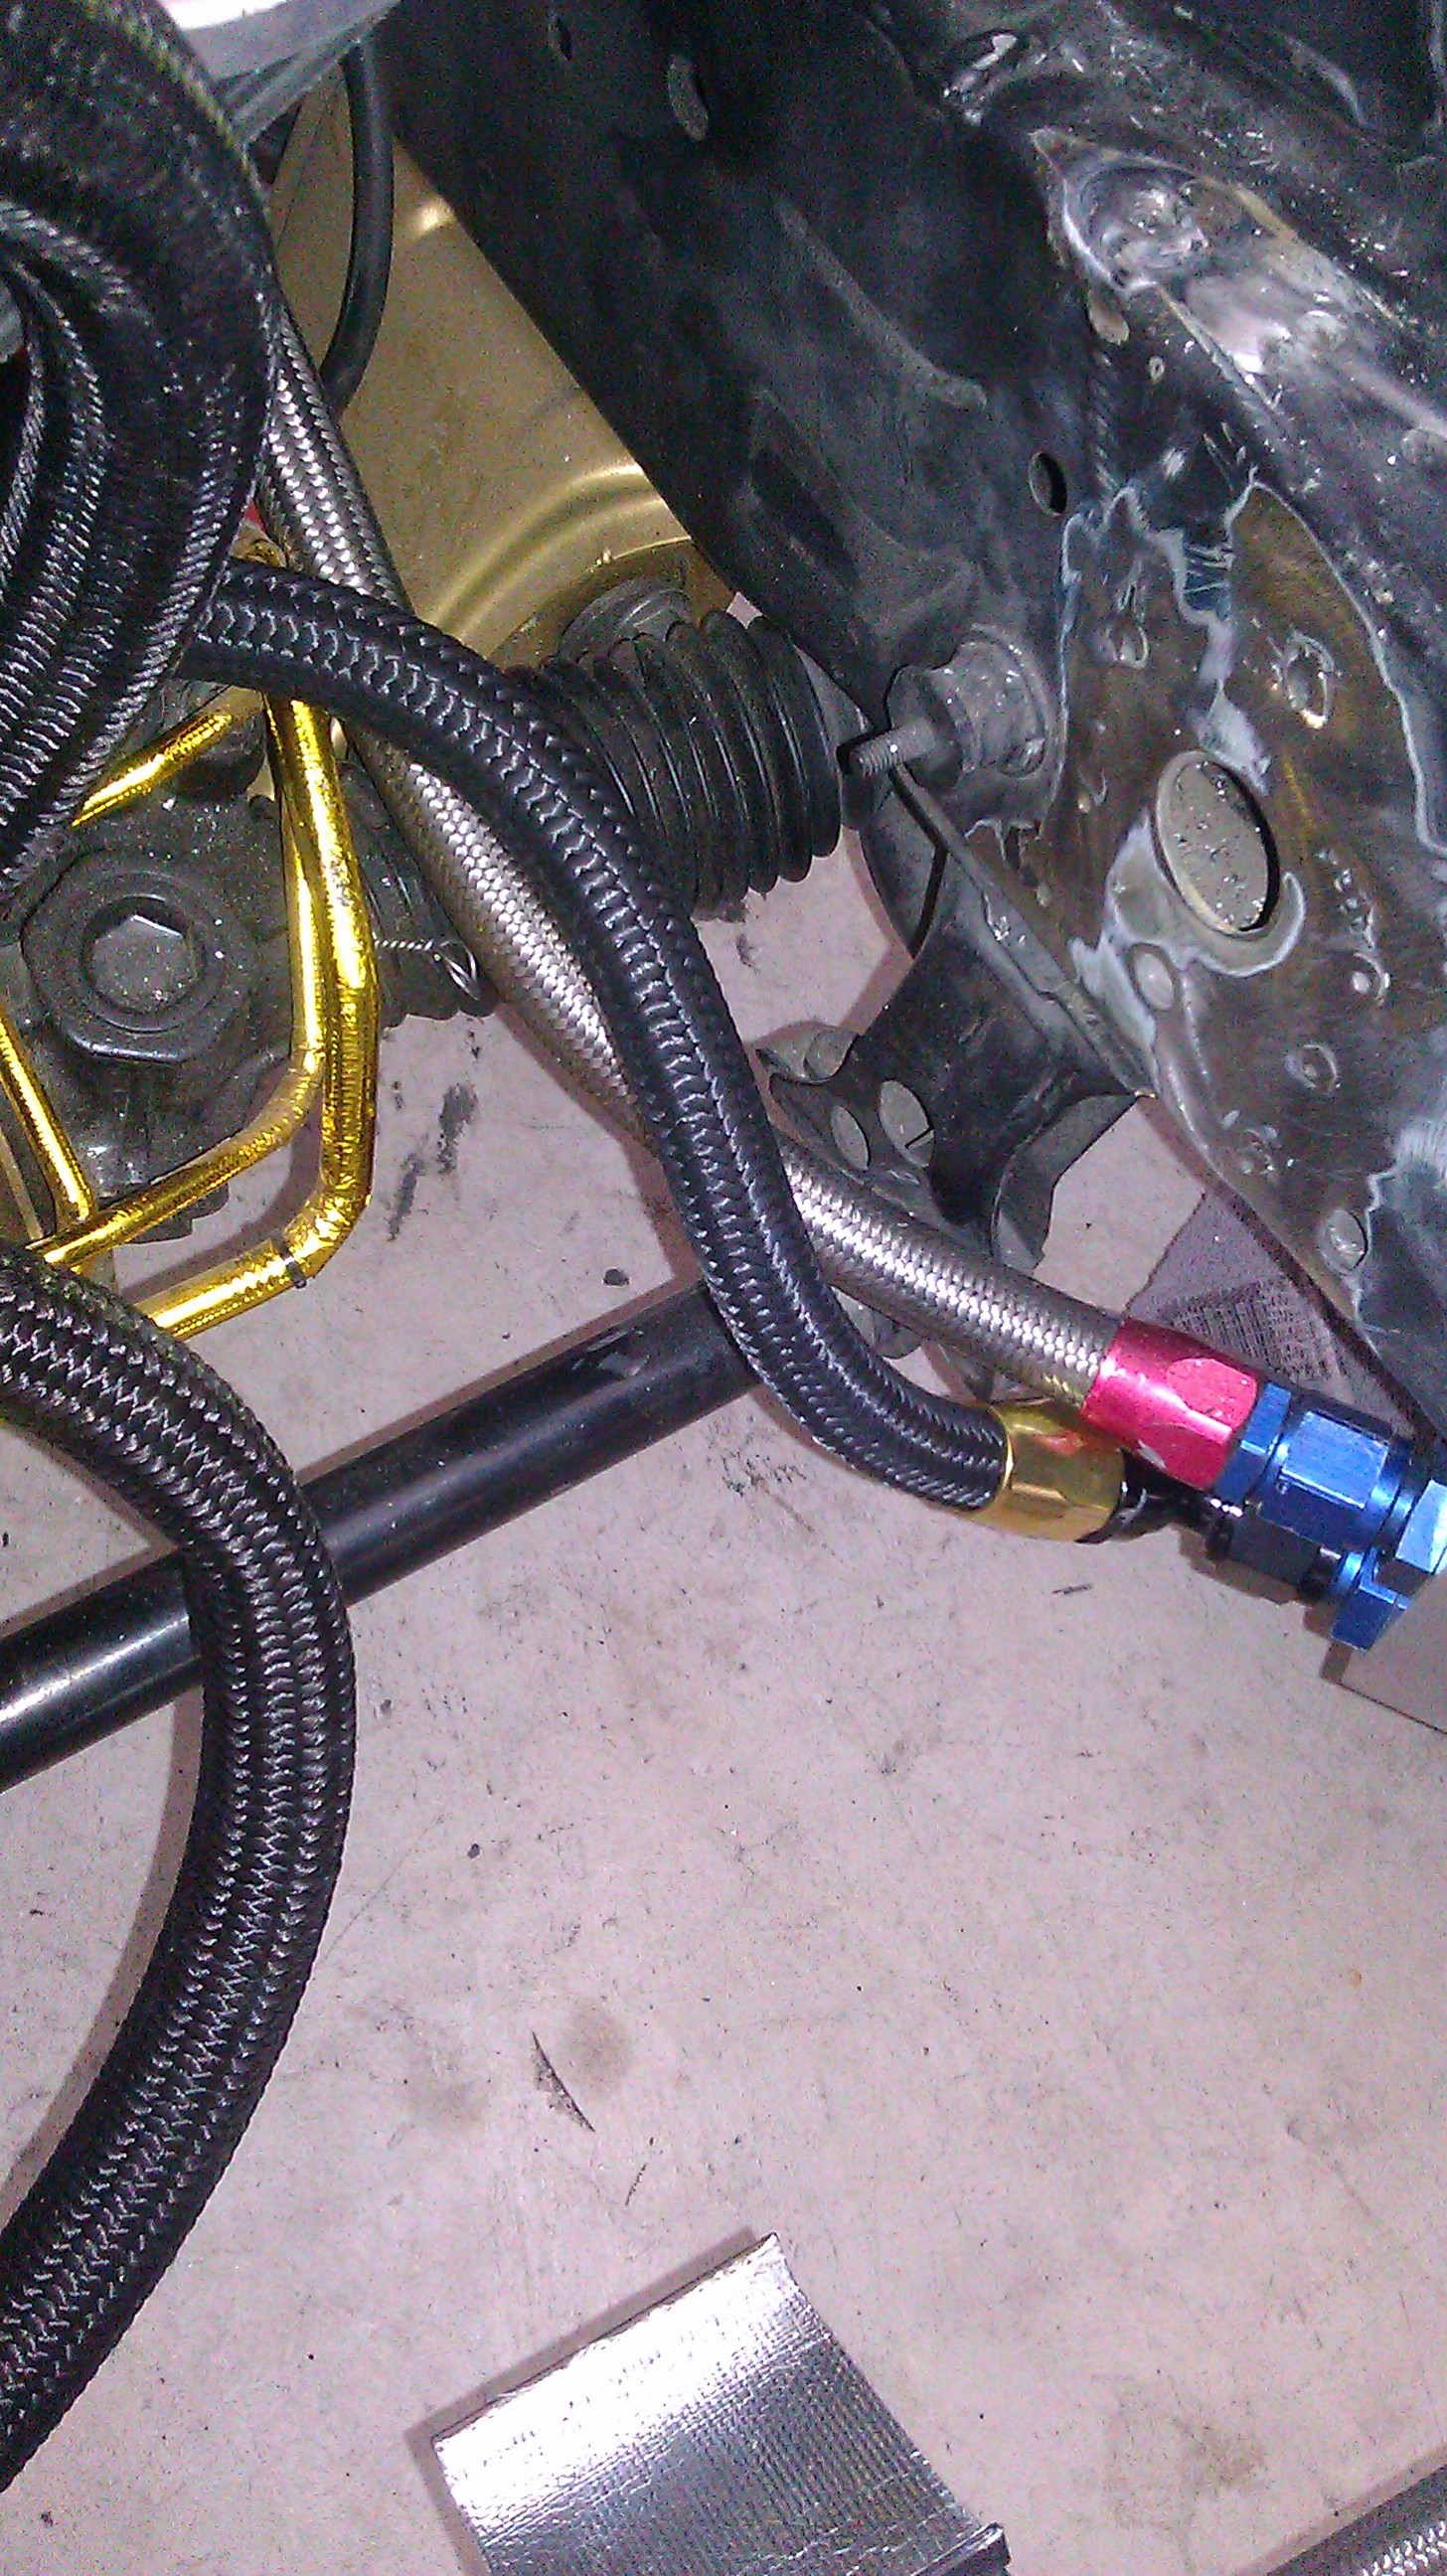
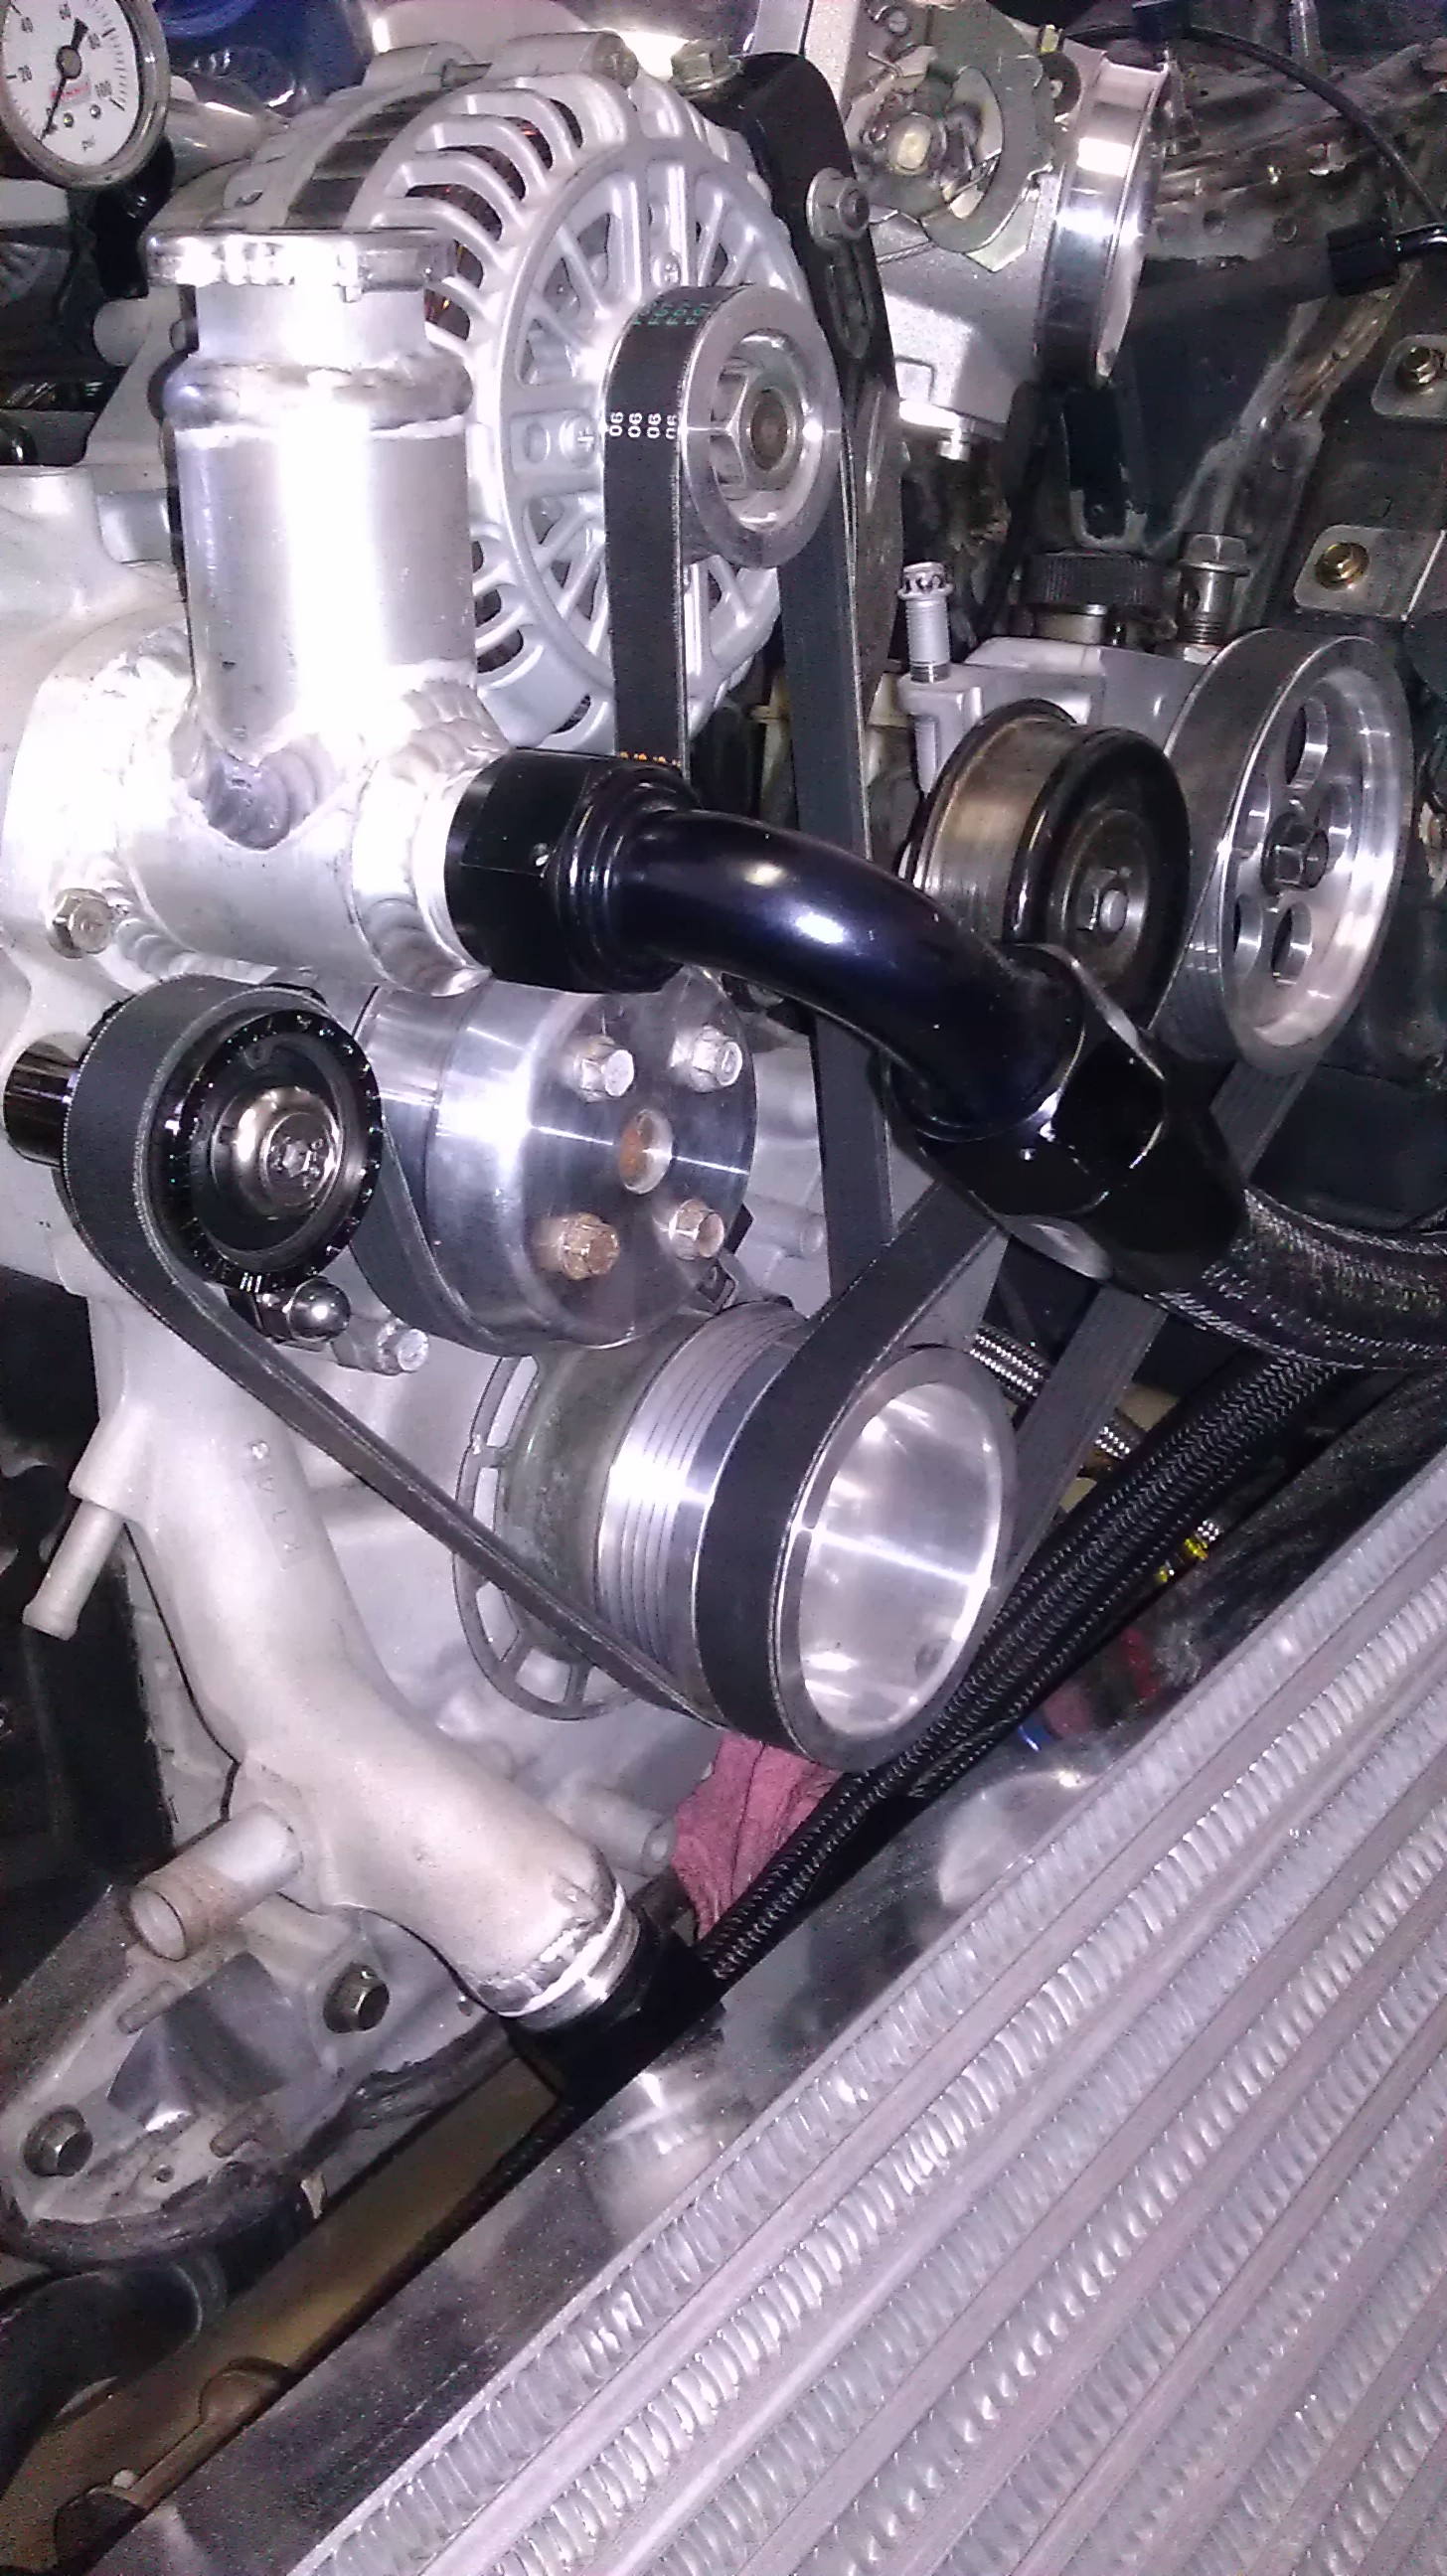
Got the adapter for my power steering line... no more banjo oem line!!

out with the old in with the new!!
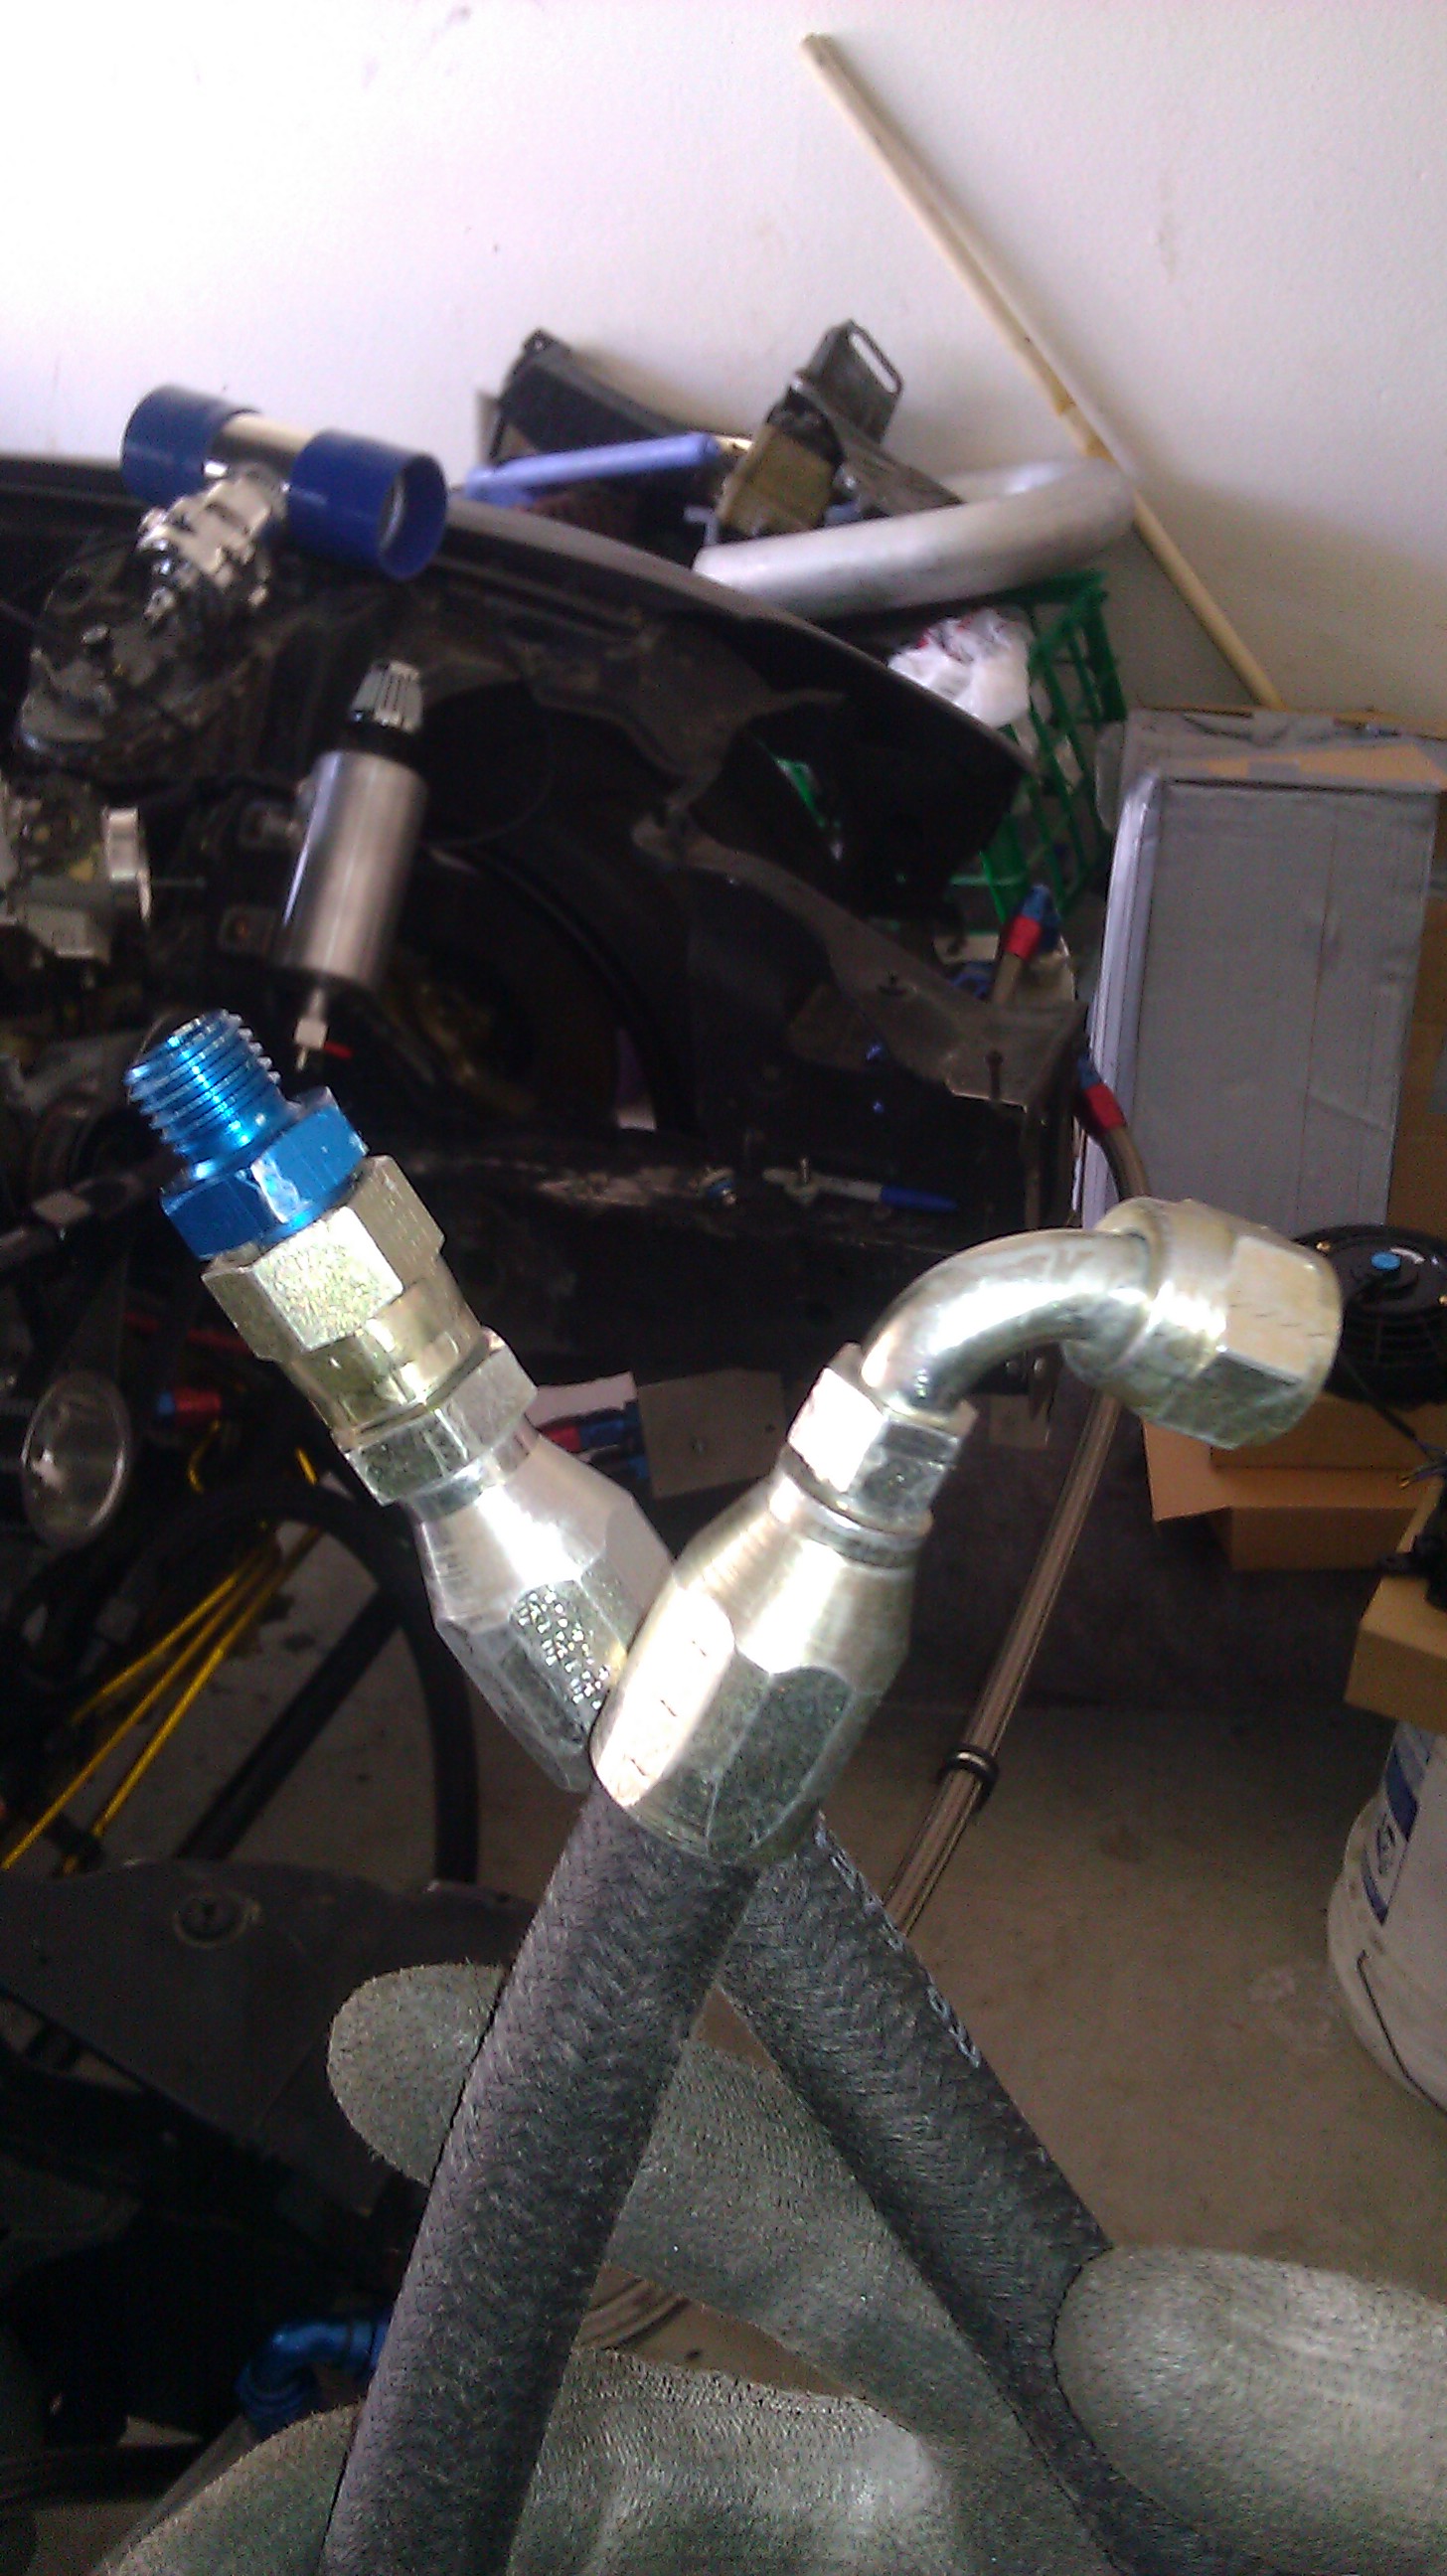
installed
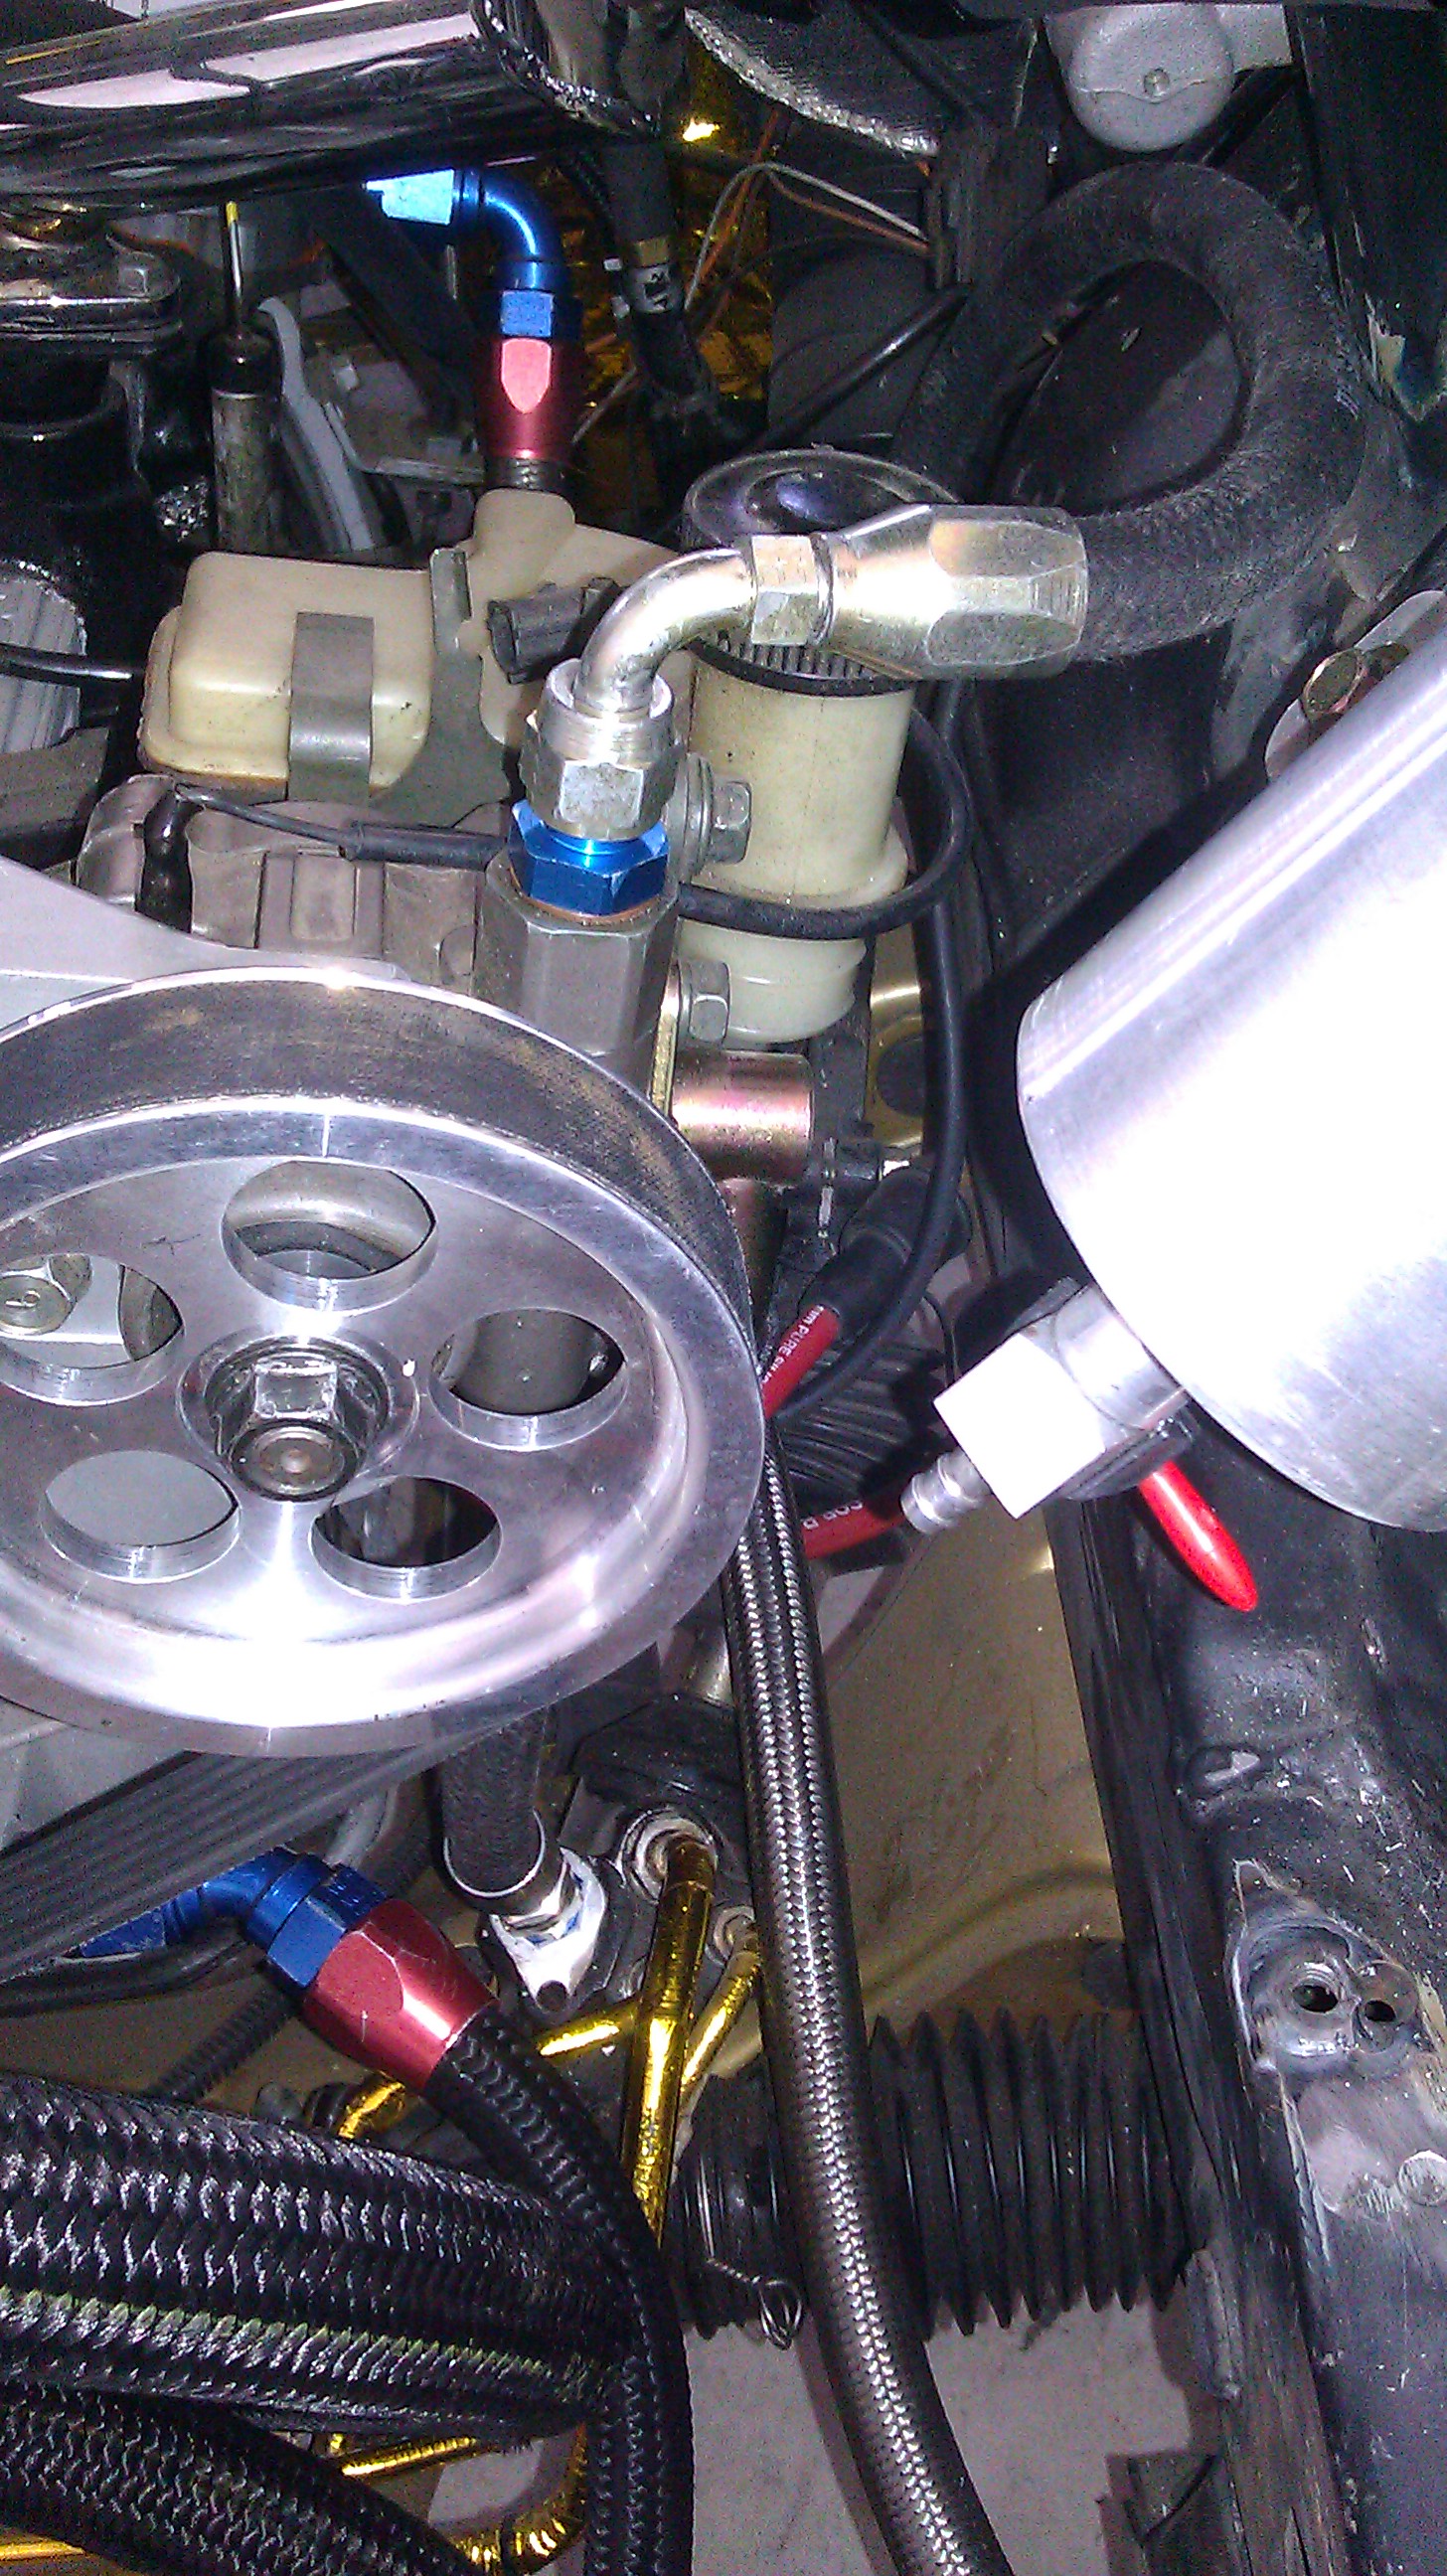
also put a AN plug in the bottom of my UIM...been putting this off for far too long..
This is always a good sign!!
good stuff!
Needed to re-make the oil line for my oil coolers that went from the motor to my thermostat
..came out good!
Finally got around to finishing up the manifold turbo flange..needed to be port matched to the divided housing. It was off alot. Don't have pics but it was off almost a 16th of an inch on the right side of each divided port..if that makes sense.
THis is finished though.
Got the adapter for my power steering line... no more banjo oem line!!
out with the old in with the new!!
installed
also put a AN plug in the bottom of my UIM...been putting this off for far too long..
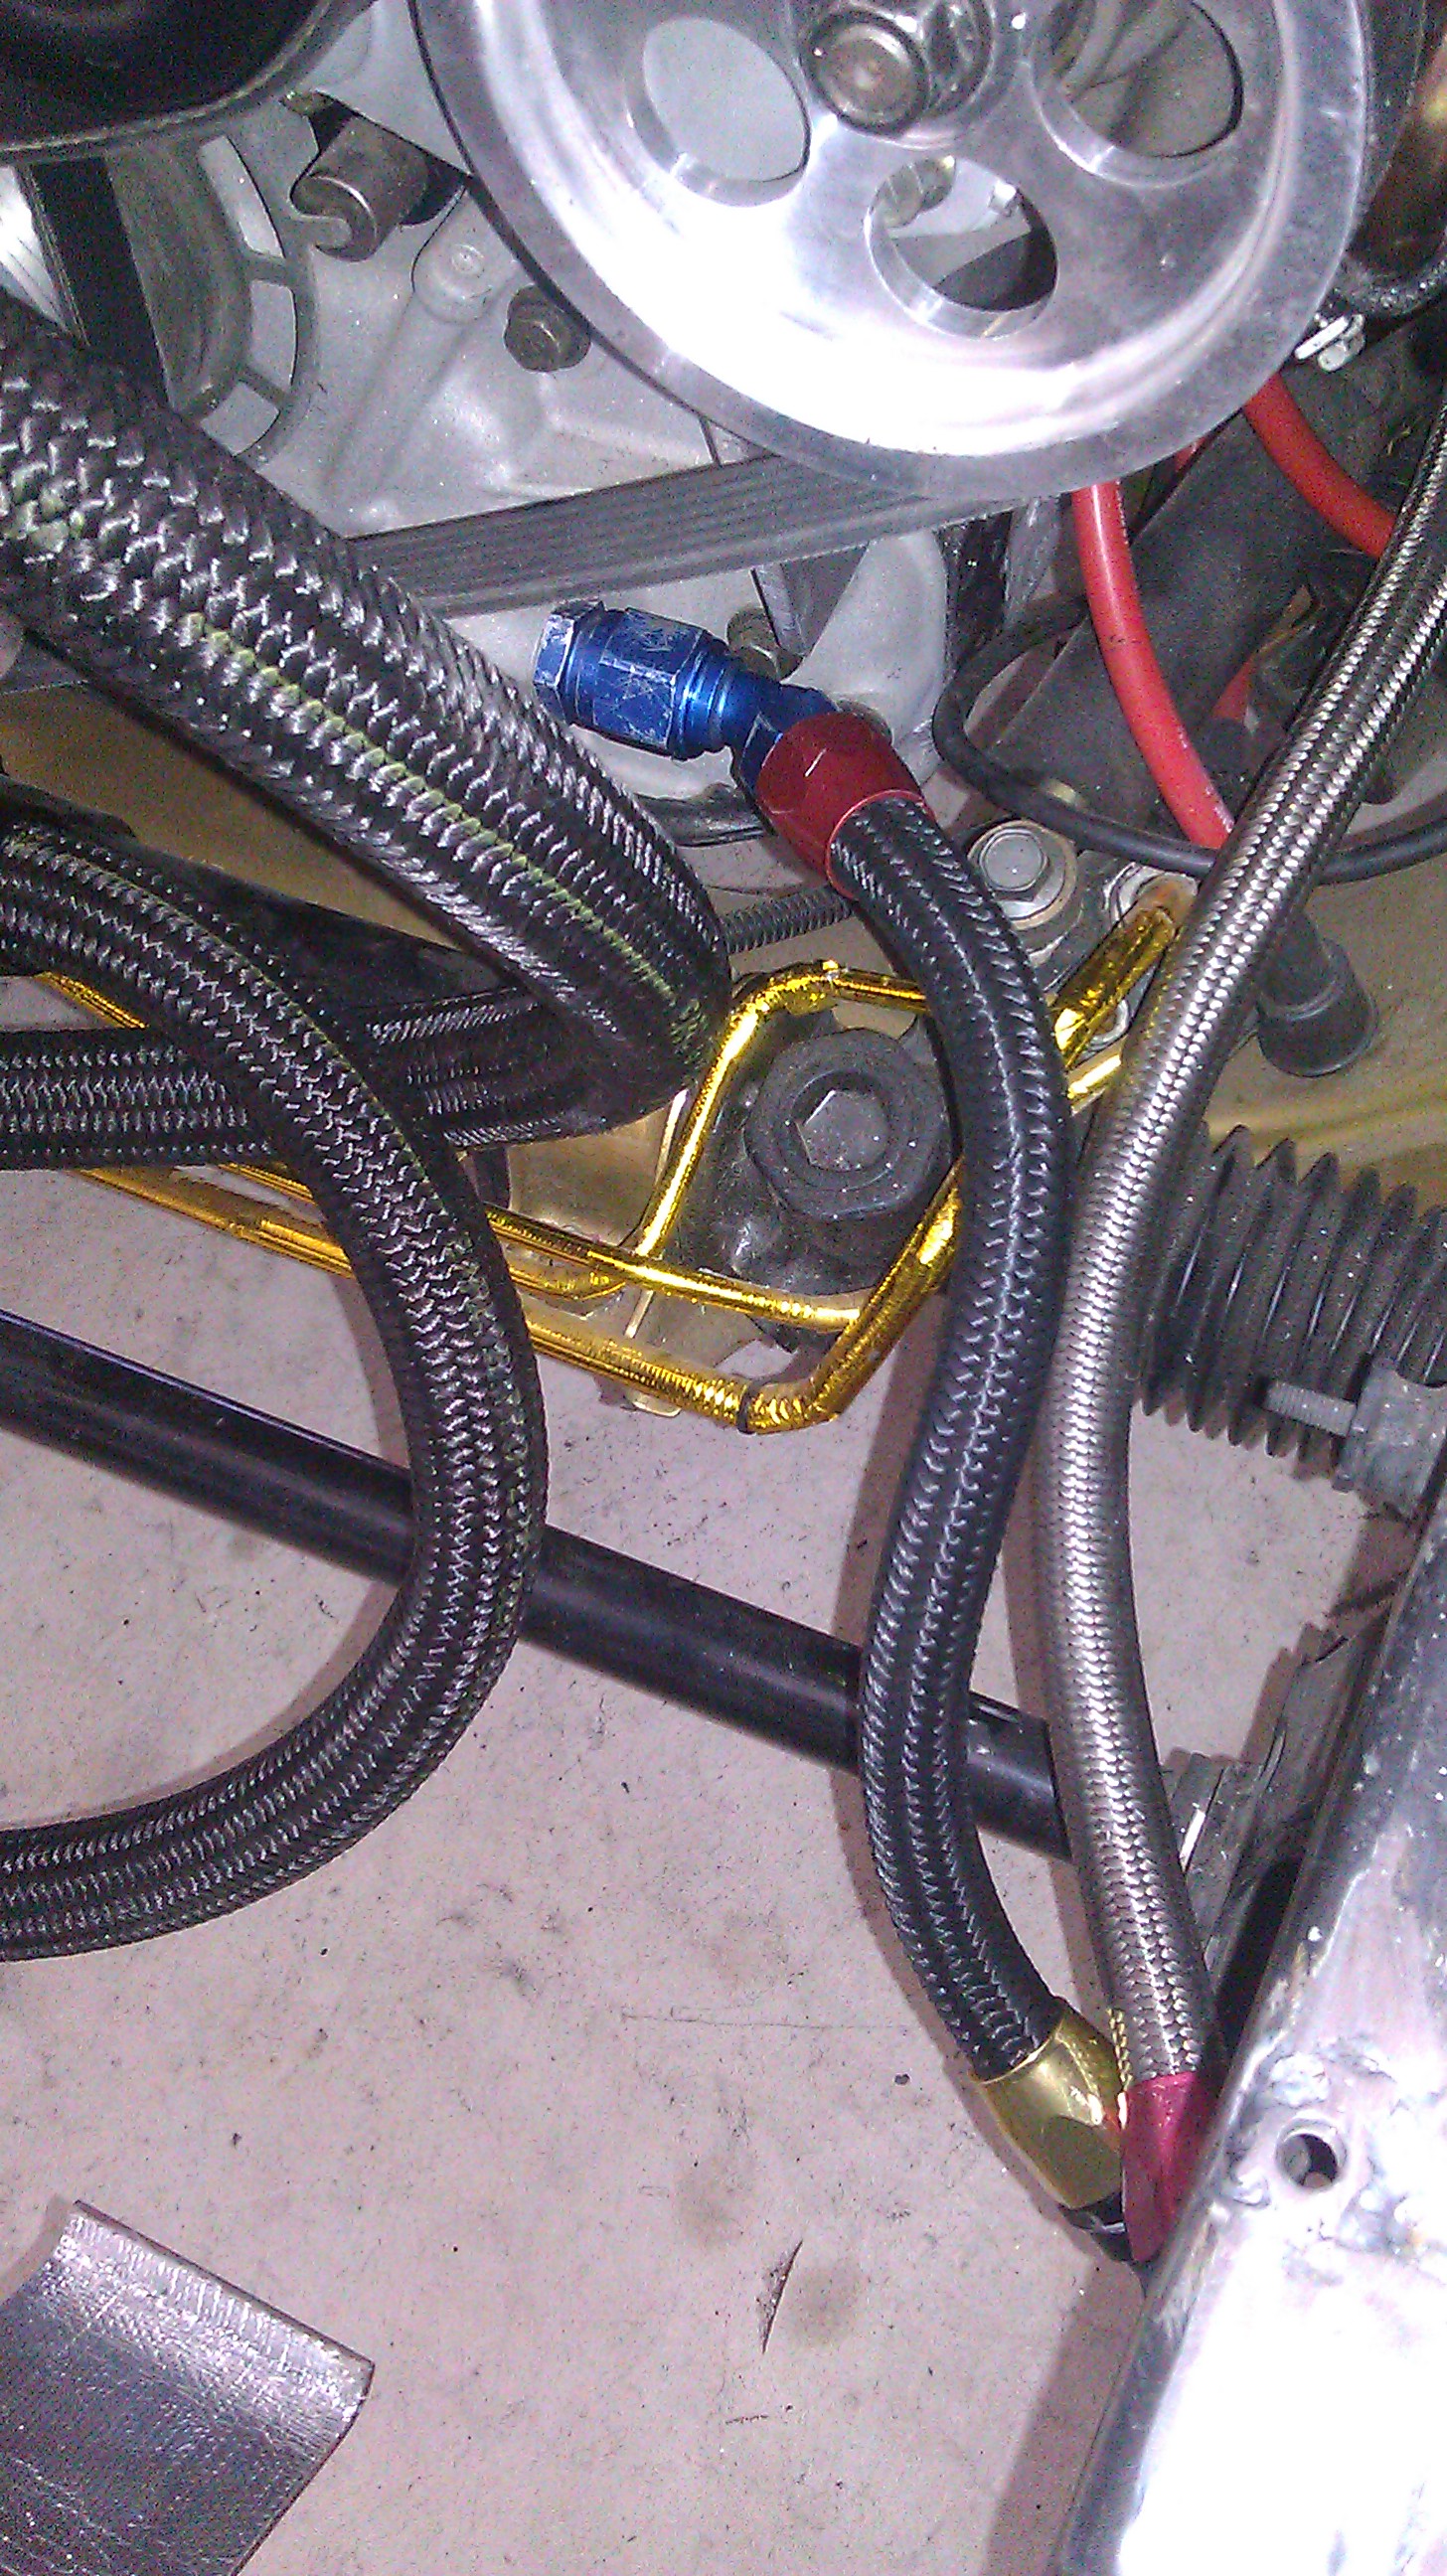
Also installed my Pineapple racing Idler pulley...got it for 145 SHIPPED!! BNIB!! excellent used item deal!!
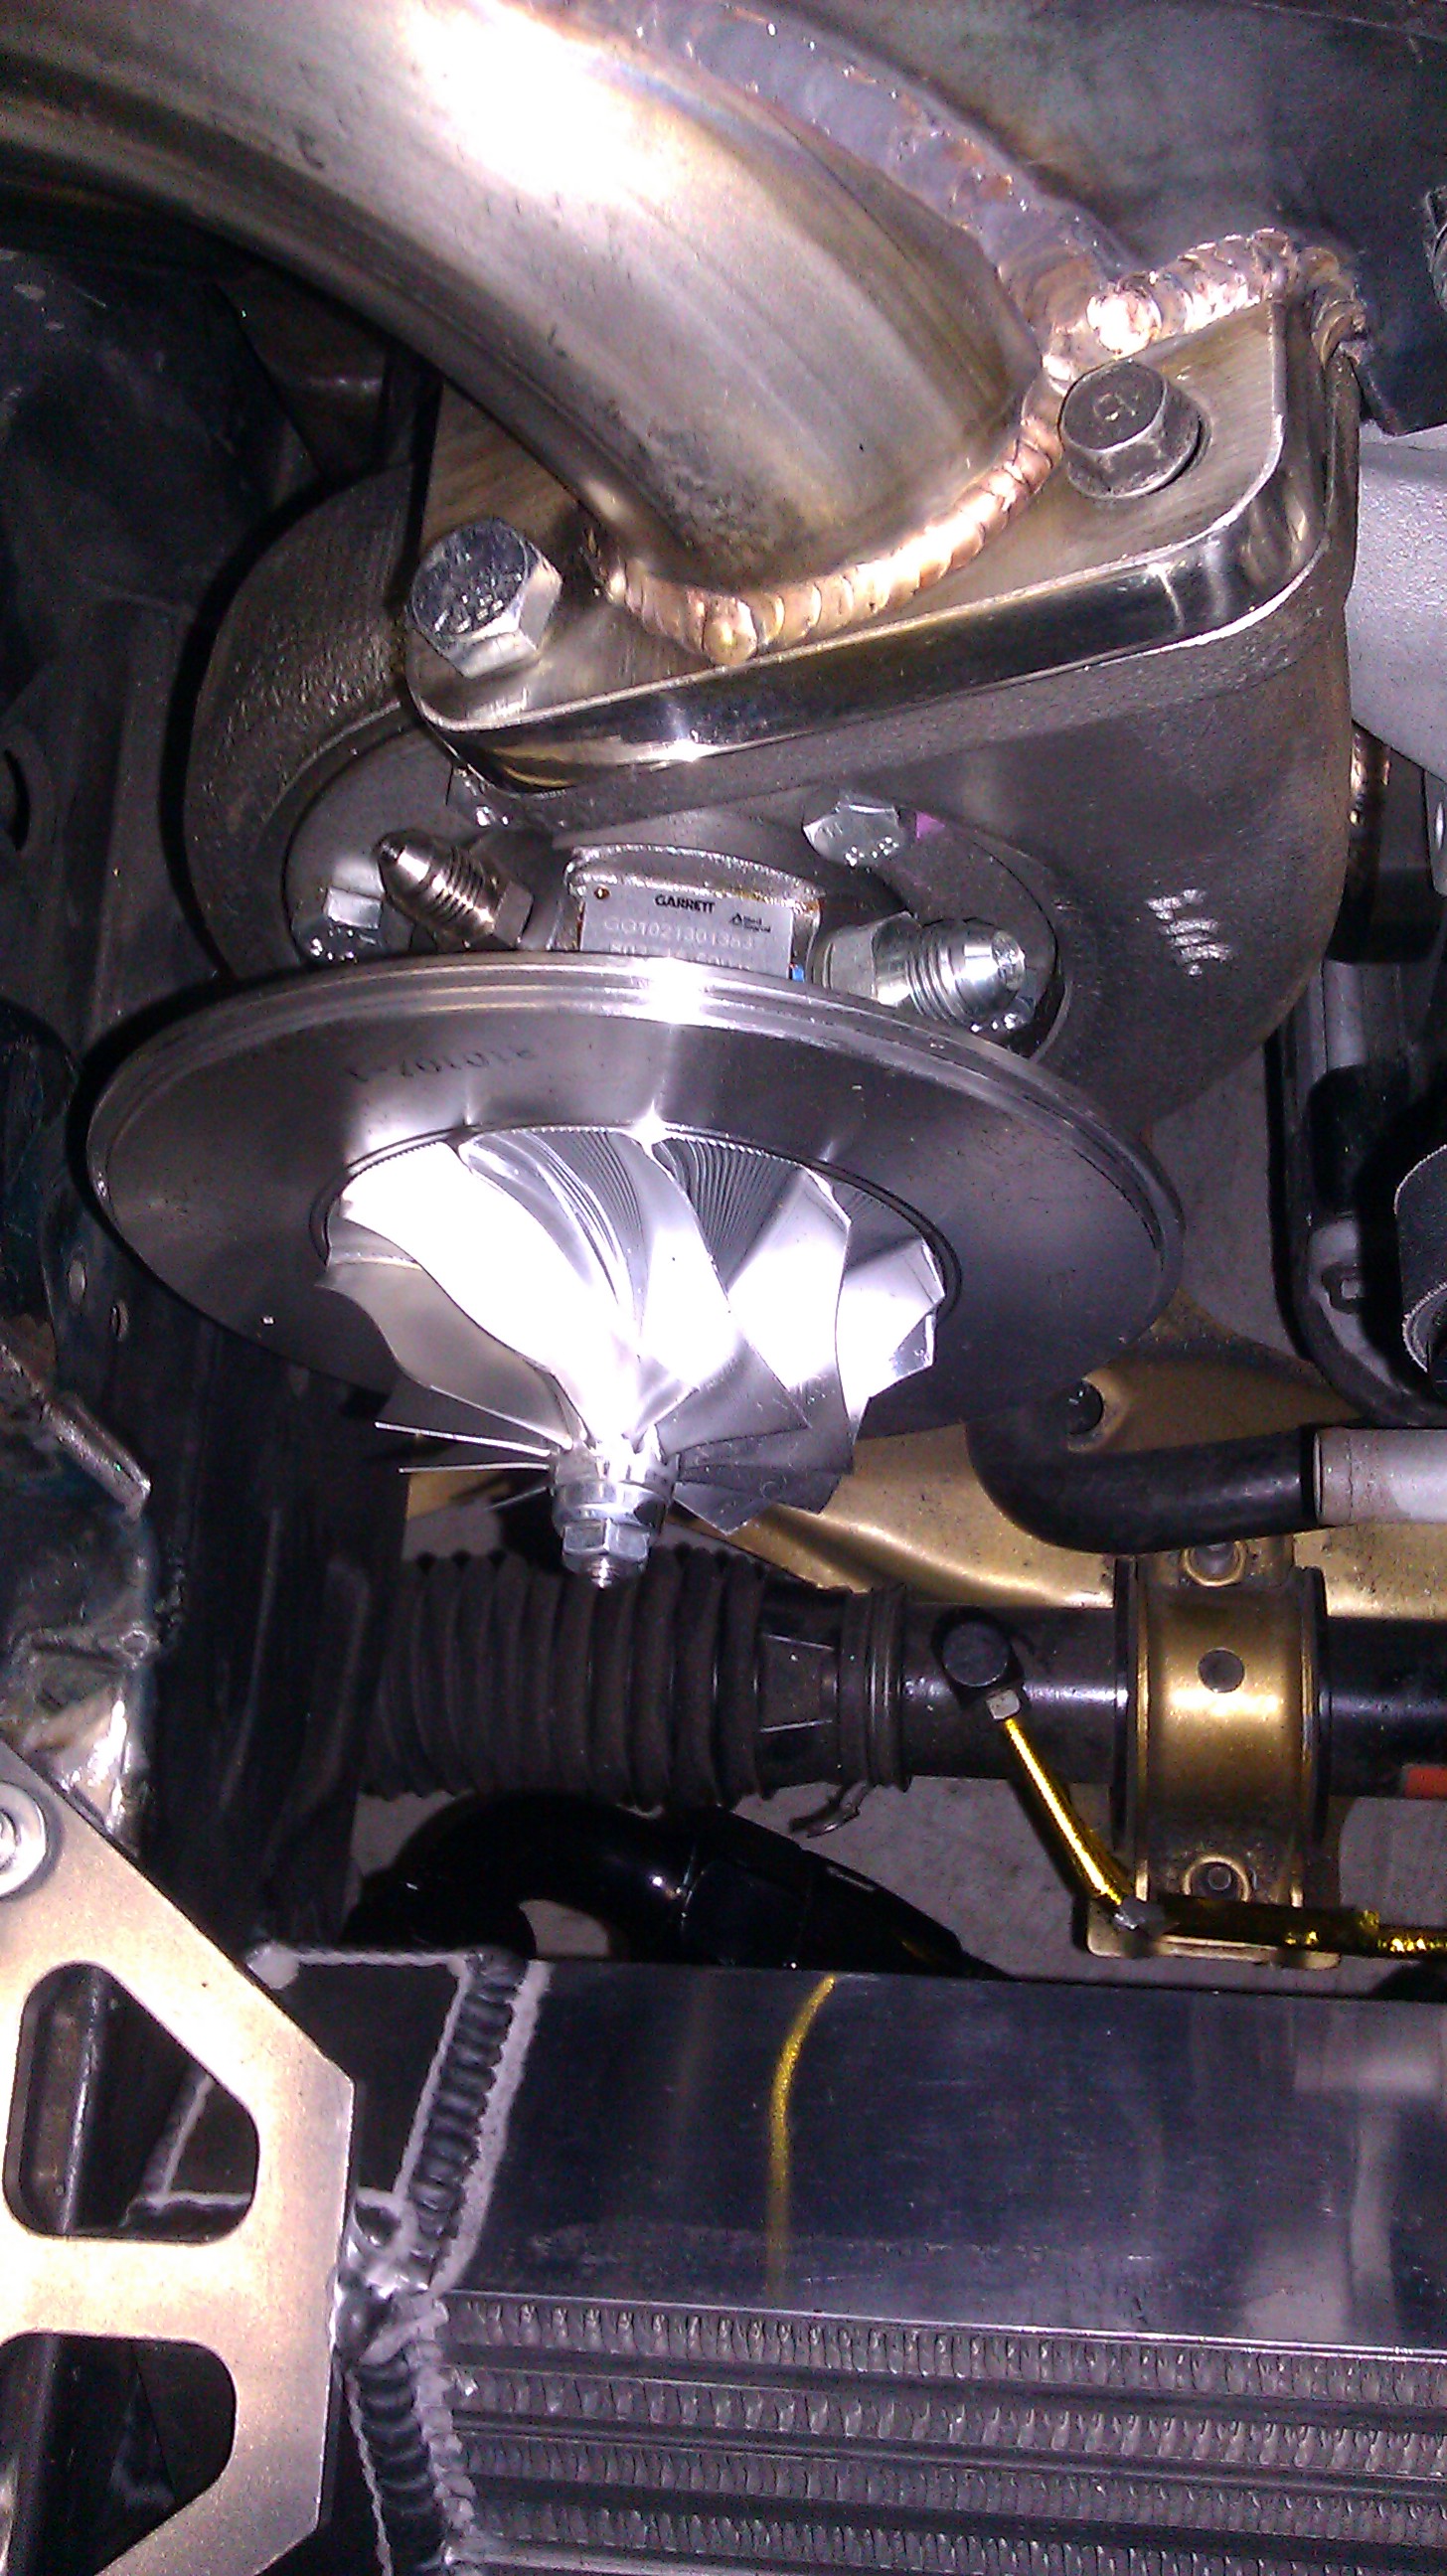
took my compressor housing off and clocked it in order to take advantage of thermal siphoning
still need Oil and water lines!!
And used a pvc pipe that bent with the contour of the hood to cut my Wastegate tubes so I could close the hood
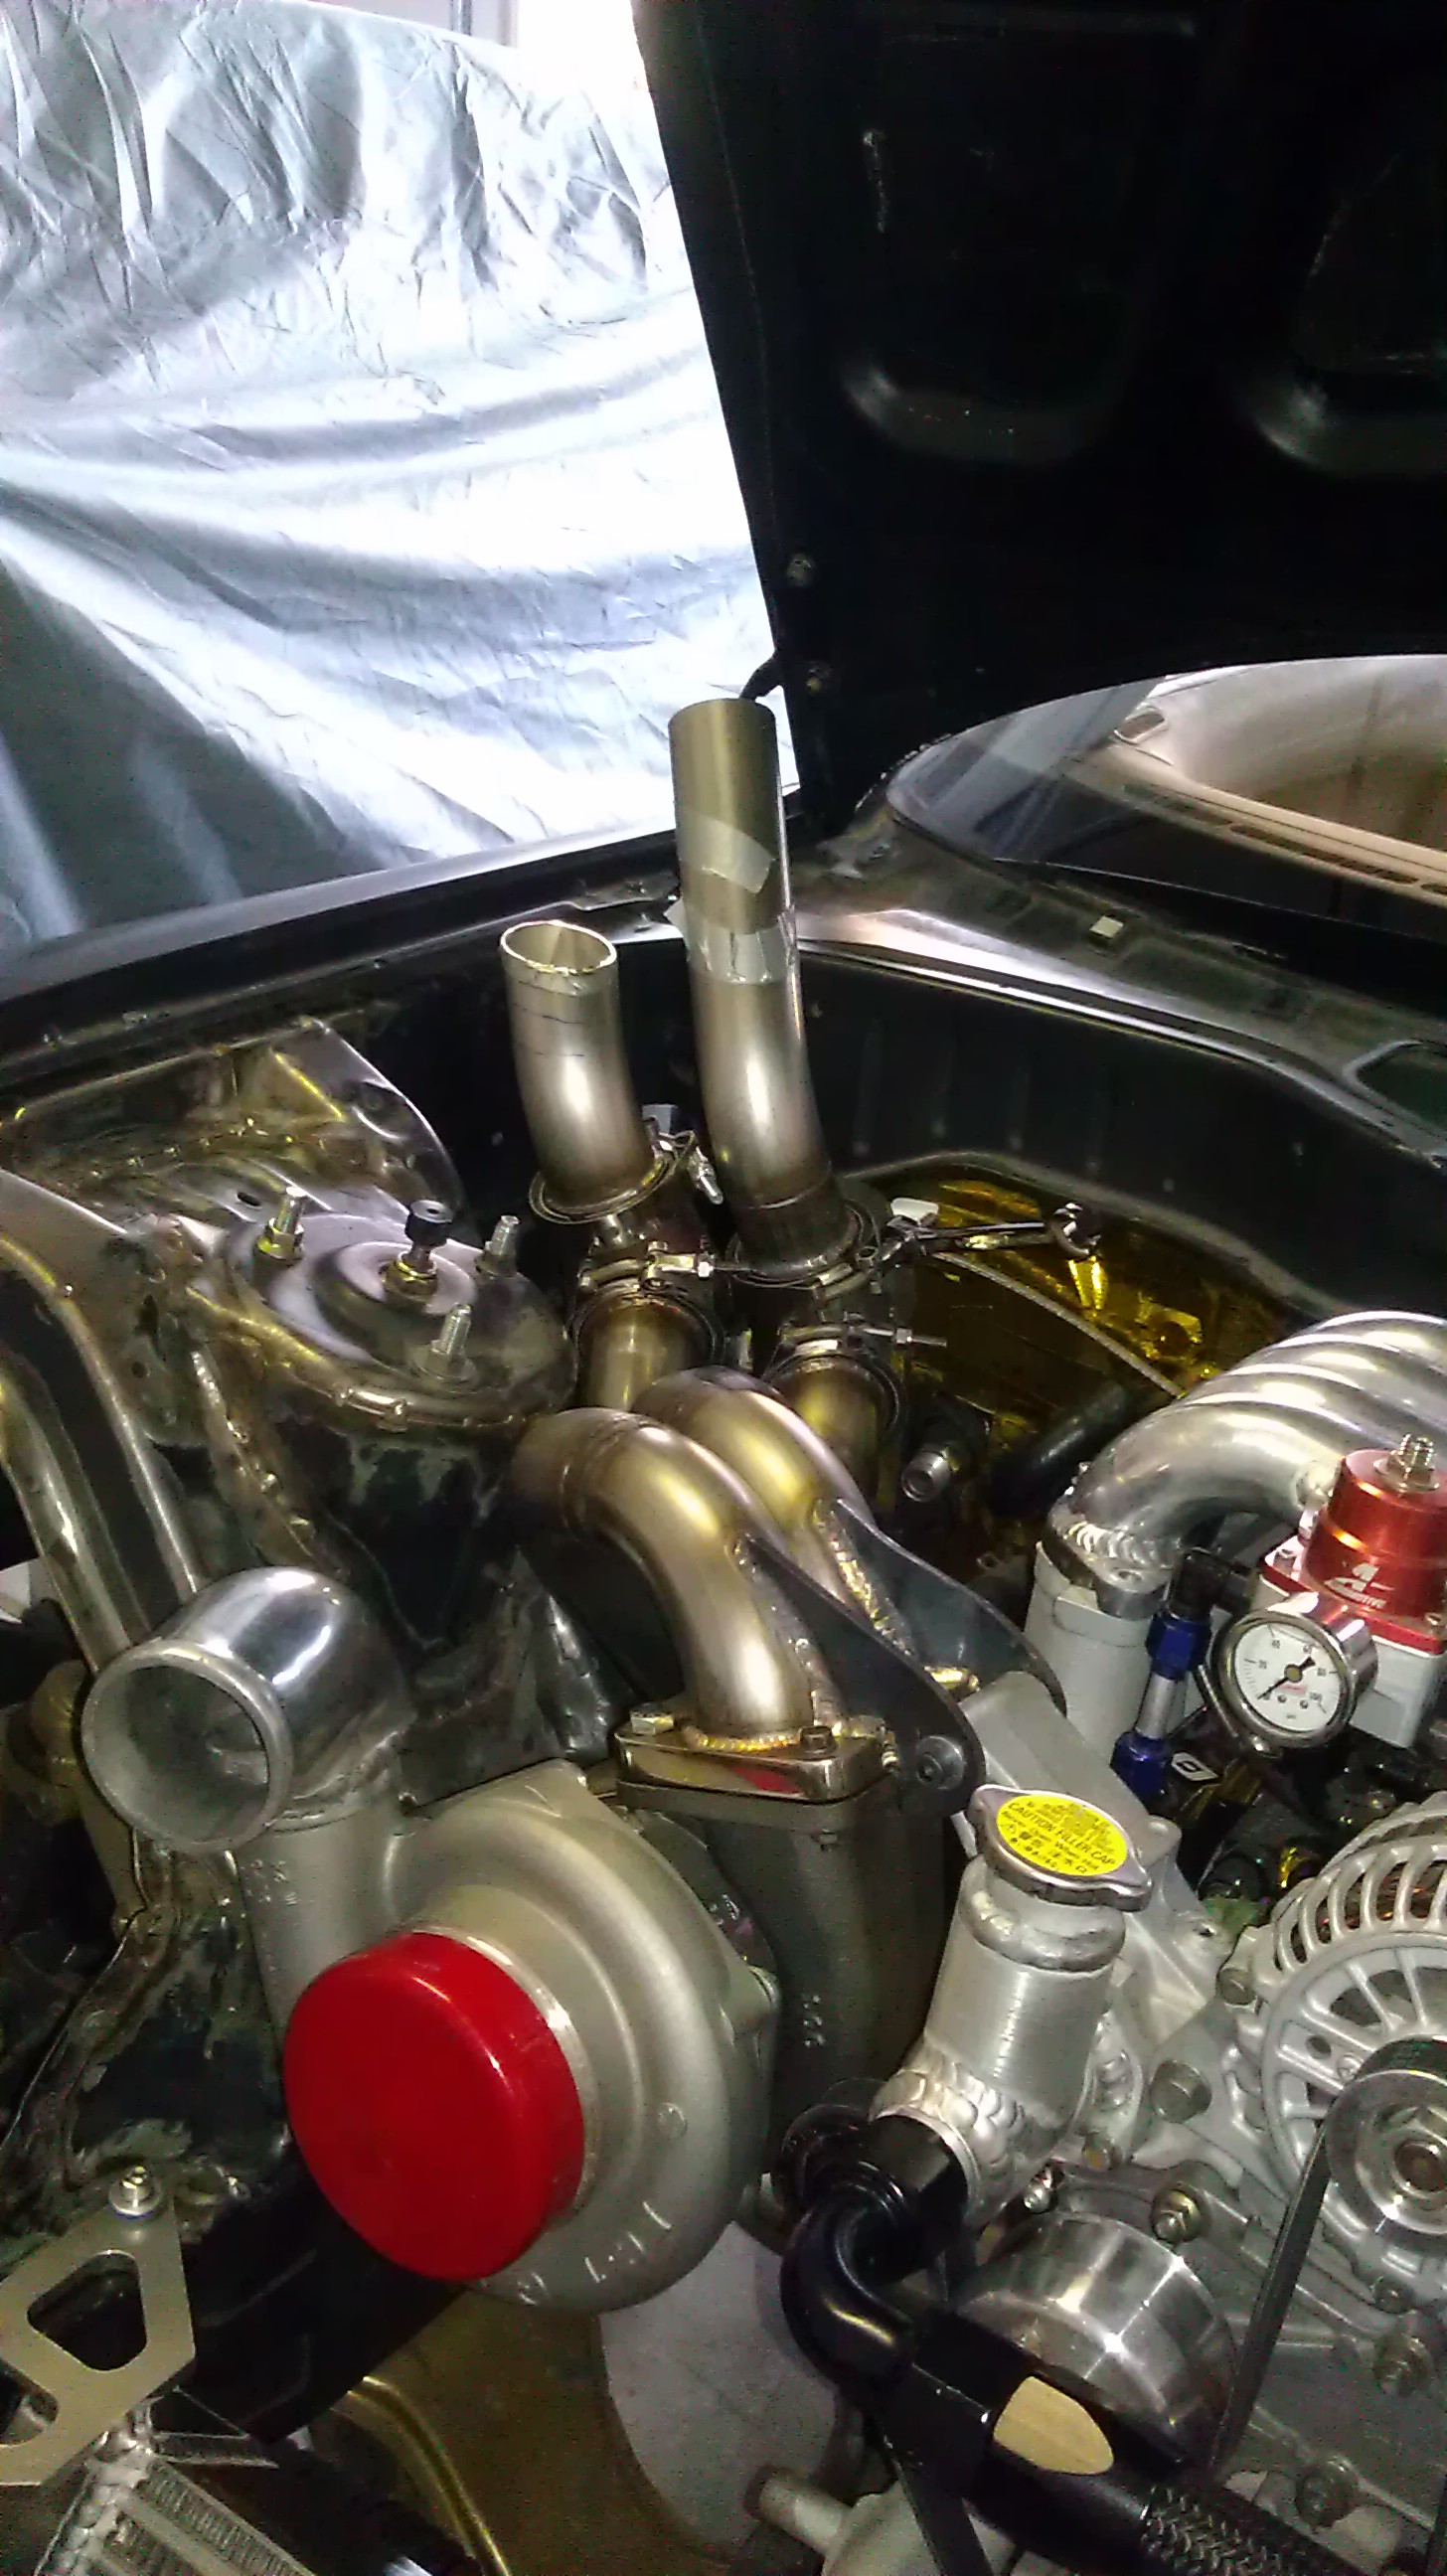
done

And so here she sits..99% mechanically complete!! just turbo oil and water lines and she's ready to be all taken apart for paint!!
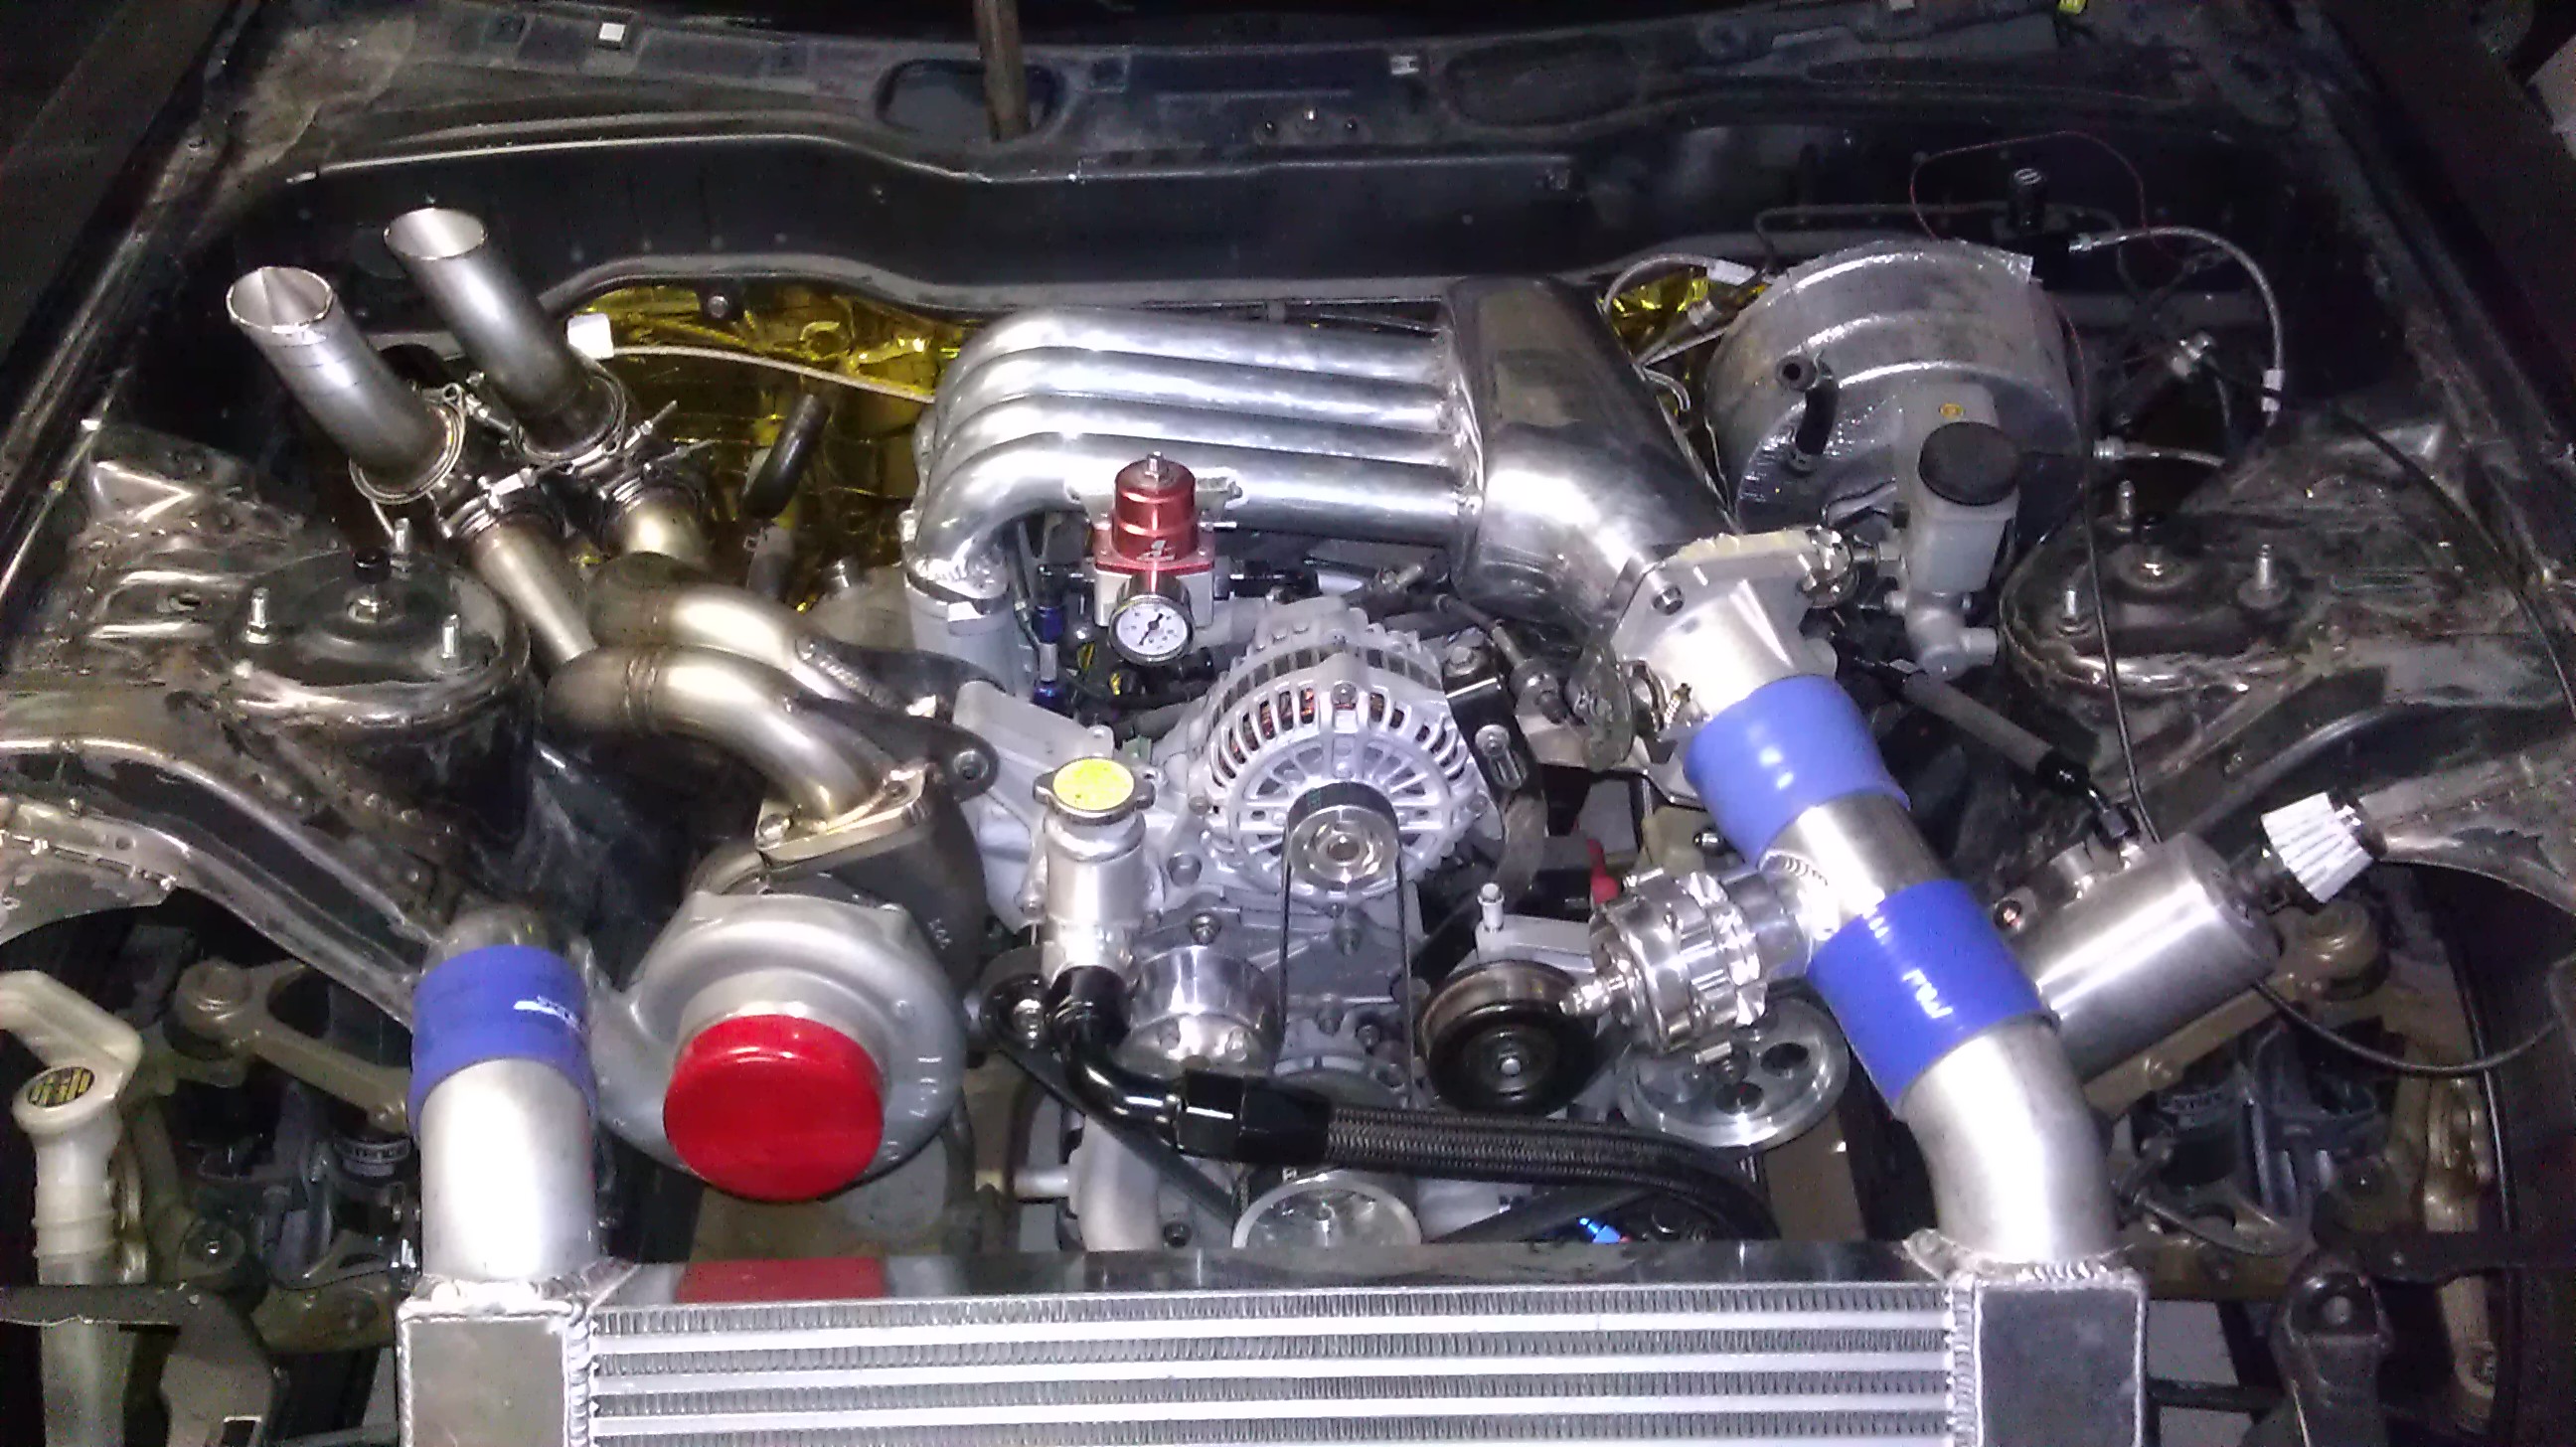
More updates soon!!
took my compressor housing off and clocked it in order to take advantage of thermal siphoning
still need Oil and water lines!!
And used a pvc pipe that bent with the contour of the hood to cut my Wastegate tubes so I could close the hood
done
And so here she sits..99% mechanically complete!! just turbo oil and water lines and she's ready to be all taken apart for paint!!
More updates soon!!
you guys get moisture there? haha
Hey I was meaning to ask about your rotor housings, they look sand blasted, any particular way you'd recommend since I want mine to look that way but dont want sand floating around
Hey I was meaning to ask about your rotor housings, they look sand blasted, any particular way you'd recommend since I want mine to look that way but dont want sand floating around
�Global warming�........ Just enough moisture!! But Howard Coleman built the motor. I believe it was media blasted and then cleaned..or was it soda blasted?.... I don't remember..you'll have to ask him. But I'd suggest staying away from sand though...sound like trouble