94 Build... GT35R, RE Vmount and a whole lot more............ NOW WITH PISTONS!!
 08-09-13, 05:21 PM
#501
Yeah buddy! I got this!!
So the game plan is to take next Wed, Thurs, and Friday off. The Vmount arrives Wed afternoon, and I have 4 full days to get this thing installed and likely get the car started. The entire next week (18-23rd) I will be in Biloxi, MS house hunting. I will return that Friday, and hit it again Sat and Sunday. From there, everything should be done, and driving the car around as I do some tuning. My dyno tune is scheduled for the 28th at SpeedOne. Detail the car the next day, then off to the Chris Carlisi BBQ on Saturday....
Sounds good on paper, but we will see how everything goes. Unforeseen issues always seem to arise, and I have changed quite a bit with this setup. If the car doesn't make it, then it will be done a few weeks after.
TO DO
Finish midpipe welding
Install Vmount
Relocate horns
Fabricate intake pipe
Install WI solenoid and run lines
There are a few minor things that can wait, such as charging the A/C.
 08-09-13, 05:48 PM
#502
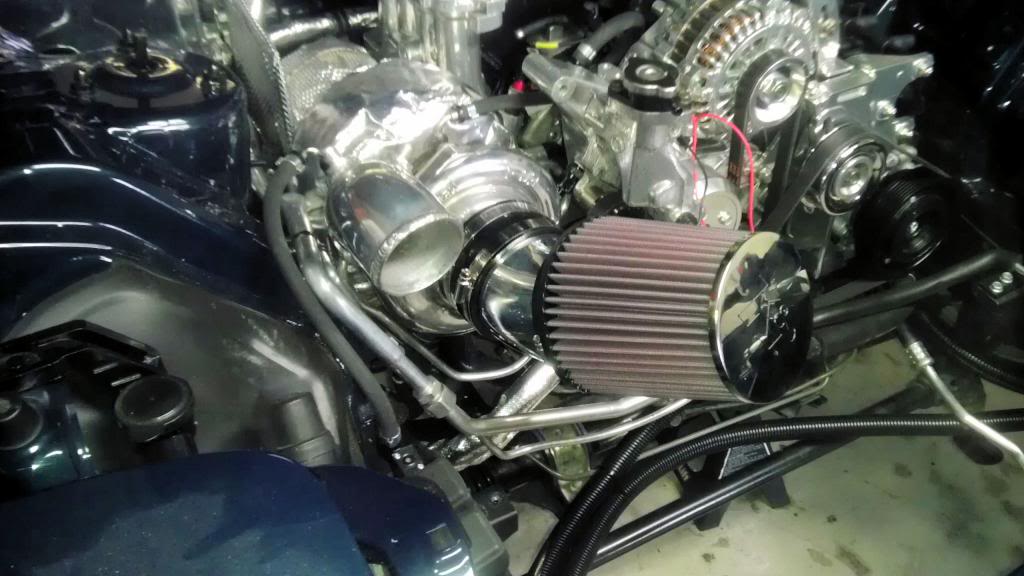
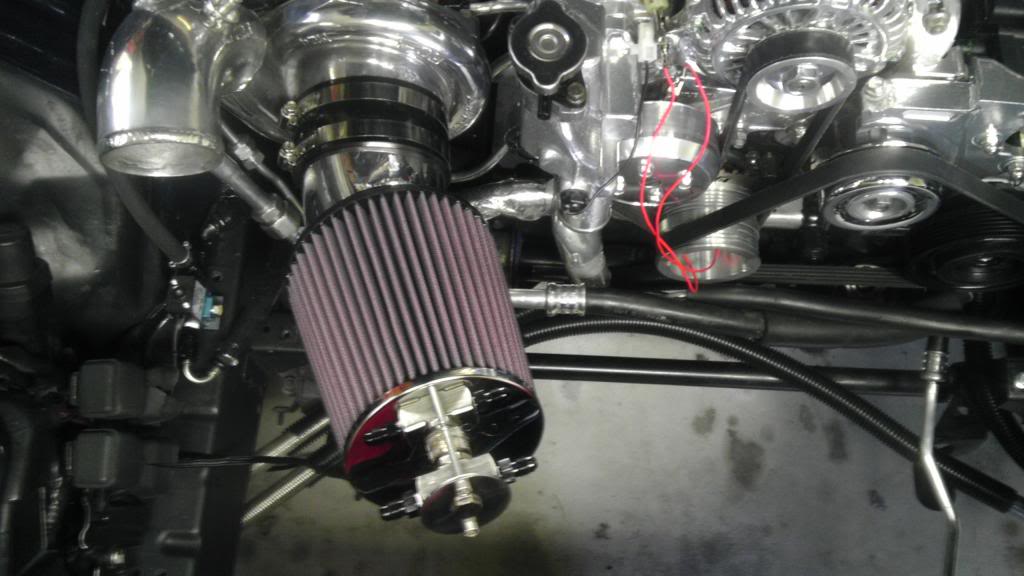
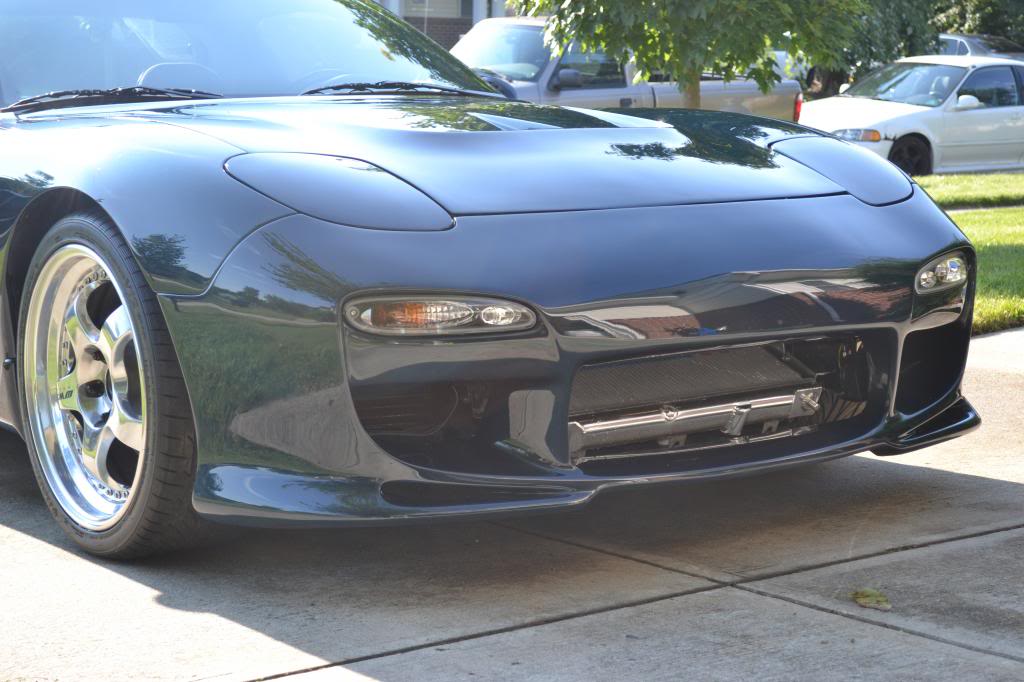
One possibility for the intake pipe and filter. The Mazdaspeed hood actually gives me a little more top clearance. I have another bigger filter that I may try to fit. I also have a few different pipes, as well as a 90/22 "S" bend pipe. I will see what kind of room I have once the vmount is installed. With most larger core vmounts, there isn't a lot of room for "cold air" intake. I personally think it doesn't matters much with a turbo setup as the compressed air gets heated instantly. I'll be spraying plenty of meth in there to get things cool regardless. 
 08-10-13, 03:41 PM
#503
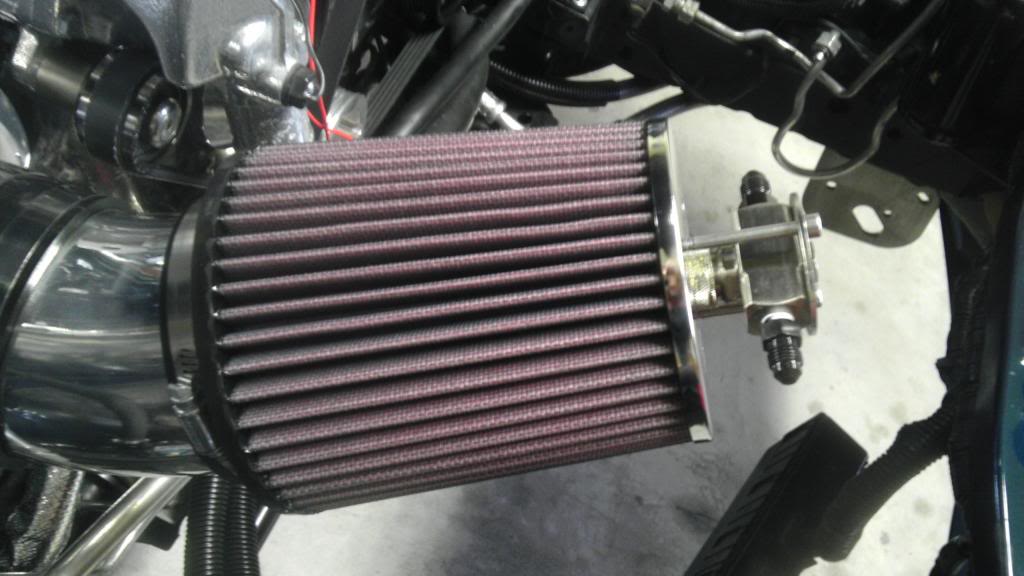
And now with the nozzle mounted....
I do want to thank M-W-I Systems for sending me the nozzle mount. I saw it in their kit and contacted them. They were happy to help me out and were very generous. Thanks guys.
http://www.mechanical-water-injection.com/
I plan to contact K&N on having a custom filter made. They have a black synthetic oil-free material that will match my engine bay scheme perfectly. They just don't make very many sizes. Their custom shop will be able to make the same one I have now in that material. What can I say... I like things to match.


 08-14-13, 09:11 PM
#509
One last order of business before the vmount comes.
As planned my horns came in today, so I tackled my upgrade. Like most, I think the factory horn is beyond weak. So a quick search and the 90's Nissan Quest horn mod was revealed. I ordered a new set from RockAuto Parts Catalog at $18 each. These came with the bracket and the grounding lead for the one terminal. I found this much better than scouring a junk yard for a 15 year old rusty set, that "should" work.
I had a fun time troubleshooting why my horn wasn't working. After a few hours of following the diagram, testing continuity, and scratching my head, I found that the airbag harness carry's the signal wire. During my recent expansion valve replacement, I had to pull the passenger air bag. Since both are now disabled anyways, I left the blue/orange key connector to the harness unplugged when putting everything back together. This put a brake in the signal wire, and caused some troubleshooting.
In the end, they are working as they should and they sound GREAT! A nice stern honk has replaced the tiny beep of the stock horns.
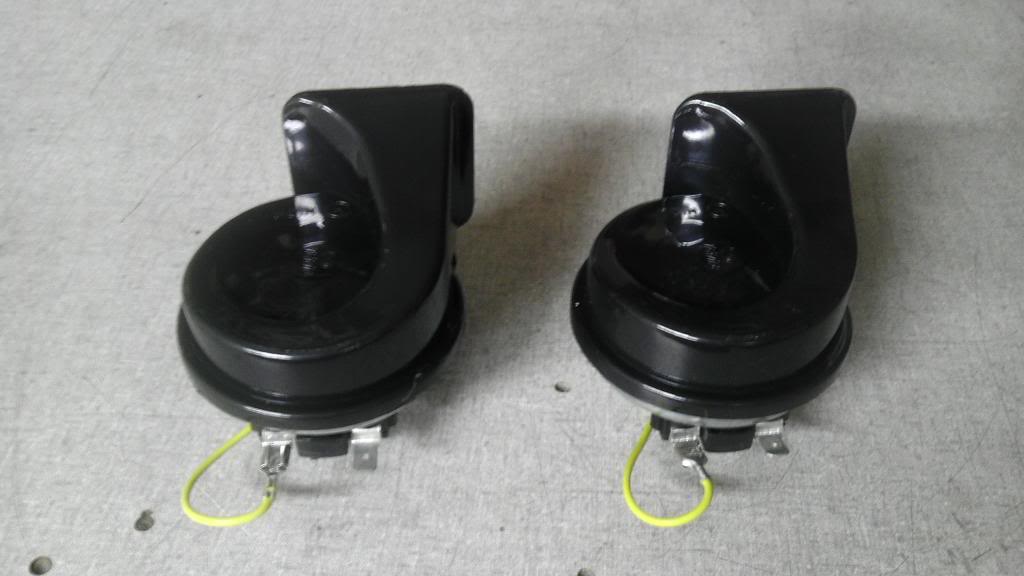
 08-14-13, 10:07 PM
#510
Make an assessment...

iTrader: (3)
Son of a bitch. I just pulled my airbag harness because I pulled my airbags. ARGH!!!! lol I'm glad I read that though, I really don't feel like doing that troubleshooting either lol.
08-15-13, 09:59 AM
#511
^ PM'd
Since I'm hanging out in the garage waiting for the FedEx guy to arrive, I thought I would snap a picture of my new CF radiator panel that I purchased in a recent group buy. CarbonRXX did a fantastic job.
It will require some trimming with my vmount and Feed Type I bumper. It will also be painted Montego Blue once I get the fitment right. It will be a nice addition I think.


 08-16-13, 08:11 AM
#516
Install is almost done. Car won't start. It wants too, but not quite there. It looks like a fuel issue which is weird. Diagnosing today, and I should get it fired up.
So far, I had one coolant leak, which was an easy fix. Heater core hose wasn't on all the way.
I will update soon.
So far, I had one coolant leak, which was an easy fix. Heater core hose wasn't on all the way.
I will update soon.
08-17-13, 12:05 AM
#517
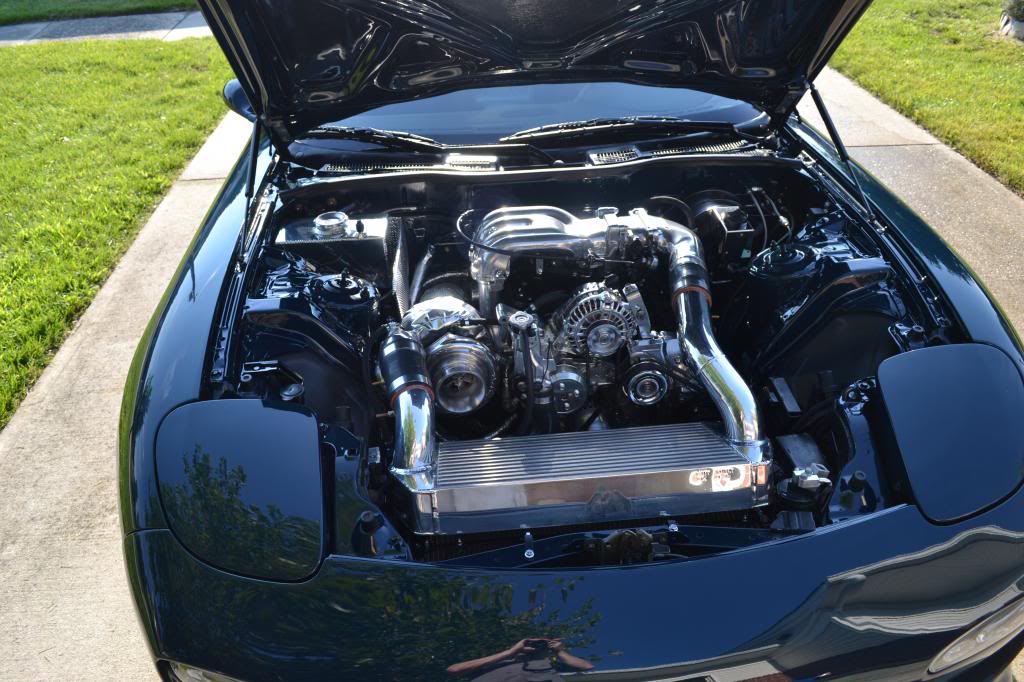
Vmount
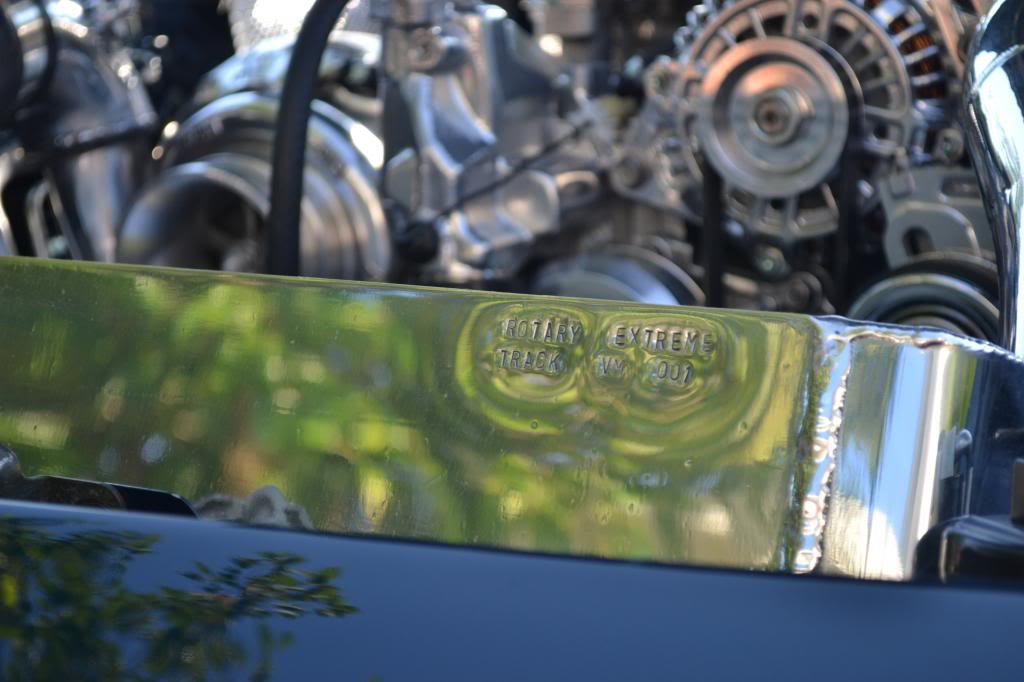
Rotary Extreme's newest Track Vmount arrived a few days ago and everything looked awesome! Ben will likely create a thread on his newest design explaining it in whole, but I suppose I will debut it here. With a new design came a new steel powder coated frame, more angle, ducting, and relocation of the A/C condenser to the bottom. Personally, I love it. It has maximum cooling in mind, with the provision to still run A/C. The steel frame is very solid and a better mounting solution. As always, everything is polished to a brilliant luster.
I unpackaged the kit and took a picture as a whole. I liked that he let me cut my own elbows as it provided the flexibility in length and fitment.
The placement and new ducting fits perfectly. Mouth view..
Finally, it was all installed. Everything lined up great. I gave Ben my hotside pipe measurements and he was spot on! The new frame allows for alot of adjustability and it mounts up very solid.
It's ALIVE
After 2 days of troubleshooting, I got the car fired up. I fixed a few ignition errors on my part in the ECU, and all is good. It starts like a champ every time.
Now on to fixing a few coolant leaks, getting it to idle/drive, and give it a much needed bath!! Tomorrow is a busy day, as I am out of pocket until next Friday. The tune will be rapidly approaching so its "game-on" with getting this thing road worthy, and giving it some dyno abuse!
I was never so happy when it fired up!
Rotary Extreme's newest Track Vmount arrived a few days ago and everything looked awesome! Ben will likely create a thread on his newest design explaining it in whole, but I suppose I will debut it here. With a new design came a new steel powder coated frame, more angle, ducting, and relocation of the A/C condenser to the bottom. Personally, I love it. It has maximum cooling in mind, with the provision to still run A/C. The steel frame is very solid and a better mounting solution. As always, everything is polished to a brilliant luster.
I unpackaged the kit and took a picture as a whole. I liked that he let me cut my own elbows as it provided the flexibility in length and fitment.

The placement and new ducting fits perfectly. Mouth view..

Finally, it was all installed. Everything lined up great. I gave Ben my hotside pipe measurements and he was spot on! The new frame allows for alot of adjustability and it mounts up very solid.

It's ALIVE
After 2 days of troubleshooting, I got the car fired up. I fixed a few ignition errors on my part in the ECU, and all is good. It starts like a champ every time.
Now on to fixing a few coolant leaks, getting it to idle/drive, and give it a much needed bath!! Tomorrow is a busy day, as I am out of pocket until next Friday. The tune will be rapidly approaching so its "game-on" with getting this thing road worthy, and giving it some dyno abuse!
I was never so happy when it fired up!
08-17-13, 02:37 AM
#518
Wow, thanks for the debut. Its so nice to see the kit installed when its polished. When I make it I test fit everything and then take it all apart, polish it and send it out.
Looks really cool with your engine bay.
Im so happy that your cars running, can't wait for the tune.
Looks really cool with your engine bay.
Im so happy that your cars running, can't wait for the tune.
08-17-13, 06:11 PM
#520
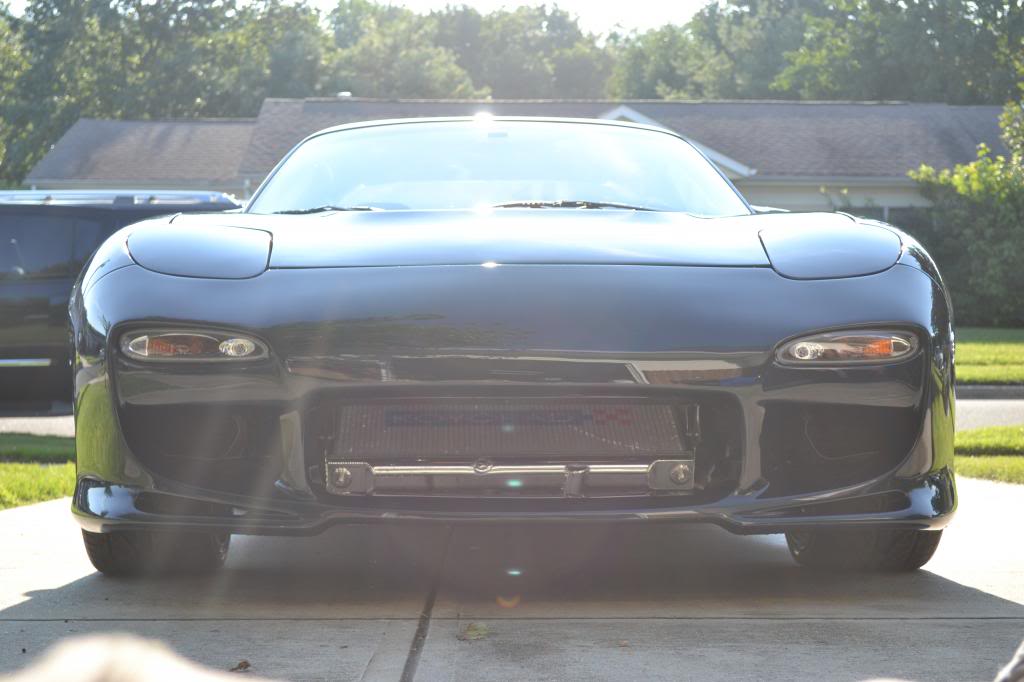
Today went pretty good.
-I discovered my heater core is leaking at the internal pipe. Looks like I'll be shopping for a new one.... I bypassed it for now, but will tackle that when everything is squared away.
-I had to ditch both of my turbo coolant hard lines. An issue with flaring made two of the four fittings leak, so I went with push locks covered in fire flex hose. I will likely have my hand at the hard lines again, but because of time, these will work fine for now.
-I didn't get a chance to play with the idle or even drive it much. Its running pretty lean and the idle oscilates. No worries, I will have plenty of time next weekend.
-After looking everything over, I'm going to run an intake pipe. There still isn't a lot of room for a filter, but more than before. With long tube manifolds on a vmount, you gotta get creative, and I will do just that. Once the filter is in place, my water injection lines will be finished up, and it will be in full form.
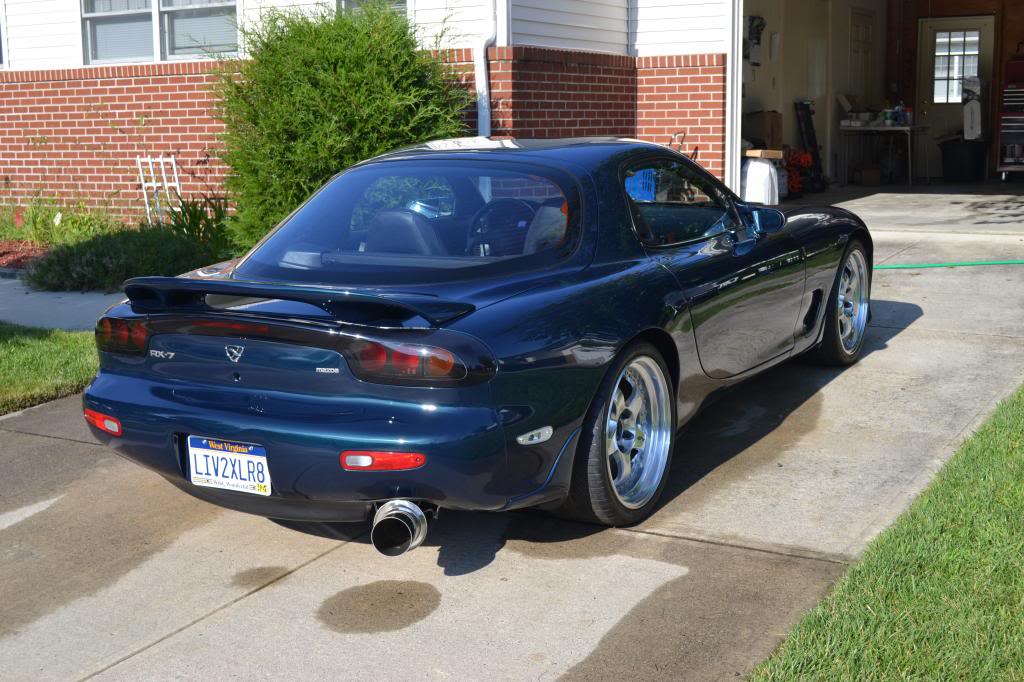
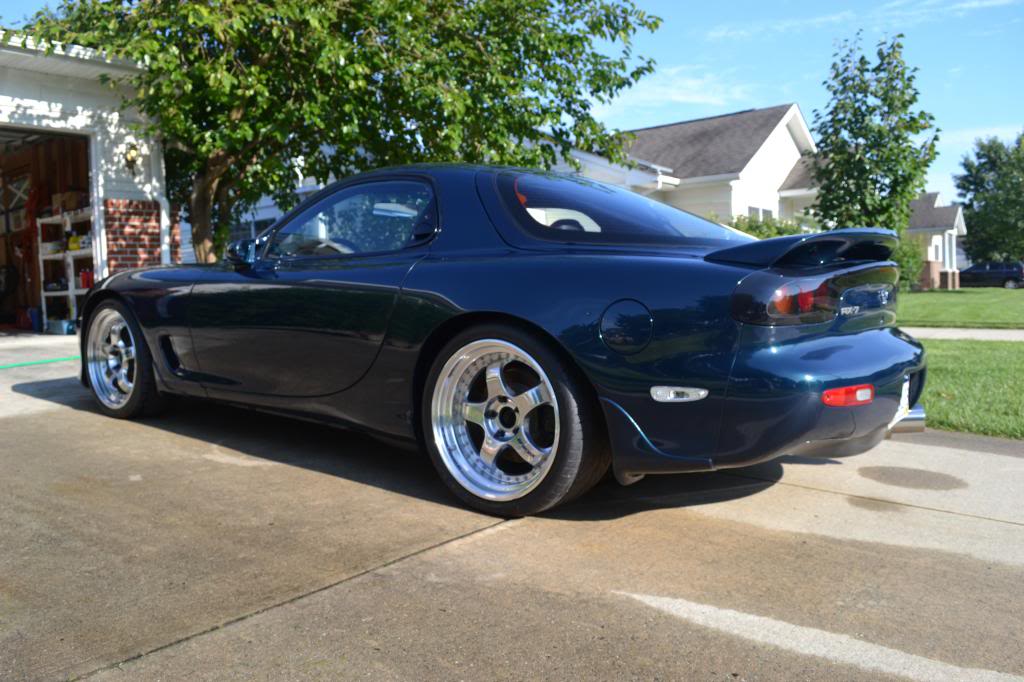
-I FINALLY got to wash it and see it in the sun. Man I couldn't be happier with the paint and body. Overall, I am very psyched!!
-I discovered my heater core is leaking at the internal pipe. Looks like I'll be shopping for a new one.... I bypassed it for now, but will tackle that when everything is squared away.
-I had to ditch both of my turbo coolant hard lines. An issue with flaring made two of the four fittings leak, so I went with push locks covered in fire flex hose. I will likely have my hand at the hard lines again, but because of time, these will work fine for now.
-I didn't get a chance to play with the idle or even drive it much. Its running pretty lean and the idle oscilates. No worries, I will have plenty of time next weekend.
-After looking everything over, I'm going to run an intake pipe. There still isn't a lot of room for a filter, but more than before. With long tube manifolds on a vmount, you gotta get creative, and I will do just that. Once the filter is in place, my water injection lines will be finished up, and it will be in full form.
-I FINALLY got to wash it and see it in the sun. Man I couldn't be happier with the paint and body. Overall, I am very psyched!!


 08-18-13, 08:59 AM
#524
Junior Member
iTrader: (1)

Join Date: Mar 2004
Location: Minneapolis
Posts: 43
Likes: 0
Received 0 Likes
on
0 Posts
Holy crap, Josh, your car is absolutely beautiful! Great choices and patience.
Regarding AC retention with this v-mount kit, how much reconfiguration is required?
Regarding AC retention with this v-mount kit, how much reconfiguration is required?
08-18-13, 10:18 AM
#525
The kit comes with everything to mount up the condenser. All that is needed on the user end is to bend the condenser brackets out of the way for mounting, bend the high side line coming from the drier, and slightly bend the low side output from the condenser. Its all very easy and straight forward. The AC lines may have taken 5 minutes to get into place and mount up.
I will be using ES12A refrigerant and I am looking forward to results.