She Followed Me Home, Honest
 10-06-12, 10:31 AM
#201
Originally Posted by clokker
I would prefer "thorough" over "nit-picky" but thanks anyway.
I think it comes down to expectations...when I perform work on my car, I don't expect stupid little stuff to hamper progress and if it does, I stop and fix it.
Crap fasteners are a particular fetish of mine, I reused almost none of the original bay hardware, replacing it with better stuff from my junkyard supply.
I try to work as though someone I respect is following behind, critiquing the job.
This rarely happens, BTW.
As to the bay simplification...
Much can be done with the engine in place (granted, with more difficulty) and without permanent alteration.
It all depends on what you start with.
I have more freedom than most because I've deleted both AC and power steering which opens up a lot of real estate in the bay and changes the overall look drastically.
Suddenly, major components look oddly placed (I'm looking at you leading coils!), sitting in the middle of nowhere for no apparent reason.
Most of my efforts have been to achieve the layout the original engineers might have used had they not been forced to work around options.
Not surprisingly, I also have thoughts on bay aesthetics in general (speaking of unsolicited advice)...
I learned this approach from a metal polisher and it works well as a general guideline:
Find the worst looking component that HAS to be used, make it look as good as you can, then bring everything else to that level.
Consistency in appearance makes a better overall look than a dramatic contrast of old/new, shiny/corroded, etc.
Also be aware of how your bay "weathers".
If the car is driven, the bay will get dirty, no way around it.
That nice shiny, intercooler piping is going to require a lot of work to keep looking good...are you that committed?
Streaky, water spotted polished parts look worse than clean, satin black ones, IMO, and the reduced maintenance of the "lesser" finish significantly offsets the lower initial bling factor.
/treatise on "Feng Shui Applied To Old Cars".
For the full transcript, please contact my publisher.
Still waiting on parts.

 10-07-12, 05:44 PM
#205
Originally Posted by clokker
No, I'm waiting on money.
Once I have cash, I can order parts and begin waiting on them.
I've become a student of the nuances of waiting.
Once I have cash, I can order parts and begin waiting on them.
I've become a student of the nuances of waiting.
10-08-12, 05:19 AM
#206
Well, the brakes are in and have been bled.
It was bloody fookin miserable on Saturday, frigid and raw, and as it turns out, I have a major cold.
My nose wouldn't stop running, it was disgusting.
On a cheerier note, the ATE brake fluid I used is a beautiful, serene shade of blue and it was soothing to see it flow through the system. I think it has unicorn blood as an ingredient.
I'll rebleed the loop again in a few days, I'm sure there's air hiding in there but it should come out after giving it some time to consolidate.
I then removed some rear interior trim to examine the layout for a fuel pump relay.
I thought it would be more convenient but despite ample space, there just wasn't a cool/easy way to add a relay and a fuse that was easy to access.
I finally realized that I needed to change my mindset and that putting the relay/fuse in the bin with the battery was the best solution.
Now I'm on the hunt for a relay with an integrated fuse to make the install as neat as possible.
Boring stuff.
10-10-12, 03:06 PM
#207
So, today this happened:
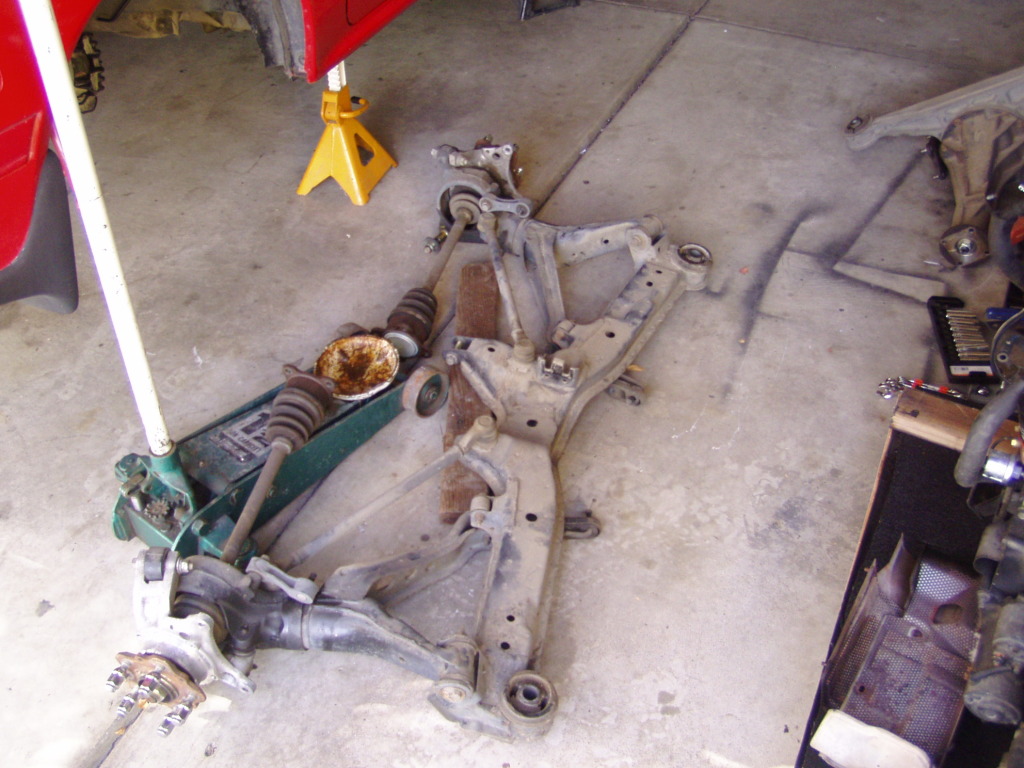
T'was way easier than I'd feared, two people and two jacks made this about a 30 minute job.
Besides dropping the rear end, the brakes were rebled (down to really small bubbles now, once more should do it) and I gave up (temporarily) on the fuel pump relay.
My thoughts on the pump wiring have been rapidly evolving, it seemed prudent to let the concepts gel some more before committing to action.
The pinion snubber should arrive tomorrow and it must go in first, so I'm in no real rush on the subframe.
It's going to get the first wash right now...
 10-11-12, 06:02 AM
#210
Swapping in the LSD was the main objective, so yes, the old diff came out with the subframe.
I had built this project up in my mind to be far more difficult than it really was.
With two people (and two floorjacks), subframe/diff removal was actually very simple and straightforward.
My front mount was intact and all the bushings look good.
I washed the subframe last night and went through all the hardware with grease and antisieze. Even the large DTSS bolt came out easily.
The pinion snubber will arrive today (probably late) and once installed, the rear end can go back in.
That finished, the chassis renovation will be complete...I'll have been through pretty much everything that can be unbolted from the body, cleaned and lubed it all.
It's been almost ten weeks since I first began, looking back on the pics it's almost hard to believe it's the same car.
Getting close now.
 10-11-12, 01:47 PM
#213
The OEM (presumably) rubber still looks good, no visible damage.
The most I would do on a street car like this would the Mazdasports upgraded rubber bushings. Plastic/aluminum bushes are too heavily weighted towards track use for my comfort loving ***.
The subframe is completely ready and the LSD is draining as I type.
The hole is drilled for the pinion snubber.
Whenever UPS shows up, I'm ready to reinstall.
10-12-12, 04:24 AM
#214
The snubber(s) arrived around four:
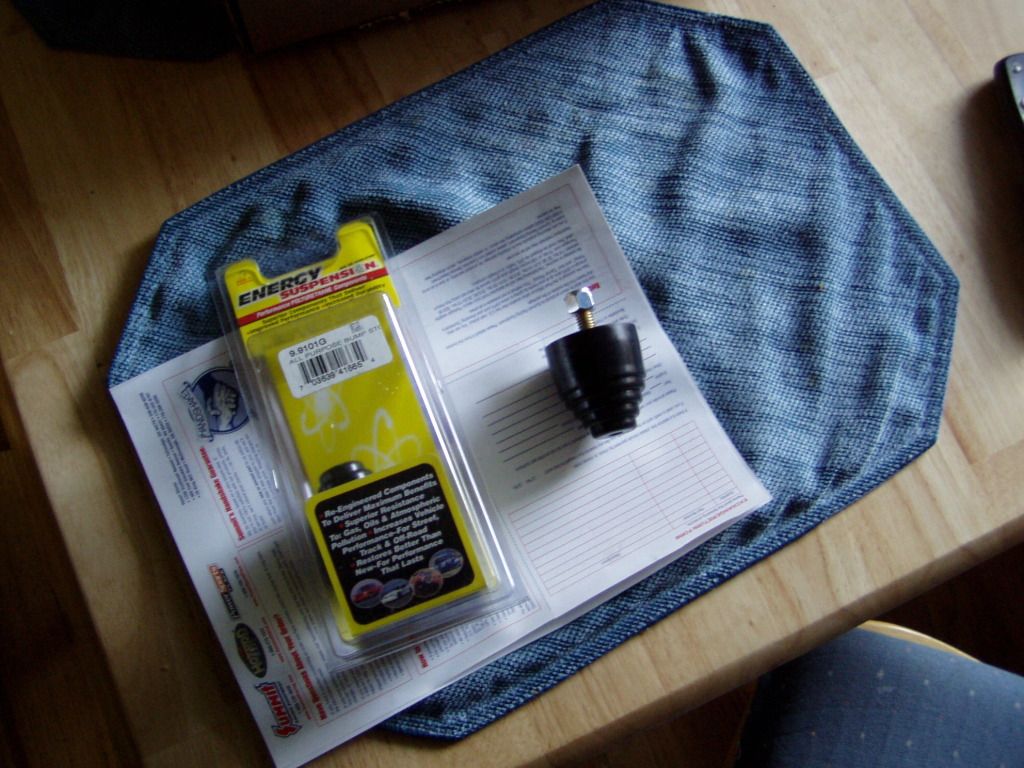
Unfortunately, install is a two person job...holding it from the bottom while screwing it from the top is not possible for one person.
I had it held in position with the jack but it spun while trying to snug up the Nylock nut supplied with the snubber, I'll need to enlist some aid.
The diff has been filled with fresh oil and is bolted back into the subframe, it's ready to go in.
The bumpstops are sold in pairs, so I now have a spare.
If anyone wants one, LMK.
10-12-12, 08:31 PM
#215
Snubber is in, as is the subframe.
Took two tries- and a nearly 3/8" spacer- to get the snubber touching the diff nose.
I would have gone to a thicker spacer (I didn't use a washer stack, I turned a spacer from ABS), but the bumpstop stud wasn't long enough, so I settled for "touching" instead of "preloaded".
Oh well, it is what it is.
The subframe went into place easily, almost like it was made for that very spot.
All in all, with two people, the subframe is an easy job, tackling it solo would be a royal PITA.
The chassis is finished now, I guess.
 :P
10-13-12, 01:17 AM
:P
10-13-12, 01:17 AM
#217
"Old" yes, "too old", no.
I will admit that I'm far less likely to assume that physical strength will carry the day and more aware of pain than in the halcyon days of my yoot but after forty this is considered "wisdom" instead of "fear".
Having done it once now I can envision a solo scenario for subframe removal but really, it's so simple and risk free with two that I don't see the point.
The diff swap was the Dread Pirate Roberts of the project so far.
While the car is still in the air, there are two more things I want to do.
Remove the mufflers and hit the flanges with a belt sander to clean them up.
The car has gotten dusty and smeary through the mechanical work and could use a good clean and wax.
It's a lot easier to get the lower body panels when the car is elevated...
Then she gets rubber on the ground again.
10-14-12, 07:53 AM
#218
A bit of catch up here:
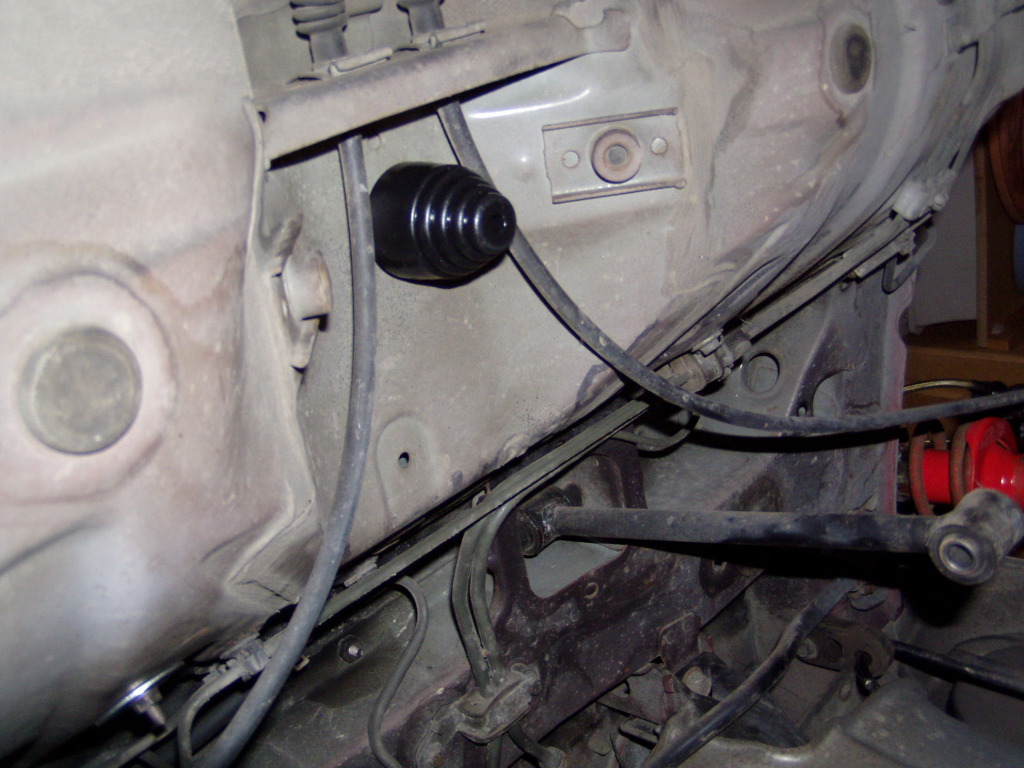
The snubber in position for the first time.
It wasn't even close to the diff nose, I ultimately made a 3/8" spacer to drop it into contact.
I'd have made a slightly thicker spacer to achieve preload but ran out of threads on the mounting stud.
A very early morning pic of the assembled subframe:
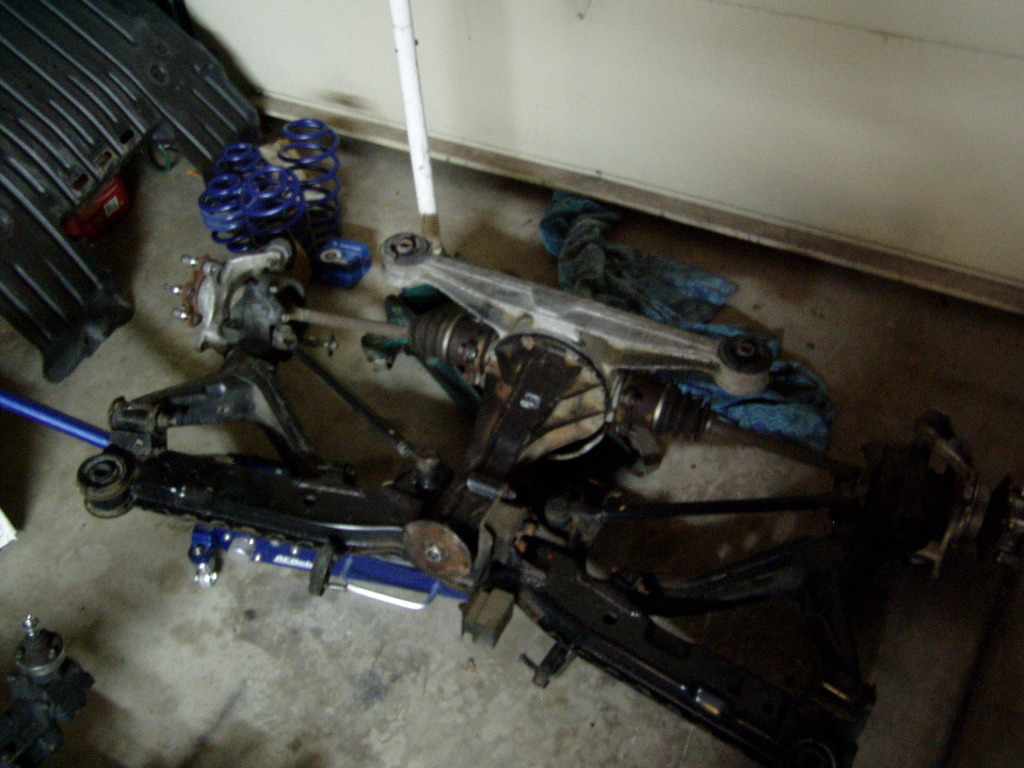
In the dim background you can see four purple springs...in exchange for help with the diff, I helped install lowering springs and an exhaust on my friend's Audi TT.
The FC is a much easier car to work on.
Yesterday was a crap weather day, cold, dim and damp, so I didn't feel like spending extended time in the garage.
I brought the mirrors out of hibernation and cleaned/waxed them.
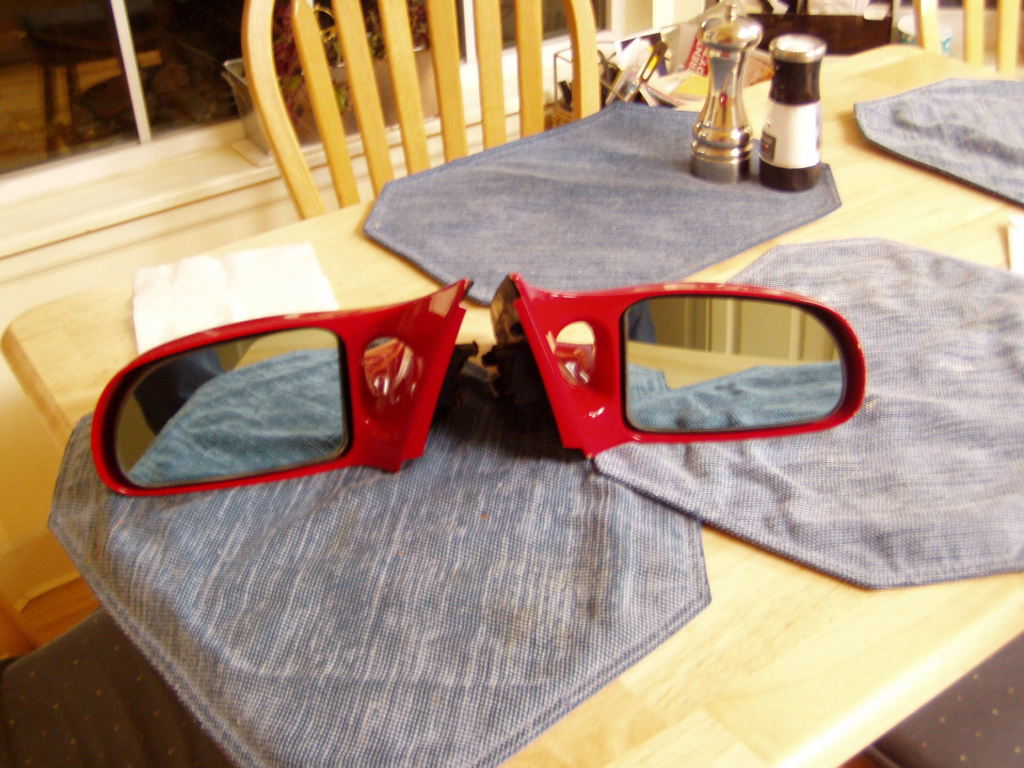
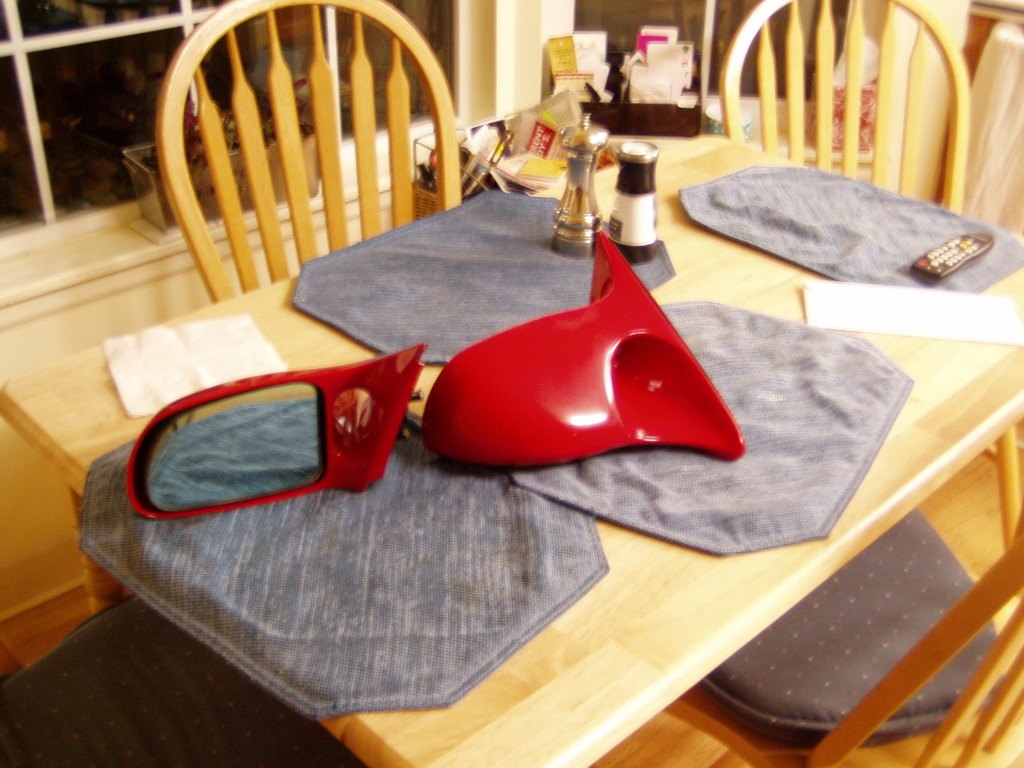
Although I'm holding off on the install, I temporarily plugged one in to confirm that the mirror switch works.
It does.
As do the brake lights and the efan (both speeds).
In fact, I went around and confirmed that all the chassis electrics work along with all the dash/indicator lights.
Even the bin/glovebox lights function.
I went back over all the hardware in the suspension- front and rear- and checked for tightness.
All is good.
I had an idea to dress up the bin where I mounted the battery...the concept works but my V1 execution sucked.
This is typical and I figured on at least one more attempt before it was pic-worthy.
I've also been reconsidering the intake, which I modded several weeks ago.
I have an idea for a better inlet but need to finalize my component selection first.
There is a possibility that the rad may change soon and I'd need the final piece in place before moving forward on the intake again.
My punch list of dangling details is down to one item (permanently mount the a-pillar plastic) and I plan on getting that done today.
Getting way closer now.
The snubber in position for the first time.
It wasn't even close to the diff nose, I ultimately made a 3/8" spacer to drop it into contact.
I'd have made a slightly thicker spacer to achieve preload but ran out of threads on the mounting stud.
A very early morning pic of the assembled subframe:
In the dim background you can see four purple springs...in exchange for help with the diff, I helped install lowering springs and an exhaust on my friend's Audi TT.
The FC is a much easier car to work on.
Yesterday was a crap weather day, cold, dim and damp, so I didn't feel like spending extended time in the garage.
I brought the mirrors out of hibernation and cleaned/waxed them.
Although I'm holding off on the install, I temporarily plugged one in to confirm that the mirror switch works.
It does.
As do the brake lights and the efan (both speeds).
In fact, I went around and confirmed that all the chassis electrics work along with all the dash/indicator lights.
Even the bin/glovebox lights function.
I went back over all the hardware in the suspension- front and rear- and checked for tightness.
All is good.
I had an idea to dress up the bin where I mounted the battery...the concept works but my V1 execution sucked.
This is typical and I figured on at least one more attempt before it was pic-worthy.
I've also been reconsidering the intake, which I modded several weeks ago.
I have an idea for a better inlet but need to finalize my component selection first.
There is a possibility that the rad may change soon and I'd need the final piece in place before moving forward on the intake again.
My punch list of dangling details is down to one item (permanently mount the a-pillar plastic) and I plan on getting that done today.
Getting way closer now.
10-14-12, 03:35 PM
#220
Unlike yesterday, today was beautiful, so I decided I'd best get some of the remaining dirty work done.
This meant the transmission, which was horrendous.
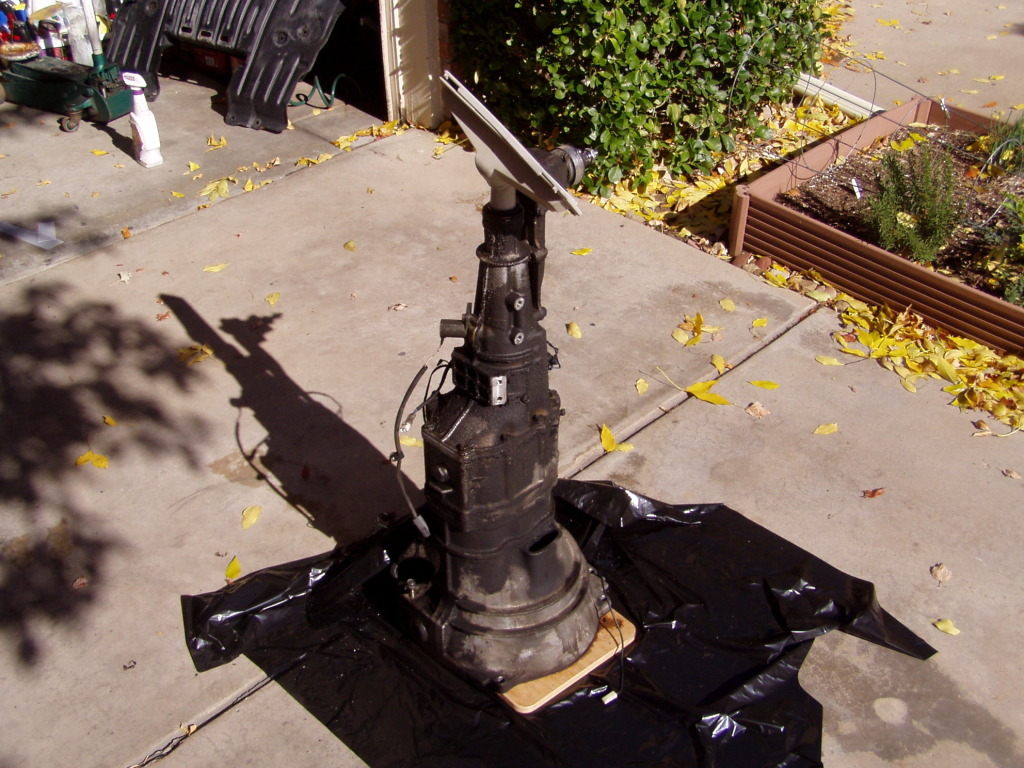
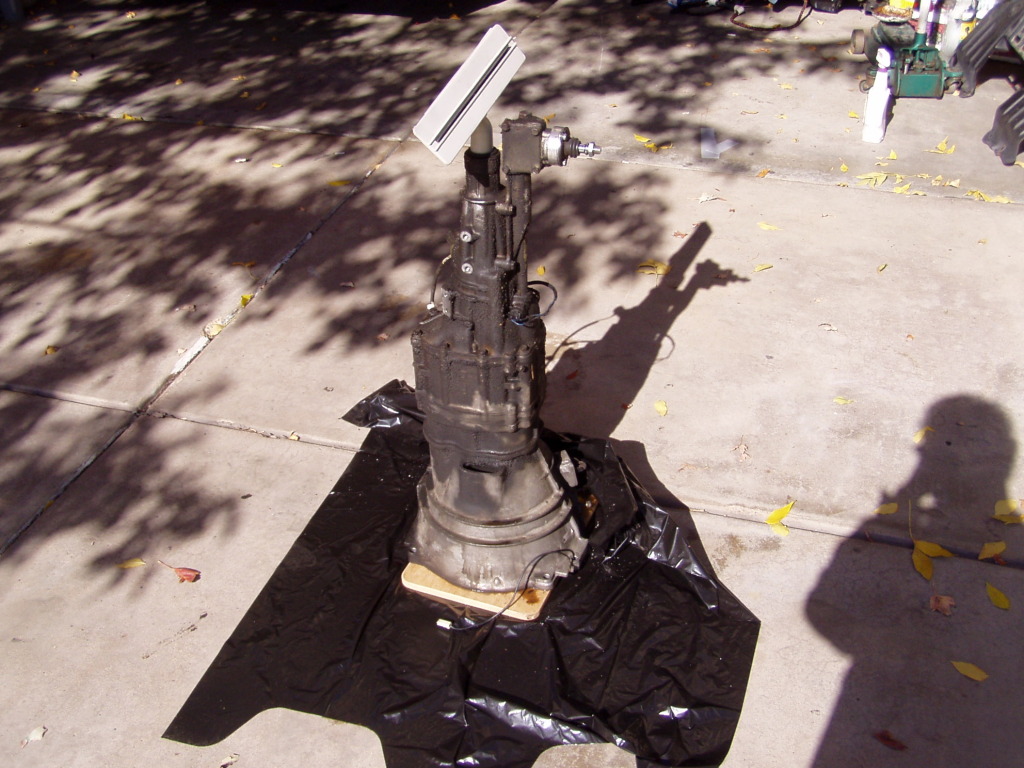
Three hours later, after using a variety of brushes, sponges and picks along with Purple Power:
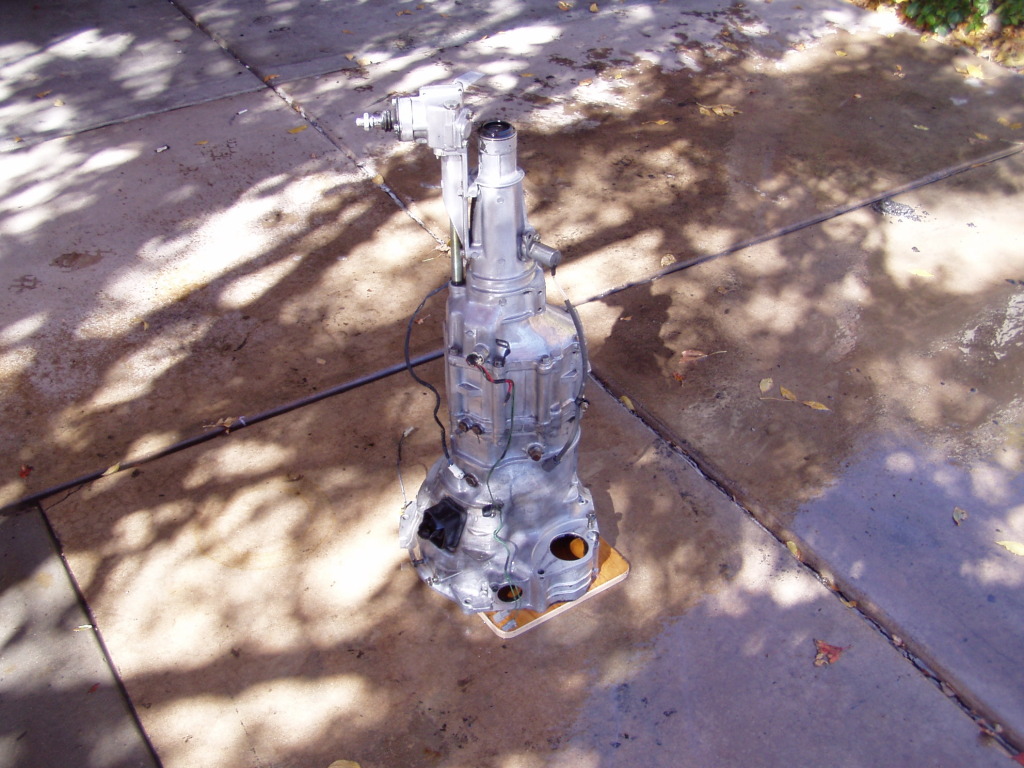
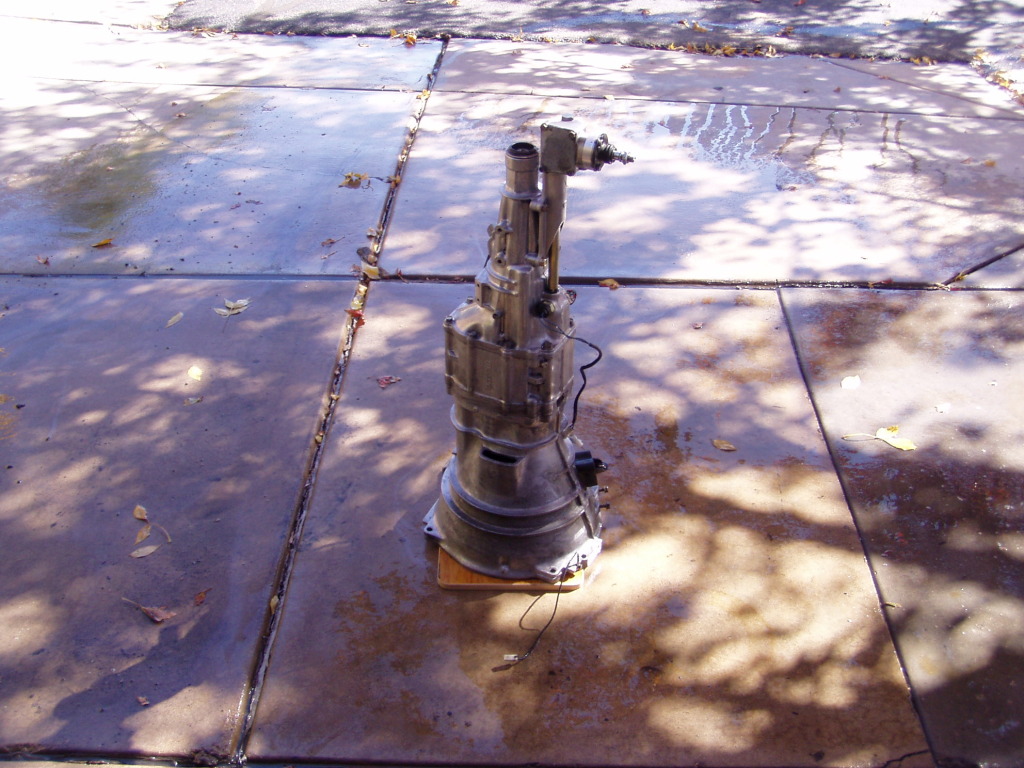
I am very happy that's done.
This meant the transmission, which was horrendous.
Three hours later, after using a variety of brushes, sponges and picks along with Purple Power:
I am very happy that's done.
10-14-12, 06:32 PM
#221
wow. awesome. looks so good.
The snubber, is there a stock one? what is its purpose? Im just curious because recently I lowered my car and used a rear adj camber bar. I maxed it out all the way, and now I get a kinda vibration noise if I rev 1st and 2nd high. and if I shift too fast, something bangs.
The snubber, is there a stock one? what is its purpose? Im just curious because recently I lowered my car and used a rear adj camber bar. I maxed it out all the way, and now I get a kinda vibration noise if I rev 1st and 2nd high. and if I shift too fast, something bangs.
10-15-12, 03:29 AM
#223
Typically, you'd see a mount like this set up so the bushes are either in compression or tension under load but ours are always in shear, the worst case scenario.
In theory, the snubber restricts the upward jolt of the diff nose under acceleration, which also minimizes the downward snap at decel, thus lessening the total shear load on the stock mount.
My anemic NA, coupled with my relaxed driving style, make this mod purely theoretical on this chassis but it was cheap and easy (since the diff was out already), so why not?
10-15-12, 08:12 AM
#224
I have a question, those in the back of the class, feel free to answer...
Sitting in the dark garage testing control illumination, I noticed that the pictograms on the Logicon don't light up.
These are the little pictures of how the air is being distributed, there's a small indicator light above each diagram that shows which is active (these work on mine).
It seems like the pics should be lit too, but I can't remember if they are or not.
Which is it?
