
FD + 20B = project


Thread Starter
Senior Member
Joined: Feb 2007
Posts: 368
Likes: 0
From: Surrey, England
No not yet. I have the seals here already but not got around to building the engine yet. Was getting all the ancilleries done before i built the engine. Kind of fortunate really would have been a bitch if i had rebuilt it with carbon seals then strapped a turbo on it wold have ment stripping it down again. Just regular tips going in now. Maybe SCR ones.
Thread Starter
Senior Member
Joined: Feb 2007
Posts: 368
Likes: 0
From: Surrey, England
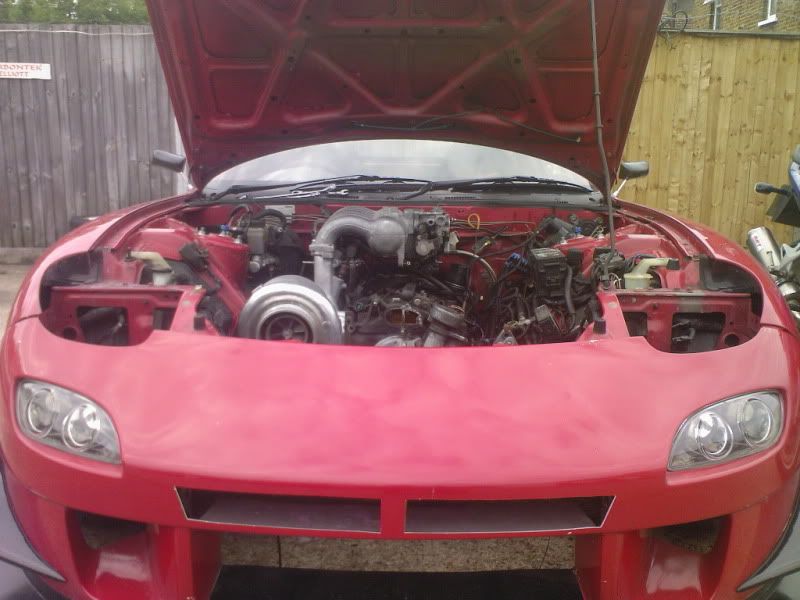
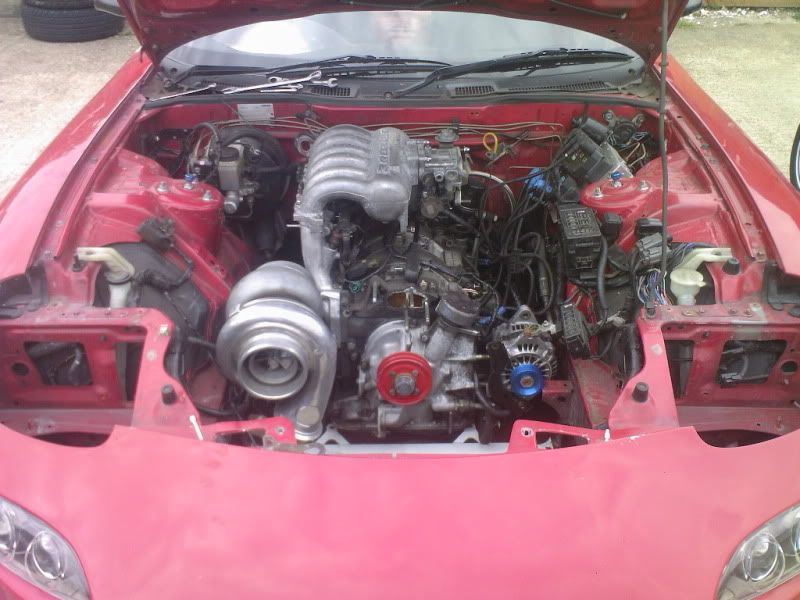
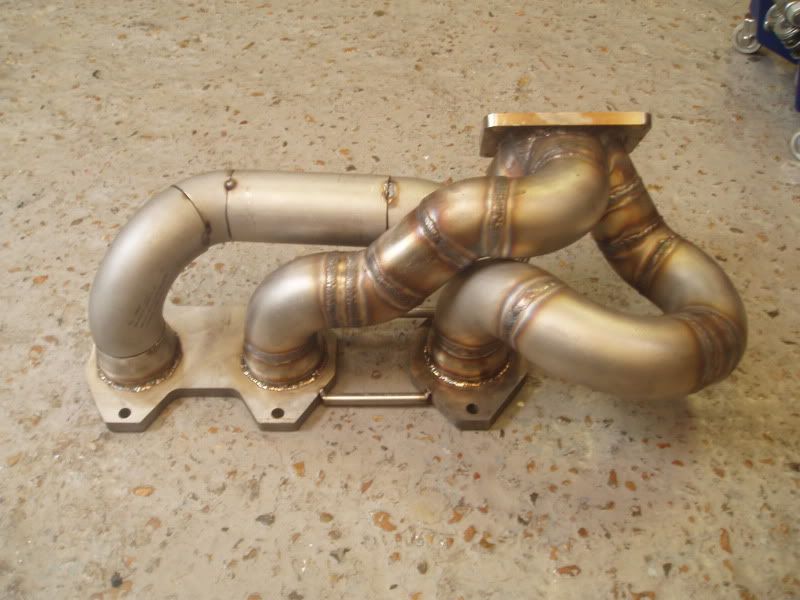
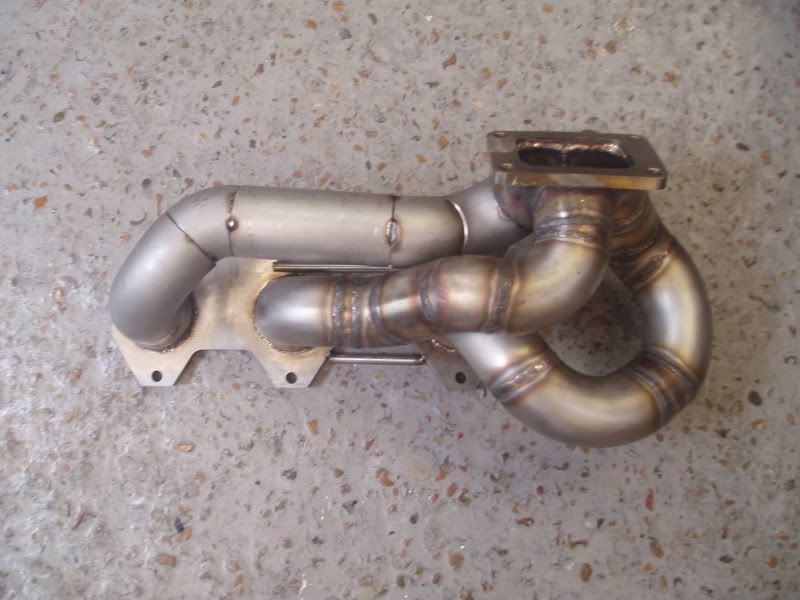
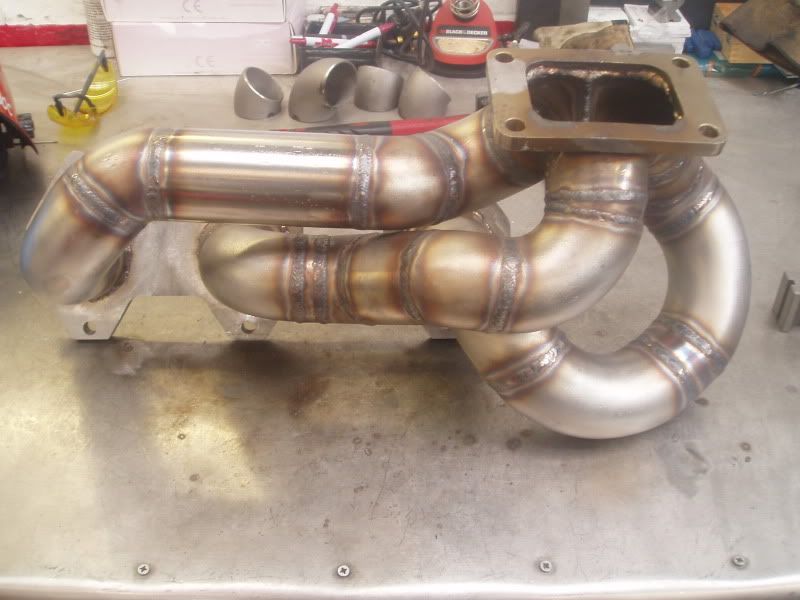
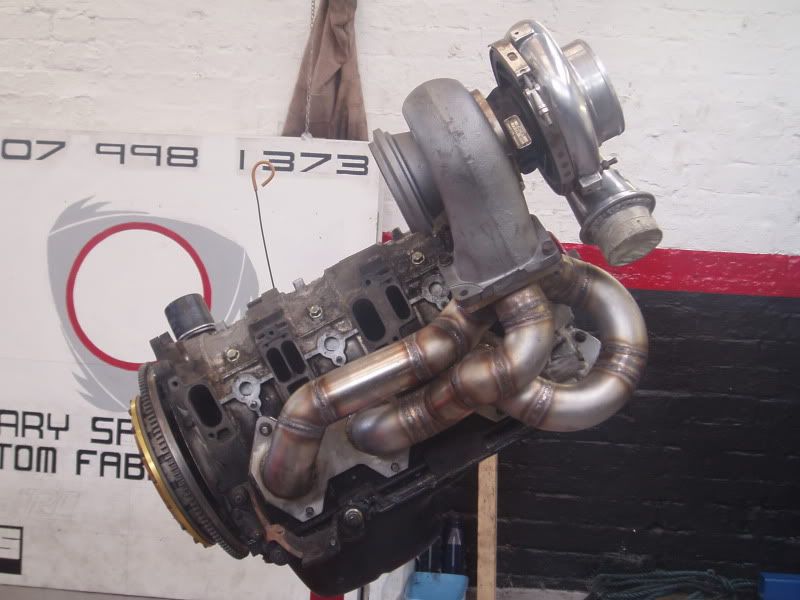
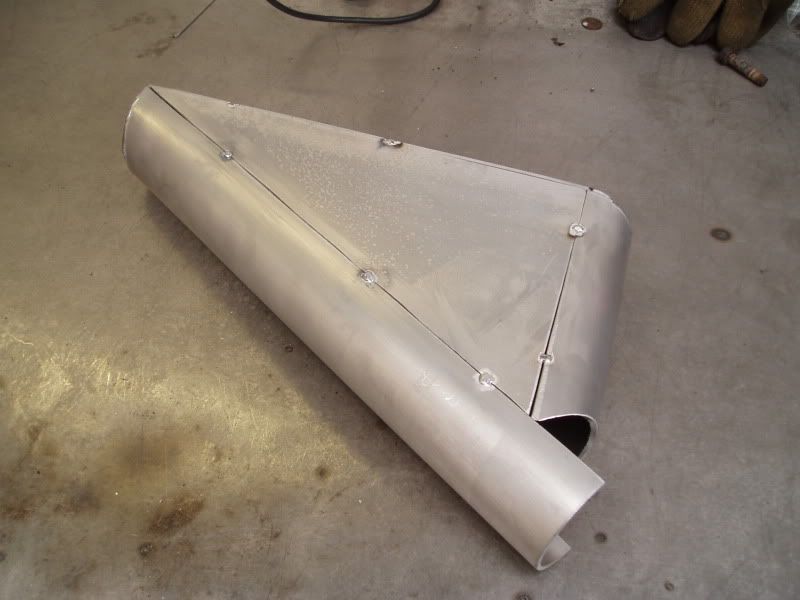
Manifold in the process. Not the most atractive welds compared to other stuff i have done but strength is key when you consider the heat cycles this thing will go through!!!
Thread Starter
Senior Member
Joined: Feb 2007
Posts: 368
Likes: 0
From: Surrey, England
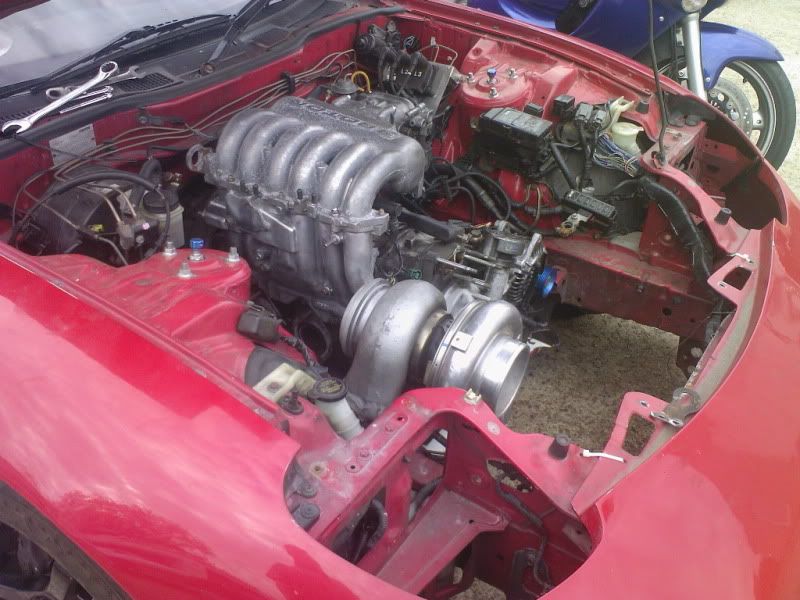
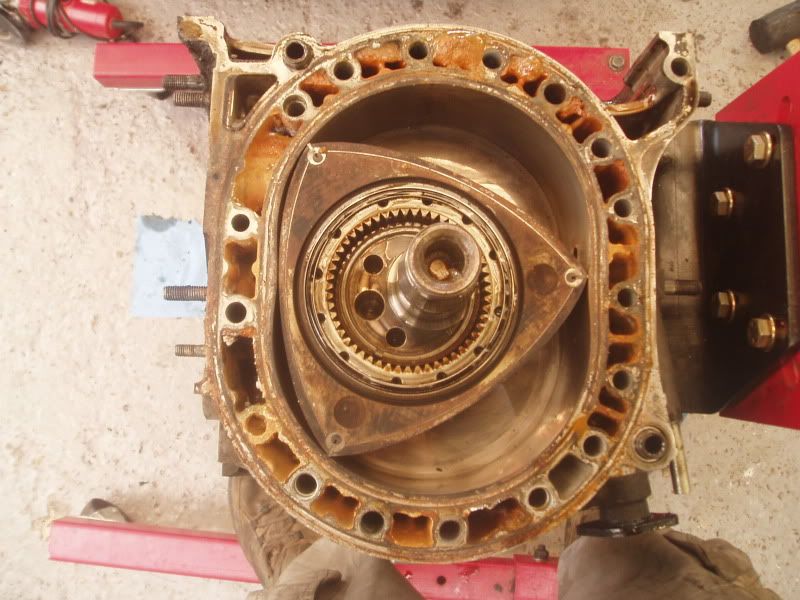
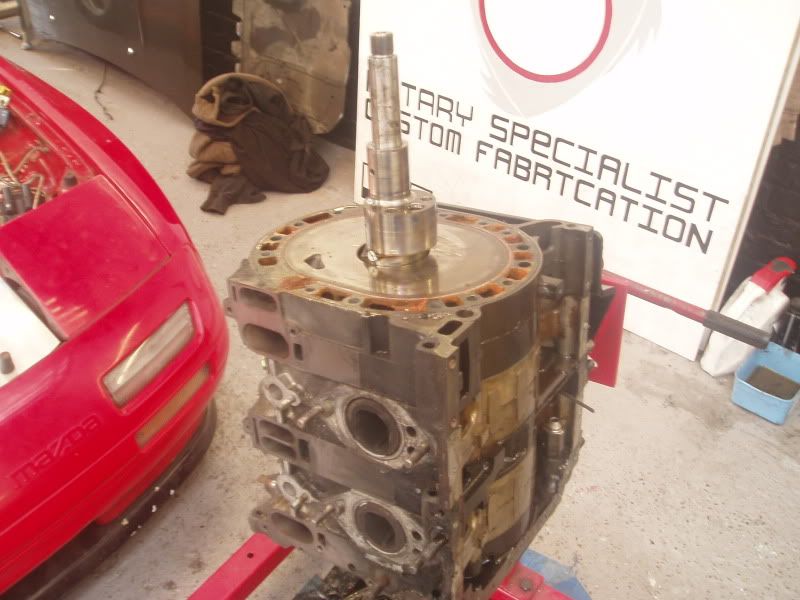
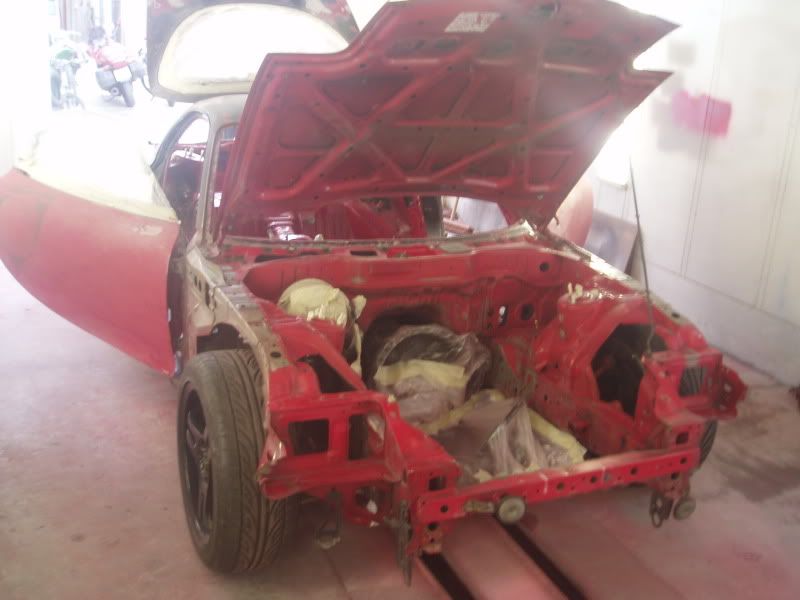
Strip down time. Decided to get the lump out and investigate why the rear rotor has no compresion:
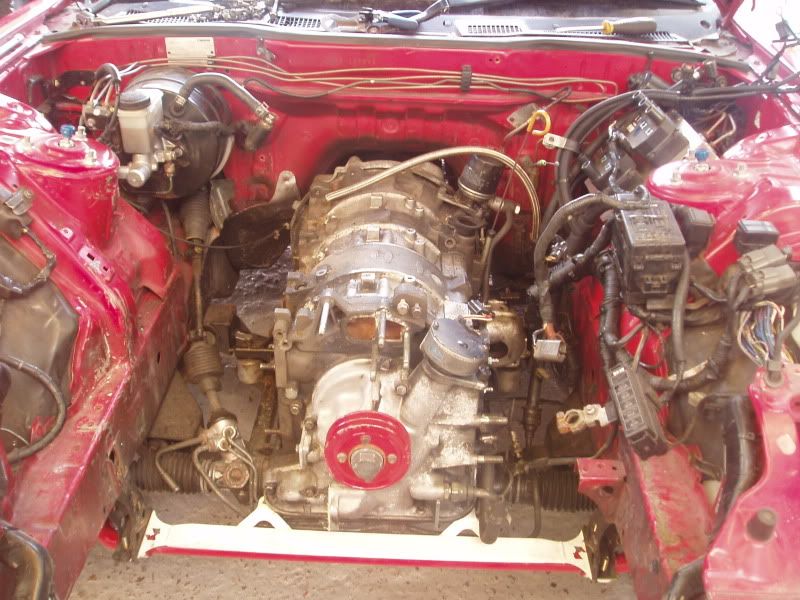
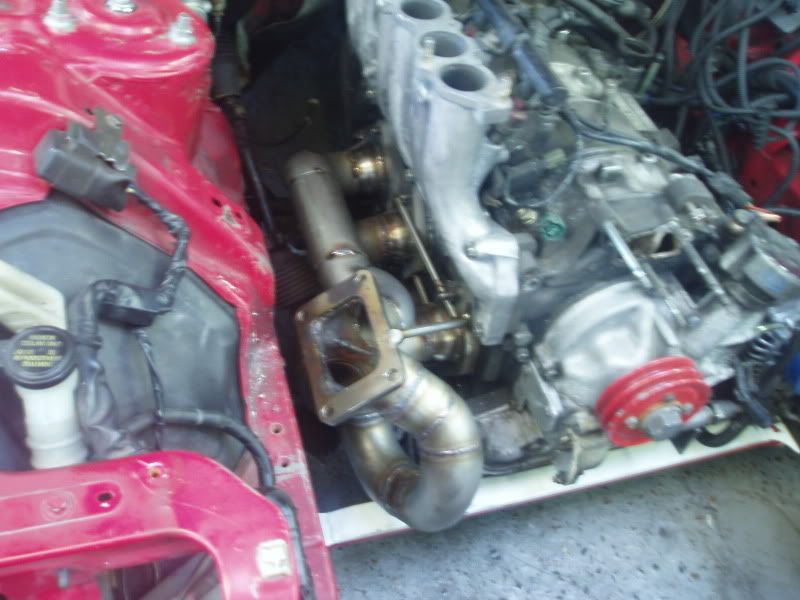
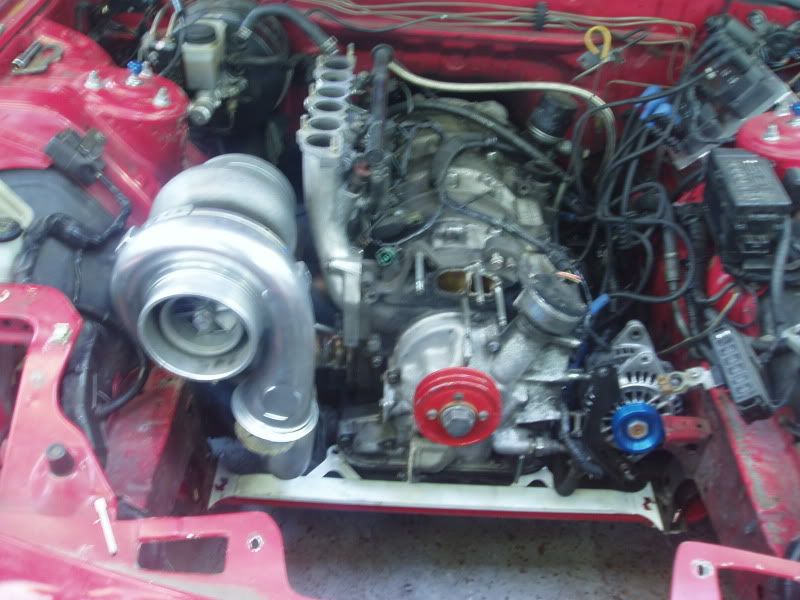
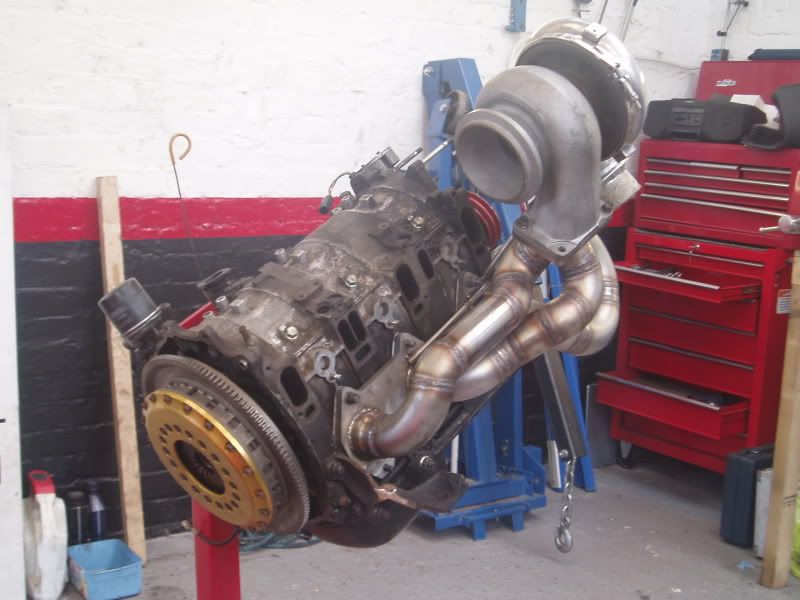
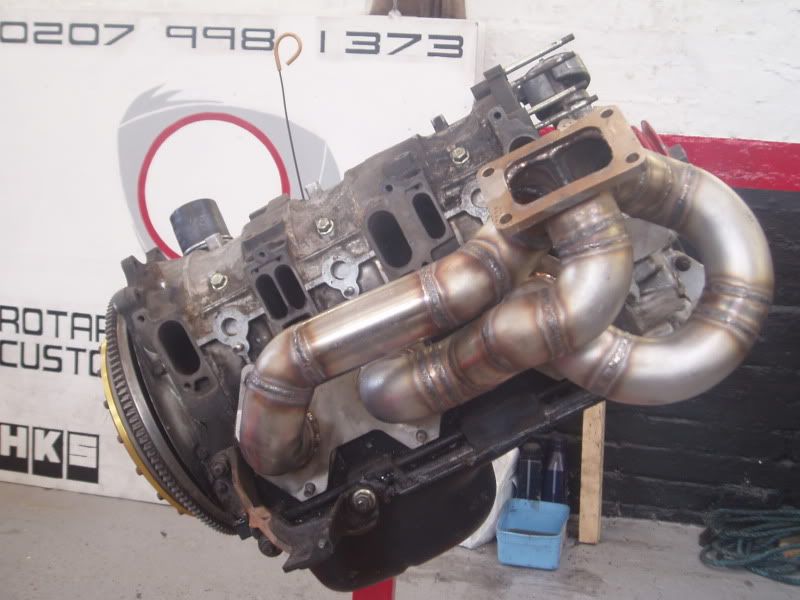
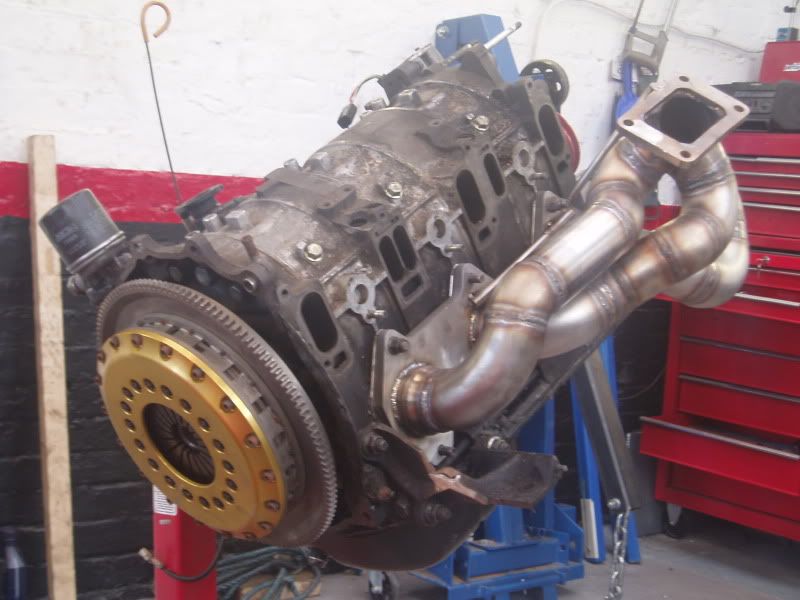
Few of the block out with the tubby and manifold.
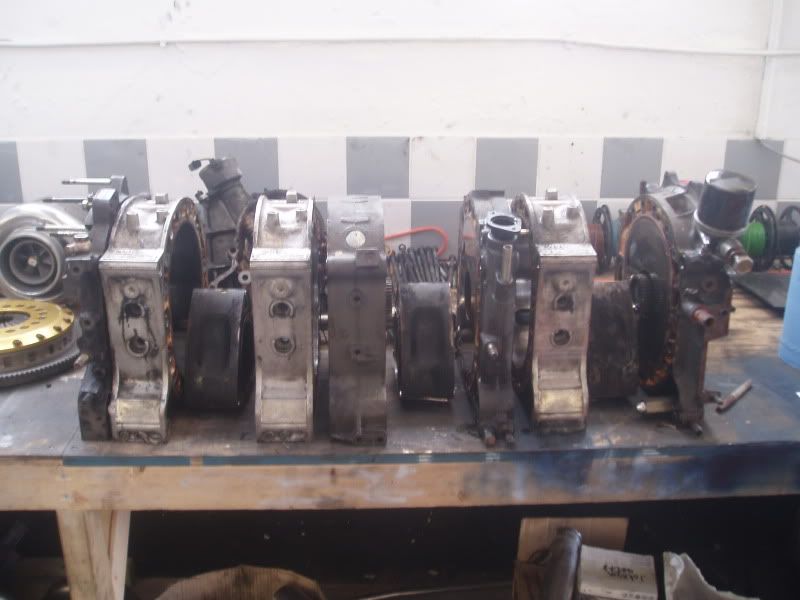
Some shots of the modified ports. These are the smaller of the inlets. Not attacked the big ones yet
Few of the block out with the tubby and manifold.
Some shots of the modified ports. These are the smaller of the inlets. Not attacked the big ones yet


1000 years, lost in time.
Joined: Oct 2007
Posts: 178
Likes: 1
From: Australia
Looks like it's coming along beautifully!!
I'm guessing your exhaust porting is bigger than standard from the size of the manifold??
I'm part way through a S5 20B conversion currently and loving every dollar draining minute of it! But I'm completely insain, so you get that =)
By the way, what turbo are you running? Looks bigger than mine, which makes sense if you're running larger ports.
Thanks for the pics - you've prompted me to pull my finger out and post my own! hehehe
Cheers
Thread Starter
Senior Member
Joined: Feb 2007
Posts: 368
Likes: 0
From: Surrey, England
Cheers for the kind words.
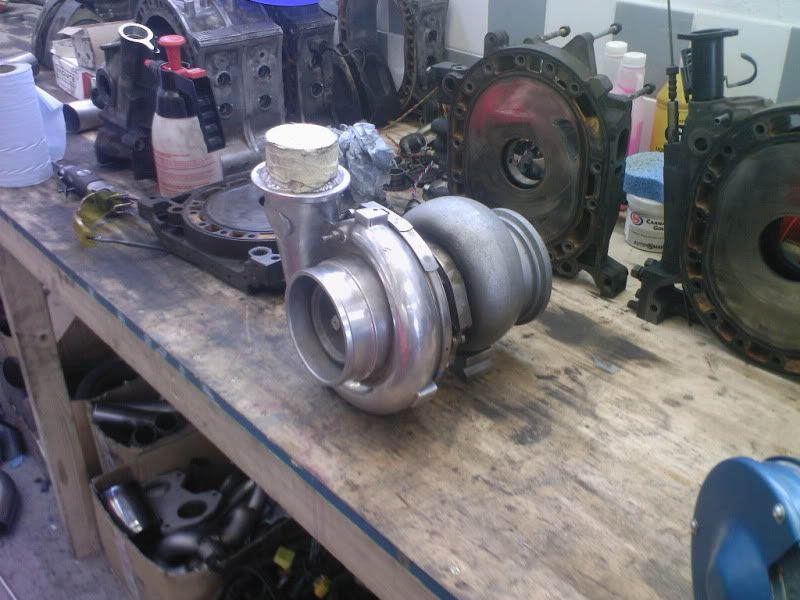
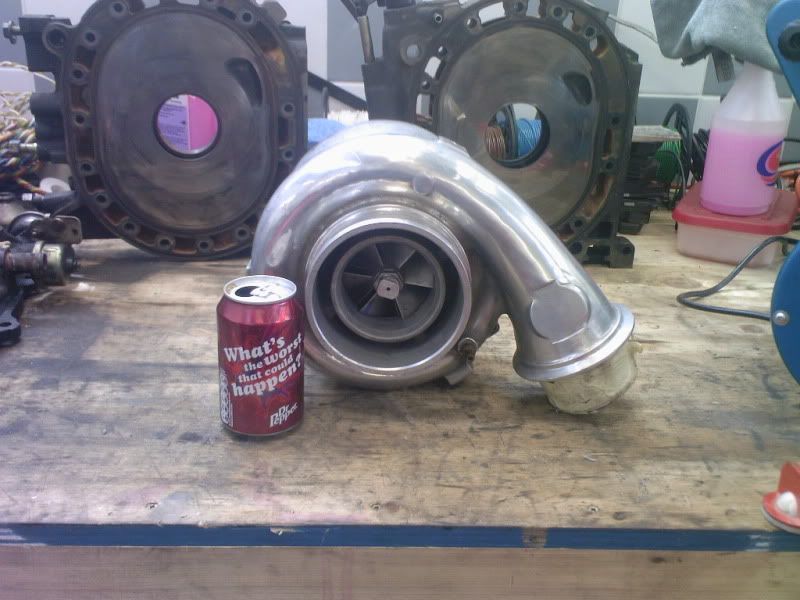
I think you kind of have to be a little insain to take on a 20B project anyway! The turbo is a GT45 after checking with Garrett. Yes the ports will be modified when i get the new housings.
cheers
I think you kind of have to be a little insain to take on a 20B project anyway! The turbo is a GT45 after checking with Garrett. Yes the ports will be modified when i get the new housings.
cheers
Thread Starter
Senior Member
Joined: Feb 2007
Posts: 368
Likes: 0
From: Surrey, England
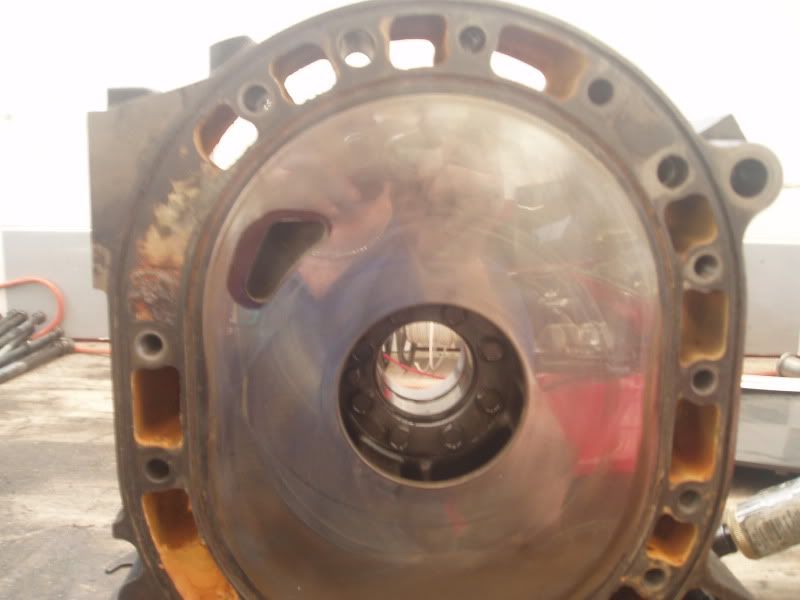
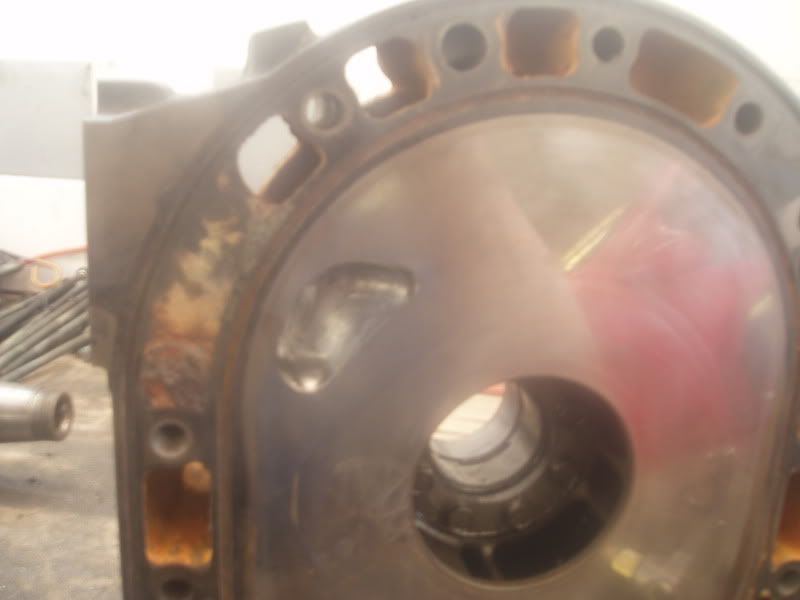
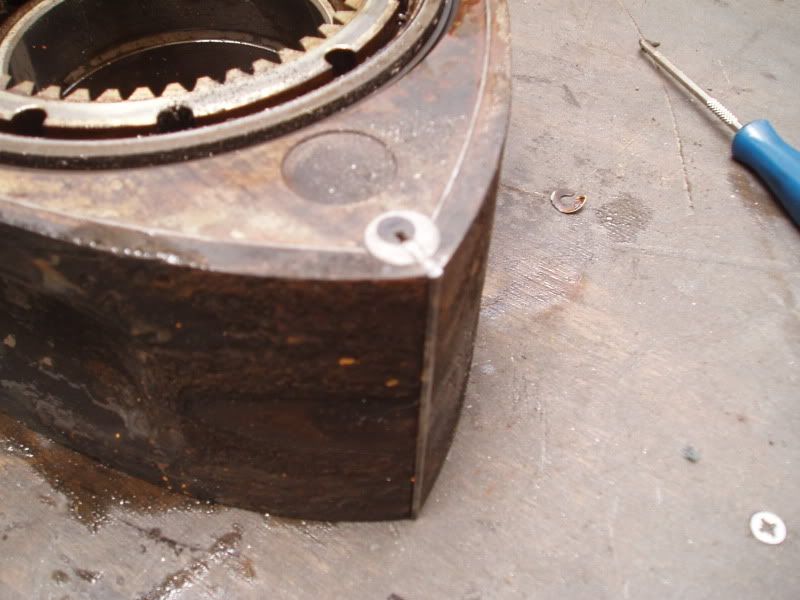
One of a couple of reasons for loss of rear rotor compression. Not the best pic because the camera is *****. Anyway you can sort of see all the coner seals, side seals and Apex seals are all firm welded in place. no protusion what so ever. with A LOT of paticence, time and some modifications to a few tools i did manage to free the rotor of its semi perminant seals. Then with planty of checks and huge amount of cleaning its all ready to go again. Other problems look to include oil starvation of the rotor bearings. 2 oil control ring o-rings were no where to be seen!!! totally gone. Not good.
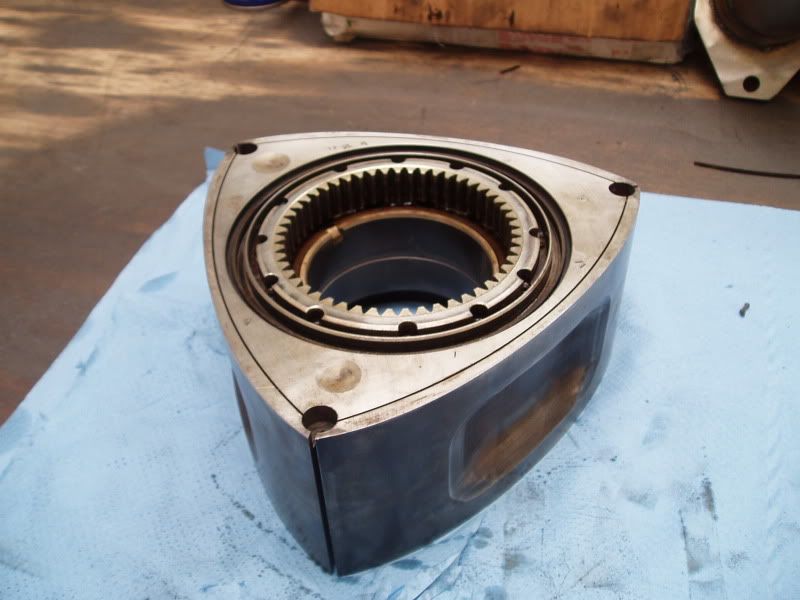
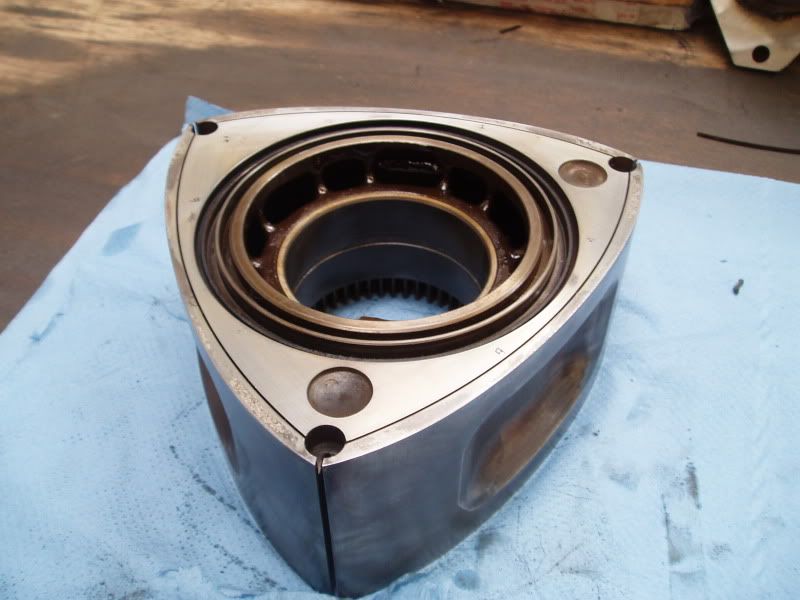
cleaned
Still investigating reason for oil starvation.
cleaned
Still investigating reason for oil starvation.
1000 years, lost in time.
Joined: Oct 2007
Posts: 178
Likes: 1
From: Australia
Look, I know I'm getting on in years, and the specs do work, but I'm pretty sure you said someone welded the apex seals in place? I mean seriously, wtf?! What sort of moron would ever think that'd be a good idea? Unbelieveable, and definately one for the books!
Good luck with the rebuild!
Cheers
Good luck with the rebuild!
Cheers
Love your Fabricator!
Joined: Sep 2004
Posts: 353
Likes: 0
From: Miami, FL
I just stumbled on to your project, looking very nice, I think you're correct you have to be a little crazy to take on one of these projects.
here's mine
https://www.rx7club.com/race-car-tech-103/bigals-fd-20b-racecar-project-747809/
BigAl...
here's mine
https://www.rx7club.com/race-car-tech-103/bigals-fd-20b-racecar-project-747809/
BigAl...
Thread Starter
Senior Member
Joined: Feb 2007
Posts: 368
Likes: 0
From: Surrey, England
Look, I know I'm getting on in years, and the specs do work, but I'm pretty sure you said someone welded the apex seals in place? I mean seriously, wtf?! What sort of moron would ever think that'd be a good idea? Unbelieveable, and definately one for the books!
Good luck with the rebuild!
Cheers
Good luck with the rebuild!
Cheers
 Man if someone actually ever did that
1000 years, lost in time.
Joined: Oct 2007
Posts: 178
Likes: 1
From: Australia
Hahahah! You had me wondering 
Well, I've posted my FC thread! Do check it out =)
https://www.rx7club.com/showthread.p...=1#post9393961
Well, I've posted my FC thread! Do check it out =)
https://www.rx7club.com/showthread.p...=1#post9393961
Thread Starter
Senior Member
Joined: Feb 2007
Posts: 368
Likes: 0
From: Surrey, England
I just stumbled on to your project, looking very nice, I think you're correct you have to be a little crazy to take on one of these projects.
here's mine
https://www.rx7club.com/showthread.php?t=747809
BigAl...
here's mine
https://www.rx7club.com/showthread.php?t=747809
BigAl...


Thread Starter
Senior Member
Joined: Feb 2007
Posts: 368
Likes: 0
From: Surrey, England
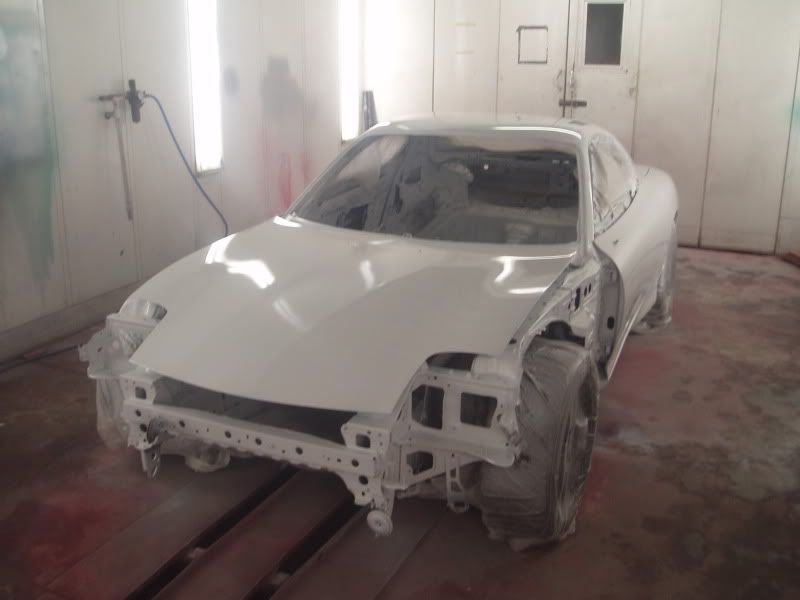
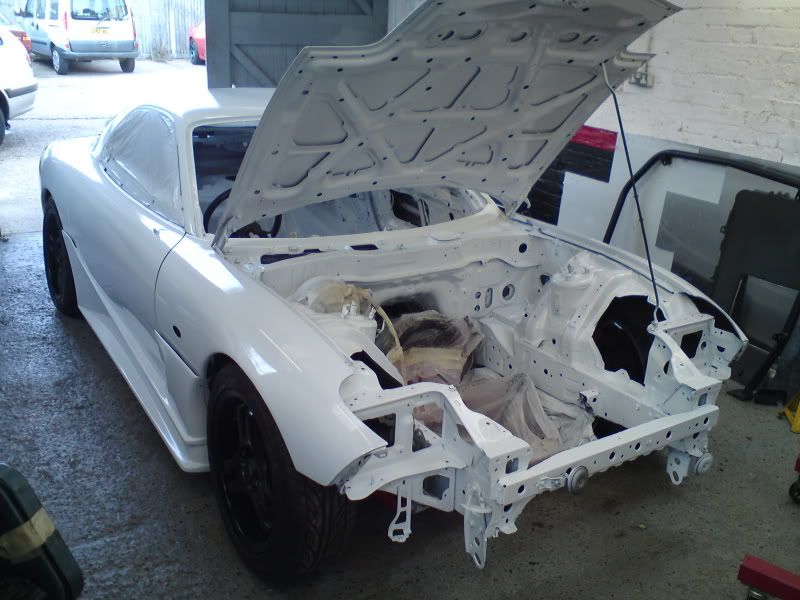
White base with xirallic green over the top. Then my own custom green pearl wheels (see EGI project in N/A forum) with the same pearl green strip over down the middle. Sounds tacky but wait and see. She'll look grest.

Thread Starter
Senior Member
Joined: Feb 2007
Posts: 368
Likes: 0
From: Surrey, England
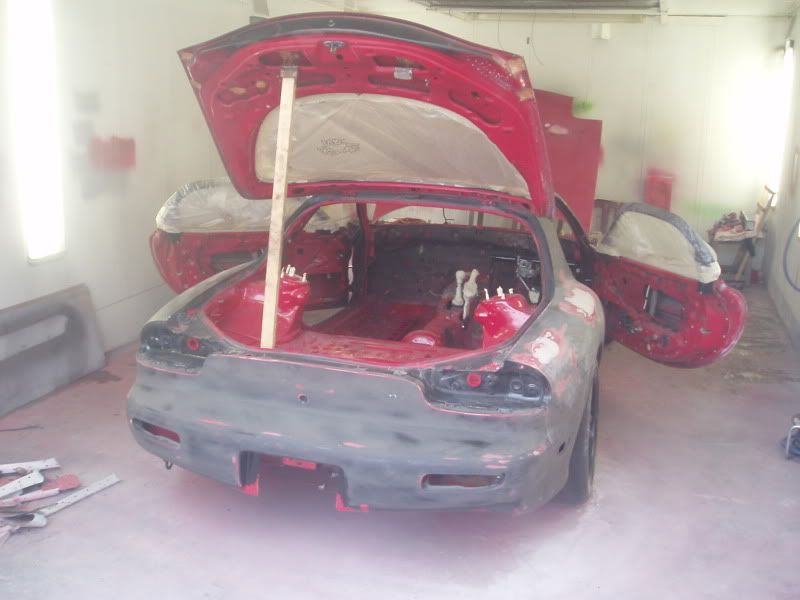
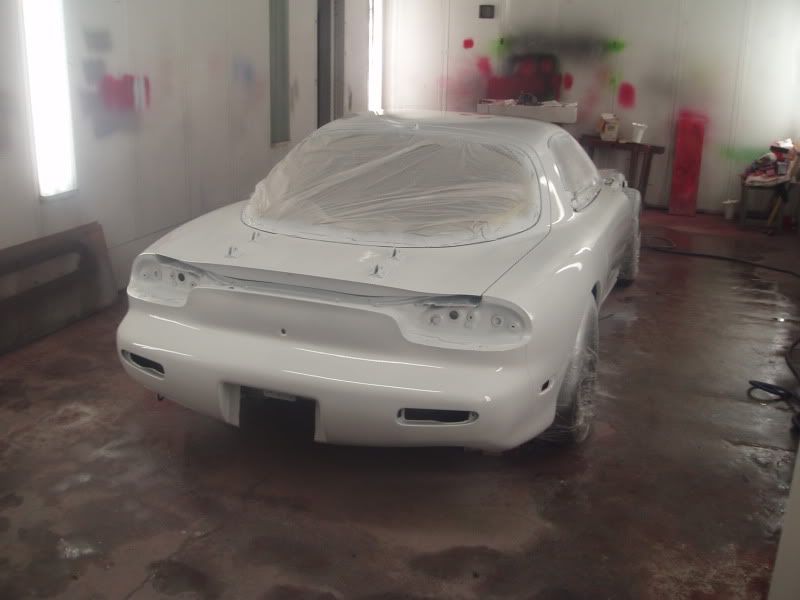
Righty people. Painr is done..... bar a damn good buffing. No perfect but it only has to be a 3ft car as its a racer not a shower.
Here we go
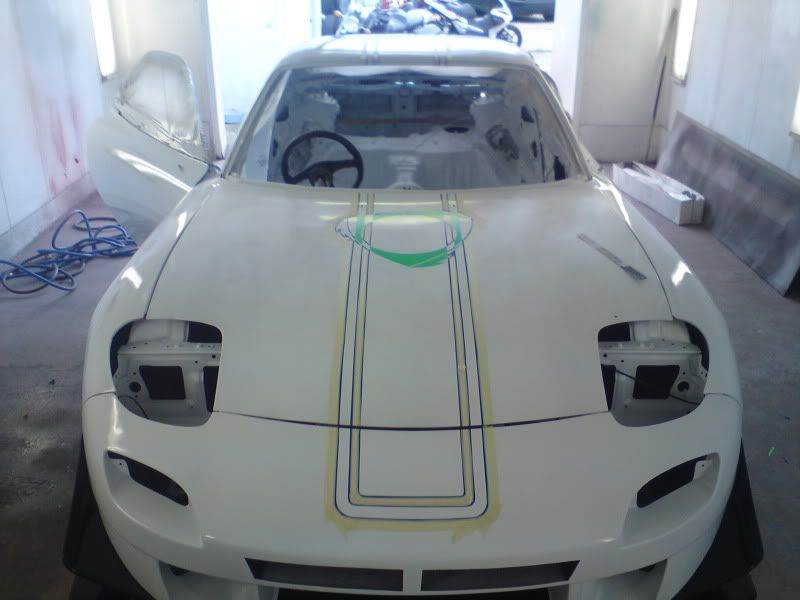
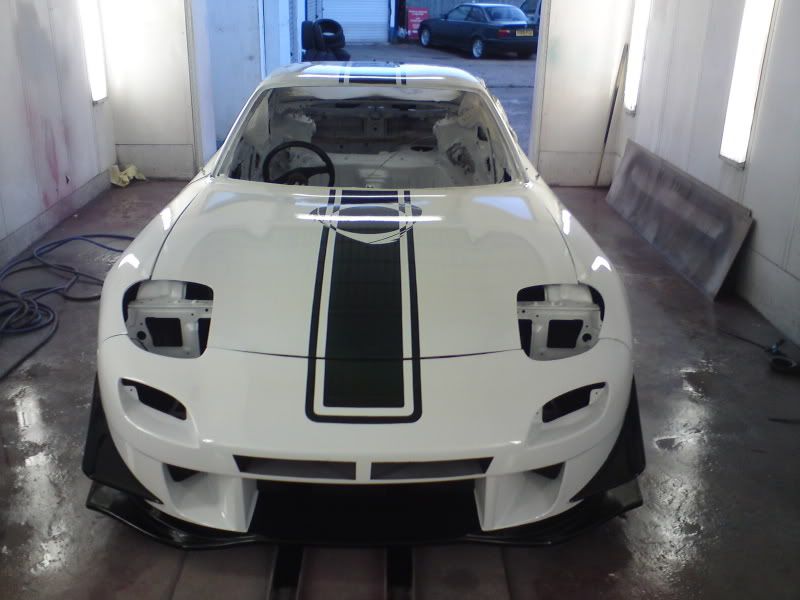

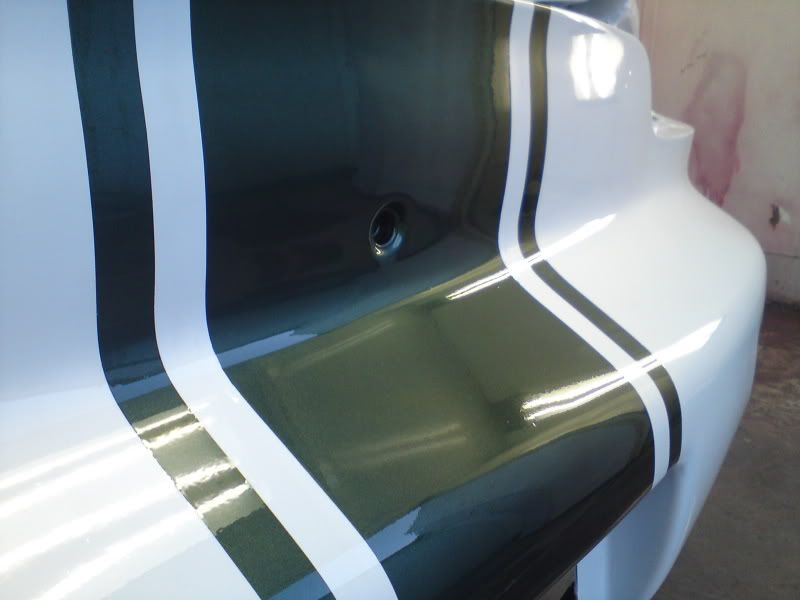
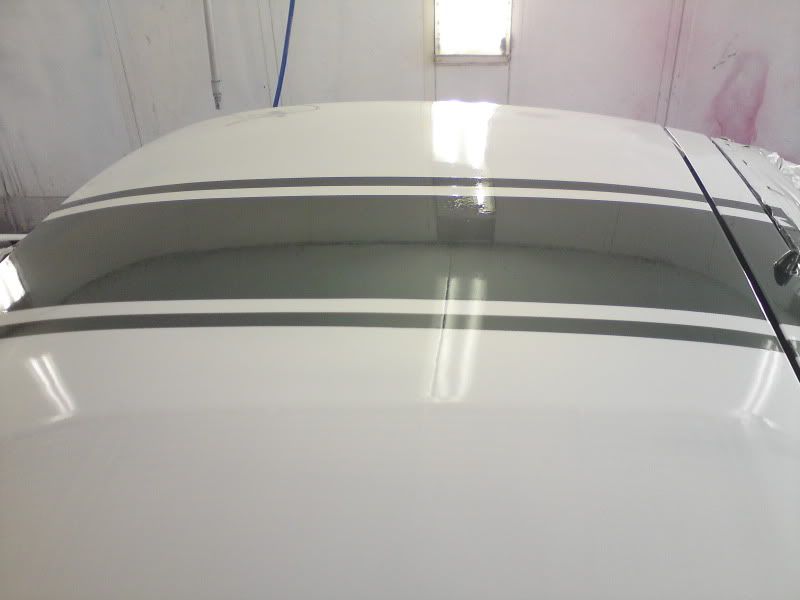
There are a few defects here and there but hey. turned around quick enough!
Here we go
There are a few defects here and there but hey. turned around quick enough!
