
1989 GTUs 20B N/A Build Thread

 . Got any suggestions
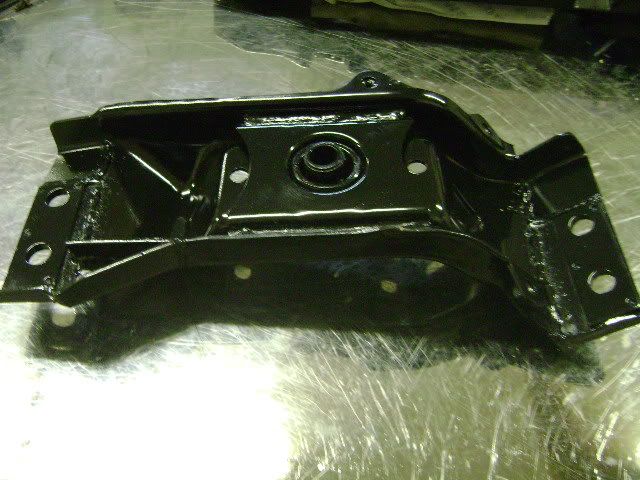
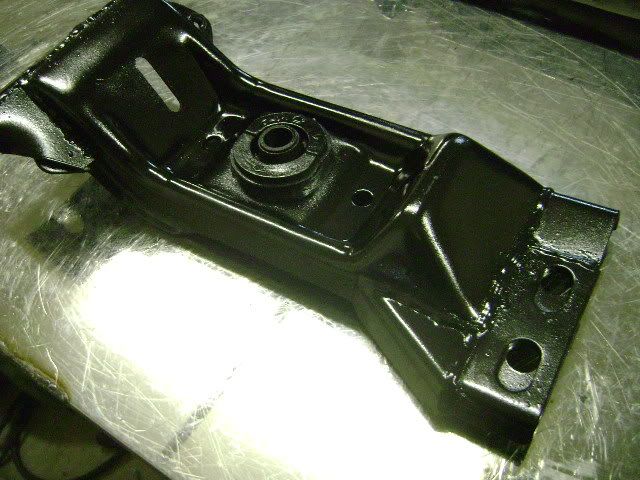
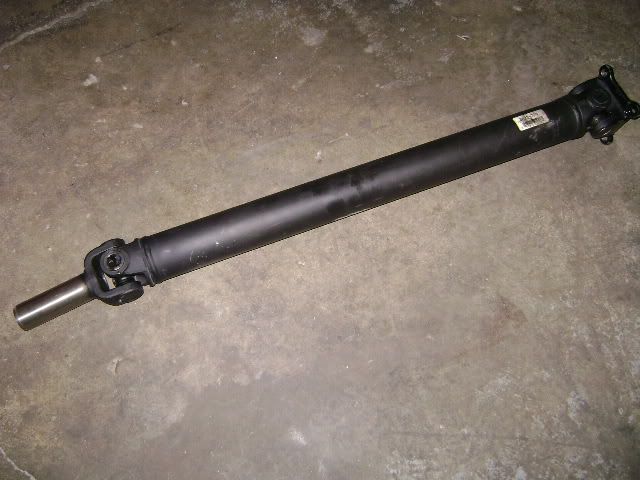
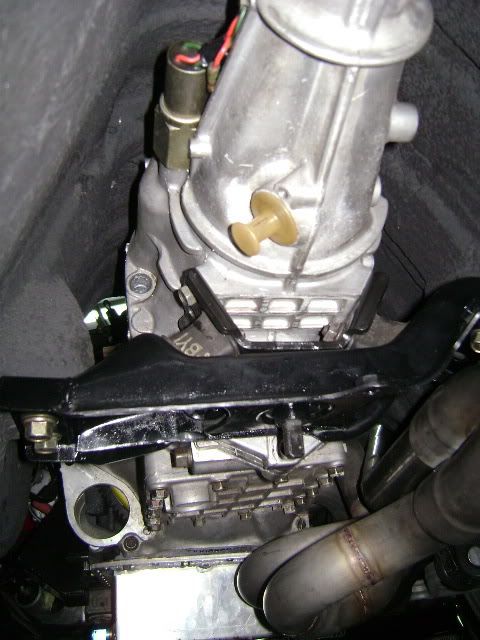
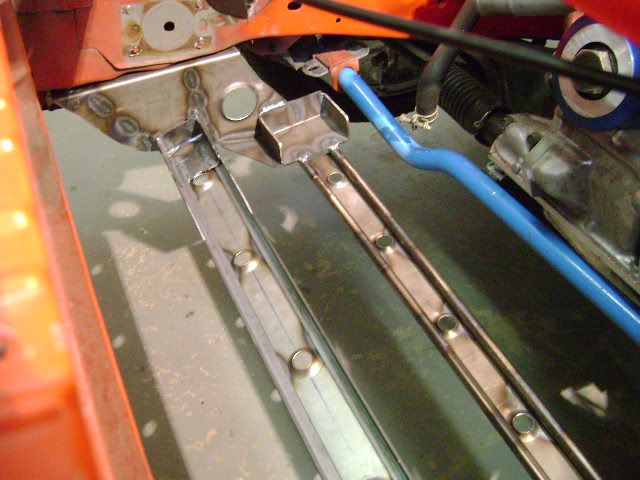
Have some more pics of the building process. We had to move the engine 1.75" further back into the chassis to make room for the large radiator and a/c. Started with a stock transmission mount, cut and fabricated a new structure onto it. Then, had our driveshaft shop shorten the driveshaft 1.75". Since the shifter would no longer line up, we used a 1st gen shift tower and modified the shift rod. This puts it very close to stock location.
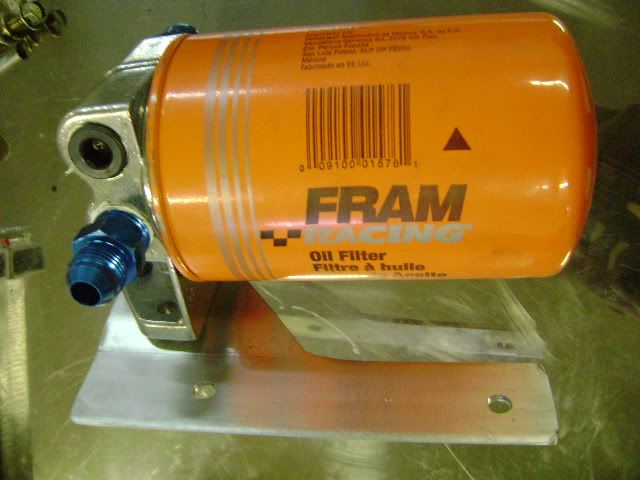
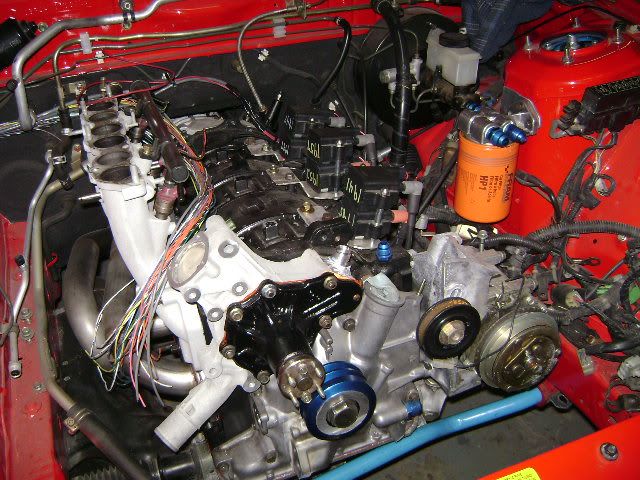
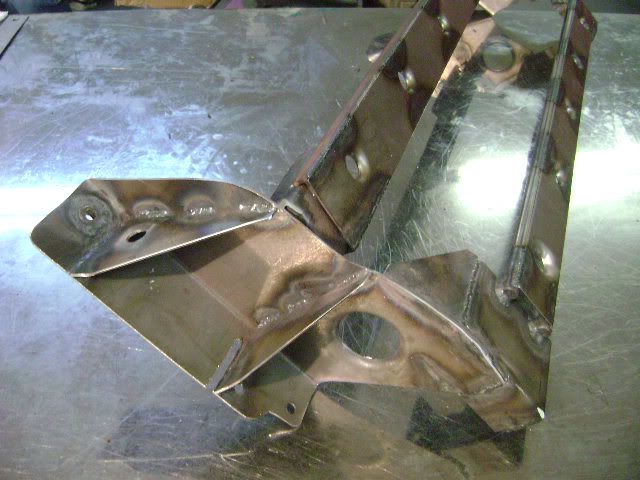
Then built a oil pedestal bracket, and bolted the assembly to the shock tower. The pedestal will allow us to have twin -8an feed lines to front and rear of the block. We have found through racing that this is a desired modification.
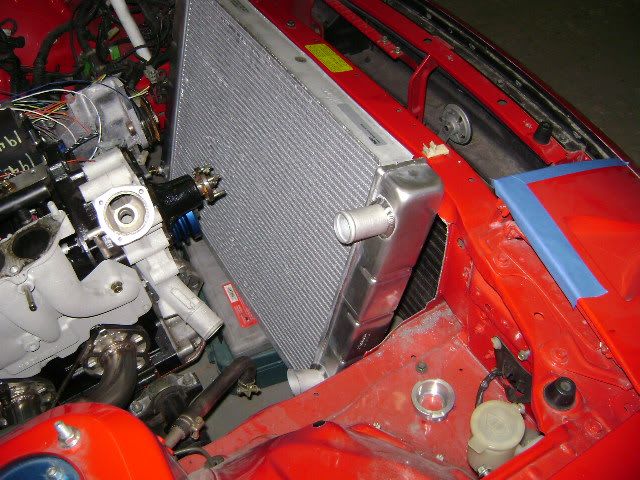
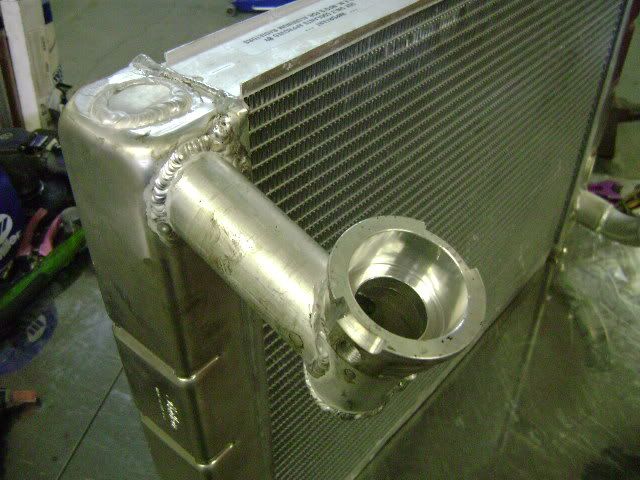
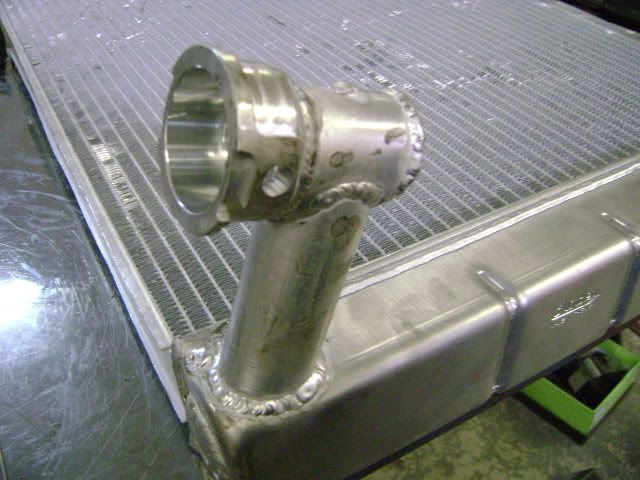
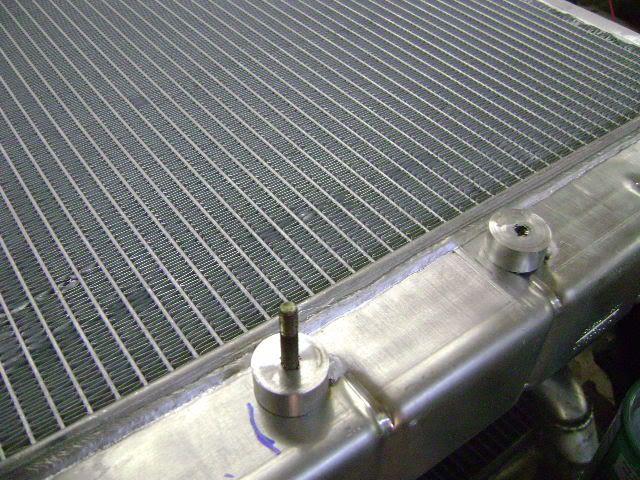
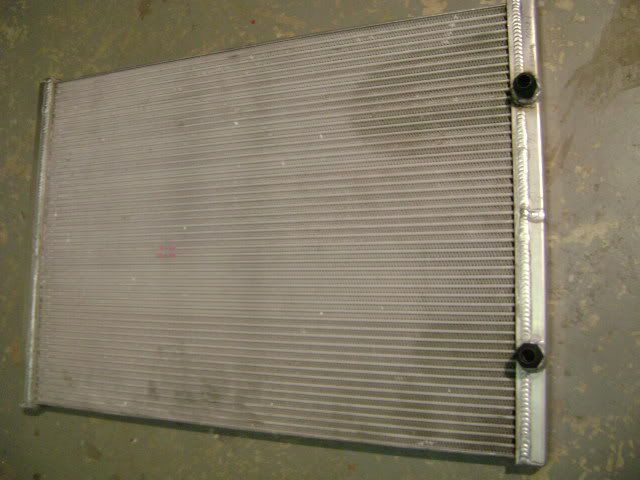
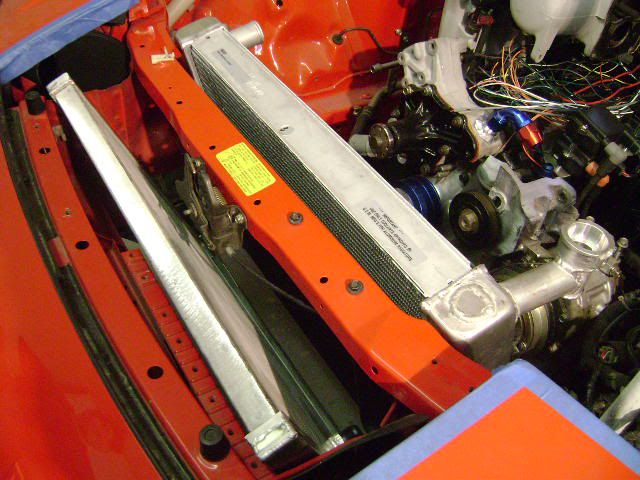
Next was time to mock up the radiator and condenser, as well as the oil cooler. We relocated and fabricated the fill neck on the radiator to give additional hood clearance. Machined spacers were made, and the condenser bolts onto the radiator. Once the ideal locations were found, a subframe that holds both was fabricated. The subframe bolts onto the car, so no welding on the chassis would be required. This will be a quick release setup similar to my track car. The radiator, oil cooler, and condenser will be able to be removed in minutes from the top.

Then built a oil pedestal bracket, and bolted the assembly to the shock tower. The pedestal will allow us to have twin -8an feed lines to front and rear of the block. We have found through racing that this is a desired modification.
Next was time to mock up the radiator and condenser, as well as the oil cooler. We relocated and fabricated the fill neck on the radiator to give additional hood clearance. Machined spacers were made, and the condenser bolts onto the radiator. Once the ideal locations were found, a subframe that holds both was fabricated. The subframe bolts onto the car, so no welding on the chassis would be required. This will be a quick release setup similar to my track car. The radiator, oil cooler, and condenser will be able to be removed in minutes from the top.
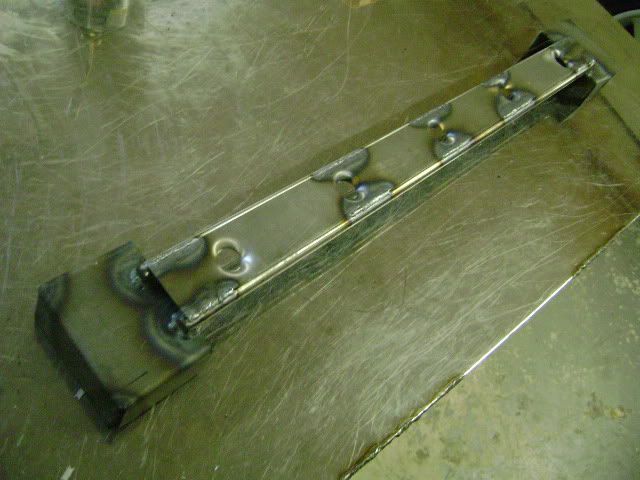
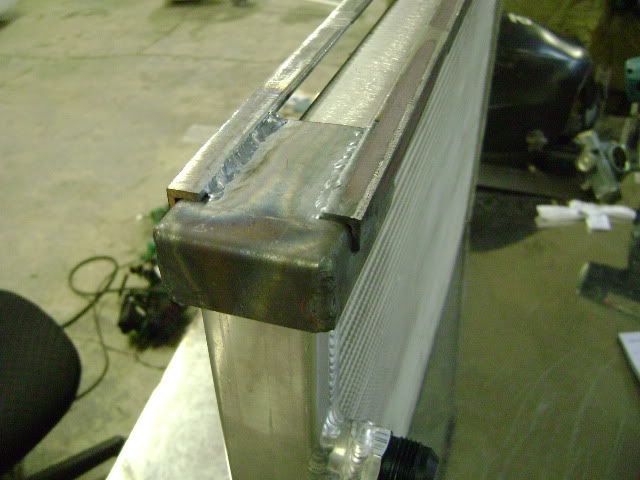
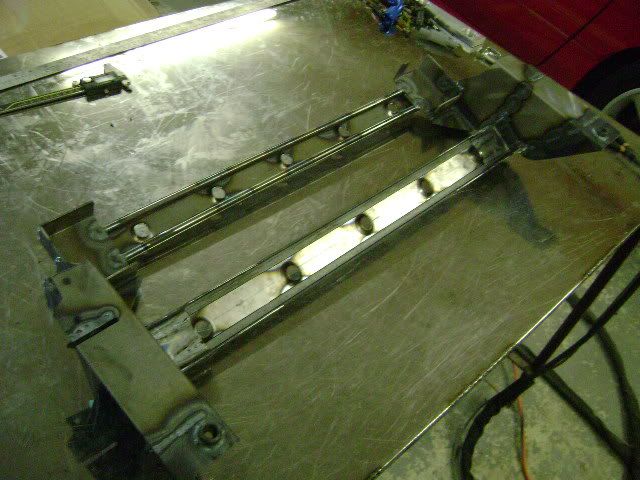
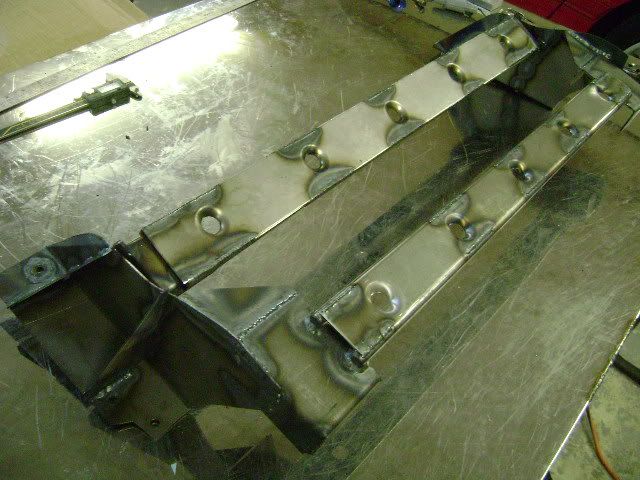
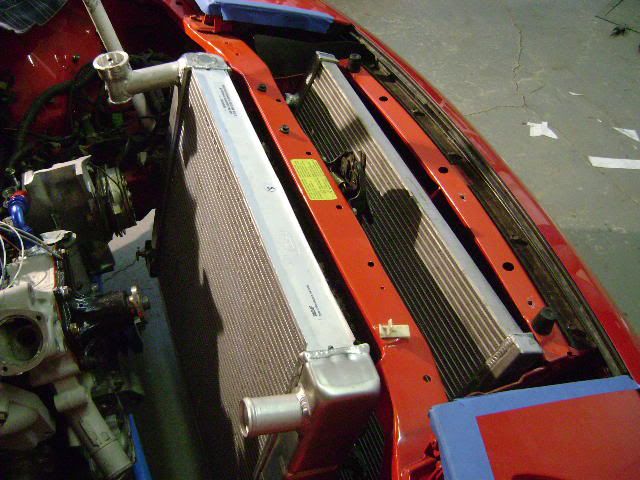
More pics, had to upload some more. Final shot of the radiator/oil cooler bolt on subframe. Next step will be getting it powder coated 
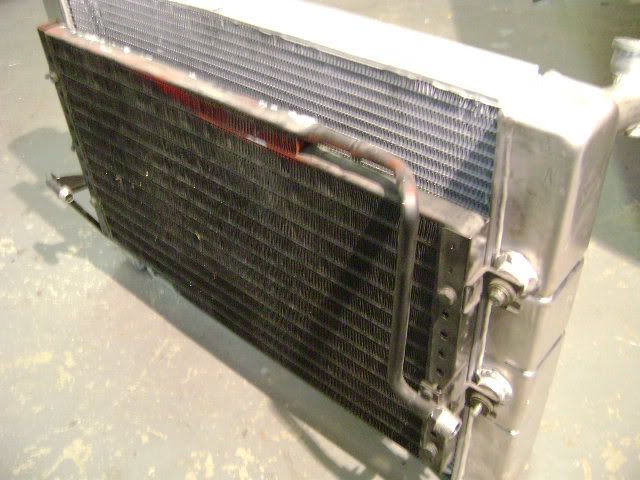
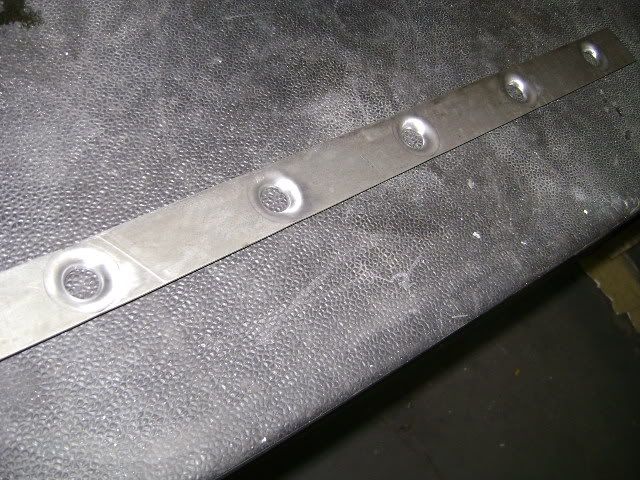
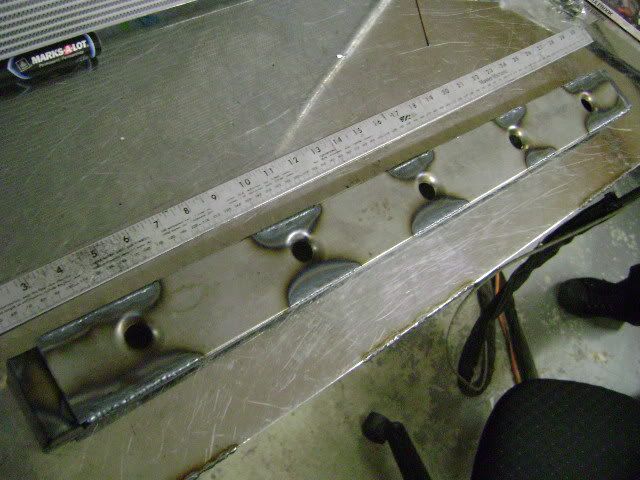
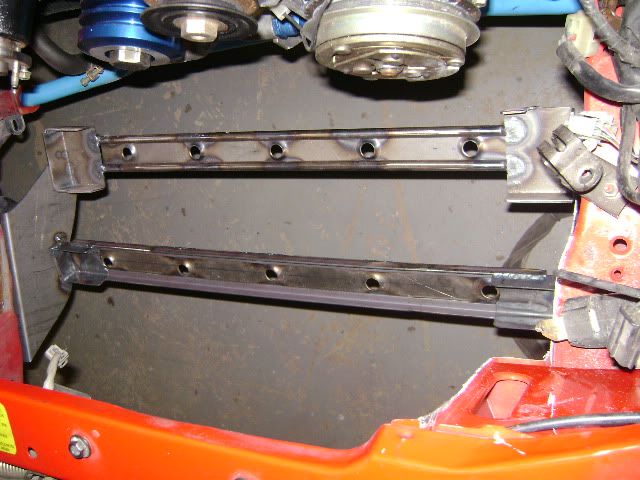
Radiator and oil cooler placed into subframe. Now time to construct the upper quick release bracket. It will double as a cooling panel too
Radiator and oil cooler placed into subframe. Now time to construct the upper quick release bracket. It will double as a cooling panel too


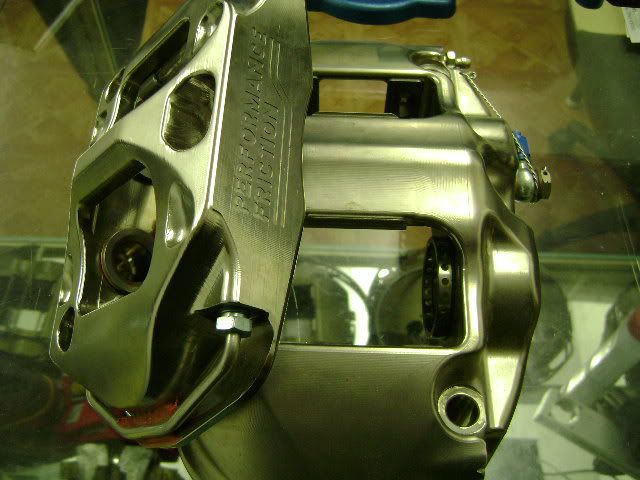
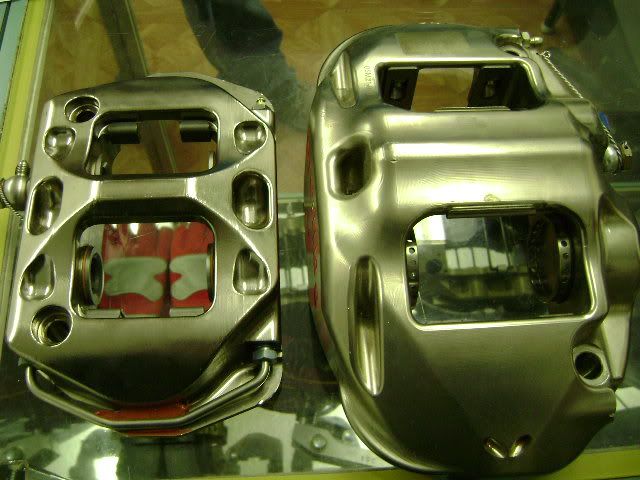
While we are still working on the strut brace and underbody braces, figured I would post pics of the new rear calipers we finally sourced. We had some awesome brembo rears already, but they were not nickle plated. With a huge stroke of luck, got ahold of these PFC nickle plated mono-block rear calipers. Major find, and brand spanking new!


Thread Starter
Joined: Jun 2006
Posts: 505
Likes: 8
From: Fayetteville Arkansas
We got them at a ridiculously low price... 
I am going to be so over braked but it is all about modulation with no ABS. Plus the bling factor is over the top.
I am going to be so over braked but it is all about modulation with no ABS. Plus the bling factor is over the top.
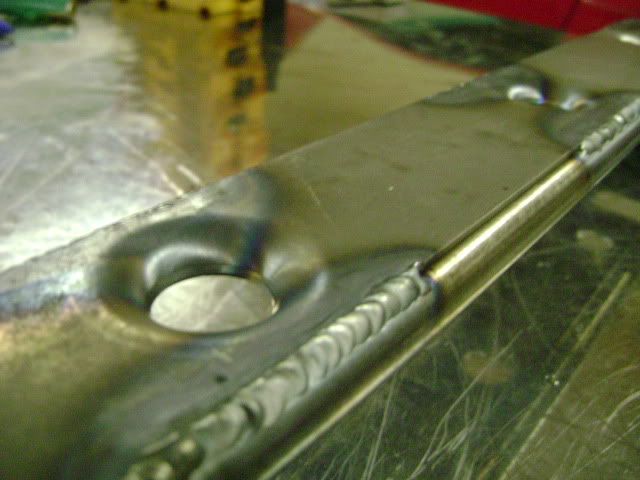
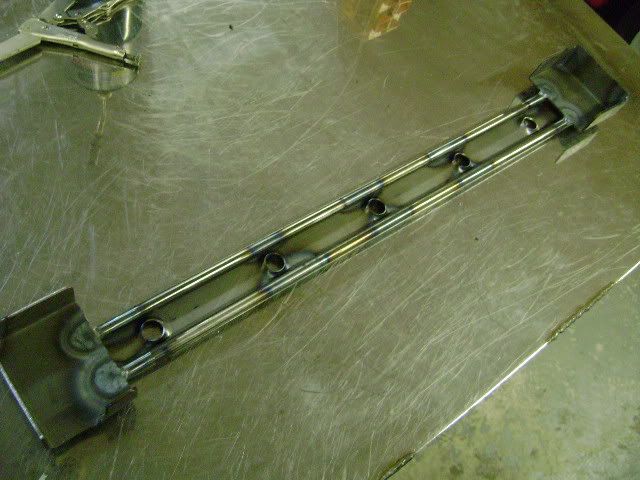
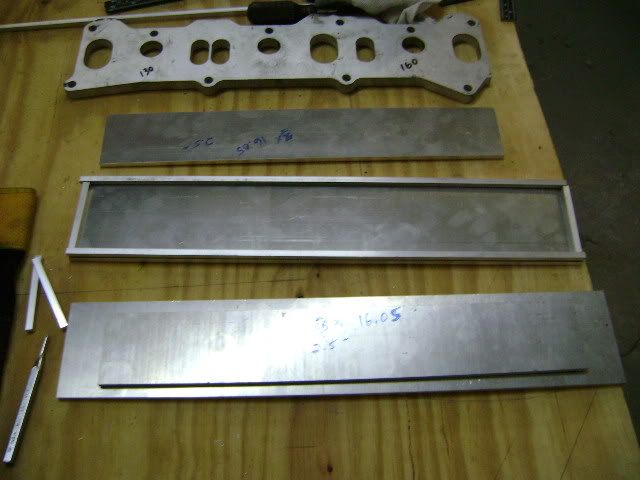
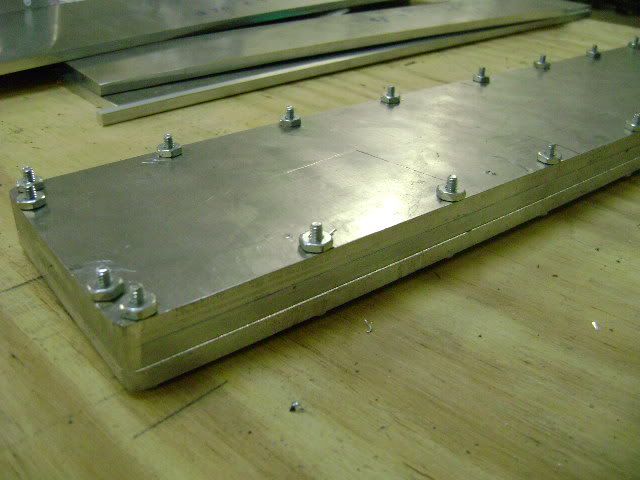
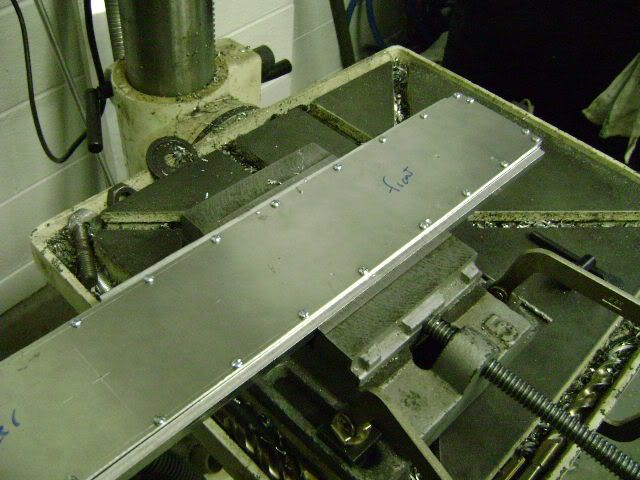
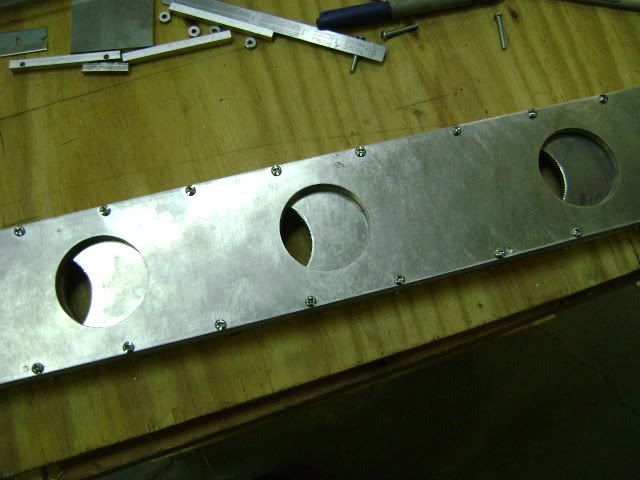
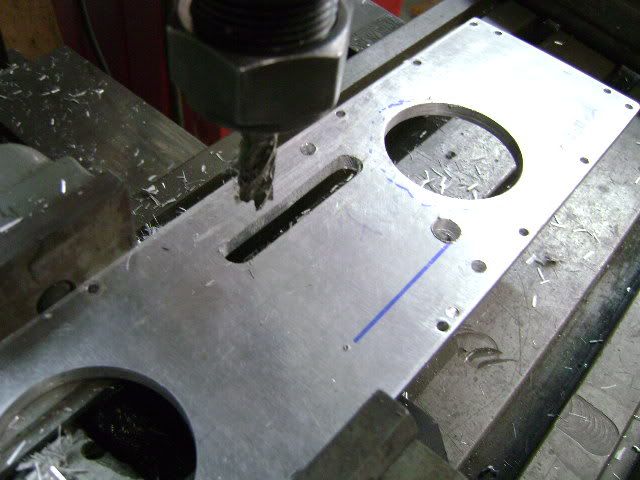
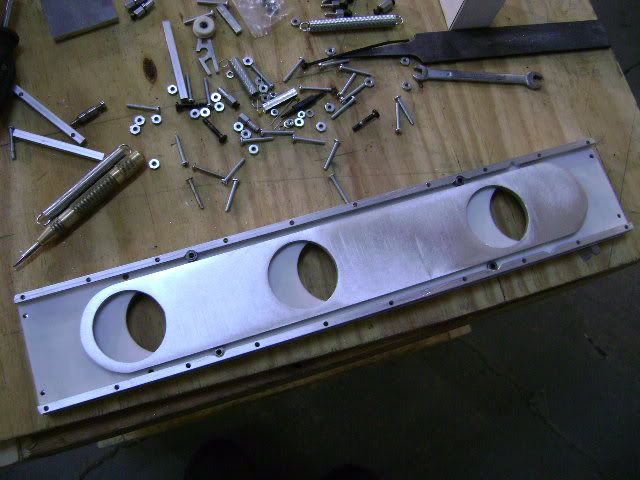
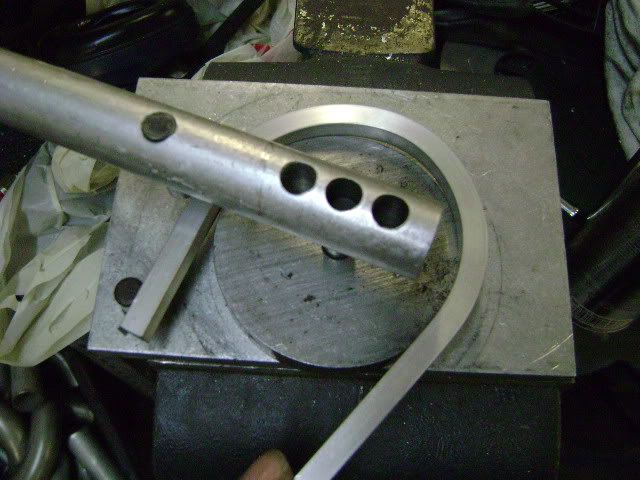
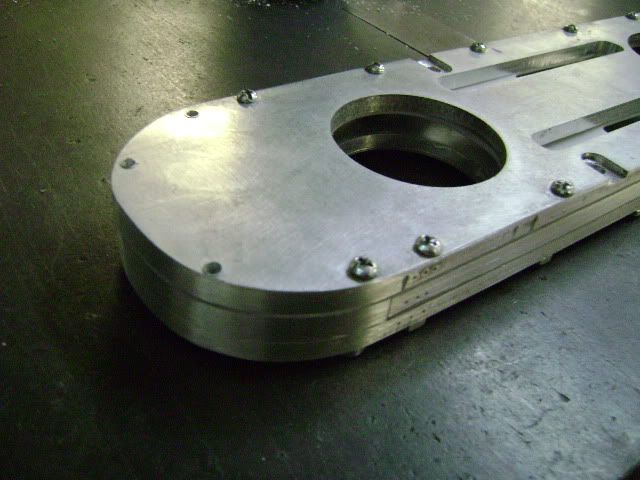
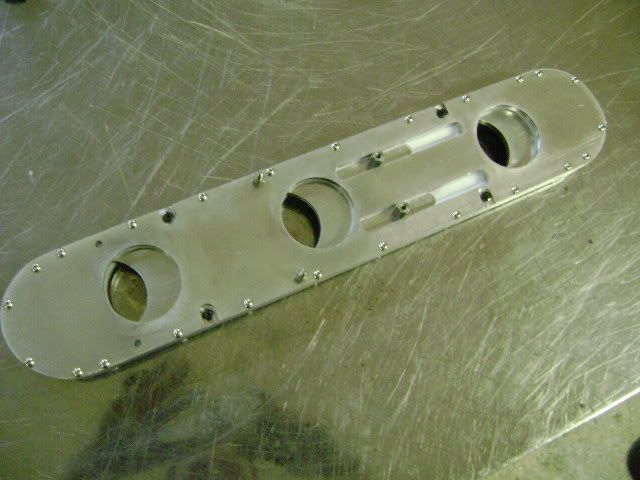
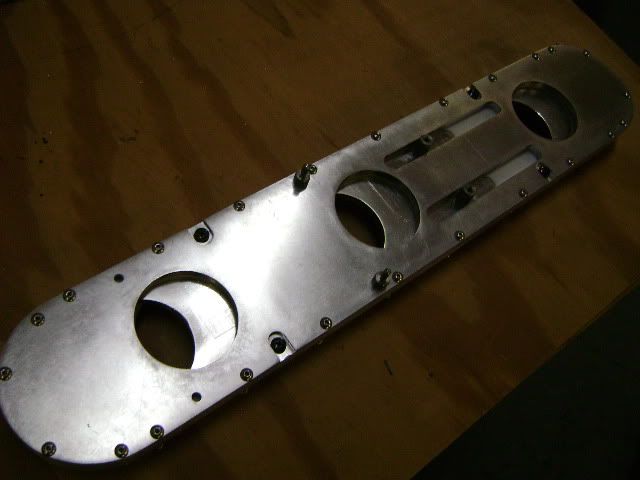
Started on the ITB intake system. We are hand building and machining the slide throttles. The lower flange was all machined and you can see the holes for semi p-ports. Slide assembly is just in the rough stages, I will post up completed pics here shortly showing the ball bearing assembly on the inside!
This shows the internal teflon sheets
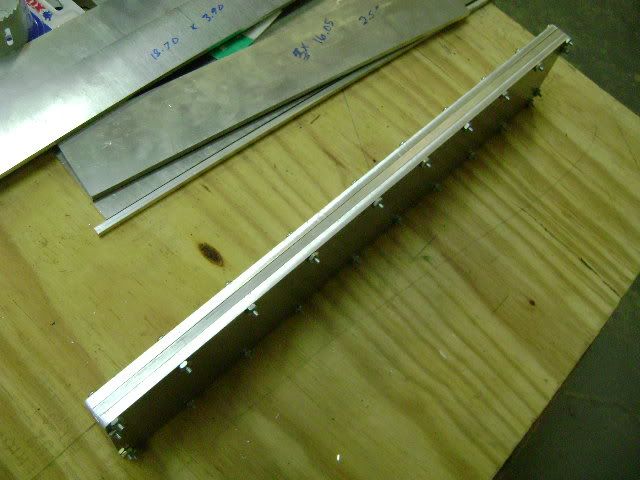
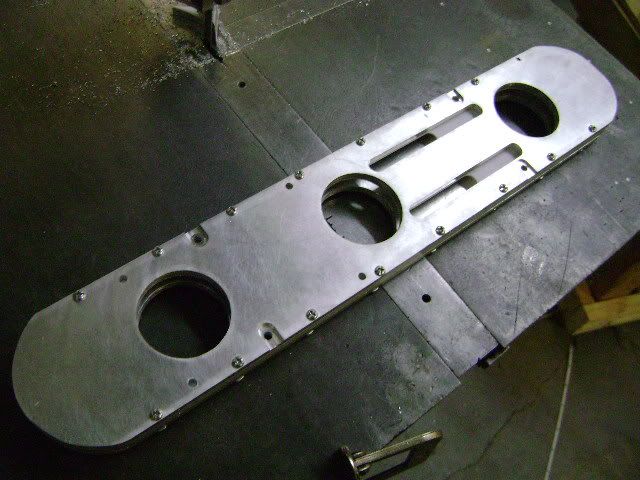
Milling the actuator grooves
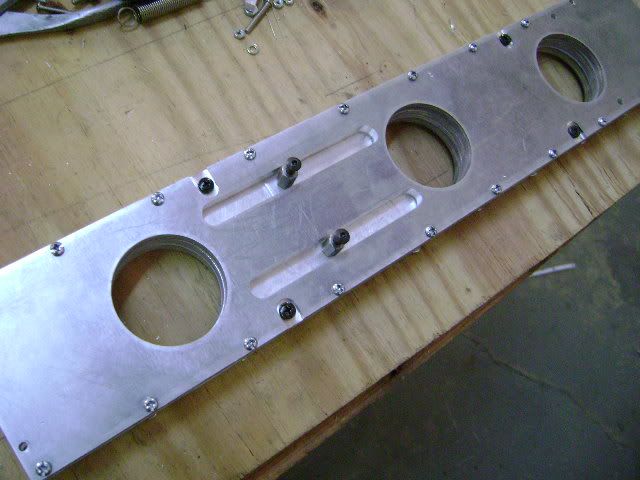
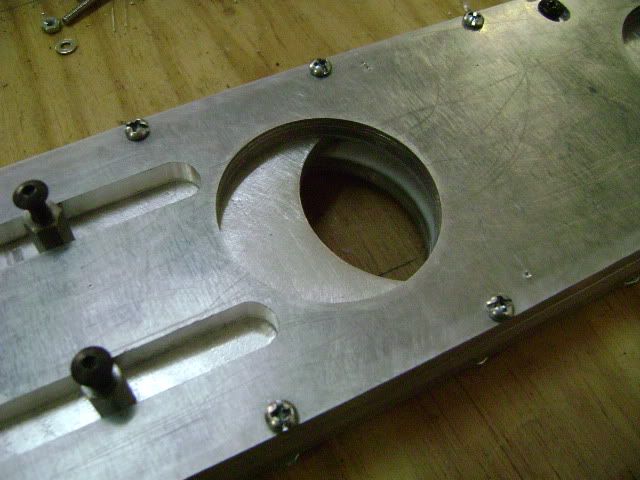
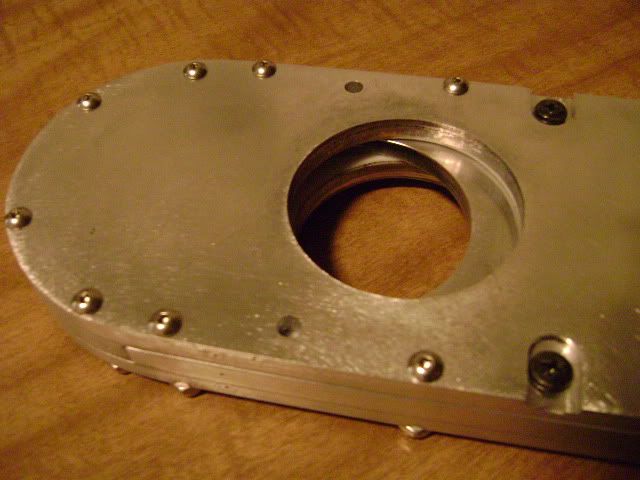
Placement of the 4 ball bearing support system, and rounded the inside slider
Test assembly together with actuators
Showing movement of slide throttle
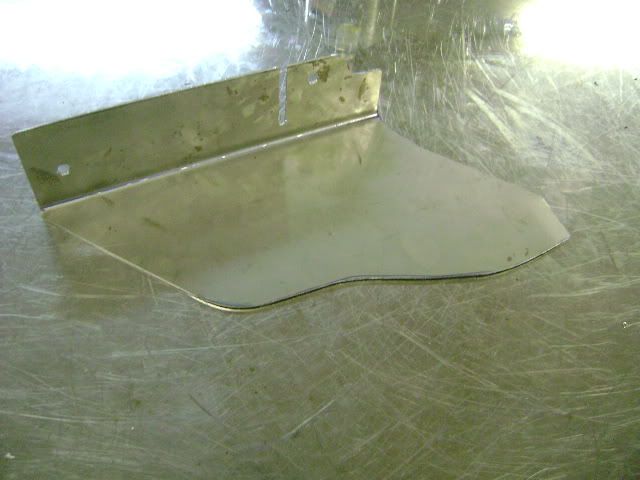
Hand bending curved end caps
Test assembly with radiuses on ends
Hand fitting and clearancing of the end caps
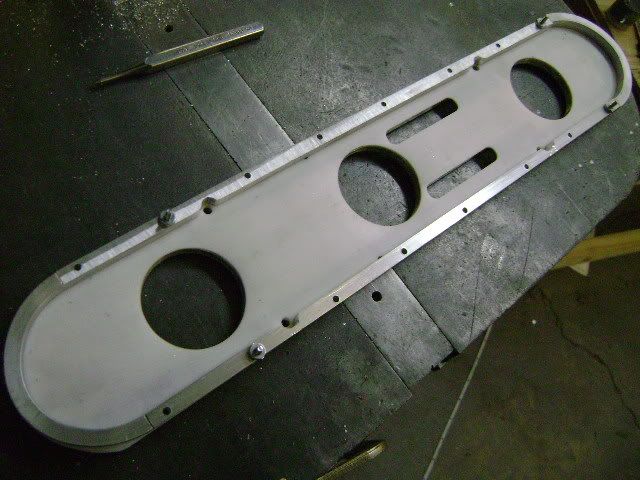
Smoothed and matched curved surfaces
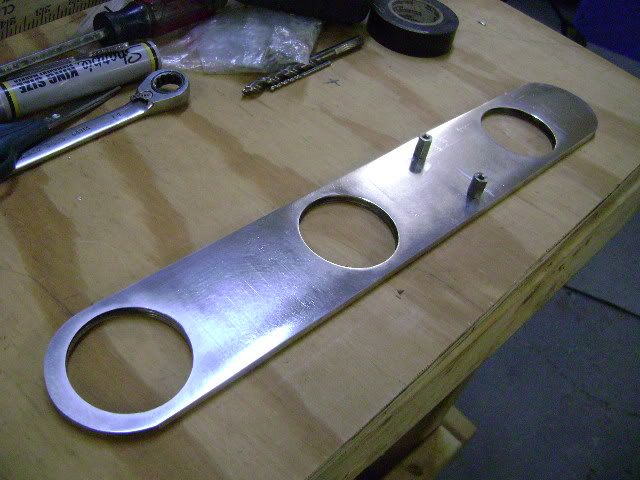
Finished and polished slide
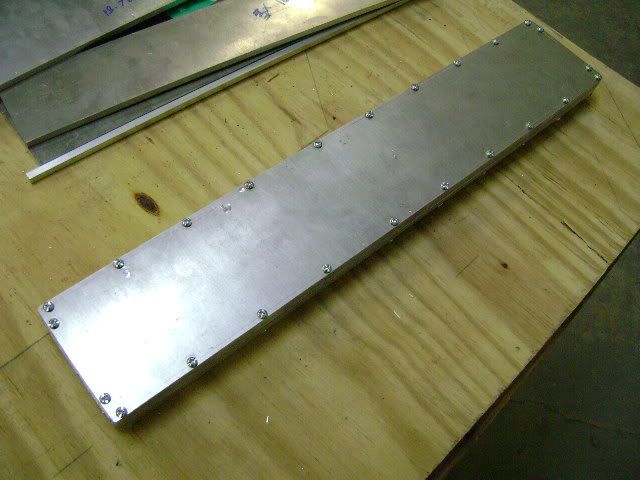
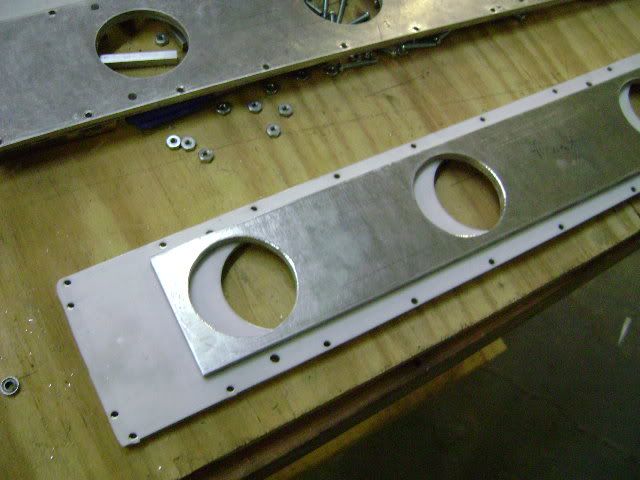
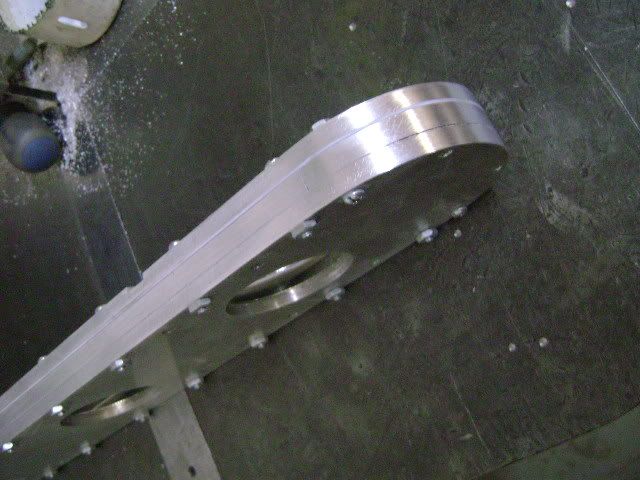
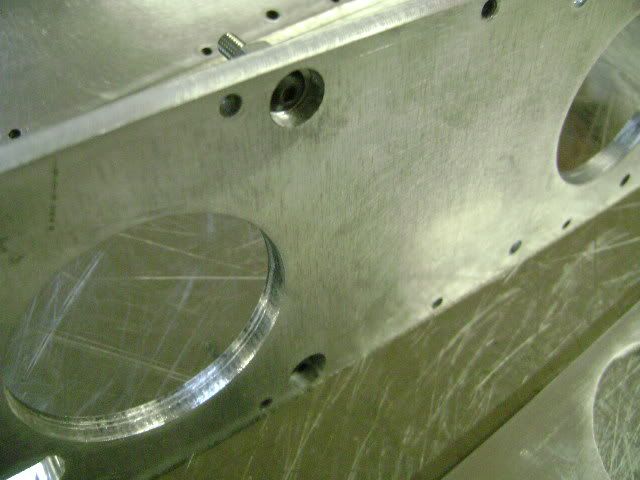
Countersunk plate bottoms, for spring perch. Much stronger than tapped aluminum
Milling the actuator grooves
Placement of the 4 ball bearing support system, and rounded the inside slider
Test assembly together with actuators
Showing movement of slide throttle
Hand bending curved end caps
Test assembly with radiuses on ends
Hand fitting and clearancing of the end caps
Smoothed and matched curved surfaces
Finished and polished slide
Countersunk plate bottoms, for spring perch. Much stronger than tapped aluminum
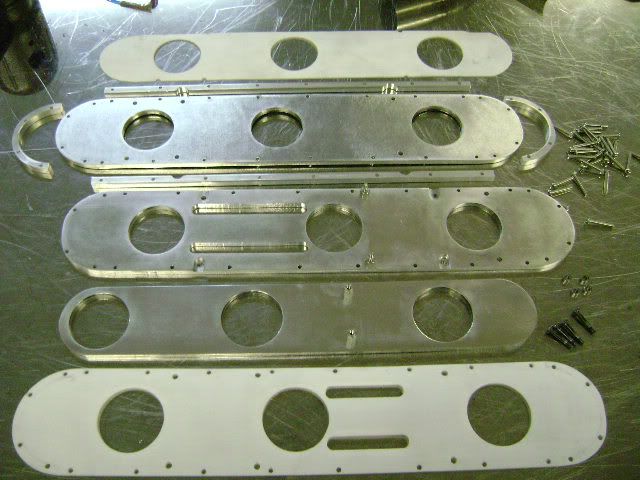
Exploded view of all the parts finished to the slide throttle setup
Finished assembly with button head stainless hardware

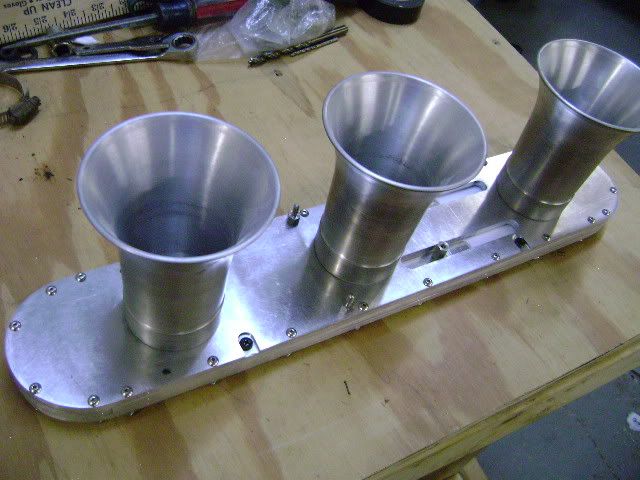
Air horns placed, just to give a idea of what it will look like fully finished
Finished assembly with button head stainless hardware
Air horns placed, just to give a idea of what it will look like fully finished
Next will be building the manifolds, and semi p-port slide throttles.
Logan are these slide throttles going to be your "standard" when building ITB intakes? Just wondered what you had planned for my build, as I remember you had a few other ideas floating around. And If I dont get my tax refind soon to send your way I swear Im going to rob a bank.
Logan are these slide throttles going to be your "standard" when building ITB intakes? Just wondered what you had planned for my build, as I remember you had a few other ideas floating around. And If I dont get my tax refind soon to send your way I swear Im going to rob a bank.
Make sure you conceal your identity when robbing banks! lol
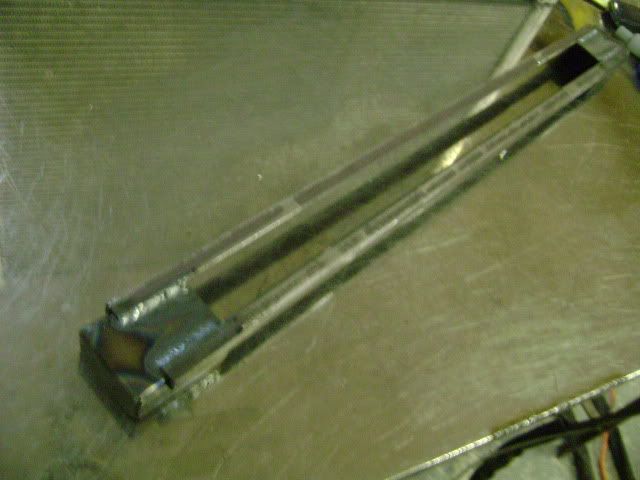
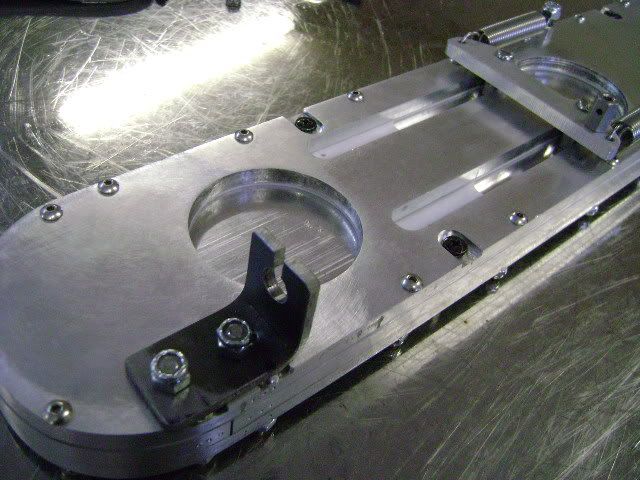
I didnt get a chance to show step by step of building the throttle brackets, but here it is complete. Last pic shows it with throttle cable attached. Next will be TPS linkage
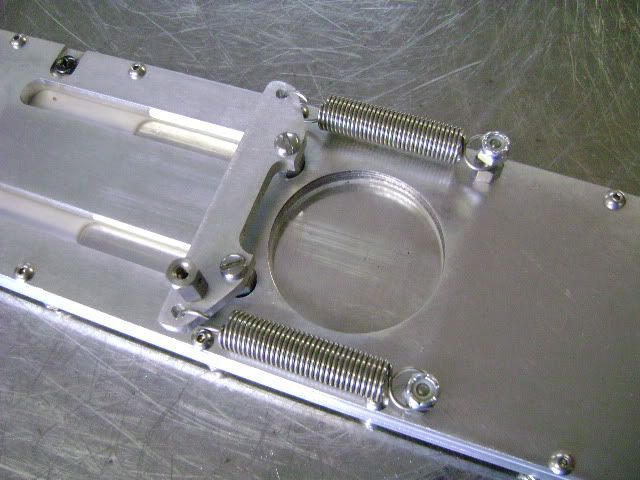
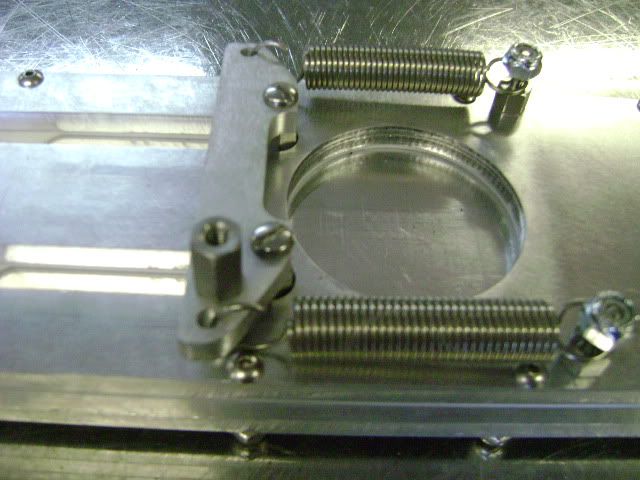

And here is a quick video of operation. They work flawlessly!
http://www.youtube.com/watch?v=owVrsEoSyxM
And here is a quick video of operation. They work flawlessly!
http://www.youtube.com/watch?v=owVrsEoSyxM

Banned. I got OWNED!!!
Joined: Aug 2009
Posts: 297
Likes: 0
From: Chicago,IL
Thank you for posting pics of the slide throttle and it's steps on it's build,Great work as always keep it up

P.S Just a quick suggestion if you don't mind,it would be nice if you sold those slide throttles as an Un-assembled barebones product.you know minus the intake manifold and trumpets/plenum,just an unassembled slide throttle.
P.S Just a quick suggestion if you don't mind,it would be nice if you sold those slide throttles as an Un-assembled barebones product.you know minus the intake manifold and trumpets/plenum,just an unassembled slide throttle.
Thank you for posting pics of the slide throttle and it's steps on it's build,Great work as always keep it up
P.S Just a quick suggestion if you don't mind,it would be nice if you sold those slide throttles as an Un-assembled barebones product.you know minus the intake manifold and trumpets/plenum,just an unassembled slide throttle.
P.S Just a quick suggestion if you don't mind,it would be nice if you sold those slide throttles as an Un-assembled barebones product.you know minus the intake manifold and trumpets/plenum,just an unassembled slide throttle.
Yeah its the new worlds largest cigar cutter! It will also do three at a time! Haha. Pro of slide is at wide open throttle, there is zero airflow disturbance. This typically means the runner can be downsized and still flow the same amount while providing greater velocity. Con (from what I have heard, need to drive and see) is they are harder to modulate at different throttle openings.
Thank you! We will offer the slide assembly just by itself, so DIY guys can make any type of intake they wish. I am working on getting some new cnc machinery so the price we sell at is both reasonable and profitable. Currently doing it all by hand took me over 26 hours to build!
Thanks Rich!
Yeah its the new worlds largest cigar cutter! It will also do three at a time! Haha. Pro of slide is at wide open throttle, there is zero airflow disturbance. This typically means the runner can be downsized and still flow the same amount while providing greater velocity. Con (from what I have heard, need to drive and see) is they are harder to modulate at different throttle openings.