
What did you do to your FB today?

I got to drive the blue car a little bit. Wow!
Then I got most of the old crappy crossmember out of the brown one.
The front mount bar and the oil pan are on their way.
Then I got most of the old crappy crossmember out of the brown one.
The front mount bar and the oil pan are on their way.


Joined: Jun 2008
Posts: 8,376
Likes: 30
From: Chino Hills, CA
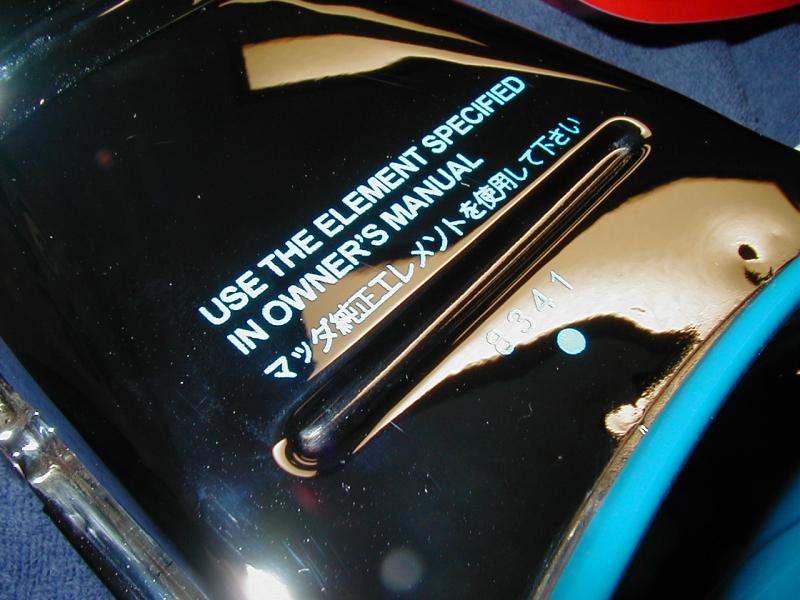
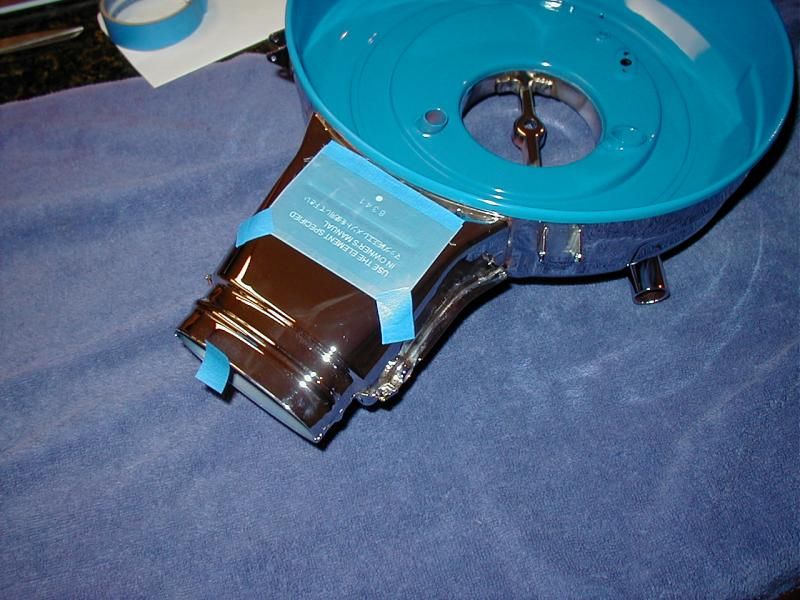
The key trick to silkscreening onto non-absorbent materials turns out to be the consistency of the ink (paint); it has to be THICK.
Like "consistency of room-temperature butter" thick. Toothpaste thick.
Anything thinner bleeds under the edges of the screen. You use a squeegee to force this thick paint down thru the nylon screen to fill the thin space below the cloth backing where the emulsion was etched away when making the screen.
It's more like pressure-casting a mold, in some ways, then like painting with a stencil.
Even model-paint enamels are way too thin, and although you can buy enamel thinners everywhere, nobody seems to make a 'thickener' for enamel paint, at least not in less-than-industrial quantities. So I had to go with acrylic, which can be bought thick and made thicker using several types of texturing gels.
I can't wait to get the lid done, now. Gonna look awesome crouching atop my engine!

OldNewRX7*****
Joined: Sep 2012
Posts: 20
Likes: 0
From: Dumfries, Virginia
Finished replacing the clutch master cylinder and bled the system with the help of my son in law. Fixed the drivers side power window by removing the rocker switch, taking it apart, cleaning and reassembling. Next up - put the car up on a rack and decide how much of the exhaust system to replace. I am leaning towards a complete replacement header to tailpipe with a silencer in lieu of the cat which is no longer required. My air pump is already disconnected, so will probably remove that as well - as soon as I figure out how to block off the hoses.
Got these goodies in the mail today! MR2 rear shock inserts. Now to find a set of front coil overs and camber plates and I'll be able to finally put this to bed. These are on back-order everywhere except for one supplier on eBay that has a few sets that they're blowing out for an amazing price...$186 and some change shipped.
fm


fm
Last edited by Fungus Mungus; Apr 10, 2013 at 11:07 PM.
Tom Cinnamon
Joined: Nov 2006
Posts: 74
Likes: 0
From: Port Perry Ontario
Back in '78 whenI bought this car, we were so used to our cars rusting out that I got thy car rustproofed by Ziebart. Thing is, it was never winter driven and was stored indoors always. That crap always had dirt caked on it and I hated seeing the dirty look in the wheel wells. So finally,today, after thirty-four years, I removed all the rustproofing from the front wheel wells and plan on painting them in the morning.
cheers
cheers
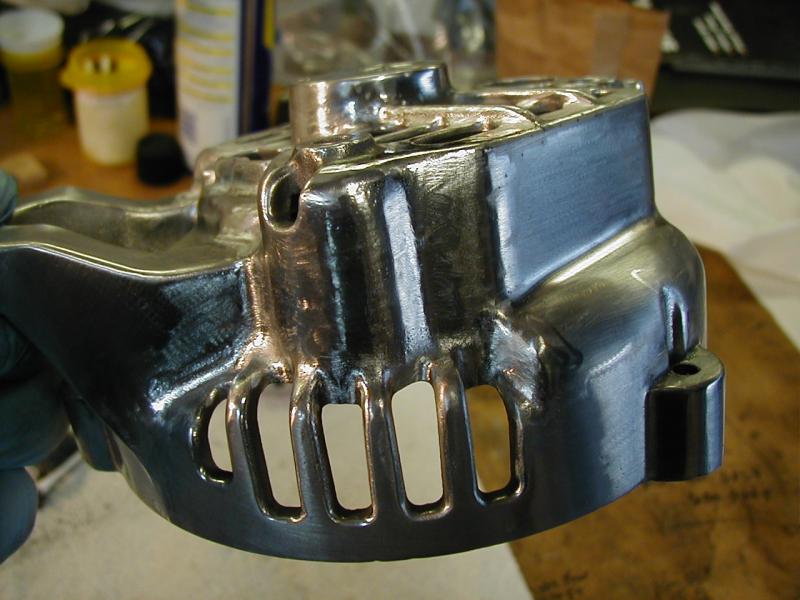
I cut out the rest of the crappy old front crossmember and painted the rest to look not ugly. 
I got the front cover, pulley hub and pulley on the 6 port. I checked timing with a known distributor. Looks to be off by 1 degree. I can make that up in the mounting holes.
Now waiting on an oil pan.
I got the front cover, pulley hub and pulley on the 6 port. I checked timing with a known distributor. Looks to be off by 1 degree.
I can make that up in the mounting holes. Now waiting on an oil pan.
Got these goodies in the mail today! MR2 rear shock inserts. Now to find a set of front coil overs and camber plates and I'll be able to finally put this to bed. These are on back-order everywhere except for one supplier on eBay that has a few sets that they're blowing out for an amazing price...$186 and some change shipped.
fm
fm
 no jk. enjoy those!!! and coilovers! good call. After i get round 1 of the engine setup dialed in, it's either gonna be paint, tires, or suspension. We'll see what needs it most.
Back in '78 whenI bought this car, we were so used to our cars rusting out that I got thy car rustproofed by Ziebart. Thing is, it was never winter driven and was stored indoors always. That crap always had dirt caked on it and I hated seeing the dirty look in the wheel wells. So finally,today, after thirty-four years, I removed all the rustproofing from the front wheel wells and plan on painting them in the morning.
cheers
cheers
---
In other news - I finally got the motivation to install my EGT and Wideband O2 sensor. Paid the muffler man $90 to weld in a threaded bung for the EGT - and by the time I got to installing it the threads on the bung were warped. Well lets just say the brass NPT fitting and the warped bung didnt get along too well. It's now back at the shop and dooder will be fixing it.
My buddy told me not to take it in the first place, we could do it so much easier and free. He's a pro mechanic. This is what I get for not listening when a pro mechanic gives me advice.


I pulled out the rear storage bins and rear mat this evening. I was relieved to see no rot in the usual areas. Just a a few spots of surface rust that can be dealt with easily. The mat is in the washer as I write this.
fm
fm
Joined: Jun 2008
Posts: 8,376
Likes: 30
From: Chino Hills, CA
Joined: Aug 2011
Posts: 3,078
Likes: 42
From: Cambridge, Minnesota
I looked out and thought, "Wow, I thought the end of March would be OK to get it out of storage for the finishing touches."
I guess I thought wrong:

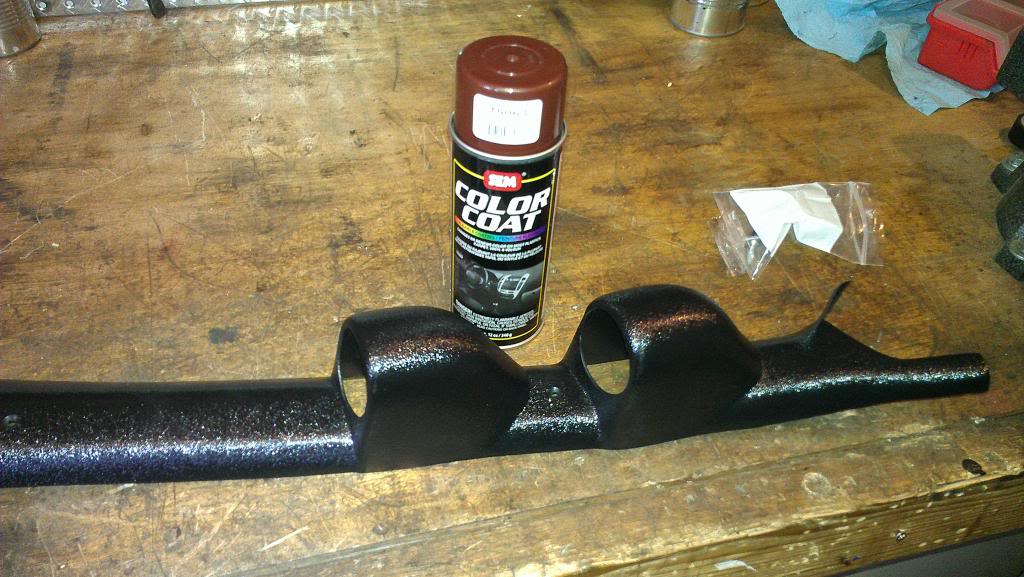
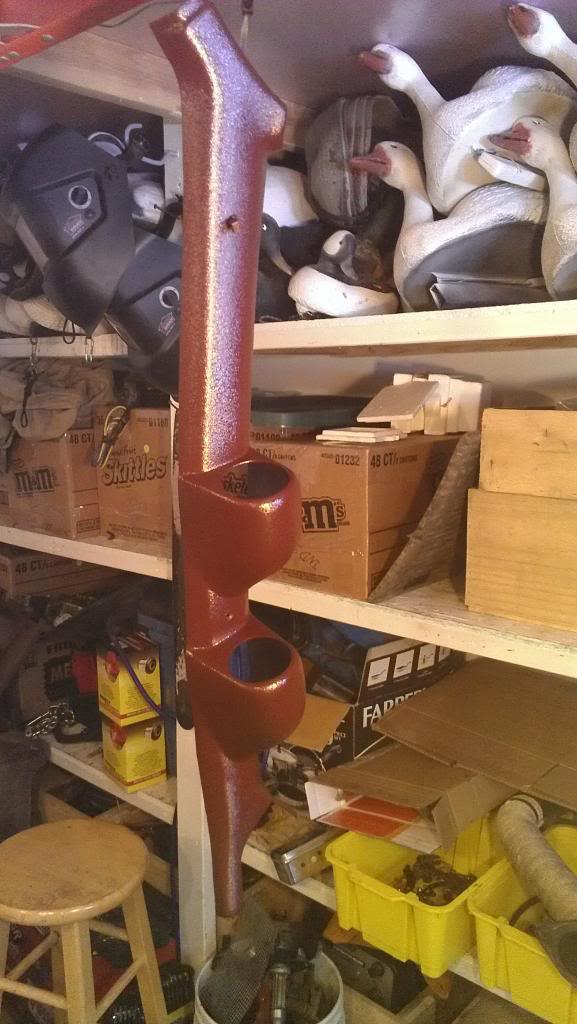
So I kept myself busy by painting the gauge pod:
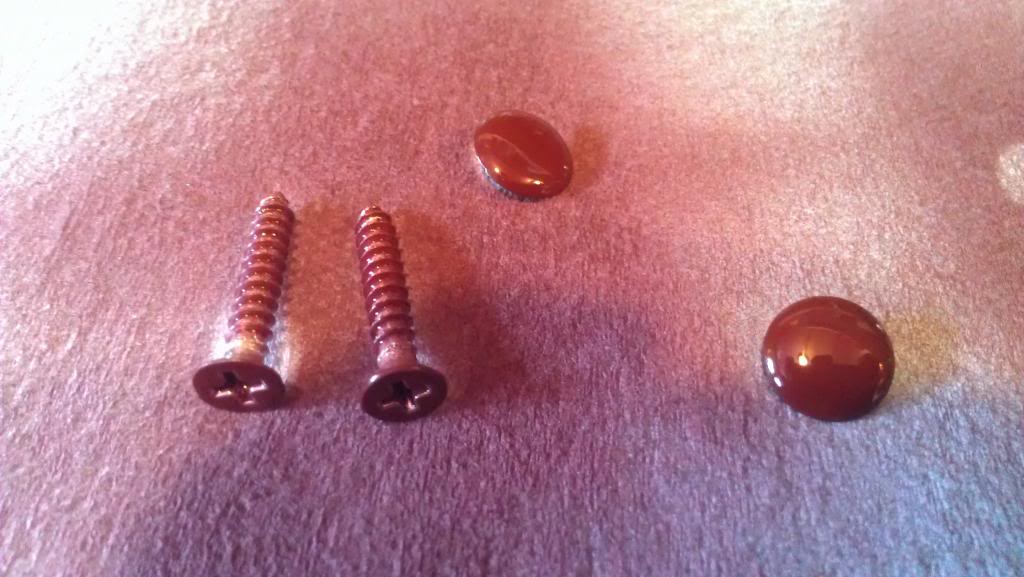
And this made me feel like you DD, painting screws and all
I guess I thought wrong:

So I kept myself busy by painting the gauge pod:


And this made me feel like you DD, painting screws and all

Originally Posted by lindahlish
And this made me feel like you DD, painting screws and all
Originally Posted by DivinDriver
D'oh. I hate it when plastic gets brittle.
Joined: Aug 2011
Posts: 3,078
Likes: 42
From: Cambridge, Minnesota
Probably not haha.
It wasn't meant with any disrespect, just to be clear. I remembered someone saying that they couldnt wait to get to the point where painting screws was important because he posted a picture of painted bolt heads. Just made me think of him is all, nothing negative meant. I'm glad that I can take some time out to do the small things like this now, slowly learning
It wasn't meant with any disrespect, just to be clear. I remembered someone saying that they couldnt wait to get to the point where painting screws was important because he posted a picture of painted bolt heads. Just made me think of him is all, nothing negative meant. I'm glad that I can take some time out to do the small things like this now, slowly learning
A good way to paint screw heads (not that I've ever done it before) is to take a square of cardboard, poke the screws in it, then paint will only get on the heads, not the threads.
What i do is take a strip of masking tape. Lay the screws along it. take another strip of tape, sandwich them together. leave extra dangling off the side, labelled with sharpie as to where the screws came from (i usually do lots at a time), then prop the strips up with pieces of wood.
When done, either tear away the screws or back them out.
Joined: Jun 2008
Posts: 8,376
Likes: 30
From: Chino Hills, CA
Though I have painted my share of screw threads, too.
I knew I'd truly jumped the mental shark, though, when I started hand nickel-plating the screws that hold the fuel line clamps in the engine bay.
