
What did you do to your FB today?

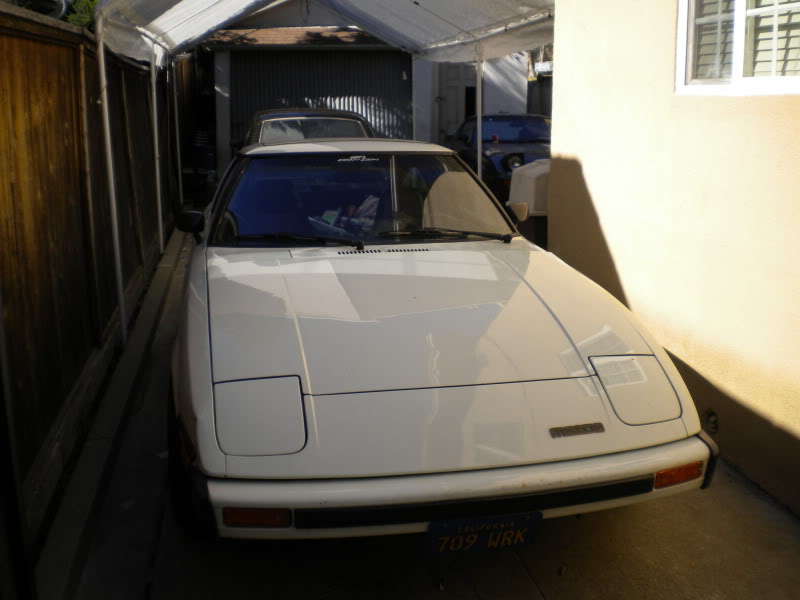
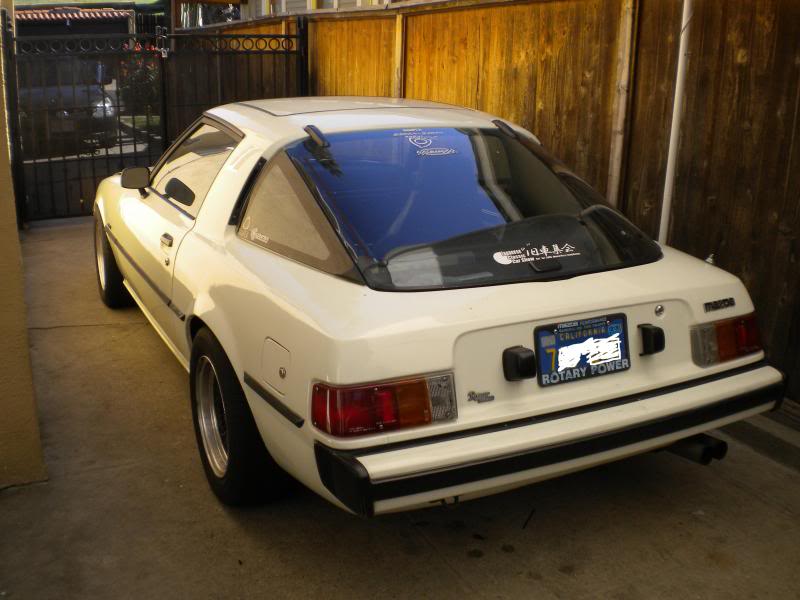
My 1985 RX7, 12A, purchased in California, by my aunt in 1985. She gave it to me in 2003 and I let it sit 2005 until now due to carburetor issues. Trying to get her to run but mechanic says carb can't be rebuilt, he's tried. I can't find a new or used carb so does that mean there is no hope for my baby? What can I do? Any suggestions?
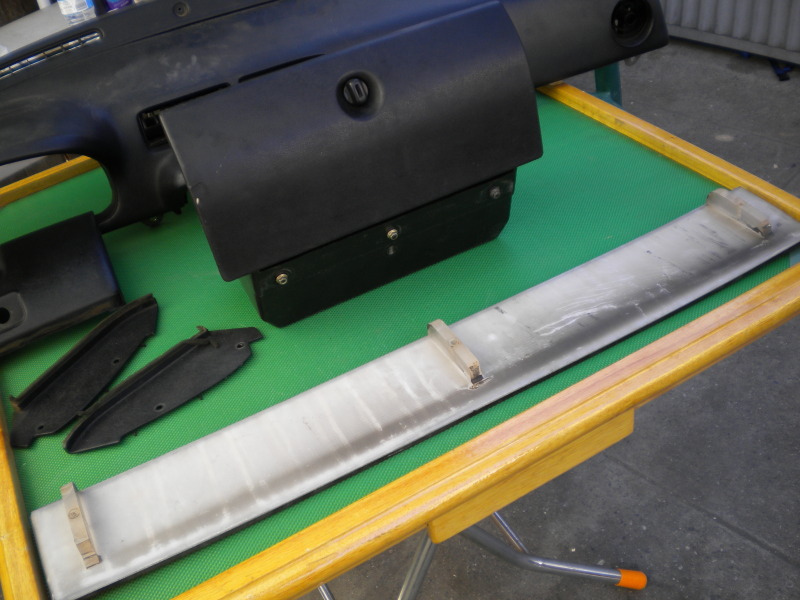
Starting to take some measurements for the radio bracket I'm making.
I'm mounting the radio in the open, bolted into the bar supporting the glove box.
A little odd, but I like it.
The only thing I still can't figure out is how to wire the universal power antenna.
Is it easier to use the original wiring or just make a new connection to the new radio?
I'm mounting the radio in the open, bolted into the bar supporting the glove box.
A little odd, but I like it.
The only thing I still can't figure out is how to wire the universal power antenna.
Is it easier to use the original wiring or just make a new connection to the new radio?
Today I left the fb be to help my dad install a stereo in his 68' el Camino it was made difficult due to a previous owners hacking of dash suround it is in however and functioning.
Old [Sch|F]ool


Joined: May 2001
Posts: 12,879
Likes: 576
From: Cleveland, Ohio, USA
Drove it home because my VW's temp needled decided the middle of the range was a boring place to be and the "hot" peg looked like a more interesting place to hang out for a while.
I finally got around to sending money for a crossmember for the brown car. I wanted a GSL-SE version since I'll be throwing a 13B into it, but a 12A version can work if I either mod it or get an RB front mount bar.
Man I like the look of the new SS RB front mount bars!

Then a set of hockey pucks and I'm good to go!

^That kinda looks like a hockey puck!
Man I like the look of the new SS RB front mount bars!
Then a set of hockey pucks and I'm good to go!
^That kinda looks like a hockey puck!
lol, too bad you not in wisconsin, I still have some leftover "motor mounts" from the 6 pack I bought when I did mine, plus I still have about another 2 feet of 10x1.5 threaded rod :P
Today, I pulled the rest of the worthless factory 12A/FB ECU wiring and replaced the ECU and associated wiring with my fancy pants Haltech E6K (fits perfectly on the O.E. 12A ECU mount )
)
Today, I pulled the rest of the worthless factory 12A/FB ECU wiring and replaced the ECU and associated wiring with my fancy pants Haltech E6K (fits perfectly on the O.E. 12A ECU mount
)
Full Blown 1.1
Joined: Jan 2013
Posts: 213
Likes: 0
From: Seattle
http://www.flickr.com/photos/83659599@N04/8504045495/http://www.flickr.com/photos/83659599@N04/8504045495/ by http://www.flickr.com/people/83659599@N04/, on Flickr
I started this hood paint job with a transparent white and I'll let it completely rust over before I throw on the transperent red. Then I'll throw a silouett of a Ninja over that
I started this hood paint job with a transparent white and I'll let it completely rust over before I throw on the transperent red. Then I'll throw a silouett of a Ninja over that
Last edited by Adam12A; Feb 24, 2013 at 03:18 PM.
P1010422 by adamprovo1, on Flickr
I started this hood paint job with a transparent white and I'll let it completely rust over before I throw on the transperent red
I started this hood paint job with a transparent white and I'll let it completely rust over before I throw on the transperent red
Awesome pattern on the grind job - that just happen that way or did you style it as such?
I'm going to get a 2nd hood and have my buddy who's a rust artist go to town on it, something to pop on for shows and such.
Full Blown 1.1
Joined: Jan 2013
Posts: 213
Likes: 0
From: Seattle
I meant it to come out like that but if i had to do it again i would have left more of the old white paint in spots. I can't wait till it rust up more so i can finish it.On another note I beat a Honda in street race today. Then at a light I did a smokey burn out in his face
Last edited by Adam12A; Feb 24, 2013 at 03:35 PM.
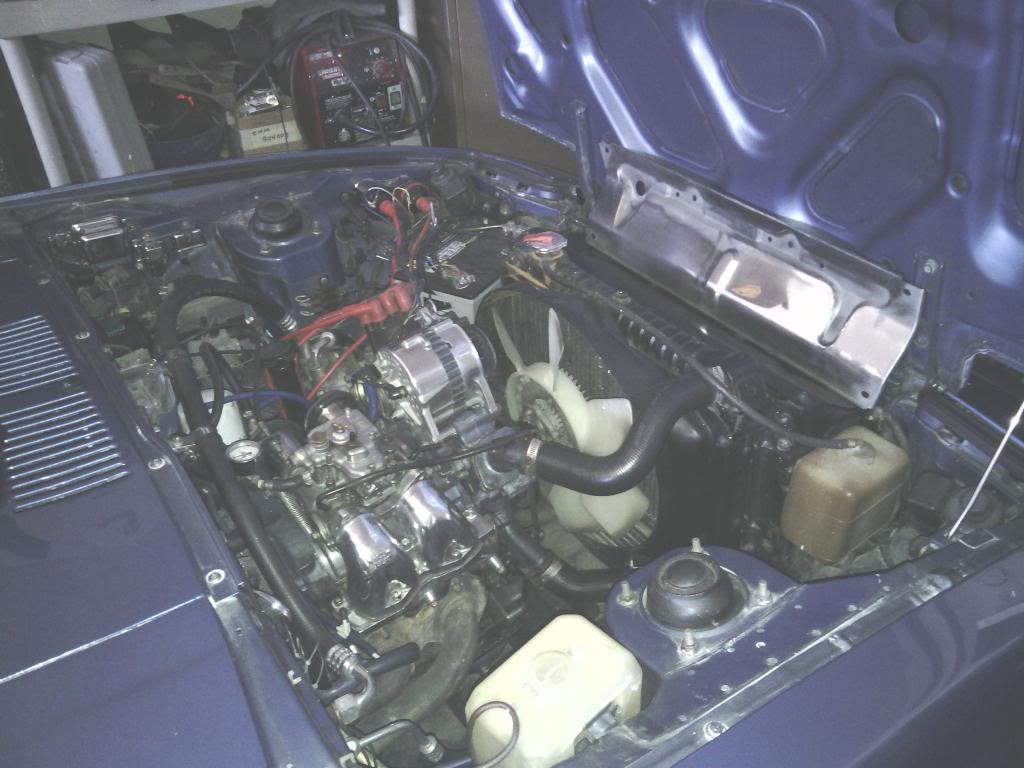
while at the junkyard, I found a clean *** 80 RX-7. here are the goodies I got but Im going back again mid-week. more parts for my spare SA. and I only cost me $35 
my SA (orig paint job with 1 dent on the fender), rolling 85 GSL front and rear. 12-A streetport with 48 DCO.
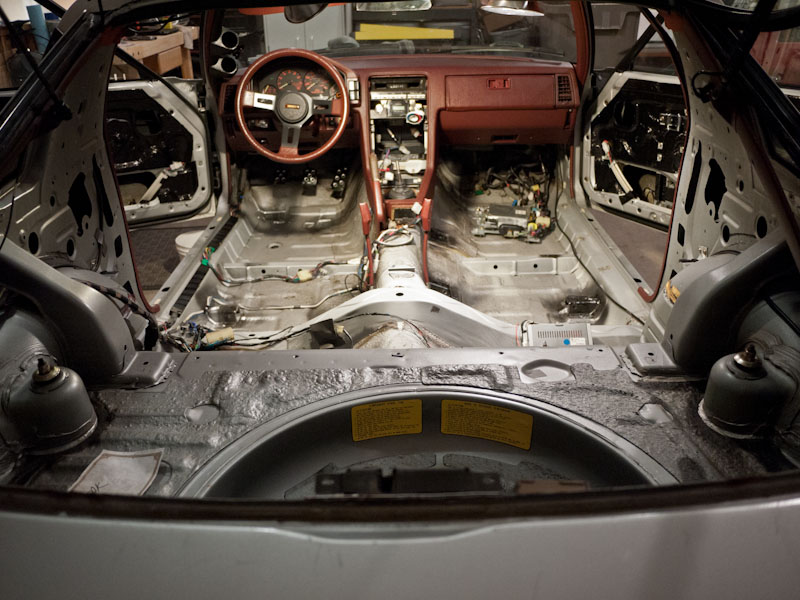
clean *** black dash

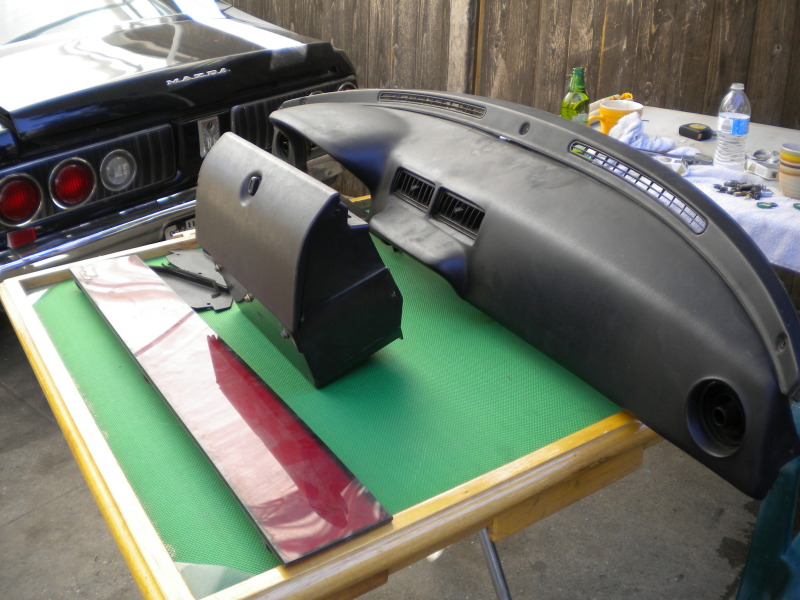
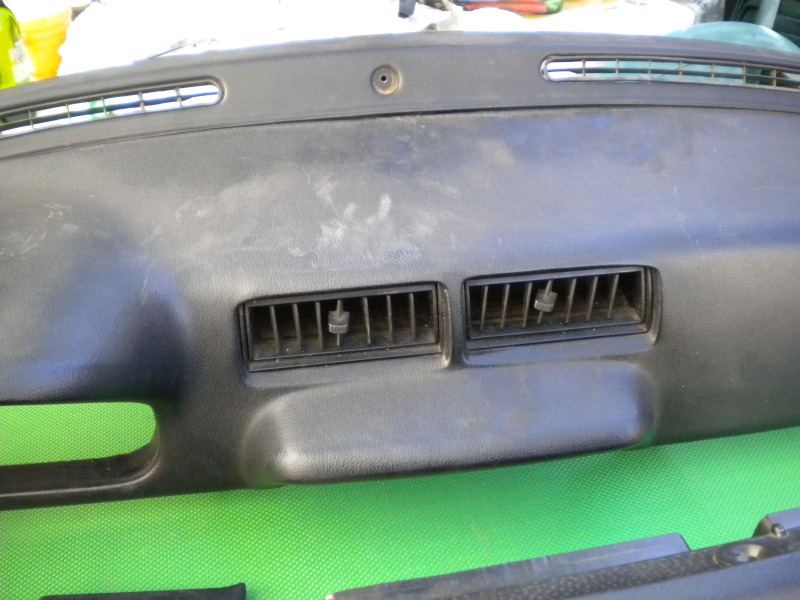
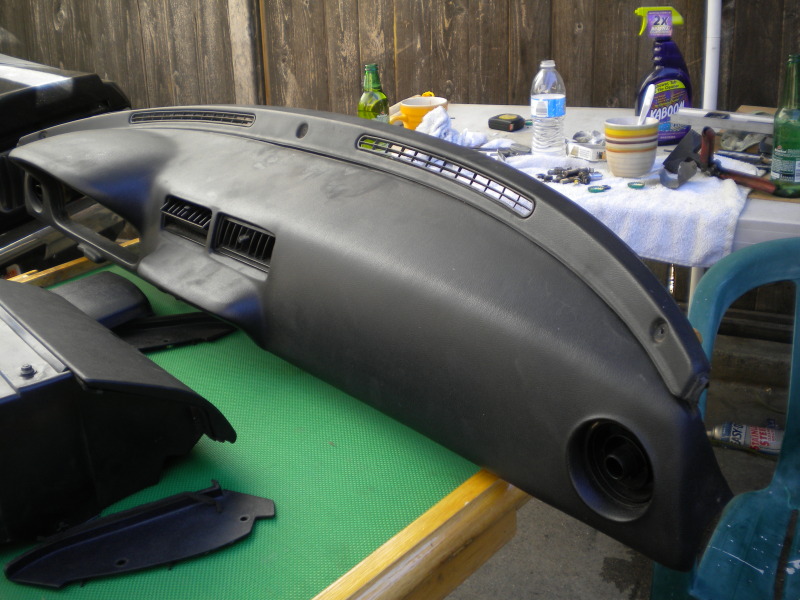
centerpiece between the tailights
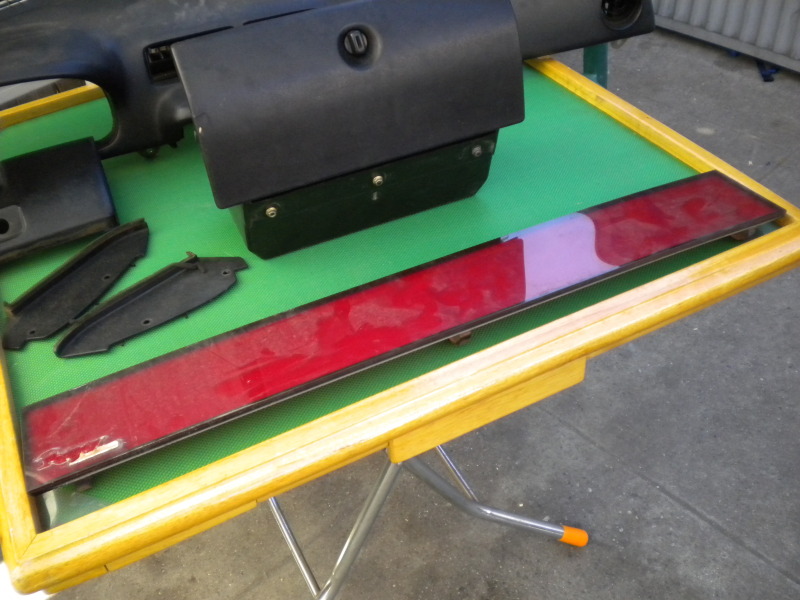
my SA (orig paint job with 1 dent on the fender), rolling 85 GSL front and rear. 12-A streetport with 48 DCO.
clean *** black dash
centerpiece between the tailights
Sin City Rotary
Joined: Sep 2009
Posts: 1,707
Likes: 2
From: Las Vegas
Nice finds there Wacky
this weekend starting the next part for the SA
and picked up one of the locals cars and brought back to the house to iron some issues before it's sold ... example it appears he has a new defective pressure plate ...
this weekend starting the next part for the SA
and picked up one of the locals cars and brought back to the house to iron some issues before it's sold ... example it appears he has a new defective pressure plate ...
Last edited by 13x; Feb 24, 2013 at 06:18 PM.
Took my 4 year old for a loop, washed it, and put it on stands. If work and weather cooperate, it'll be back on the ground in 10 or so days with new brake lines, pads, shoes, springs, struts, tfidfis, beehive orings, and mufflers. Arthritis ain't no fun on cold ground.
You can read the anthology in my build thread. I'll just post the glamor shots here 
https://www.rx7club.com/build-thread.../#post11386870
before:
after:
https://www.rx7club.com/build-thread.../#post11386870
before:
after:
GSL-EV
Joined: Jun 2012
Posts: 450
Likes: 8
From: Rapid City, SD
As previously mentioned I continued working on the oil lines in the GSL-SE. Haven't had a chance to call Mazdatrix yet. Here are some pics.
The first one is the short line from the front of the engine to the top of the oil cooler. This is the only one that is a problem to get to. Tightening the new one is easy. Removing the original is a chore as there is no clearance between the motor mount bracket.
The second photo is the above mentioned line's connection to the oil cooler. This photo had no right to come out this clear. I was holding the camera down in front of the AC compressor and guessing at what I was pointing at. You can see that there is plenty of clearance. You tighten this fitting from below. Plenty of clearance if the bottom hose is removed from the oil cooler.
The third photo is the connection to the left side of the engine. This is taken from below looking up. This is a banjo fitting on the original hose. You can just see the lower spark plugs behind the hose.
The fourth photo is the problem end. It is the long hose from the left side of the motor which connects here to the lower fitting on the oil cooler. It just touches the bottom of the radiator. You can also see the stainless brake line for the left front wheel in the background. The yellow thing is a piece of tubing the identifies the manufacturer. This photo is taken from under the middle of the radiator with the splash pan off.
The last photo is a closer image of the previous photo. I have since trimed off some of that protruding lip in an attempt to give enough clearance to go with it. I wish I had taken one more pic of after trimming. My excuse is I was cold and tired of that game.
Still going to call or write Mazdatrix and see what they say. I have decided to put the original hose back on and see how much clearance there is (was). Ill take a few more pics at that time.
Ready or not...
Joined: Dec 2009
Posts: 261
Likes: 0
From: Taos, NM
First O'Rileys got me an oil pan gasket. It was obviously the wrong shape and I got them to re-order a Tranny pan gasket. The weather was finally up to 40� outside and I removed the old gasket. Not a trace of any sealer... Looked pretty new. Then the killer. The new gasket was slightly differently shaped. I have an auto... it might have been for standard?
SO, I literally placed the same gasket back on. This time it has silicon, and all the bolts are tightened (originally I found 4 loose bolts all at the dog leg). 2 bolts with slightly stripped heads are less tight than the rest. The next nice weekend day I will bleed the brakes (though I think I'll still need a master cylinder)... and let her down and run around a bit even with the exhaust gap.
SO, I literally placed the same gasket back on. This time it has silicon, and all the bolts are tightened (originally I found 4 loose bolts all at the dog leg). 2 bolts with slightly stripped heads are less tight than the rest. The next nice weekend day I will bleed the brakes (though I think I'll still need a master cylinder)... and let her down and run around a bit even with the exhaust gap.
Joined: Jun 2008
Posts: 8,376
Likes: 30
From: Chino Hills, CA
I replaced my master cylinder today. Pads, shoes, and lines as they arrive this week, weather and work permitting. Oh, and kids.
First O'Rileys got me an oil pan gasket. It was obviously the wrong shape and I got them to re-order a Tranny pan gasket. The weather was finally up to 40� outside and I removed the old gasket. Not a trace of any sealer... Looked pretty new. Then the killer. The new gasket was slightly differently shaped. I have an auto... it might have been for standard?
SO, I literally placed the same gasket back on. This time it has silicon, and all the bolts are tightened (originally I found 4 loose bolts all at the dog leg). 2 bolts with slightly stripped heads are less tight than the rest. The next nice weekend day I will bleed the brakes (though I think I'll still need a master cylinder)... and let her down and run around a bit even with the exhaust gap.
SO, I literally placed the same gasket back on. This time it has silicon, and all the bolts are tightened (originally I found 4 loose bolts all at the dog leg). 2 bolts with slightly stripped heads are less tight than the rest. The next nice weekend day I will bleed the brakes (though I think I'll still need a master cylinder)... and let her down and run around a bit even with the exhaust gap.


Junior Member
Joined: Feb 2013
Posts: 9
Likes: 0
From: Portland, OR
Doing an experment using bypass air to inject into the Cat because of bad Air control Valve. Made several trips to Car Quest exchanging hoses till got the right one (they were very patient).
Today's work: new gold plated Raptor positive battery terminal! Would have done negative too but it was too big for the post. Not sure what that's about.
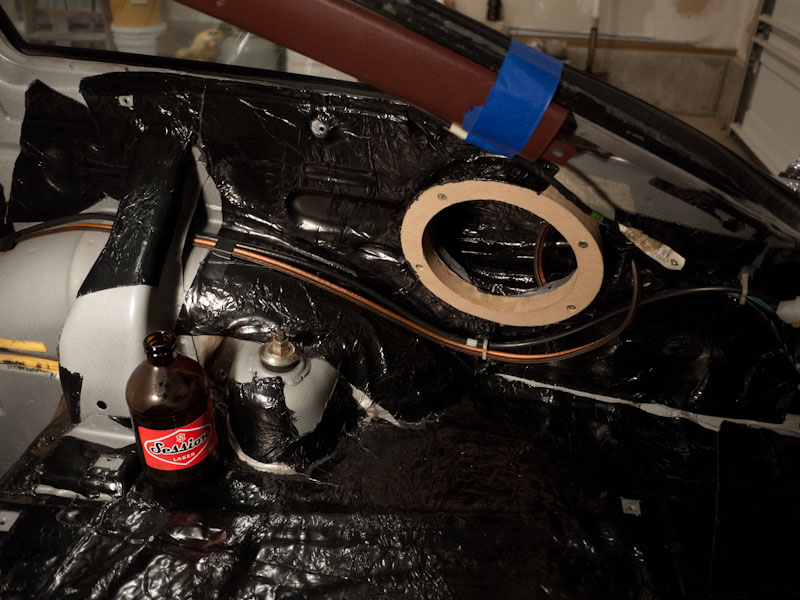
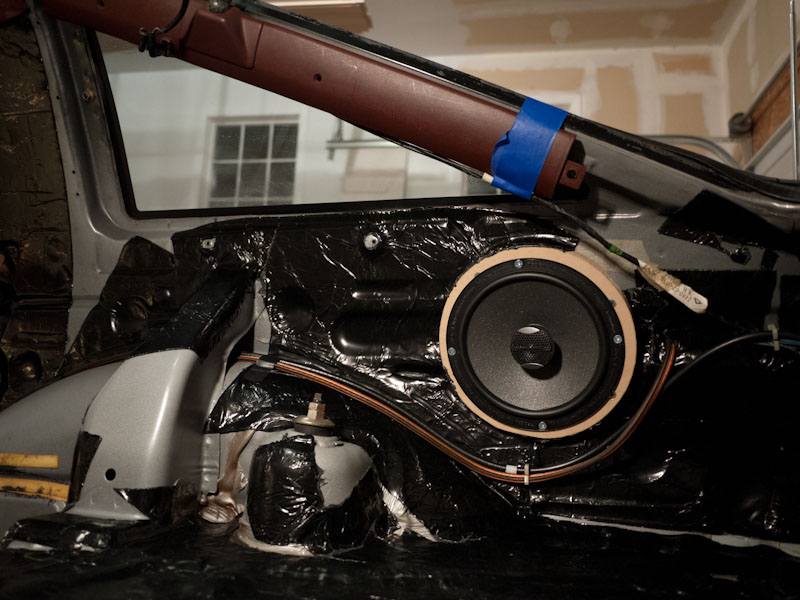
Then I ran the 4 gauge power wire for the amp.
Next up - wire some female RCA plugs into the factory head unit line out and then some twisted pair back to the amp, and tap into this mysterious factory "input"
Then the big test: turn it on and see what happens
Then I ran the 4 gauge power wire for the amp.
Next up - wire some female RCA plugs into the factory head unit line out and then some twisted pair back to the amp, and tap into this mysterious factory "input"
Then the big test: turn it on and see what happens
I just got my Moog idler arm in the mail today. >
This weekend I'm ordering all my brake parts to finally tackle that project.
And I'm going to have my radio and antenna installed hopefully.
Once spring brake rolls around I'm pulling the car into the garage and completely detailing the engine bay with a tooth brush. I tried a normal brush once before but some of it is really caked on their from all the years of dirt and grime. :/
Simple green, Gunk, and BraKleen are your friends. Only use simple green on the paint tho, unless its seriously gooped up.
Take before / after pics!
Oh and WD-40 works surprisingly well too for cleaning and shining
A couple of nights ago, I took a page from DivinDriver's book and pulled out my 300K miles+ charcoal canister and put in one from the widebody I found at Pick-N-Pull. That car only had about 70K miles on it. We'll see if my flooding goes away. Interested in seeing what the surgery outcome is on DivinDriver's charcoal canister.
Last night, I cleaned up a ported 12A sitting on a dolly in my garage. Came out pretty nice. The OMP area was, predictably, the biggest mess.
Tonight I'll continue the slow process of removing the dated pin striping from my FB.
fm
Last night, I cleaned up a ported 12A sitting on a dolly in my garage. Came out pretty nice. The OMP area was, predictably, the biggest mess.
Tonight I'll continue the slow process of removing the dated pin striping from my FB.
fm