When you click on links to various merchants on this site and make a purchase, this can result in this site earning a commission. Affiliate programs and affiliations include, but are not limited to, the eBay Partner Network.
unfortunately not. I do need to invest in one. But I have recently found out that with a manual tranny, I dont need to do that anyways and the shaft is seized in there. I just have to find a way to shake the engine loose from the trans. This is my first time taking the engine out of a manual car. I have done several automatics and i figured it was the same for the most part. Guess not
I just installed new tokico illuminas struts in the front of my car. When I bought the car the guy that sold it to me said it had tokico blues all the way around. When I took out the old struts their was one tokico blue and the other was an OEM strut -_-. After I put got the illuminas I noticed my car sits higher that before. Have any of you guys experienced this before? I used the same parts as before I only switched out the struts and I was already on racing beat springs.
I just installed new tokico illuminas struts in the front of my car. When I bought the car the guy that sold it to me said it had tokico blues all the way around. When I took out the old struts their was one tokico blue and the other was an OEM strut -_-. After I put got the illuminas I noticed my car sits higher that before. Have any of you guys experienced this before? I used the same parts as before I only switched out the struts and I was already on racing beat springs.
OE struts were not gas charged, just piston in oil. The old blues probably had little/no gas pressure left. The Illuminas probably have more gas pressure, which has a slight effect of raising ride height a little bit.
That, or you dropped the car off the jack and are looking at ride height without rolling the car yet. Track width changes with suspension travel (this, in a nutshell, is what the roll center is describing), and the grip of the tires will keep the suspension from moving.
Yeah the tokico blue strut and the OEM one where both blown to where the piston rods wouldn't even go up when I pushed them down. That might have been the reason why my car was sitting lower before. For the camber adjusting of the top strut mounts I place the arrows pointing on both sides facing in towards the engine bay to the back fire wall. Is that the correct setting? Or should the arrows be pointing towards the engine bay but to the front of the car not the fire wall?
Over the last couple of days I disassembled the rear suspension on my 83 FB. Today, I took out the Watts link bushings with a torch, put in Energy Suspension poly bushings, and puzzled over all of the photos I took of the Watts. I got it back together, probably the right way . Too many photos is not enough, that Watts link is like an Escher drawing
Yeah the tokico blue strut and the OEM one where both blown to where the piston rods wouldn't even go up when I pushed them down. That might have been the reason why my car was sitting lower before. For the camber adjusting of the top strut mounts I place the arrows pointing on both sides facing in towards the engine bay to the back fire wall. Is that the correct setting? Or should the arrows be pointing towards the engine bay but to the front of the car not the fire wall?
I just look at the offset of strut mount,in toward center of engine compartment and back toward firewall both sides respectively. Gives you maximum negative camber and maximum positive caster
Last edited by GSLSEforme; Mar 28, 2017 at 07:00 PM.
Reason: neglected to add camber/caster results
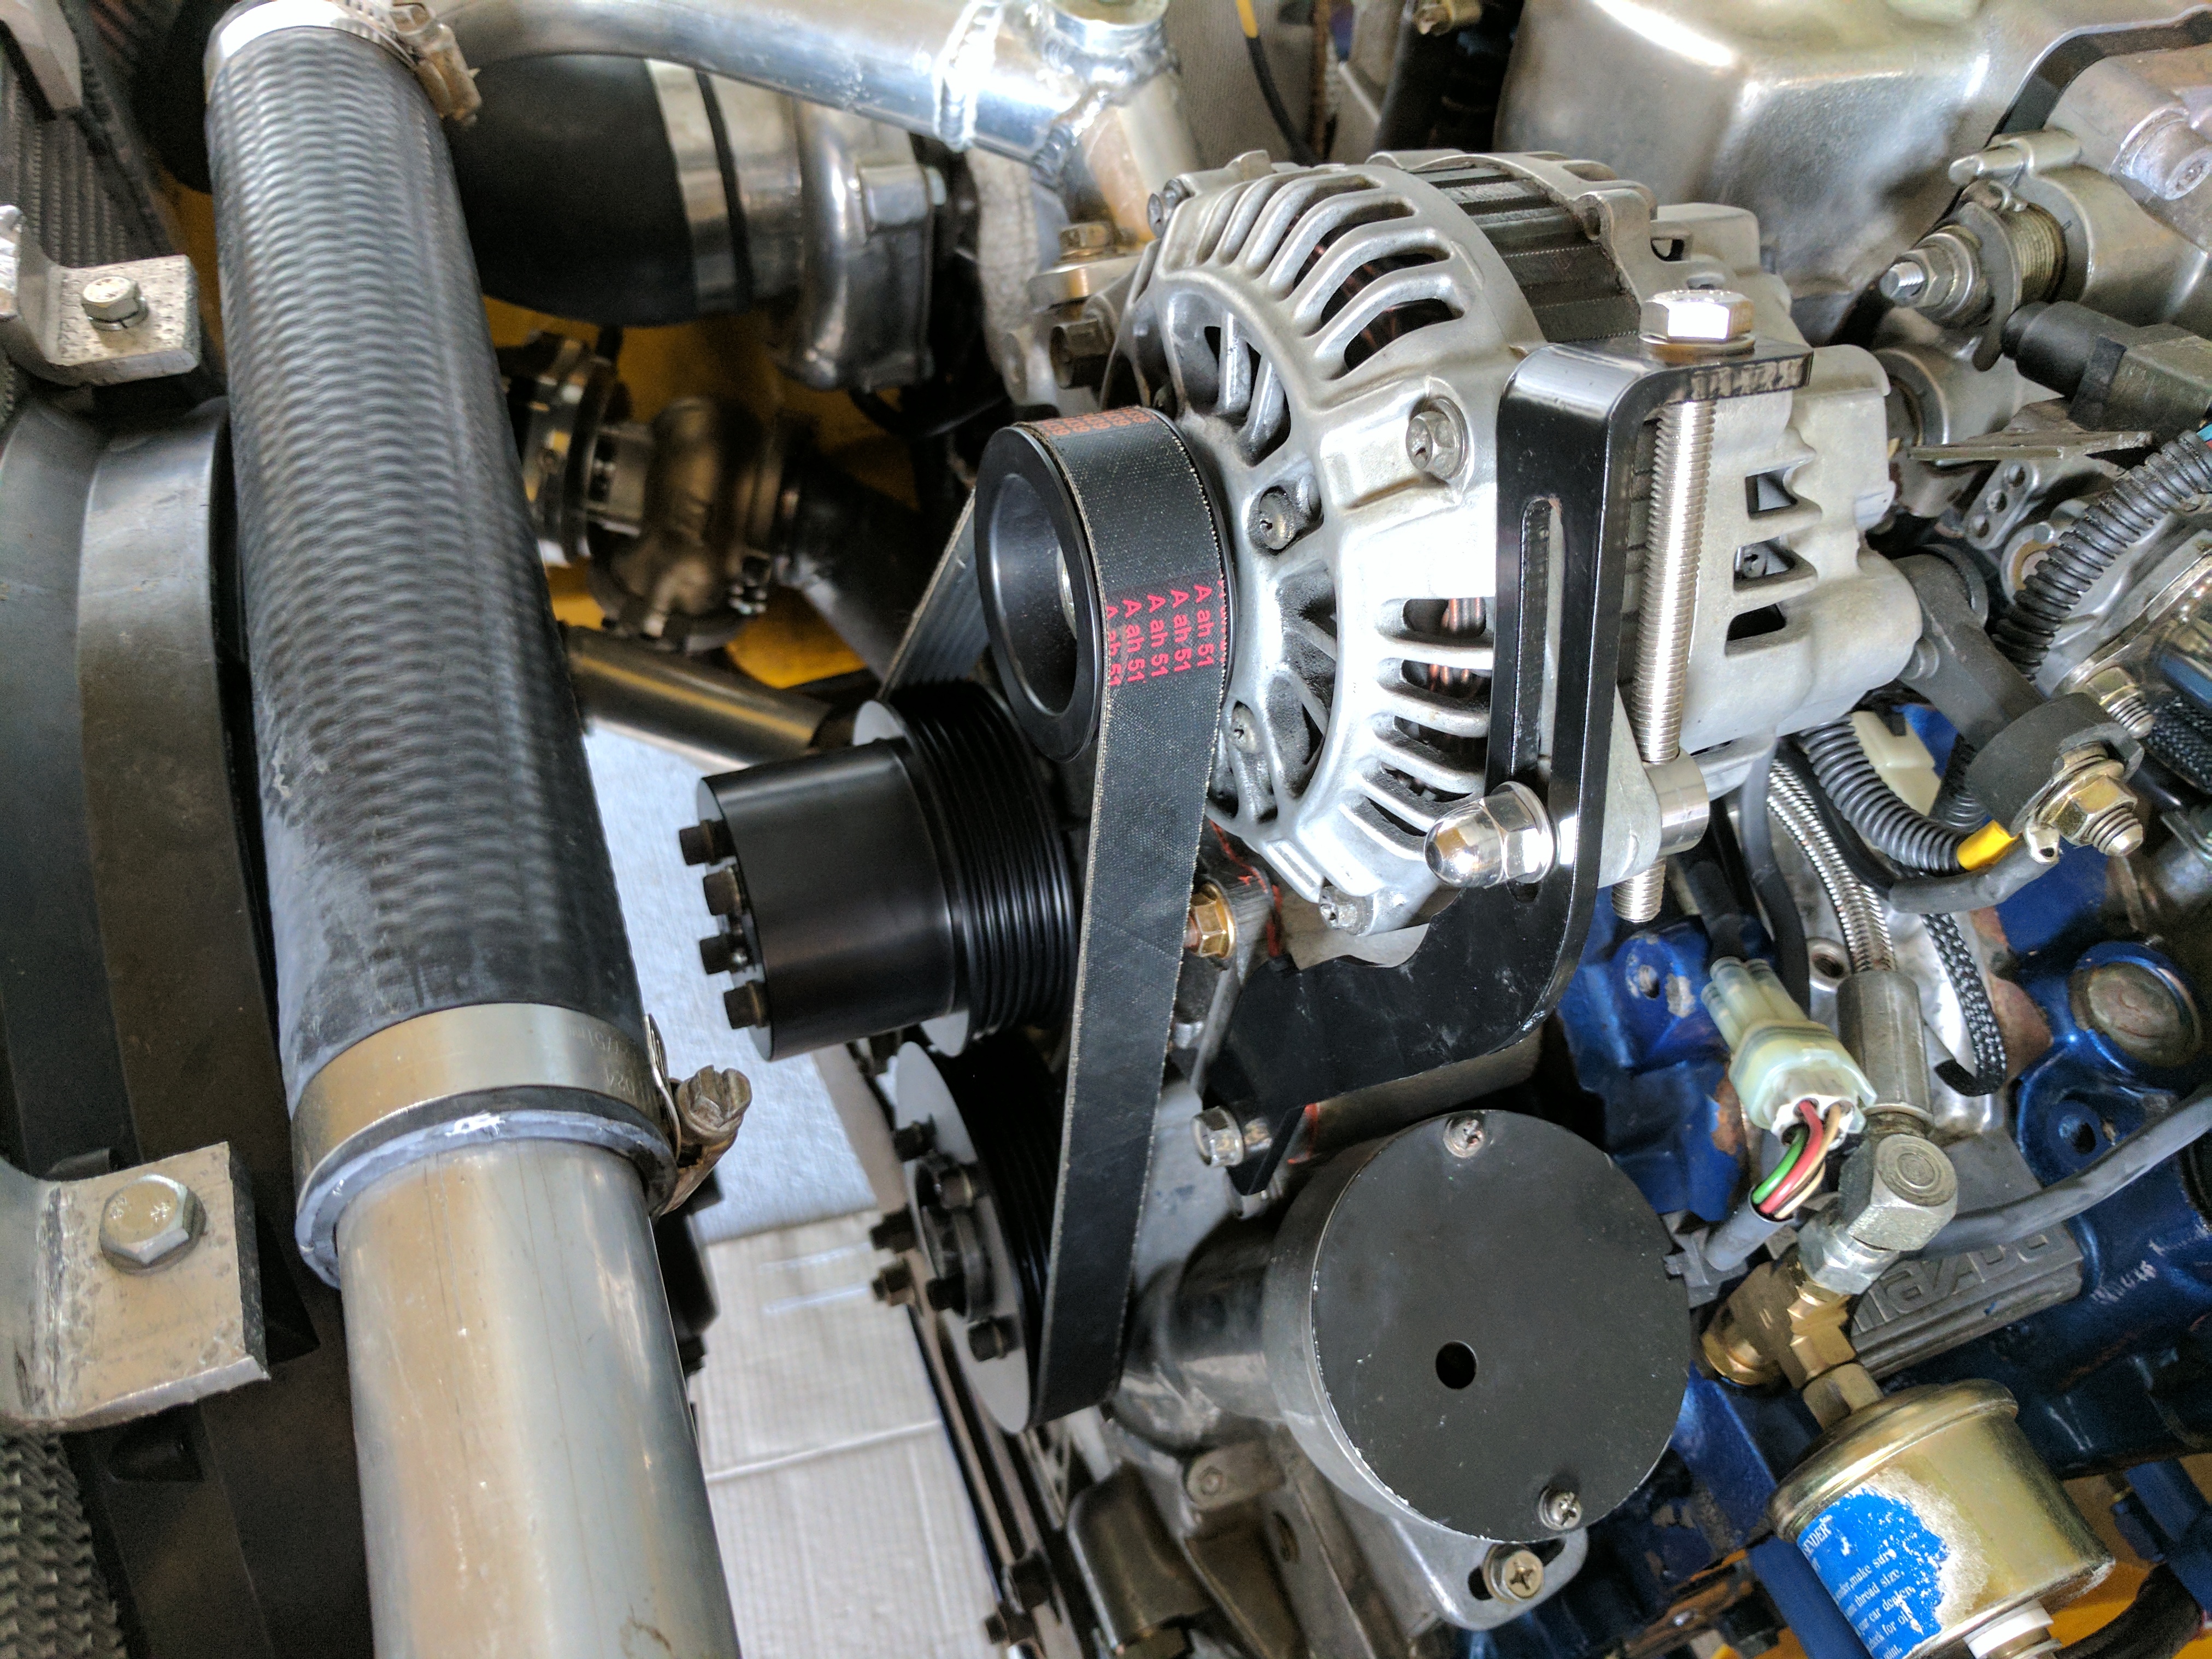
Today I swapped out the Gilmer pulleys for a serpentine belt setup and pulled the window regulator out of the driver door to replace.
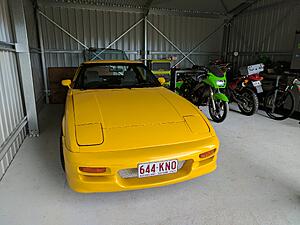
Also put the RX7 in its new shed with the rest of the toys.
Today I swapped out the Gilmer pulleys for a serpentine belt setup and pulled the window regulator out of the driver door to replace.
Also put the RX7 in its new shed with the rest of the toys.
Over the last couple of days I disassembled the rear suspension on my 83 FB. Today, I took out the Watts link bushings with a torch, put in Energy Suspension poly bushings, and puzzled over all of the photos I took of the Watts. I got it back together, probably the right way . Too many photos is not enough, that Watts link is like an Escher drawing
Urgh, I am actually trying to do this now.....but the damn lower link bolts at the bottom wont let go...I assume that they have fused to the bushing inserts as the nuts came off but the bolt wont budge.......looks like i will be cutting them.
Nice to know that someone else achieved this as I was losing hope with those bolts....
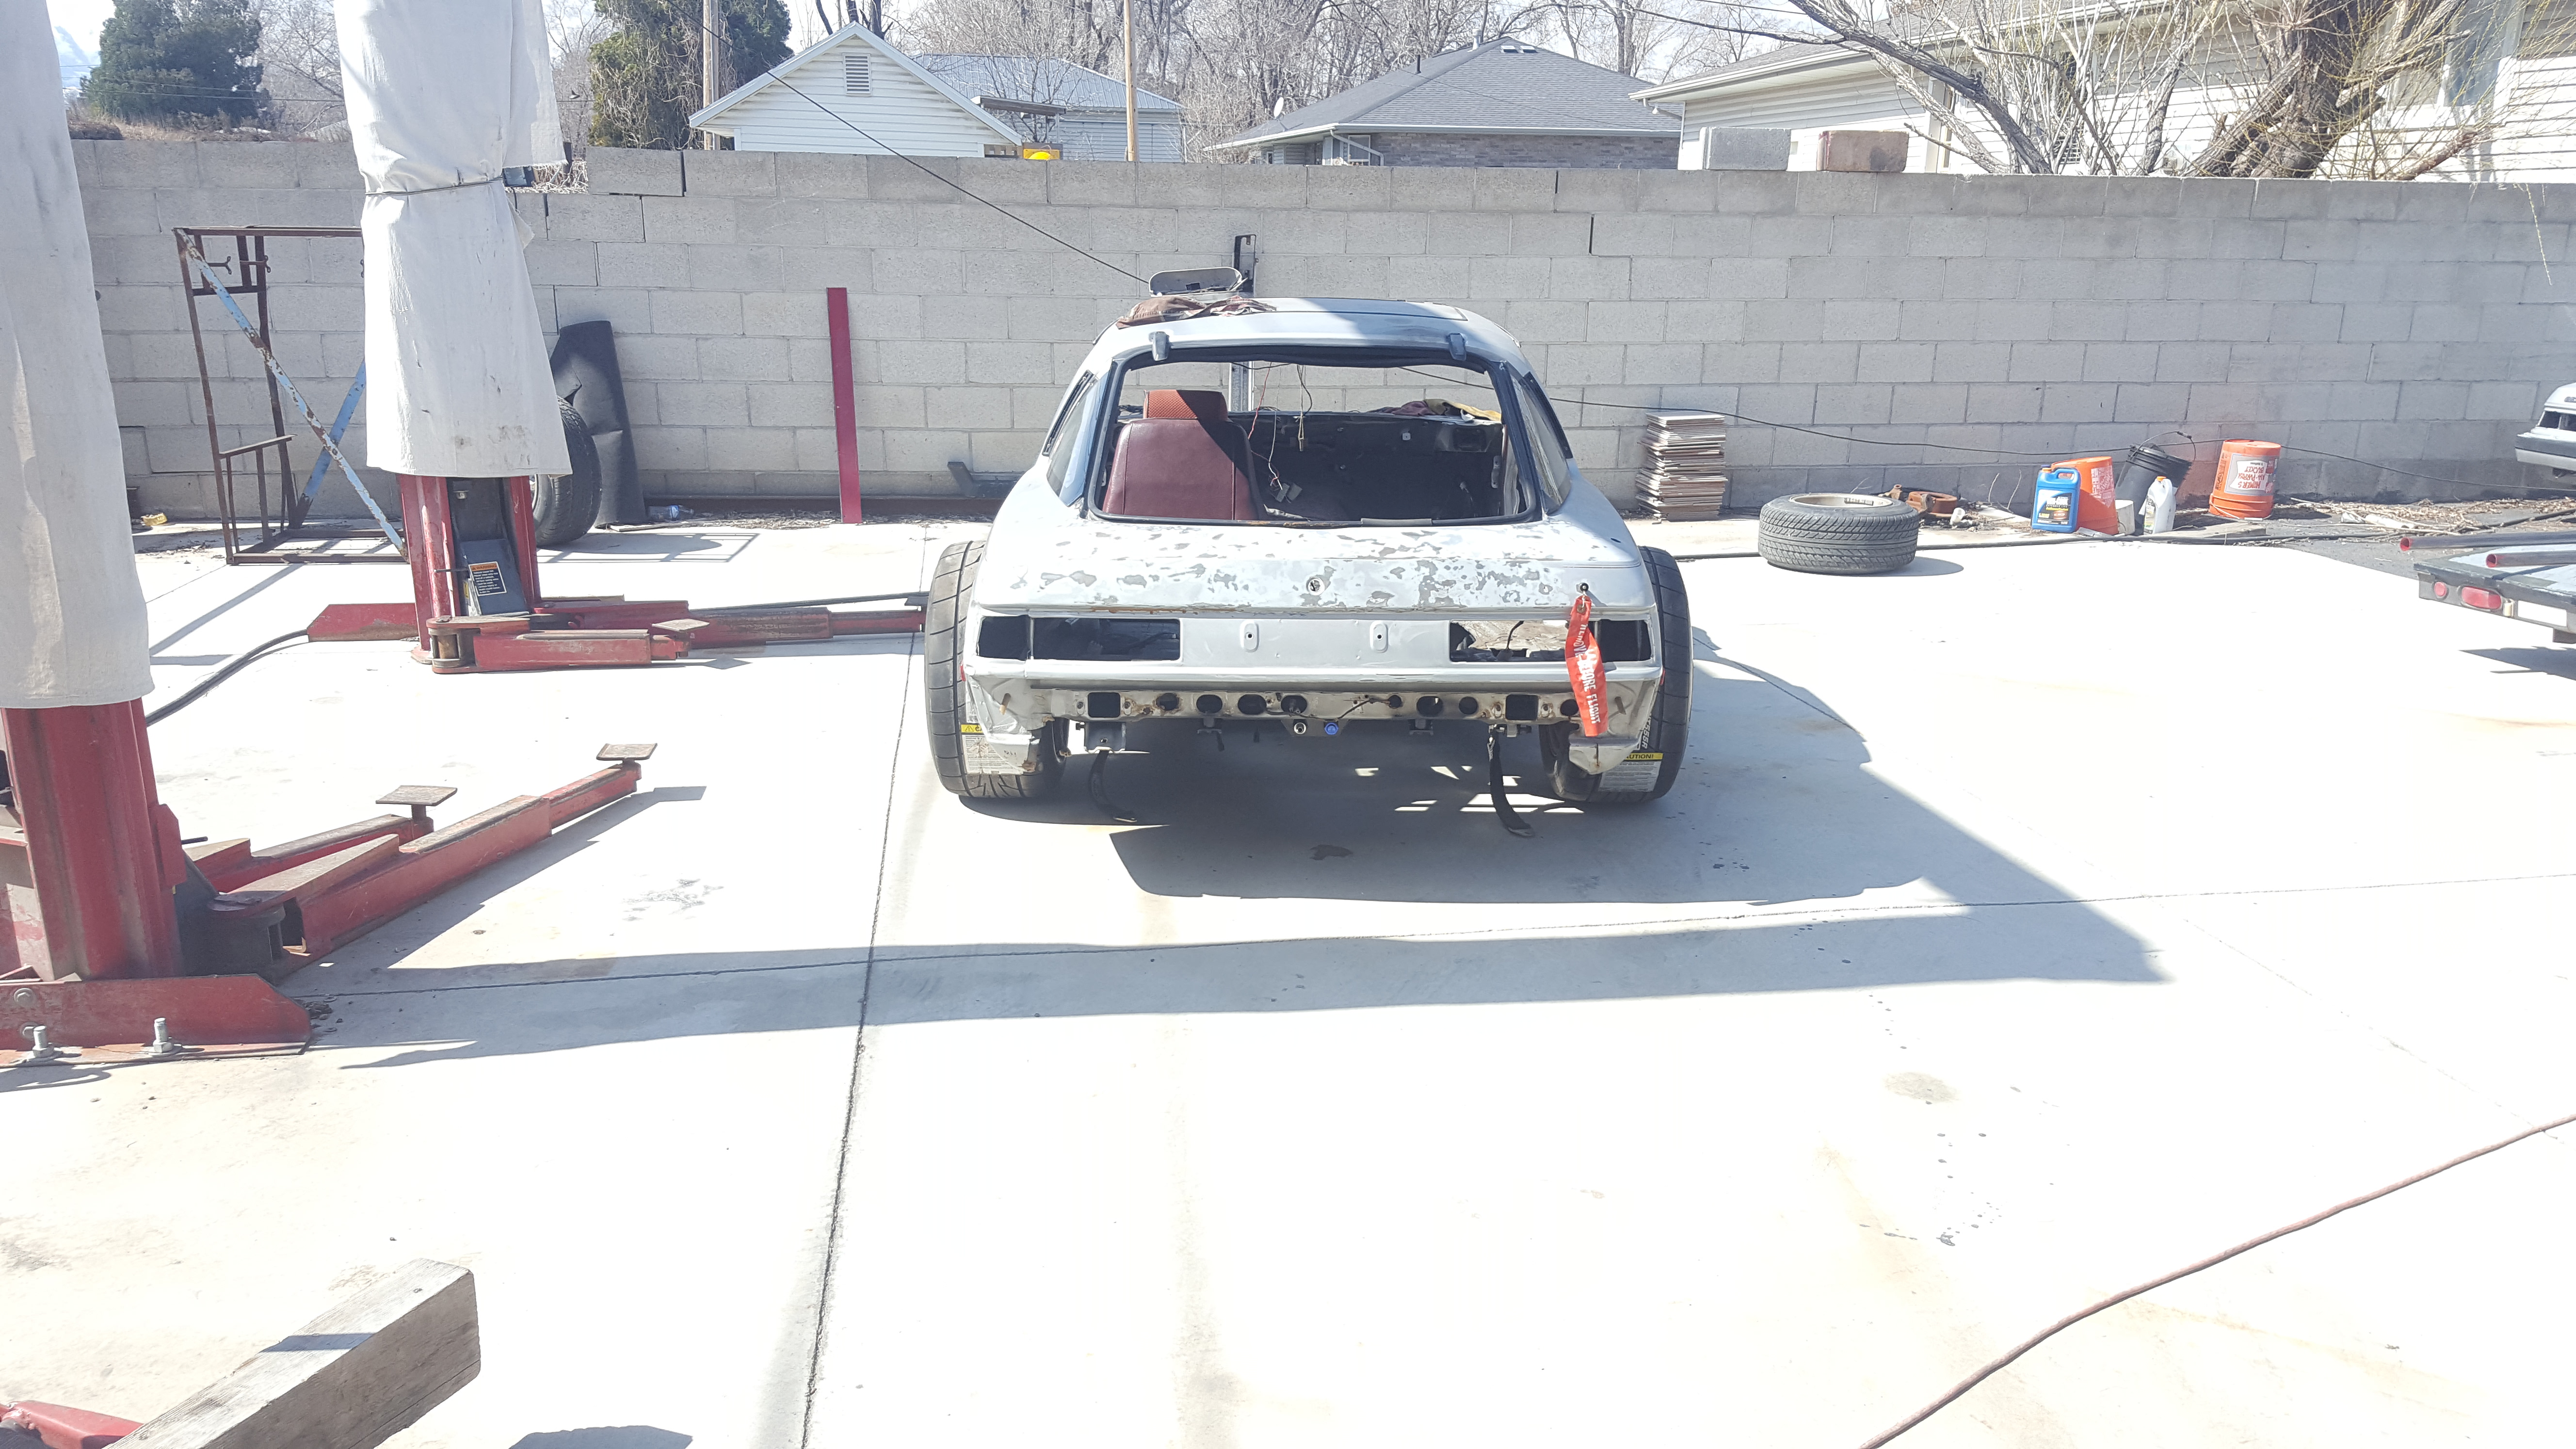
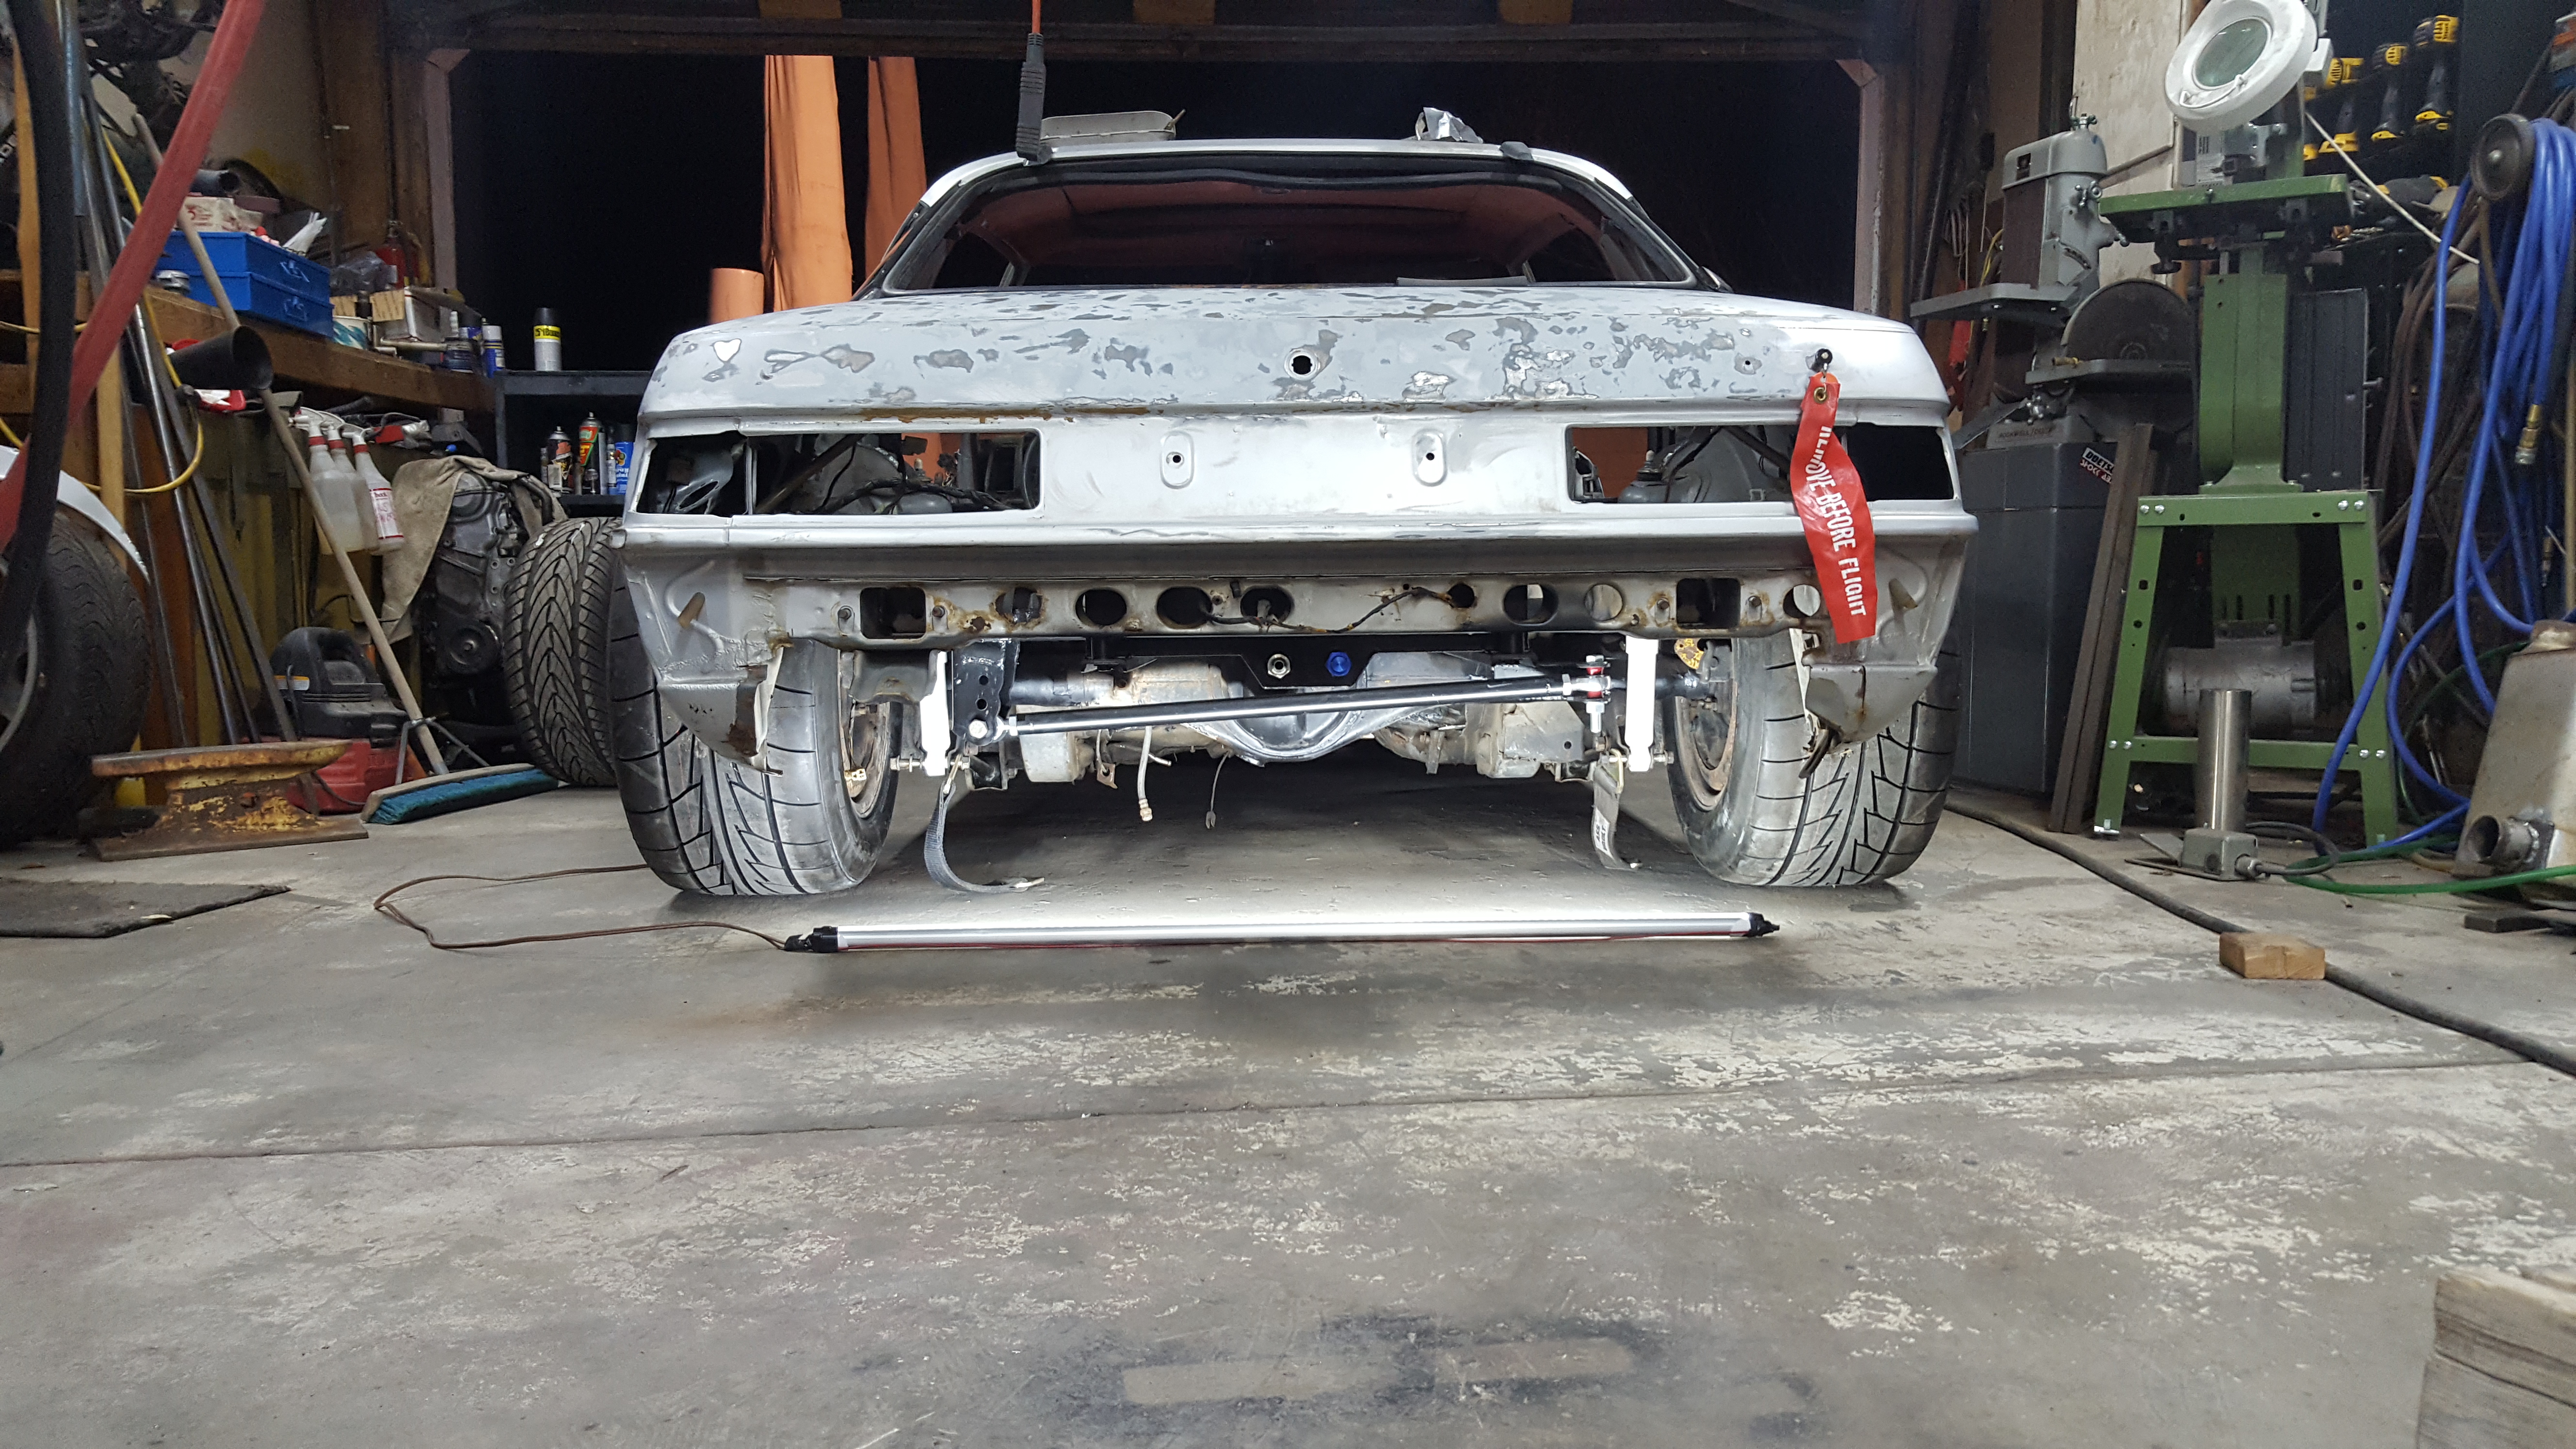
Well, I got myself into a fender bender. Eleanor's header panel is smashed and the bumper had been bent upwards a bit. 40mph collision, I was following a friend to the mall, light was turning yellow, he made the last second decision to stomp on the brakes cause he didn't want to lose me past the light... Lo and behold Already going to see a donor car tomorrow after my job interview.. slow and steady she will get back into shape!
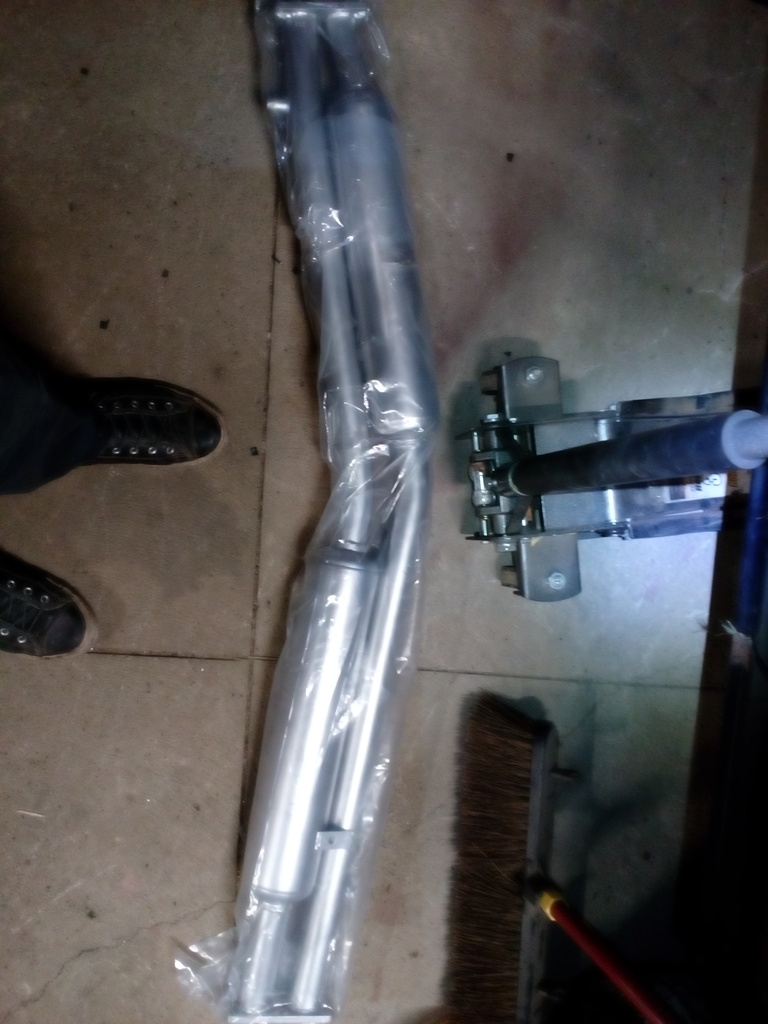
I don't know about lighter. Shipping weight was 37 pounds and I don't have a scale but the old pipe felt lighter.
It will be interesting to see if I have to retune. I probably do anyway for other reasons, but my old pipe had the 6-port tube and it took up a significant amount of cross sectional area right in the middle, and this was the pipe that I had my wideband installed in.
Well, I got myself into a fender bender. Eleanor's header panel is smashed and the bumper had been bent upwards a bit. 40mph collision, I was following a friend to the mall, light was turning yellow, he made the last second decision to stomp on the brakes cause he didn't want to lose me past the light... Lo and behold Already going to see a donor car tomorrow after my job interview.. slow and steady she will get back into shape!
awww!! Man!! I don't think this thread was intended for this kind of "what did you do...?" Lol ..Hurts just to look at it!! Ouch!!
awww!! Man!! I don't think this thread was intended for this kind of "what did you do...?" Lol ..Hurts just to look at it!! Ouch!!
Well..... I DID do something to it.... :/ But more to come, I'm getting replacement bumper assy and header panel for $300! Just gotta.. paint.. it.
Once I get that and the air pump fixed I'm trying to replace the cat converter. I think it's a bit clogged, doesn't give me the brap... Come to think of it, it hasn't ever :/
I didn't have access to a scale at the time. I've carried them both one after another, and the newer one was lighter. I think it is due to the lack of any 3/8" end caps on the newer ones (I think they still have a 3/8 separation plate between the expansion chamber and the presilencing material). They went to a bullet shape which is just sheet metal. You multiply that by four end caps and you notice an actual reduction in weight just be feel. But then this weight is mounted at the lowest point of the car where it might actually do some good.
Peejay, how rusty is your old one? If it is really rusty, it will have lost some weight.
The backpressure sensing tube I'm sure has been causing a bit of restriction on that one pipe as that was sort of its job. In my opinion, it's better to have the tube on the first bend of the header where it won't cause a restriction (flush and smooth on the inside, or just a little nub) and can take advantage of the forceful nature of rotary exhaust.


 . Too many photos is not enough, that Watts link is like an Escher drawing


 C
C
 as I was losing hope with those bolts....


 Already going to see a donor car tomorrow after my job interview.. slow and steady she will get back into shape!
 :/ But more to come, I'm getting replacement bumper assy and header panel for $300! Just gotta.. paint.. it.
