Tegheim - Home made 4 Rotor Wolvo project

 07-09-14, 10:25 AM
#928
Senior Member
Thread Starter
I have 4 nearly finished billet rotors. But I think they will have to wait until rebuild 2. Will only try the E-shaft out in the first setup. At least thats my plan for now.
I also casted two housing to test on. But desided to wait until the 4-rotor was running.
Now and then its nice to have some side projects when you're bored :-)
07-09-14, 12:02 PM
#929

Well, I started on both!
I have 4 nearly finished billet rotors. But I think they will have to wait until rebuild 2. Will only try the E-shaft out in the first setup. At least thats my plan for now.
I also casted two housing to test on. But desided to wait until the 4-rotor was running.
Now and then its nice to have some side projects when you're bored :-)
But your approach clearly is the best/most conservative from an engineering standpoint.
Any estimate on when you'll be able to put all the legacy parts together with your eshaft?
07-10-14, 10:26 AM
#931
Wasted spark plug
Just curious about billet housings: how about thermal stress as cast housings are ...well...casted through a special proces to elliminate cracks during use as part of an engine?
I can see the advatage that it's much lighter but how about thermal tress?
I know BMW used "well used" (casted) 1500 engine blocks in the 60's to modify in their F1 cars as they were uncrackable...
Just curious...
Great work btw!
True craftmanship at work sir!
Grtz Dee.
I can see the advatage that it's much lighter but how about thermal tress?
I know BMW used "well used" (casted) 1500 engine blocks in the 60's to modify in their F1 cars as they were uncrackable...
Just curious...
Great work btw!
True craftmanship at work sir!
Grtz Dee.
08-19-14, 03:46 AM
#932
Full Member

Join Date: Jun 2014
Location: Cleveland ohio
Posts: 109
Likes: 0
Received 0 Likes
on
0 Posts
Been quietly watching for literally years... This thread has been the inspiration for many sleepless nights for me. A buddy and I are starting our own 20b pp and 26b pp motors all outta 13b parts because we too like to make things, thanks for the inspiration and all the ideas!!


 11-30-14, 05:22 AM
#935
Senior Member
Thread Starter
Long time no see, have done some small updates now and then on both Facebook and Instagram. I'm sorry, but it's so easy to throw in a picture and move on.
Lets do a throwback sunday.
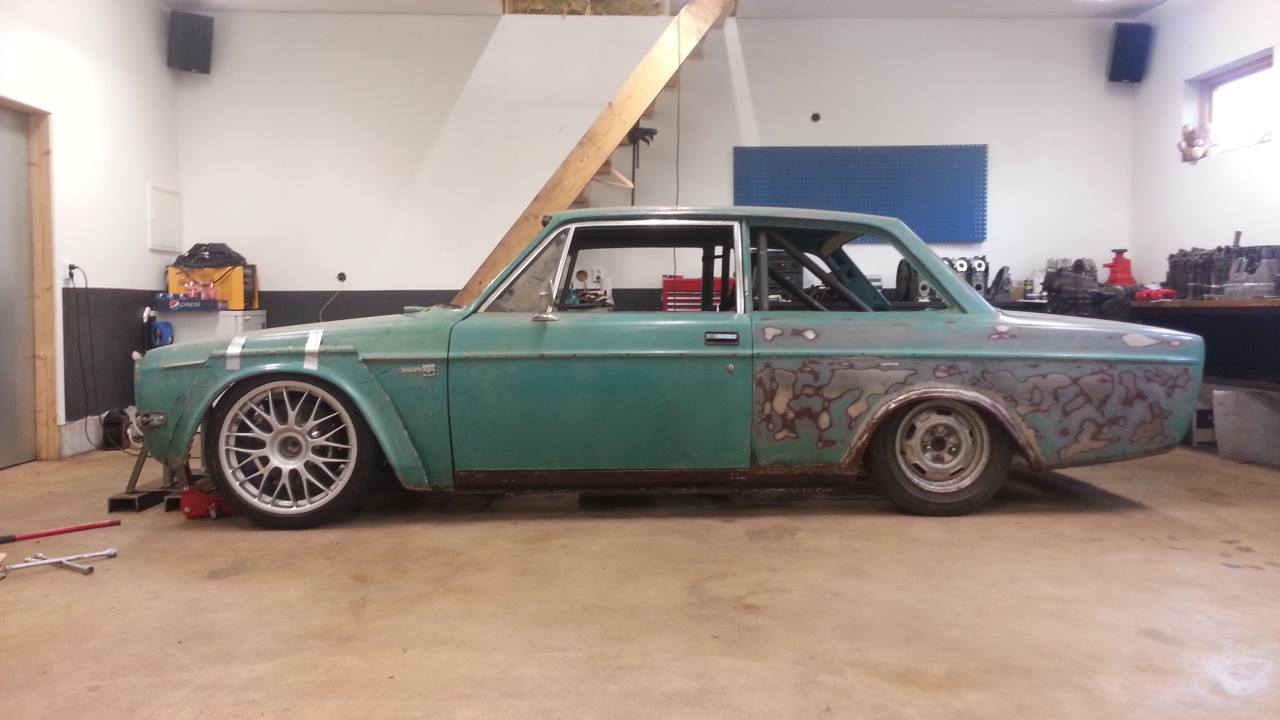
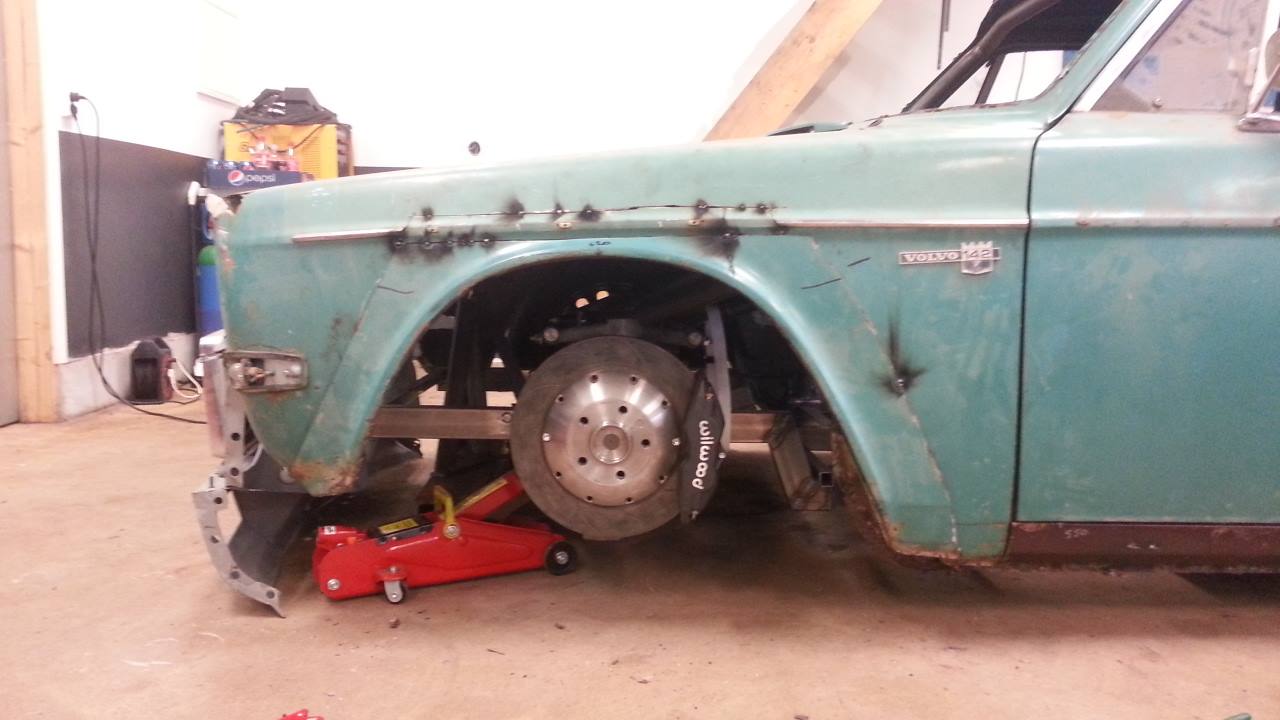
I did a little test with my front fender. My wheels are to big, and the body is so much lower that I can't mount the fenders over the wheels today.
I let it sit there and sink in. The rear wheelarc will be a big challenge as well..
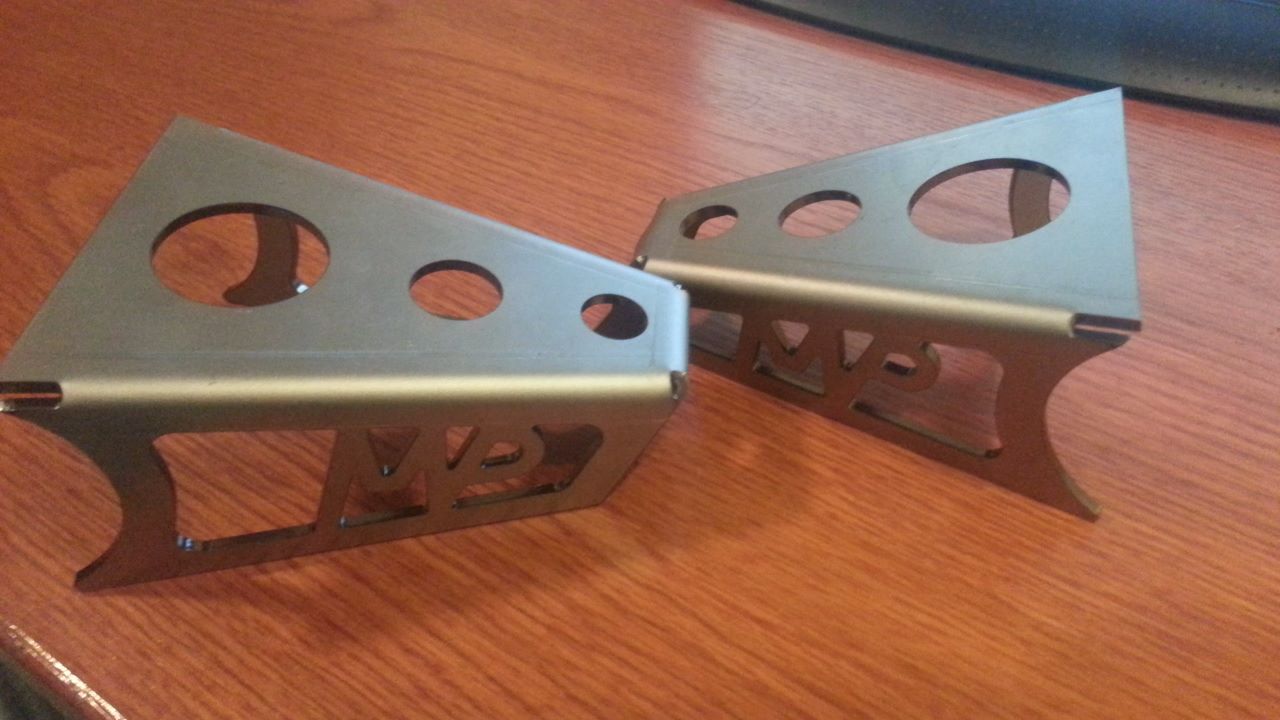
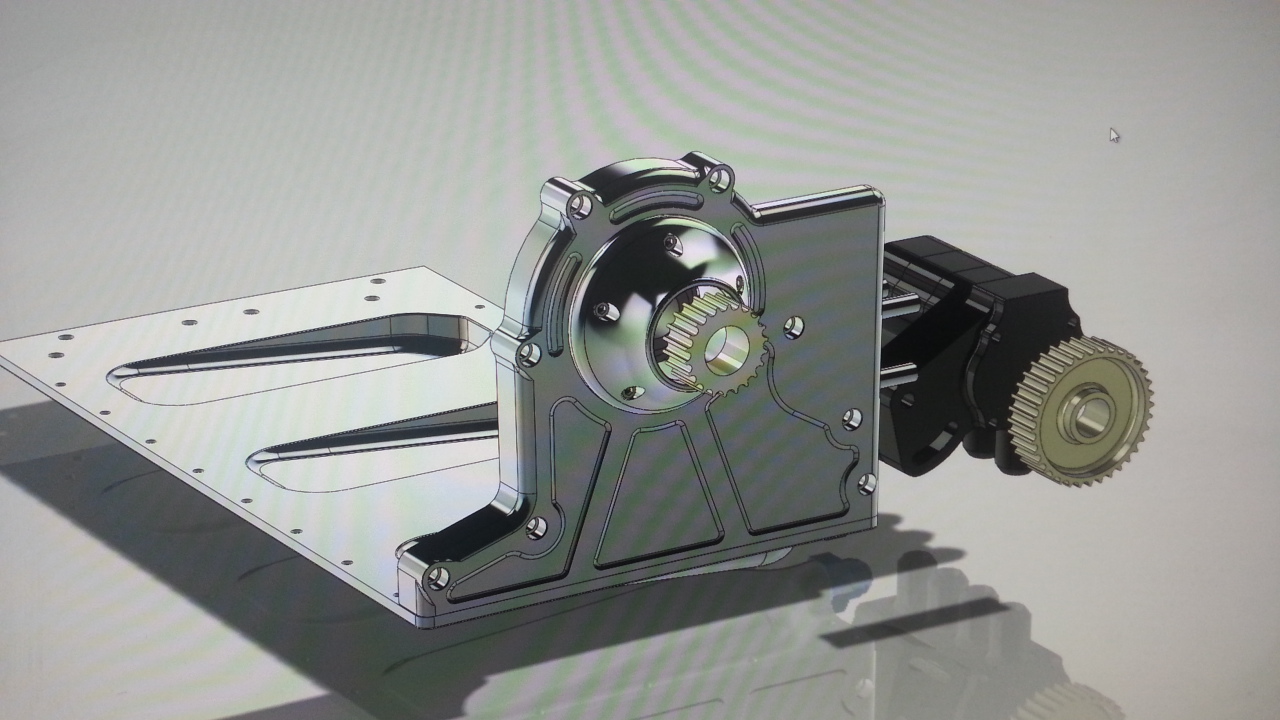
Then I moved on with the watt-link. Did some sheetmetal-parts in Solidworks.
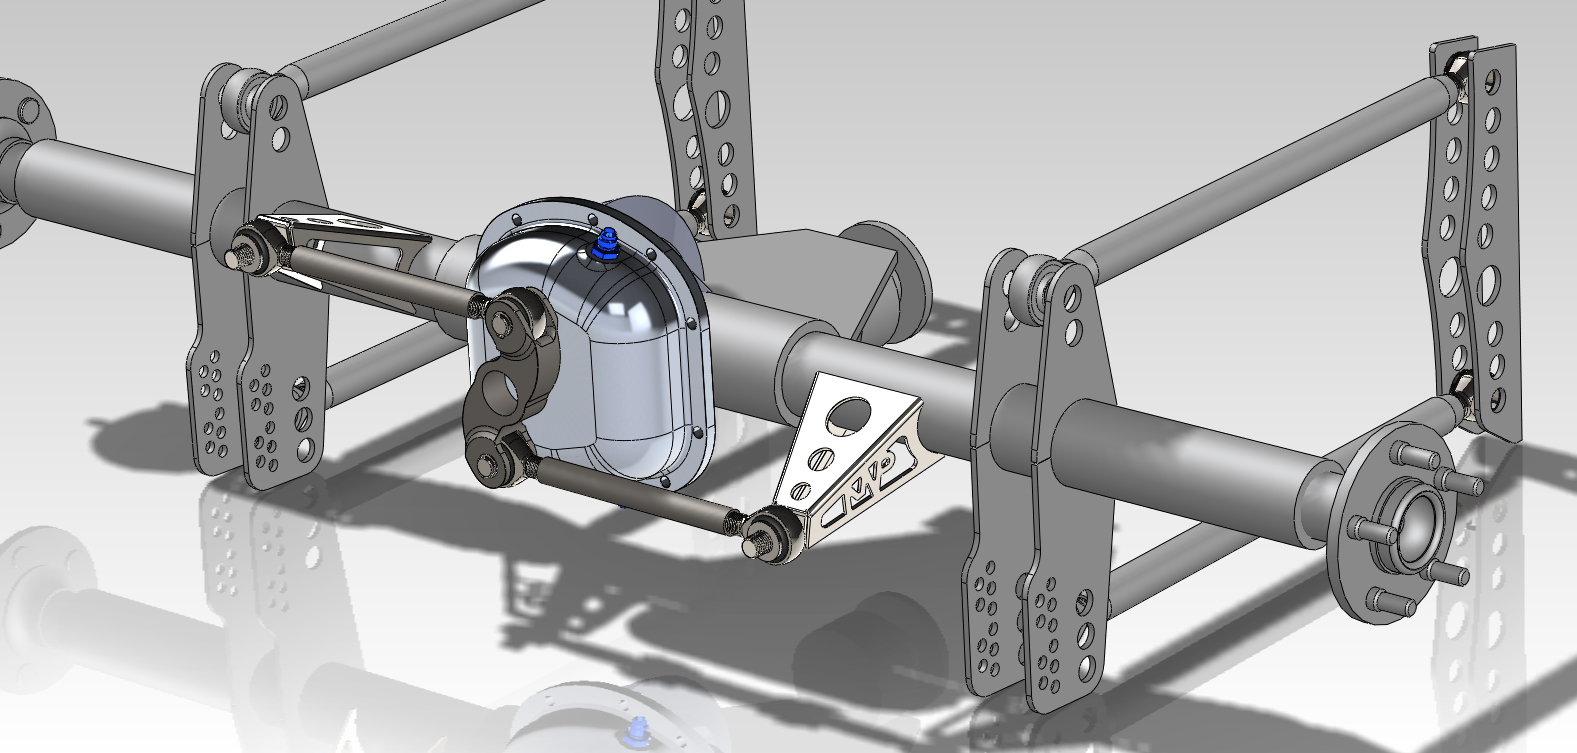
A friend of mine helped me with the lasercut and bending. Will be nice!
Back to the 4-rotor...
I havn't done much, but some small thing here and there.
Have done the first part of my new centerbearings.
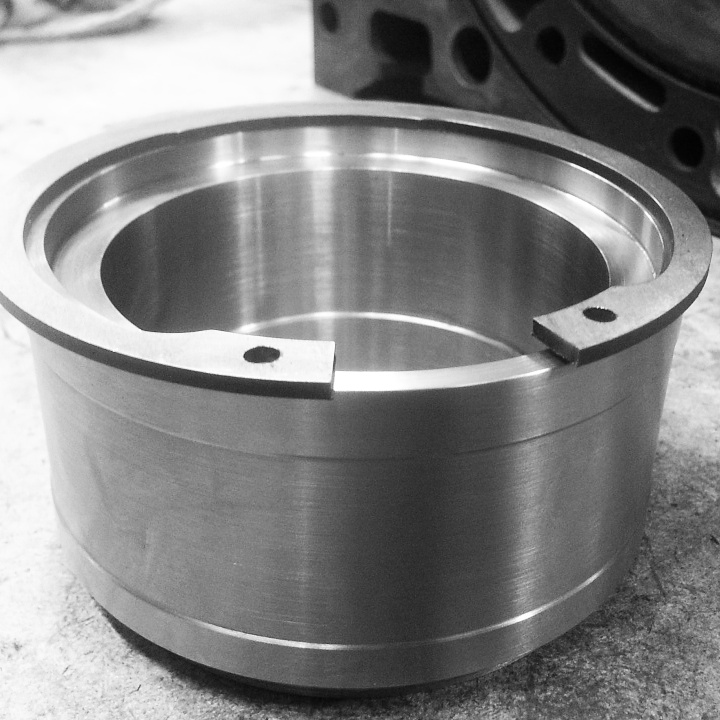
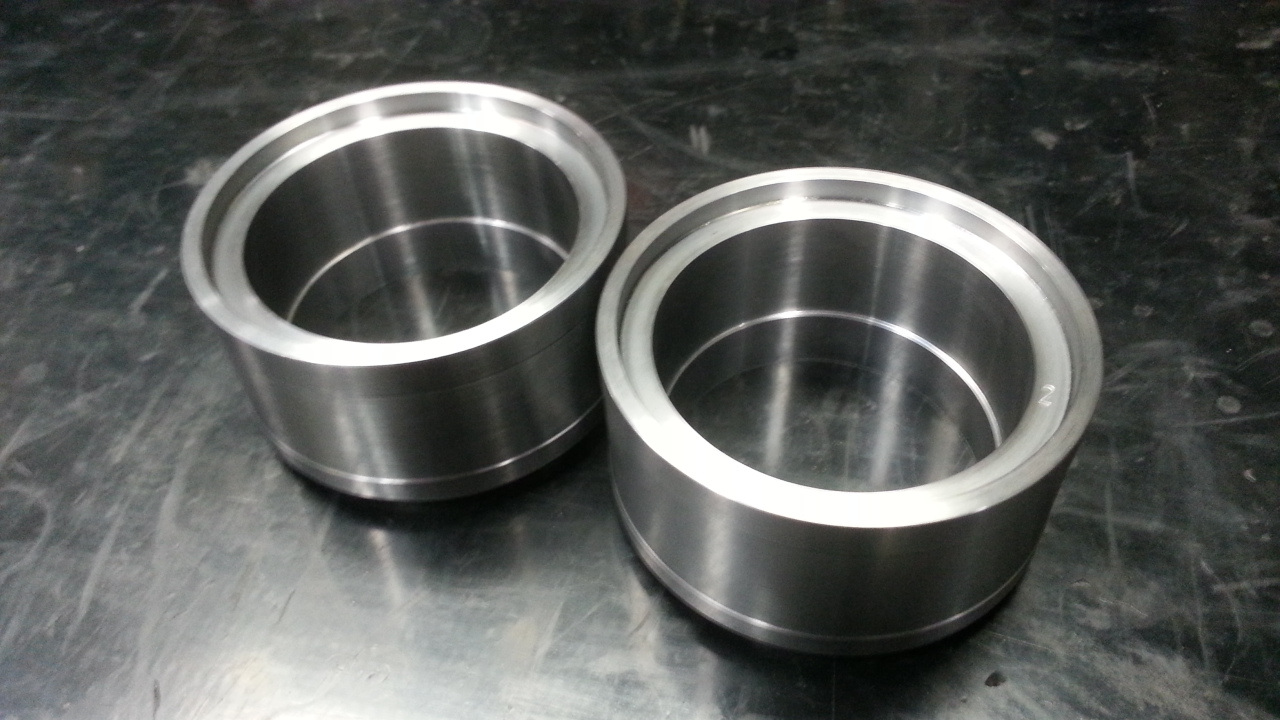
The toleranses are tight! Need to demount to get all oil-windows in place.
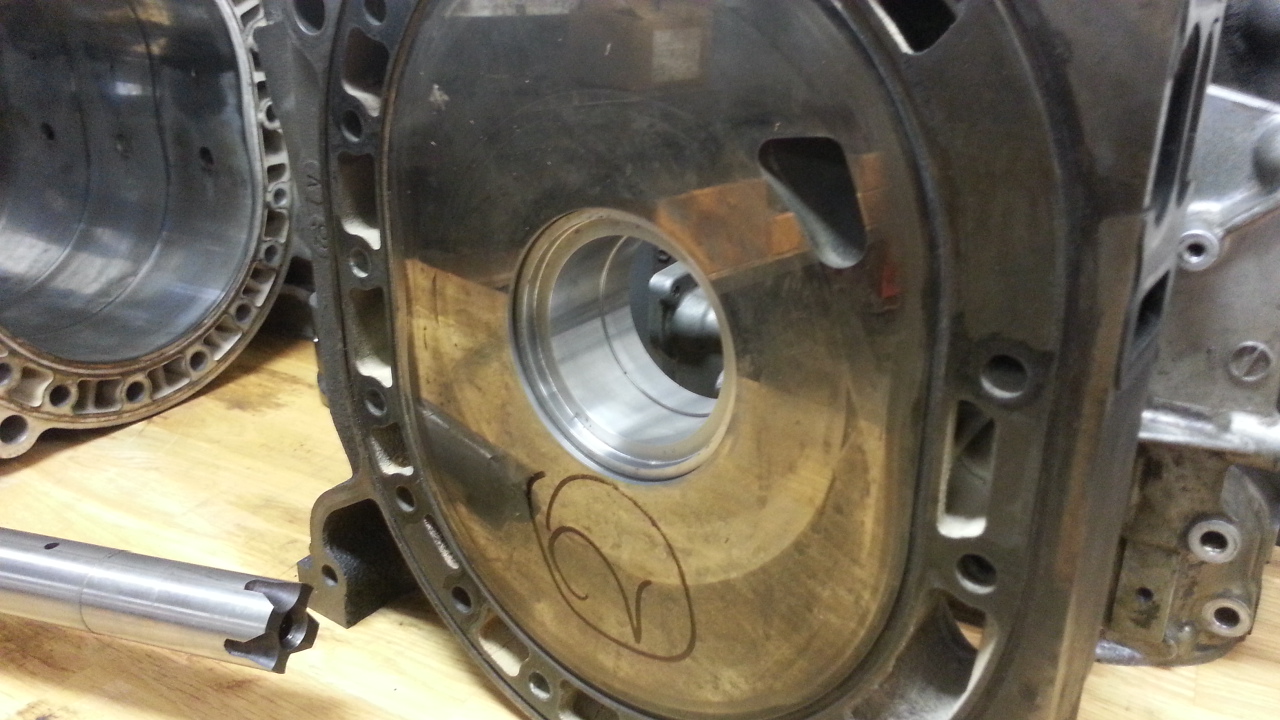
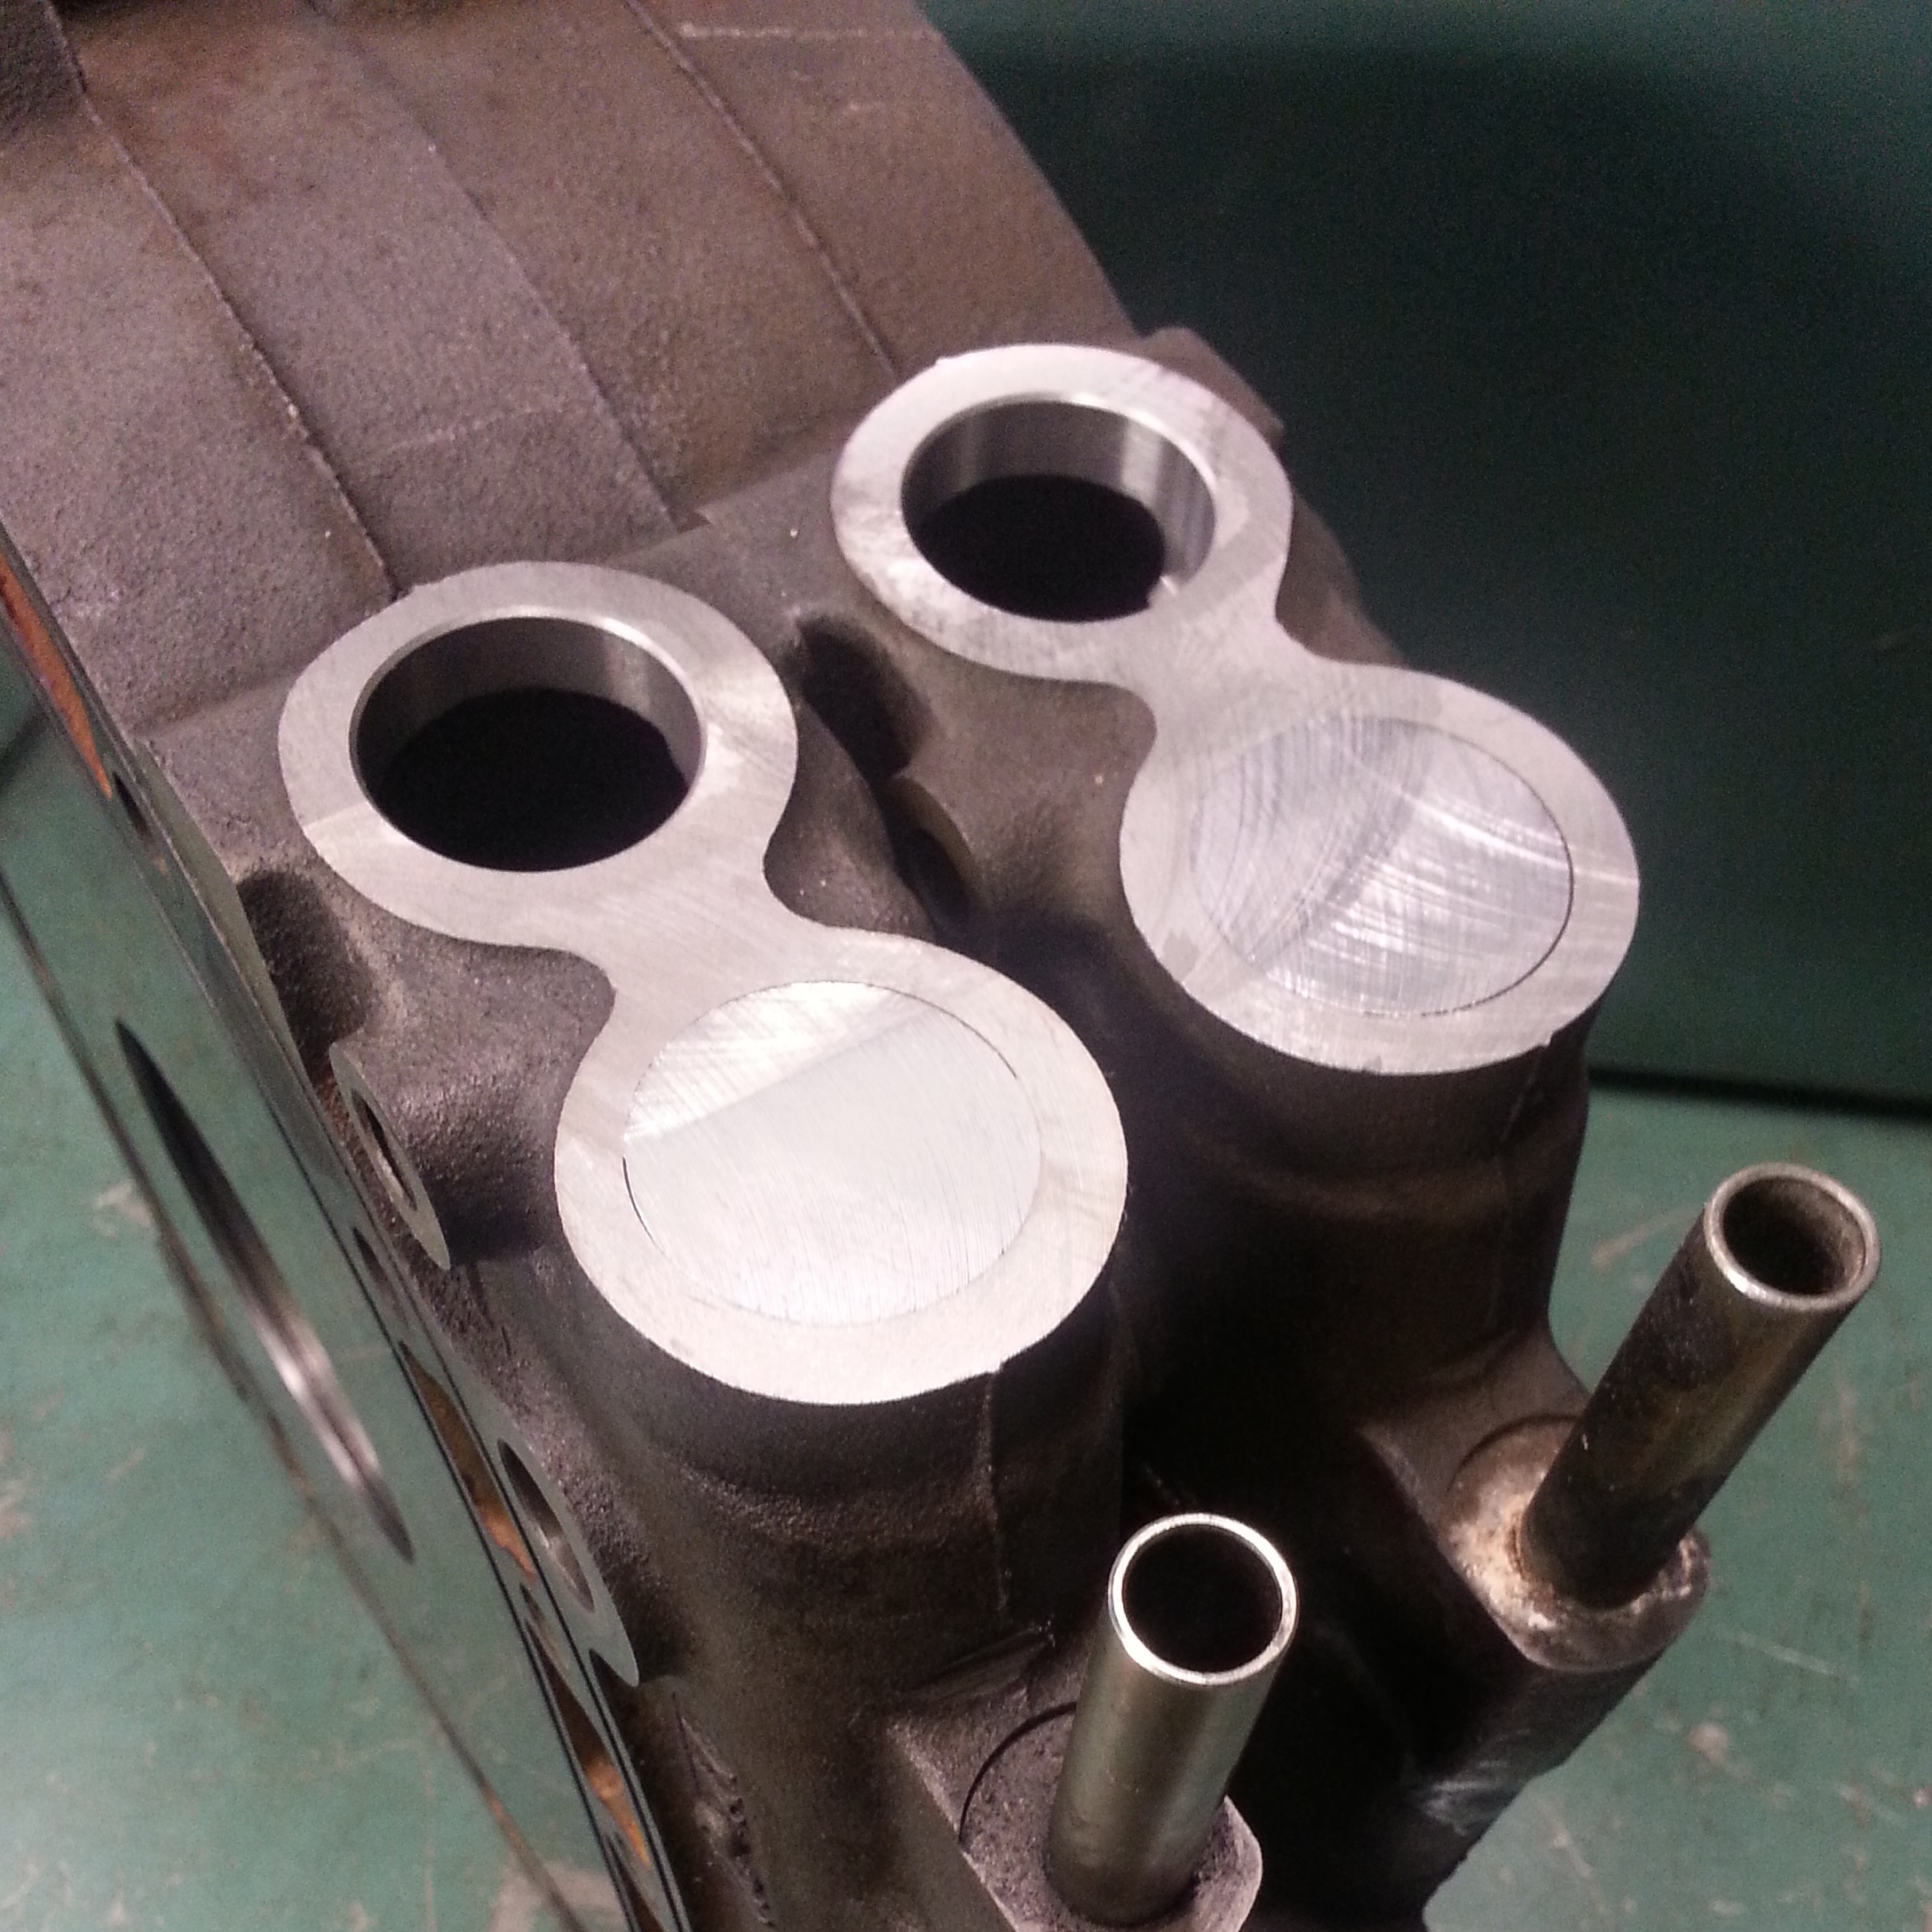
Have also prepared the irons.
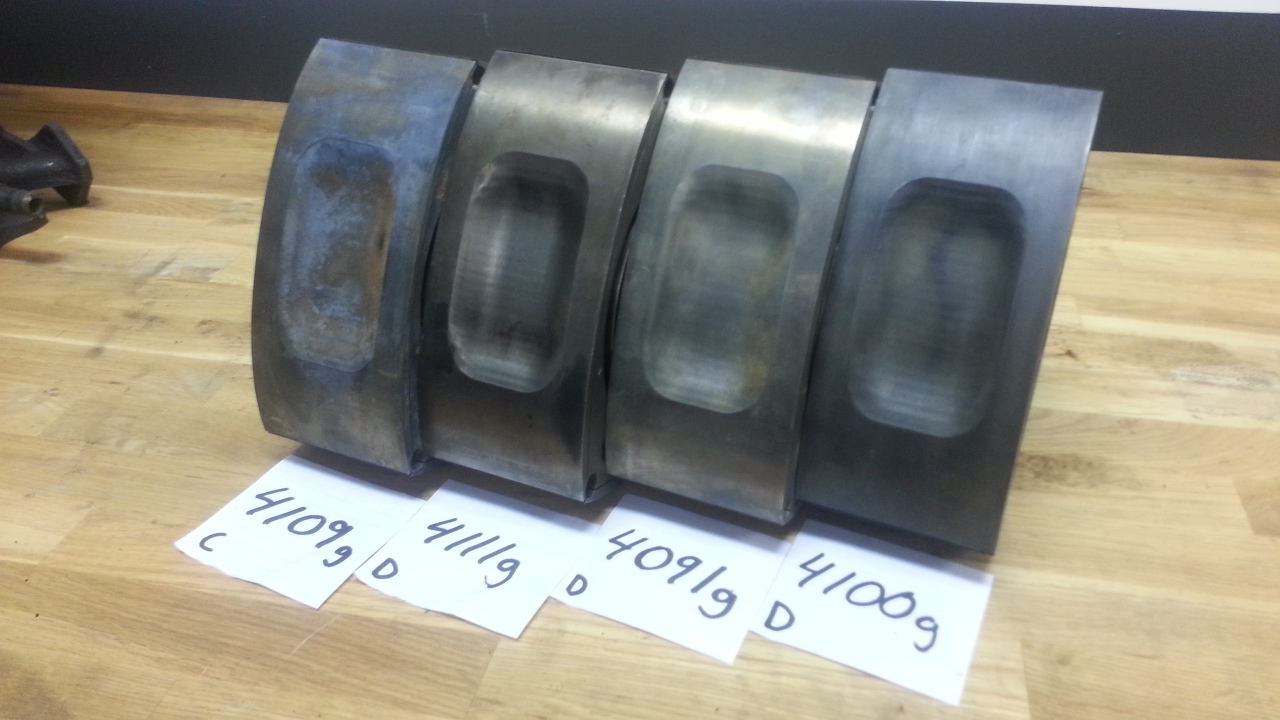
Then I went through my rotors, and picked out these four. Close call without any mods yet. Only 20grams away.
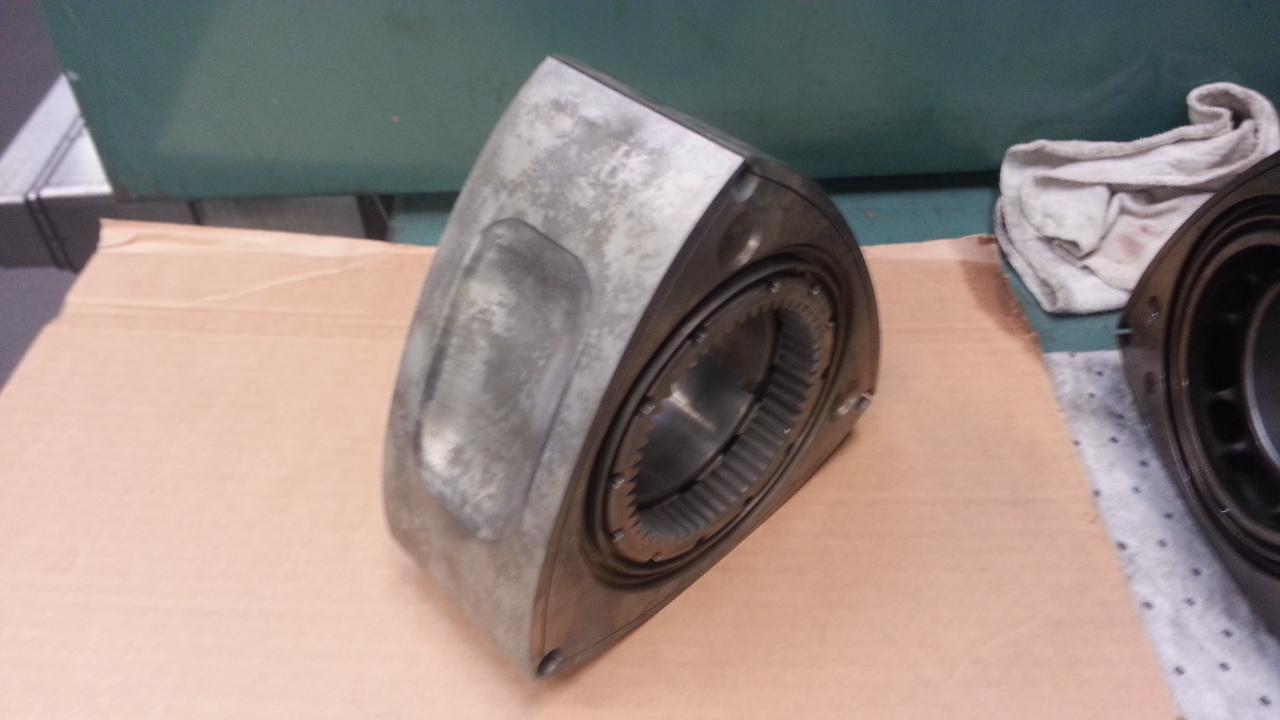
After some ultrasonicwashing. This is the rotor on the far left on the picture above.
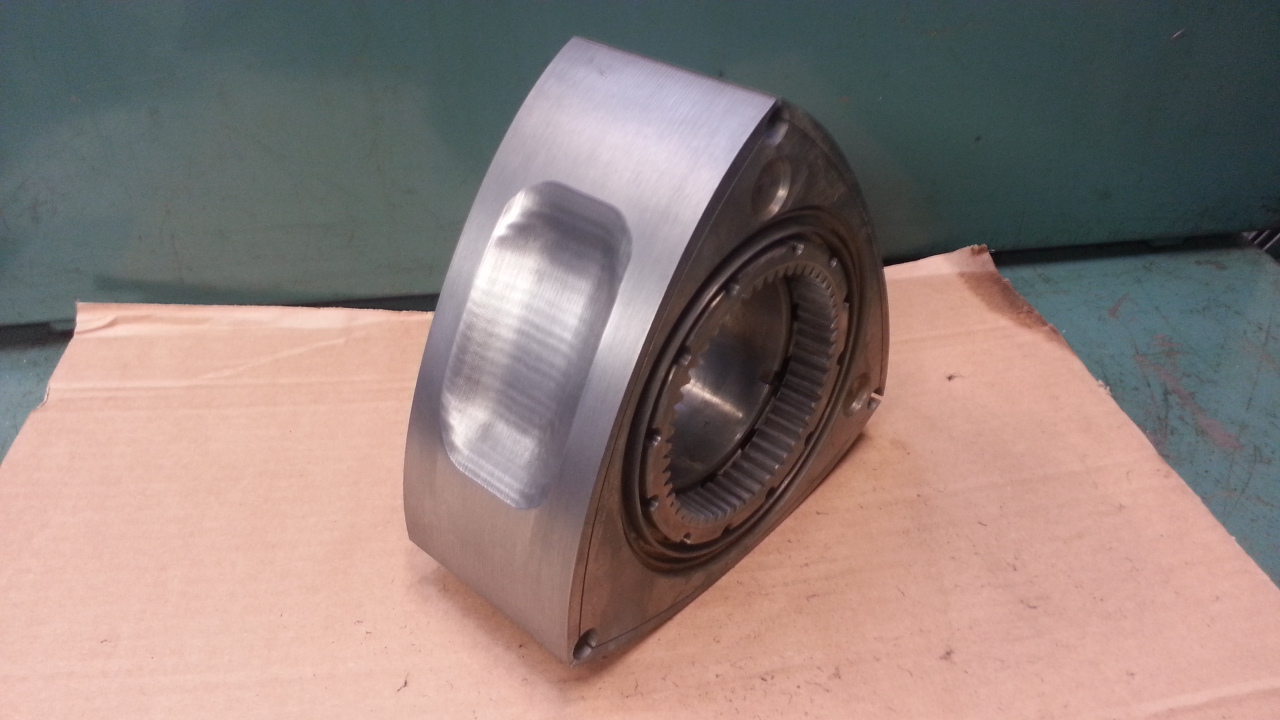
After a few seconds with a scotchbritepad by hand.
Lets do a throwback sunday.
I did a little test with my front fender. My wheels are to big, and the body is so much lower that I can't mount the fenders over the wheels today.
I let it sit there and sink in. The rear wheelarc will be a big challenge as well..


Then I moved on with the watt-link. Did some sheetmetal-parts in Solidworks.

A friend of mine helped me with the lasercut and bending. Will be nice!


Back to the 4-rotor...
I havn't done much, but some small thing here and there.
Have done the first part of my new centerbearings.


The toleranses are tight! Need to demount to get all oil-windows in place.

Have also prepared the irons.

Then I went through my rotors, and picked out these four. Close call without any mods yet. Only 20grams away.

After some ultrasonicwashing. This is the rotor on the far left on the picture above.

After a few seconds with a scotchbritepad by hand.
 11-30-14, 05:23 AM
#936
Senior Member
Thread Starter
Have bought two AutoVerdi-drysump-pumps.
One will GusFD3s use on his Rx3-20B, and the other will I keep.
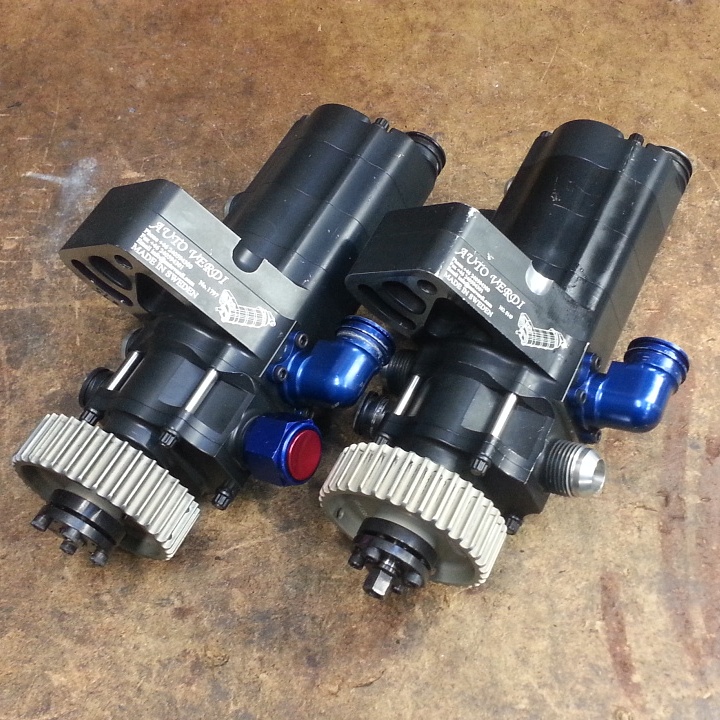
Sketched up the pump to get it into my assemblies in Solidworks

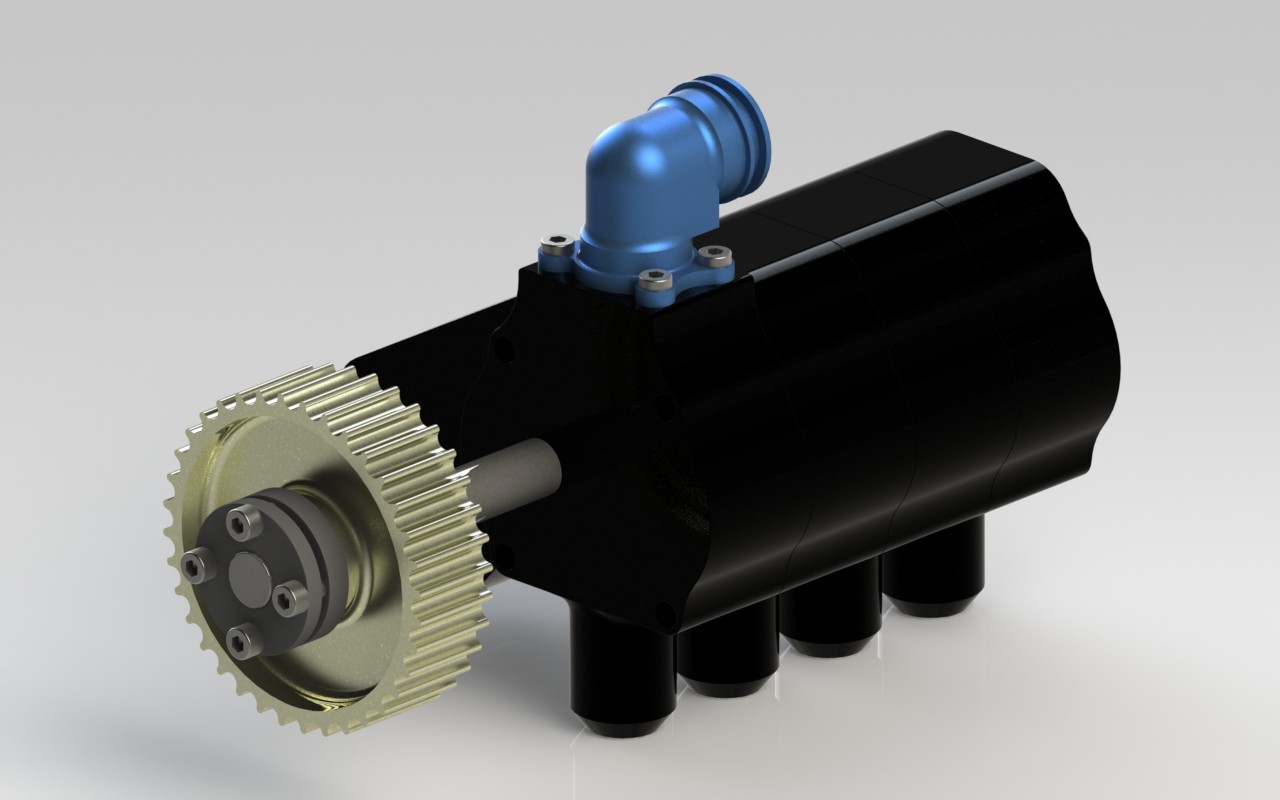
Started on the drysumppan and front cover that will be some billet-kind.
Havn't desided if the pan will be billet or sheetmetal, the sheetmetal have some advantage, but billet is engine-**** :-)
Did a test with wellpapp of the sheetmetal-version.
Very tight and small, easy to fit AN-12 into.
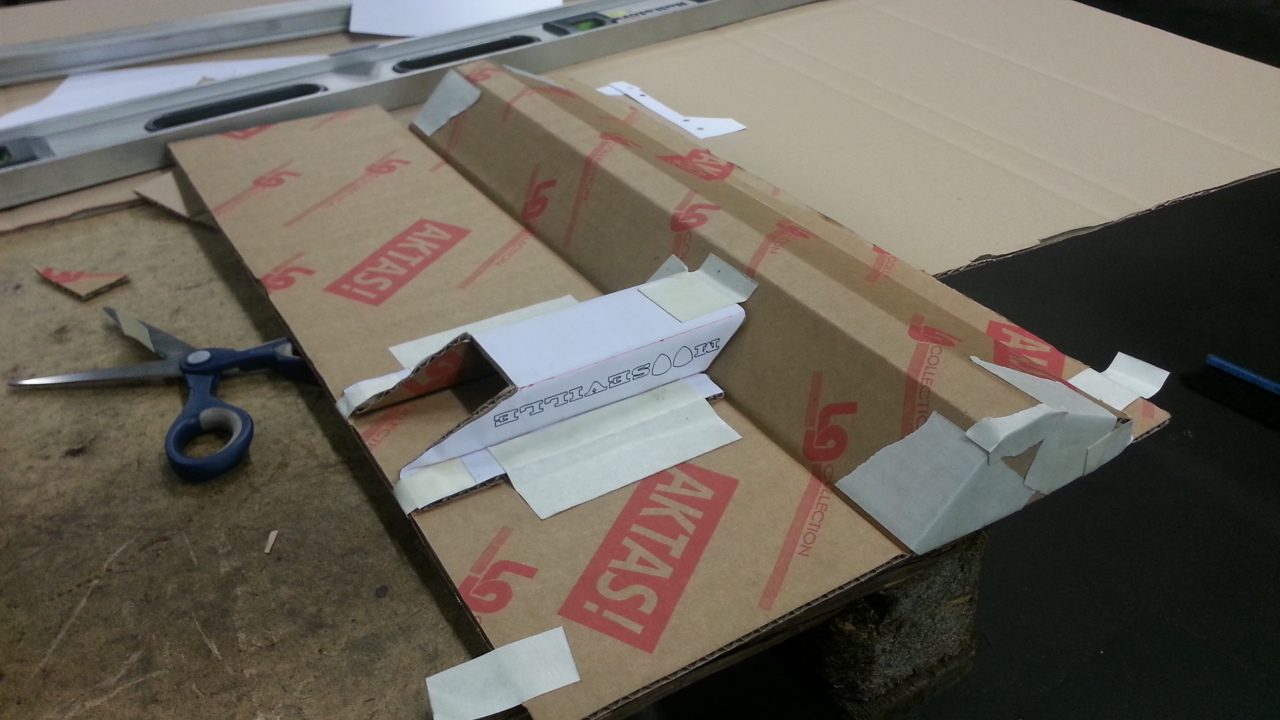
So, not much has happened, but still going in the right direction.
Can remind you of the facebook-page and instagram if you want instant updates without text :-)
But I'm trying to get better on updates here as well.
Instagram
http://www.facebook.com/moosevilleperformance
One will GusFD3s use on his Rx3-20B, and the other will I keep.

Sketched up the pump to get it into my assemblies in Solidworks


Started on the drysumppan and front cover that will be some billet-kind.

Havn't desided if the pan will be billet or sheetmetal, the sheetmetal have some advantage, but billet is engine-**** :-)
Did a test with wellpapp of the sheetmetal-version.
Very tight and small, easy to fit AN-12 into.

So, not much has happened, but still going in the right direction.
Can remind you of the facebook-page and instagram if you want instant updates without text :-)
But I'm trying to get better on updates here as well.
http://www.facebook.com/moosevilleperformance
12-01-14, 10:04 AM
#938
Why the pickup chambers in the oilpan? Wouldn't a flat plate also work well? It's normal for the oil level to be above the oil pan flange, every normal dry sump system has it's pickup points above the oil pan flange and use a flat plate as oilpan. Isn't fitting a flat plate and just drilling and tapping it for fittings easier?
12-01-14, 12:14 PM
#939
Isn't fitting a flat plate and just drilling and tapping it for fittings easier?
It would seem to me the reliefs in the flat plate have a lower profile that fittings tapped into it.
I would also rather have the more fragile fittings to the side of the engine rather than be the lowest point in case I did drive over some track debris.
It would seem to me the reliefs in the flat plate have a lower profile that fittings tapped into it.
I would also rather have the more fragile fittings to the side of the engine rather than be the lowest point in case I did drive over some track debris.
12-02-14, 04:58 AM
#940
Exhaust Manifold Leak
Isn't fitting a flat plate and just drilling and tapping it for fittings easier?
It would seem to me the reliefs in the flat plate have a lower profile that fittings tapped into it.
I would also rather have the more fragile fittings to the side of the engine rather than be the lowest point in case I did drive over some track debris.
It would seem to me the reliefs in the flat plate have a lower profile that fittings tapped into it.
I would also rather have the more fragile fittings to the side of the engine rather than be the lowest point in case I did drive over some track debris.
12-02-14, 05:04 AM
#941
Senior Member
Thread Starter
Please do, have never heard of that...
12-02-14, 03:55 PM
#942
Exhaust Manifold Leak
here are they. I tried a while to find where something like this was for sale but could not locate it. I got these when I bought the verdi pump used of some ebay.com nascar team. It seems that its meant that one fits half of a swivel fitting in there. but I cannot see how one ever can re insert the steel locking wire. I just welded a male -12 fitting to it.
 01-07-15, 08:42 AM
#946
Junior Member

Join Date: Aug 2011
Location: Adelaide
Posts: 27
Likes: 0
Received 0 Likes
on
0 Posts
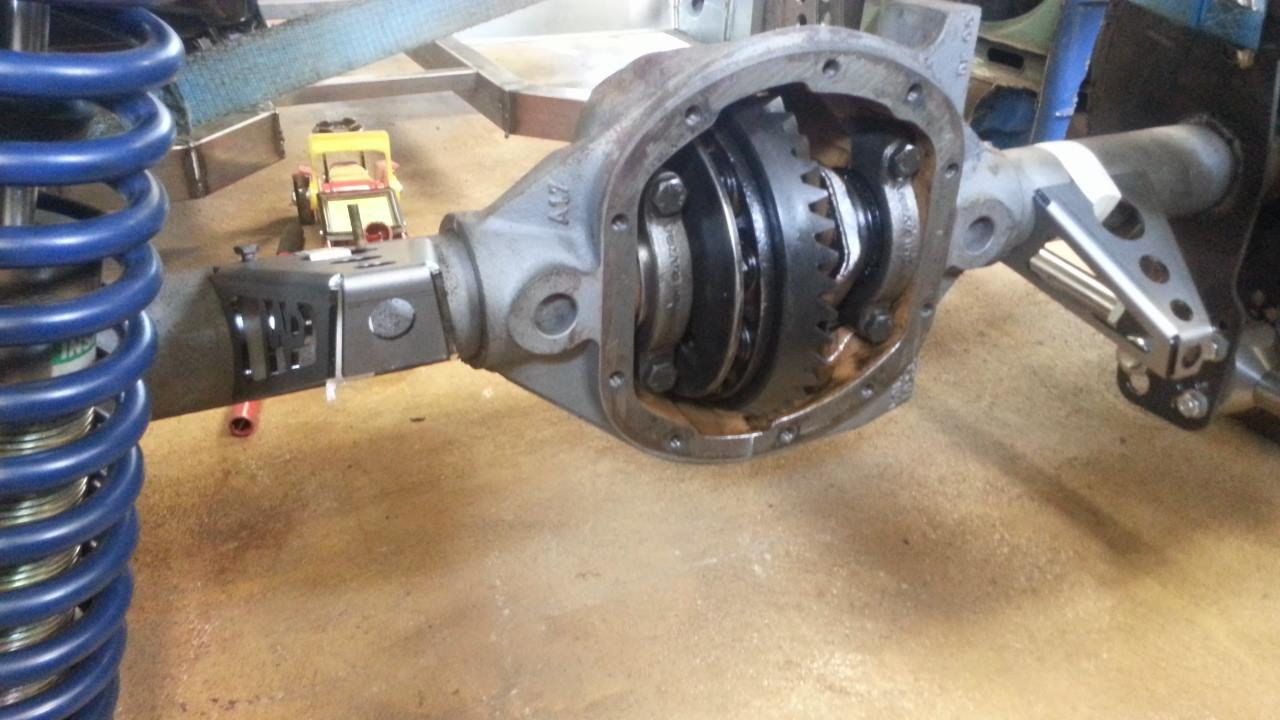
I know you're going to kick yourself over this, but you seem to have made a error with the watt link.
One mounting point for the chassis and one mounting point on the diff housing. You seem to have both ends of the Z-bar linking to the diff housing.
I have been following this for quite a while now, and progress is good
I hope things keep going smooth for you so that you can get to drive your beast!
One mounting point for the chassis and one mounting point on the diff housing. You seem to have both ends of the Z-bar linking to the diff housing.
I have been following this for quite a while now, and progress is good
I hope things keep going smooth for you so that you can get to drive your beast!
01-08-15, 08:30 PM
#947
Senior Member
You do know how a watts link works right? There's nothing I can see wrong with the way he has done it. It's backwards compared to a 1st gen rx7 in that it has the single pivot mounted to the chassis rather than the diff housing.
