LOG IN
REGISTER
Forums
New Member Section
How to use this Site
Introduce yourself
New Member RX-7 Technical
Website-related Comments, Suggestions and Issues
Vendors Forums
Private Vendor Forums
Vendor Classifieds
Generation Specific
3rd Generation Specific (1993-2002)
2nd Generation Specific (1986-1992)
1st Generation Specific (1979-1985)
Old School and Other Rotary
Tech and Performance
General Rotary Tech Support
Race Car Tech
Single Turbo RX-7's
Rotary Car Performance
V-8 Powered RX-7's
Suspension/Wheels/Tires/Brakes
Engine Management Forum
Interior / Exterior / Audio
Classifieds
The NEW RX7 Marketplace
New/Old Products Review - Non Vendor parts
Regional Forums / Upcoming Events
Rotary Owner Events
NE RX-7 Forum
SE RX-7 Forum
Midwest RX-7 Forum
Mountain RX-7 Forum
South RX-7 Forum
NW RX-7 Forum
West RX-7 Forum
Canadian Forum
European Forum
Australia and New Zealand Forum
Far East Forum
Latin America Forum
General Topics
Racing Kills Lounge
RX-7 Audio/Visual Lounge
Test Area 51
Rotary Archives
Marketplace
Vendor Directory
Become a Vendor
Member Marketplace
Vendor Marketplace
New Posts
Tools
Car Payment Calculator
Tire Rim Calculator
Vin Decoder
Recalls
Technical Service Bulletins (TSBs)
Members List
Live Feed
Gallery
View Dark Mode
Please register or login to enable Dark Mode.
Log In
Register
Threads
Google
Threads
Posts
Advanced
Dark Mode
Please register or login to enable Dark Mode.
Log In
Forgot your Password?
By logging into your account, you agree to our
Terms of Use
and
Privacy Policy
, and to the use of cookies as described therein.
or
Login with Google
Login with Facebook
Recent
Commented
Albums
My Pictures
My Post Pictures
erick31876
May 25, 2015
221
2
Sort:
Default
Default
Most Recent
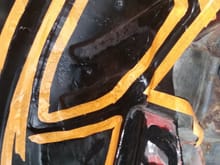
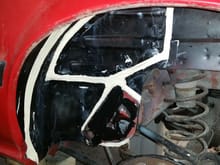
Taped up all of the seams in preparation for seam sealer
0
2015/08/16 12:54:30
erick31876
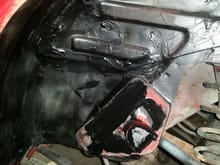
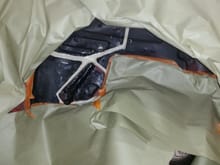
Here it is with the seam sealing done, just have to wait for it to dry a little bit so I can paint it
0
2015/08/16 12:55:30
erick31876
Finished welding in my last patch, and went around the edges with panel bond
0
2015/08/16 17:29:48
erick31876
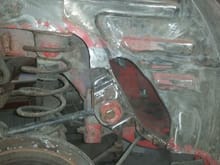
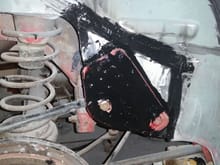
Re-seam sealed. The entire wheel well
0
2015/08/16 17:31:01
erick31876
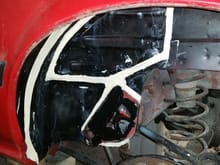
Taped up, all ready for por15 paint
0
2015/08/17 15:06:13
erick31876
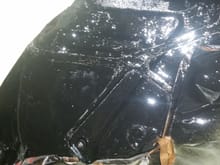
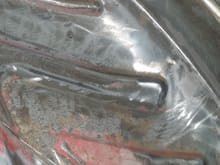
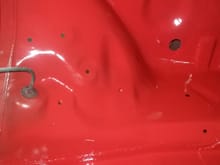
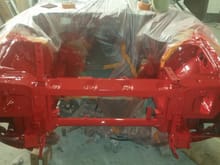
All painted with por15, looks shiny cause of flash
0
2015/08/17 15:08:50
erick31876
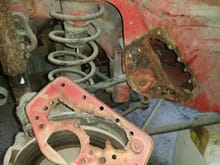
I started my rust repair on the passenger side. Thank God it's not as bad as the drivers side. This is the only rust on this side, one little patch and im done with the rust repair
0
2015/08/23 11:11:45
erick31876
0
2015/08/23 11:16:10
erick31876
I cut out all of the rusted metal, this side isn't that bad at all
0
2015/08/29 17:26:23
erick31876
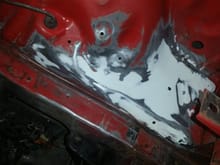
Grinded all of the crap out of the wheel well, and wire wheeled what wad left of the seam sealer out, again this side not to bad
0
2015/08/29 17:27:59
erick31876
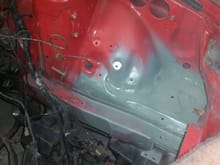
Re seam sealed the wheel well, tomorrow I'll weld my patch in and paint it
0
2015/08/29 17:30:06
erick31876
I installed the new moog idler arm to make room for the turbo
0
2015/09/12 15:39:00
erick31876
Sanded and painted the metal tube that goes to the brake booster
0
2015/09/12 15:40:16
erick31876
Also did the metal coolant line that runs along the passenger side frame rail
0
2015/09/12 15:41:29
erick31876
0
2015/09/12 15:42:55
erick31876
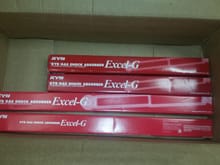
Kyb rear shocks, and front strut inserts
0
2015/09/14 15:35:08
erick31876
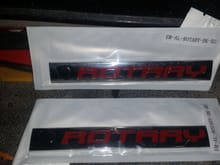
And some rotary emblems that I got off of eBay. I'm not sure where to put them, im thinking maybe on the fenders instead of the rx7 emblem.or just one of them above one of the tail lights
0
2015/09/14 15:37:17
erick31876
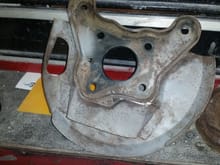
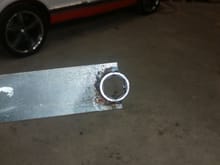
I got one spring and this much done on this plate before I ran out of sand
0
2015/09/25 17:51:48
erick31876
Here is the left front spring sandblasted and etch primed.
0
2015/09/25 17:53:50
erick31876
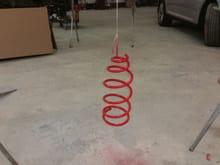
I decided to paint the springs the same exact color as the car. So I mixed up some rh sunrise red. Here it is with the base coat on
0
2015/09/25 17:55:24
erick31876
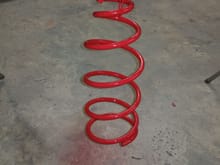
Here it is with the clear coat on.
0
2015/09/25 17:59:04
erick31876
Here is the putty coat all sanded and wiped down with wax and grease remover
0
2015/09/27 16:20:20
erick31876
Here it is with etch primer. Tomorrow night after work, im going to cut in that section with paint.
0
2015/09/27 16:21:51
erick31876
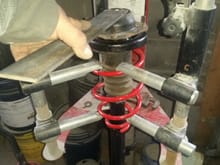
I cut a Harbour freight 22mm socket down so it is the same height as the nut, and Welded it to a Piece of flat steel bar.
0
2015/10/04 15:52:05
erick31876
I tried it out, but it stuck up a little too much on the one side to where I couldn't get a wrench on it, so I grinded the one side down. And it worked like a champ.
0
2015/10/04 15:54:50
erick31876
I also realized that I have been jumping around to much and finally finished my rust repair.
0
2015/10/04 15:57:29
erick31876
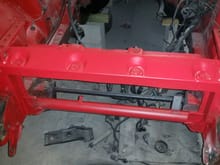
I also finished the bodywork and cut in the driver's side apron and rad support
0
2015/10/04 15:59:23
erick31876
I only did one coat on the rad support, because I might have to cut and move the lower brace to install the vmount. After I get that all pre fit I will finish cutting it in and clear it
0
2015/10/04 16:00:54
erick31876
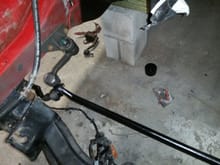
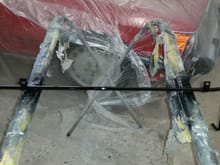
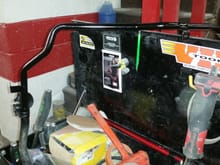
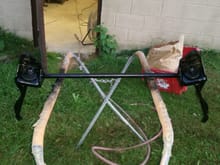
Here is the sway bar with a fresh coat of semi gloss black paint
0
2015/10/10 16:02:45
erick31876
I also finished blending in and clearing the driver's side apron, the camera on my phone doesn't seem to take good enough pictures to tell how shiny it is.tomorrow I'll clean and buff the rest of the apron to clean the blend up
0
2015/10/10 16:04:15
erick31876
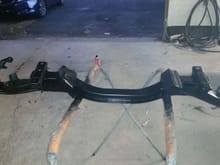
Here is the subframe and control arms with a fresh coat of semi gloss black paint
0
2015/10/11 18:41:34
erick31876
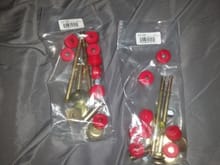
Front and rear energy suspension sway bar links
0
2015/10/14 09:32:51
erick31876
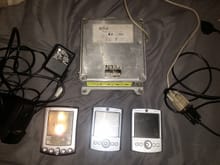
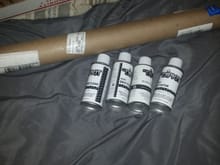
Rtek 2.1 that I picked up from Facebook. Now I have 1.7,1.8, and 2.1. Im starting to feel like a hoarder.
0
2015/10/14 09:33:54
erick31876
And this , im dying to try out.carbon fiber hydrographic kit. I want to carbon fiber dip some interior pieces
0
2015/10/14 09:36:01
erick31876
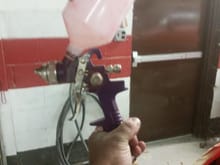
I used my cheap harbor freight gun.I got it to spray the por 15 paint, because I don't want to spray that through my good spray gun. Believe it or not, it actually sprays really well
0
2015/10/17 04:28:53
erick31876
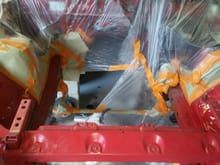
Here it is all taped up and scuffed.
0
2015/10/17 04:32:59
erick31876
Here it is with the last coat of clear on it , I got a few dirt nibs in it, nothing that won't wet sand and buff out.
0
2015/10/17 04:34:11
erick31876
0
2015/10/17 04:36:56
erick31876
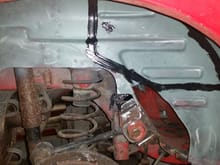
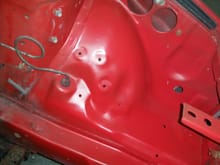
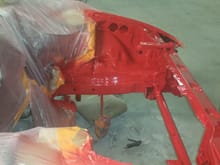
Here is a picture of the rail and apron.I repainted the driver's side with the rest og what I painted, it just made it easier.now hopefully the fresh paint will hold up for 30 some years like the factory paint.
0
2015/10/17 04:37:54
erick31876
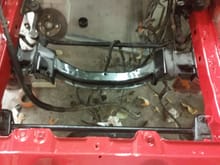
Here it is with the painted suspension back in
0
2015/10/18 10:34:19
erick31876
First
Page
3 of 6
Last
Go To
Page
1
2
3
4
5
6
3 of 6
Go To
GO
Go to page
of 6
pages
1
2
3
4
5
6