RX7Club.com - Mazda RX7 Forum
  • LOG IN
  • REGISTER
  • Forums
    • New Member Section
      • How to use this Site
      • Introduce yourself
      • New Member RX-7 Technical
      • Website-related Comments, Suggestions and Issues
    • Vendors Forums
      • Private Vendor Forums
      • Vendor Classifieds
    • Generation Specific
      • 3rd Generation Specific (1993-2002)
      • 2nd Generation Specific (1986-1992)
      • 1st Generation Specific (1979-1985)
      • Old School and Other Rotary
    • Tech and Performance
      • General Rotary Tech Support
      • Race Car Tech
      • Single Turbo RX-7's
      • Rotary Car Performance
      • V-8 Powered RX-7's
      • Suspension/Wheels/Tires/Brakes
      • Engine Management Forum
      • Interior / Exterior / Audio
    • Classifieds
      • The NEW RX7 Marketplace
      • New/Old Products Review - Non Vendor parts
    • Regional Forums / Upcoming Events
      • Rotary Owner Events
      • NE RX-7 Forum
      • SE RX-7 Forum
      • Midwest RX-7 Forum
      • Mountain RX-7 Forum
      • South RX-7 Forum
      • NW RX-7 Forum
      • West RX-7 Forum
      • Canadian Forum
      • European Forum
      • Australia and New Zealand Forum
      • Far East Forum
      • Latin America Forum
    • General Topics
      • Racing Kills Lounge
      • RX-7 Audio/Visual Lounge
      • Test Area 51
    • Rotary Archives
  • Marketplace
    • Vendor Directory
    • Become a Vendor
    • Member Marketplace
    • Vendor Marketplace
  • New Posts
  • Tools
    • Car Payment Calculator
    • Tire Rim Calculator
    • Vin Decoder
    • Recalls
    • Technical Service Bulletins (TSBs)
    • Members List
    • Live Feed
  • Gallery
  • View Dark Mode
    • Please register or login to enable Dark Mode.
  • Log In
  • Register
RX7Club.com - Mazda RX7 Forum
    • Threads
      • Advanced
Dark Mode

Please register or login to enable Dark Mode.

Log In

Forgot your Password?

By logging into your account, you agree to our Terms of Use and Privacy Policy, and to the use of cookies as described therein.
or
 
  • Recent
  • Commented
  • Albums
  • My Pictures

My Post Pictures

erick31876
May 25, 2015
 221
 2
Sort:
Default
  • Default
  • Most Recent
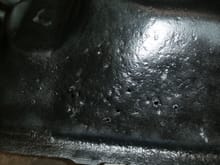
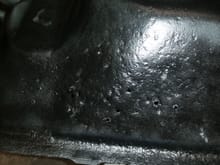
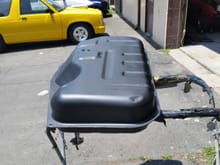
Sanded the gas tank to clean it up and paint, I put down a coat of etch primer and found several pin holes, this one whole area is pitted pretty bad. Debating whether or not to patch it
0 2015/05/25 08:16:54 erick31876
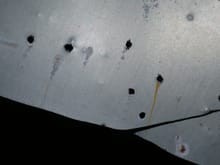
Notice the little white spots with the rust poking through, there was more than I thought
0 2015/05/25 12:26:42 erick31876
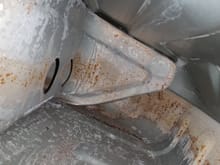
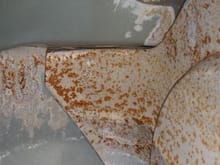
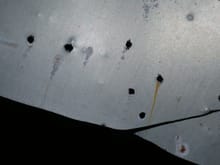
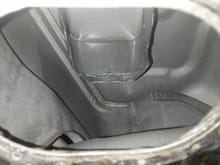
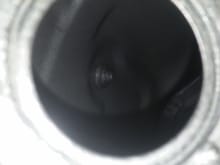
Here is a view from inside the tank, most of the rust and white residue is from when I cleaned it out with purple power
0 2015/05/25 12:29:33 erick31876
0 2015/05/25 12:31:33 erick31876
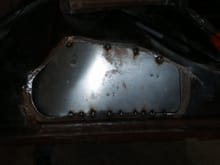
Patch tacked in
Patch tacked in
0 2015/05/25 12:32:34 erick31876
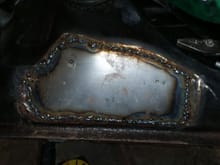
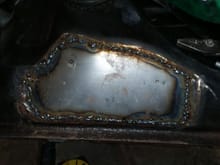
Patch fully welded, time to grind my welds and give it the por treatment.  Sorry about the bubblegum welds, my tip is messed up
Patch fully welded, time to grind my welds and give it the por treatment. Sorry about the bubblegum welds, my tip is messed up
0 2015/05/25 12:33:45 erick31876
0 2015/05/25 14:24:53 erick31876
Found some pinholes in my gas tank, this is the back side of the piece that I cut out
0 2015/05/25 14:25:56 erick31876
Welded in the patch, grinder welds, and went over it with panel bond
0 2015/05/25 14:27:21 erick31876
Next up is por 15 treatment
0 2015/05/25 14:29:08 erick31876
Grinder all of the welds , just to be safe, I wiped panel bond around the outside of the patch, tomorrow after the panel bond is dry, I can finally do the por 15 treatment
0 2015/05/25 14:34:50 erick31876
0 2015/05/25 17:28:41 erick31876
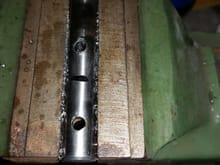
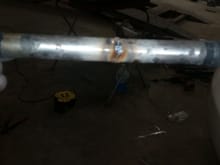
I also started the shifter mod, I drilled the hole 30mm shorter, and I shortened the fluid tube and welded it back together. Tomorrow I'll finish it up
0 2015/05/25 17:29:07 erick31876
0 2015/05/27 10:18:23 erick31876
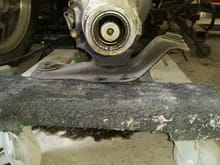
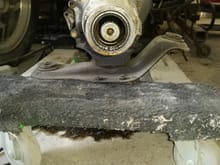
Here is a picture of how it is supposed to be mounted, this was taken out of a 85 GSL
0 2015/05/27 10:19:08 erick31876
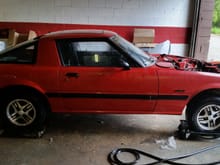
I haven't had any time to get anything done this week, so this morning I moved it over by the shop door and washed off all of the body dust, and washed the degreaser off of the engine compartment.
0 2015/05/30 11:59:39 erick31876
I actually found out that prep solvent removes that wax coating off really easy, just spray it on a rag and wipe it off.later today, I'm gonna try to finish cleaning the engine compartment and sand everything that has scratches or rust and get ready to paint the engine compartment
0 2015/05/30 12:03:29 erick31876
0 2015/05/30 12:03:43 erick31876
0 2015/05/31 15:22:46 erick31876
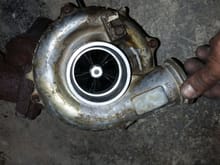
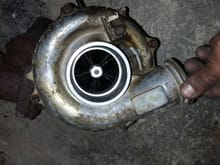
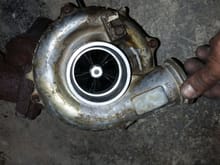
I just picked this up today from the local u pull it. 
Garrett gt35turbo according to garretts website. It was rebuilt recently, has no shaft play and spins smooth. The couple little marks are from me being a dumb ass with my blow tip.the reason it looks so dirty is from me cleaning it with degreaser and brakleen, the dirty marks are actually clear coat. It looks like I have some decisions to make
I just picked this up today from the local u pull it. Garrett gt35turbo according to garretts website. It was rebuilt recently, has no shaft play and spins smooth. The couple little marks are from me being a dumb ass with my blow tip.the reason it looks so dirty is from me cleaning it with degreaser and brakleen, the dirty marks are actually clear coat. It looks like I have some decisions to make
0 2015/05/31 15:24:04 erick31876
0 2015/05/31 15:34:41 erick31876
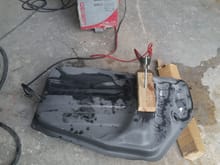
Finally getting a chance to work on the car , started the electrolysis on the gas tank. I can't wait until tomorrow to see how it comes out. 
Thanks Qingdao
Finally getting a chance to work on the car , started the electrolysis on the gas tank. I can't wait until tomorrow to see how it comes out. Thanks Qingdao
0 2015/06/05 14:40:10 erick31876
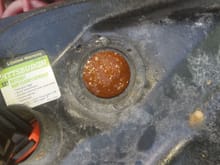
Well after about 12 hours of the electrolysis, this is what the water in the tank looks like
0 2015/06/06 04:32:52 erick31876
Well after about 12 hours of the electrolysis, this is what the water looks like
0 2015/06/06 04:35:07 erick31876
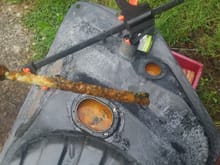
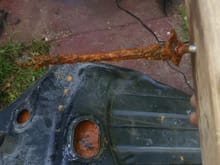
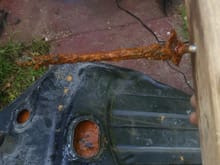
And this is what the sacrificial piece of metal looks like. I used a piece of threaded rod that i had laying around, I just drilled a hole through a piece of 2 by 4 and threaded it through it.I think I'm going to leave it in there for at least a few more hours, I'm dying to see what the inside of this time looks like after I clean it out
0 2015/06/06 04:36:08 erick31876
0 2015/06/06 14:32:13 erick31876
I can't believe how much crap was in there , this is after a full day of electrolysis. I will post some pictures of the tank after i finish cleaning it out
0 2015/06/06 14:32:36 erick31876
Damn that electrolysis really works! . It got rid of 95% of the rust out of the tank, I'm sure if I would have continued to keep the charger on, it would have gotten rid of all of it. Qingdao thanks for the tip. By the way, you were right about all of the crap inside when you rinse it out. Now I can start with the por-15
0 2015/06/06 15:36:32 erick31876
Used electrolysis to clean rust from my gas tank, this is after 24 hours
0 2015/06/07 11:08:47 erick31876
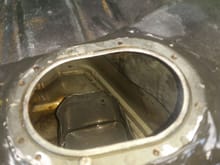
This is after rinsing it out, now I can begin the por-15 treatment
0 2015/06/07 11:10:28 erick31876
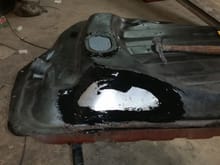
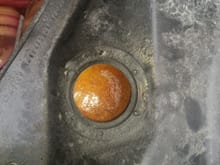
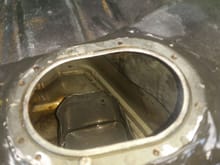
Here is a picture of what it looks like with the sealer in, big difference. Sorry it's upside-down, I can't figure out how to rotate the pictures
0 2015/06/10 14:44:34 erick31876
Here is another picture of it with the sealer. By the way, if anyone is planning on doing this to their tank, wear rubber gloves and a long sleeve shirt.especially if treating a fb tank. This stuff does not come off , I tried everything, soap, brakleen, paint thinner, etc. 2 days later my hands are still silver
0 2015/06/10 14:47:28 erick31876
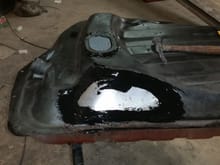
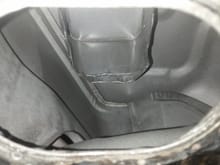
So here is what it looks like with the sealer in, I still have to let it dry a couple more days, by the way if you use this stuff ,wear rubber gloves!!!!!.
2 days later, and after trying everything to clean my hands, soap, brakleen, paint thinner, etc. My hands are still silver, lol.sorry about the picture being upside-down, I can't figure out how to rotate it.

So here is what it looks like with the sealer in, I still have to let it dry a couple more days, by the way if you use this stuff ,wear rubber gloves!!!!!. 2 days later, and after trying everything to clean my hands, soap, brakleen, paint thinner, etc. My hands are still silver, lol.sorry about the picture being upside-down, I can't figure out how to rotate it.
0 2015/06/11 09:39:13 erick31876
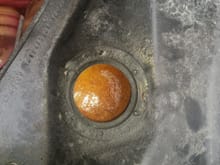
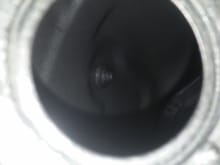
Here is another picture of it with the sealer in
0 2015/06/11 09:43:12 erick31876
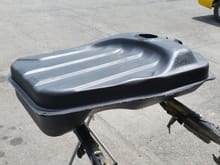
Spent about 3 hrs stripping all of the undercoating/paint off of the outside of the tank, and primer ed and painted the bottom of it
0 2015/06/13 15:33:36 erick31876
Tomorrow when it's dry, I'll paint the top, and undercoat the whole thing. By the way, it took about 3 and a half days to get the sealer off of my hands
0 2015/06/13 15:36:10 erick31876
0 2015/06/14 11:19:29 erick31876
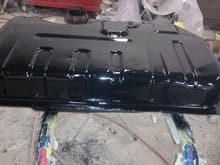
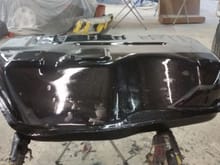
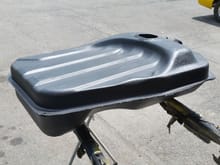
Tank is finally done
0 2015/06/14 11:20:04 erick31876
I painted and undercoated the whole tank, due to most of the rust being on the top half of the tank.I guess it is from the dirt , salt, and whatever else that gets up there and just sits
0 2015/06/14 11:20:17 erick31876
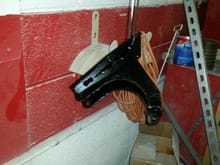
Sanded and painted the a.c. bracket
0 2015/06/14 15:11:48 erick31876
First
Page
1 of 6
Last
Go To
Page
  • 1
  • 2
  • 3
  • 4
  • 5
  • 6
1 of 6
Go To GO
Go to page of 6 pages
  • 1
  • 2
  • 3
  • 4
  • 5
  • 6

Top
RX7Club.com - Mazda RX7 Forum
  • Contact Us
  • FAQ
  • Archive
  • Advertising
  • Cookie Policy
  • Privacy Statement
  • Terms of Service
  • Your Privacy Choices
  • Manage Preferences

© 2026 MH Sub I, LLC dba Internet Brands

Follow Us        


When you click on links to various merchants on this site and make a purchase, this can result in this site earning a commission. Affiliate programs and affiliations include, but are not limited to, the eBay Partner Network.