When you click on links to various merchants on this site and make a purchase, this can result in this site earning a commission. Affiliate programs and affiliations include, but are not limited to, the eBay Partner Network.
Congrats on the first drive! That's always a great feeling. The car looks amazing all shined up. Is that the original paint or has it been resprayed. I have a black on grey '88 TII that looked nearly identical but it is in NOWHERE near that condition. I'm jealous.
Thanks to both of you. Yea i got lucky and found a survivor that must not have been a daily driver for long. I bought it when i still lived in upstate NY where cars usually have a really short lifespan from the salt. I'm pretty sure its the original paint with the exception of the passenger door, thats been resprayed and has a little body work on it. Other than little nicks and dings its pretty nice. I love the real black too, you rarely see a car anymore thats actually black and not sparkly dark grey. Tho its a challenge to keep it clean....
I then worked on dwell time. The differential voltage grows with time linearly (indicating that current also grows linearly as expected) until around 5ms where it saturates. I've struggled to find much online about stock dwell times, but ive heard 2-3ms, which given what i've seen here doesnt seem right. Maybe thats for light load where you dont need a strong spark.
You're truly a tinkerer; thanks for sharing and congrats on the first drive! It's really interesting to see the use and setup of electronics that I'm not familiar with, so I'm really looking forward to further updates.
Your work as well as others has inspired me as well. Here's the first harness I've built (although much simpler than yours!). I made a few mistakes I'm not too proud of but for the most part I'm happy - plus everything works!
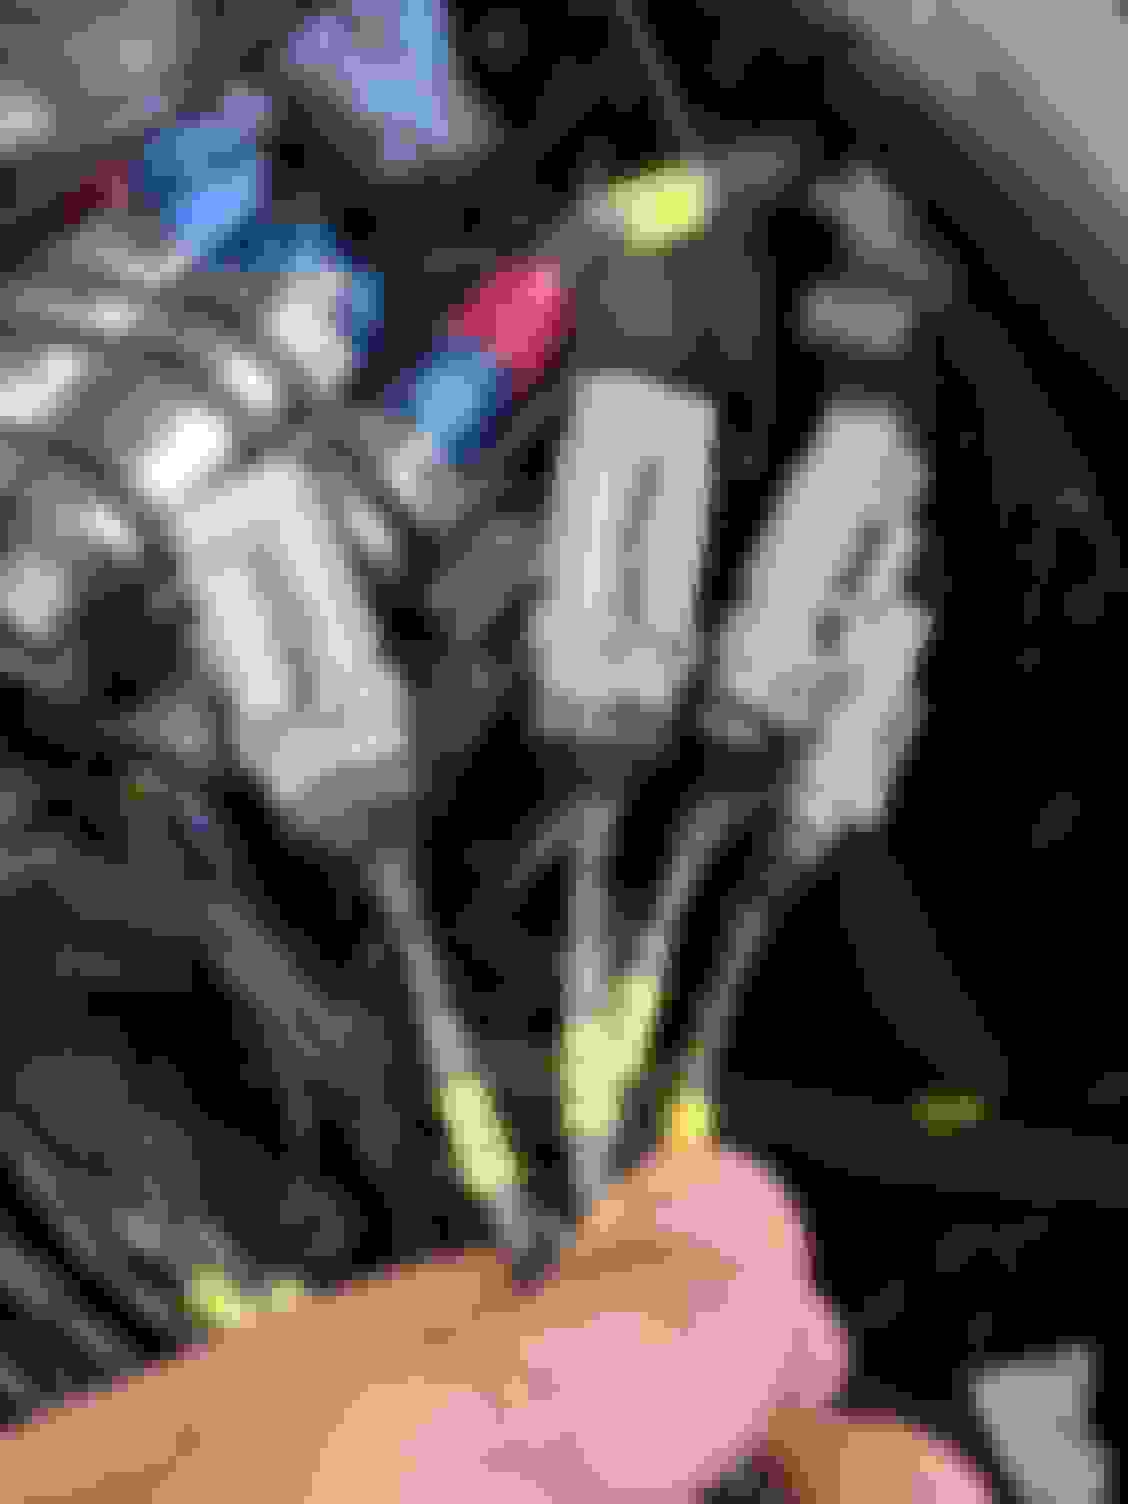
Wow it's been a minute since i've been on here... as always, life happened for a while. I finally got back after it this week though and got the FC back out in the wild. On my first drive i struggled with the unamplified pressure sensors that i was trying to use for oil water and fuel, so i replaced them with some ashcroft 12v sensors. I struggled to find somewhere that would sell me a batch of less than 15 of the exact options i wanted but finally found Energy Controls, and HVAC retailer in FL that would. They mixed up the first order but made it right with me so im pretty happy. Anyway, i had to cut the milspec connectors off the loom and replace with DTM connectors, which was a little painful, but came out nice and the new sensors work fine.
I've been driving it around a little working on software and calibration. I wrote a new lambda control function since i hate the standard motec function. Thats been working well. Im still struggling to work out how in the world the motec fuel film calculation works though. And i've been running into lots of bugs with different modules not playing nice together, like fuel cutoff in overrun and idle in particular. Anyway i'm making progress and slowly stripping out as much of the motec code as possible. The car runs OK, still stock boost but its running well enough to drive around. I took it to dinner the other night and checked out a cars and coffee this morning.
I installed a knock tube, and i havent heard any knock yet, so next up will be to get after spark timing a little and work on the knock cal. Then eventually i'll start working on turning up the boost. I also need to get a new exhaust, any suggestions?
Ill post some pics when i have a few more min's.
later,
Phil
@ MaczPayne, Sorry i am so late in replying, that is a sweet looking harness. I like the bulkhead a lot, i wasnt feeling rich enough when i started planning to include one. I also like all the extra colors, if i did it again, i'd use many more colors. Thanks for sharing.
Here is a couple of pics of my knock tube. Everyone laughs, but a good old fashioned piece of copper pipe works damn well for detecting knock, and doesn't rely on any calibration but your attention to listening for it. I'll use it to calibrate the knock control and once i am confident in the calibration i'll remove it. I had some 0 gauge ring terminals for making battery wires that soldered on to the end of the tube to make it a little nicer than the standard of hammering the end flat and drilling a hole thru it.
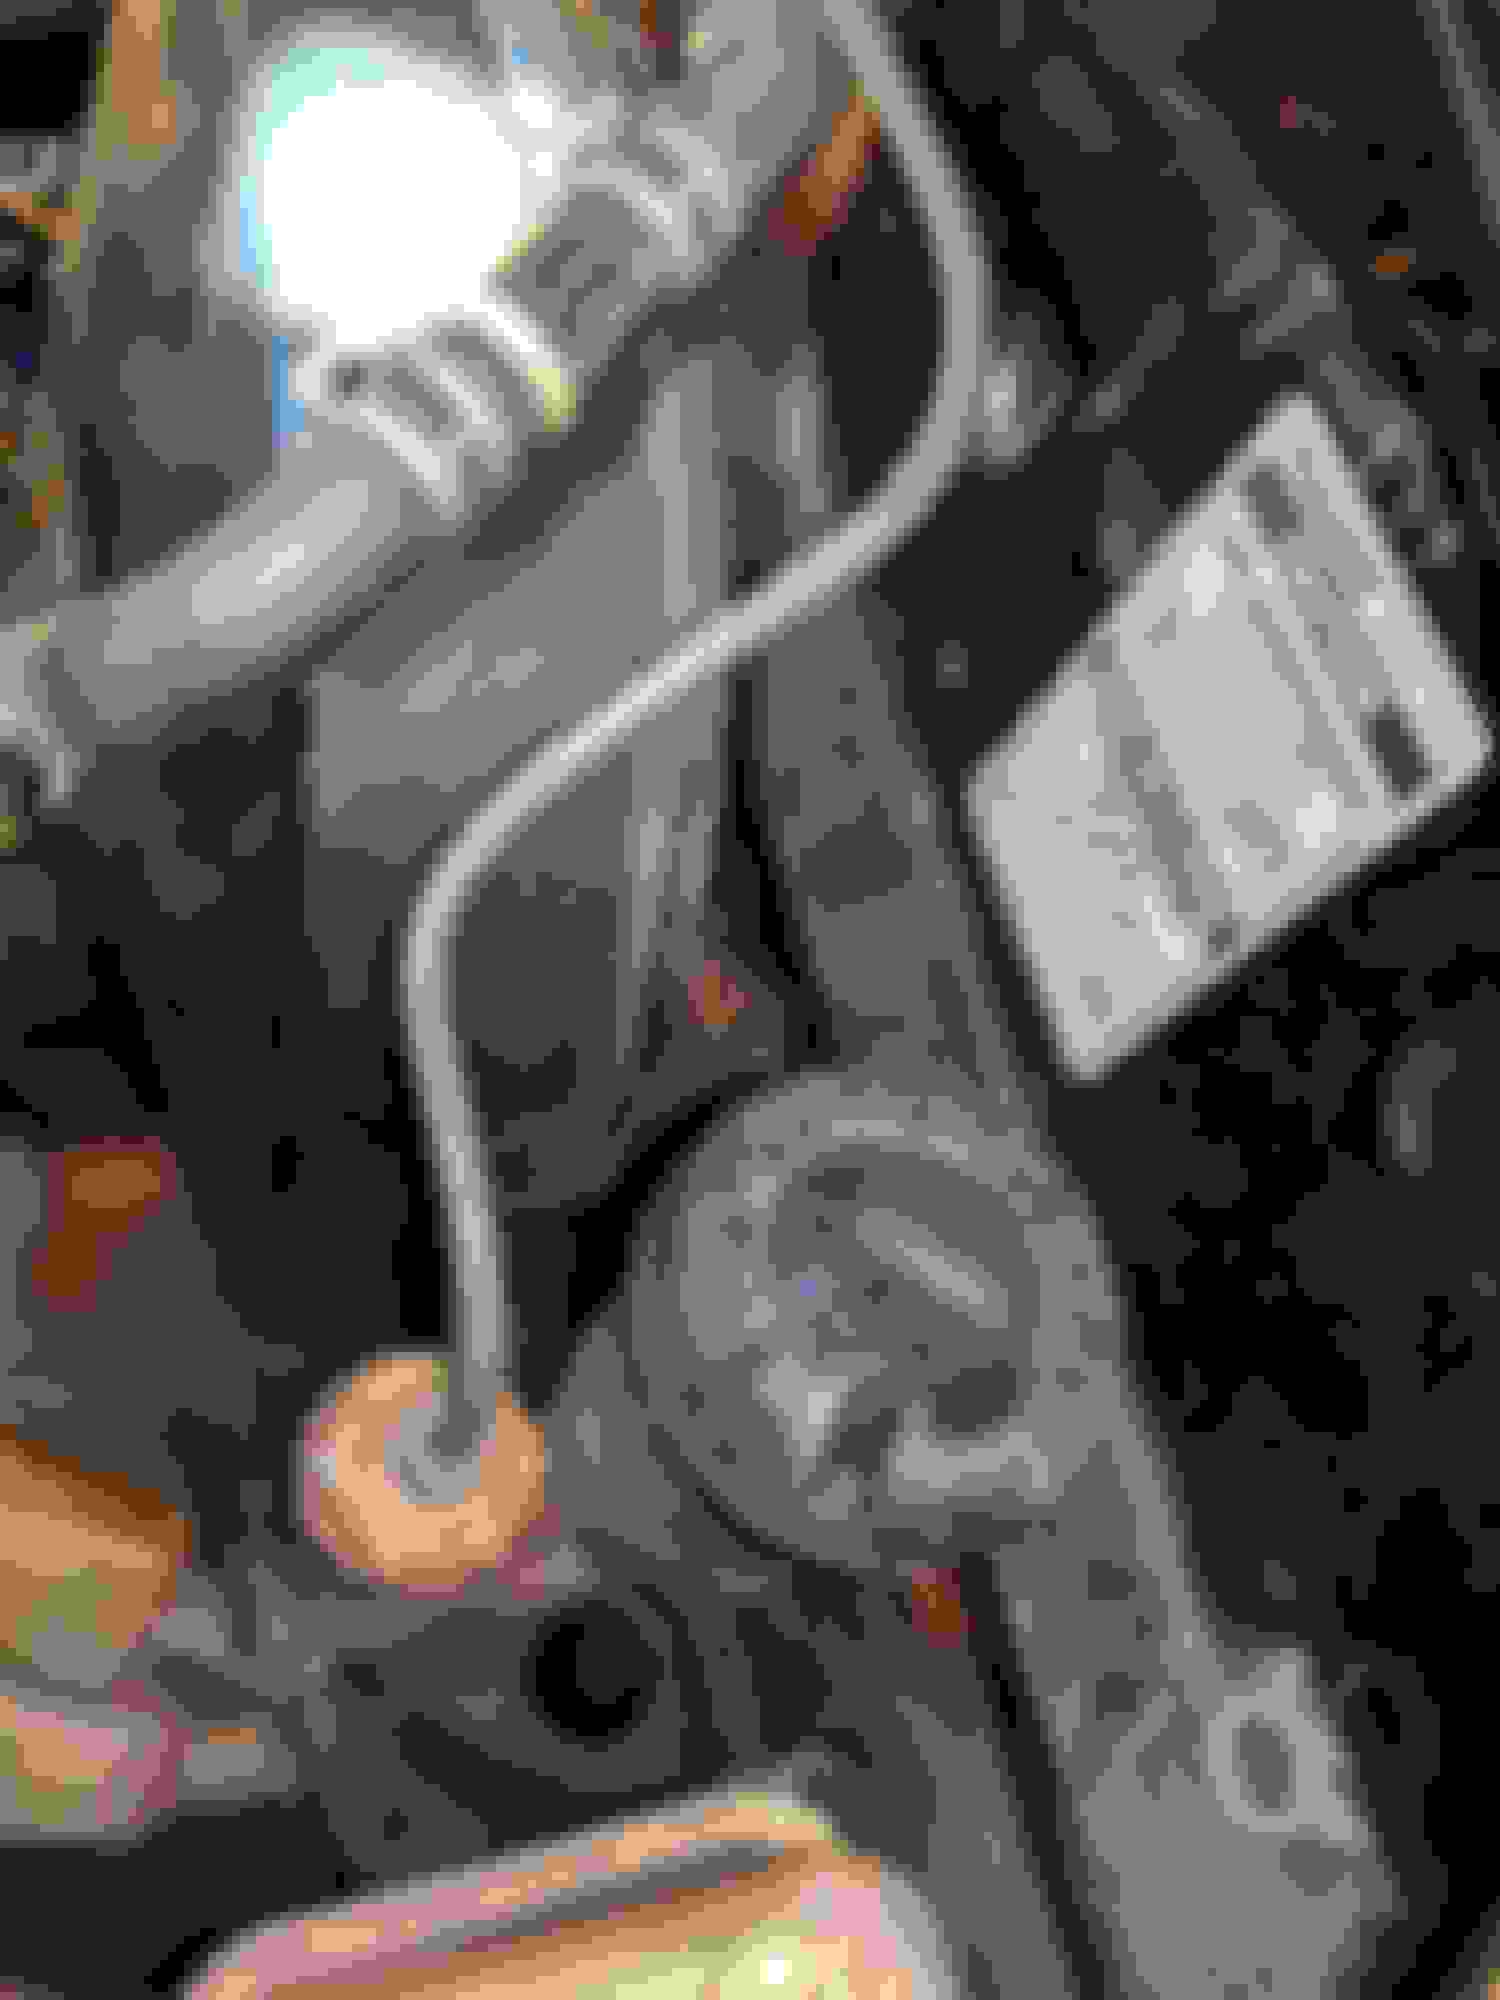
When i was looking for a way to run it thru the firewall i found this little gem to chalk up on the why i hate previous owners board. Someone had hacked a hole thru the firewall behind the master cylinder. It was done poorly, left open, and isnt event helpful since you cant get anything in there without taking the master cylinder off. I taped over it as best i could to seal it up, but its frustrating to know its there and cant really be fixed right.
To change out the press sensors i had to cut off the nice milspec connectors. It was a little painful to be cutting connectors off so soon.....
I need to work on a better mount for the sensors but this will work for now.
I installed a knock tube, and i havent heard any knock yet, so next up will be to get after spark timing a little and work on the knock cal. Then eventually i'll start working on turning up the boost. I also need to get a new exhaust, any suggestions?
Ill post some pics when i have a few more min's.
later,
Phil
you should be able to get it to knock safely, by running about 20BTDC L leading timing, and 14:1 AFR at part throttle around 1500-2000 rpm, it sounds like birds chirping.
if you don't have a Racing Beat exhaust that is the easy button. the turbo back seems expensive, but its quiet, bolts on and its 3" so it flows well.
+1 for Racing Beat. They're very well made and sound great without being obnoxious or raspy. The only downside is that they are pretty heavy. I made over 500whp through an old RB 3" catback..
Thanks for the tip on a good starting point for safe knock to work on the cal.
This car had the cat back racing beat system when i got it but unfortunately its rusted out where the tailpipe is welded to the mufflers so it needs to be replaced anyway. I def want the turbo back version now, and i think thats probably what i'll go with unless i can find a nice lighter alternative.
Some interesting updates here. On Friday I got it inspected and licensed so now its legit. Then i got after the timing a little trying to work on the knock tuning. I started with j9fd3s's suggestion of 20*BTDC around 2k rpm and worked my way all the way to 40* without hearing any knock or seeing anything on the sensor. Then i went as far as +8 deg across the whole map full load and still couldn't get any knock. At that point i knew i was missing something big.
So today i started digging into why i couldnt get it to knock. I checked timing and it lined up with the -5* and -20* marks on the crank wheel as expected. So then i took the time to pull the plugs and sight thru the rear rotor plug holes to mark a piece of tape on the crank pulley with the rear apex seal lined up with the trailing plug hole and then the leading plug hole. I then peeled the tape, folded in half to find middle and stuck it back on. AND it was a mile off. So i did it again. and then again. I kept coming up with the same answer, that the marks on the crank pulley are 20* retarded from where i expected them (-5 and -20). I thought that the crank pulley was supposed to be keyed to the eccentric shaft, setting the time? Is there some mis-match possible to get it 20 deg off? My method isnt super accurate but the 20 deg offset seems like an awfully round number for it to just be installed with no key and mis-timed some.
After multiple tries, they all came out about the same, as close as you can expect for sharpie marks on tape....
The new TDC mark is the brighter white mark lowest in view. Its 25* advanced of the first of the original marks, which should be 5 deg After TDC.
So at this point i was expecting 20 deg advanced of where i've been running to either be much better or much worse, like instant blow up worse. Turns out its much better. I'd been struggling to get it to idle nicely at anything leaner than .84 lambda which is now much happier. And it really pepped it up as you might expect. It also made it much less sensitive to small fueling error which had been bothering me, i could feel it hesitate at just a few percent leaner mixtures. And, most tellingly, i get knock about where i was expecting it. The knock control was remarkably easy to tune in and on just my second swing it agrees with the good ol' knock tube quite well.
I pulled the manifold off today hunting for vacuum leaks to try to understand why i've been struggling with idle (before i found the timing issues) and also removed the landing damper from the throttle so i can get a cleaner cutoff.
I finally made some gains on the fuel film compensations ( these were also hurting idle a lot) to get the transient fuel better, im still not happy with that, but its better and really does drive pretty well now, especially now that i have the timing sorted, it runs as strong as it ever has. The racing beat exh should be here Tuesday and then i'll work on adding the boost control solenoid and turning up the boozt.
Im pretty excited to have it back on the road and running at least as well as it did before.....
Interesting find. I’ve read some vague mentions that the crank hub and crank pulley are matched pairs from the factory and that if you mix and match, the timing marks will be off. Not sure how true that is, but I’ve always wondered about engines I’ve put together actually having correct timing. It’s a bit more difficult to read rotary plugs in order to dial in timing on the dyno, so I just looked at power gained per degree and stopped adding timing when power gains slumped off.
Did you indicate TDC visually with a bore scope? I’ve done the tape method on piston motors, but using a piston stop. Not so easy on a rotary.
Right? I was pretty surprised. I also hadn't thought that this engine had been apart before. Not so sure now....
I used a mirror and a light and did my best to sight down the plug holes to center the rear apex seal on each plug hole to get the 2 end points. That assumes that the plug holes are evenly timed on either side of TDC, which may not be true, but i haven't found a better way to do it in the car. Im also confident since I've driven it that it is at least much closer where it is now than before.
A few years ago, long before i started into this project, i noticed the bolt that locks the crank angle sensor in place was gone. At the time i reset the timing and replaced the bolt. On my first attempt i mixed up leading and trailing and noticed it on the first test drive when the downpipe was glowing hot. I then "fixed it" but i think that means i've been running 20 deg retarded for a while. I wonder how it was before the bolt fell out? Maybe someone had it timed right for the wrong marks before.
Interesting find. I�ve read some vague mentions that the crank hub and crank pulley are matched pairs from the factory and that if you mix and match, the timing marks will be off. Not sure how true that is, but I�ve always wondered about engines I�ve put together actually having correct timing
i went through our box of pulleys and something like 5-6 of them were the same, and the 7th one was ~20 degrees off. the early 68-78 stuff is riveted, and then 79-85 the pattern is symmetrical, and this causes all kinds of problems, so they went to the offset pattern on the FC, and then the FD and Rx8 have the same pattern, but add locating pins. big hint is that when Mazda used the pulley for the CAS, its accuracy got an upgrade.