
Bringing it back to life


Thread Starter
Senior Member
iTrader: (1)
Joined: Aug 2010
Posts: 340
Likes: 0
From: Southern Minnesota and Southern California
Hey Everyone. As of August I decided to restore my first love, my 7. I bought this car from a small town barber (similar to a Great Clips stylist) at the young age of 16.
Like most teenagers I did something stupid and borrowed my car to a friend who proceeded to take it up over the curb sideways ten seconds after I gave him the keys. While I was working on it another friend broke into the car and stole the new cd player I had installed. The car was parked in the backyard and there it sat for many, many years.
Now, about 16 years later, I am finally have a place, time and money to bring her back to life. I work as an airline pilot and am based out of Minneapolis and live in LA. While I am here in Minnesota on reserve I pass the time by tinkering on the 7, reading, learning and patiently waiting for parts.
I bought a digital camera and have been taking quite a few pictures. I am not a mechanic, but I'm learning and in the mean time the pictures help me and my wonderful memory. They also provide some bit of satisfaction when seeing how well a part cleans up.
Here is my baby;


great story you have there!! glad to see that you're taking the time to restore the car! in the process you'll learn a lot about the car and will appreciate it much more once the car is finished. it will enlighten a sense of self confidence in yourself and the car and you'll feel as though you can fix anything on the car!! looks to be a dover white 84 or 85 based on the upper cluster shape on the dash and the slots on the lower valance. do you know any history onthe car or have any paperwork or docuentation on it? keep us updated with your progress and feel free to post plenty of pics!
Thread Starter
Senior Member
iTrader: (1)
Joined: Aug 2010
Posts: 340
Likes: 0
From: Southern Minnesota and Southern California
After cleaning the leaves and rat poop out of the interior and the engine bay, washing and waxing her, I decided to find out what condition the engine was in. It had been sitting in the elements for most of the 16 years, so I figured the engine was siezed. I read from a post to crank the engine over with your hand to see if it is toast.
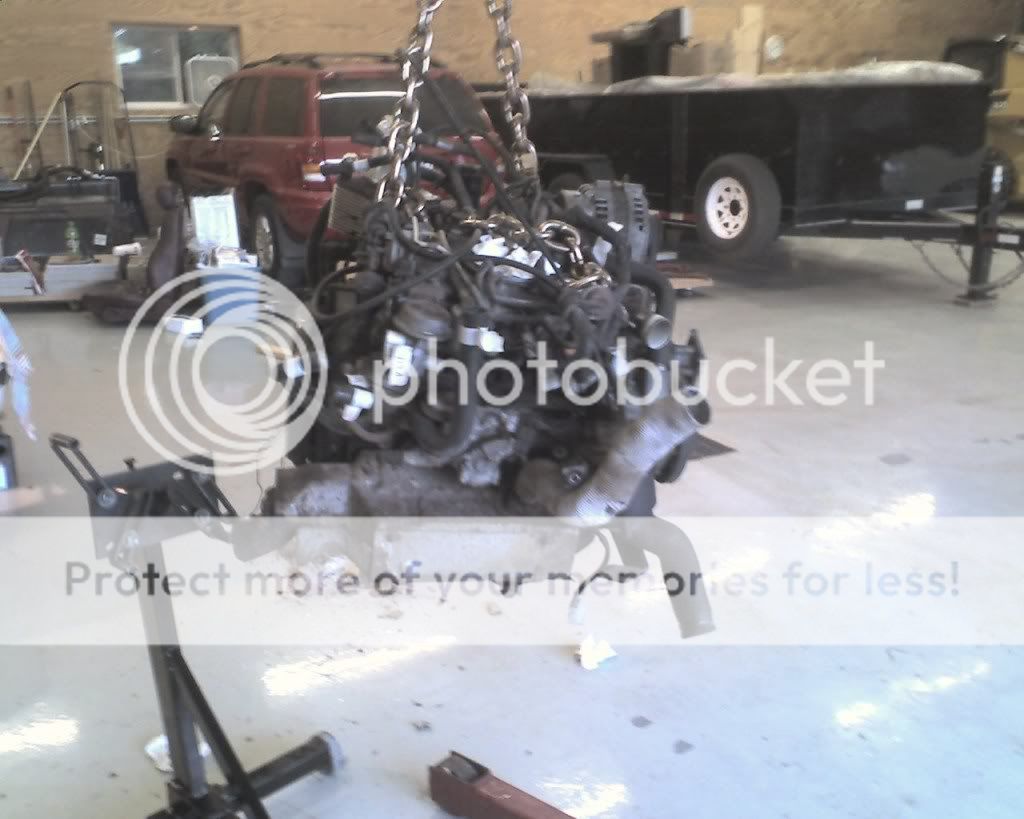
I decided to pull the engine and hopefully rebuild her. In truth I was looking for any reason to take a look on the inside. I've always loved the rotary engine and thought this would be a great chance to learn a lot more about her.
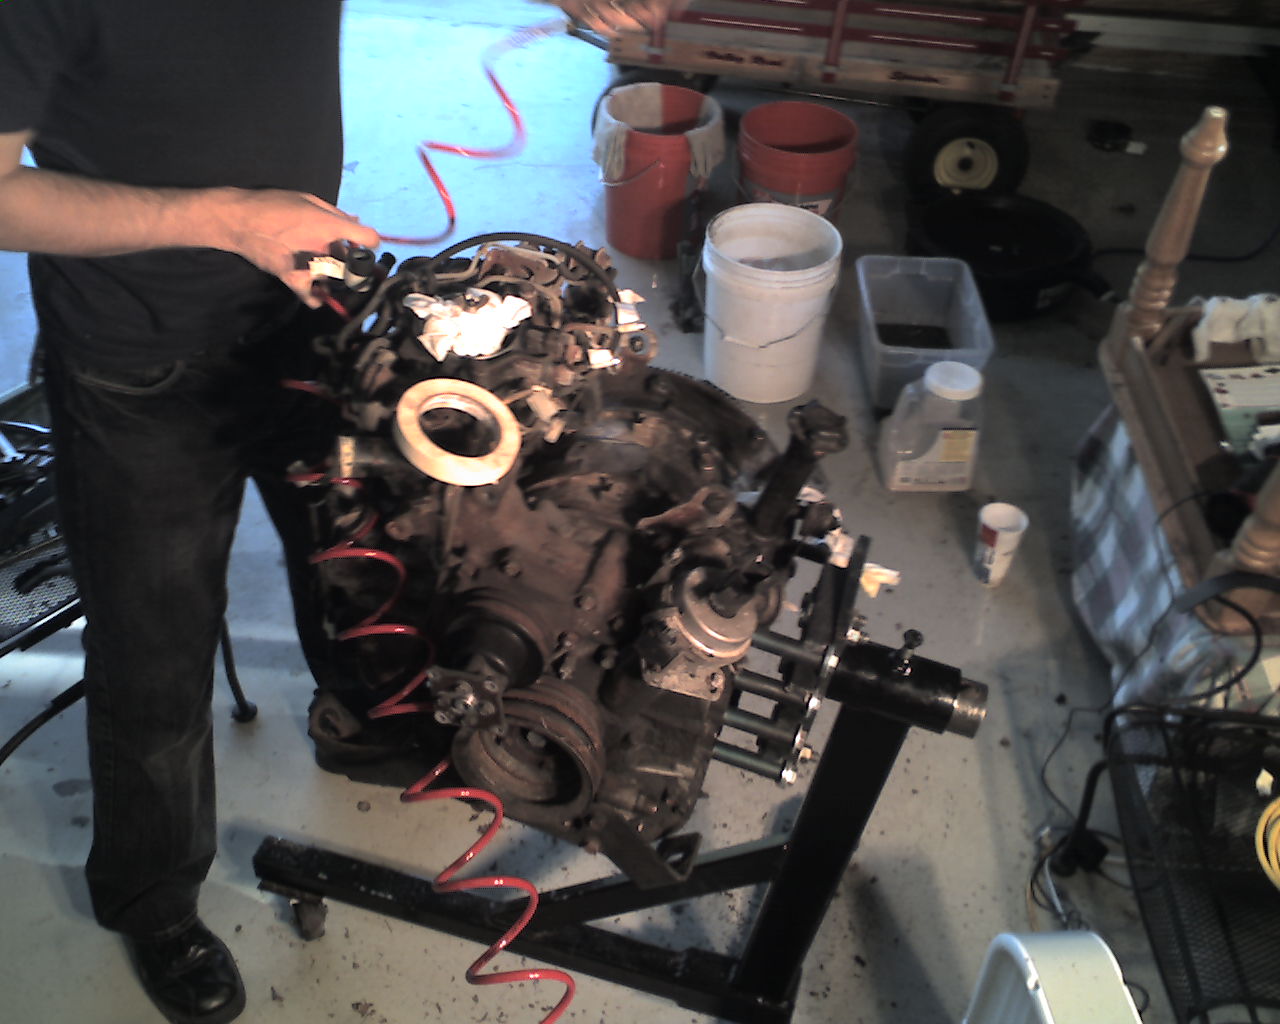
It didn't take much time to get there engine disconnected and ready to pull. I've never done this before, but it seemed simple enough. Disconnect anything that is connecting the engine to the car. (Thanks Haynes manual) I purchased an engine stand and spent the next week trying to figure out how to hook it up to the engine.
You'll have to forgive the first few pictures. These were taken before I purchased the digital camera by my cell phone.
I decided to pull the engine and hopefully rebuild her. In truth I was looking for any reason to take a look on the inside. I've always loved the rotary engine and thought this would be a great chance to learn a lot more about her.
It didn't take much time to get there engine disconnected and ready to pull. I've never done this before, but it seemed simple enough. Disconnect anything that is connecting the engine to the car. (Thanks Haynes manual) I purchased an engine stand and spent the next week trying to figure out how to hook it up to the engine.
You'll have to forgive the first few pictures. These were taken before I purchased the digital camera by my cell phone.
Thread Starter
Senior Member
iTrader: (1)
Joined: Aug 2010
Posts: 340
Likes: 0
From: Southern Minnesota and Southern California
Unfortunately I don't know much about the car, other than it was owned by the barber in town and, according to the vin number, it was made in Hiroshima apparently.
Next I stripped the engine down. The rats nest is aptly named! Once the rats nest and the intake were removed I found a problem - coolant reminants all over. (More on this soon)
I also read a thread on polishing up your alternator so I gave that a try. Unfortunately I broke the alternator, but it started to polish up nicely.
I got the engine completely tore down.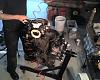
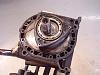
It was then that I dropped the rotor... oops
Next I stripped the engine down. The rats nest is aptly named! Once the rats nest and the intake were removed I found a problem - coolant reminants all over. (More on this soon)
I also read a thread on polishing up your alternator so I gave that a try. Unfortunately I broke the alternator, but it started to polish up nicely.
I got the engine completely tore down.

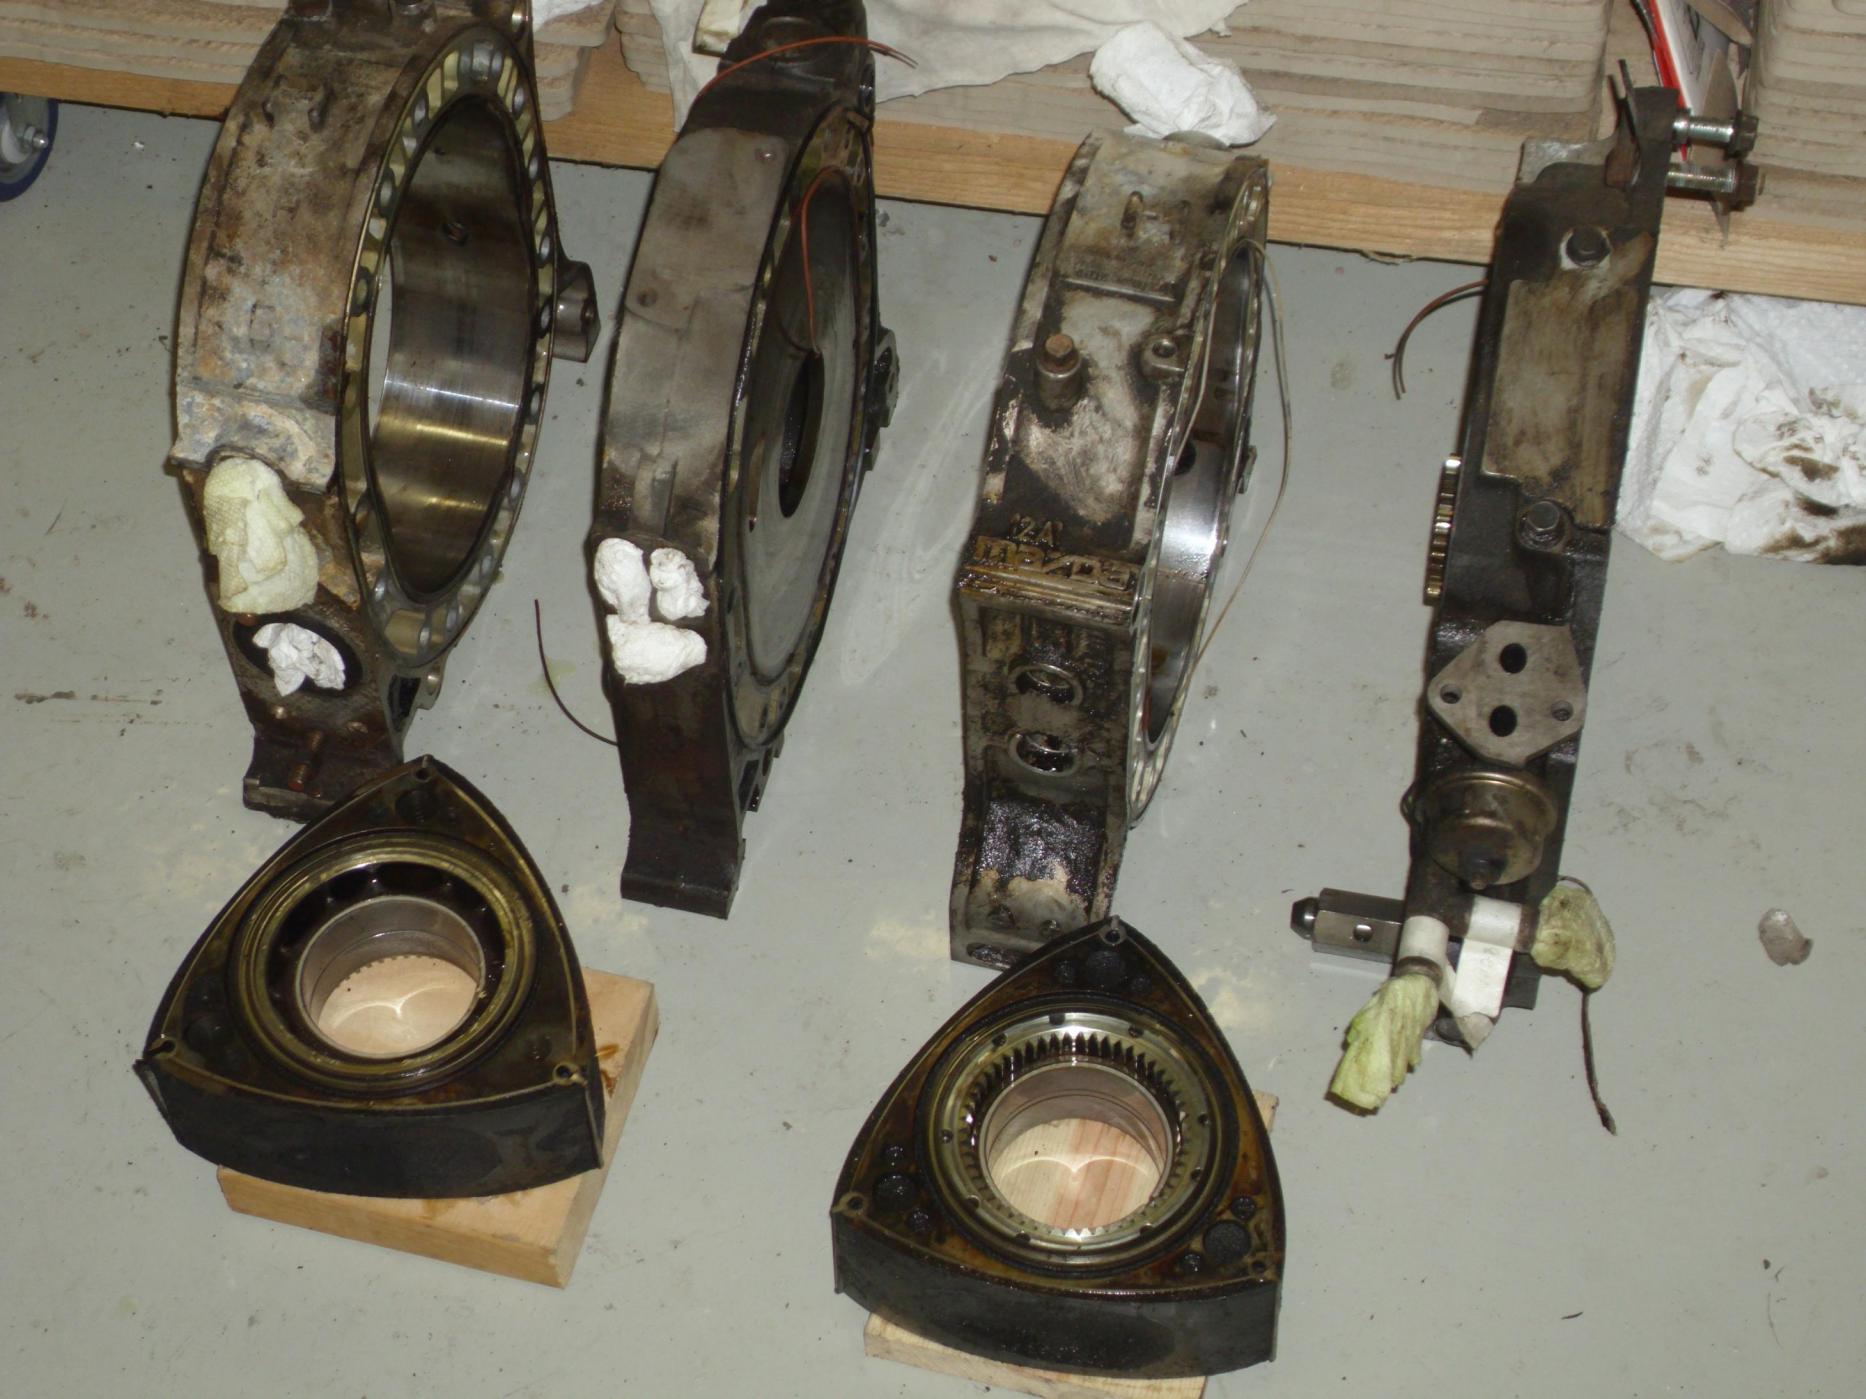
It was then that I dropped the rotor... oops
Thread Starter
Senior Member
iTrader: (1)
Joined: Aug 2010
Posts: 340
Likes: 0
From: Southern Minnesota and Southern California
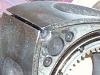
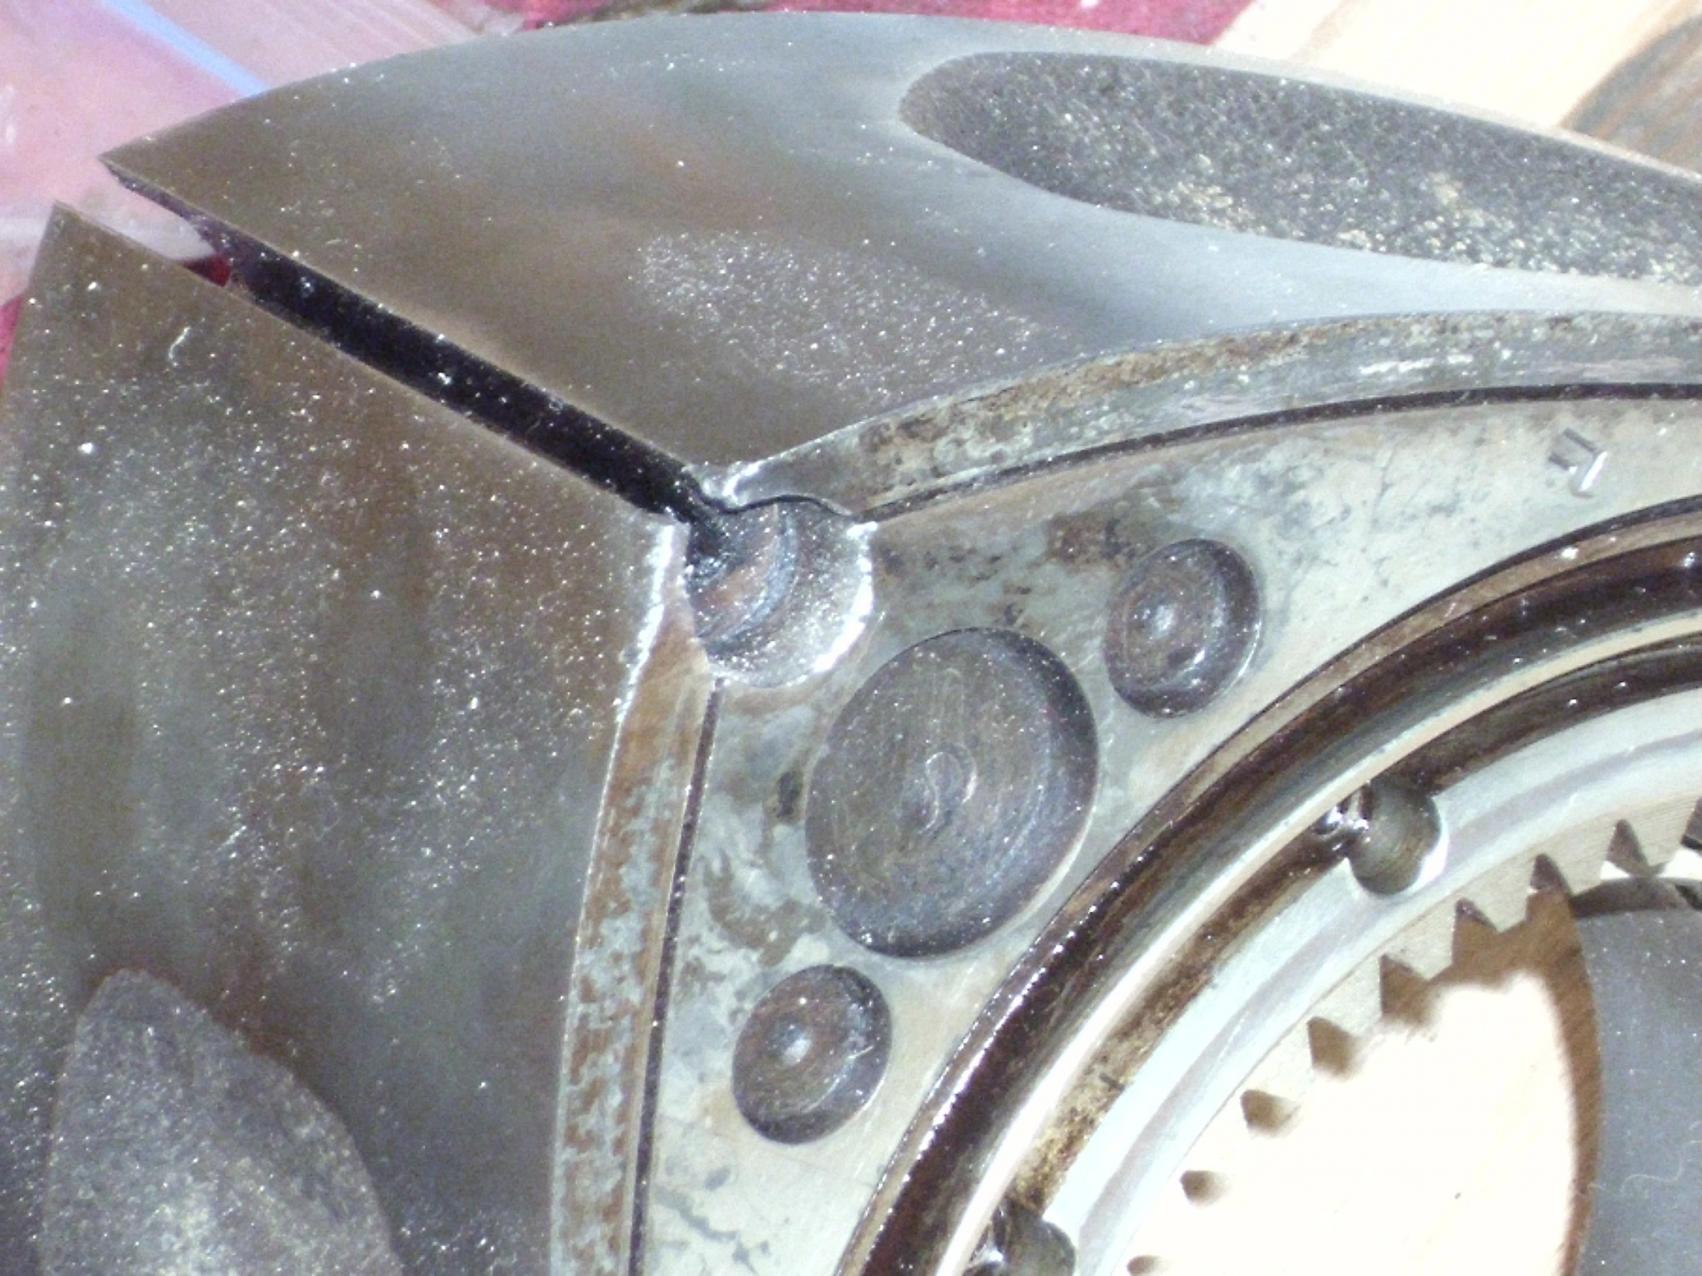
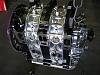
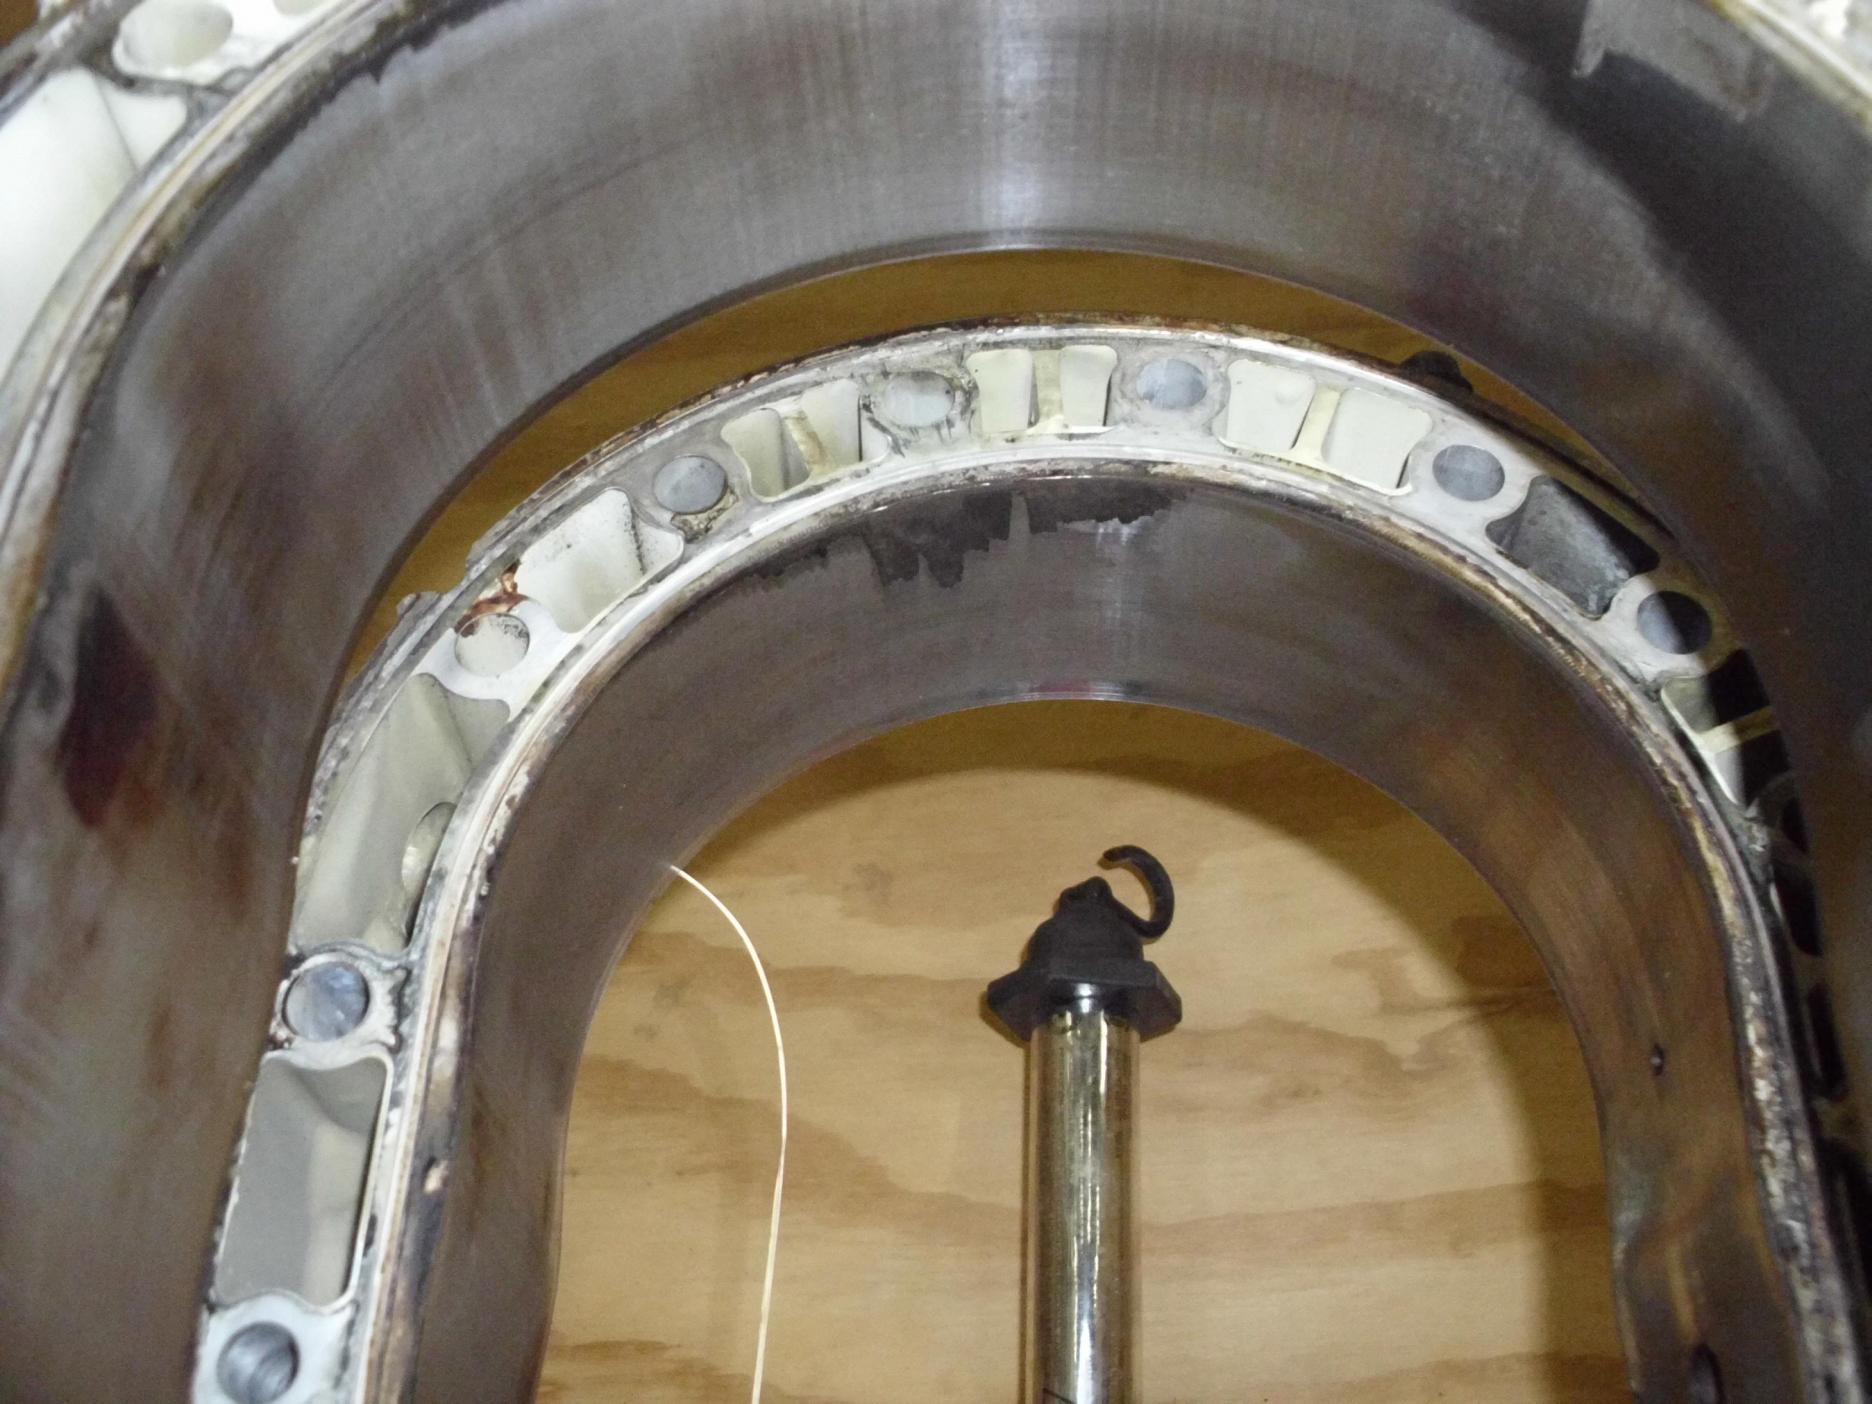
I noticed chatter damage on the housings as well and a hole in the housing where the coolant had leaked out. (as mentioned earlier)

I am still debating about whether to send the housing in to have it refinished or to try and purchase a new one. I thought I'd try and use this housing for now and do a cheap JP Weld to cover the hole. I know its probably not the smartest move, but for now its the least expensive and I can use that money towards other projects on the car. I guess I am just curious if the JB Weld will work - kind of an experiment, if you will.
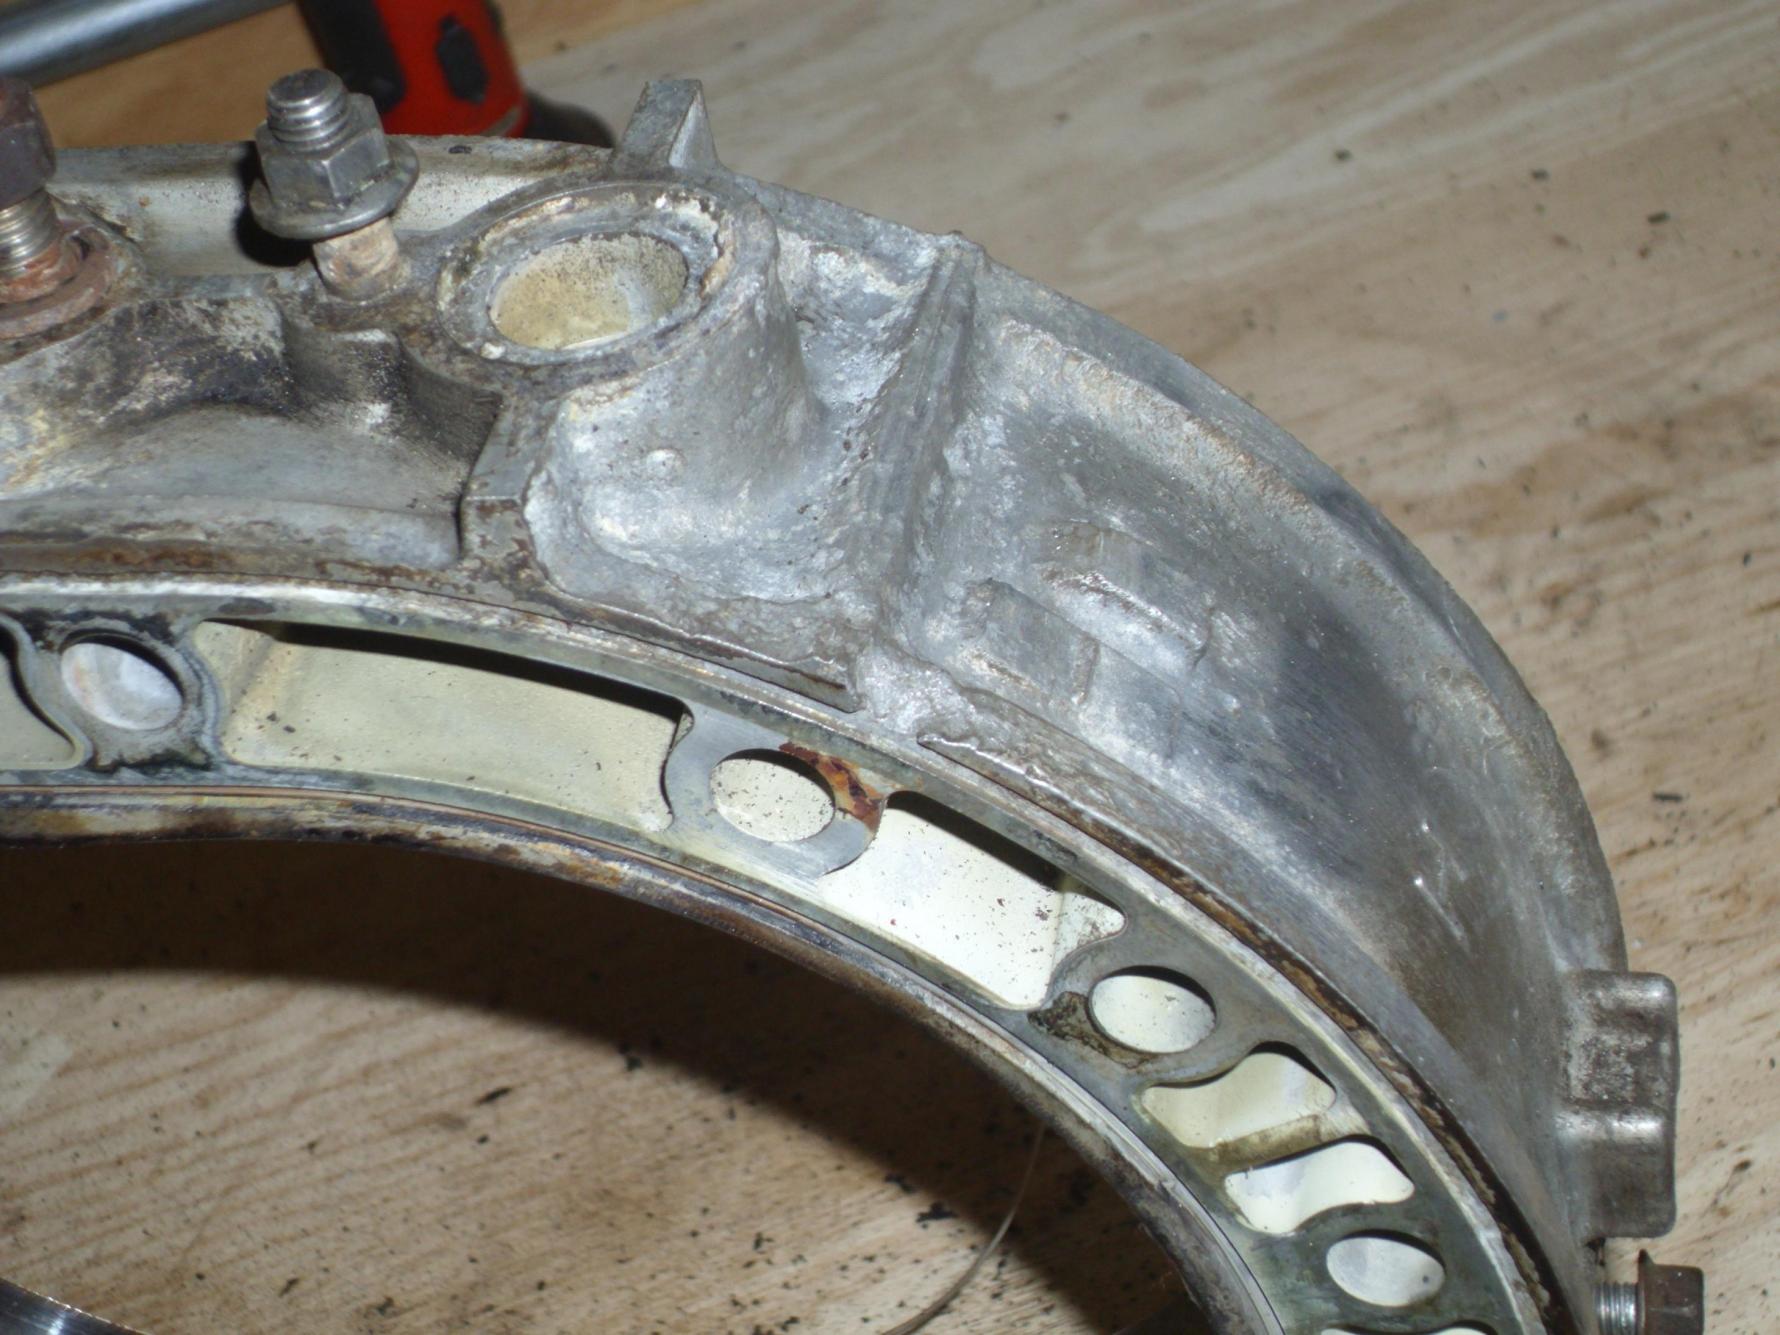
Once I get this engine back in and the car up and running, I'd like to rebuild another engine on the side and take my time and polish it up really well. Like the one here;
I am still debating about whether to send the housing in to have it refinished or to try and purchase a new one. I thought I'd try and use this housing for now and do a cheap JP Weld to cover the hole. I know its probably not the smartest move, but for now its the least expensive and I can use that money towards other projects on the car. I guess I am just curious if the JB Weld will work - kind of an experiment, if you will.
Once I get this engine back in and the car up and running, I'd like to rebuild another engine on the side and take my time and polish it up really well. Like the one here;
Last edited by clykins; Nov 12, 2010 at 02:36 PM.
looks like the housing corroded through into the coolant seal area..replace this housing. there is also heave chrome flaking on the housing shown in the picture. you will want to replace that housing as well.

Trending Topics
Being how quality 12A engine parts are getting harder to find, - you might use this opportunity to replace the engine with the more powerful and readily available 13B engine. If you source a good one, you won't even have to rebuild it.
Thread Starter
Senior Member
iTrader: (1)
Joined: Aug 2010
Posts: 340
Likes: 0
From: Southern Minnesota and Southern California
Well with those two large buck items needing to be replaced, I decided to divert my attention to cleaning while I put the money away for the housing and rotor.
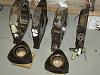
The carburetor was in dire need of some attention. Not only was it a bit rusty, but the coolant had caked on the it and the intake manifold. So I rebuild the carburetor. Sounds like fun?... it was actually.
The carburetor was in dire need of some attention. Not only was it a bit rusty, but the coolant had caked on the it and the intake manifold. So I rebuild the carburetor. Sounds like fun?... it was actually.
Thread Starter
Senior Member
iTrader: (1)
Joined: Aug 2010
Posts: 340
Likes: 0
From: Southern Minnesota and Southern California
I've thought about swapping out to the 13B. Is that a simple plug-and-play? No major alterations to make it fit?
Althought it would be a shame with all the work I put into redoing the carburetor
Althought it would be a shame with all the work I put into redoing the carburetor

Thread Starter
Senior Member
iTrader: (1)
Joined: Aug 2010
Posts: 340
Likes: 0
From: Southern Minnesota and Southern California
If you'll recall my friend too my car up over the curb sideways 16 years ago... well I've finally gotten around to replacing the wheel hub assembly. I replaced the strut 16 years ago, but that was the furthest I got at the time.
The rotors, calipers, bearings, pads, bolts and the hoses are new. The strut, however has just been cleaned and repainted. Hopefully that will slow the rust from reaccumulating. Incidentally I really hate that lower caliper bracket bolt on the backing plate. The head was stripped and it took me two weeks to get in the replacement bolts, not to mention what a pain it is to get at!
The calipers, bearings, pads and hoses I got from Autozone and NAPA (Autozone didn't have the passenger side caliper or the outer bearings.) I got the new rotors off ebay and the bolts I special ordered from Fastenal. I did not replace the bolts connecting the knuckle arm to the strut.
I finished with the passenger side. I will get to the drivers side the next week, hopefully. Longest part of the process is just waiting for the paint to dry. ..and yes those are cobwebs

Joined: Mar 2009
Posts: 983
Likes: 0
From: Minneapolis, Minnesota
Trust me, theres more of us than you think. Ive rebuilt my engine, and a friends 13B monster port. Theres a group of about 4 of us that hang out regularly around the metro. Hope all is going well on the build

If you'll recall my friend too my car up over the curb sideways 16 years ago... well I've finally gotten around to replacing the wheel hub assembly. I replaced the strut 16 years ago, but that was the furthest I got at the time.
The rotors, calipers, bearings, pads, bolts and the hoses are new. The strut, however has just been cleaned and repainted. Hopefully that will slow the rust from reaccumulating. Incidentally I really hate that lower caliper bracket bolt on the backing plate. The head was stripped and it took me two weeks to get in the replacement bolts, not to mention what a pain it is to get at!
The calipers, bearings, pads and hoses I got from Autozone and NAPA (Autozone didn't have the passenger side caliper or the outer bearings.) I got the new rotors off ebay and the bolts I special ordered from Fastenal. I did not replace the bolts connecting the knuckle arm to the strut.
I finished with the passenger side. I will get to the drivers side the next week, hopefully. Longest part of the process is just waiting for the paint to dry. ..and yes those are cobwebs
The rotors, calipers, bearings, pads, bolts and the hoses are new. The strut, however has just been cleaned and repainted. Hopefully that will slow the rust from reaccumulating. Incidentally I really hate that lower caliper bracket bolt on the backing plate. The head was stripped and it took me two weeks to get in the replacement bolts, not to mention what a pain it is to get at!
The calipers, bearings, pads and hoses I got from Autozone and NAPA (Autozone didn't have the passenger side caliper or the outer bearings.) I got the new rotors off ebay and the bolts I special ordered from Fastenal. I did not replace the bolts connecting the knuckle arm to the strut.
I finished with the passenger side. I will get to the drivers side the next week, hopefully. Longest part of the process is just waiting for the paint to dry. ..and yes those are cobwebs

Thread Starter
Senior Member
iTrader: (1)
Joined: Aug 2010
Posts: 340
Likes: 0
From: Southern Minnesota and Southern California
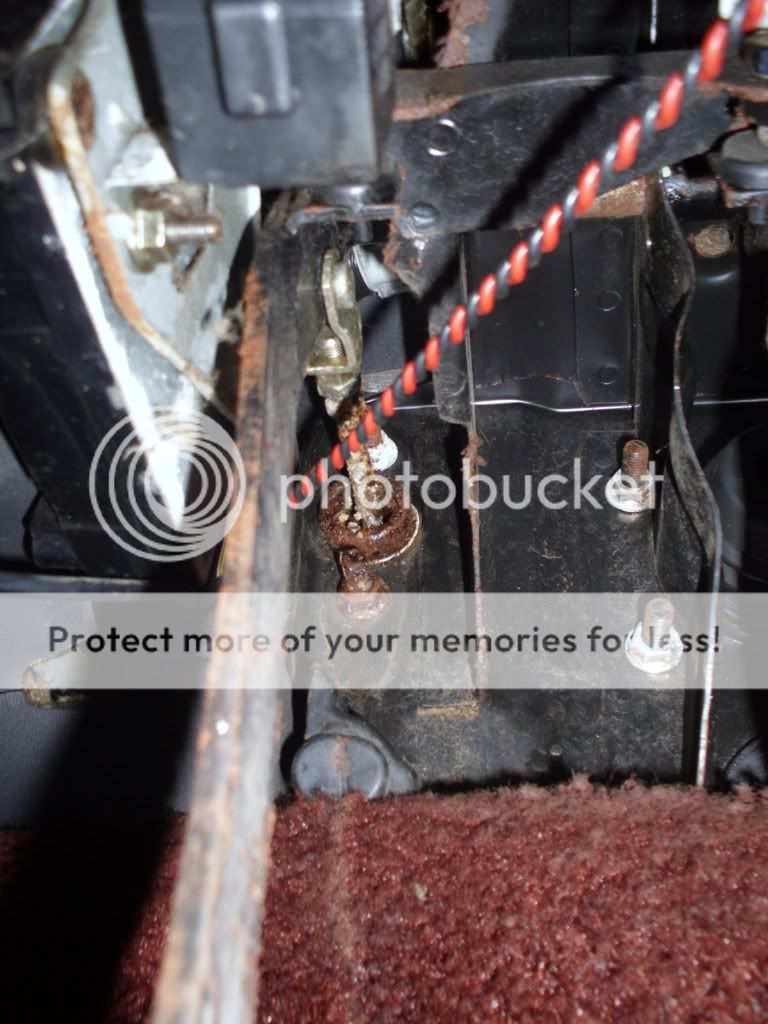
I was thinking about sacrifising an angled wrench, but in the end I just removed one of the strut bolts and rotated the strut. That gave me plenty of access to get a socket wrench in there.
Well last week, while I was repainting the passenger's side strut, I decided to work on something else while I was waiting for the paint to dry. I removed the brake master cylinder was going to rebuild it... Autozone gave me the rebuild kit for the "clutch" master cylinder, lol... so I rebuild the clutch master cylinder instead. Boy did it need it! You really have to be quite the contortionist to get at the clutch master cylinder nuts.
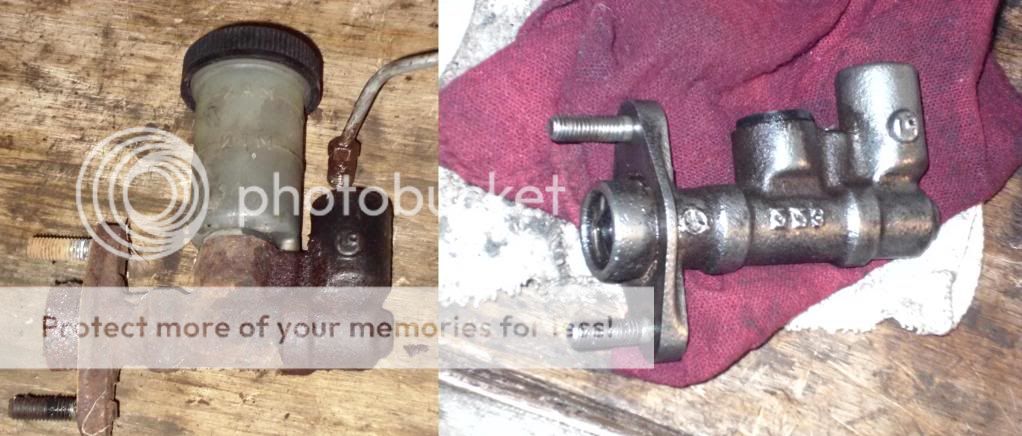
I was in the process of trying to get the slave cylinder's piston out, but it is stuck in there really well! I can buy the entire thing for $20 bucks at Autozone or the rebuild kit for $10. I know I'm pinching pennies, but half the fun of rebuilding something is... well, rebuilding it, not just replacing every part. (Of course I did just buy two reman calipers... oh well. Not a hardened fast rule)
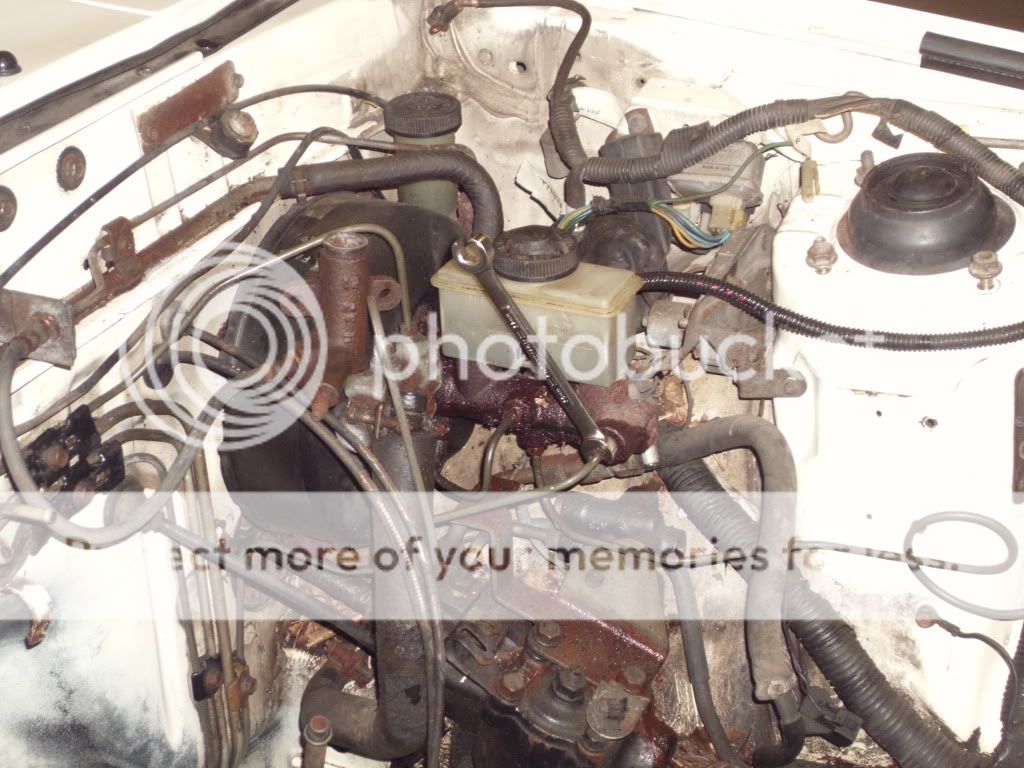
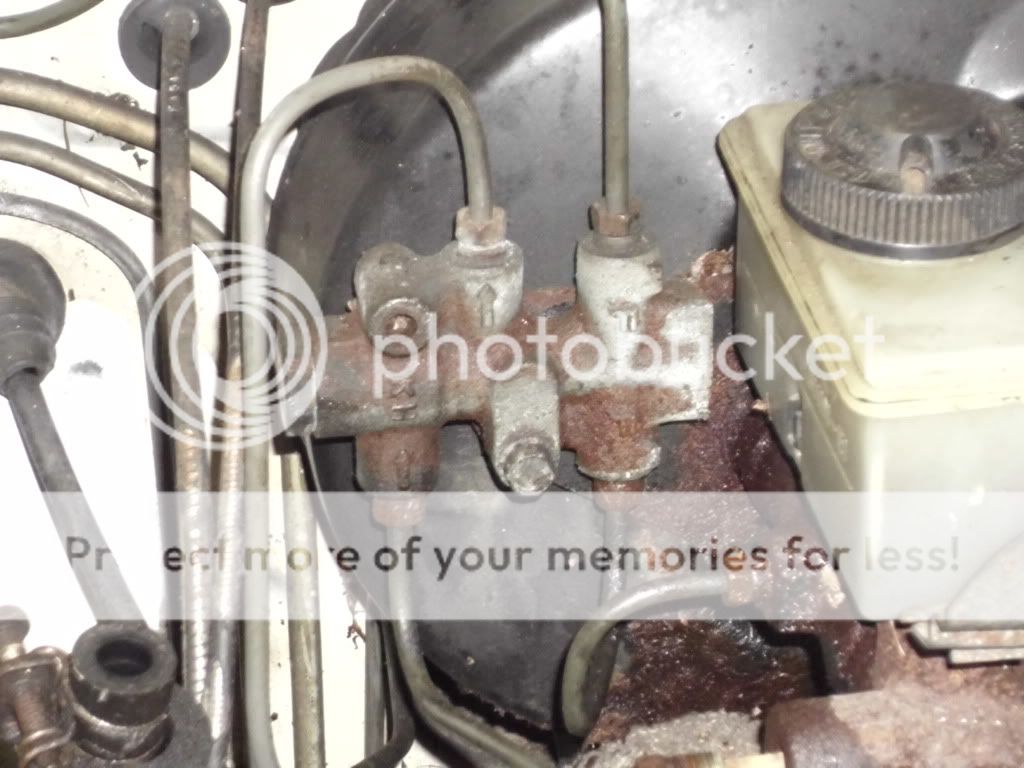
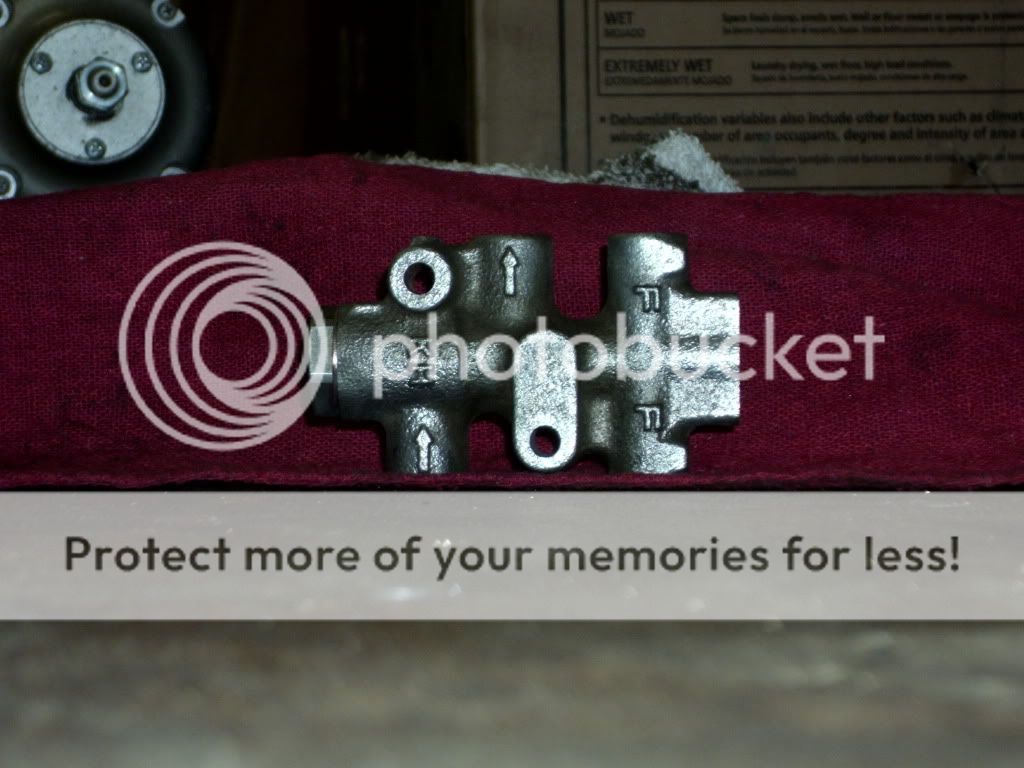
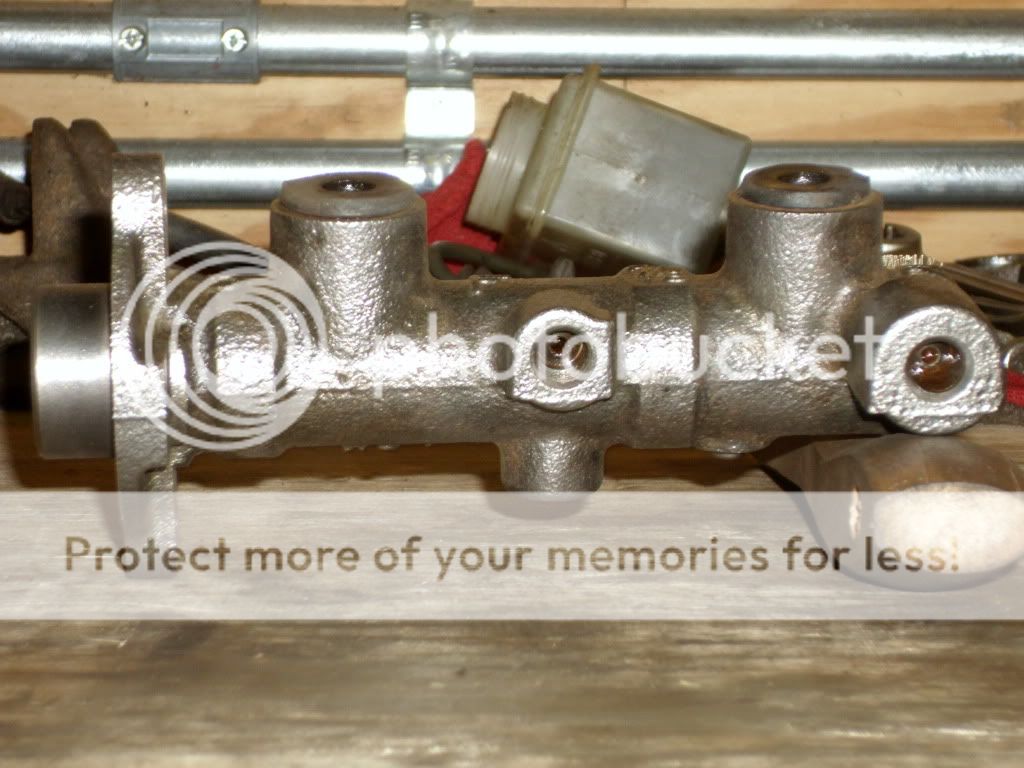
I got the brake master cylinder rebuild kit and rebuilt it as well right before I left last week. Since the proportional bypass valve is pretty much attached to the brake master cylinder, I too the opportunity to clean it up as well. The only thing left to do is paint all three components to keep the rust off, hopefully.
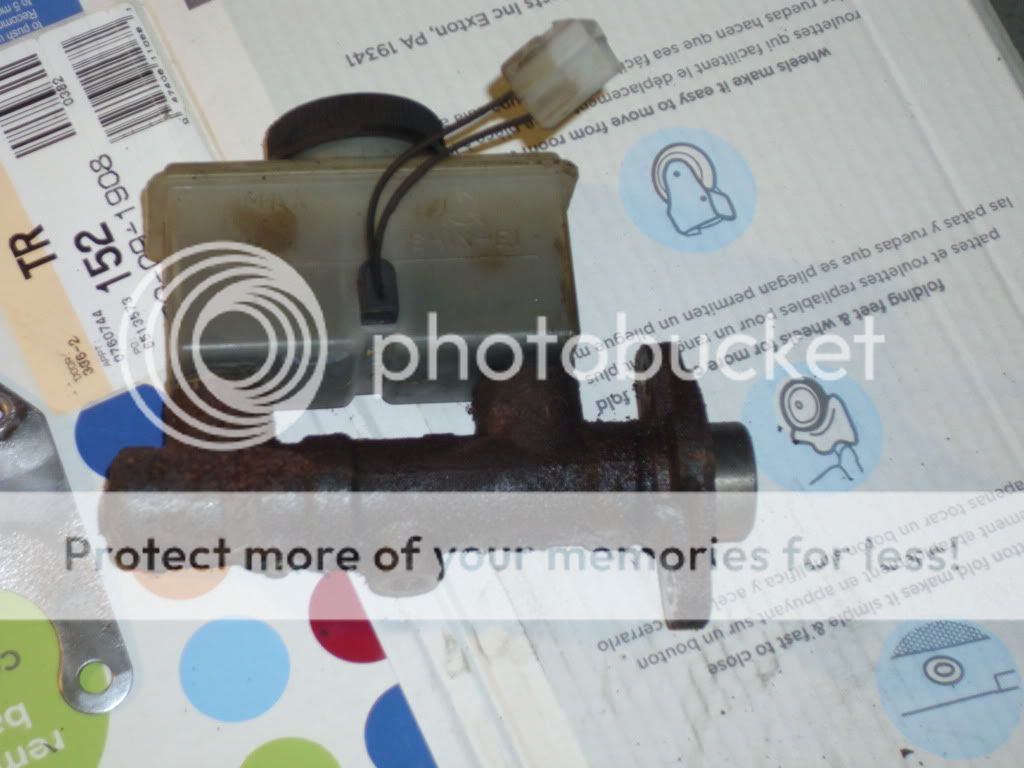
Well last week, while I was repainting the passenger's side strut, I decided to work on something else while I was waiting for the paint to dry. I removed the brake master cylinder was going to rebuild it... Autozone gave me the rebuild kit for the "clutch" master cylinder, lol... so I rebuild the clutch master cylinder instead. Boy did it need it! You really have to be quite the contortionist to get at the clutch master cylinder nuts.
I was in the process of trying to get the slave cylinder's piston out, but it is stuck in there really well! I can buy the entire thing for $20 bucks at Autozone or the rebuild kit for $10. I know I'm pinching pennies, but half the fun of rebuilding something is... well, rebuilding it, not just replacing every part. (Of course I did just buy two reman calipers... oh well. Not a hardened fast rule)
I got the brake master cylinder rebuild kit and rebuilt it as well right before I left last week. Since the proportional bypass valve is pretty much attached to the brake master cylinder, I too the opportunity to clean it up as well. The only thing left to do is paint all three components to keep the rust off, hopefully.
Last edited by clykins; Nov 16, 2010 at 07:14 PM.
Thread Starter
Senior Member
iTrader: (1)
Joined: Aug 2010
Posts: 340
Likes: 0
From: Southern Minnesota and Southern California
I am using a brass brush on a bench grinder. What that can't reach, I use a normal brass brush.
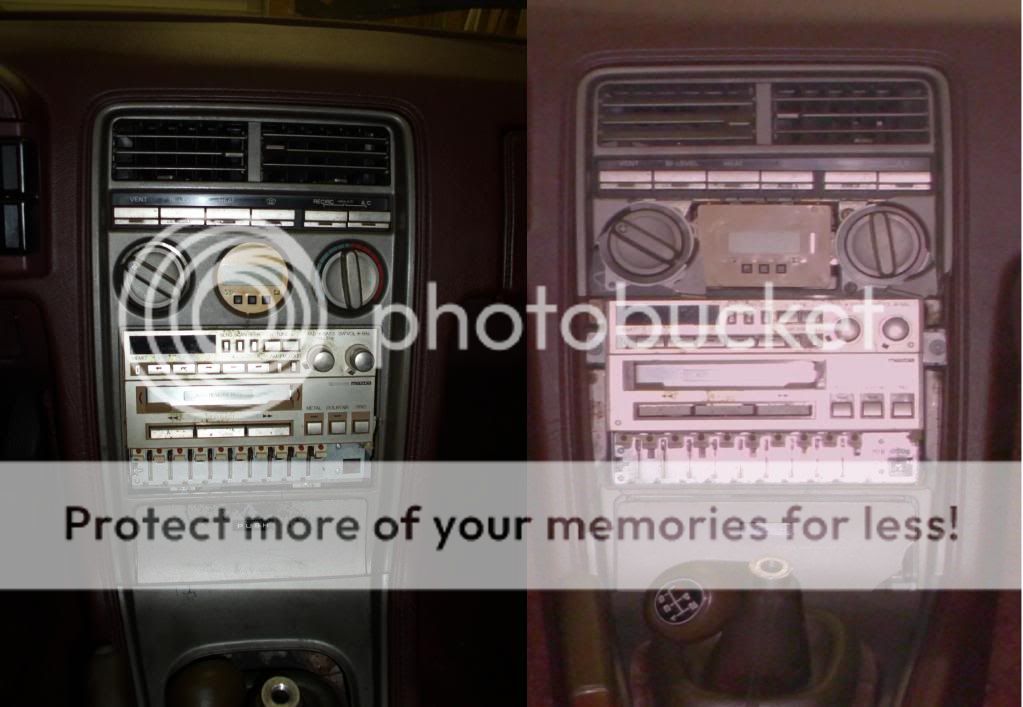
I got the center panel replacement from Jerry this afternoon. Mine has been broken for 16 years since a friend broke it trying to steal my cd player. Unfortunately I cleaned it a little too well, lol. I took off a little bit of the paint on the ashtrey. Oh well. I'll end up painting it when I start on the interior.
I got the center panel replacement from Jerry this afternoon. Mine has been broken for 16 years since a friend broke it trying to steal my cd player. Unfortunately I cleaned it a little too well, lol. I took off a little bit of the paint on the ashtrey. Oh well. I'll end up painting it when I start on the interior.

Thread Starter
Senior Member
iTrader: (1)
Joined: Aug 2010
Posts: 340
Likes: 0
From: Southern Minnesota and Southern California
My plan is to keep it mostly stock, at least for the time being. I think the only upgrade that I'd like to do is to put a cd player in, lol, maybe. This is a chance for me to learn and to kill some time for now. After I get it running I need to drive it from Minnesota to California and then once I locate a garage to work in out there I'd like to tear it down to the frame and restore it bolt-by-bolt.
I've removed the driver's side strut, again. I'm going to do the same to this side as I did with the passenger side. The nut on the top connecting to the cartridge is being a pain. Does anyone have a trick to removing this thing? I'll post a picture later. I need to download it from my camera first.
Thanks for the posts everyone
I've removed the driver's side strut, again. I'm going to do the same to this side as I did with the passenger side. The nut on the top connecting to the cartridge is being a pain.
Does anyone have a trick to removing this thing? I'll post a picture later. I need to download it from my camera first. Thanks for the posts everyone