When you click on links to various merchants on this site and make a purchase, this can result in this site earning a commission. Affiliate programs and affiliations include, but are not limited to, the eBay Partner Network.
It really does look waaaaay better now, it makes all the difference.
I just sprayed my engine bay yesterday. I can understand on being tired of prepping for a proper spray. The spray is the easy part! I will reassemble the bay at my leisure. But...you are right, I am not looking forward to bleeding the whole braking system including the ABS after reassembly. I've had good success with my Motive pressure bleeder in the past on the brakes as well as the clutch lines, but I am not so sure how effective it is on the ABS unit.
Thank you sir!!
I have done it through the ABS on 2 of my cars - its just more time consuming to get all the bubbles out. I should probably do it anyways since I apparently have some illegal blue fluid in there now from when I got it 8 years ago.
But yes I will paint the firewall - might as well or I'll regret it later on
Im just thinking how to whip it out without bending the lines to much or breaking anything.
Ill prep this weekend and wait for warmer weather to paint it.
Last edited by rotaryextreme; 11-16-20 at 08:24 AM.
Nice work!
Consider adding some DEI Floor & Tunnel shielding to the underside of the tranny tunnel while everything is out. It really helps keep heat out of the interior. https://www.designengineering.com/fl...ld-ii-21-x-24/
Nice work!
Consider adding some DEI Floor & Tunnel shielding to the underside of the tranny tunnel while everything is out. It really helps keep heat out of the interior. https://www.designengineering.com/fl...ld-ii-21-x-24/
i will paint the fire wall and take your recommendation sir I got the 21 x 48
thank you everyone for your inputs !!!!
Last edited by rotaryextreme; 11-16-20 at 10:27 PM.
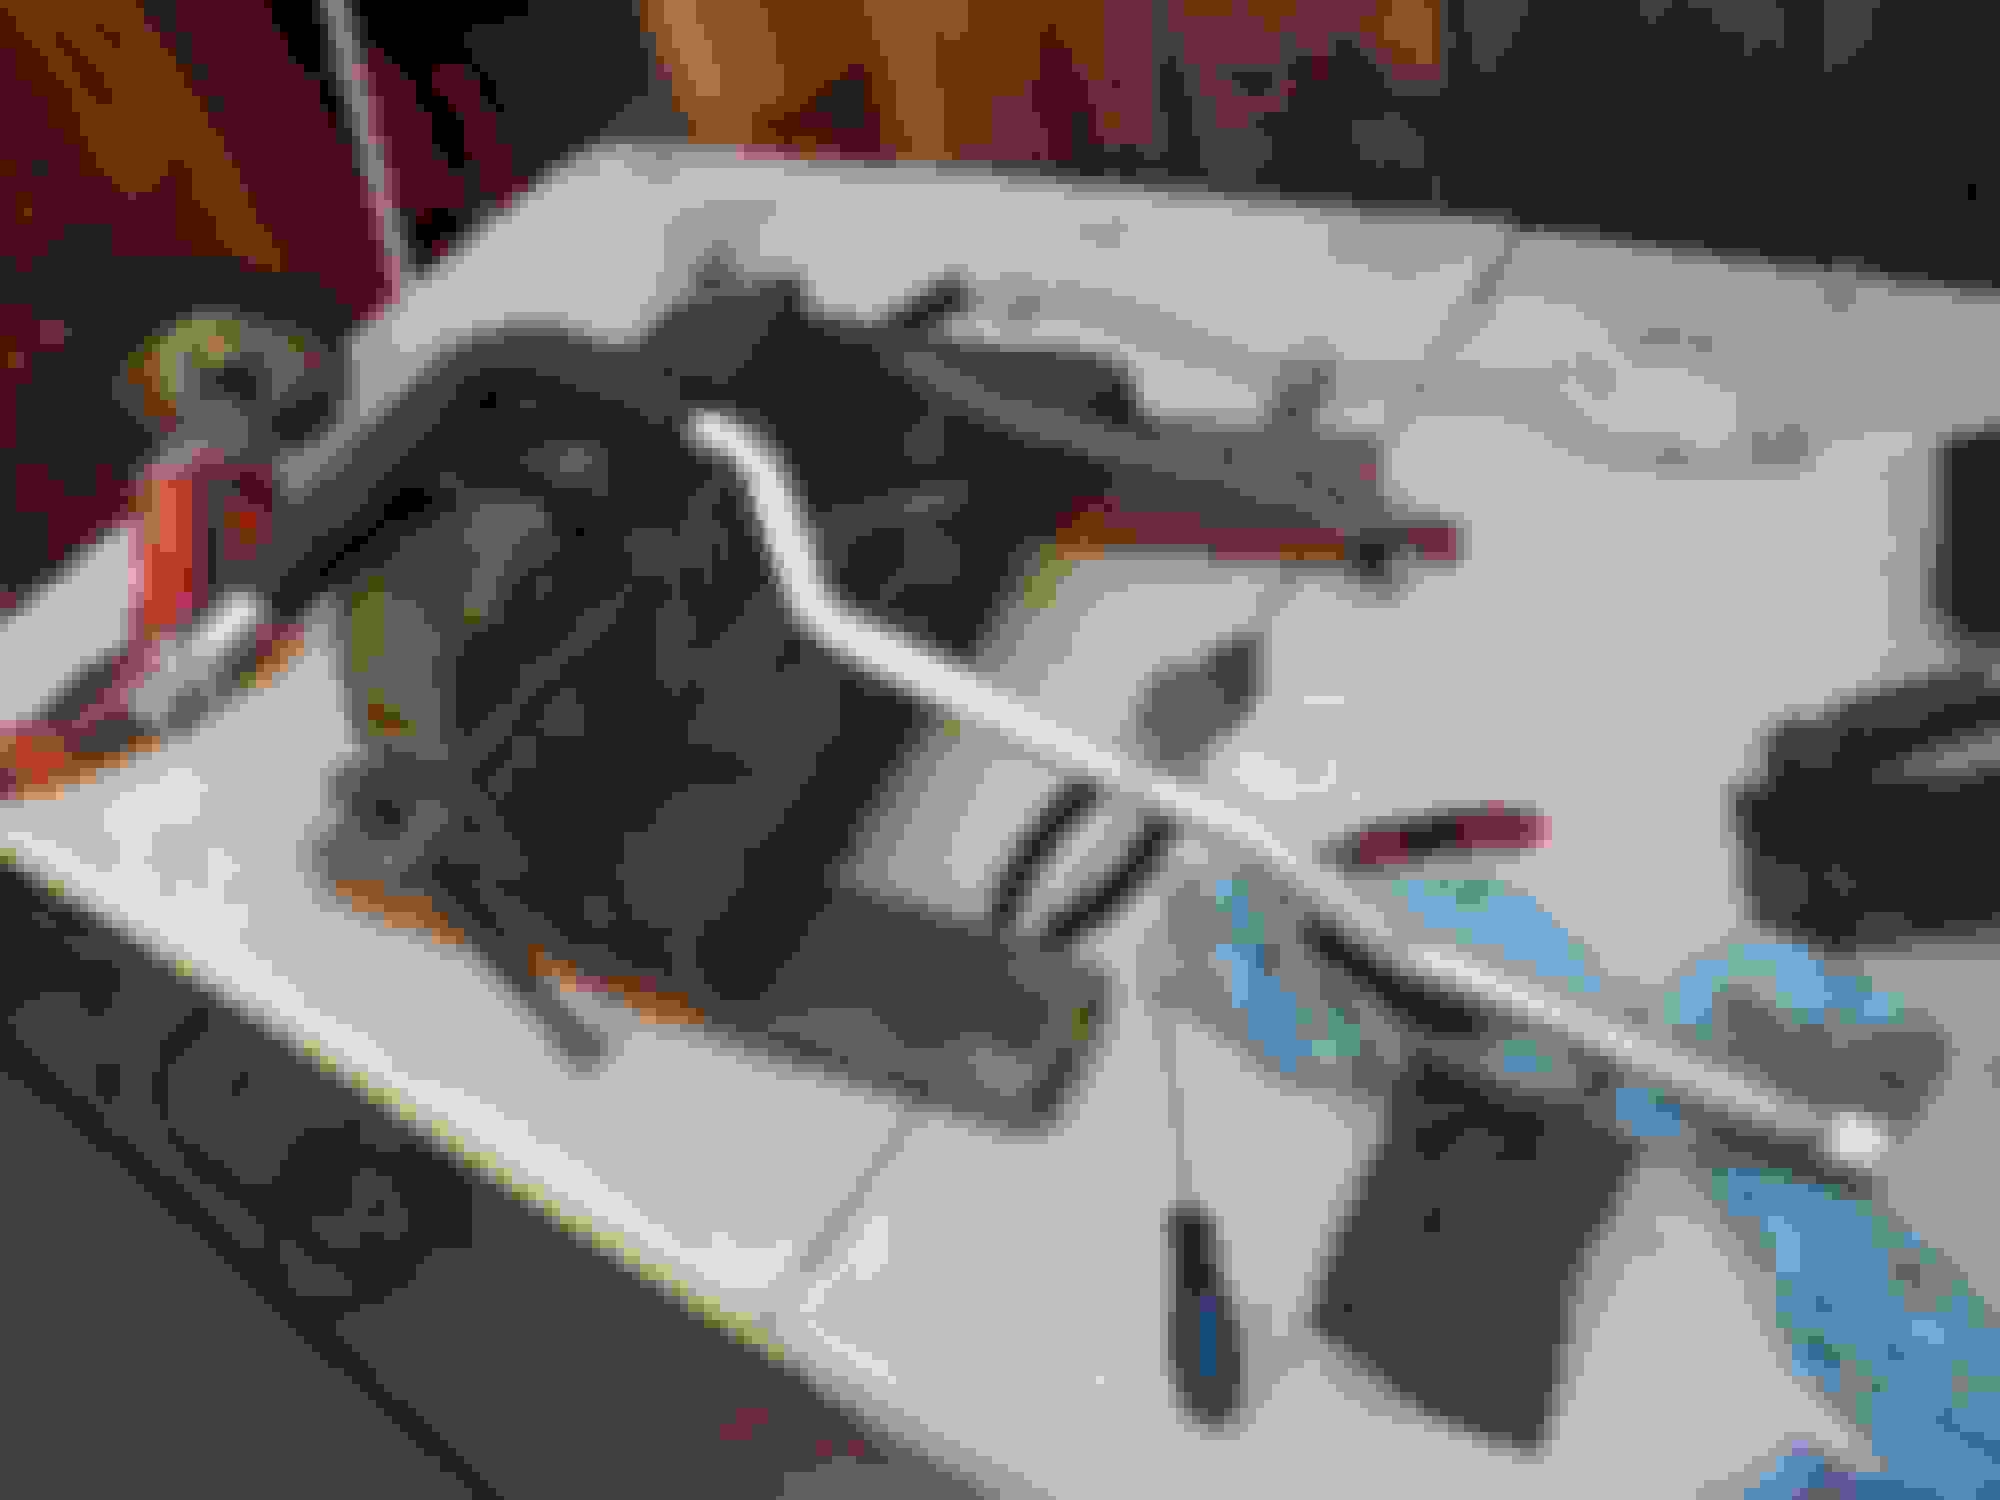
1. new parts
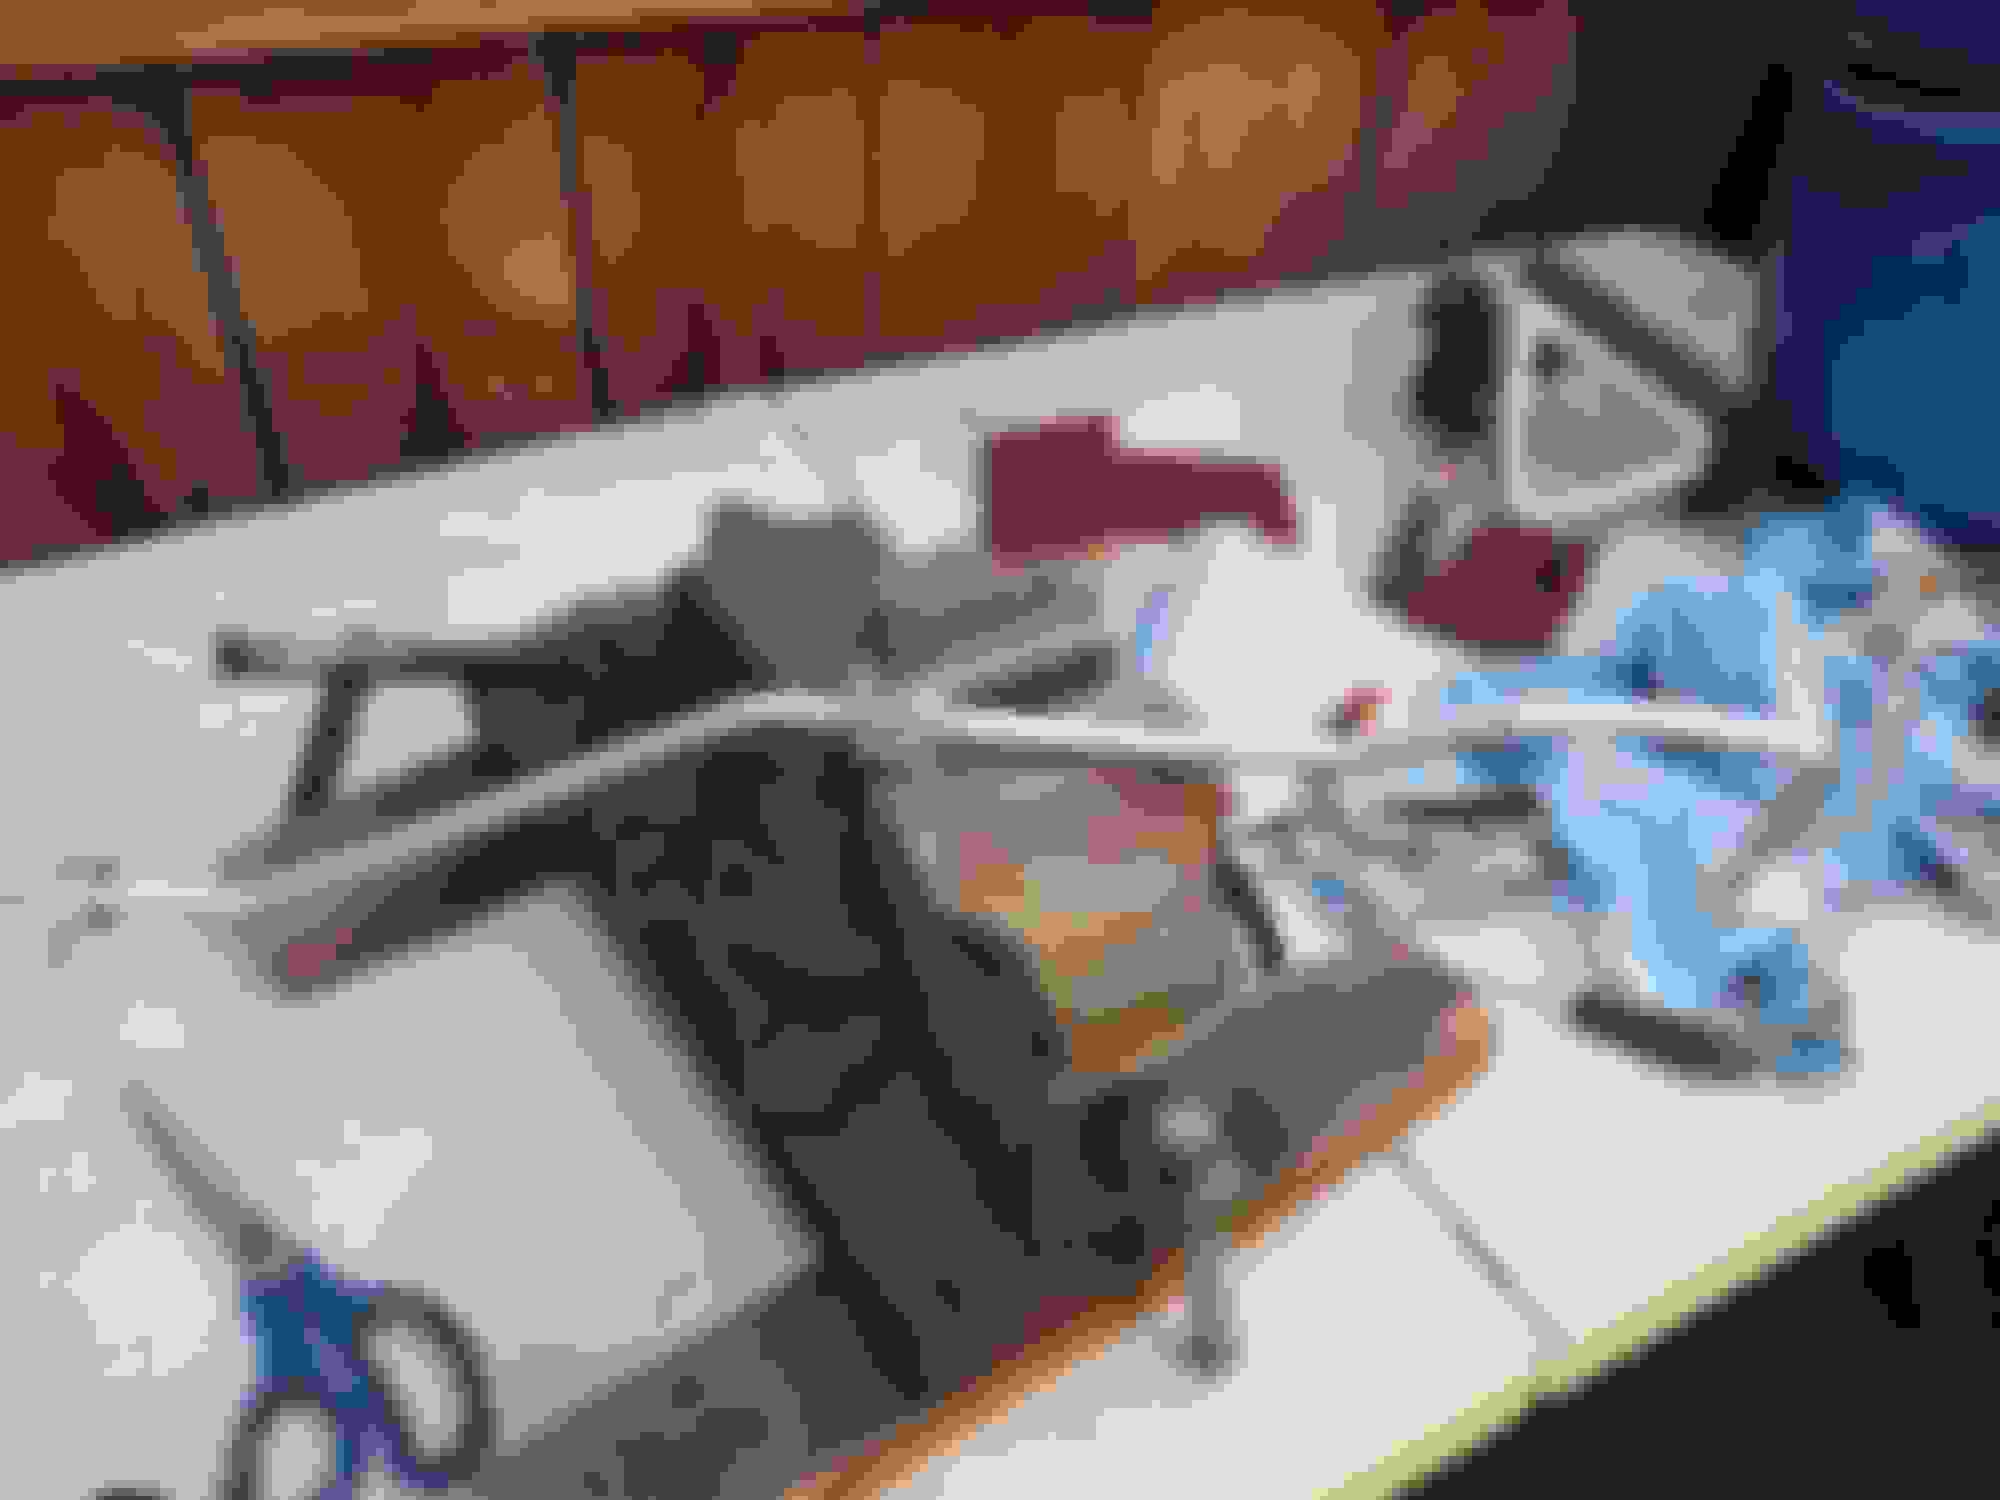
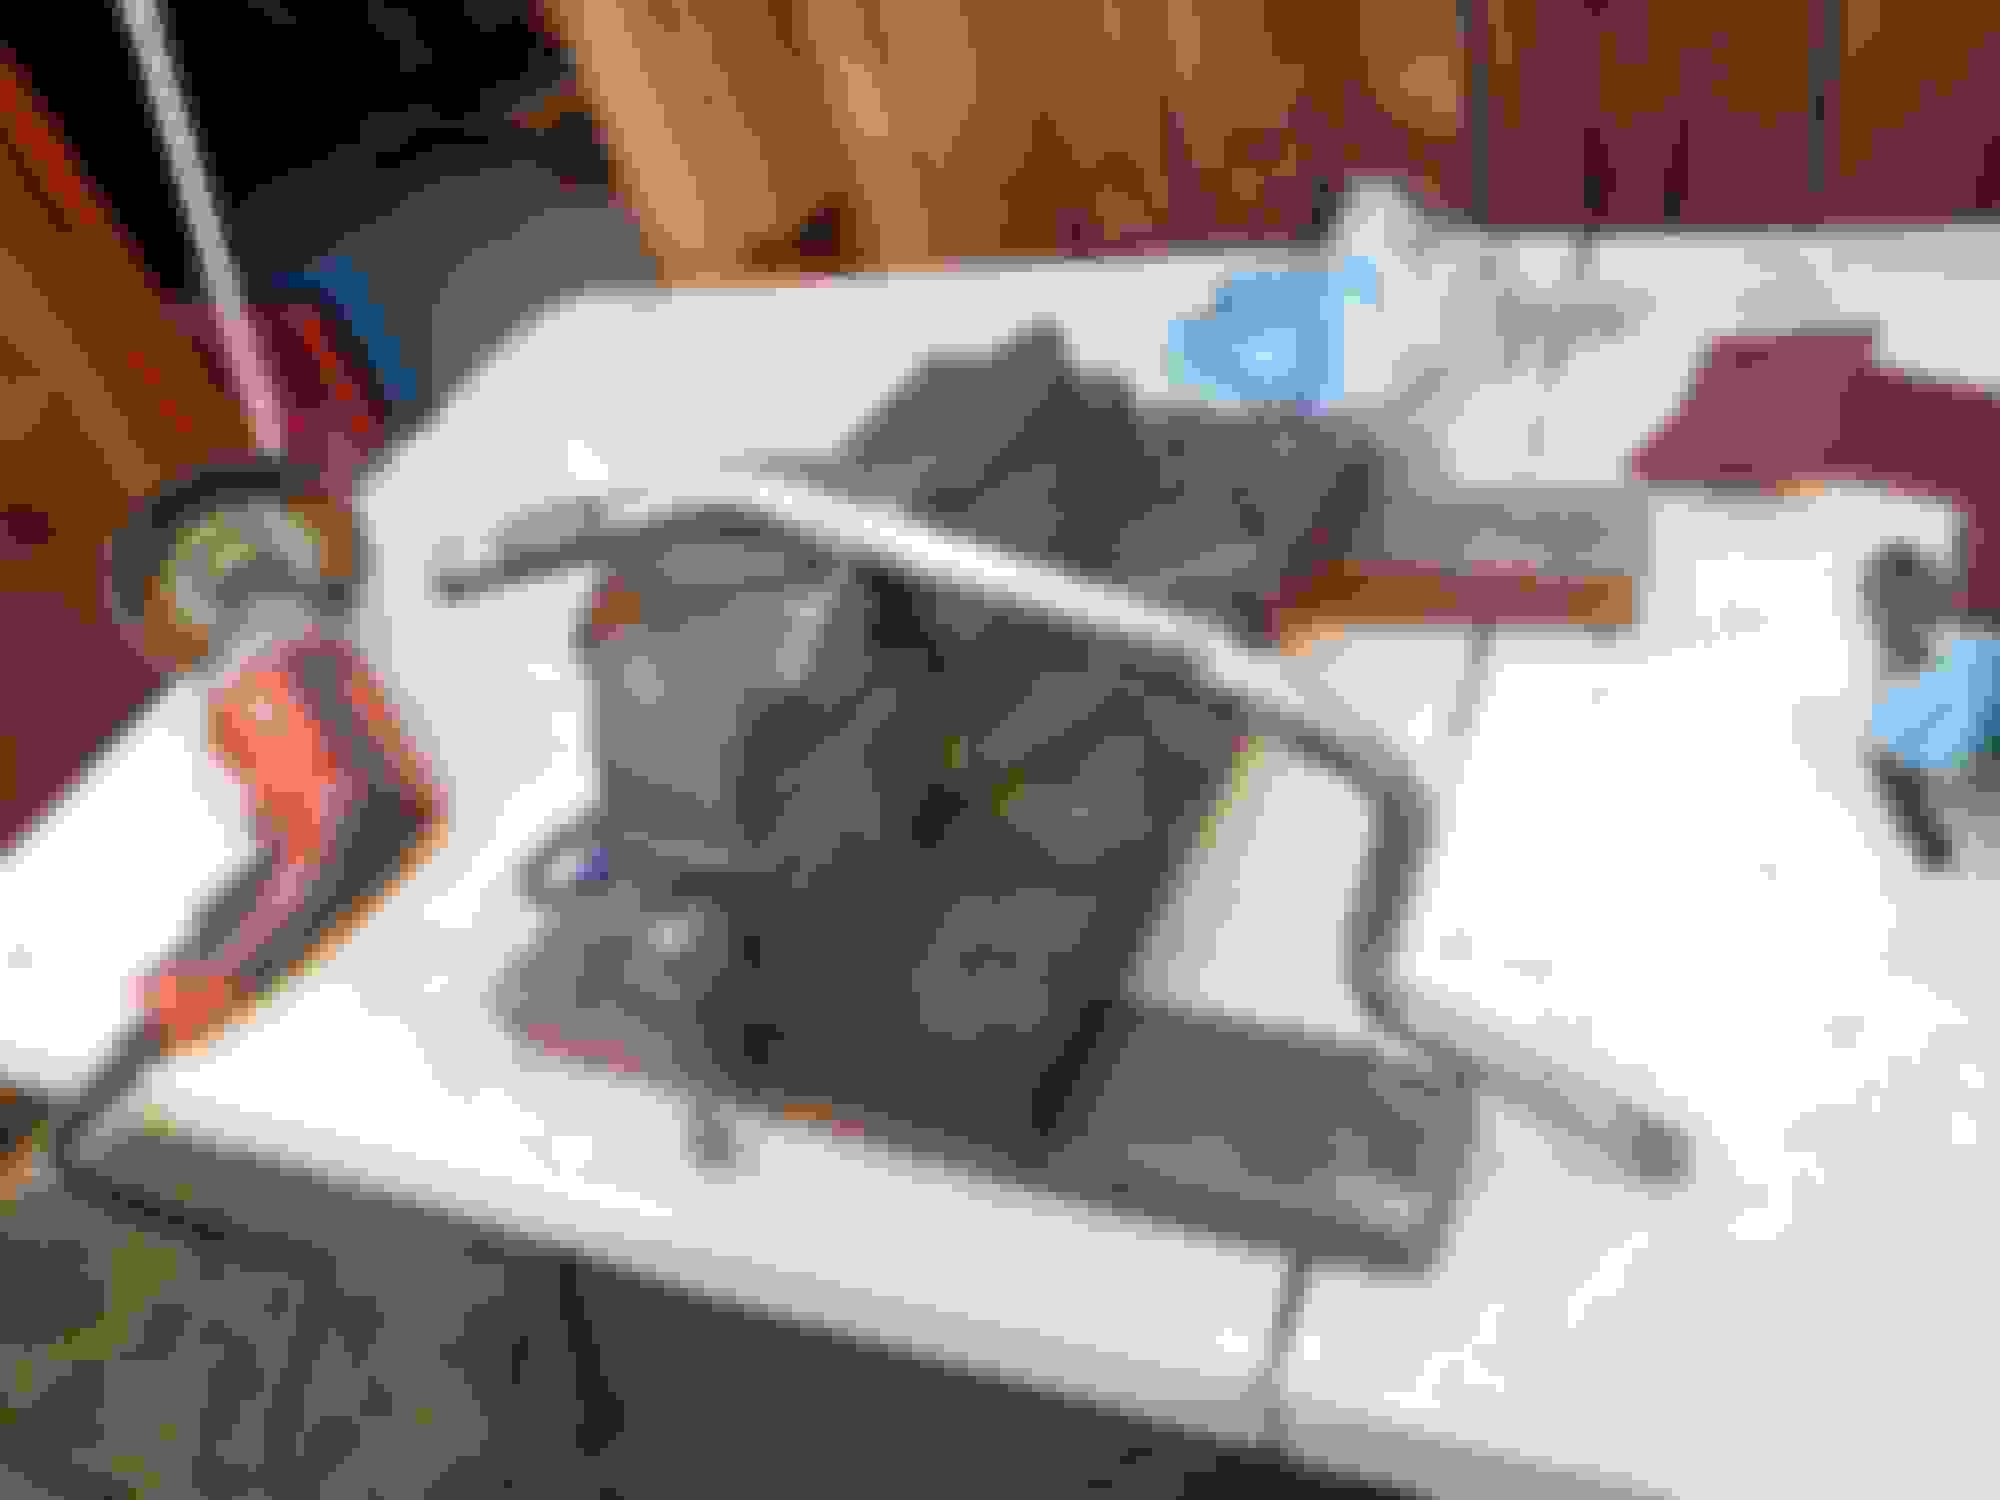
2. parts removed for paint
3. firewall painted
1. I got most of my bolt on parts that I needed to get the car running so it can be tuned.
RX7.com bonez high flow cat, high flow pump, data logit and the arm rest.
Banzai Racing rear diff brace and transmission brace
IRP ign1a ordered but waiting on it due to a connector update - they have a custom connector made that goes to the coils.
I got new hardware to put everything back together.
Since I have the Greddy rear diff cover I realized im going to need more fluid so I another can of KAAZ diff fluid.
I included the 3 diagrams from the website in the parts pics.
The wifey was impressed with my spray can job and she felt it was good enough for her to take a pic with the car...lol
2. Parts removed
I removed the abs unit and lines. I was able to get the brake line clips off of the fire wall but I found them at - https://www.jimellismazdaparts.com/s...category=20230
I put towels everywhere to catch the brake fluid and then sucked out what I could with my transmission pump hose.
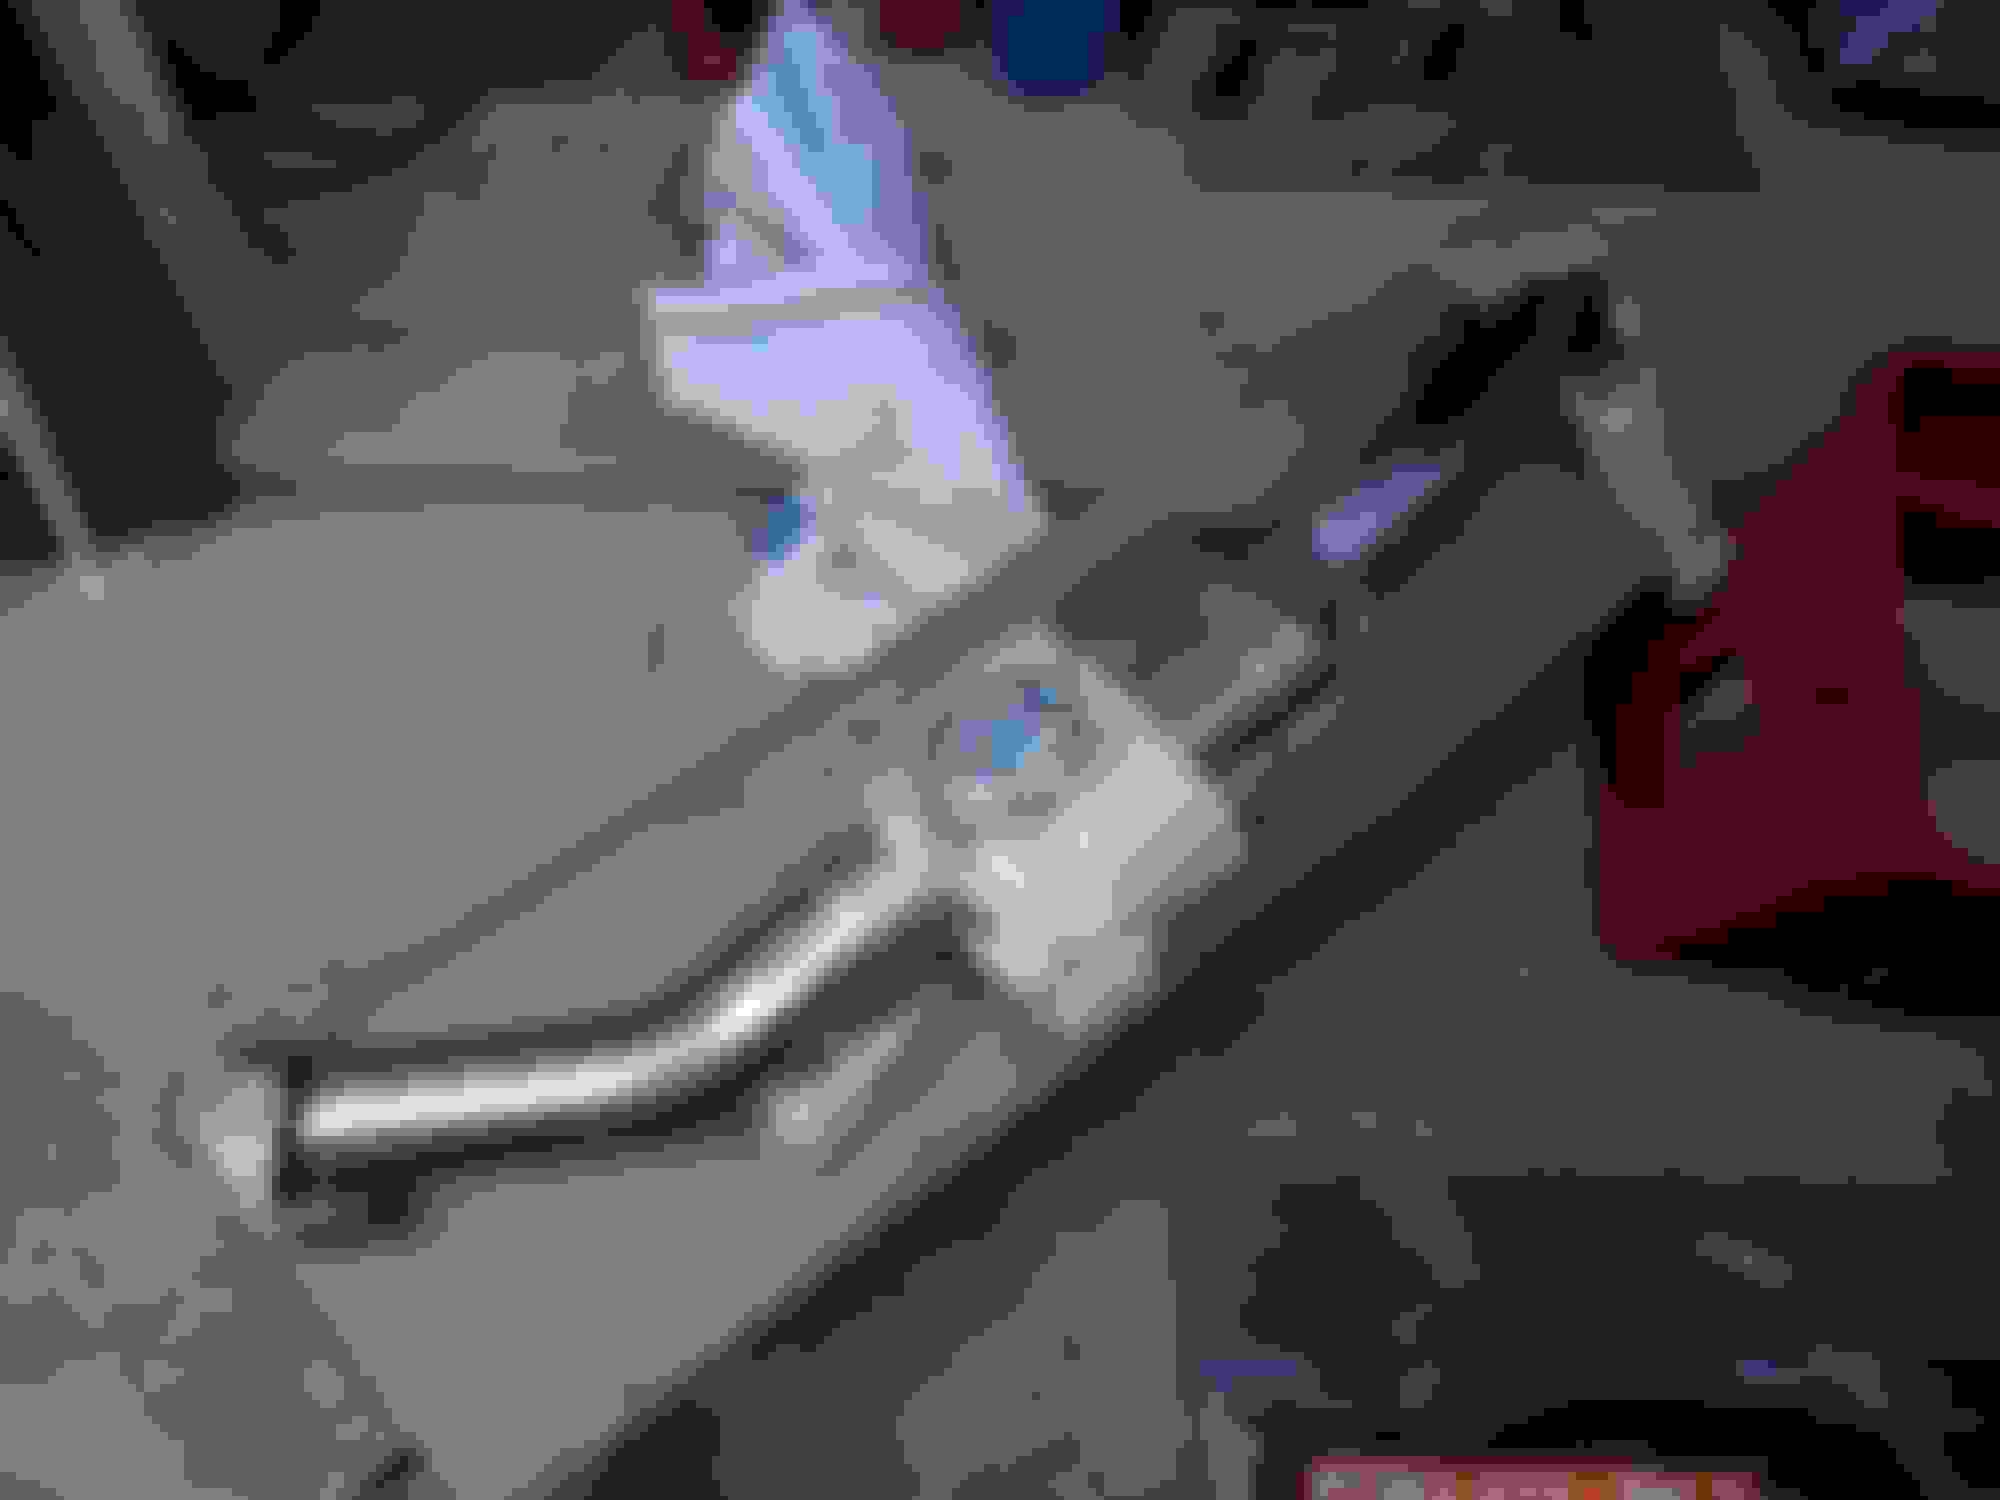
I broke the tab on the 90 degree white washer elbow that goes to the firewall for the washer nozzles - found it at - https://www.jimellismazdaparts.com/s...roduct=1858179
The cowel came off nice but I was missing one big tab and broke another small tab. - I found them on atkins rotary - https://www.atkinsrotary.com/store/C...wls-and-parts/
I also broke the plastic receptacle on the wiper linkage for the wiper motor. Luckily I found it at jim ellis mazda - https://www.jimellismazdaparts.com/s...duct=1858171#7
For now the abs sits on a tote waiting for its turn to be re-installed.
3. painted firewall
I scuffed and cleaned the areas to be painted and I taped up as much as I could.
It was cold outside - right at the recommended low limit of 60F.
I noticed the clear did not flow like before - there is a little bit of orange peel but I can live with it. Im happy there are no runs and it still looks good.
Pics are of it masked, painted base coat and then clear coat.
In one of the pics looking at the tunnel you can see the fog from the clear coat - I have to vacuum it out to prevent a grainy texture from forming after each time I sprayed.
Final pics look really good for a spray can job.
Now I will clean all the brackets, hard lines and whatevers while Im waiting for all the parts to reassemble everything.
Hopefully Ill have the engine bay reassembled by xmas so I can put the engine in next year.
Last edited by rotaryextreme; 11-22-20 at 01:51 PM.
Wow, makes all the difference in the world!
I know it sucks to think you're done painting only to realize you have to prep and paint some more In my case I have to shoot the underside of my hood. I didn't have the space to do both at the same time unfortunately.
Wow, makes all the difference in the world!
I know it sucks to think you're done painting only to realize you have to prep and paint some more In my case I have to shoot the underside of my hood. I didn't have the space to do both at the same time unfortunately.
Yes, Im really happy I painted the whole engine bay.
now I just have to replace all the stuff I broke along this journey ..lol
So with painting the hood, I guess there is a lot of disassembly too. Are you masking over your stickers or putting new ones. I saw a link on jim elles mazda parts that had the stickers too.
So my brain is fried - Im trying to draw up how to wire my gauges but I want to use the AUX battery for power.
For those of you who do not know, I am going to be running a lot of aftermarket electronics and I want the power source for those off of the main system.
7 gauges, auto-loc powered vertical doors, flashing lights, roll cage lights, under body light, exterior lights and small sound system.
I will have a schematic for each sub-system but for now Im working on the gauges and also I hope I got the wiring right for the datalogit.
So the question is copying the fuel pump relay mod and running that acc source to a 2nd relay, will that direct the source to the aux batt the way I have it wired in the schematic?
Please advise anyone.
I have attached all drawings I used to make this schematic.
So with painting the hood, I guess there is a lot of disassembly too. Are you masking over your stickers or putting new ones. I saw a link on jim elles mazda parts that had the stickers too.
good luck with the paint!
I haven�t decided yet. Part of me wants to mask off the stickers and spray, and then another part of me wants to remove the old stickers and order replacements through autodatalabels.com. I�ll let you know what I decide.
I haven’t decided yet. Part of me wants to mask off the stickers and spray, and then another part of me wants to remove the old stickers and order replacements through autodatalabels.com. I’ll let you know what I decide.
autodatalabels.com im gonna have to check that out
Originally Posted by Ceylon
Engine bay looks great! Nice work. I've got my motor out at the moment too and my bay really could do with painting...
Liking the wiring diagrams too, it's always worthwhile making these so you can remember what you've done a few years down the line.
It was really easy with the spray can if you have a paint shop that can make it for you. I noticed near the brake booster I had a gap around a cable and the clear coat got in and made it grainy. I have been using scratch out to cut it down. Its not super shinny but I managed to get the overspray off. I got sloppy and paid the price.
I have no idea why but when you put your mouse over the 95 tank baffle link it shows page 3 and a different post so I reposted the correct link to the 95+ fuel tank baffle
"I get by with a little help from my friends" - name that tune ...lol
Special shout out to
- Julio at Gee Spec Automotive for the tip on testing at the wiper motor
- Fritz Flynn (rx7club) for the wiper arm linkage and the front fender rain guards
- gracer7-rx7 (rx7club) for the advice on the DEI heat shielding for the transmission tunnel
1. cleaned dirty parts
2. cleaned up some over spray
3. front harness and more stuff
4. tunnel heat shield
5. the wiper motor saga
6. engine bay old pics vs new pics
1. Its amazing how much a chemical reaction can damage stuff. Coolant eating away at the pipes. Moisture in the air and the littlest vapor leak causing corrosion on all aluminum, white crap growing even on coated pipes and surface rust on all your exposed metal and bolts. As usual I took a wire wheel to all the water pipe. I cleaned all the aluminum A/C pipes and the exhaust heat shields with a red scuffing pad. The eagle one mag wheel cleaner worked great on the wiper motor and heat sink thing. I was able to clean up the hardware as well. I think it's time to get another wire wheel.
2. Overspray - you made a fool out of me. So when I painted the firewall I did not prep good enough to protect the rest of the engine bay. The ABS side is not so bad but the brake booster side had a heavy dose of overspray. It must have got past the section where I taped over the hood latch cable. I used some scratch out and the blue shop towels to clean it up. After about 30 minutes I finally got it to an acceptable level.
3. Ahhh, the front harness. I wanted to relocate the front fuse box but then I remembered my vmount kit will hide it anyways. I also realized I didn't want to take anymore harness apart after the engine harness ordeal. First of all, lets clean all the grounding spots with a wire brush on a drill. After all the grounds were screwed in I checked multiple locations with my fluke meter and continuity was good at average 0.3 ohms. I wrapped the exposed wires with TESA tape and started to push the harness clips back into place. My clips were broken on both sides where the harness bends towards the front support but luckily there are some holes nearby so I put a zip-tie through it and it held it in place just fine. Now that I know the position of the very front of the harness I can put the black cover on that is supposed to hold the harness under the upper hood latch support. Well those tabs were bad too so I did the next best thing which was to use some zip-ties. I got lucky again, there were 2 holes, one on each side, and I wrapped some fiberglass tape around so that the zip tie would not get cut into. Thankfully it pulled the harness up and the clips protrude through the holes like they are supposed to. Currently I am using blue tape where the fuse box is attached because it will be relocated later on during the vm install. I installed the ABS module and all the brake lines connection with the new clips. For the front brakes I was short one engine bay side brake line clip, I used the 2 wheel arch side and it worked great. I installed the front fender rain guards I got from Fritz Flynn. I am getting the IGN A1 kit but I want to keep my cruise control. I noticed my cruise control module didn't sit right then I noticed it was bent, maybe it was left from an accident, I really wonder how much of my car was really damaged. I bent the cruise control bracket back into shape and it bolted on fine.I also put new heater hoses as well.
4. gracer7-rx7 , this buds for you! The DEI heat shield tape was a lot thicker than I expected. I put it everywhere I possibly could. I used some really thick aluminum tape in the places around the shifter and at all the edges of the DEI heat shield to prevent water and road grime from seeping behind it.
5. This is the one thing that was worrying me the most - what if I got the arm onto the motor in the wrong location and then something would break. Well - we do have a happy ending but let me tell you how I got there. After trying random things like making another mazda type cup fit, a lot of oh **** moments and cursing once again Fritz Flynn come through with a good condition wiper linkage. So let me save you all some time and grief, there is really only 3 ways to deal with the plastic cup on the wiper linkage.
1. Do not pull it off of the ball on the wiper motor - pry off the arm, but make a mark on the arm and the shaft so you know where it goes back on.
2. If it breaks - pray you can get one from someone else.
3. You will have to go to pick n pull or some junkyard to locate an older mazda that used the same style plastic cup and cut the arm and weld it to your arm. But Ray Crowe got me an actual arm with the right cup. Now we have a part number that we can use to modify our arm if the cup breaks. The part number for the arm is LA01-67-361
Important notes on linkage installation is the linkage is towards the widow and there are alignment pins to make sure the wiper post is in the correct orientation. So now that I have the wiper linkage and motor installed I wanted to make sure it fit. I hooked up the battery harness and power to the chassis harness to get it into the cabin and I was able to get IGN power but my sunroof, power windows and wiper motor would not work. Apparently it needs some type of connection through the engine/emission section of the harness. I called Mo at Palm Tree Rotary and he referred me to Julio at Gee Spec Automotive who told me to just apply power to the wiper motor separately to get it to work. I have a 95 so I was able to use a 94 wiring diagram to figure out how to get it to work. I got the diagram from here. Page Z-48.
All you have to do is run battery negative to position B, run battery positive to position L/G and then run a wire from position L/W (slow wiper speed) to battery positive and just touch it to positive to make the wipers move. You can watch the linkage move to verify everything is ok and find your start and end locations. Luckily I hooded it up right and I verified the post moved both directions with no binding. Then I attached the driver side wiper and made sure it moved the full range of motion correctly. Once I verified this then I cleaned up the cowl and panels for final assembly. There were some rubber parts on the bottom of the cover for the bottom of the window that came off. One large piece actually shrank and pulled itself free from the bond. I had some quick set JB weld and re-bonded everything. I re-assembled everything with my new clips and put the wipers on in the off position and ran them to their final up position and everything checked out fine. I returned the wipers to home position and disconnected the power, reattached the wiper motor connector and pulled off the battery harness for cleaning. I also bought a new positive terminal because the one on my fuse box is nasty.
6. Lastly I wanted to post some before and after pics. I am so so so thankful that I took the time to do it right. It's such a huge difference and it was worth all the hard work.
1. cleaned dirty parts.
Last edited by rotaryextreme; 12-13-20 at 01:13 AM.


 11-16-20, 08:20 AM


 In my case I have to shoot the underside of my hood. I didn't have the space to do both at the same time unfortunately.