
My 93 build.


My 93 build.
Hi lads/ ladies.
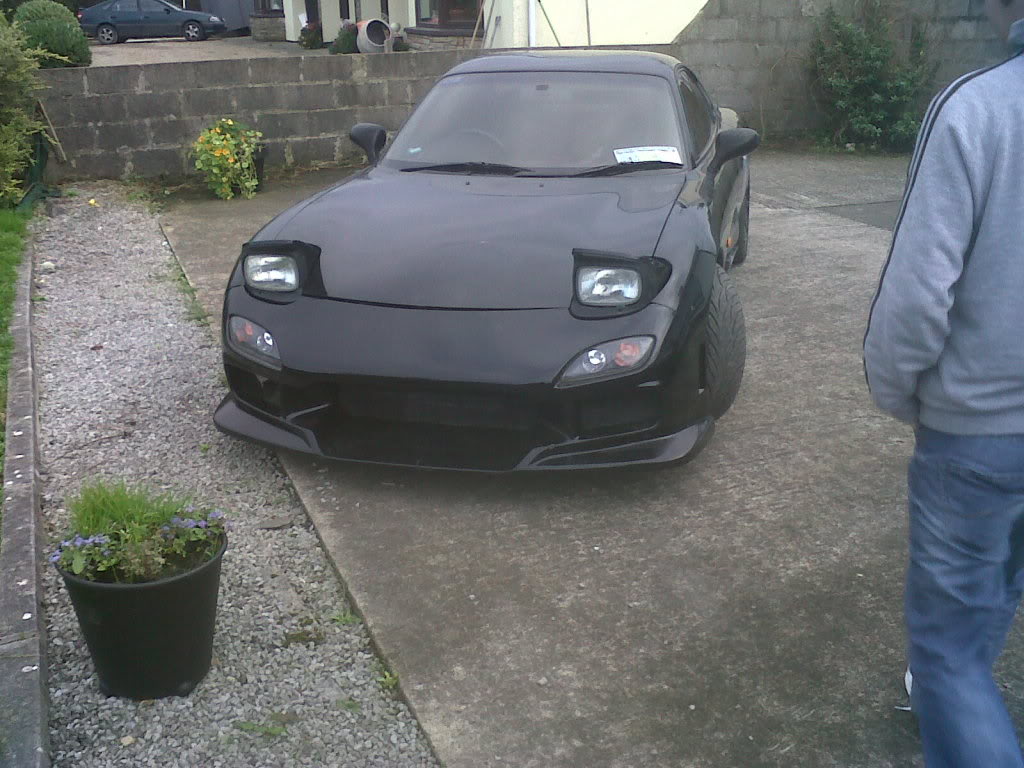
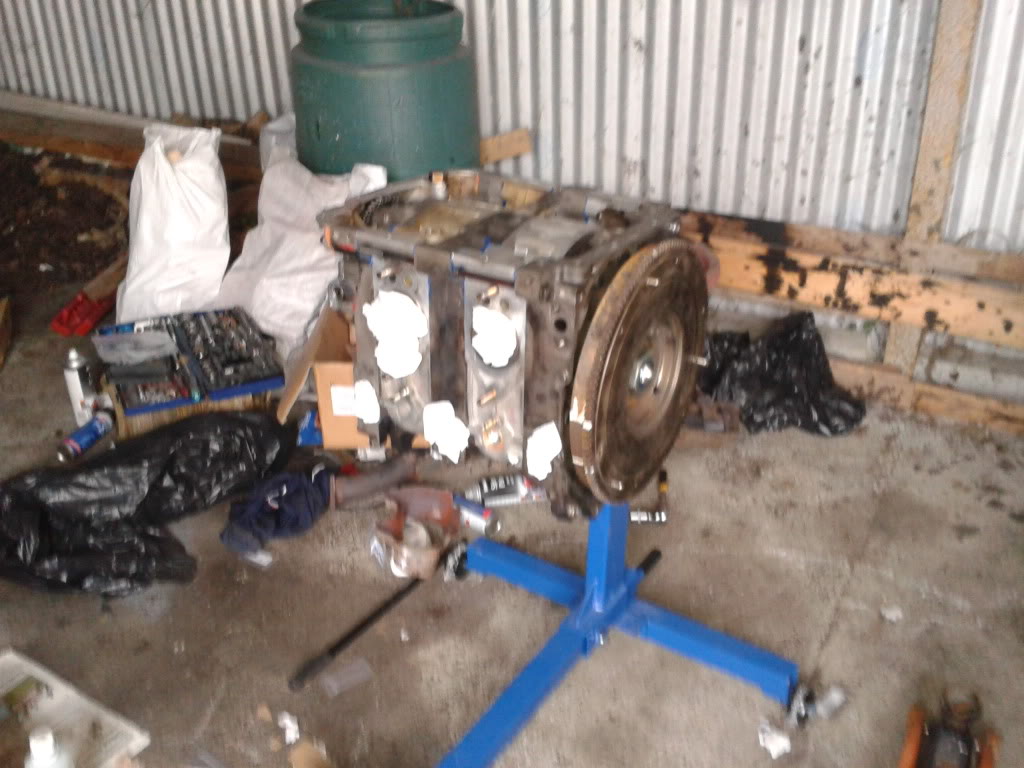
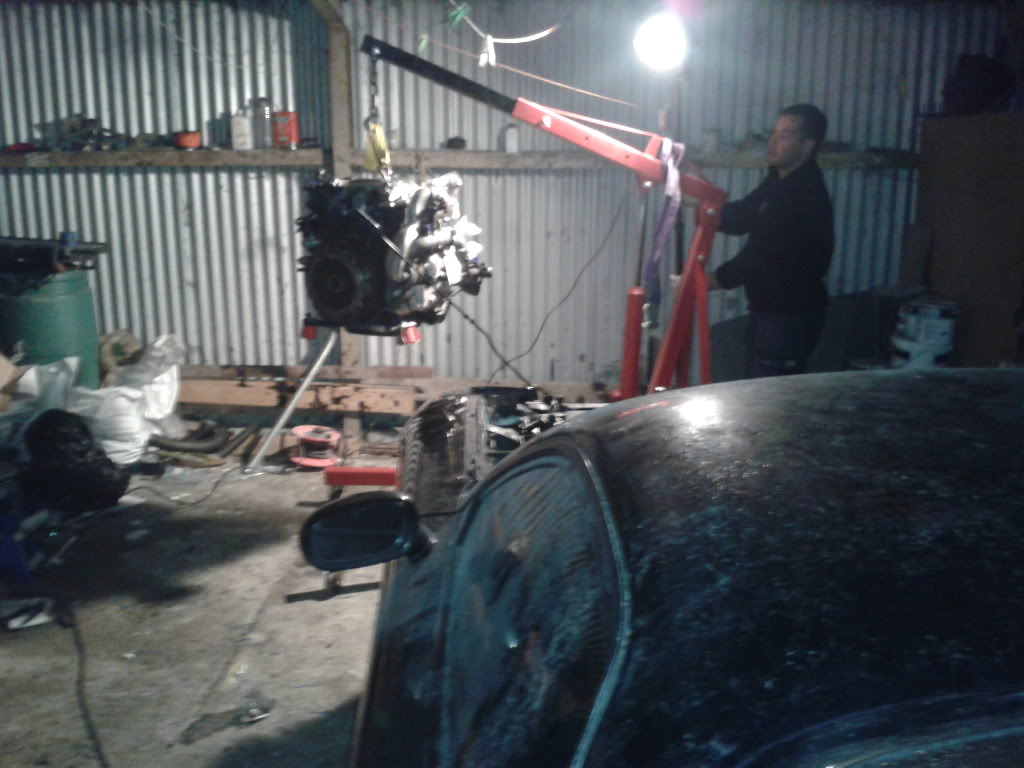
My name is Michael and I purchased my 1993 rx7 in August 2011. I bought it with the intention of carrying out a rebuild and on the 03rd of January 2012 I started.
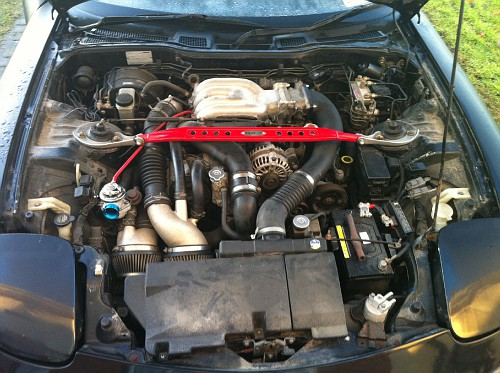
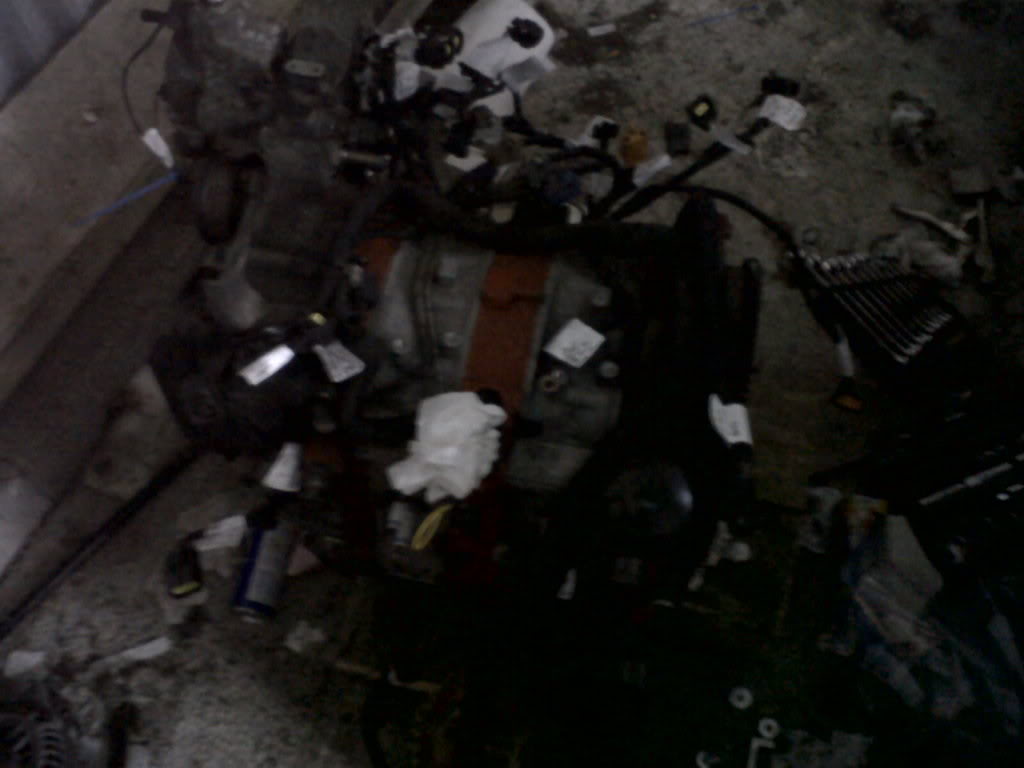
Started ripping everything out.
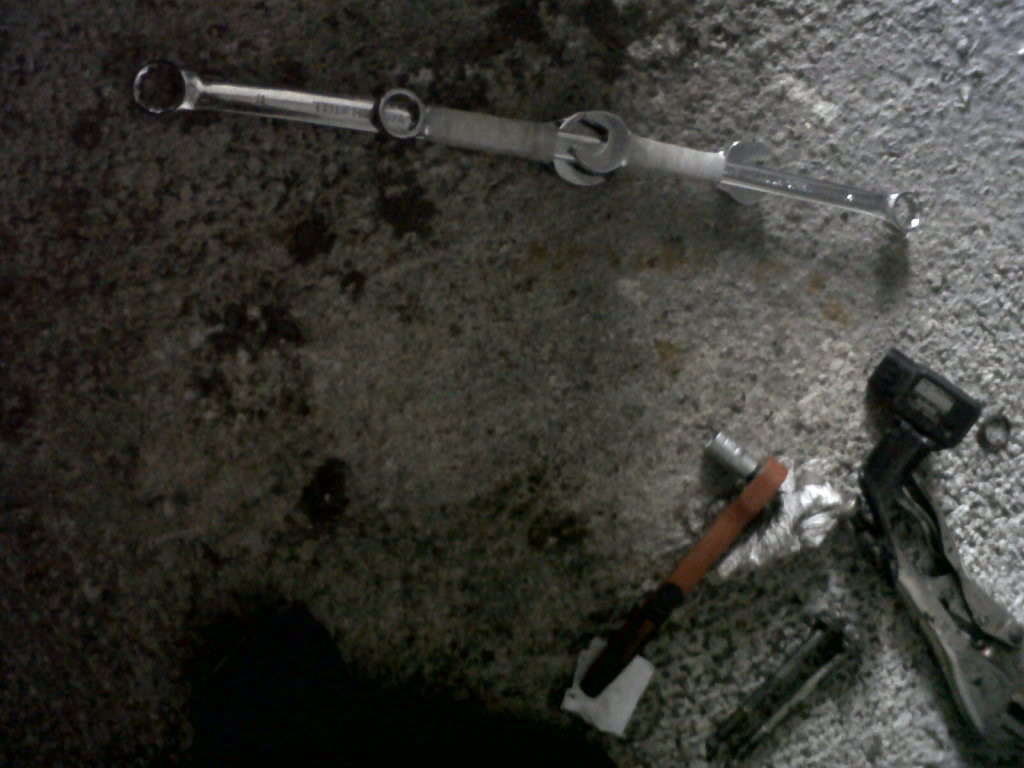
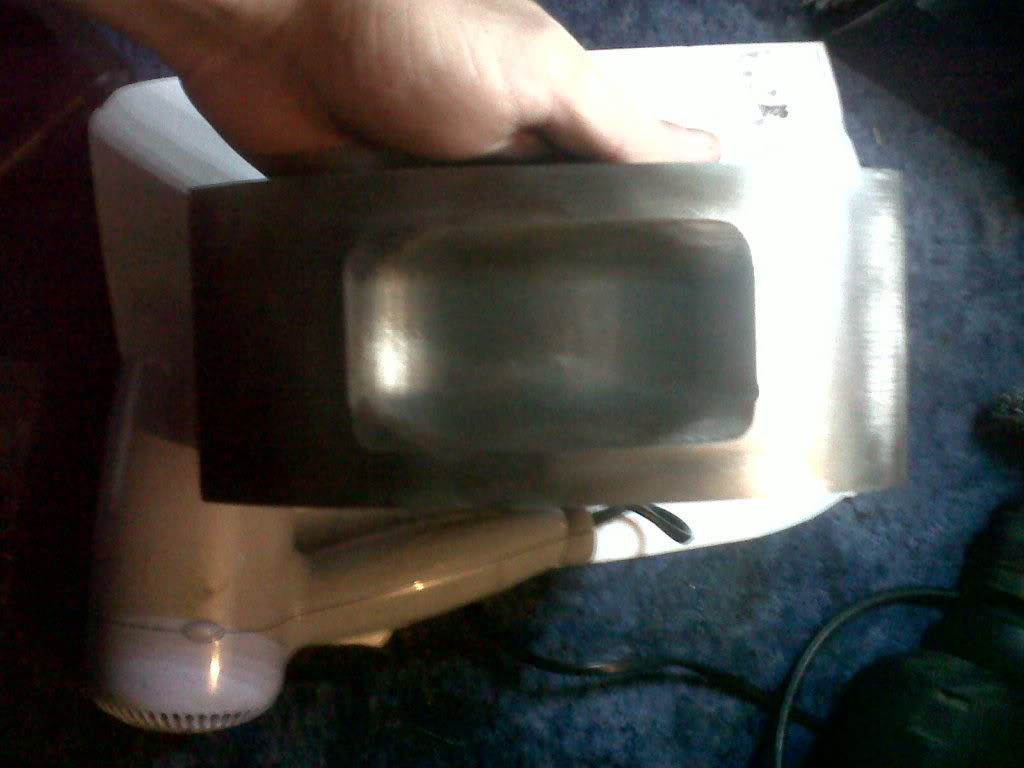
With all the correct tools This beauty was used to reach the top gearbox bolts.
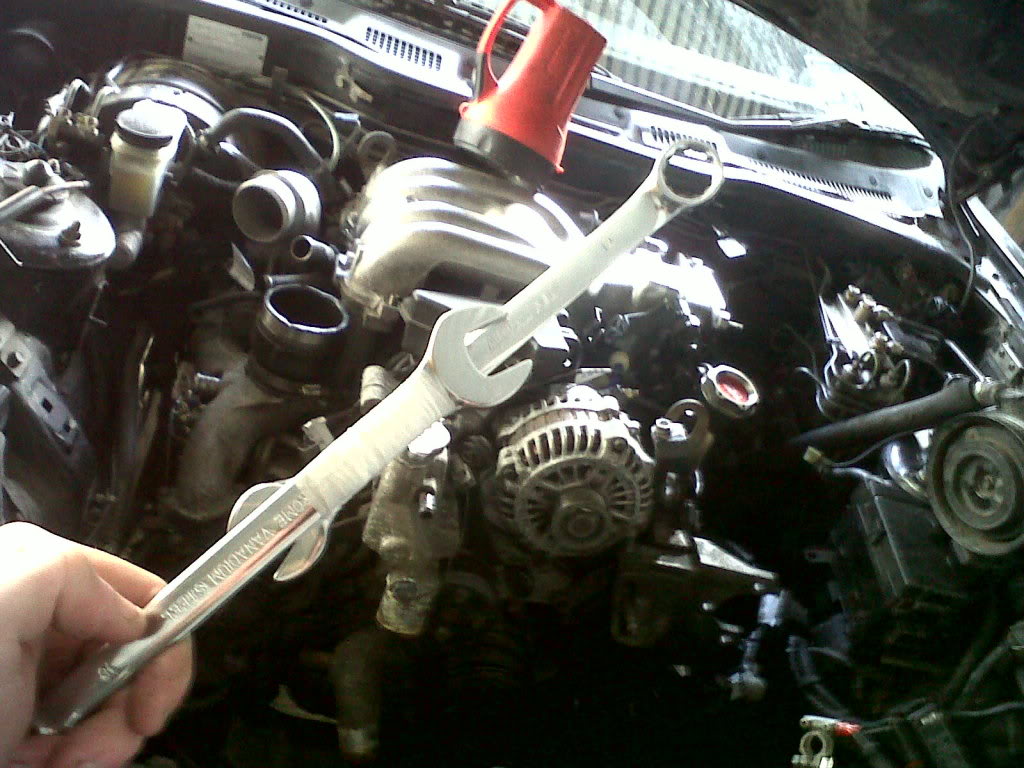
Two wasn't enough so added another, cost me a roll of frosted sellotape but it worked.
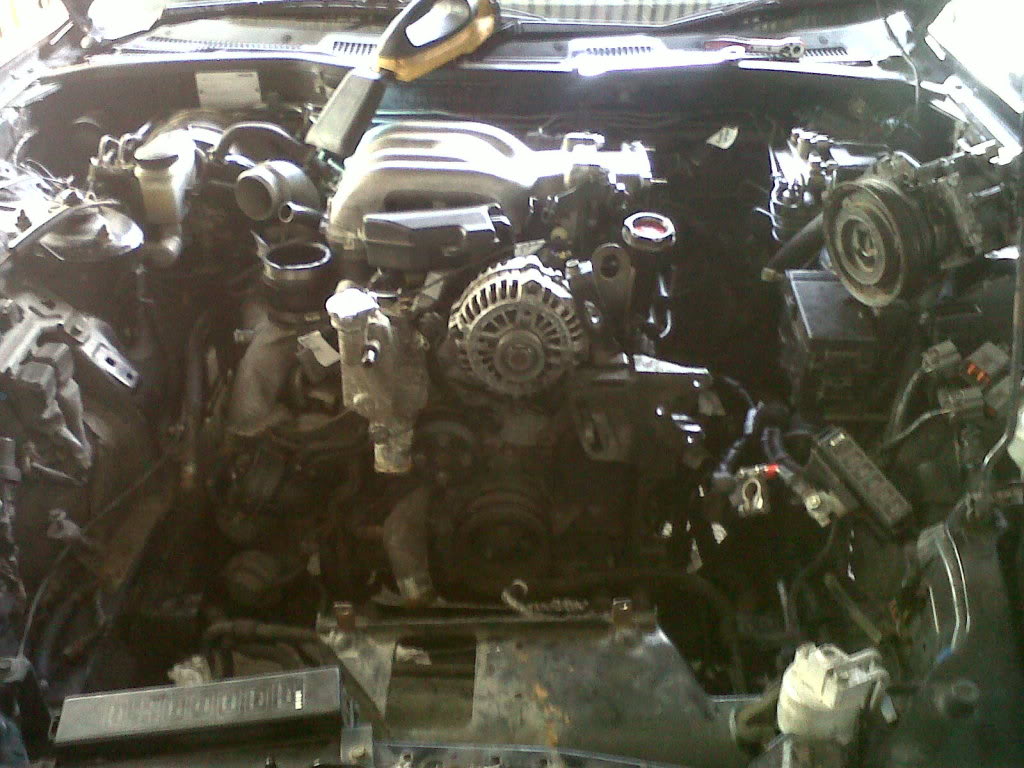
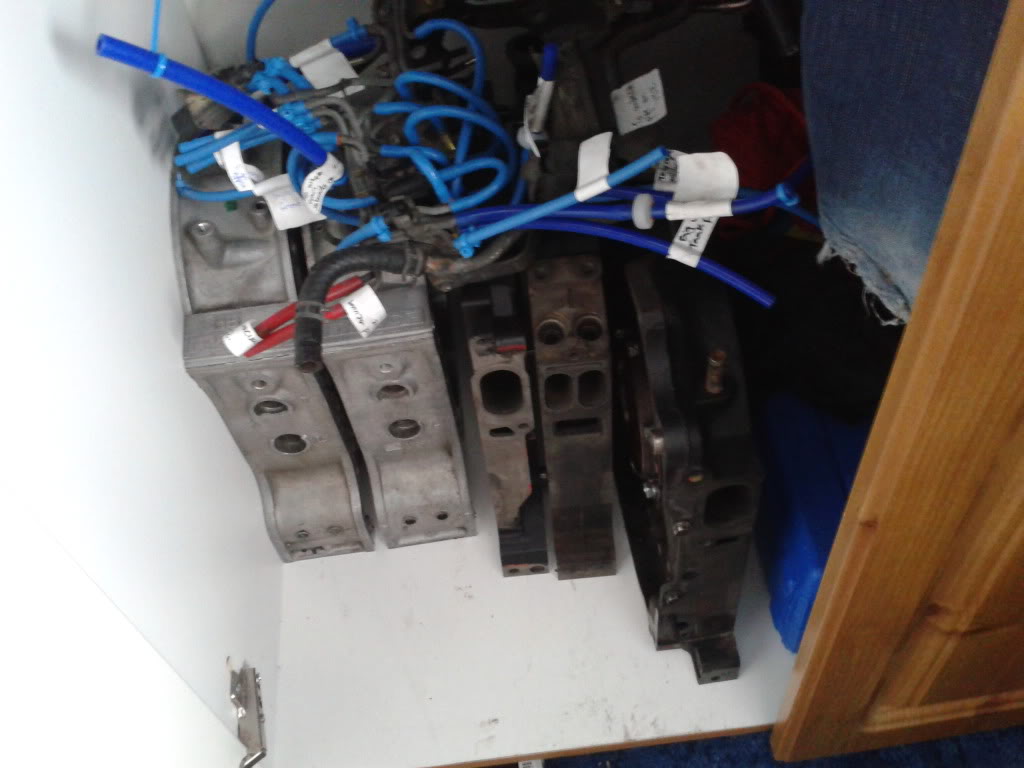
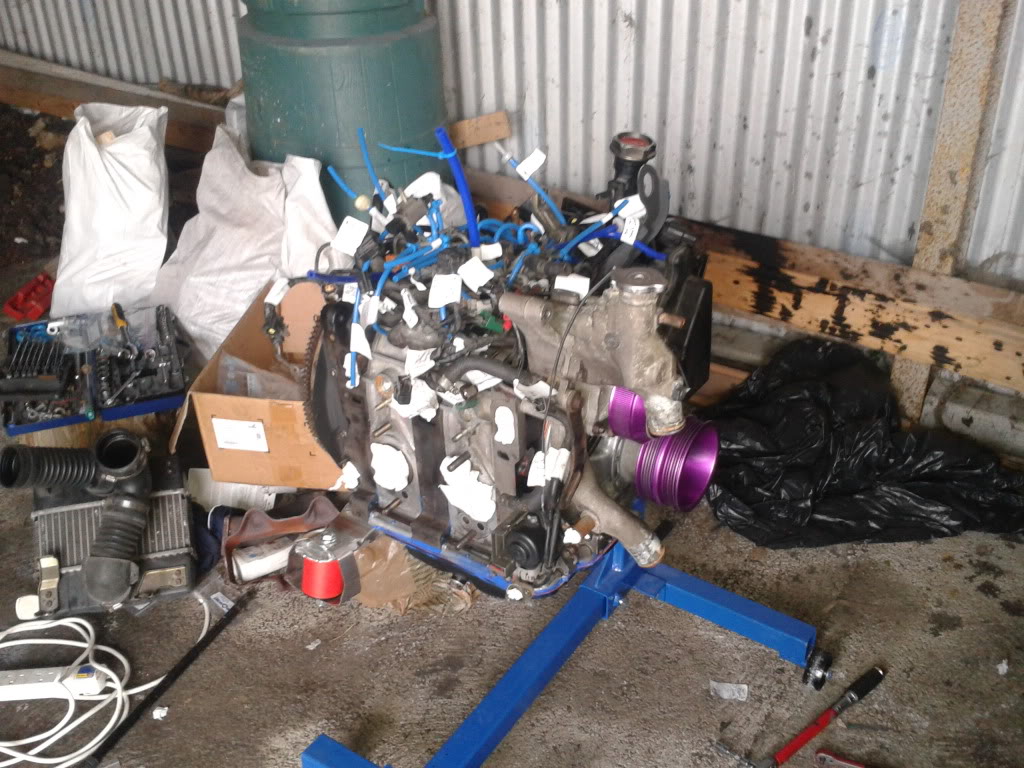
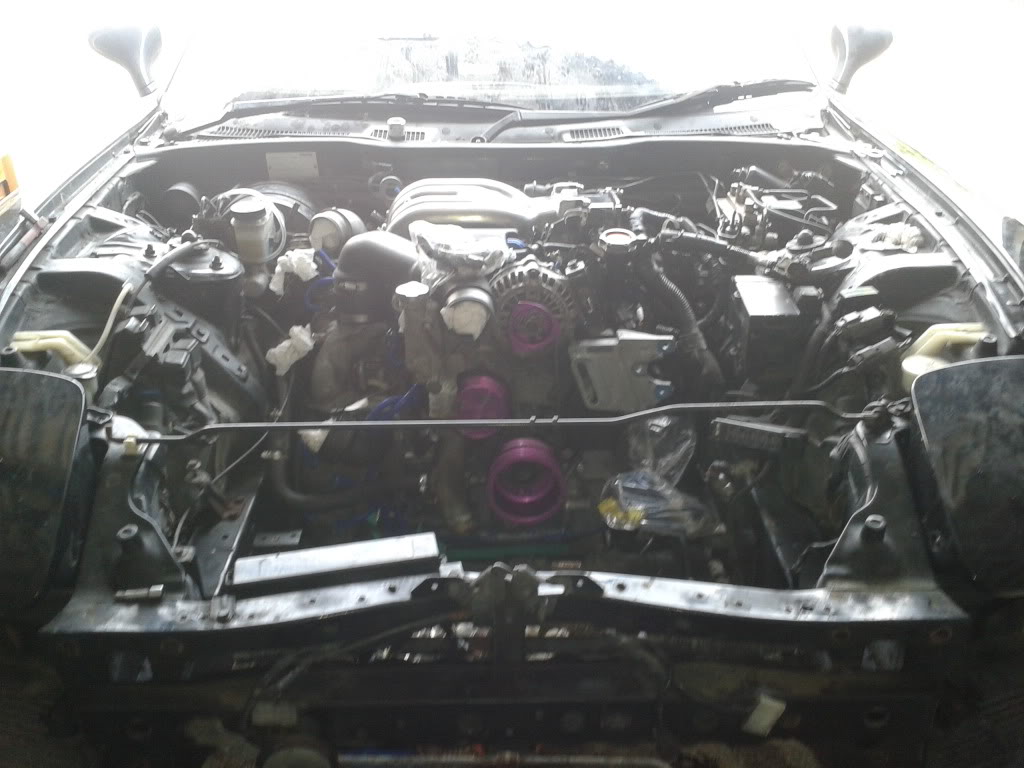
My assistant left me after we had the UIM removed and he saw the rats nest.
So I labelled everything up seeing as there is very little help if something goes wrong over here with a rotary.
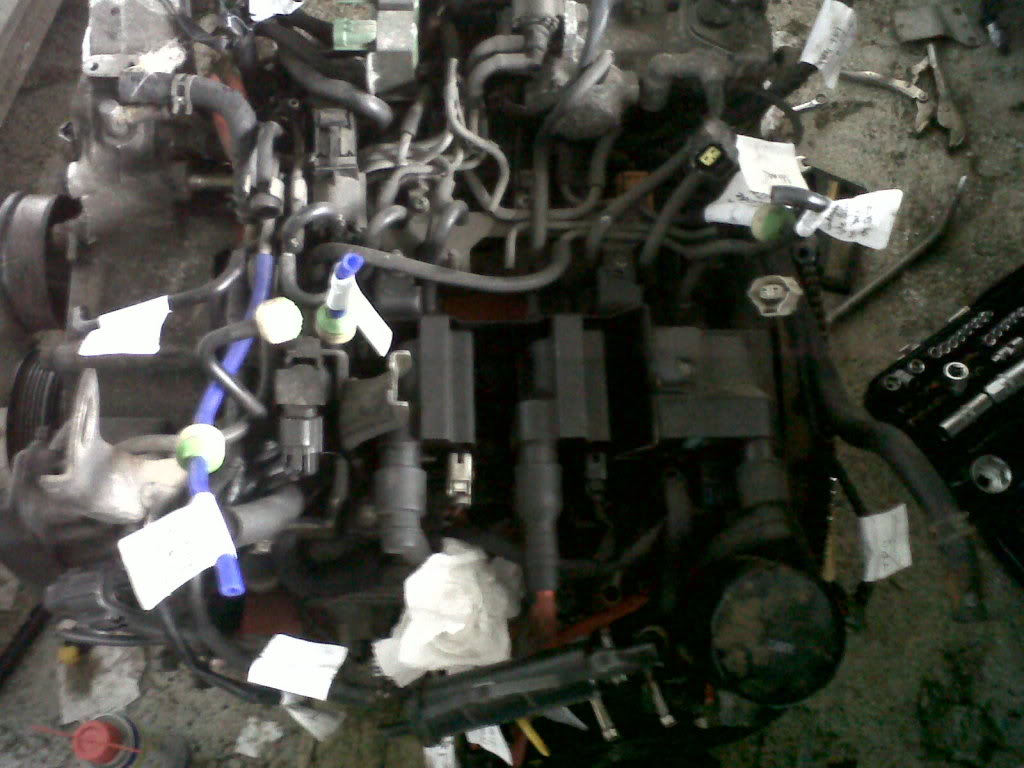
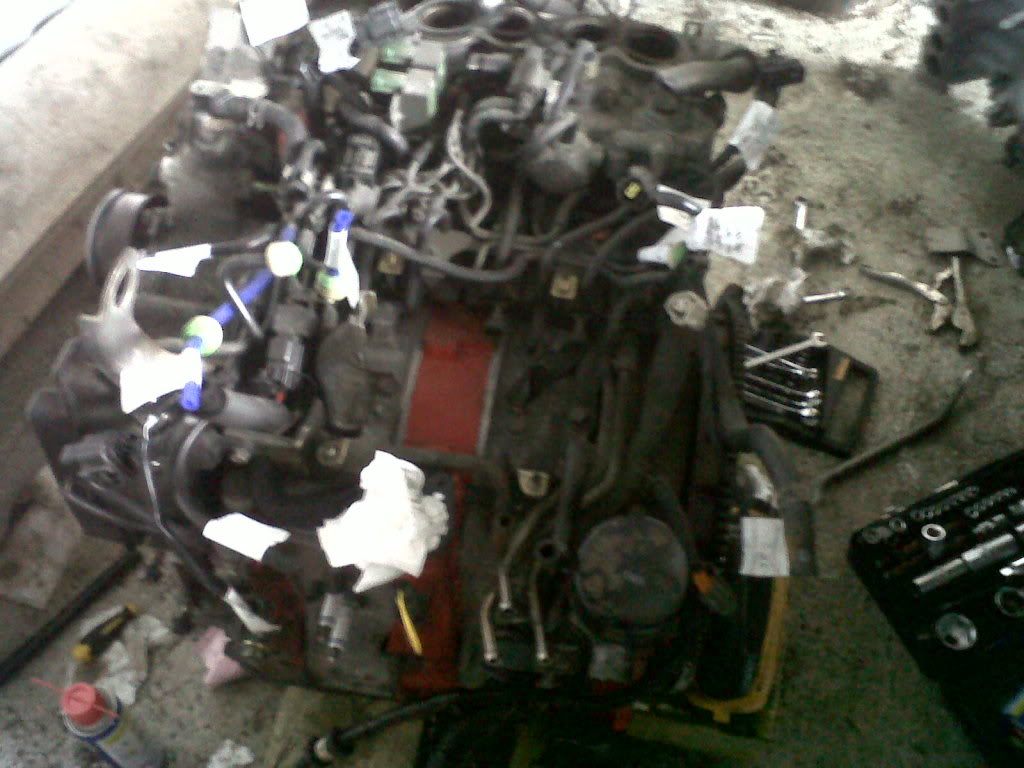
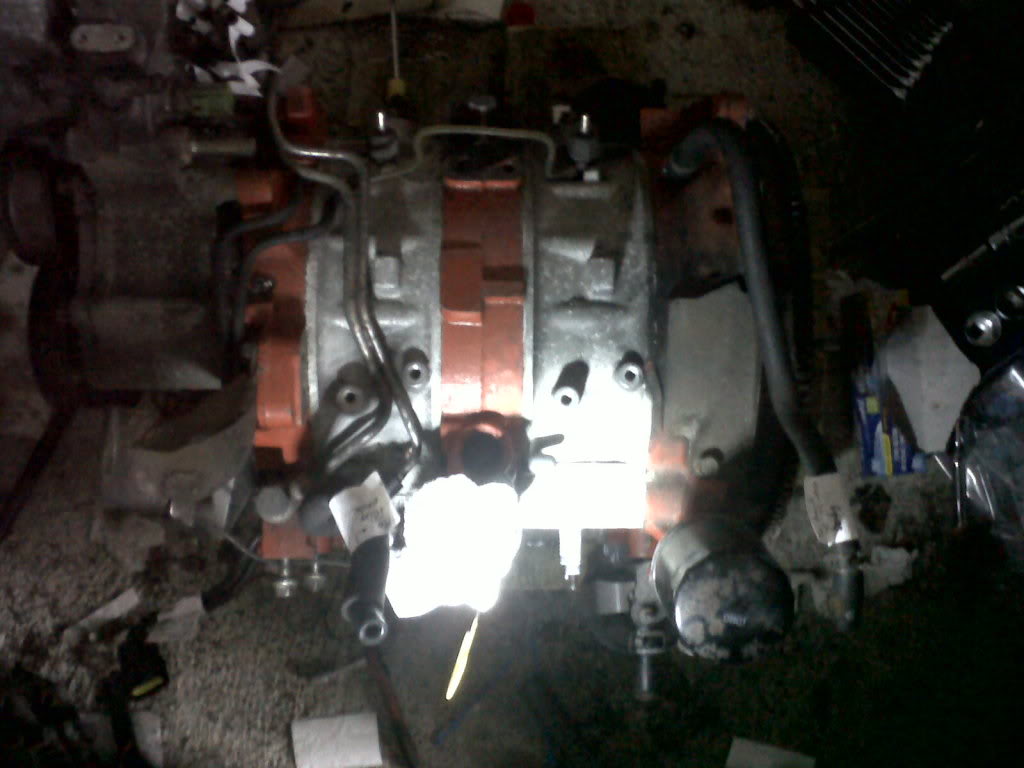
Getting tidy.
My name is Michael and I purchased my 1993 rx7 in August 2011. I bought it with the intention of carrying out a rebuild and on the 03rd of January 2012 I started.
Started ripping everything out.
With all the correct tools
This beauty was used to reach the top gearbox bolts.Two wasn't enough so added another, cost me a roll of frosted sellotape
but it worked.My assistant left me after we had the UIM removed and he saw the rats nest.
So I labelled everything up seeing as there is very little help if something goes wrong over here with a rotary.
Getting tidy.
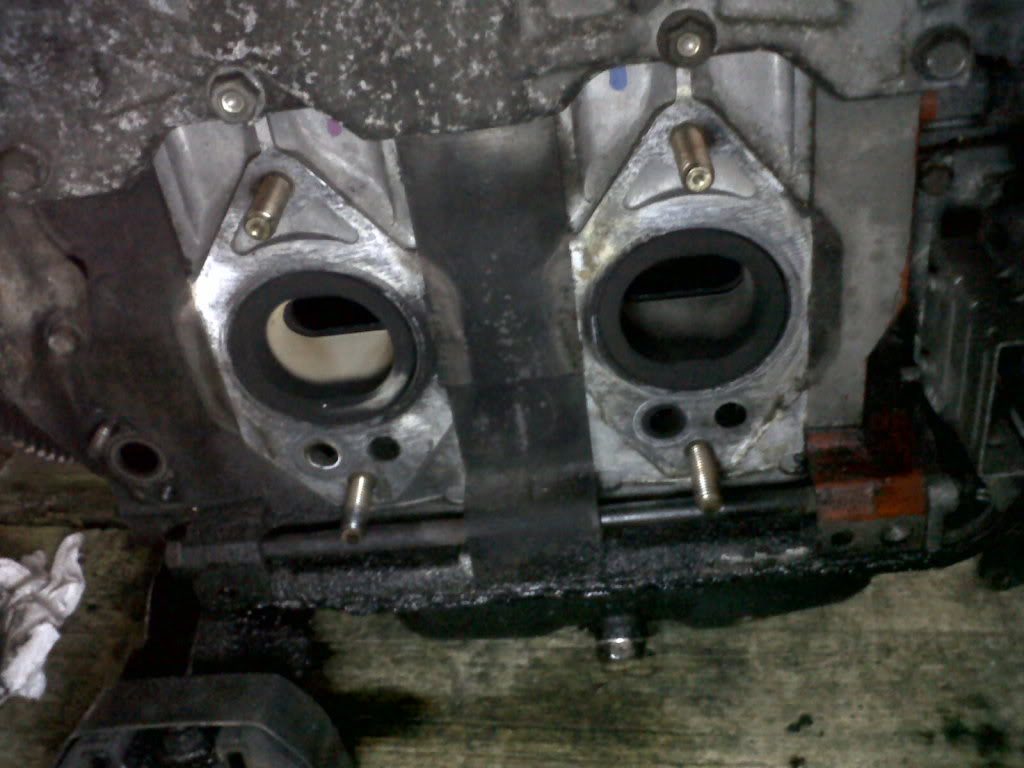
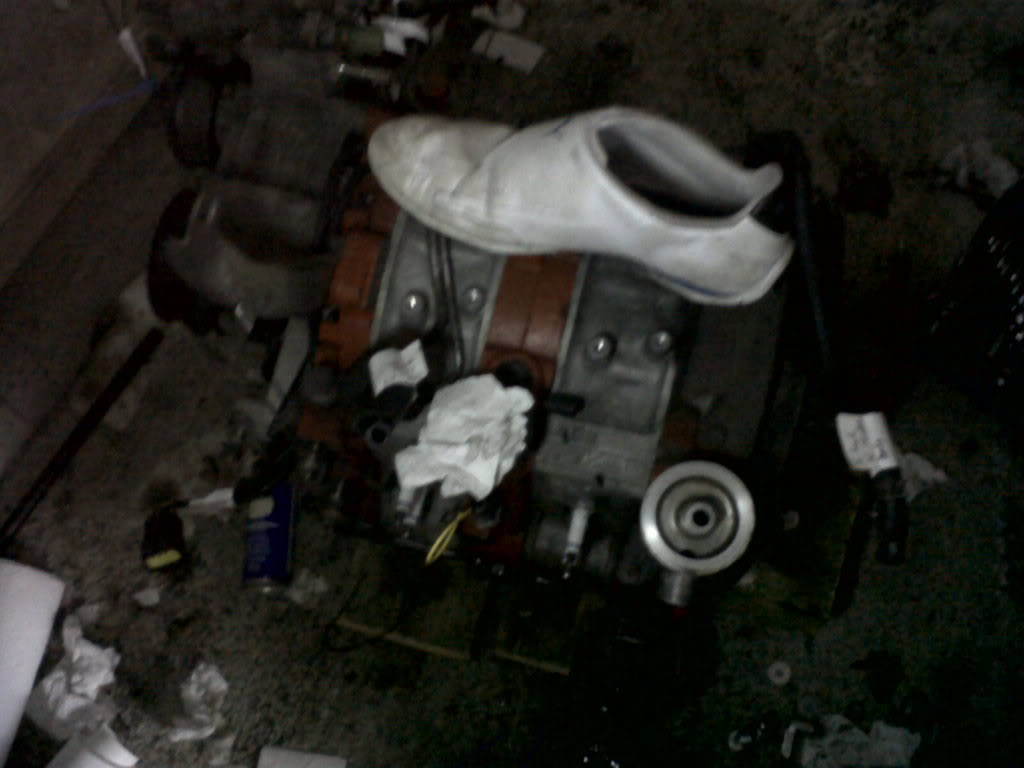
Size comparison to a size 9 shoe
Got it open eventually with the help of a 55mm socket, 2 meter extension bar and a few friend to hold it down
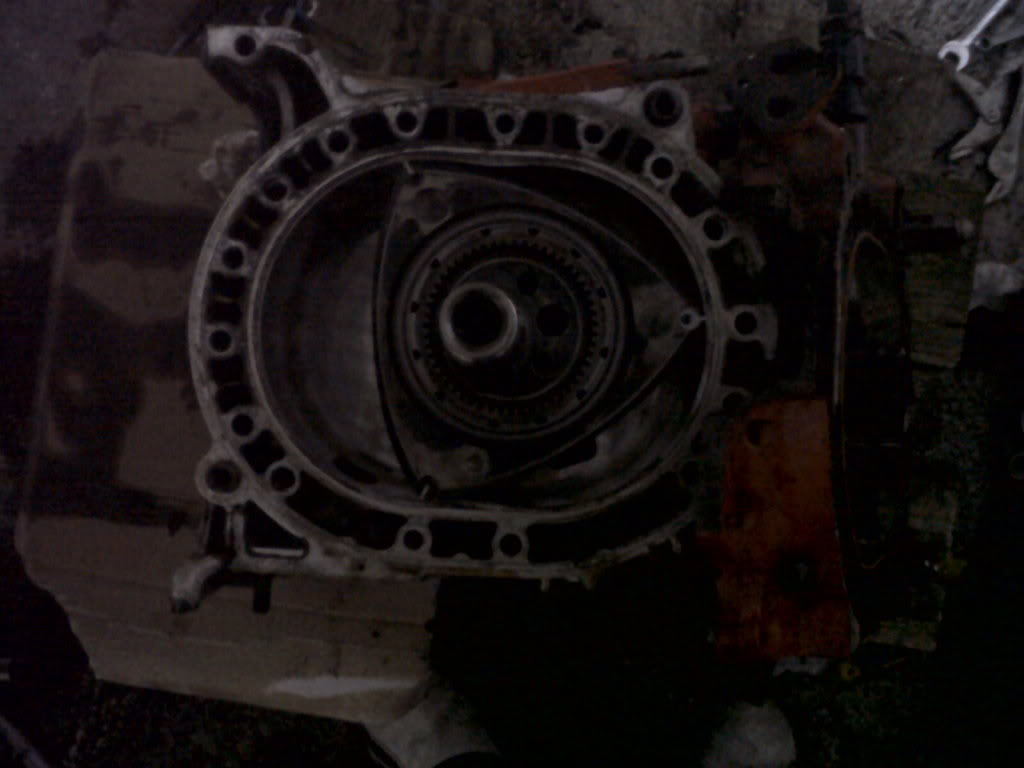
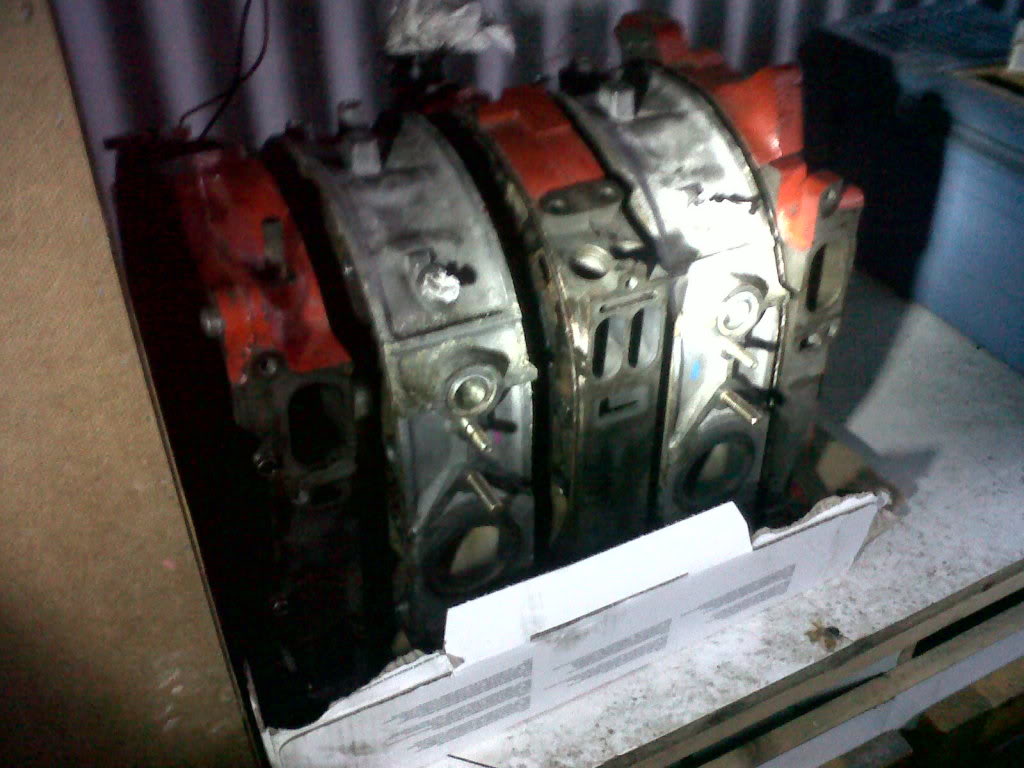
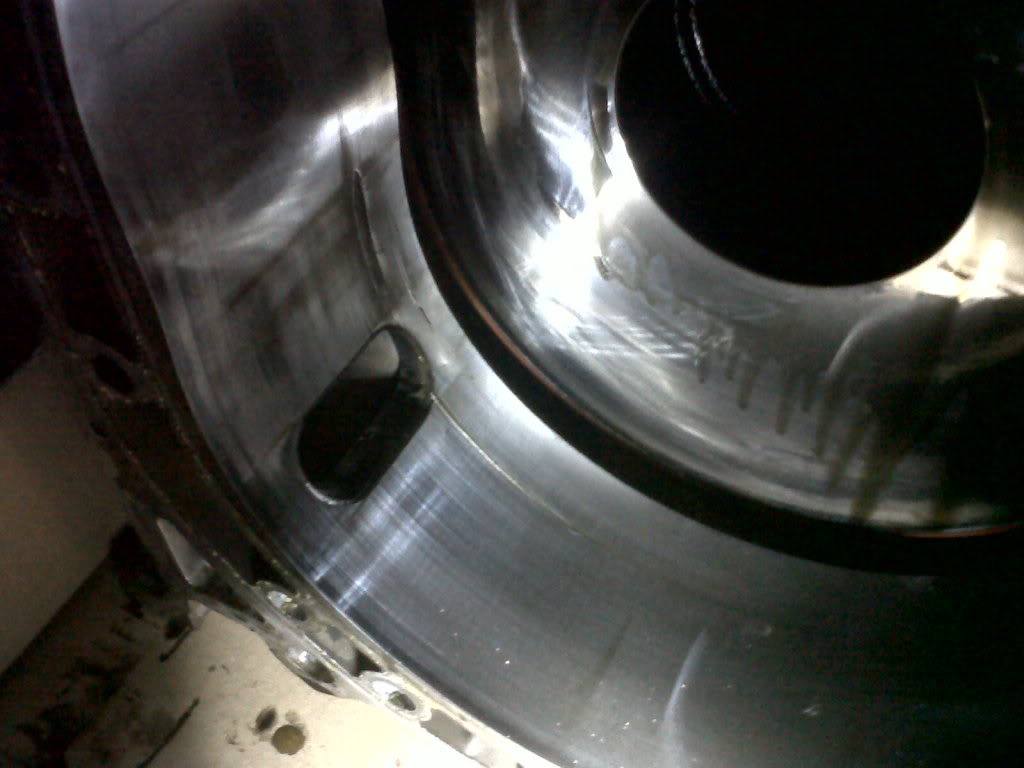
Front rotor and housing were scrap

Luckily I managed to find a car being broken fairly close by with a blown engine, so I went down with my toolbox and tore his engine apart taking the only salvageable part. 1 rotor.
I then gave a few people a call on Irish rotary and tracked down a good condition rotor housing from a 2000 car.
At this point I purchased the rebuild kit from Atkins and started cleaning everything.
Rebuilt solenoid rack, all new silicone hoses and replaced the majority of solenoids. Not fun checking everyone of them with a mityvac
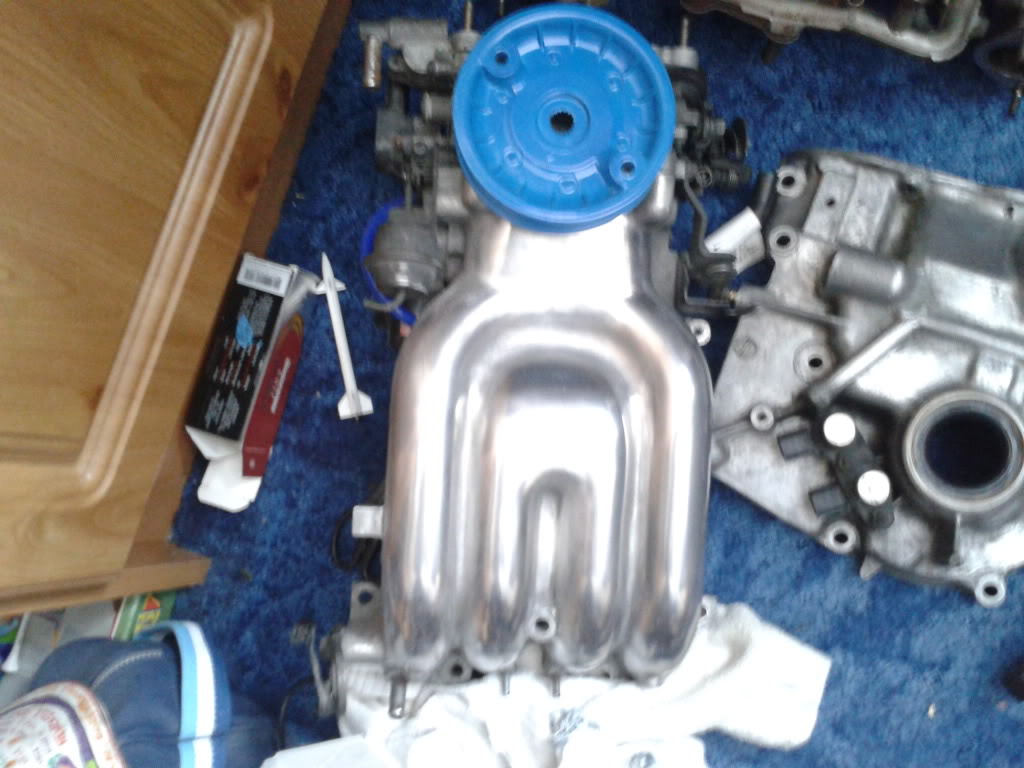
Started polishing my UIM and painting pulleys.
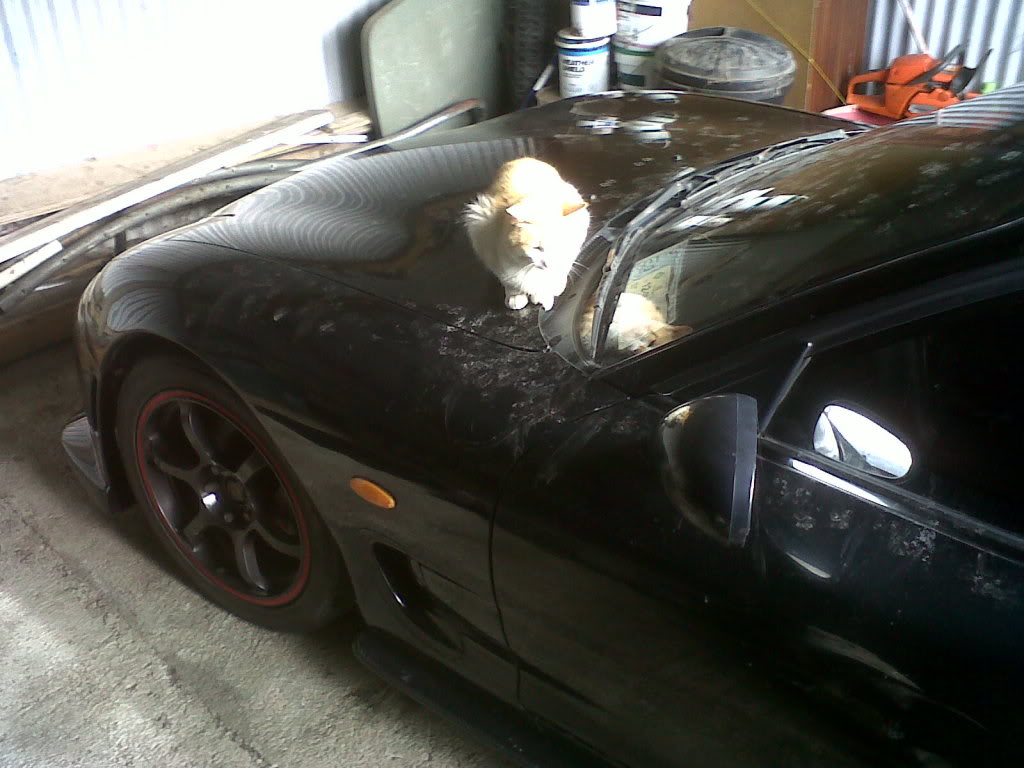
Cat seemed to like the car being broken
Got it open eventually with the help of a 55mm socket, 2 meter extension bar and a few friend to hold it down
Front rotor and housing were scrap
Luckily I managed to find a car being broken fairly close by with a blown engine, so I went down with my toolbox and tore his engine apart taking the only salvageable part. 1 rotor.
I then gave a few people a call on Irish rotary and tracked down a good condition rotor housing from a 2000 car.
At this point I purchased the rebuild kit from Atkins and started cleaning everything.
Rebuilt solenoid rack, all new silicone hoses and replaced the majority of solenoids. Not fun checking everyone of them with a mityvac
Started polishing my UIM and painting pulleys.
Cat seemed to like the car being broken
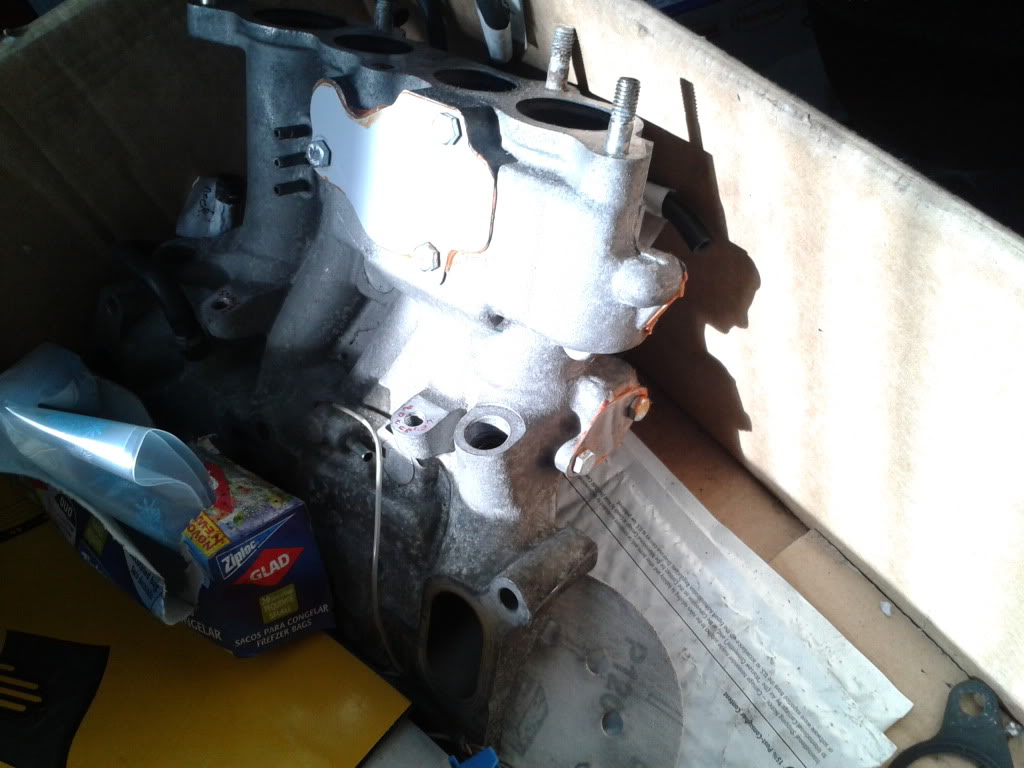
Removed the aircon and air pump seeing as the cat had blown itself up (thats what caused the engine to fail).
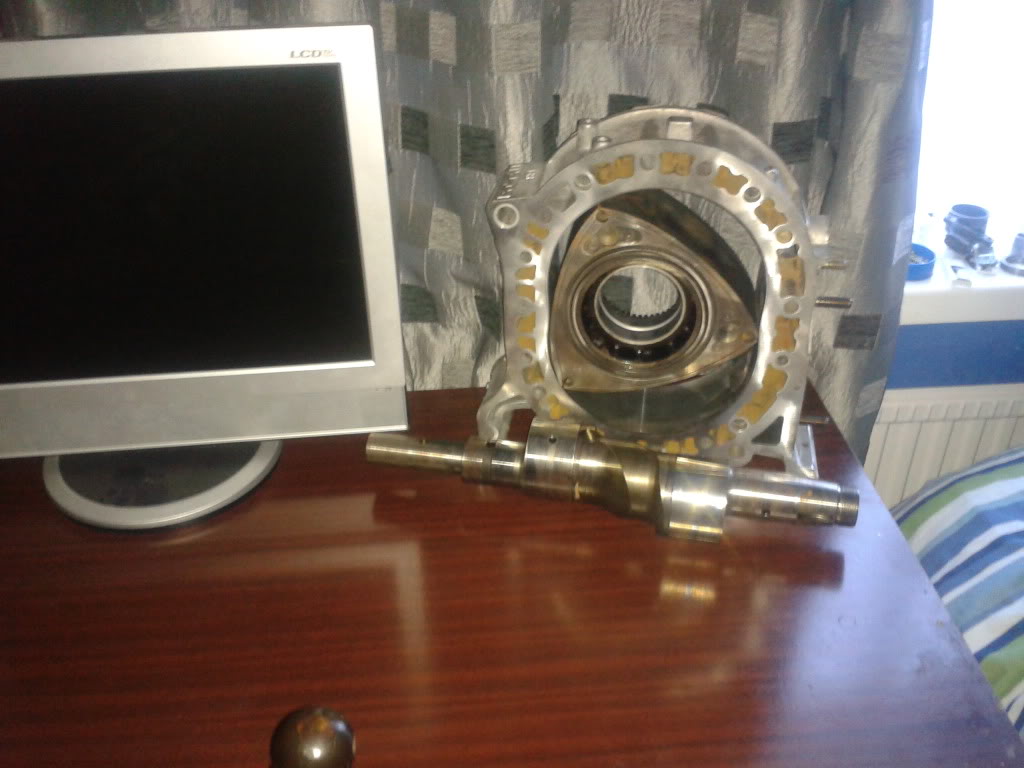
Created my own block off plates use the side of an old pc
Desk ornaments. E-Shaft is scrap due to the pilot bearing burning out inside due to previous owner not installing the seal.
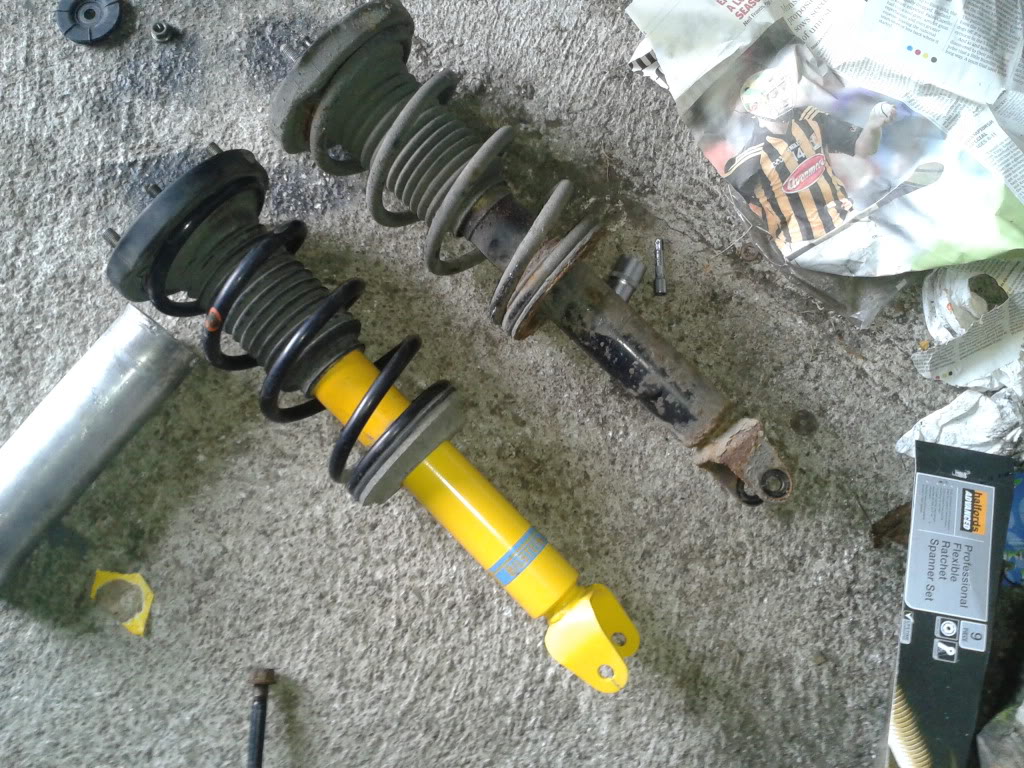
Got some new to me Bilstein shocks and a fully working cluster.

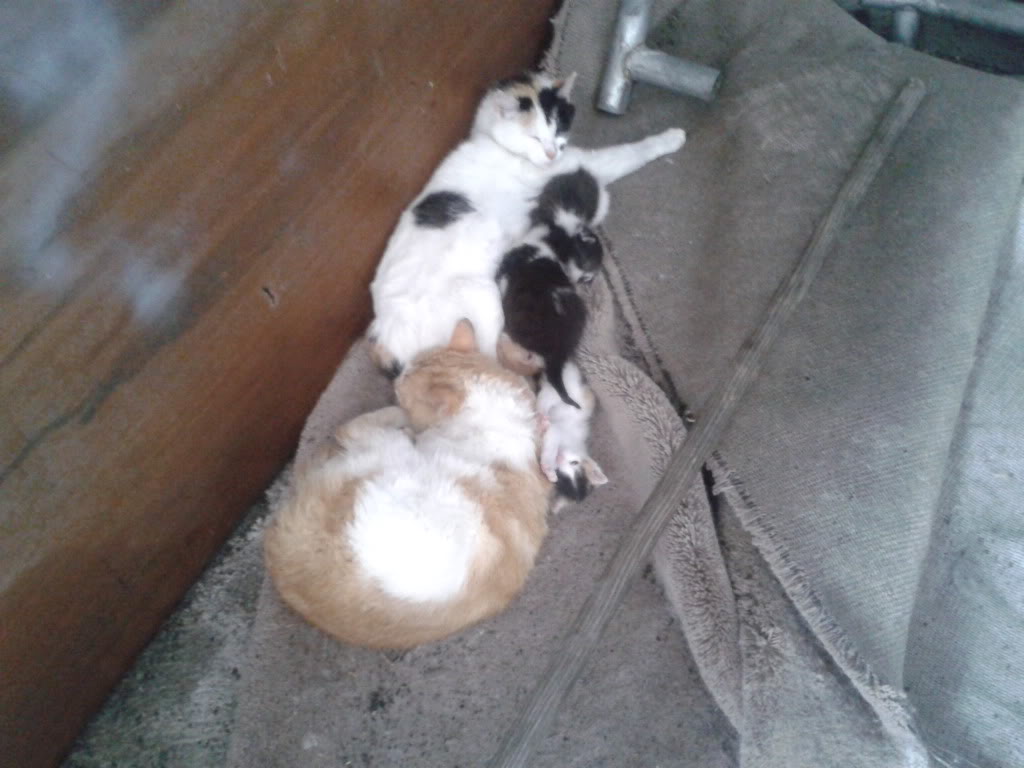
Yay, more cats.
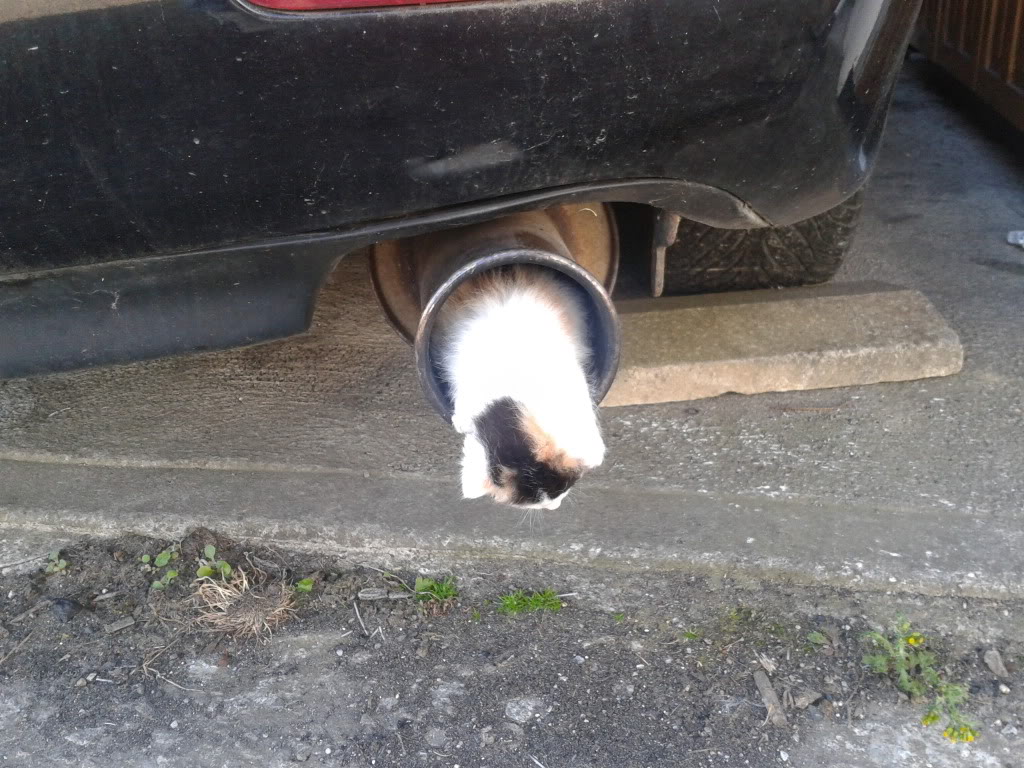
Tried a new cat in my exhaust system, it didn't want to stay in there either though haha
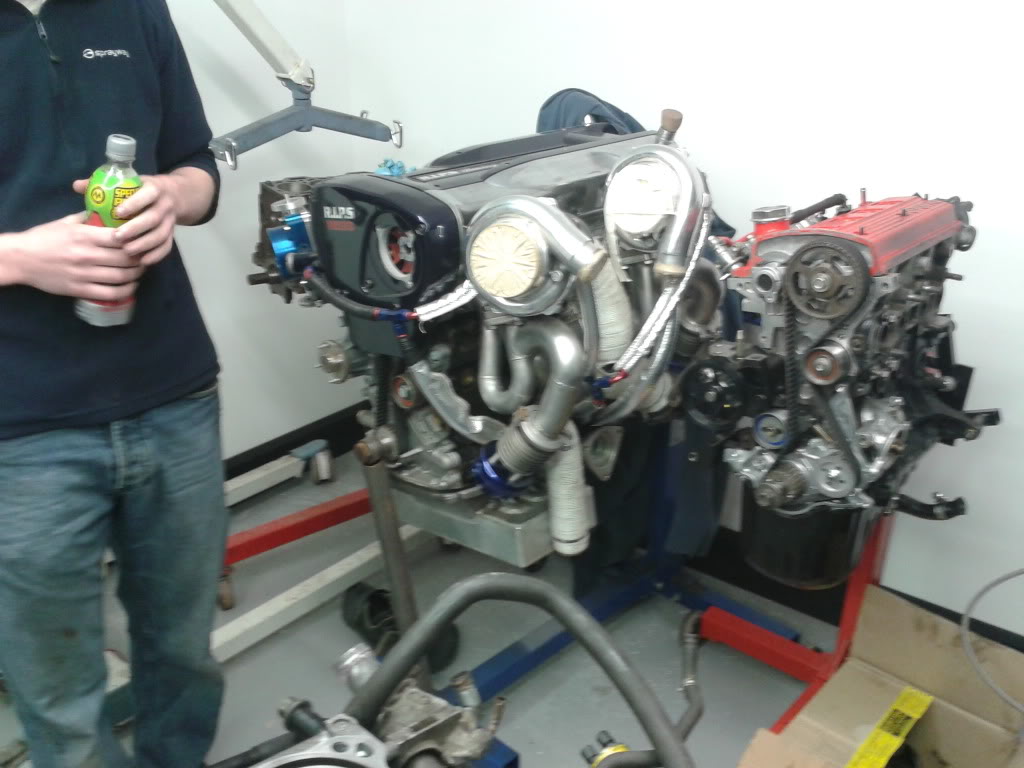
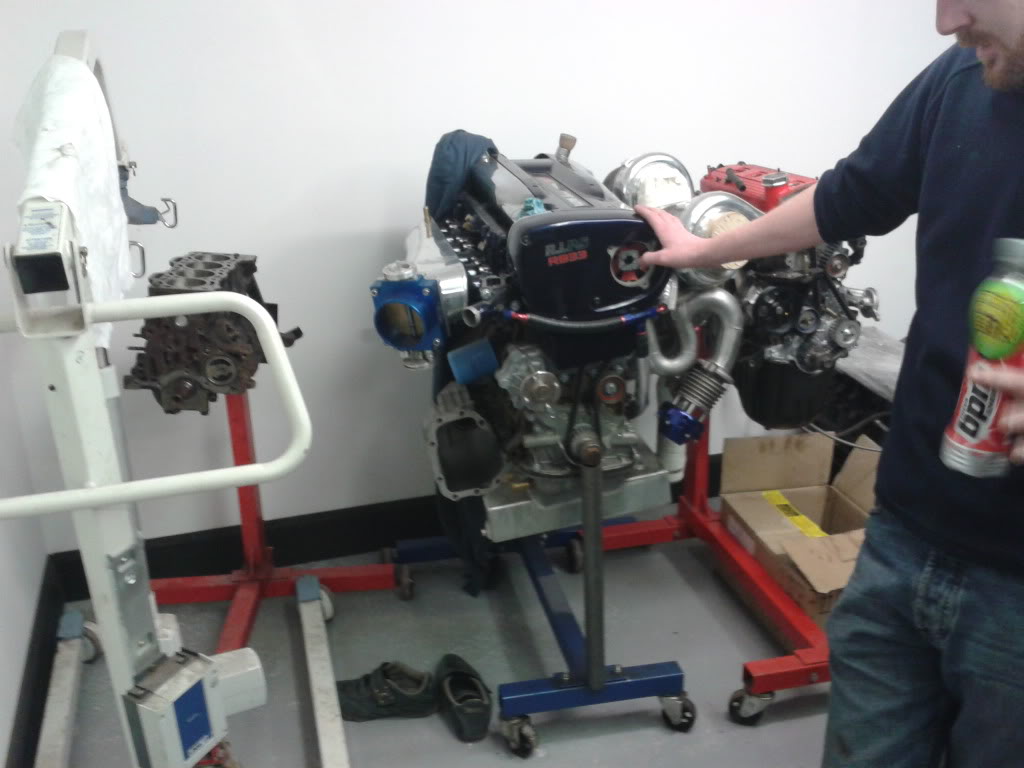
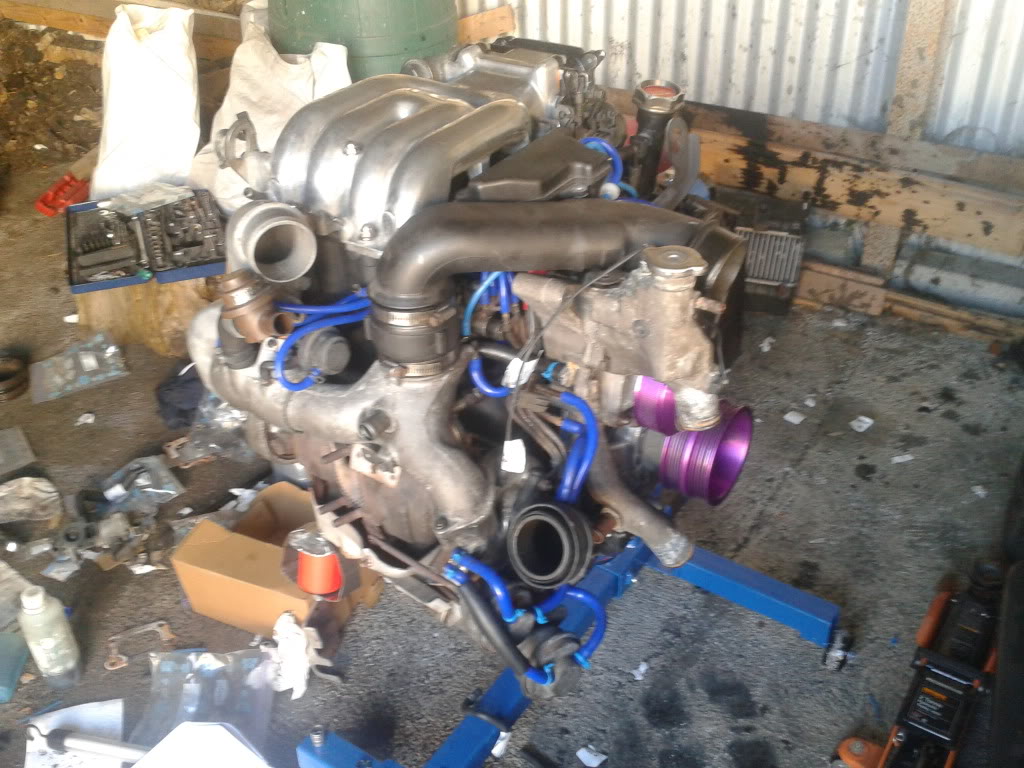
Went to a dyno day with a few silvias and rx7s. Engine room at the garage.
RB33
Created my own block off plates use the side of an old pc
Desk ornaments. E-Shaft is scrap due to the pilot bearing burning out inside due to previous owner not installing the seal.
Got some new to me Bilstein shocks and a fully working cluster.
Yay, more cats.
Tried a new cat in my exhaust system, it didn't want to stay in there either though haha
Went to a dyno day with a few silvias and rx7s. Engine room at the garage.
RB33
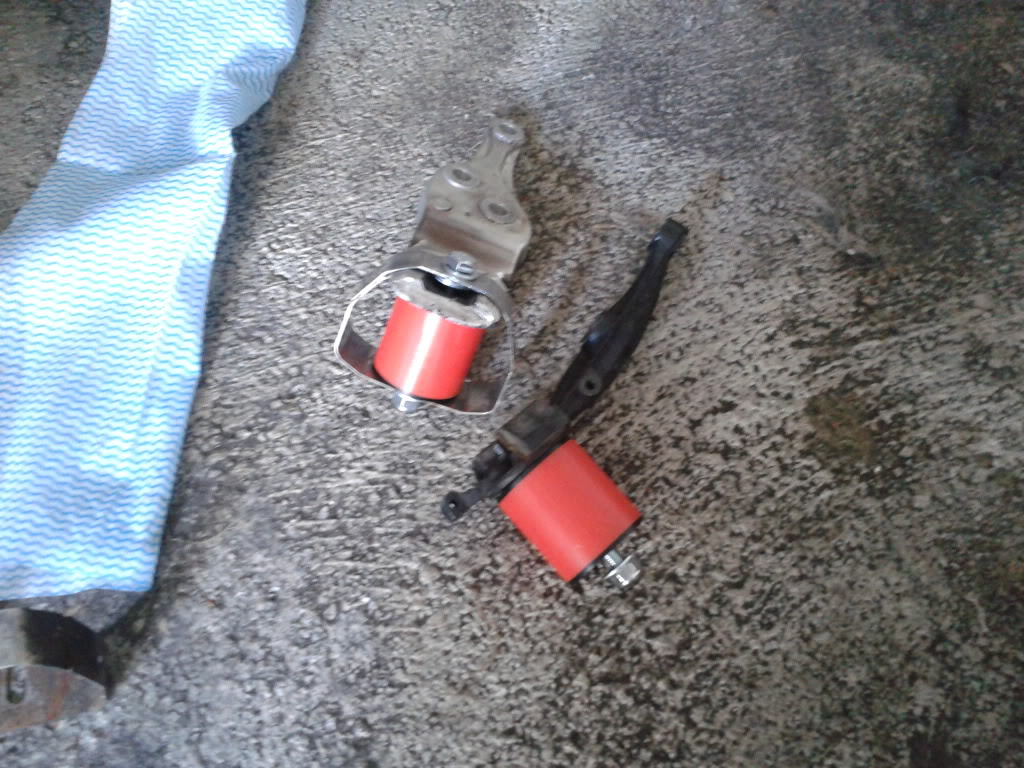
Got my new polyurethane engine mounts and modified the aluminium mount to fit.
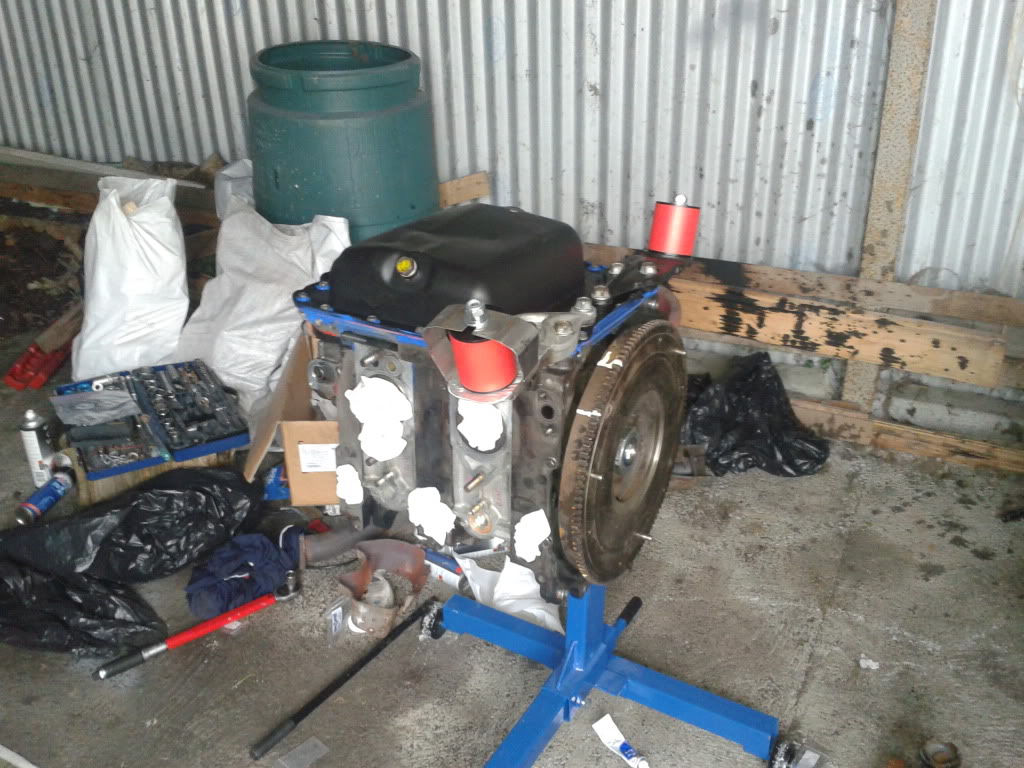
So the dyno day inspired me to get the finger out and I started my build, unfortunatly I got so involved I forgot to take any pictures. All I can say is there are very few things vaseline can't be used for Finished up with this after 9 hours cleaning and 2 hours assembly.
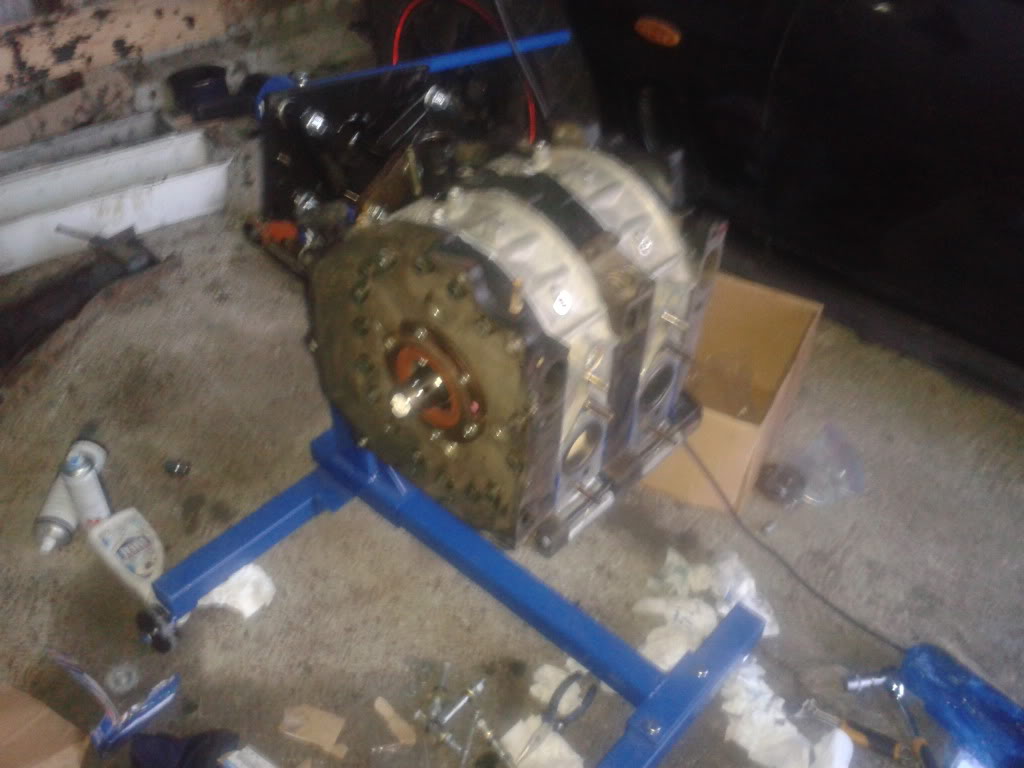
Flywheel back on
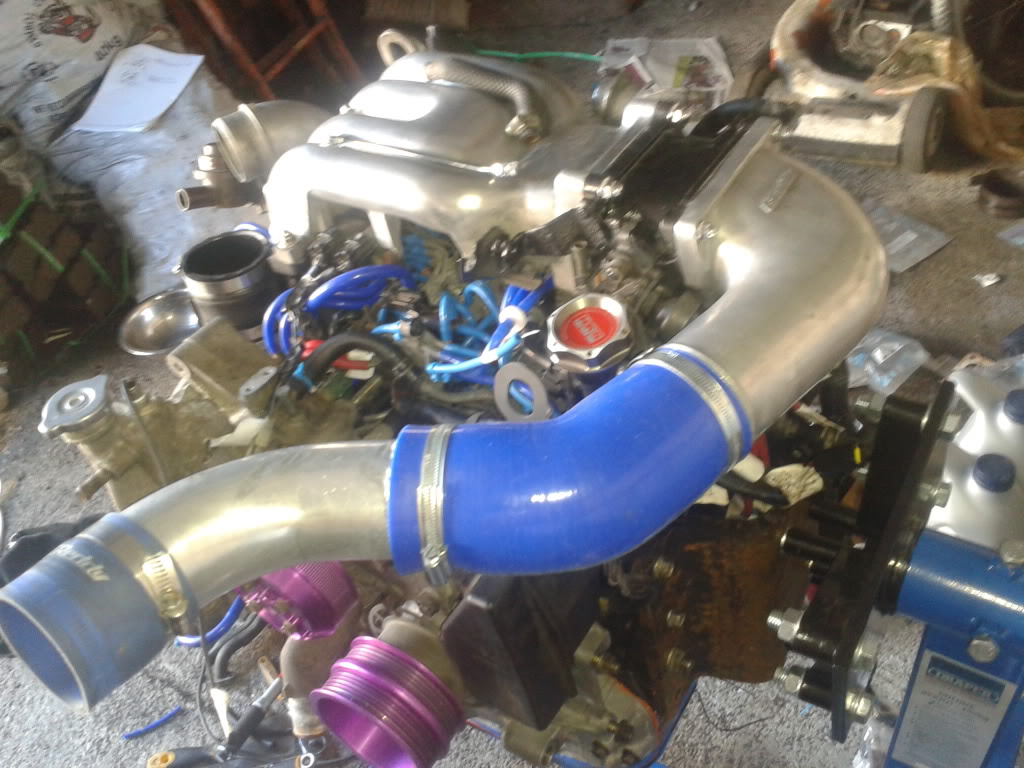
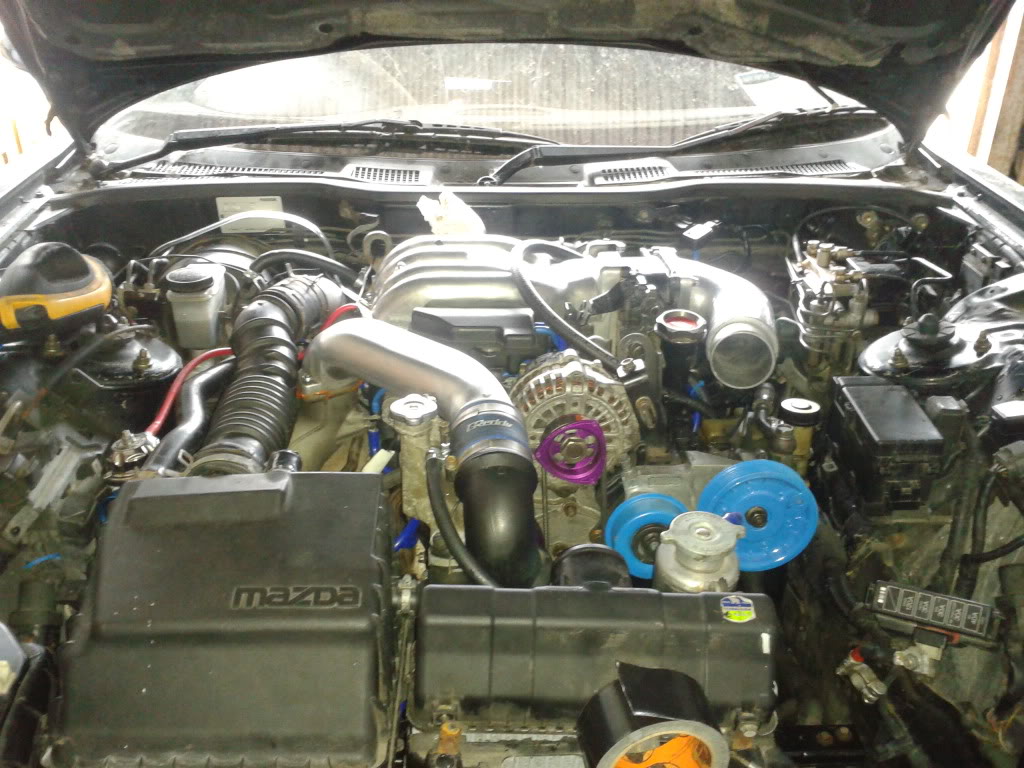
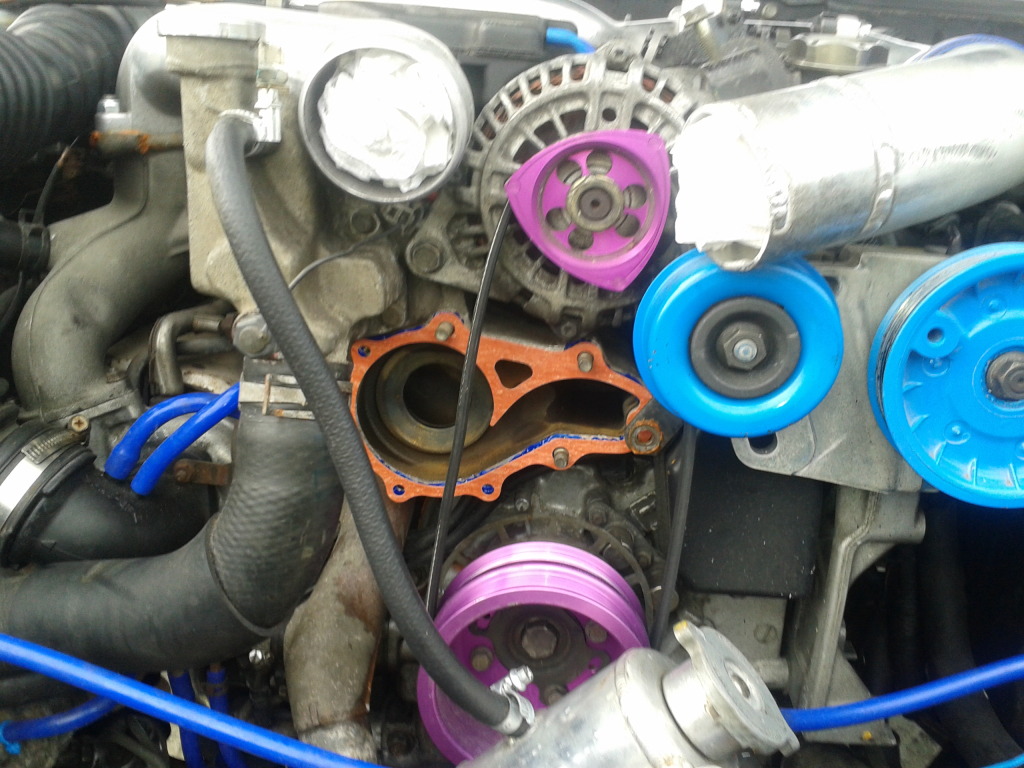
Got some nice new aluminium pulleys to underdrive the waterpump and a GReddy elbow.
Saw it on here somewhere so removed UIM casting lines
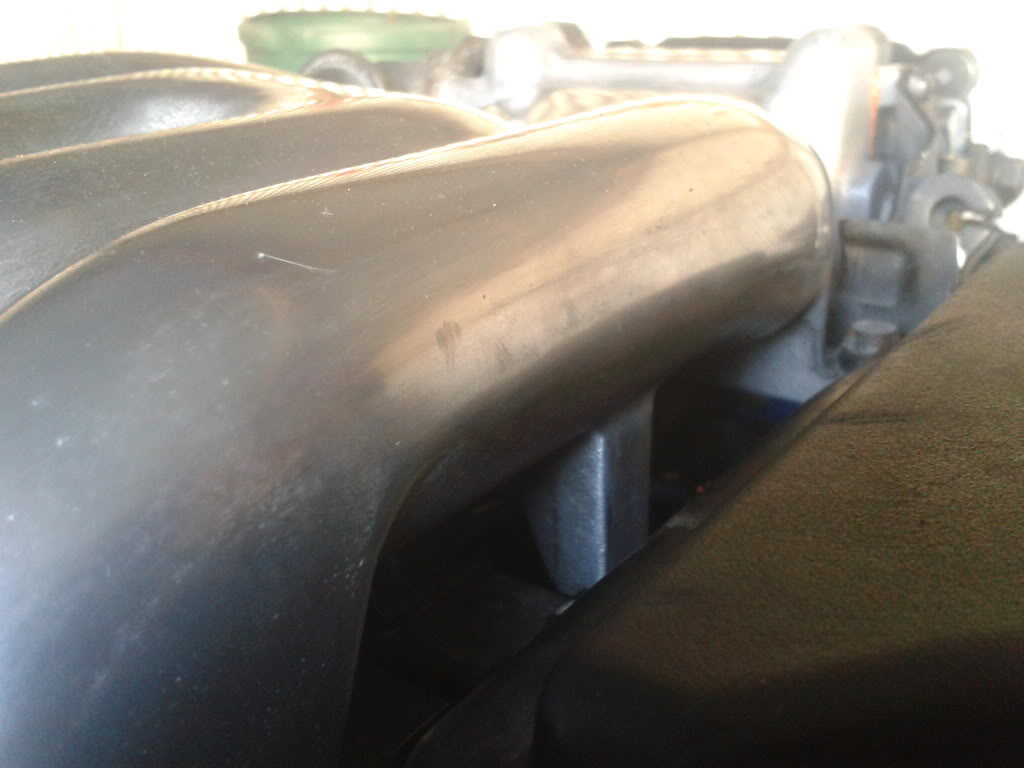
With the help of a friend
So the dyno day inspired me to get the finger out and I started my build, unfortunatly I got so involved I forgot to take any pictures. All I can say is there are very few things vaseline can't be used for
Finished up with this after 9 hours cleaning and 2 hours assembly.Flywheel back on
Got some nice new aluminium pulleys to underdrive the waterpump and a GReddy elbow.
Saw it on here somewhere so removed UIM casting lines
With the help of a friend
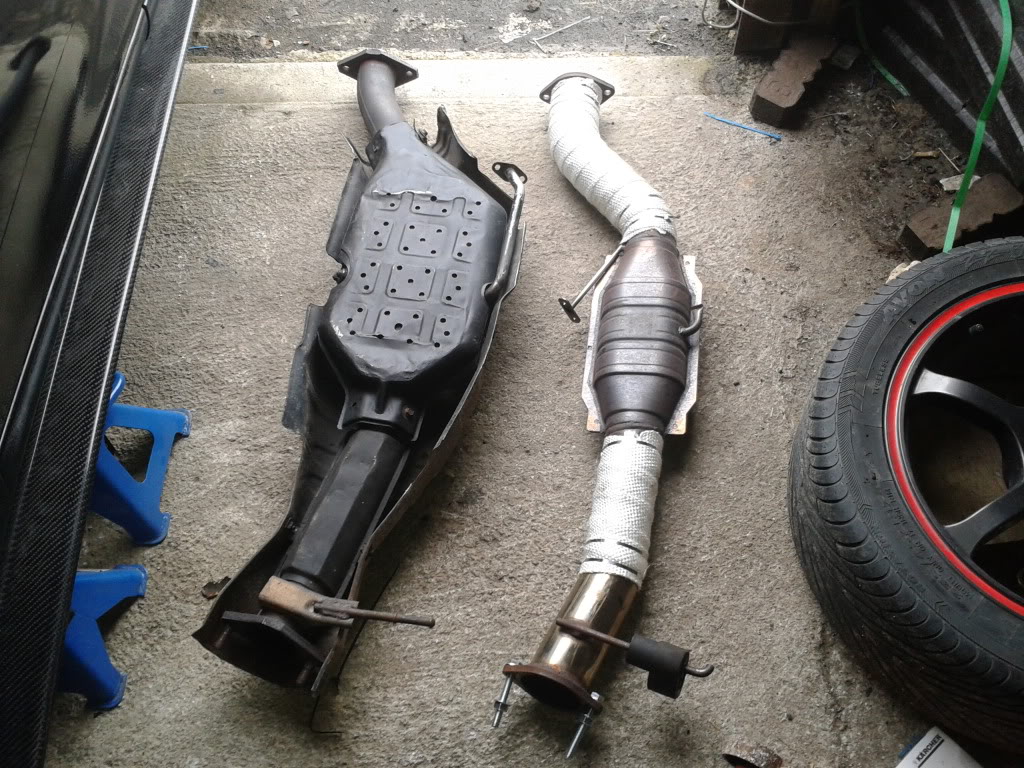
Heat wrapped my downpipe and collected a high flow magnaflow cat a few miles from me
Everything back in nearly ready to go.
Changed to an efini y-pipe at the last minute, very difficult to change due to the steering column I polished it before it went in.
My father gave me a hand starting it for the first time. We connected jumper cables, pulled the egi fuse and cranked it over a few time to get oil flowing.
I then put the egi fuse in and jumped the fuel pump with gnd in the diagnostic box to prime the fuel system. Started first turn of the key. Great success
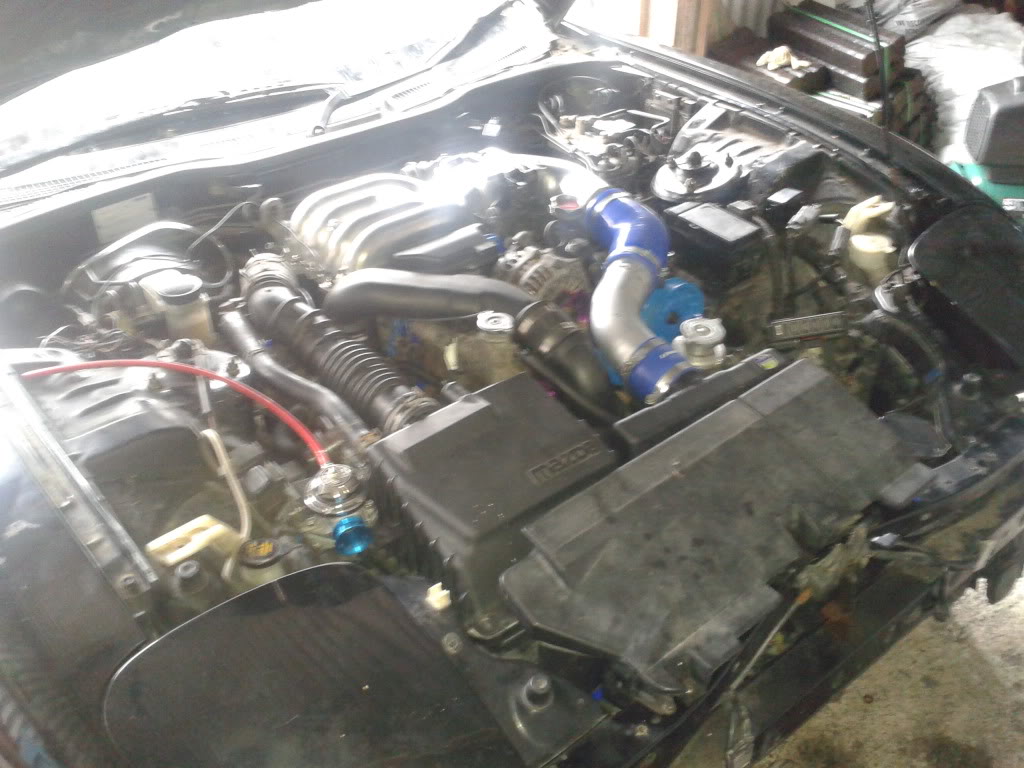
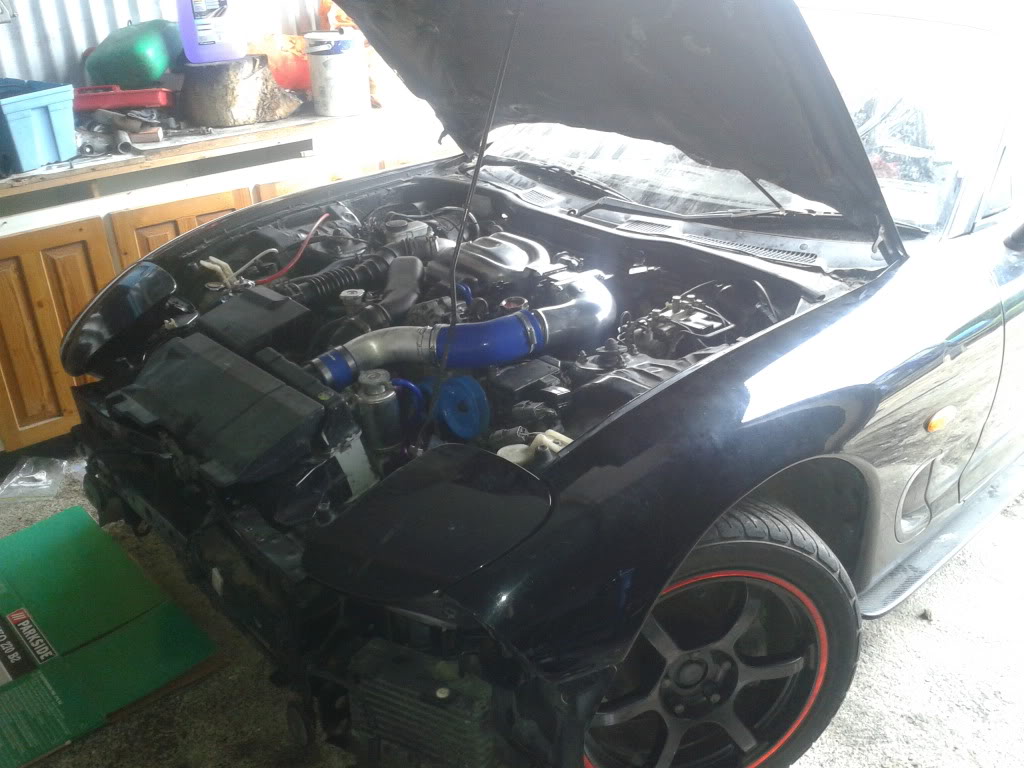
Once it was going I decided the stock intercooler needed replacing so got a GReddy SMIC.
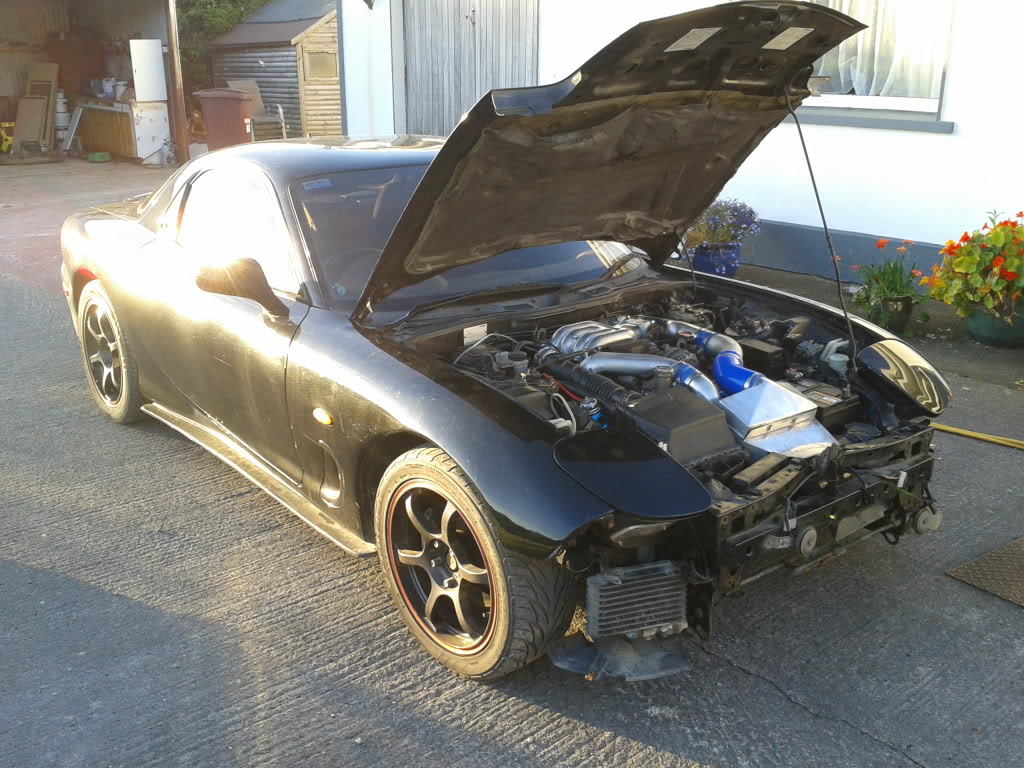
Bumper on haha
Everything back in
nearly ready to go.Changed to an efini y-pipe at the last minute, very difficult to change due to the steering column
I polished it before it went in.My father gave me a hand starting it for the first time. We connected jumper cables, pulled the egi fuse and cranked it over a few time to get oil flowing.
I then put the egi fuse in and jumped the fuel pump with gnd in the diagnostic box to prime the fuel system. Started first turn of the key. Great success
Once it was going I decided the stock intercooler needed replacing so got a GReddy SMIC.
Bumper on haha
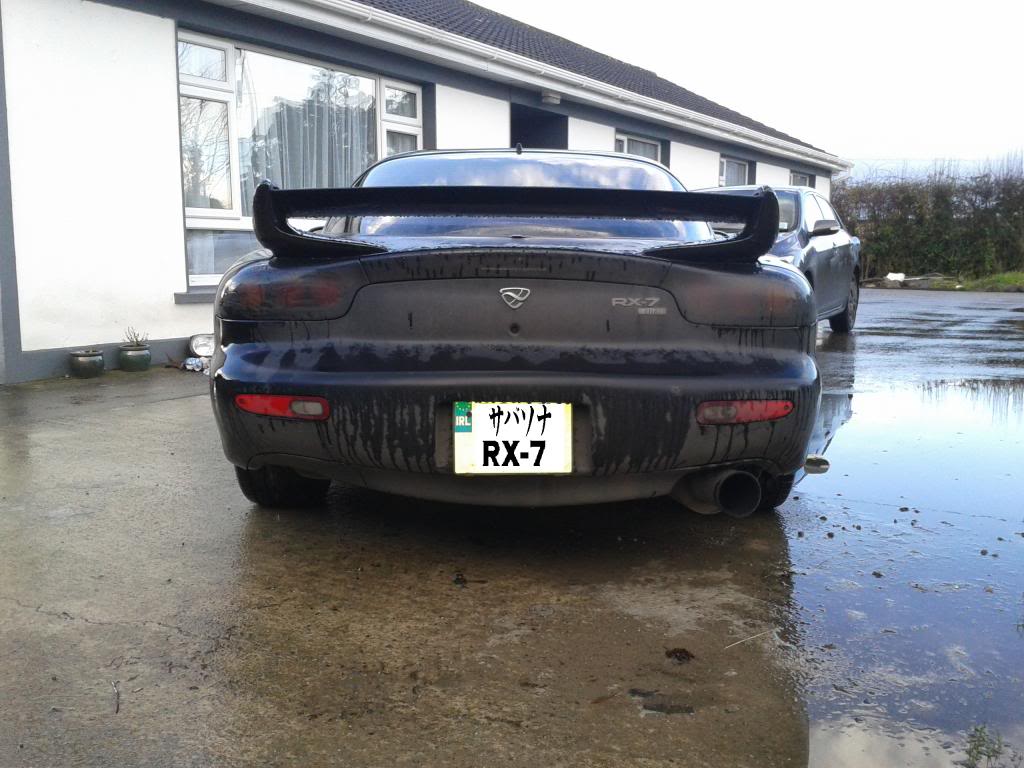
Made some 99 spec rear lights
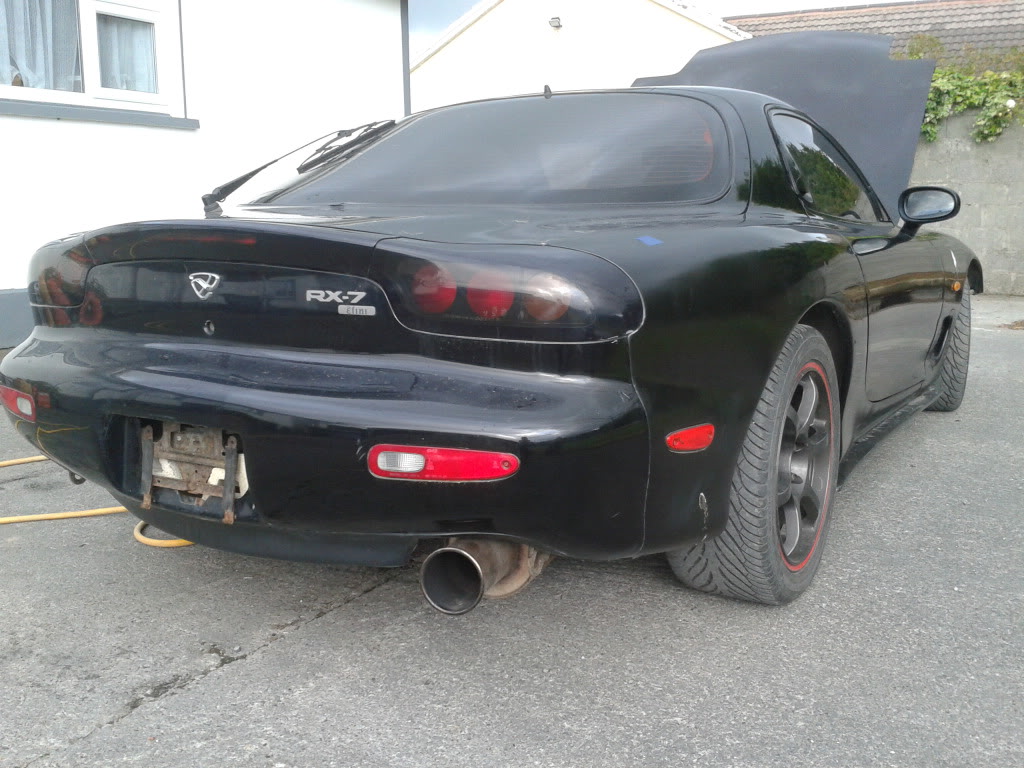
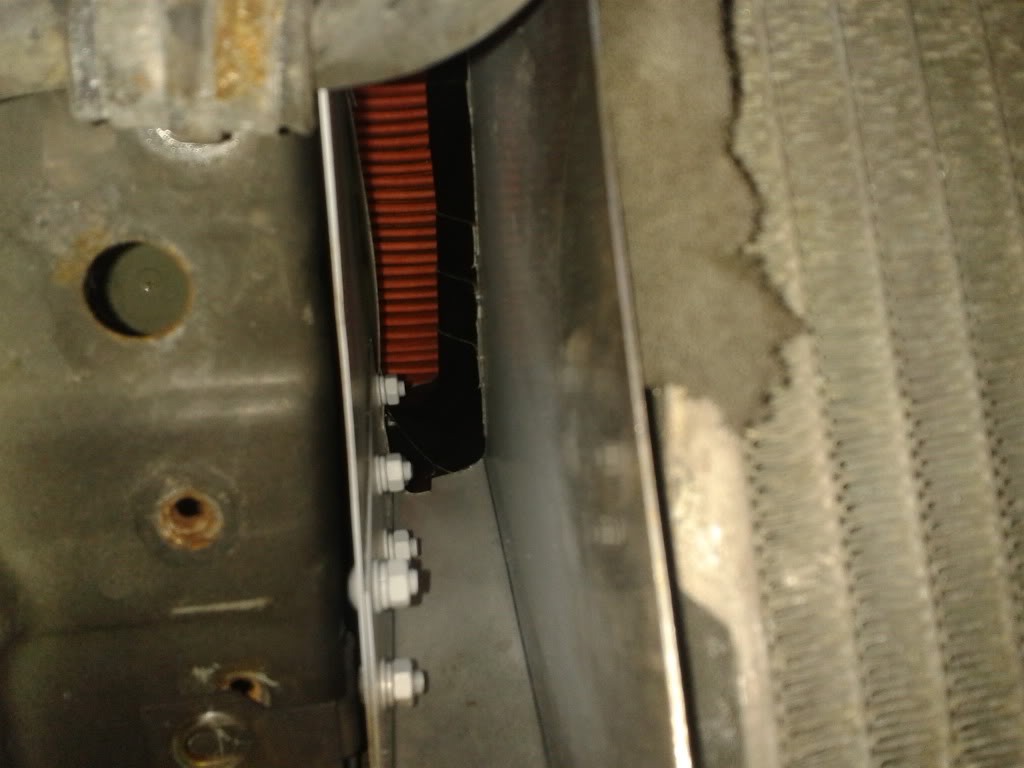
On the hunt for reliability I wanted a cold air intake. This system was never going to work.

I used the standard airbox as I didn't believe the blitz filters were helping. Cleaned up the back of it by deleting some of the outlets I no longer needed
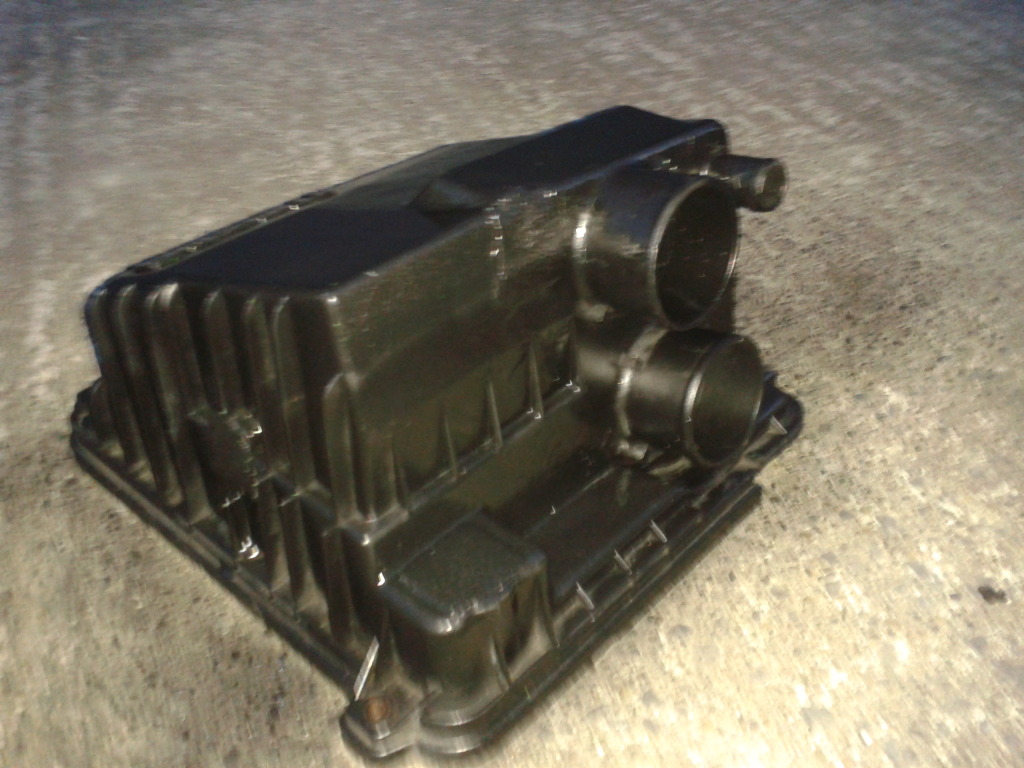
Cheap b*****d air intake
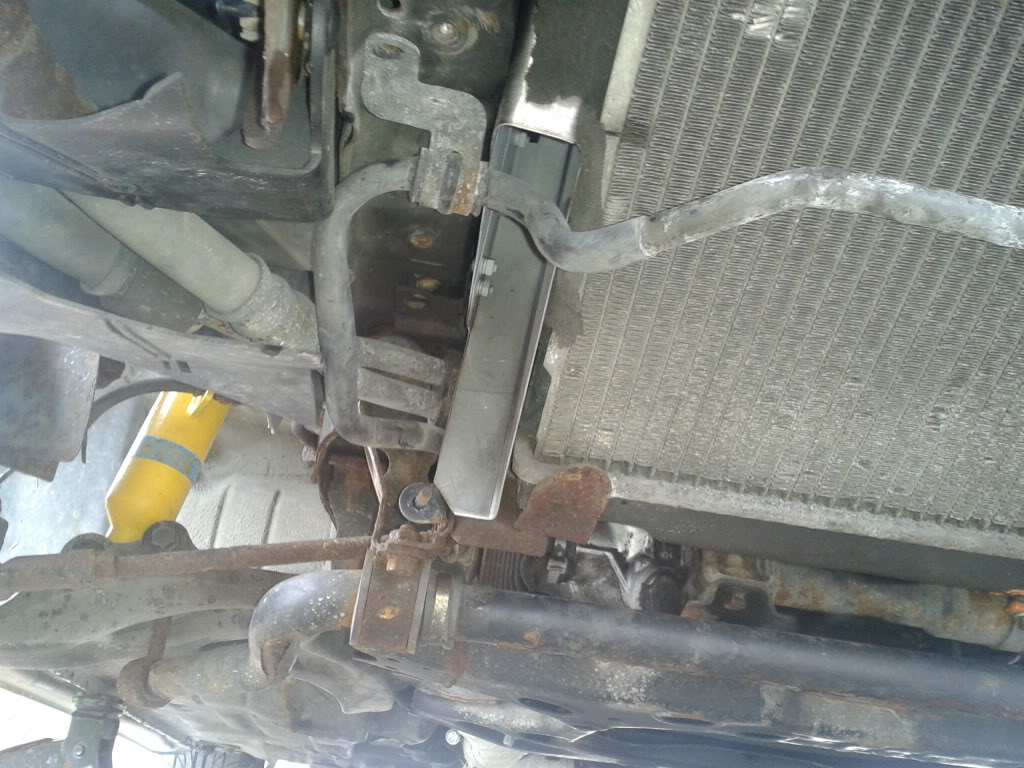
Drove the car for about 400 km's before I burst the standard rad. Ordered a new Koyo N-Flo rad and Mishimoto radiator hoses. Car pretty much sat for 4 weeks waiting for the rad. Decided to change the water pump while I was waiting.
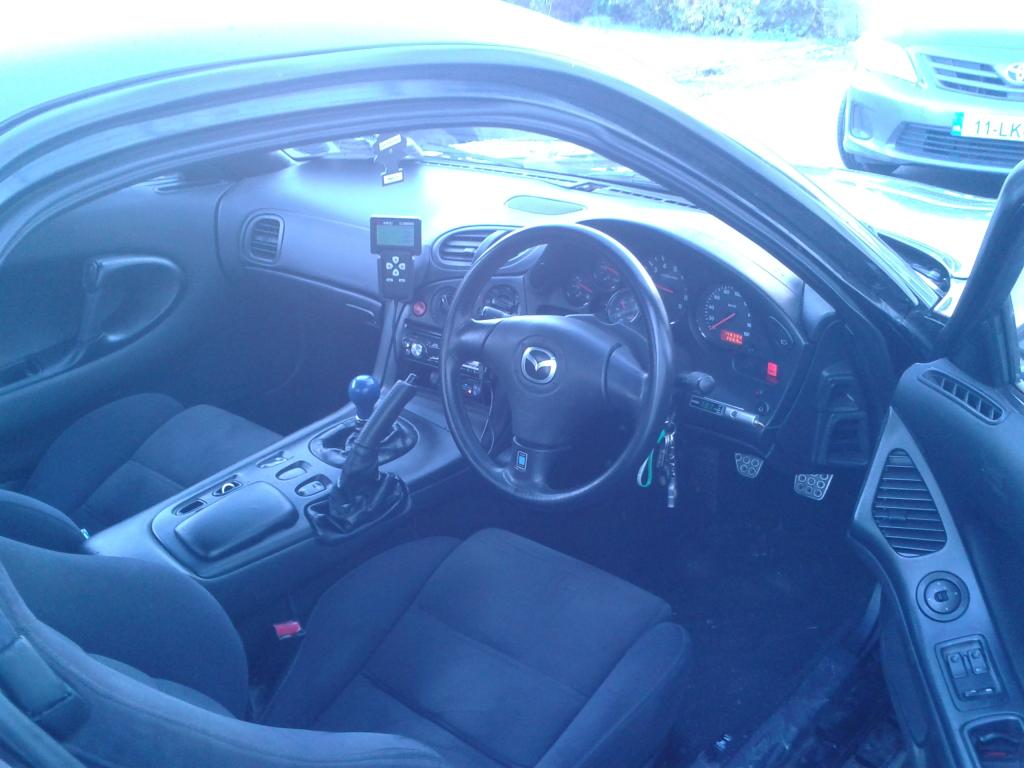
Finally got going again and started on the interior. I wanted minimal fuss so I got
a mx5 nardi wheel, RE-Amemiya gearknob, RE-Amemiya boost gauge and steering column cowling and Rmajic PFC commander holder. Also relocated my Swoosh WAFT under the radio so you only really notice it when it light up.
On the hunt for reliability I wanted a cold air intake. This system was never going to work.
I used the standard airbox as I didn't believe the blitz filters were helping. Cleaned up the back of it by deleting some of the outlets I no longer needed
Cheap b*****d air intake
Drove the car for about 400 km's before I burst the standard rad. Ordered a new Koyo N-Flo rad and Mishimoto radiator hoses. Car pretty much sat for 4 weeks waiting for the rad. Decided to change the water pump while I was waiting.
Finally got going again and started on the interior. I wanted minimal fuss so I got
a mx5 nardi wheel, RE-Amemiya gearknob, RE-Amemiya boost gauge and steering column cowling and Rmajic PFC commander holder. Also relocated my Swoosh WAFT under the radio so you only really notice it when it light up.
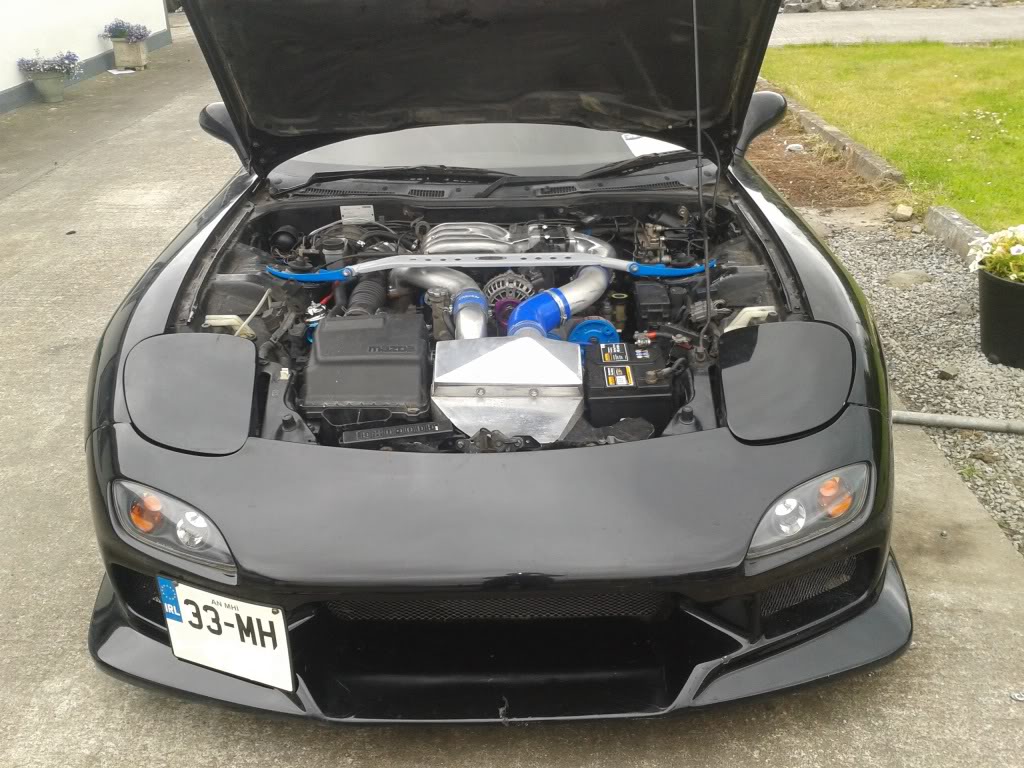
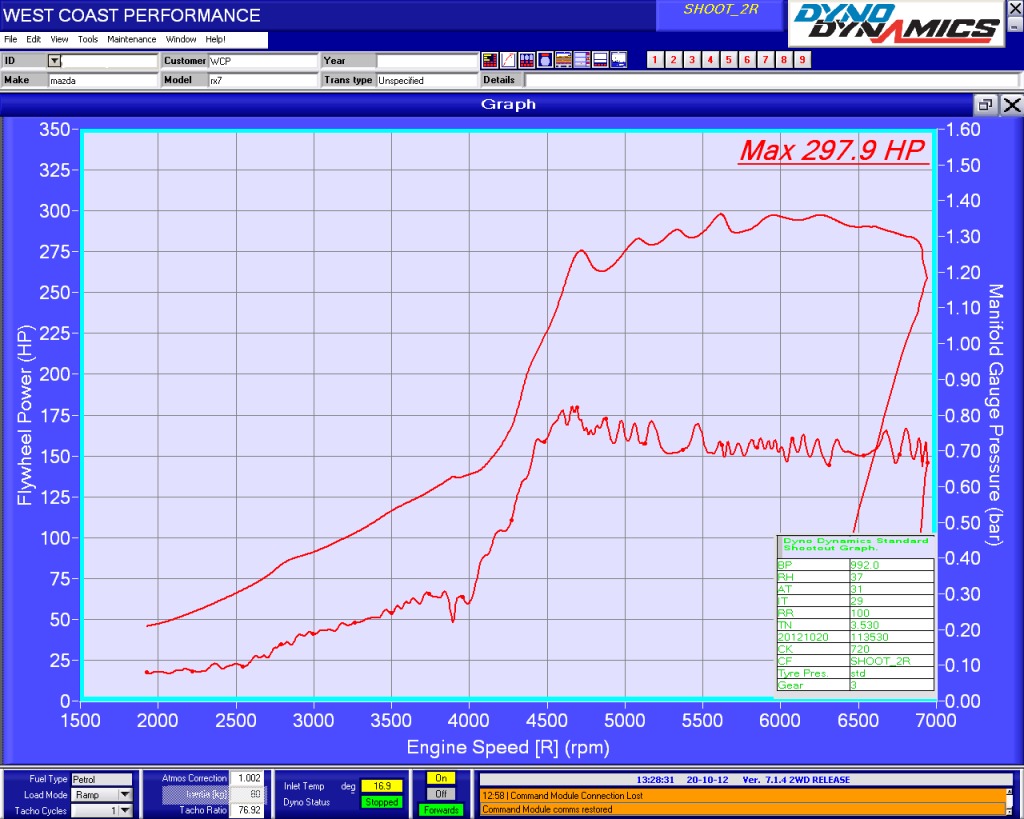
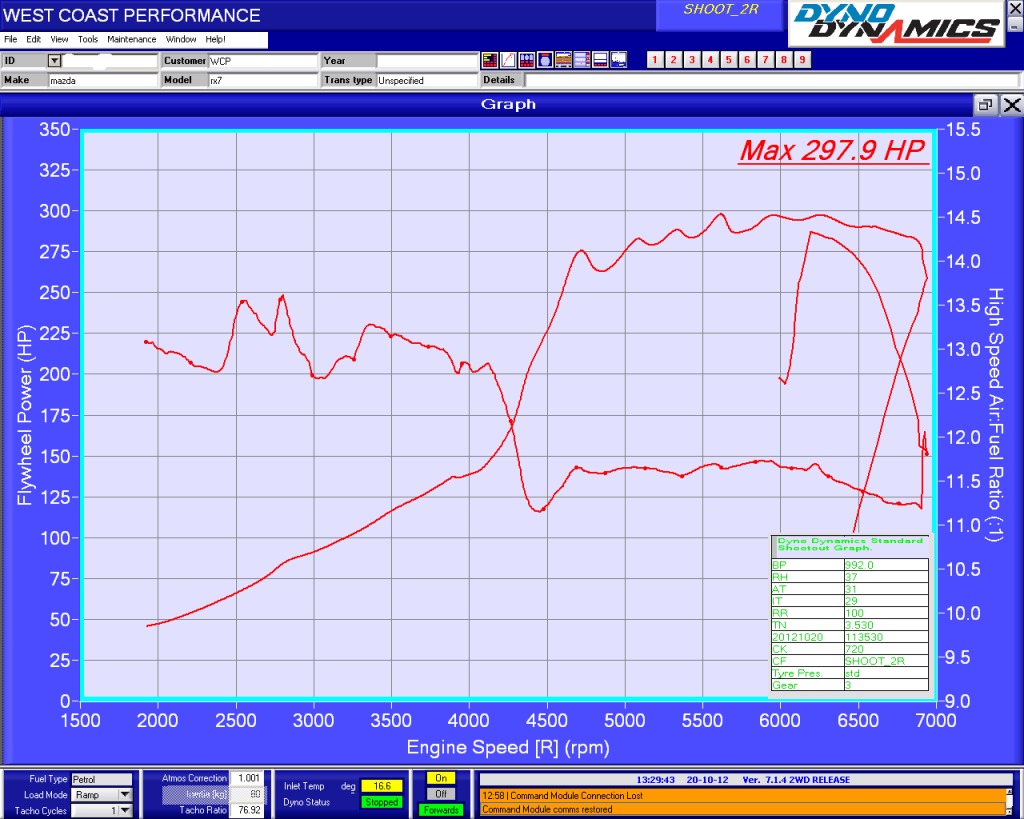
Got my car tuned by the same guys who hosted the dyno day. I was a little worried but one of the mechanics owns a street ported single turbo fd.
Went down and they were brilliant. Really felt they knew what they were doing even though they hadn't a lot of experience with rotaries.
Darren McNamara had his car tuned at the same place the day before I was there.
Anyway got the car mapped nice and safe.
Now would be a good time to enjoy the car But a cat changed his mind crossing the road infront of me and ruined my front bumper.
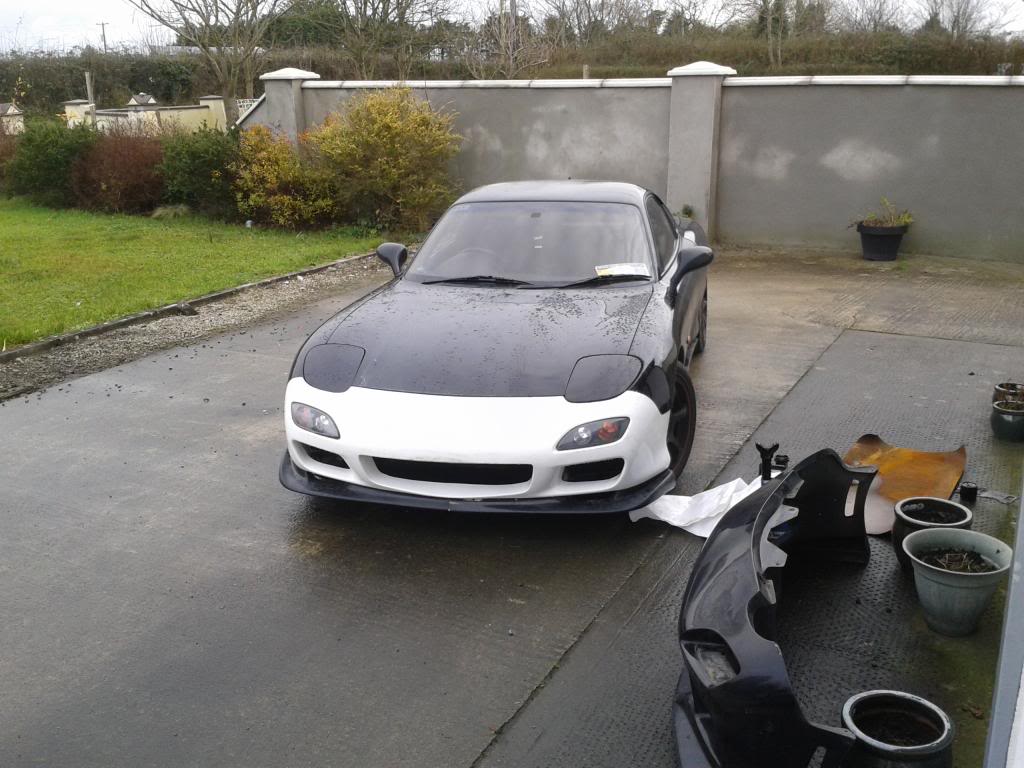
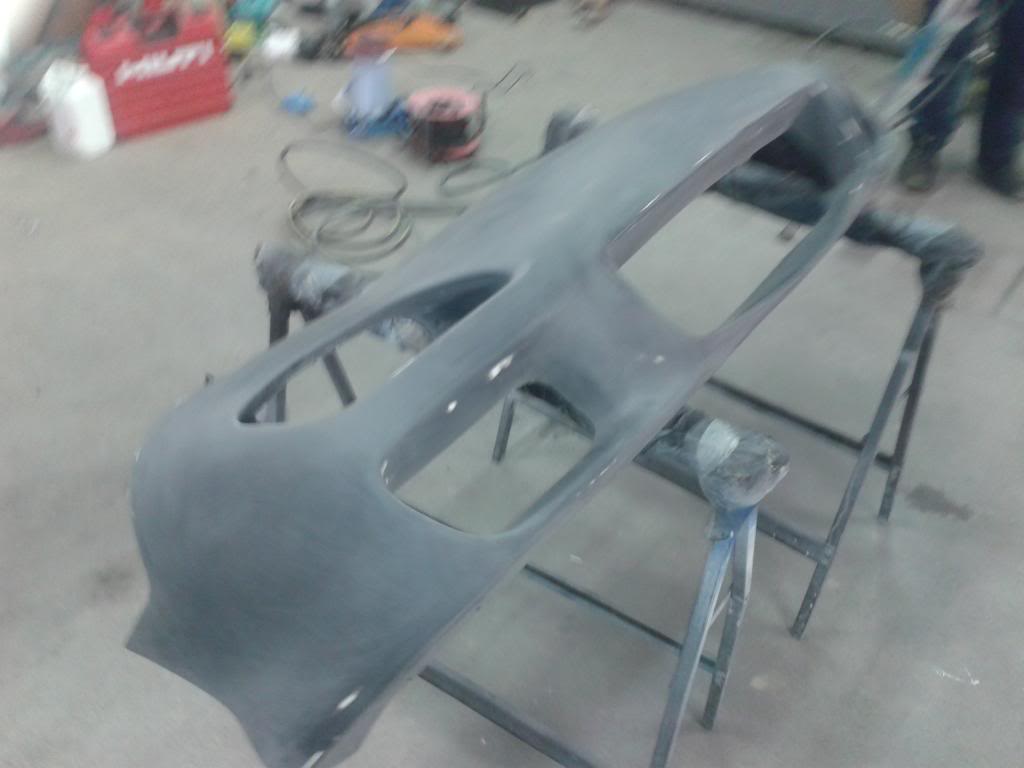
Oh well I was just looking for an excuse to get a 99 spec. Picked up this plateless version in the UK.

Hours of prep time went into this bumper 9+.
Finally got it primed

Then sanded off again
Finally
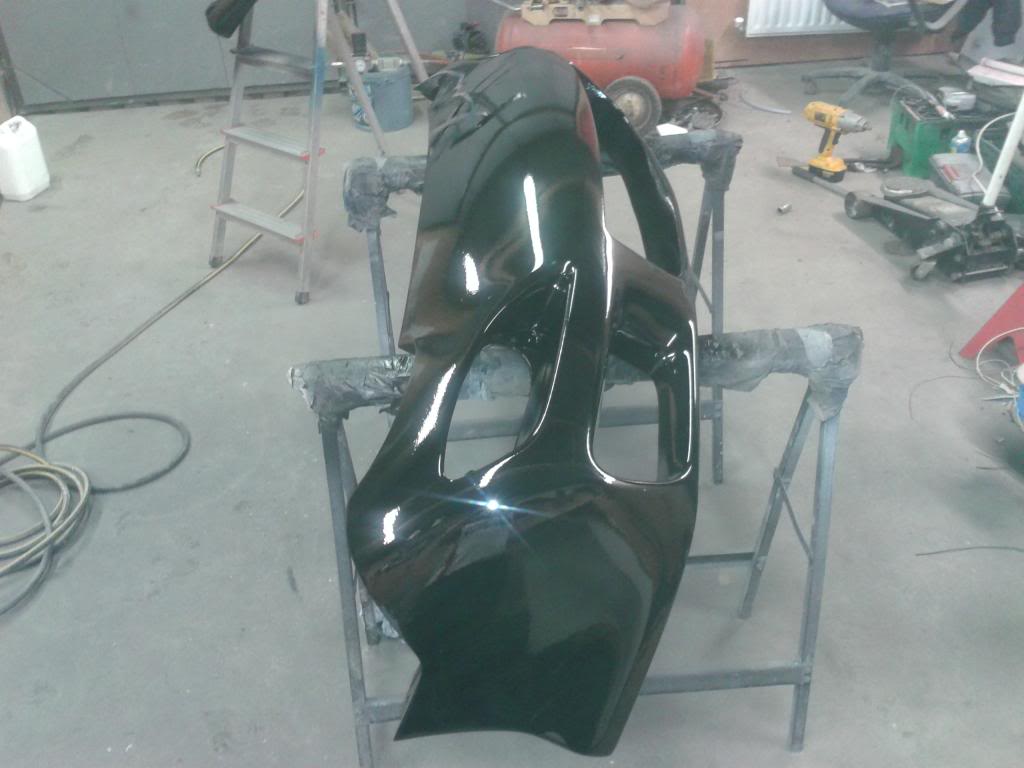
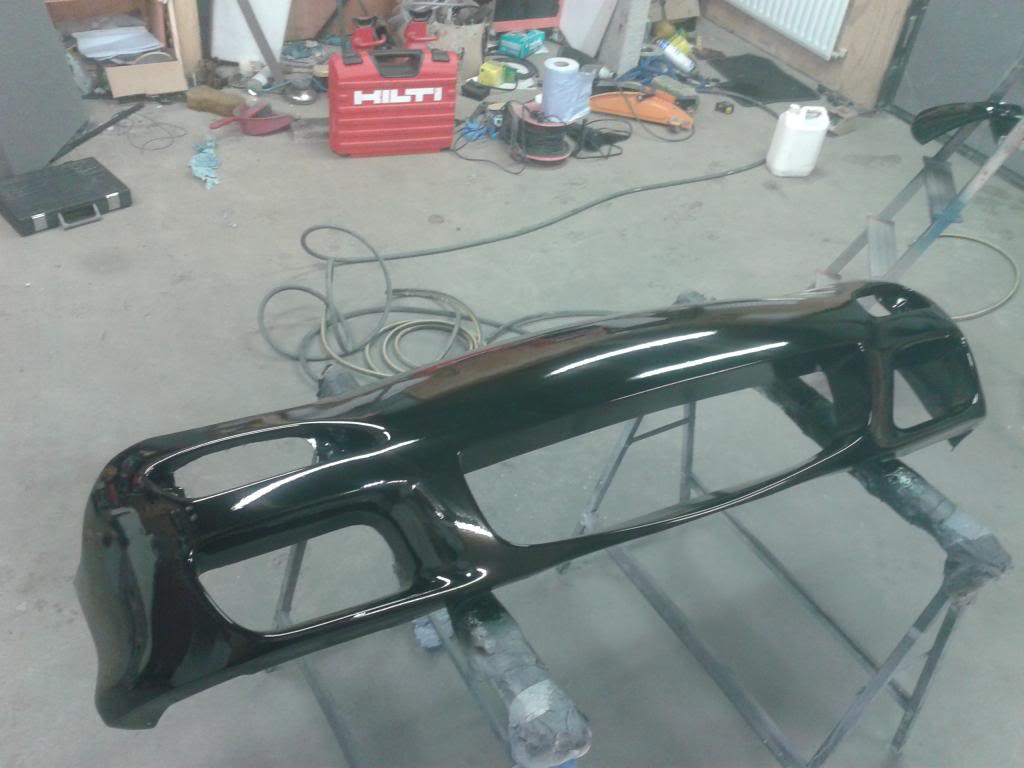
Polished it up and fitted
Went down and they were brilliant. Really felt they knew what they were doing even though they hadn't a lot of experience with rotaries.
Darren McNamara had his car tuned at the same place the day before I was there.
Anyway got the car mapped nice and safe.
Now would be a good time to enjoy the car
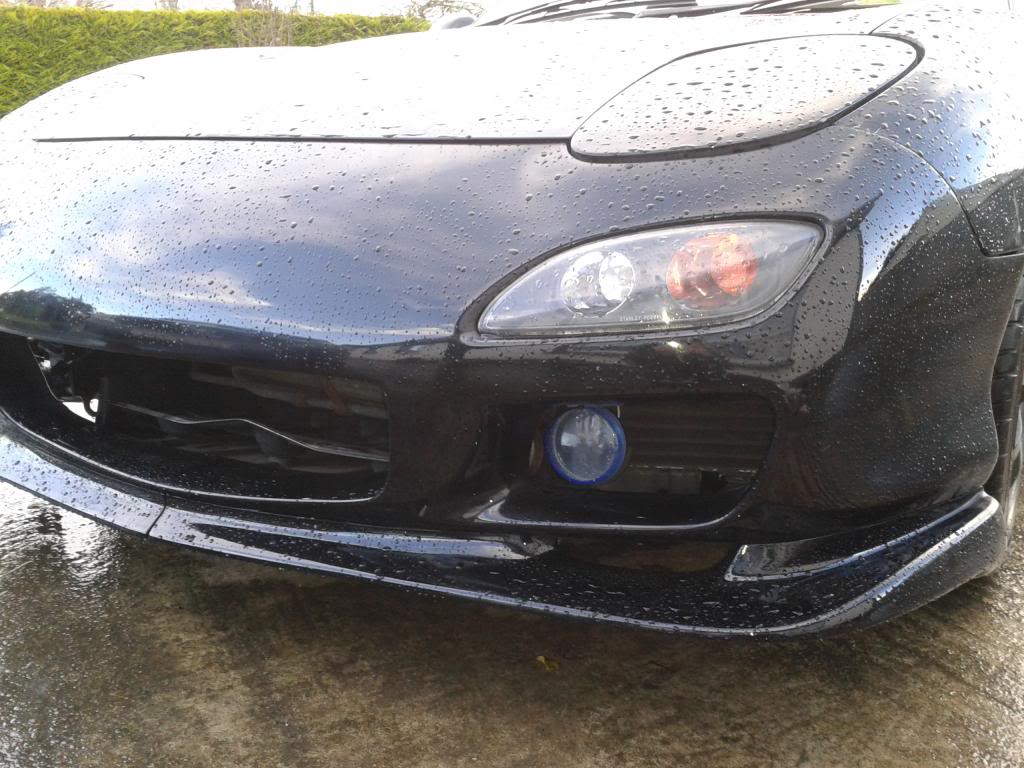
But a cat changed his mind crossing the road infront of me and ruined my front bumper.Oh well I was just looking for an excuse to get a 99 spec. Picked up this plateless version in the UK.
Hours of prep time went into this bumper 9+.
Finally got it primed
Then sanded off again
Finally
Polished it up and fitted
Trending Topics
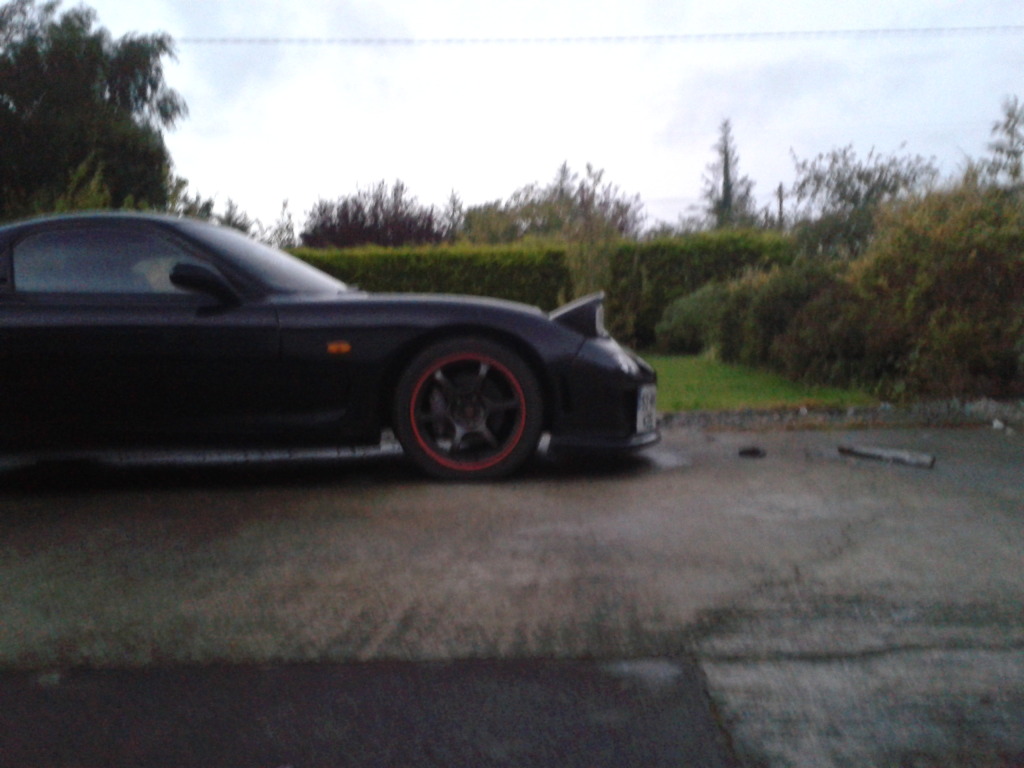
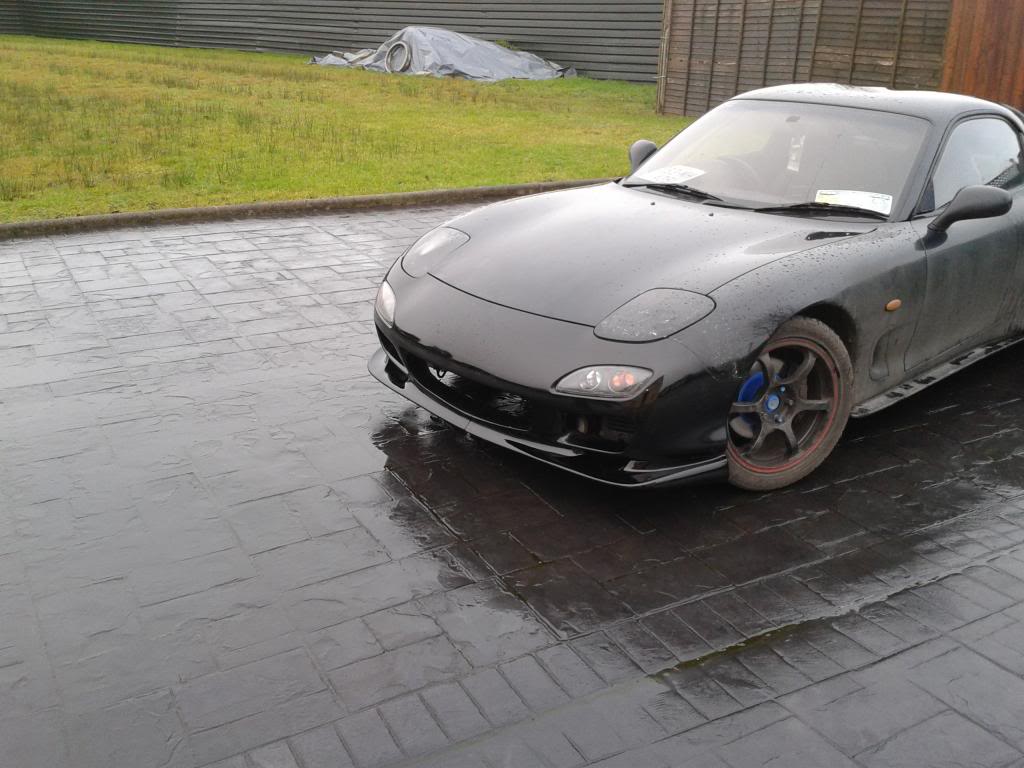
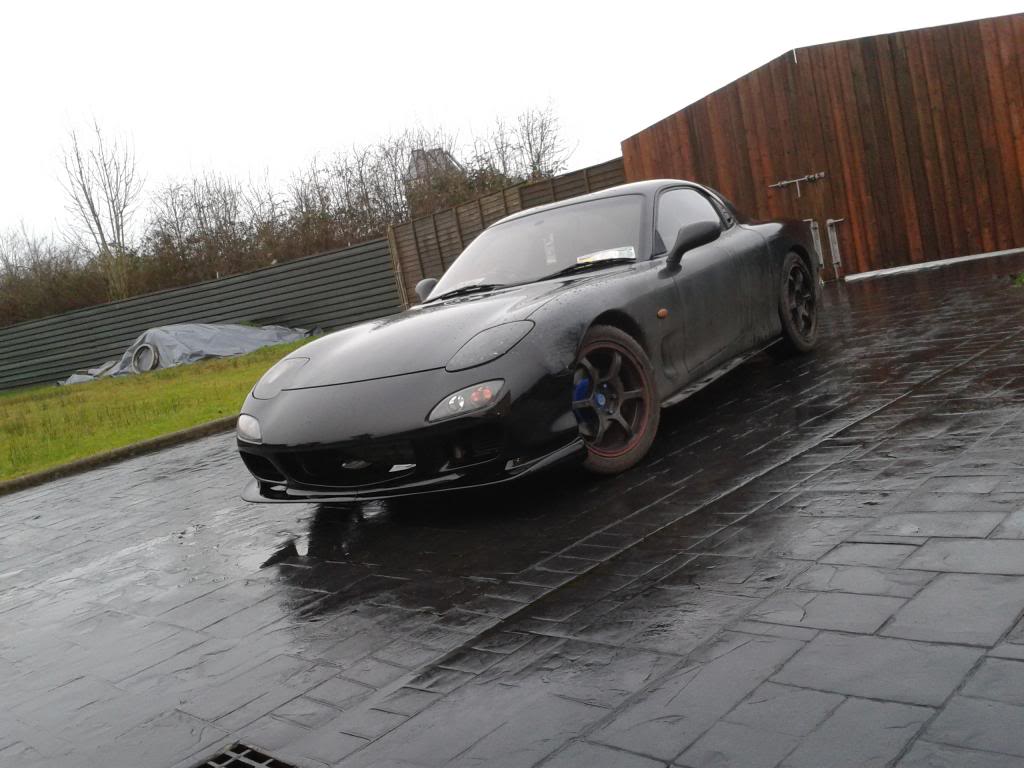
Fitted lookalike 99 spec fog lights. Took a bit of work to get them in the right position but with the right amount of time anything can happen

Got a 99 spec spoiler Always been my favorite choice of spoiler for the fd.
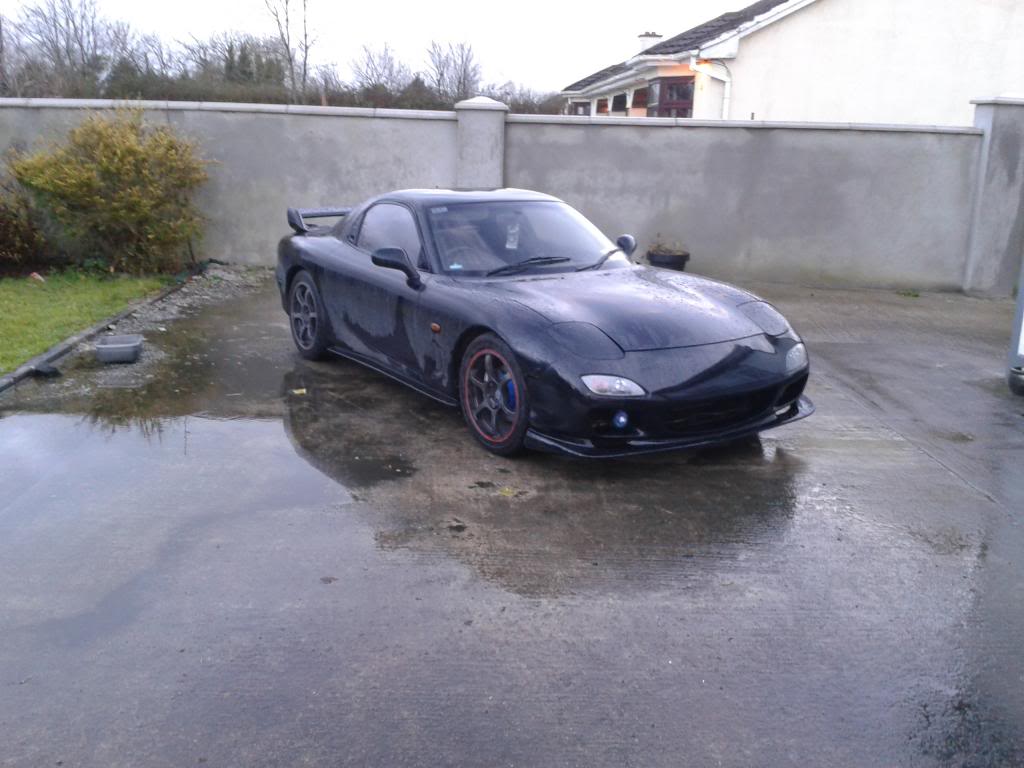
As it sits at the moment
That's it for now, should have an update tomorrow as I just washed it and plan on going to a show in the morning.
Got a 99 spec spoiler
Always been my favorite choice of spoiler for the fd.As it sits at the moment
That's it for now, should have an update tomorrow as I just washed it and plan on going to a show in the morning.


Pictures of the show when I get them. I was only rotary present but there was a 2012 Ferrari 458 Italia in pearl white.
Spent the remainder of the day fitting a turbo timer to a friends yellow RS-R. Will get pics of that up soon also. Must ask his permission.
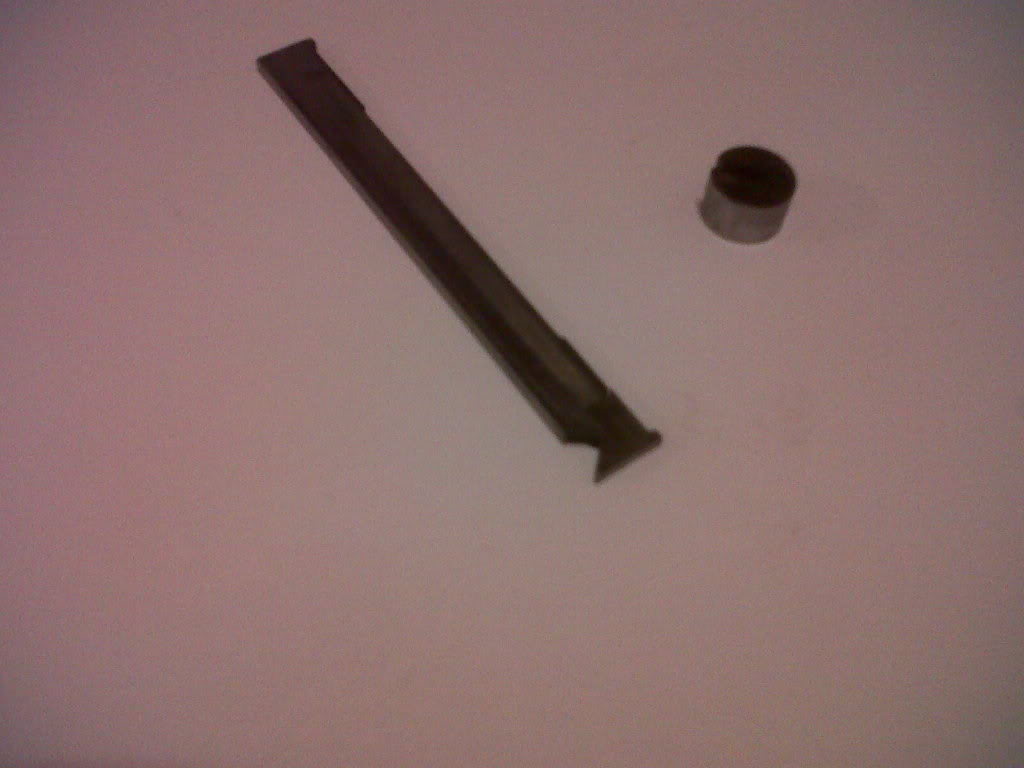
The band was used to hold the mount together. No heat shield on the mount, I think my car is different from the US version as I don't have a pre cat as standard.


Thread
Thread Starter
Forum
Replies
Last Post
Wicked93gs
Other Engine Conversions - non V-8
44
Jan 12, 2022 10:08 AM