Mannykillers/ AAPARKAH Street/time Attack/Drift Build (heavy Pics) #Thisisthewolf

 02-08-14, 12:17 AM
#1778
Junior Member
Turbo smart
I'm using turbo smart very nice quality and the guys in oz are super helpful so back up and stuff is good. I thank my lucky stars every day that I havnt blown anything up yet cause it would kill me financially right now you are lucky that you love in the US cause there's such a choice on your door step. I really admire you for your sheer grit and determination
02-16-14, 12:02 PM
#1779
Small update:
Unfortunately...all 6 side seals are stuck in my rear rotor....and the ceramic Apex seals have shown how un-forgiving they could be. I may be needing a new rear rotor...which sucks badly. But I'm just ready to get this show back on the road. May possibly be going with a nice 2mm set if I can't find one 3mm. Either way i'll be using Goopy seals.
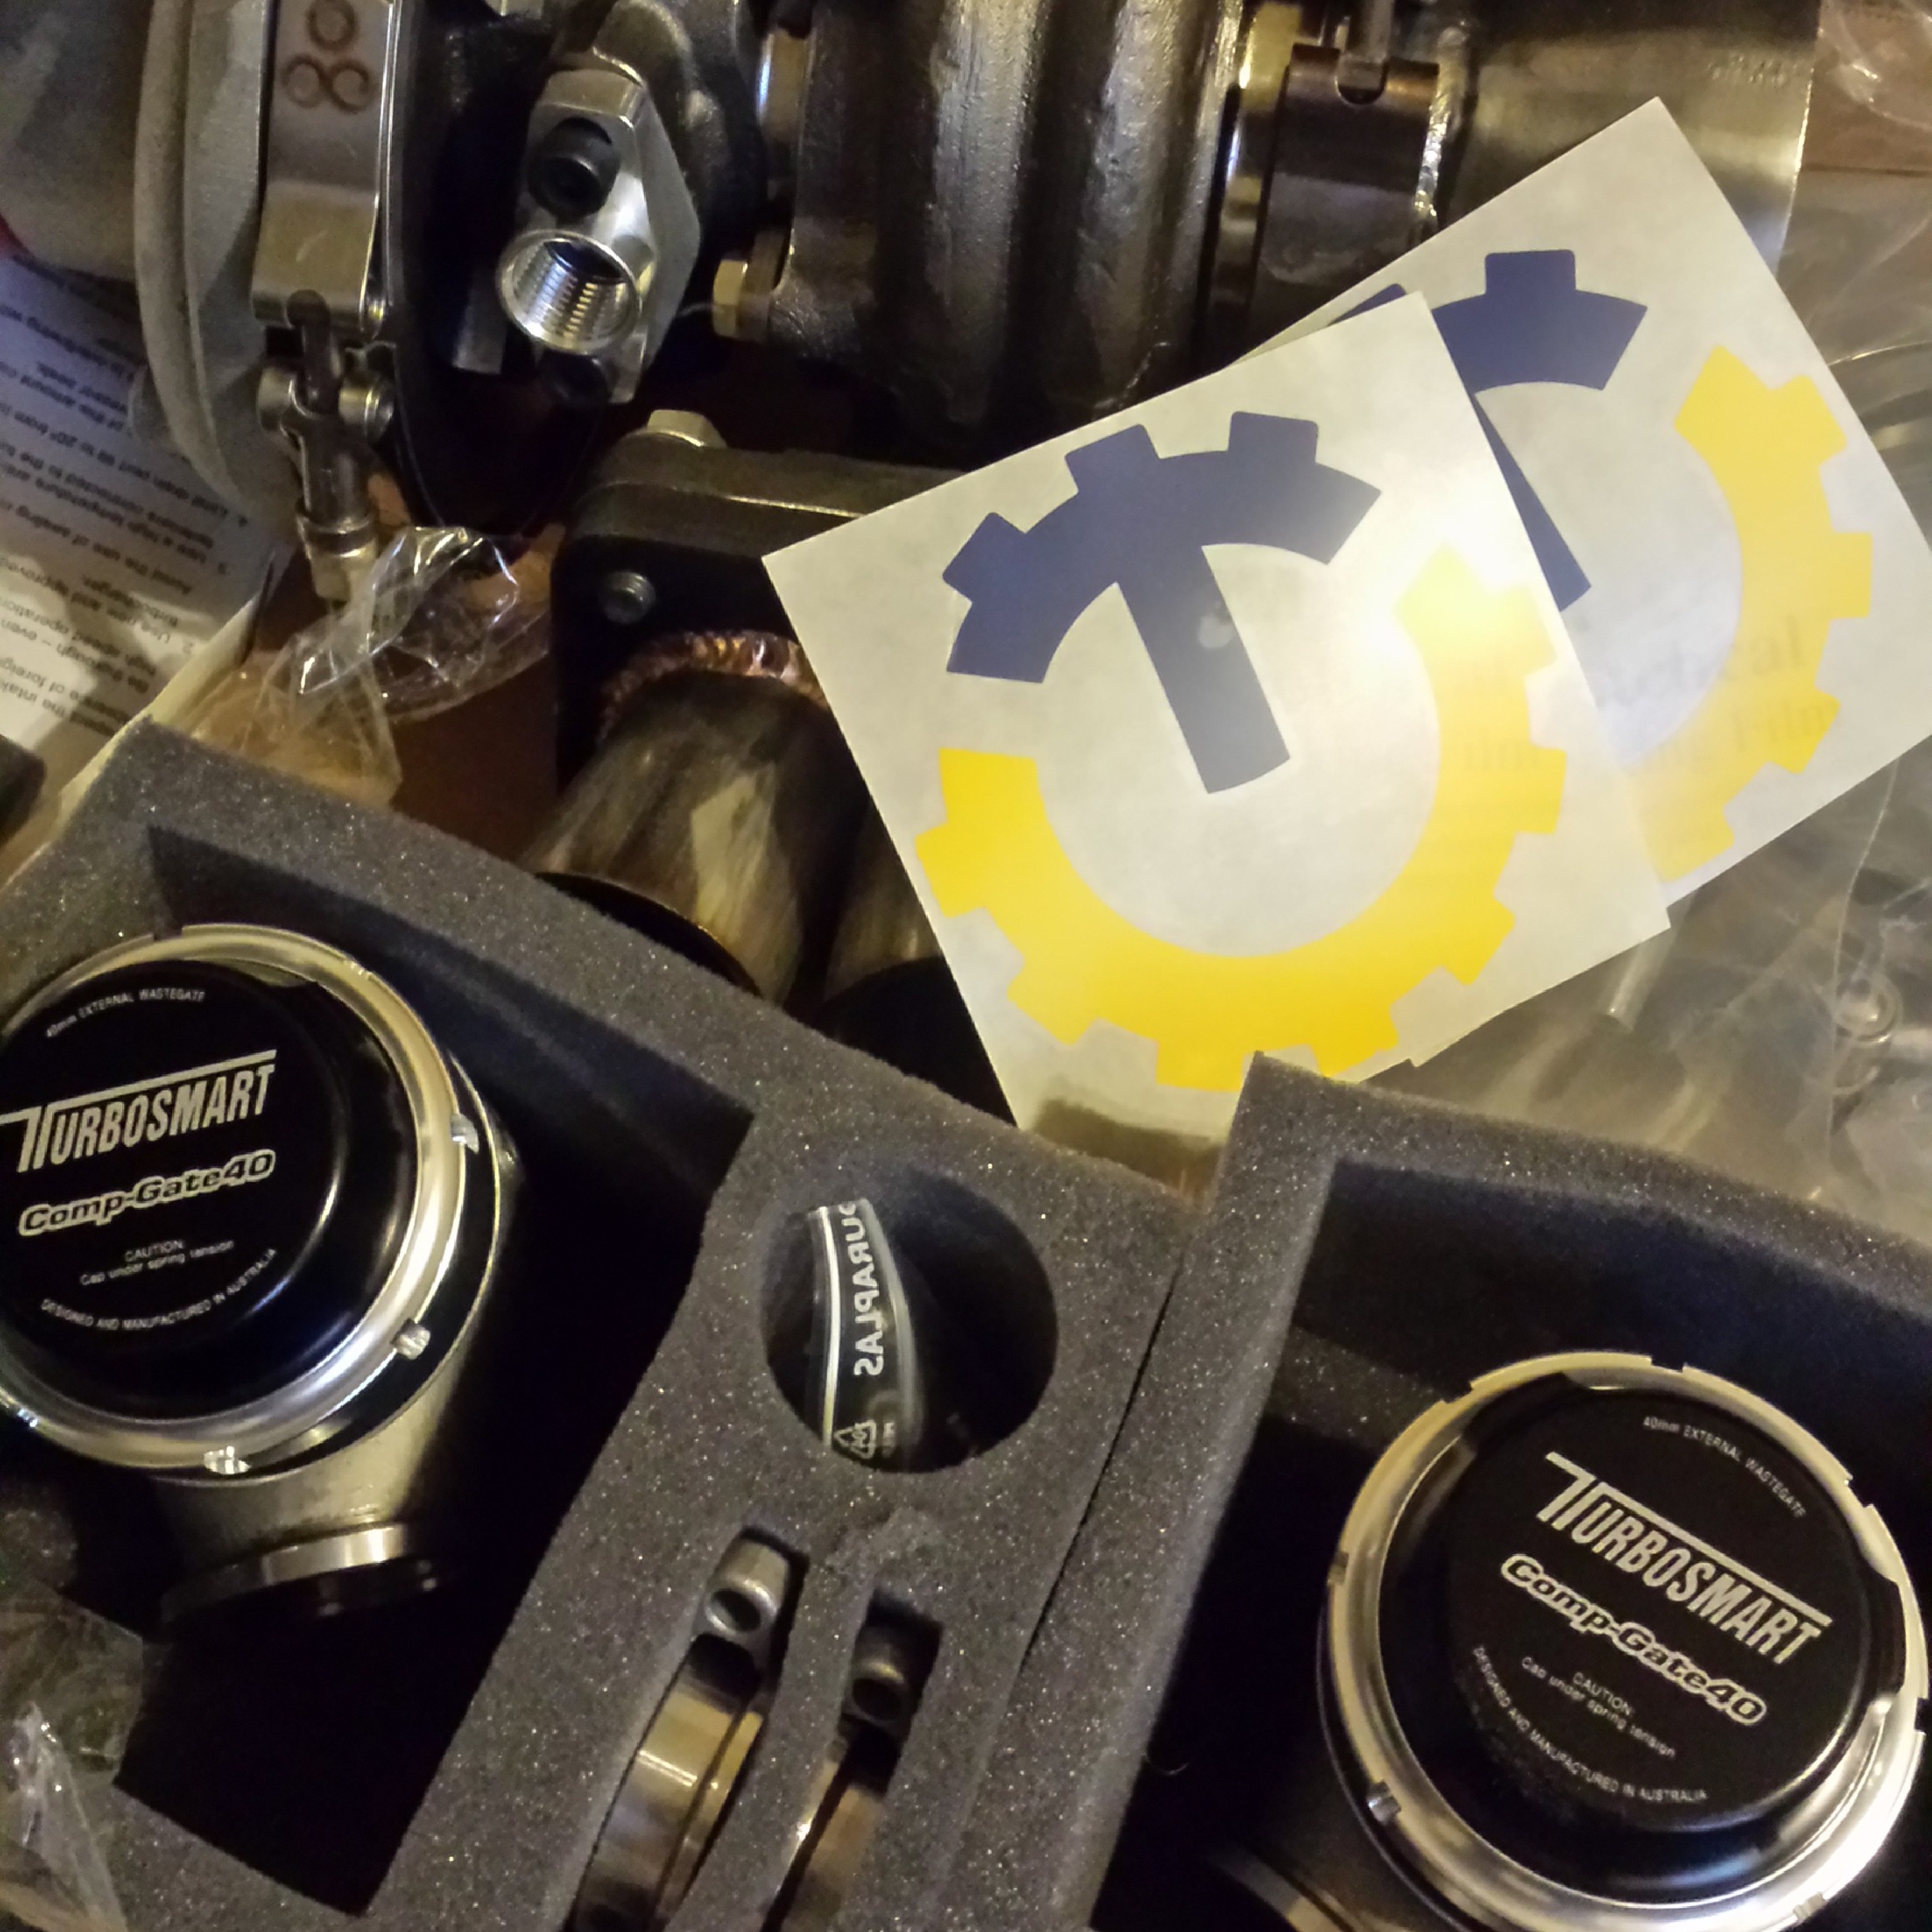
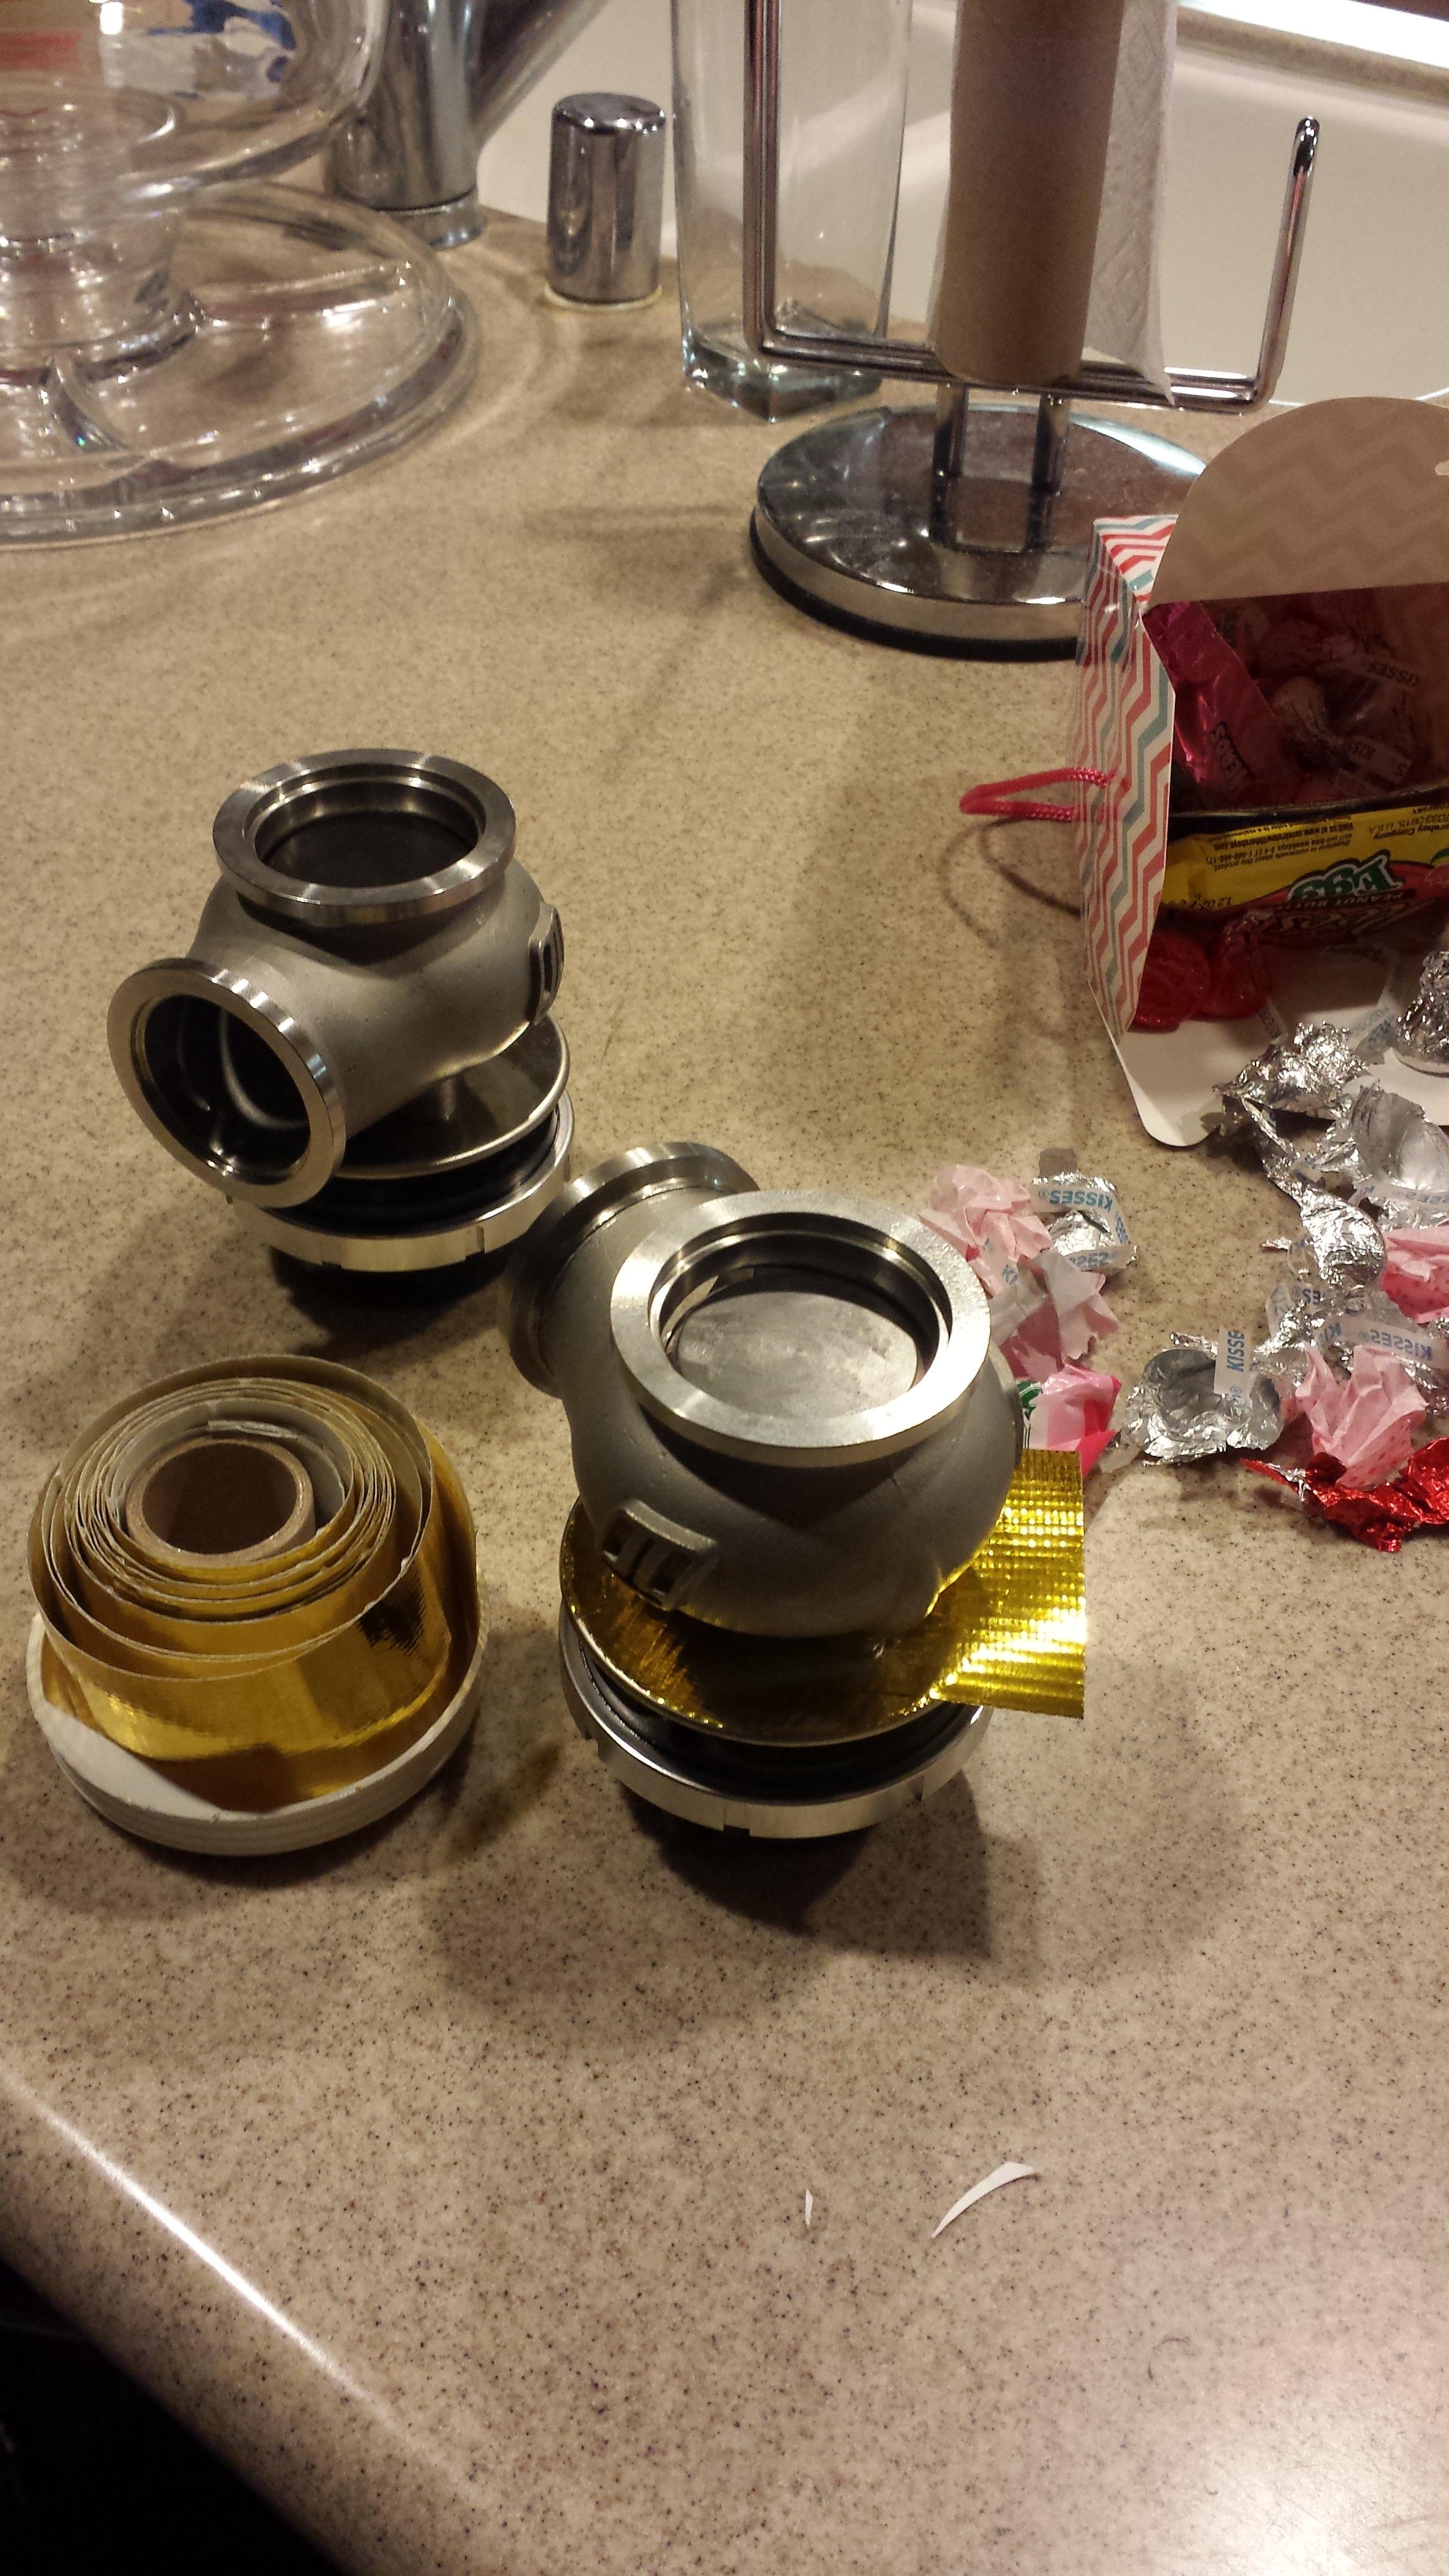
I put in my Turbosmart Order with Elliot at Turblown and a couple days later....got my Gates. I also have an aftermarket BOV coming in specifically for the EFR series. Bolts straight onto the compressor cover in place of the factory unit. Of course I needed to put my touch on the gates...
More Updates Coming soon!!
P.s. My wheels are for sale!!!! Advan TCIII 18x9.5+45 fronts and 18x11+15 Rears (gunmetal Grey) 2100 PICKED UP!!!!! or 2400 SHIPPED!!! STupid Cheap Deal!!!
Unfortunately...all 6 side seals are stuck in my rear rotor....and the ceramic Apex seals have shown how un-forgiving they could be. I may be needing a new rear rotor...which sucks badly. But I'm just ready to get this show back on the road. May possibly be going with a nice 2mm set if I can't find one 3mm. Either way i'll be using Goopy seals.
I put in my Turbosmart Order with Elliot at Turblown and a couple days later....got my Gates. I also have an aftermarket BOV coming in specifically for the EFR series. Bolts straight onto the compressor cover in place of the factory unit. Of course I needed to put my touch on the gates...
More Updates Coming soon!!
P.s. My wheels are for sale!!!! Advan TCIII 18x9.5+45 fronts and 18x11+15 Rears (gunmetal Grey) 2100 PICKED UP!!!!! or 2400 SHIPPED!!! STupid Cheap Deal!!!
02-17-14, 04:40 PM
#1785
I actually took apart the OEM EFR unit recently, and I can definitely see how it could leak under high boost pressure etc. These are suppose to give better response, and be more durable at higher boost pressures. I intend to test this and their IWG actuator upgrades in the spring time.
Product Overview: Turbosmart IWG Actuator Series | TurboSource
 02-19-14, 12:58 AM
#1786
Full Member

Join Date: Aug 2009
Location: Phoenix, AZ
Posts: 91
Likes: 0
Received 0 Likes
on
0 Posts
I actually took apart the OEM EFR unit recently, and I can definitely see how it could leak under high boost pressure etc. These are suppose to give better response, and be more durable at higher boost pressures. I intend to test this and their IWG actuator upgrades in the spring time.
02-19-14, 10:12 AM
#1788
Small Update:
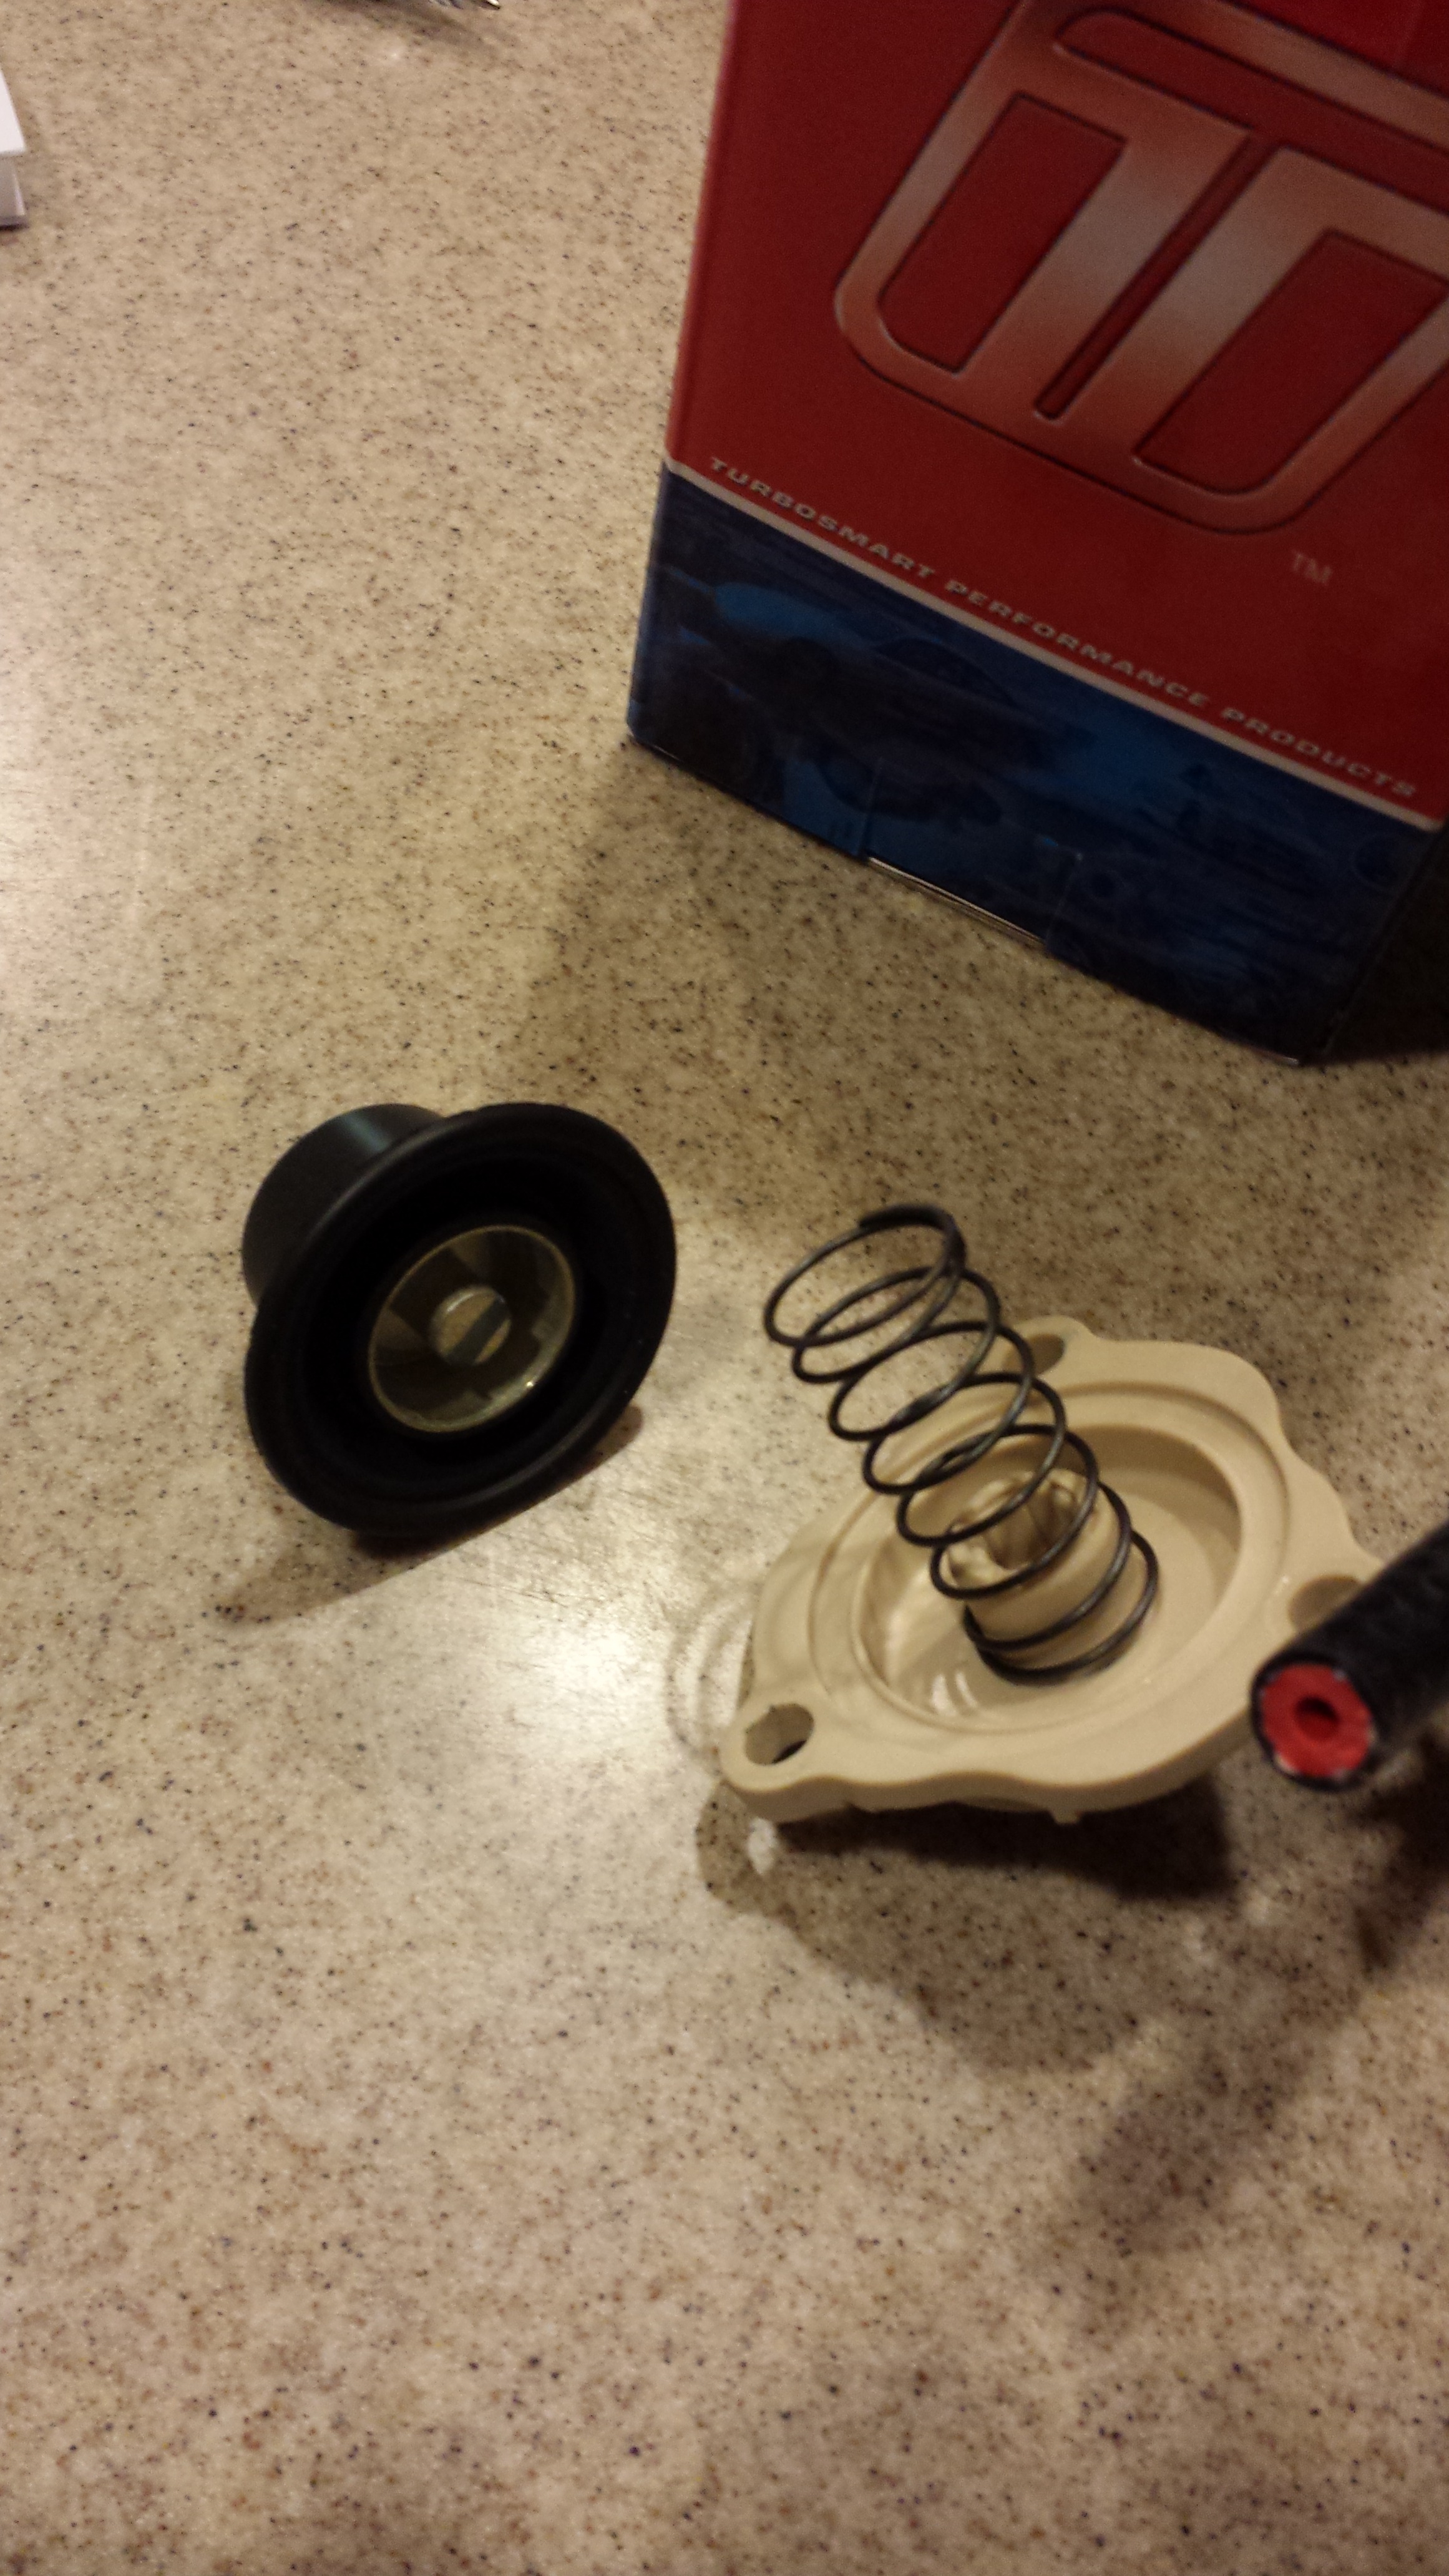
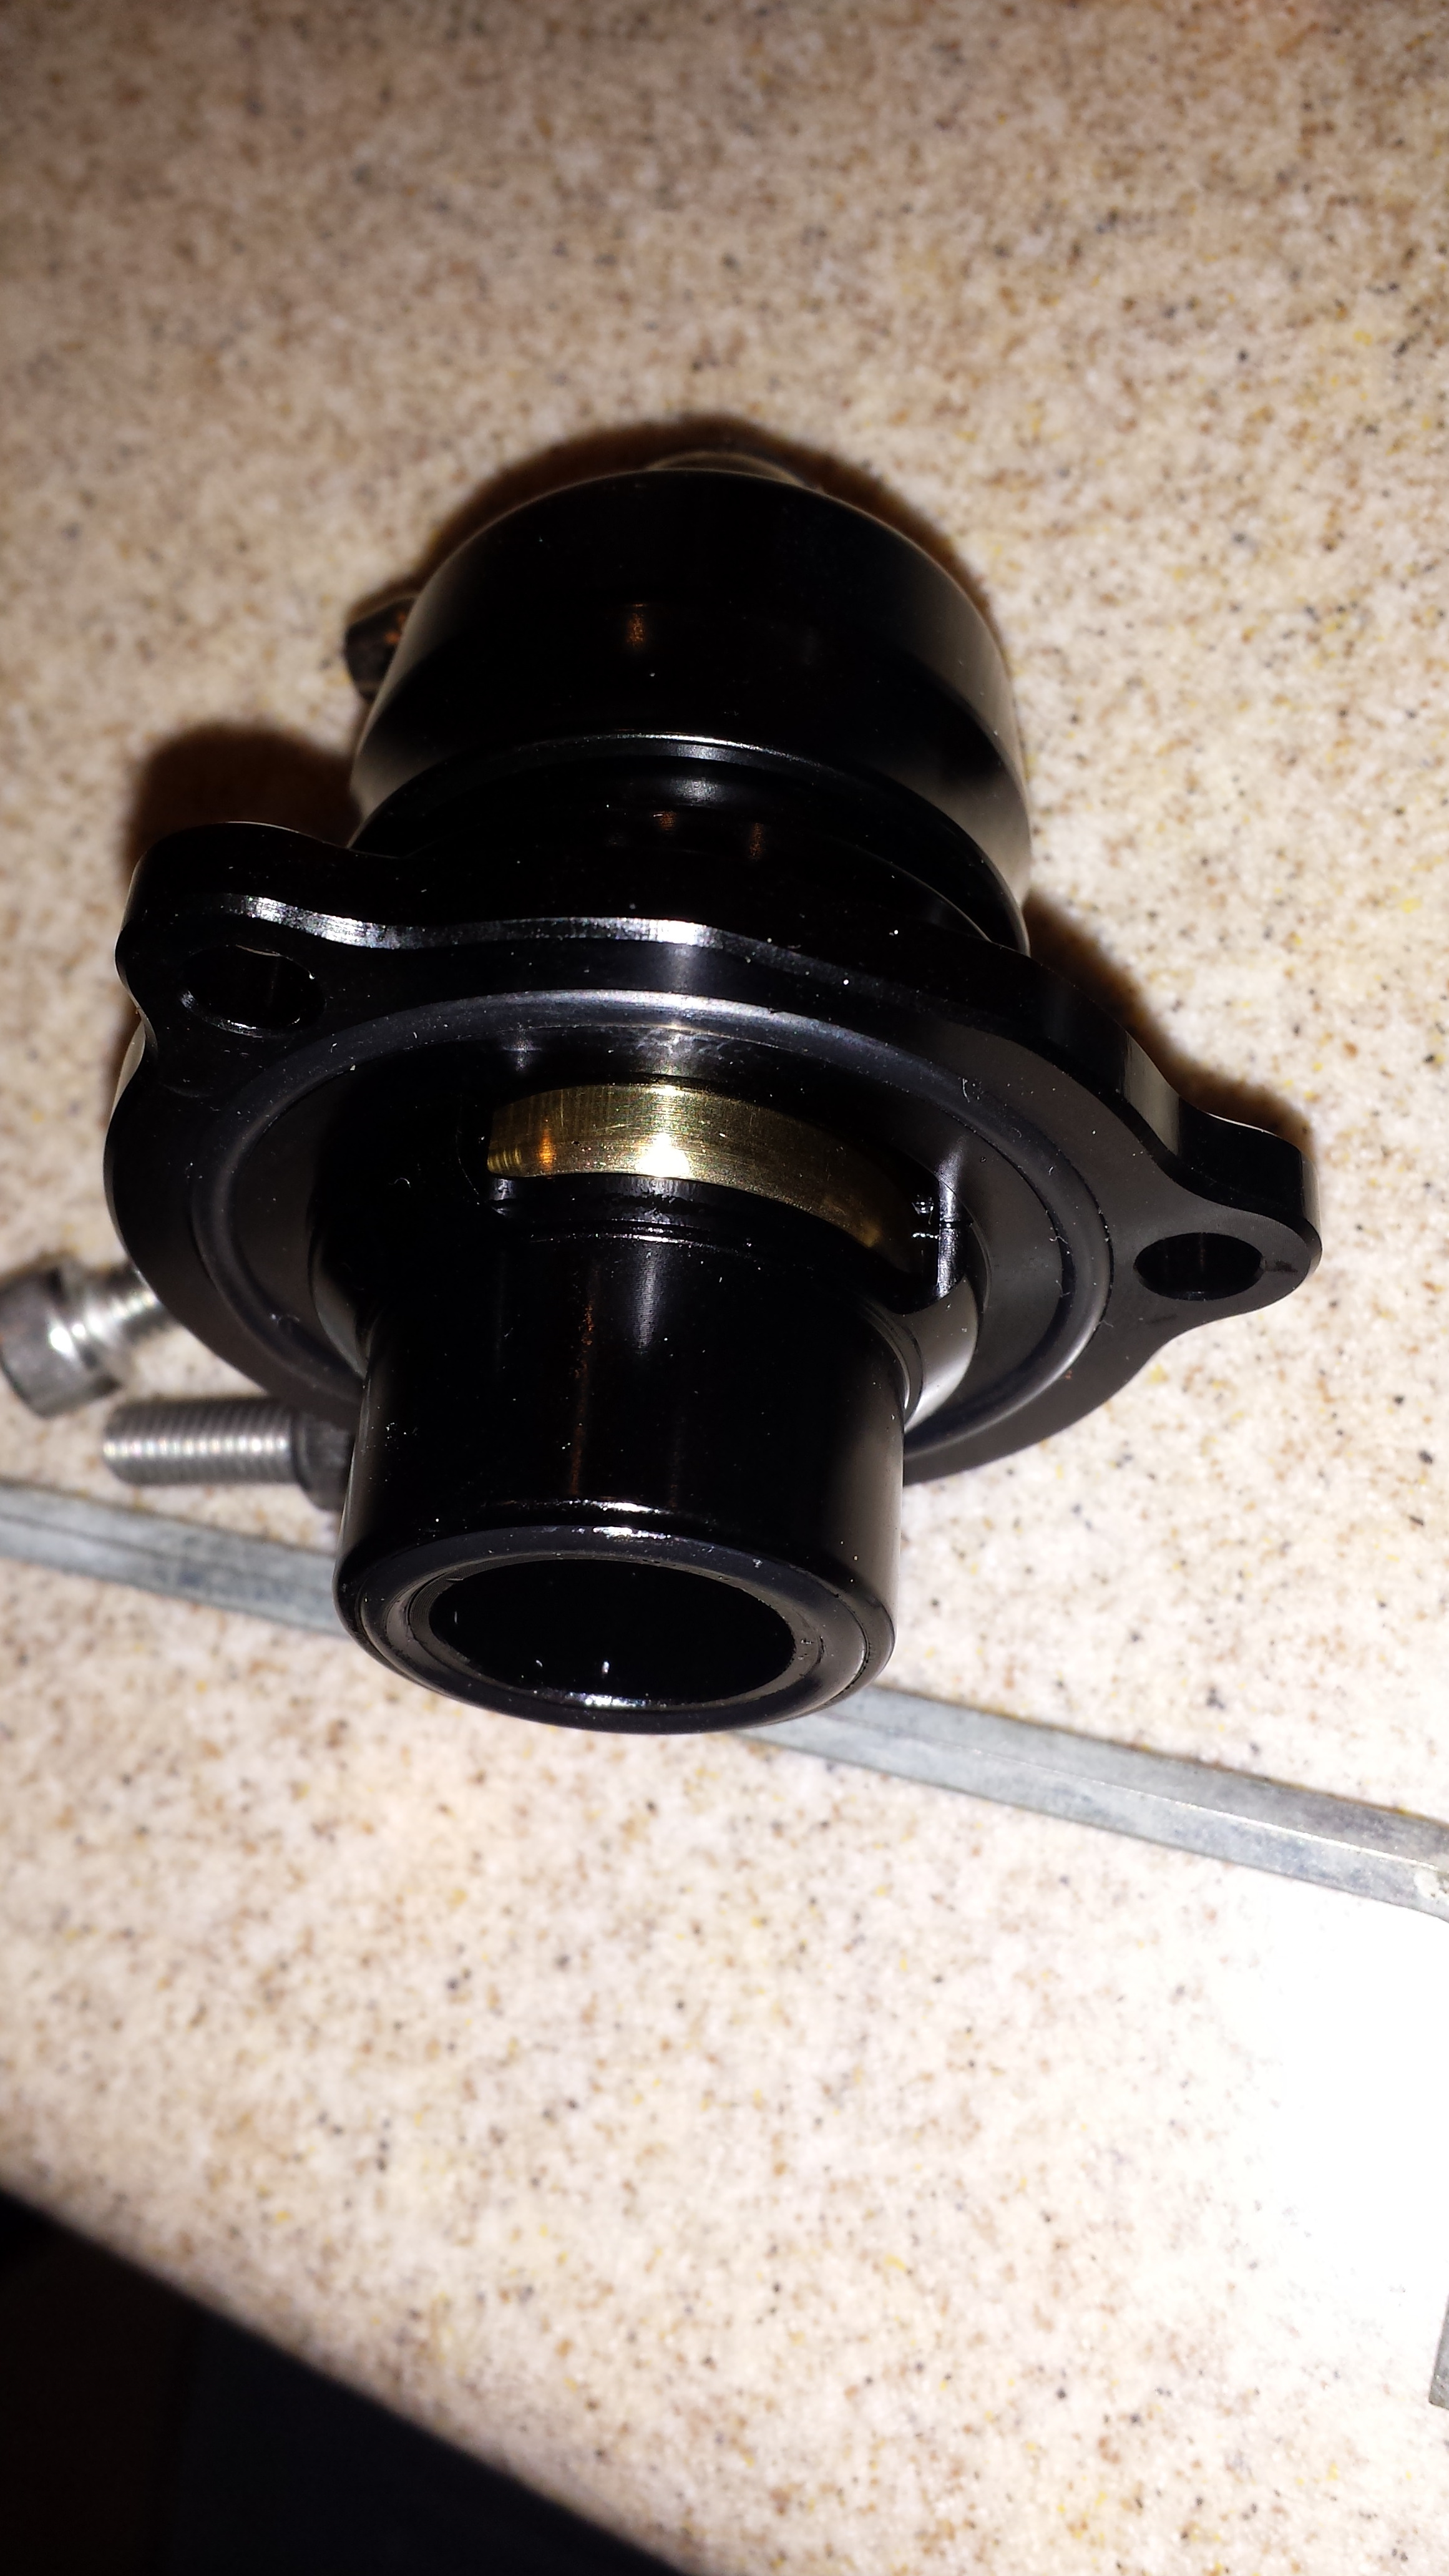
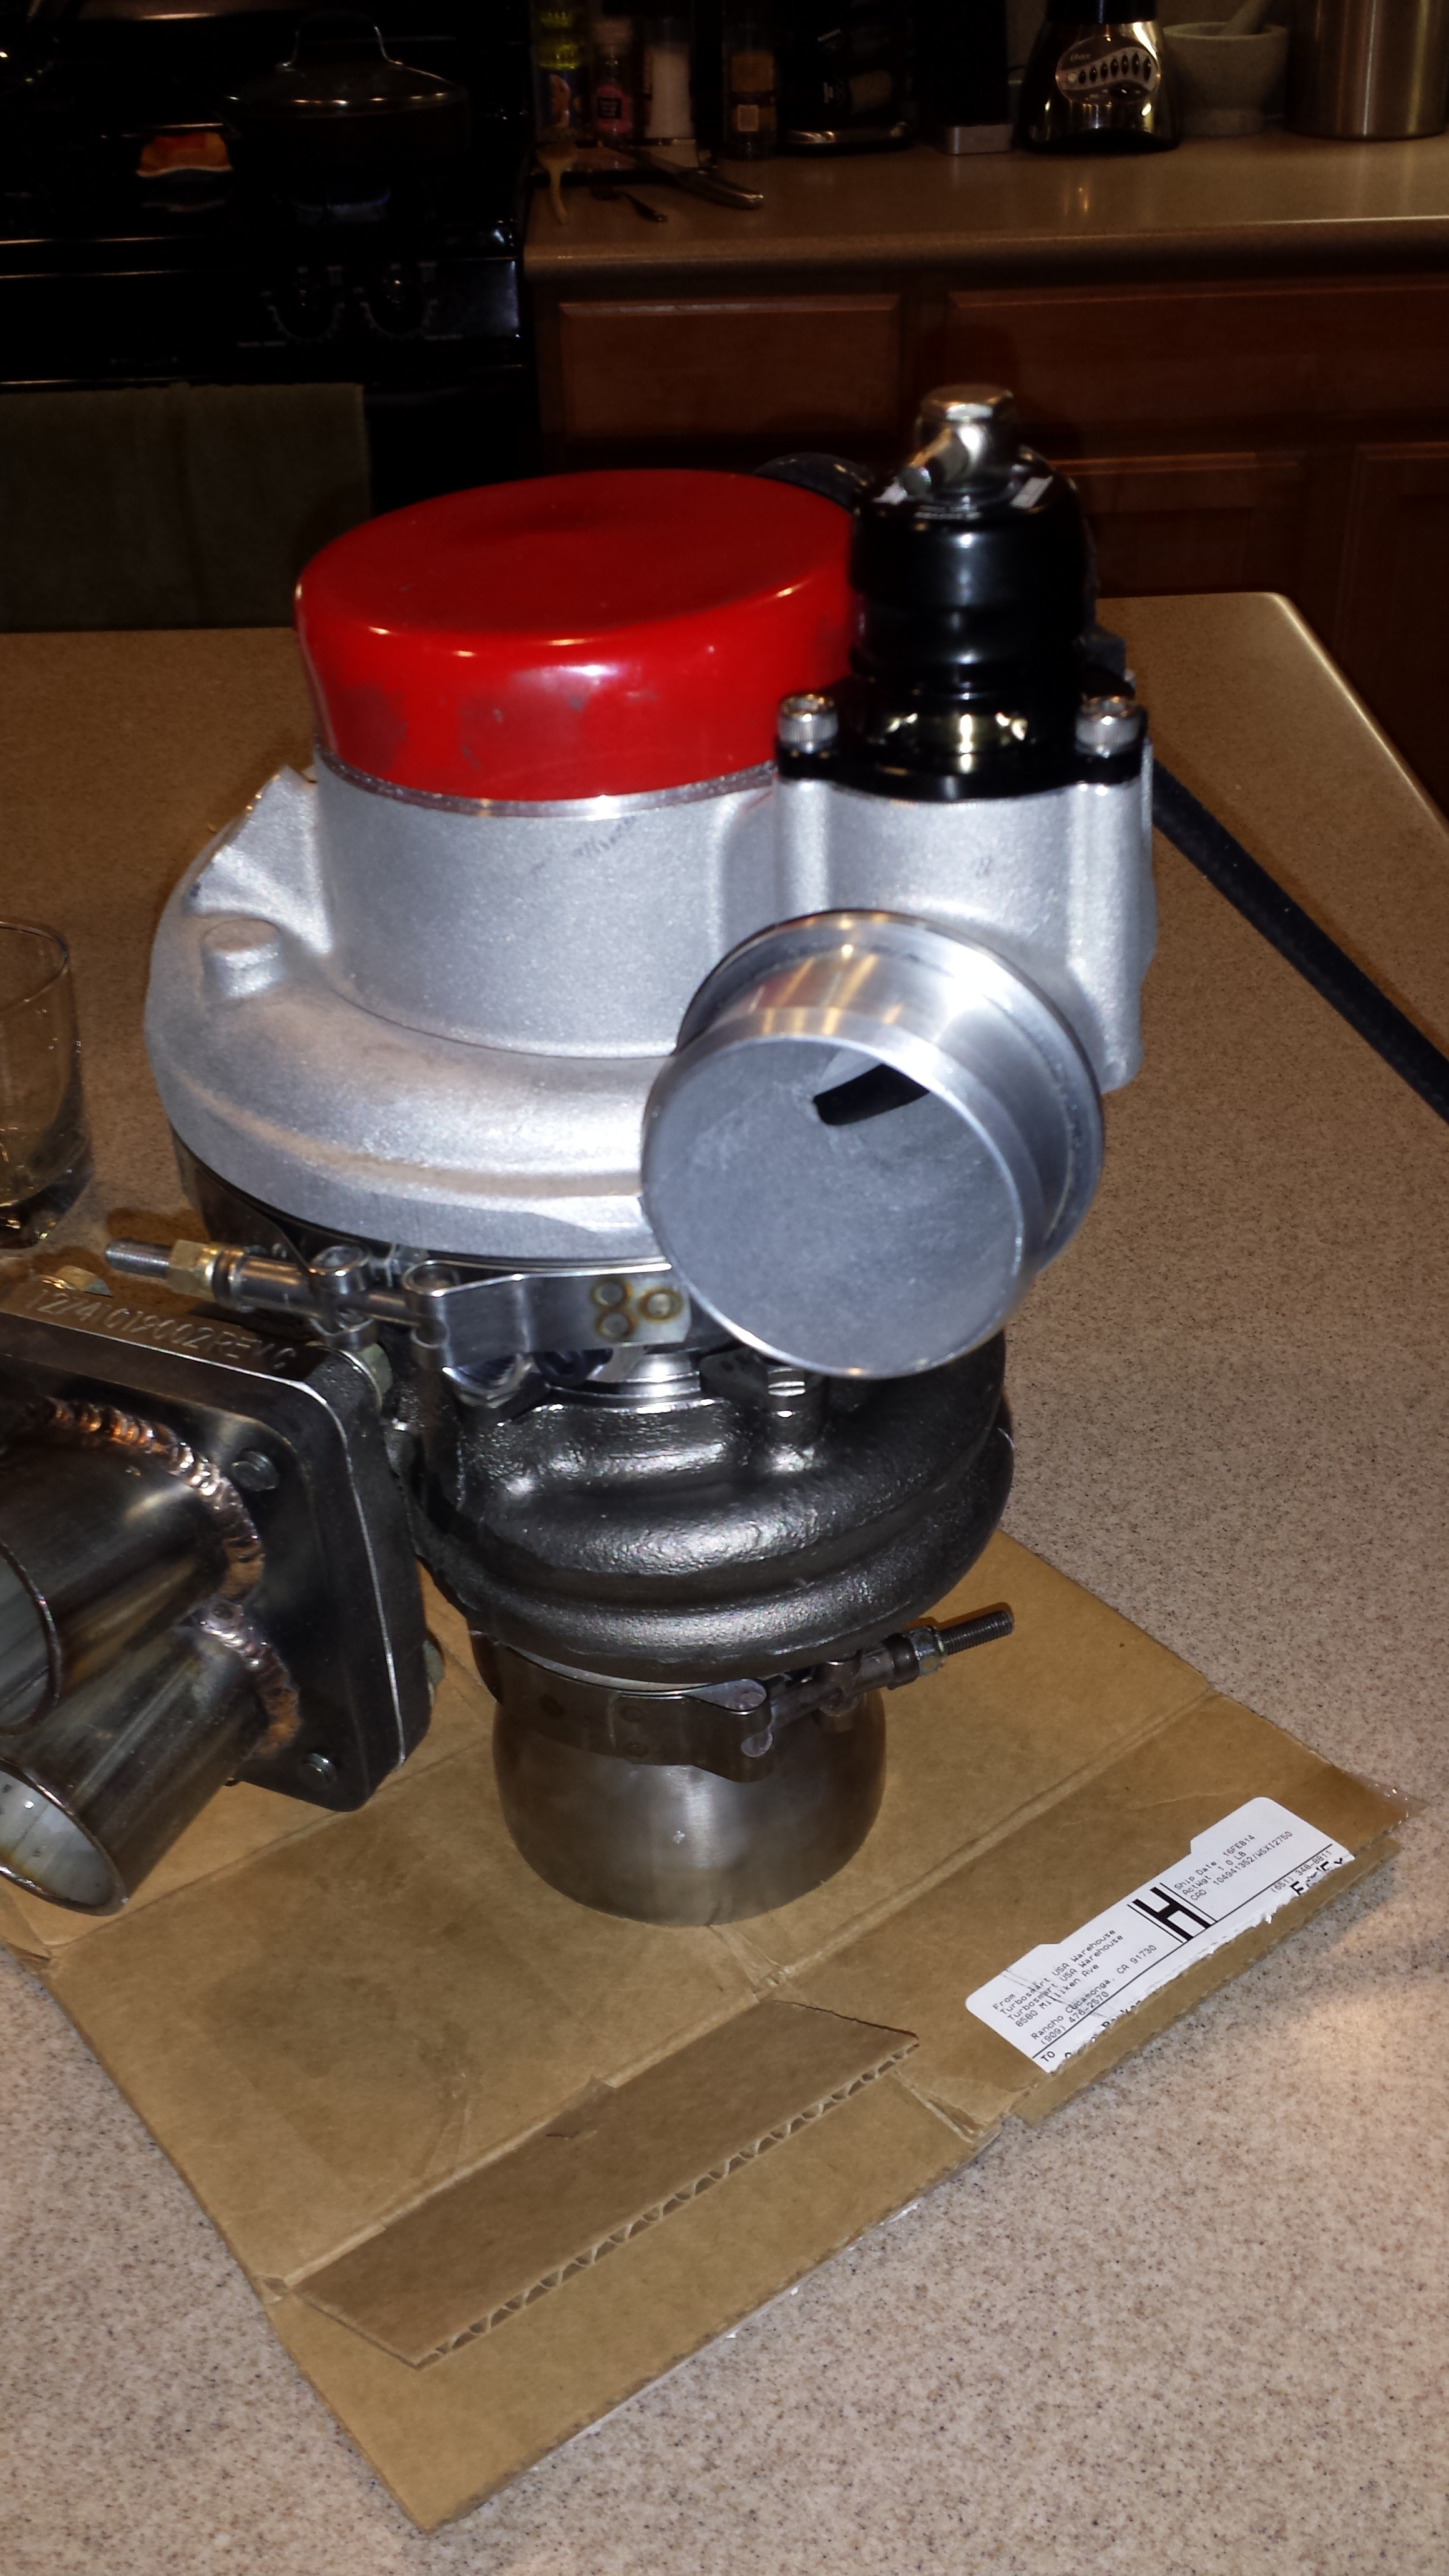
I got my BOV in the mail from Turblown/Turbosource. It was easy as pie to install....and anyone able to pick up a screwdriver could do it in a matter of min. Although I'm sure the OEM unit is capable... It's nice to have an all Aluminum piece on there.
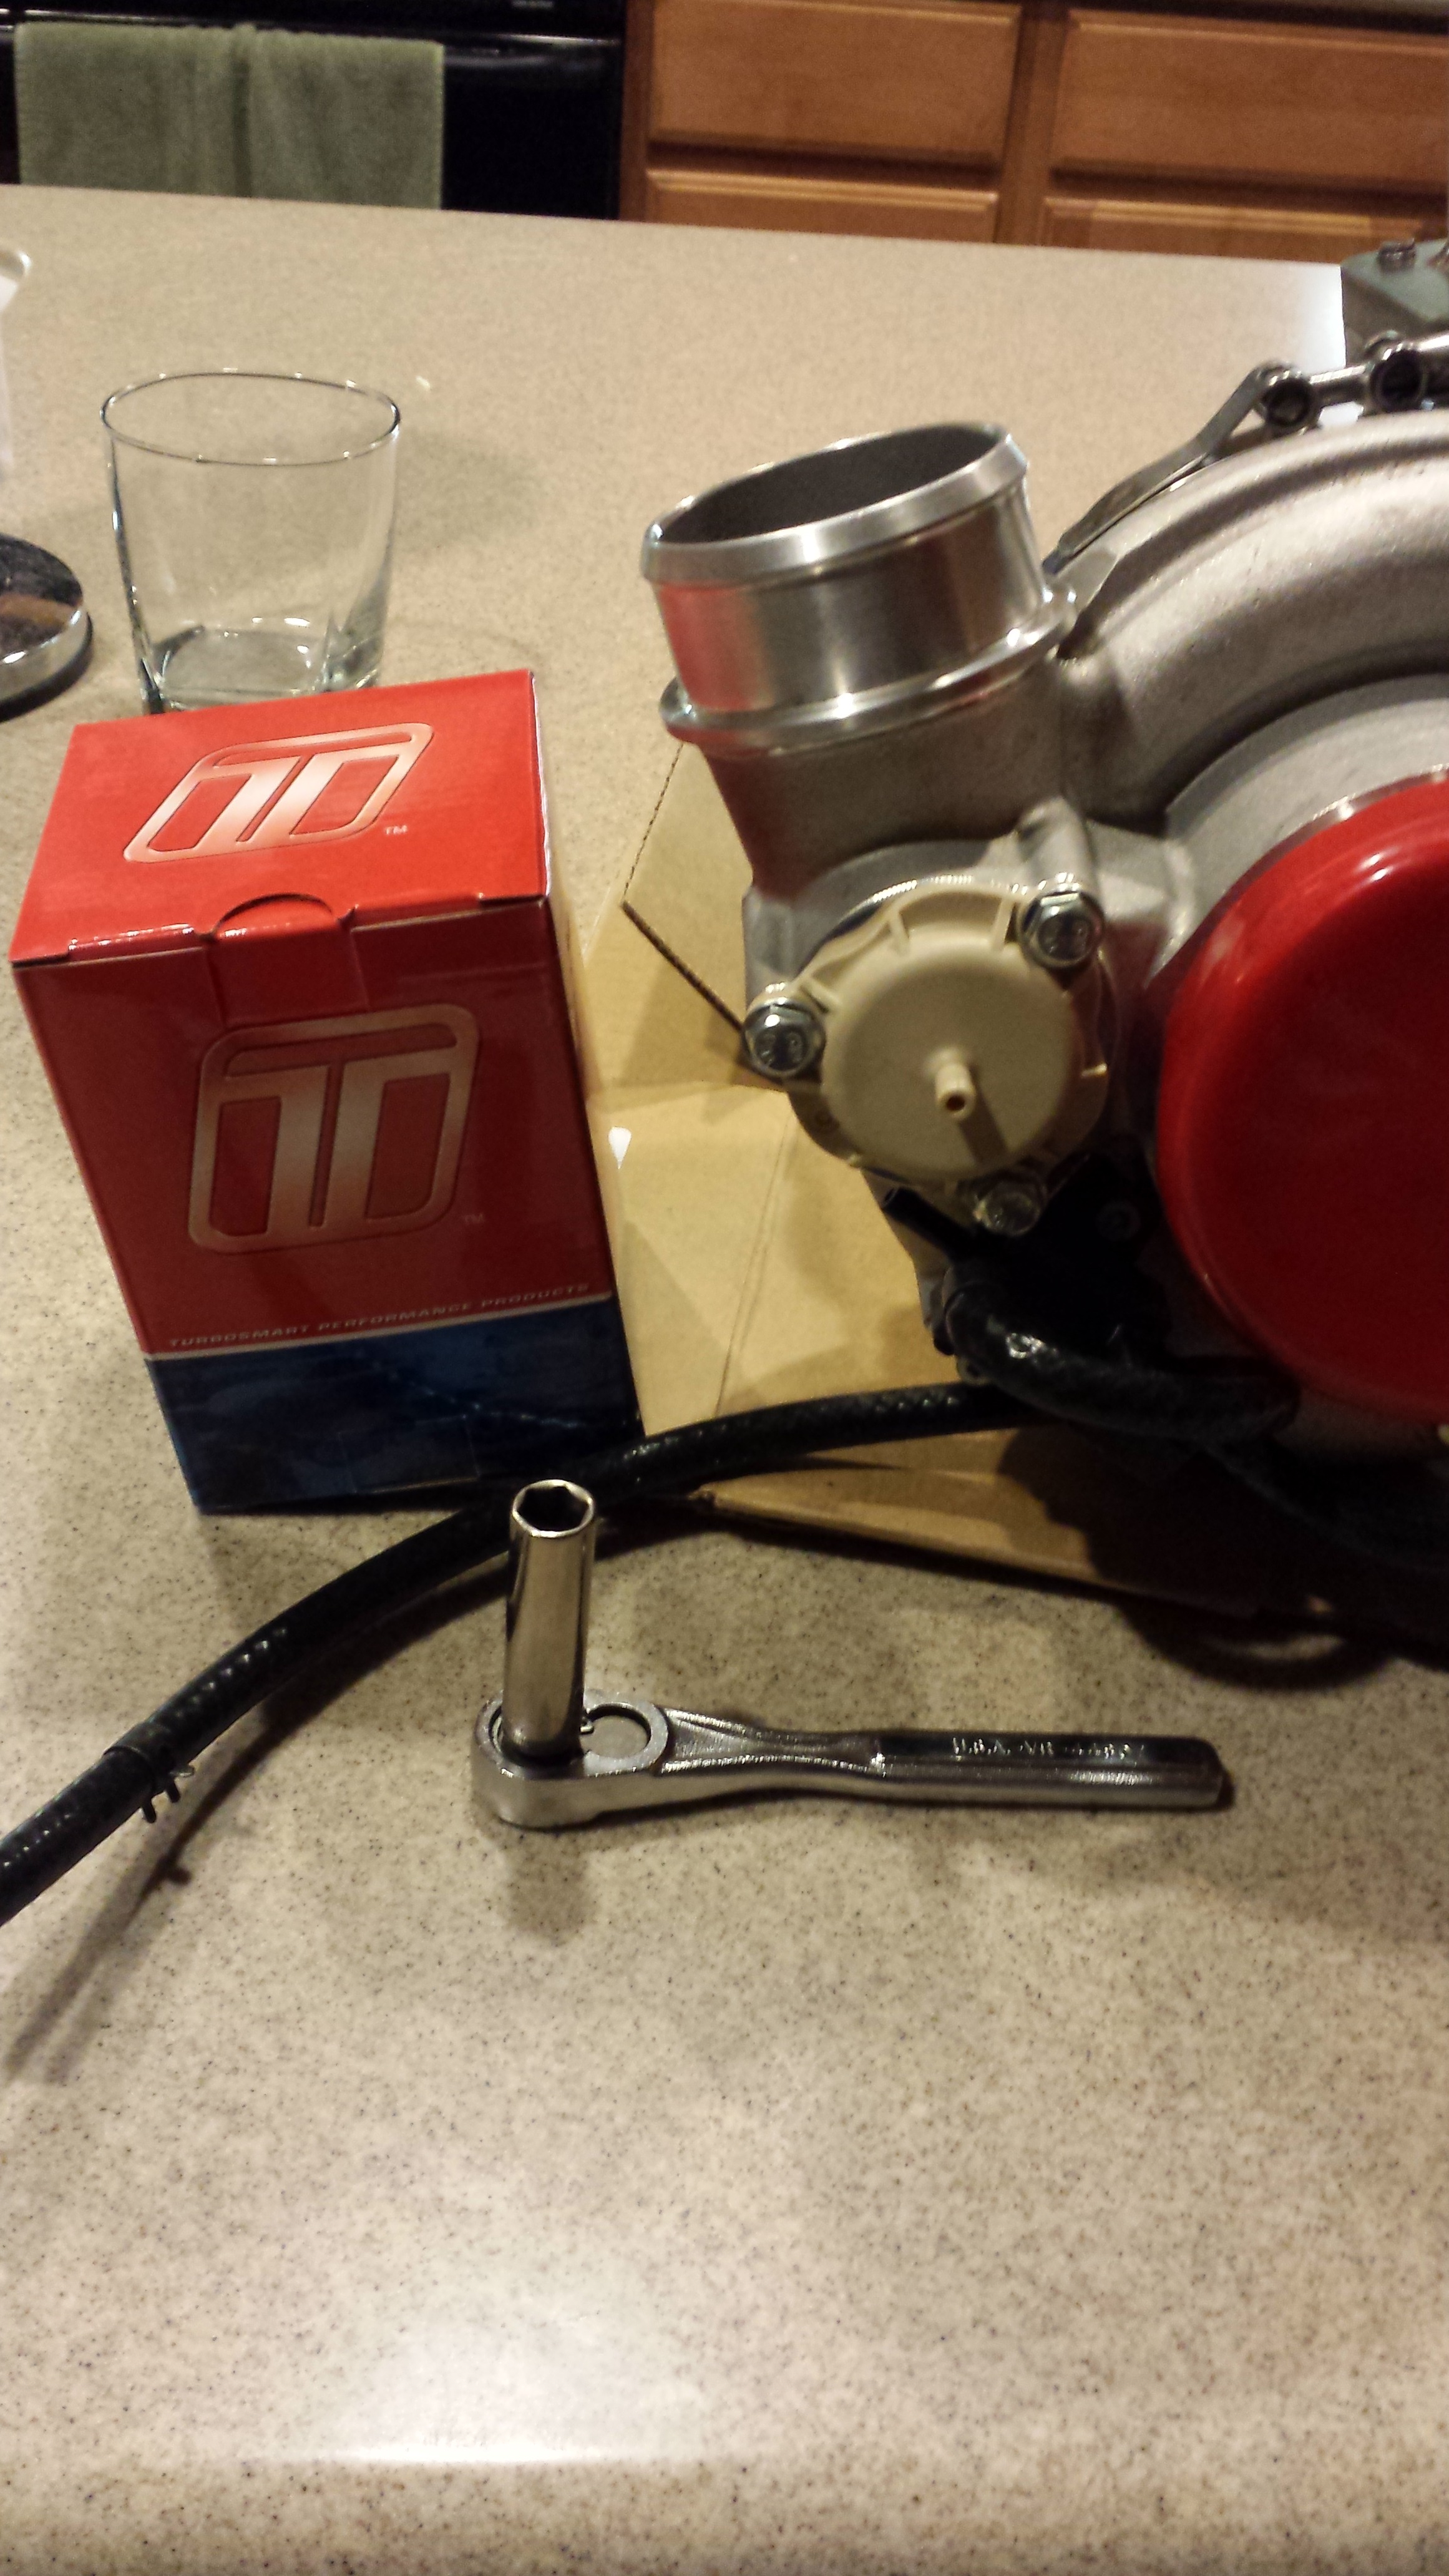
Here is the OEM recirc-valve
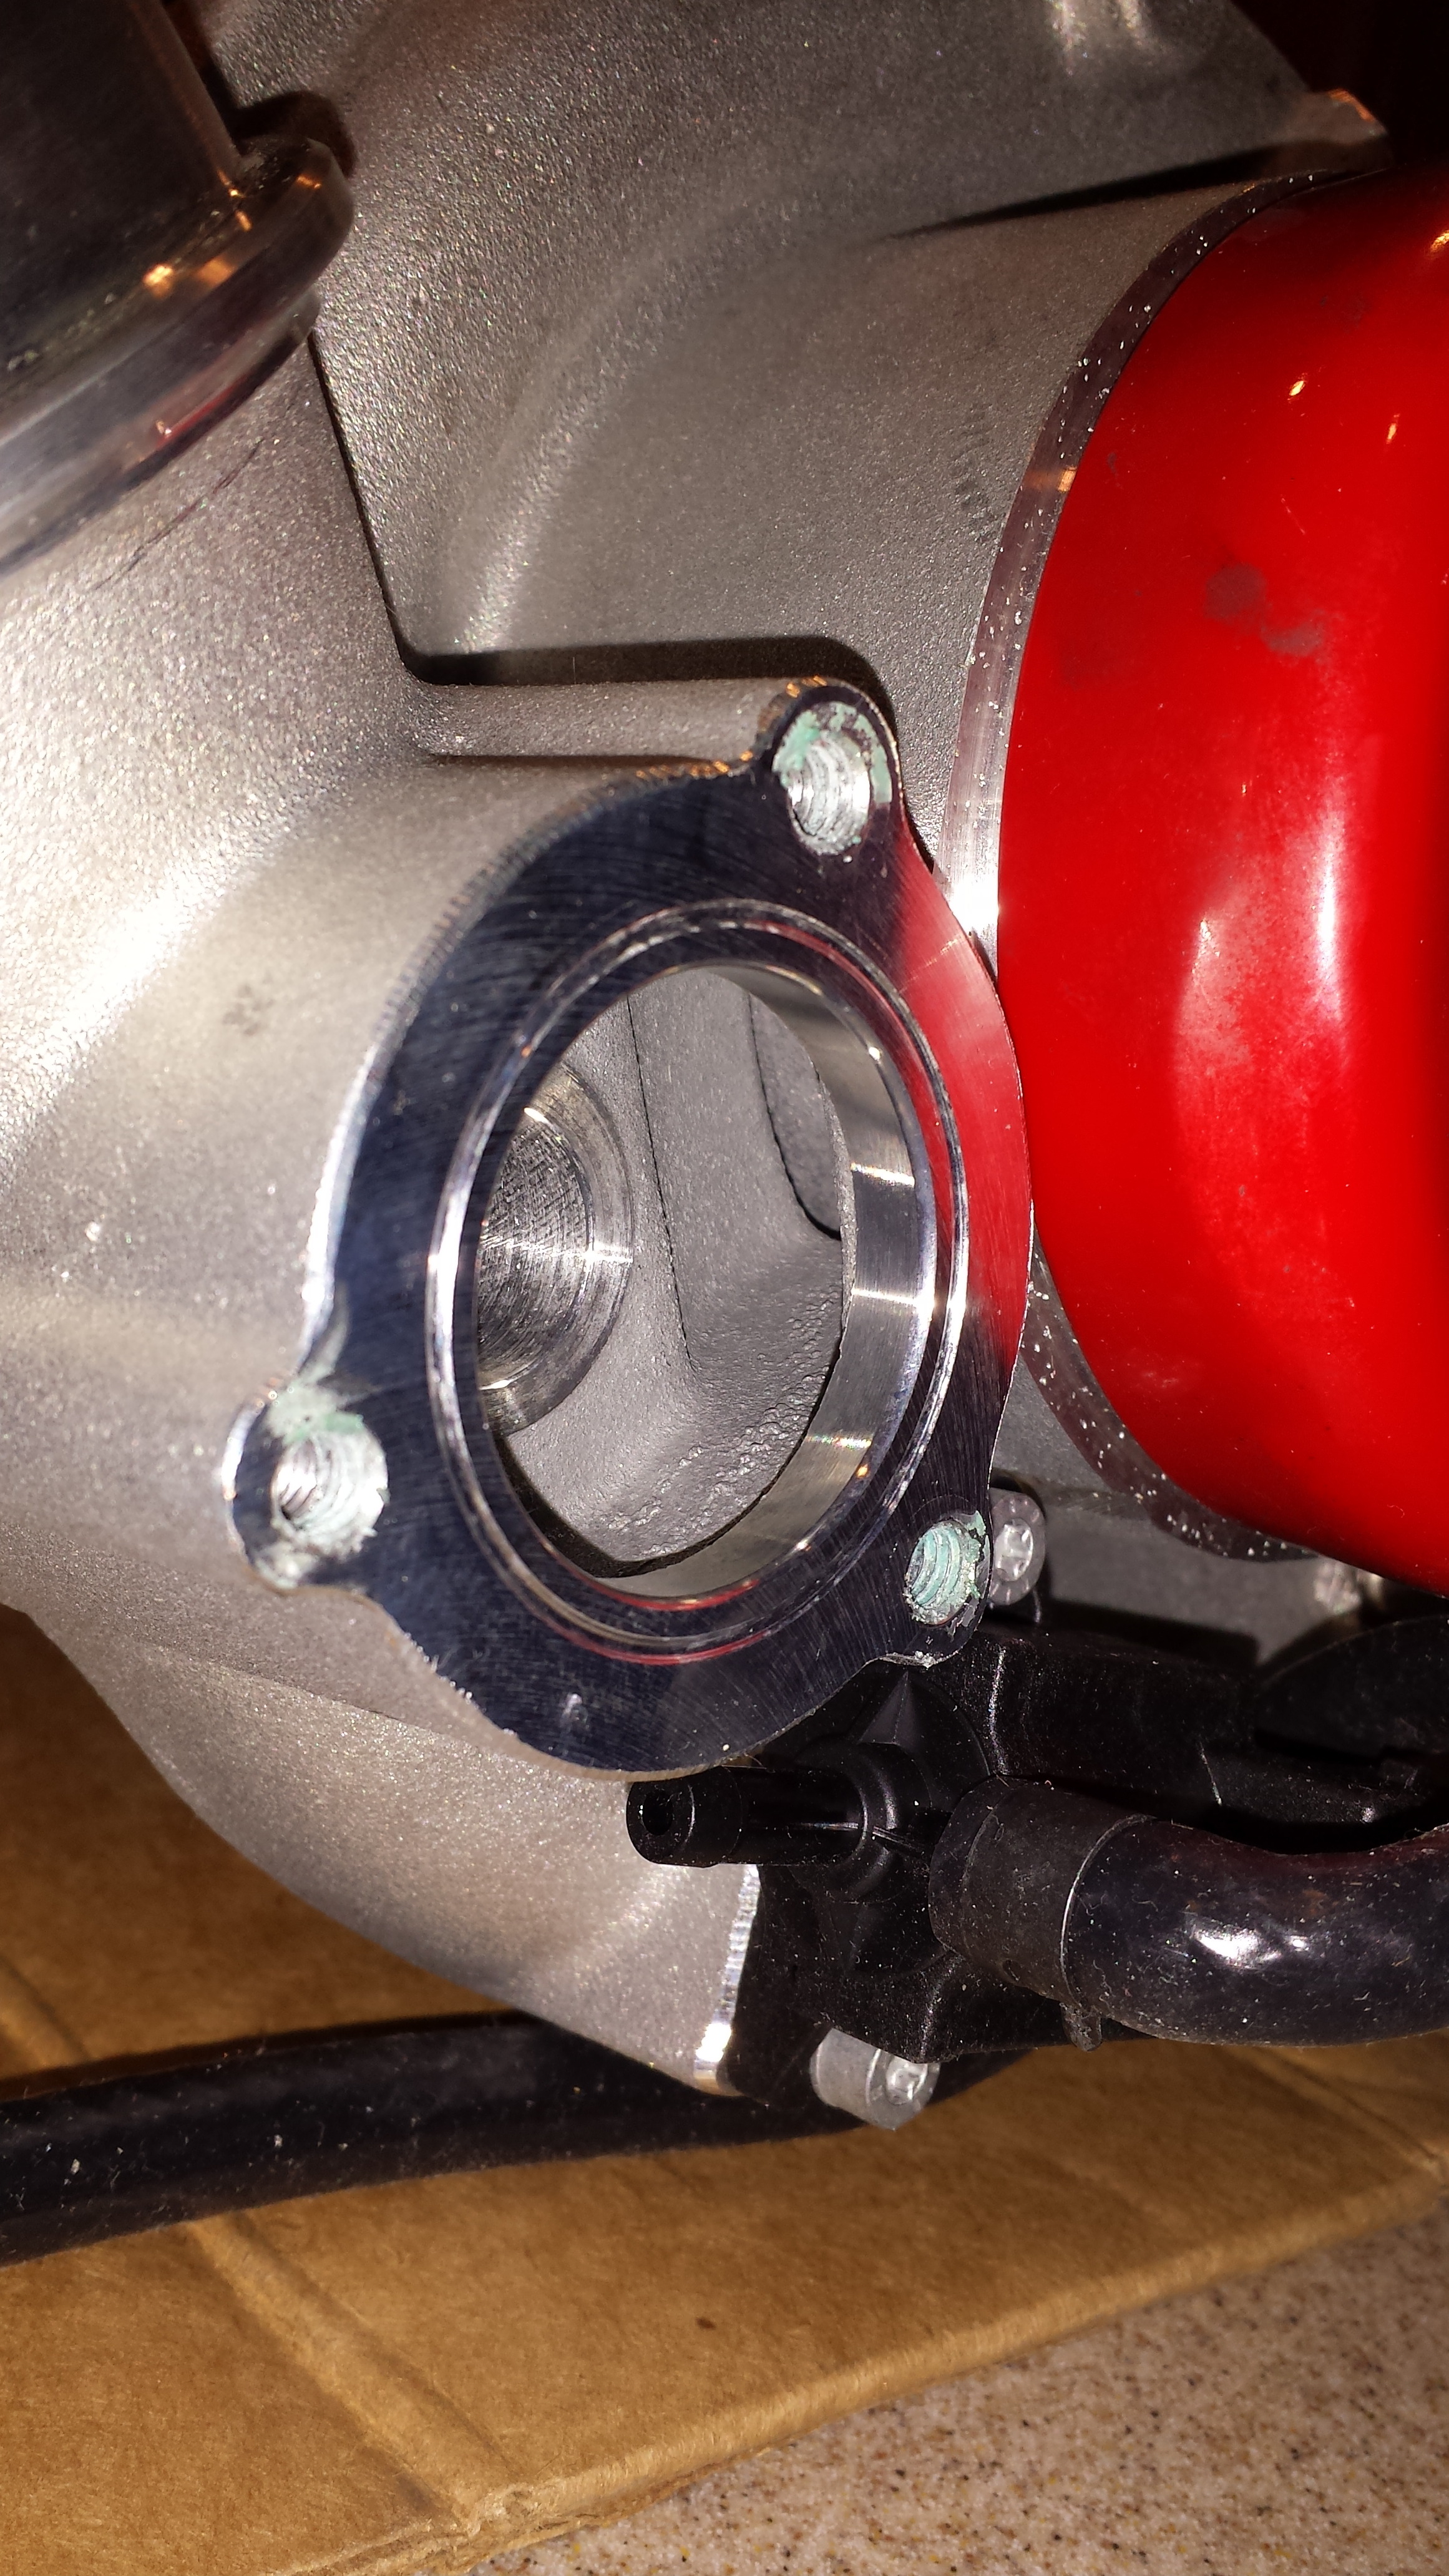
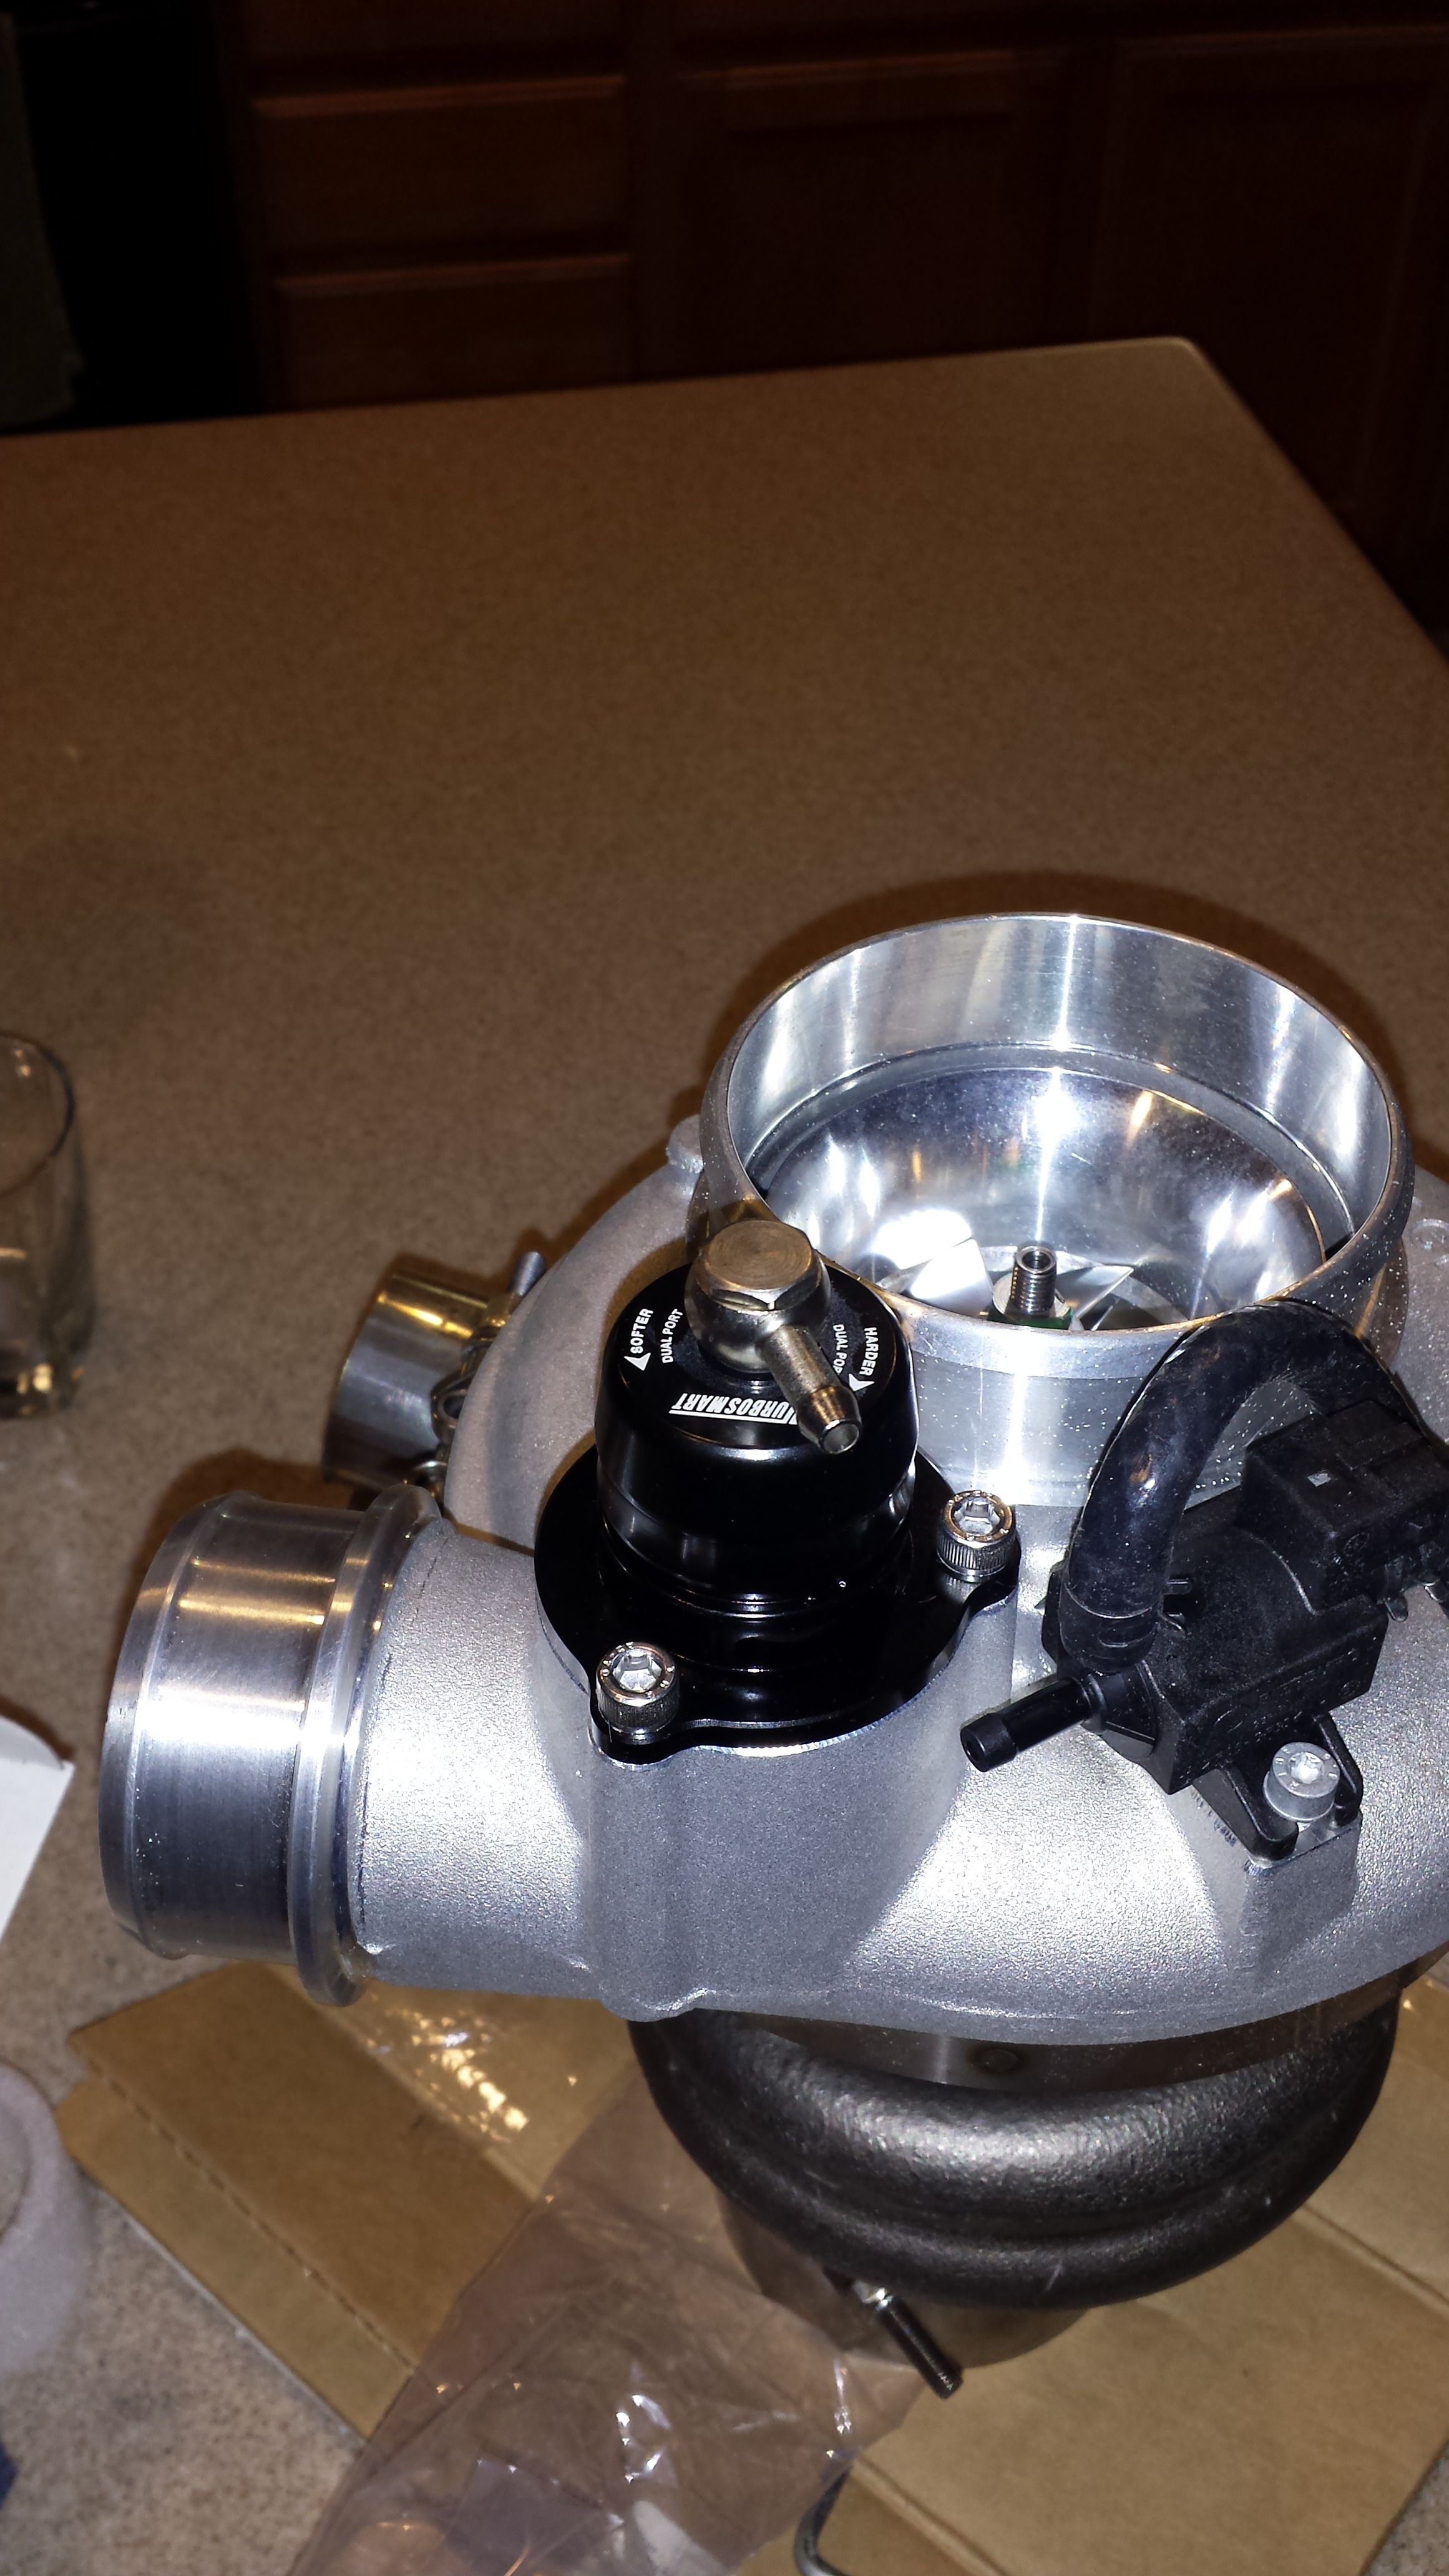
Compressor Cover
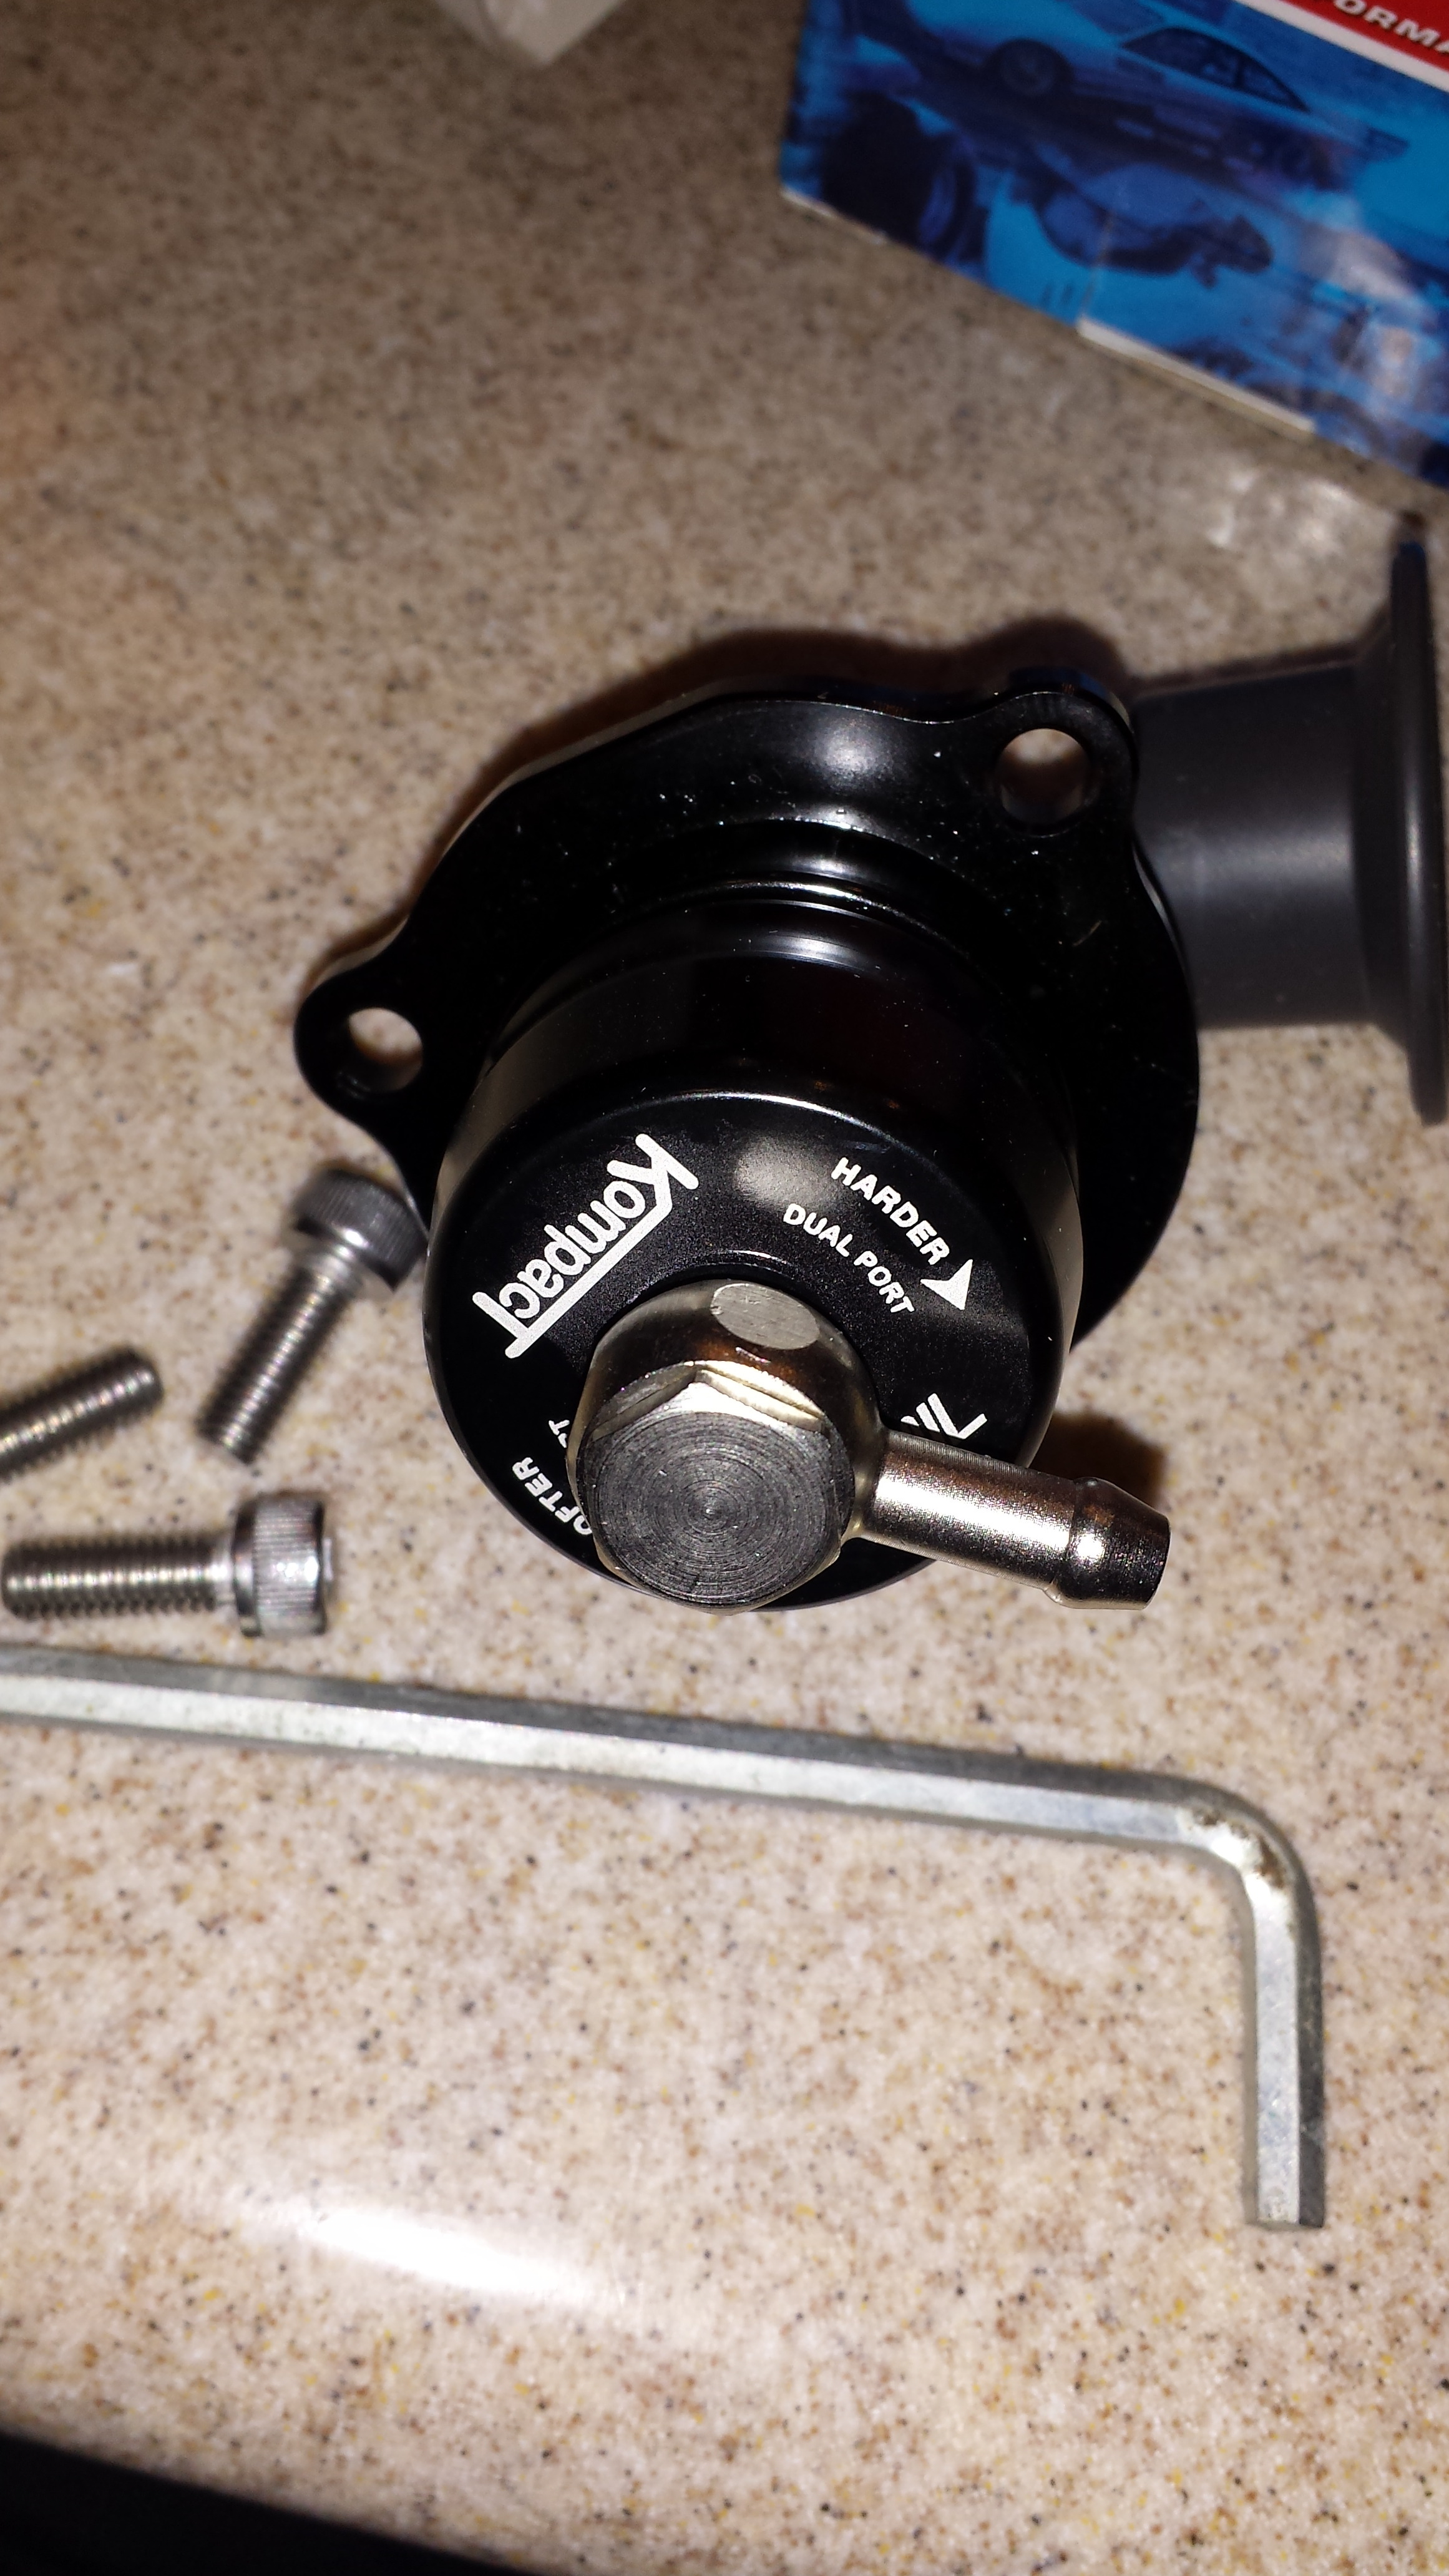
The Turbosmart Kompact
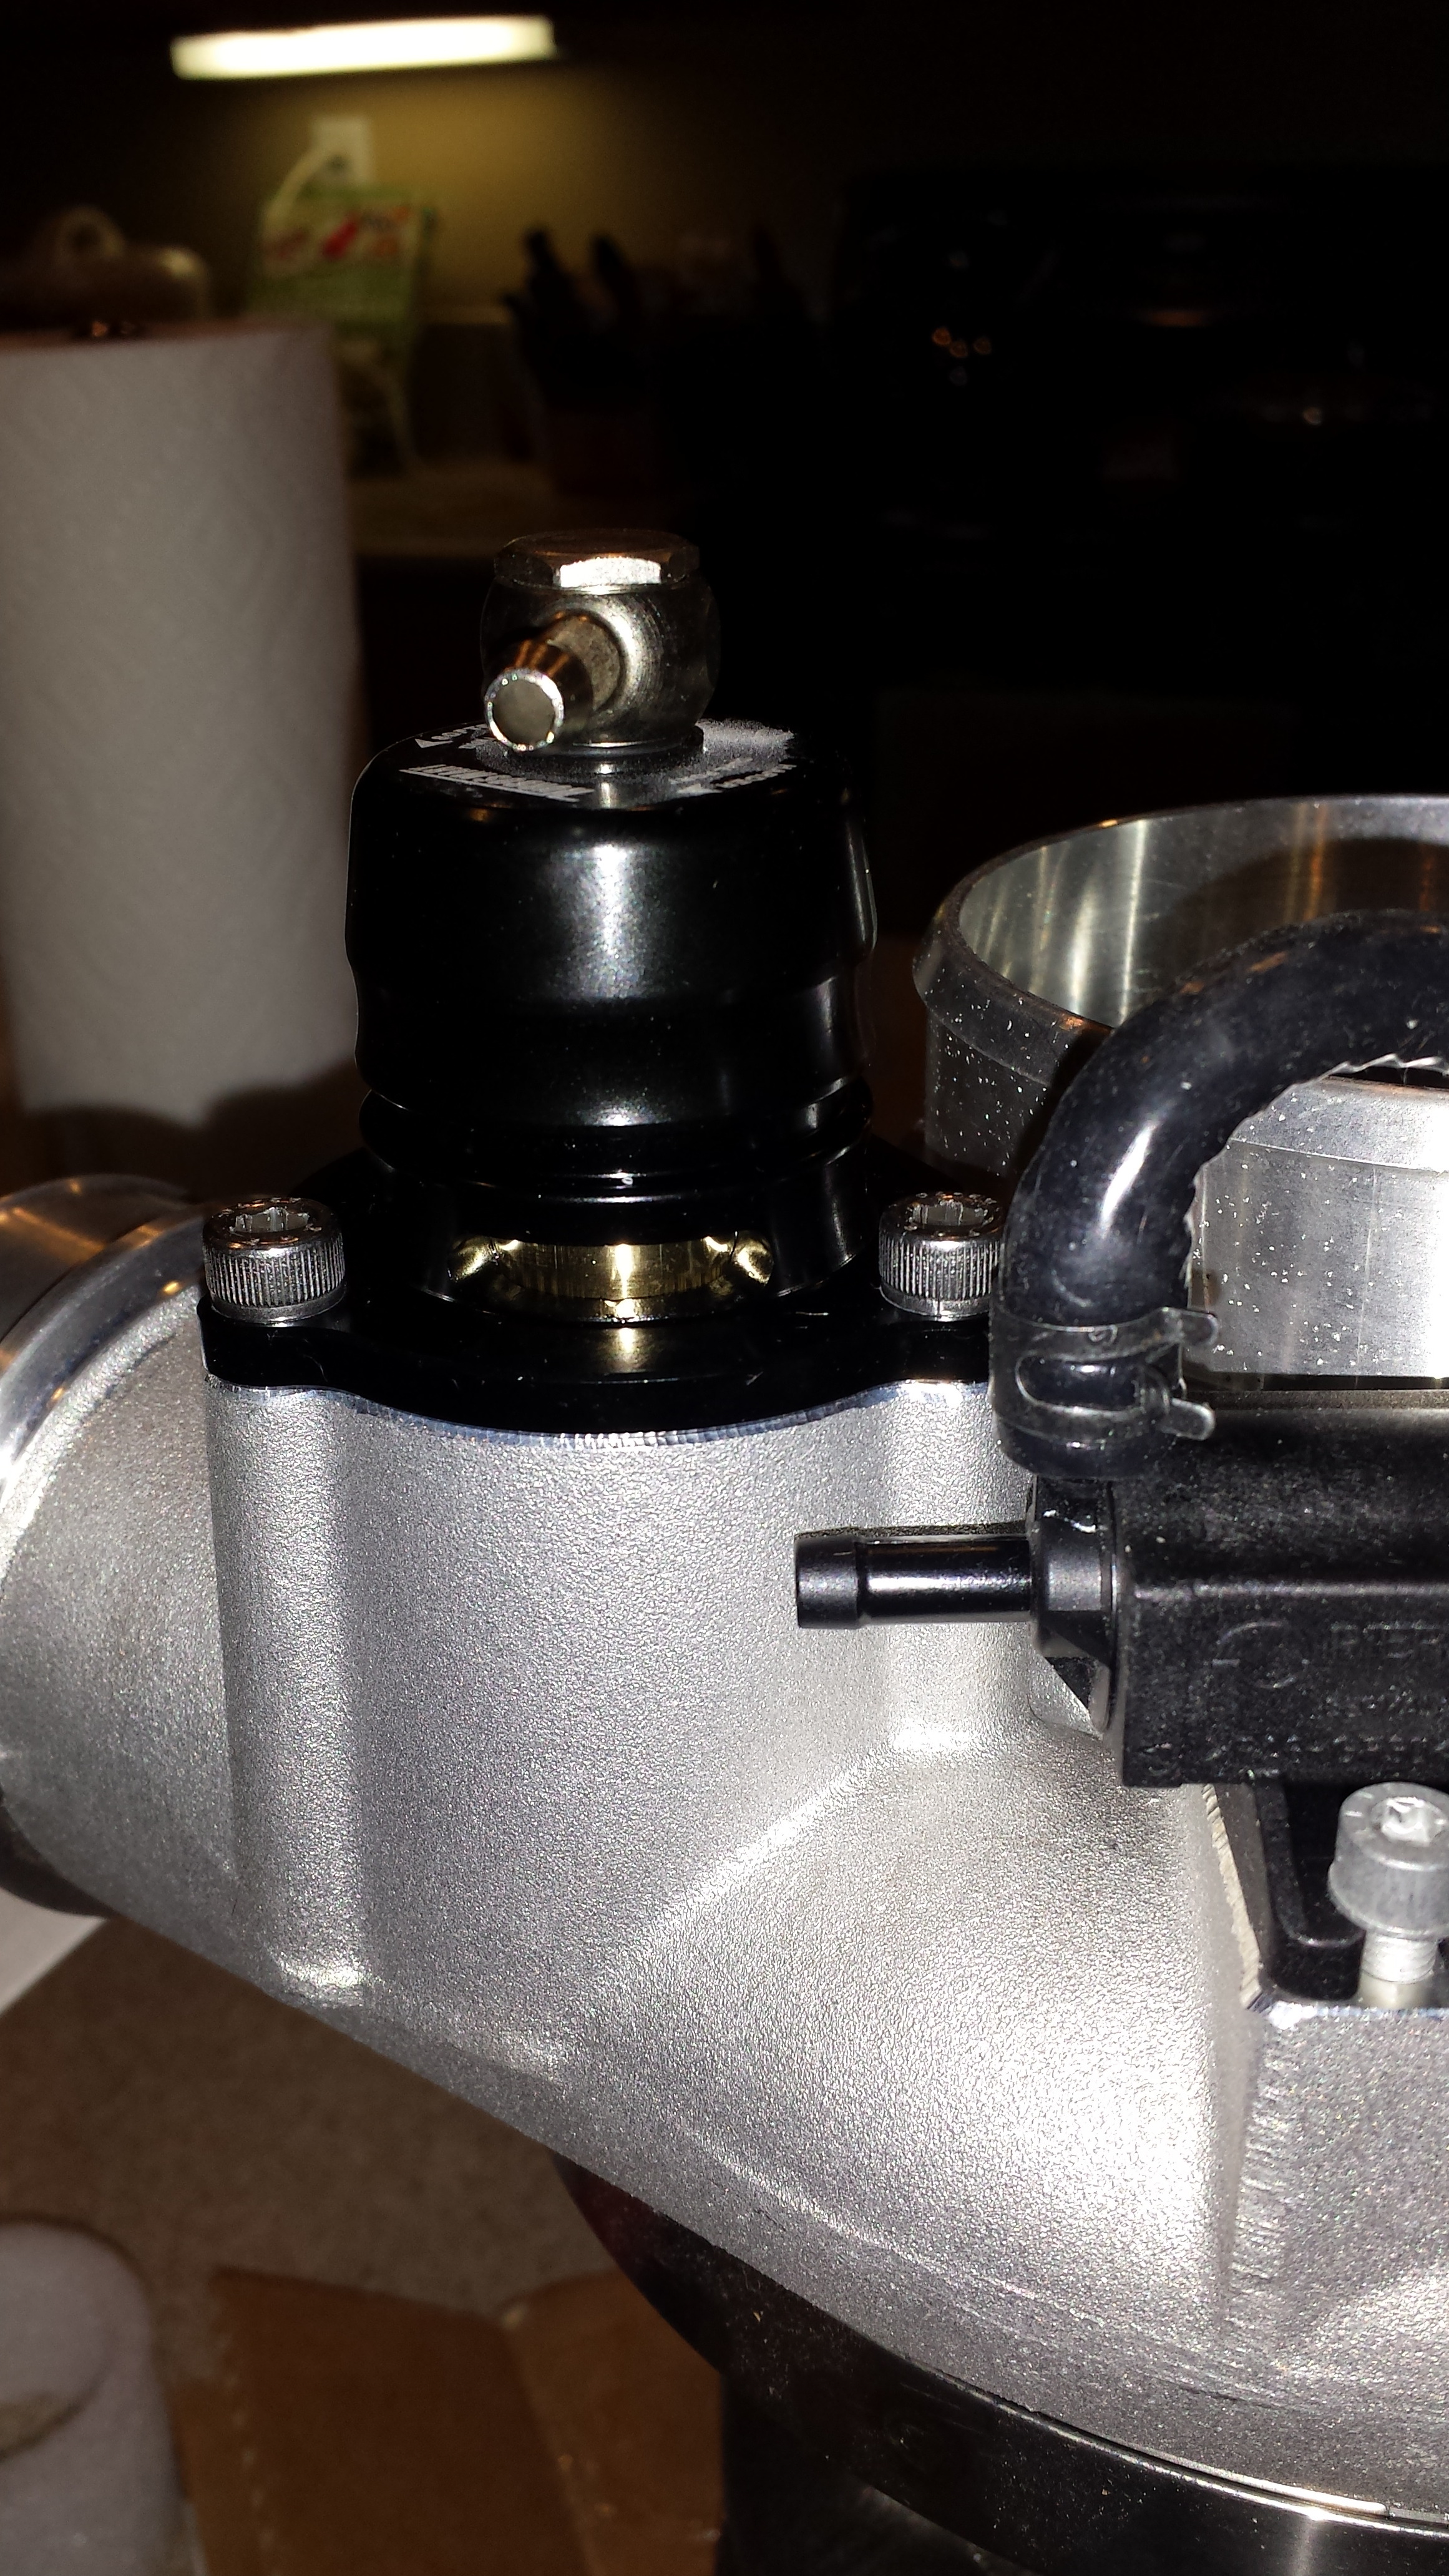
Installed
one more for kicks..
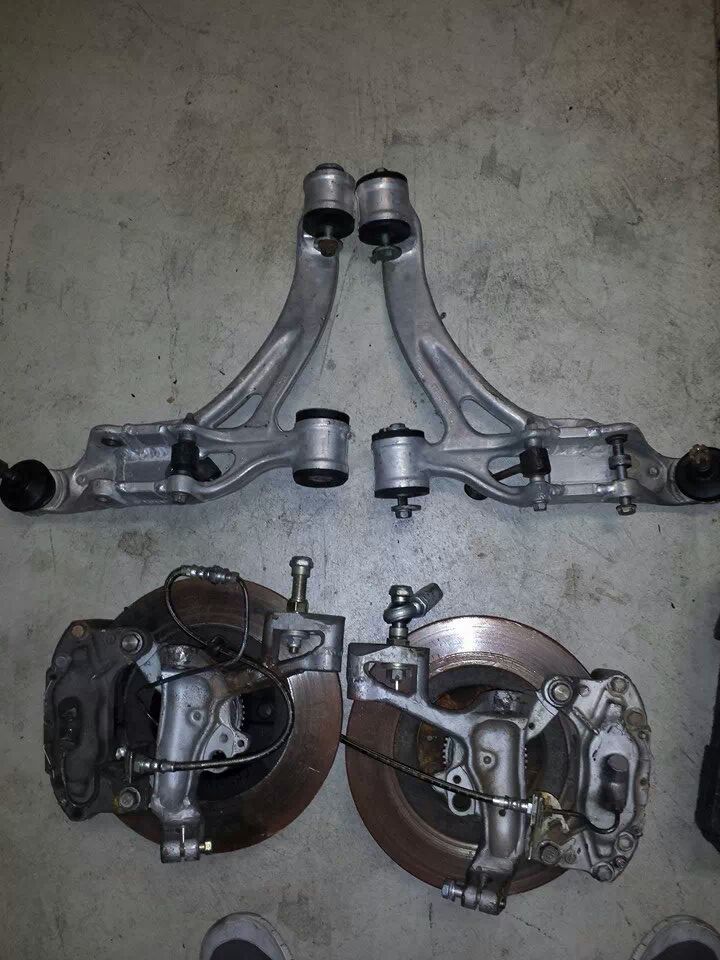
I also picked up a set of modified LCA's (lower Control Arms). They've been extended and along with a set of modified upper control arms It should allow for more steering angle. I have Uppers but I'll need to modify them a bit. The set also came with Powered By Max Modified Knuckles. The Knuckles are very nice. I had been meaning to send my knuckles to Martin for the modification but havn't had the time to get them off and didn't want the car to be down for any amount of time (go figure) LOL. So i'll be installing the Knuckles only,....for the time being and when A buddy of mine or I can get time to look at what needs to be modified on the UCA's I'll see if I can get the stuff to work. Either way it's nice to have an extra set of brakes, rotors, and lines.
I got my BOV in the mail from Turblown/Turbosource. It was easy as pie to install....and anyone able to pick up a screwdriver could do it in a matter of min. Although I'm sure the OEM unit is capable... It's nice to have an all Aluminum piece on there.
Here is the OEM recirc-valve
Compressor Cover
The Turbosmart Kompact
Installed
one more for kicks..
I also picked up a set of modified LCA's (lower Control Arms). They've been extended and along with a set of modified upper control arms It should allow for more steering angle. I have Uppers but I'll need to modify them a bit. The set also came with Powered By Max Modified Knuckles. The Knuckles are very nice. I had been meaning to send my knuckles to Martin for the modification but havn't had the time to get them off and didn't want the car to be down for any amount of time (go figure) LOL. So i'll be installing the Knuckles only,....for the time being and when A buddy of mine or I can get time to look at what needs to be modified on the UCA's I'll see if I can get the stuff to work. Either way it's nice to have an extra set of brakes, rotors, and lines.
02-20-14, 08:43 AM
#1789
hey elliot - im a huge fan of turbosmart and their innovative products. However in this case i do not believe there to be any benefit by replacing the OEM borg warner BOV with an aftermarket unit. Of all the EFR turbos we've sold here, im not aware of one single diaphragm failure. Personally my daily driver is a built evo on E85, i run 30-35psi daily and have no issues with it. One other thing to be aware of, is that a stiffer BOV spring on the EFR can lead to tip-out surge. Of course the turbosmart stuff is always well made and beautifully executed -- food for thought!
Thank you for your input, as always its welcomed! I assumed that compared to other OE units it would leak, just like the test Travis did;
Turbosmart Dual Port BOV Test - Snail Performance
I am still curious to test myself! If they don't work, and are only a benefit for those looking for, " increased sound ", then I will make sure to advertise them in this manner.
What are your thoughts on their WG actuators?
02-21-14, 01:27 AM
#1790
Make an assessment...

iTrader: (3)
So am I seeing this right...does the new BOV have slots so some air escapes outside the compressor housing? If so, isn't the point of the original BOV to recirculate the air onto the blades and wouldn't this BOV negate that?
02-21-14, 10:58 AM
#1792
Full Member
Join Date: Aug 2009
Location: Phoenix, AZ
Posts: 91
Likes: 0
Received 0 Likes
on
0 Posts
i am going to put my evo on the dyno this week, going to try a couple different thigns but i should have time to do a back to back with the turbosmart valve and the EFR. I have the plumback version here
btw - mannykiller, those LCA's look great. It may be worth your while to take some bumpsteer measurements also
btw - mannykiller, those LCA's look great. It may be worth your while to take some bumpsteer measurements also
03-07-14, 12:12 PM
#1793
manny, anything new?
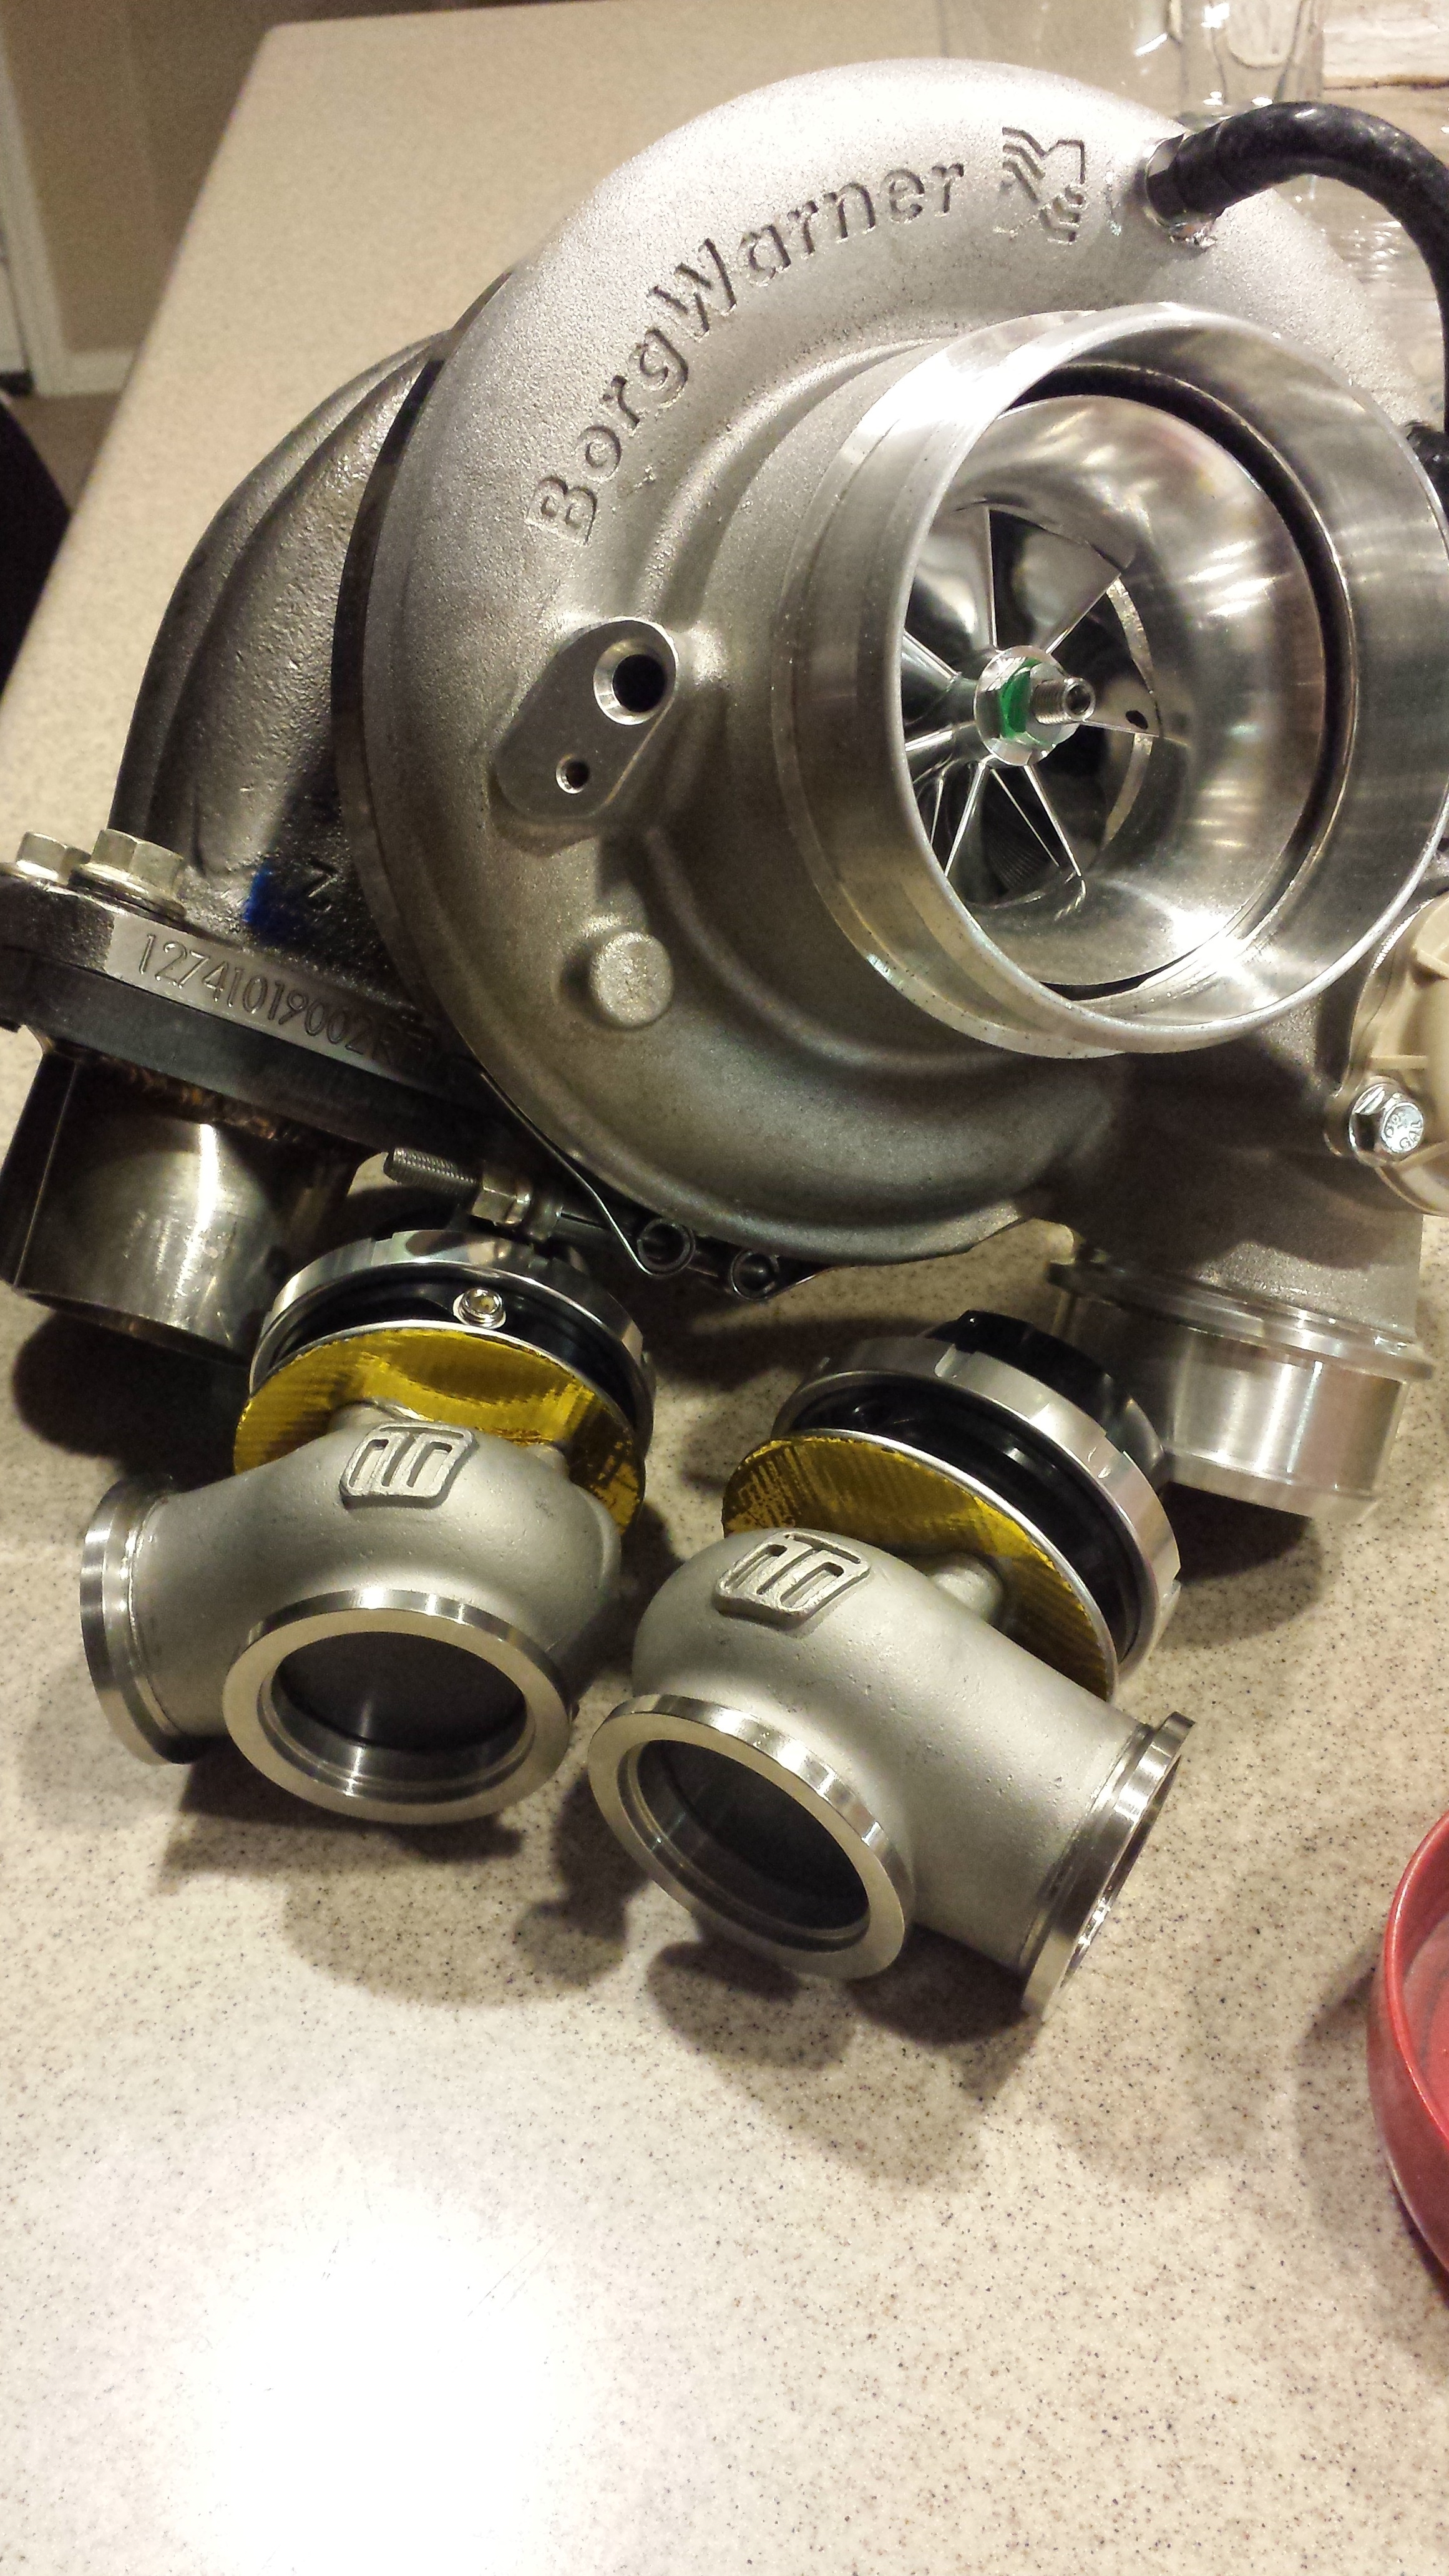
is your new turbo the 8374?
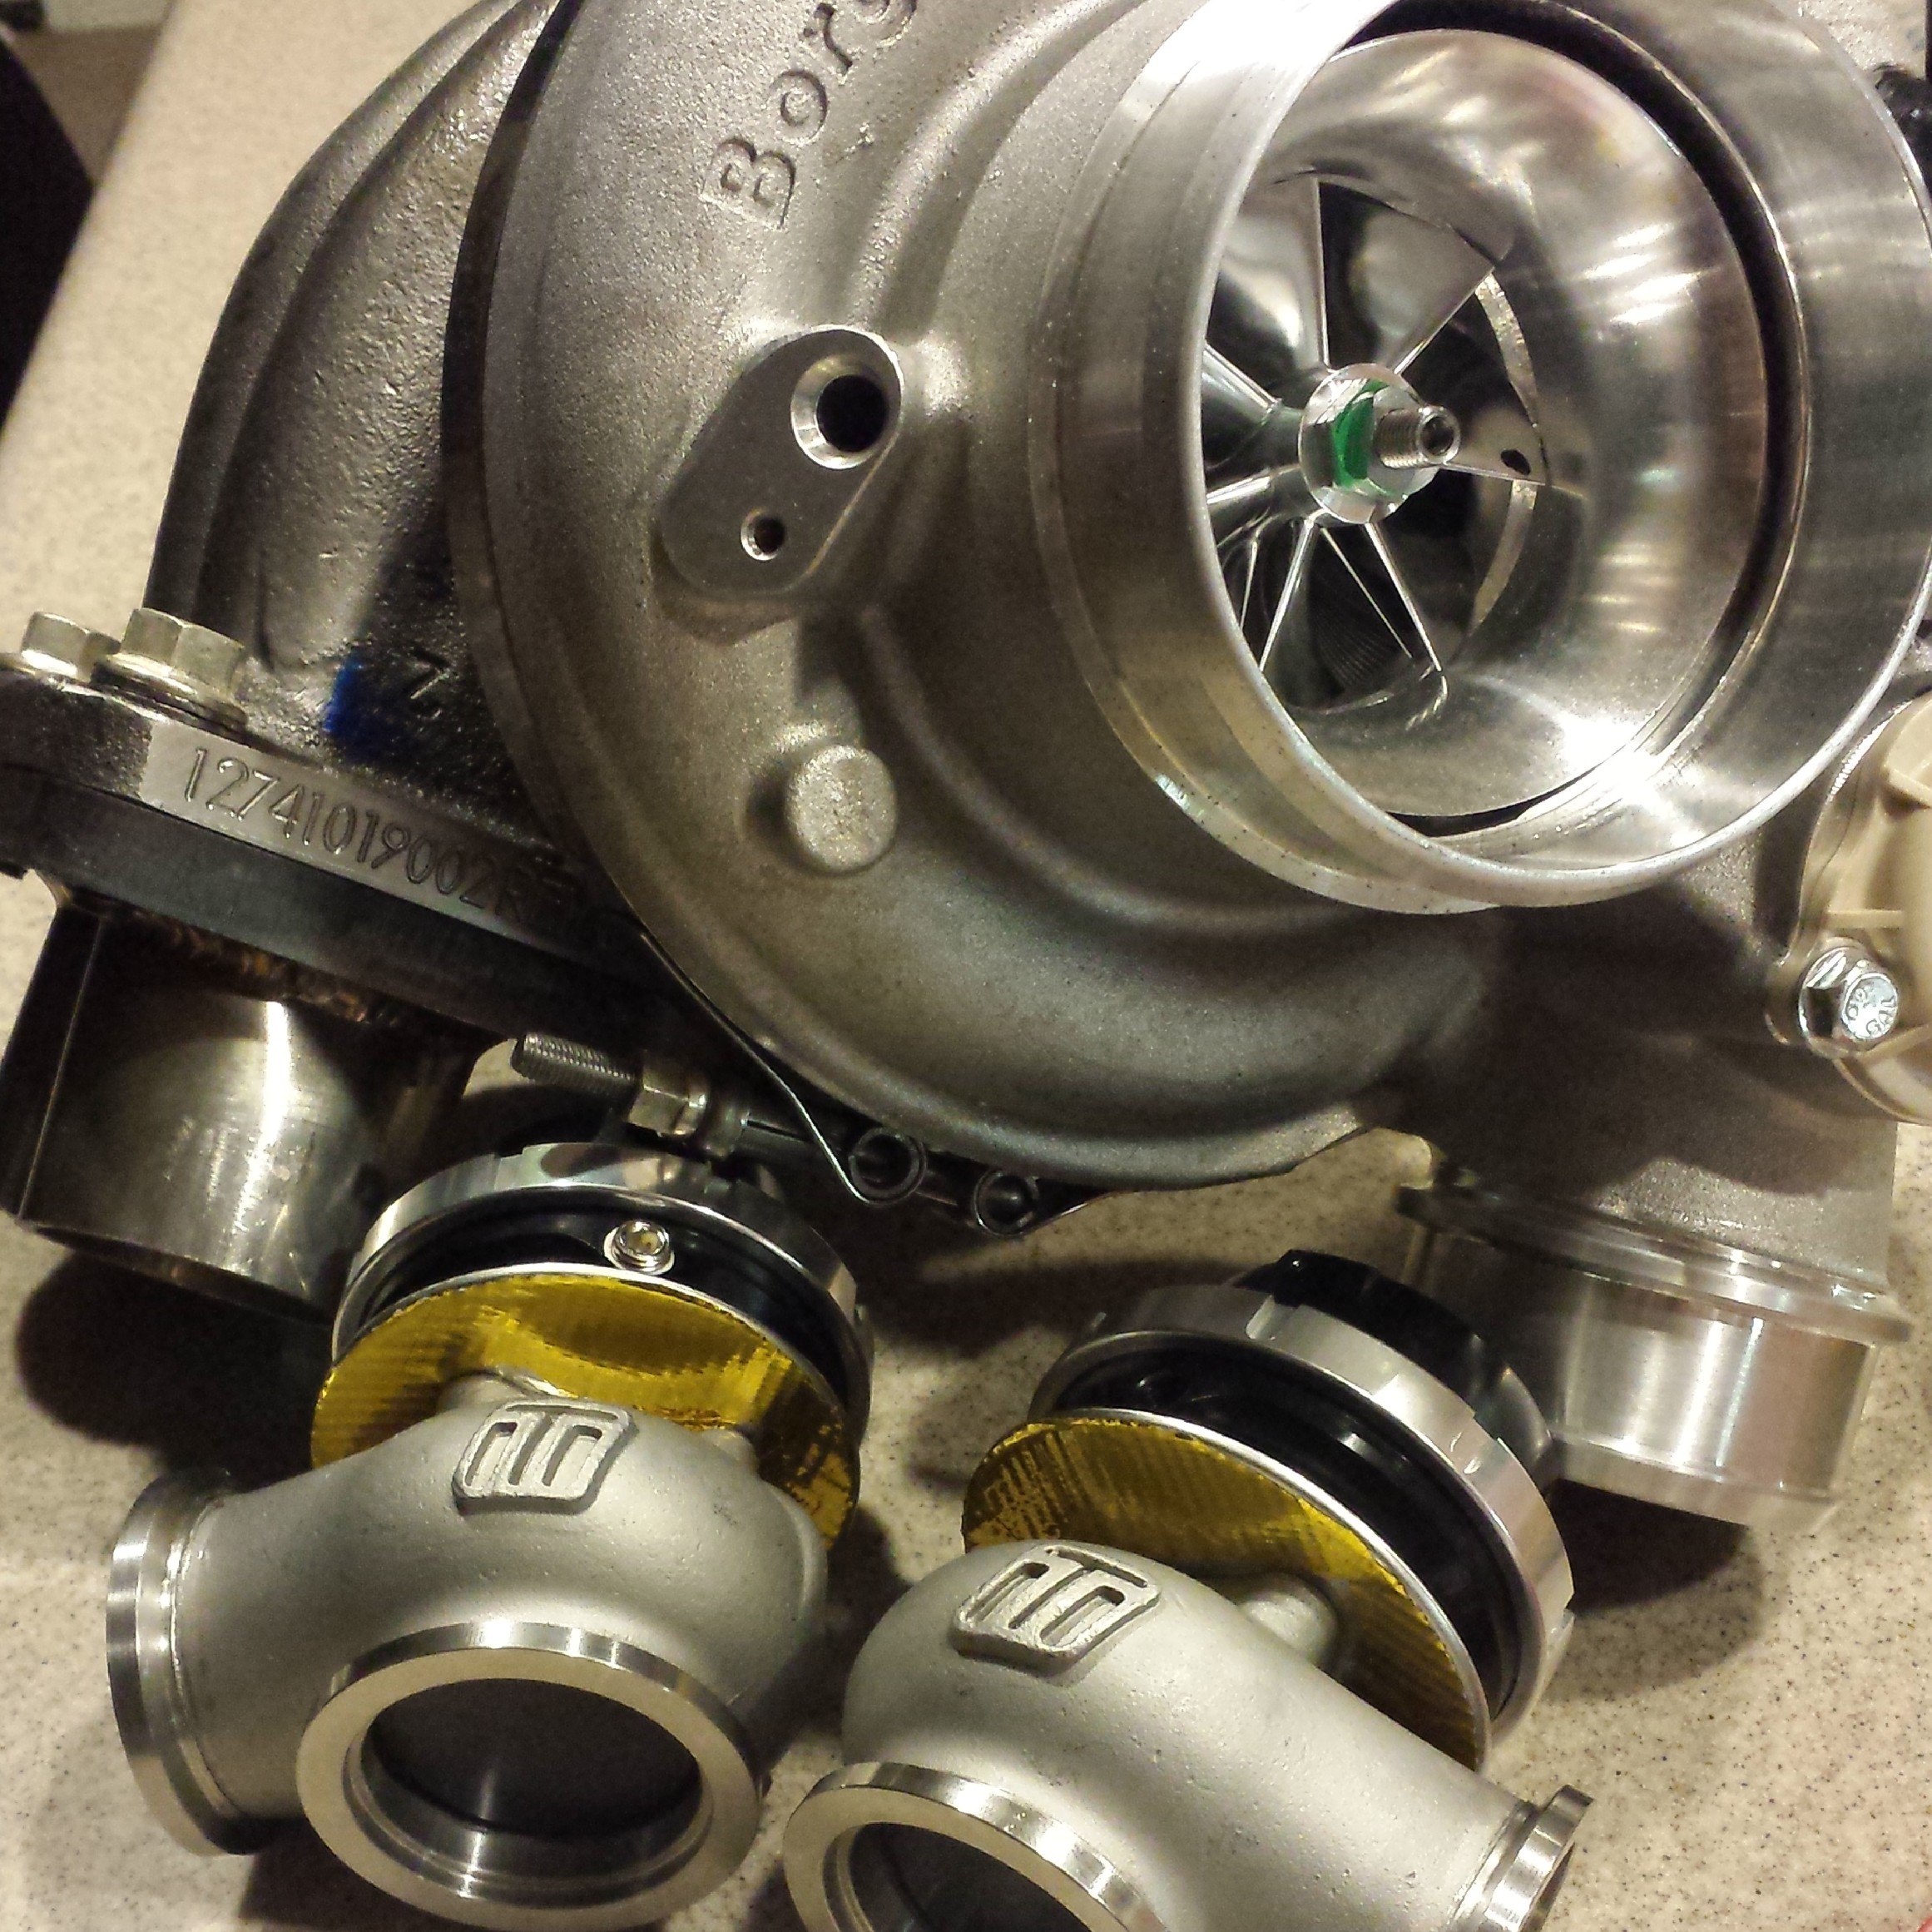
i just bought my 8374 (IWG version) and manifold from Turblown, and i'll have it on thursday or friday. i am curious to see how the external wastegates affect power and boost control vs the internal gate...
is your new turbo the 8374?
i just bought my 8374 (IWG version) and manifold from Turblown, and i'll have it on thursday or friday. i am curious to see how the external wastegates affect power and boost control vs the internal gate...
03-08-14, 10:38 AM
#1794
i am going to put my evo on the dyno this week, going to try a couple different thigns but i should have time to do a back to back with the turbosmart valve and the EFR. I have the plumback version here
btw - mannykiller, those LCA's look great. It may be worth your while to take some bumpsteer measurements also
btw - mannykiller, those LCA's look great. It may be worth your while to take some bumpsteer measurements also
 I should have the motor back in the next few weeks and I should be able to get started on the manifold. Once the manifold is finished...I can get back to the dyno. I'm really anxious and I don't want to miss another season of events/top-drift/open track days. But the manifold I have planned... I'm building to last. I won't be changing the set up after this for a LOooong while.
 Yes I have the 8374 external EFR. I think as long as I can put the gates exactly where I want them to go.. I'll have no problem controlling boost. I have some things planned for the manifold design and I actually made it out of styraphome <if thats spelled right just to see problem areas. But Updates should be flowing in soon here. I have everything for the manifold though:
Custom Mandrel bends 11 Gauge 304 S/S
Engine side flange
Turbo side flange
Turbo hardware
(2) EGT Bungs
(2) O2 Sensor bungs
(2) Turbo smart 40mm Comp Gates
(4) Comp Gate Clamps
(4) weld Flanges
24" of straight 4" Stainless exhaust pipe (for down pipe)
(2) 45 degree 4" Stainless exhaust bends (for down pipe)
(1) 3" to 4" Exhaust V-band flare transition
(1) 3" exhaust V-band clamp for Turbo to dp
(1) 4" V-band for Down pipe to existing 4" straight through exhaust
So just for those of you guys who are planning on making your own manifold.... There is far more that goes into making a turbo manifold than just pipe and flanges.
Going to make sure this one is done 100% to my liking. Exhaust Gas Temp sensor bungs will go about 6-7 inches from the exhaust port. EGT bungs will go 14-18 inches away from the Turbo exhaust outlet. Nice and smooth bends with a target length of about 18" for the Long Runner design. Fully accessible turbo hardware, A turbo Brace to ensure that even the Robust 11 Gauge manifold doesn't have to support the turbo weight much. I'm even planning on making a heat shield for the Excessive LIM

More Updates to come!!
04-06-14, 12:12 PM
#1796
^ absolutely not. Because your already running and i'm not hahaha.
UPDATE: Lots of updates!!!
Been Very busy working and generating my side business to get the necessary funds to change a few things on the car. Got it pumping and was able to get a few things paid for!
This may be out of chronological order but who really cares? I'll try to keep it as organized as possible.
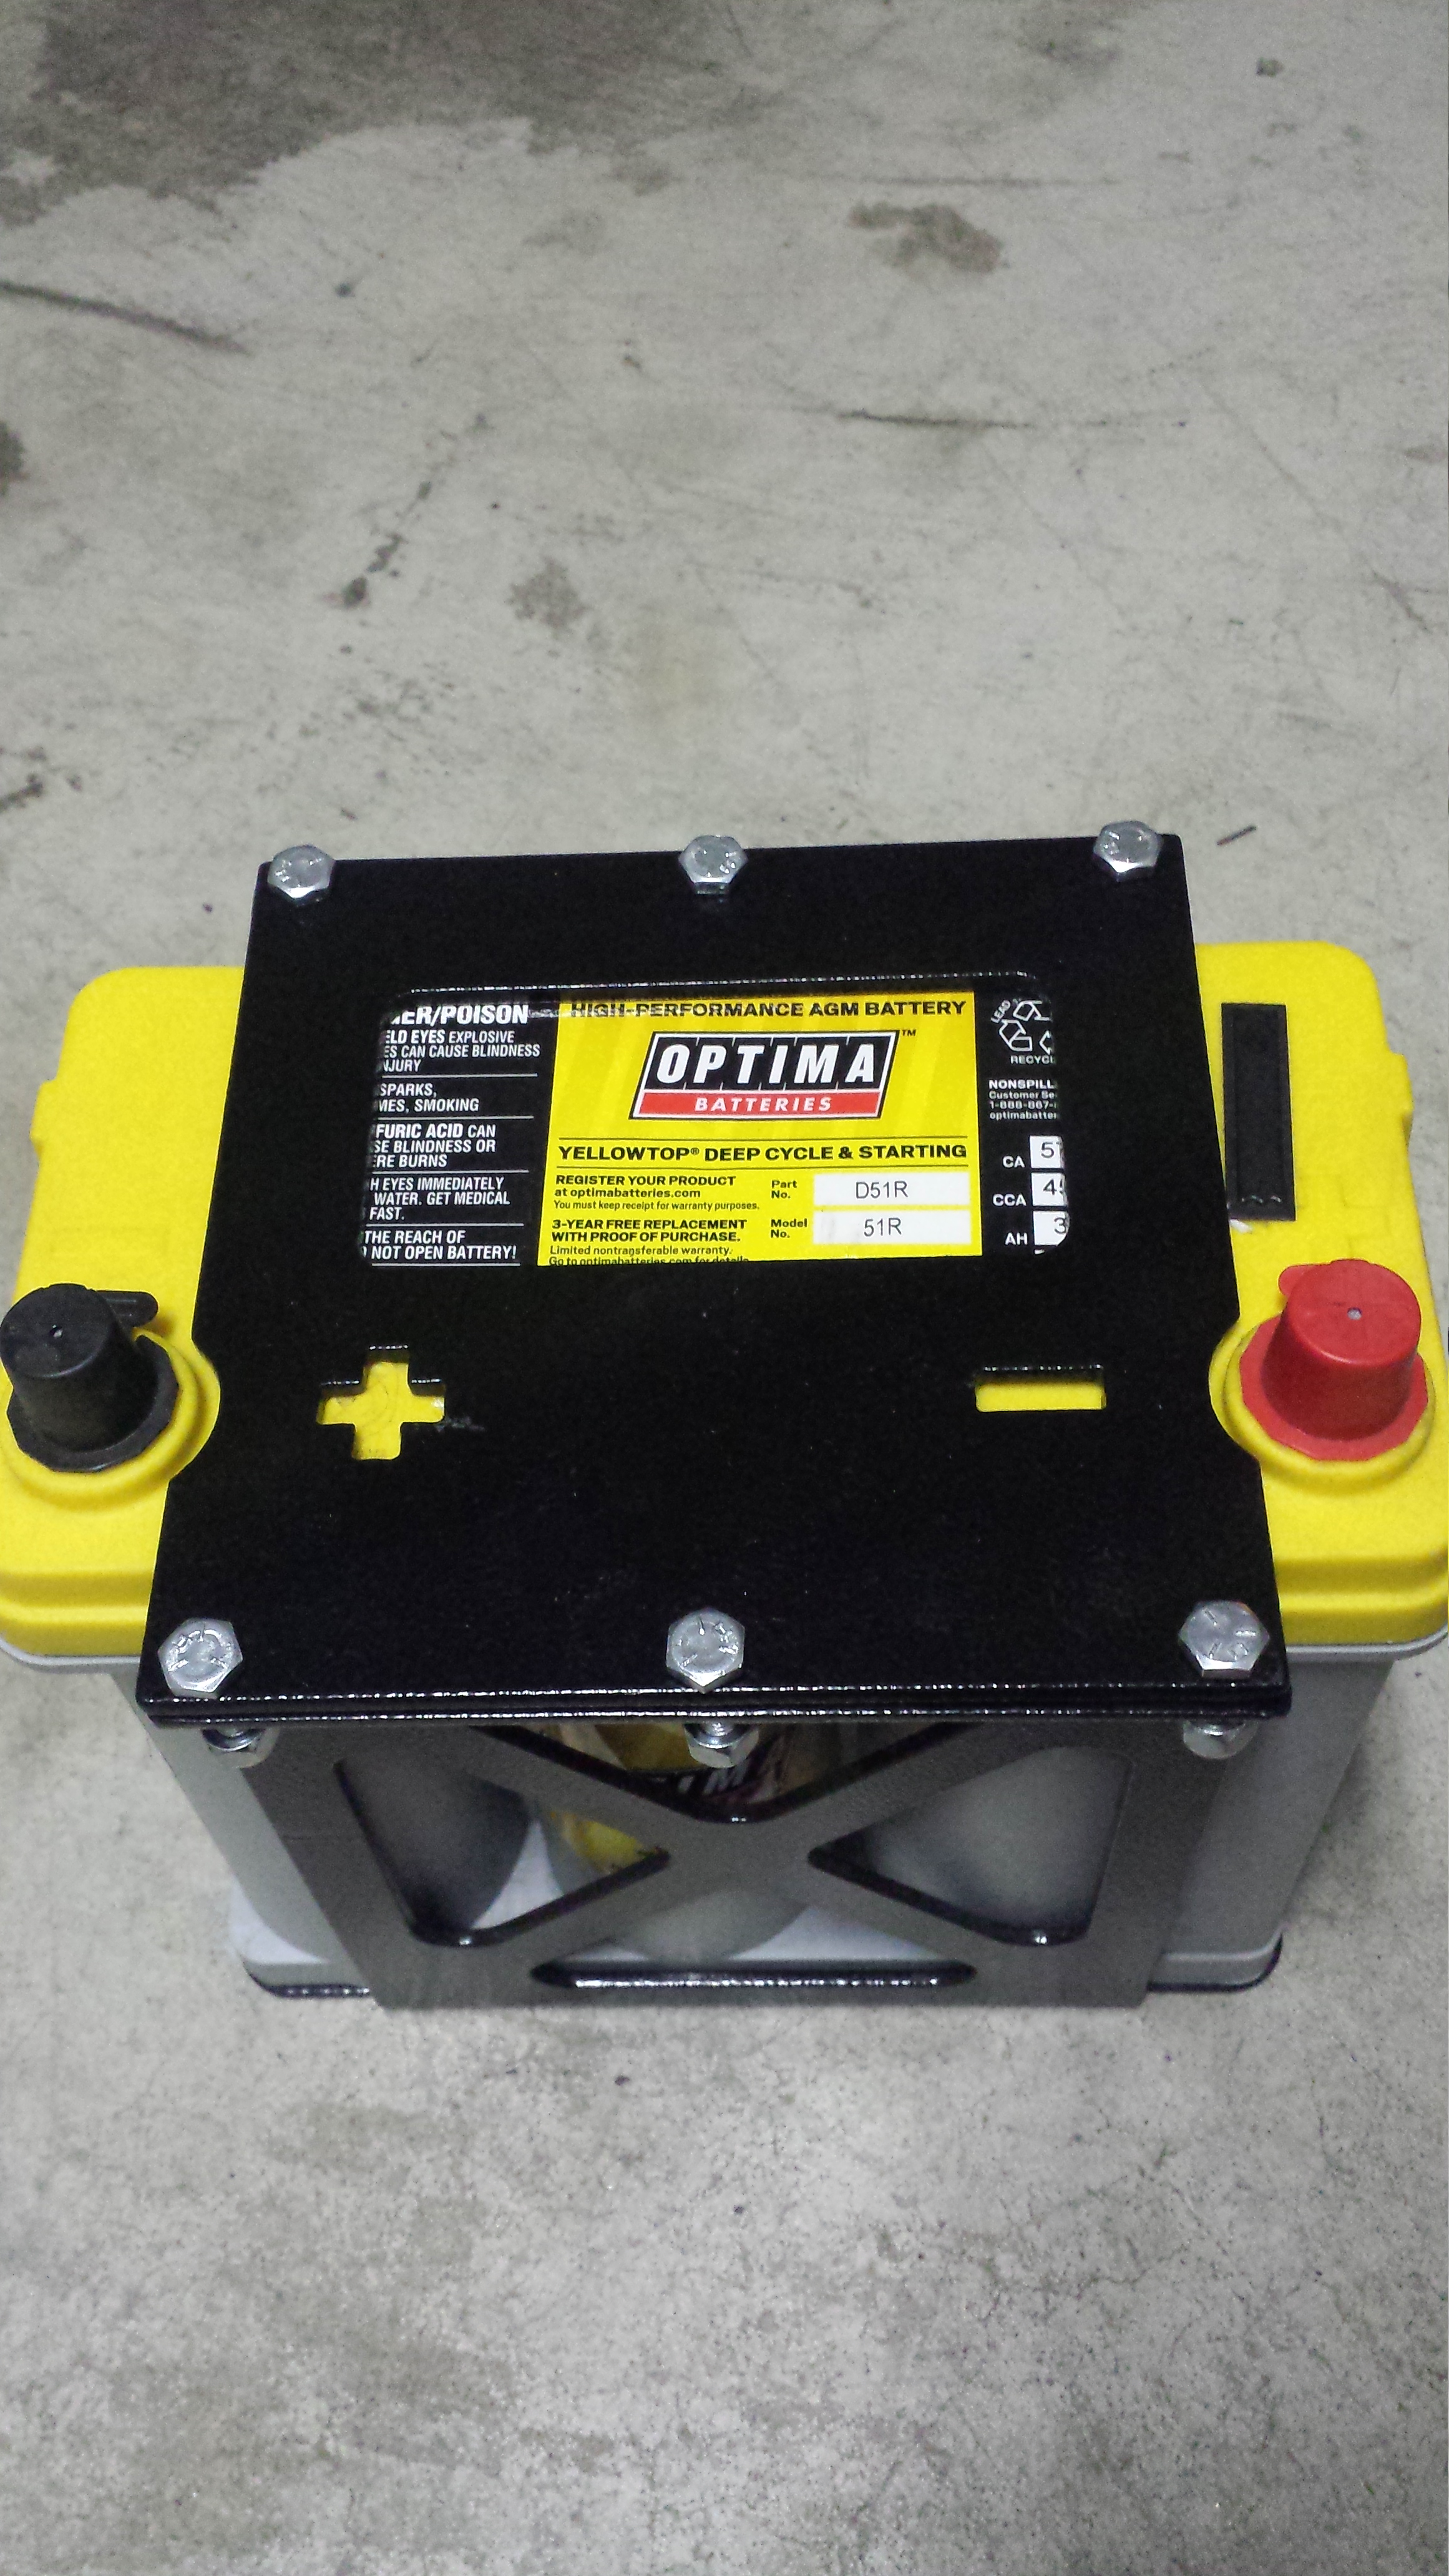
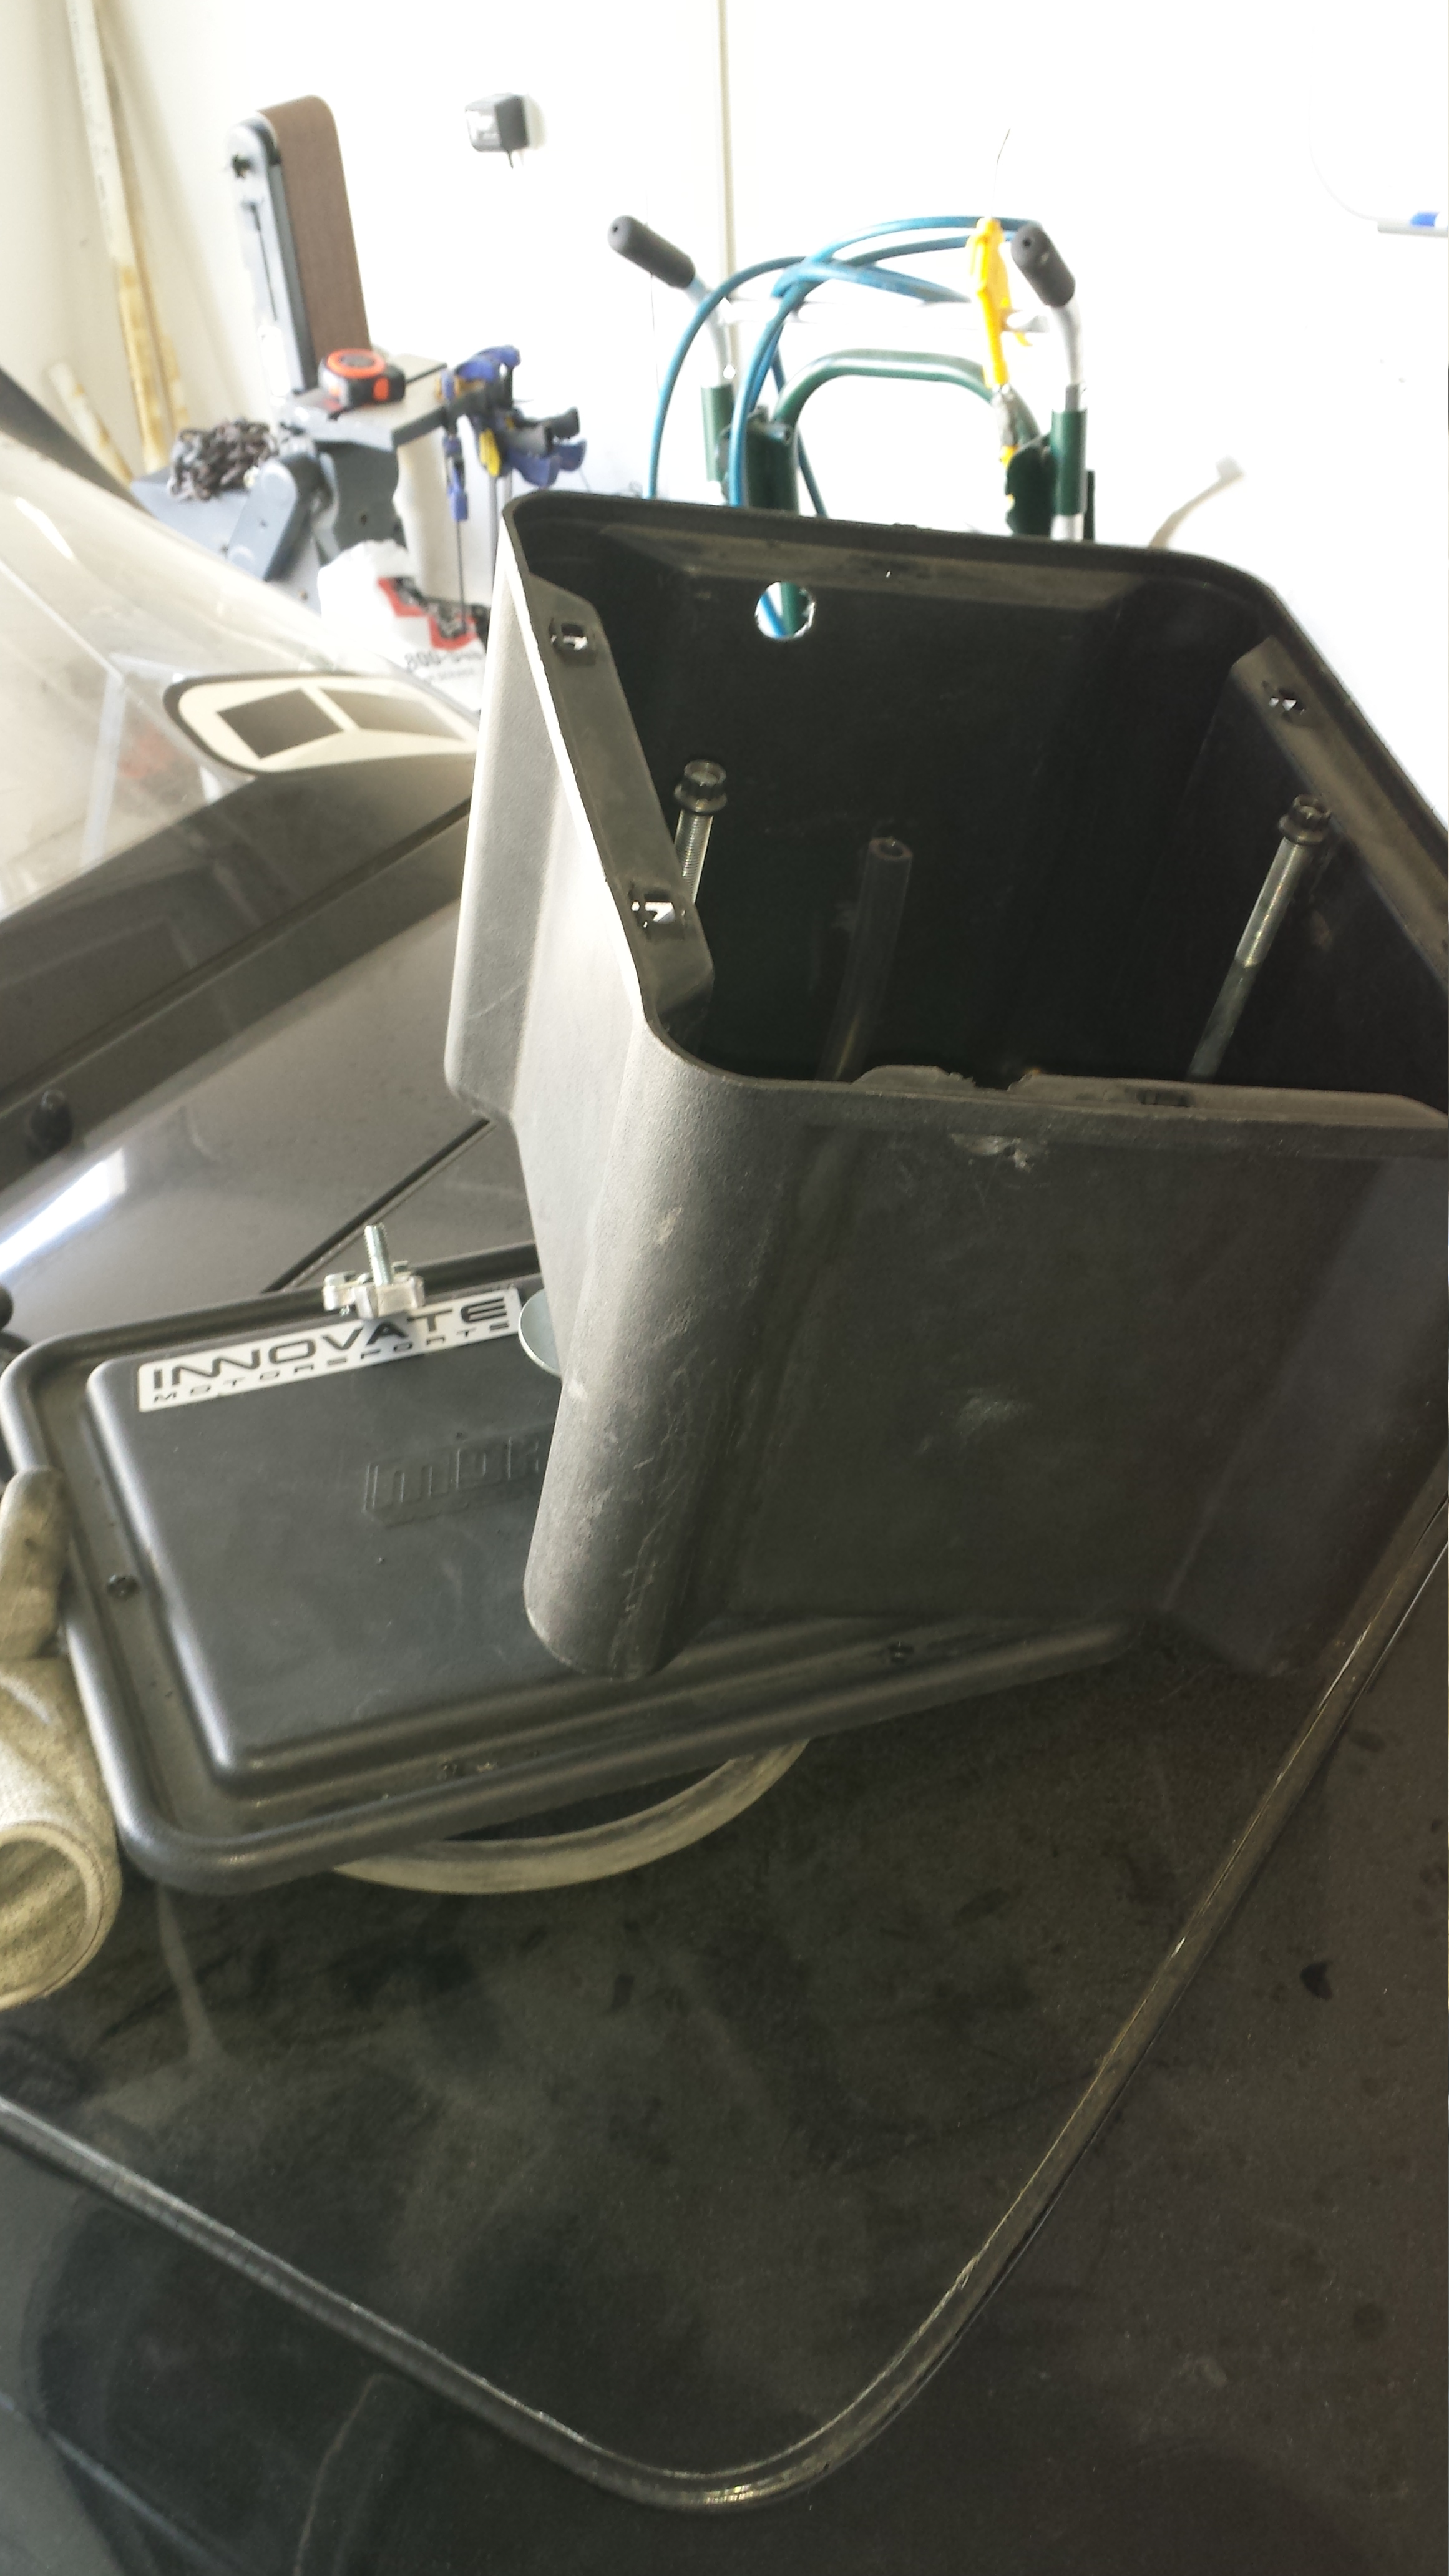
I was sick of looking at my cheap skate battery box with unsealed battery so I figured I'd go ahead and return it to go with an optima yellow top. I didn't want a damn near 50lb battery in my car so I went with the smaller Optima d51R Yellow top. Weighs around 26 or 36 lbs I think... I can't remember. It was a solid decision after talking to a few people with lighter batteries that seemed not to have enough juice when needed the most. I was able to get a 100 dollar trade for my autozone battery towards the Optima but there are cheaper places online to get the battery. Cost me about 80 bucks to do the switch. I needed a good mount and didn't want any problems from the tech guys any either which or that track.. so I looked up what everyone was using for this model battery and Artek industries kept popping up. THe mounts were 85-100 bucks shipped but I went onto their actual website and they had a sale going on for the powdercoated black D51R mount... So I was jazzed about that and ordered right away. Looks Very Sturdy and feels secure. Love the way it looks. Don't mind my mixed up posi/neg's haha I just wanted to see how it looked and wasn't paying attention. This will go in the bin area behind the passenger seat.
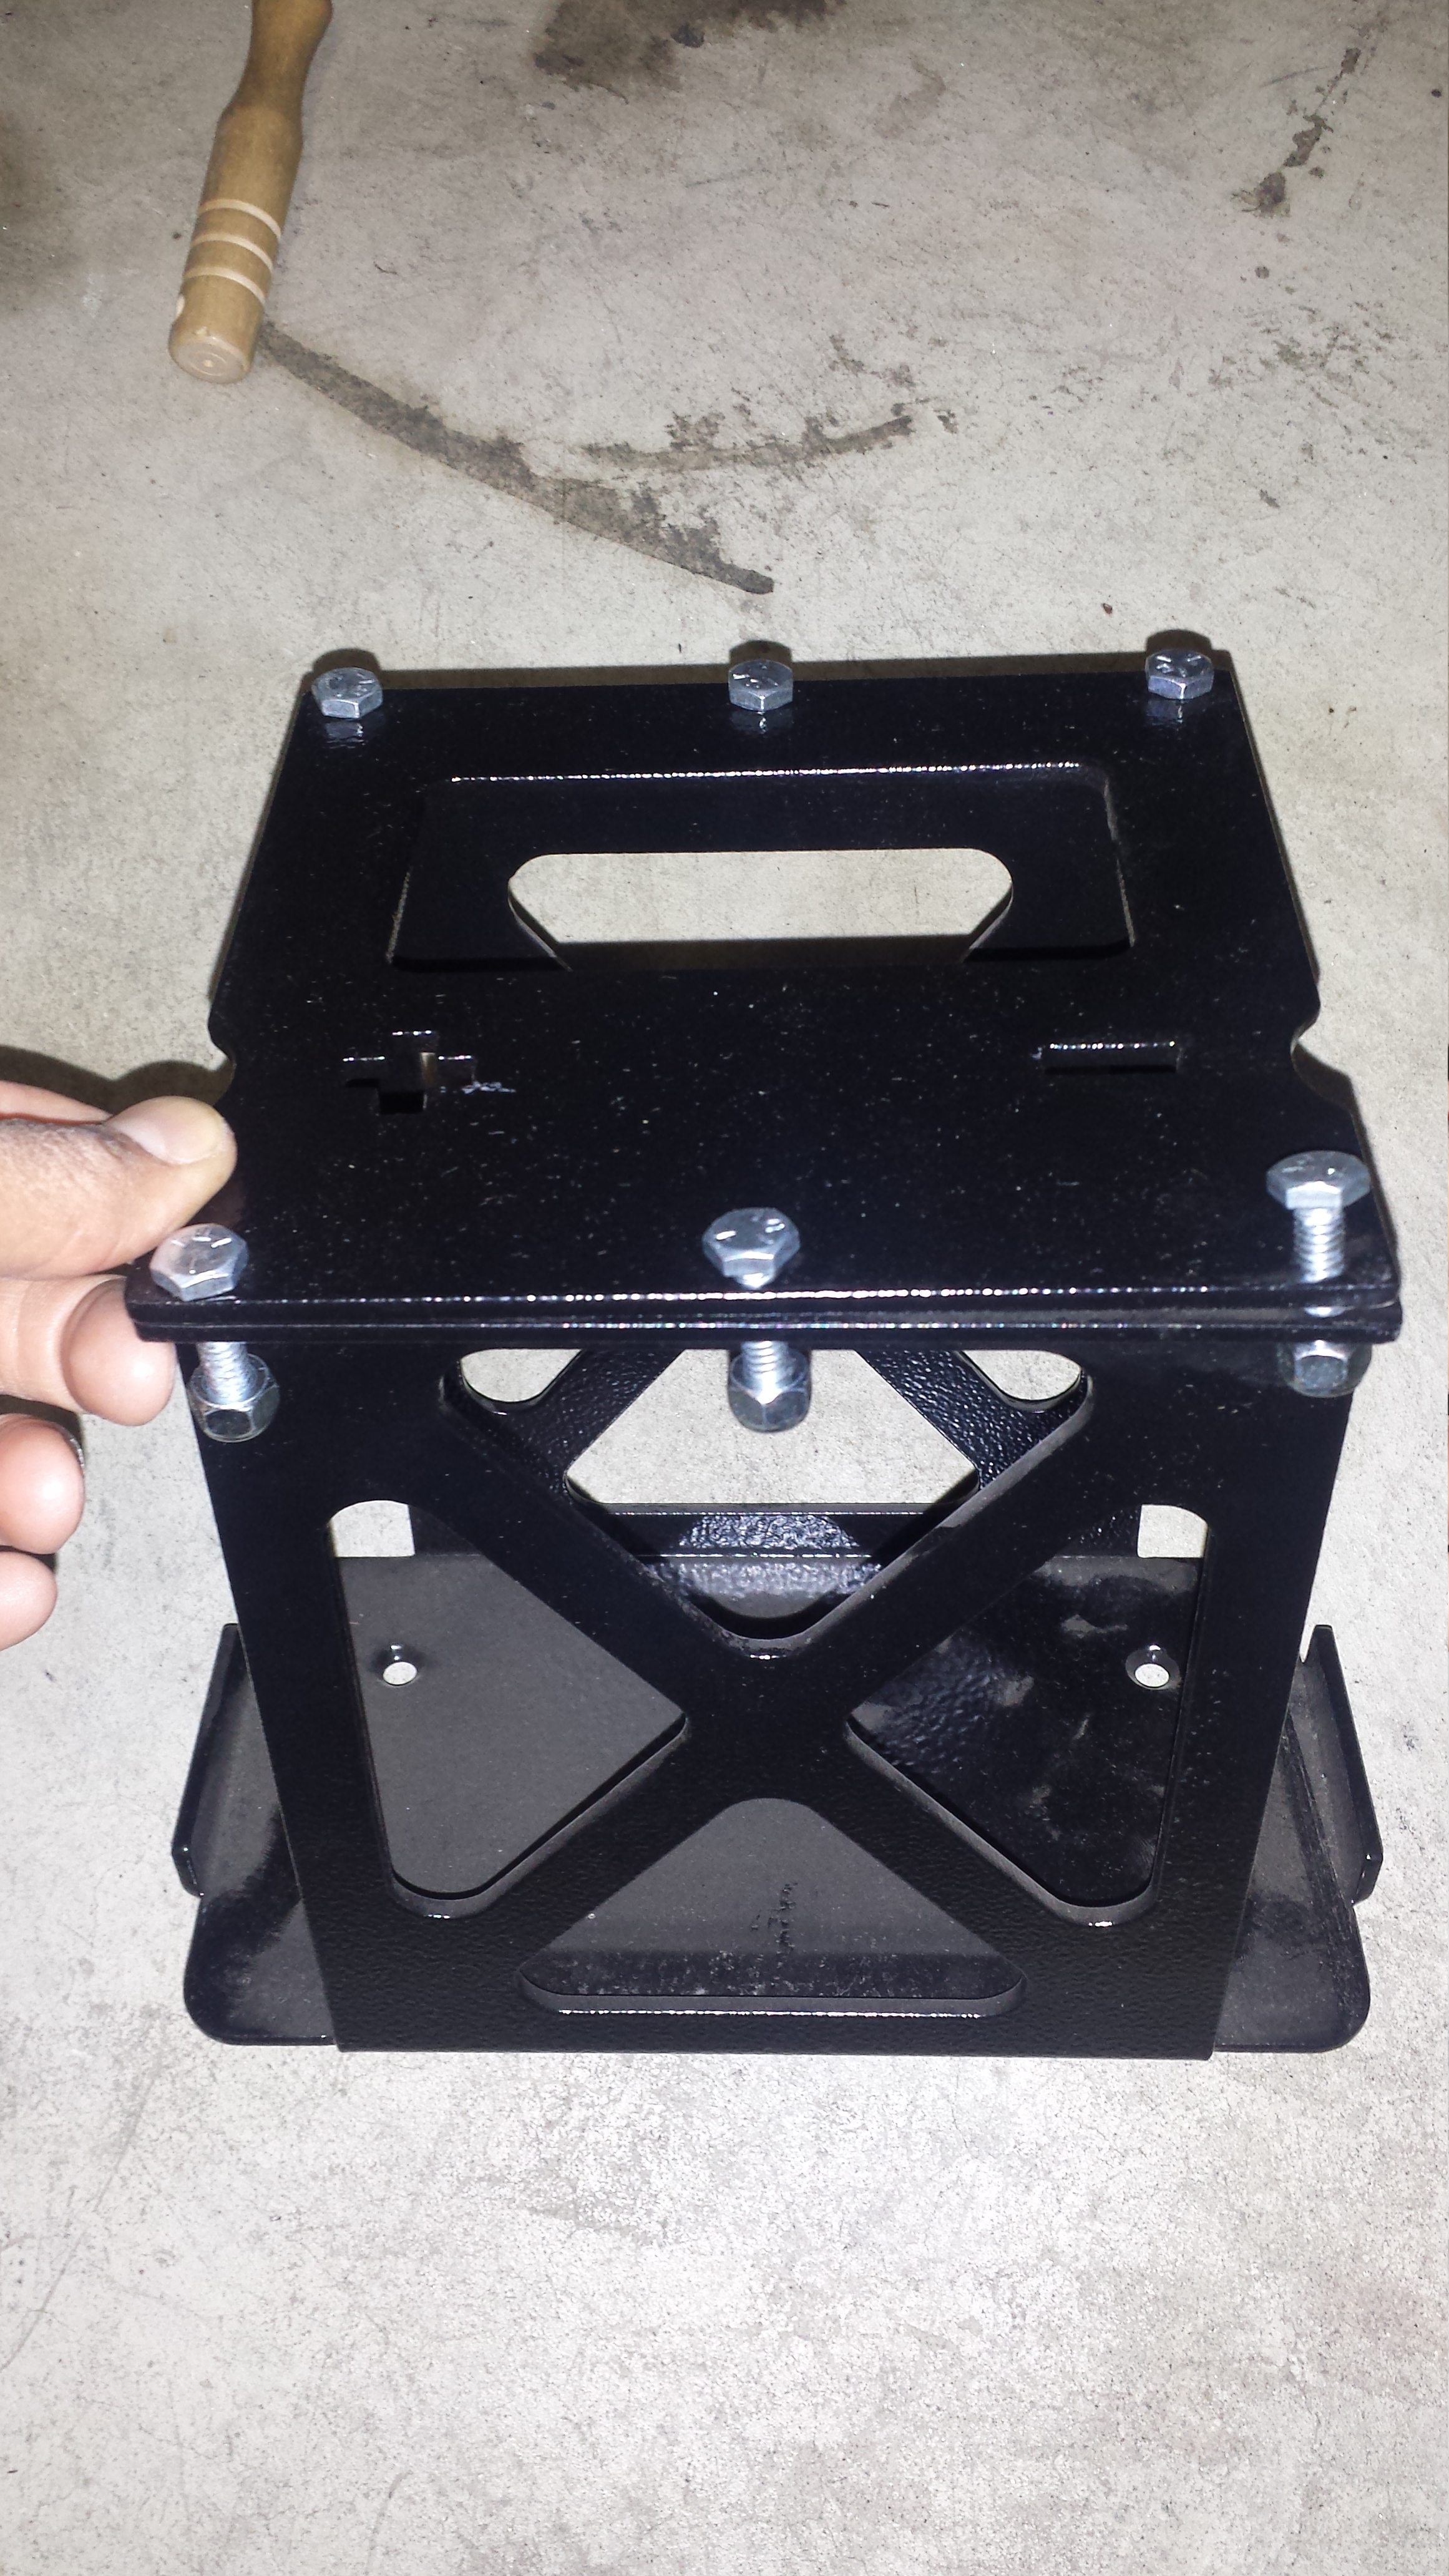
Battery and mount
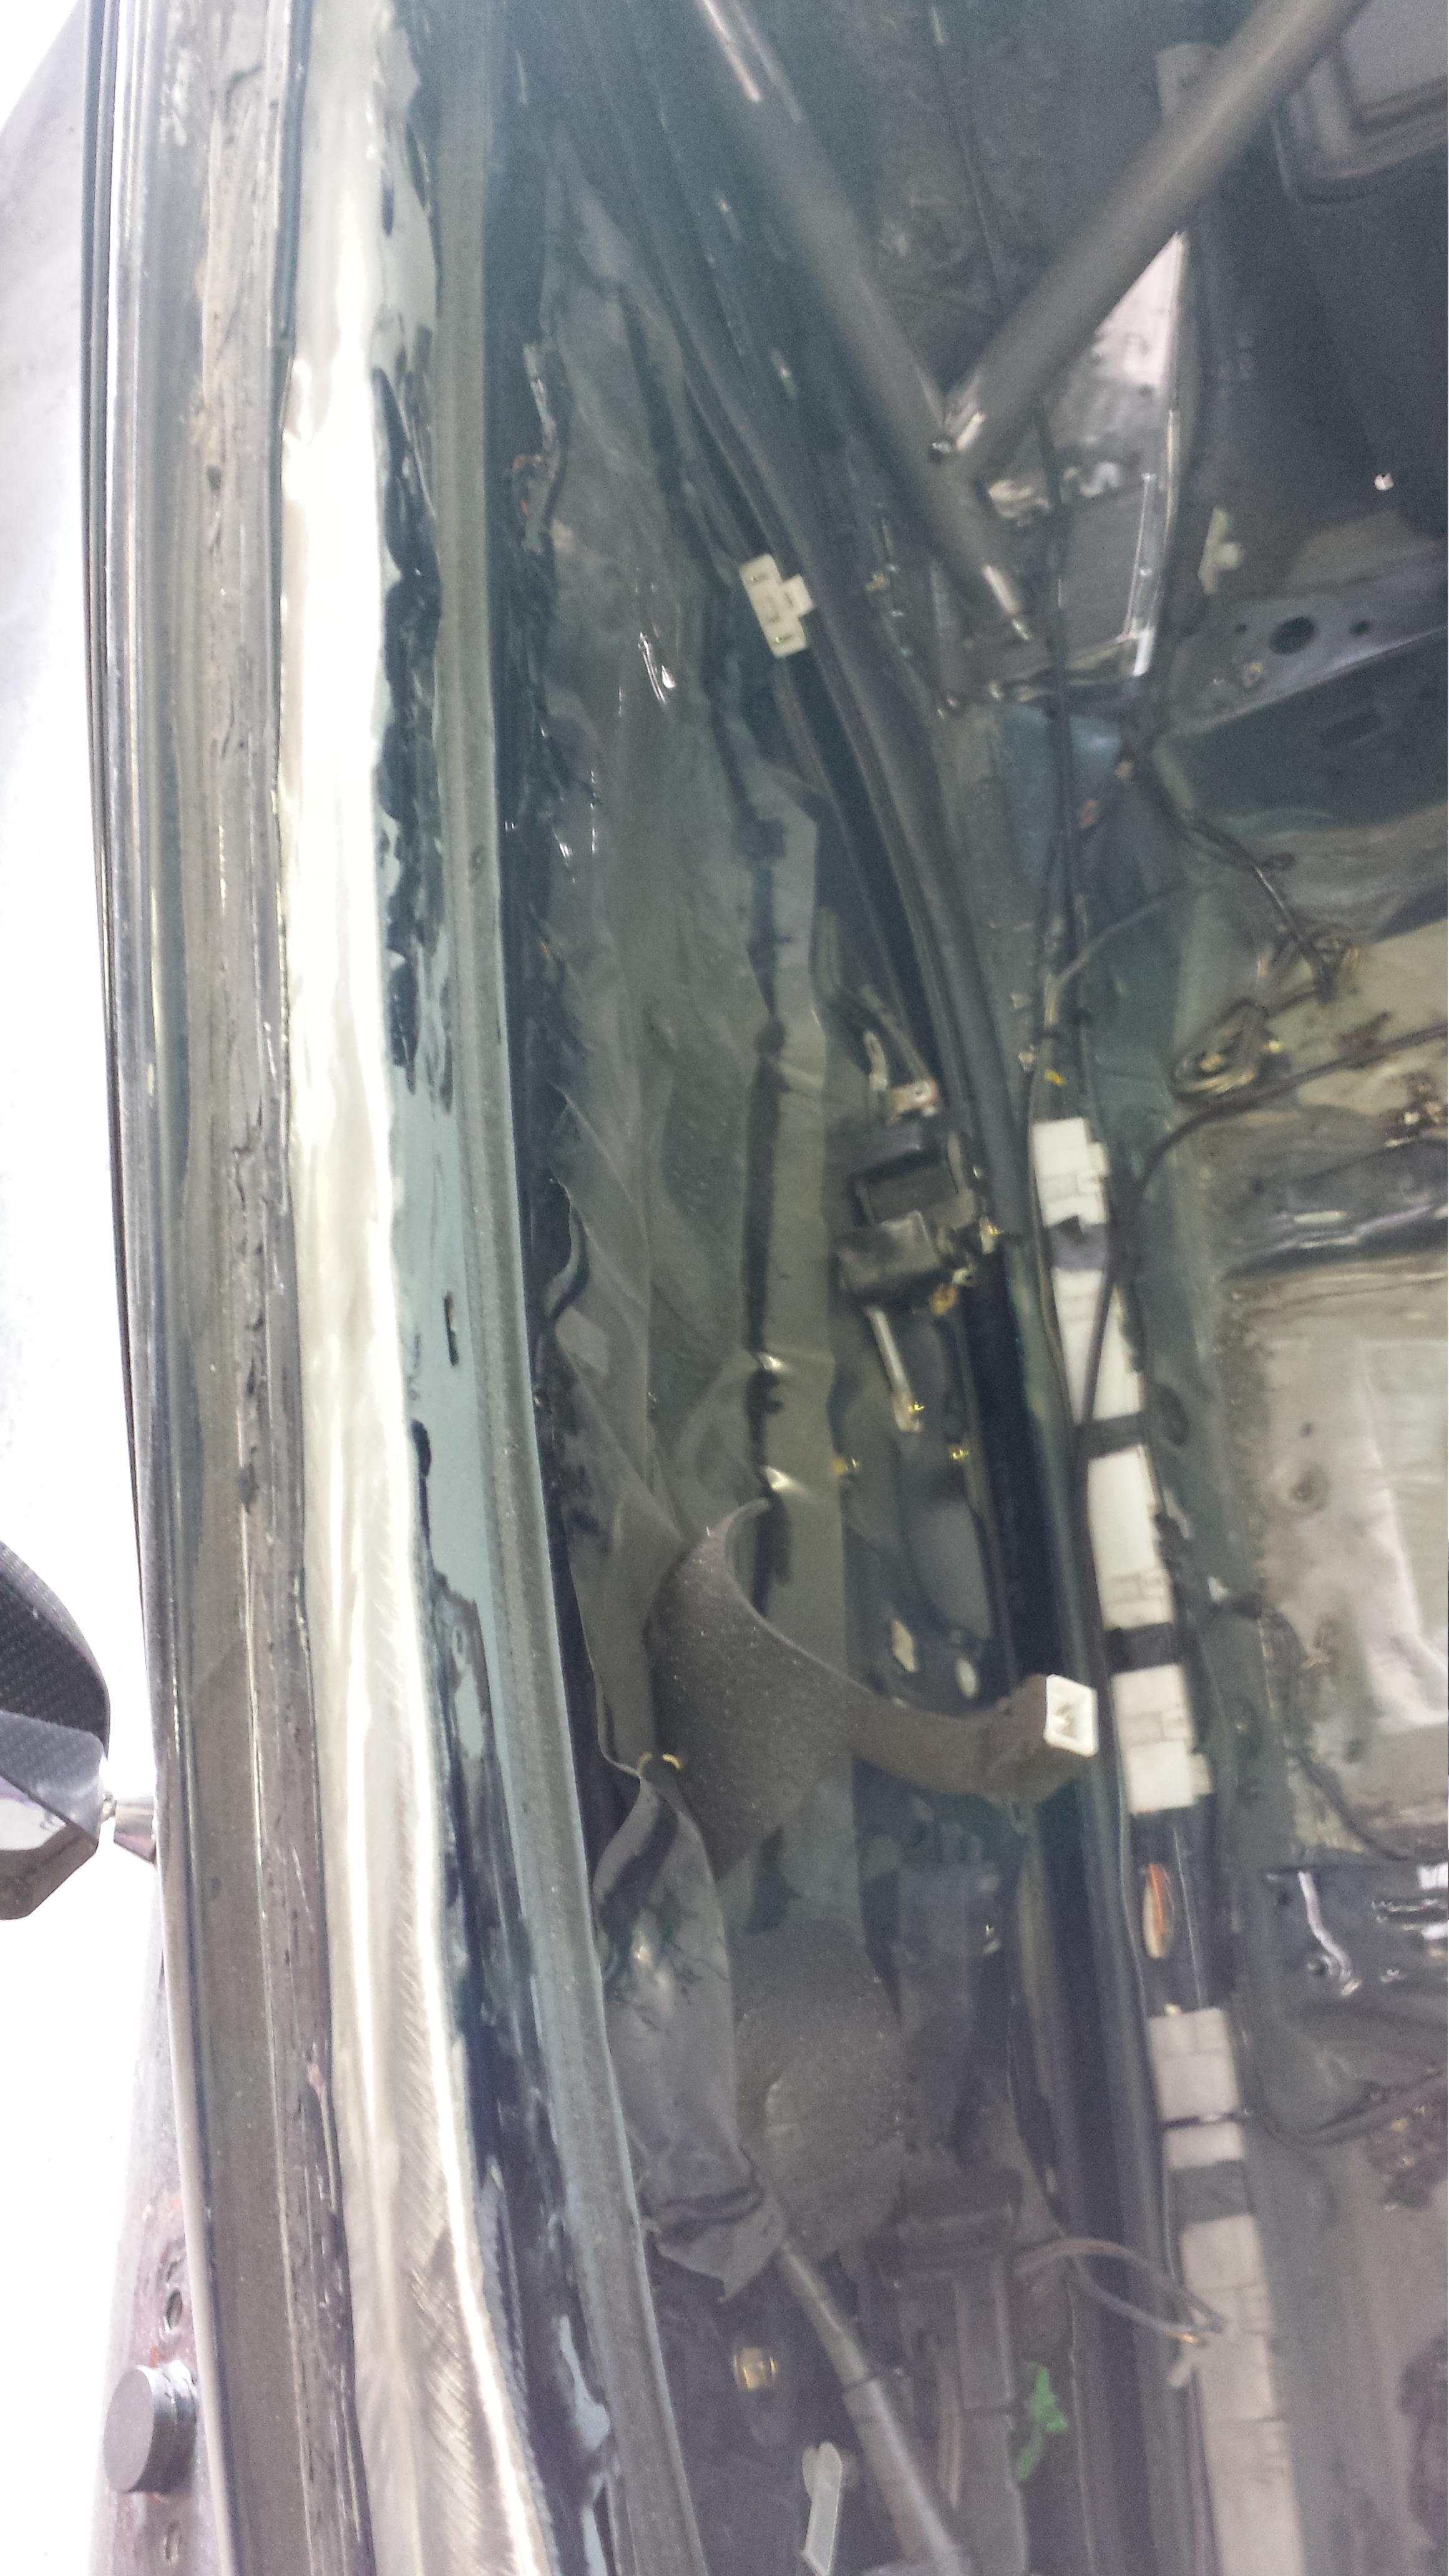
While I was waiting for my motor I started to think about allllllll of the little things I skipped in terms of taking my time/planning and good execution.... and knew that this car would eventually end up off the streets more and onto the track. With that said.. safety was a serious concern. Using Pandazfd as a template. I went and talked to a local shop called GS werks about fitting the car with a 6pt Competition legal cage. THe owner seemed pretty cool and knew what he was talking about in terms of what I needed etc, so I pulled the trigger. But first I had to pull the windshield out.
ATTENTION:
for anyone who has ever pulled out a windshield.....I would rather pay someone than do it myself. I'm pretty sure the windshield in the car was the original window from 93. The original montego blue was under the stripping and the window spider cracked everywhere. I followed a detailed youtube tutorial and did everything exactly like the guy did... But his took 20 min. Mine took 4 hours. I didn't want tiny little glass crystals all over my car and garage so I took my time. But after 3 hours and 30 min I got fed up and started being more rough. I took pictures but I must've forgot to upload them.. but guys like I said.. I really don't think this is worth the time it took to do it on my own.. Next time I'll pay.
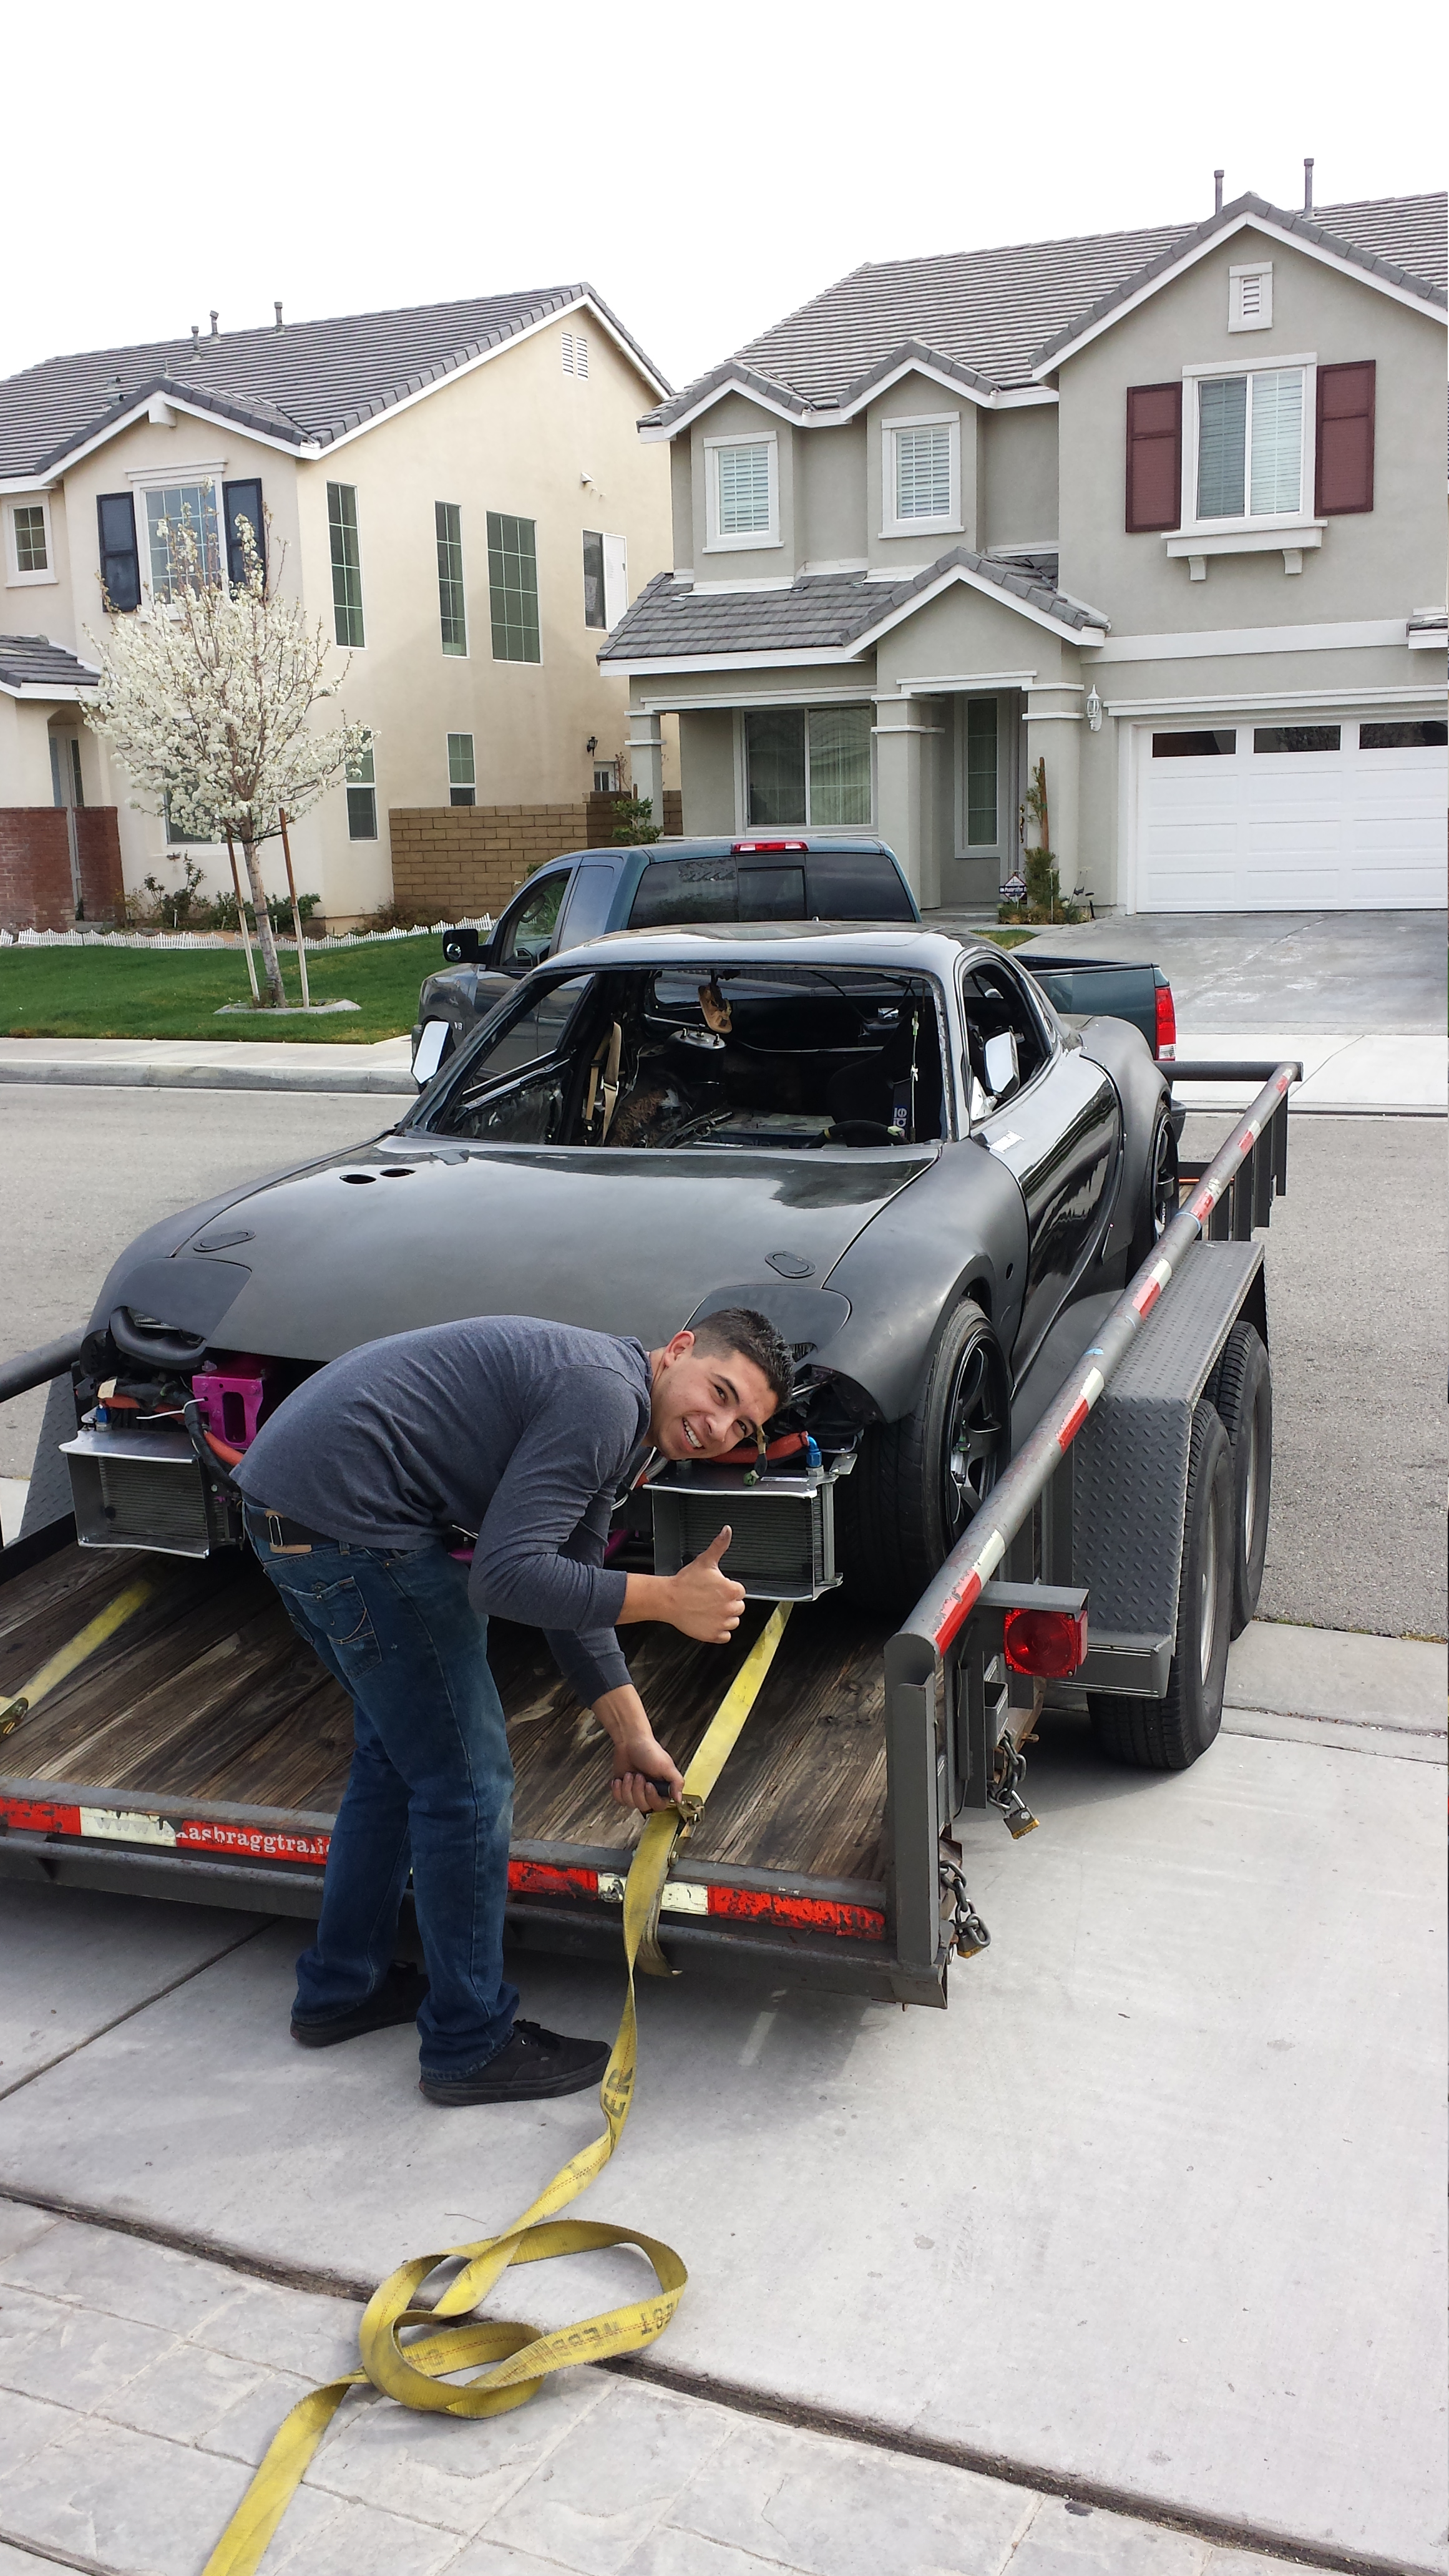
After the windshield was out.....I called Dan up and he said he'd come pick up the car for me. I have access to a trailer and my truck to pull it. But this just made things all the more convienient. He came and picked it up no extra charge. That was nice!
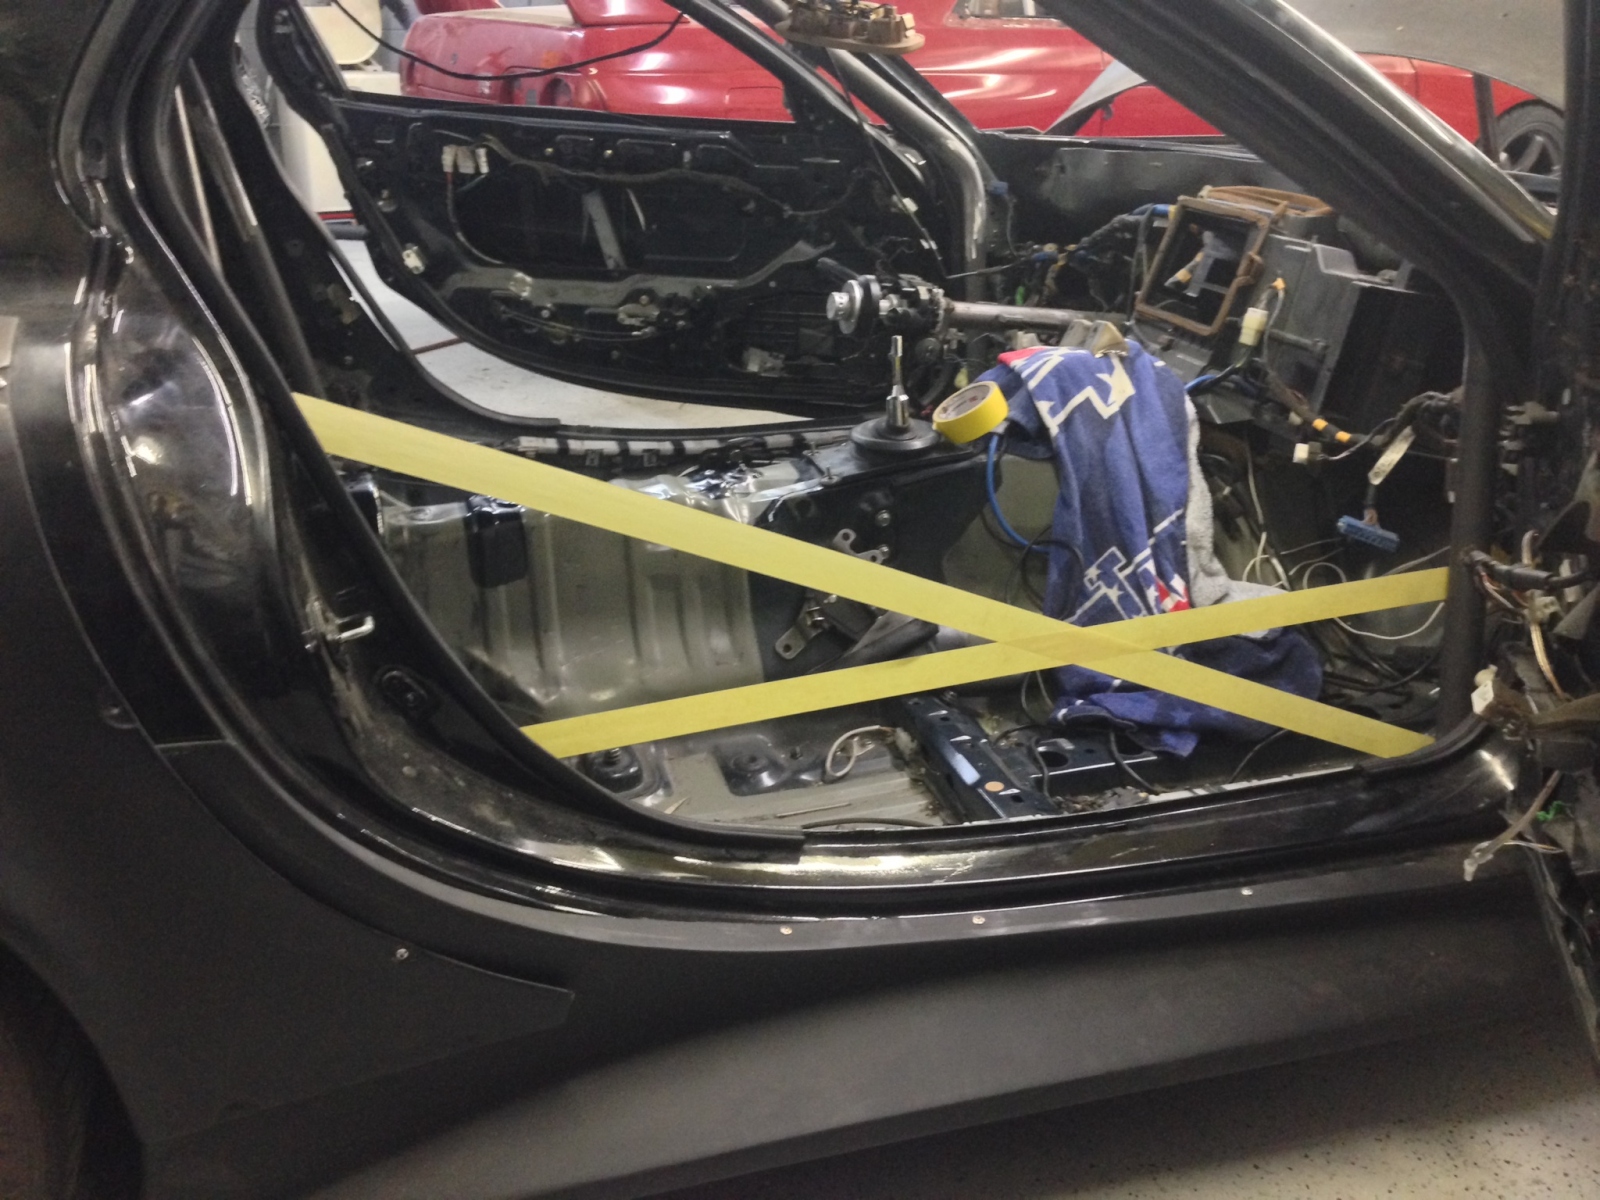
So over the next couple weeks Dan got to work on the car. I asked for a few things specifically. 1. I wanted helmet clearance and to retain the door guts so I could keep my windows. 2. that the cage would be competition legal for Top drift. So they sent an e-mail to tech to double check to see what they could do for the main hoop to give me as much clearance as possible. They got the ok to tilt the main hoop back up to 20 degrees as long as it was gusetted to the body of the car and braced accordingly. So here are progress pics.
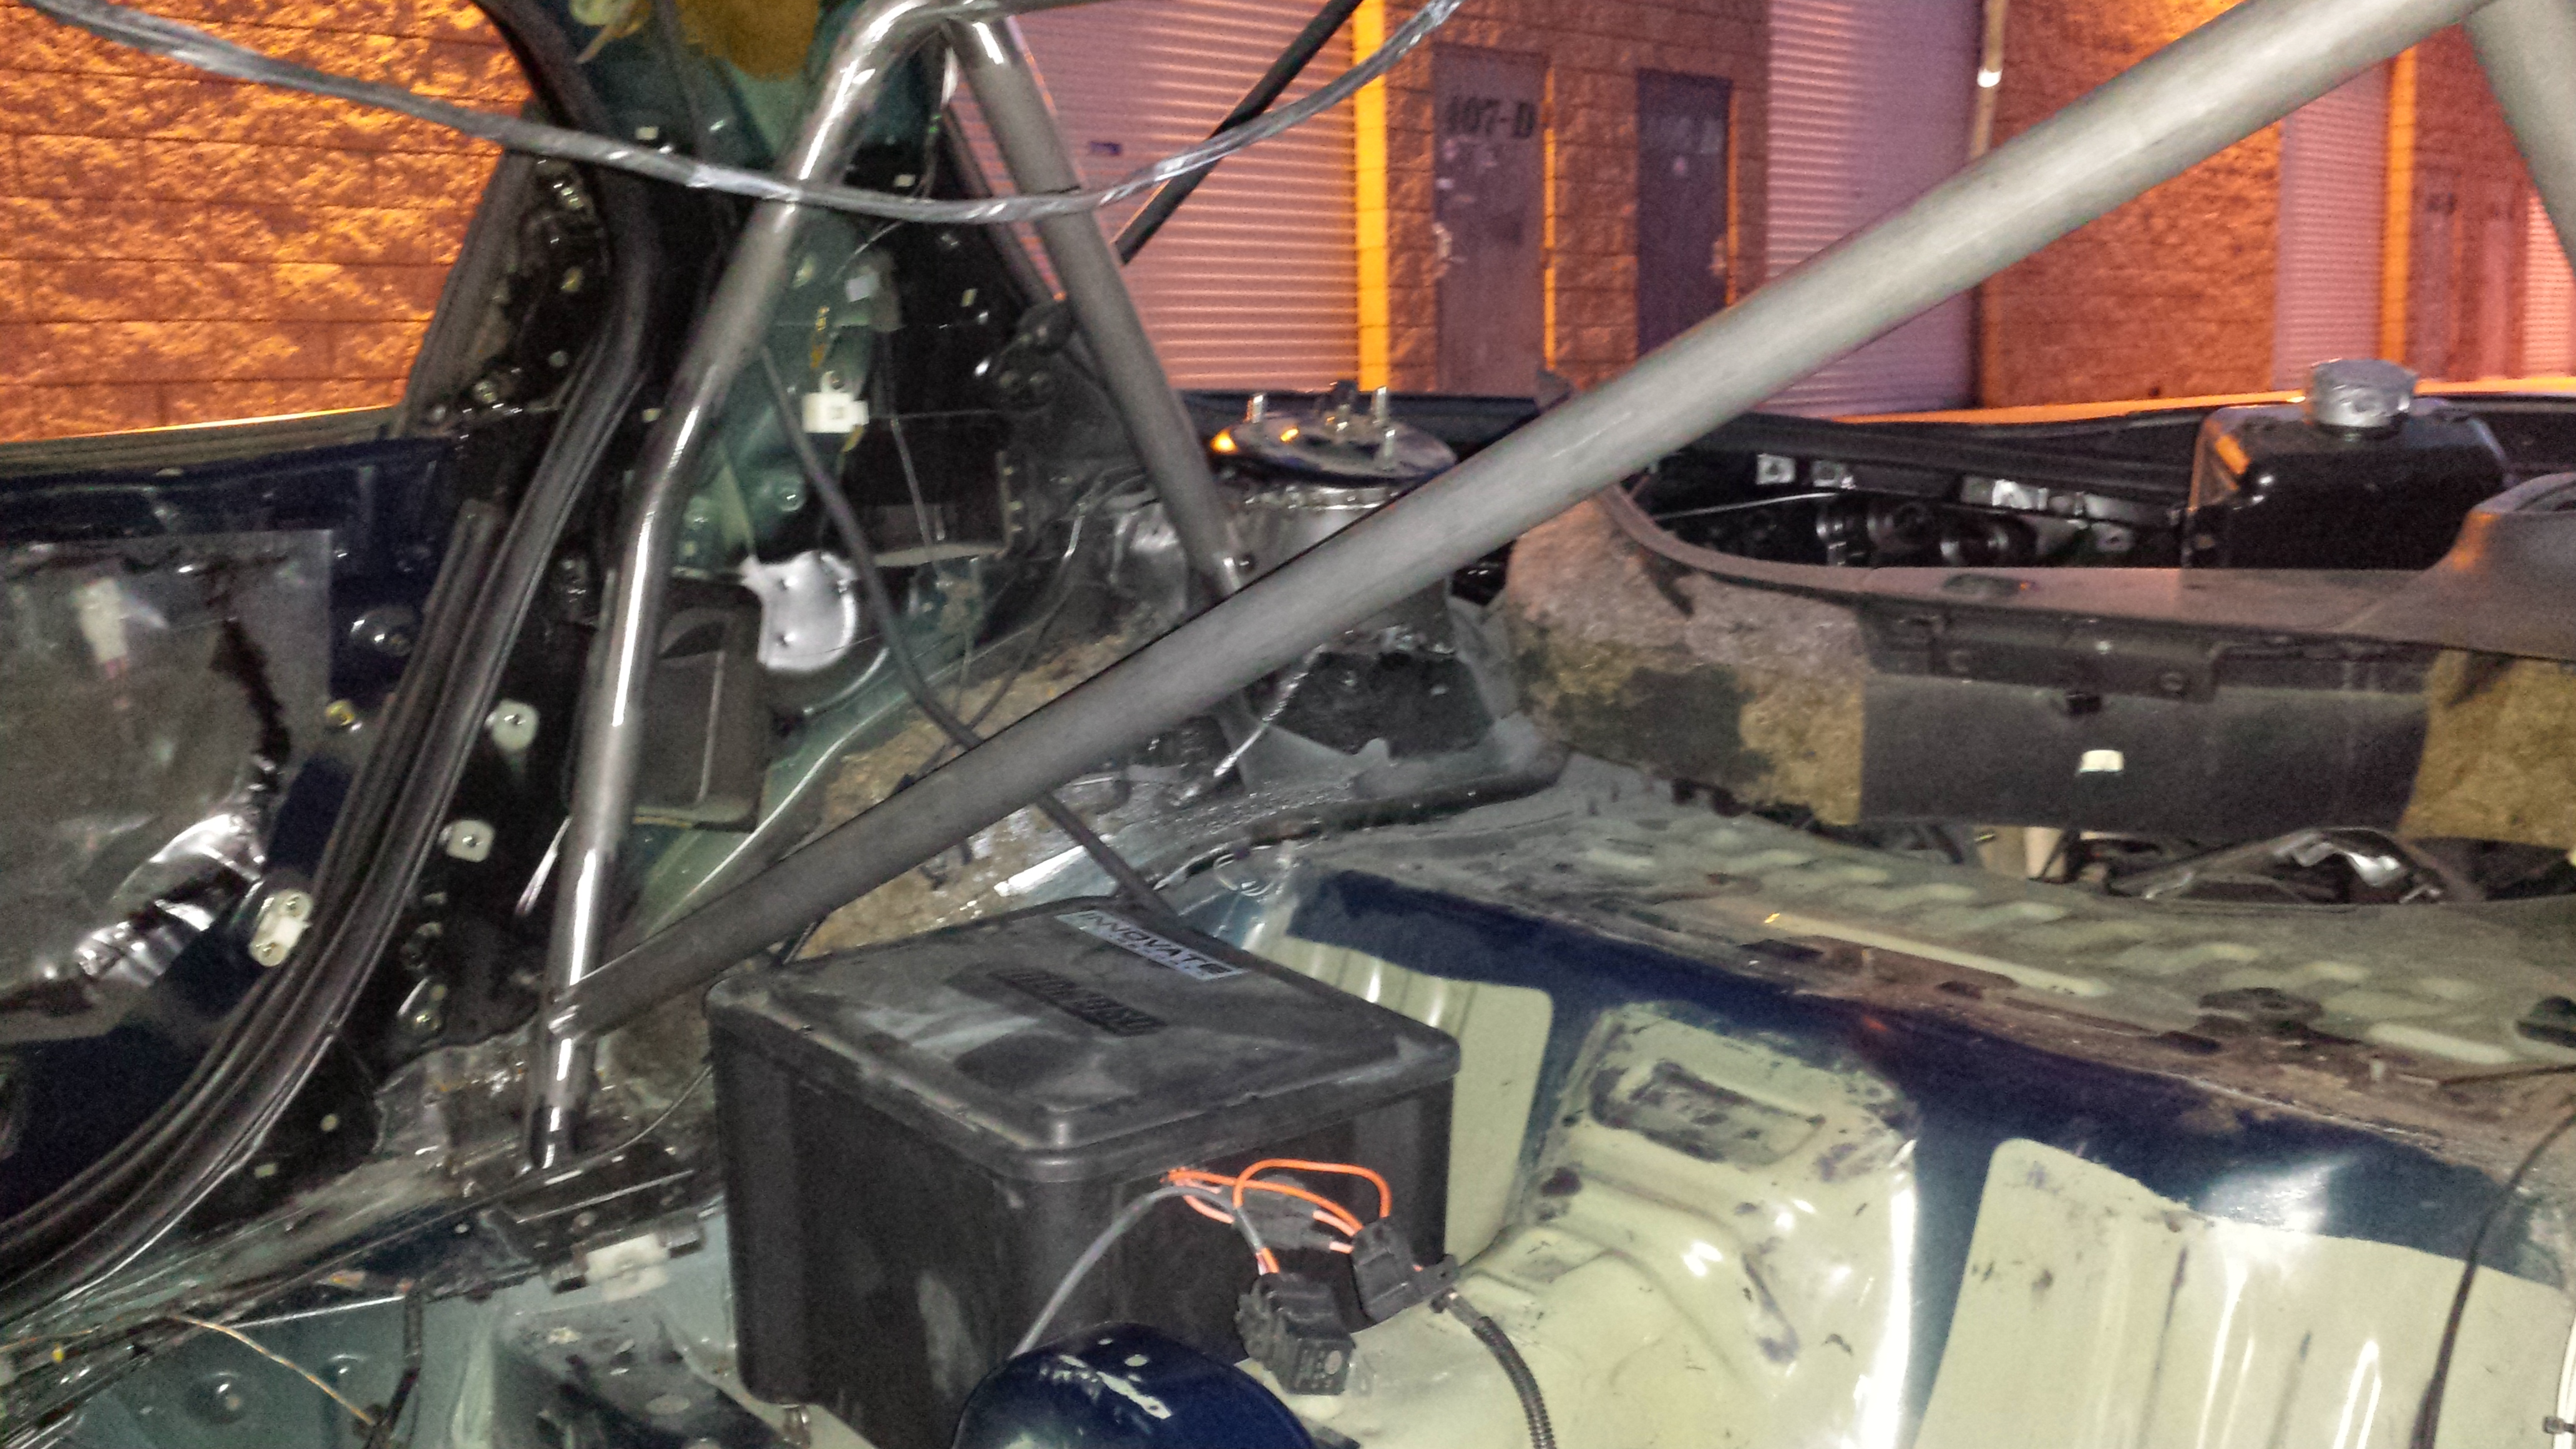
a better pic of the tilted main hoop
UPDATE: Lots of updates!!!
Been Very busy working and generating my side business to get the necessary funds to change a few things on the car. Got it pumping and was able to get a few things paid for!
This may be out of chronological order but who really cares? I'll try to keep it as organized as possible.
I was sick of looking at my cheap skate battery box with unsealed battery so I figured I'd go ahead and return it to go with an optima yellow top. I didn't want a damn near 50lb battery in my car so I went with the smaller Optima d51R Yellow top. Weighs around 26 or 36 lbs I think... I can't remember. It was a solid decision after talking to a few people with lighter batteries that seemed not to have enough juice when needed the most. I was able to get a 100 dollar trade for my autozone battery towards the Optima but there are cheaper places online to get the battery. Cost me about 80 bucks to do the switch. I needed a good mount and didn't want any problems from the tech guys any either which or that track.. so I looked up what everyone was using for this model battery and Artek industries kept popping up. THe mounts were 85-100 bucks shipped but I went onto their actual website and they had a sale going on for the powdercoated black D51R mount... So I was jazzed about that and ordered right away. Looks Very Sturdy and feels secure. Love the way it looks. Don't mind my mixed up posi/neg's haha I just wanted to see how it looked and wasn't paying attention. This will go in the bin area behind the passenger seat.
Battery and mount
While I was waiting for my motor I started to think about allllllll of the little things I skipped in terms of taking my time/planning and good execution.... and knew that this car would eventually end up off the streets more and onto the track. With that said.. safety was a serious concern. Using Pandazfd as a template. I went and talked to a local shop called GS werks about fitting the car with a 6pt Competition legal cage. THe owner seemed pretty cool and knew what he was talking about in terms of what I needed etc, so I pulled the trigger. But first I had to pull the windshield out.
ATTENTION:
for anyone who has ever pulled out a windshield.....I would rather pay someone than do it myself. I'm pretty sure the windshield in the car was the original window from 93. The original montego blue was under the stripping and the window spider cracked everywhere. I followed a detailed youtube tutorial and did everything exactly like the guy did... But his took 20 min. Mine took 4 hours. I didn't want tiny little glass crystals all over my car and garage so I took my time. But after 3 hours and 30 min I got fed up and started being more rough. I took pictures but I must've forgot to upload them.. but guys like I said.. I really don't think this is worth the time it took to do it on my own.. Next time I'll pay.
After the windshield was out.....I called Dan up and he said he'd come pick up the car for me. I have access to a trailer and my truck to pull it. But this just made things all the more convienient. He came and picked it up no extra charge. That was nice!
So over the next couple weeks Dan got to work on the car. I asked for a few things specifically. 1. I wanted helmet clearance and to retain the door guts so I could keep my windows. 2. that the cage would be competition legal for Top drift. So they sent an e-mail to tech to double check to see what they could do for the main hoop to give me as much clearance as possible. They got the ok to tilt the main hoop back up to 20 degrees as long as it was gusetted to the body of the car and braced accordingly. So here are progress pics.
a better pic of the tilted main hoop
04-06-14, 12:21 PM
#1797
Continued:
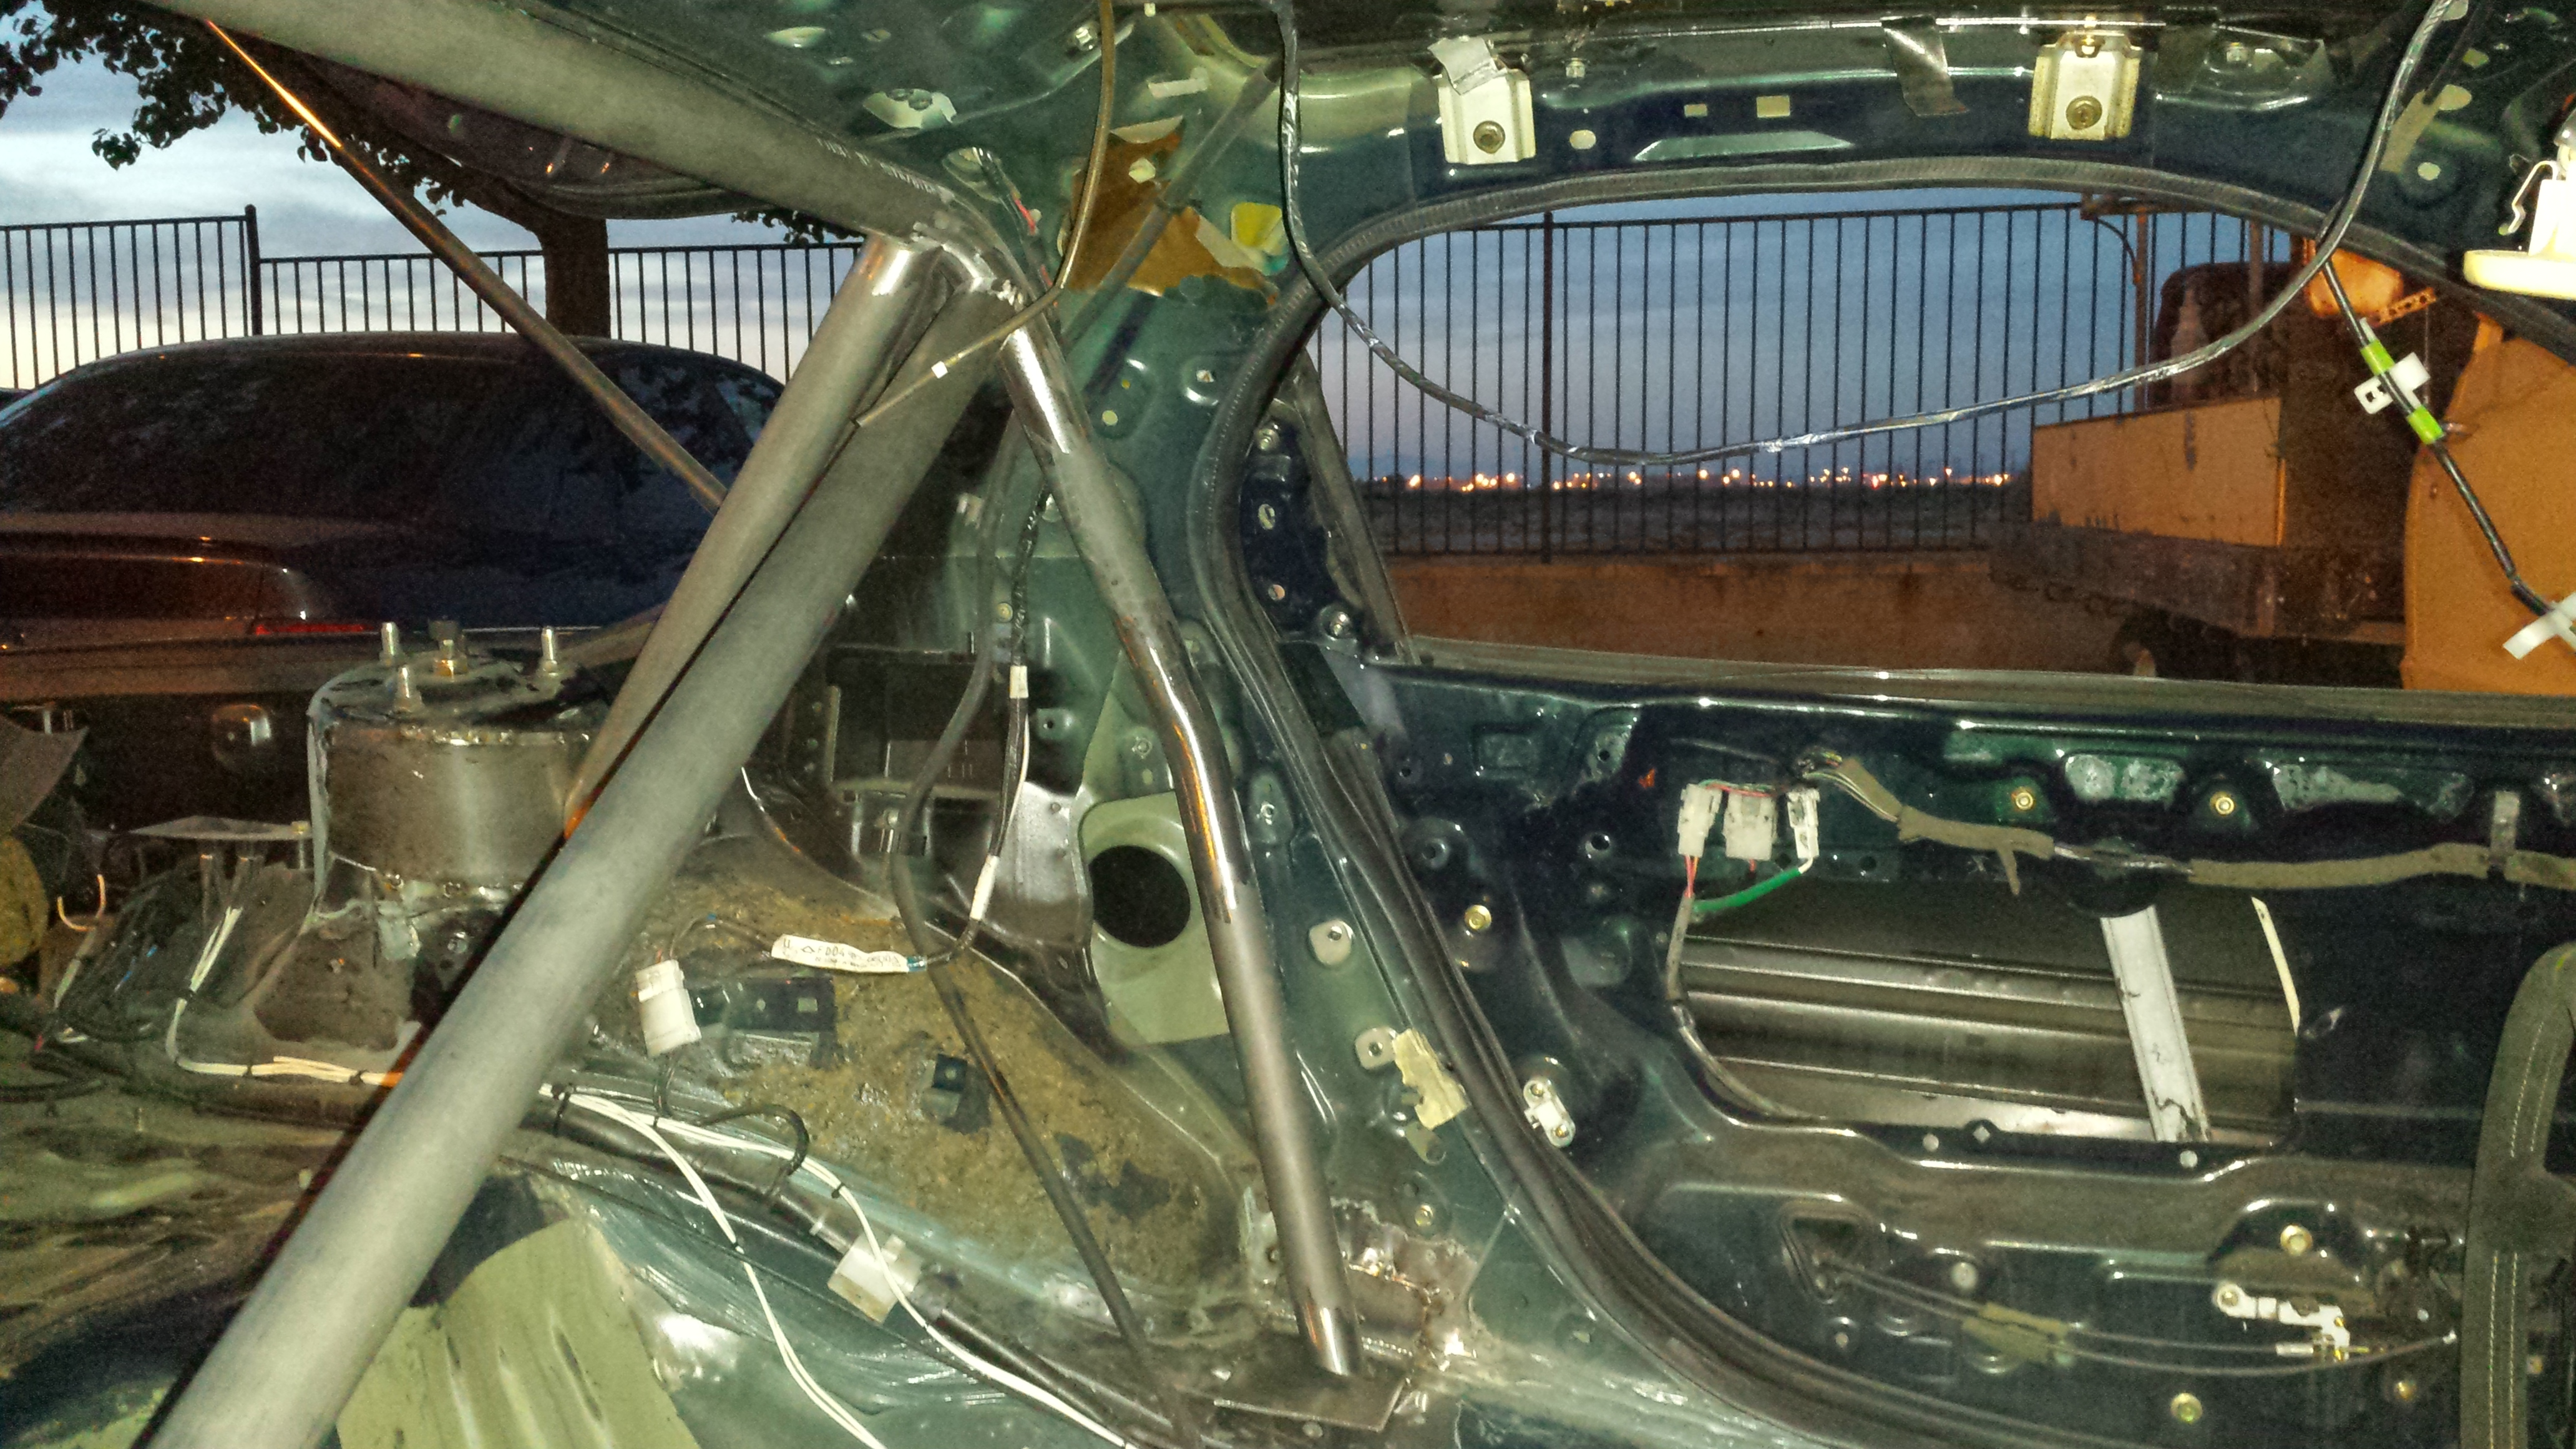
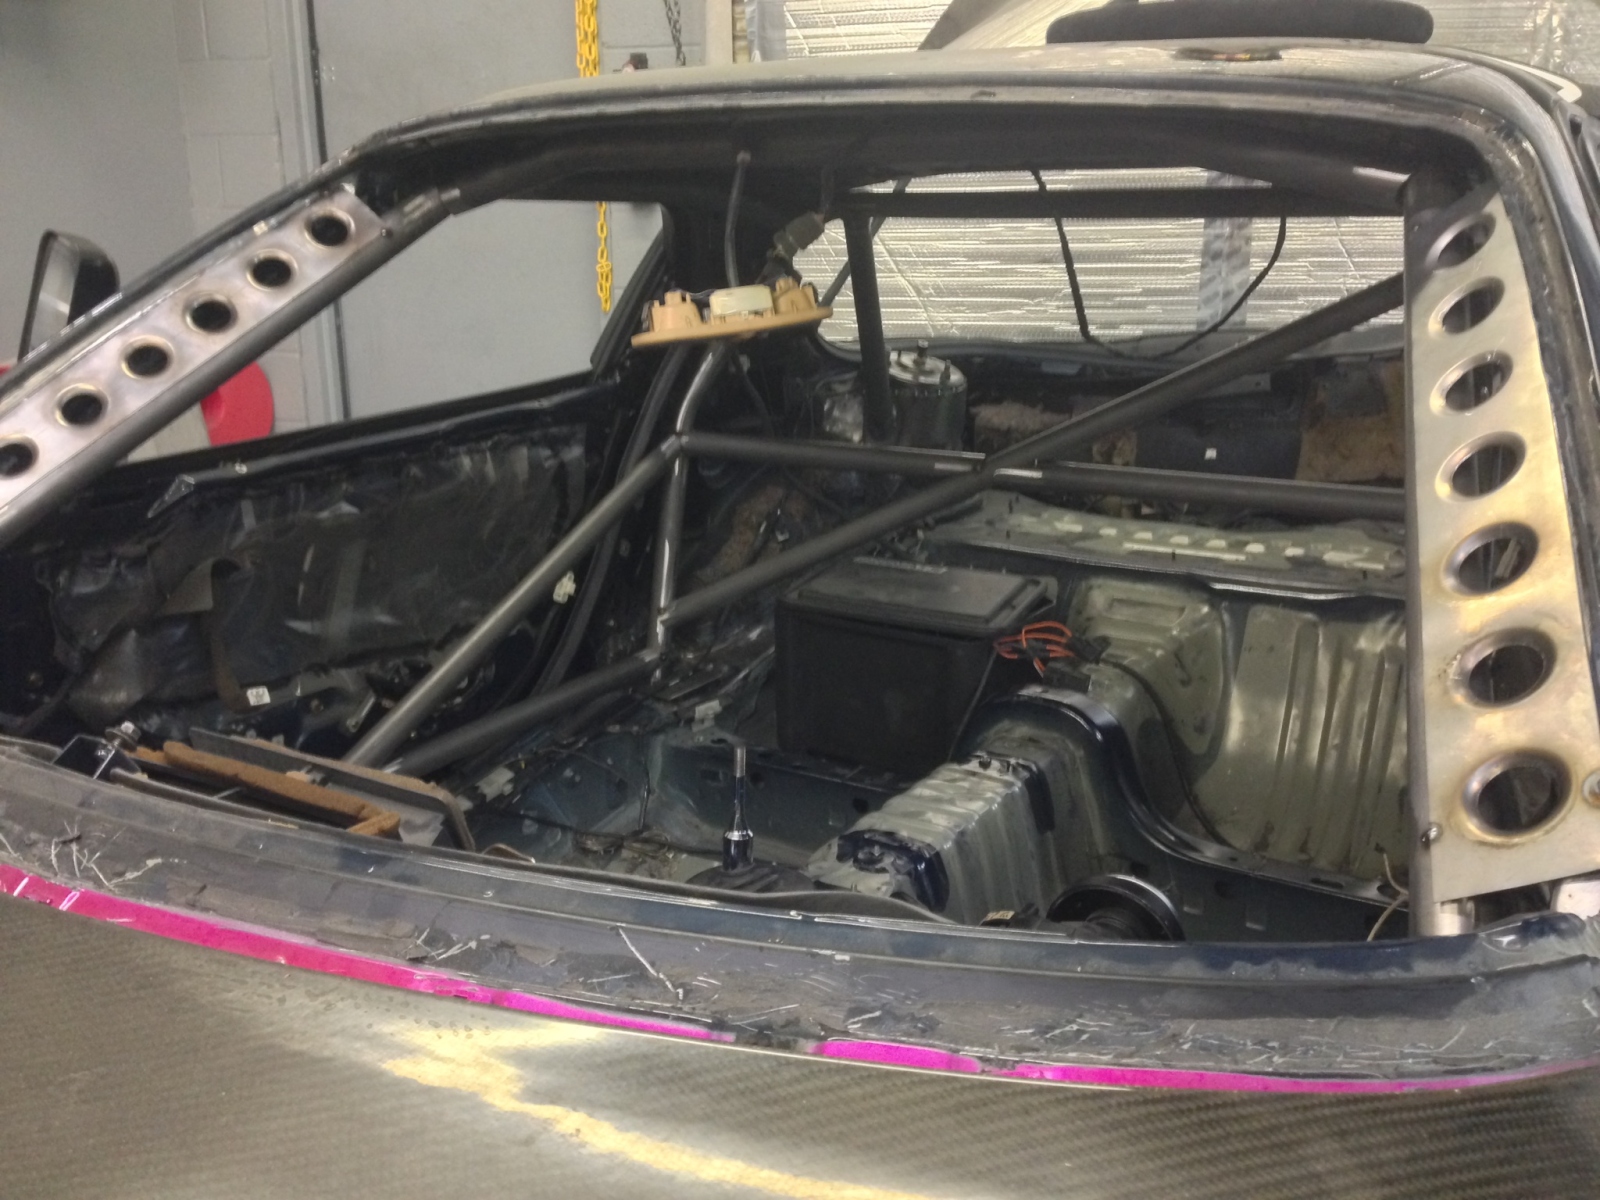
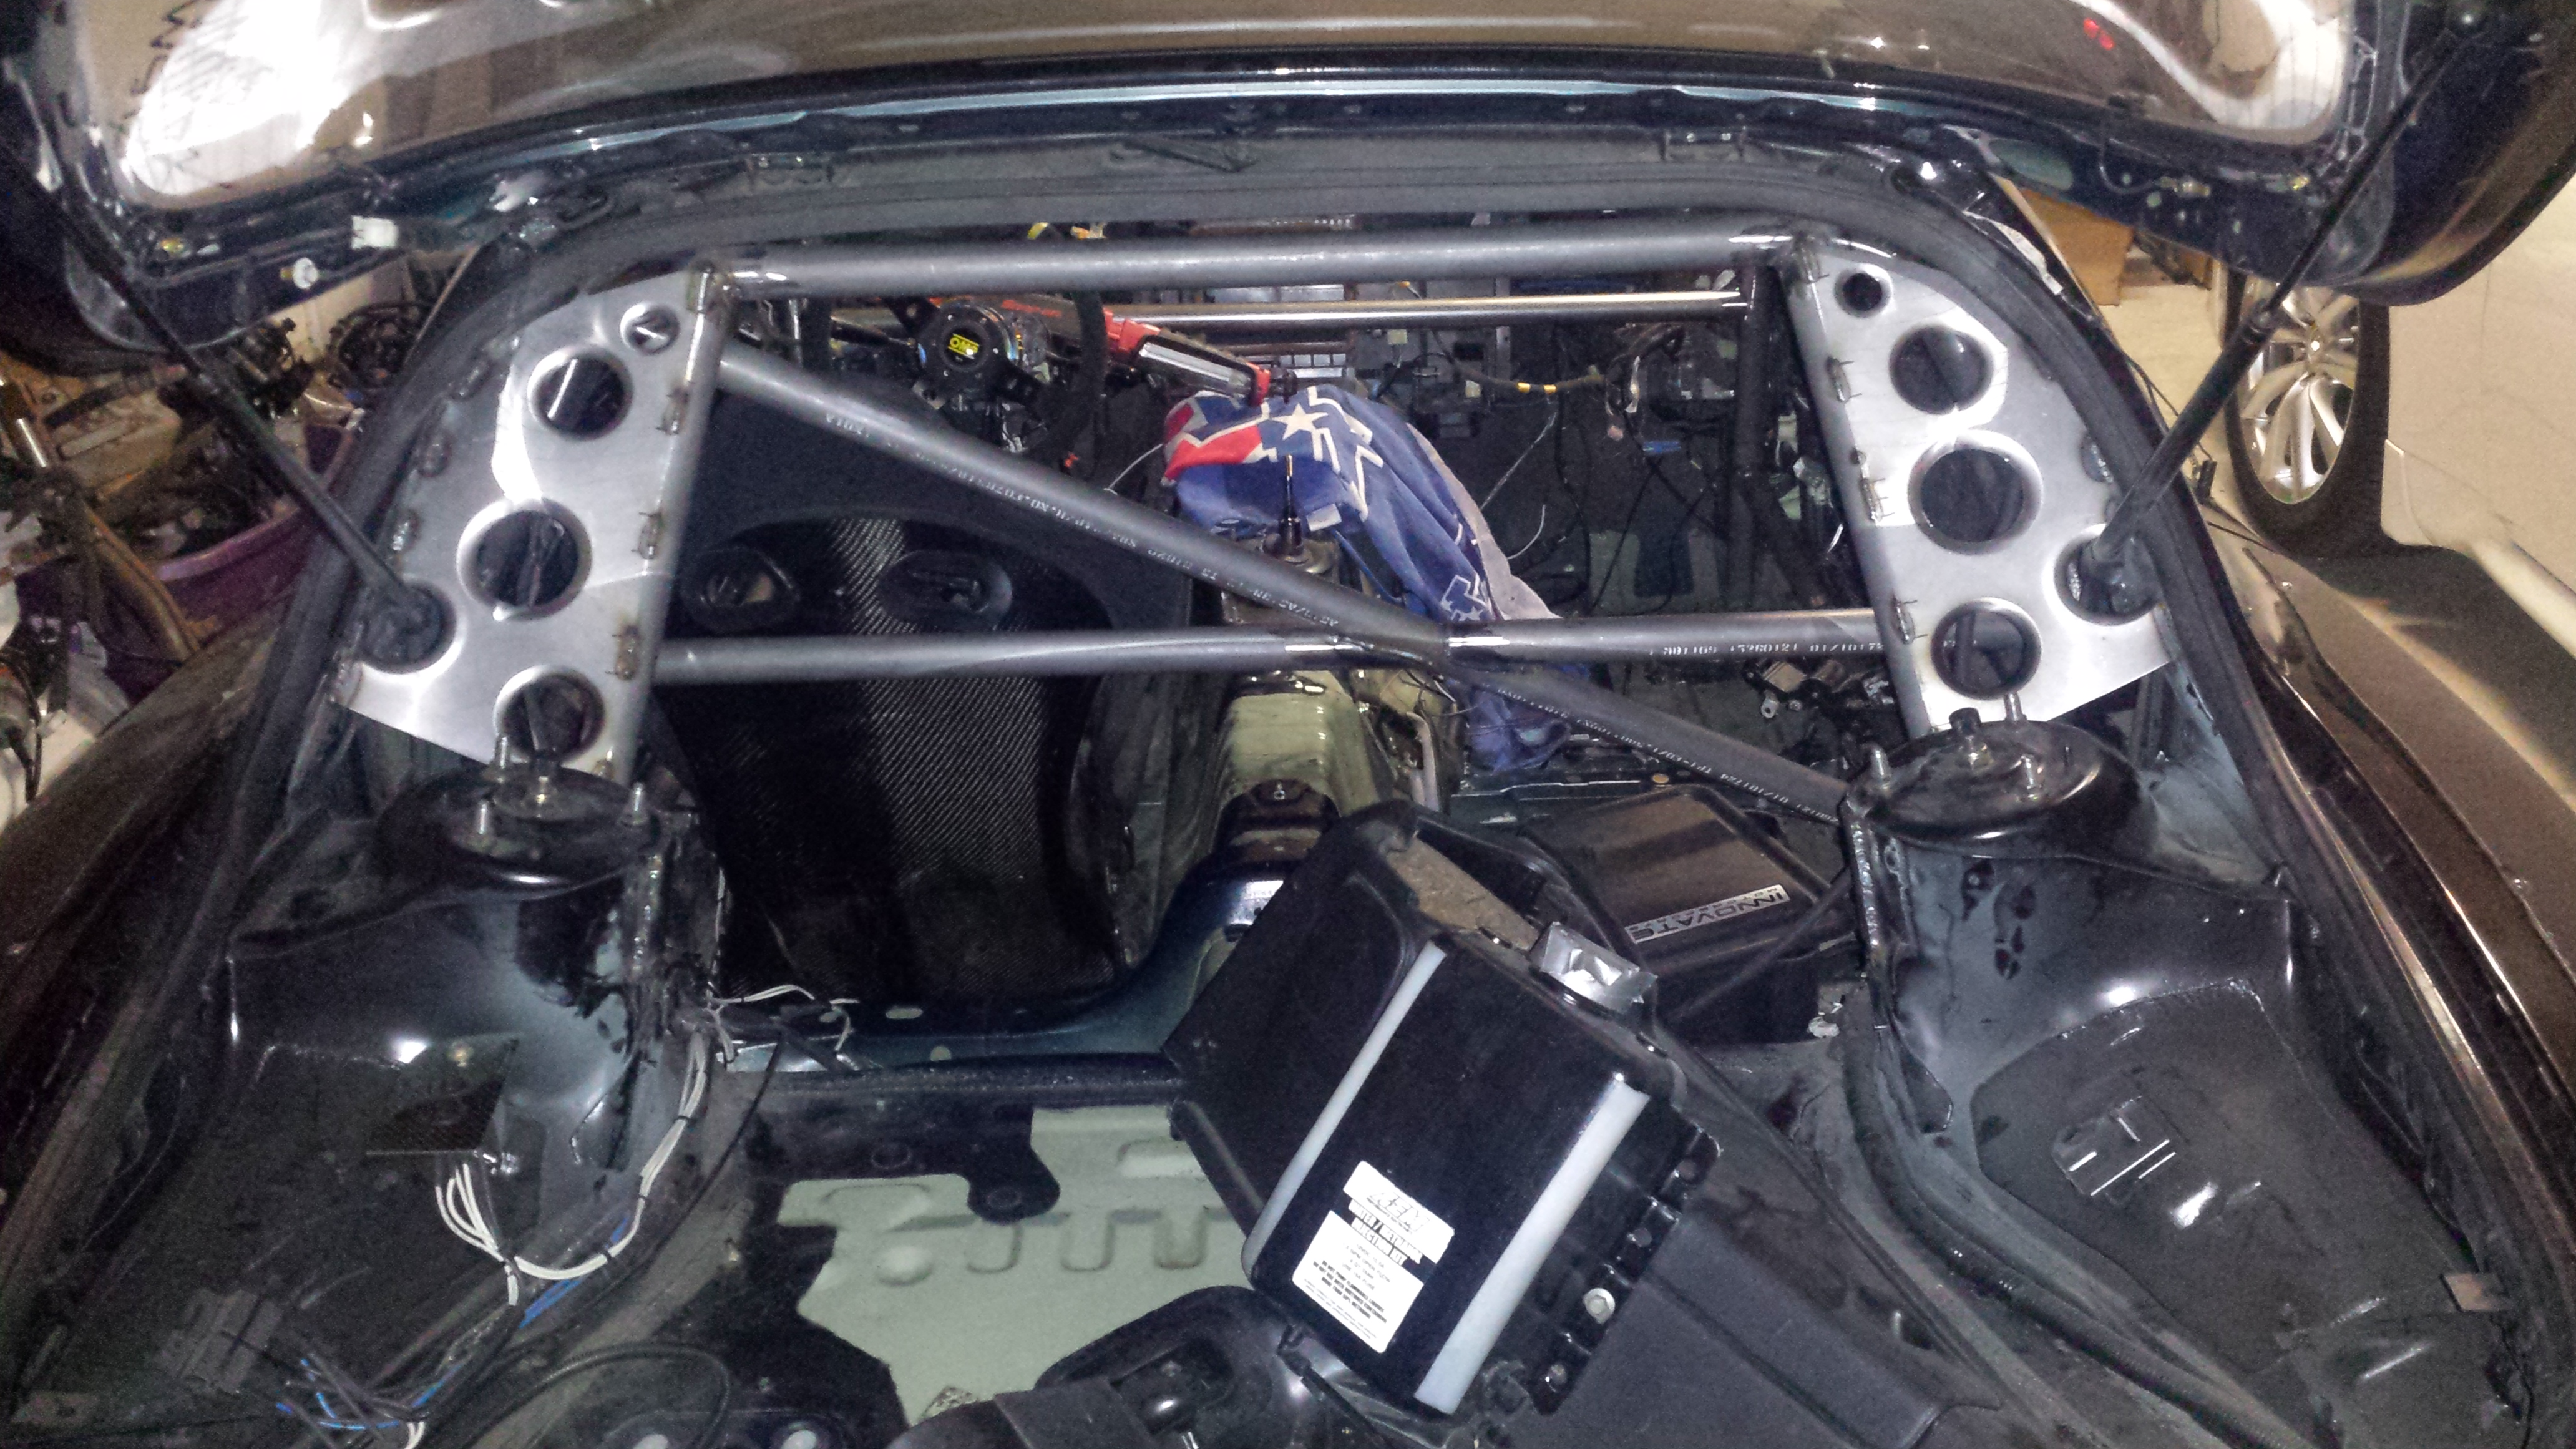
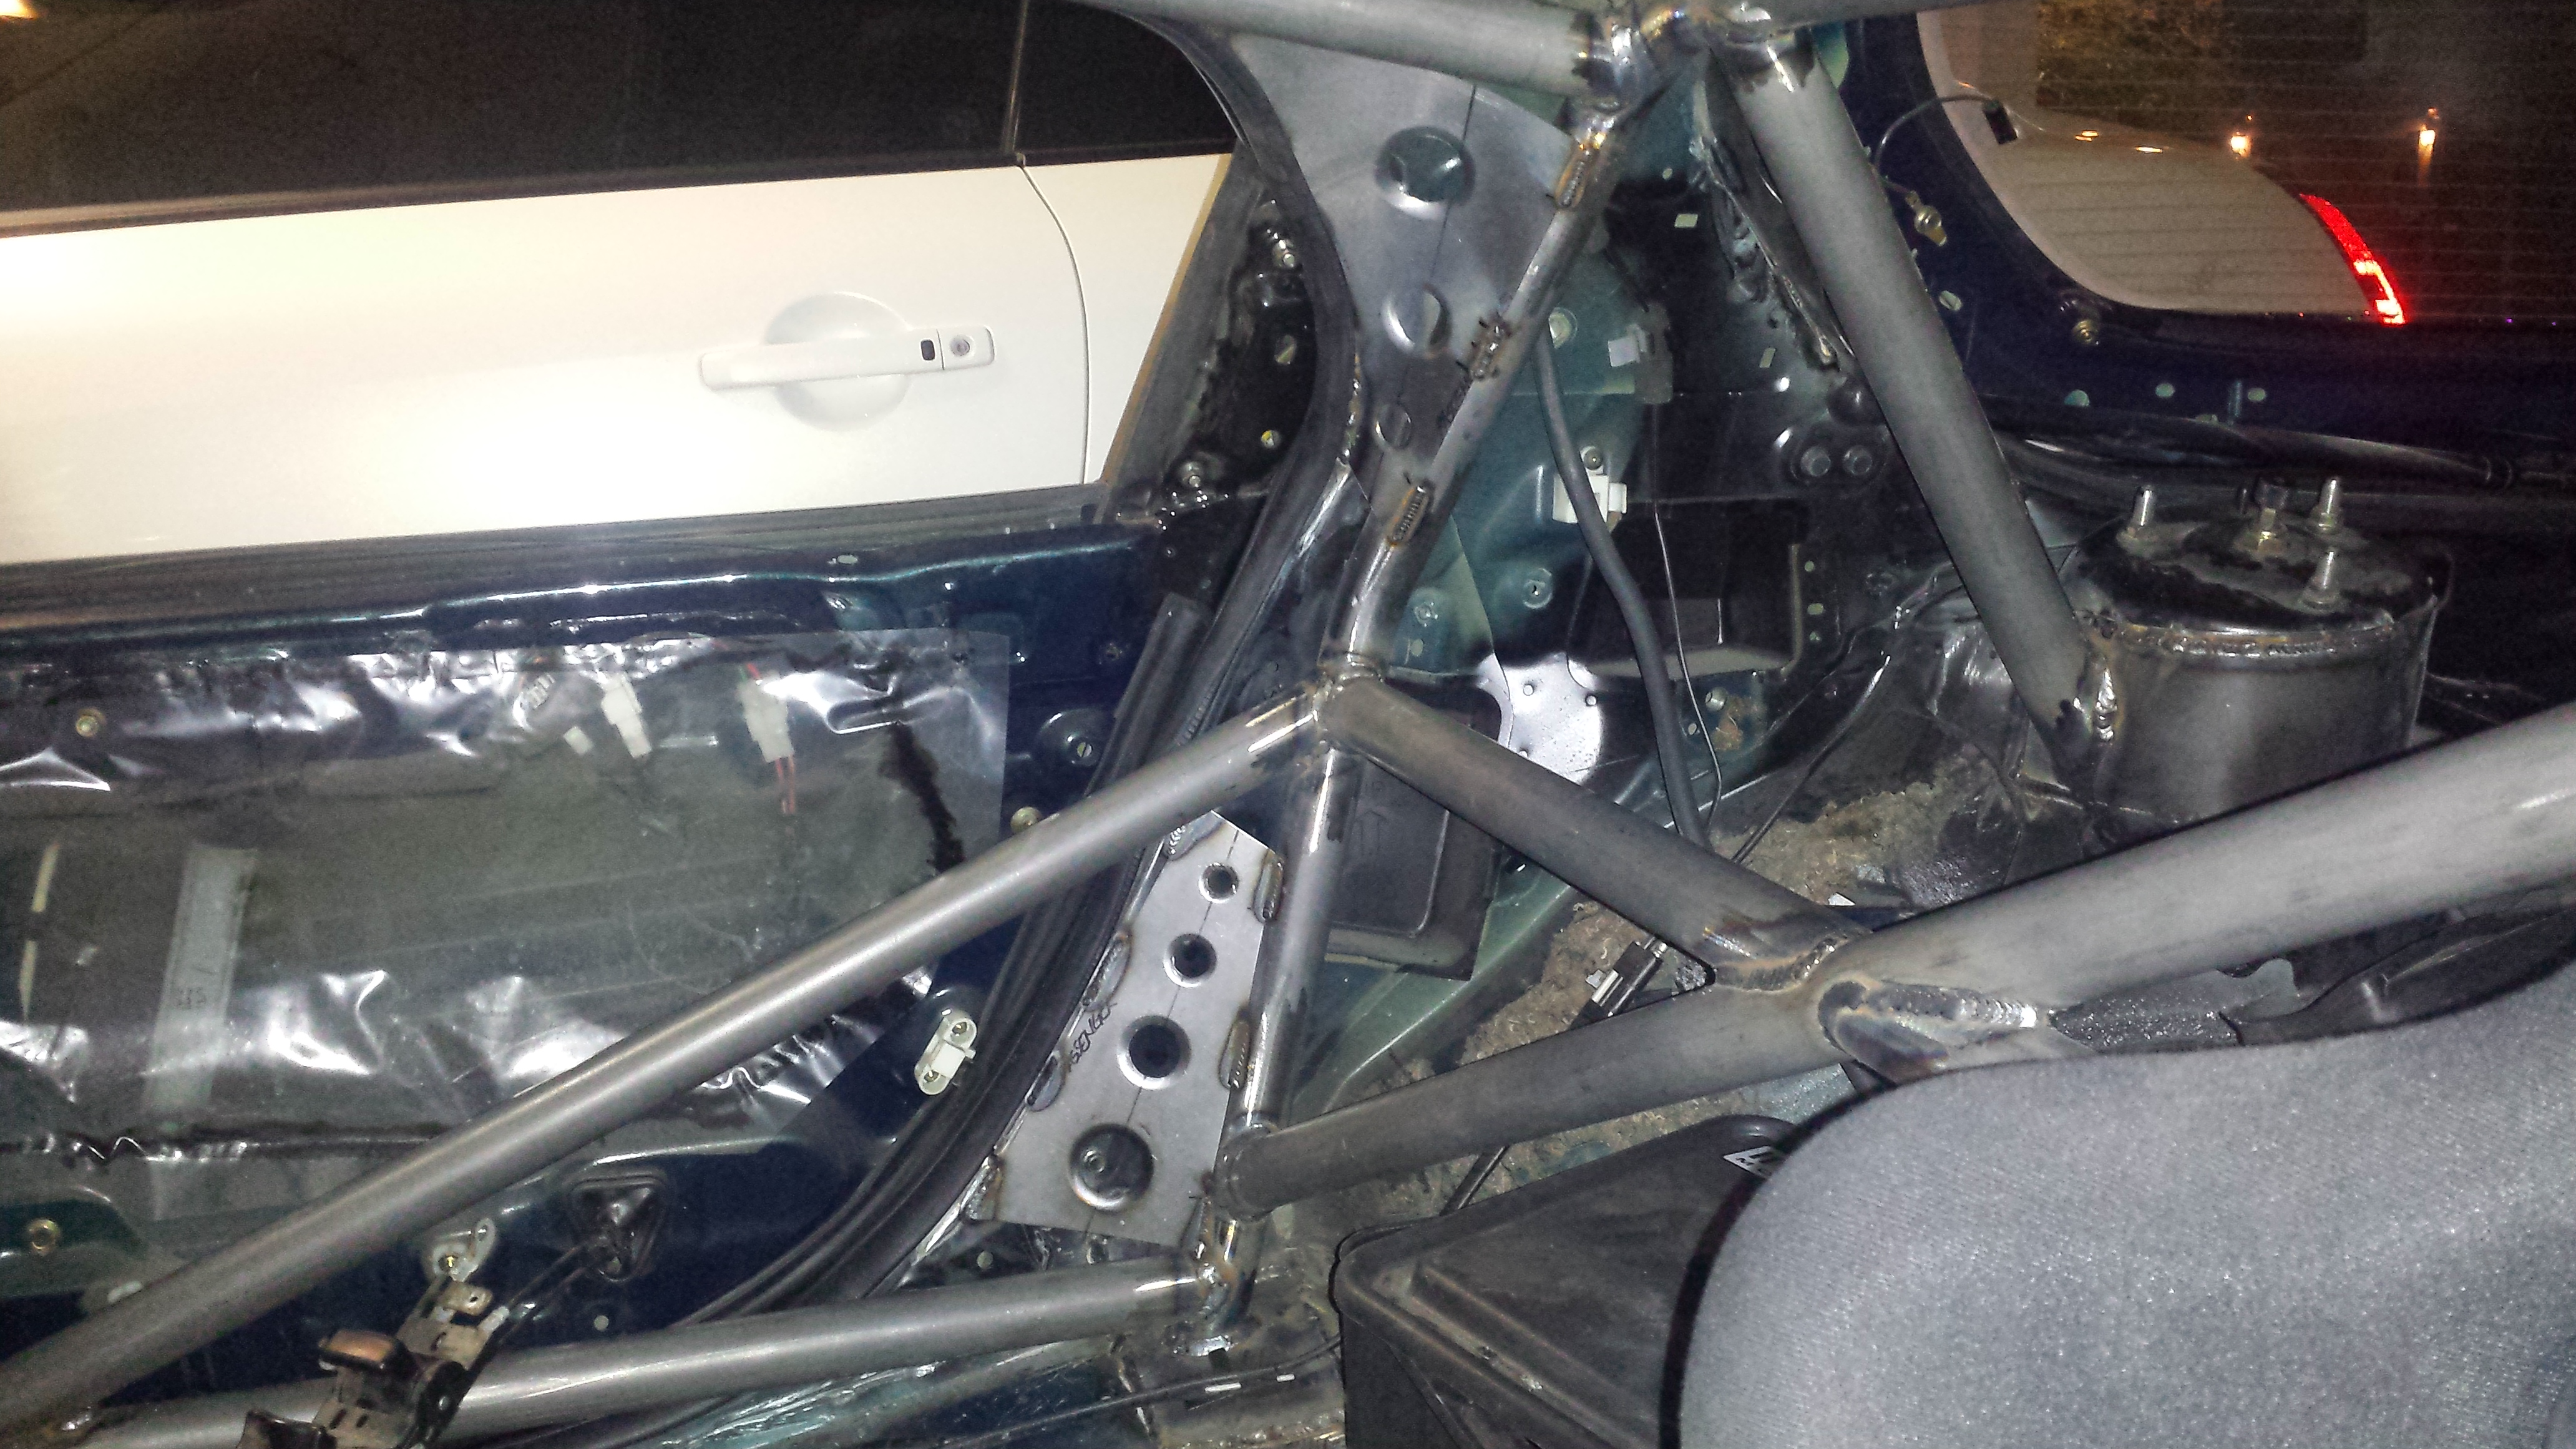
Pictures for the rear of the car. The Main hoop seems a bit low here but to have it lean back the way it is and still comply with rules there could only be 4 bends if i'm not mistaken.. so we had to make a compromise to get the clearance and still be legal. But I've been in cars that weren't comfy...and to me.. it's worth it for the clearance =-) Plus the guesset panels look sick!!!
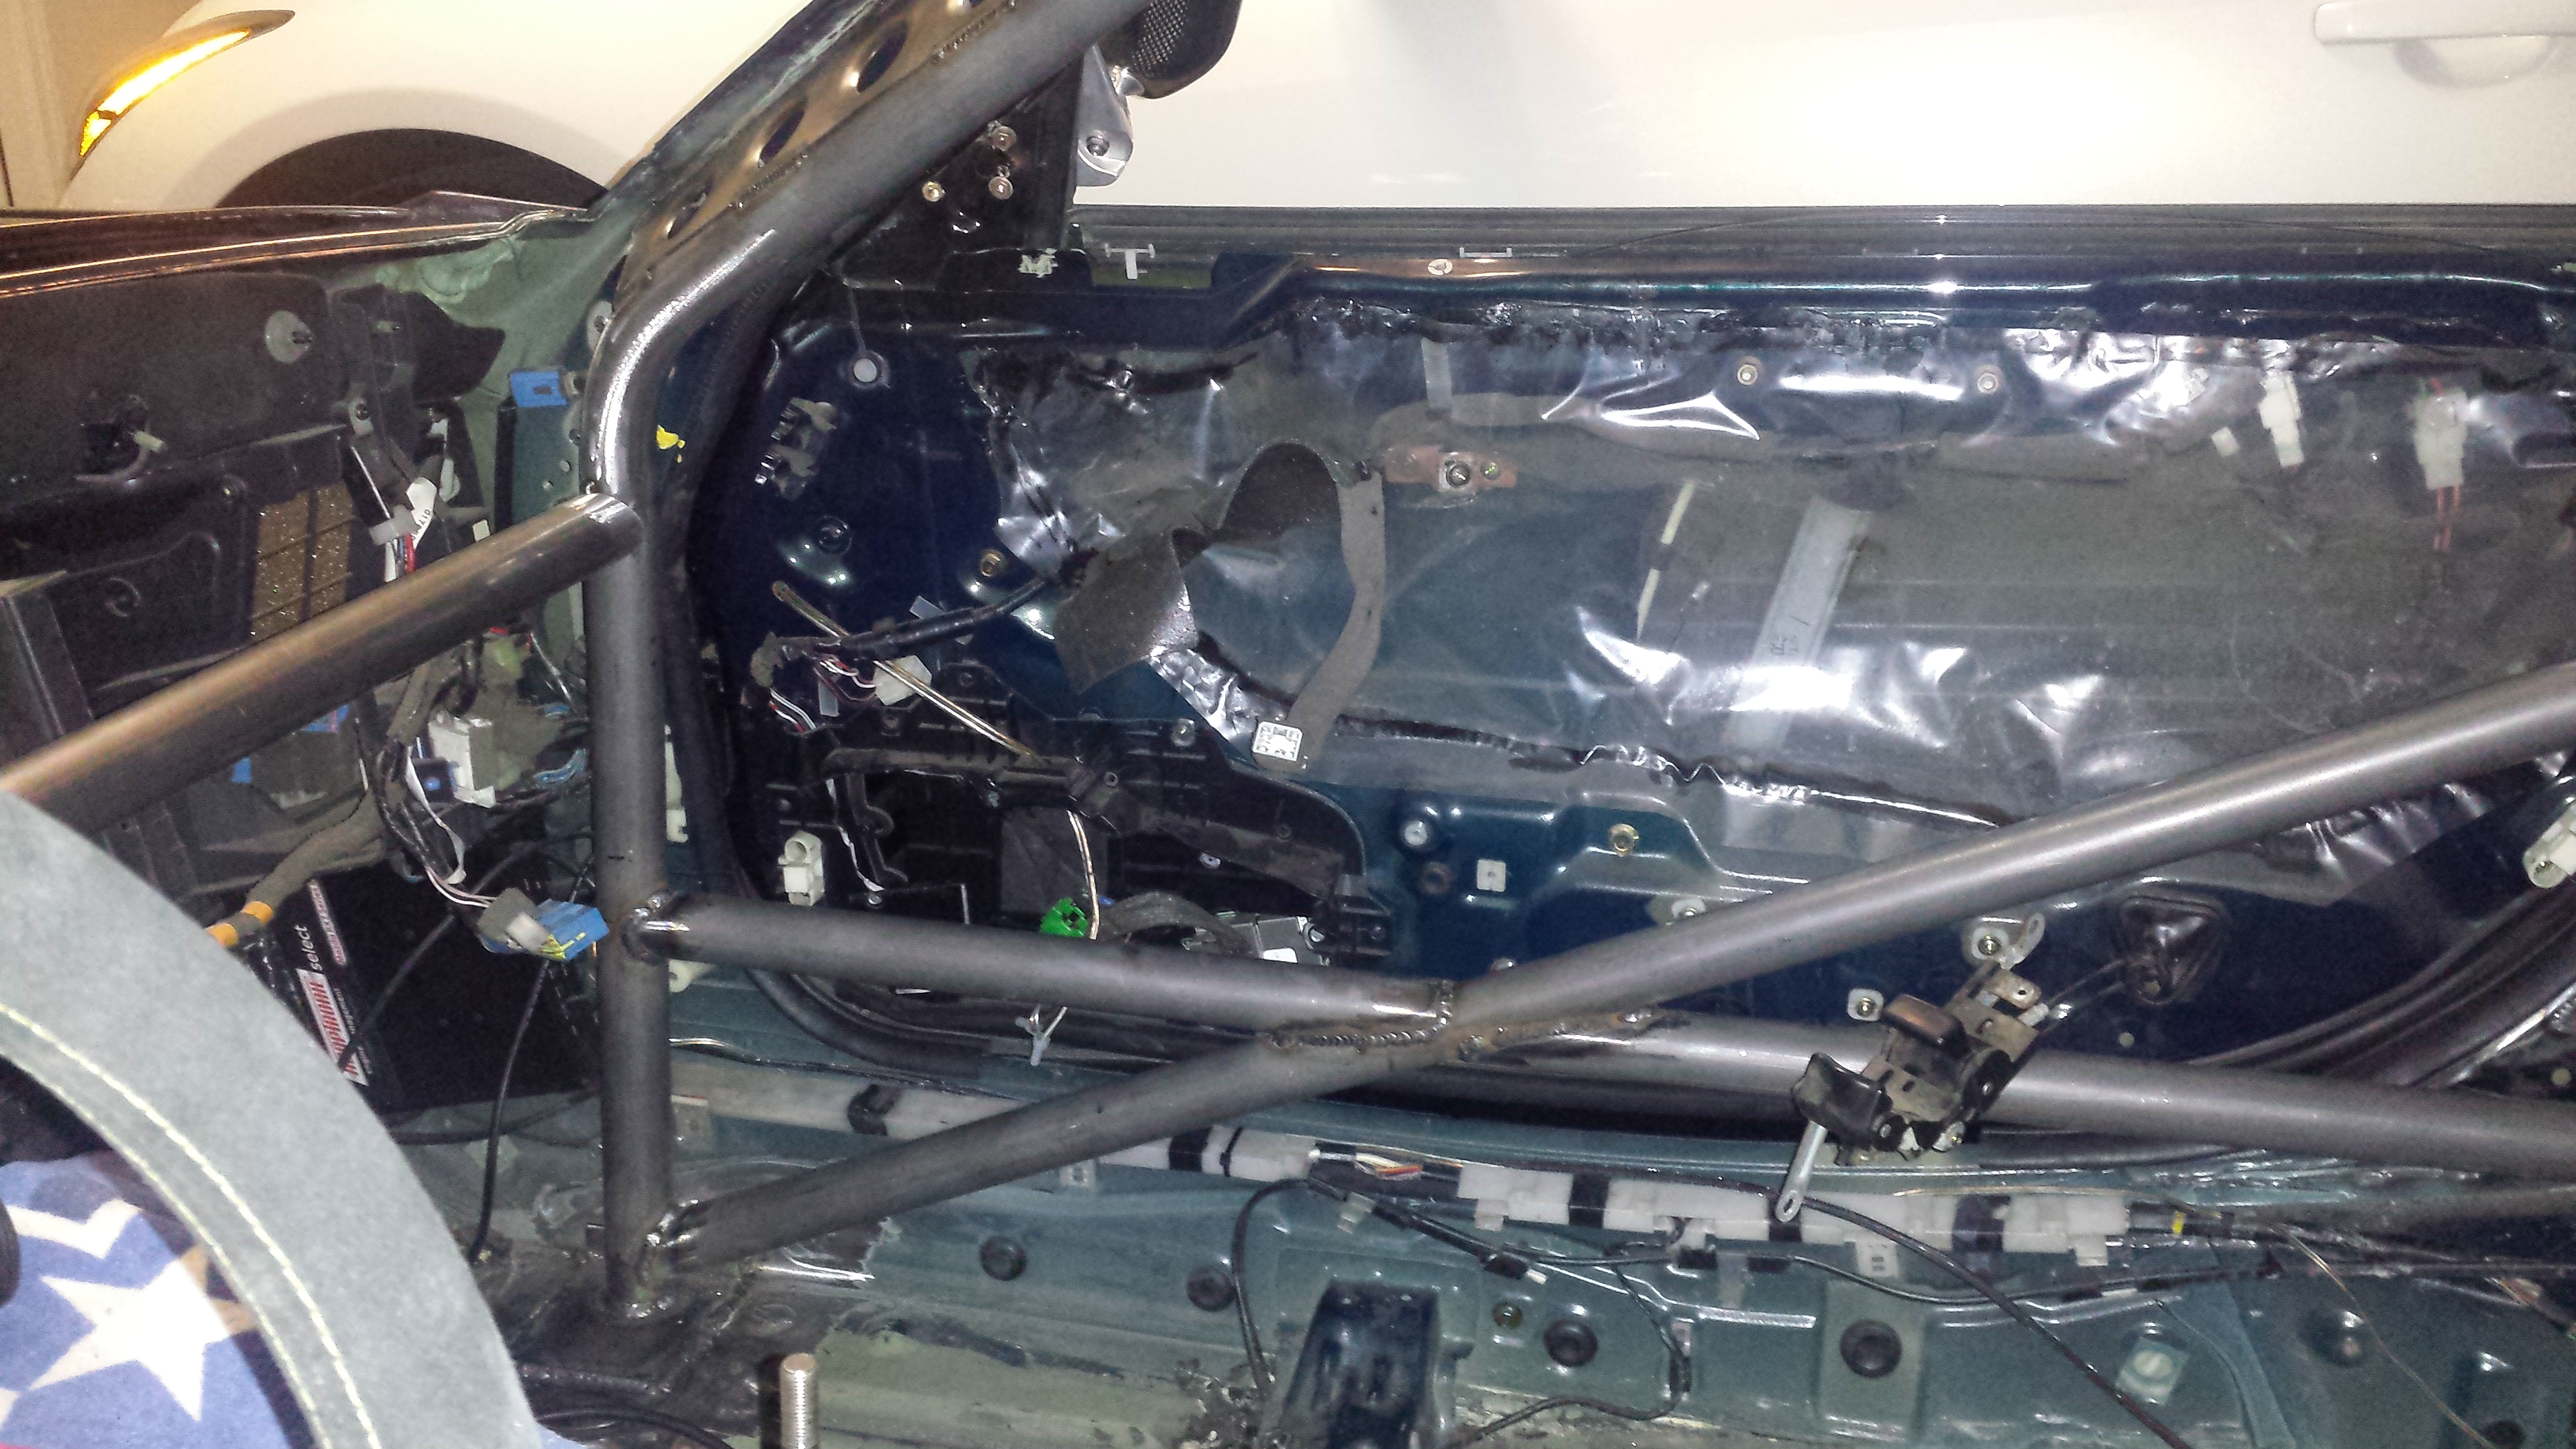
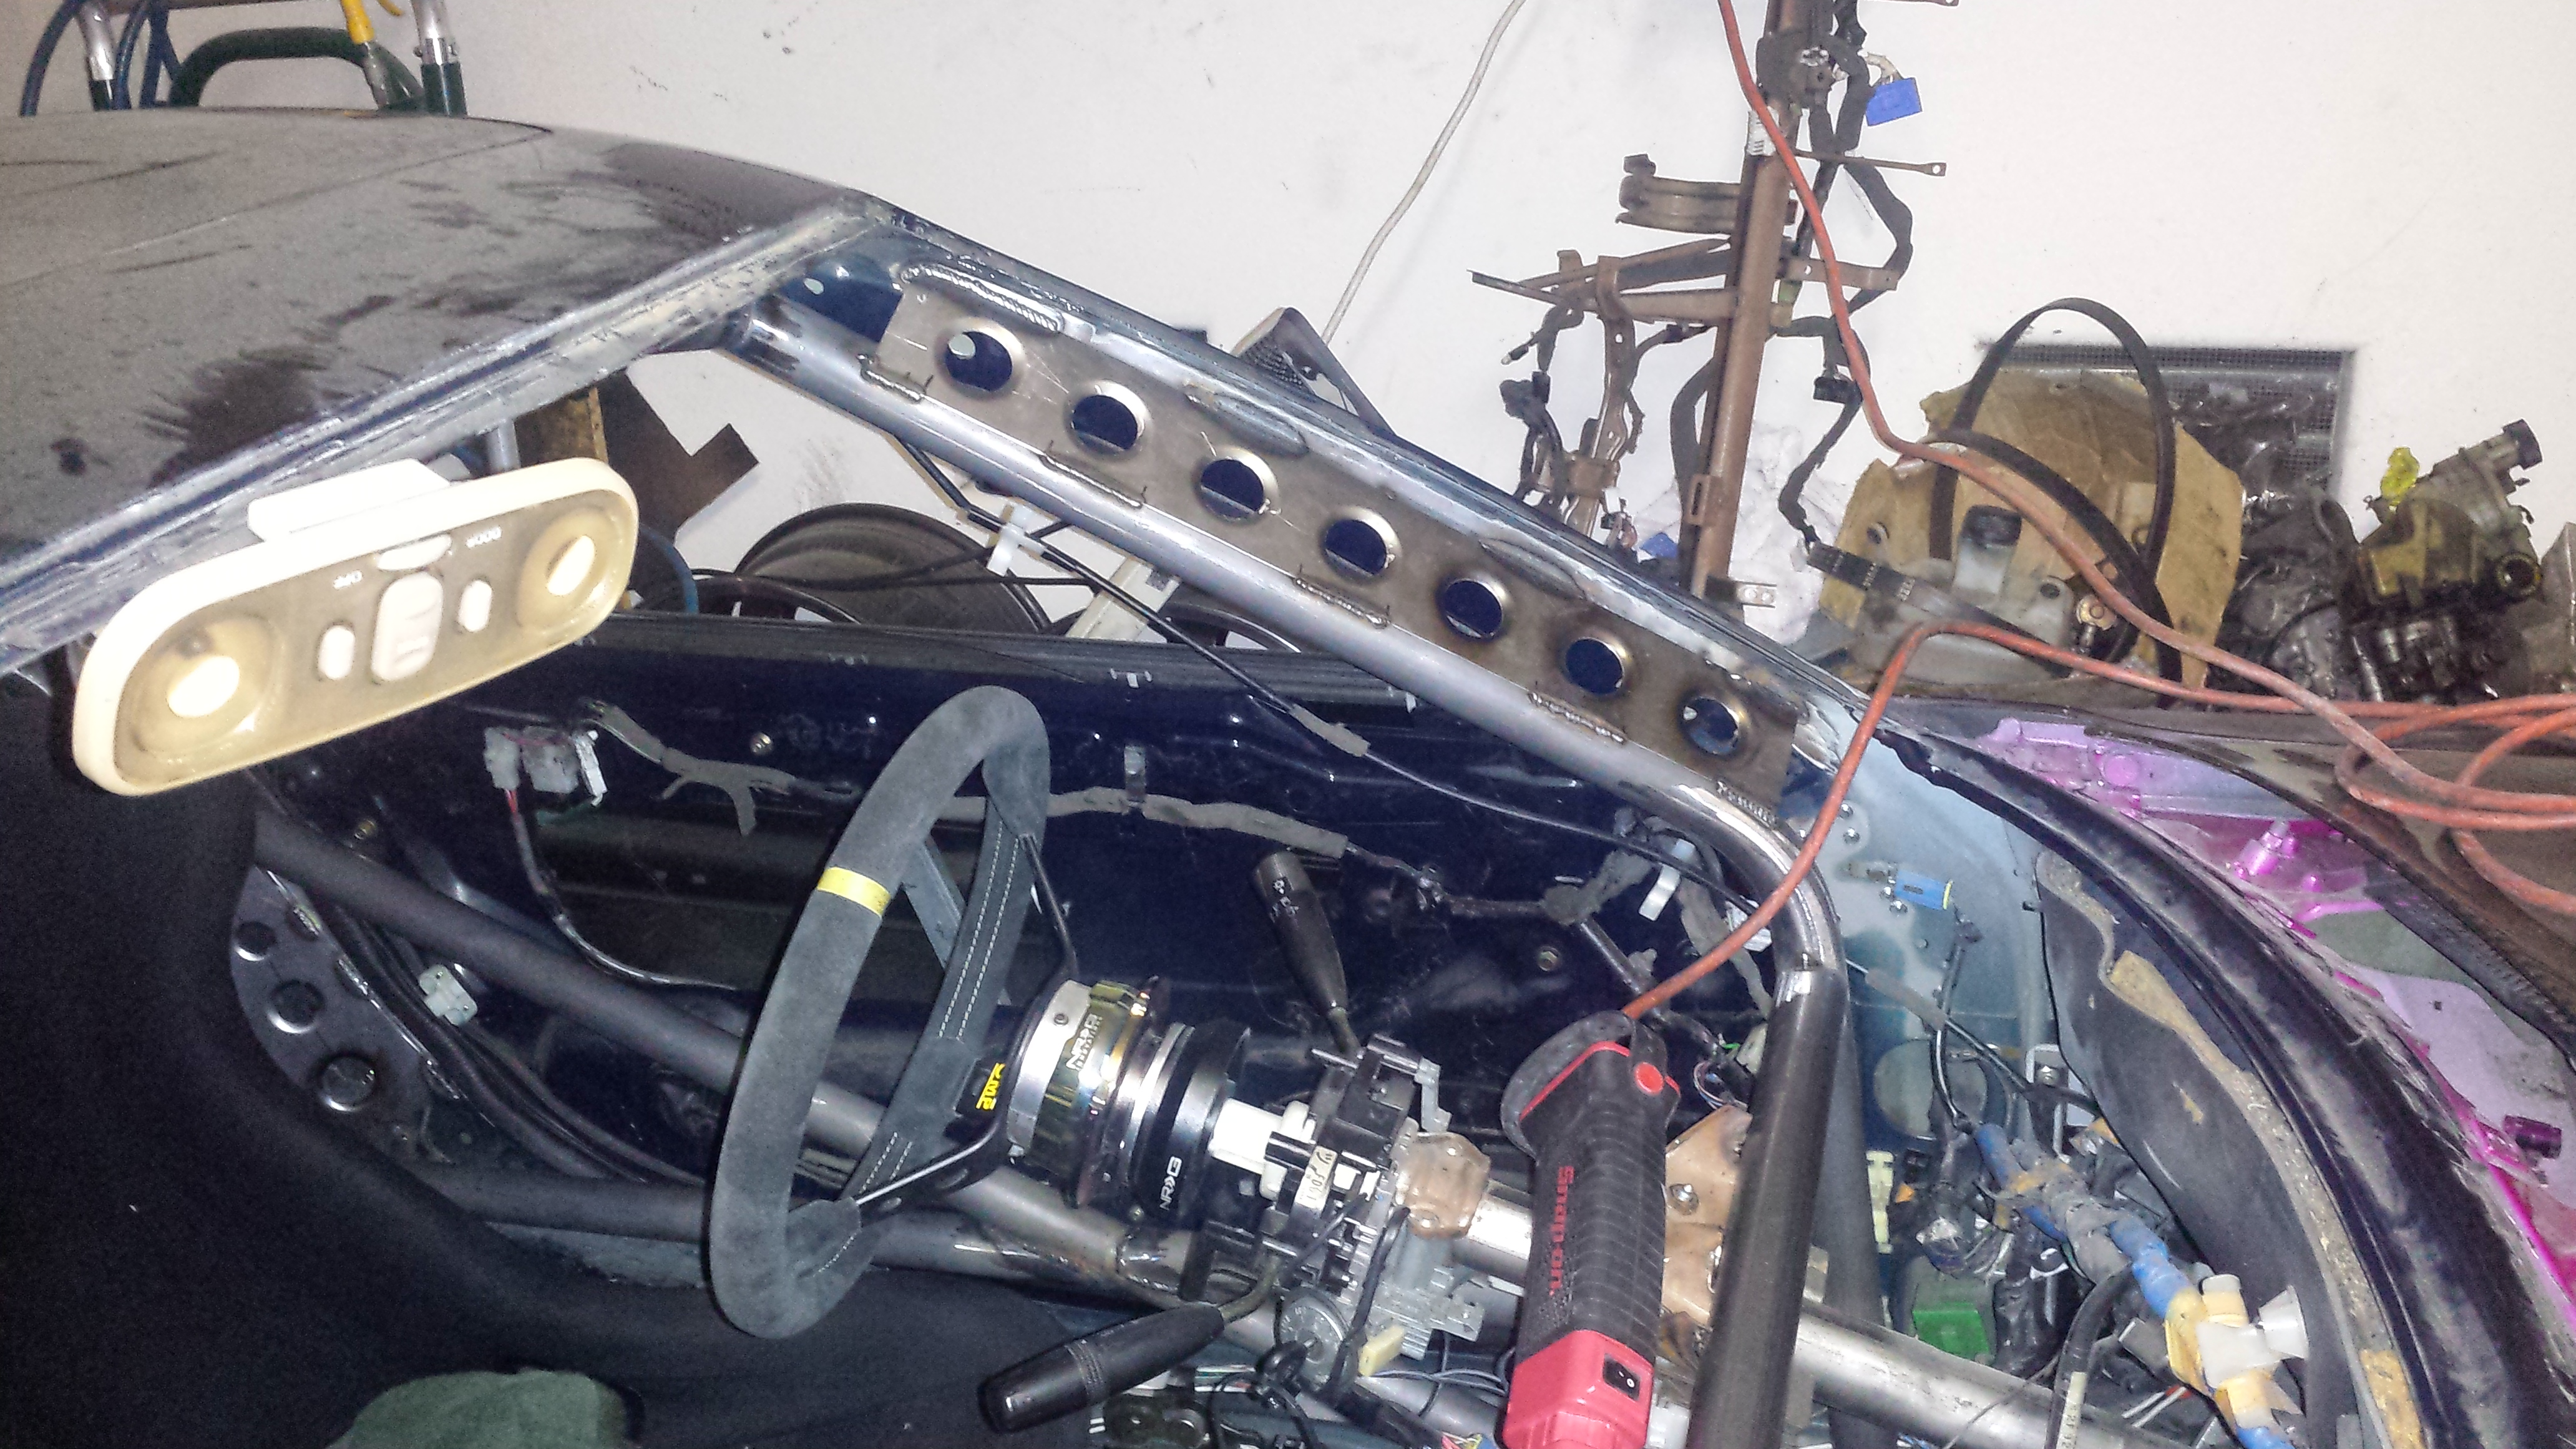
A-pillar prep
door bar mock
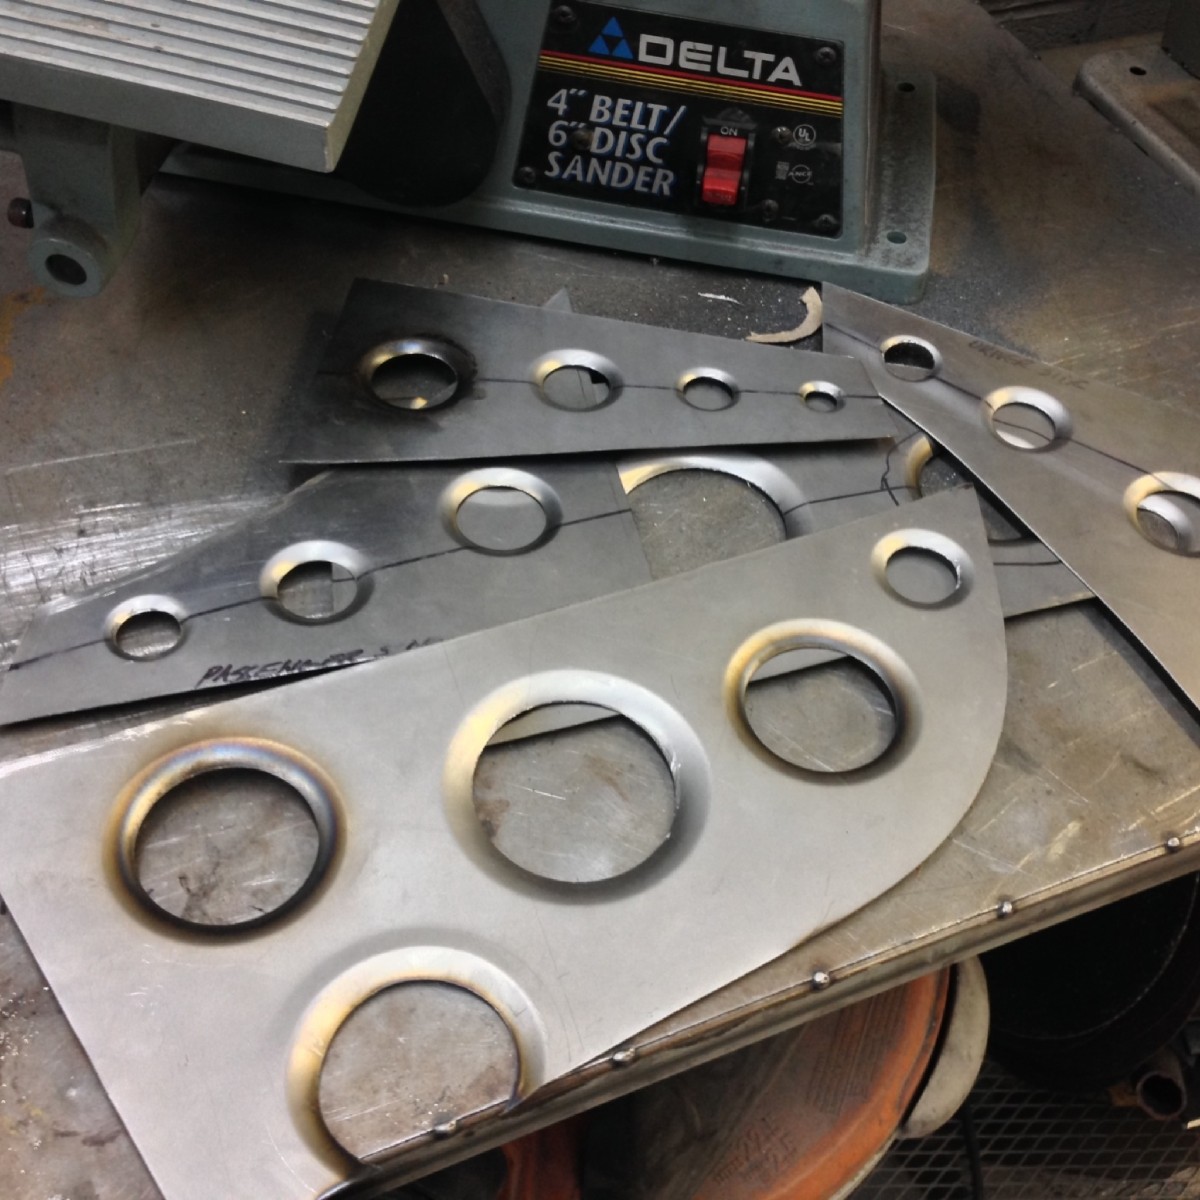
Interior main hoop gussettes =-) they did a really good job on these
Sneak peak before it was fully finished..
Rear Gussetts finished
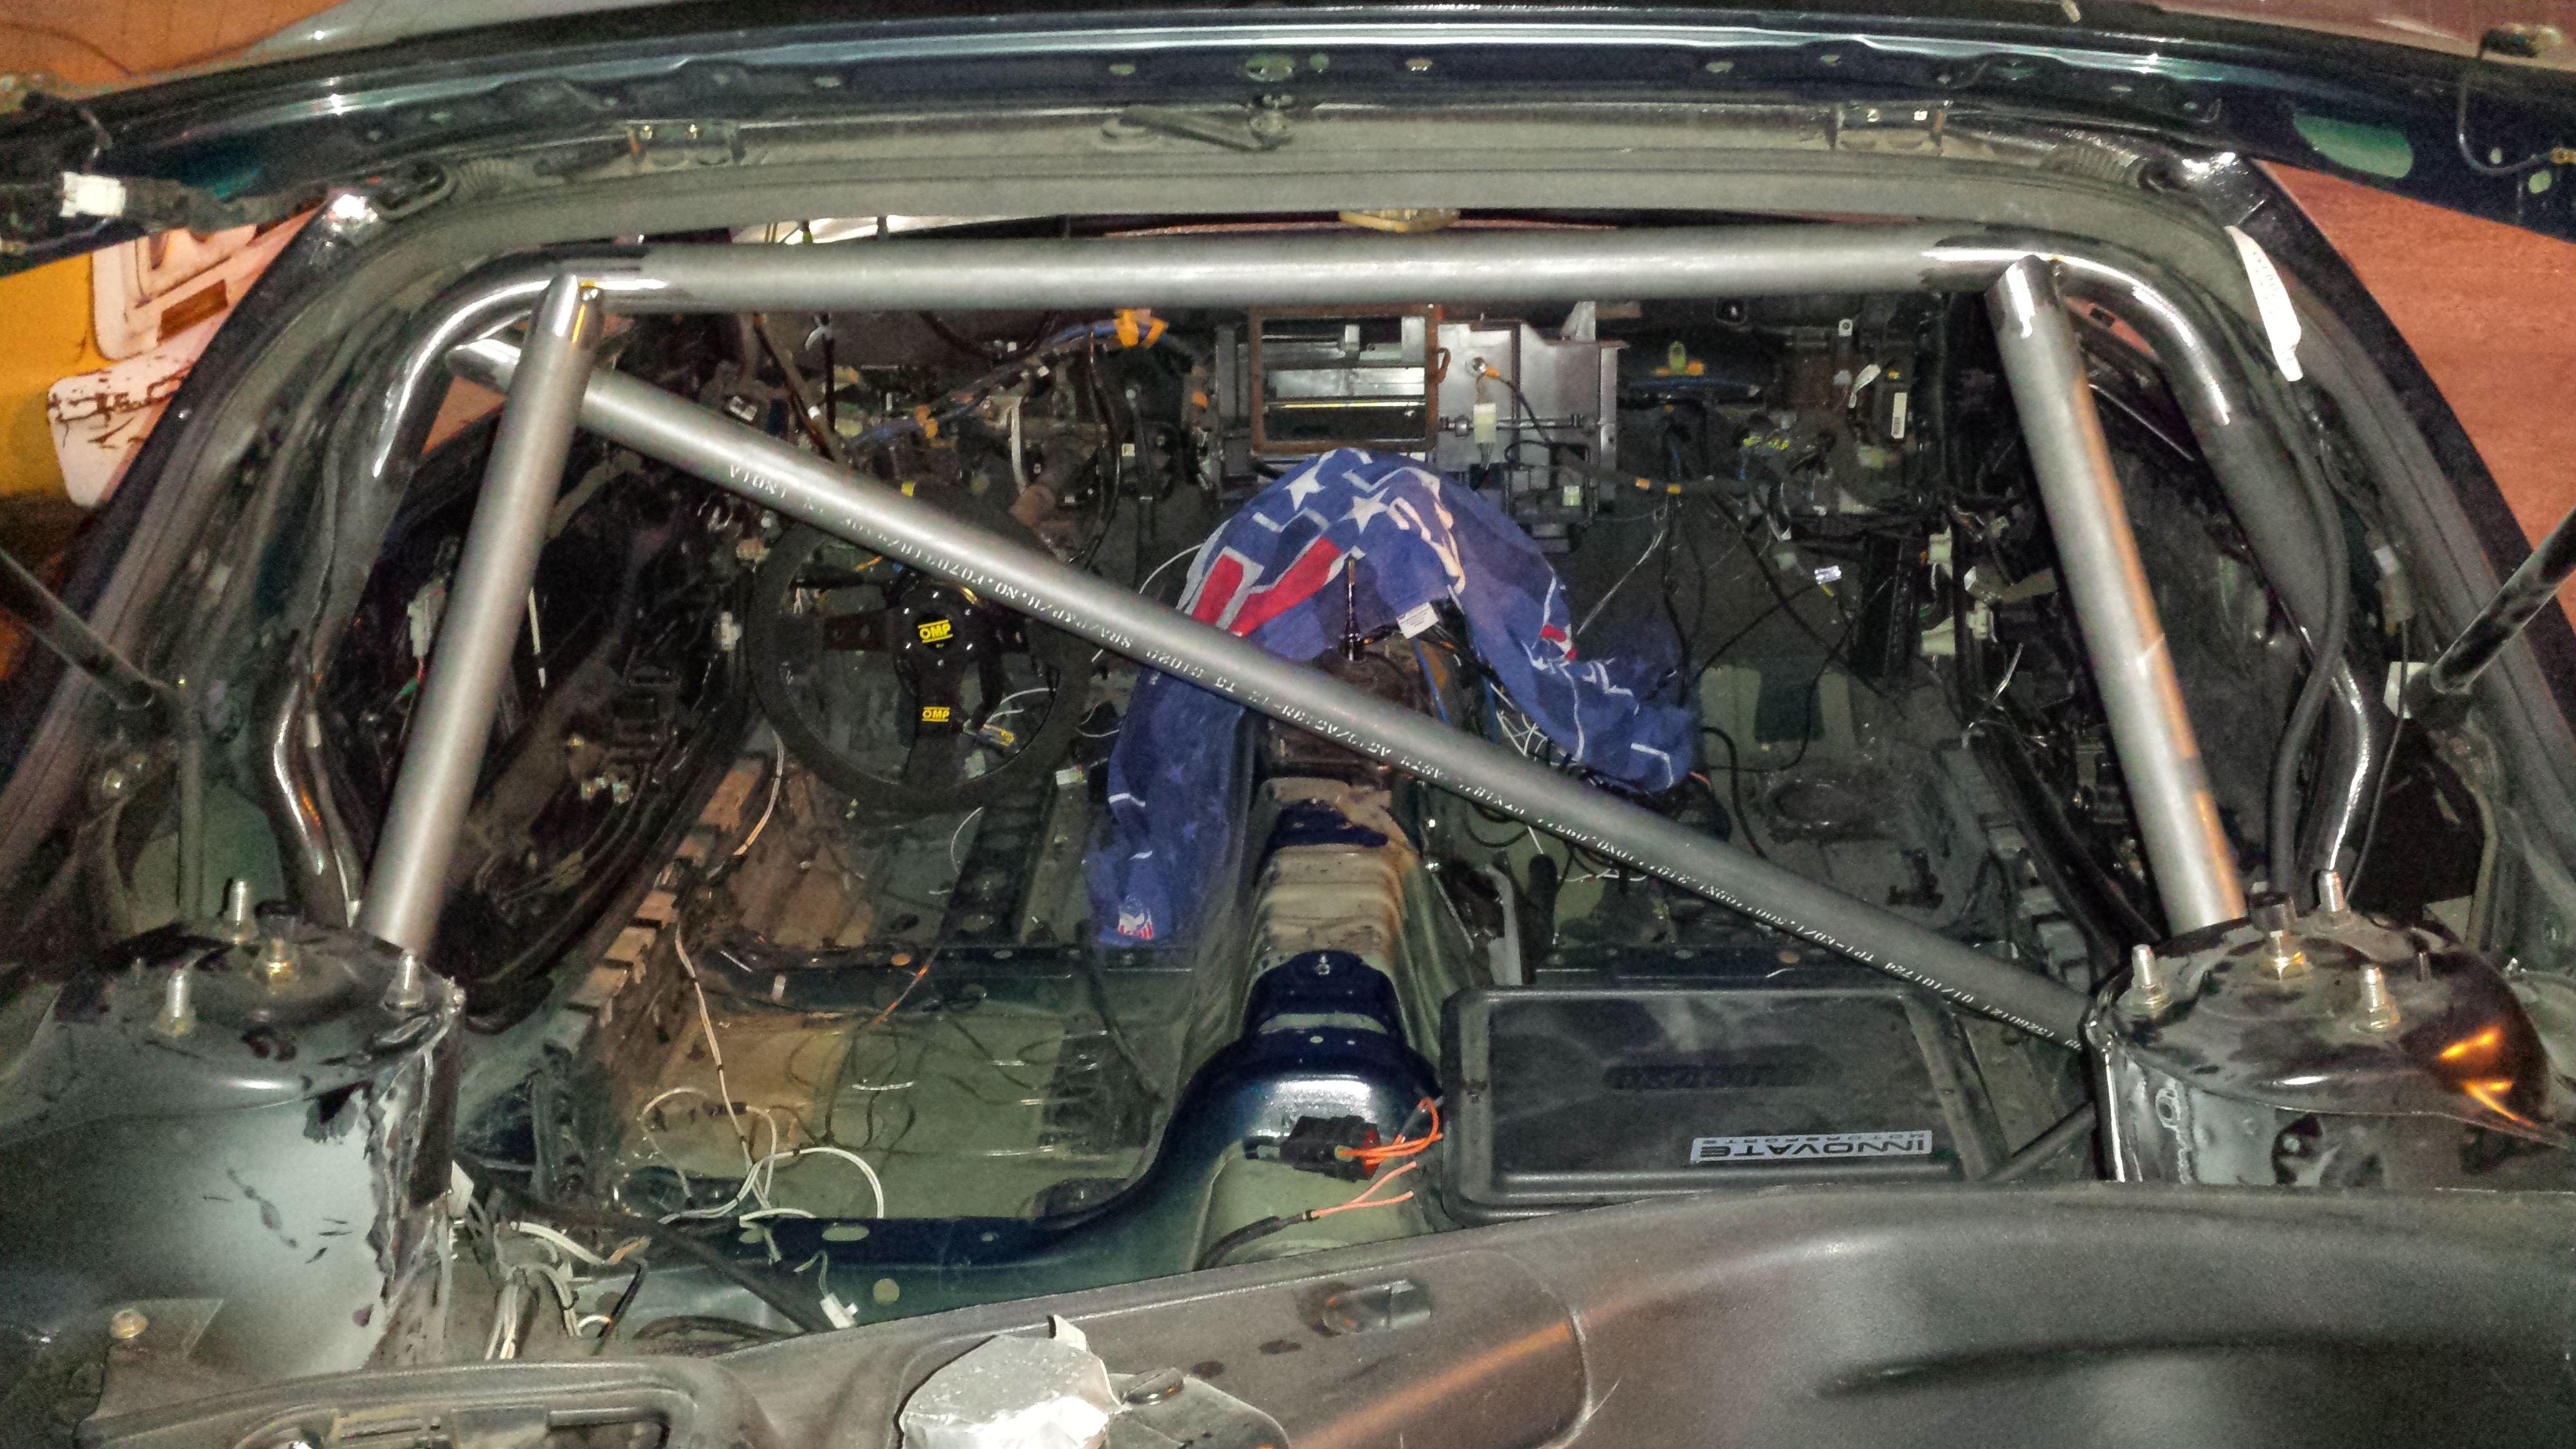
Door bars and main hoop placement
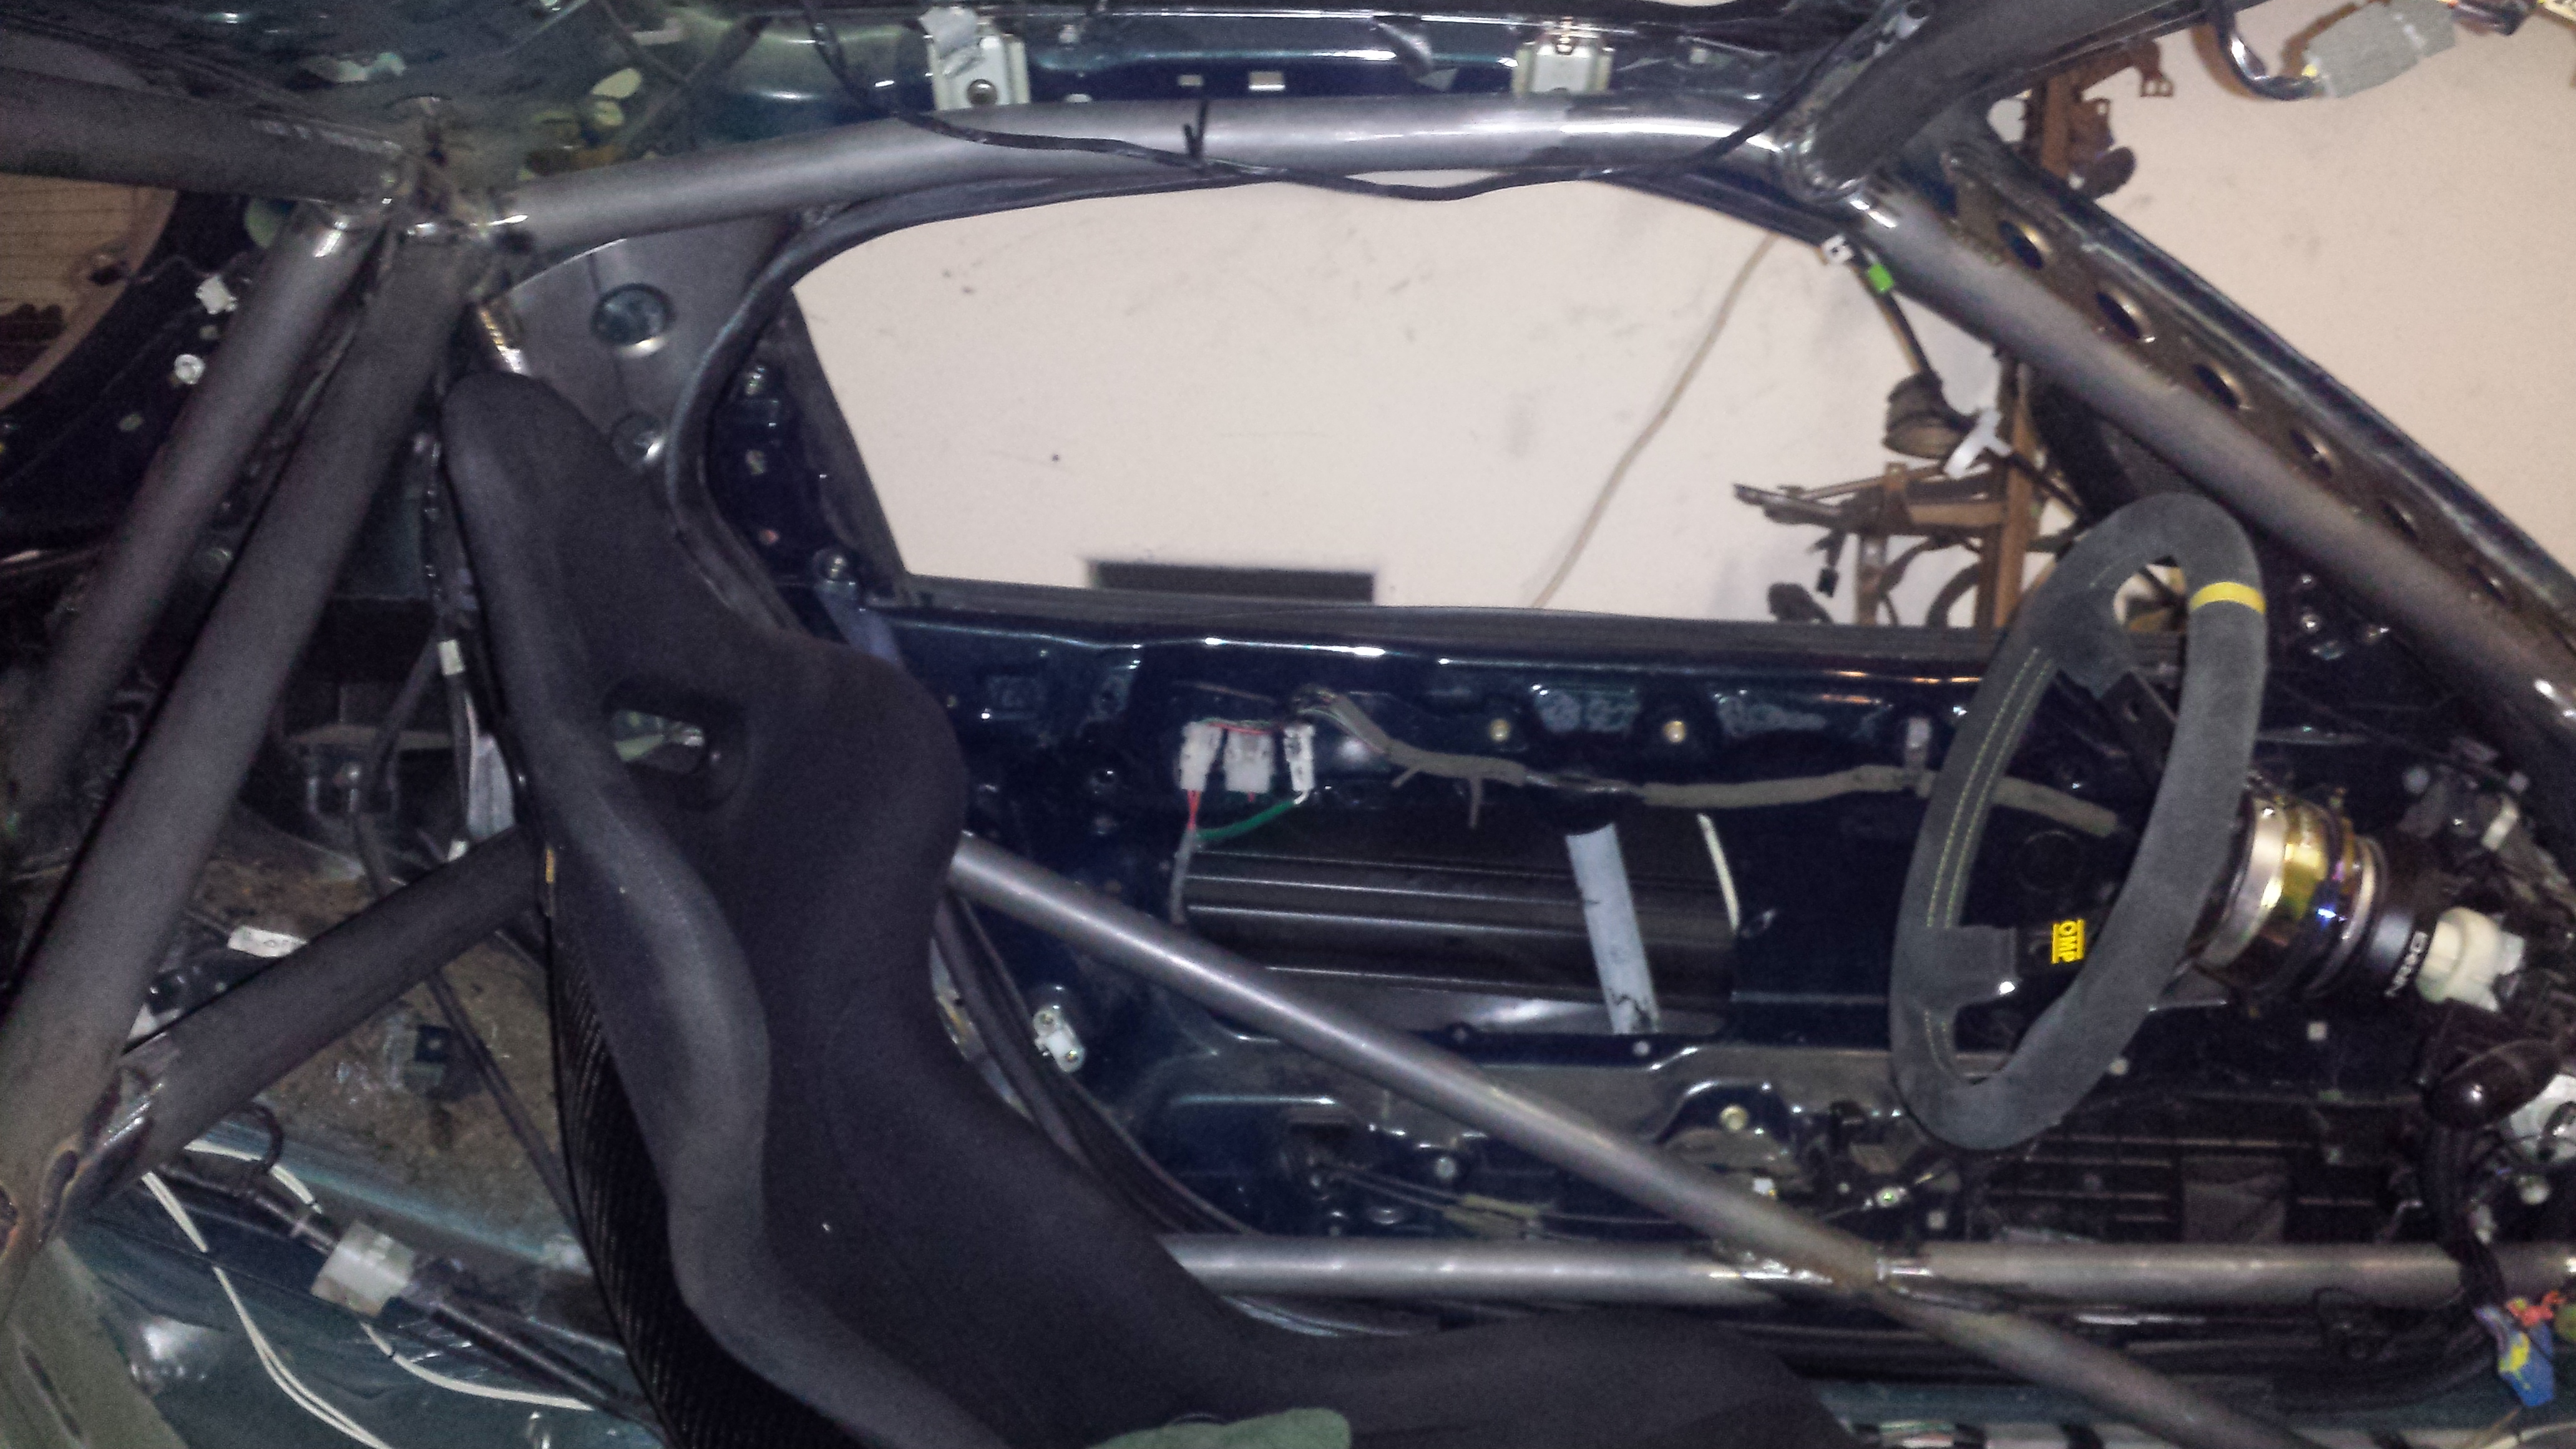
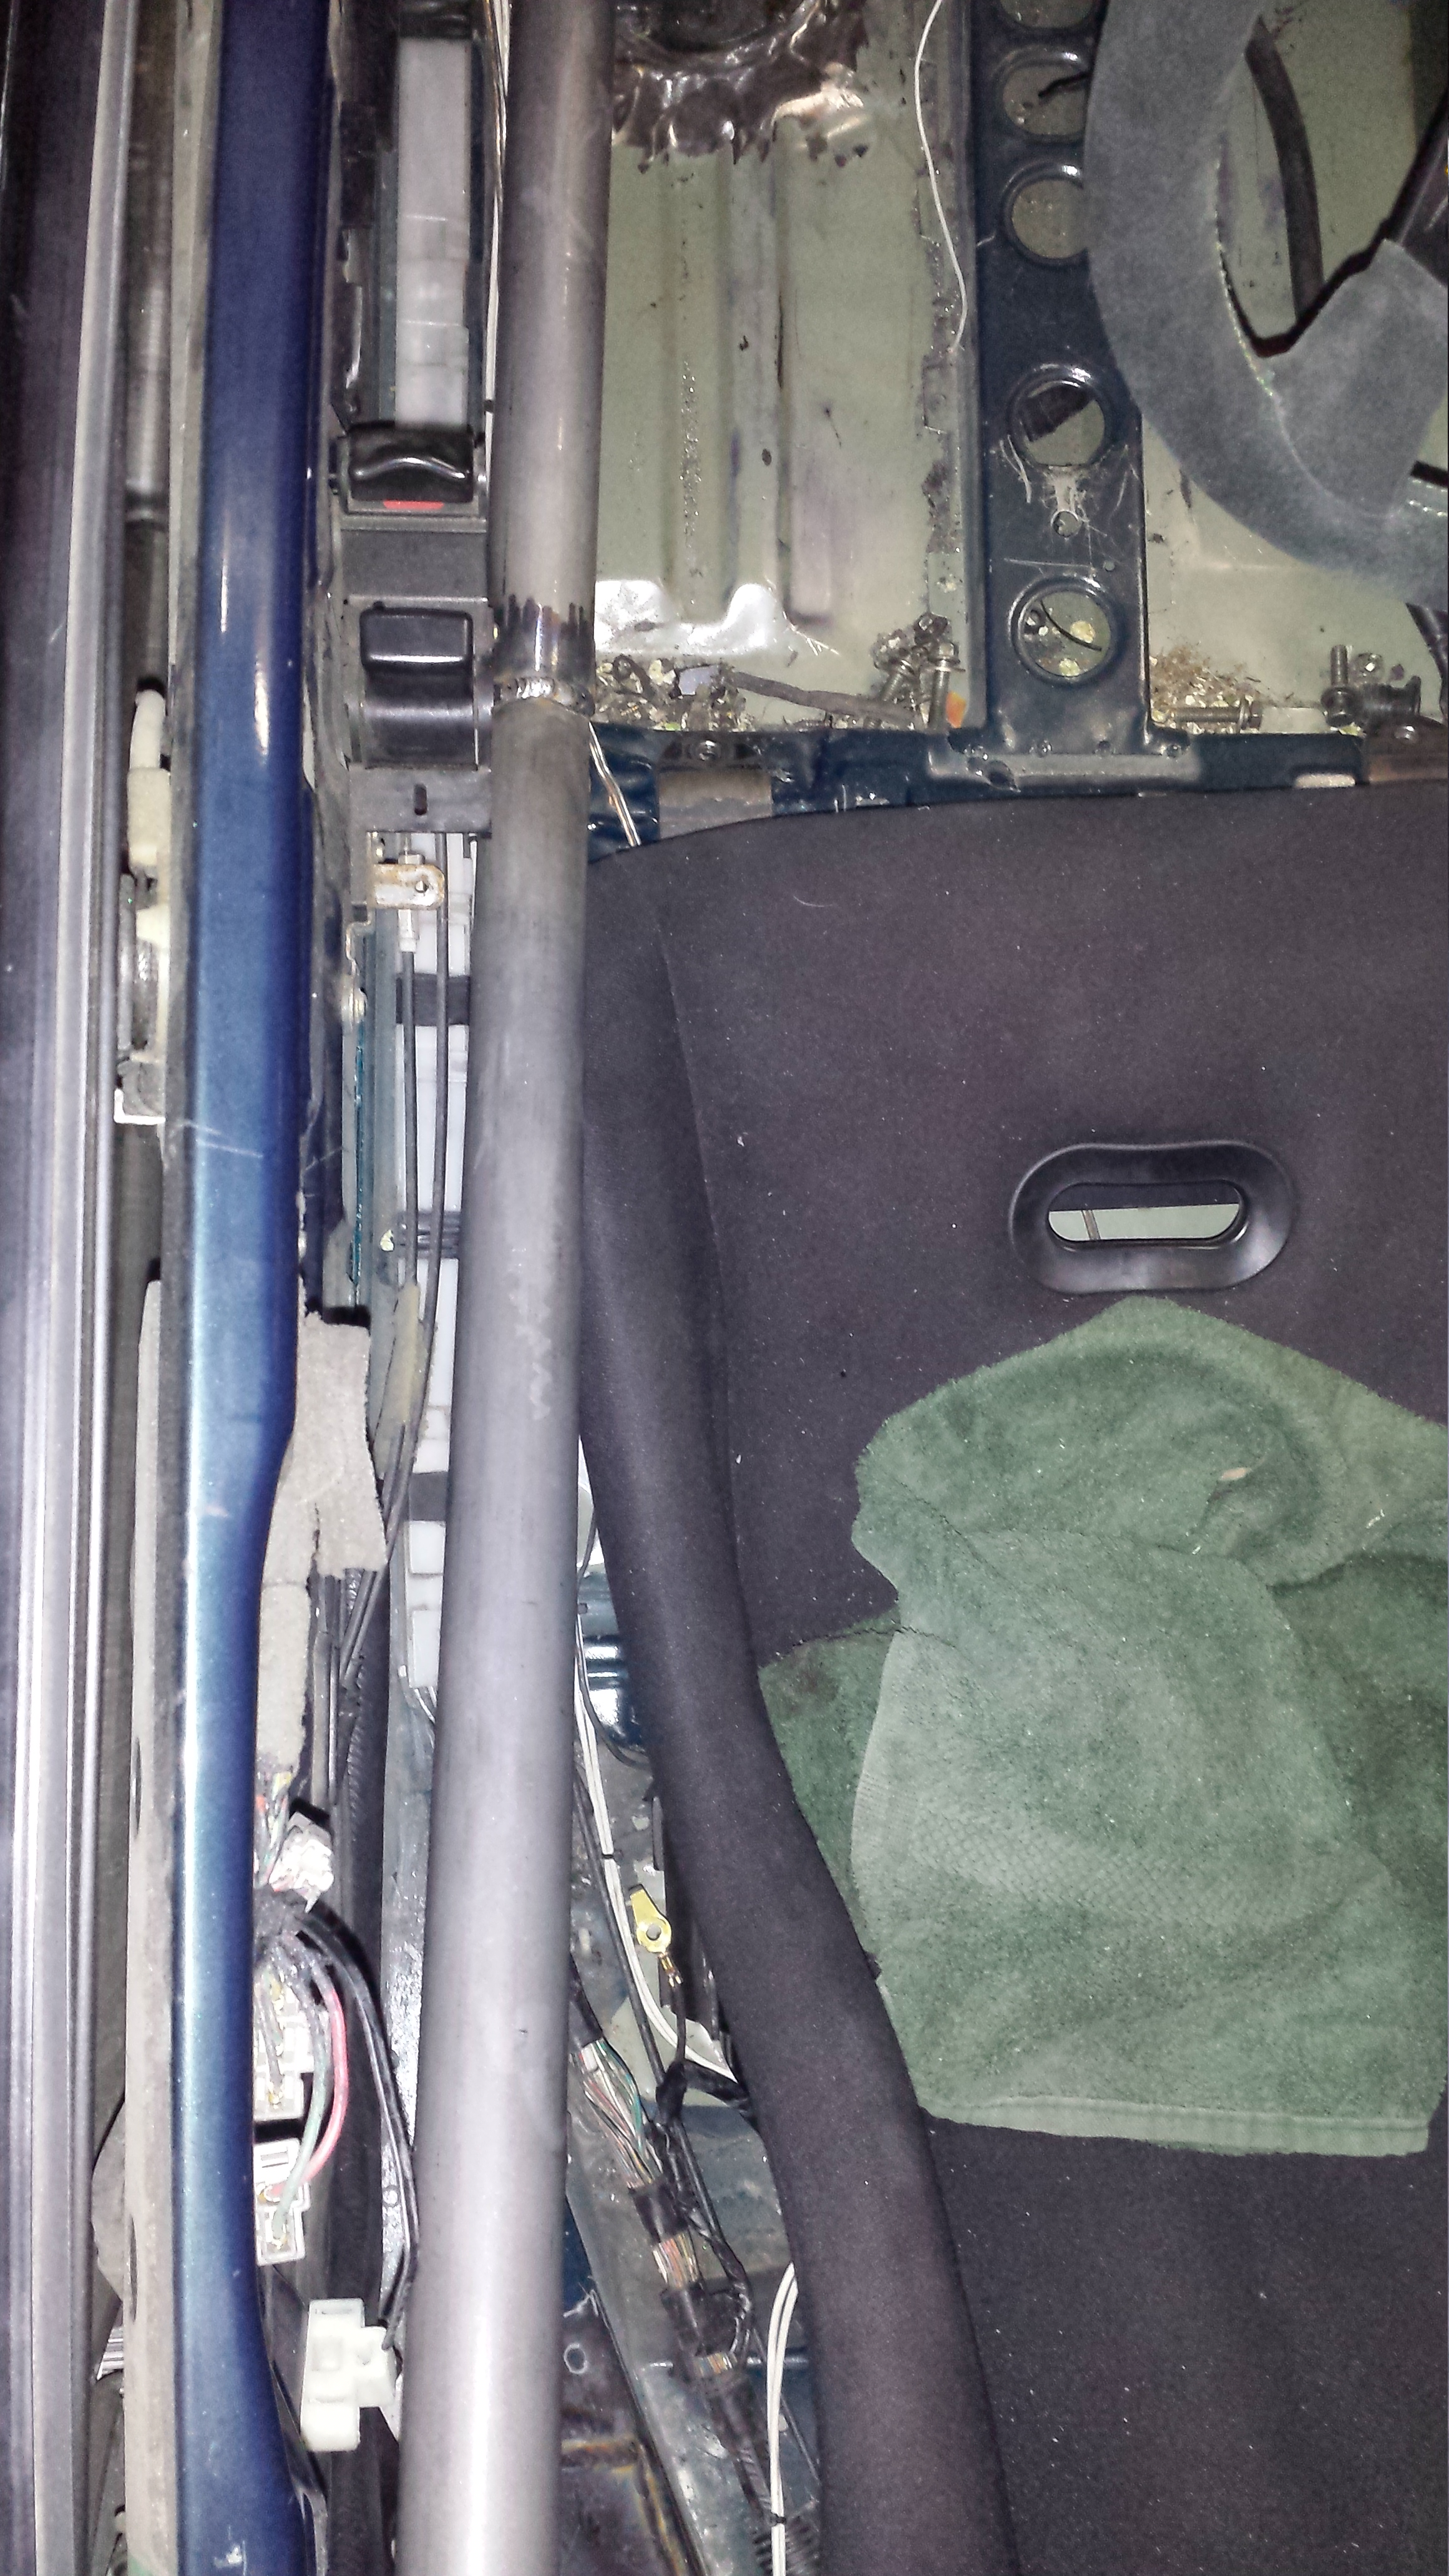
Drivers seat clearance... Now THATS what i'm talking about!! LOVE IT
Interior Main hoop Gussette panels all done up
A-pillar gussettes
Pictures for the rear of the car. The Main hoop seems a bit low here but to have it lean back the way it is and still comply with rules there could only be 4 bends if i'm not mistaken.. so we had to make a compromise to get the clearance and still be legal. But I've been in cars that weren't comfy...and to me.. it's worth it for the clearance =-) Plus the guesset panels look sick!!!
A-pillar prep
door bar mock
Interior main hoop gussettes =-) they did a really good job on these
Sneak peak before it was fully finished..
Rear Gussetts finished
Door bars and main hoop placement
Drivers seat clearance... Now THATS what i'm talking about!! LOVE IT
Interior Main hoop Gussette panels all done up
A-pillar gussettes
04-06-14, 12:34 PM
#1798
Continued:
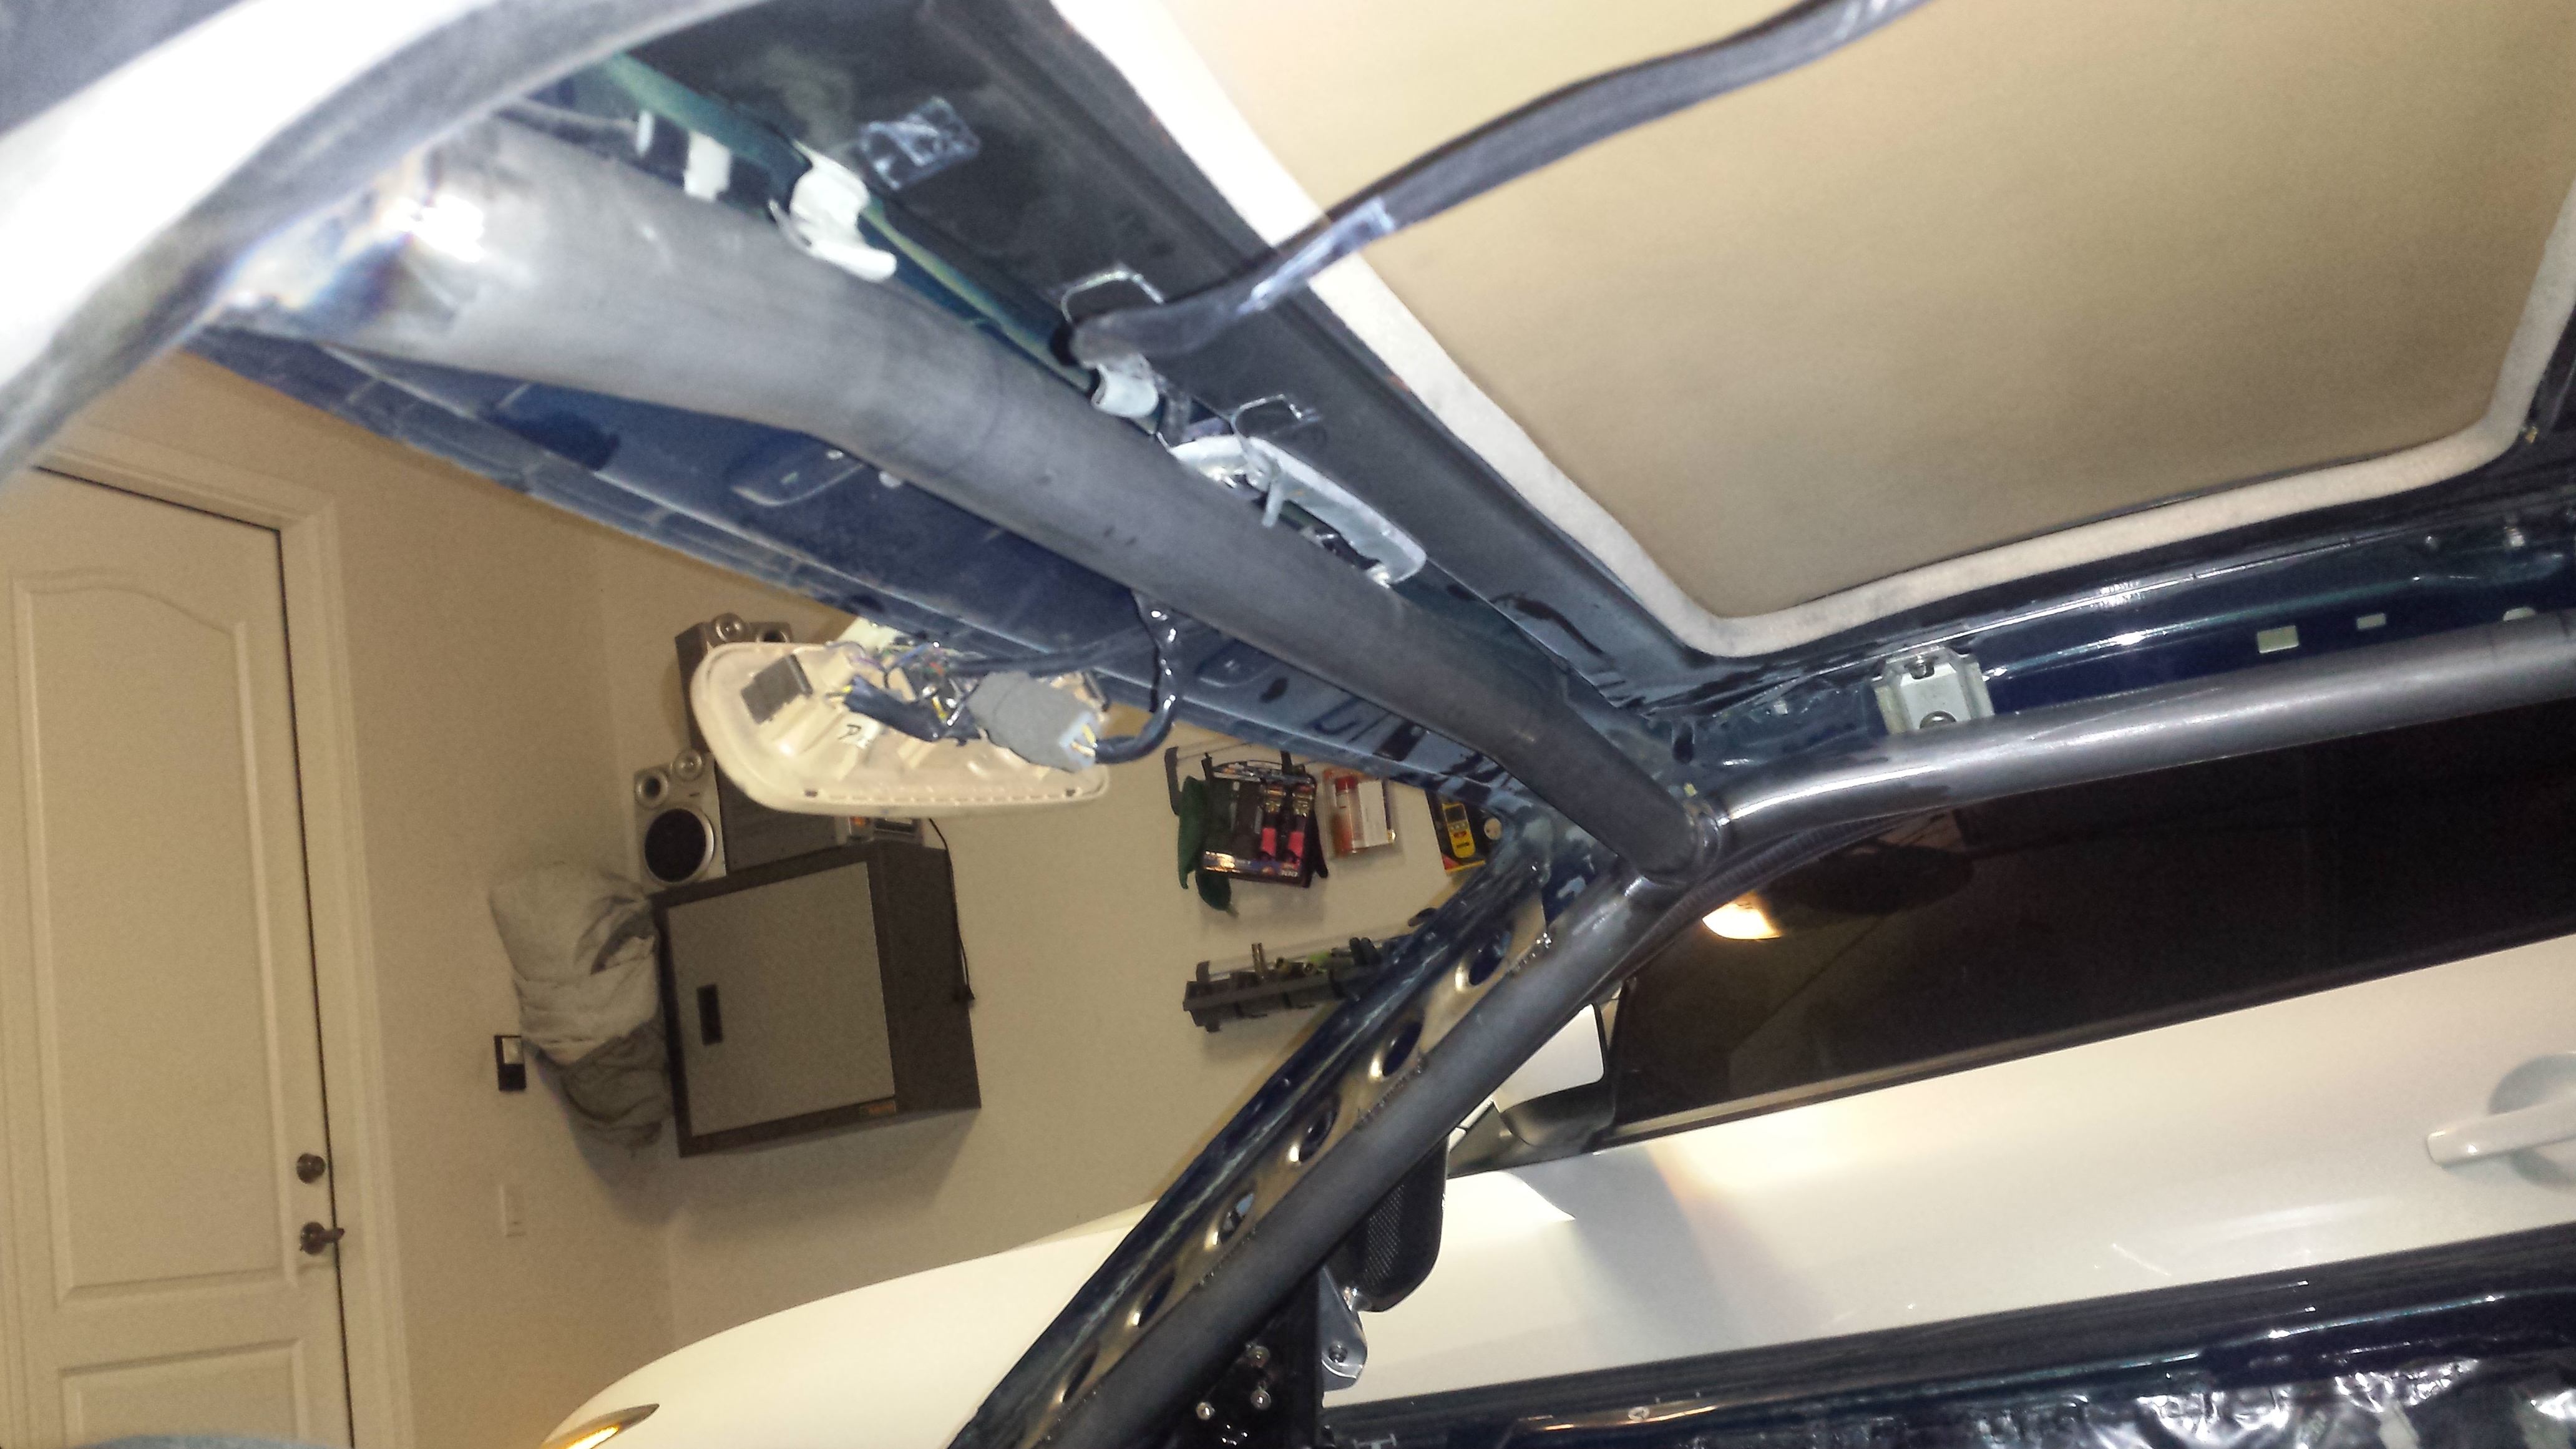
Roof clearance
Door clearance
And thats about it with the Cage. It came out good. I'll be adding a rear Strut Bar and possibly a main hoop to strut / (dash) bar but I'm not so sure it's even necessary vs the weight.
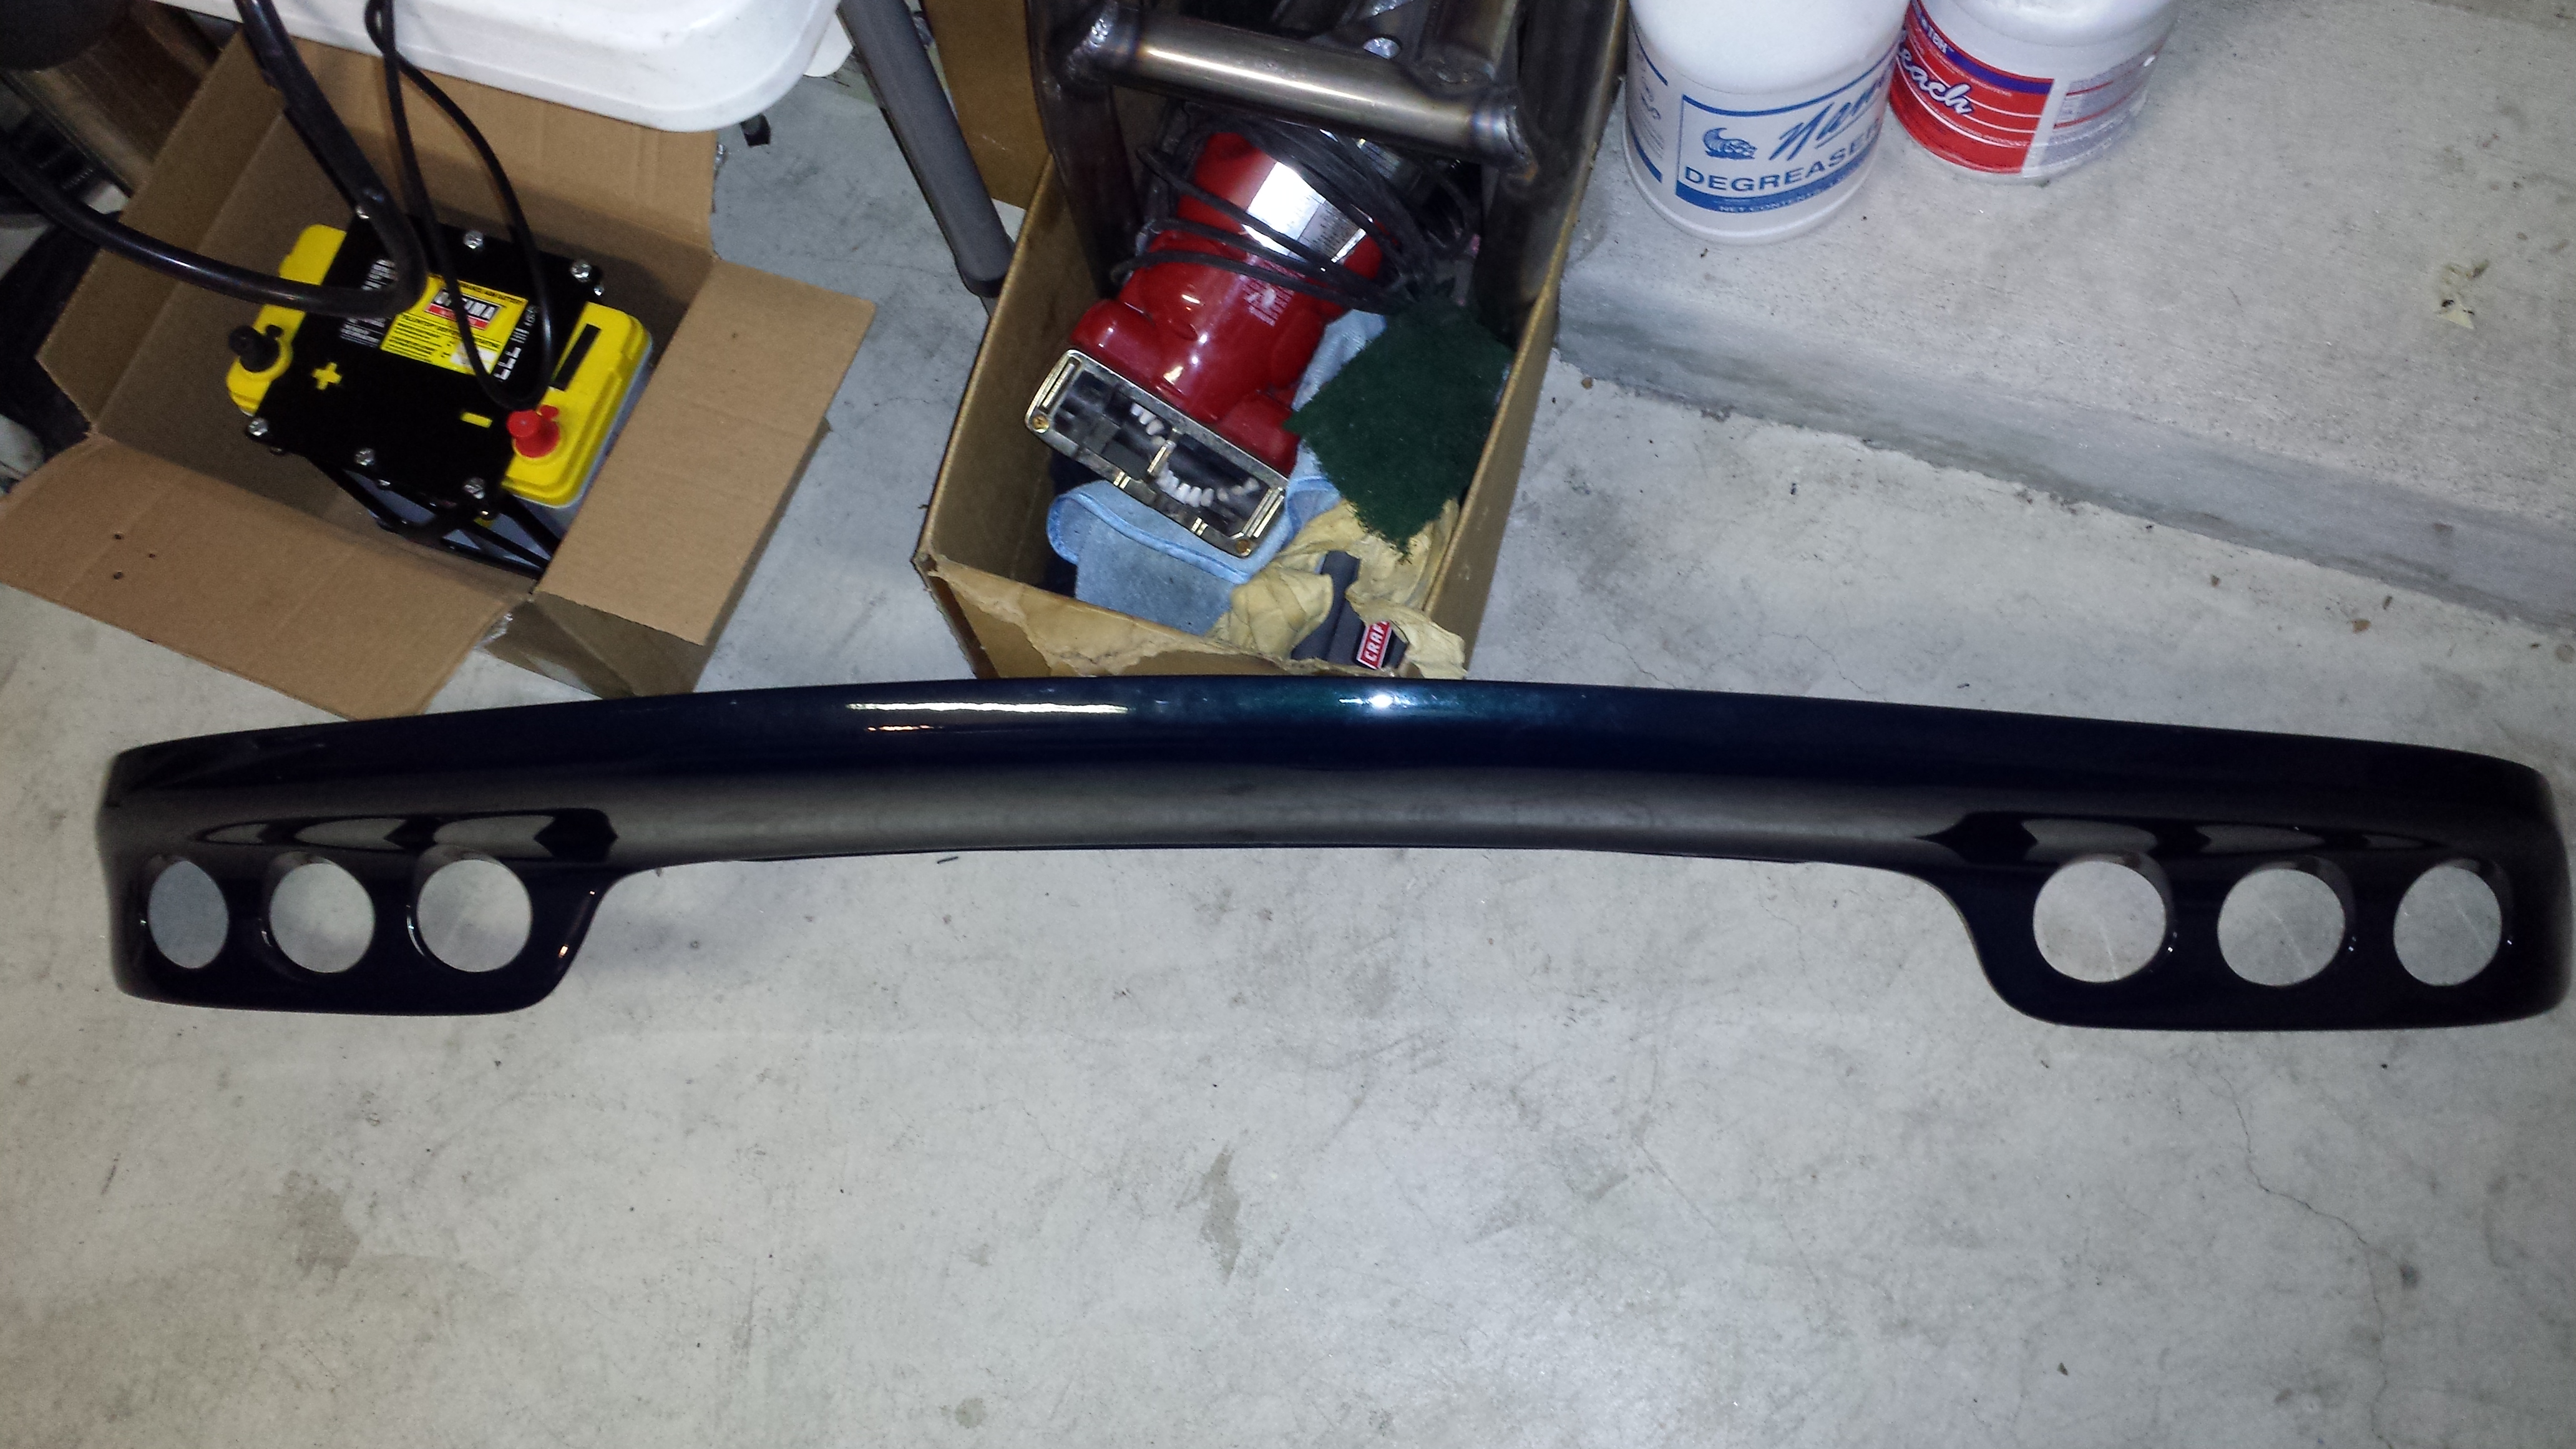
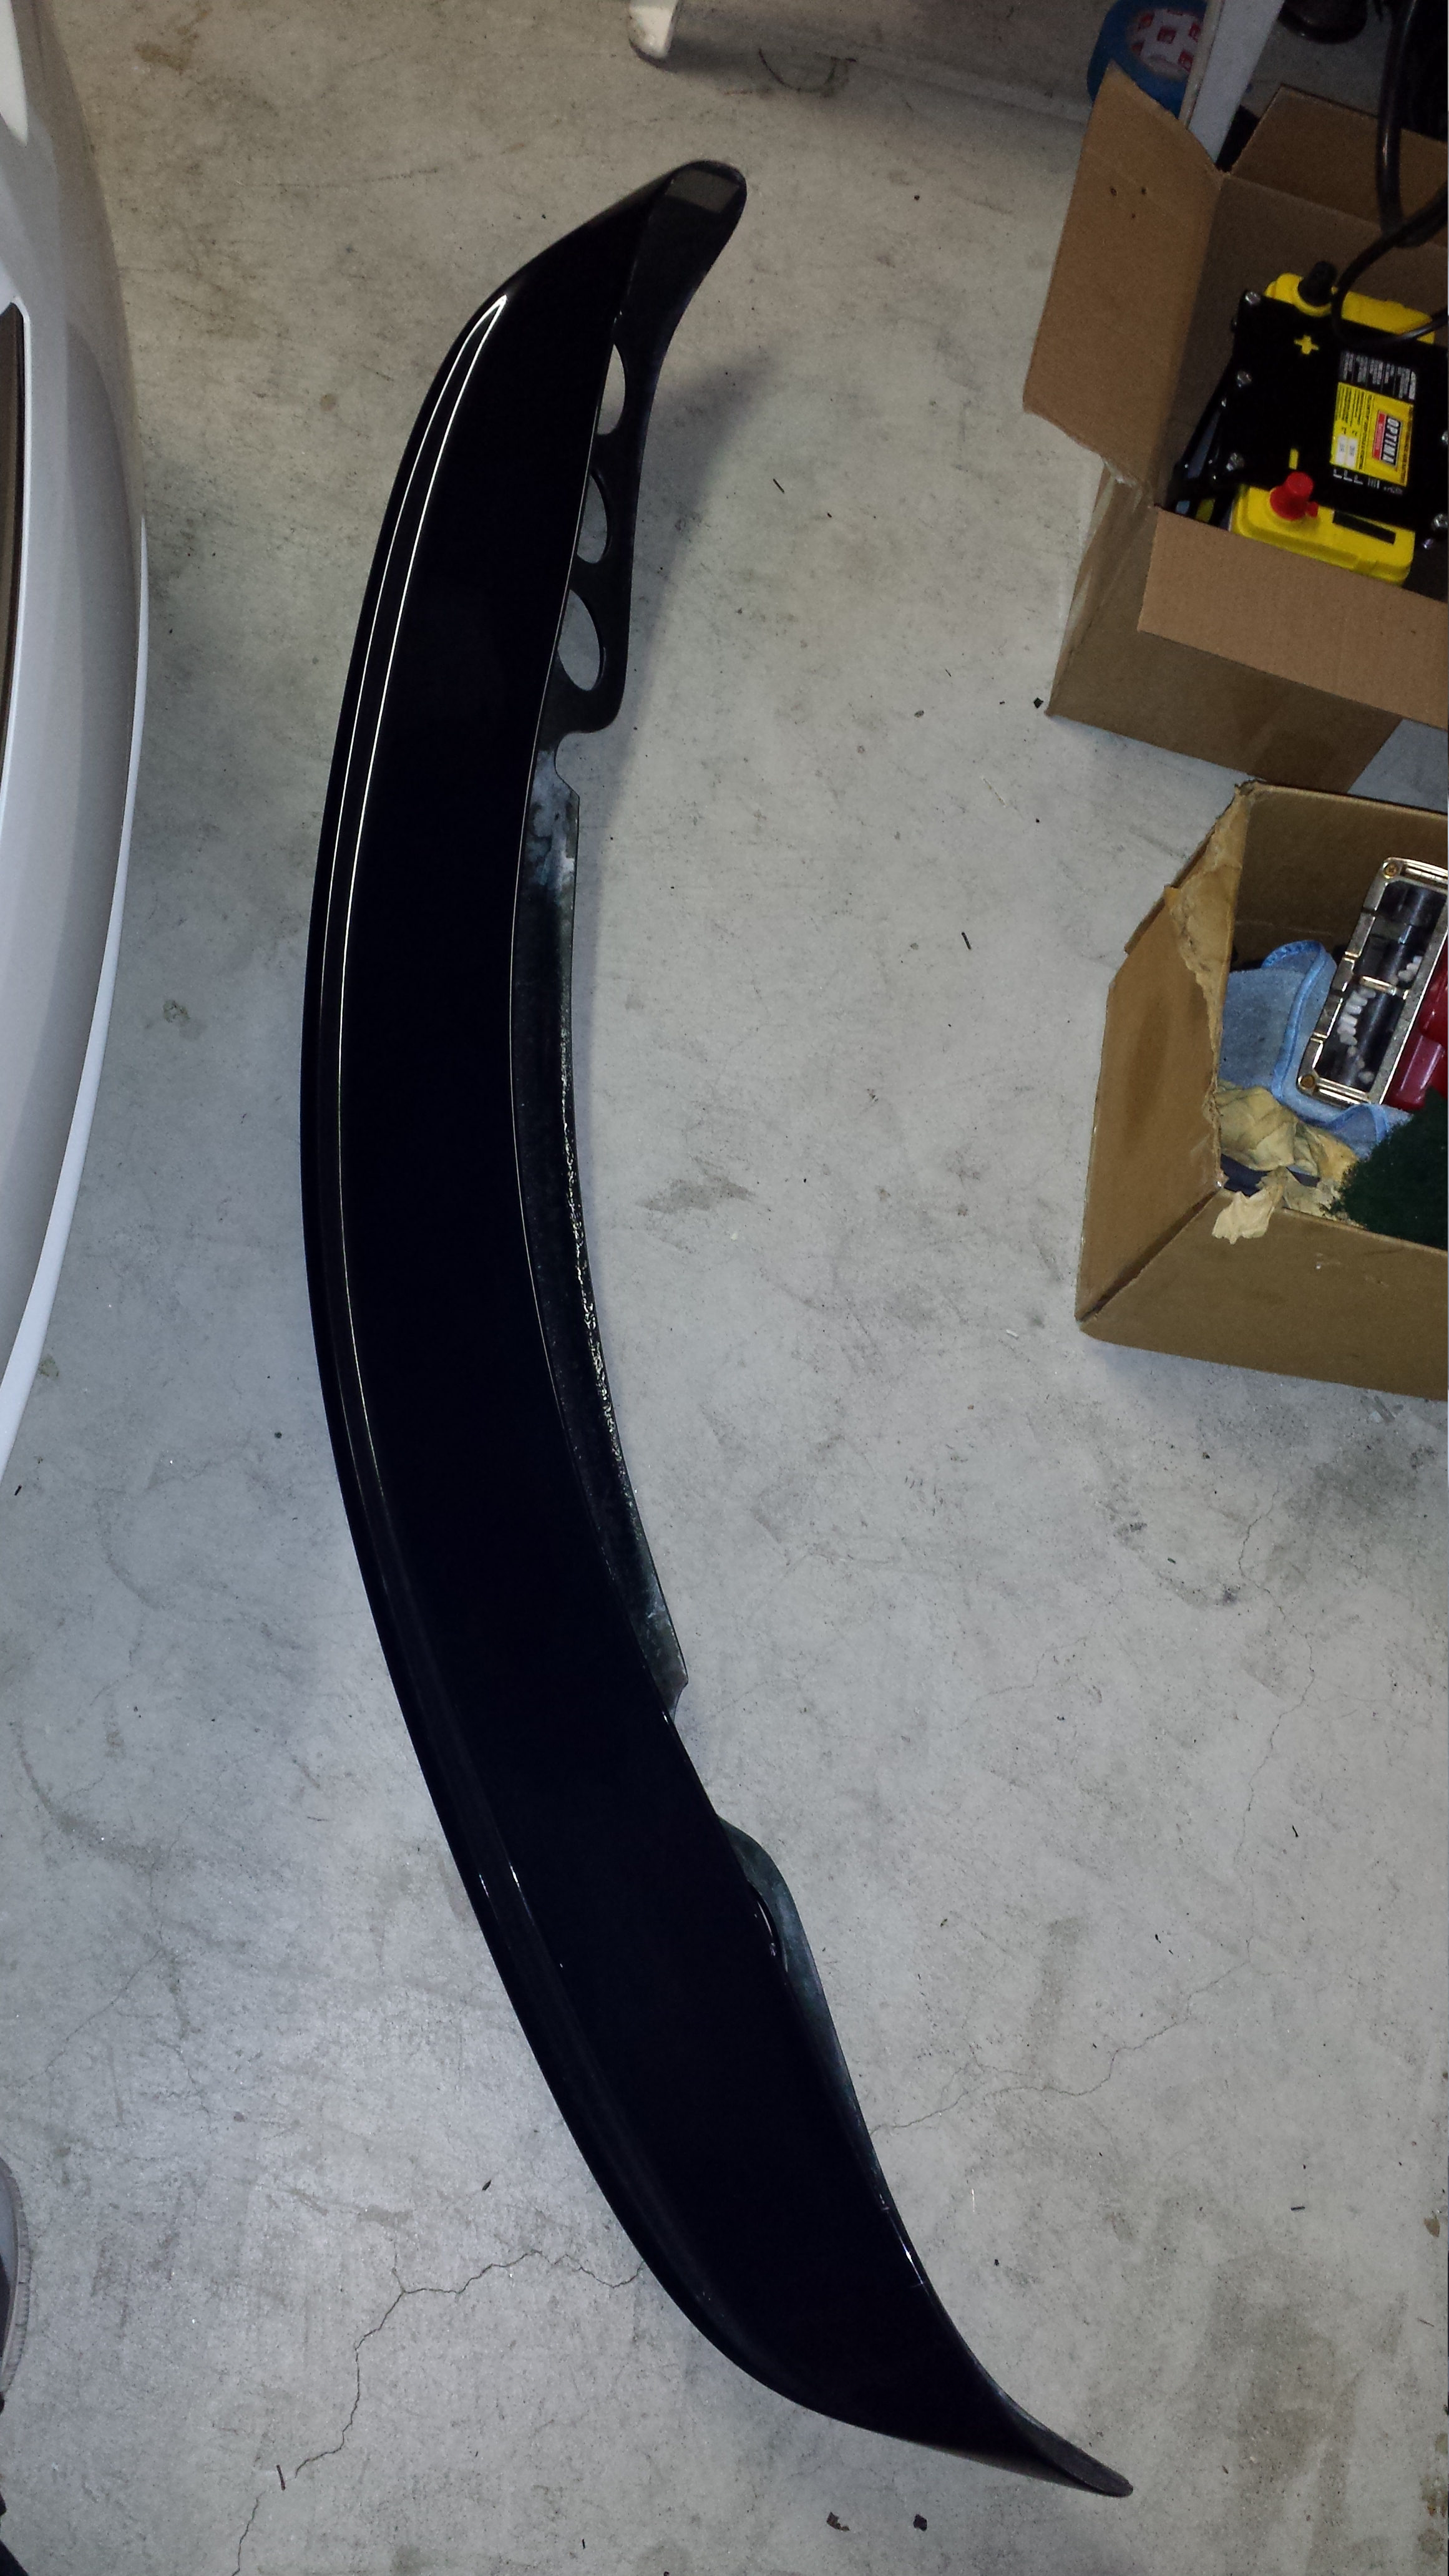
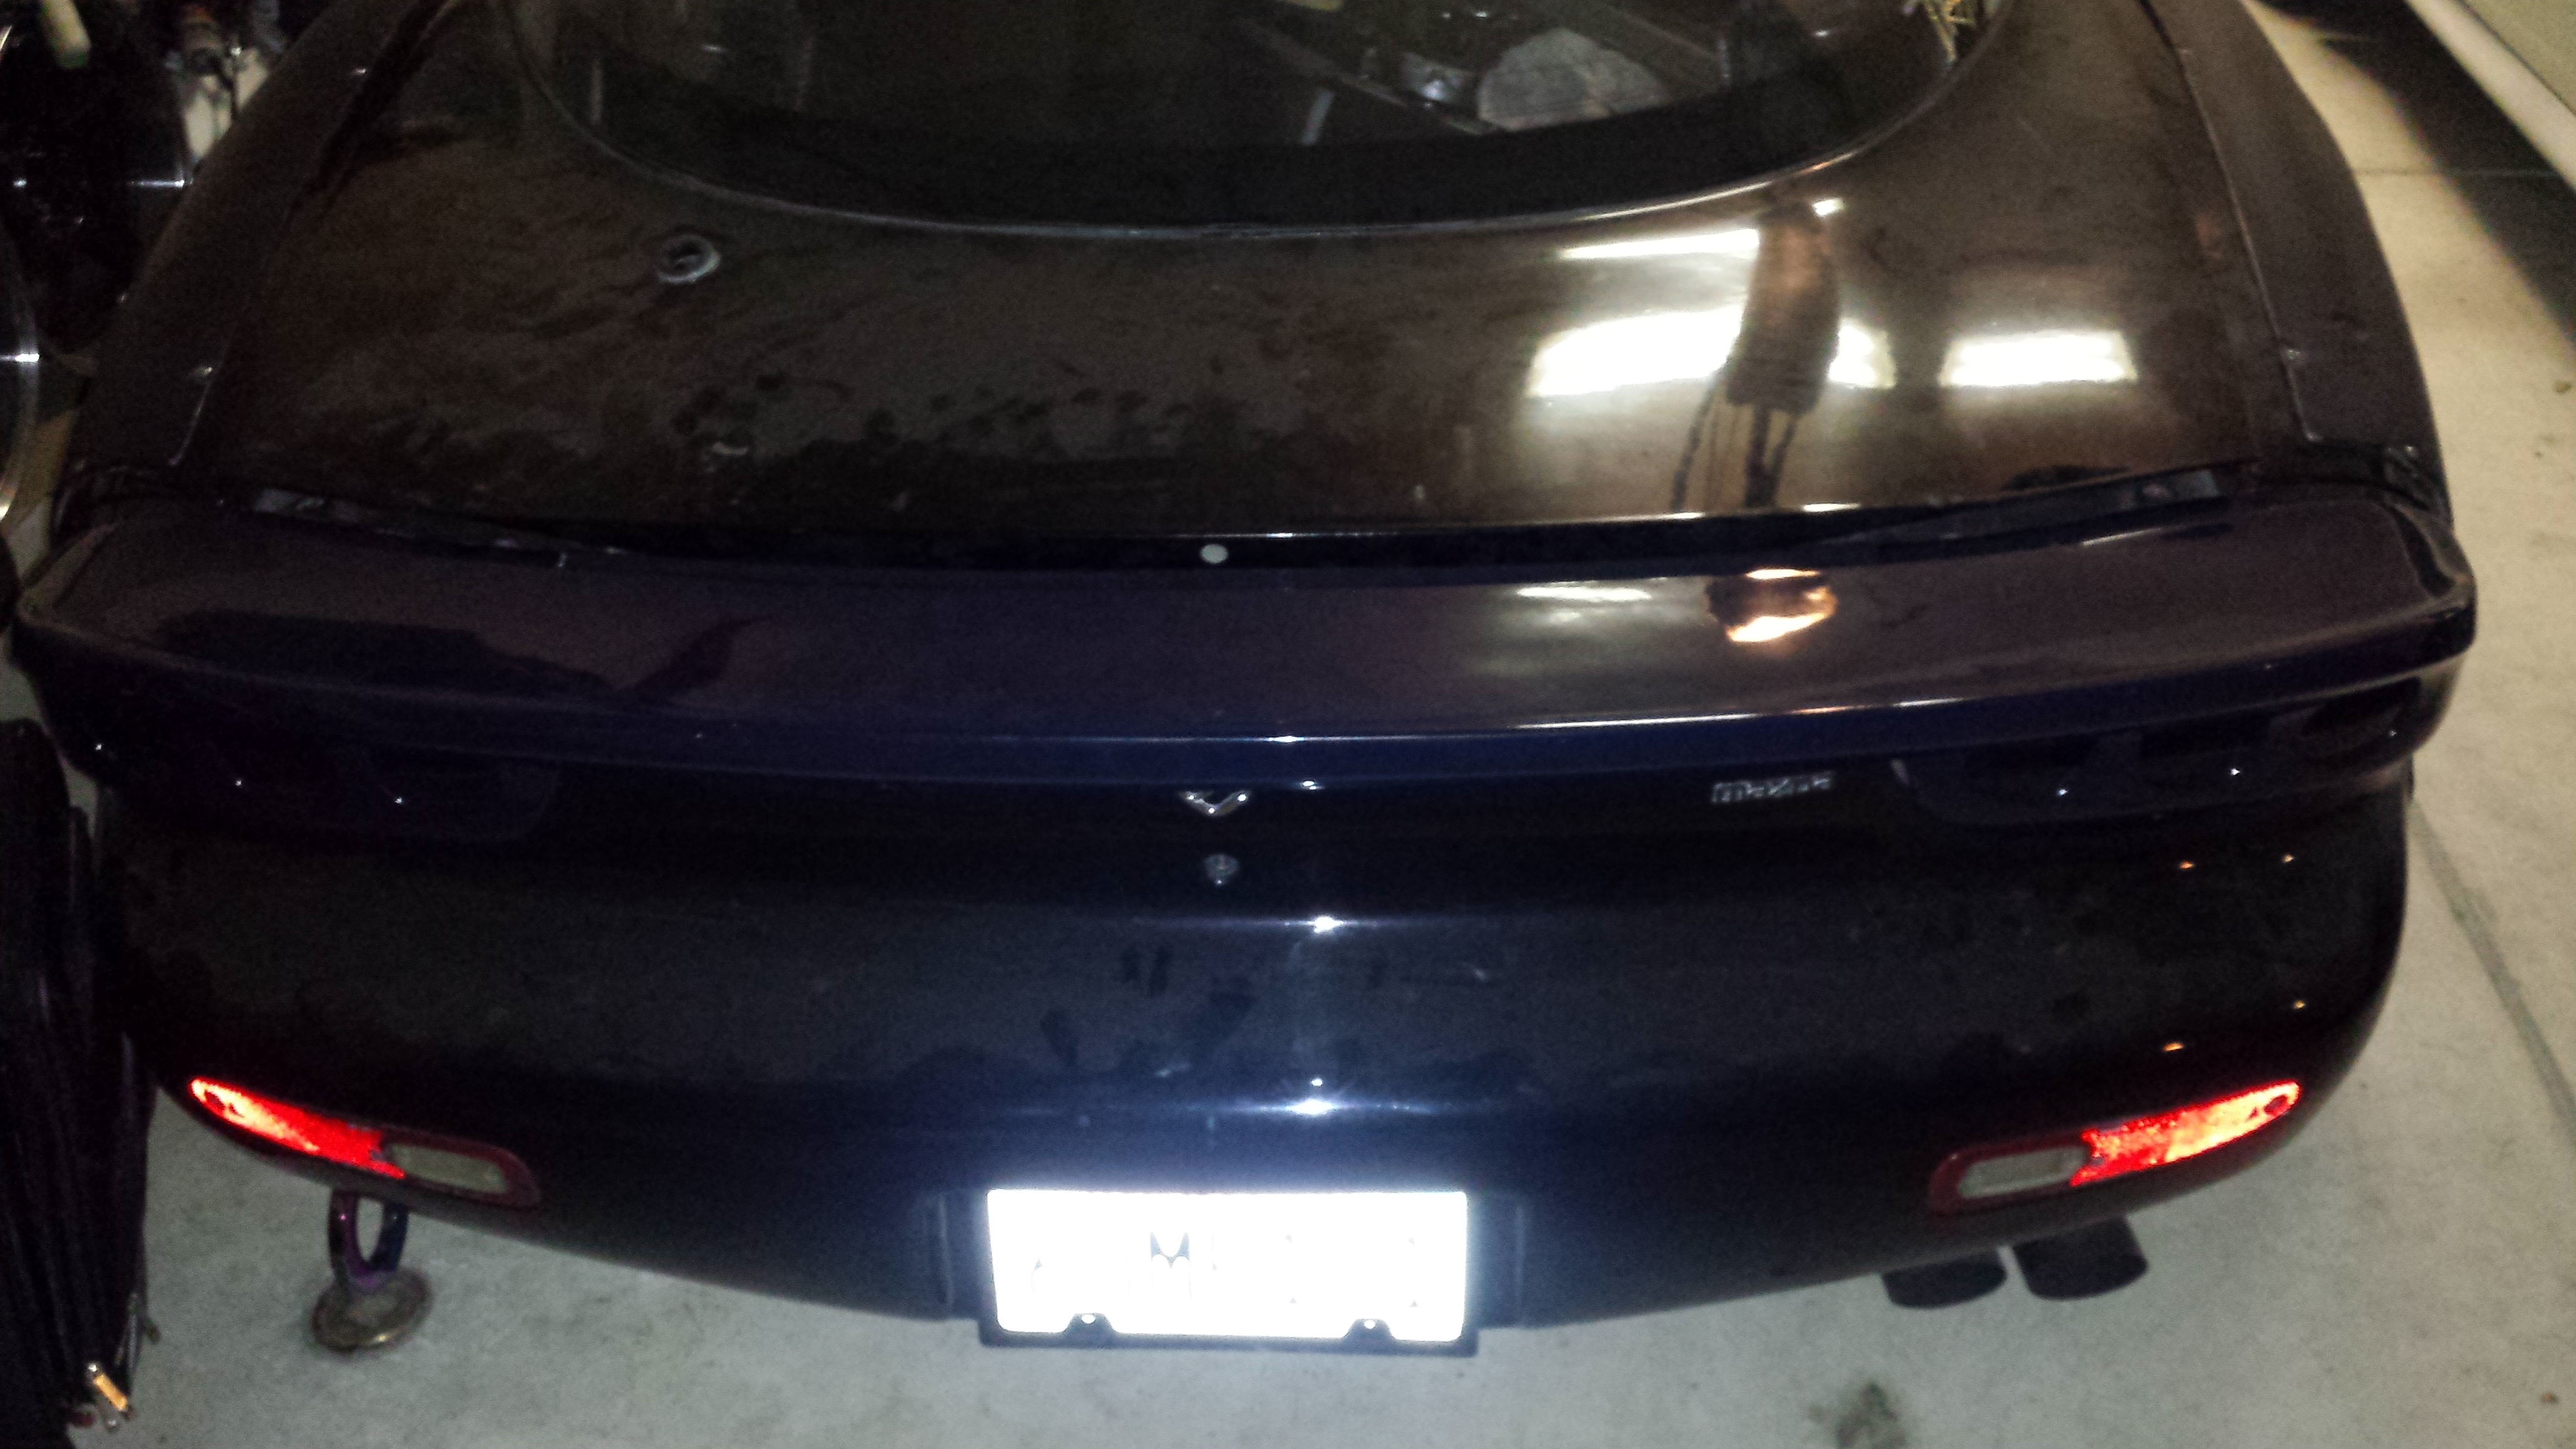
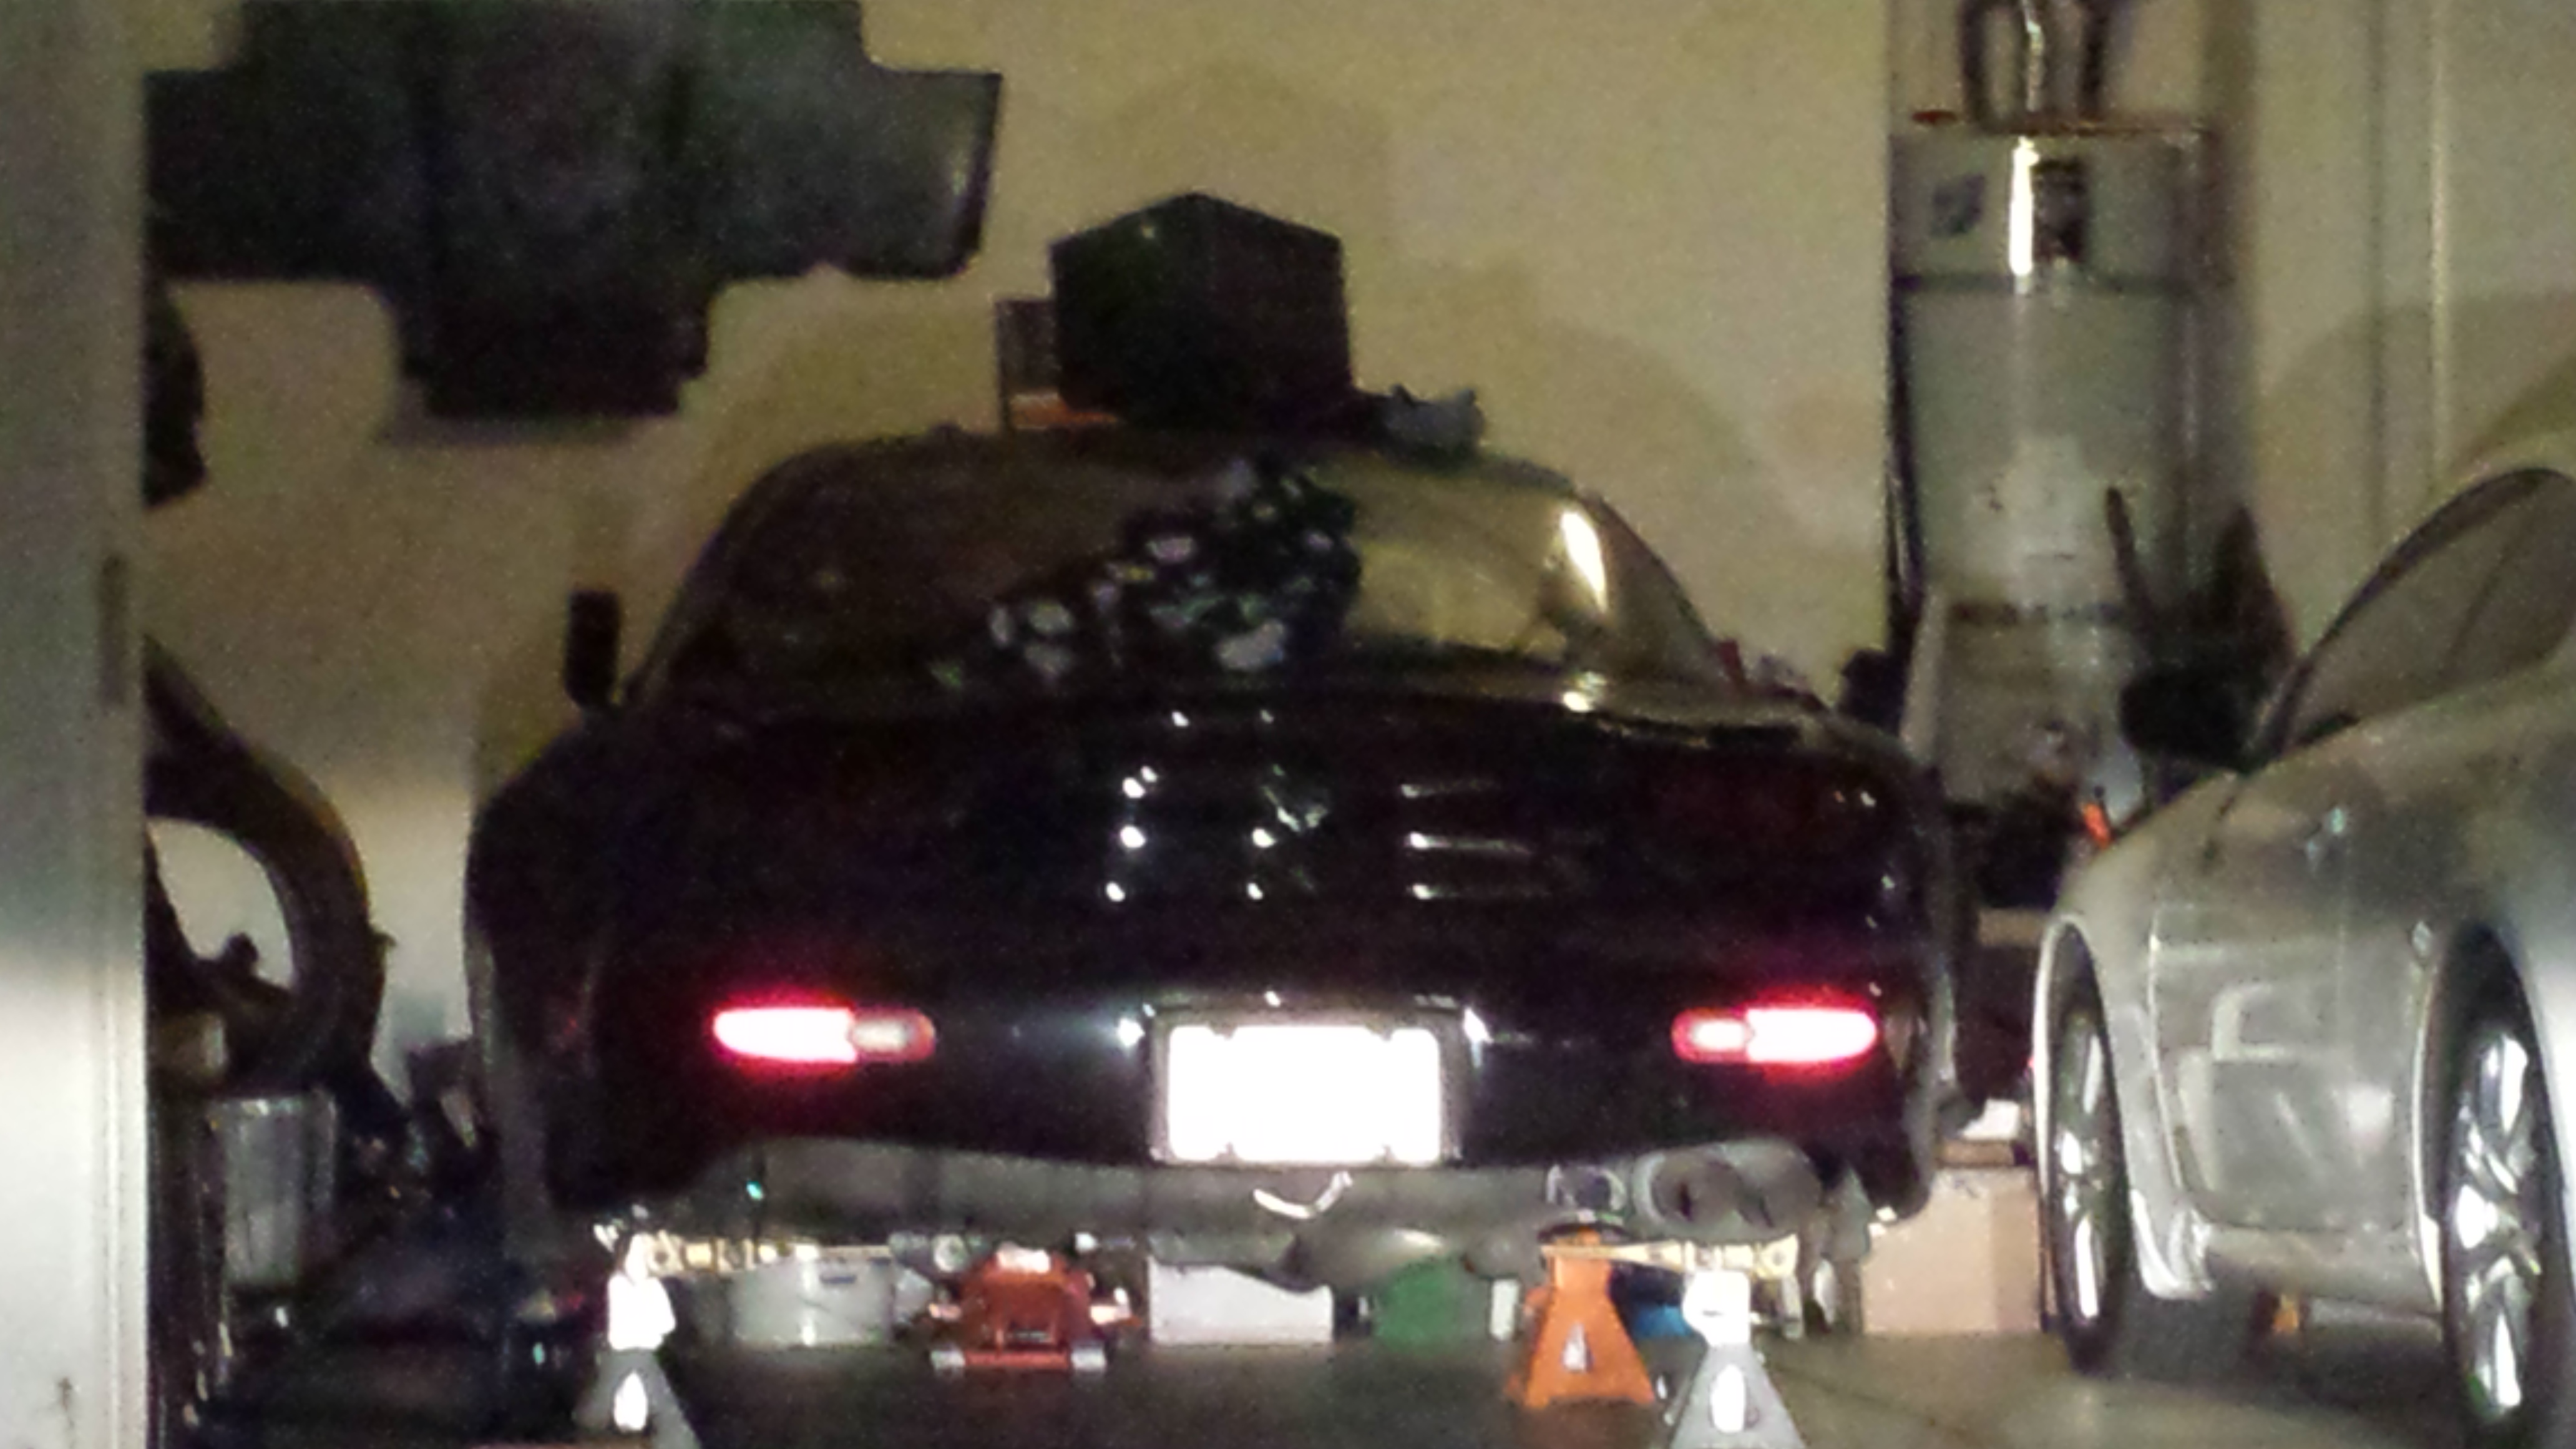
Anyways.. Ended up Coming across an authentic Espirit Tail light cover so I couldn't pass it up
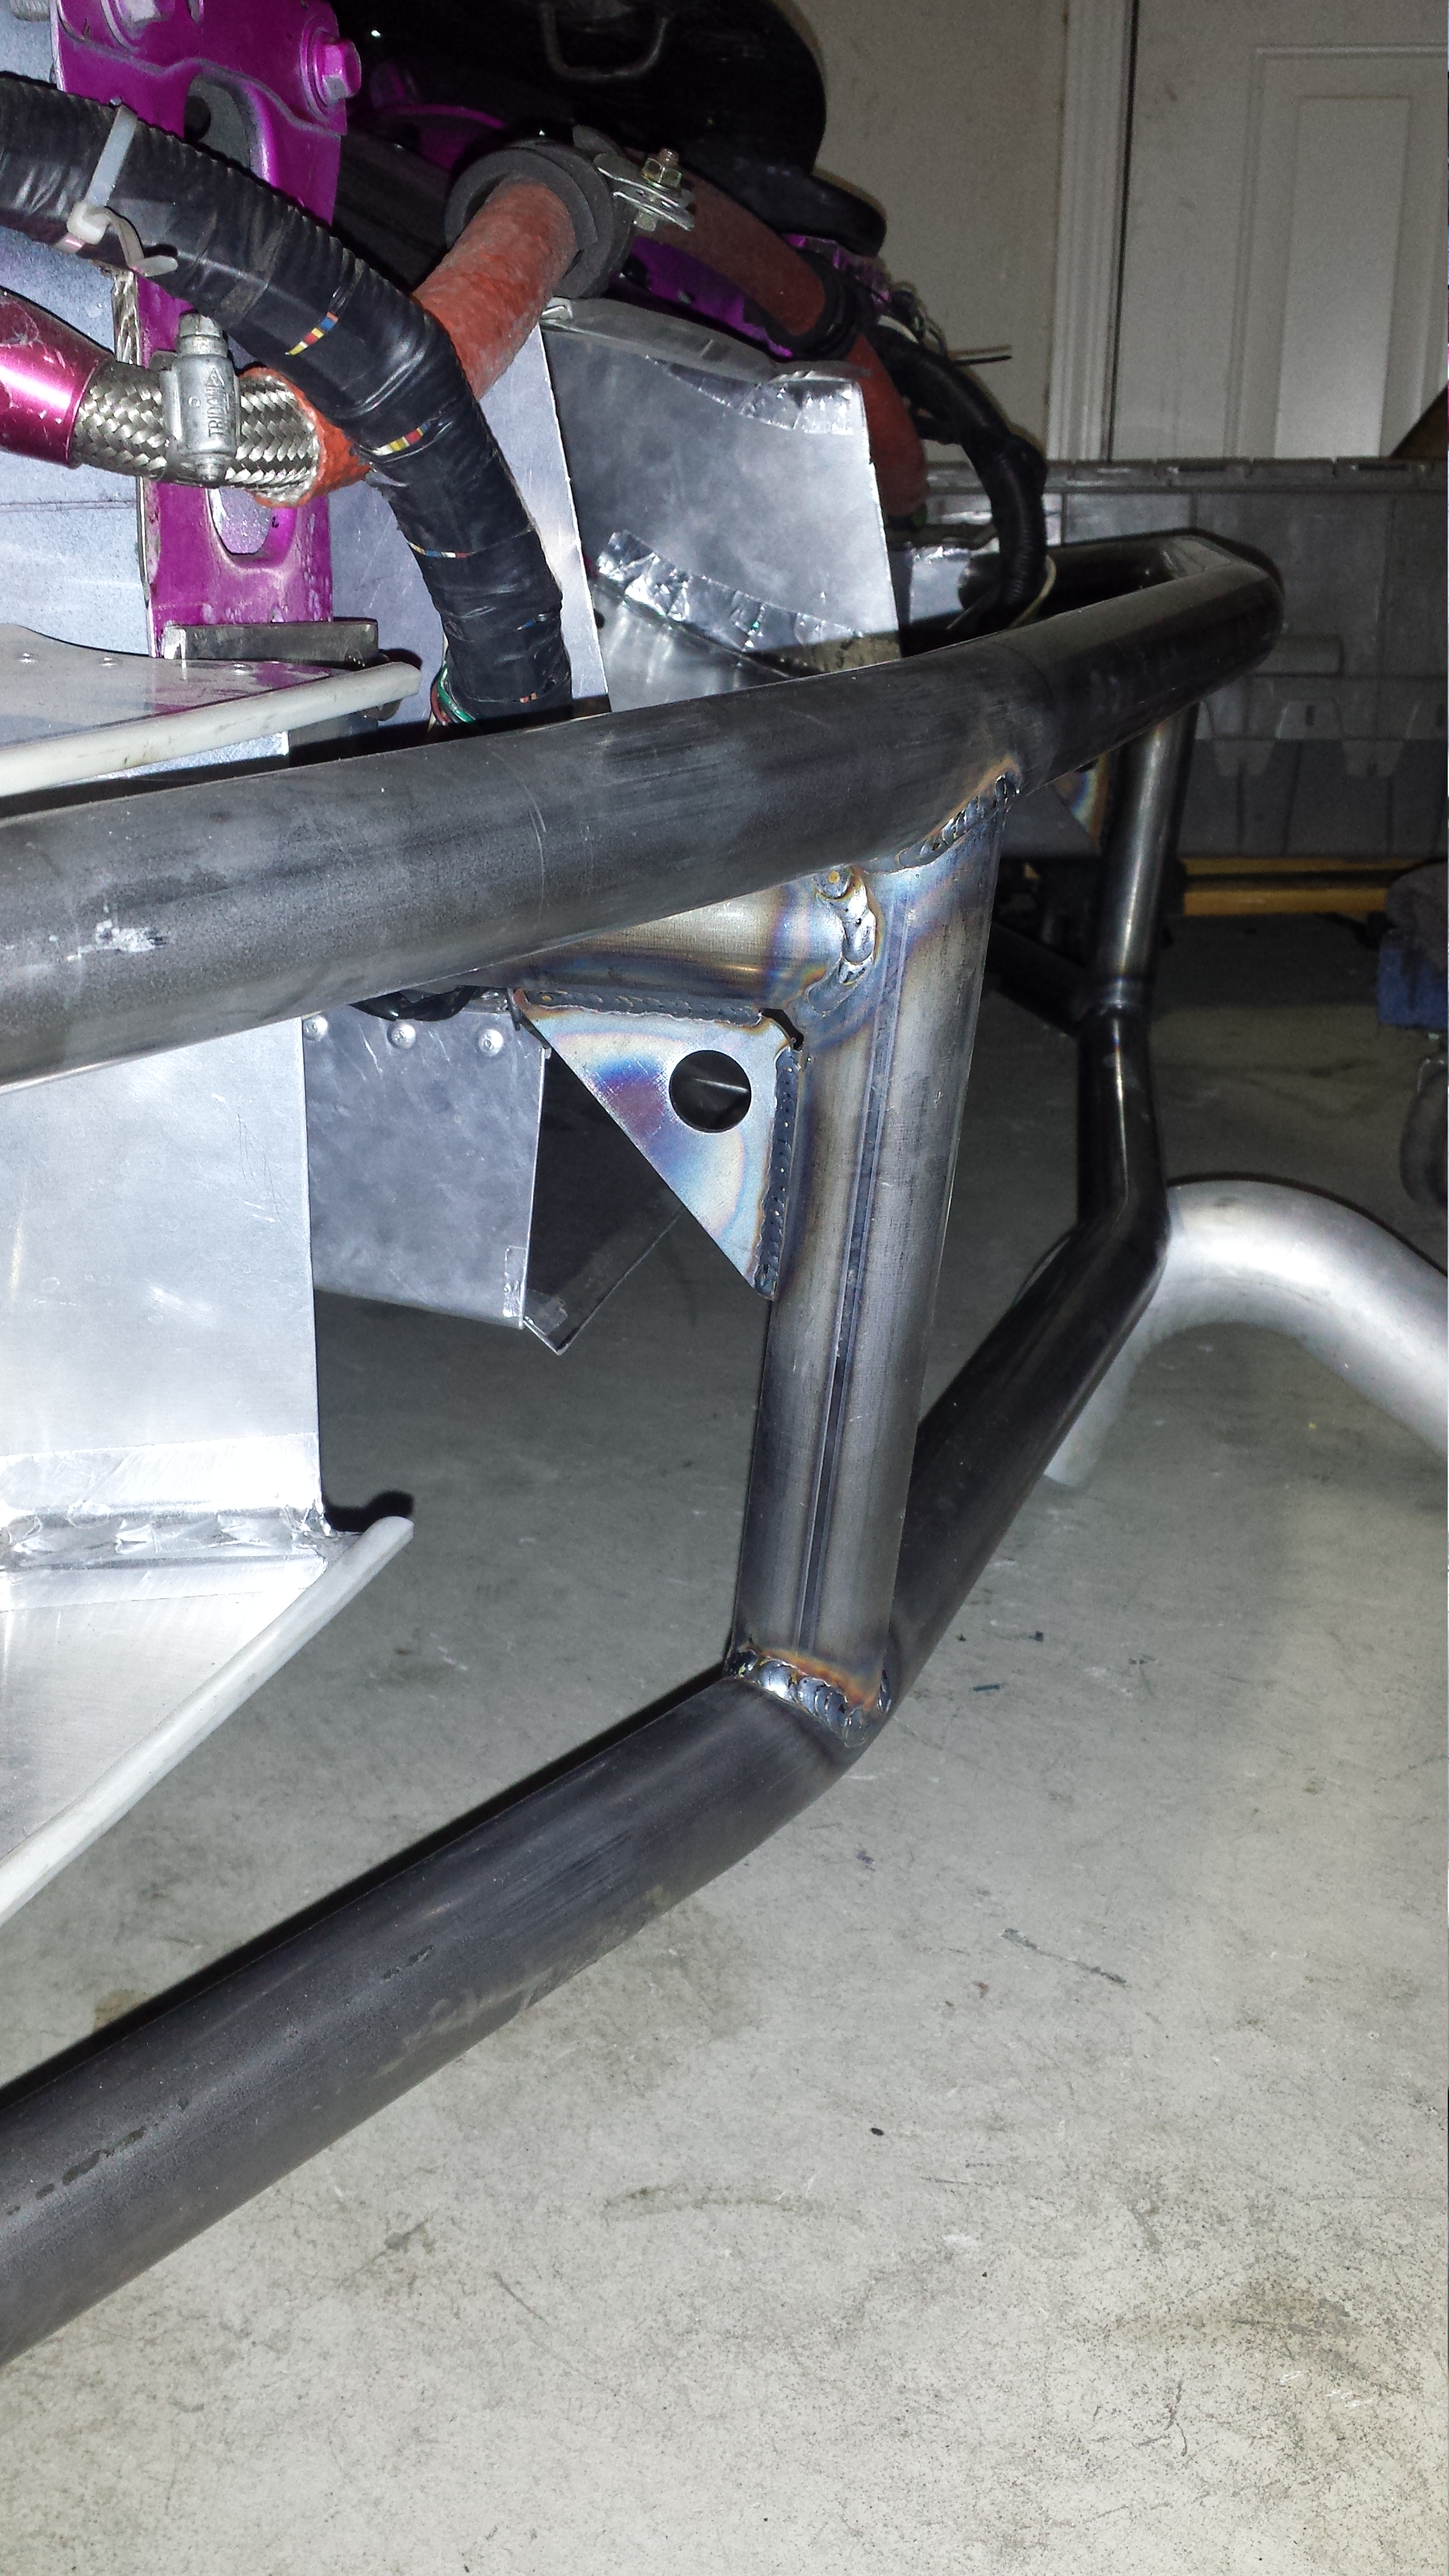
AND while I was getting the cage done.... I asked Dan what he thought about front end protection and he said he could do a simple front Bash bar with a Jack point.. So He made one for me for a damn good price. Since the car was already there.. I said go for it.
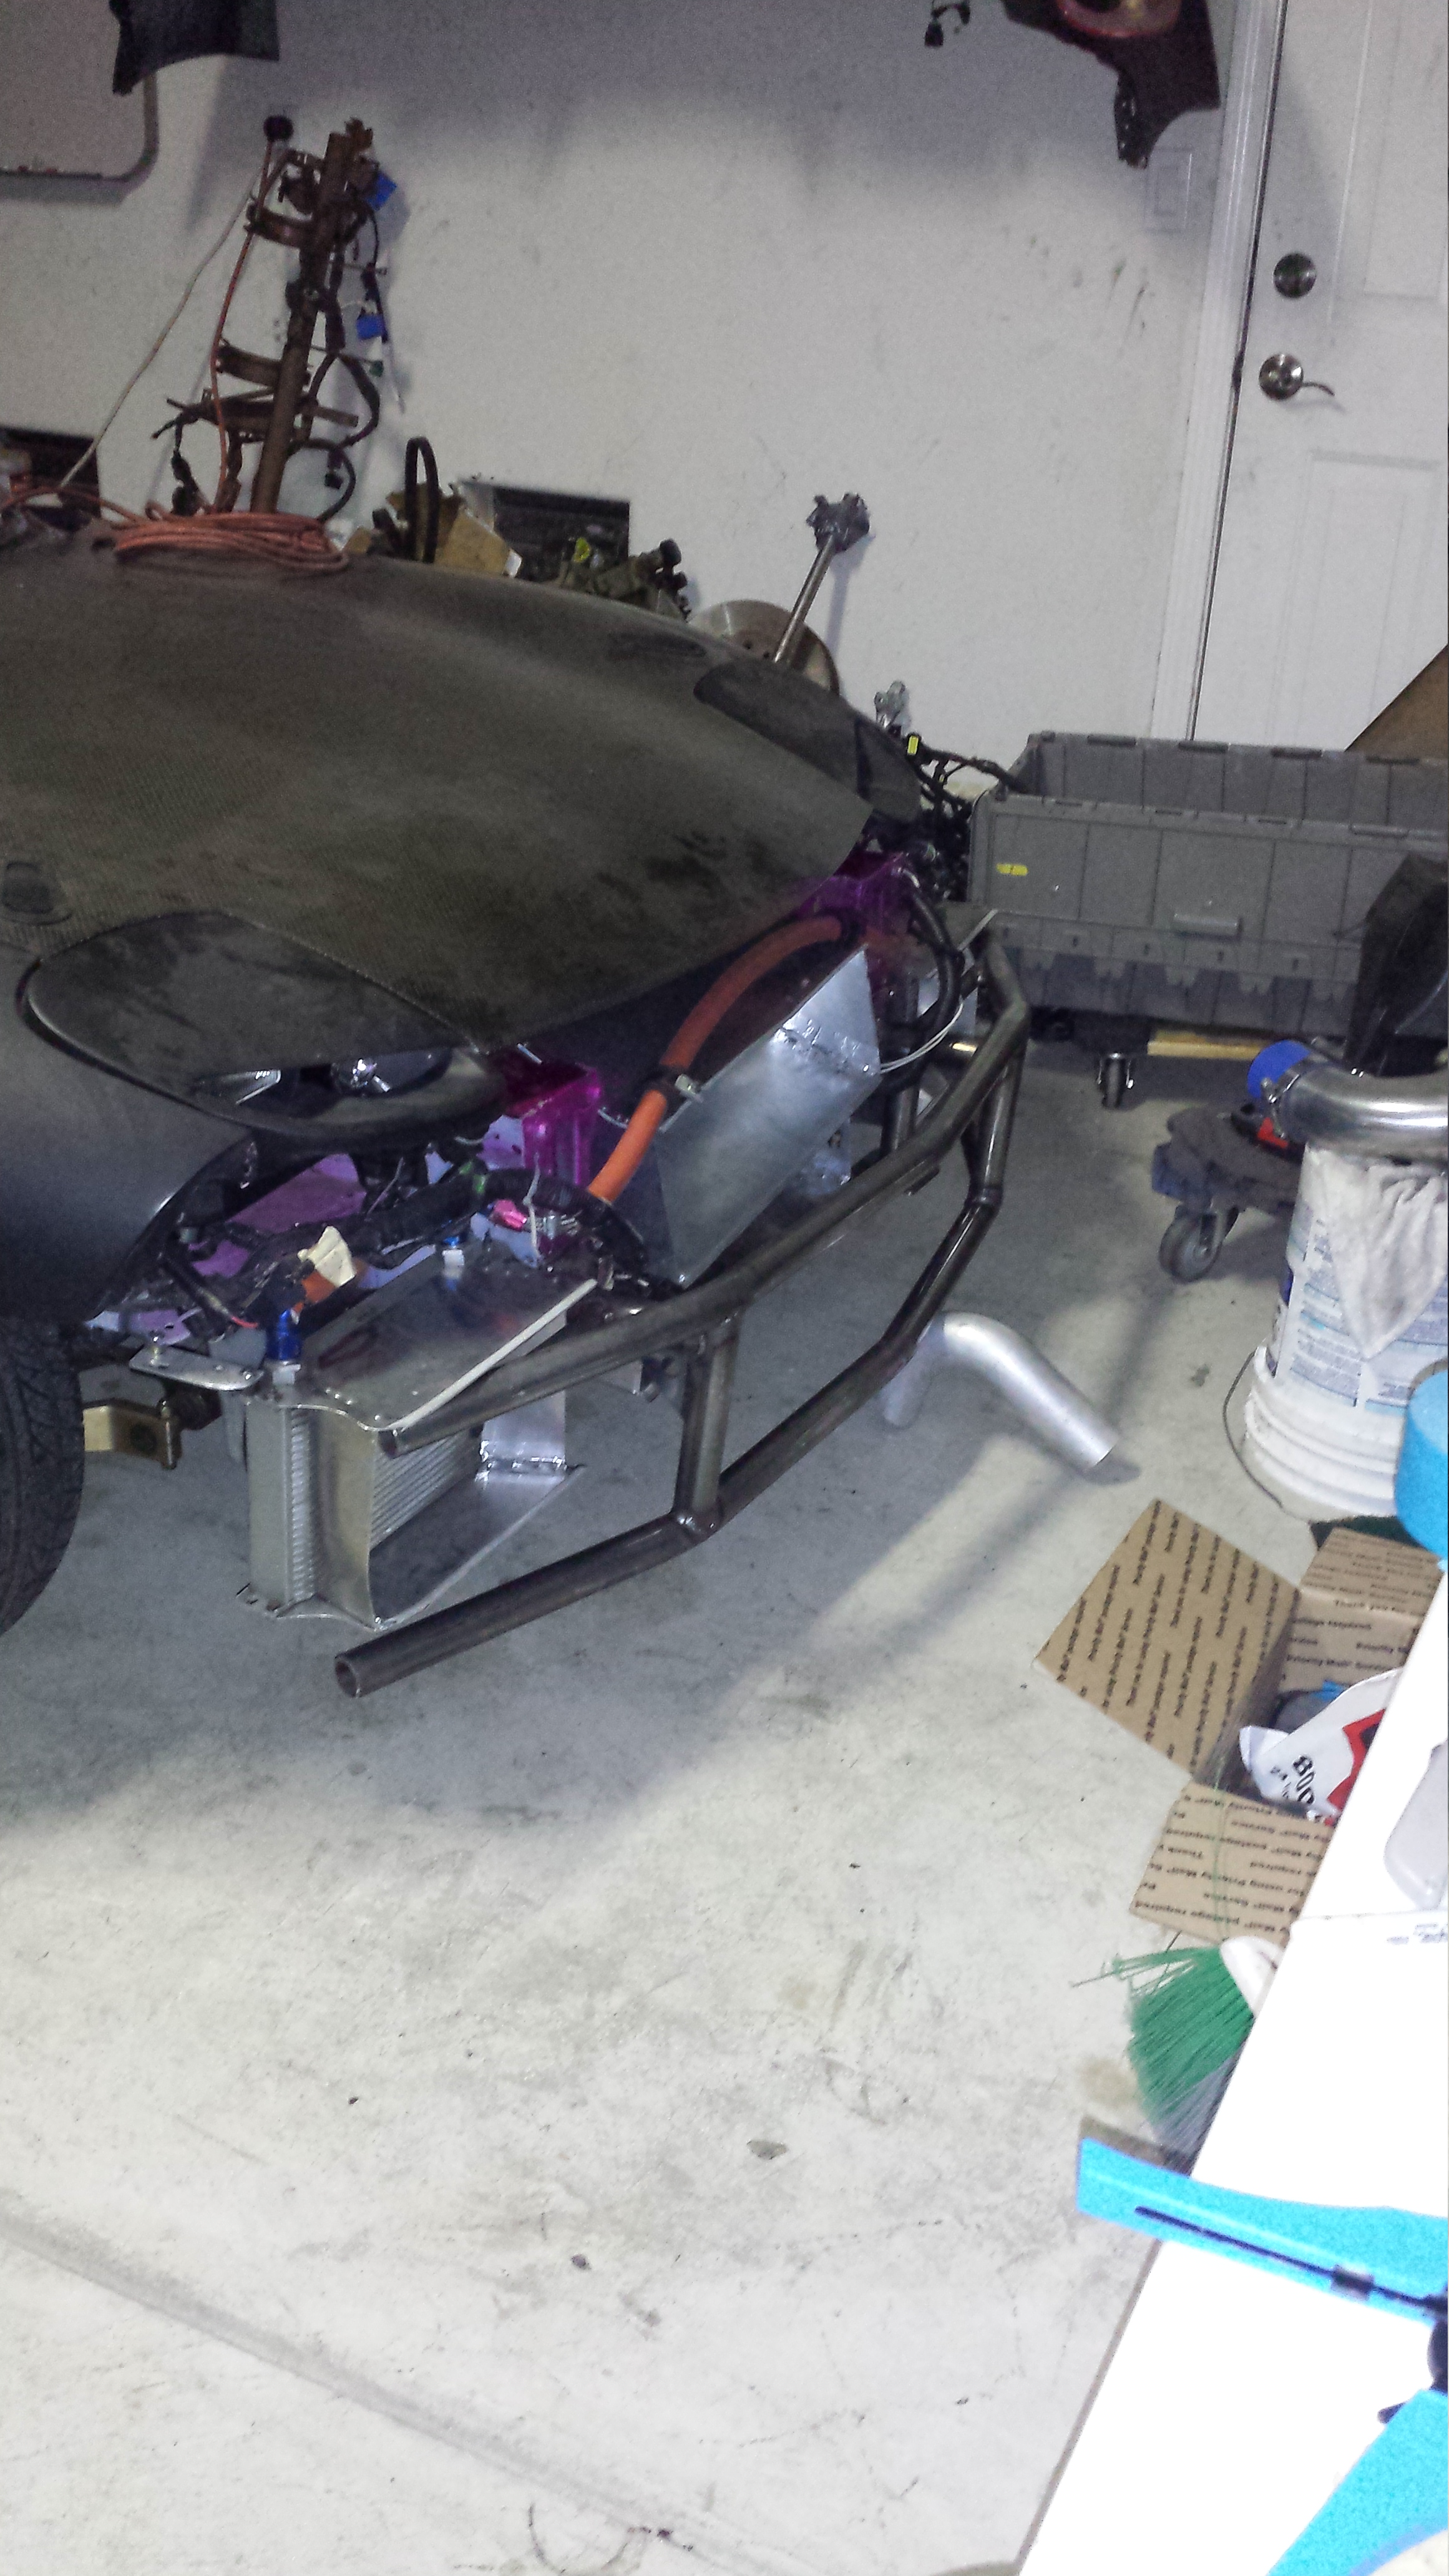
It would be a shame to smash up all my nice ducting.
Also, Since I was pushing towards more track oriented driving.. I figured I better get some more wheels that wouldn't be so expensive to replace if I messed them up. So I sold the Advans.. and got some nice new used condition wheels. Practically brand new. I'll wait to unveil them though =-)
Teaser

Also, PUlled the old battery box out.
And this part I'm not too happy with at all. I was up at 1am last night after a 13 hour work day and wanted to get my dash fitting. Spent a couple hours making a template to fit the dash with the cage a-pillar bars and really messed up.

Roof clearance
Door clearance
And thats about it with the Cage. It came out good. I'll be adding a rear Strut Bar and possibly a main hoop to strut / (dash) bar but I'm not so sure it's even necessary vs the weight.
Anyways.. Ended up Coming across an authentic Espirit Tail light cover so I couldn't pass it up
AND while I was getting the cage done.... I asked Dan what he thought about front end protection and he said he could do a simple front Bash bar with a Jack point.. So He made one for me for a damn good price. Since the car was already there.. I said go for it.
It would be a shame to smash up all my nice ducting.
Also, Since I was pushing towards more track oriented driving.. I figured I better get some more wheels that wouldn't be so expensive to replace if I messed them up. So I sold the Advans.. and got some nice new used condition wheels. Practically brand new. I'll wait to unveil them though =-)
Teaser
Also, PUlled the old battery box out.
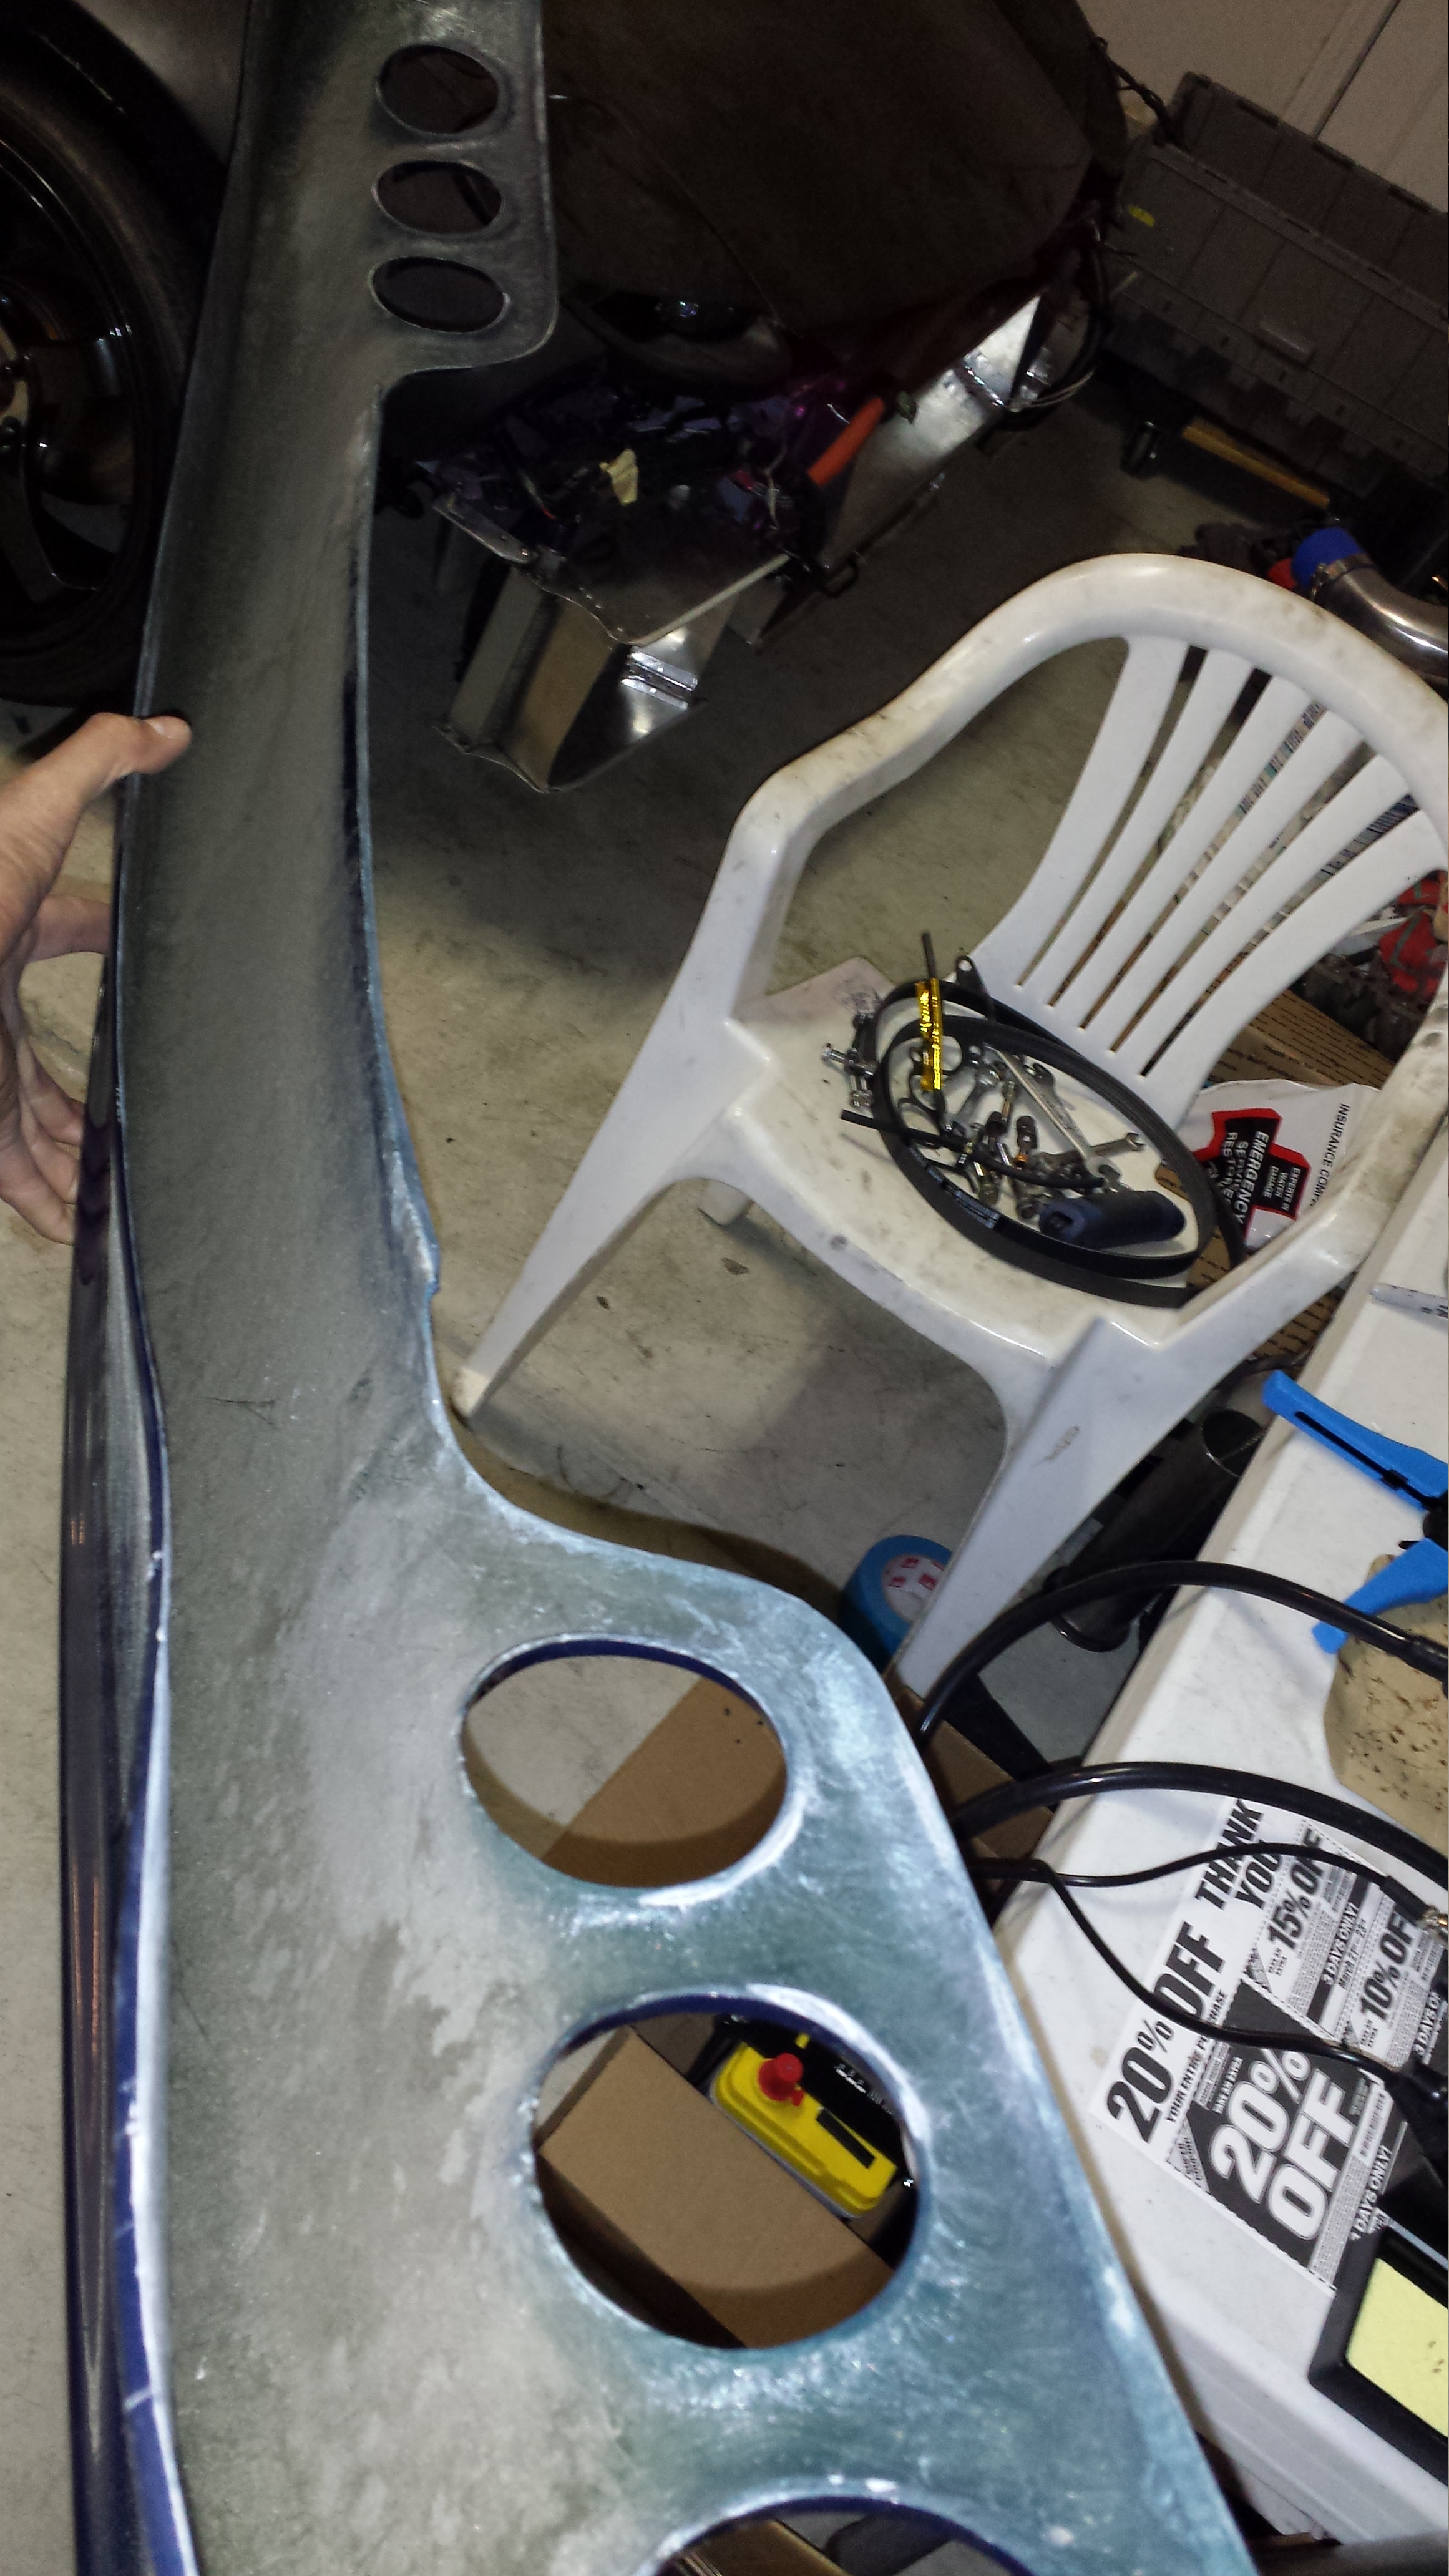
And this part I'm not too happy with at all. I was up at 1am last night after a 13 hour work day and wanted to get my dash fitting. Spent a couple hours making a template to fit the dash with the cage a-pillar bars and really messed up.
04-06-14, 12:36 PM
#1799
I made the template far too low mounting...as the dash mounts deceptively High.. SO now I have big gaps in my dash.. which really bother me...but theres no way I'll source another dash just to destroy. Sucks bad...but live and learn I guess.
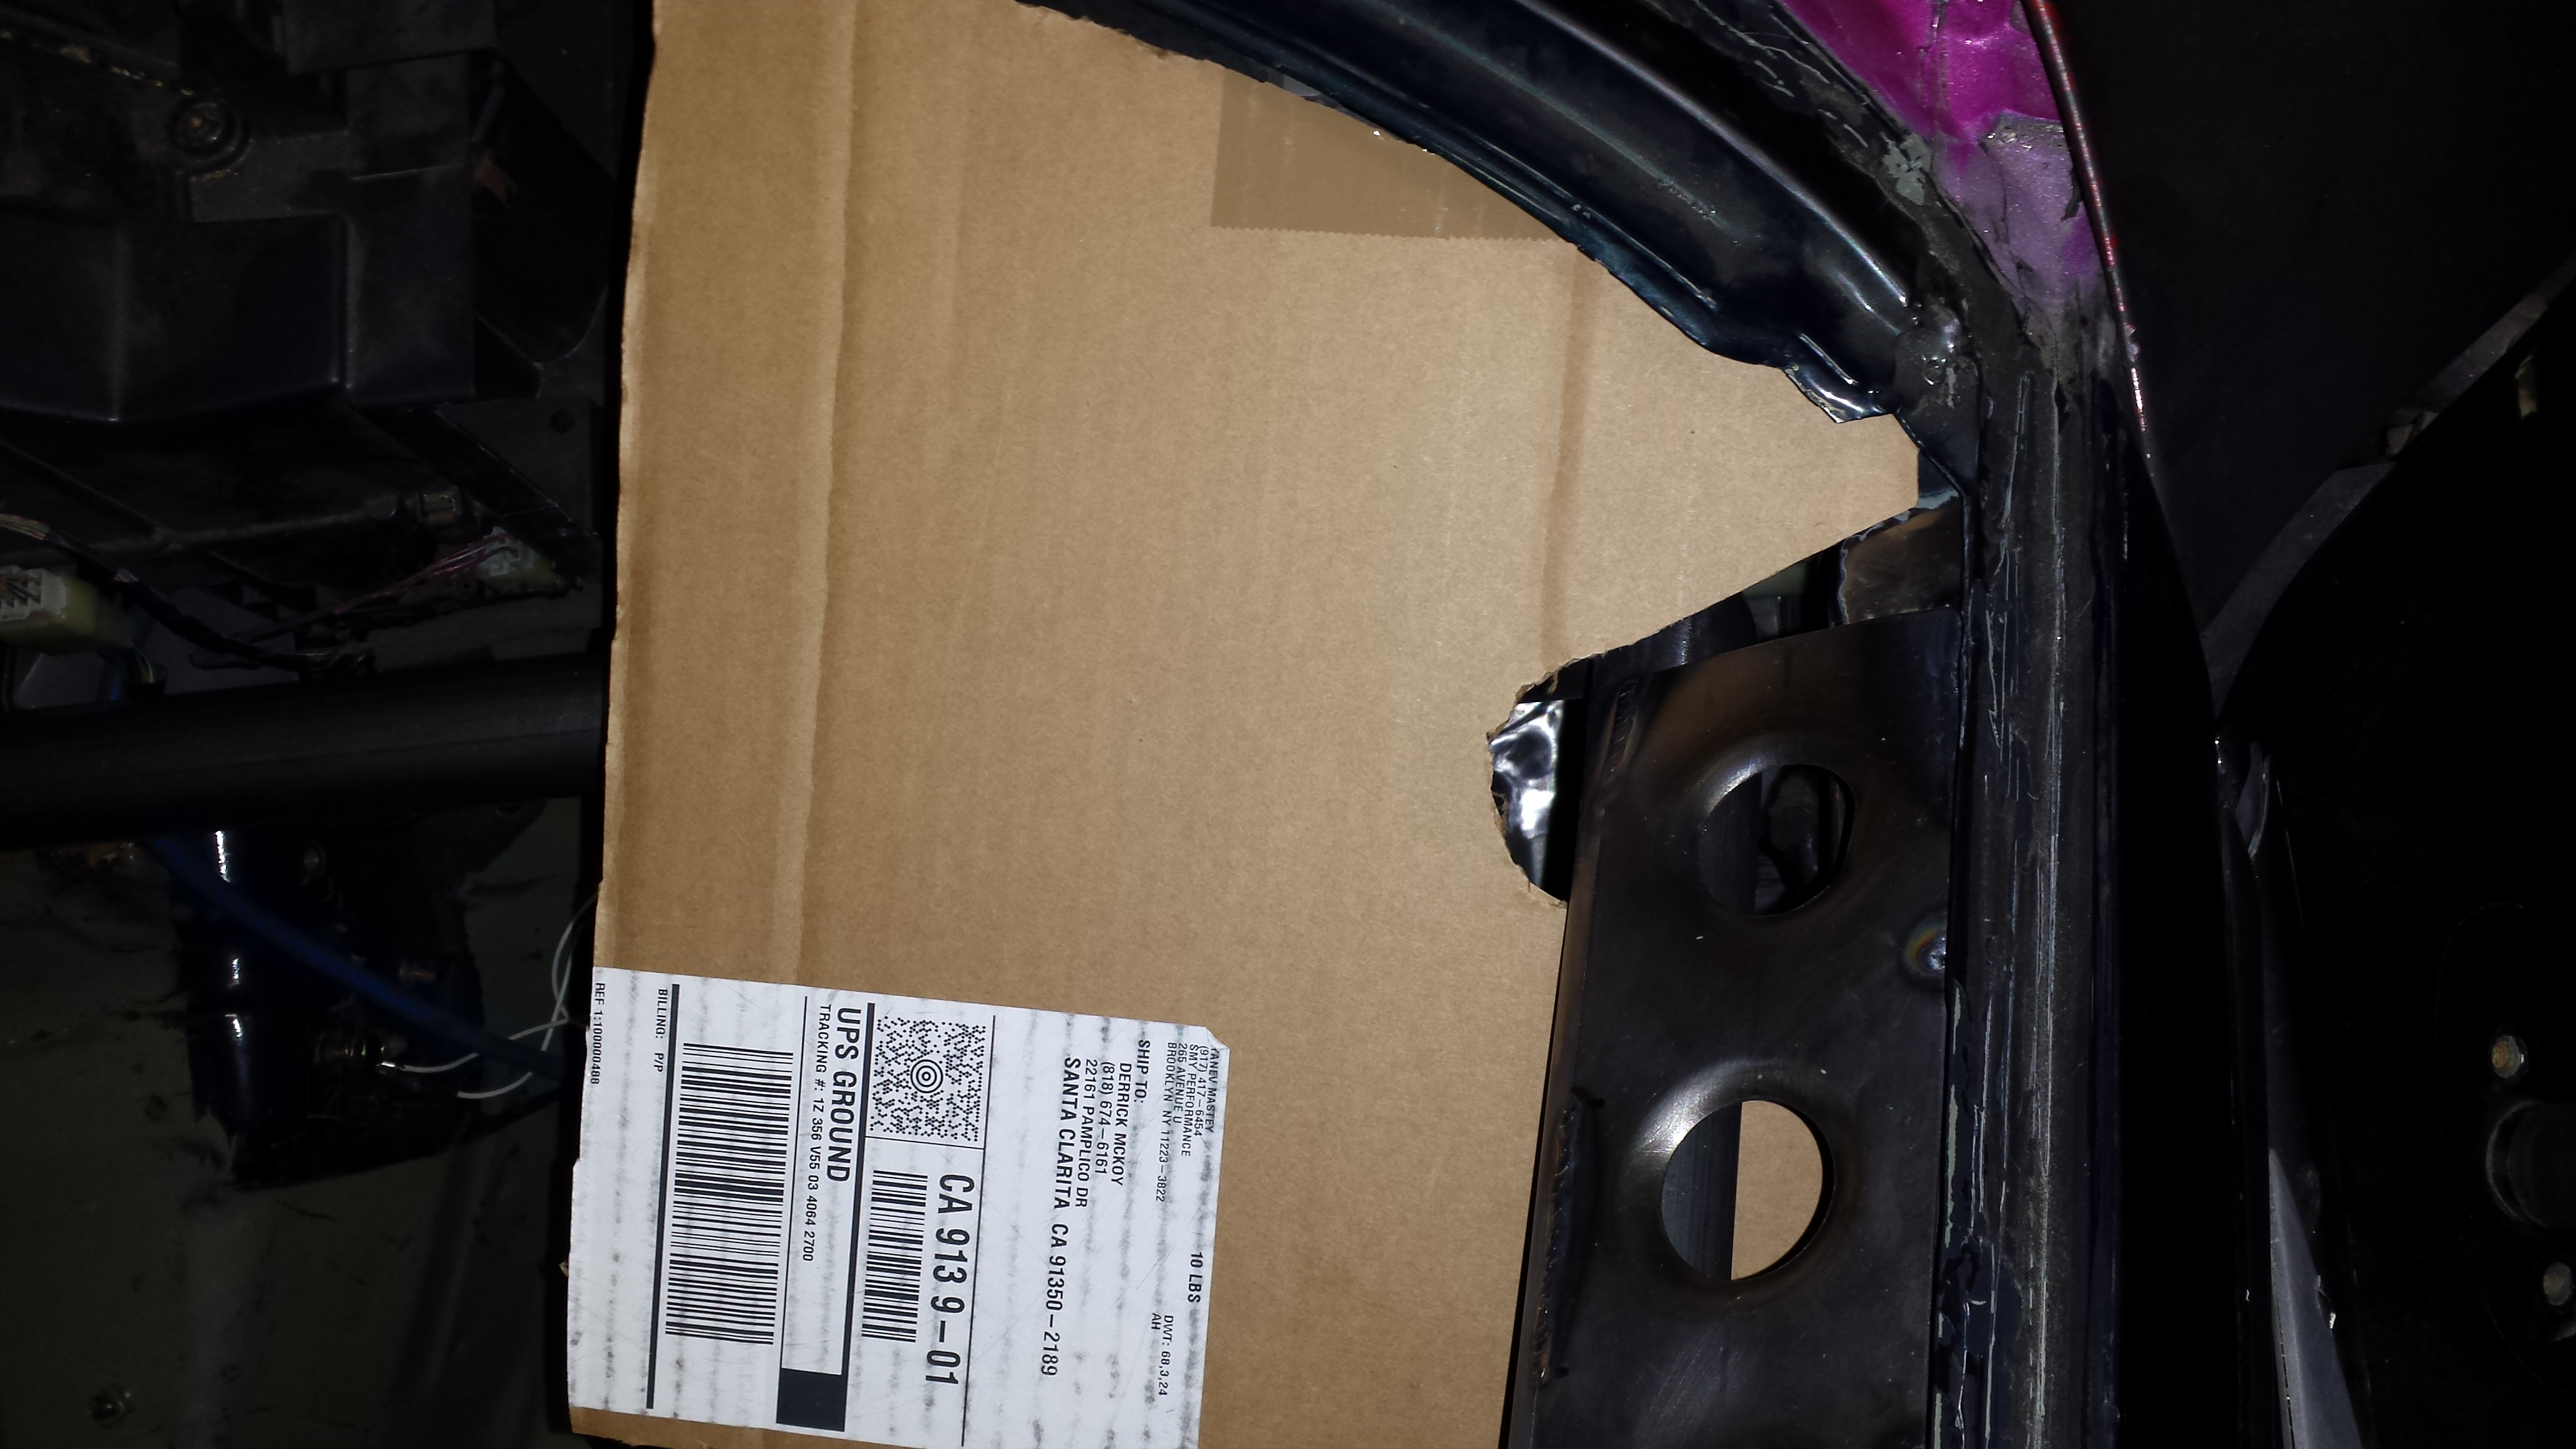
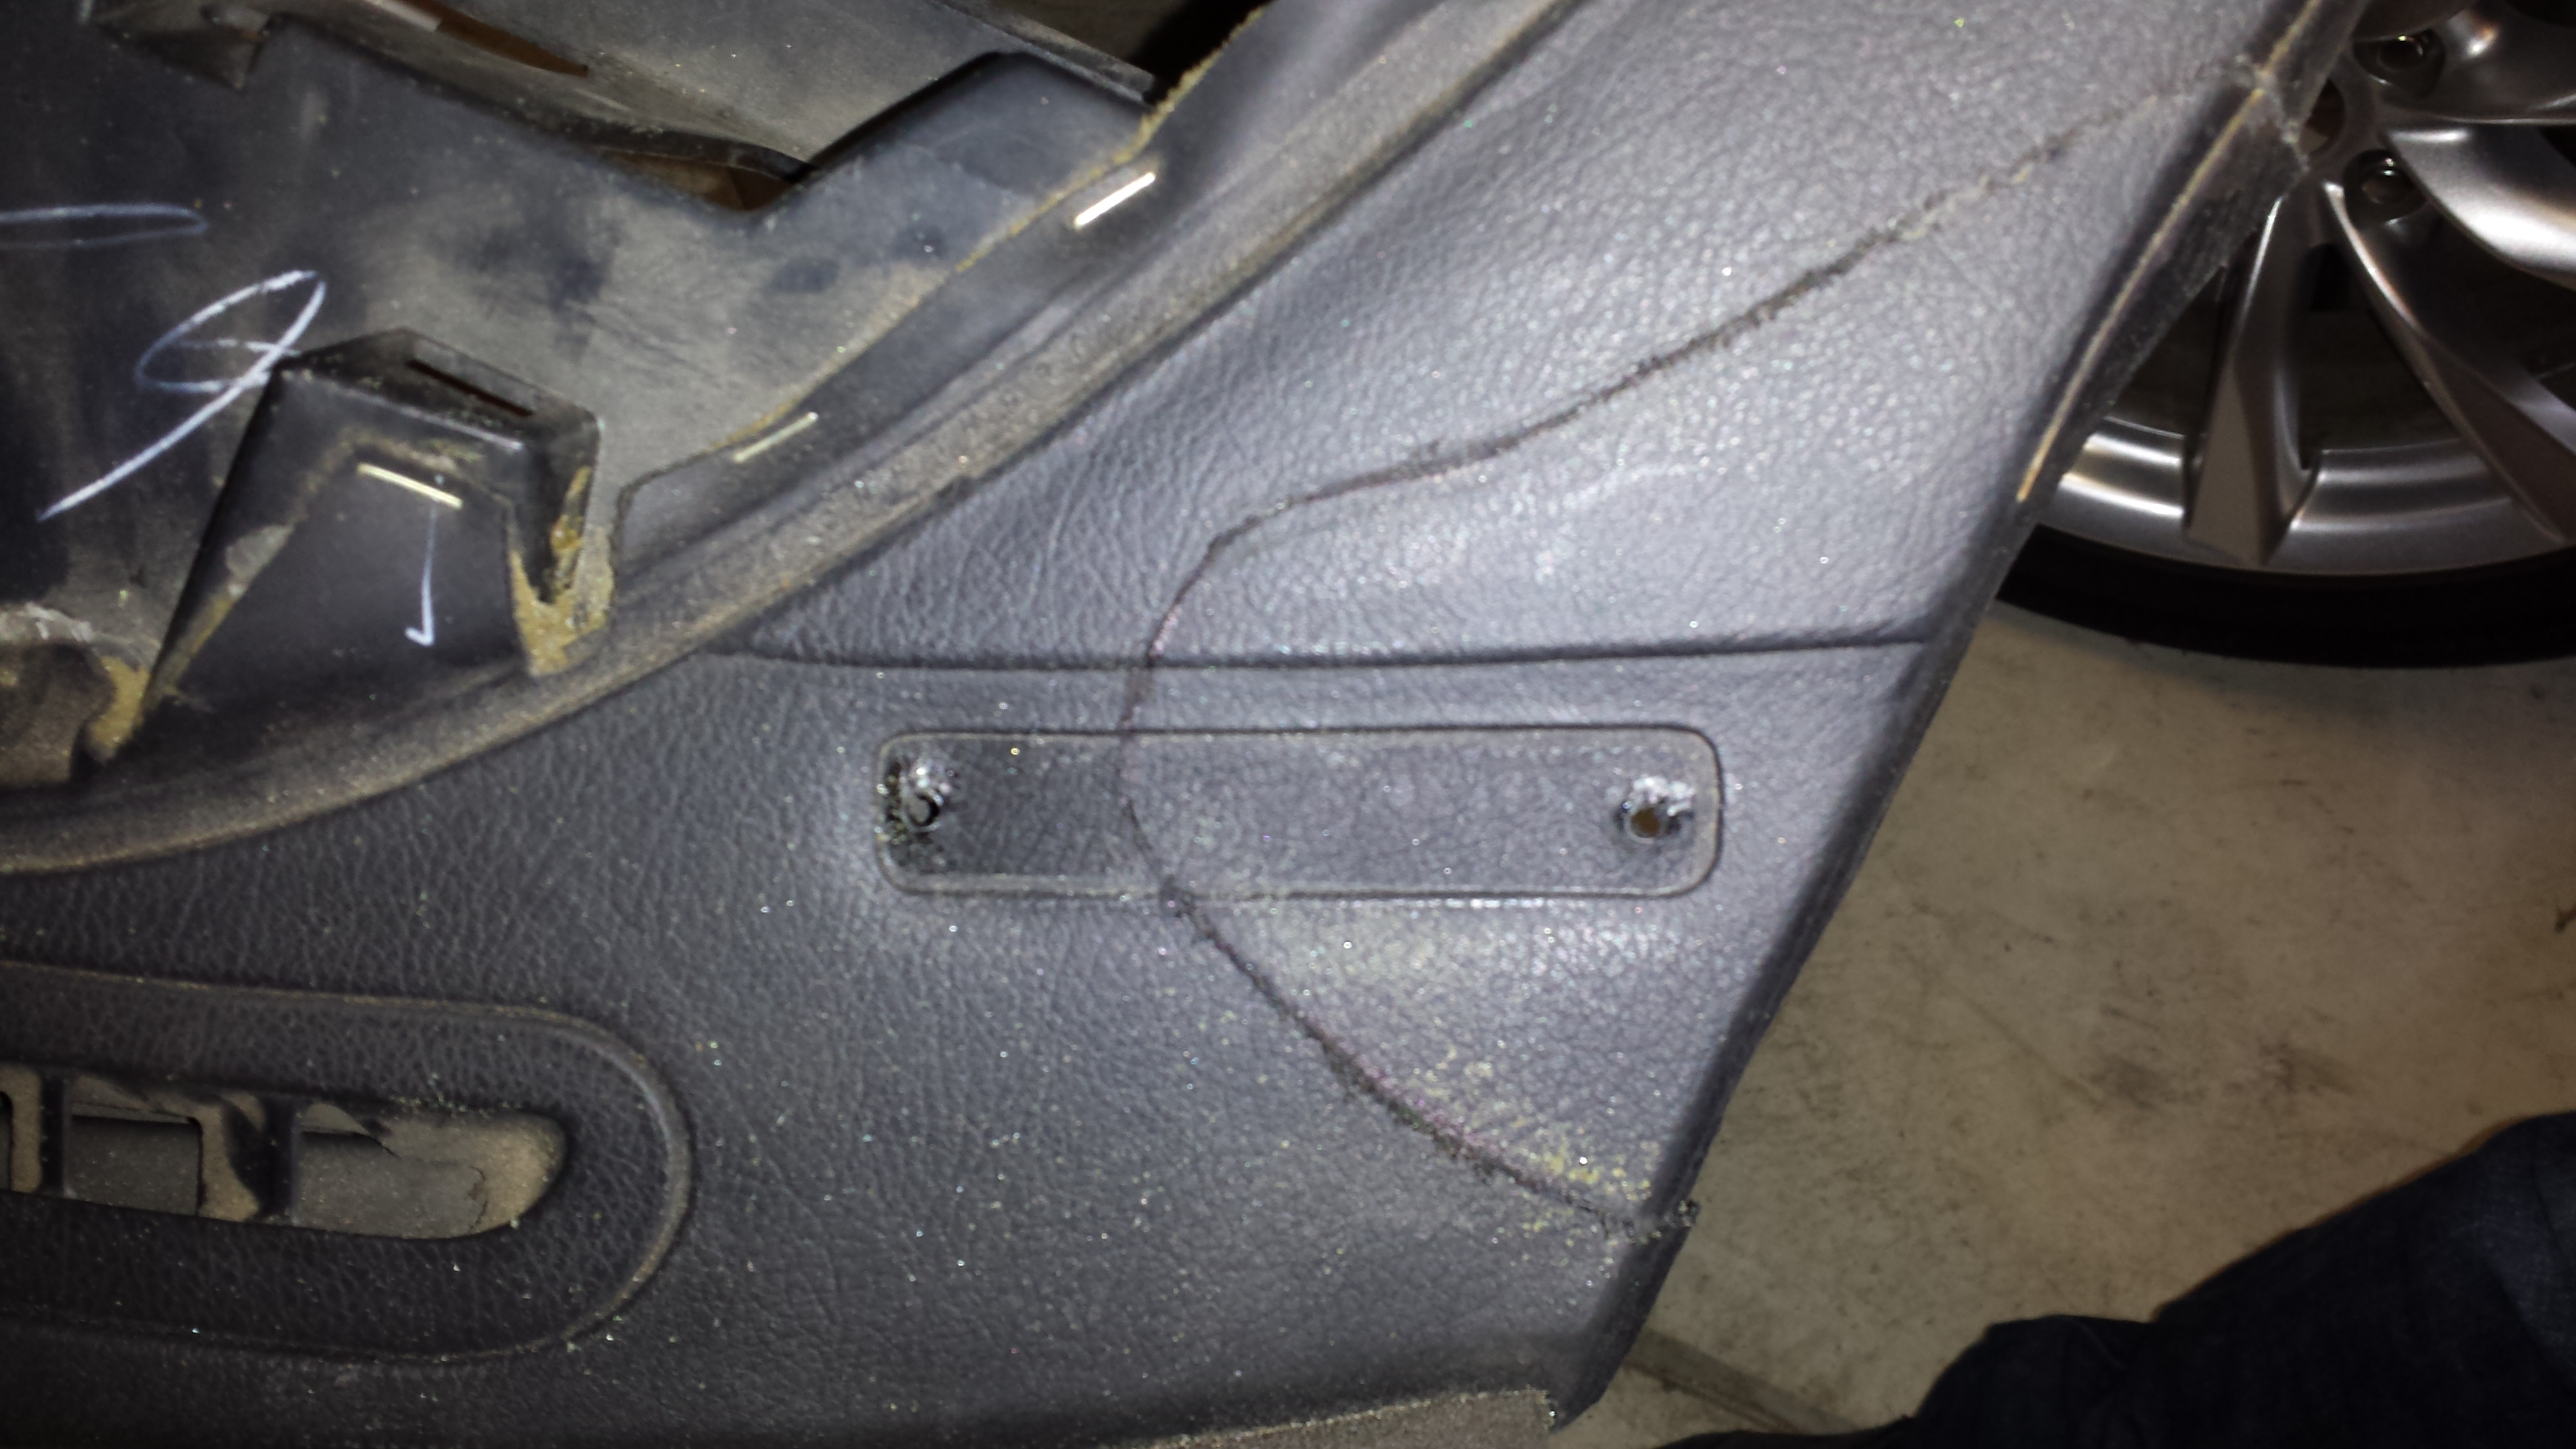
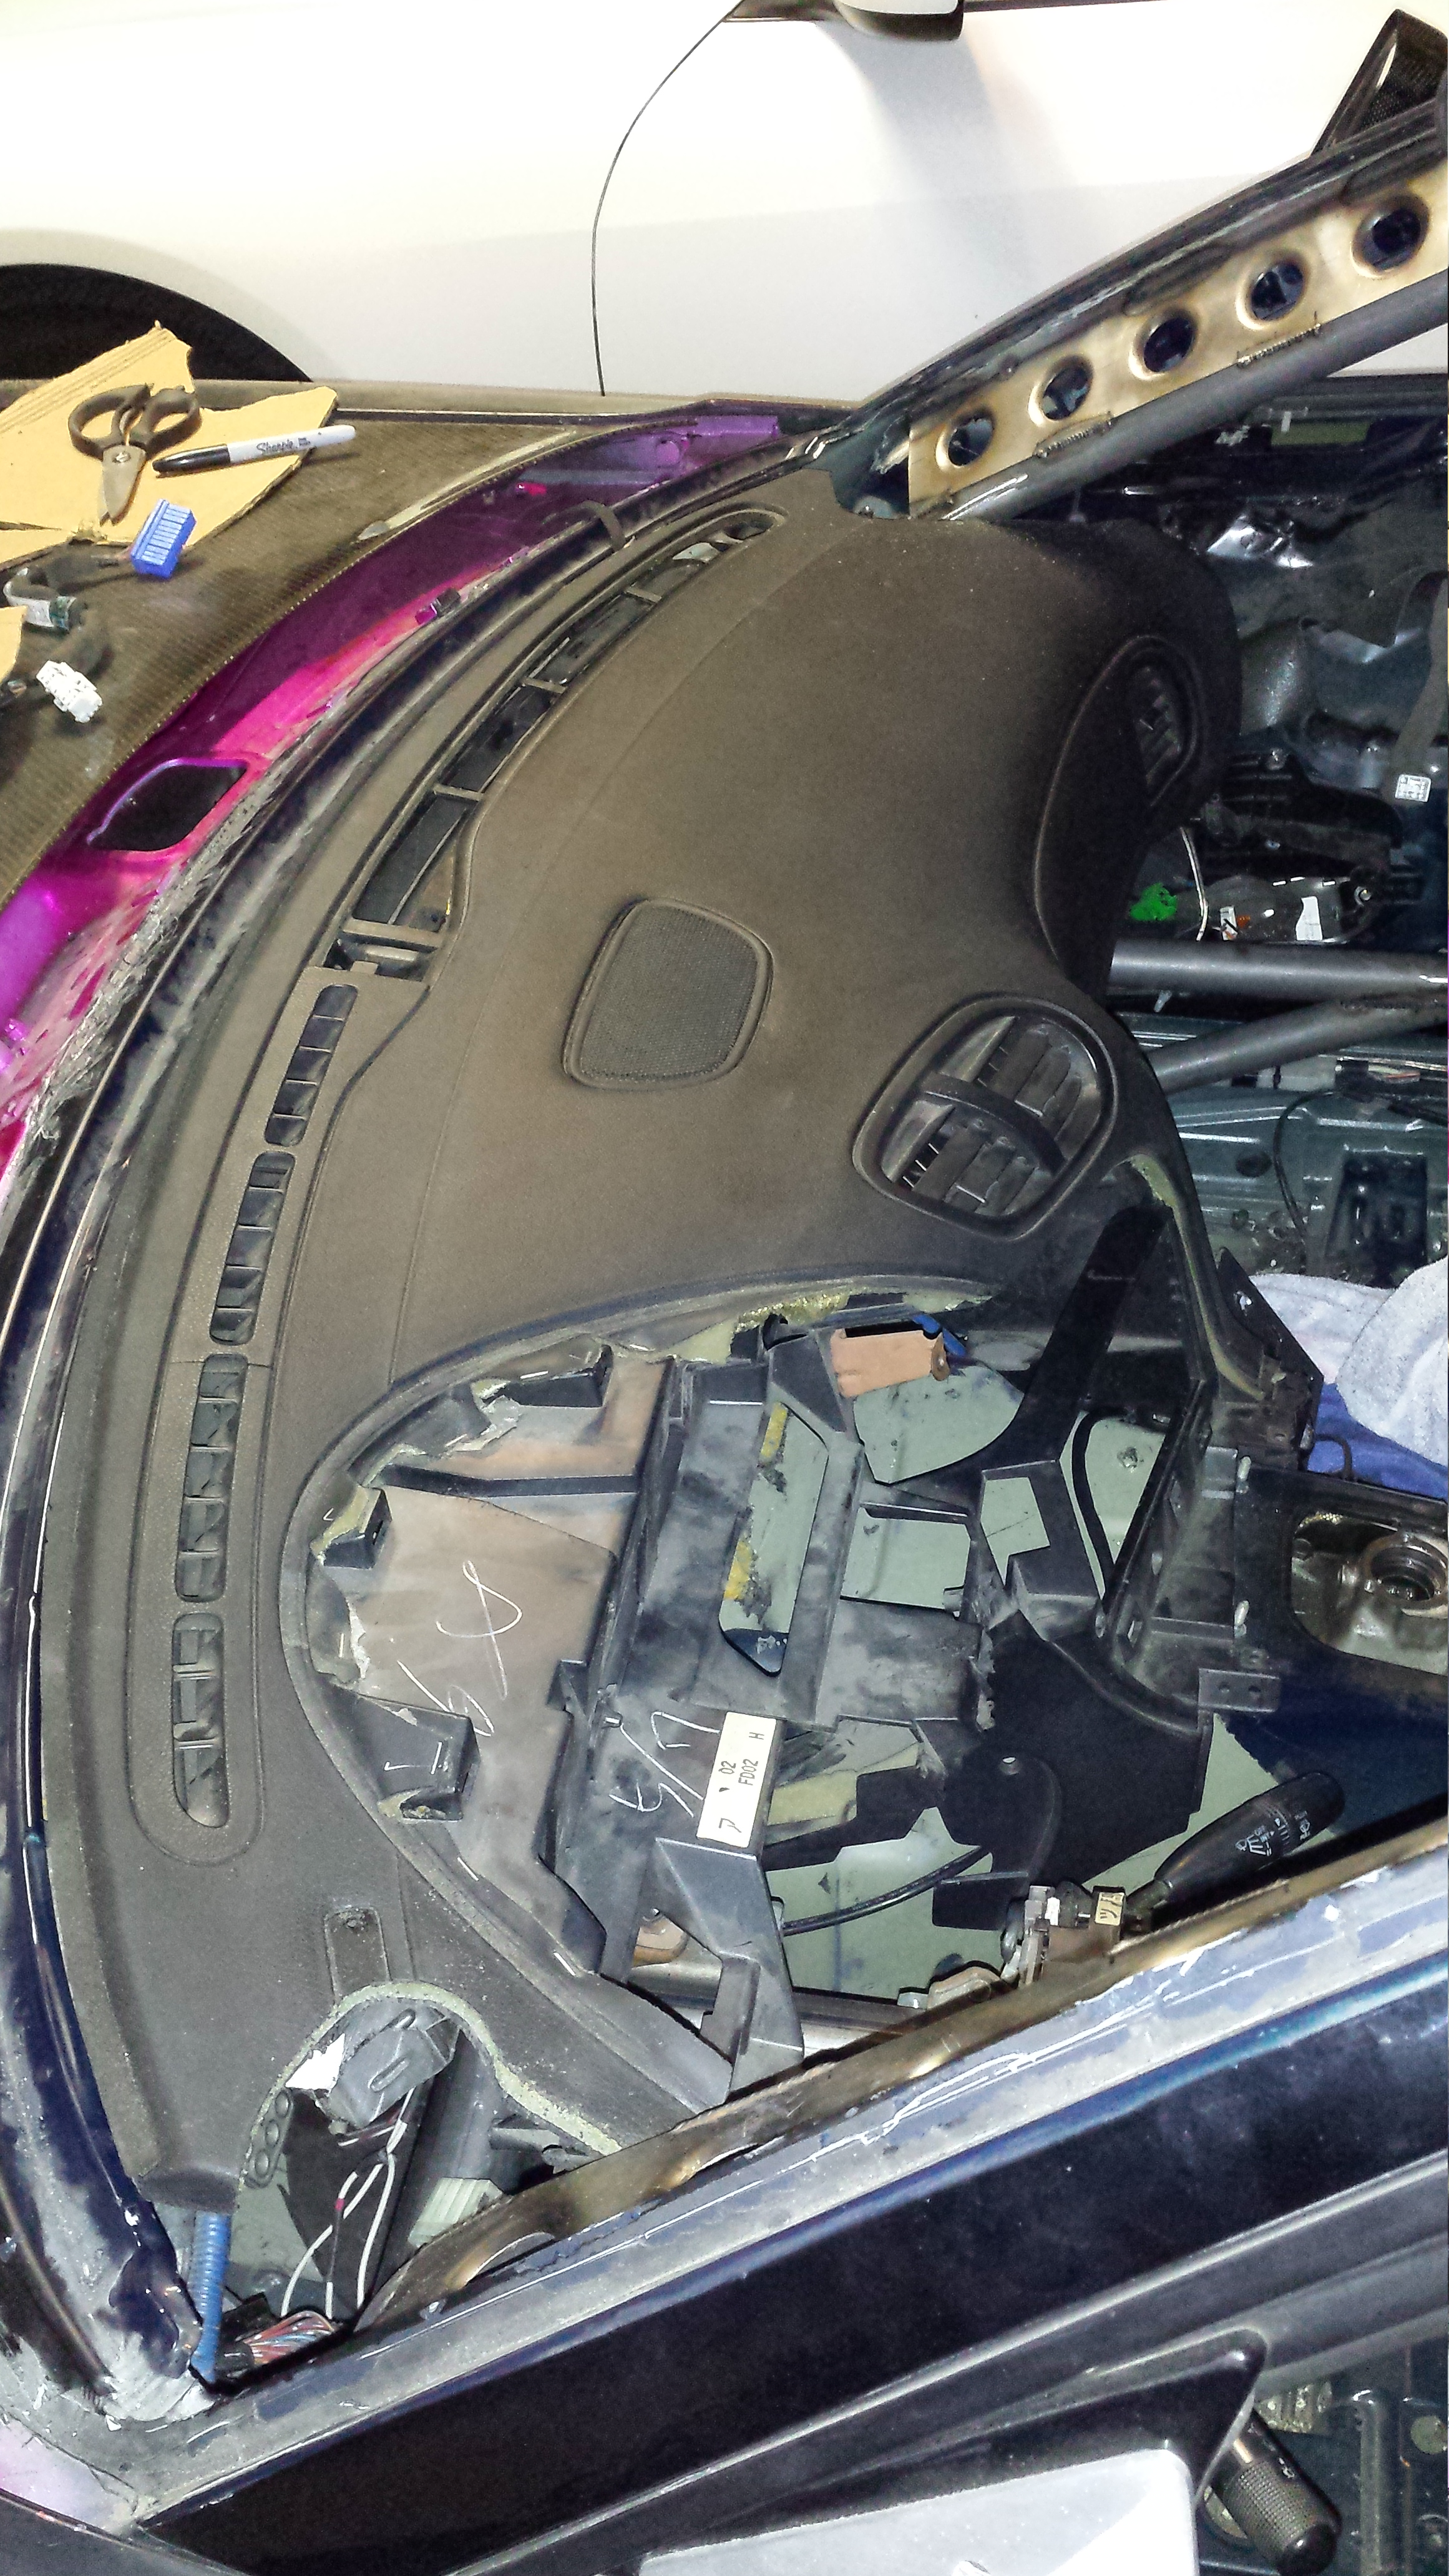
The trim is actually really nice.. the gaps are just too big. More Updates soon!!!Stay tuned!!
The trim is actually really nice.. the gaps are just too big. More Updates soon!!!Stay tuned!!
04-11-14, 08:43 PM
#1800
broke for a cause
Join Date: Mar 2011
Location: kelowna bc canada
Posts: 51
Likes: 0
Received 0 Likes
on
0 Posts
I'd mount those smaller fire extinguishers at the bottom of the pillars if space permitted, just so I couldn't see the holes, I'd be so mad if I did that, I've had one or two fml cuts in my day lol. Those pillars bring the cars look to the next level of badass. Money well spent.