Mannykillers/ AAPARKAH Street/time Attack/Drift Build (heavy Pics) #Thisisthewolf
 04-25-14, 12:22 PM
#1851
Hi Aaron
Incredible this project underway! entails a lot of sacrifice, if not daring with mine.
I hope you can soon enjoy!
I wanted to ask, how you welded the knuckles?
I have a couple to spare at home, I like to try to improve the angle of direction. And to be cast, not if electrode casting, or tig, argon gas supply and use. I would help you to tell me how!
thank you very much
__________________________________________________ ___________
Hola Aaron
Menudo proyecto estas llevando a cabo!!! mucho sacrificio conlleva, no se si atreverme con el mio.
Espero que pronto lo puedas disfrutar!!!
Te queria preguntar, �como has soldado las manguetas?
tengo un par de sobra en casa, me gustaria probar, para mejorar el angulo de direccion. Y al ser de fundicion, no se si se utiliza electrodo de fundicion, o tig, aporte y gas argon. Me seria de ayuda que me dijeras como!!
Muchas gracias

 .
04-25-14, 02:07 PM
.
04-25-14, 02:07 PM
#1853
Small update:
A looong night... early morning.
Well yesterday I got off work and forgot that my gorgeous girlfriend would be working. So I decided to do some work on Le'Wolfe.
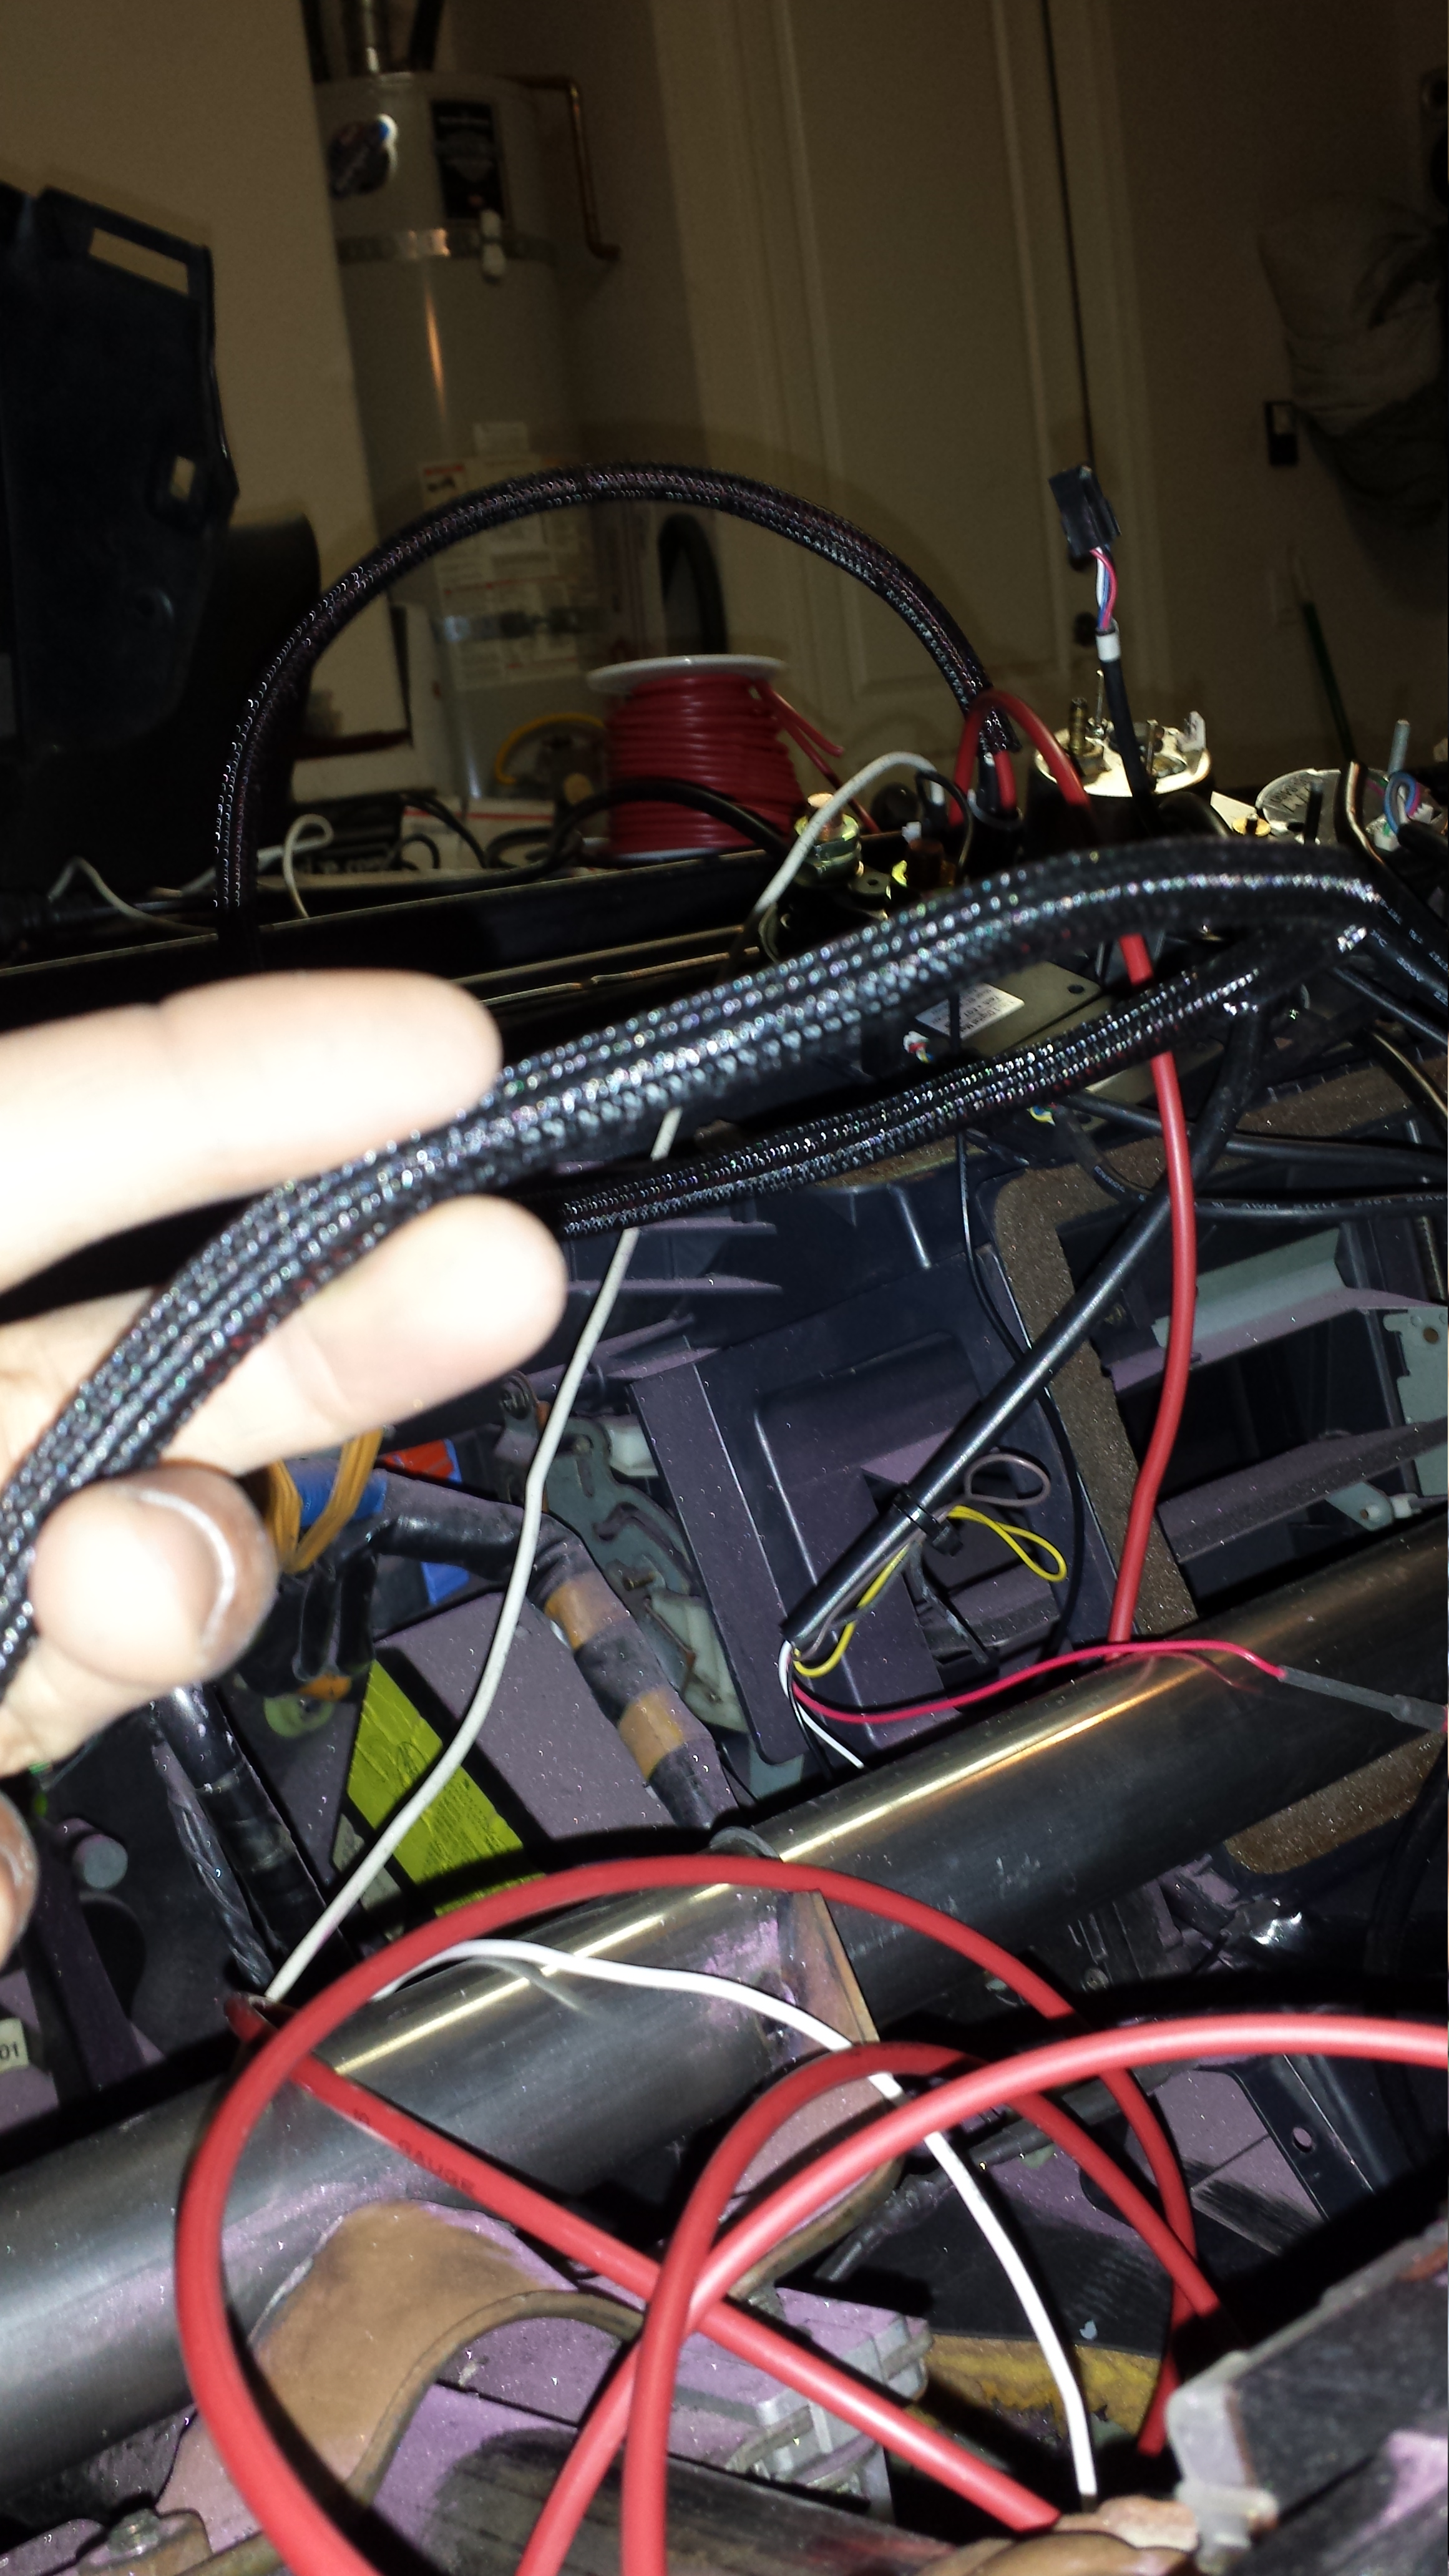
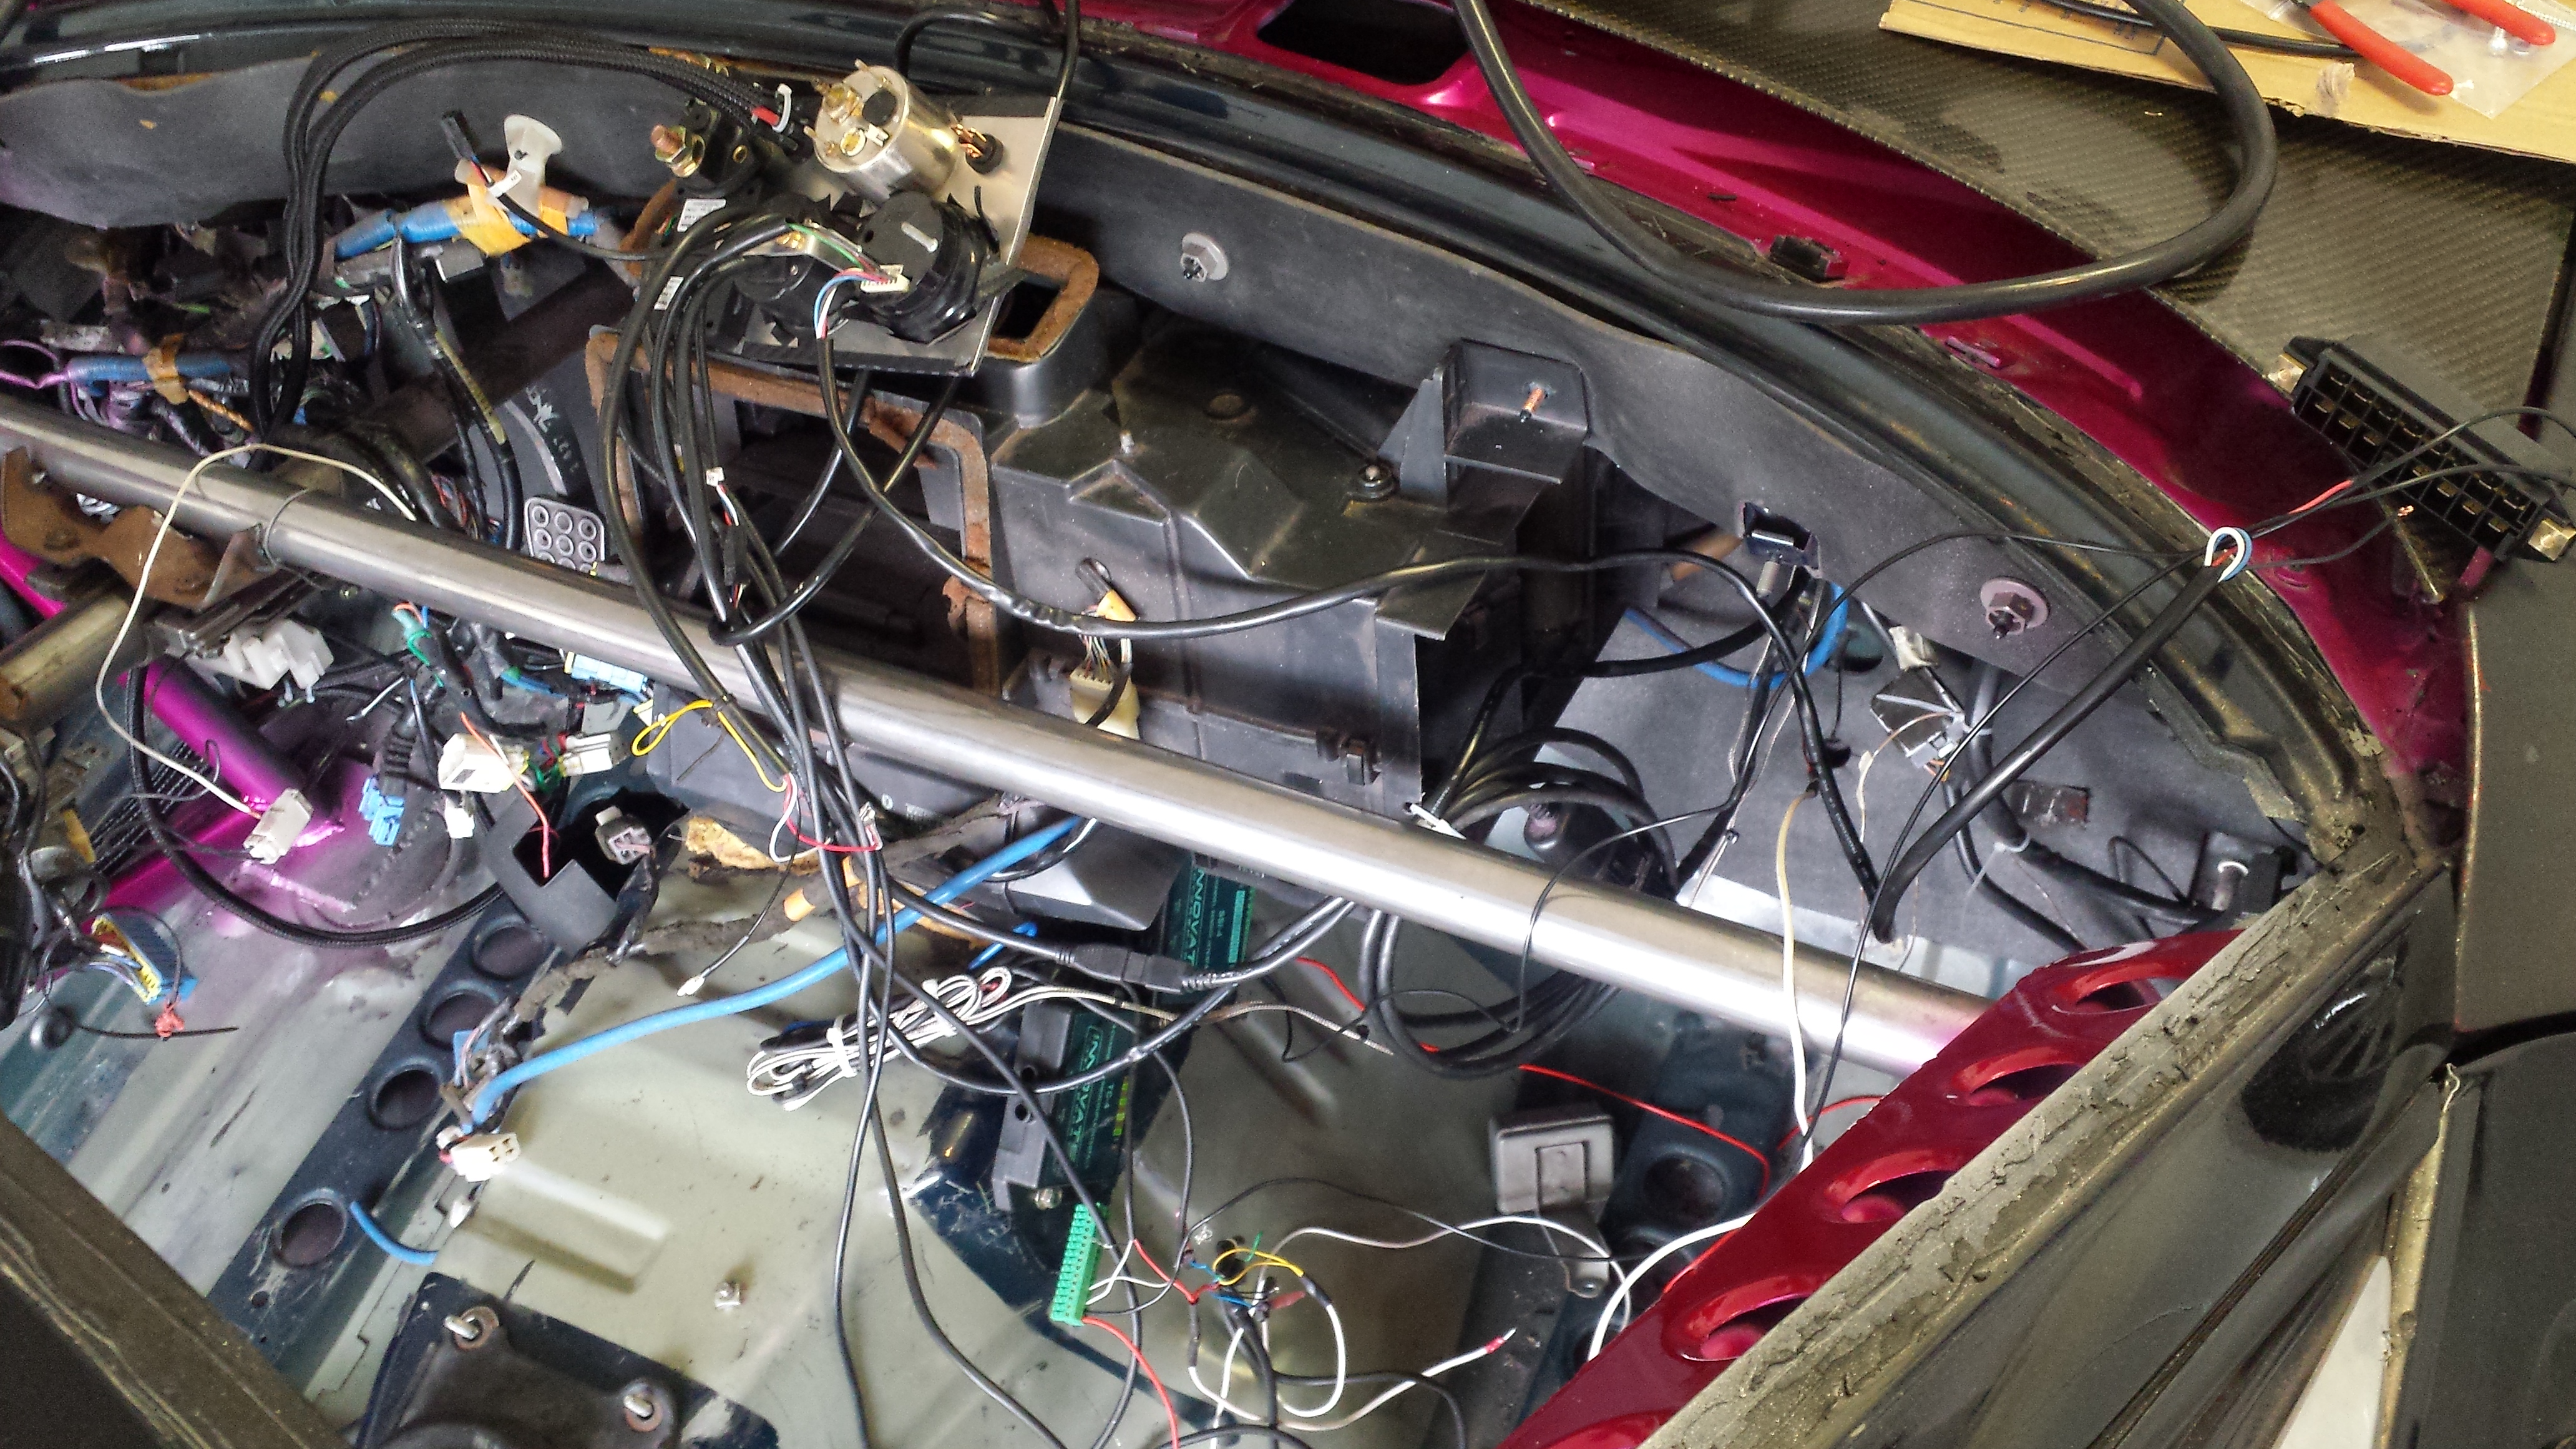
I really wanted to start the re-wire and I wanted to look at everything to ensure it was all solid. First thing I needed to do was run new wire from my old switches to the new ones. I won't be using any of the old wiring just because I have new stuff. So first I laid everything out where I wanted it routed and made sure all the lengths were correct. Then started the crimping for rocker switches. Then after the switches were done I double checked length....tightened it all up with zip ties and wrapped the wires with braided sleeving. It actually came out pretty damn good. ANd now theres only the one large 1" braided sleeve running the entire drivers side of the car. Looks really nice. Here are some of my worst pictures haha.
routing and organizing with zipties
more routing
Old switch location and process
1/4 size braided sleeving for switch routing
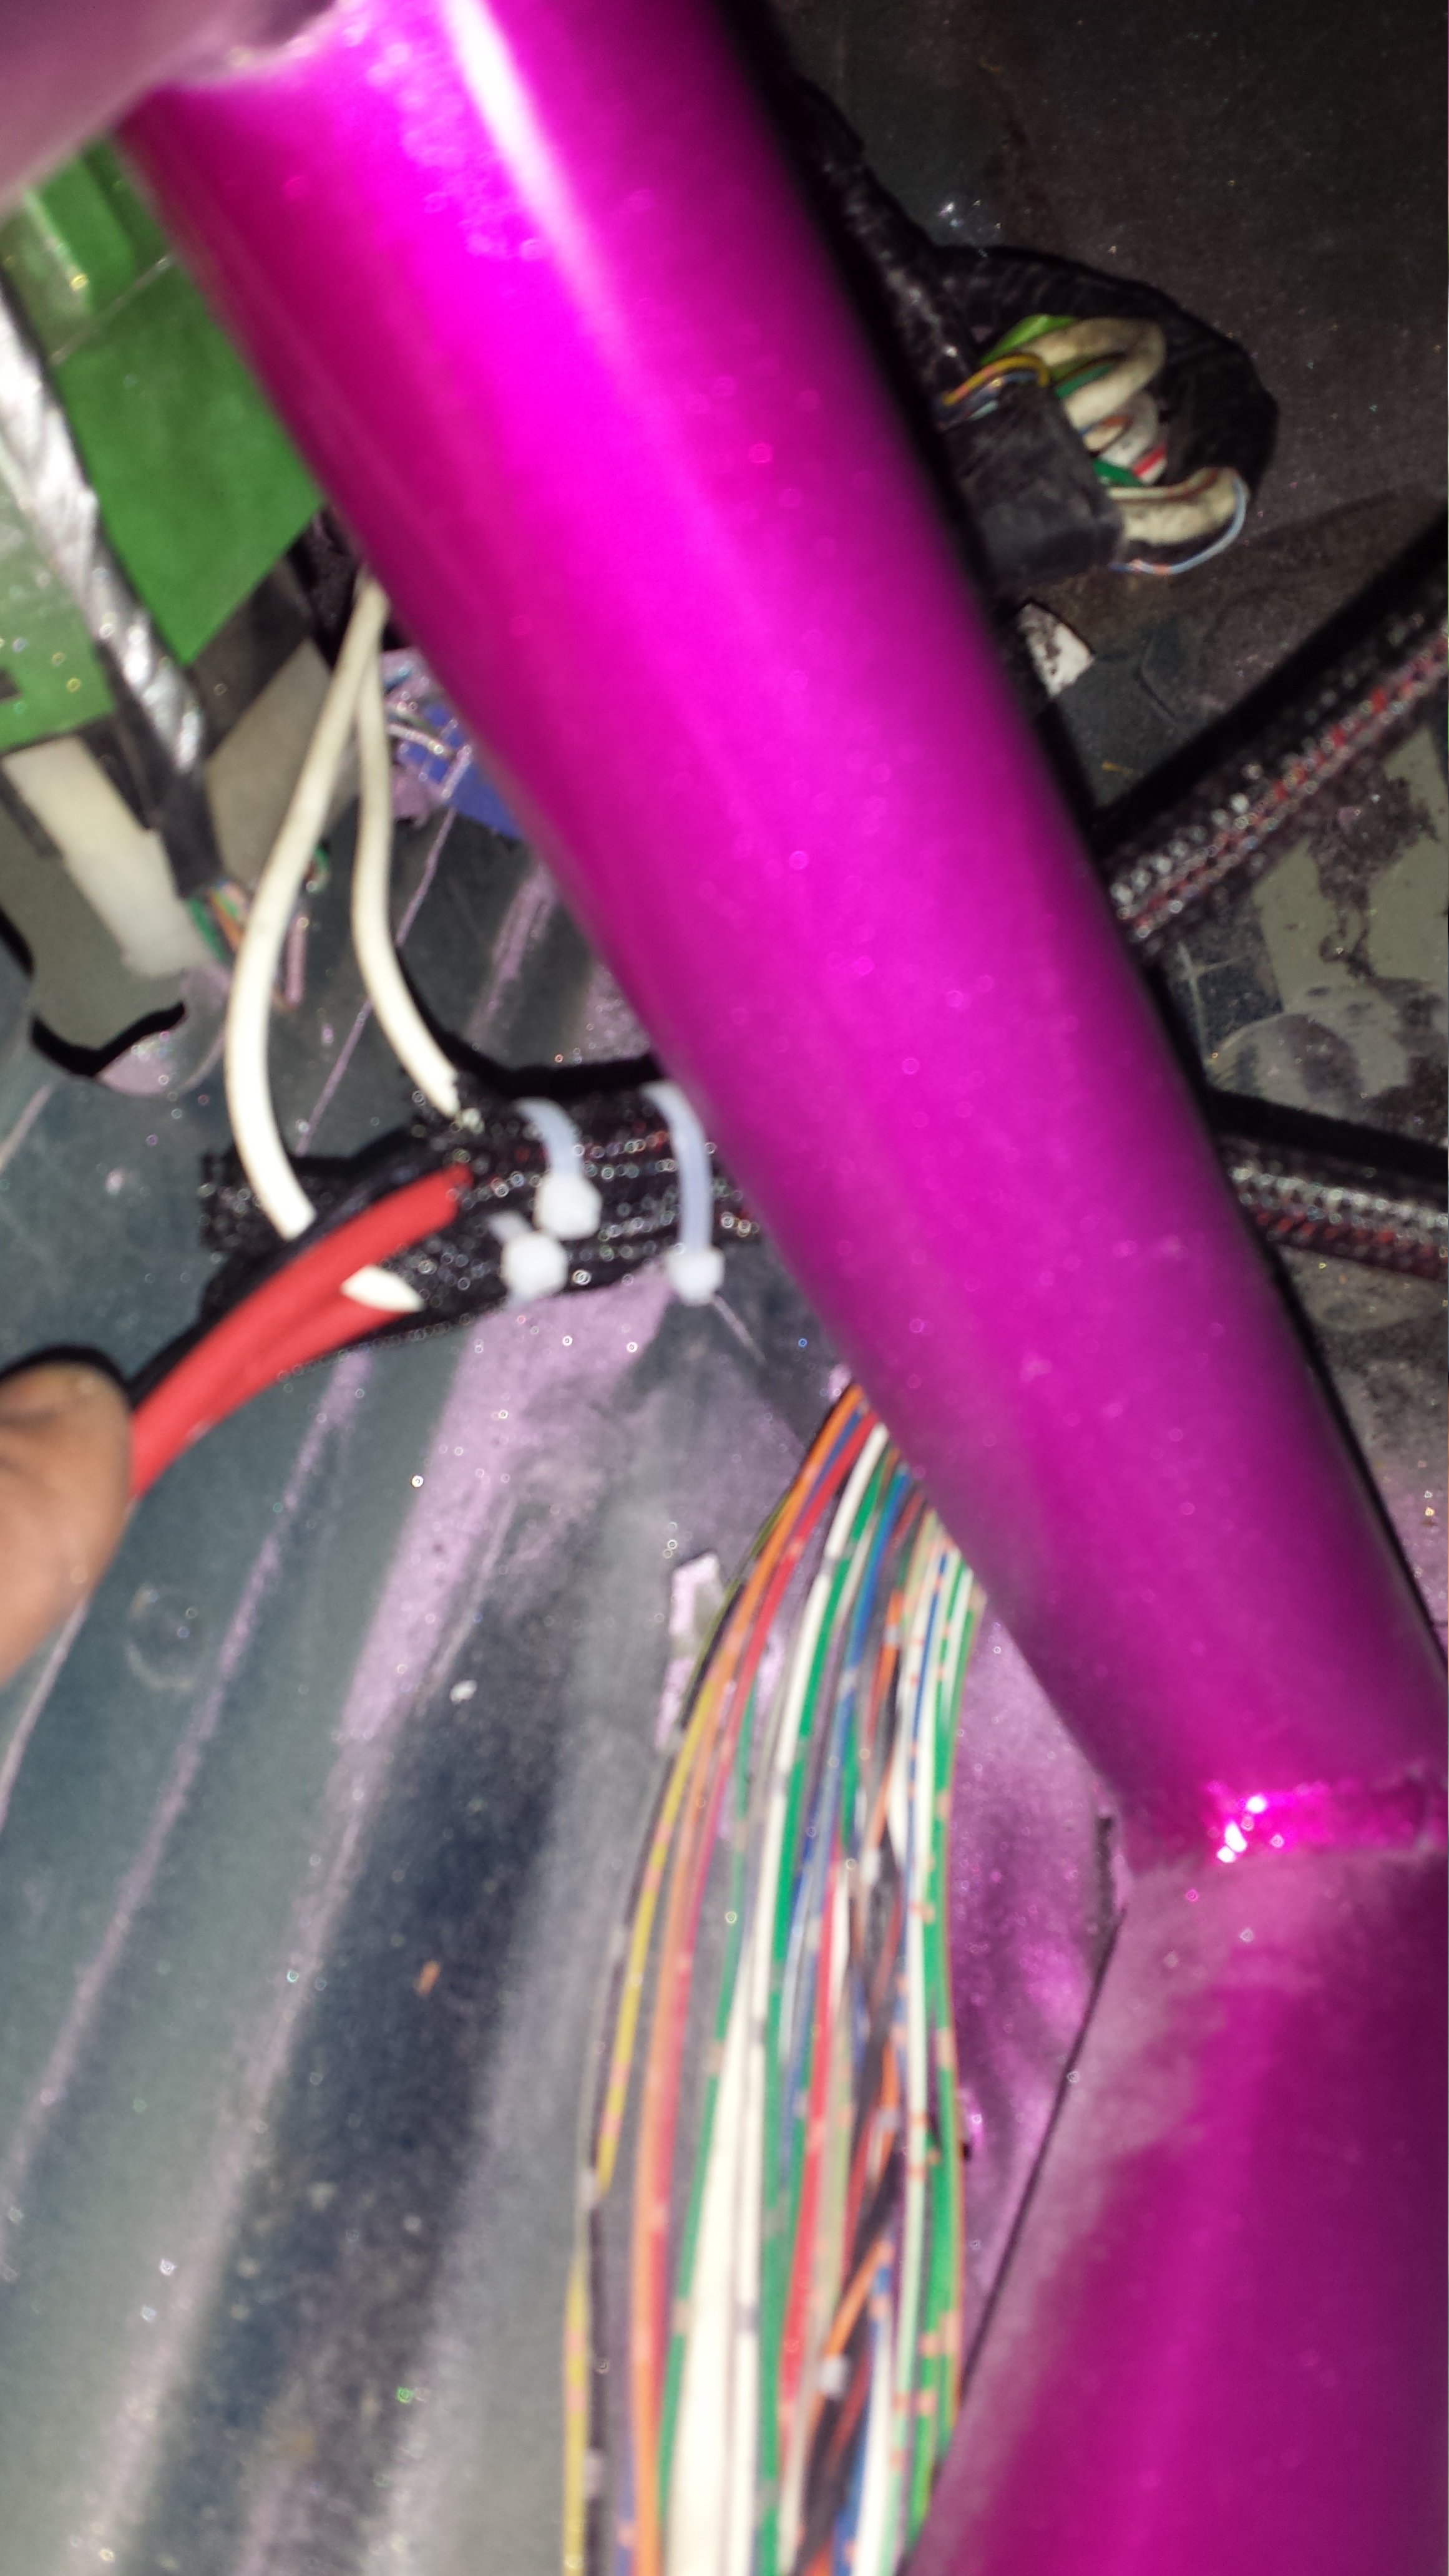
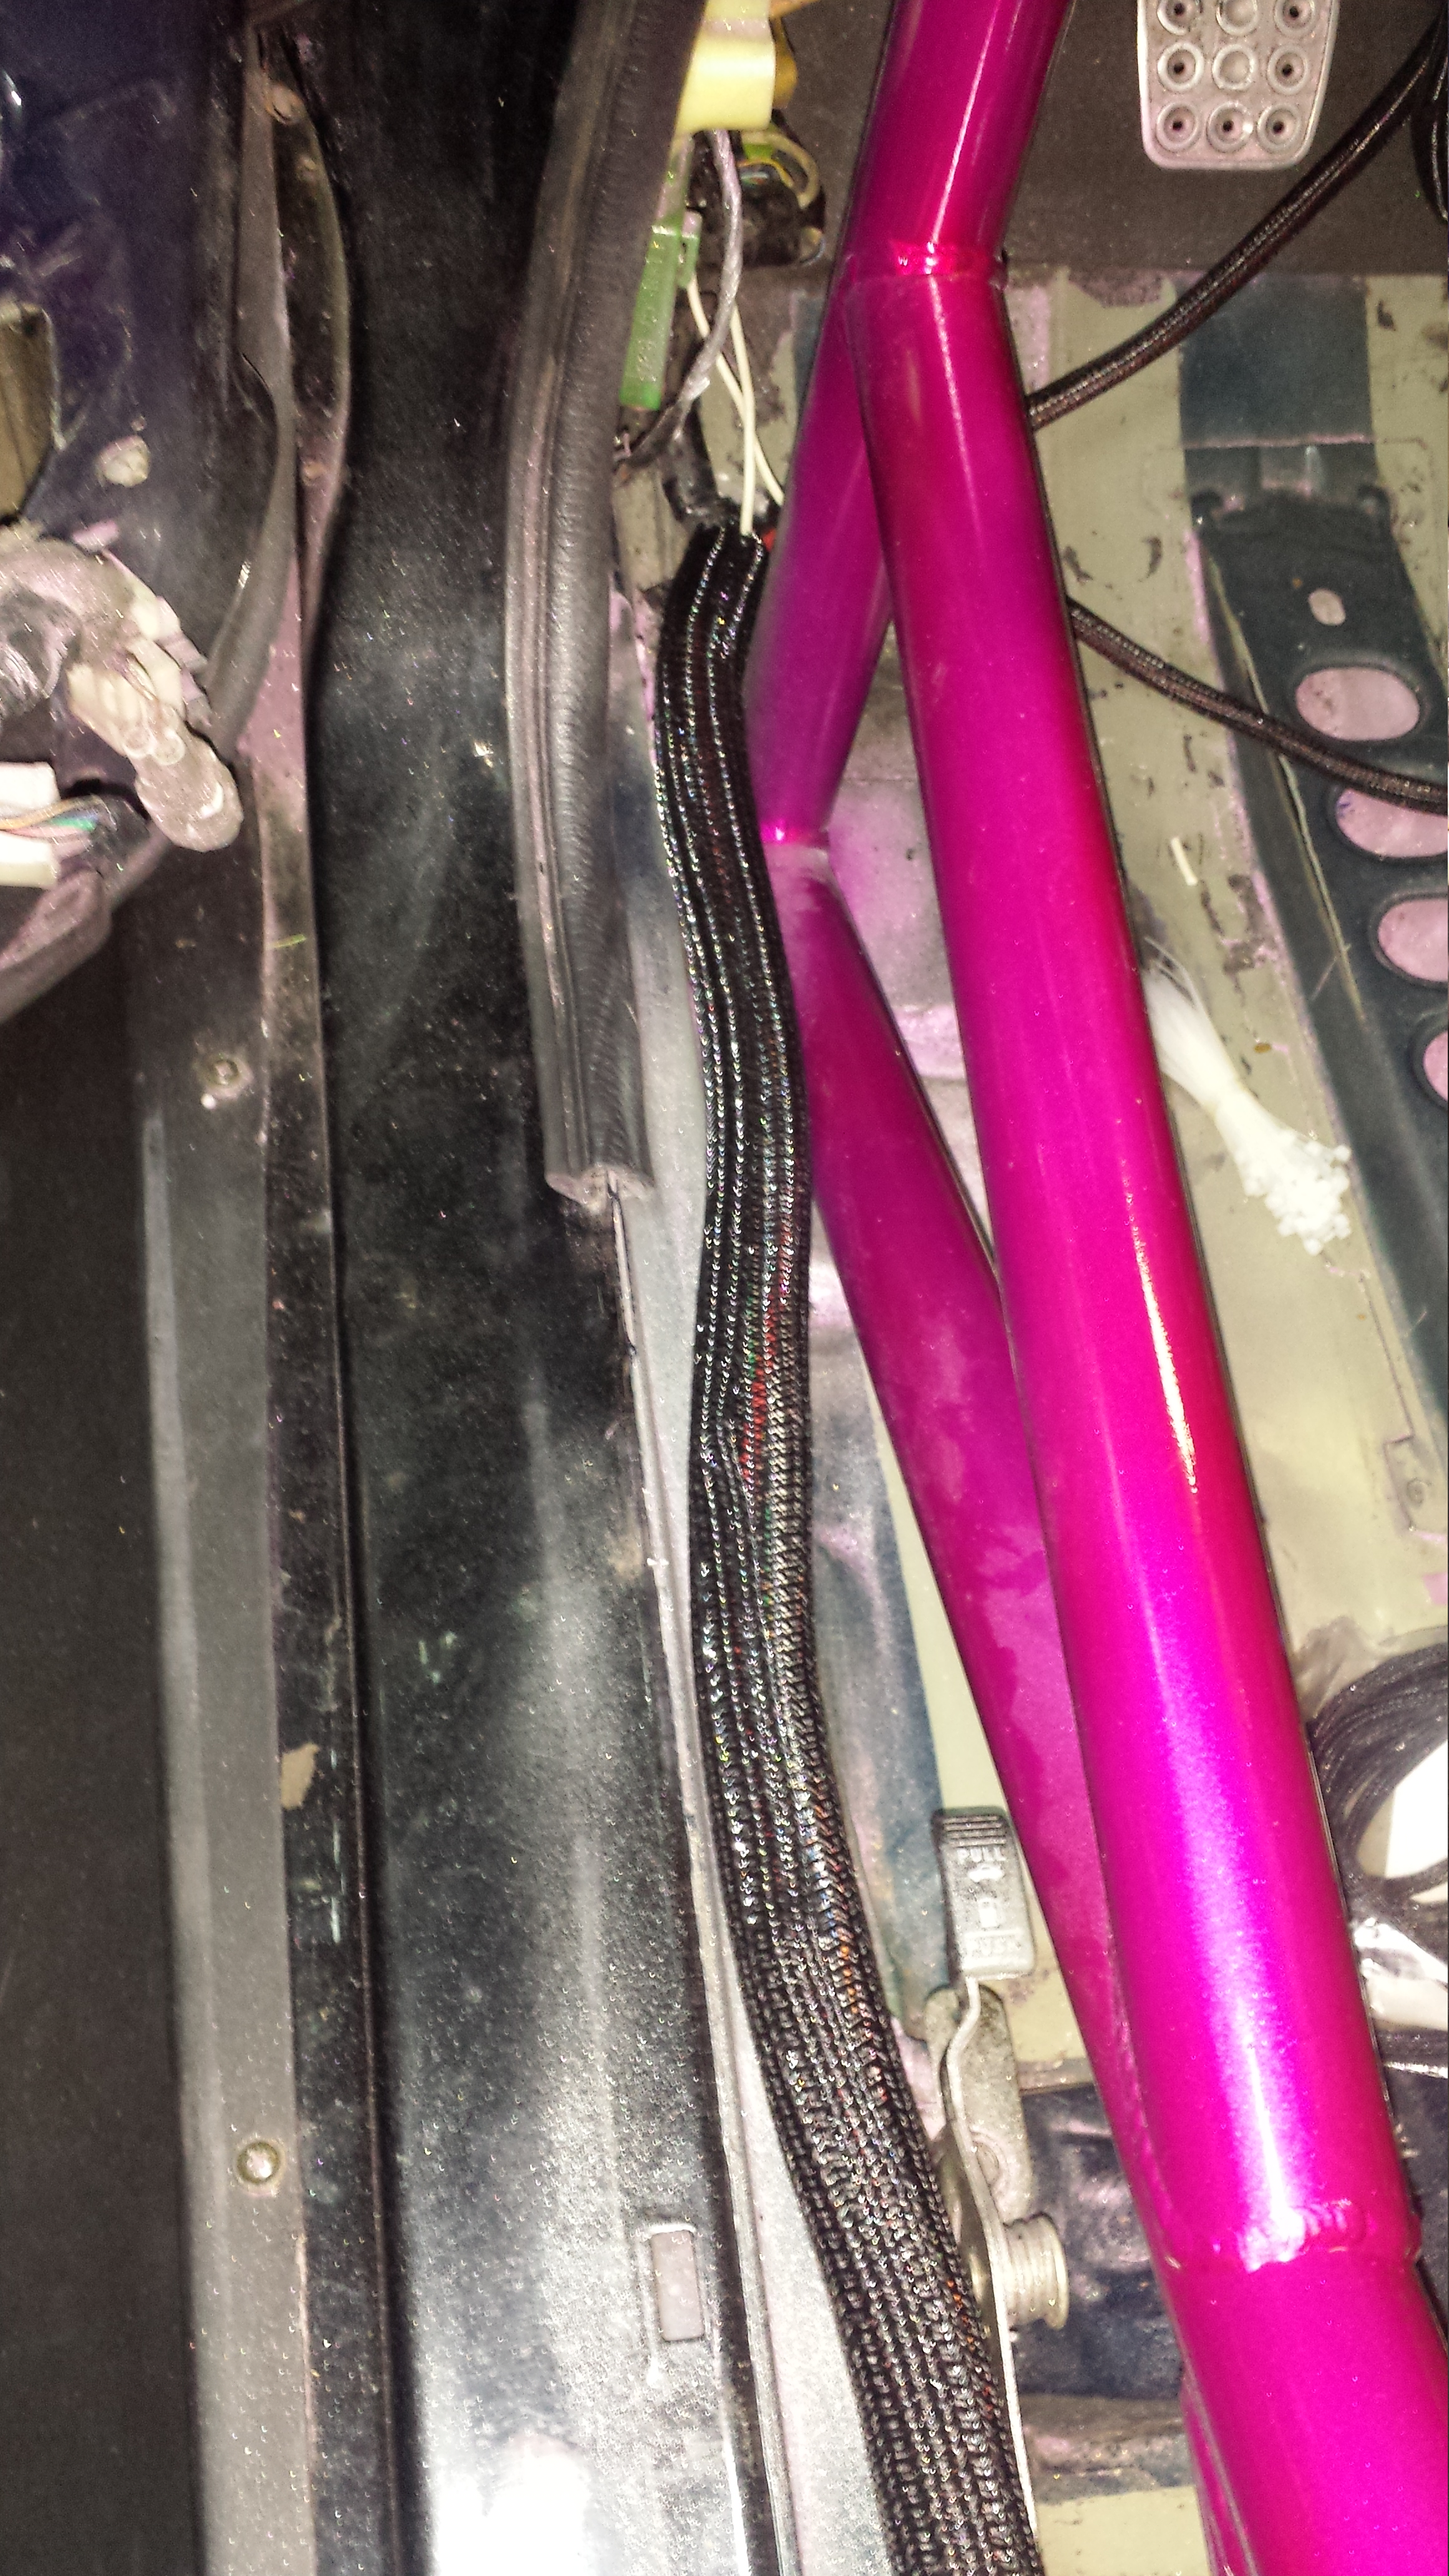
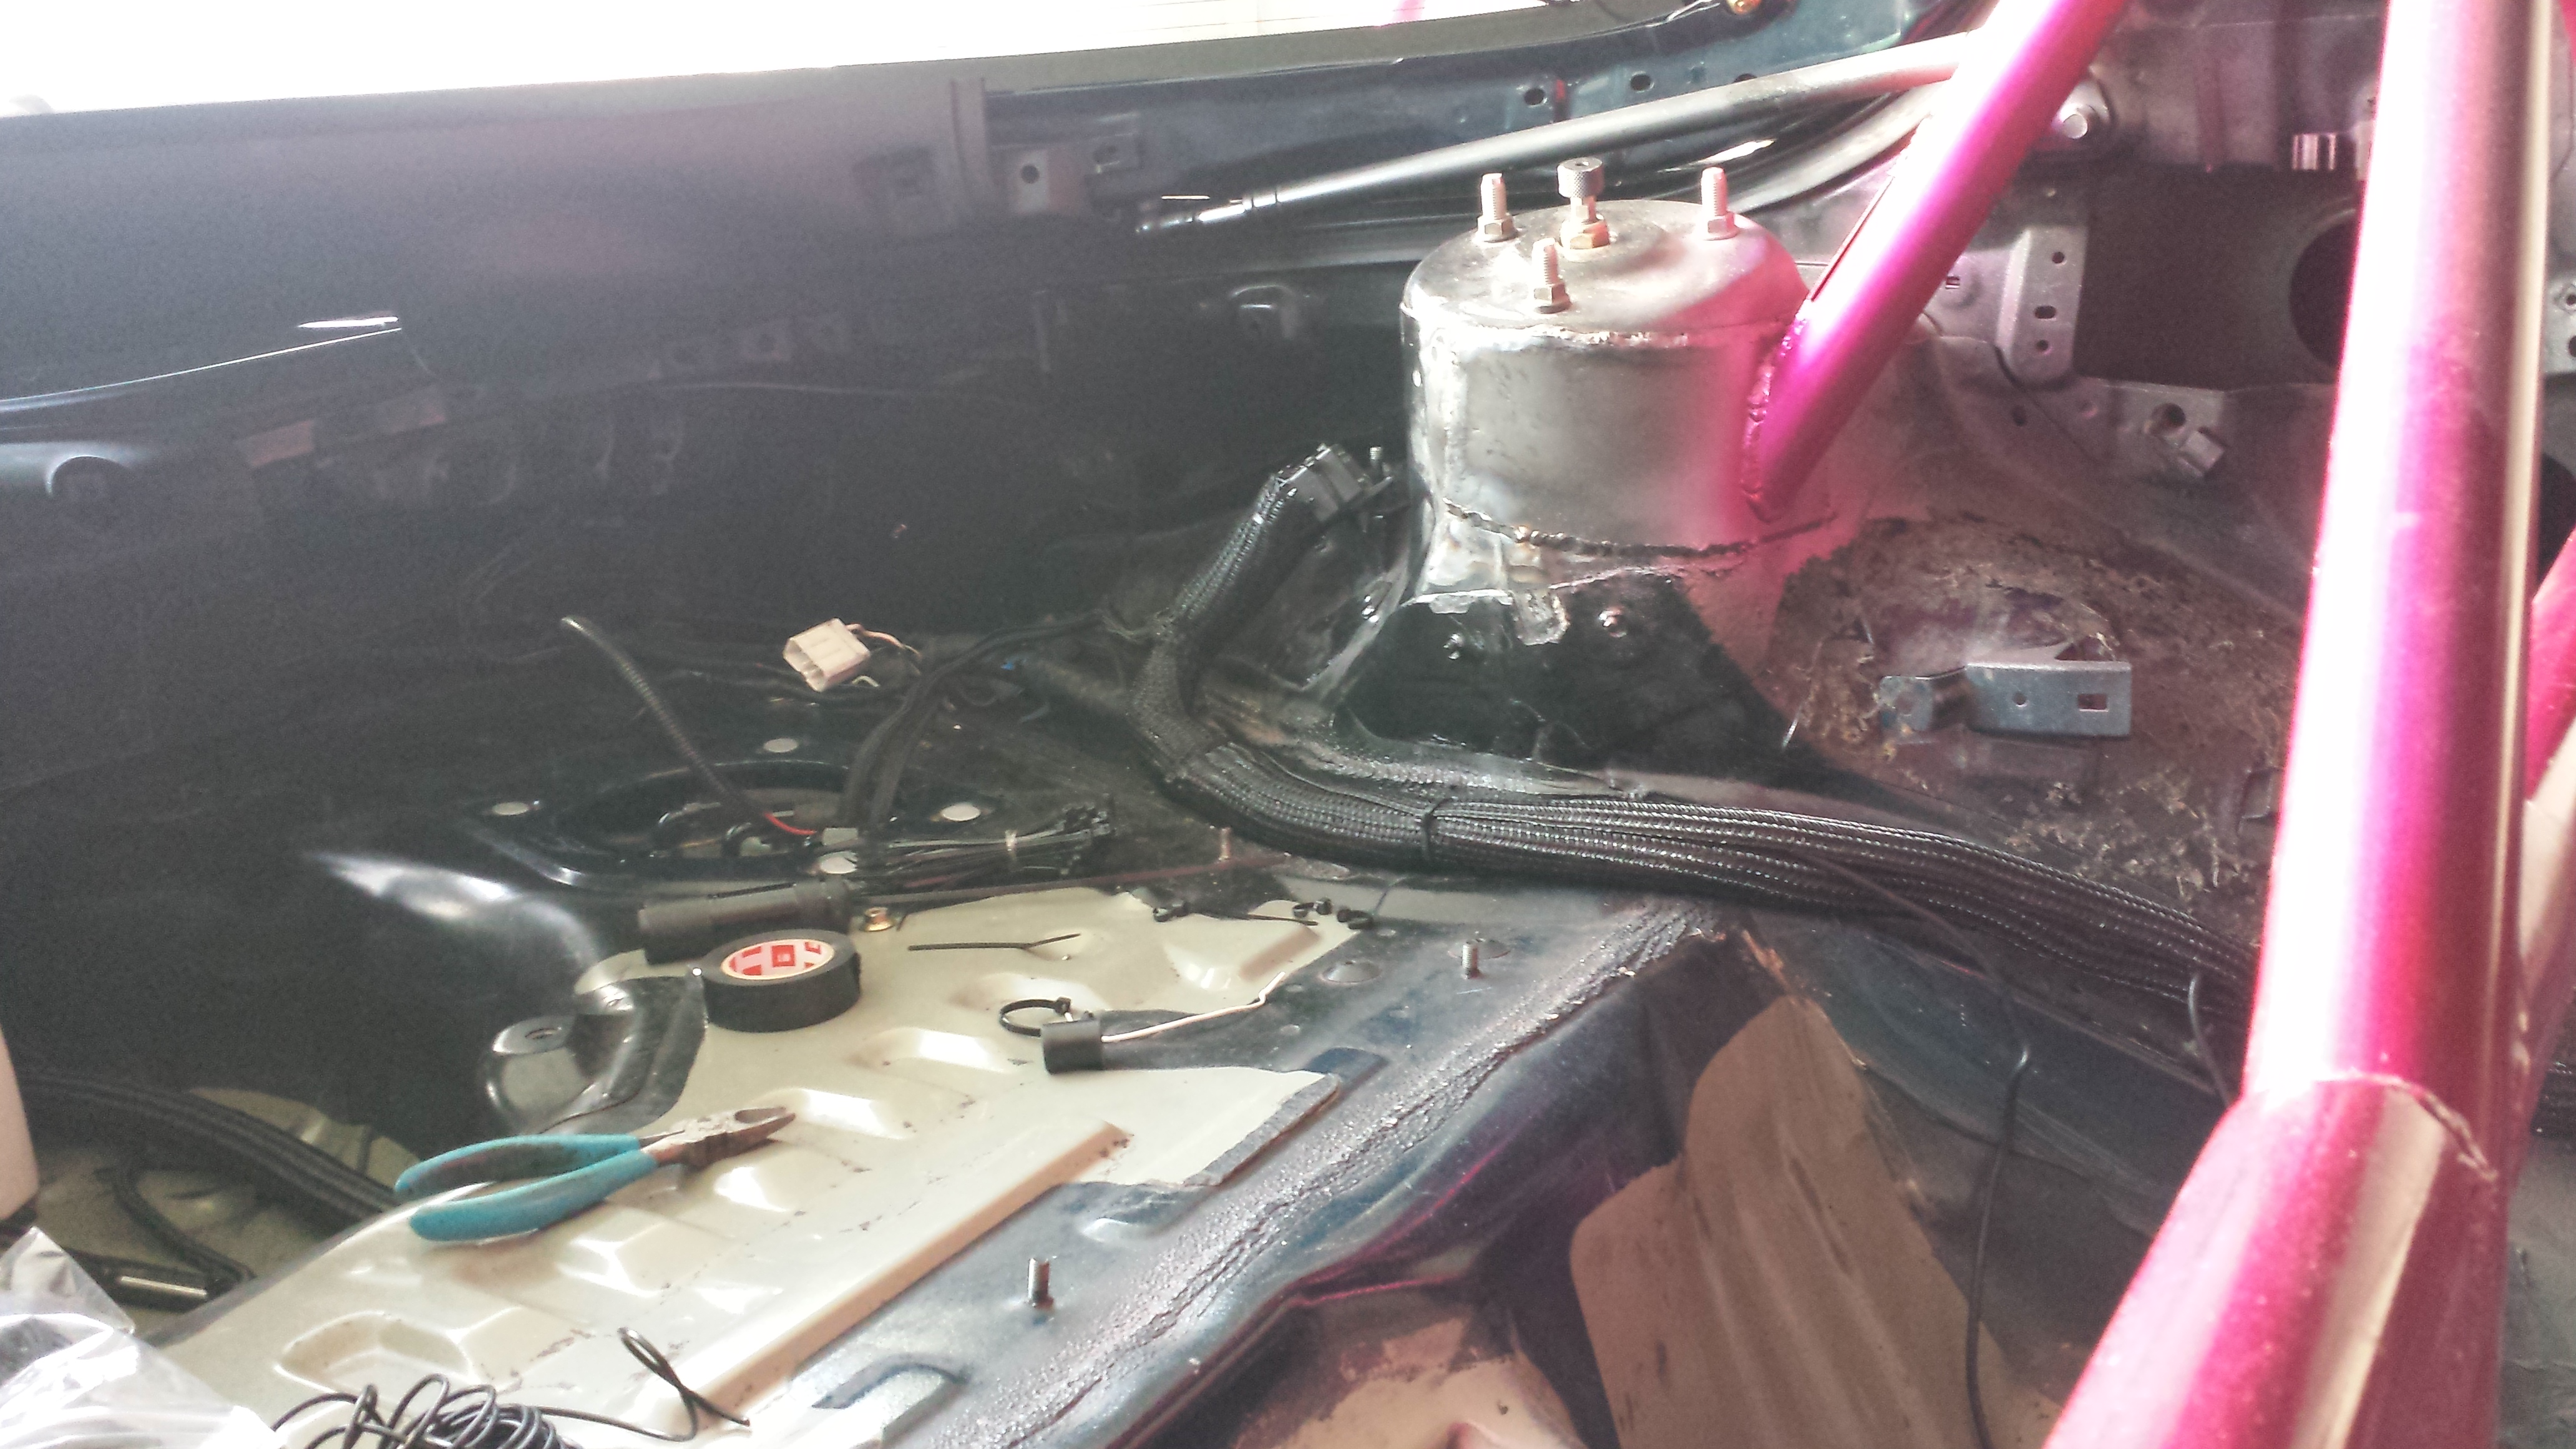
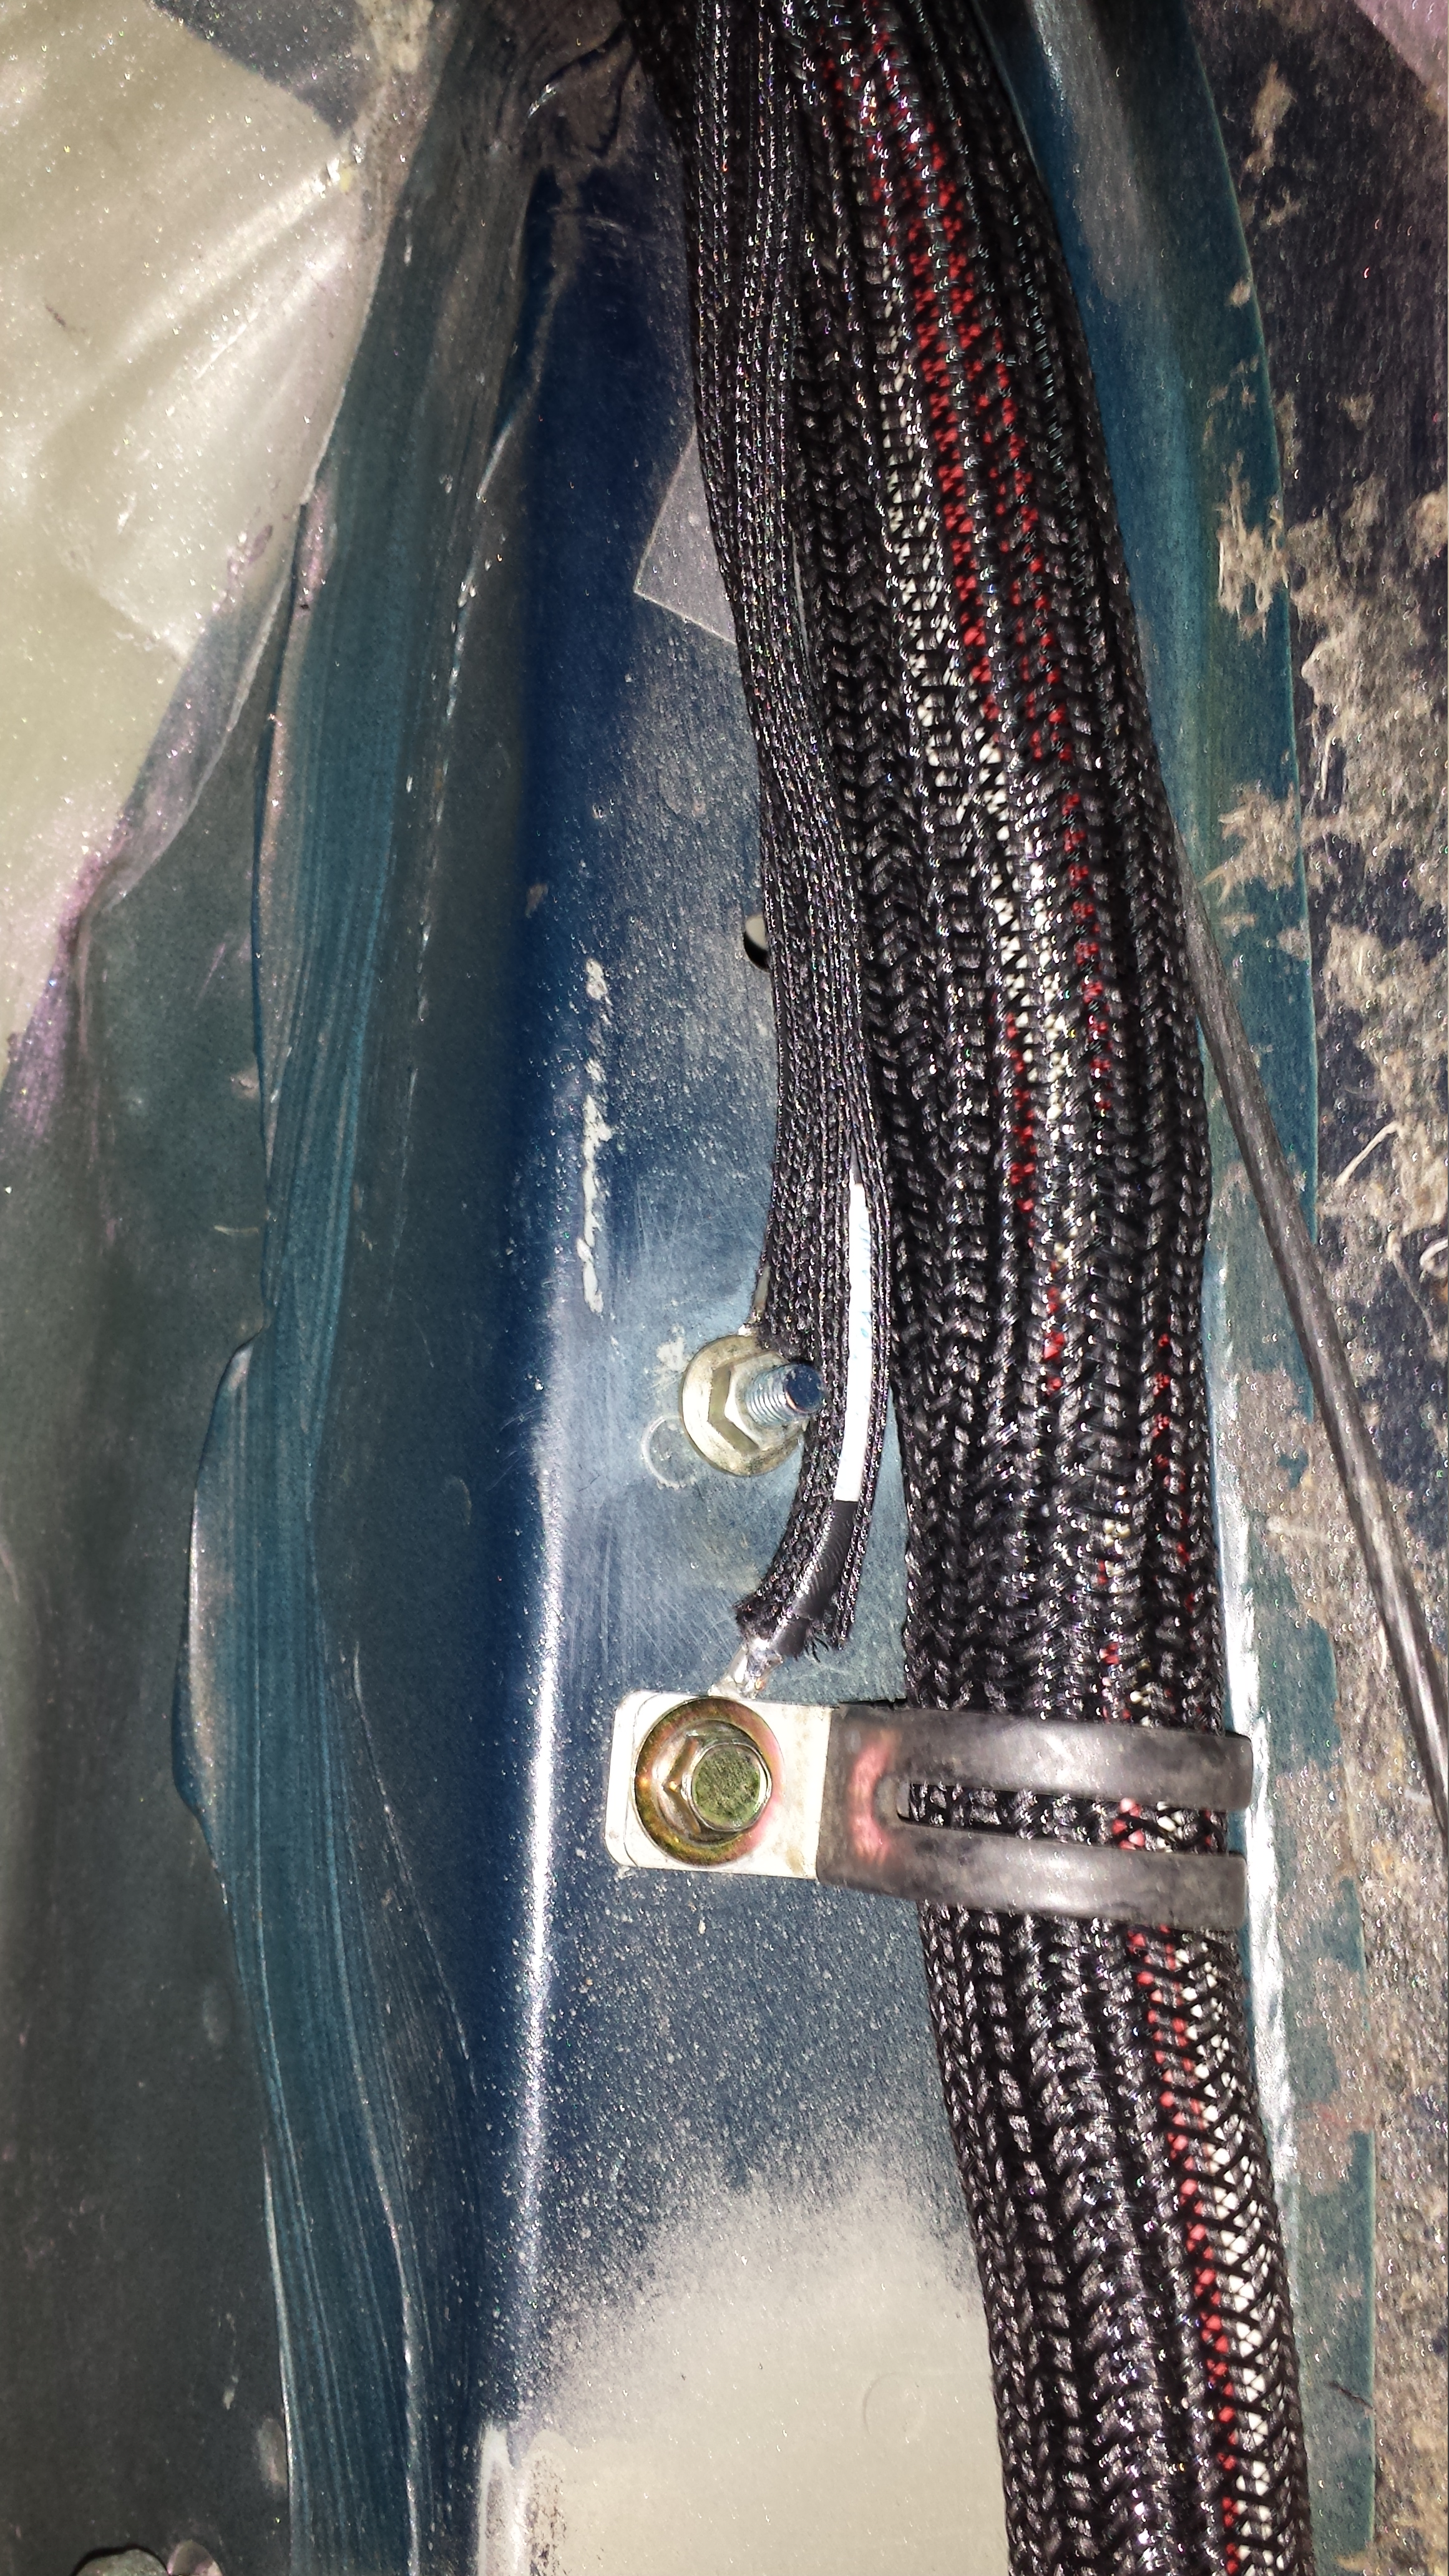
1" braided sleeving...the only one running down the drivers side of the car
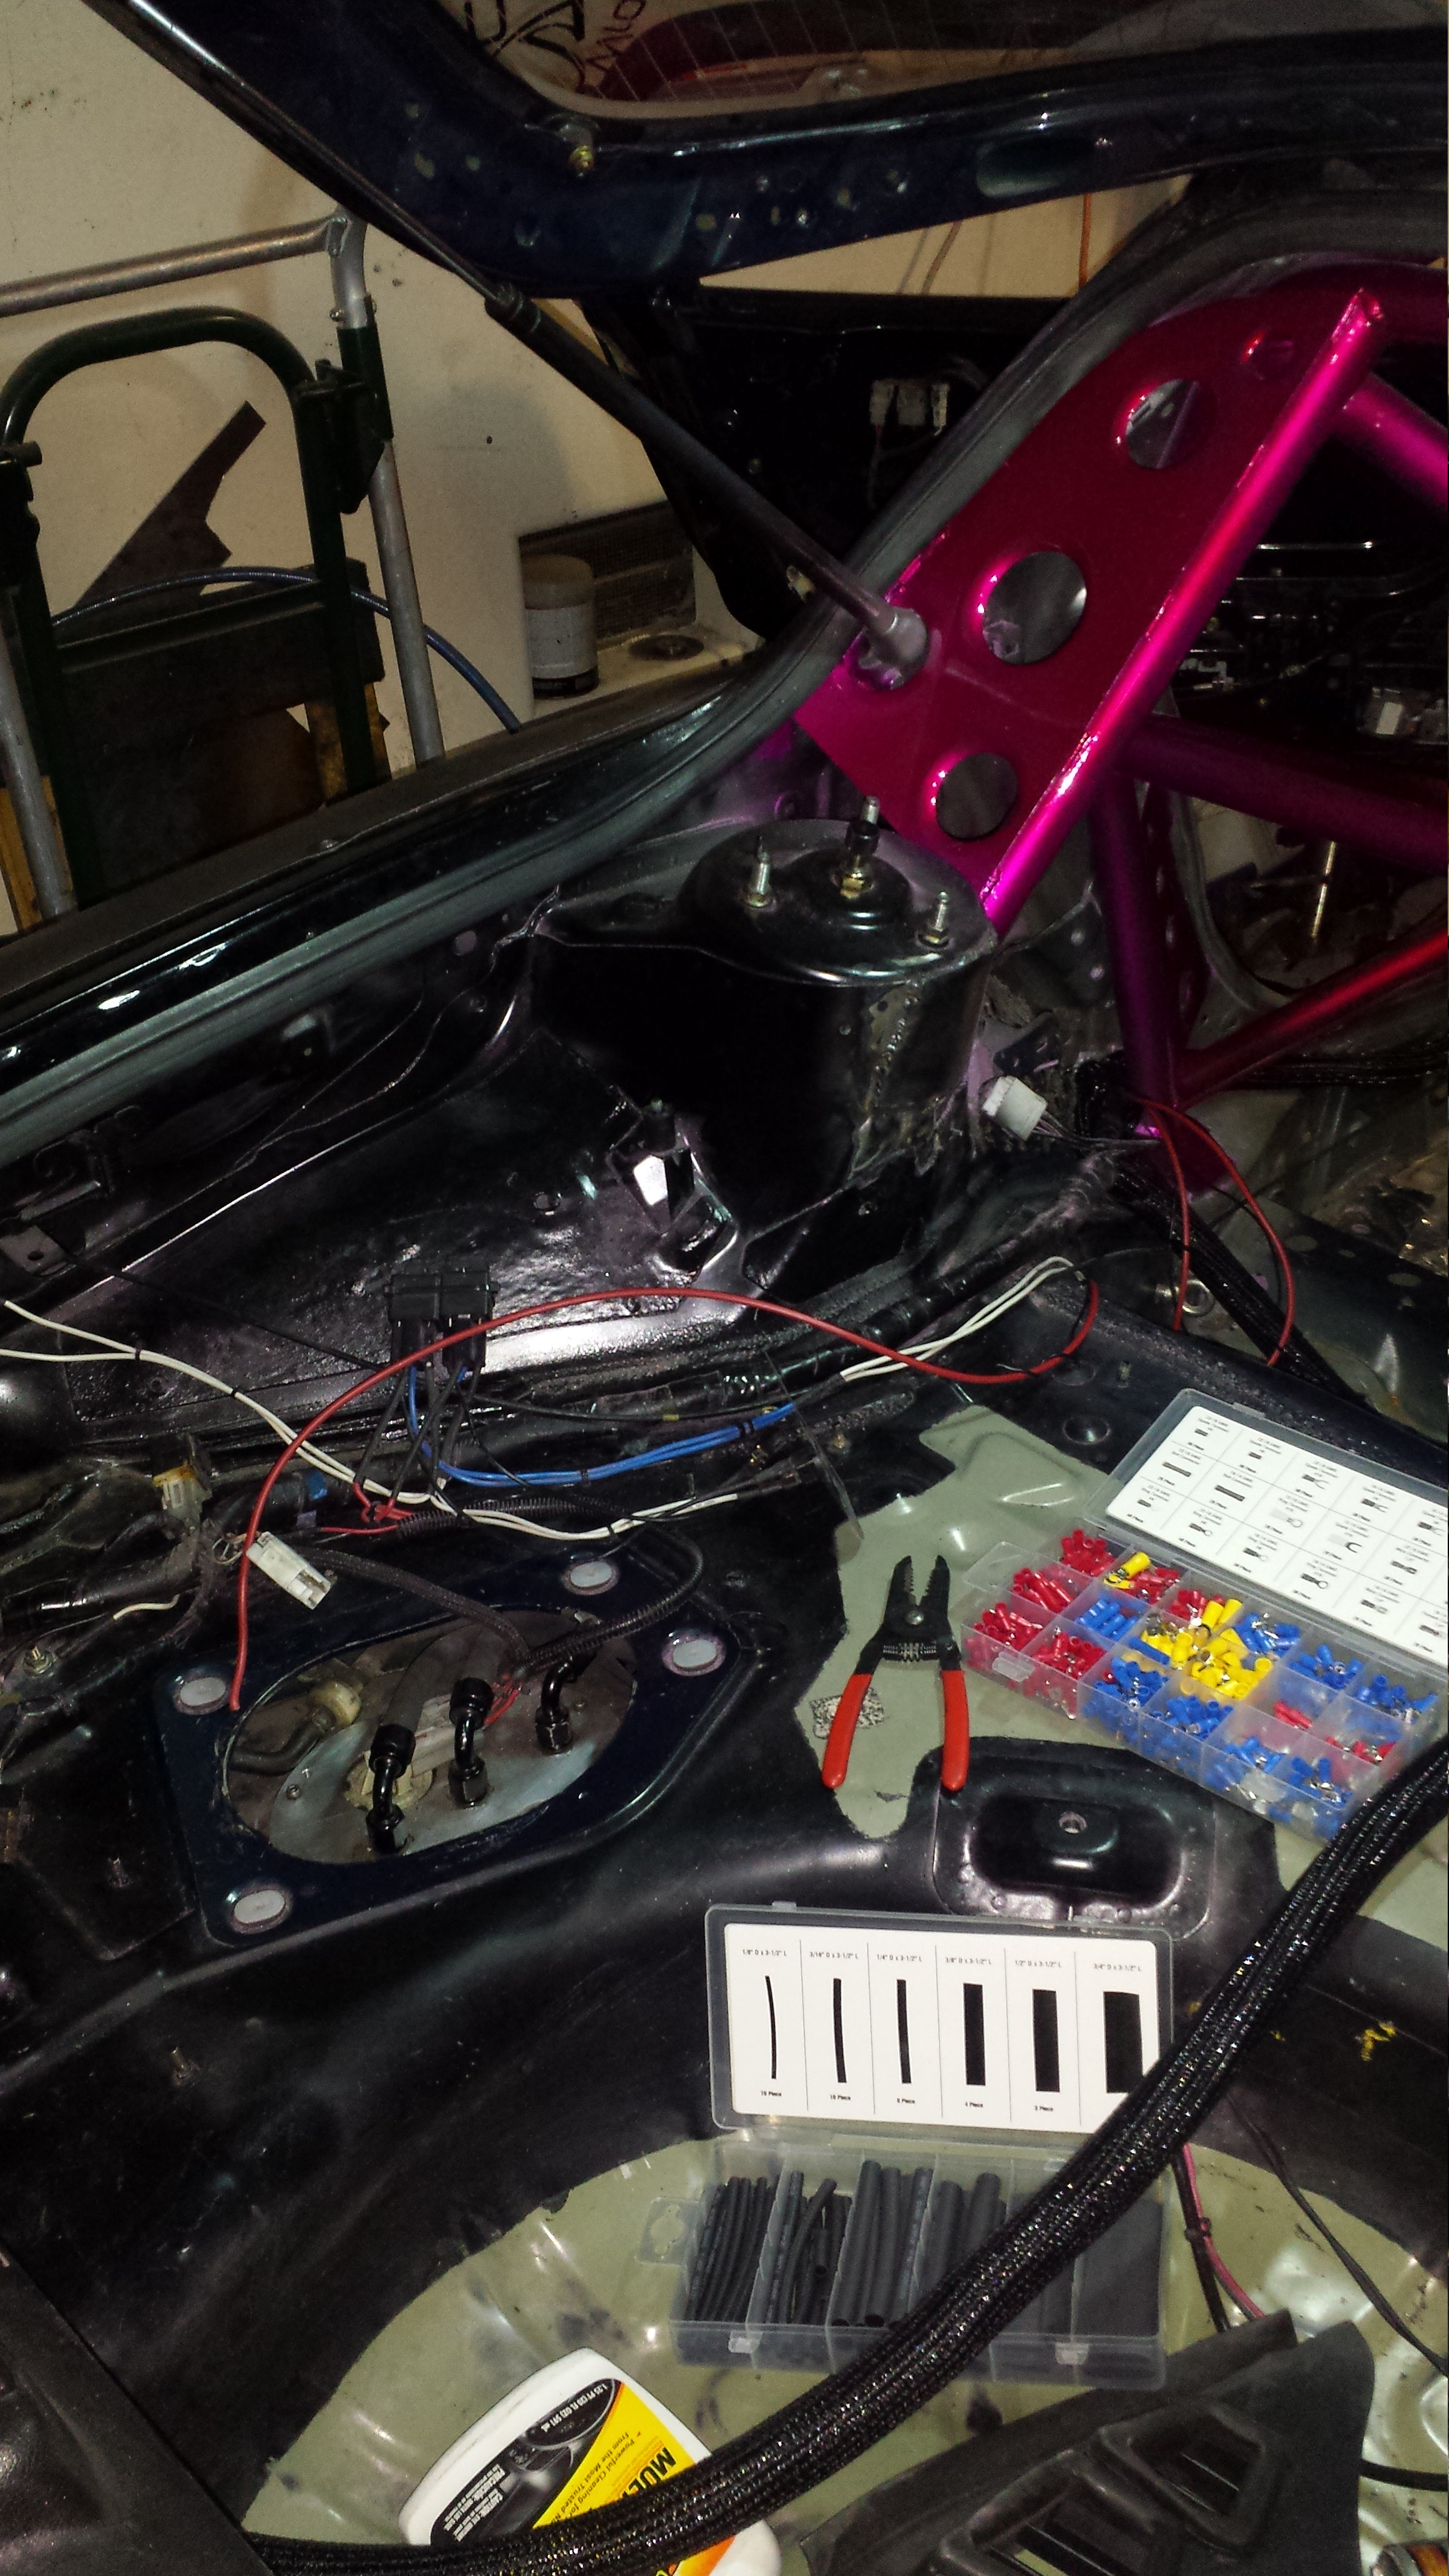
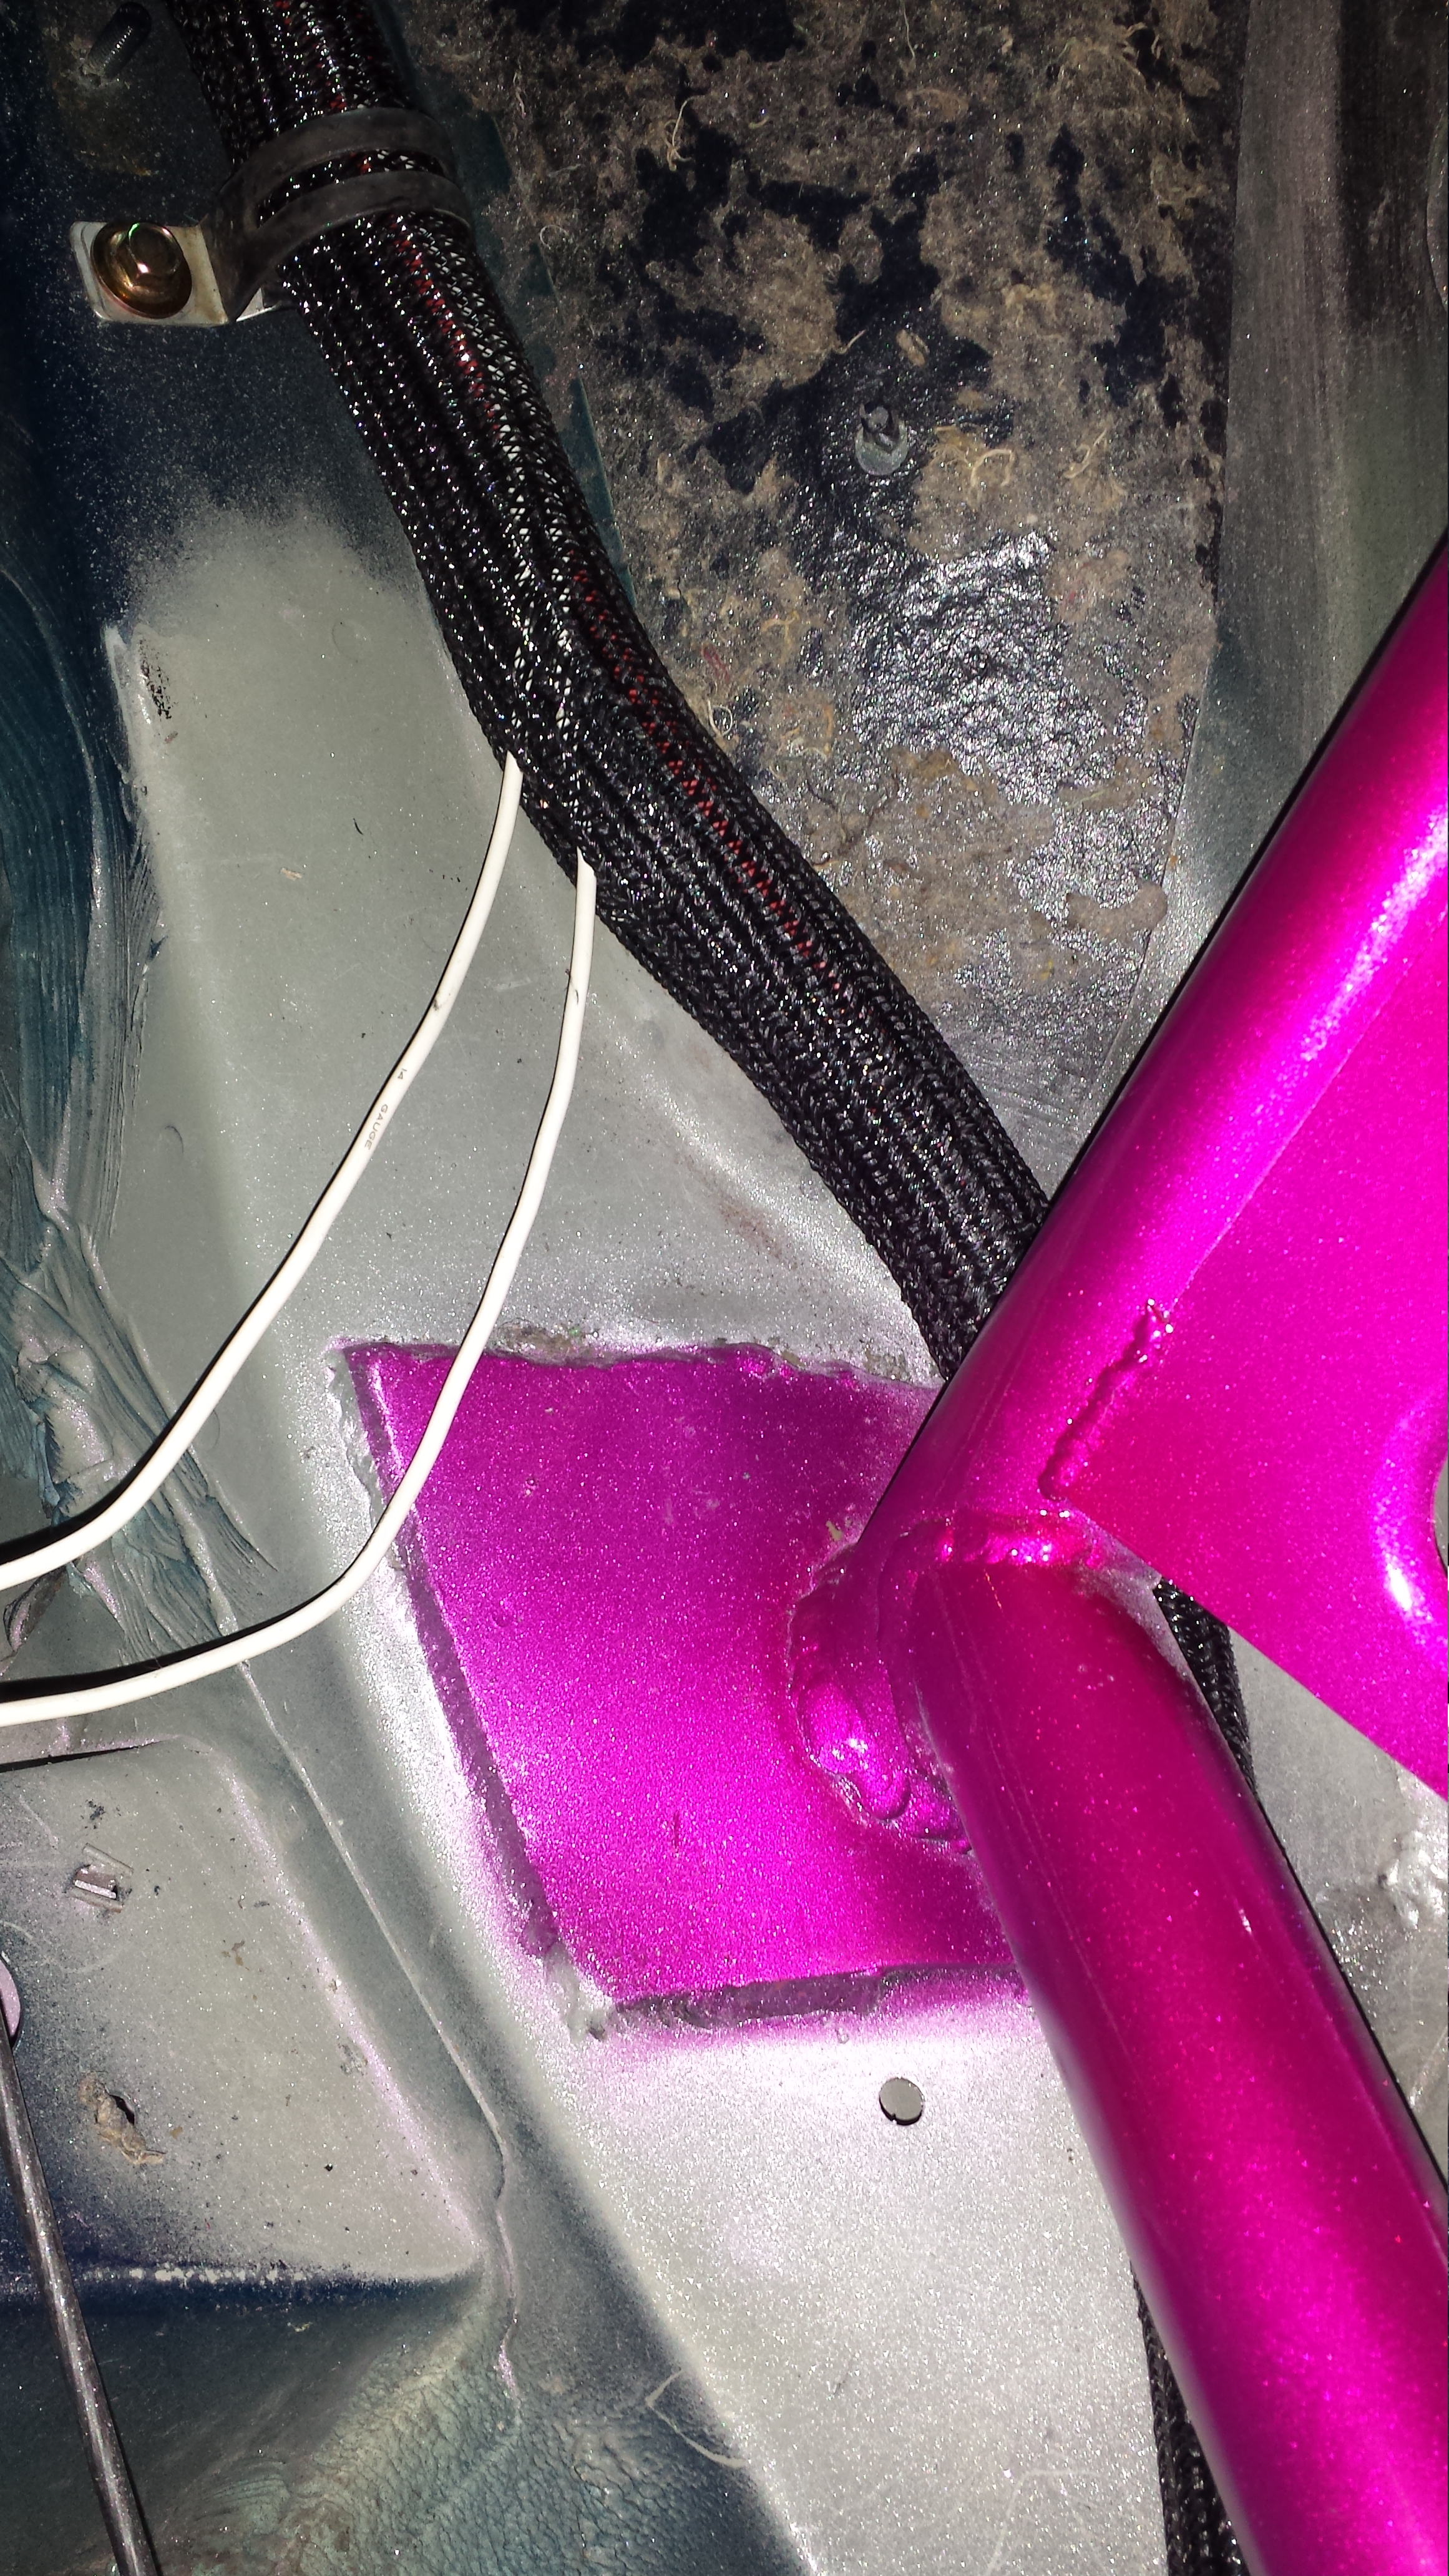
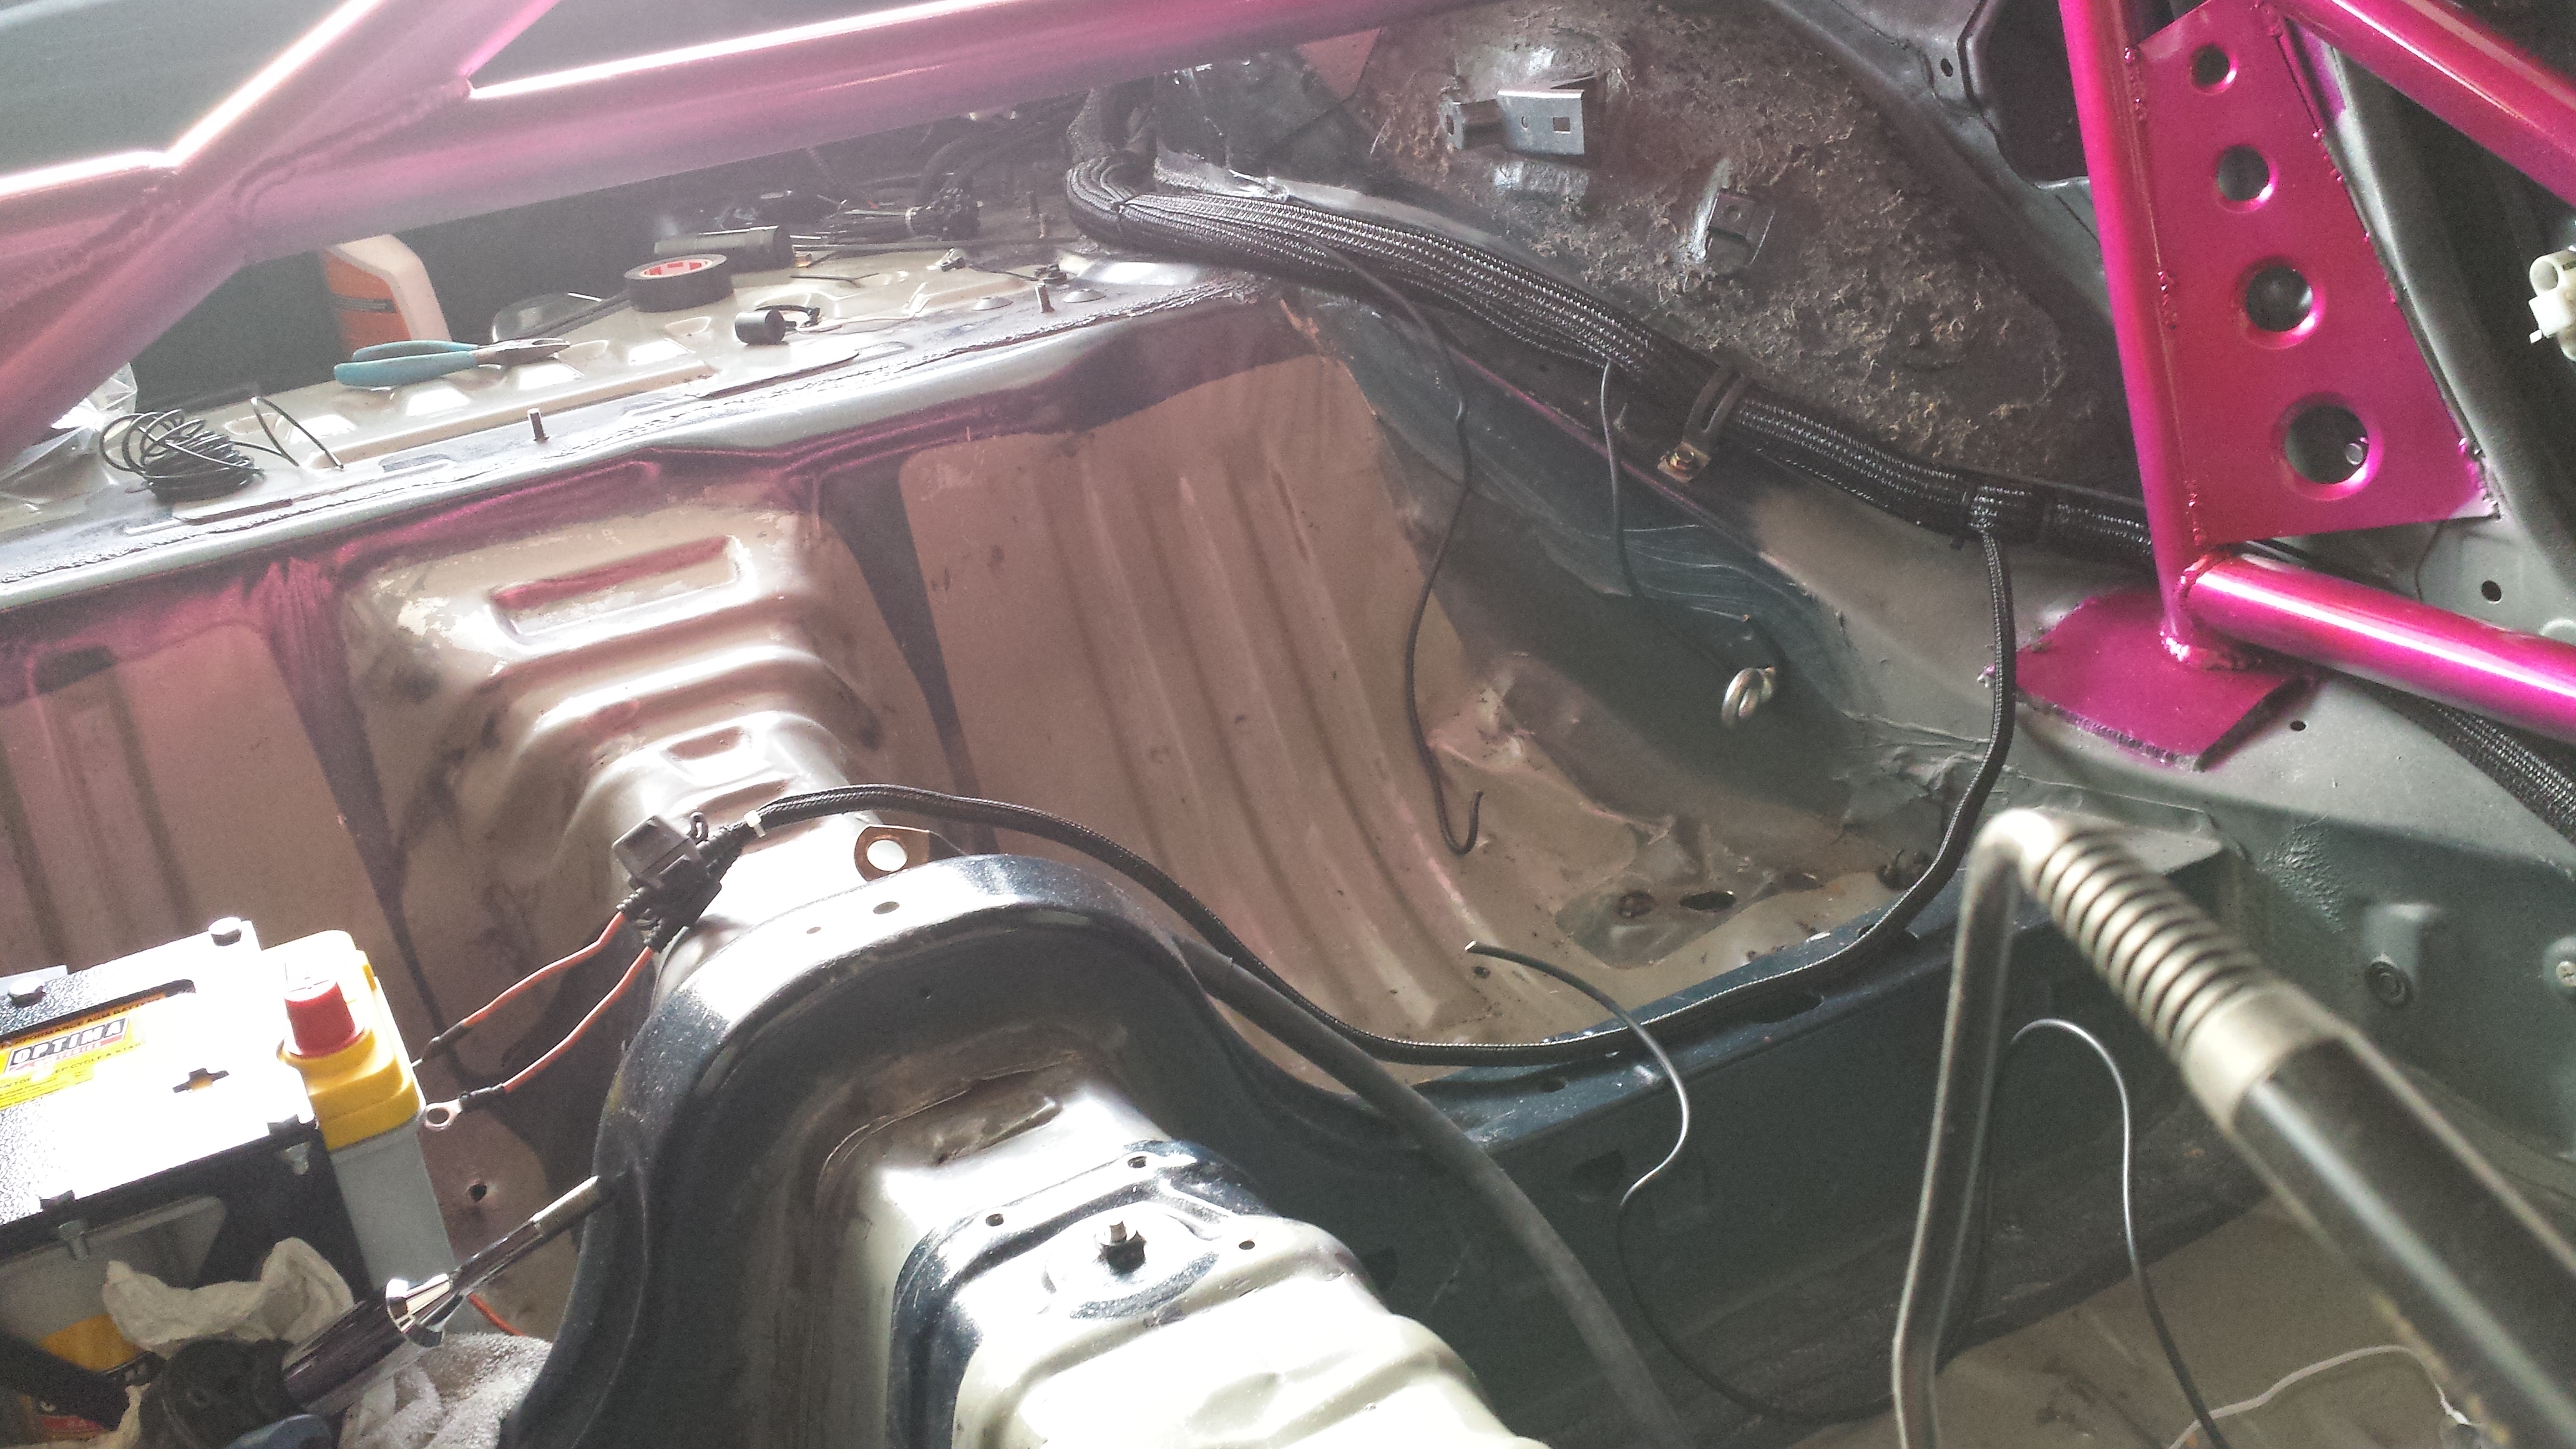
routing on the outside of the cage. I had to un plug all the fuse box connectors to back it out and then go back around it. Which was a pain. But the end product was much better and out of the way. the white wires are going directly to the battery (Fused) to power each Bosch 044.
I still have more to do but here is the drivers side complete. Just need to crimp and solder on new grounds and the driver side is complete
going to be pushing these up flush over the whole thing so it looks nicer =-)
better routing pic I took this morning
rear trunk area
panel
A looong night... early morning.
Well yesterday I got off work and forgot that my gorgeous girlfriend would be working. So I decided to do some work on Le'Wolfe.
I really wanted to start the re-wire and I wanted to look at everything to ensure it was all solid. First thing I needed to do was run new wire from my old switches to the new ones. I won't be using any of the old wiring just because I have new stuff. So first I laid everything out where I wanted it routed and made sure all the lengths were correct. Then started the crimping for rocker switches. Then after the switches were done I double checked length....tightened it all up with zip ties and wrapped the wires with braided sleeving. It actually came out pretty damn good. ANd now theres only the one large 1" braided sleeve running the entire drivers side of the car. Looks really nice. Here are some of my worst pictures haha.
routing and organizing with zipties
more routing
Old switch location and process
1/4 size braided sleeving for switch routing
1" braided sleeving...the only one running down the drivers side of the car
routing on the outside of the cage. I had to un plug all the fuse box connectors to back it out and then go back around it. Which was a pain. But the end product was much better and out of the way. the white wires are going directly to the battery (Fused) to power each Bosch 044.
I still have more to do but here is the drivers side complete. Just need to crimp and solder on new grounds and the driver side is complete
going to be pushing these up flush over the whole thing so it looks nicer =-)
better routing pic I took this morning
rear trunk area
panel
04-25-14, 02:09 PM
#1854
Still have a lot to do, And I work all today, tonight, Saturday and sunday. So I guess I might be able to get to some things tomorrow morning and sunday night. We'll see... went to sleep at 2 last night though and had to wake up at 5:45. I don't miss doing that at all, i'm definitely feeling it right now. But I get off school here at 3 and go straight to the stadium.. so if i'm lucky I'll get to sleep before 2 tonight, that way I can get up and make some progress!!
More updates soon!
Stay tuned!
More updates soon!
Stay tuned!
04-25-14, 02:23 PM
#1856
 04-28-14, 11:08 AM
#1857
Update:
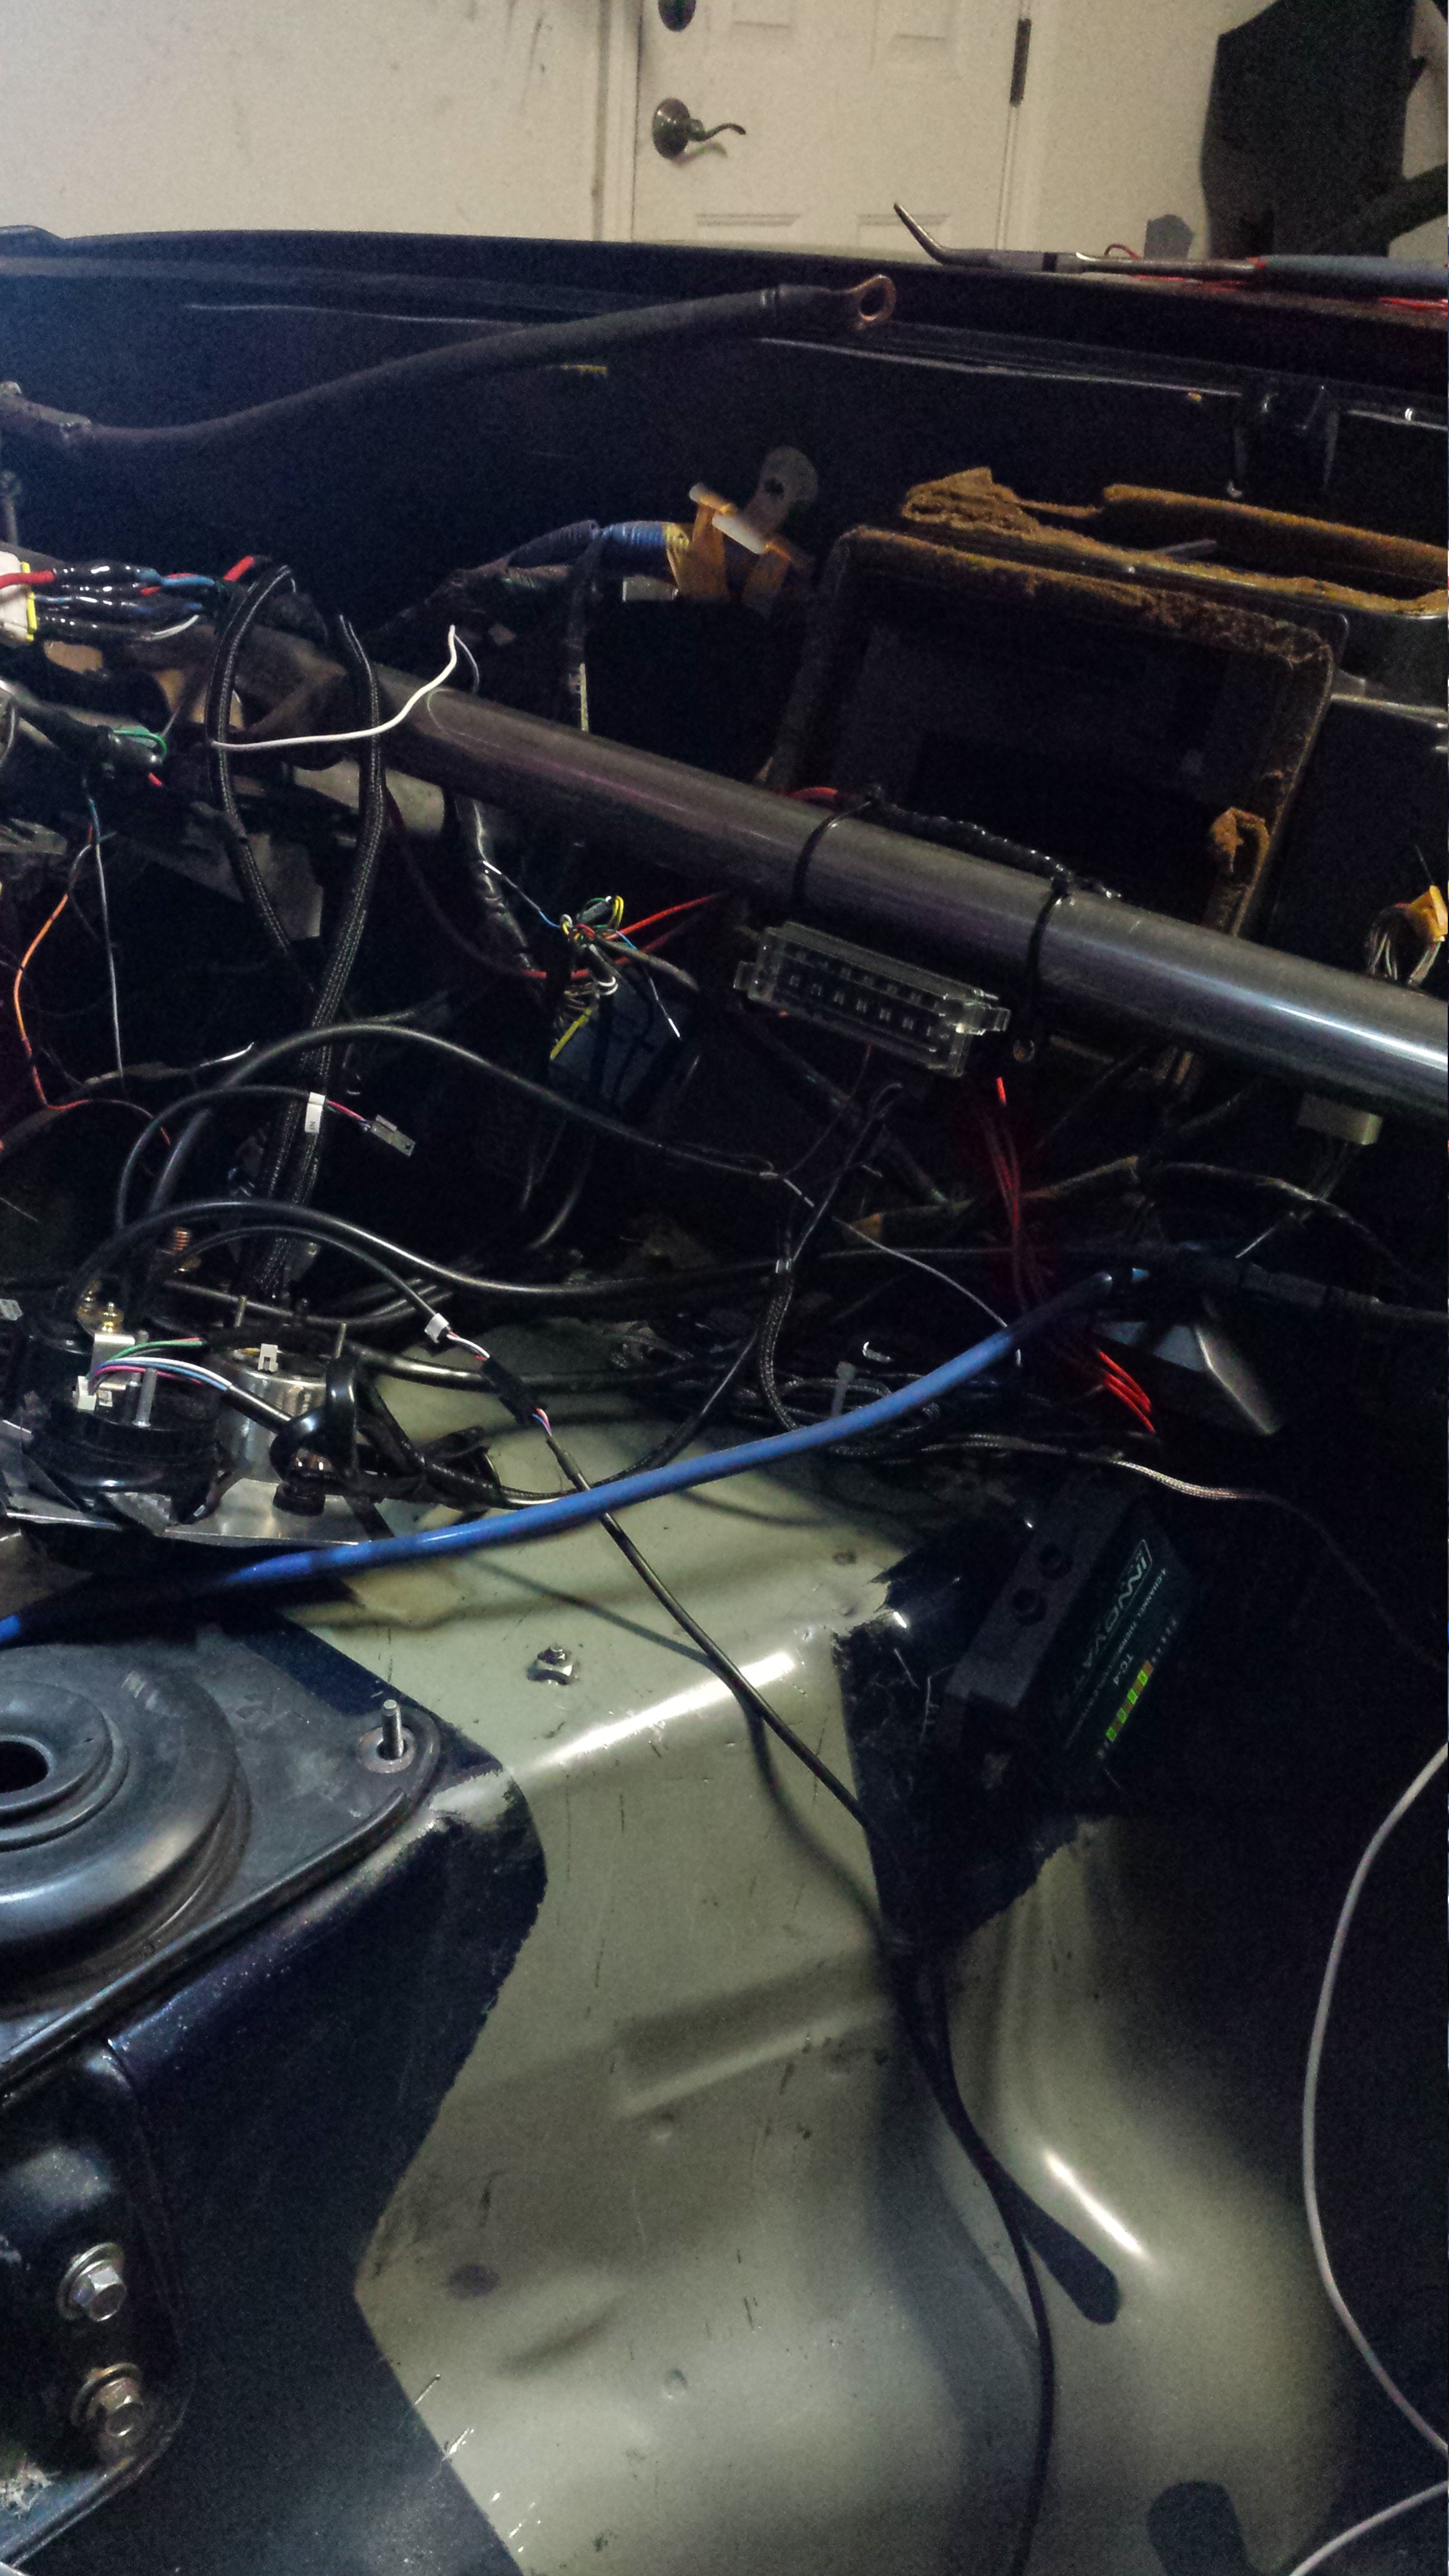
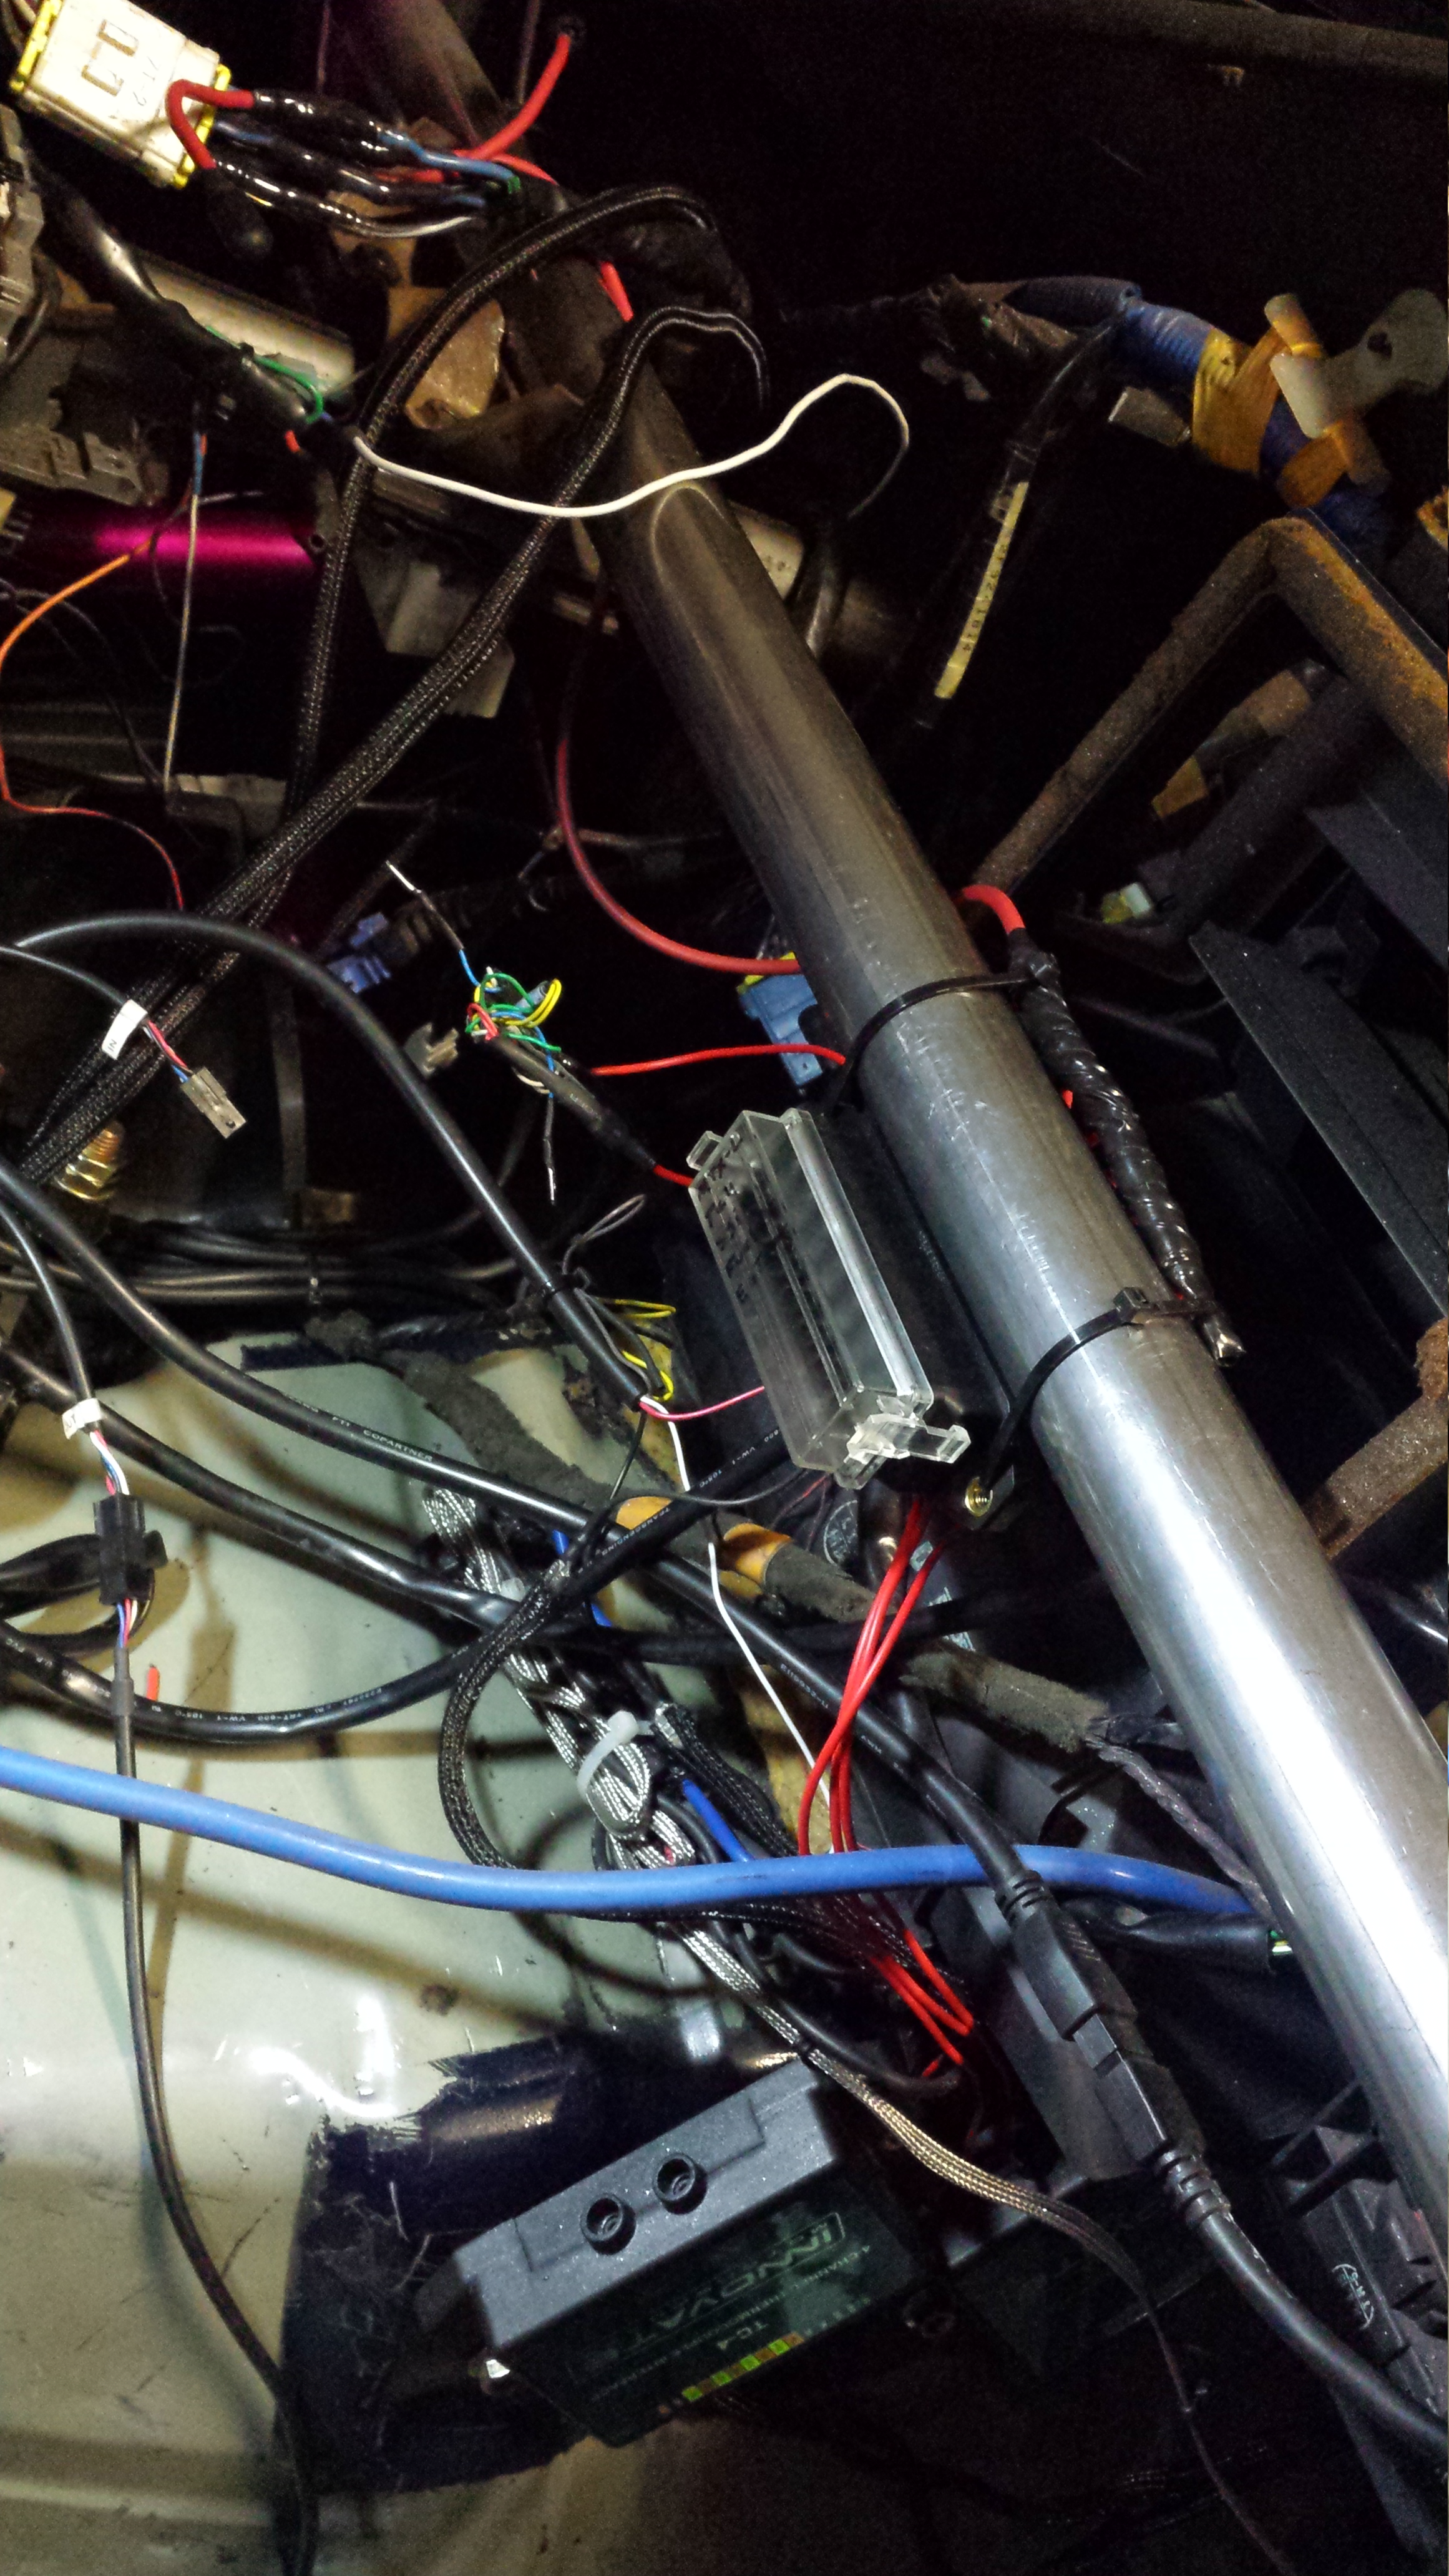
Worked the weekend but was able to squeeze in some wiring Friday night and here and there Saturday etc. I'll just cut to it this time.
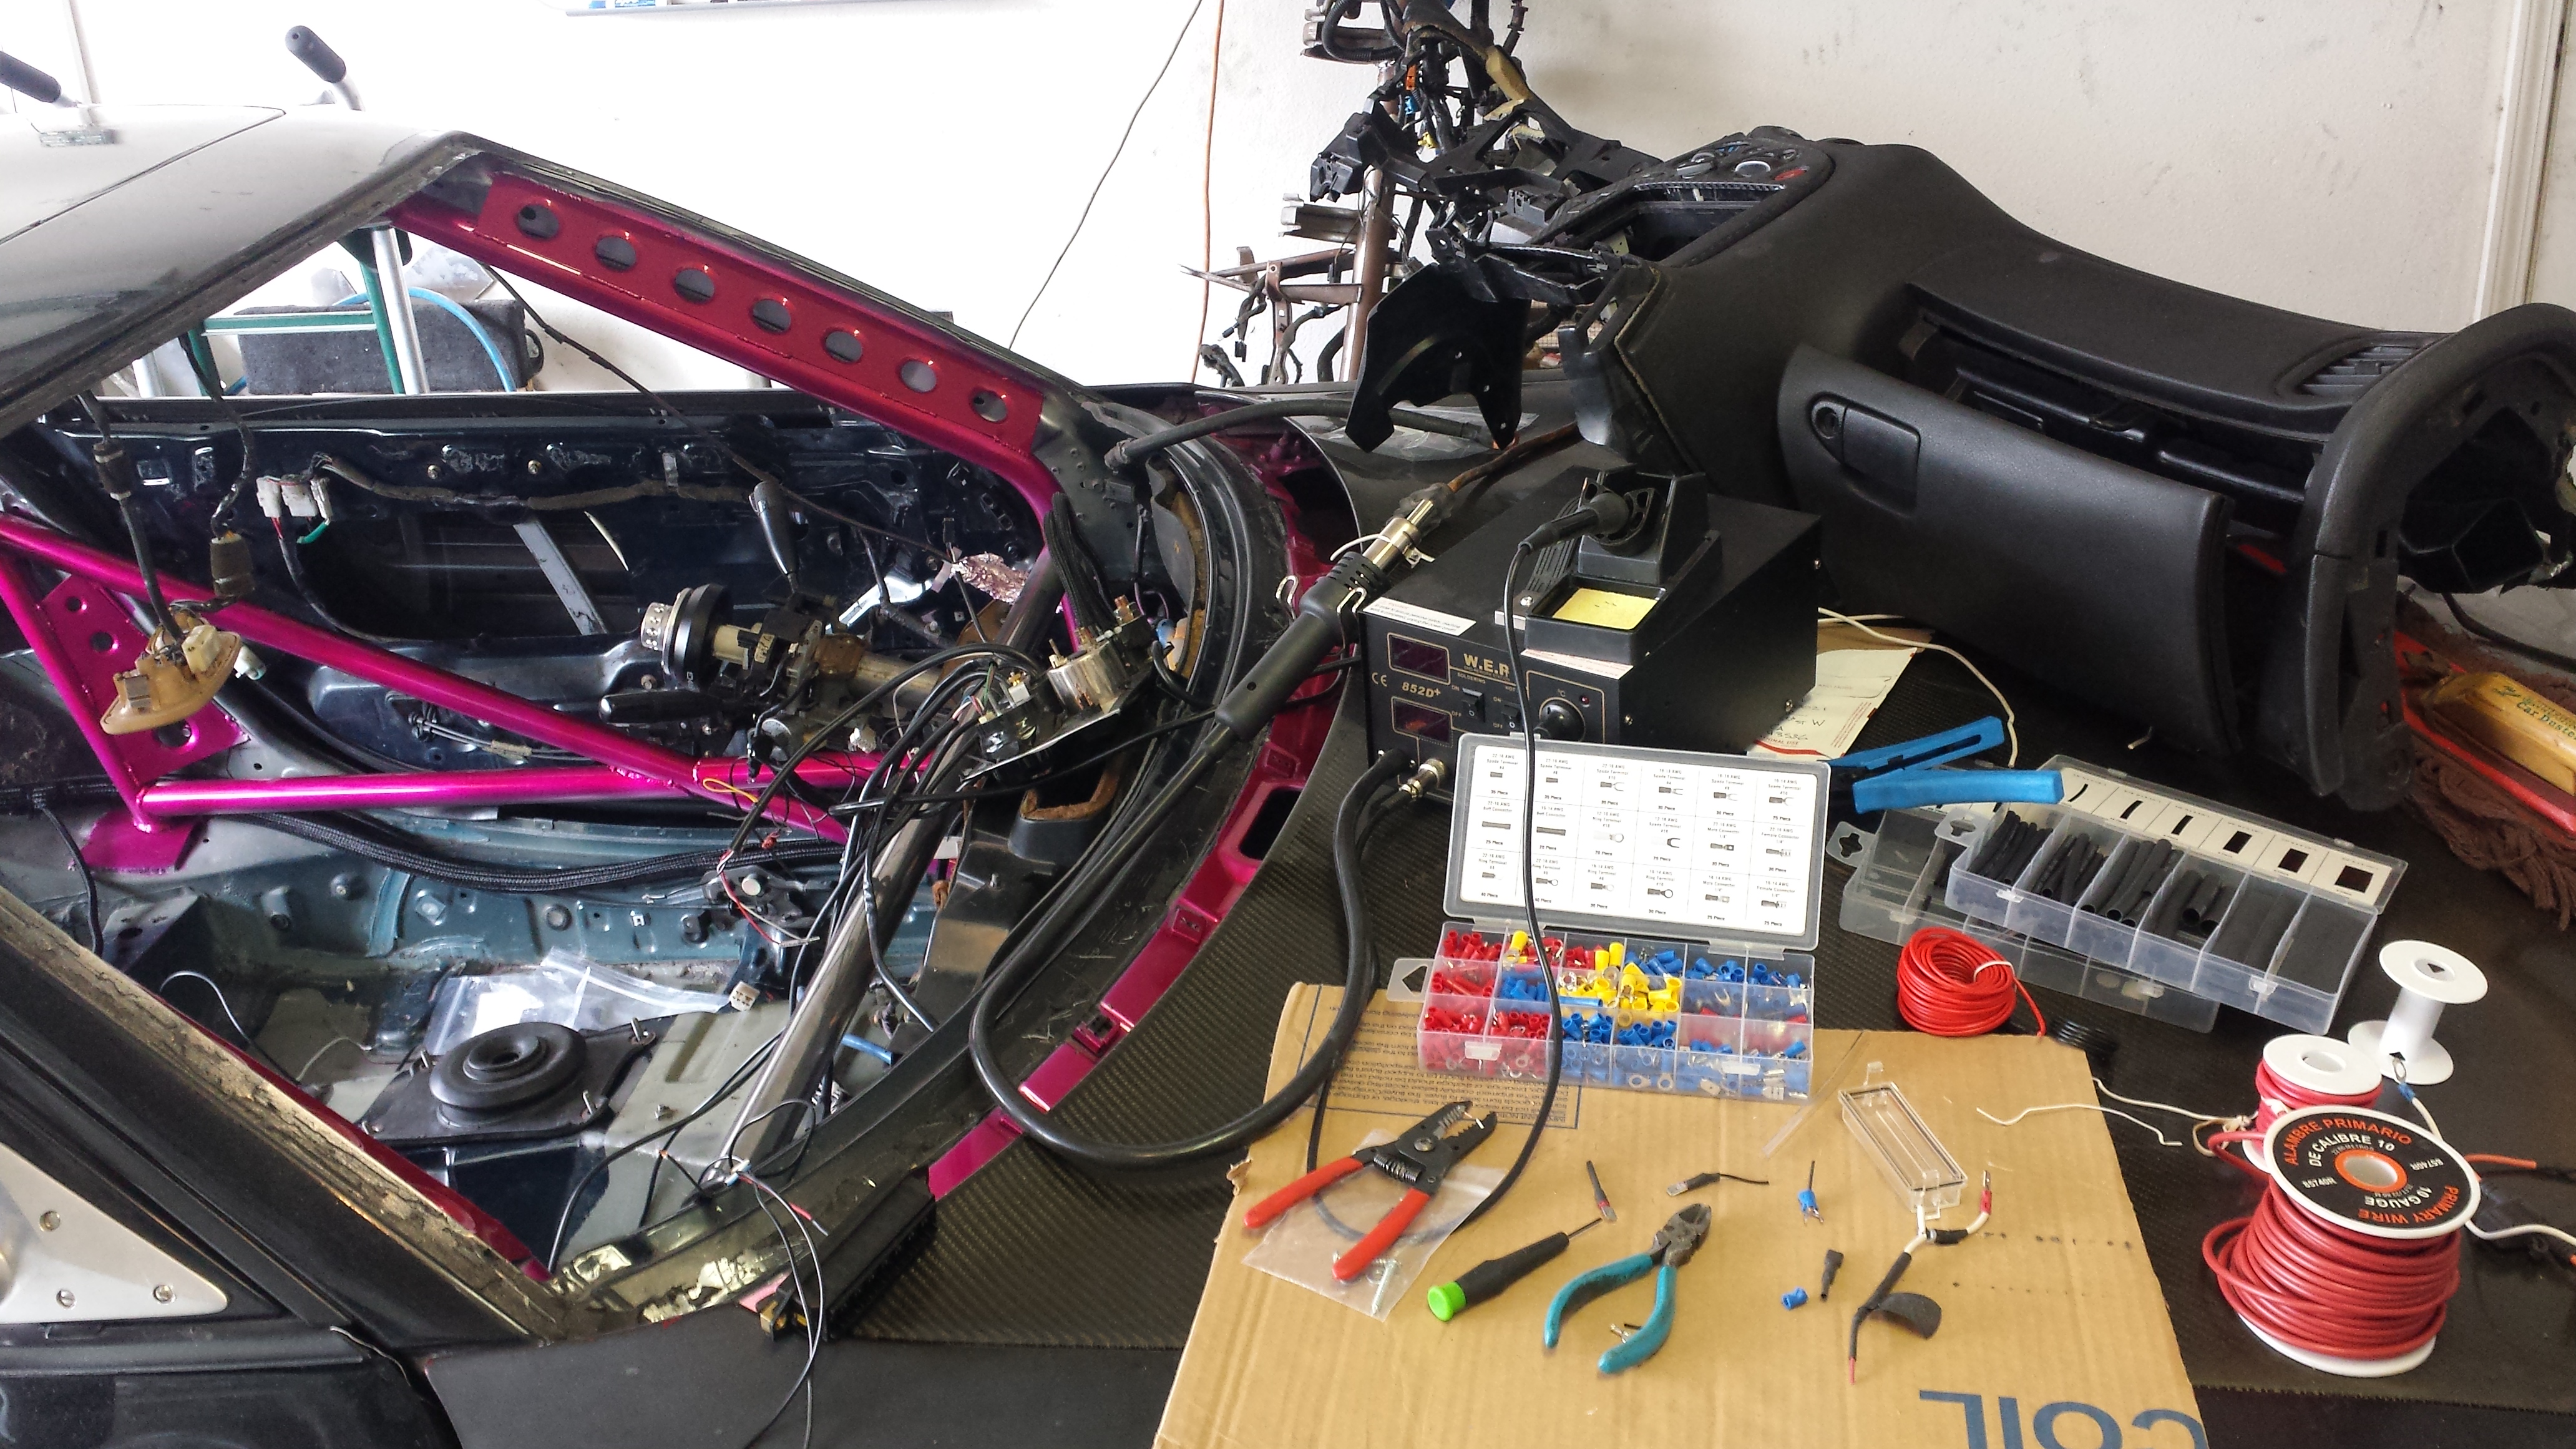
Station
Wires everywhere but slowly cleaning itself up
Finished the two fuel pump relay grounds. This location was much better than the previous.
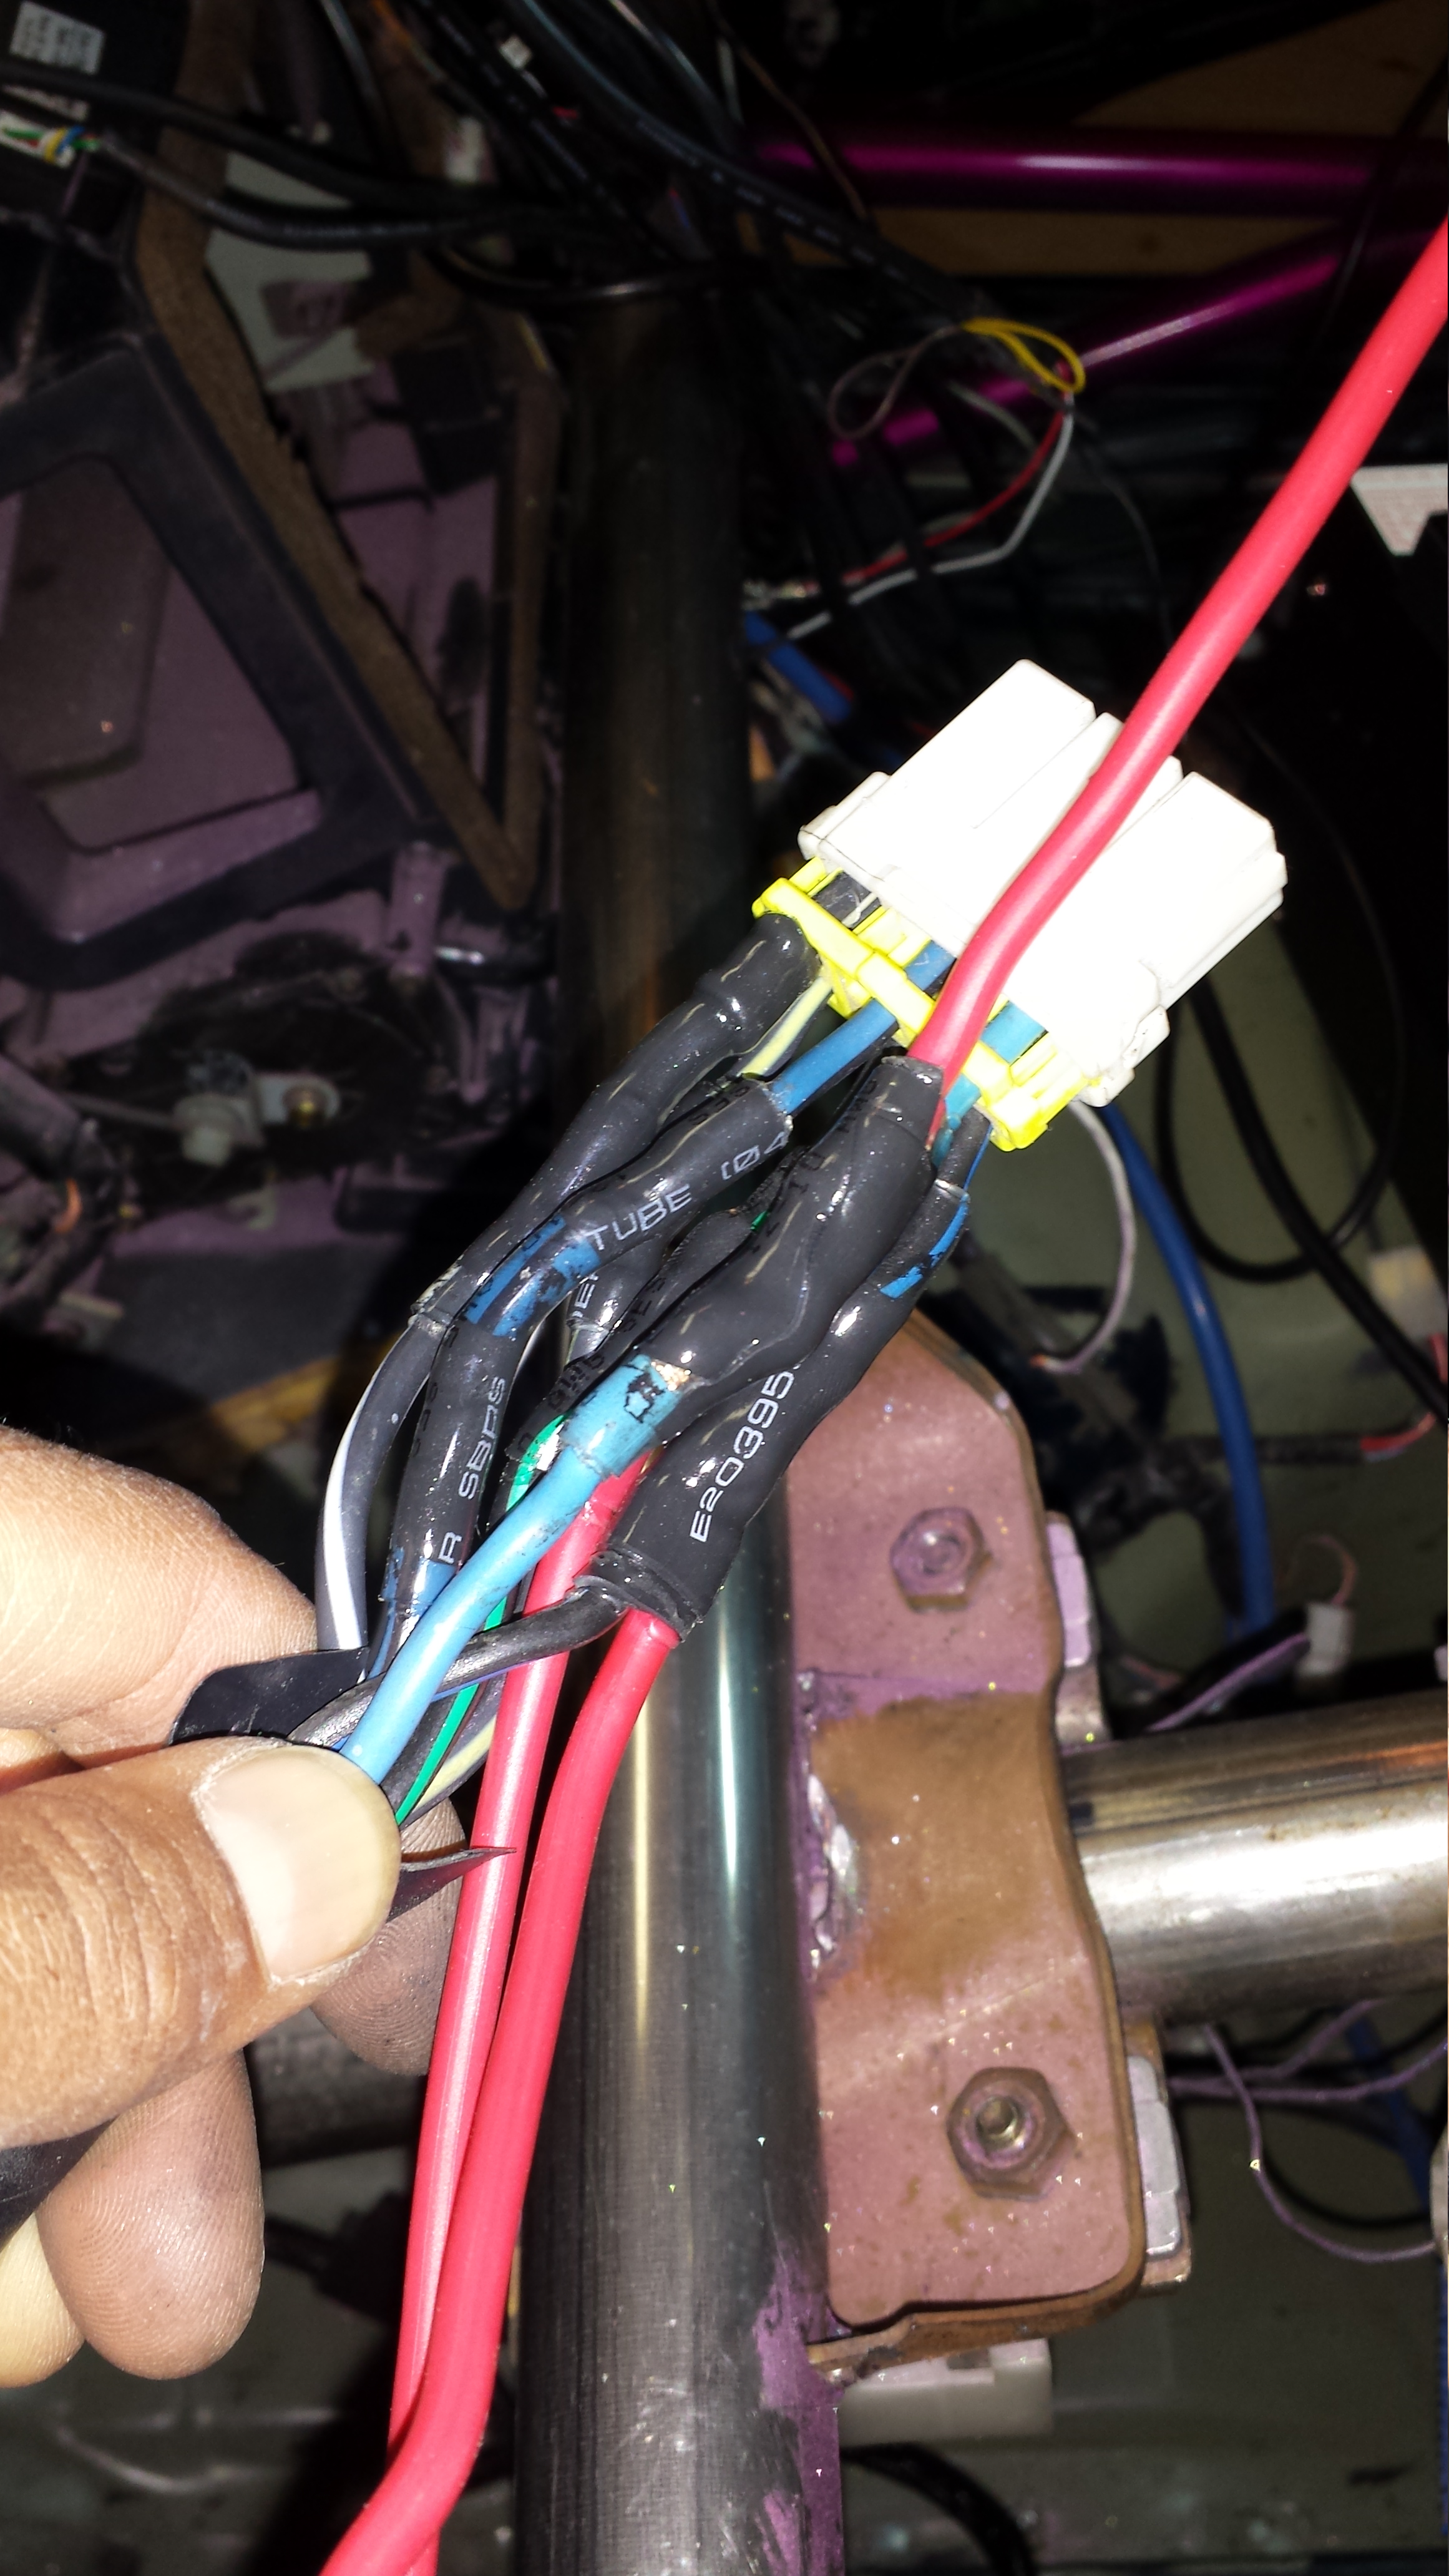
And this is why I wanted to double check EVERYTHING. STILL cleaning up the previous owners BS. The guy was nice enough..but there were A LOT of things he Failed to mention. Then after payment and I picked up the car..I go to the gas station and the car doesn't turn off. I drove straight back and he said "I don't know bro." The dick-head also took out the navigation and blue tooth unit after I put the down payment down. But whatever. Anyways here was where hacked into power. Ignition terminal area...yikes.
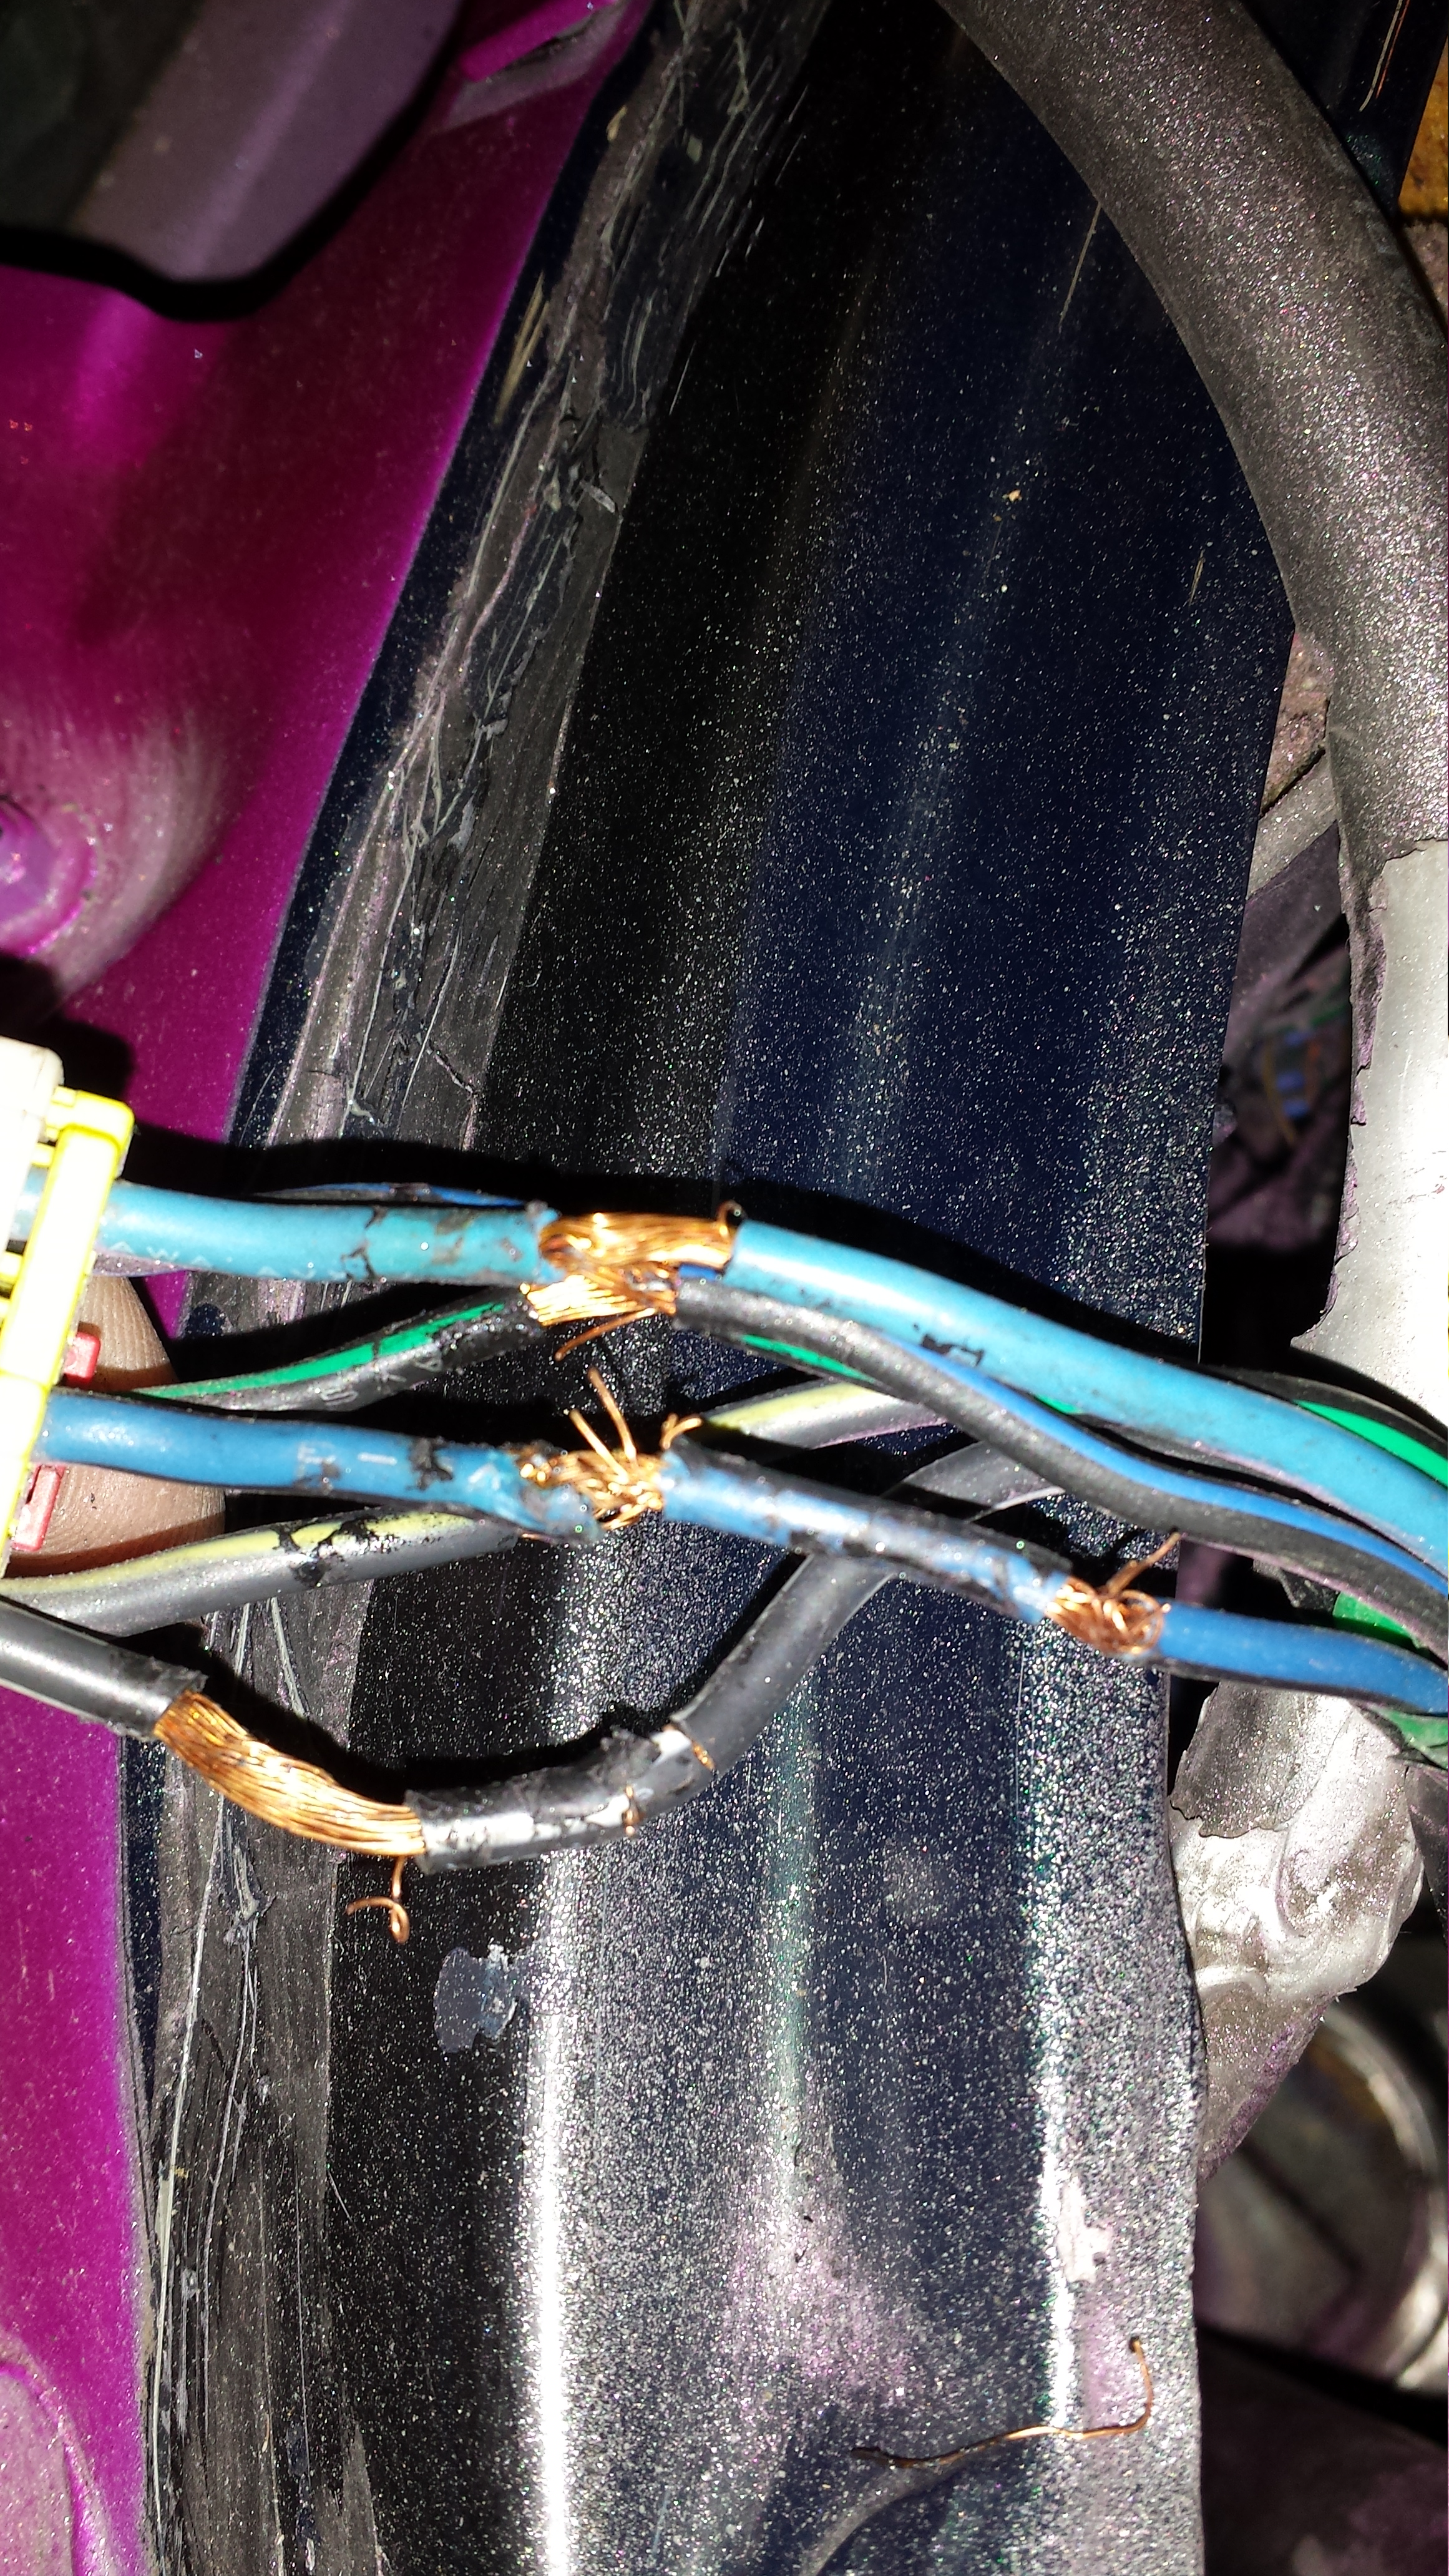
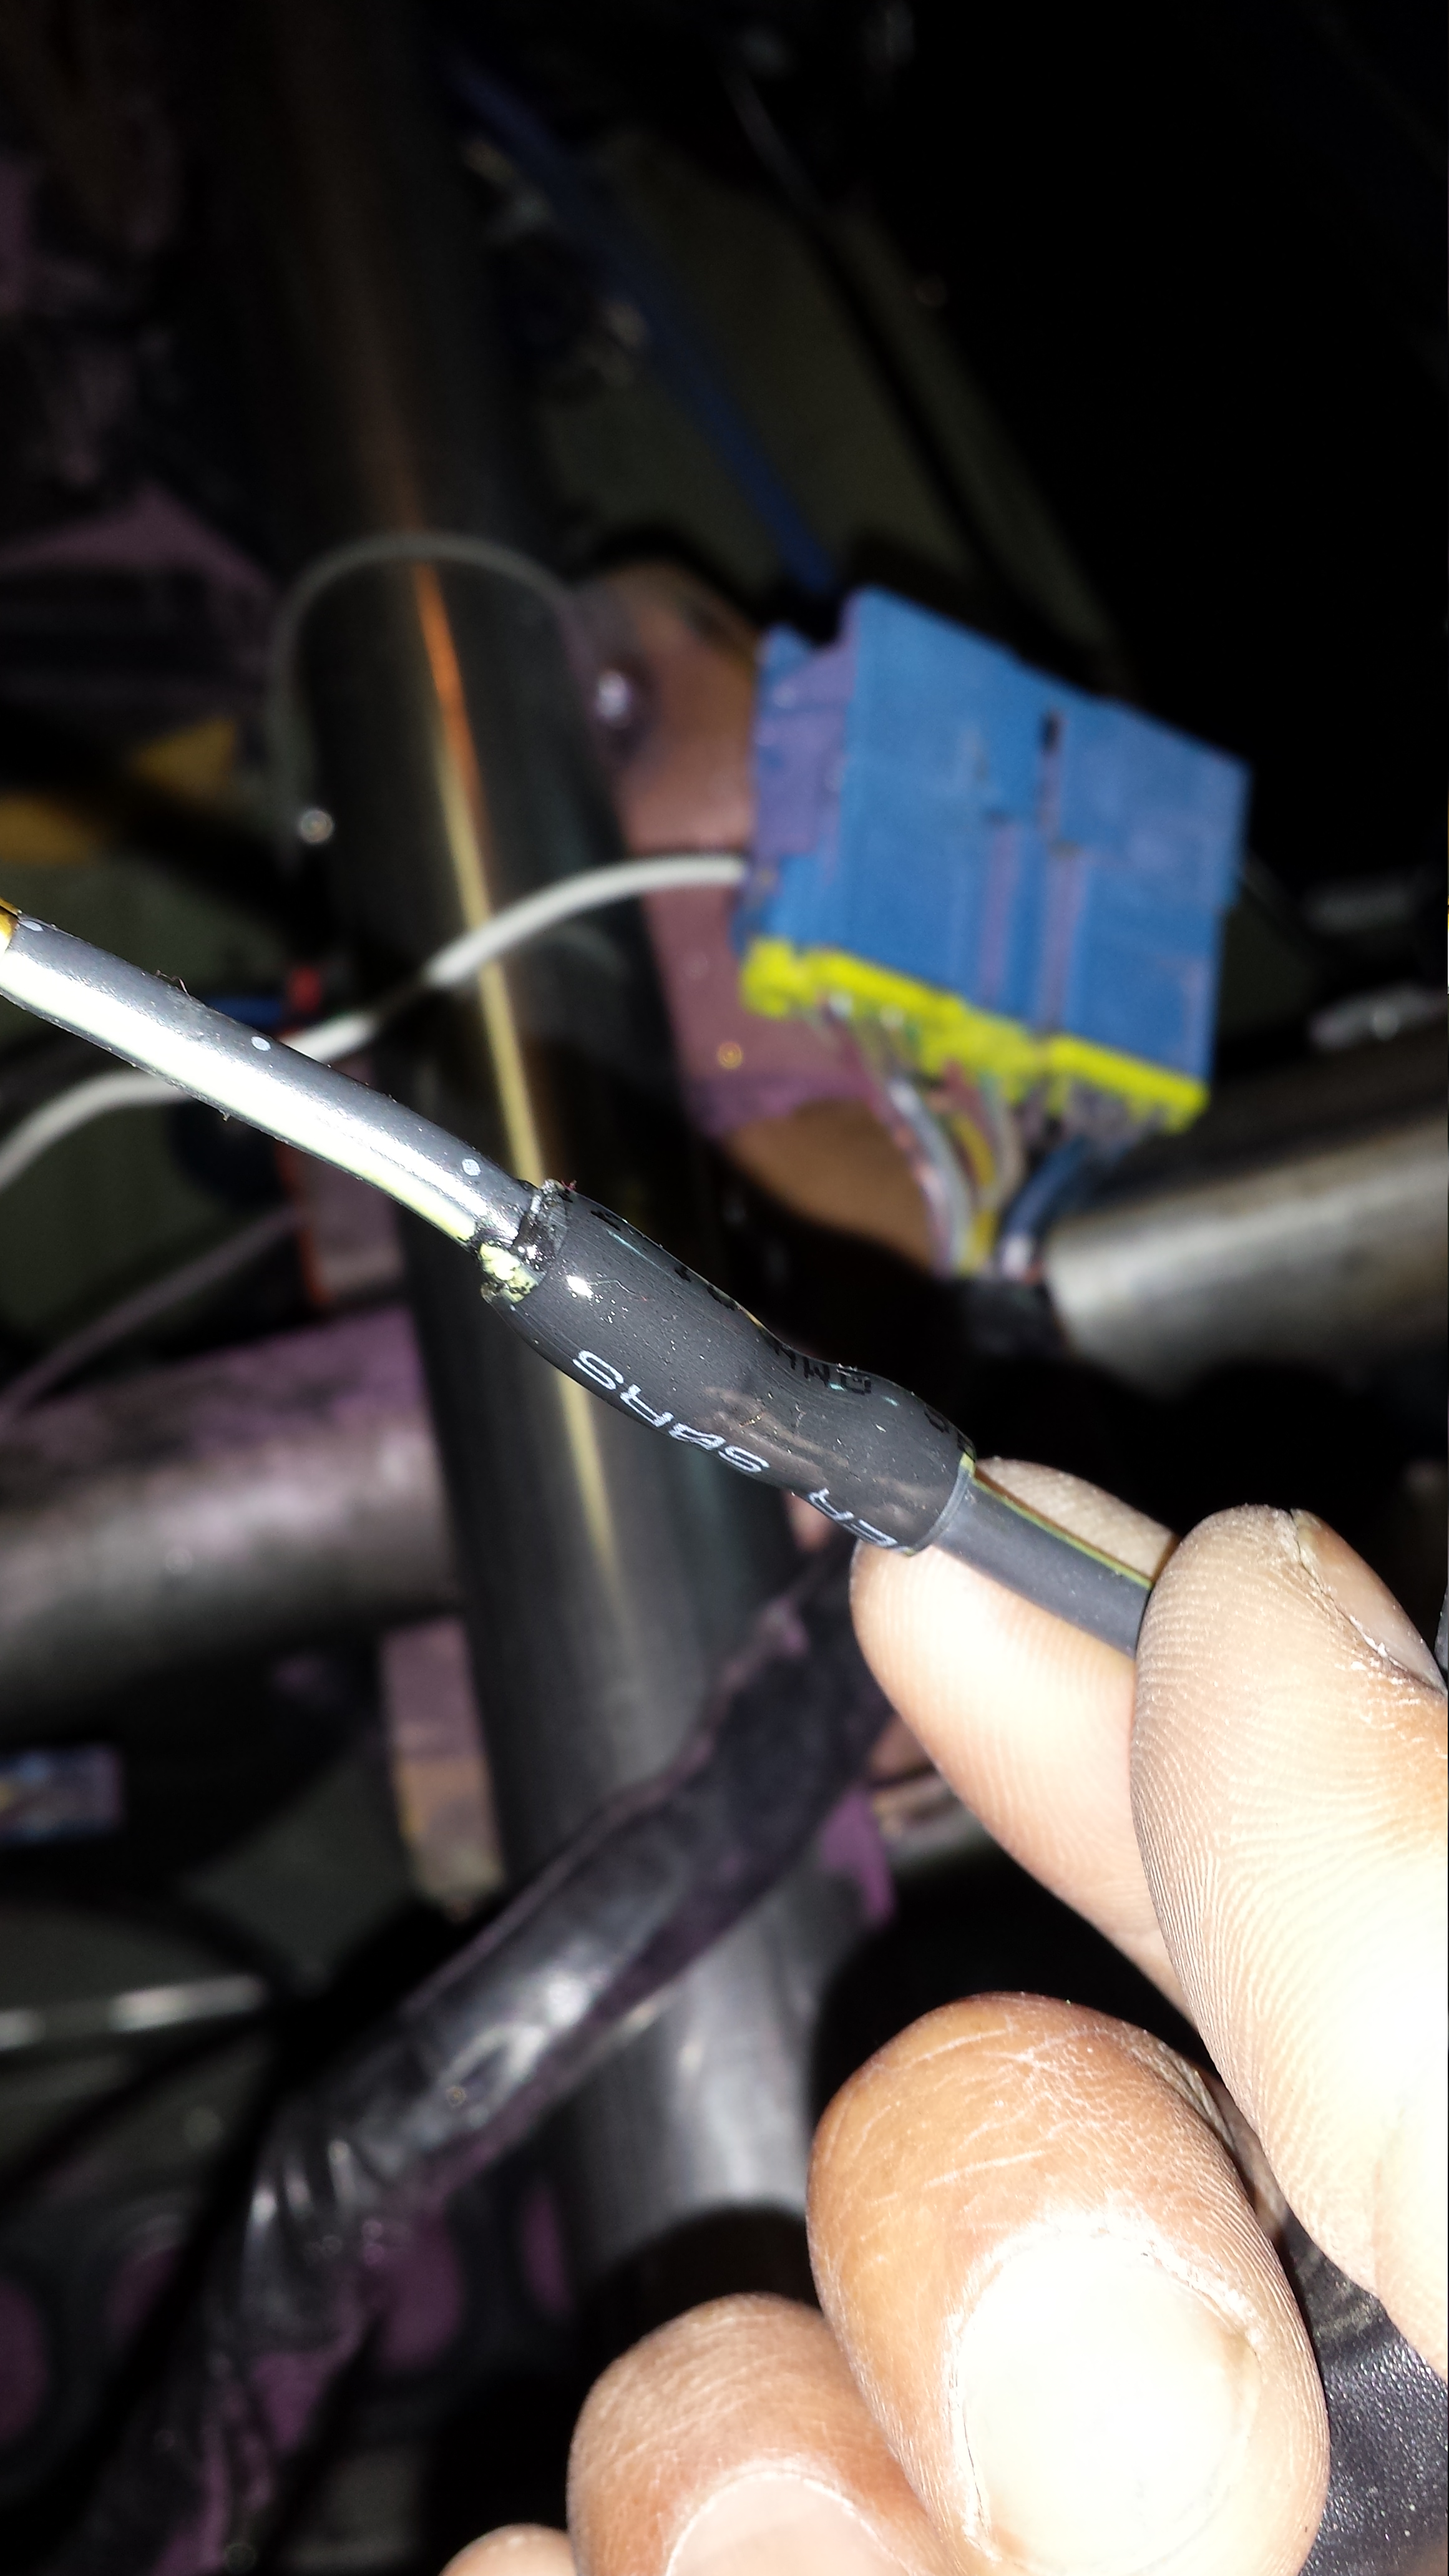
This clean-up repair took about 45 min. unexpected but a necessary fix. Glad I found it. Soldered everything that had frayed wires and used my higher end clear heat shrink over the thinner cheaper black stuff I had.
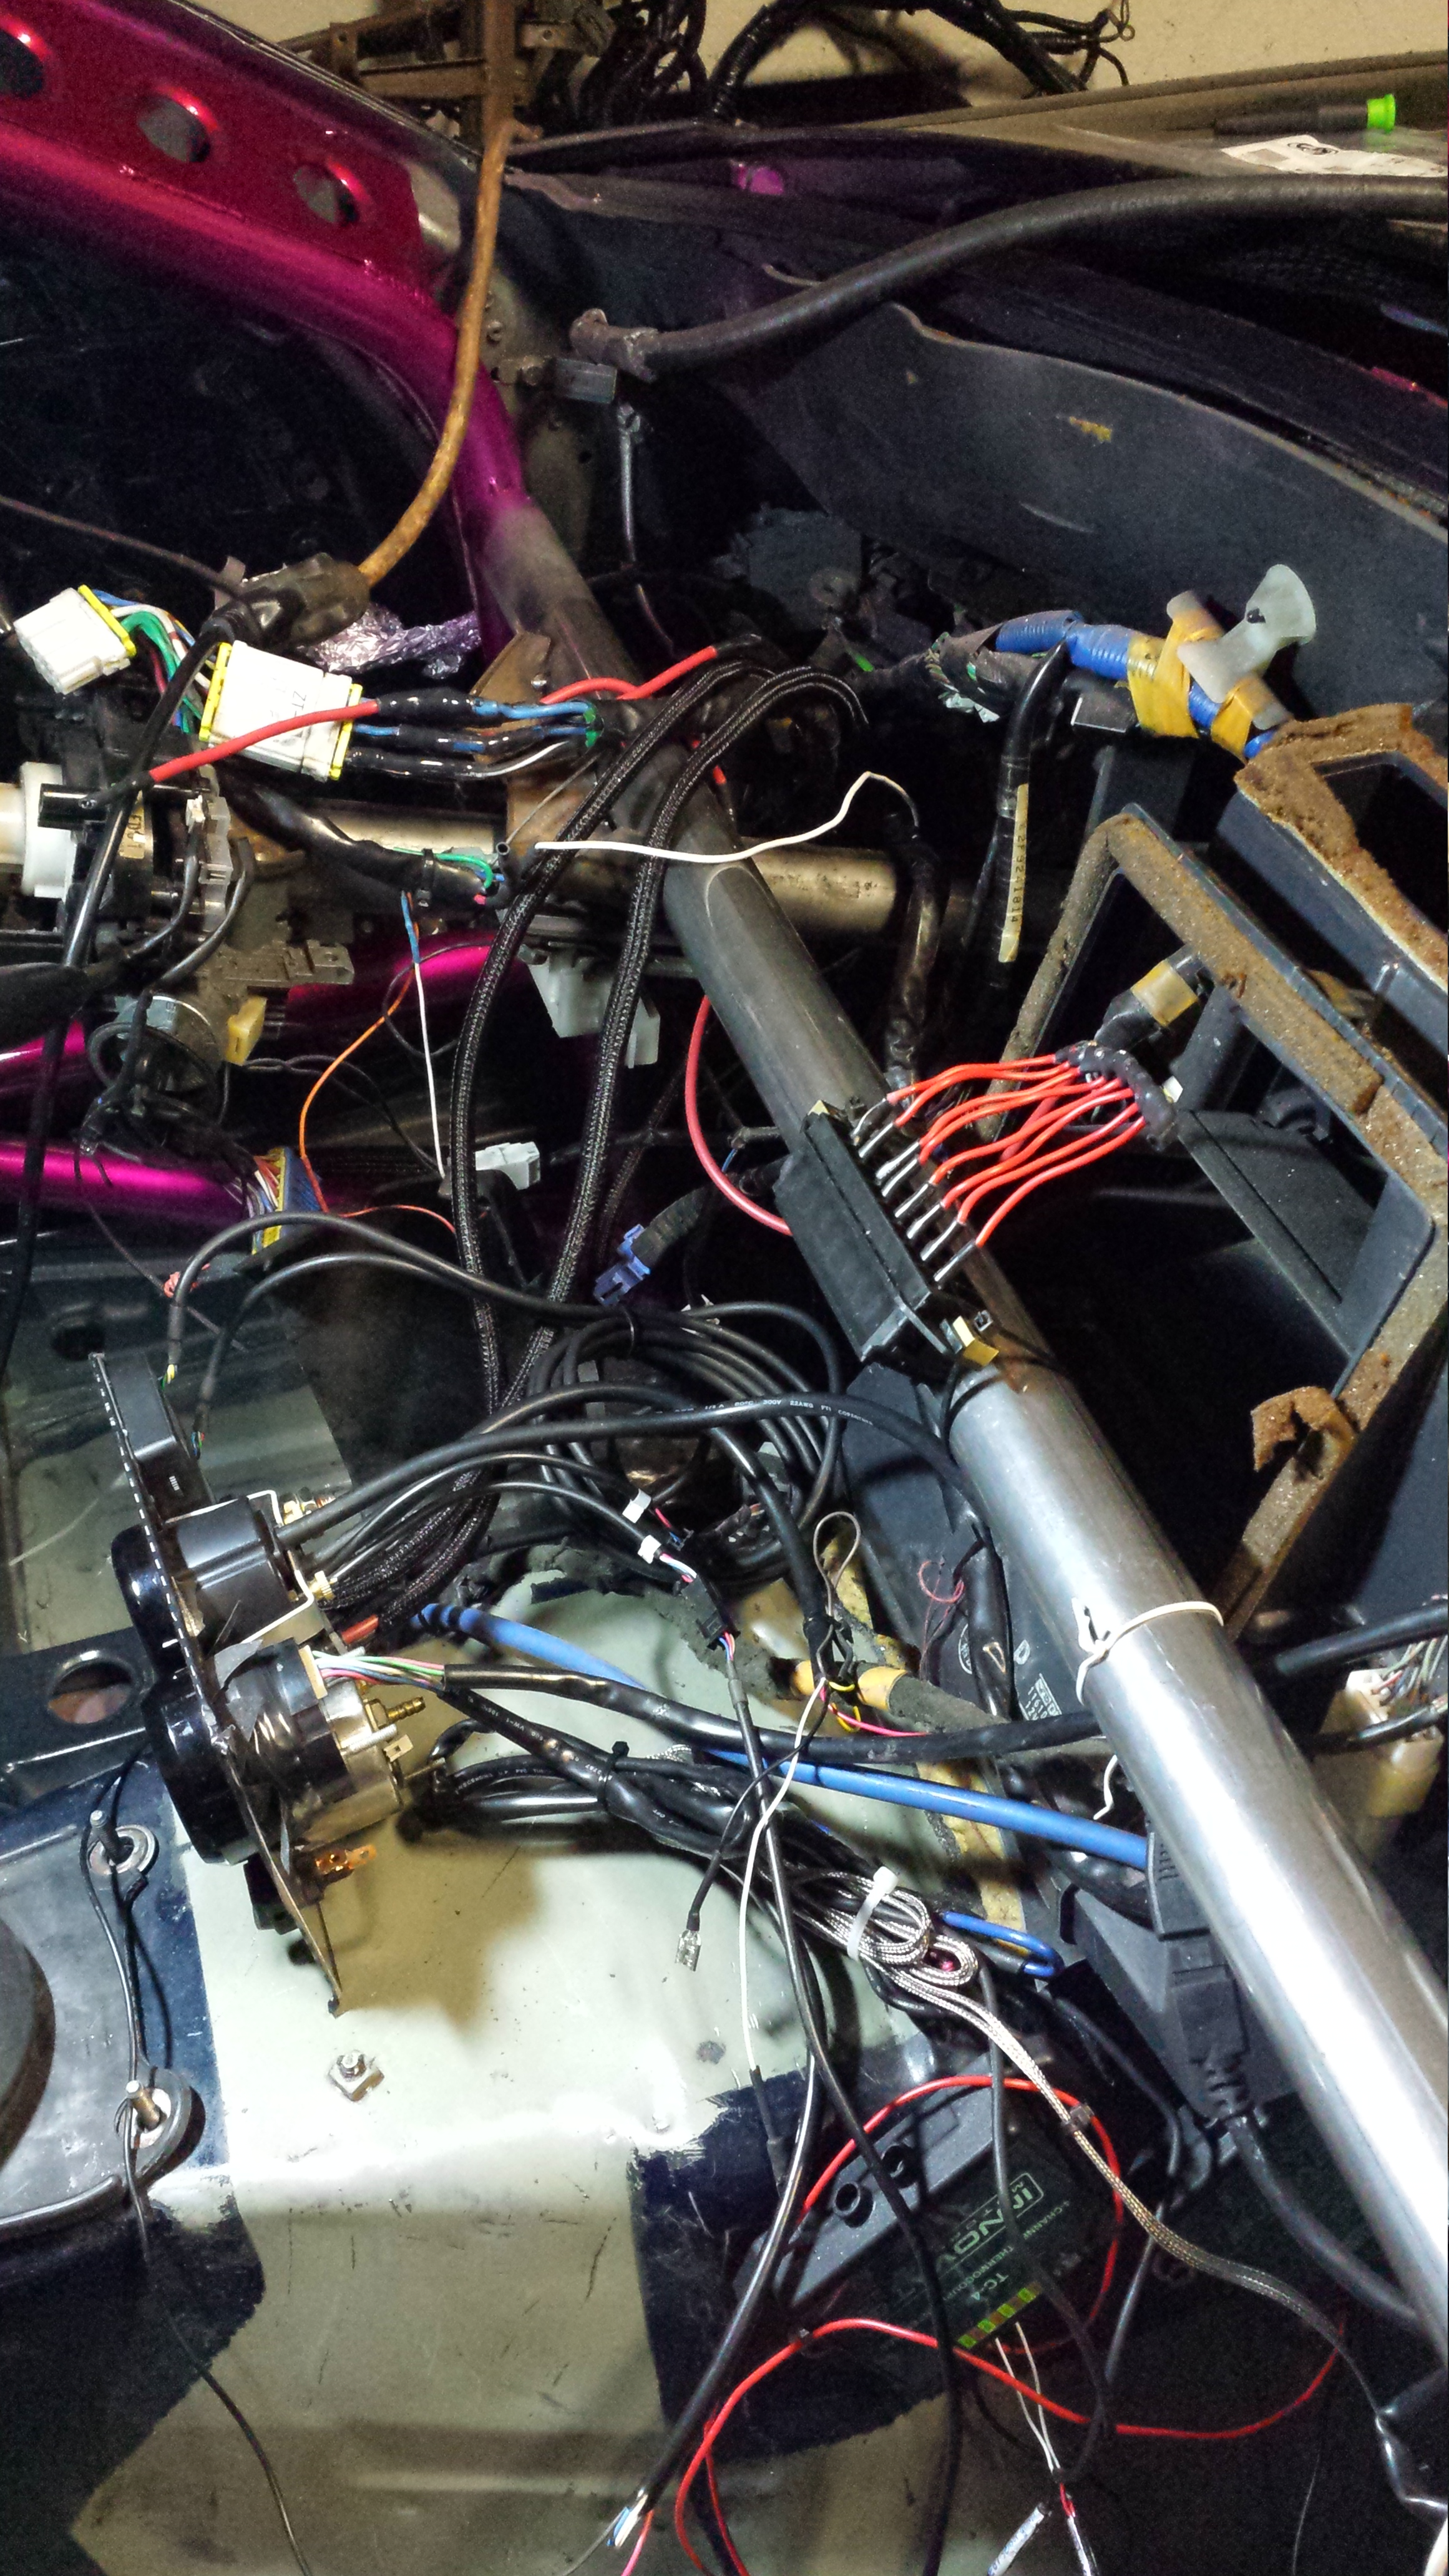
And finished. Also added 3 Power feeds that I may or may not use. One of them I will be using to power gauges, wideband, tc-3, ssi-4 and digitial EGT gauges. And the Others are just for the future if I need to power anything else.
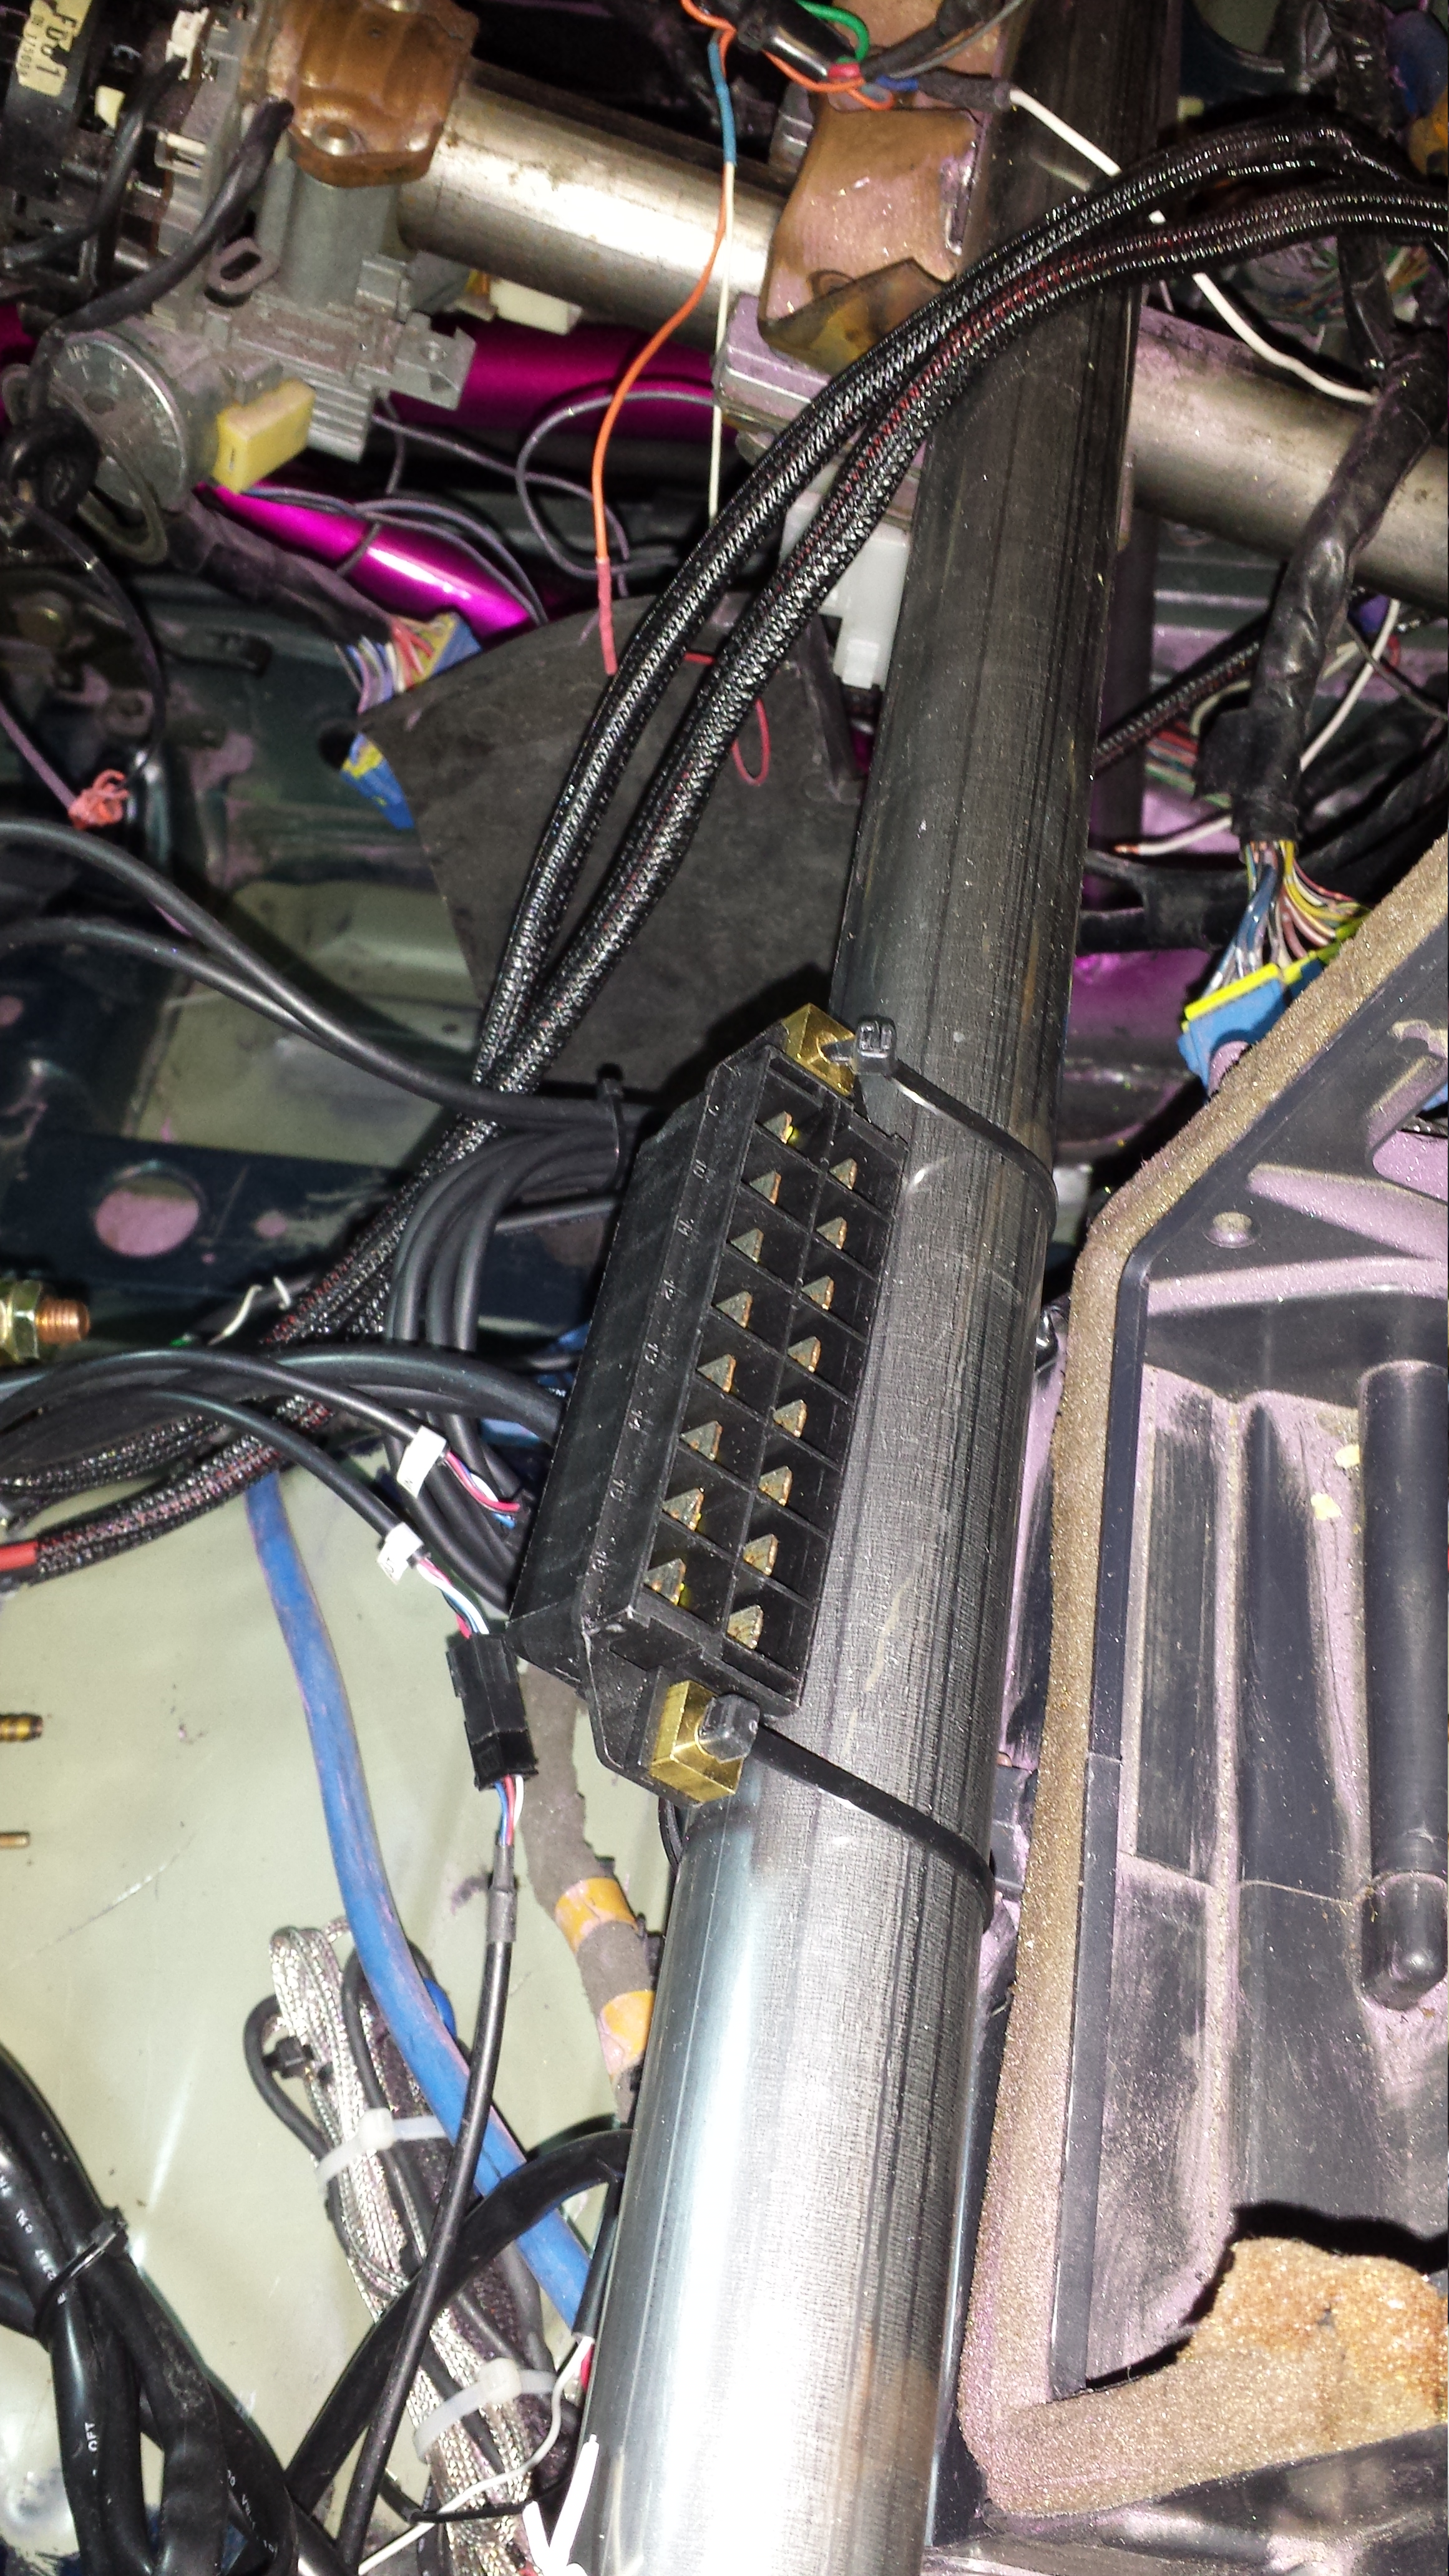
So here is the accessory fuse box I picked up and I'll be mounting it on the underside of the cage A-pillar steering column support bar. It'll be easier to access here and I may even have a couple tabs welded to it just to solid mount it. But for now it's ziptied here so I can easily work on it. Not sure what amp fuses to use but i'd imagine with the low draw of all of the accessories that will be powered through it...they shouldn't have to be over 10A. Anyone with any input will be greatly appreciated.
since I had clear heat shrink I decided to do a little extra organizing. Power to wideband
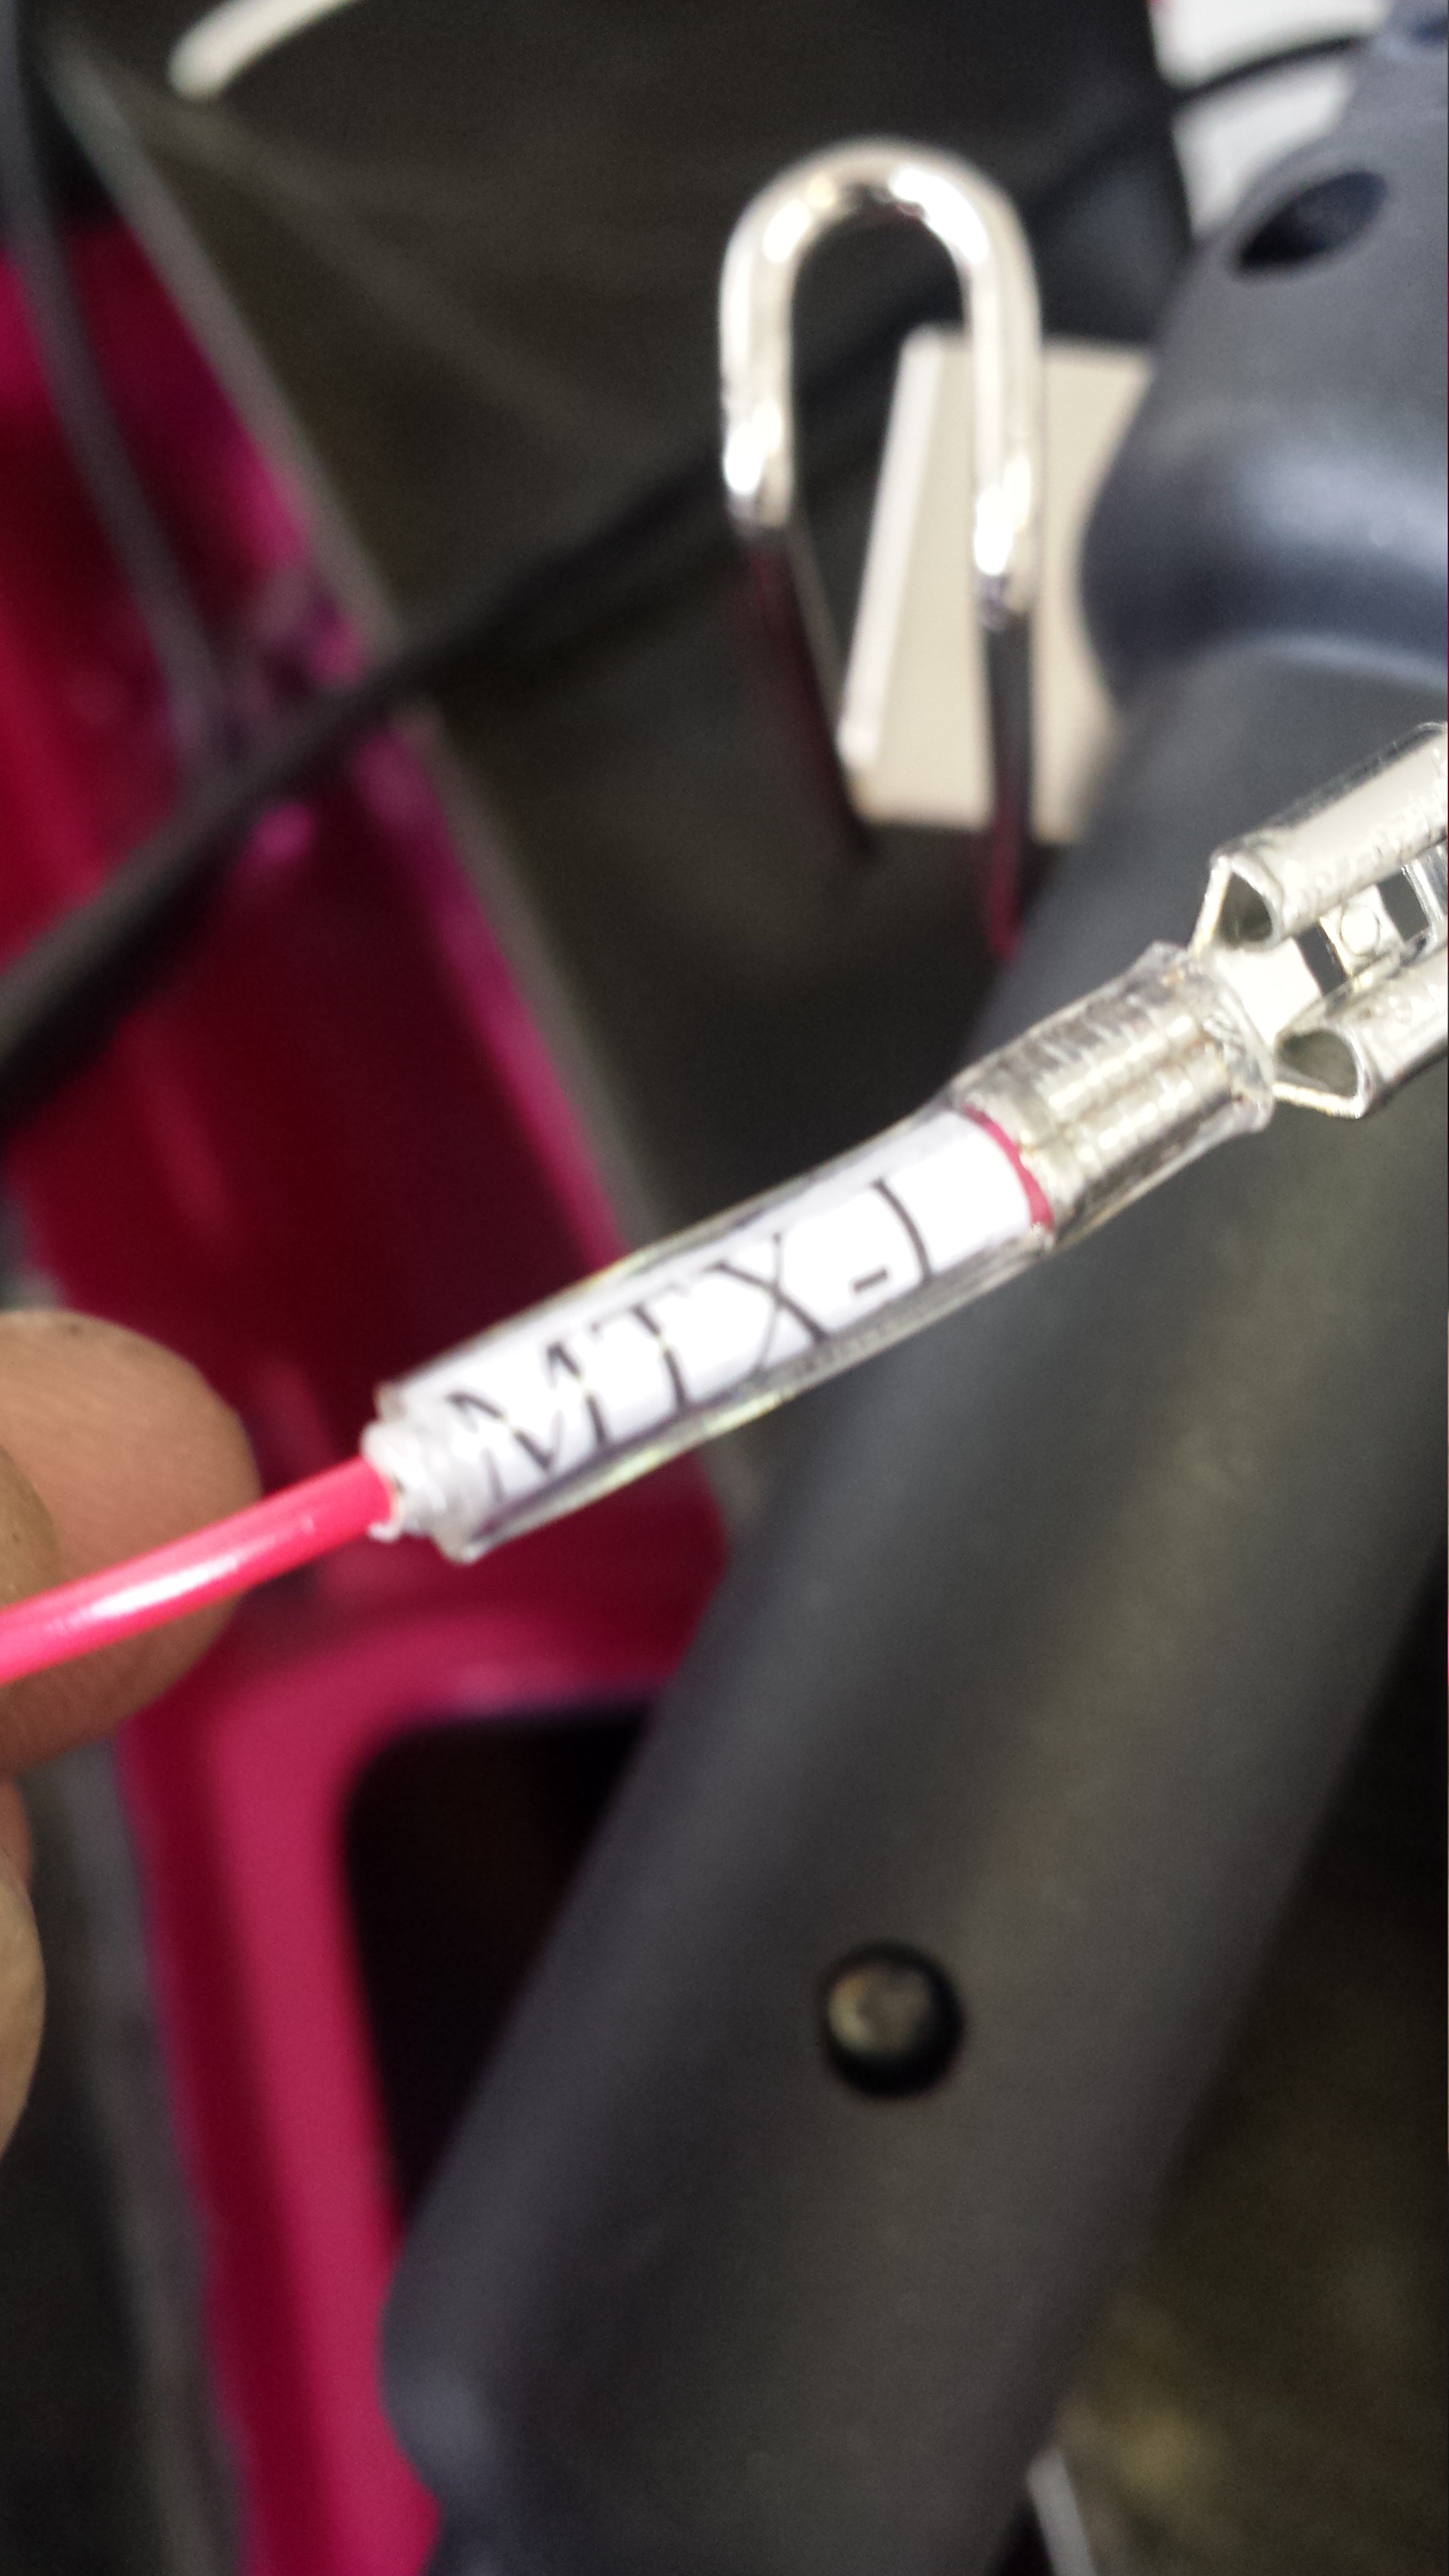
Power to Fuse box for accessories...and future ones if need be.
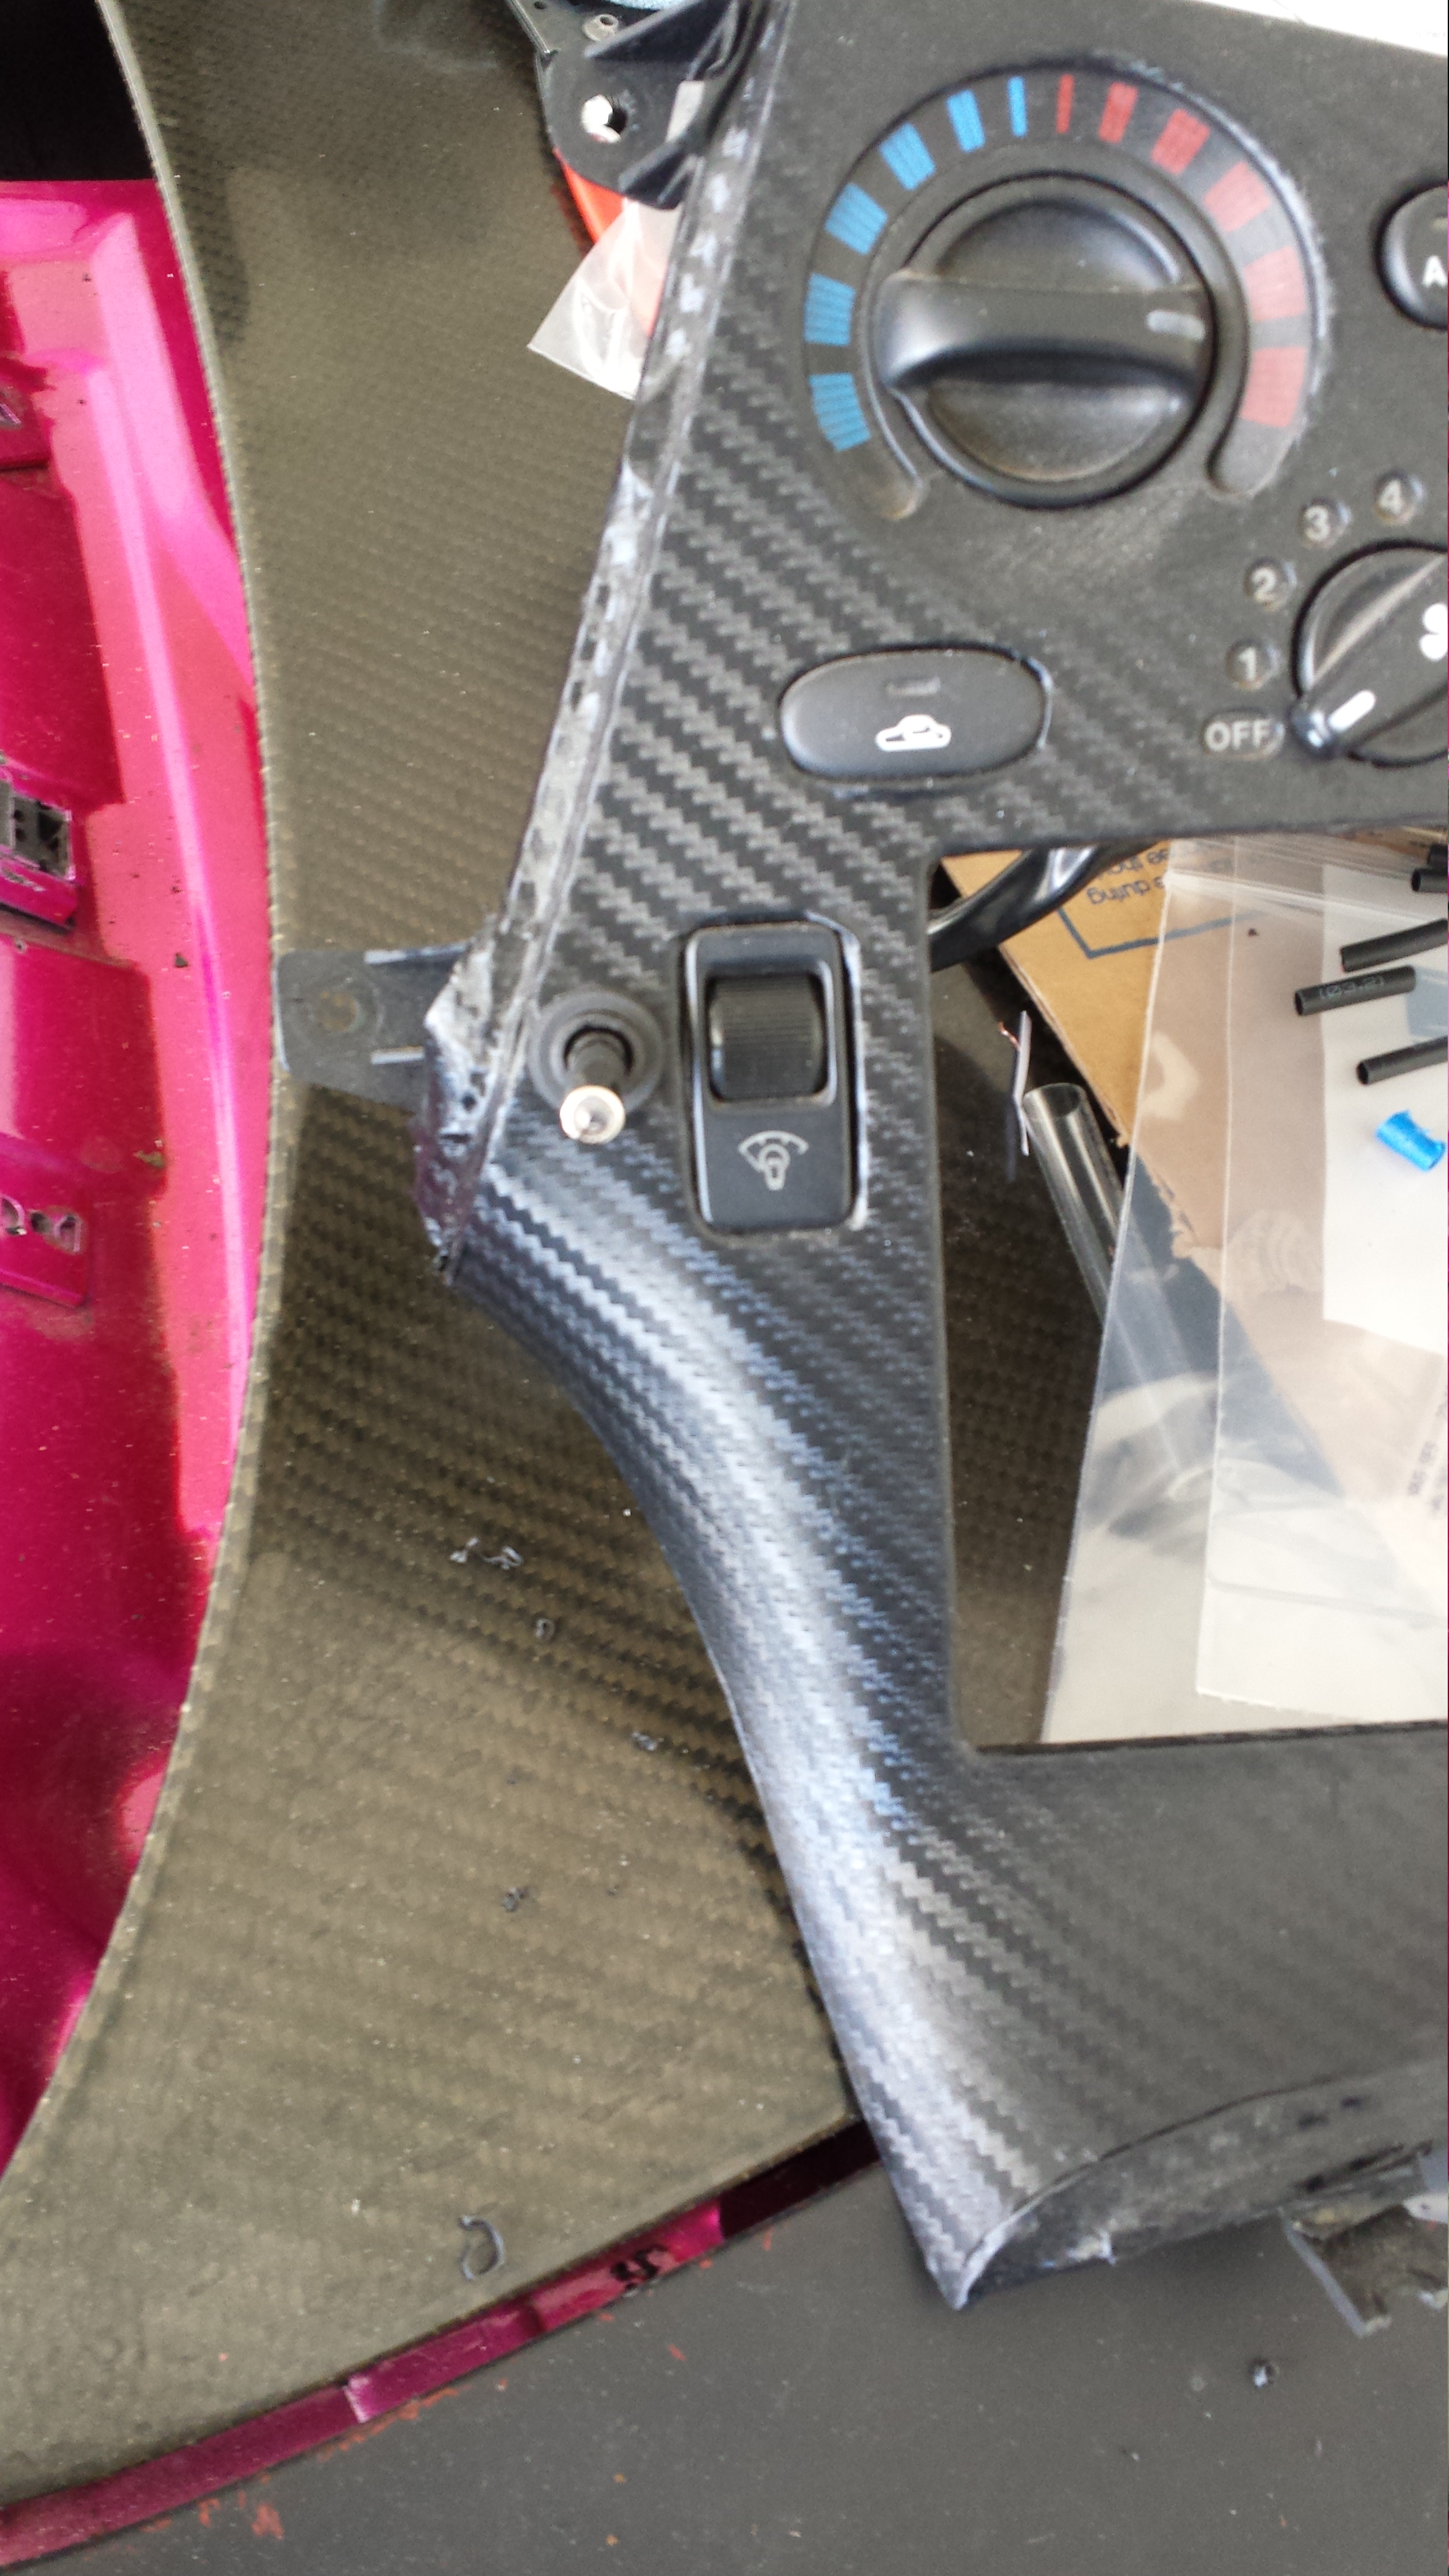
And this was a bummer but I tried every possible location for the oil cooler fans switch...and it just wouldn't look good anywhere on the panel. So I had to settle on drilling the plastic dash.
Oil cooler fan switch installed
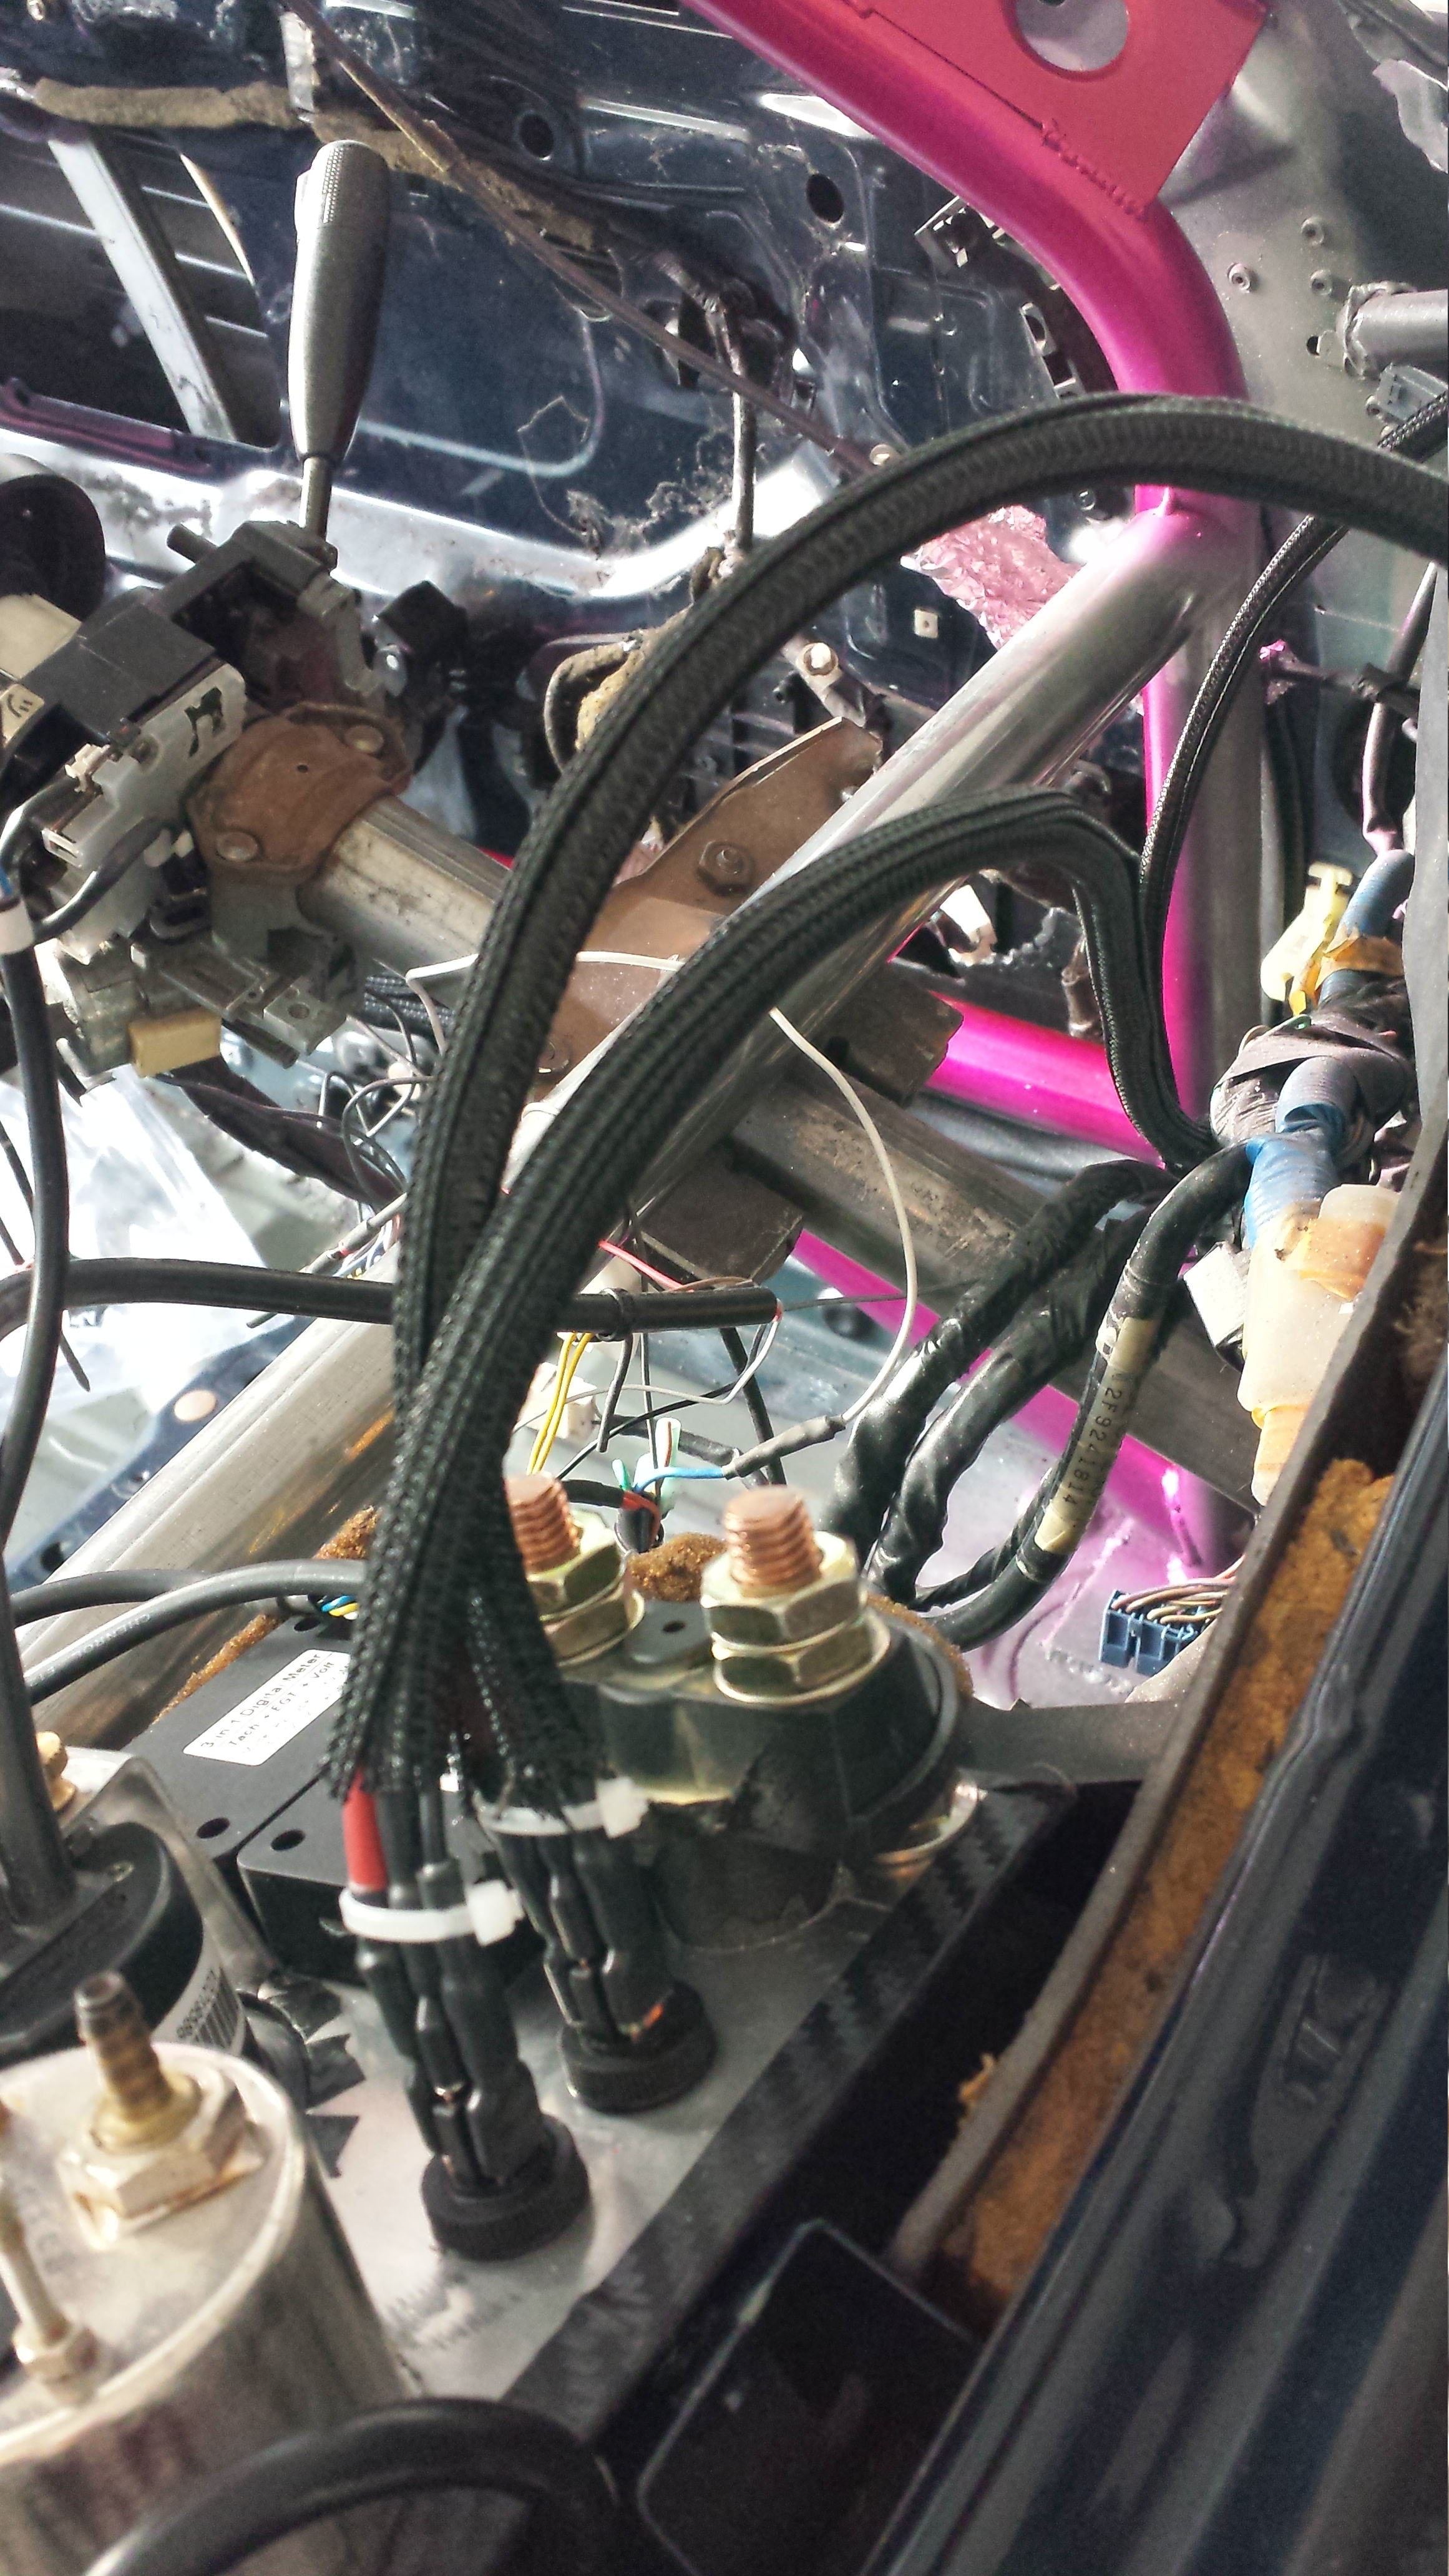
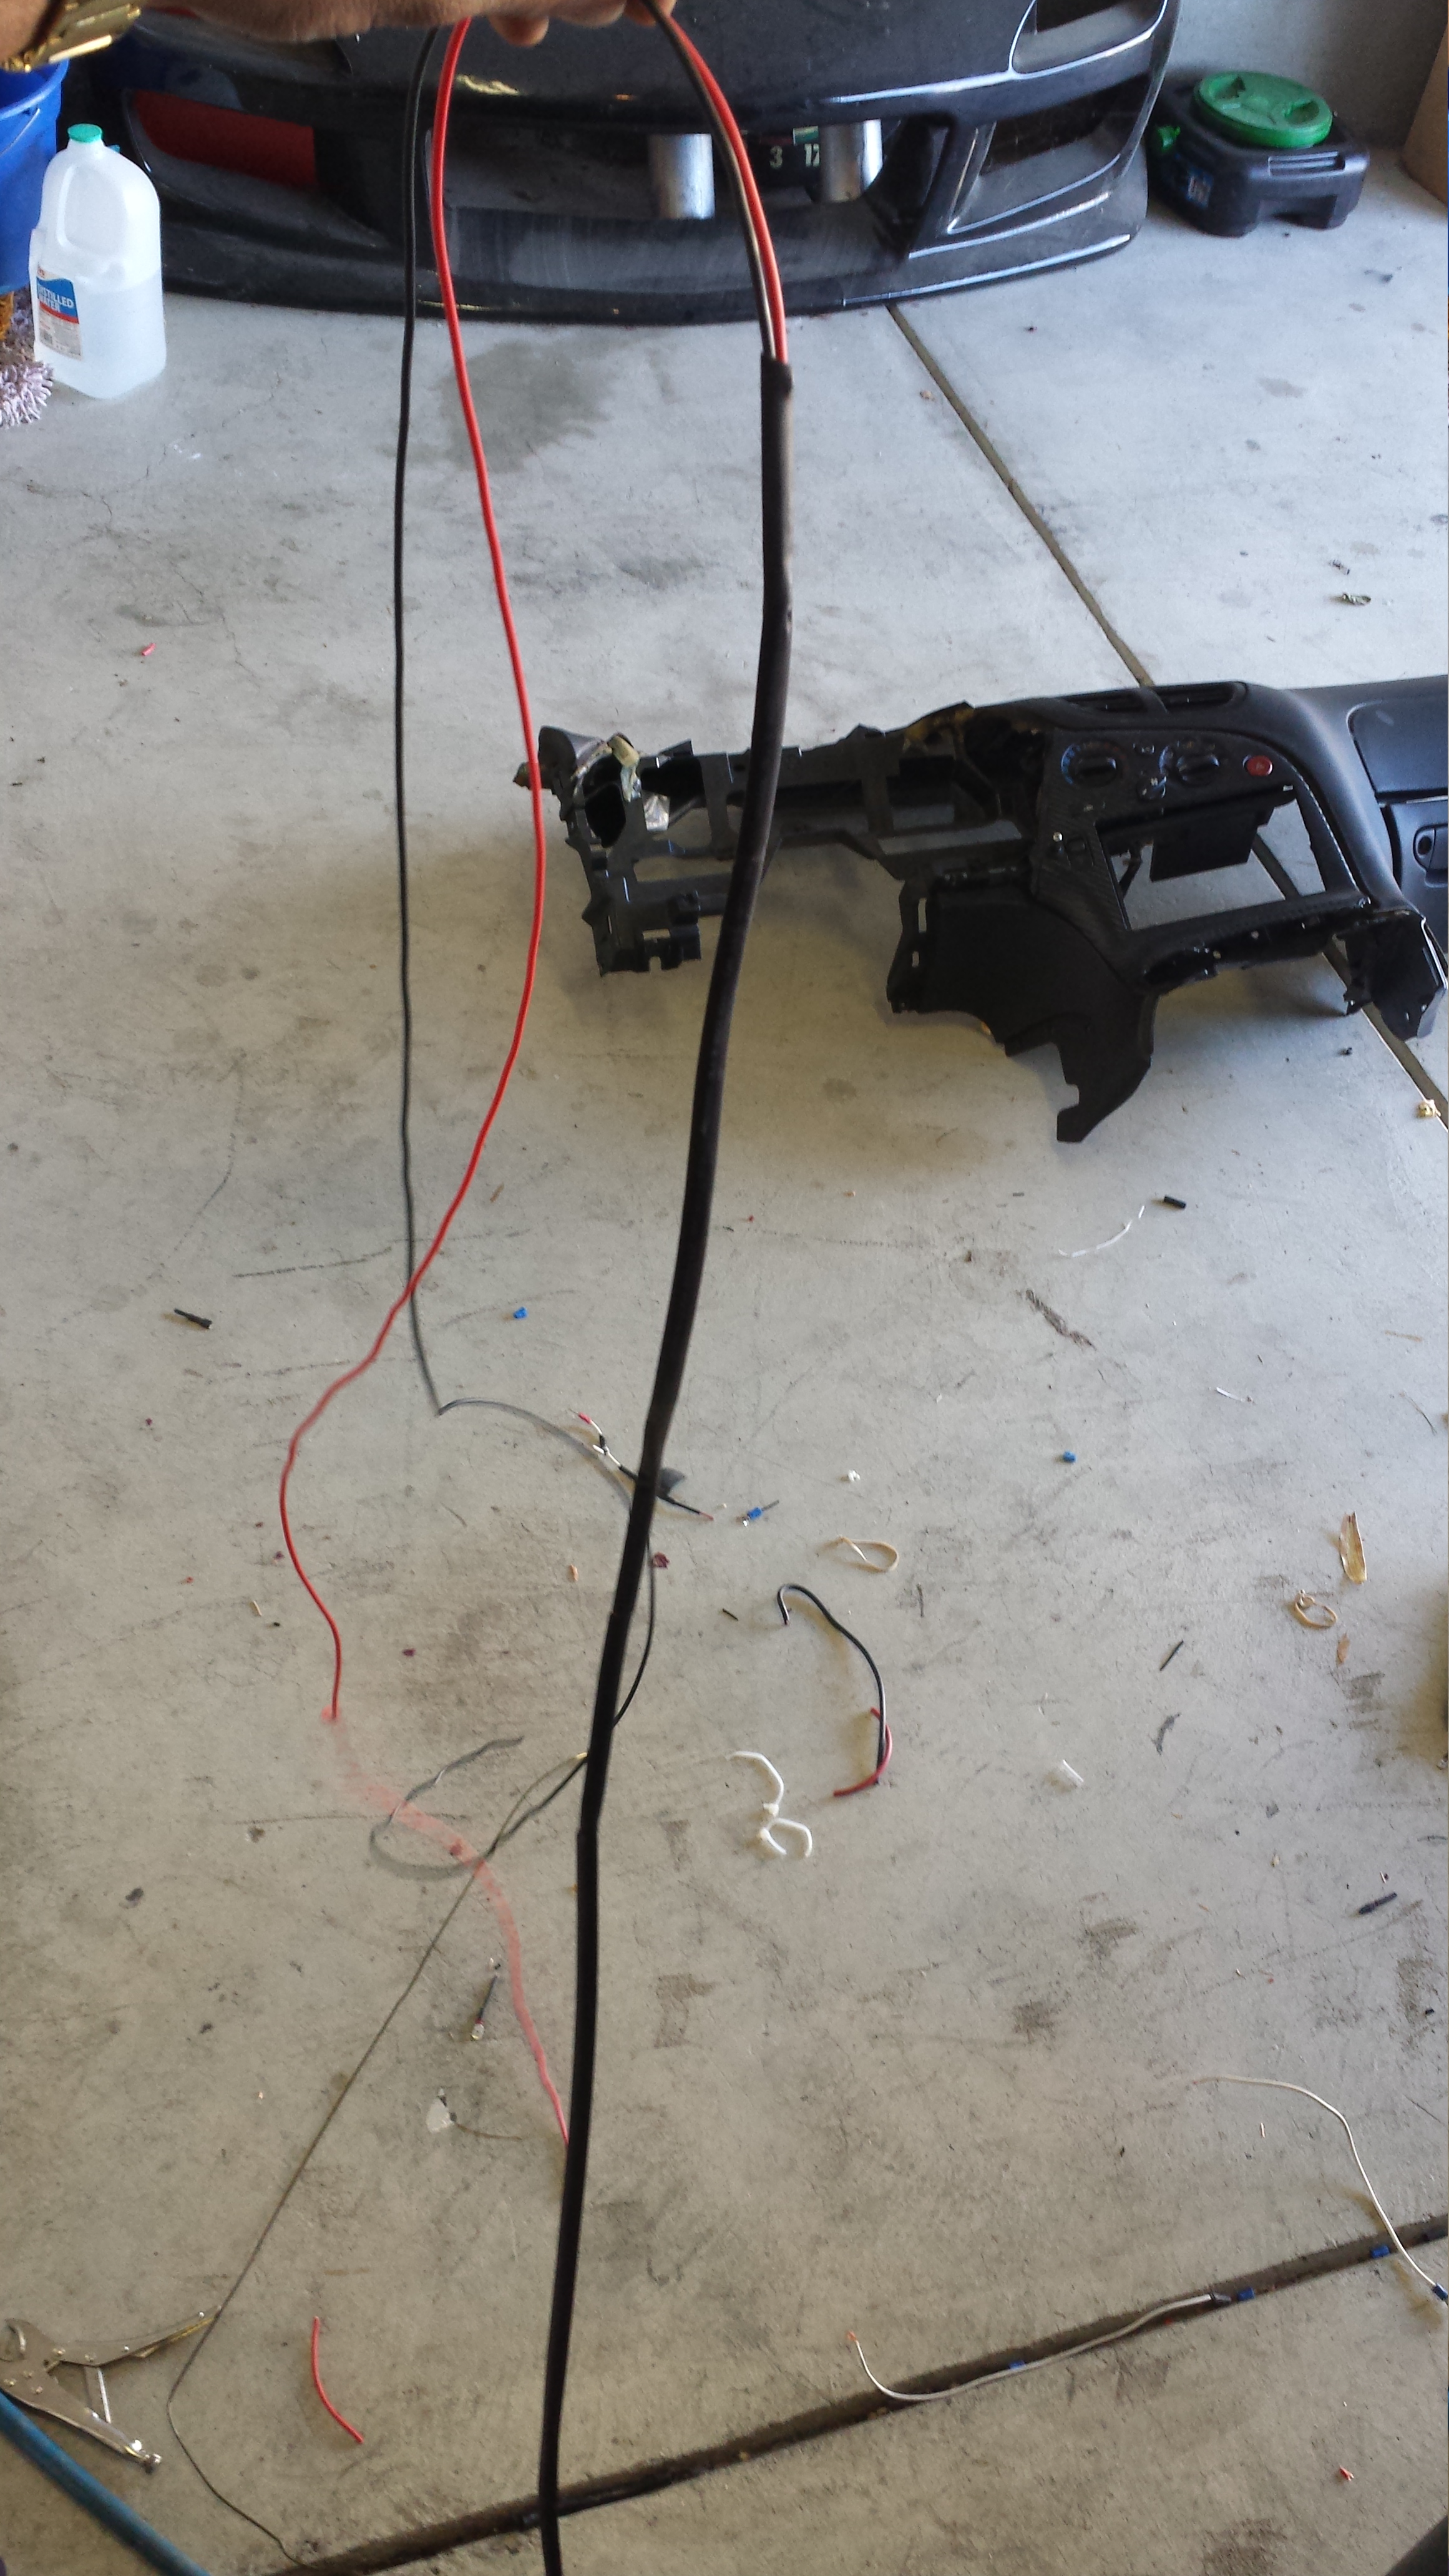
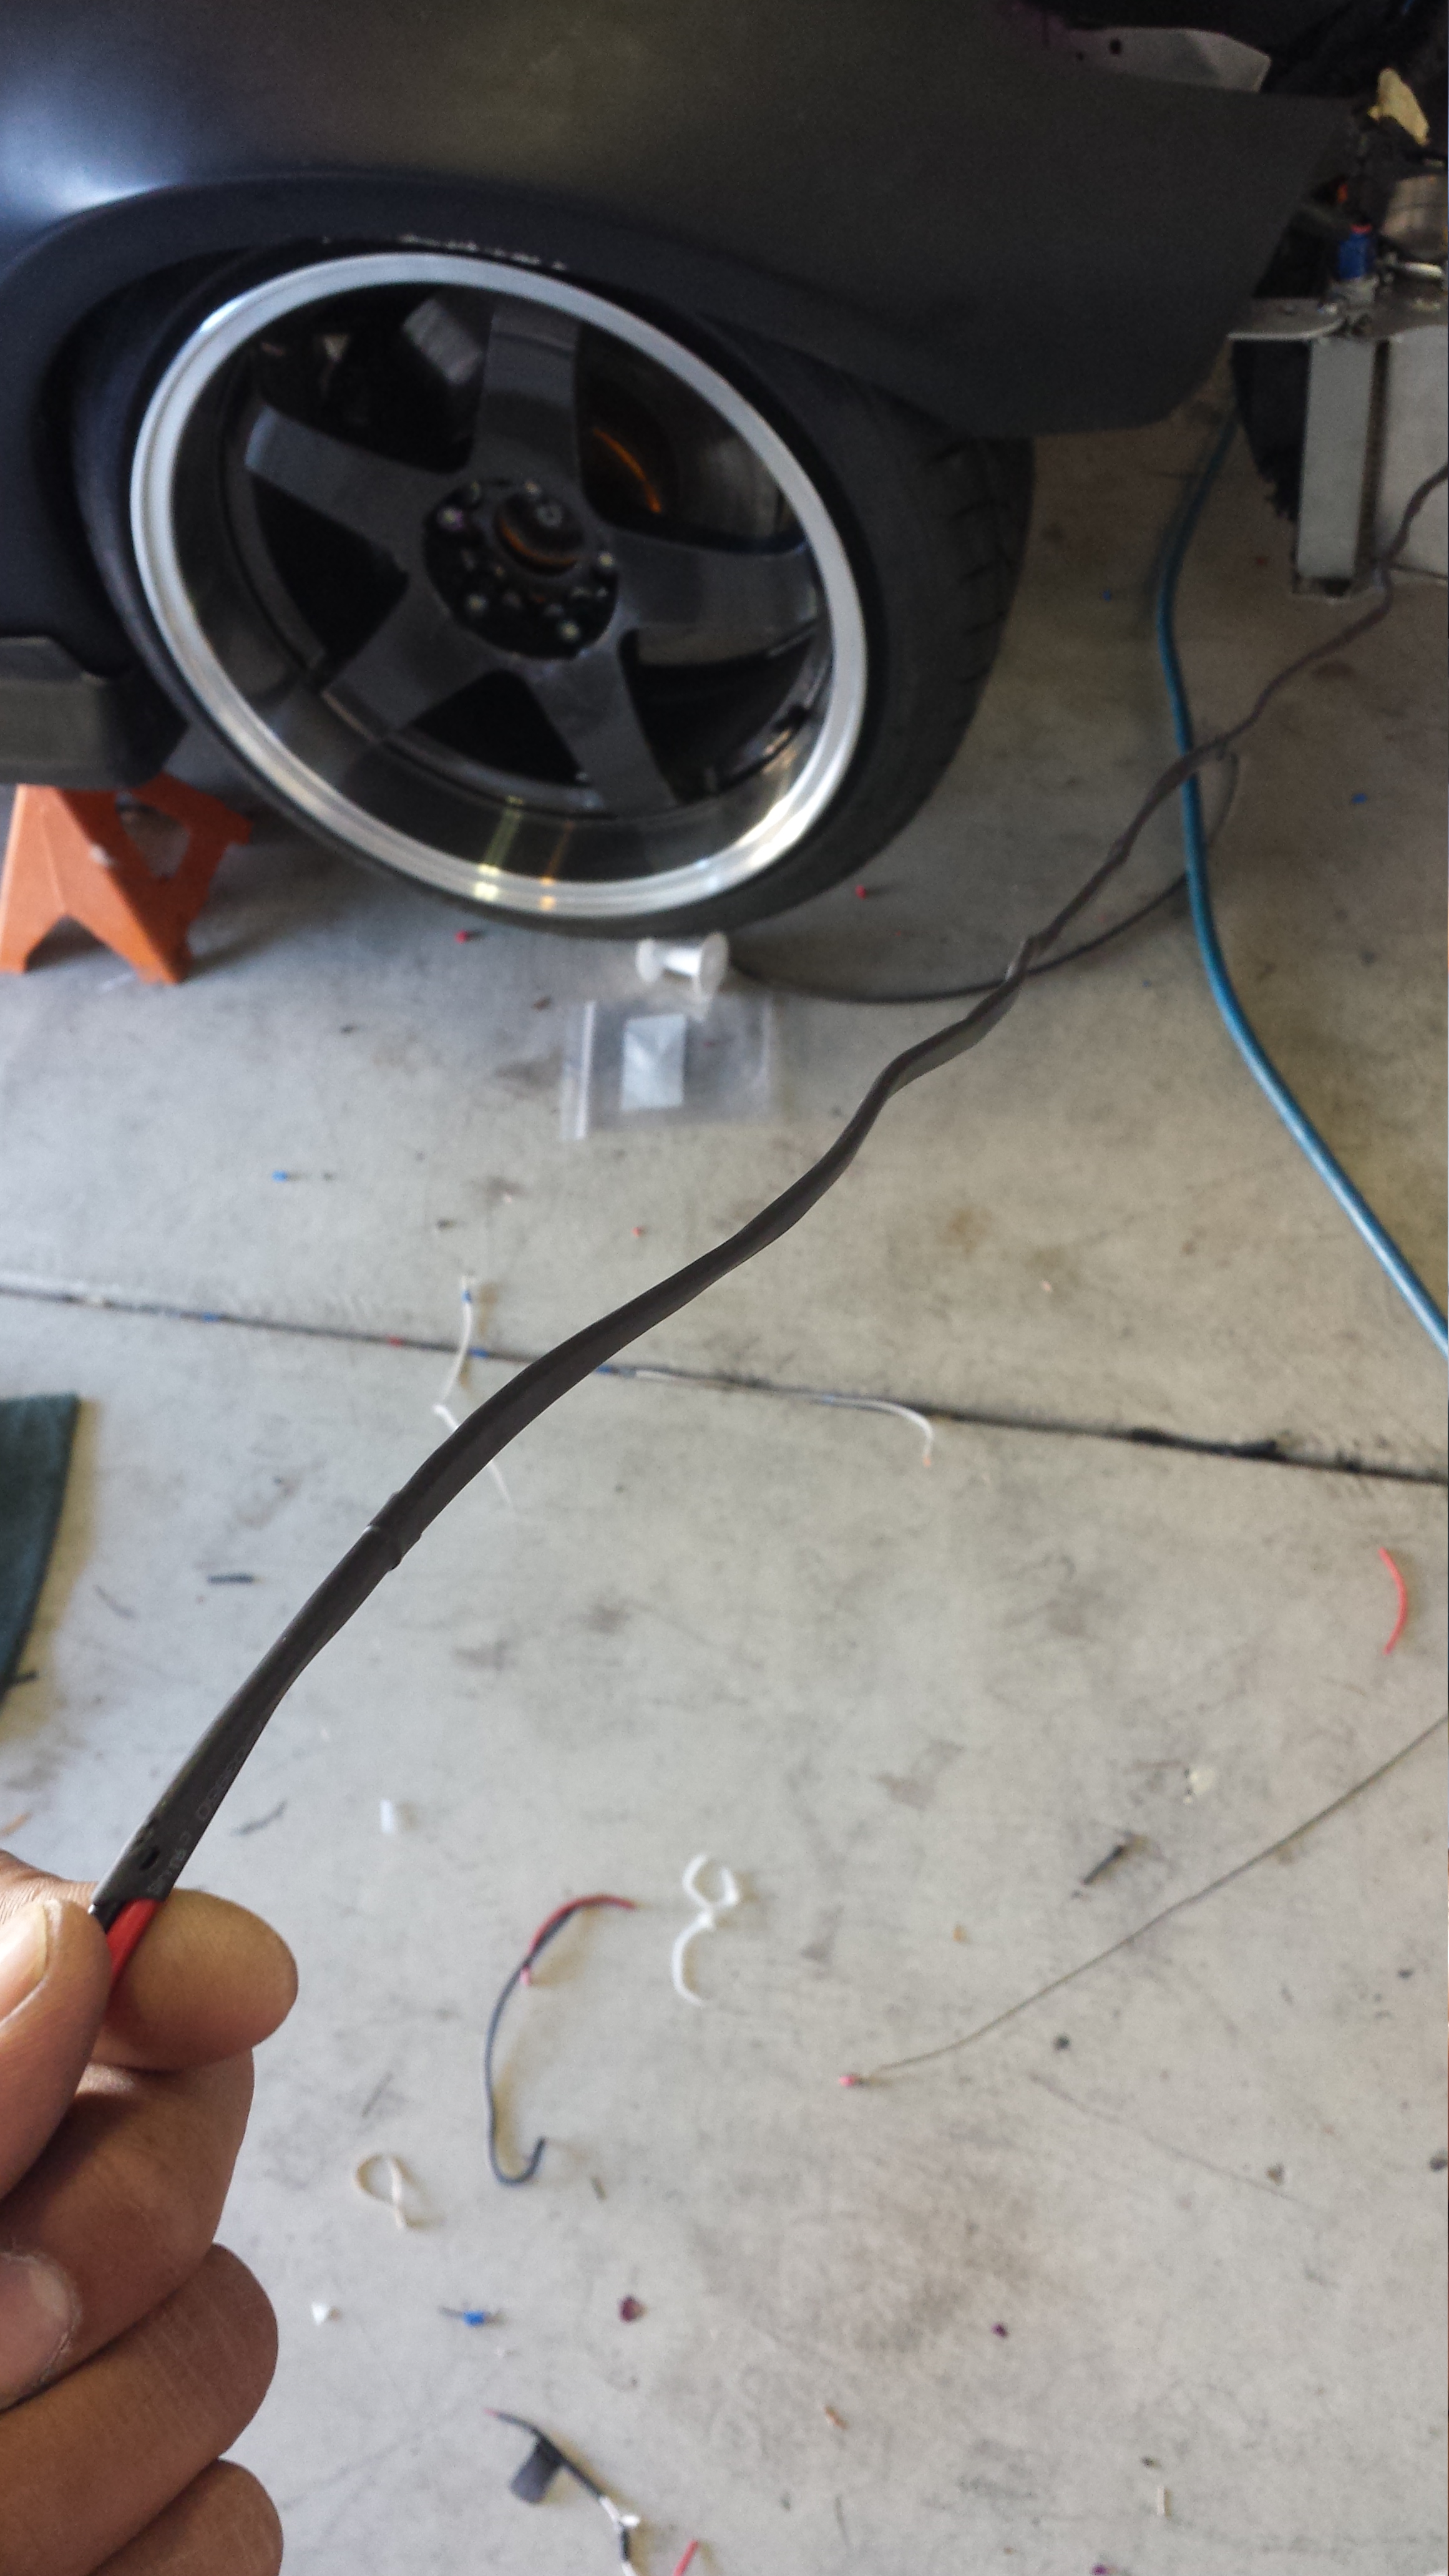
I also finished re-wiring up my Oil coolers. Decided to go from drivers side around the passenger side and then through the wheel well and into the cabin this way instead of going through the drivers side because there was simply more room. A little bit longer loom but it's nice and neat now so it won't matter. Wasn't able to snap pictures but I can't wait to get off work so I can go finish up and see how it's going to come together. I'm excited!! All nice, new, and solid wiring so now I don't have to wonder about this or that. I simply know that it's all legit and solid. So today I'll be running a few grounds, crimping power leads to gauges, routing and organizing. Wiring should be wrapped up shortly! Then off to start and knock out the manifold!!
Stay tuned! more updates soon!
Worked the weekend but was able to squeeze in some wiring Friday night and here and there Saturday etc. I'll just cut to it this time.
Station
Wires everywhere but slowly cleaning itself up
Finished the two fuel pump relay grounds. This location was much better than the previous.
And this is why I wanted to double check EVERYTHING. STILL cleaning up the previous owners BS. The guy was nice enough..but there were A LOT of things he Failed to mention. Then after payment and I picked up the car..I go to the gas station and the car doesn't turn off. I drove straight back and he said "I don't know bro." The dick-head also took out the navigation and blue tooth unit after I put the down payment down. But whatever. Anyways here was where hacked into power. Ignition terminal area...yikes.
This clean-up repair took about 45 min. unexpected but a necessary fix. Glad I found it. Soldered everything that had frayed wires and used my higher end clear heat shrink over the thinner cheaper black stuff I had.
And finished. Also added 3 Power feeds that I may or may not use. One of them I will be using to power gauges, wideband, tc-3, ssi-4 and digitial EGT gauges. And the Others are just for the future if I need to power anything else.
So here is the accessory fuse box I picked up and I'll be mounting it on the underside of the cage A-pillar steering column support bar. It'll be easier to access here and I may even have a couple tabs welded to it just to solid mount it. But for now it's ziptied here so I can easily work on it. Not sure what amp fuses to use but i'd imagine with the low draw of all of the accessories that will be powered through it...they shouldn't have to be over 10A. Anyone with any input will be greatly appreciated.
since I had clear heat shrink I decided to do a little extra organizing. Power to wideband
Power to Fuse box for accessories...and future ones if need be.
And this was a bummer but I tried every possible location for the oil cooler fans switch...and it just wouldn't look good anywhere on the panel. So I had to settle on drilling the plastic dash.
Oil cooler fan switch installed
I also finished re-wiring up my Oil coolers. Decided to go from drivers side around the passenger side and then through the wheel well and into the cabin this way instead of going through the drivers side because there was simply more room. A little bit longer loom but it's nice and neat now so it won't matter. Wasn't able to snap pictures but I can't wait to get off work so I can go finish up and see how it's going to come together. I'm excited!! All nice, new, and solid wiring so now I don't have to wonder about this or that. I simply know that it's all legit and solid. So today I'll be running a few grounds, crimping power leads to gauges, routing and organizing. Wiring should be wrapped up shortly! Then off to start and knock out the manifold!!
Stay tuned! more updates soon!
04-28-14, 01:13 PM
#1859
But looking good! I'm in the same boat as you, every time I try to get something done on my build, the previous owner strikes again.....my common phrase of choice.
Do it right, do it once and you'll never have to mess with it again.
 . They come off easily with a couple of gentle hammer taps.
04-29-14, 10:25 AM
. They come off easily with a couple of gentle hammer taps.
04-29-14, 10:25 AM
#1862
your right. I was looking at it yesterday though. The car is wired up pretty much so that if I wanted to go full retard It wouldn't take much. You guys are right....and this has snowballed. but at least everything essential is solid now hahaAfter reading everything that he's run into from the previous owner and all that he's added and done to make it right, I was thinking the same thing, lol.
But looking good! I'm in the same boat as you, every time I try to get something done on my build, the previous owner strikes again.....my common phrase of choice.
Do it right, do it once and you'll never have to mess with it again.
But looking good! I'm in the same boat as you, every time I try to get something done on my build, the previous owner strikes again.....my common phrase of choice.
Do it right, do it once and you'll never have to mess with it again.
but everything really was just a bunch of decent aftermarket parts slapped together...exhaust leaks, sloppy wiring, etc etc etc ya know? Either way..I've learned a lot and really wouldn't take the experience back
04-29-14, 11:09 AM
#1863
Update:
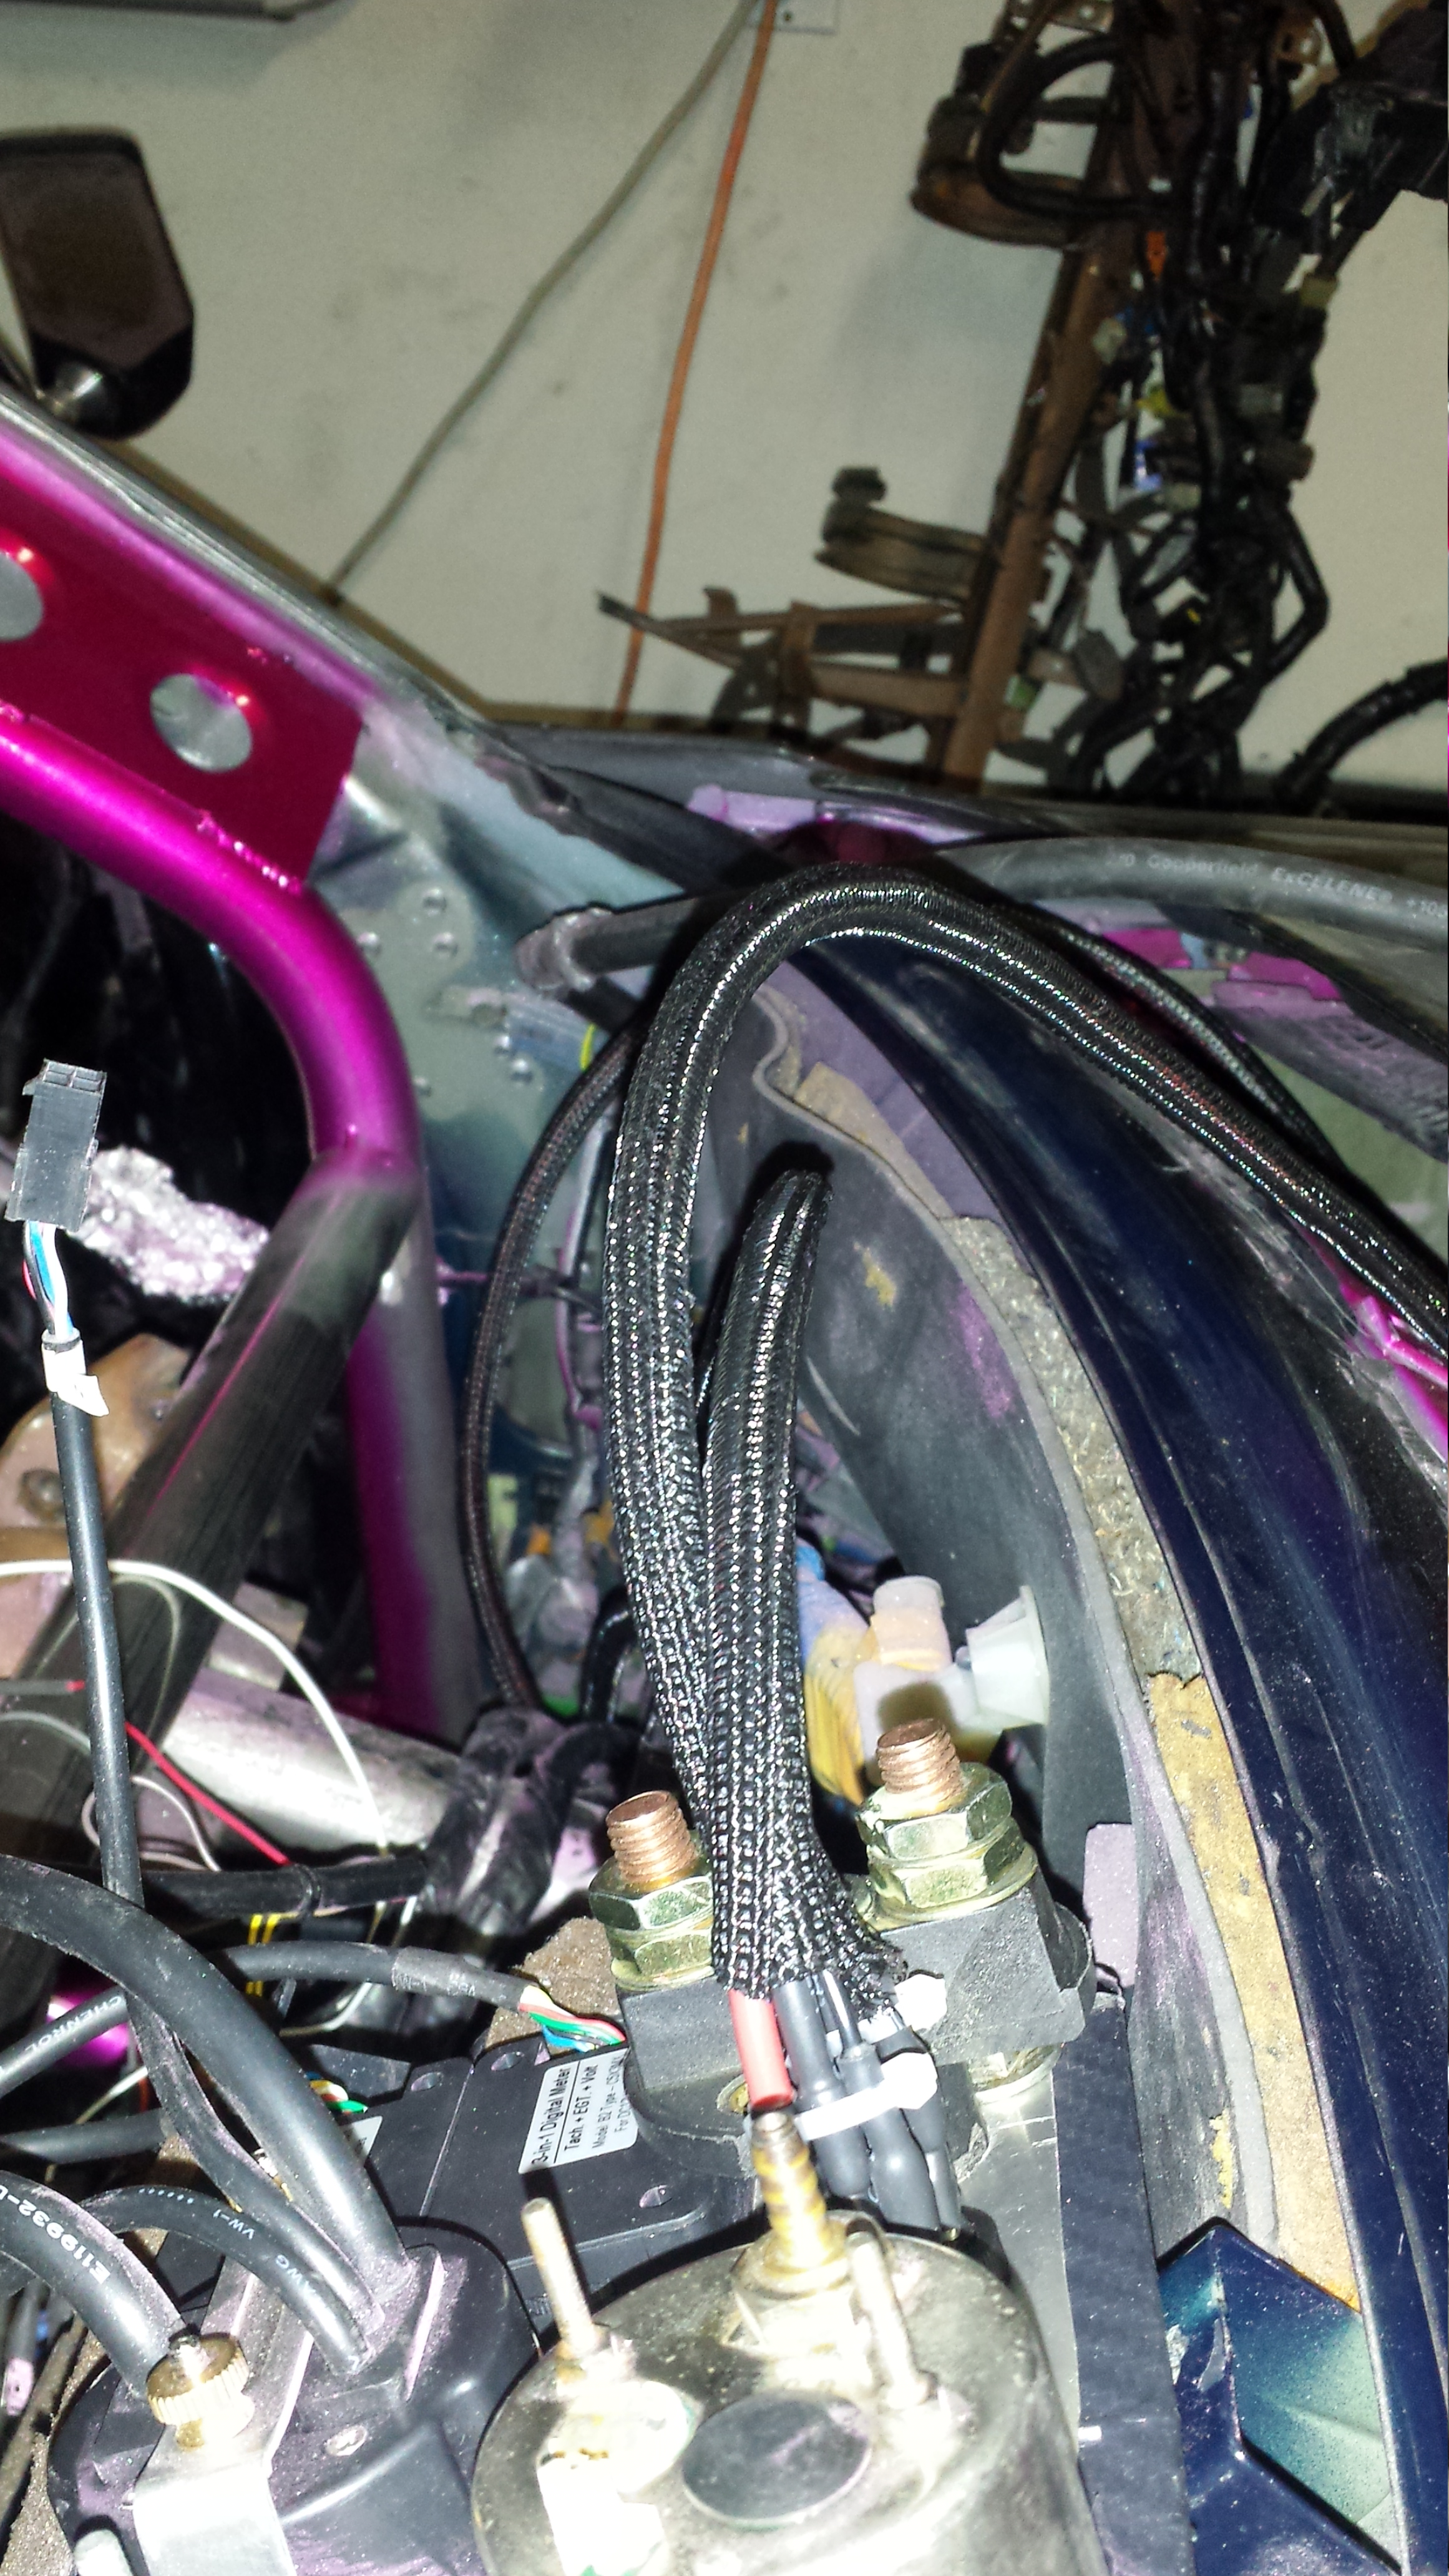
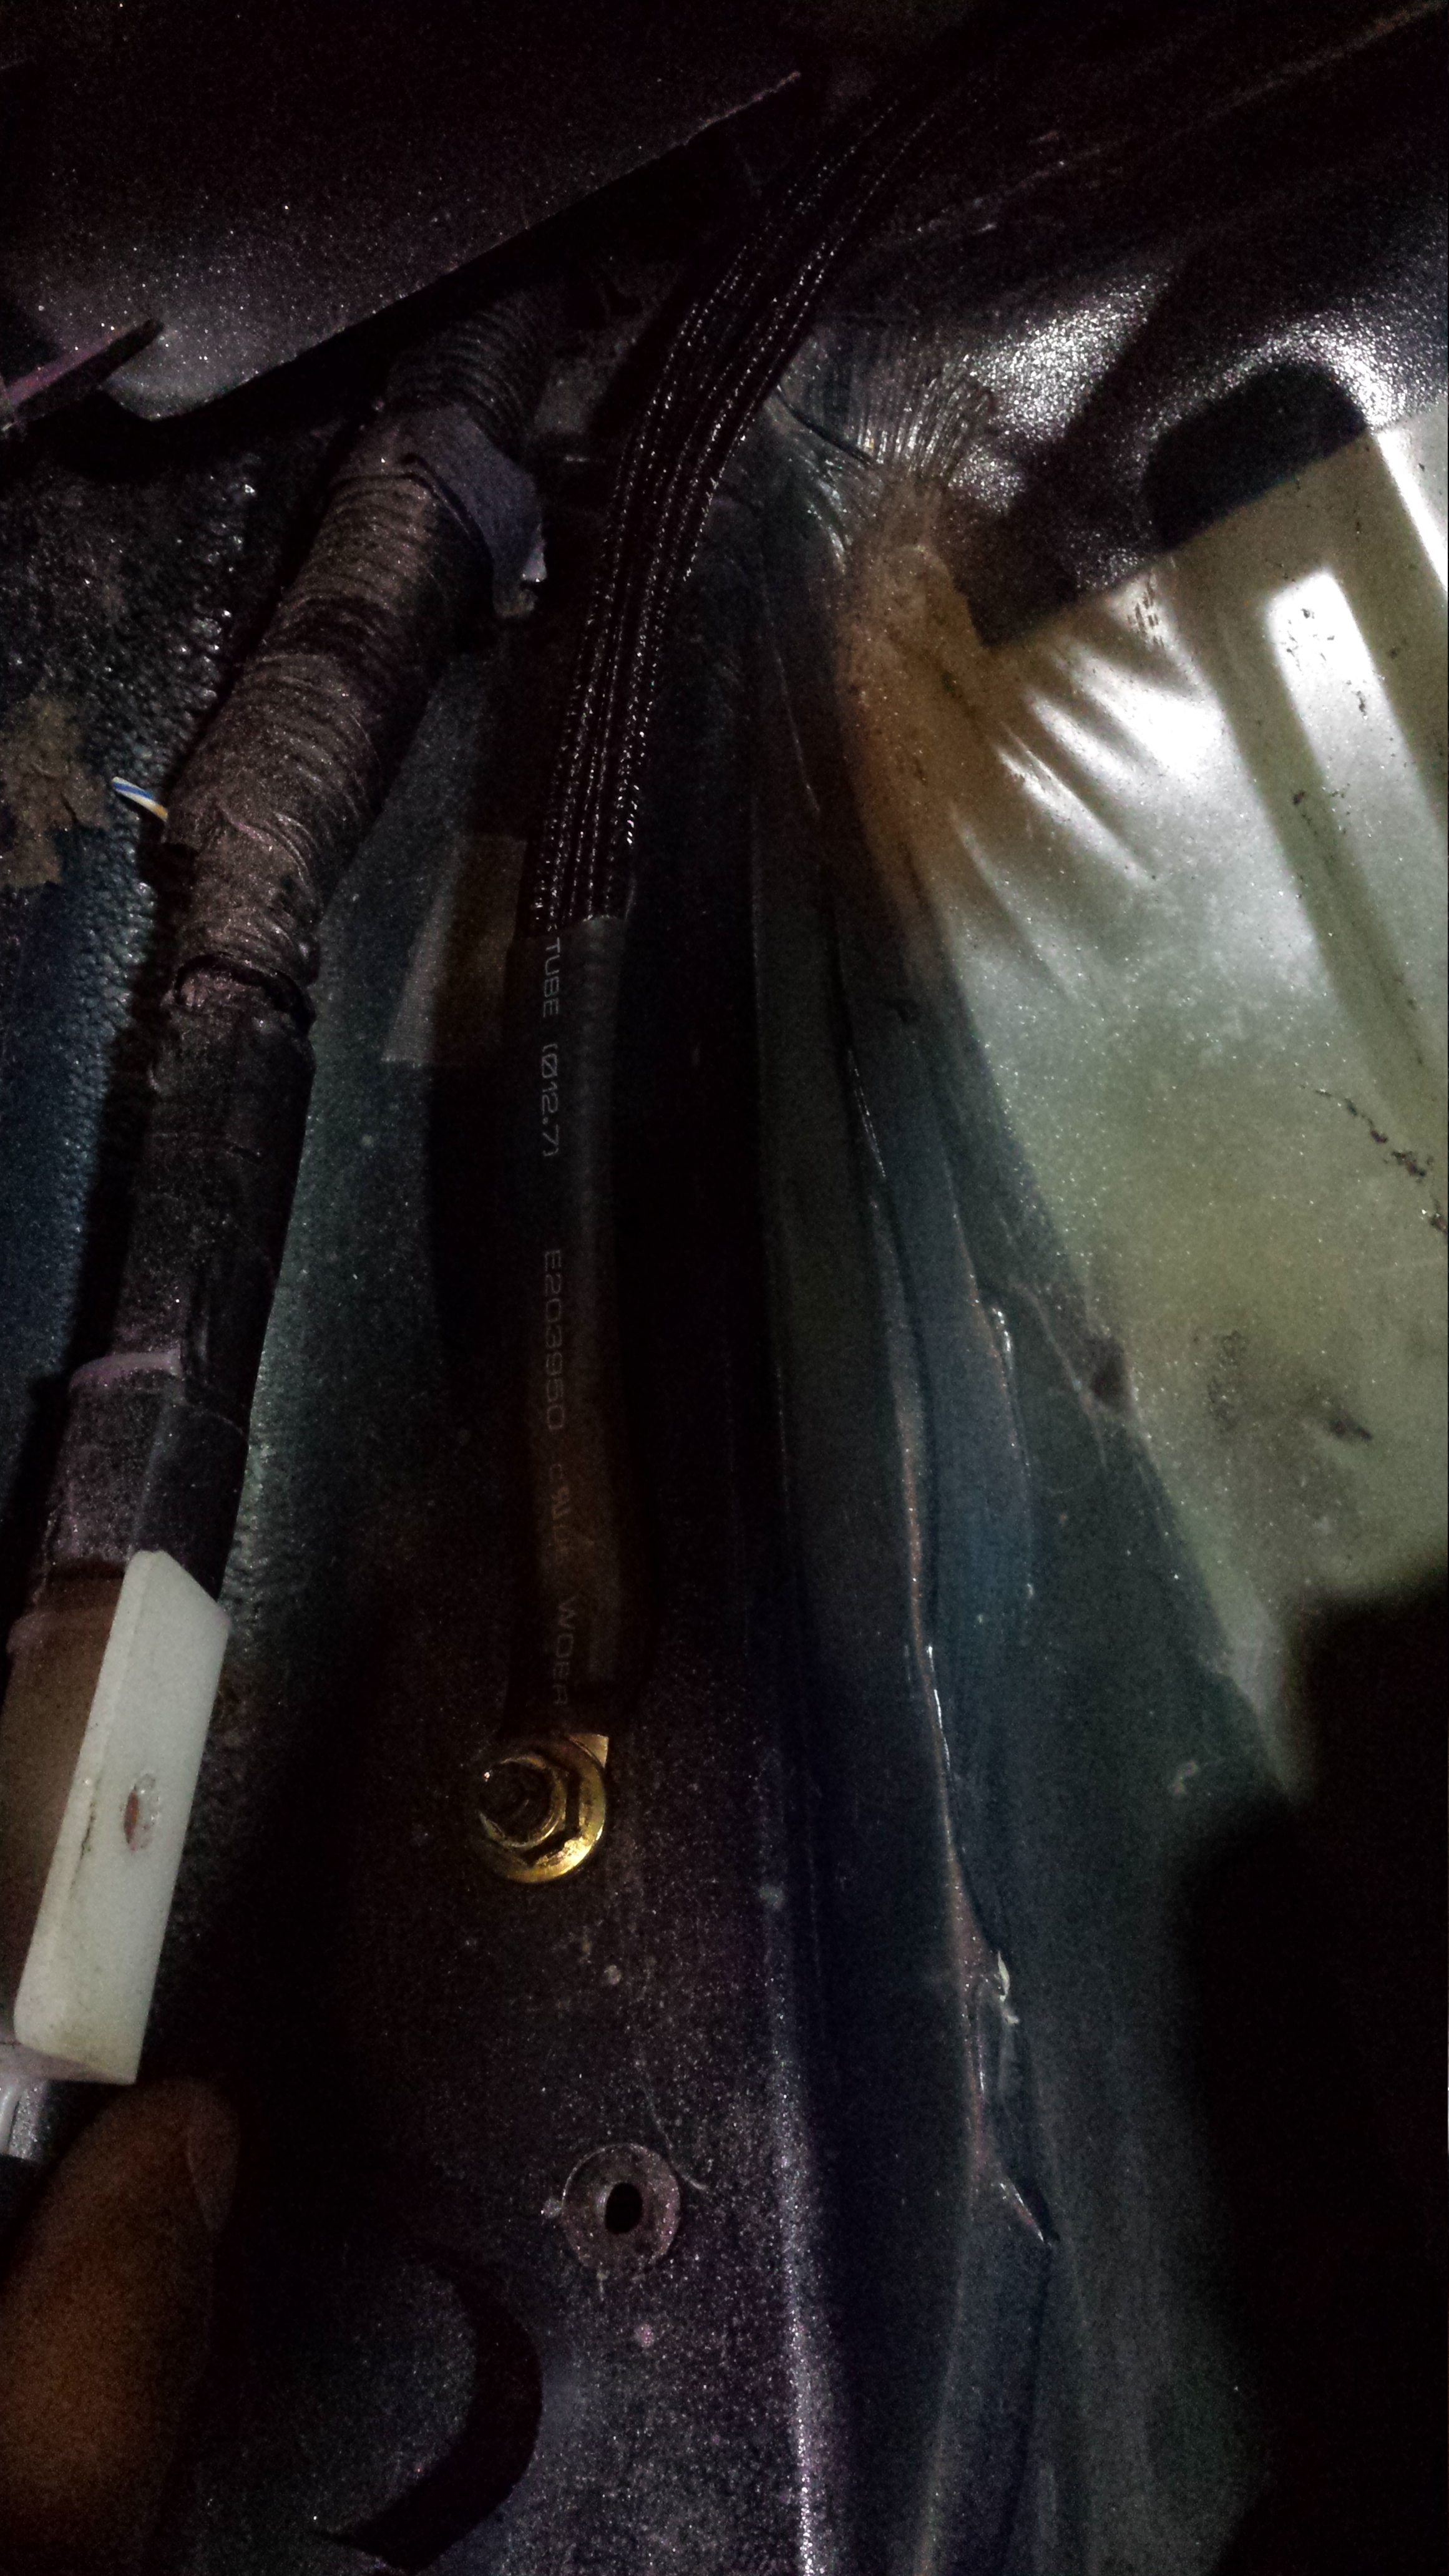
Well last night I got more wiring done. Power and grounds to all gauges, egt sensors, egt gauges, logging systems, ecu, Oil cooler fans is done. The majority of the job consisted of measuring wire and ensuring I made a good Crimp/solder. What a pain after a while. I developed a method where I'd take a huge breath of air before I hit the spade crimp/wire with solder as not to breathe in what is probably absolutely an absolutely toxic gaseous fog haha. Can't be good for you. But I know that everything is good to go now. ALl that is left to wire in is the Oil cooler Fan switch. I've decided to do this seperately so that I can run the oil coolers when the car is completely off with no key. So I'll be running power and ground after work today. Then all that's left is making it look pretty by routing and making sure everything is where I want it. Maybe also covering the new stuff with braided sleeving...which is even more tedious because I didn't buy the install tool. Anyways...cheap pics but didn't really look like I did much. But that's ok...lots of progress was made. Here are some pics.
put a little extra heat shrink on the oil cooler power and ground because it is being routing up and around the wheel well area. everything is sealed and easily disconnected if need be.
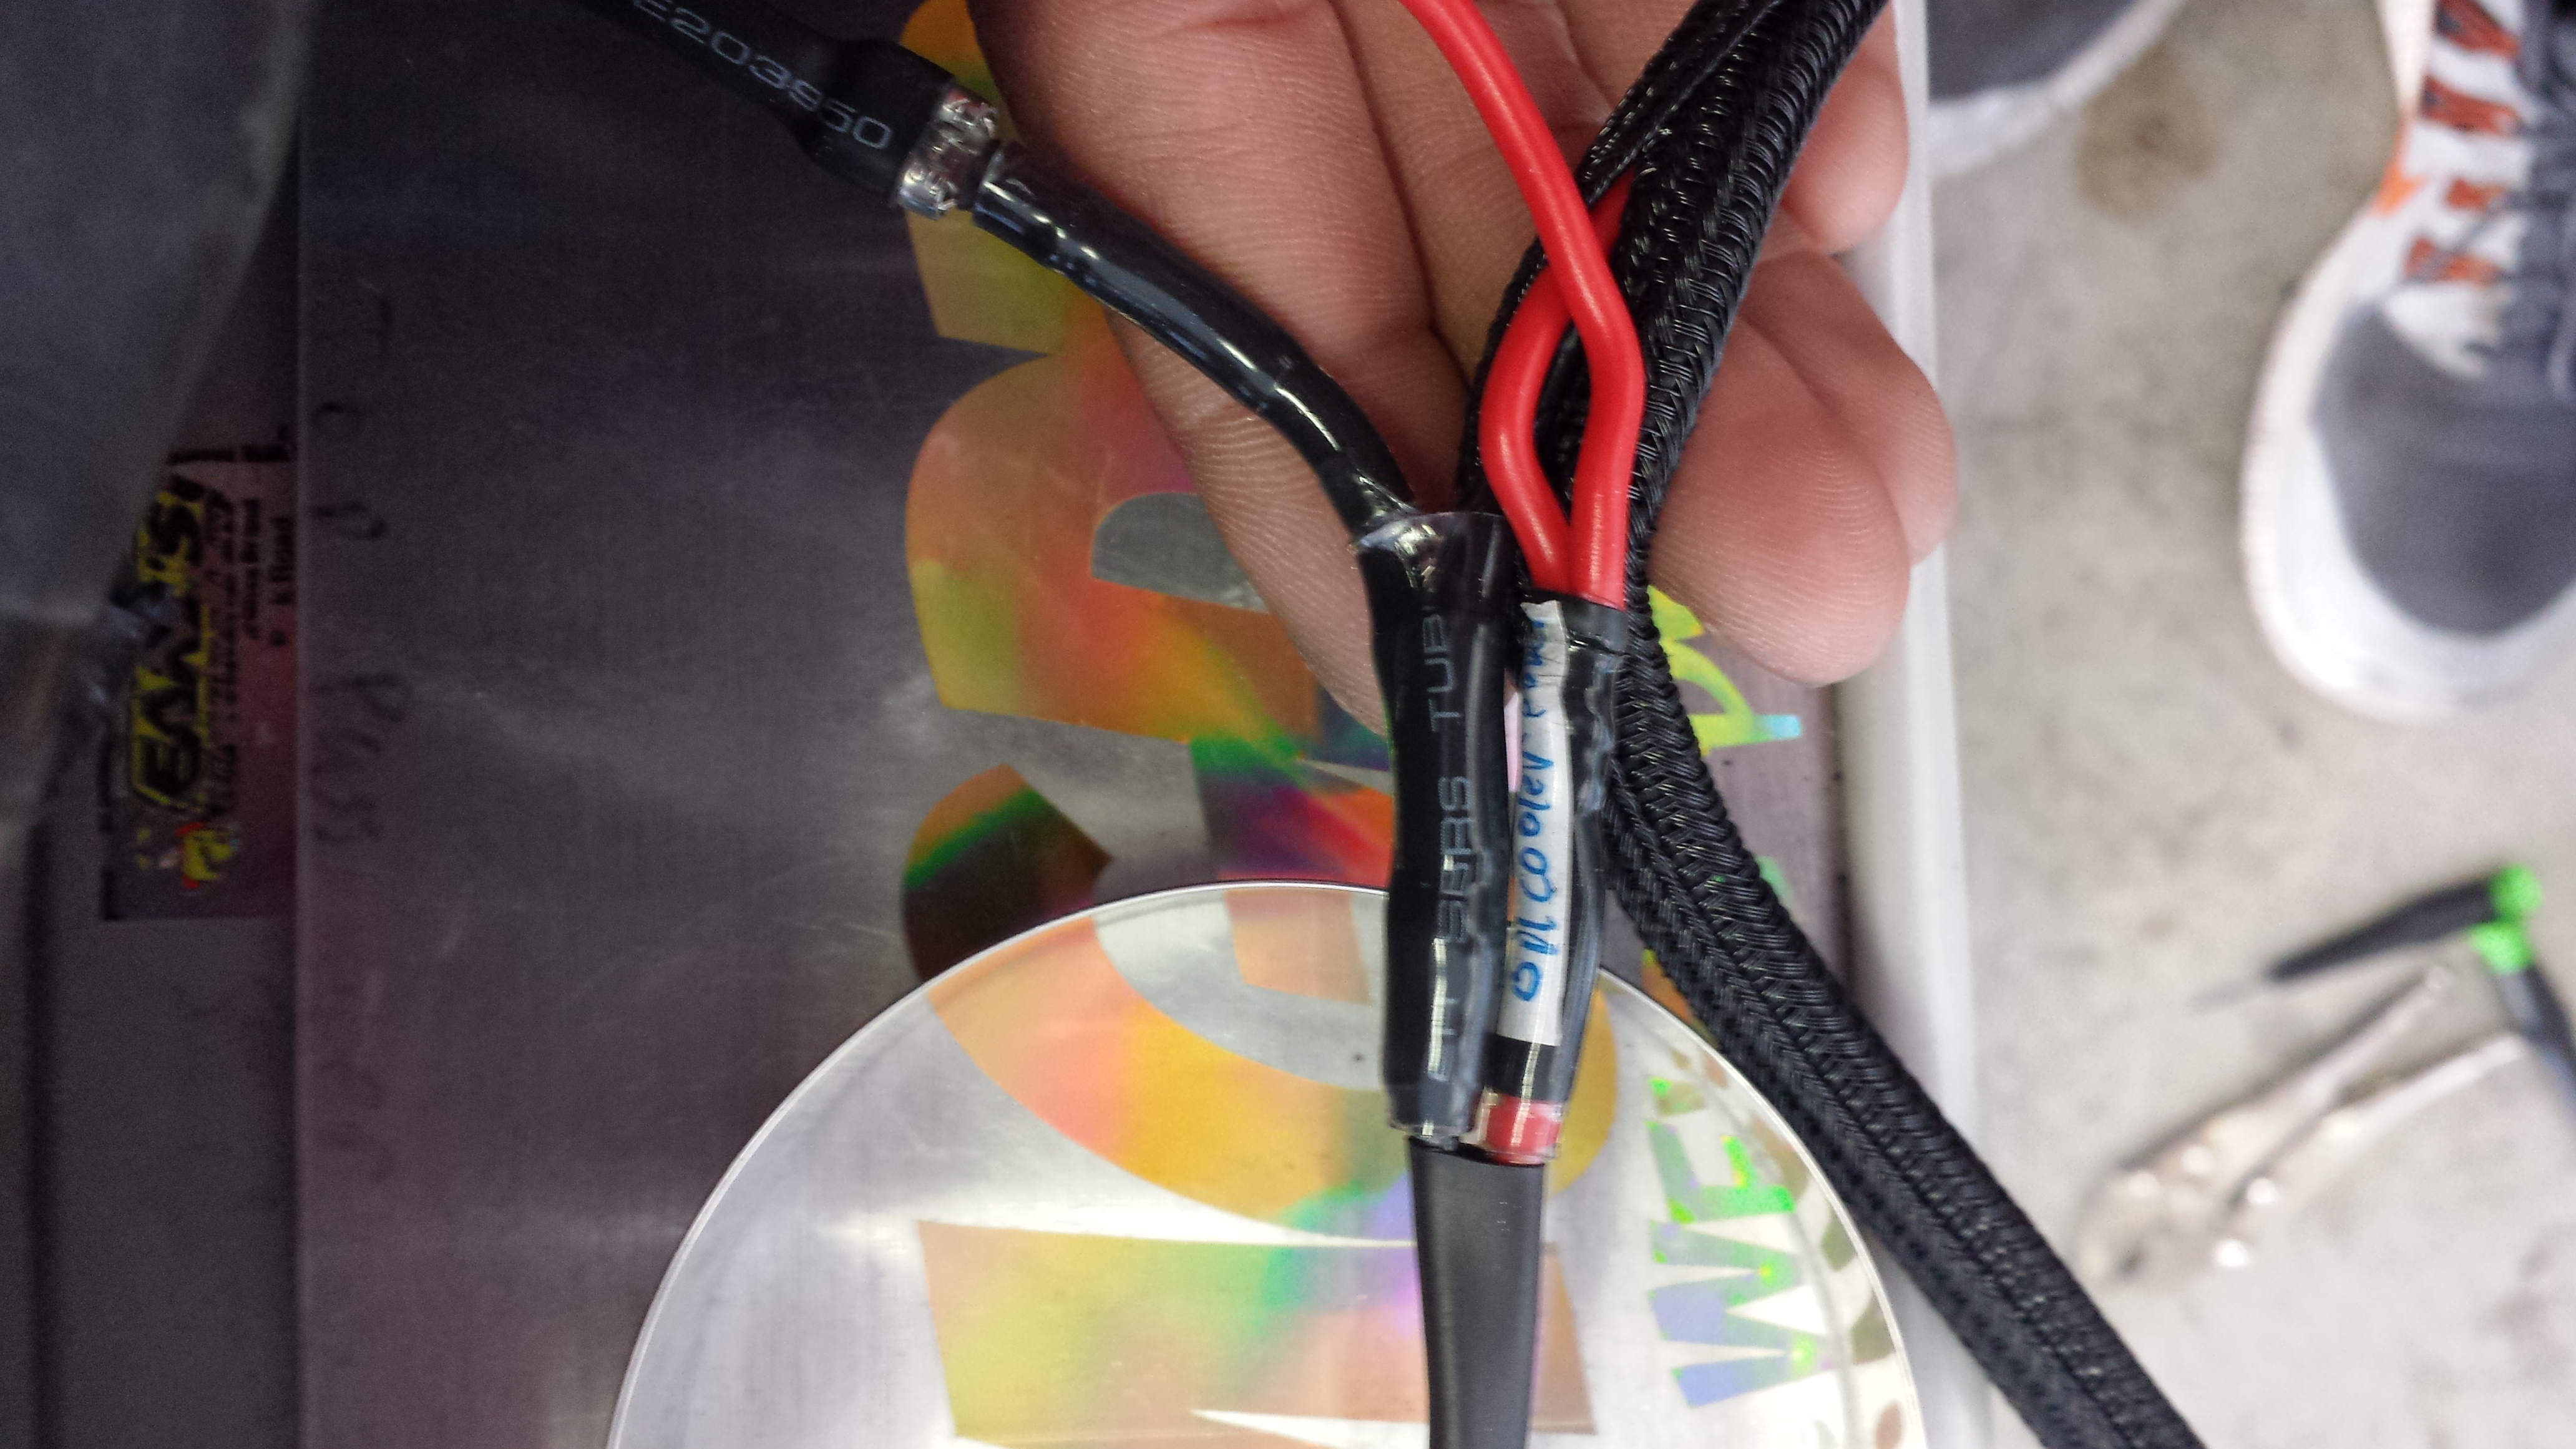
heat shrink
done
horrible lighting
finished the last ground for my fuel Pumps. The one on the other side is for the pump relay.
And that's it for pictures.. sorry guys hahaha. sometimes I get distracted and don't feel like pulling the phone out to snap a pic.
more Updates soon..
stay tuned!!!
Well last night I got more wiring done. Power and grounds to all gauges, egt sensors, egt gauges, logging systems, ecu, Oil cooler fans is done. The majority of the job consisted of measuring wire and ensuring I made a good Crimp/solder. What a pain after a while. I developed a method where I'd take a huge breath of air before I hit the spade crimp/wire with solder as not to breathe in what is probably absolutely an absolutely toxic gaseous fog haha. Can't be good for you. But I know that everything is good to go now. ALl that is left to wire in is the Oil cooler Fan switch. I've decided to do this seperately so that I can run the oil coolers when the car is completely off with no key. So I'll be running power and ground after work today. Then all that's left is making it look pretty by routing and making sure everything is where I want it. Maybe also covering the new stuff with braided sleeving...which is even more tedious because I didn't buy the install tool. Anyways...cheap pics but didn't really look like I did much. But that's ok...lots of progress was made. Here are some pics.
put a little extra heat shrink on the oil cooler power and ground because it is being routing up and around the wheel well area. everything is sealed and easily disconnected if need be.
heat shrink
done
horrible lighting
finished the last ground for my fuel Pumps. The one on the other side is for the pump relay.
And that's it for pictures.. sorry guys hahaha. sometimes I get distracted and don't feel like pulling the phone out to snap a pic.
more Updates soon..
stay tuned!!!
04-29-14, 03:03 PM
#1865
Full Member

Join Date: Aug 2009
Location: Phoenix, AZ
Posts: 91
Likes: 0
Received 0 Likes
on
0 Posts
looks great aaron!
just a side note regarding ABS "tone rings" - they dont weigh very much, and one of the best uses for them is to use them as wheelspeed sensors. this allows you to run a variety of motorsport style traction control systems. We've been having great results with Pro-EFI but a really simple budget solution we just successfully tried on a high power toyota MRS is the Hondata traction control: Traction Control
could be a neat solution for rx7's that wanted or needed user-defined amounts of traction (probably not a drift car tho!)
04-30-14, 10:05 AM
#1866
looks great aaron!
just a side note regarding ABS "tone rings" - they dont weigh very much, and one of the best uses for them is to use them as wheelspeed sensors. this allows you to run a variety of motorsport style traction control systems. We've been having great results with Pro-EFI but a really simple budget solution we just successfully tried on a high power toyota MRS is the Hondata traction control: Traction Control
could be a neat solution for rx7's that wanted or needed user-defined amounts of traction (probably not a drift car tho!)
just a side note regarding ABS "tone rings" - they dont weigh very much, and one of the best uses for them is to use them as wheelspeed sensors. this allows you to run a variety of motorsport style traction control systems. We've been having great results with Pro-EFI but a really simple budget solution we just successfully tried on a high power toyota MRS is the Hondata traction control: Traction Control
could be a neat solution for rx7's that wanted or needed user-defined amounts of traction (probably not a drift car tho!)
04-30-14, 10:38 AM
#1867
Small Update:
More and more small things
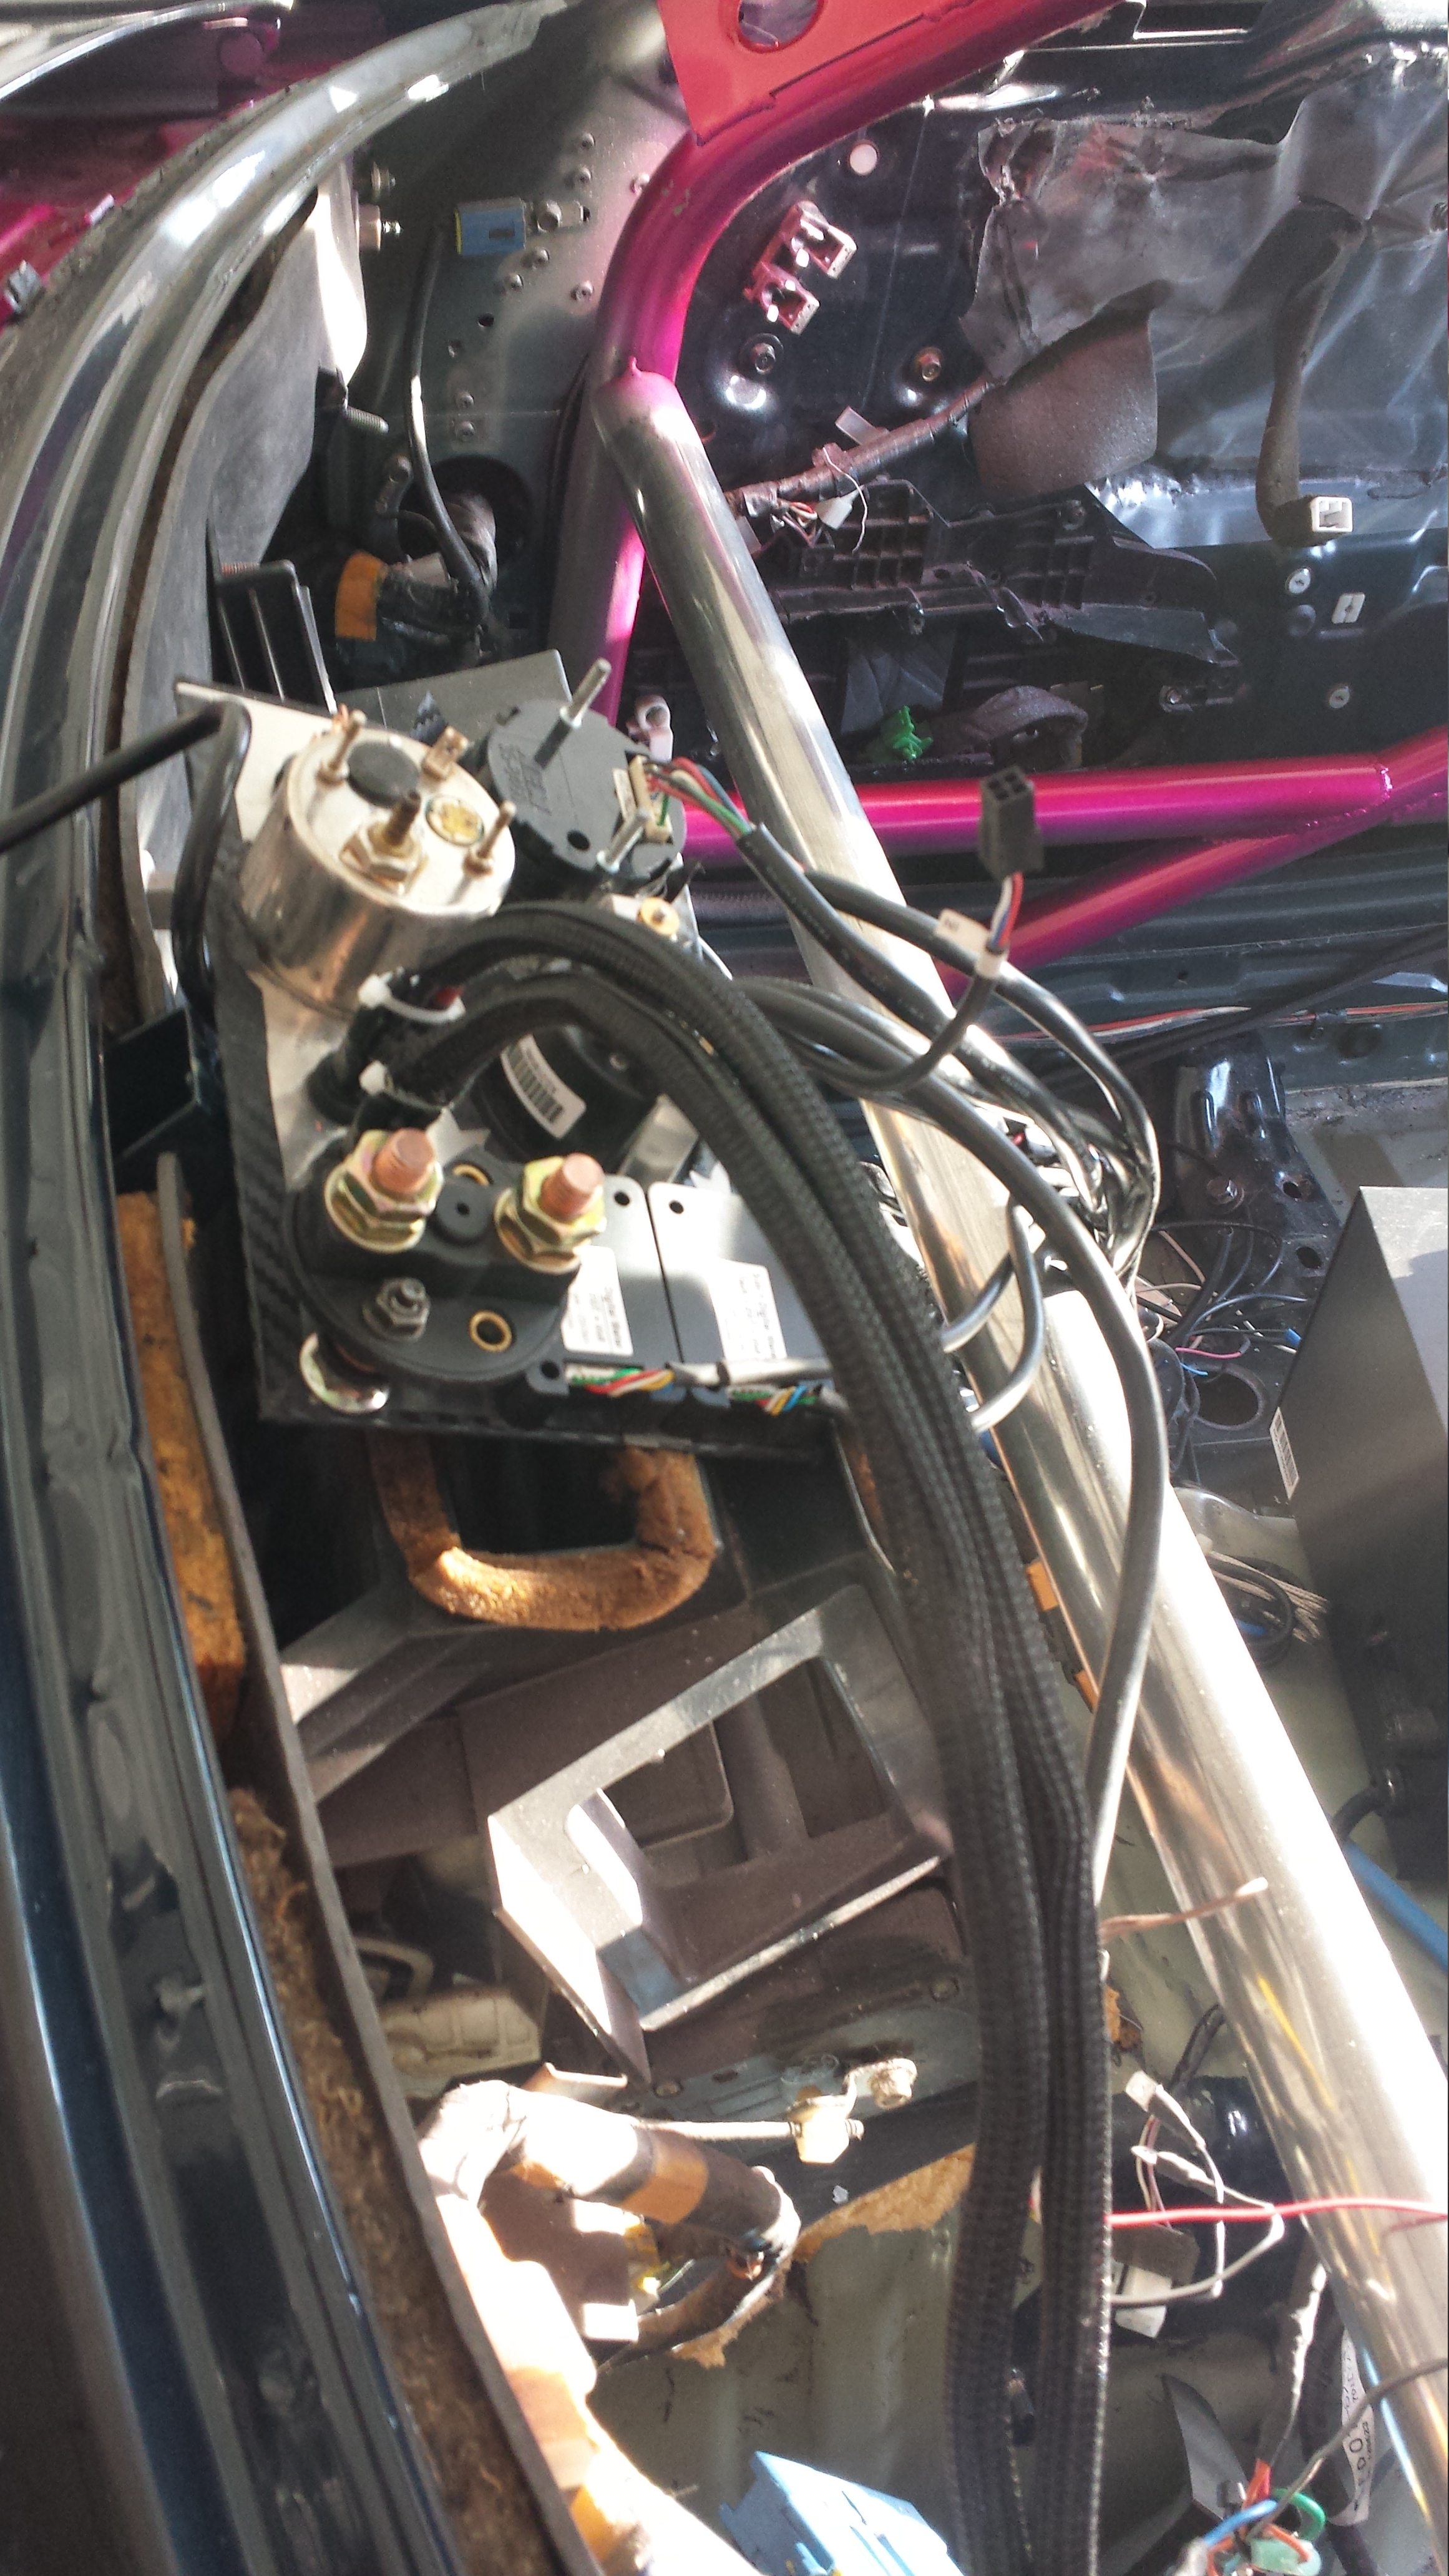
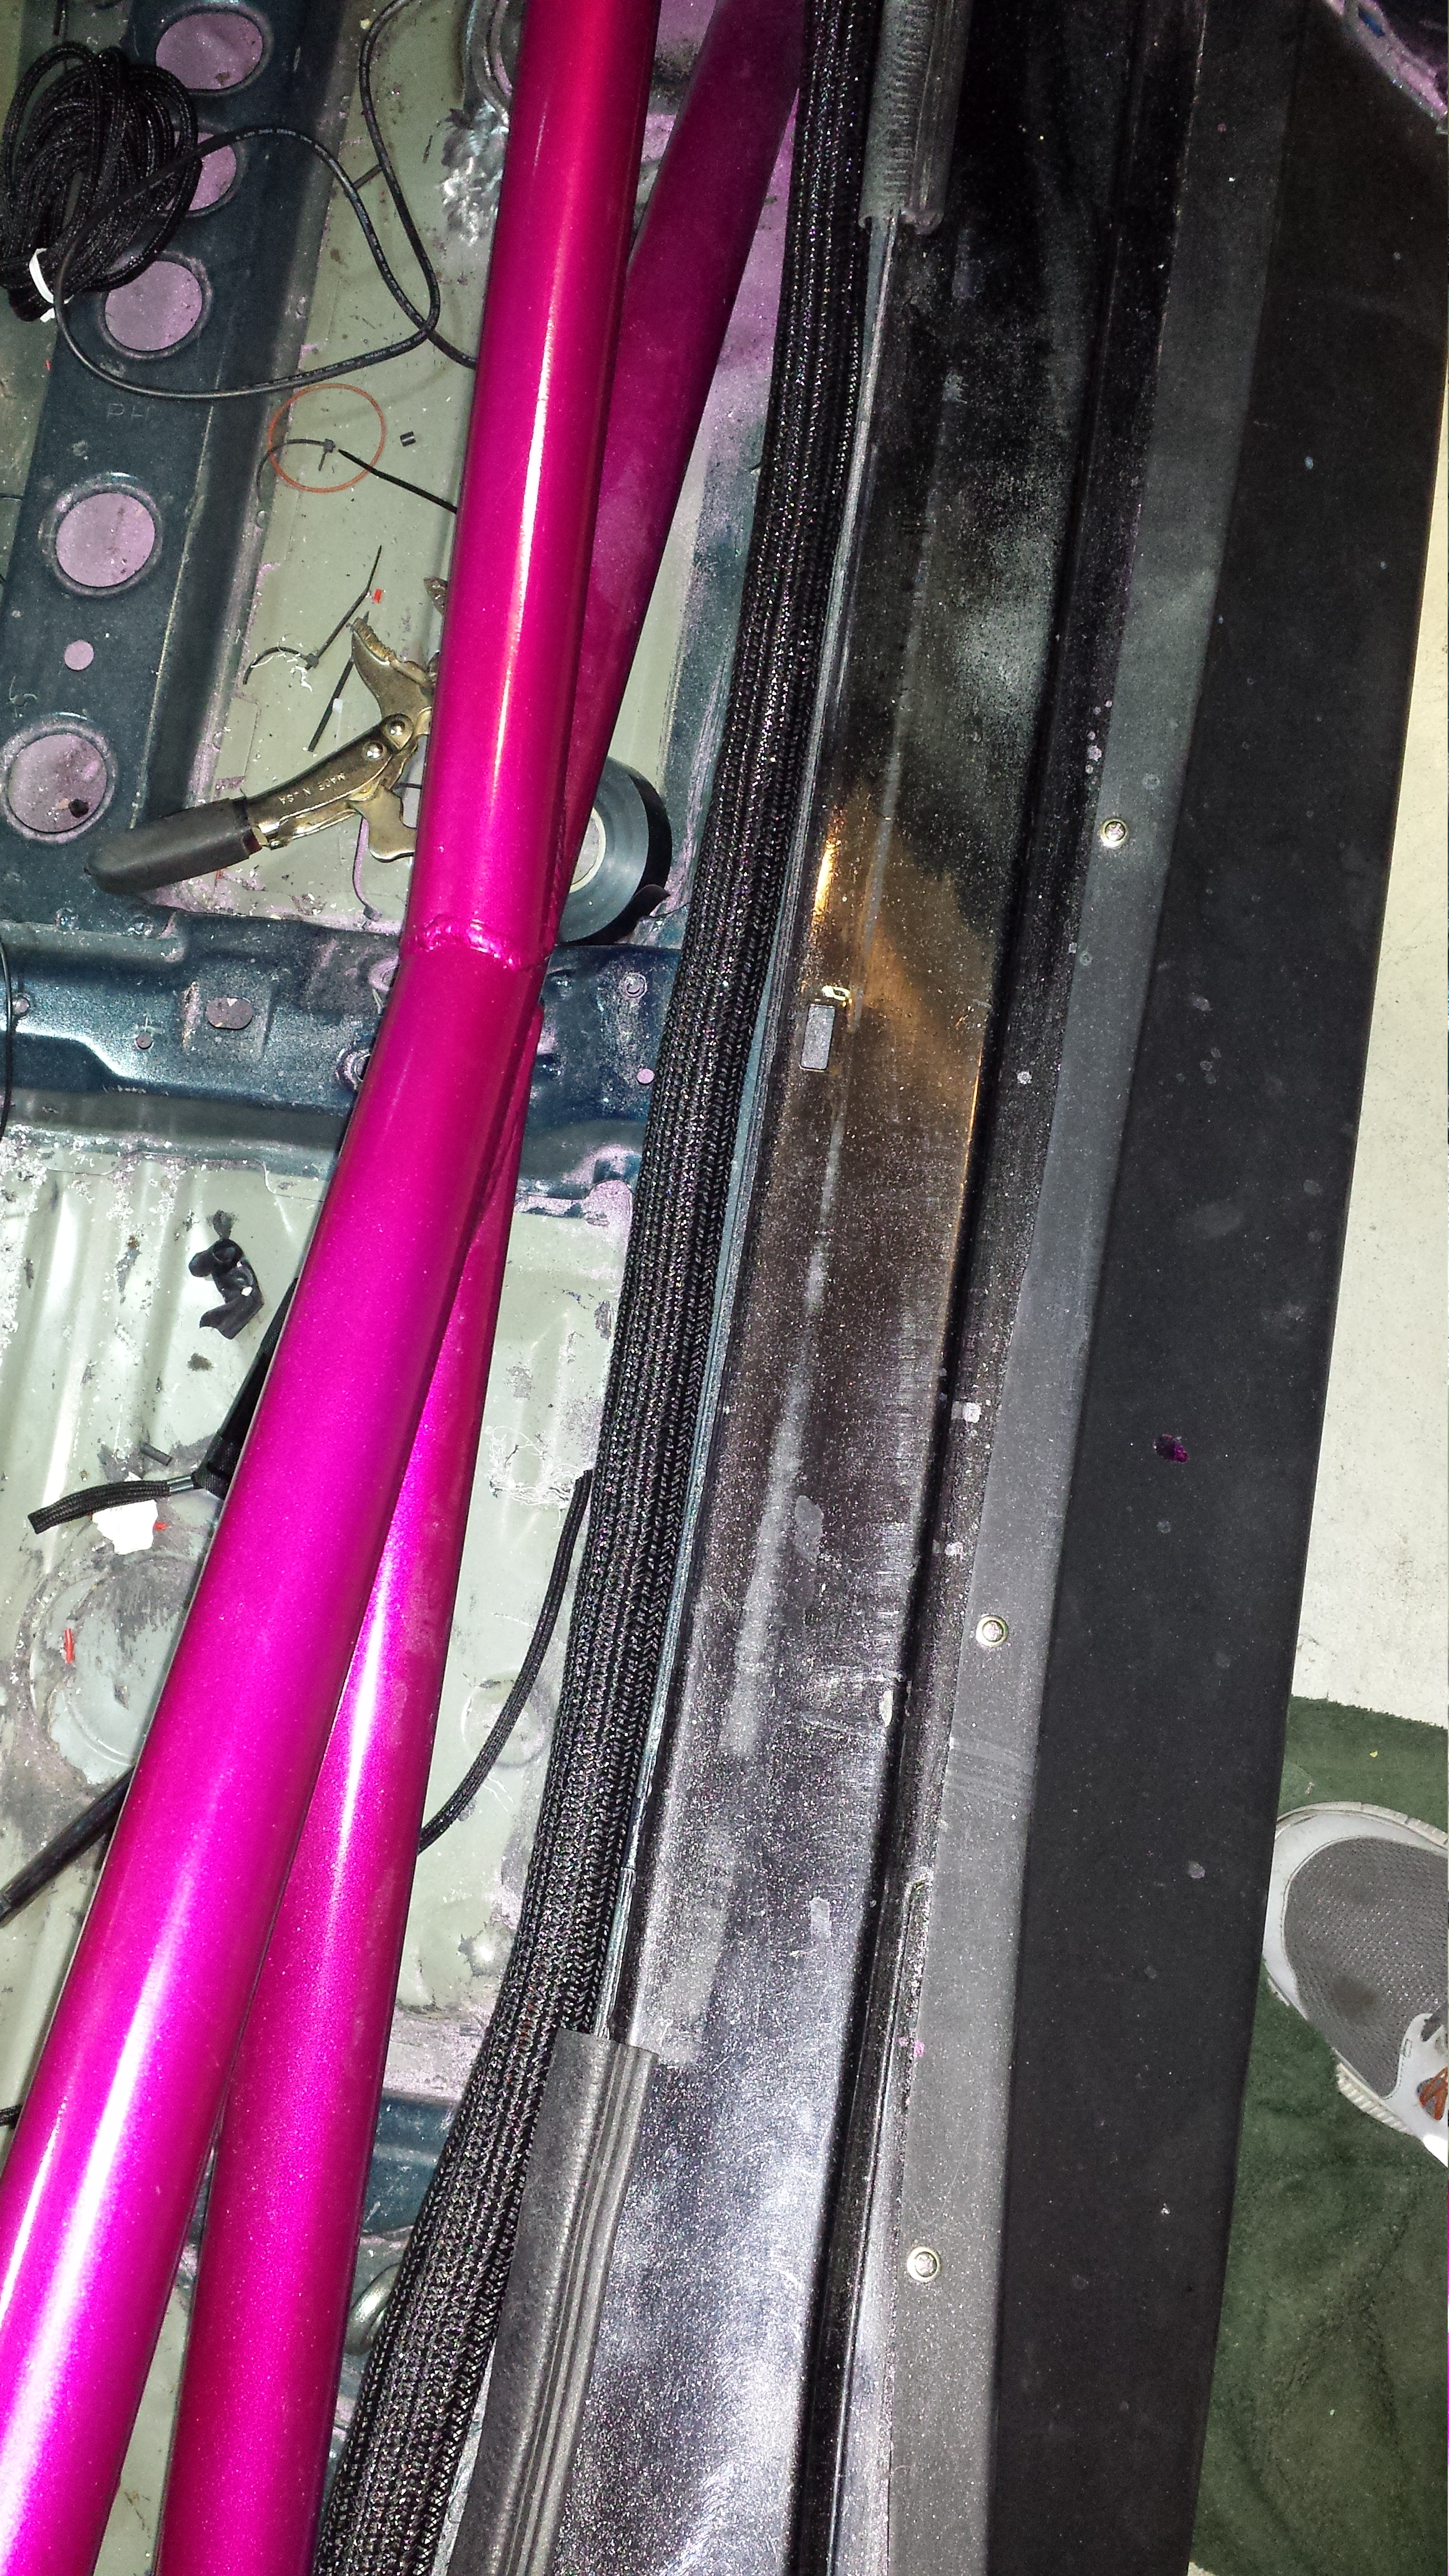
Once again I forgot to take pics. It was one of those days where I literally went over everything I've touched, cleaned, re-routed, checked connections, checked usability etc. Little stuff like this is a pain but it makes everything easier. These are the small things we always forget in the build haha. The stuff you don't make time for and the stuff that gets tedius. But I got a lot done. I was able to install my main power wire from the battery to my battery disconnect switch to the charge harness. Route and secure the fuel pump switch relocation loom. Install and route/secure the Aux relay for the oil cooler fans...so that's finished. I mounted the door frame rail on the passenger side up and out of the way from everything. Only thing left to wire up is the Electronic Boost Control switch and oil/fuel pressure sensors going into the innovate ssi4. I'm happy with progress but I really want to be done with wiring already haha. Just one of those things that you can't rush...otherwise it comes out like crap. Like I said.....I feel like the majority of the time is spent measuring, figuring out mounting/routing etc. Anyways... I covered up the passenger side loom with the braided sleeving. This really cleans things up. Love it.
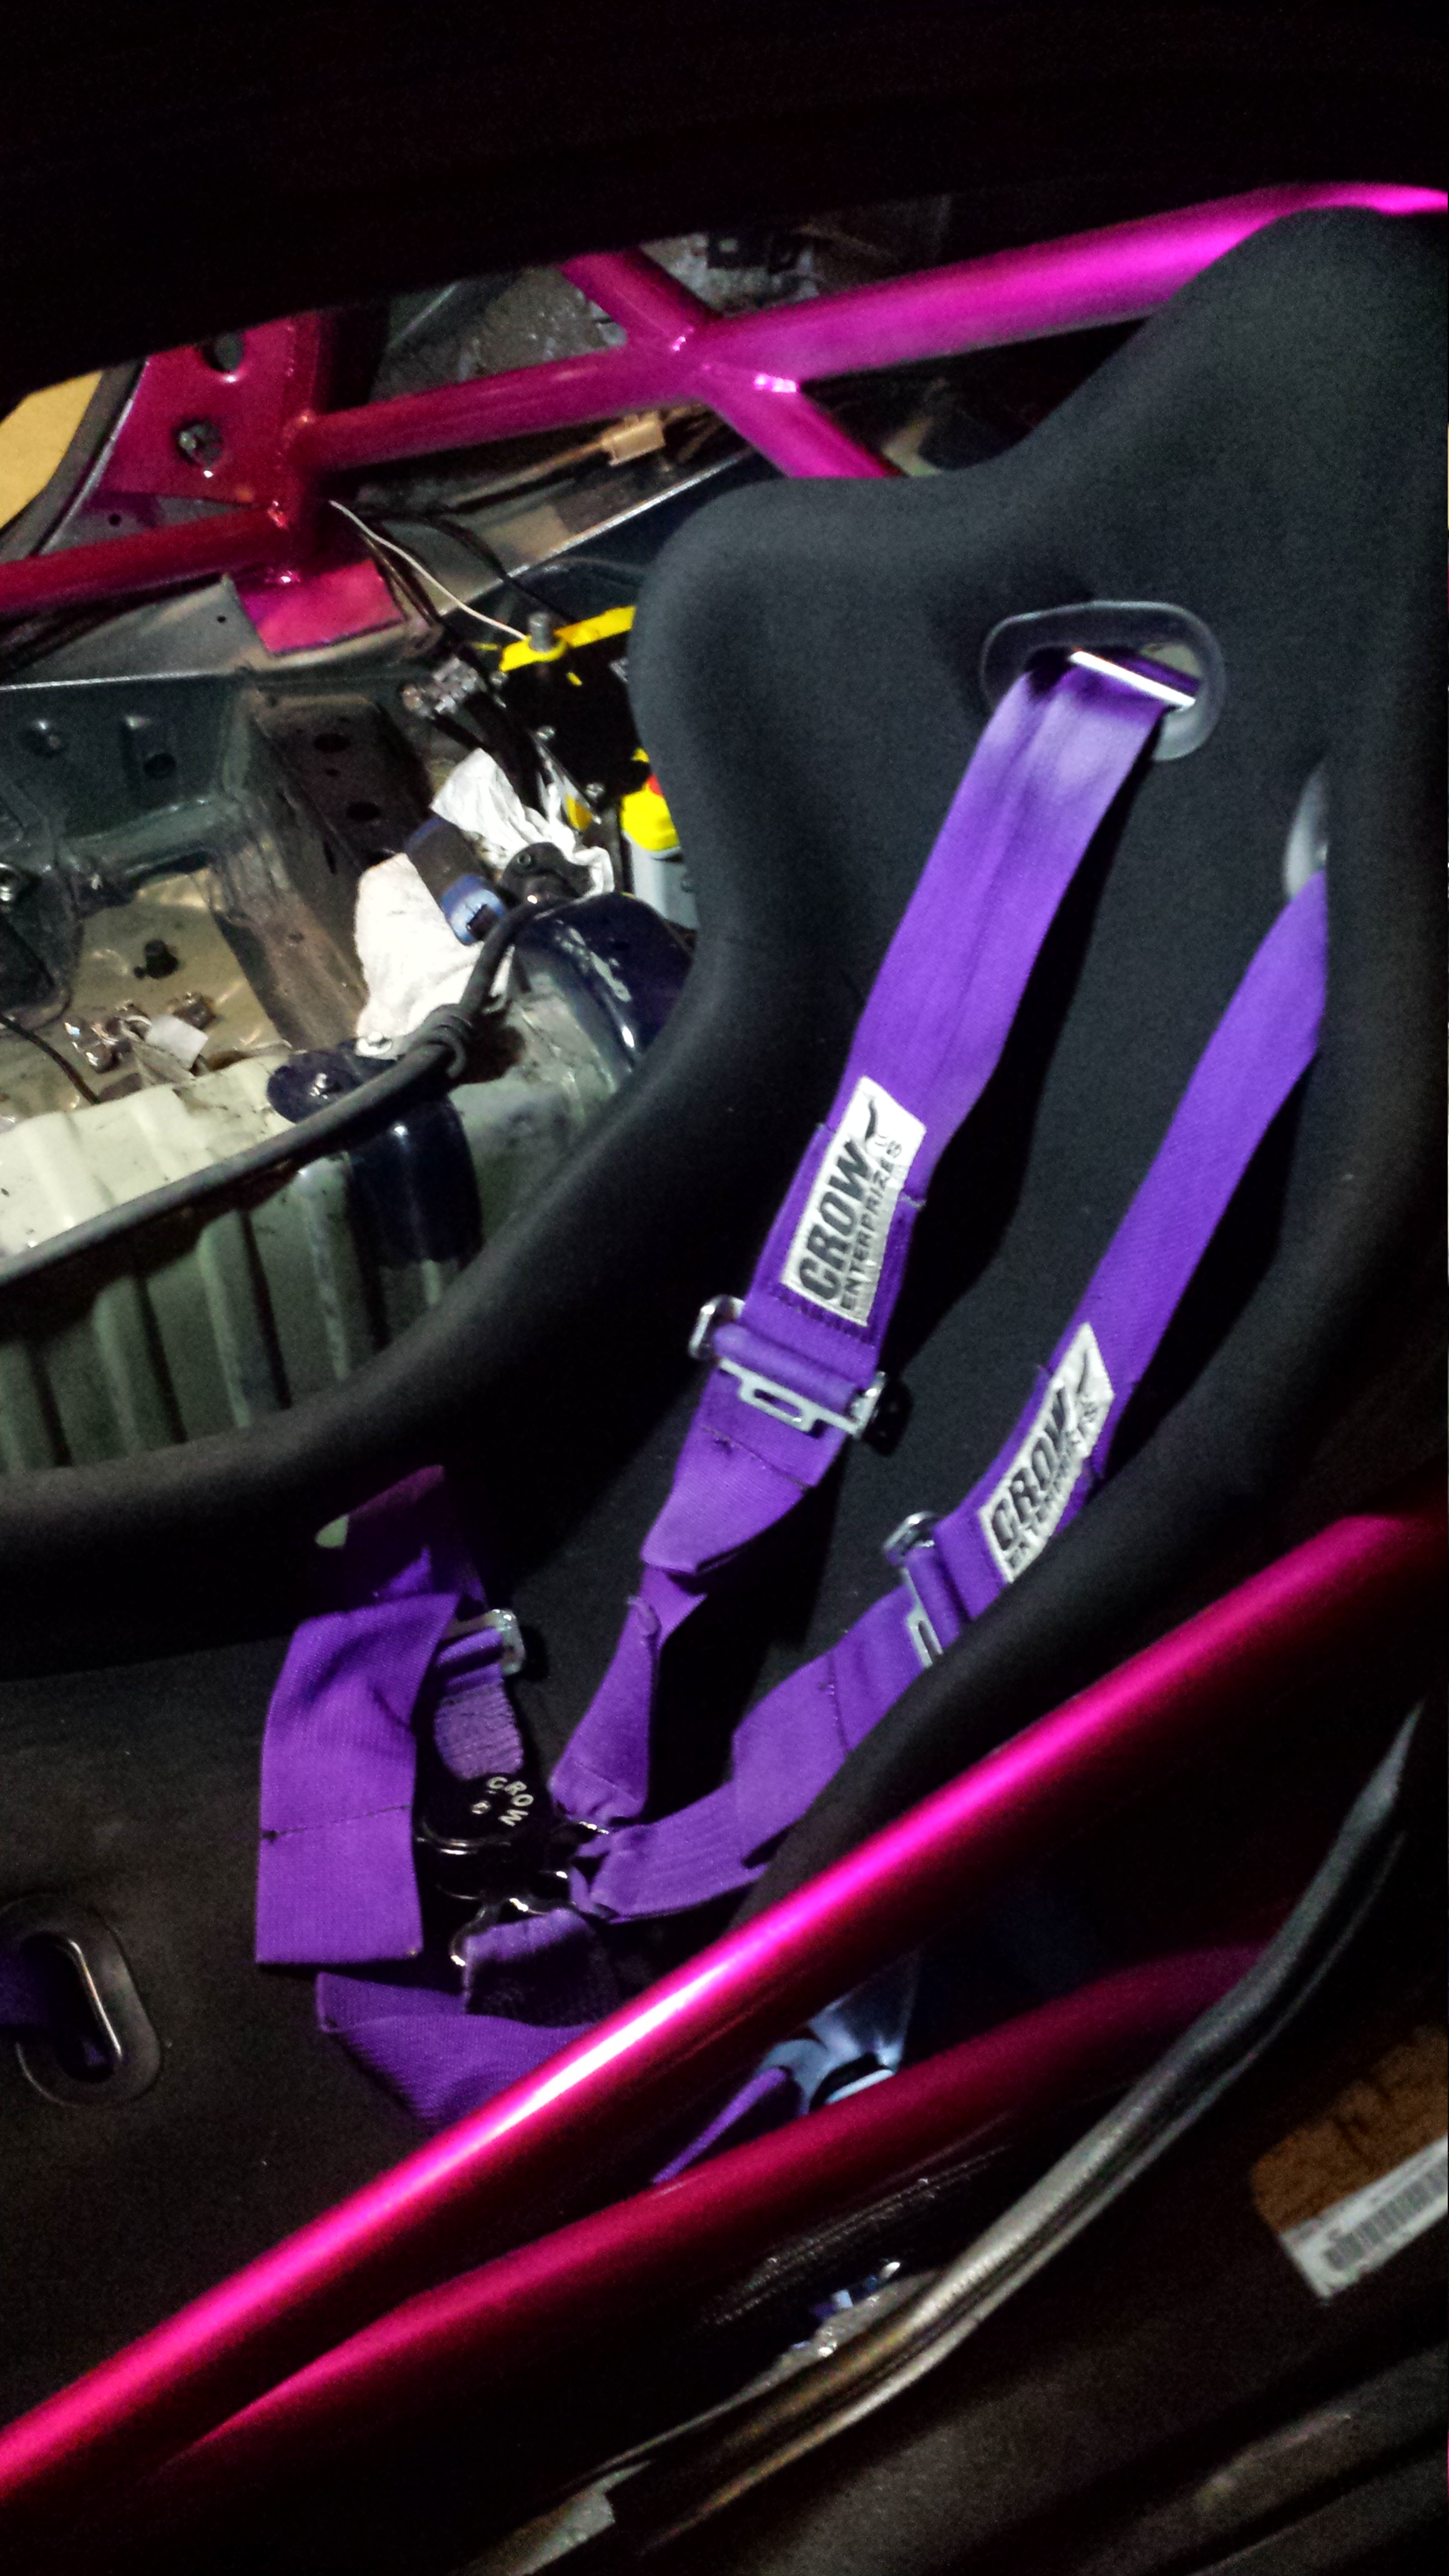
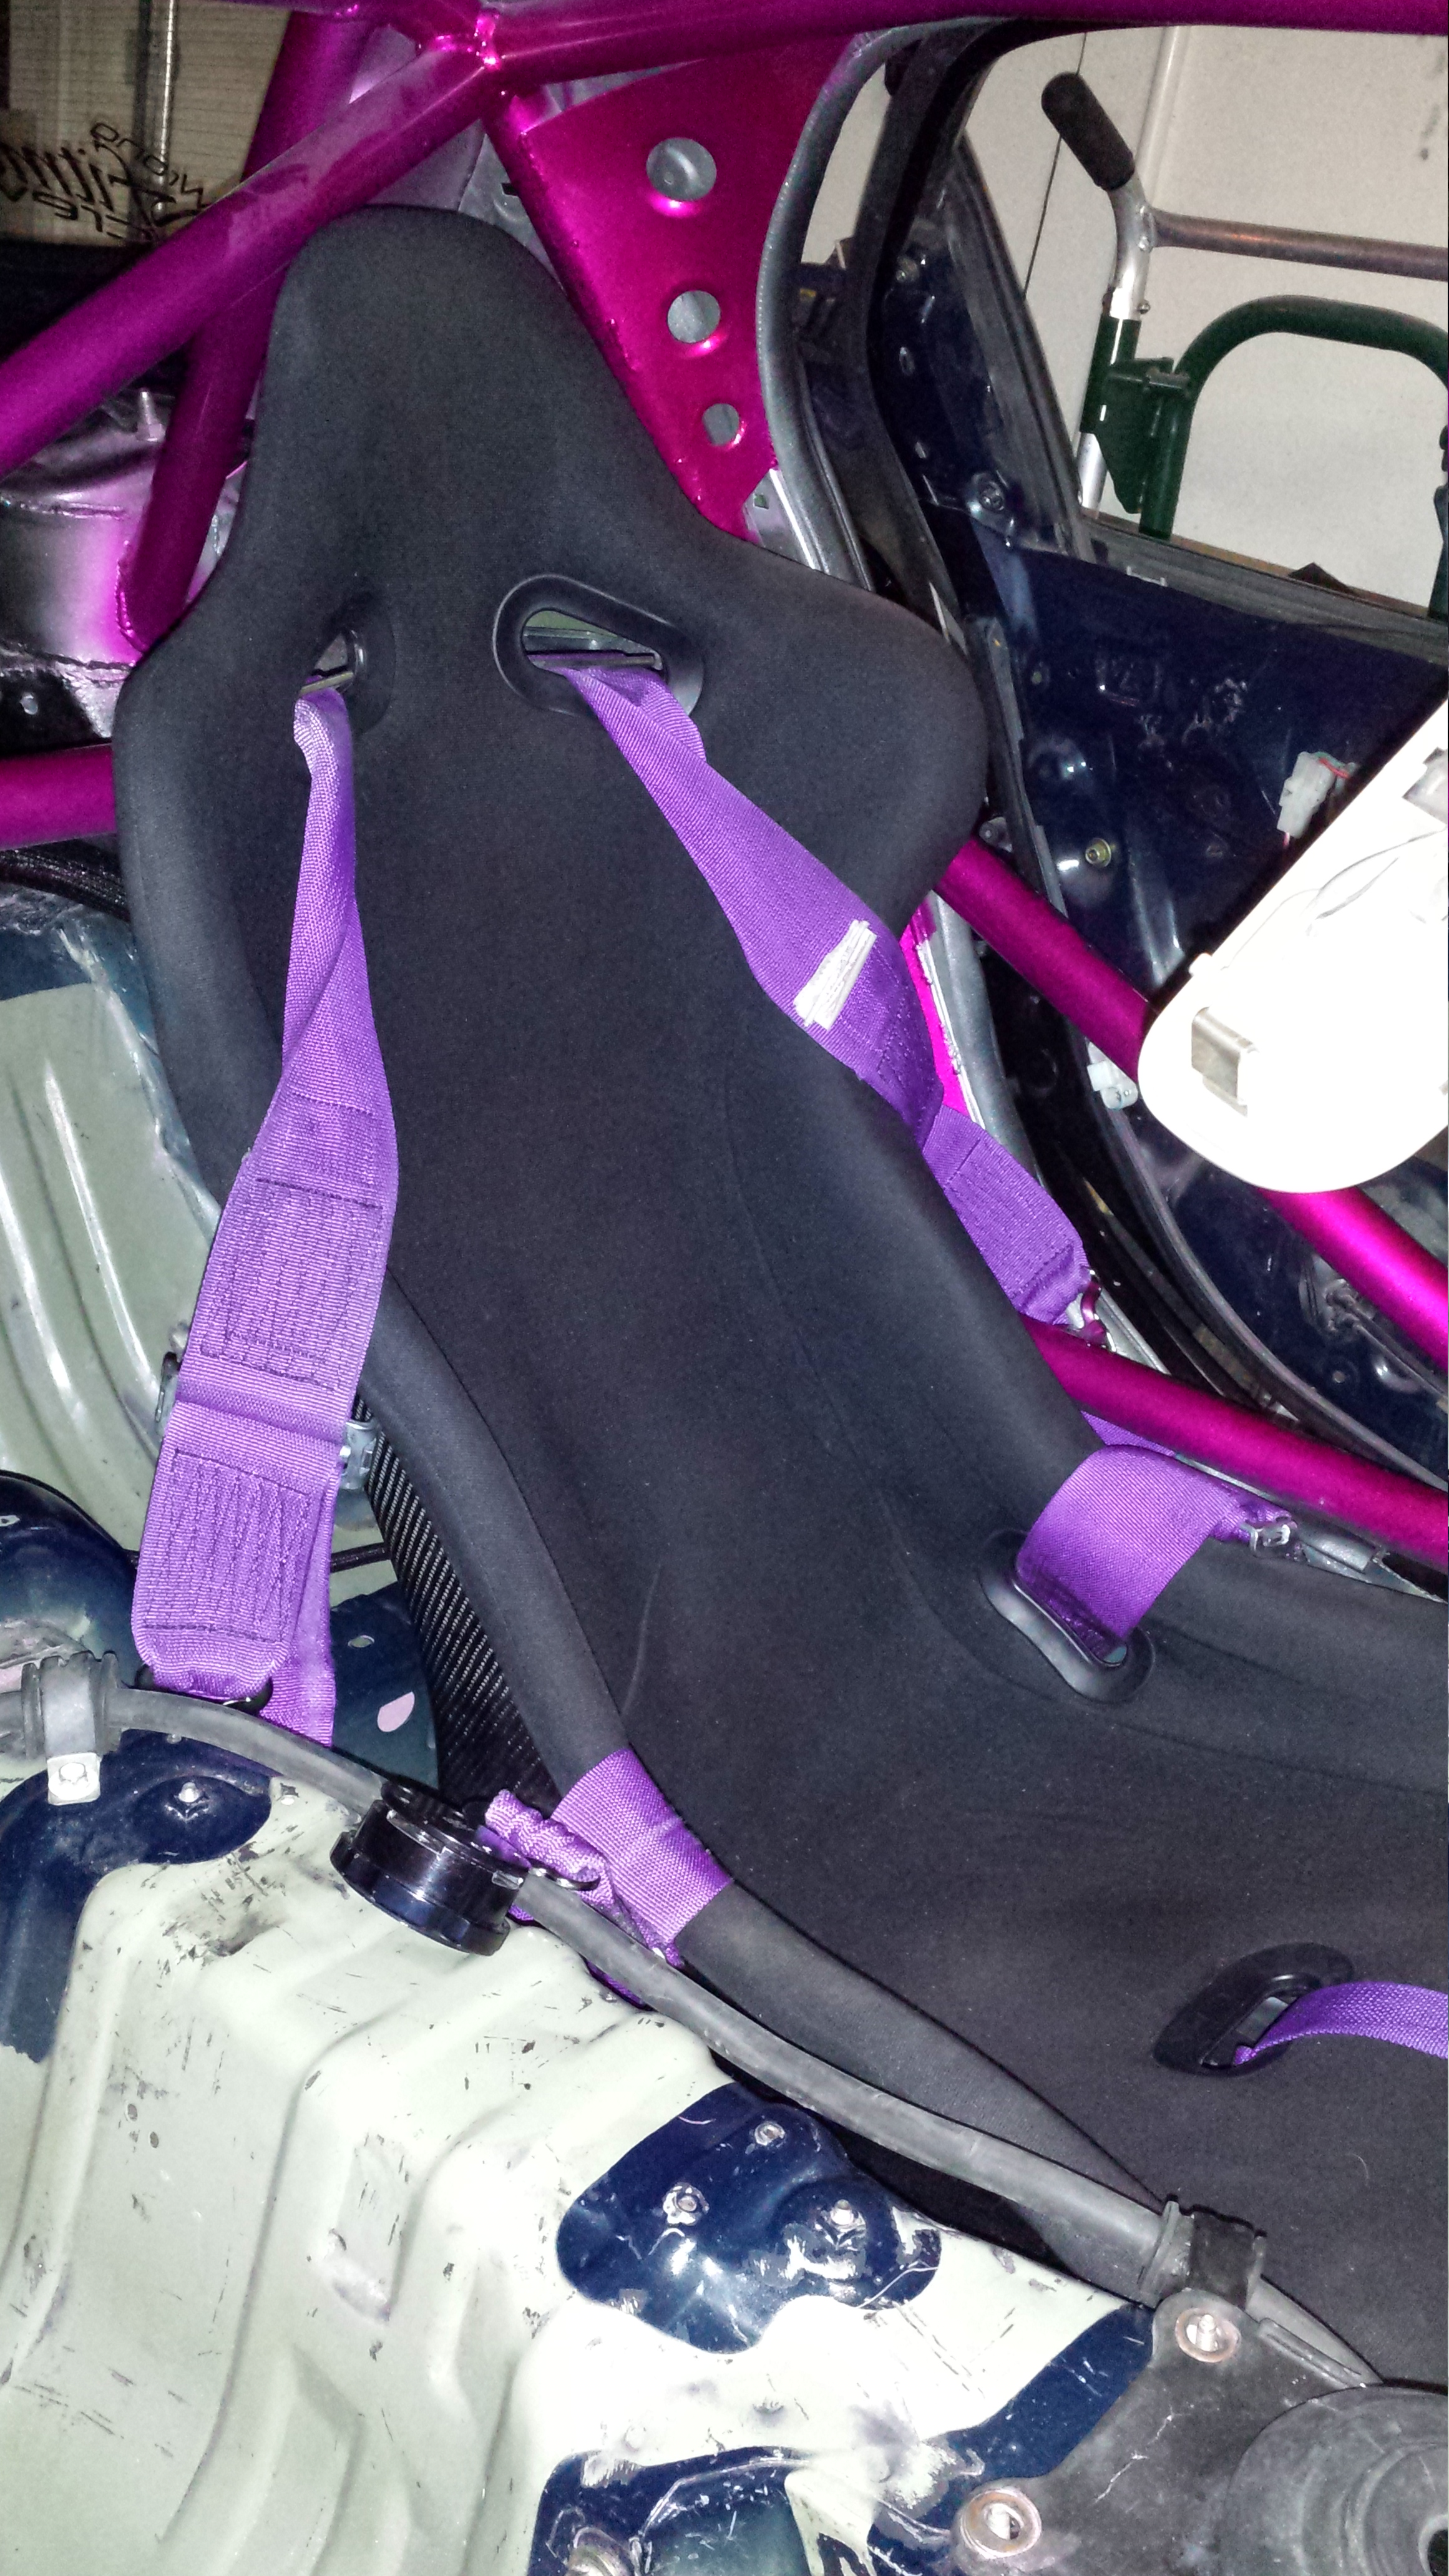
The only other picture I snapped was of my Rail/bucket/Harness install. Seat is my trusty MemoryFab S68 Carbon Bucket. Rail is a custom piece I made out of stainless thick strap metal-sits as low as possible...the seat is practically touching the floor pan. And i'm using a Crow 5 point Harness I got from my buddy Marco for a good deal.
I'm trying to recall all of the little things I did but sometimes you just get into the groove of things. If I remember, i'll post a little list.
More updates soon!
Stay Tuned!!
More and more small things
Once again I forgot to take pics. It was one of those days where I literally went over everything I've touched, cleaned, re-routed, checked connections, checked usability etc. Little stuff like this is a pain but it makes everything easier. These are the small things we always forget in the build haha. The stuff you don't make time for and the stuff that gets tedius. But I got a lot done. I was able to install my main power wire from the battery to my battery disconnect switch to the charge harness. Route and secure the fuel pump switch relocation loom. Install and route/secure the Aux relay for the oil cooler fans...so that's finished. I mounted the door frame rail on the passenger side up and out of the way from everything. Only thing left to wire up is the Electronic Boost Control switch and oil/fuel pressure sensors going into the innovate ssi4. I'm happy with progress but I really want to be done with wiring already haha. Just one of those things that you can't rush...otherwise it comes out like crap. Like I said.....I feel like the majority of the time is spent measuring, figuring out mounting/routing etc. Anyways... I covered up the passenger side loom with the braided sleeving. This really cleans things up. Love it.
The only other picture I snapped was of my Rail/bucket/Harness install. Seat is my trusty MemoryFab S68 Carbon Bucket. Rail is a custom piece I made out of stainless thick strap metal-sits as low as possible...the seat is practically touching the floor pan. And i'm using a Crow 5 point Harness I got from my buddy Marco for a good deal.
I'm trying to recall all of the little things I did but sometimes you just get into the groove of things. If I remember, i'll post a little list.
More updates soon!
Stay Tuned!!
05-01-14, 11:34 AM
#1868
Small Update:
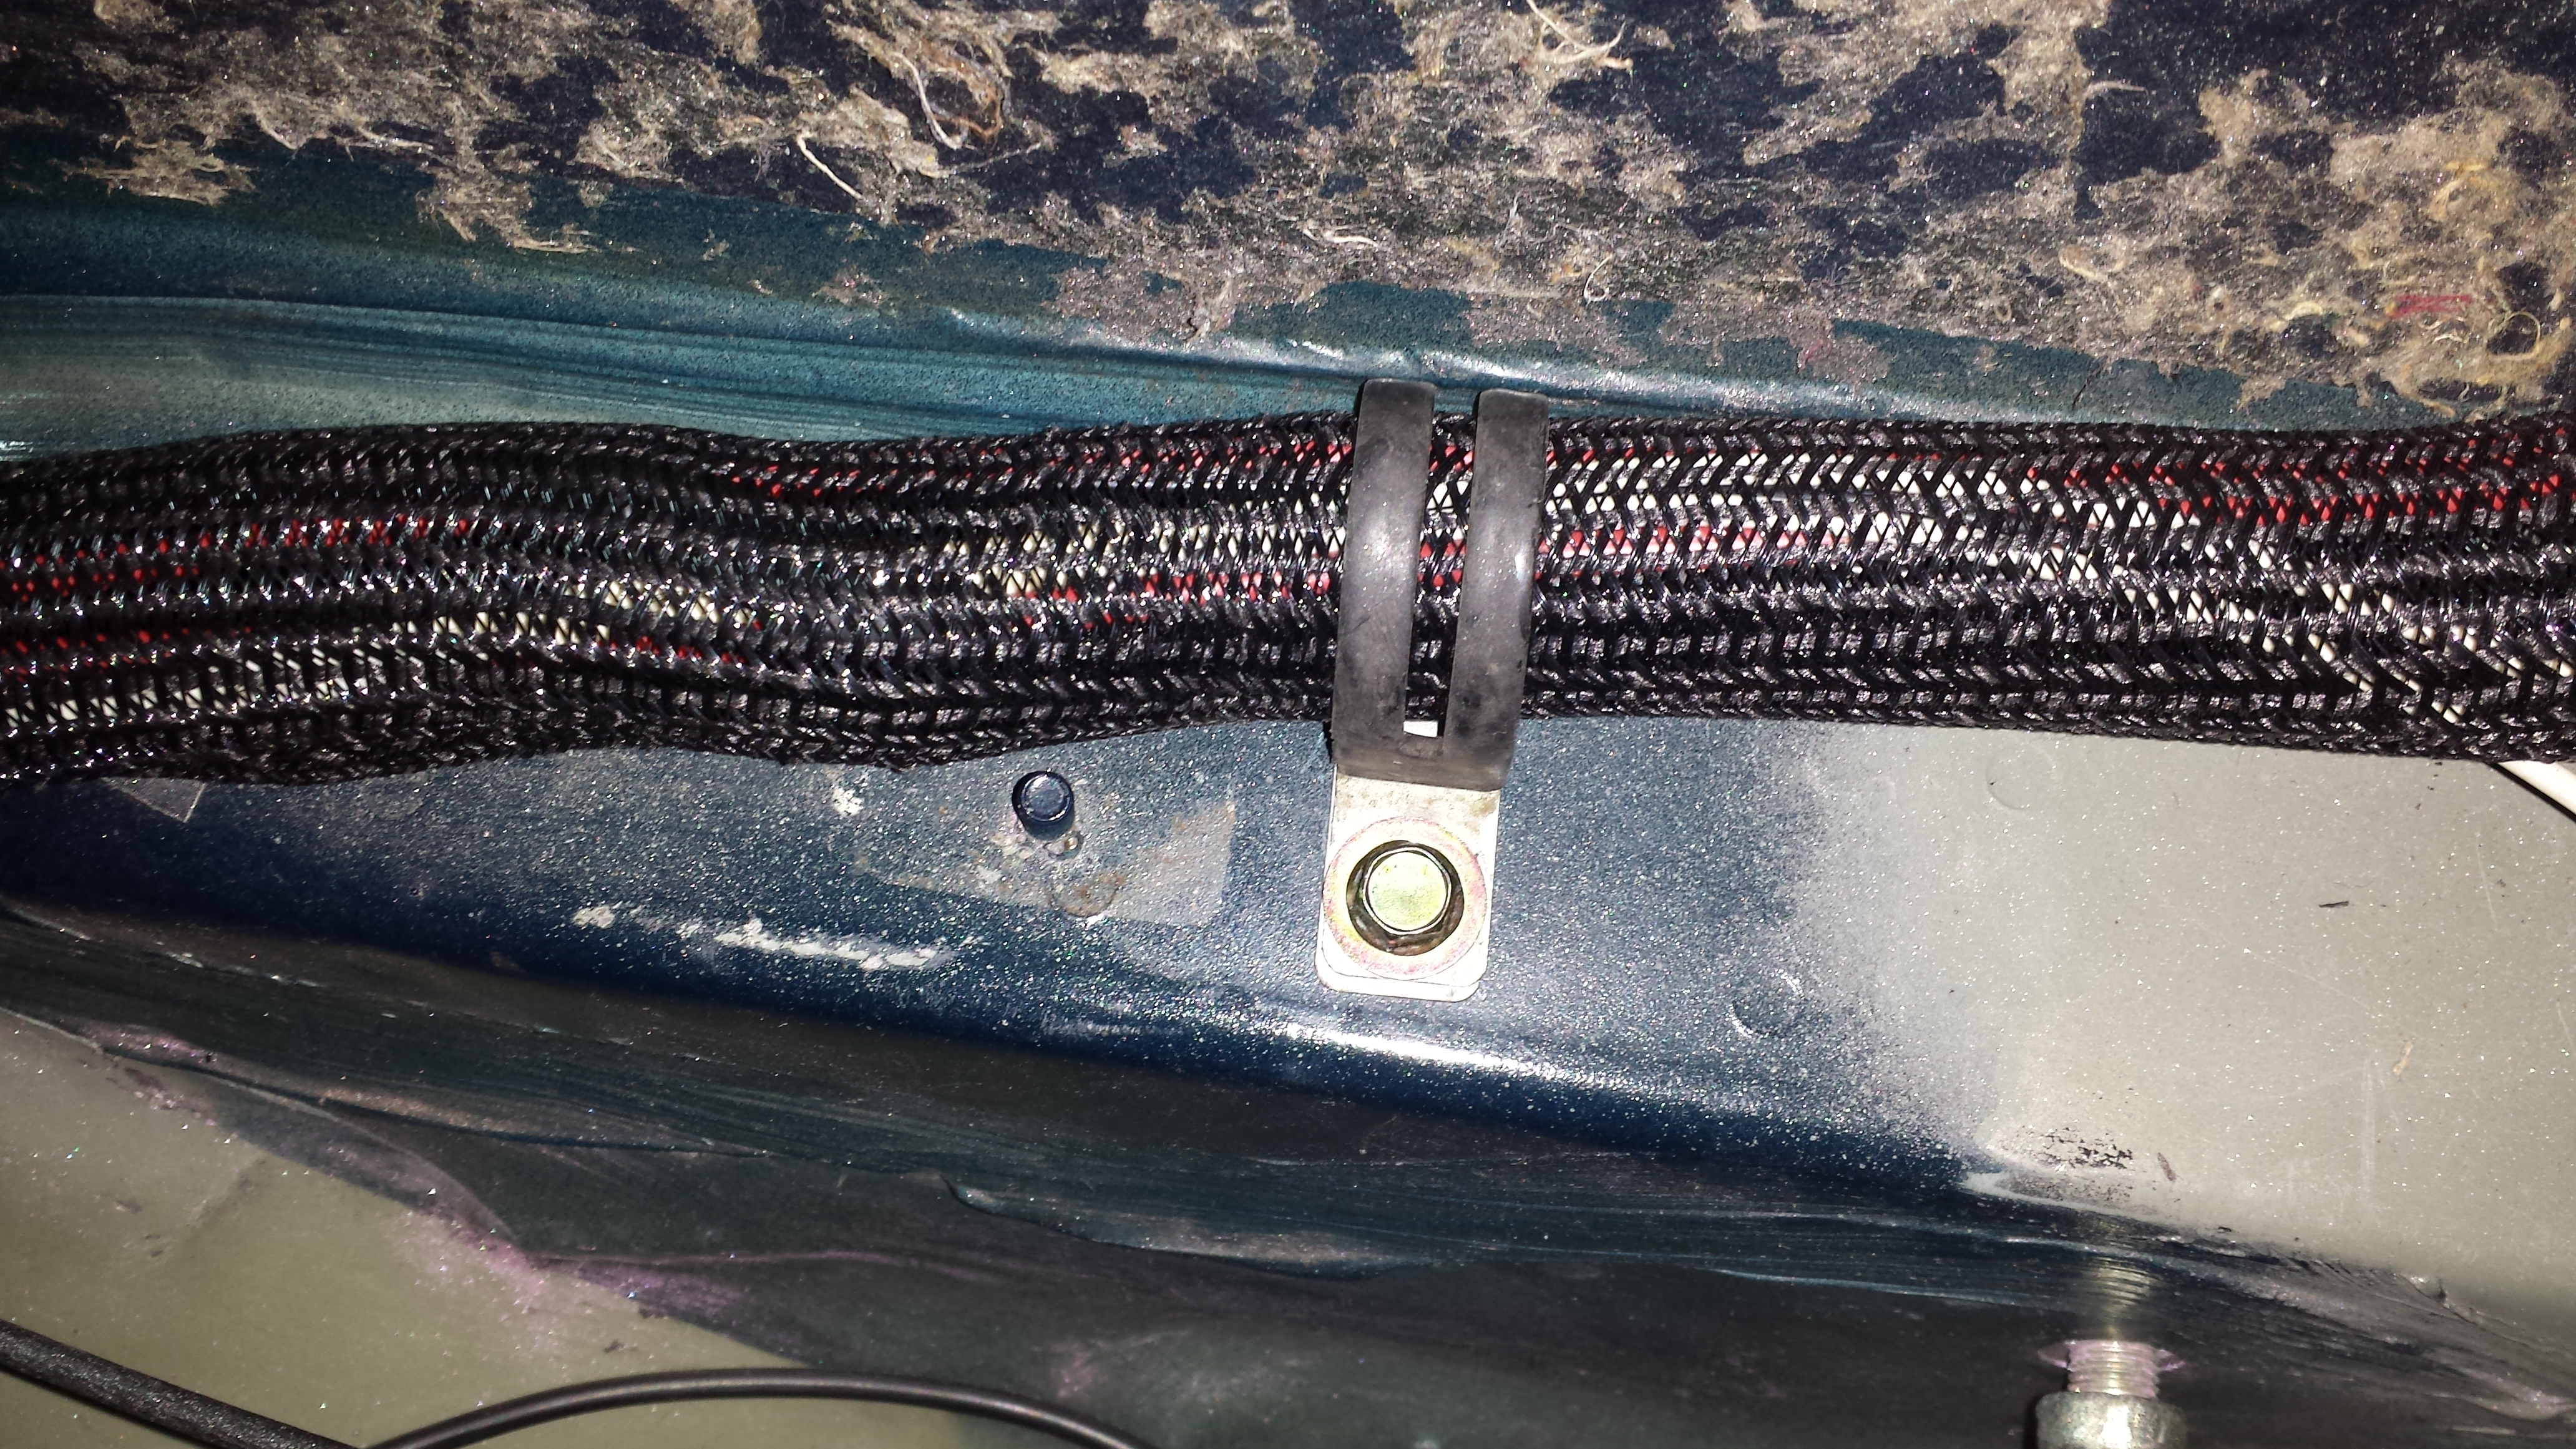
Last night I wrapped up the last of the major wiring...Fuel pressure sensor is installed and tapped to log through the ssi-4. Main battery power is all hooked up and I actually took a video of the first test to make sure everything was working but photobucket is taking forever to post the video to my page. I got a message saying that the video would take a while to show up, ...so i'll just post it when it comes up. Other than that I didn't take any pictures. But both fuel pumps are working, Although one of them is loud and the other one is nearly silent... pretty common among bosch 044's though. I finally got to use my 200 dollar aeromotive 40micron filter with the shut off valve haha. 2 years later...go figure. Anyways it came in useful because my primary fuel lines aren't hooked up so I didn't want to spray fuel all over the place. The shut off valve worked like a charm. Other than that...I did more cleaning up, braided covering, routing, zip ties...zip ties..zipties.. cleaned out all the aftermath wiring bits here and there, and used double sided tape to fix both looms to the left and right frame rails going down both sides of the car. I was skeptical it would hold but I was surprised at how sturdy it held the braided sleeving.
The Oil cooler fans, on the separate circuit worked great. The LED lit switch is really bright..and the oil cooler fans really Kick some air out. I'm really glad I did this as I know it'll help with cooling.
Also, got the positive battery terminal organized and covered with the OEM red terminal cover. This is a need to pass tech at the track. Today I need to fill the oil coolers with oil, go over all fuel line connections to make sure everything is tightened up and possibly look at my Radiator Fan Wiring just to make sure it's up to par.
Sorry for the Lack of pictures.... this is just one of "those" updates to keep the thread up to date. Also, checked in with FUll Function engineering and they're running a SALE on their Billet Height Adjustable Motor mounts, so go jump on the group buy!!
More Updates soon!
stay tuned!!
05-01-14, 12:19 PM
#1869
You need to get John on the same page as you in reporting updates.
You seem to always be working on the car AND reporting what you've done, which is why I like the forum environment. I enjoy seeing other people's builds, especially yours.
For your oil cooler fans, did you just tap into the same circuit that runs the rad fans? I'm thinking of doing something similar using motorcycle fans, cuz those ***** know how to blow
05-01-14, 02:08 PM
#1871
You need to get John on the same page as you in reporting updates.
You seem to always be working on the car AND reporting what you've done, which is why I like the forum environment. I enjoy seeing other people's builds, especially yours.
For your oil cooler fans, did you just tap into the same circuit that runs the rad fans? I'm thinking of doing something similar using motorcycle fans, cuz those ***** know how to blow
You seem to always be working on the car AND reporting what you've done, which is why I like the forum environment. I enjoy seeing other people's builds, especially yours.
For your oil cooler fans, did you just tap into the same circuit that runs the rad fans? I'm thinking of doing something similar using motorcycle fans, cuz those ***** know how to blow
At first I was going to wire in the fans to my adaptronic...but I probly won't be using the fans much off the track. I drive like a poon bag on the street and they draw quite a bit..so I still think they're kind of unnecessary on the street...With that said if I can simply hit the switch when I want them on...I dictate how hard I'm going to be driving. I also have another heat control set up i'll be doing, but I won't be installing it just yet.. Pretty sweet though
 05-01-14, 04:10 PM
#1872
manny, do you have a thermostat in your oil cooler lines?
i am running my oil coolers thermostat-less (i think they are 19 row MOCAL coolers). i also have the carbon fiber ducts (i don't know which kit this is, but the ducts are very nice) that wrap nicely over the openings in the front bumper.
now, you're talking about having fans on your oil coolers, but you should keep an eye on your temps and see how high they get in certain situations.
my oil temps will get very low if i am just cruising in the car. so low, in fact, that i have to stuff tee-shirts in the ducts and "block off" the oil coolers unless it's 85*+ outside. it's been ~70*F outside and sunny lately, which has been very nice, so i've been DDing the FD to work during the week and parking my old Lex. in the morning when the air temp is ~60*F the oil temp will get down to about 140*F, which is too damn cold. you are in california, so you may not have this problem, but for wildly varying climates like in the mid-south or midwest, i'd definitely get a thermostat (again, maybe not you, but for others who may read this... unless said person's FD is track-ish or track-only). i even had to keep my coolers blocked off at my last track day because the ambient air temp was ~55-60*F and the oil was getting down to 140* while i was out hammering "***** out," as they say, at full boost at the top of 4th gear...
if i am sitting in stop-and-go traffic and the ambient air temp is ~75-80*F the oil temp will creep up, but it won't creep past 200*F, which is fine.
i honestly wouldn't bother adding an oil cooler fan unless you can't keep the oil temp below 200*F in most situations, which i doubt will happen, as you have huge oil coolers...
this also leads into a whole other discussion about oil viscosity and temps. i am running 10W30 now after watching my oil temps and seeing how well my coolers work. i ran 20w50 before i started watching my oil temps, just because that's what i'd always done with my rotary cars.
imagine how thick 20w50 oil is at 140*F compared to 10w30 with my coolers "blocked off" and the temps at 190*F like they should be.
what oil are you running?
05-01-14, 04:22 PM
#1873
manny, do you have a thermostat in your oil cooler lines?
i am running my oil coolers thermostat-less. i also have the carbon fiber ducts (i don't know which kit this is, but the ducts are very nice) that wrap nicely over the openings in the front bumper.
my oil temps will get very low if i am just cruising in the car. so low, in fact, that i have to stuff tee-shirts in the ducts and "block off" the oil coolers unless it's 85*+ outside. it's been ~70*F outside and sunny lately, which has been very nice, so i've been DDing the FD to work during the week and parking my old Lex. in the morning when the air temp is ~60*F the oil temp will get down to about 140*F, which is too damn cold. you are in california, so you may not have this problem, but for wildly varying climates like in the mid-south or midwest, i'd definitely get a thermostat (again, maybe not you, but for others who may read this... unless said person's FD is track-ish or track-only)
this also leads into a whole other discussion about oil viscosity and temps. i am running 10W30 now after watching my oil temps and seeing how well my coolers work. i ran 20w50 before i started watching my oil temps, just because that's what i'd always done with my rotary cars.
imagine how thick 20w50 oil is at 140*F compared to 10w30 with my coolers "blocked off" and the temps at 190*F like they should be.
what oil are you running?
I'm running 20/50 synthetic. But breaking it in on conventional 20/50. I'm not so sure I'm a huge believer in certain brands but I do have a bad taste in my mouth from royal purple just because I was using it when I lost the seal. probly has zero to do with the failure but either way im not going to be using it. ALso, I actually like being able to see how dirty the oil is when it comes to changes.
05-01-14, 04:32 PM
#1874
yeah that's a good point. i didn't know how far north or south you were in cali. yeah, you'll be just fine on oil temps with those big coolers i bet.
i am running royal purple 10w40 right now (i posted 10w30 above incorrectly) and i'll be switching to 10w30 for the next oil change. man, all that branding BARELY matters... it's all api group 3 stuff. the royal purple oil filters are awesome though (and mobil 1 and K&N) FWIW.
i am running royal purple 10w40 right now (i posted 10w30 above incorrectly) and i'll be switching to 10w30 for the next oil change. man, all that branding BARELY matters... it's all api group 3 stuff. the royal purple oil filters are awesome though (and mobil 1 and K&N) FWIW.
05-01-14, 04:49 PM
#1875
yeah that's a good point. i didn't know how far north or south you were in cali. yeah, you'll be just fine on oil temps with those big coolers i bet.
i am running royal purple 10w40 right now (i posted 10w30 above incorrectly) and i'll be switching to 10w30 for the next oil change. man, all that branding BARELY matters... it's all api group 3 stuff. the royal purple oil filters are awesome though (and mobil 1 and K&N) FWIW.
i am running royal purple 10w40 right now (i posted 10w30 above incorrectly) and i'll be switching to 10w30 for the next oil change. man, all that branding BARELY matters... it's all api group 3 stuff. the royal purple oil filters are awesome though (and mobil 1 and K&N) FWIW.
Martin from Parts shop Max was using a mini cooler box he'd fill with ice and water. I'll be using Ice water but no mini cooler box