Mannykillers/ AAPARKAH Street/time Attack/Drift Build (heavy Pics) #Thisisthewolf
 05-01-14, 04:53 PM
#1876
I wanted to know because I'm still running the stock duals and I wanted to integrate small moto fans into the same circuit as the rad fans so they'd kick on and off at the same time.
It's probably a more applicable situation to me as I don't have some nice, sweet and cool oil coolers like you ballers, lol.
I posted a link to the fans I'm thinking about getting in my build thread.
It's probably a more applicable situation to me as I don't have some nice, sweet and cool oil coolers like you ballers, lol.
I posted a link to the fans I'm thinking about getting in my build thread.
 05-02-14, 10:30 AM
#1878
I wanted to know because I'm still running the stock duals and I wanted to integrate small moto fans into the same circuit as the rad fans so they'd kick on and off at the same time.
It's probably a more applicable situation to me as I don't have some nice, sweet and cool oil coolers like you ballers, lol.
I posted a link to the fans I'm thinking about getting in my build thread.
It's probably a more applicable situation to me as I don't have some nice, sweet and cool oil coolers like you ballers, lol.
I posted a link to the fans I'm thinking about getting in my build thread.
and the oil coolers were part of the killer deal i got on this FD
 05-02-14, 10:45 AM
#1880
I wanted to know because I'm still running the stock duals and I wanted to integrate small moto fans into the same circuit as the rad fans so they'd kick on and off at the same time.
It's probably a more applicable situation to me as I don't have some nice, sweet and cool oil coolers like you ballers, lol.
I posted a link to the fans I'm thinking about getting in my build thread.
It's probably a more applicable situation to me as I don't have some nice, sweet and cool oil coolers like you ballers, lol.
I posted a link to the fans I'm thinking about getting in my build thread.

Absolutely!!
I got my coolers used off a member here for a slammin deal.
05-02-14, 11:15 AM
#1882
Small Update: Fabrication
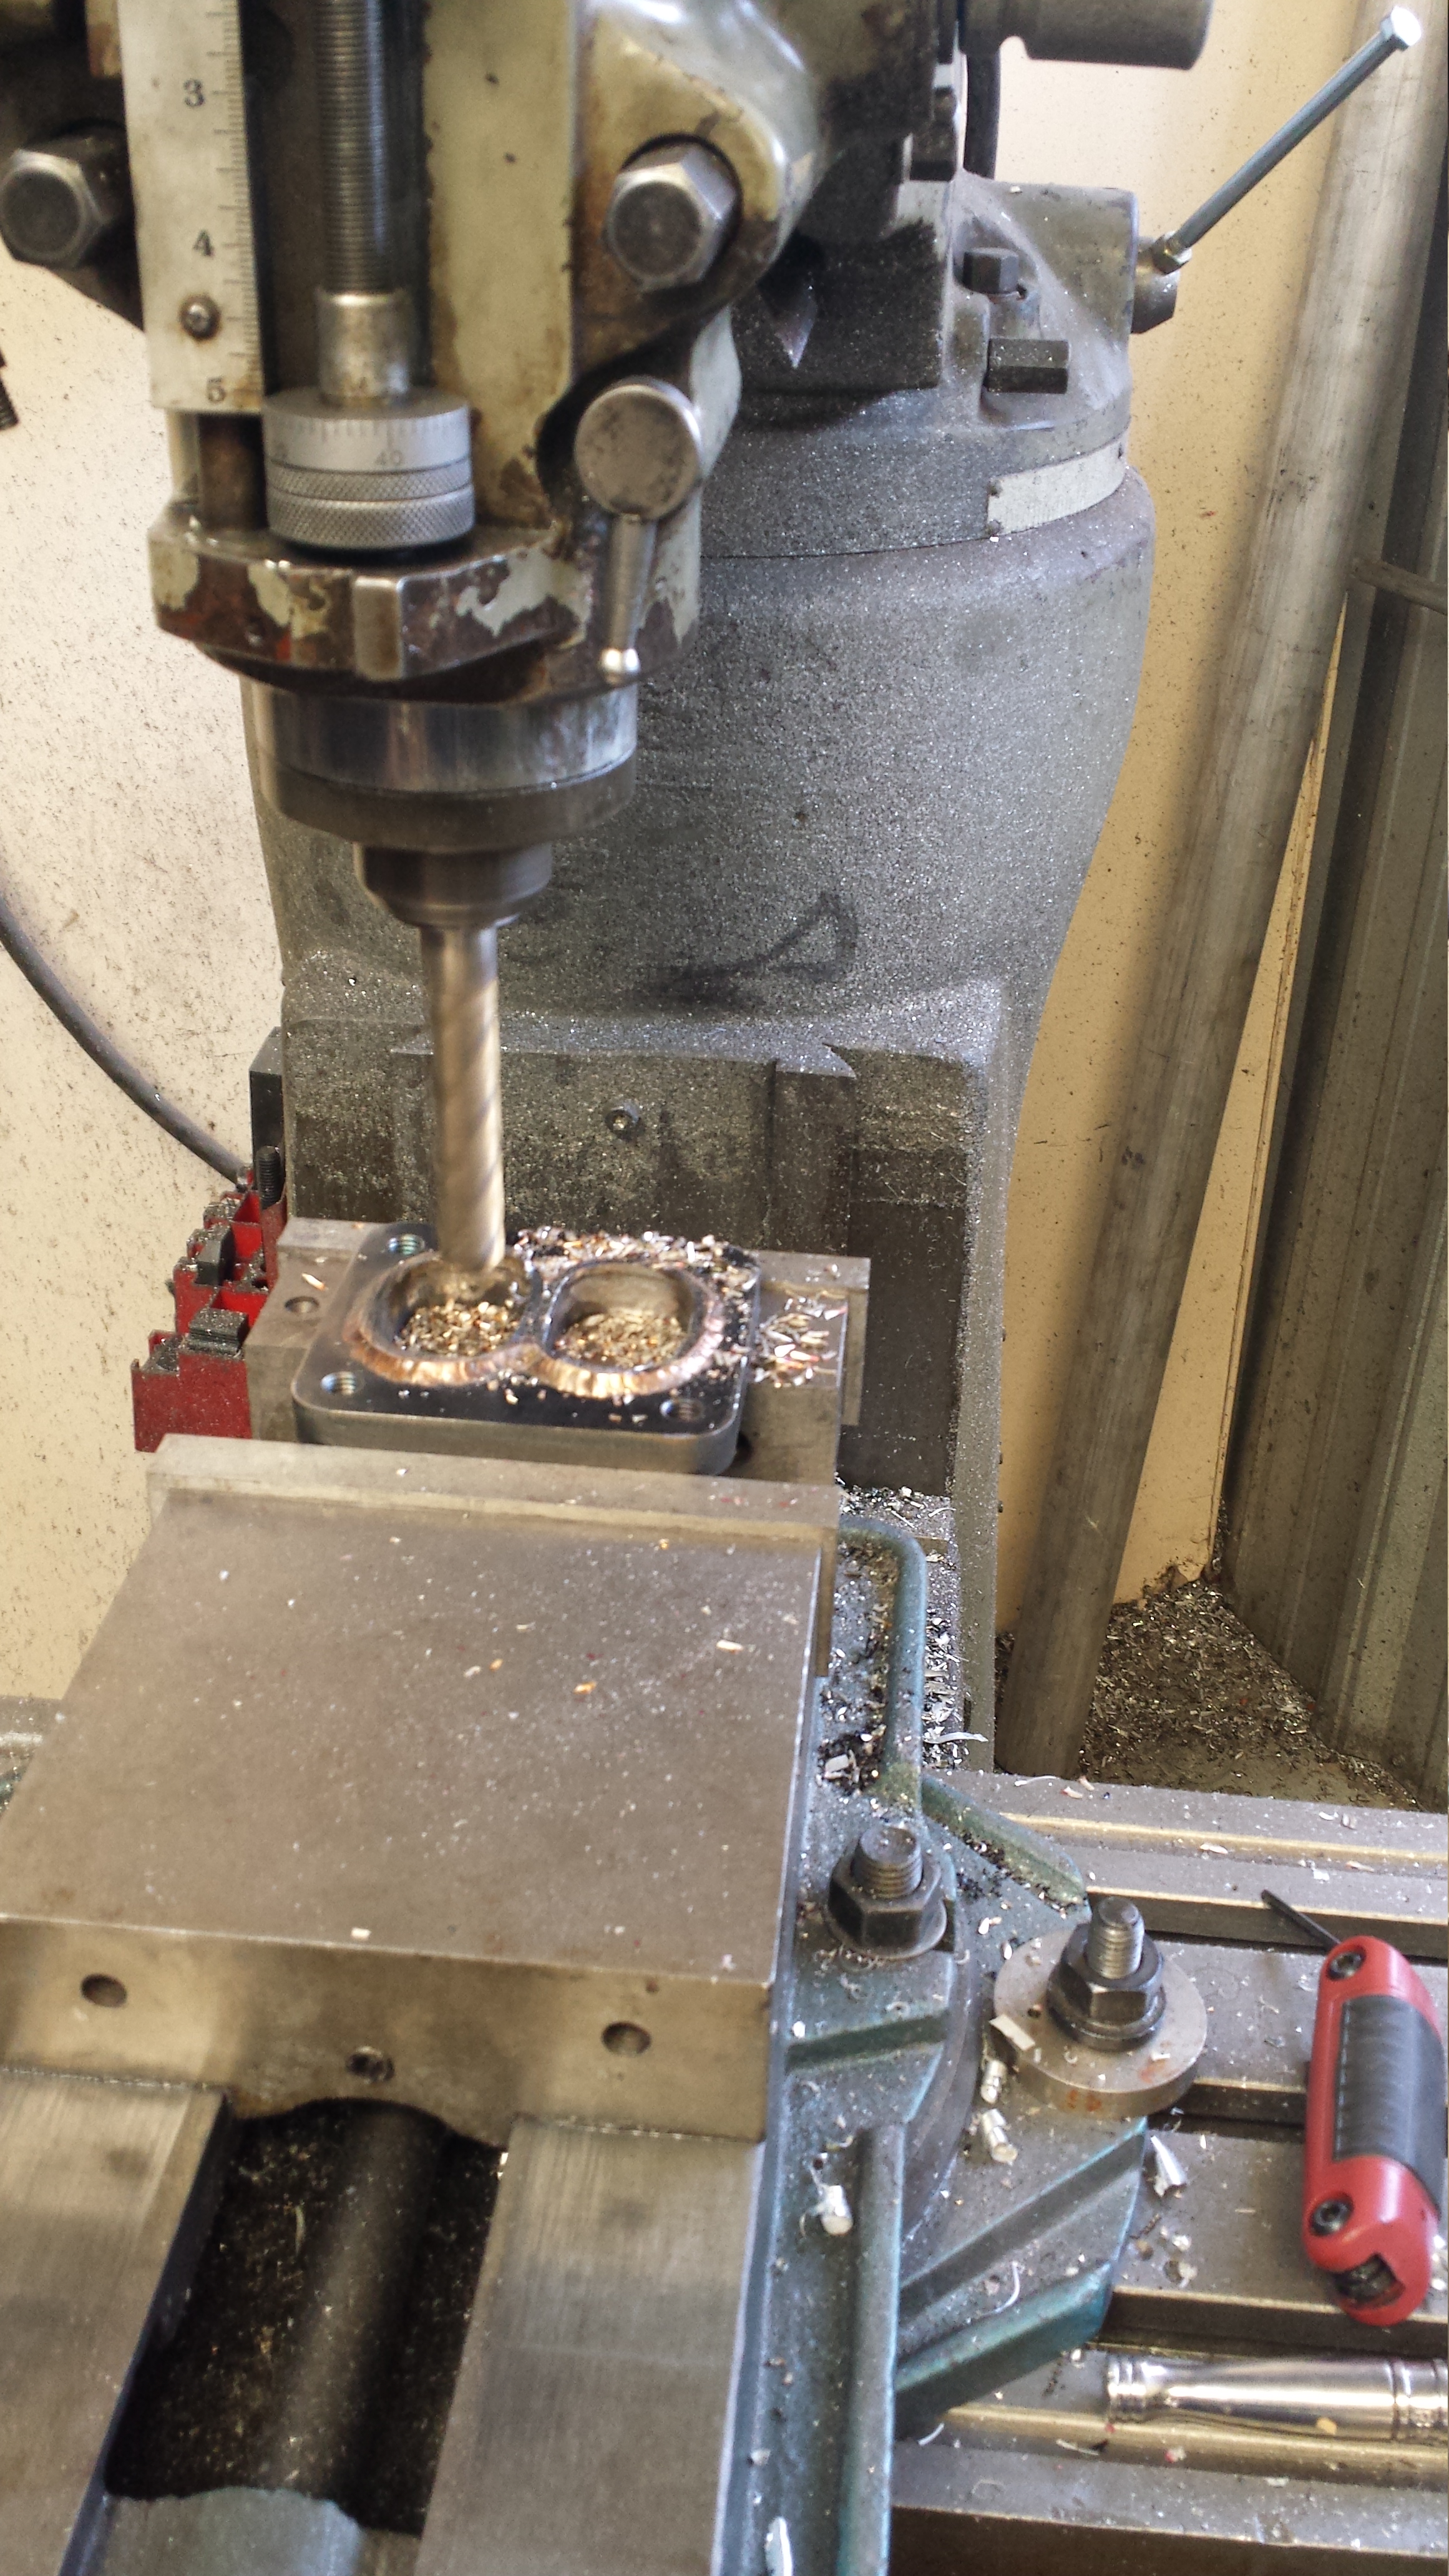
This is just another one of those examples of why I need to invest in a good welding machine. I'm basically ready to start the motor. I have no turbo manifold...but I have all my materials. I'm still stuck because I refuse to pump out a bunch of money to have someone weld out my manifold. I may just jump into it tonight. Make cuts carefully with my Angle grinder and just make slow progress with it till I have a full manifold. I can use masking tape to hold the pipe together for mocking...but I'll need something els to hold the pipe to the flange etc. I mean I could always go to a shop and have them do it but then they're going to want to do it "their" way. "no no man, I've been doing this for years" Or "lets just make it short" I simply need someone to weld. My buddy will weld for me..but I want to start now and I don't want to wait.
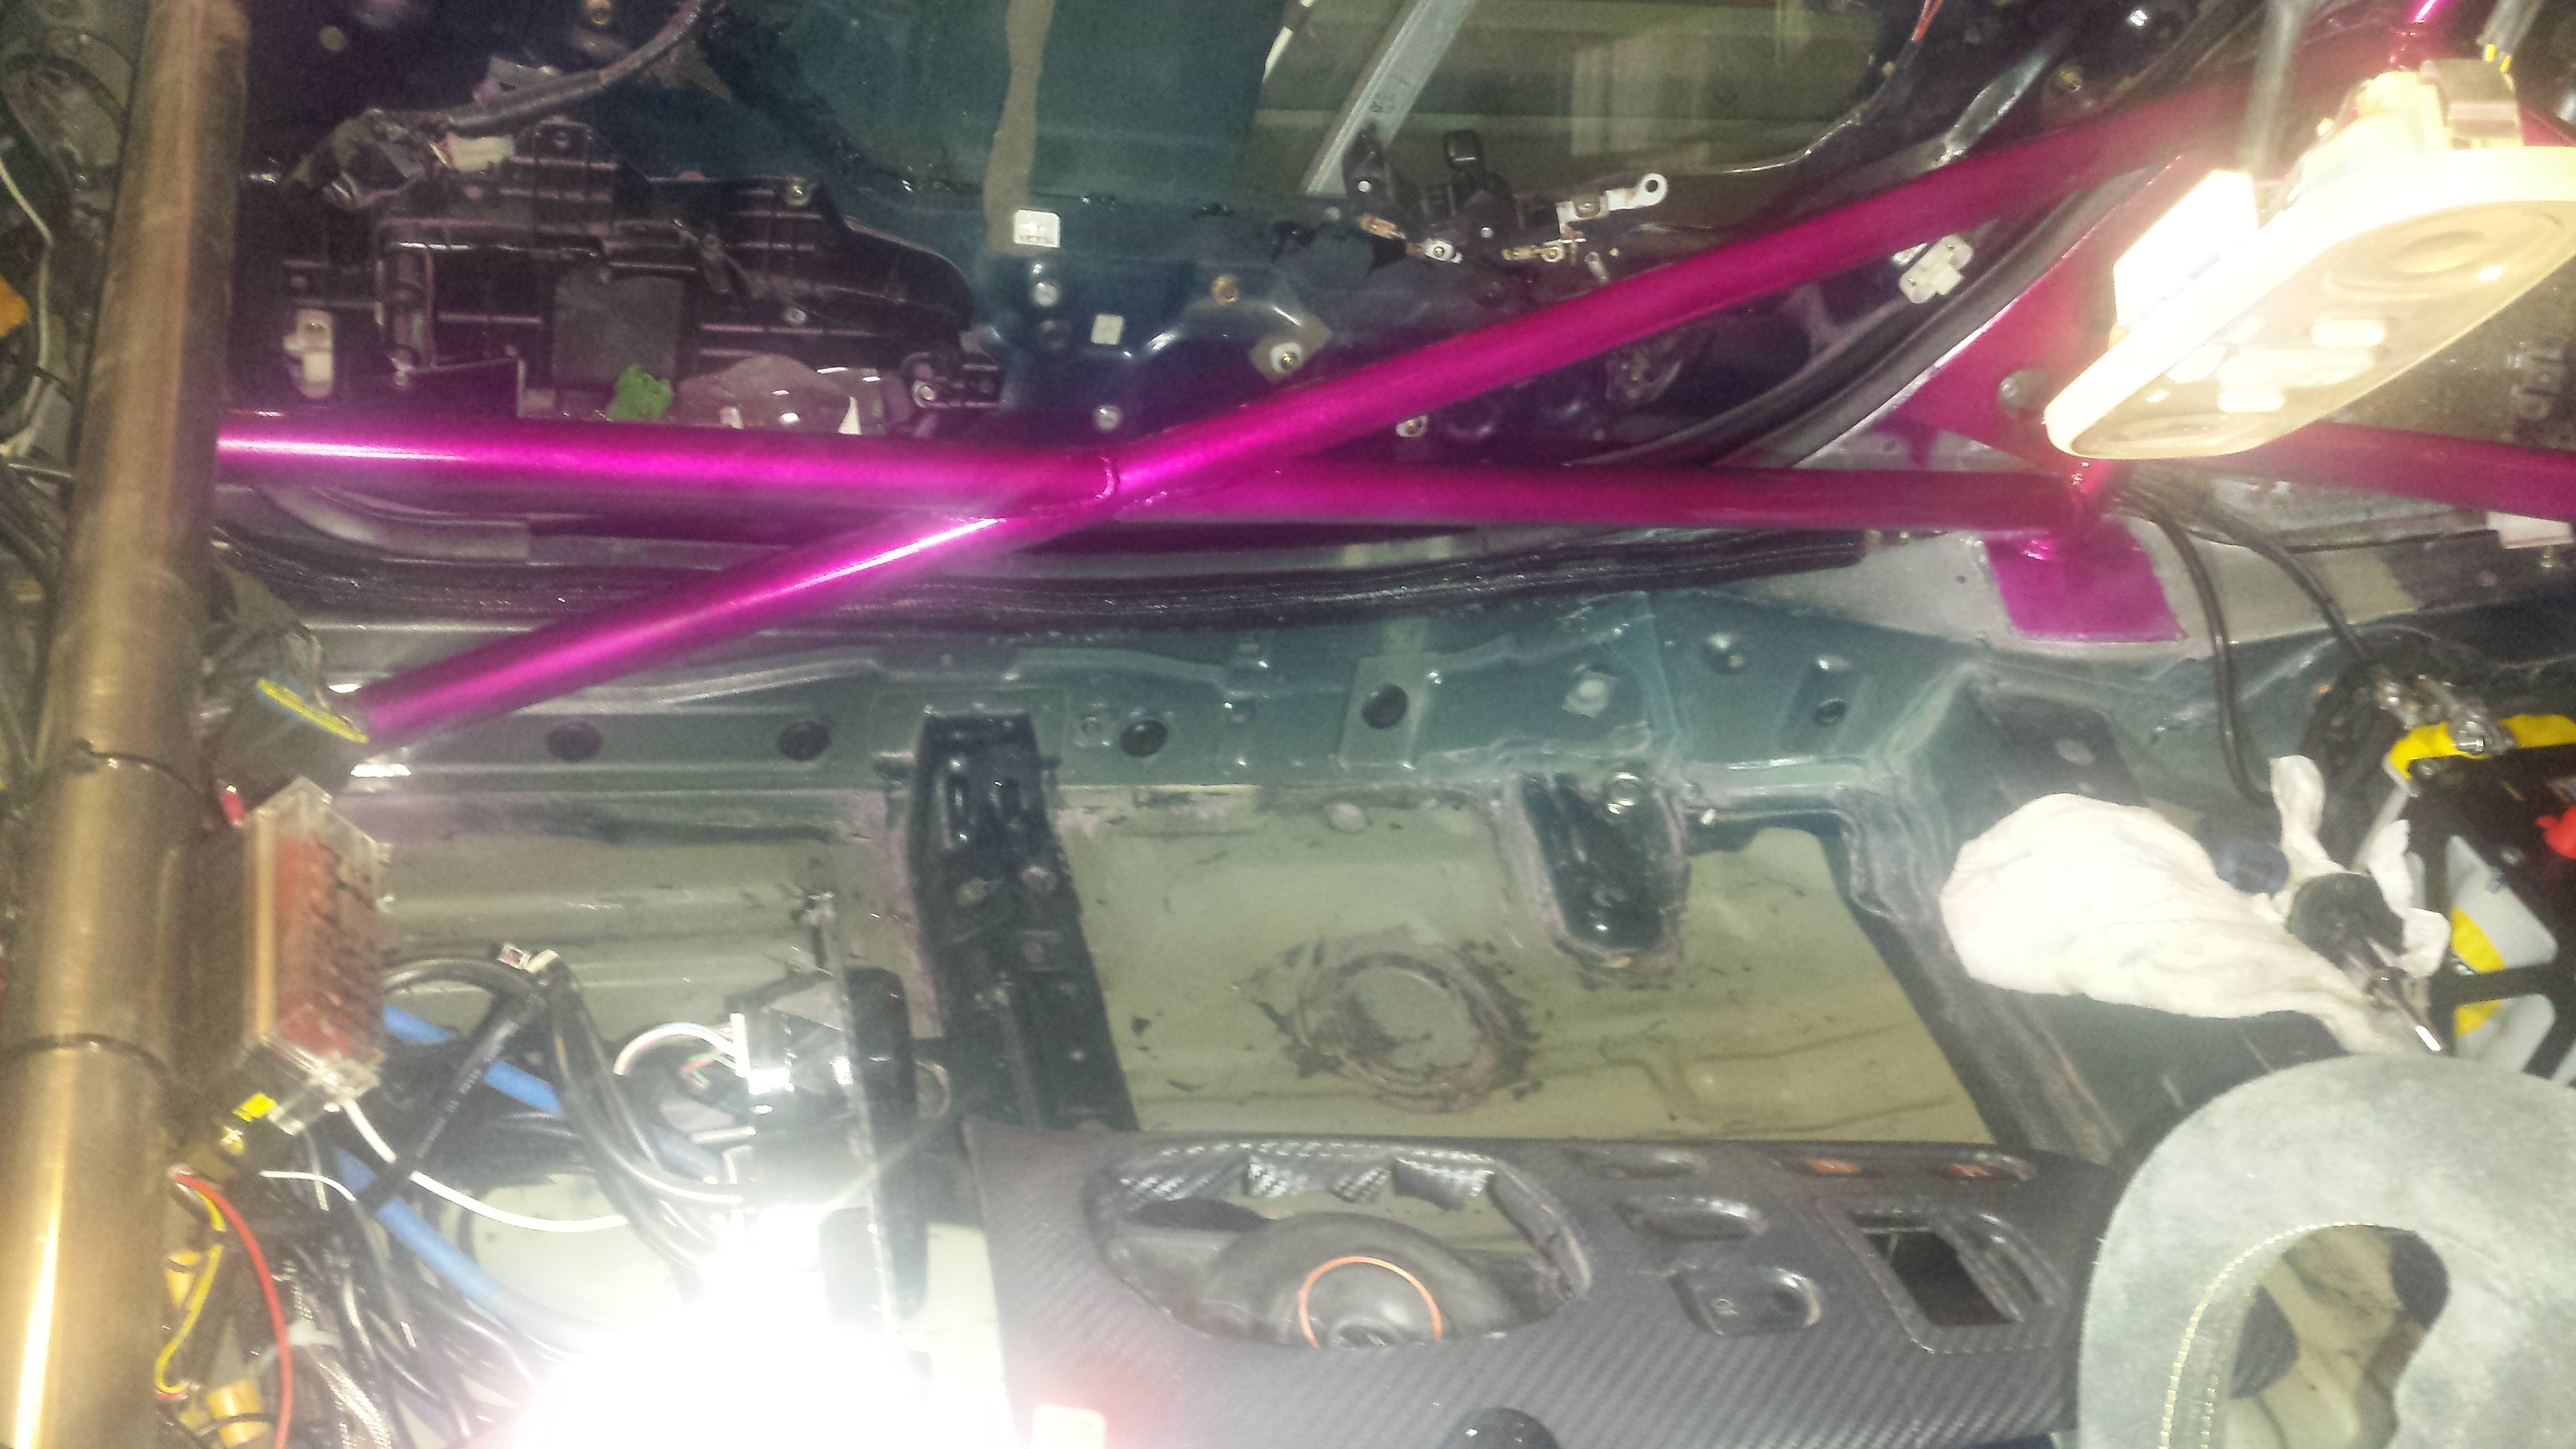
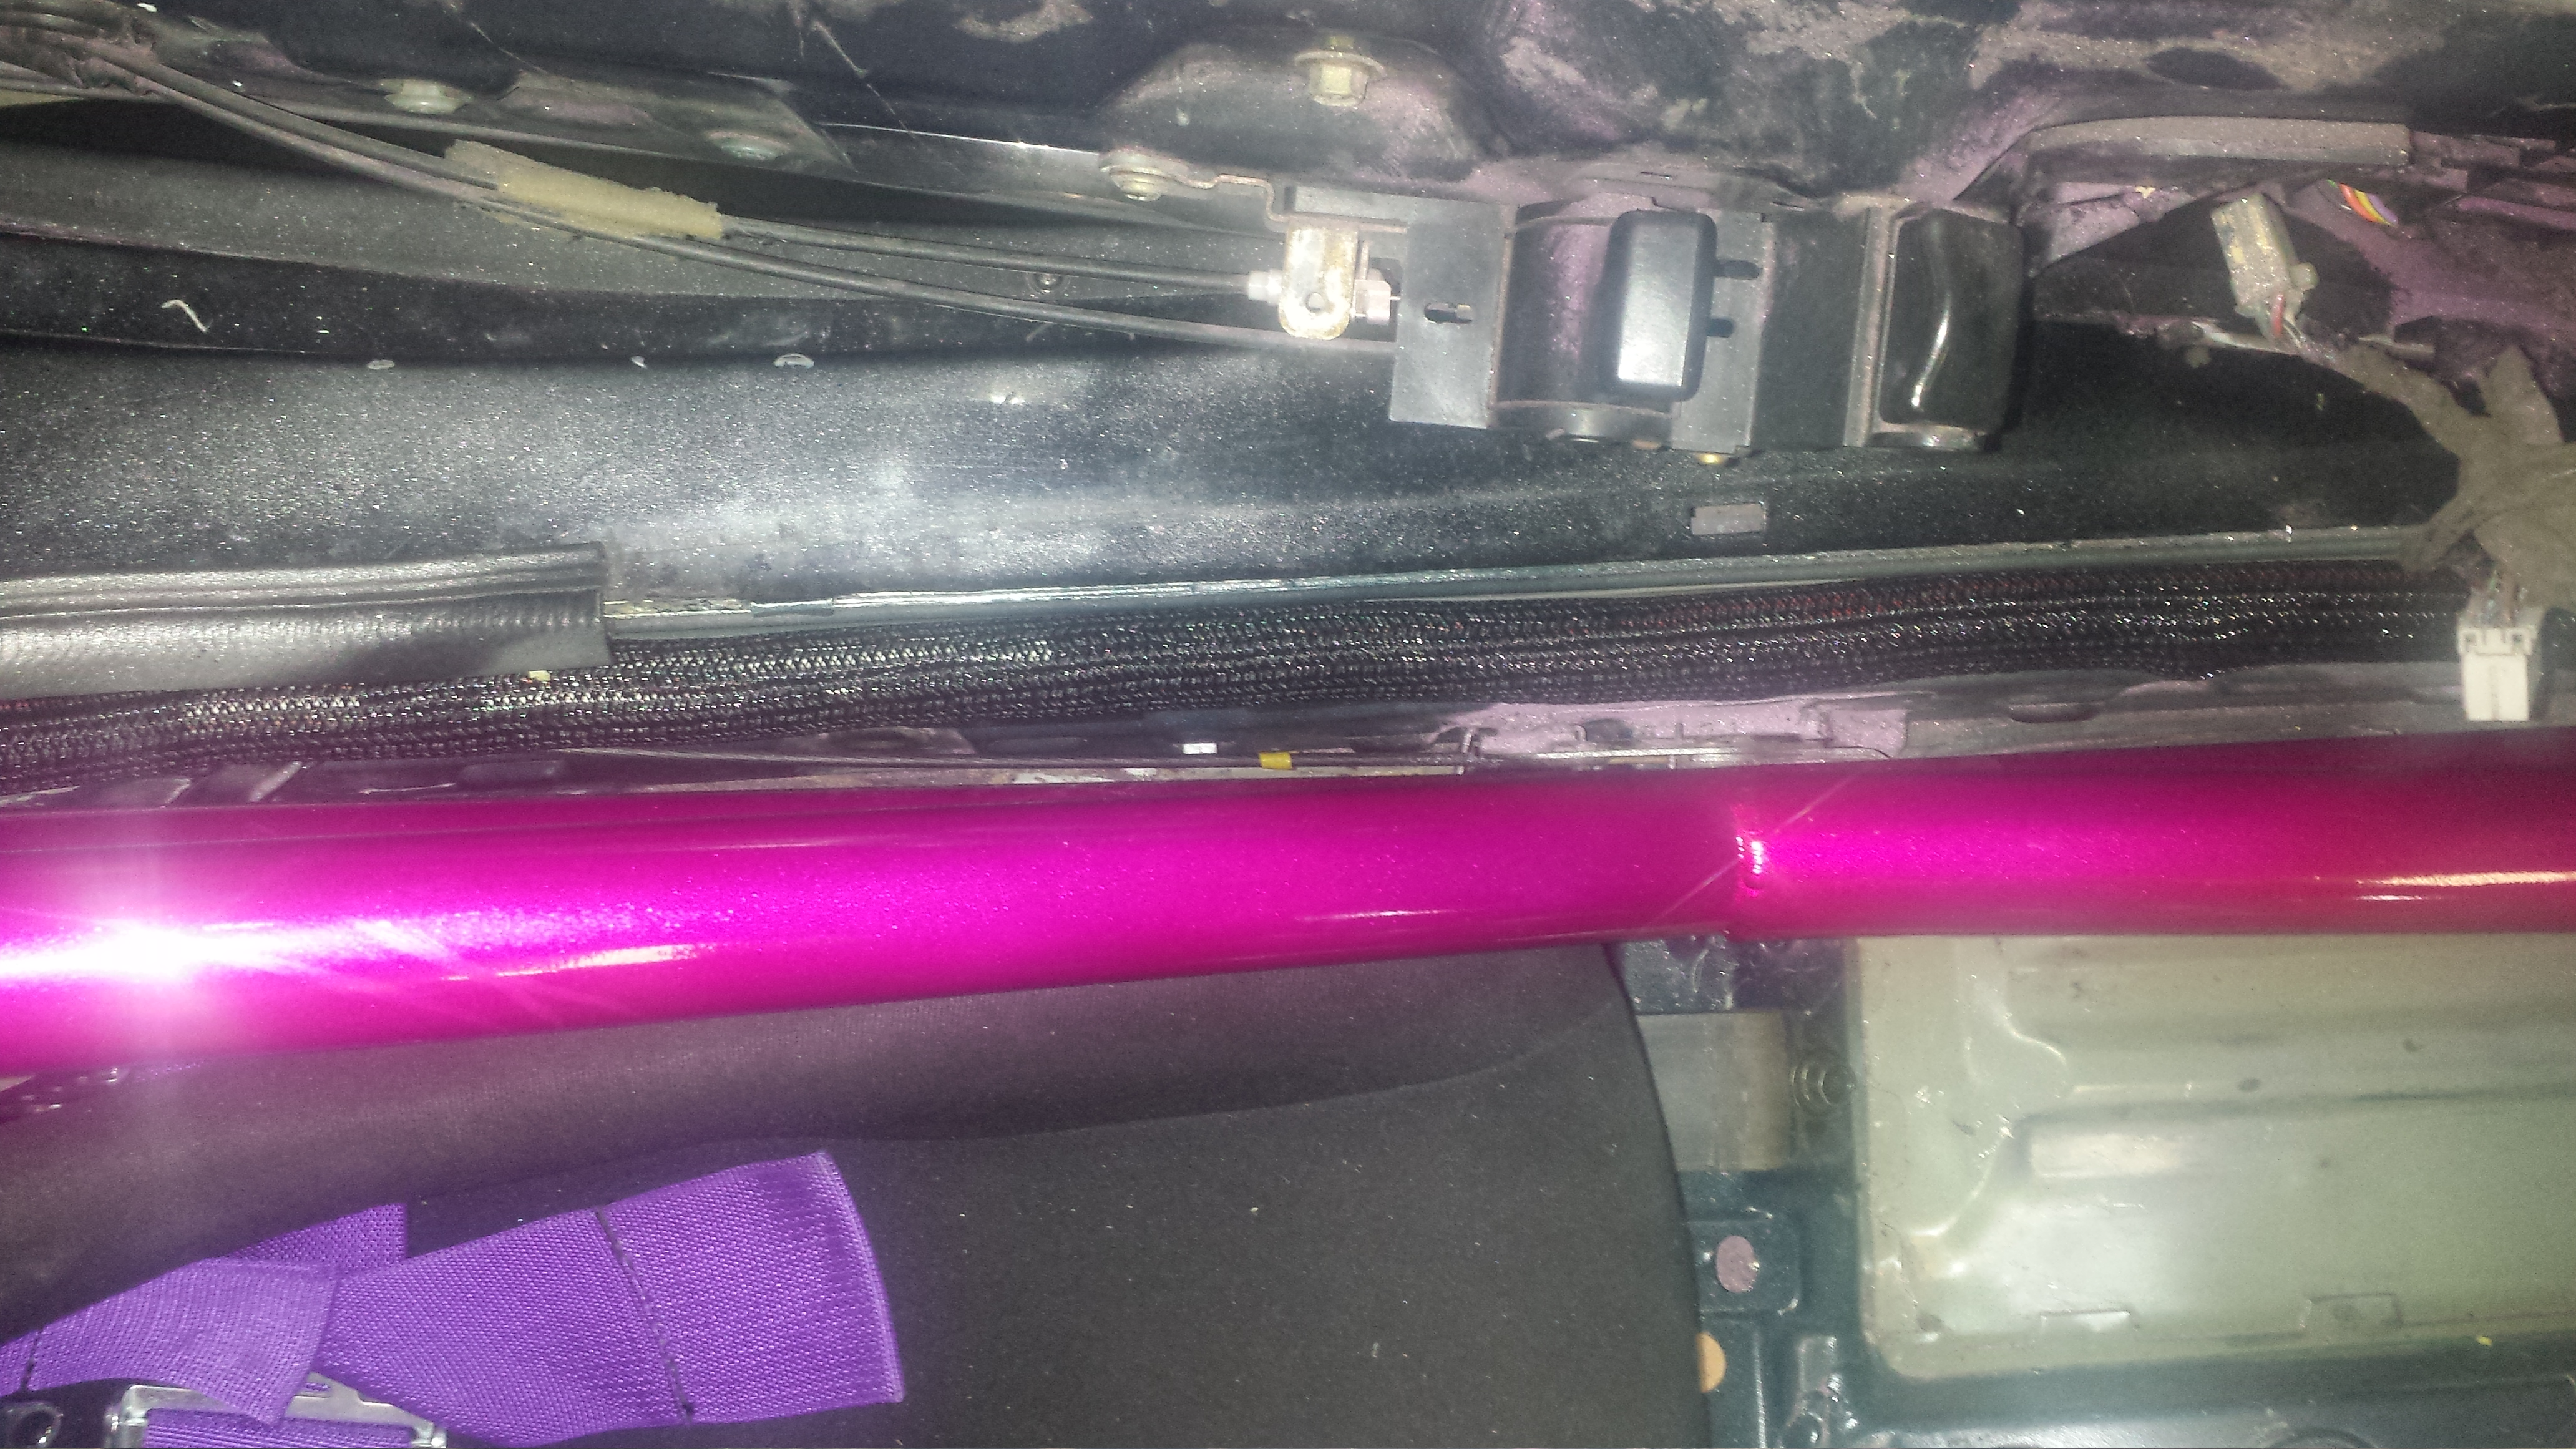
But tidying up everything yesterday. Took a couple pics of the double sided tape fixed braided sleeving running down both sides of the car.
Other than that, remember when I told you guys I let my neighbors kid sit in my car? Well when he played speed racer and mashed my open clutch and brakes with no rotors on....it closed up the spacing on my front brake calipers. I already fixed that last week... still a pain in the **** though.. Well today while bleeding the clutch I realized real quick what else had happened.. AFTER brake fluid spilled out of the transmission bell housing and all over the started and my garage floor. Well It pushed the piston all the way out of the slave and the rubber boot popped off so that it was no longer attached when I pulled the slave out. Had to go fishing for 45 min to get it out of the bell housing because it was wedged behind the clutch fork. Annoying!!! Finally got it, cleaned up the mess, and got back to zero...bleeding the clutch. Then I had no more brake fluid haha...so ran to pep-boys and got it bled in about 2 min flat. Thank god for speed bleeders... Seriously...best investment ever.
Brakes and Clutch are solidly bled and feel good. Adjusted clutch and that was that. Cleaned the garage and sat and wished I could jump into the manifold.
Hopefully I can make some progress here this weekend. We'll see how that goes though. More updates soon!
Stay Tuned!!
This is just another one of those examples of why I need to invest in a good welding machine. I'm basically ready to start the motor. I have no turbo manifold...but I have all my materials. I'm still stuck because I refuse to pump out a bunch of money to have someone weld out my manifold. I may just jump into it tonight. Make cuts carefully with my Angle grinder and just make slow progress with it till I have a full manifold. I can use masking tape to hold the pipe together for mocking...but I'll need something els to hold the pipe to the flange etc. I mean I could always go to a shop and have them do it but then they're going to want to do it "their" way. "no no man, I've been doing this for years" Or "lets just make it short" I simply need someone to weld. My buddy will weld for me..but I want to start now and I don't want to wait.
But tidying up everything yesterday. Took a couple pics of the double sided tape fixed braided sleeving running down both sides of the car.
Other than that, remember when I told you guys I let my neighbors kid sit in my car? Well when he played speed racer and mashed my open clutch and brakes with no rotors on....it closed up the spacing on my front brake calipers. I already fixed that last week... still a pain in the **** though.. Well today while bleeding the clutch I realized real quick what else had happened.. AFTER brake fluid spilled out of the transmission bell housing and all over the started and my garage floor. Well It pushed the piston all the way out of the slave and the rubber boot popped off so that it was no longer attached when I pulled the slave out. Had to go fishing for 45 min to get it out of the bell housing because it was wedged behind the clutch fork. Annoying!!! Finally got it, cleaned up the mess, and got back to zero...bleeding the clutch. Then I had no more brake fluid haha...so ran to pep-boys and got it bled in about 2 min flat. Thank god for speed bleeders... Seriously...best investment ever.
Brakes and Clutch are solidly bled and feel good. Adjusted clutch and that was that. Cleaned the garage and sat and wished I could jump into the manifold.
Hopefully I can make some progress here this weekend. We'll see how that goes though. More updates soon!
Stay Tuned!!
05-02-14, 09:53 PM
#1883
Make an assessment...

iTrader: (3)
Time to cut off the kid's legs. lol
I can't stand that crap. You do someone a favor and it bites you in the ***, because he can't keep his damn composure and respect the work you're putting into the car. And yes, I know he's just a kid, but DAMMIT!
I can't stand that crap. You do someone a favor and it bites you in the ***, because he can't keep his damn composure and respect the work you're putting into the car. And yes, I know he's just a kid, but DAMMIT!
05-03-14, 10:12 PM
#1884
Full Member
iTrader: (1)

Join Date: Apr 2005
Location: Boston, Mass
Posts: 122
Likes: 0
Received 0 Likes
on
0 Posts
4 hours it took me to make to the end.... i have a large bookmark list of new potential parts, and i might copy your body kit to the T...
thank you for being awesome
thank you for being awesome
05-05-14, 11:44 AM
#1886
Update:
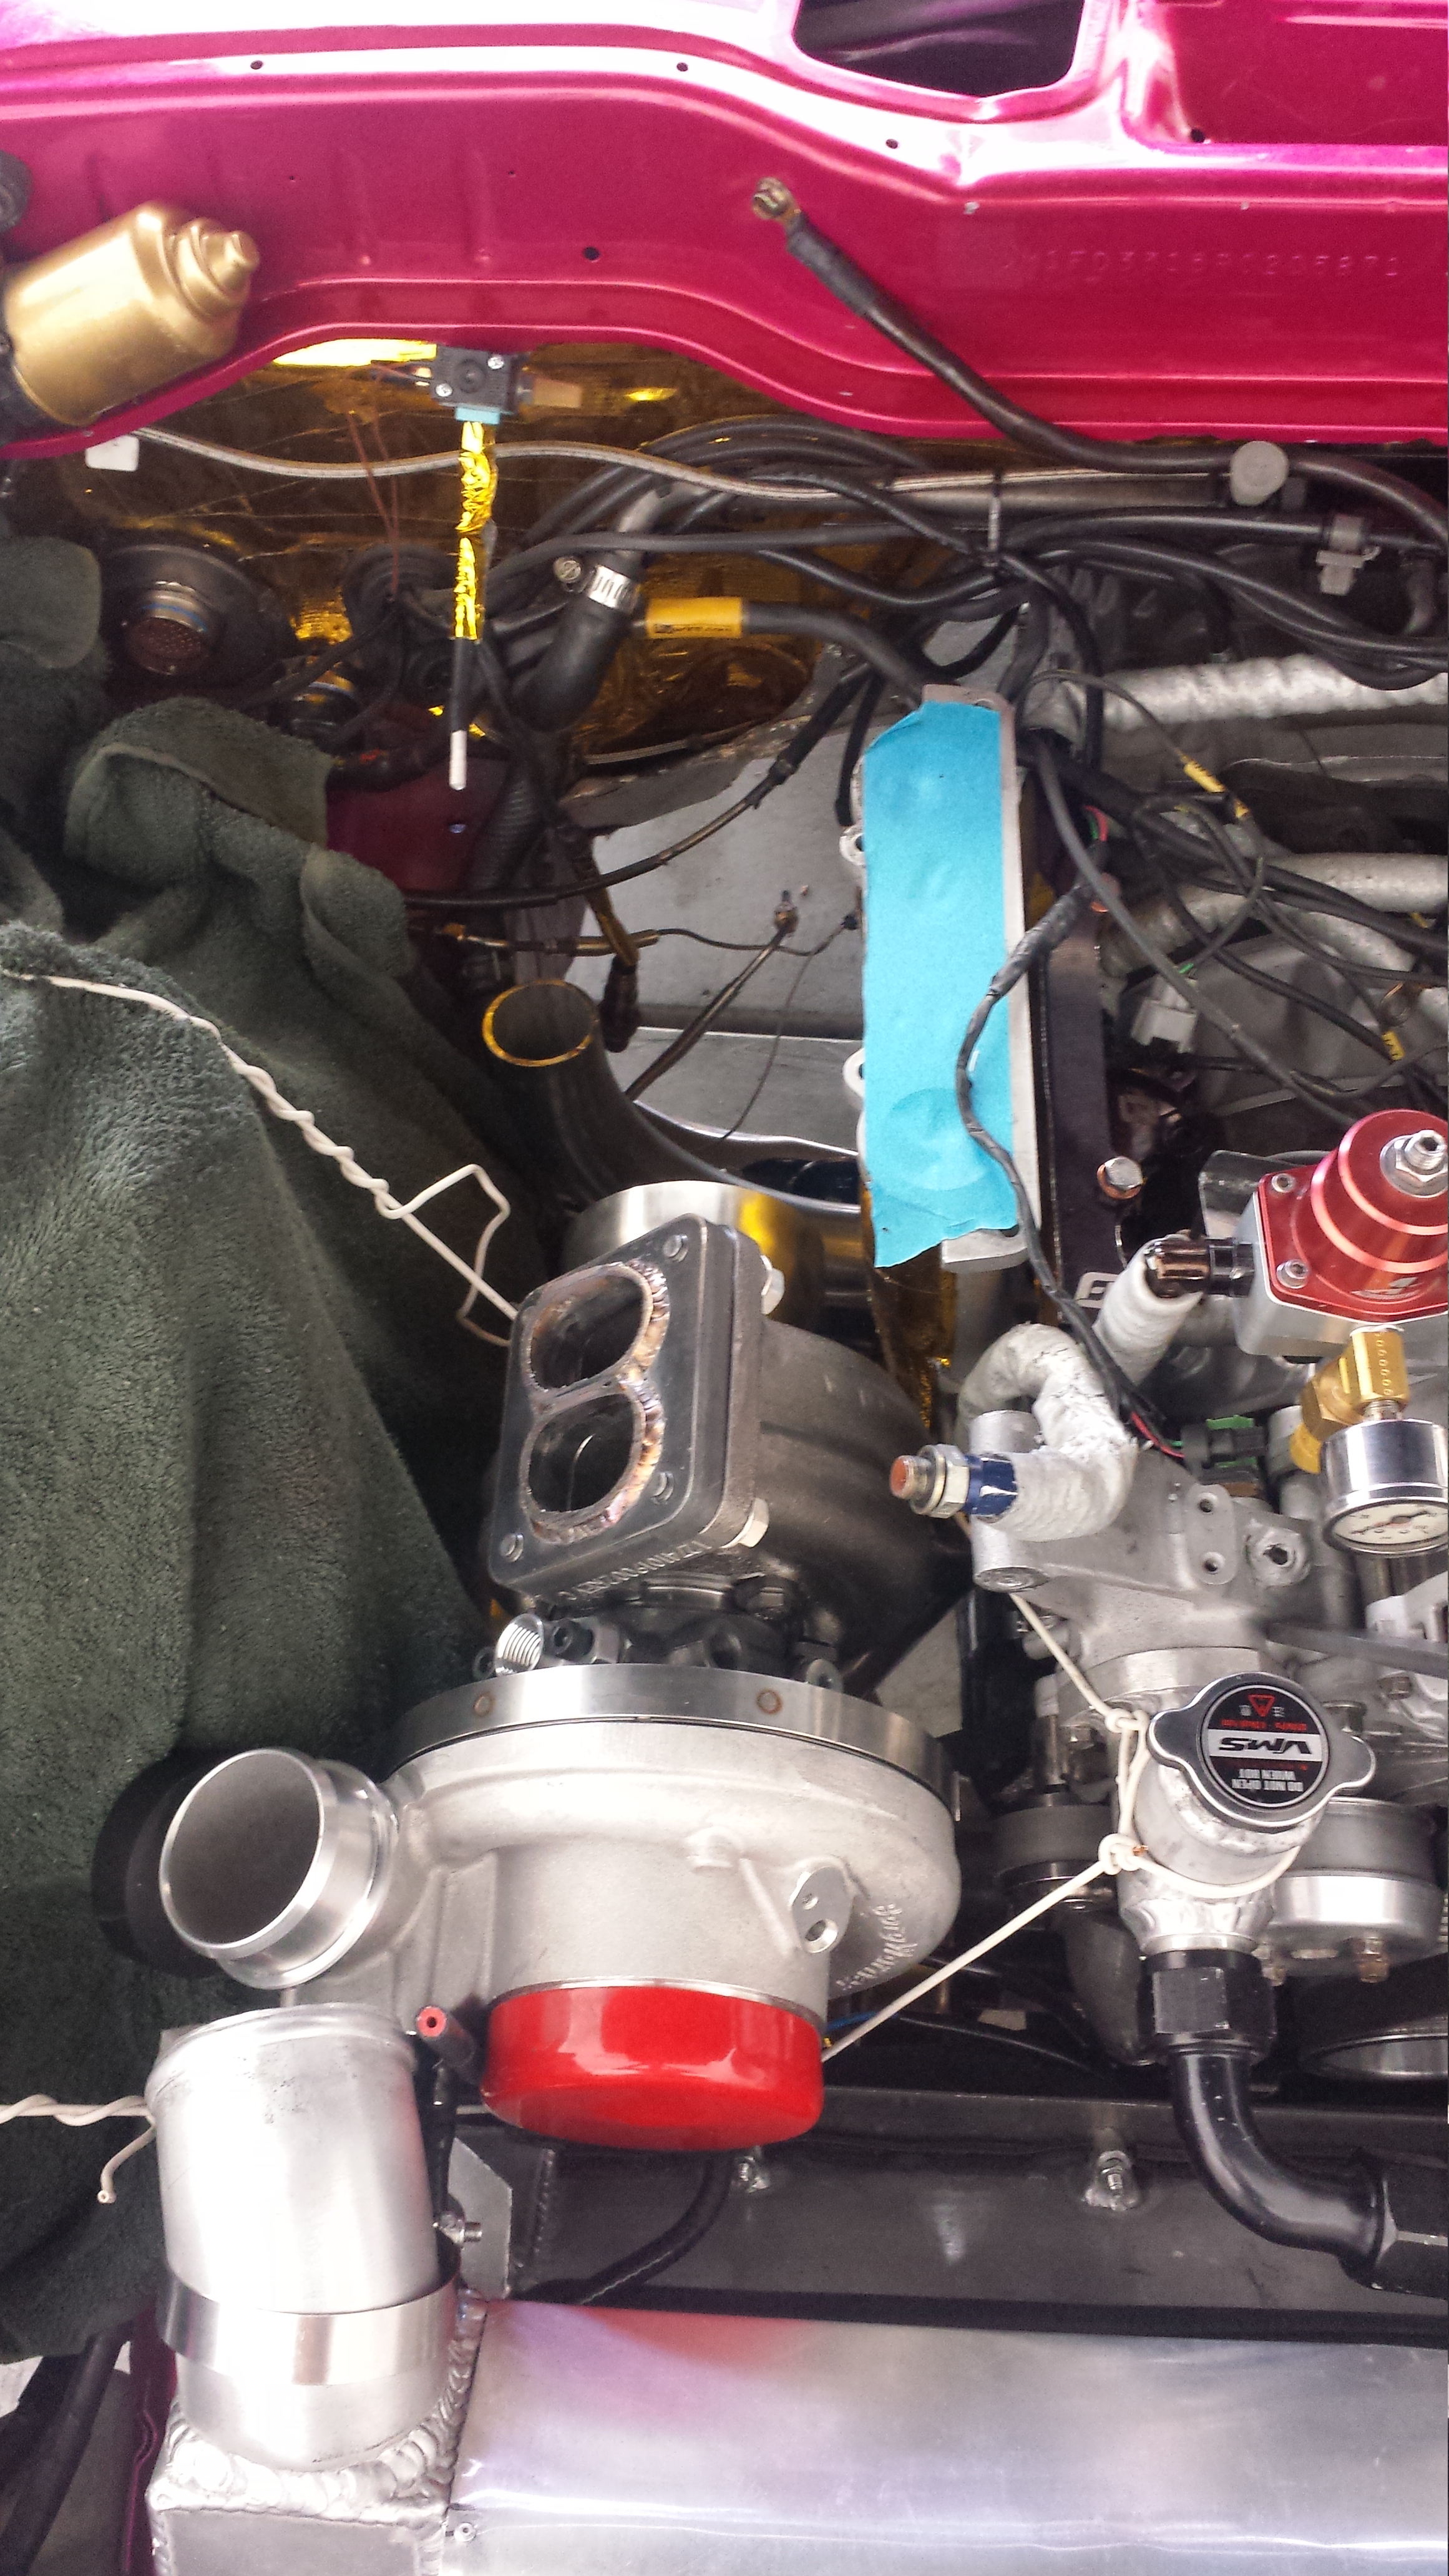
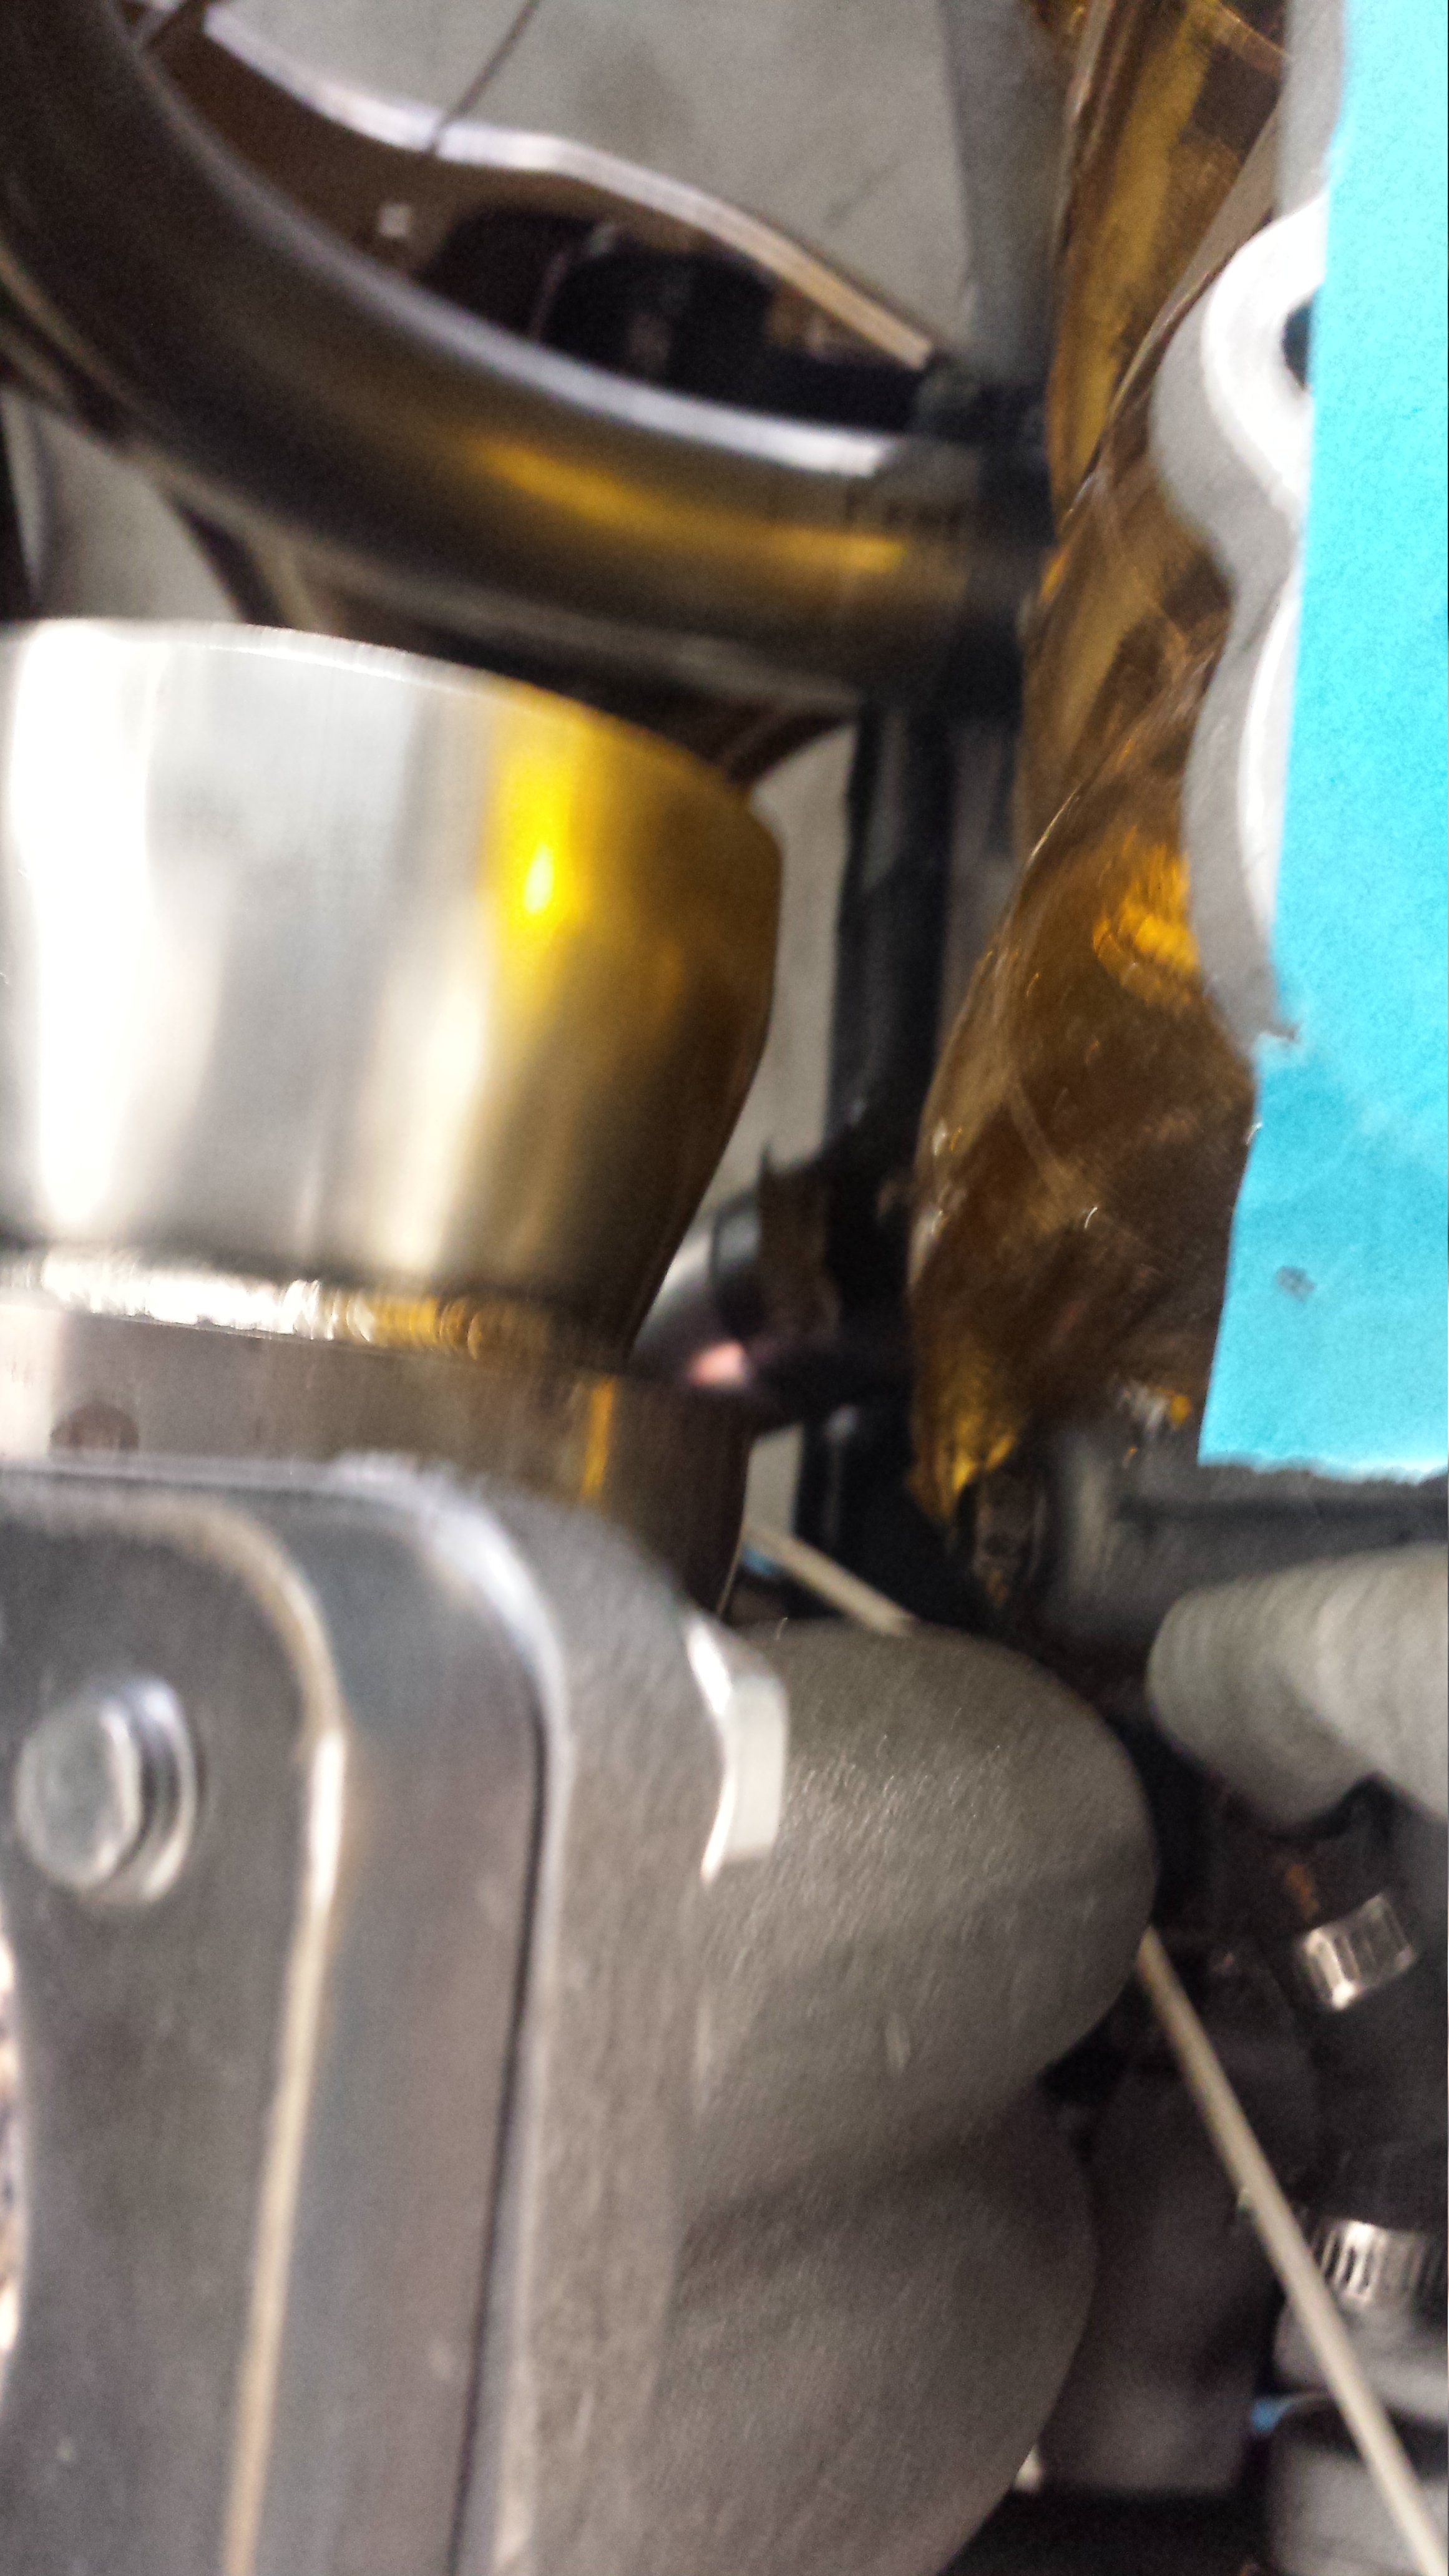
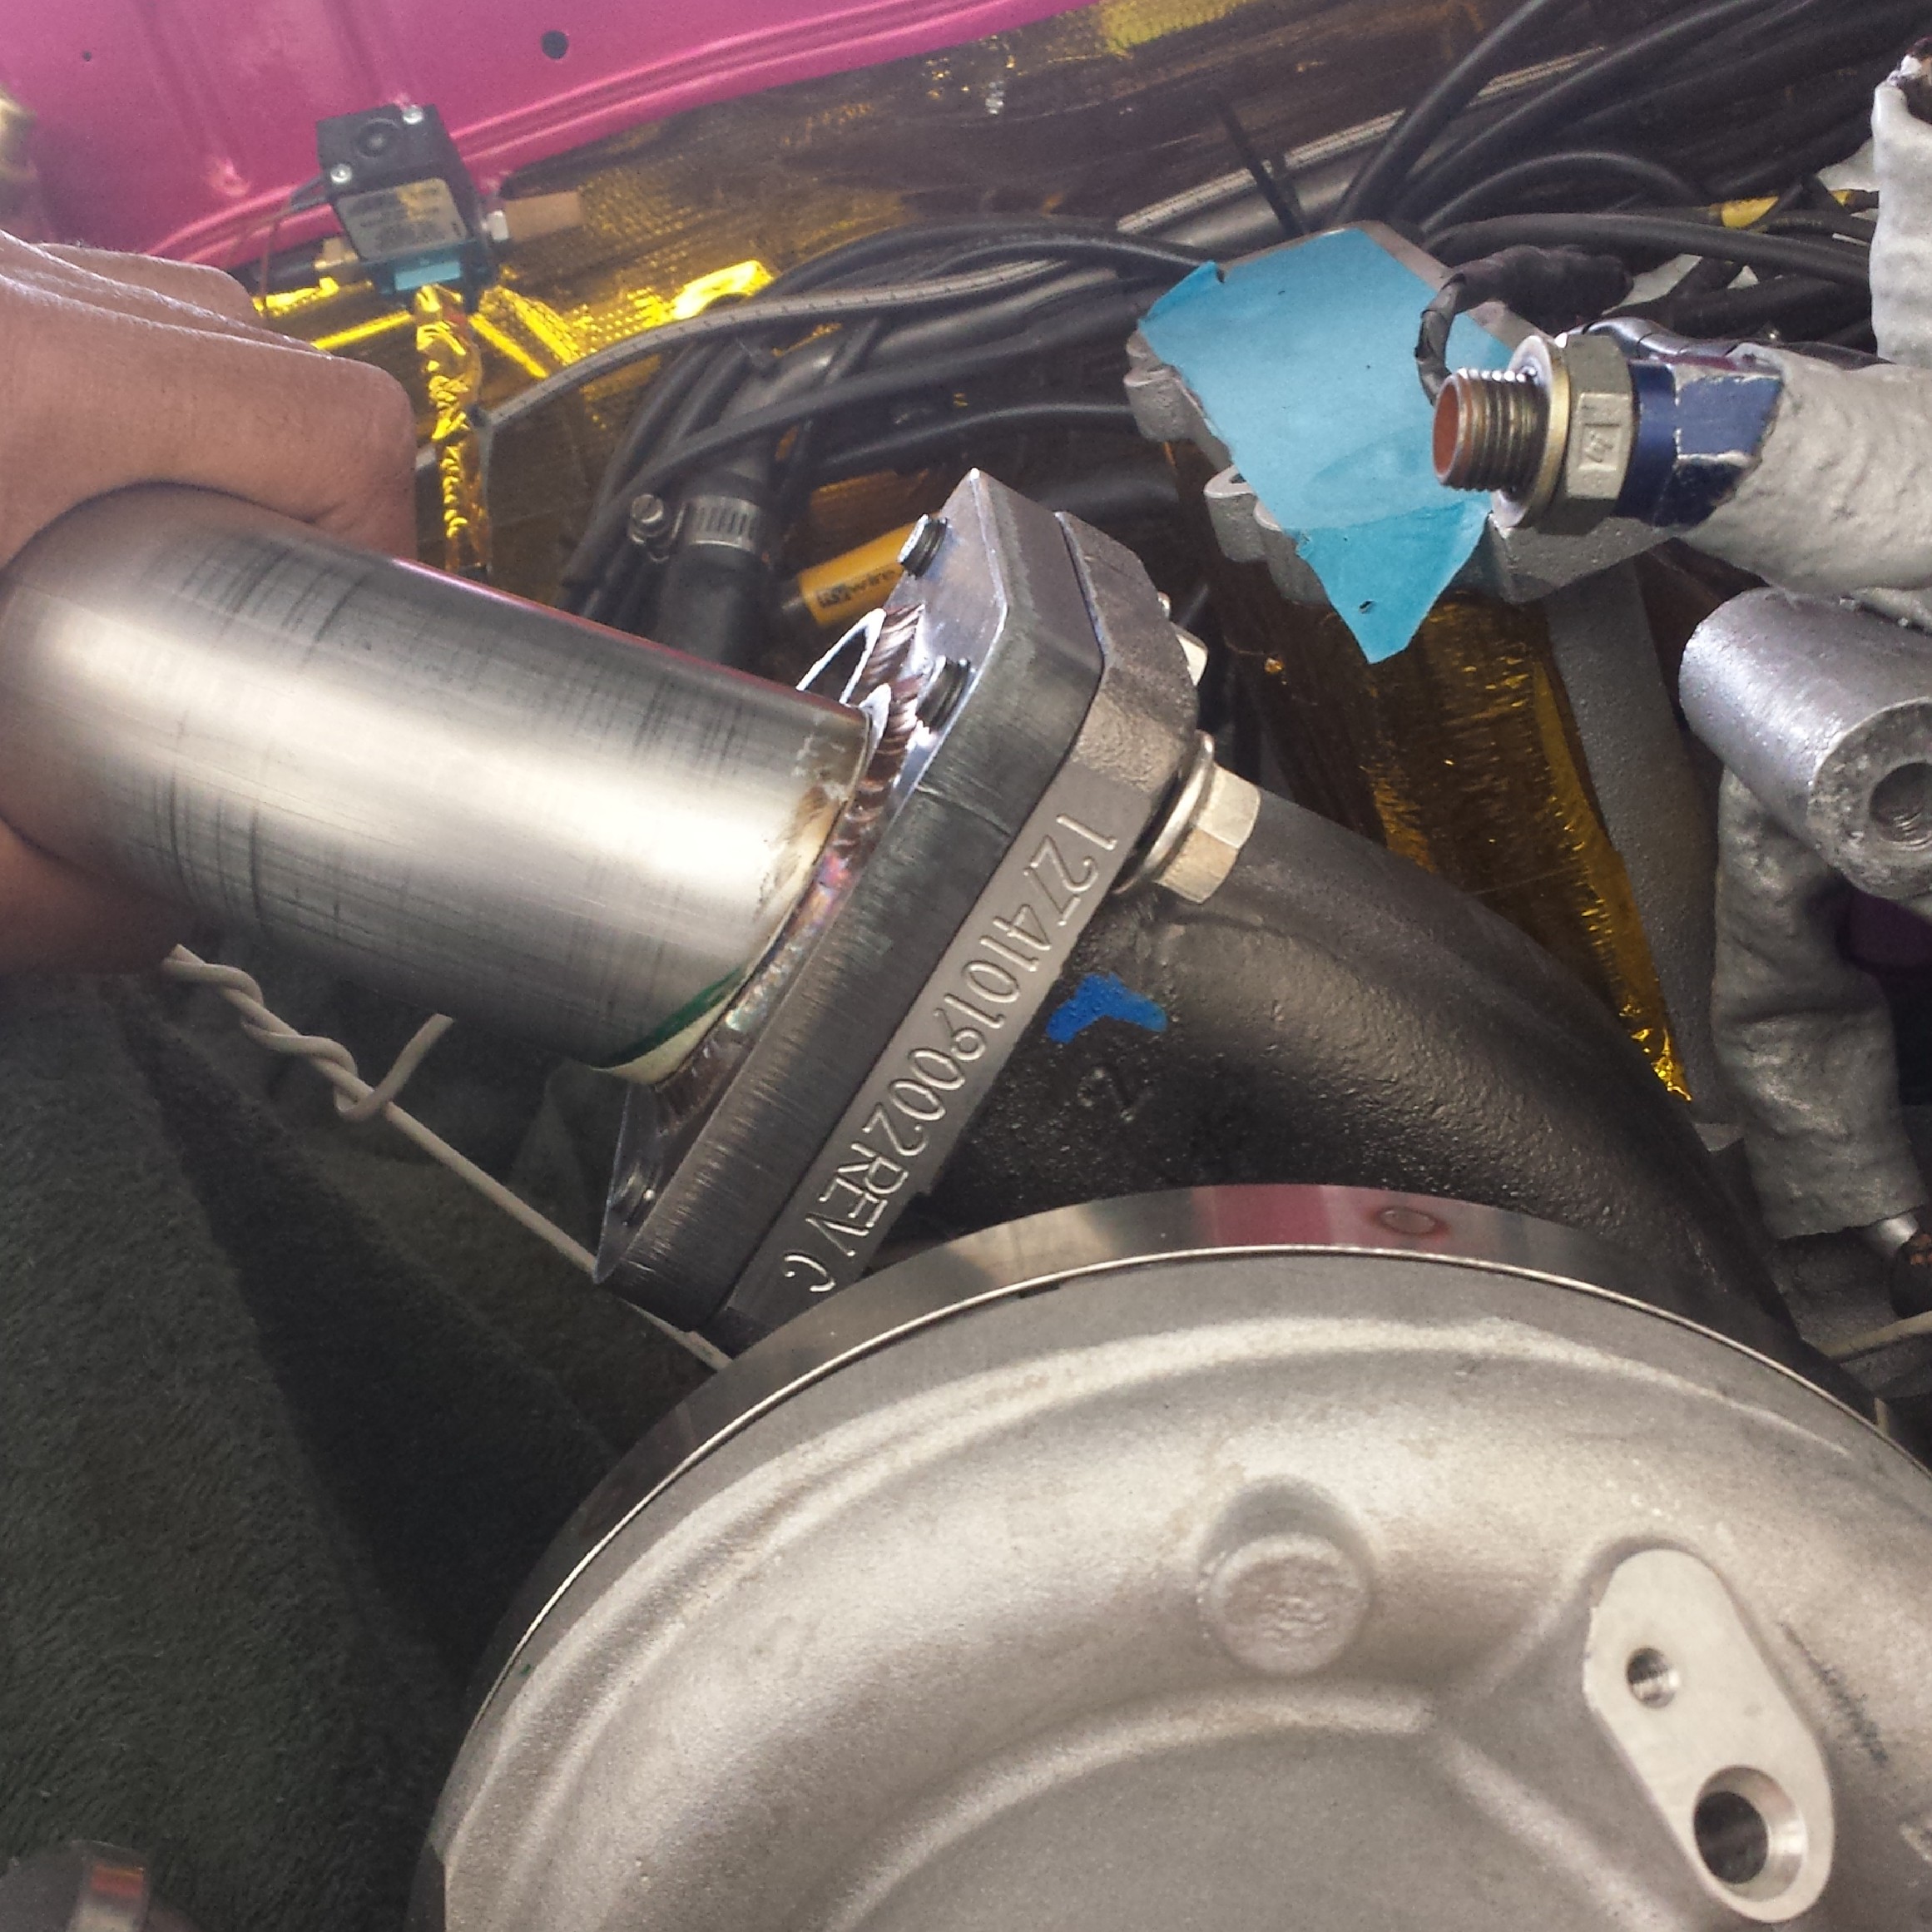
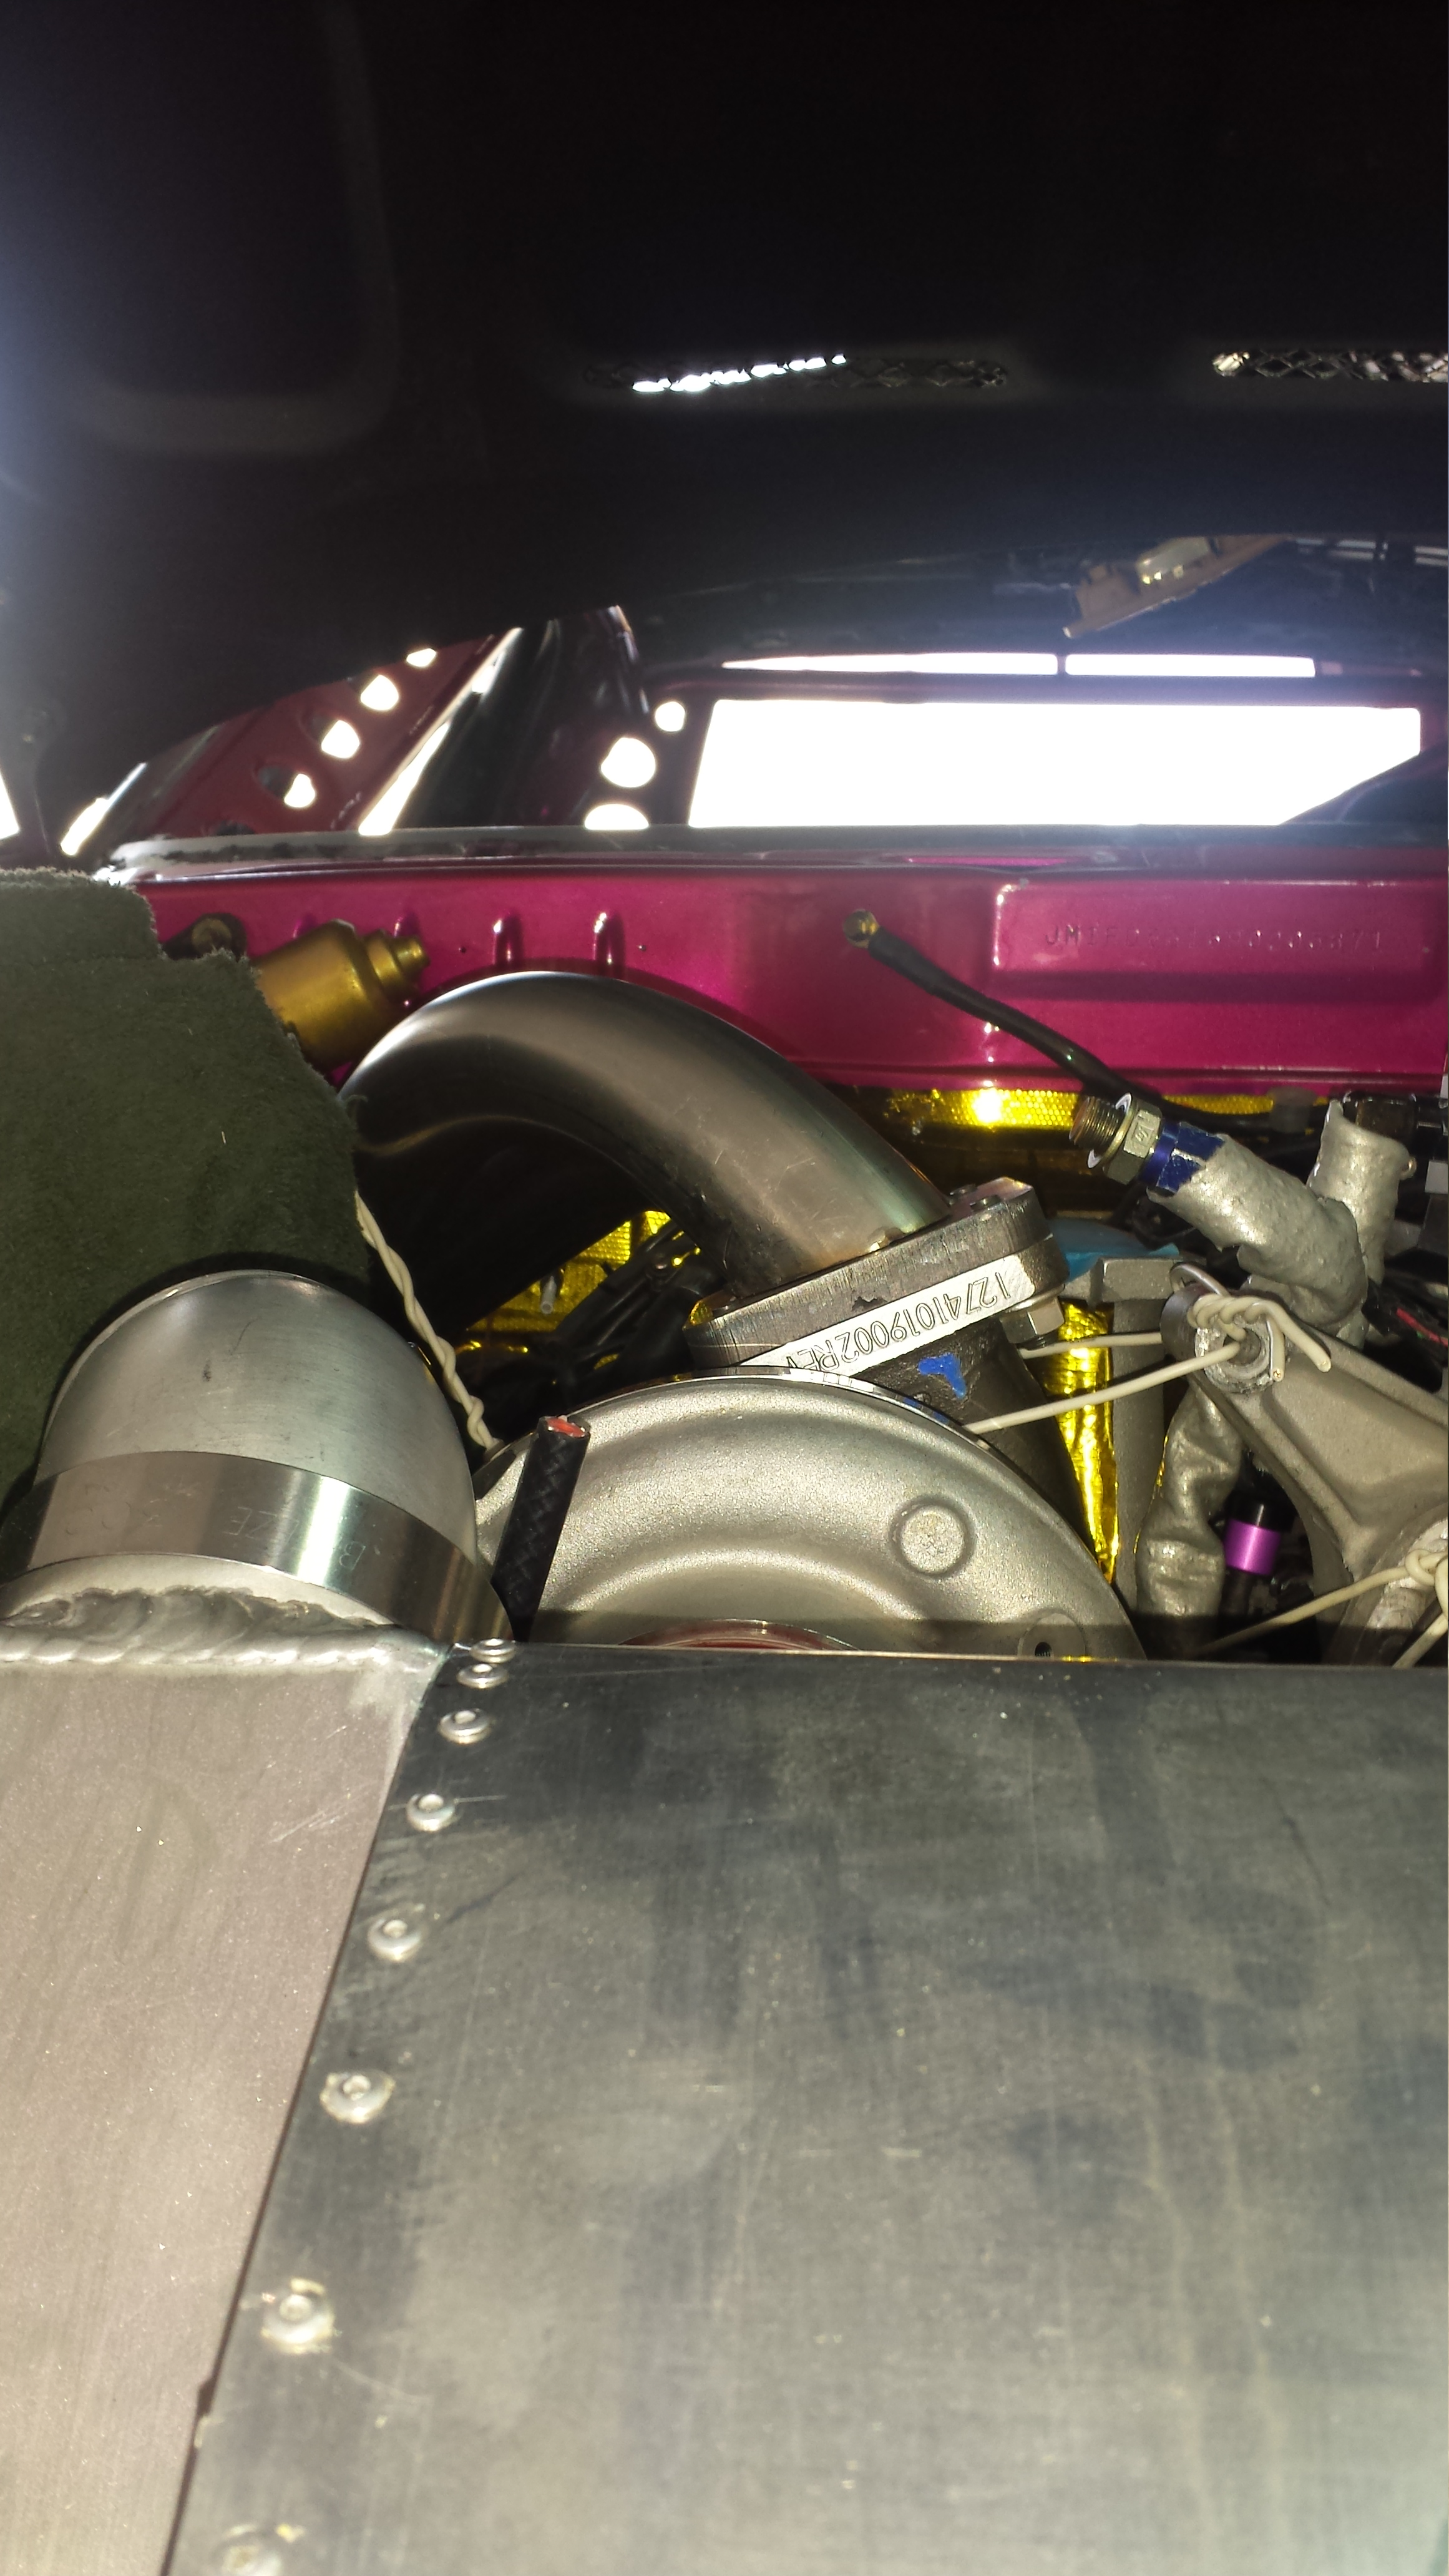
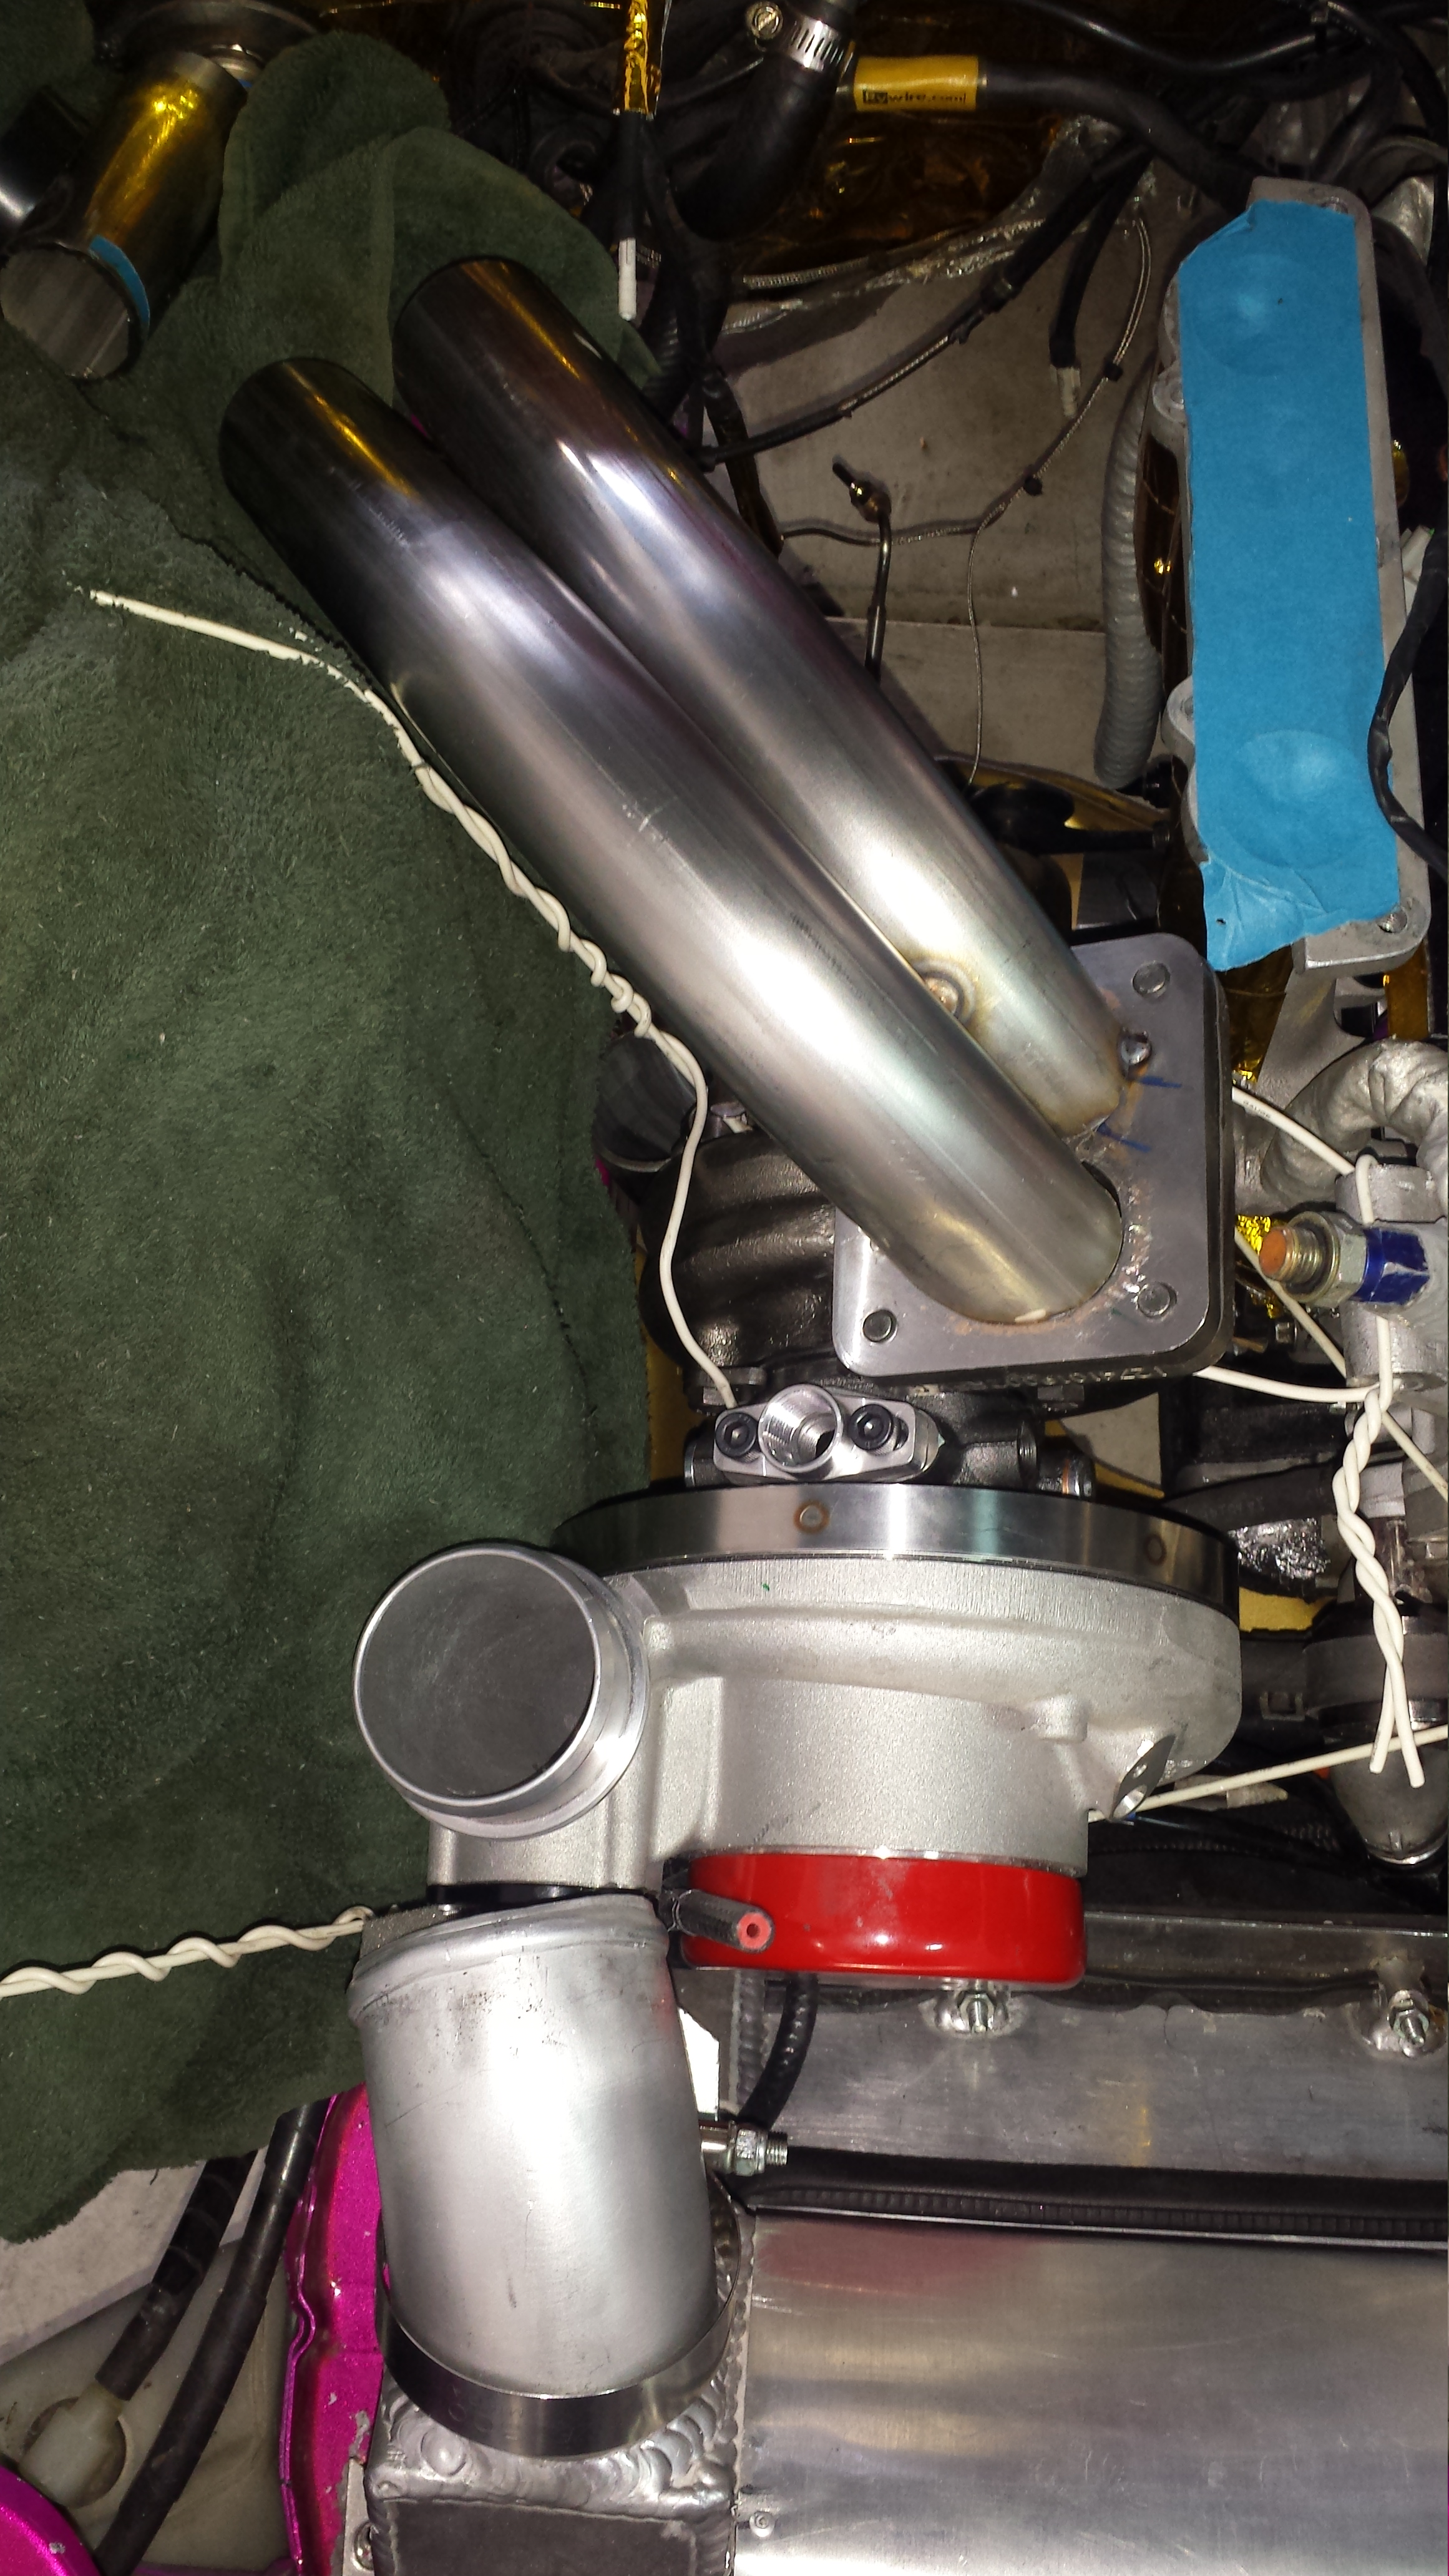
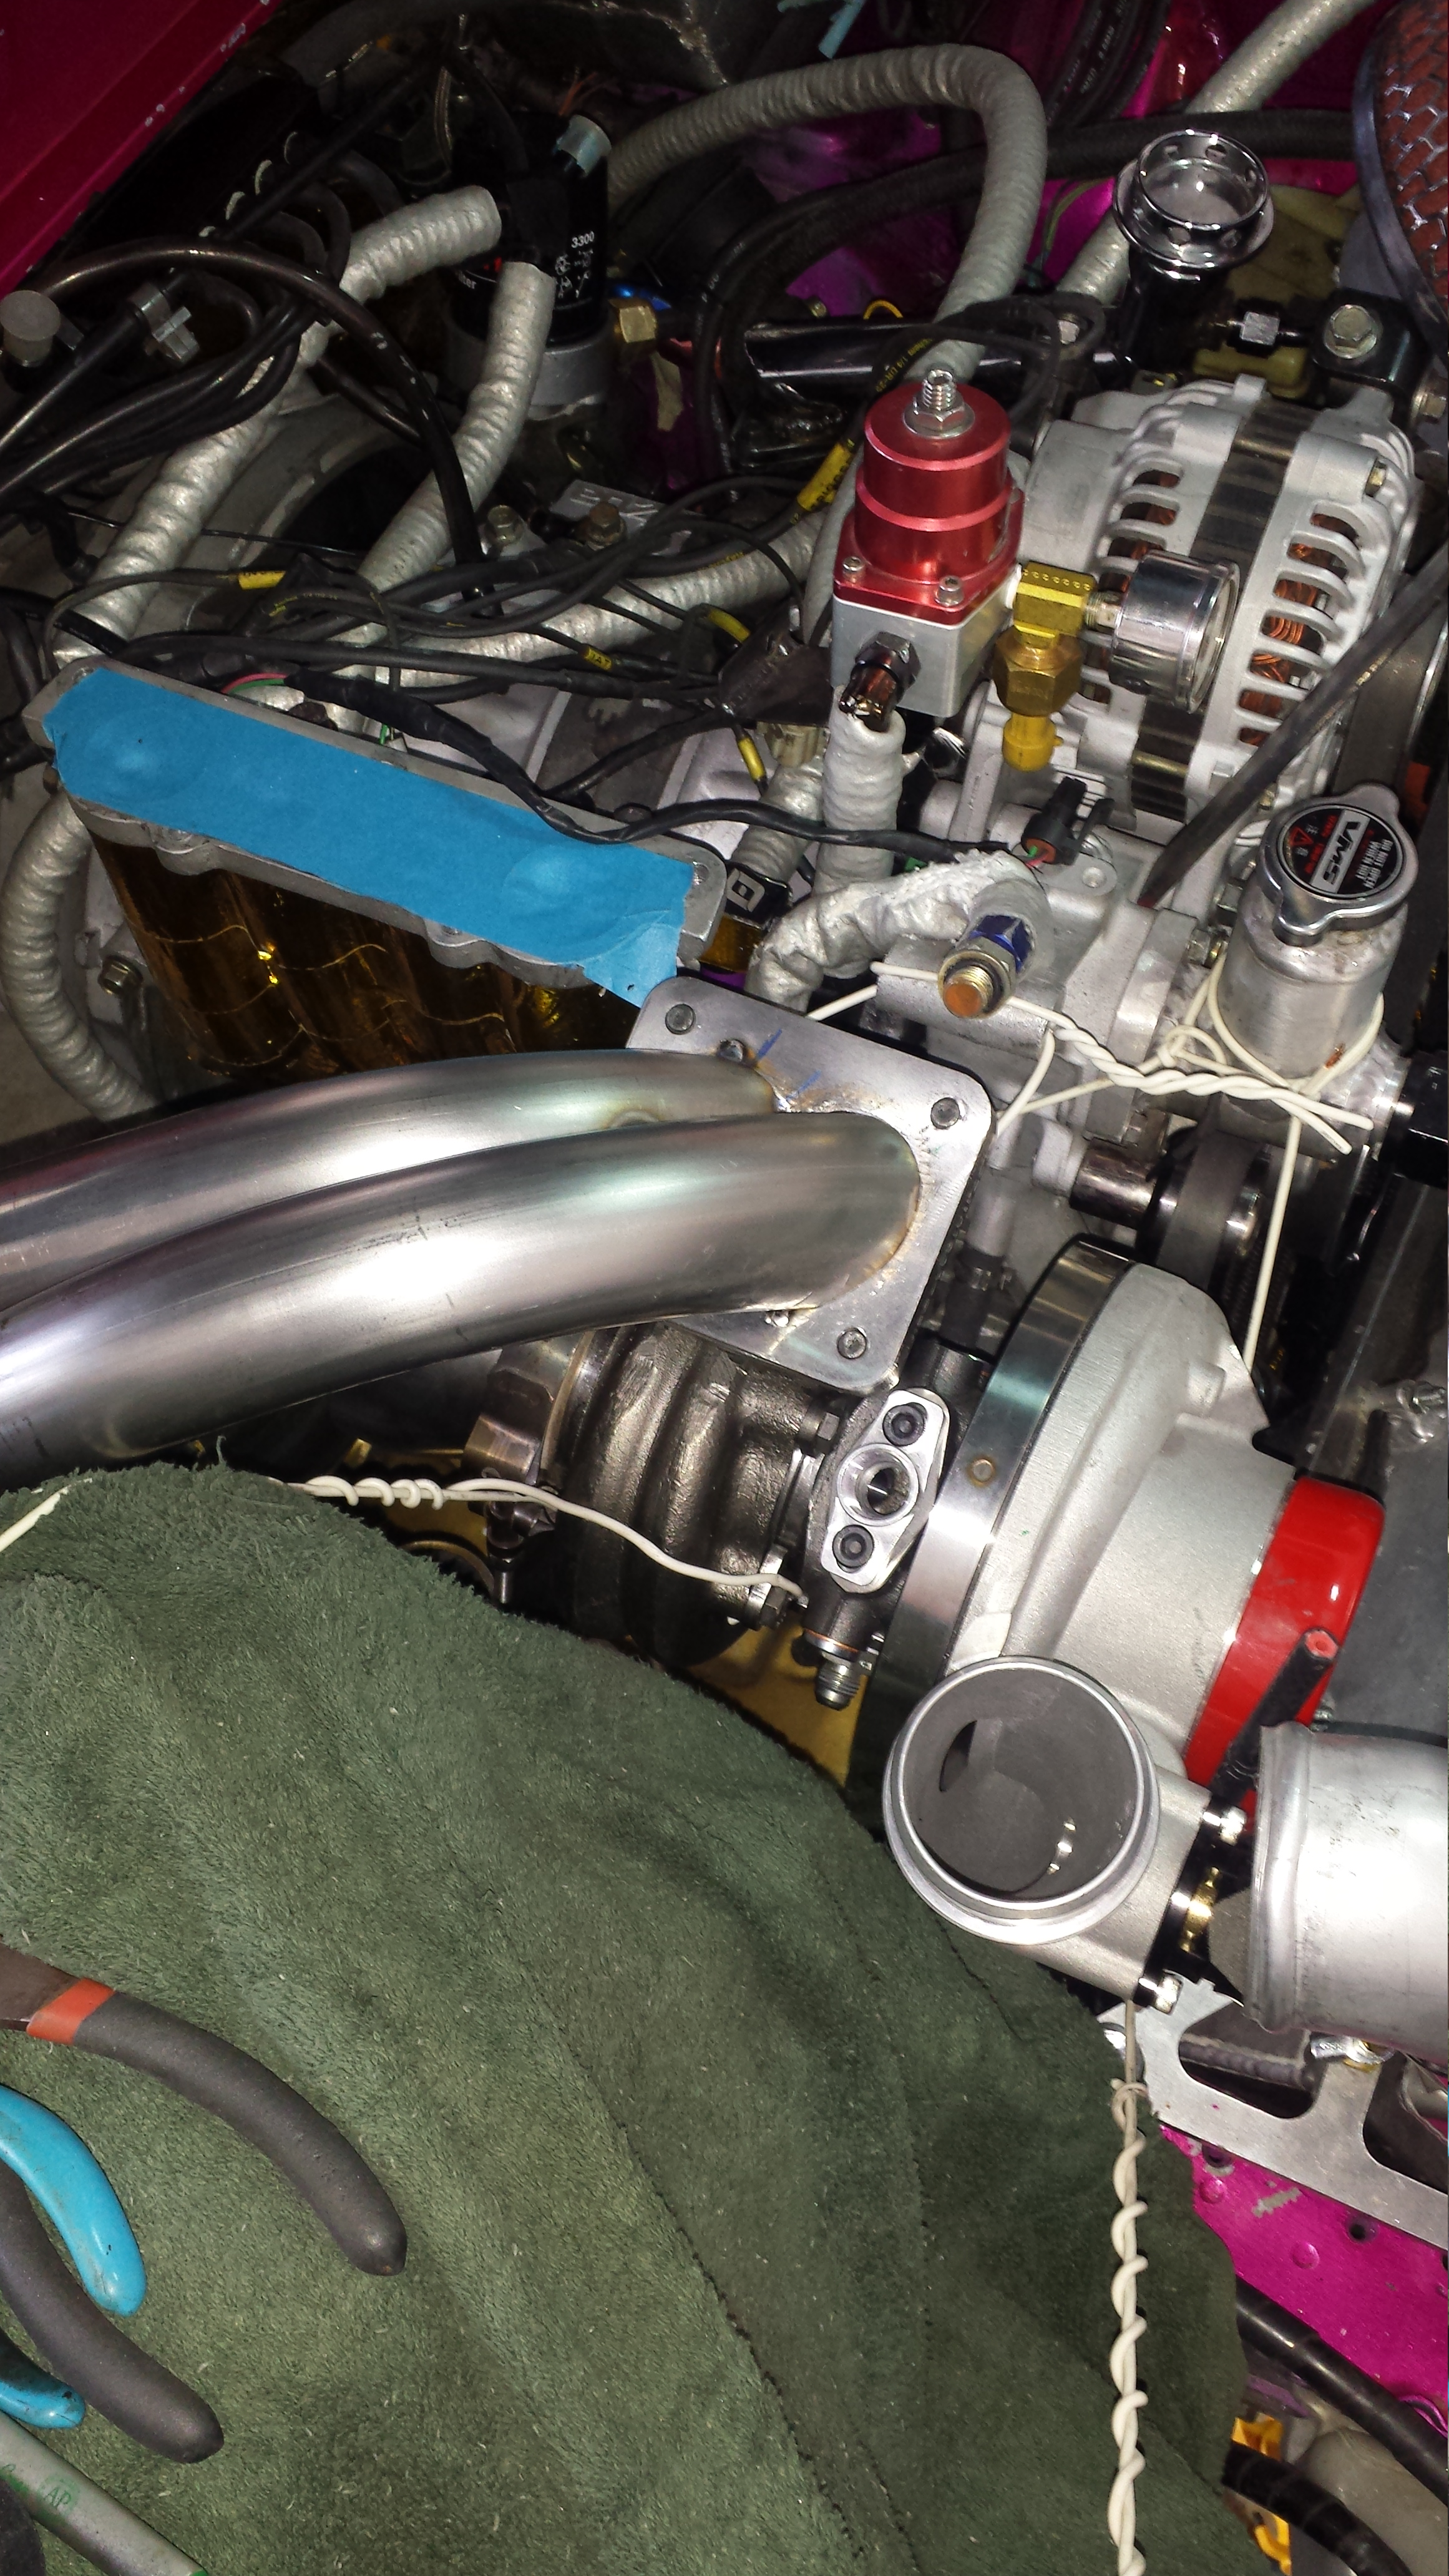
Well this weekend I had off, So I got some work done. I worked on the turbo manifold a lot. Cutting with my Angle grinder, mocking, cutting, mocking, and repeating the process. Jacob..I kept thinking about what you said..."buying a manifold...bolt on and go." And trust me...at times I kept asking myself if this was even worth it. But.. after working alllll day Saturday on runner entry angle, clearance, and making sure EVERYTHING was exactly how I wanted it.. It was all worth it. Top mount, Top entry, Good room for wastegates, Room to take off UIM if need be, Won't need to remove turbo or manifold to get to any of the fasteners, Cleares 4" down pipe, 1/2" clearance from runners to frame rail, Clears hood, Enables easy access to Down pipe, Good room for all fuid lines, enough room for planned filter, long runner design =-) I'm Amped to get this finished guys!! Seriously!!
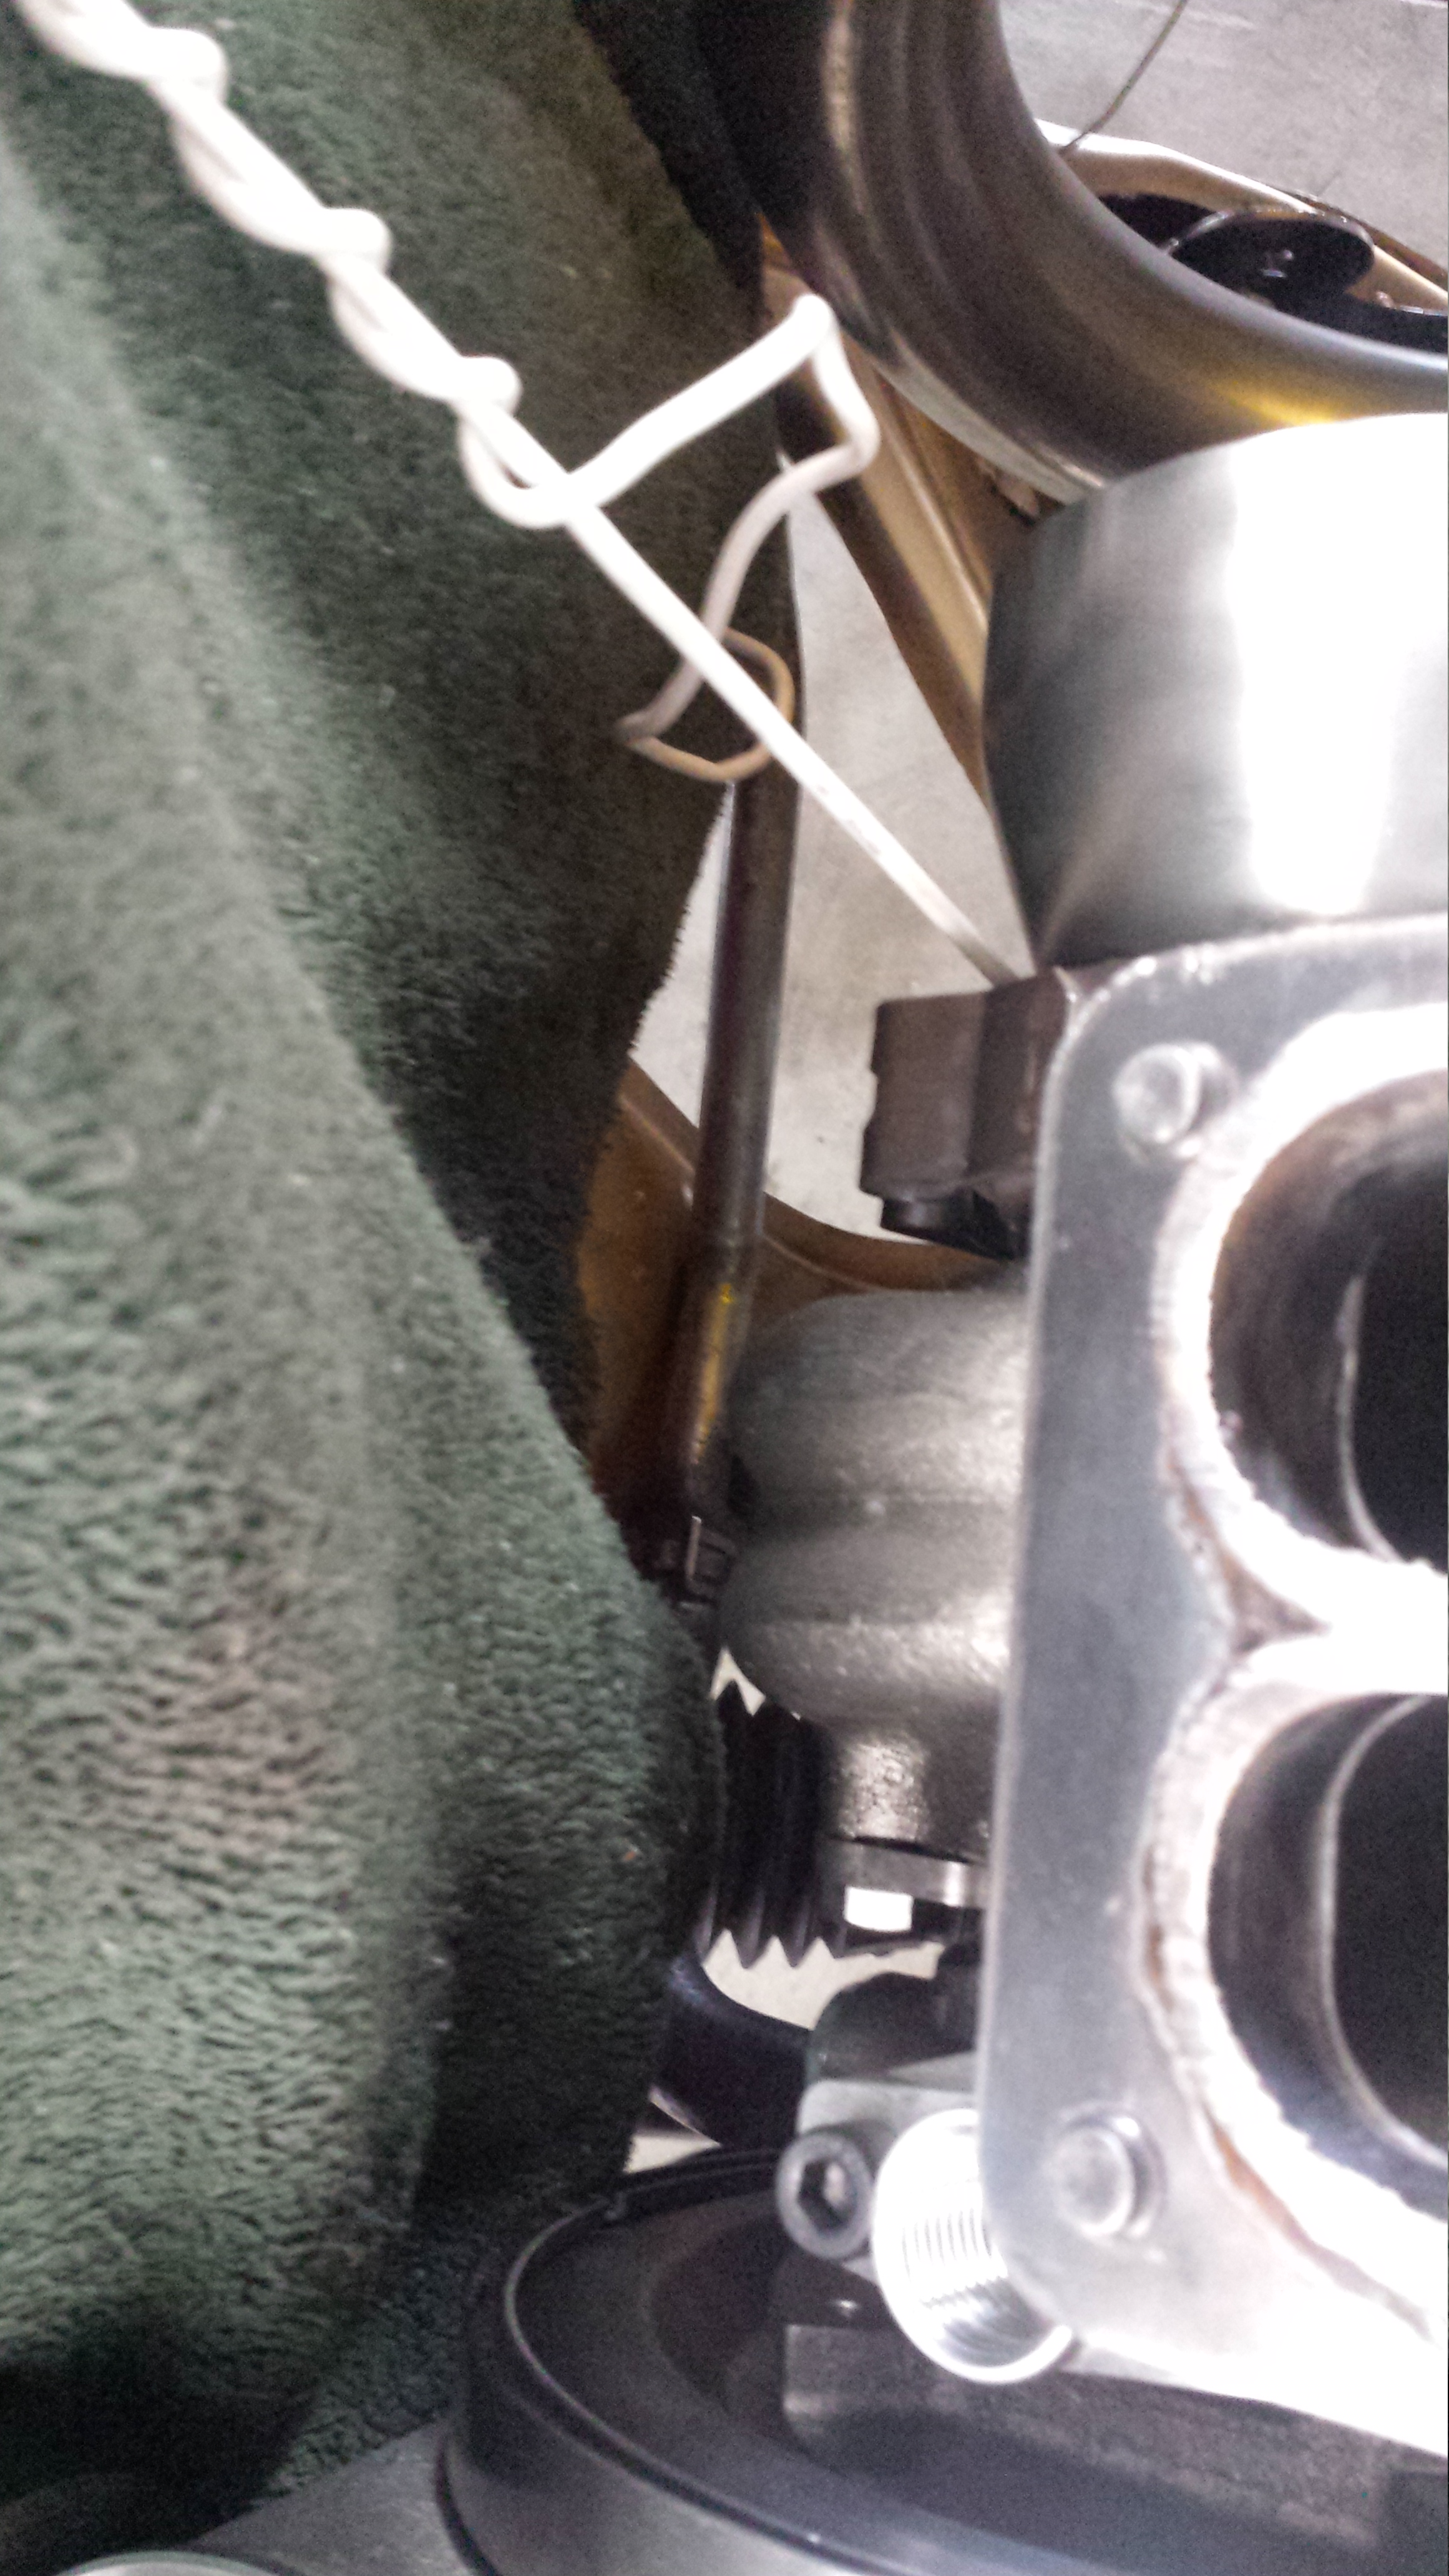
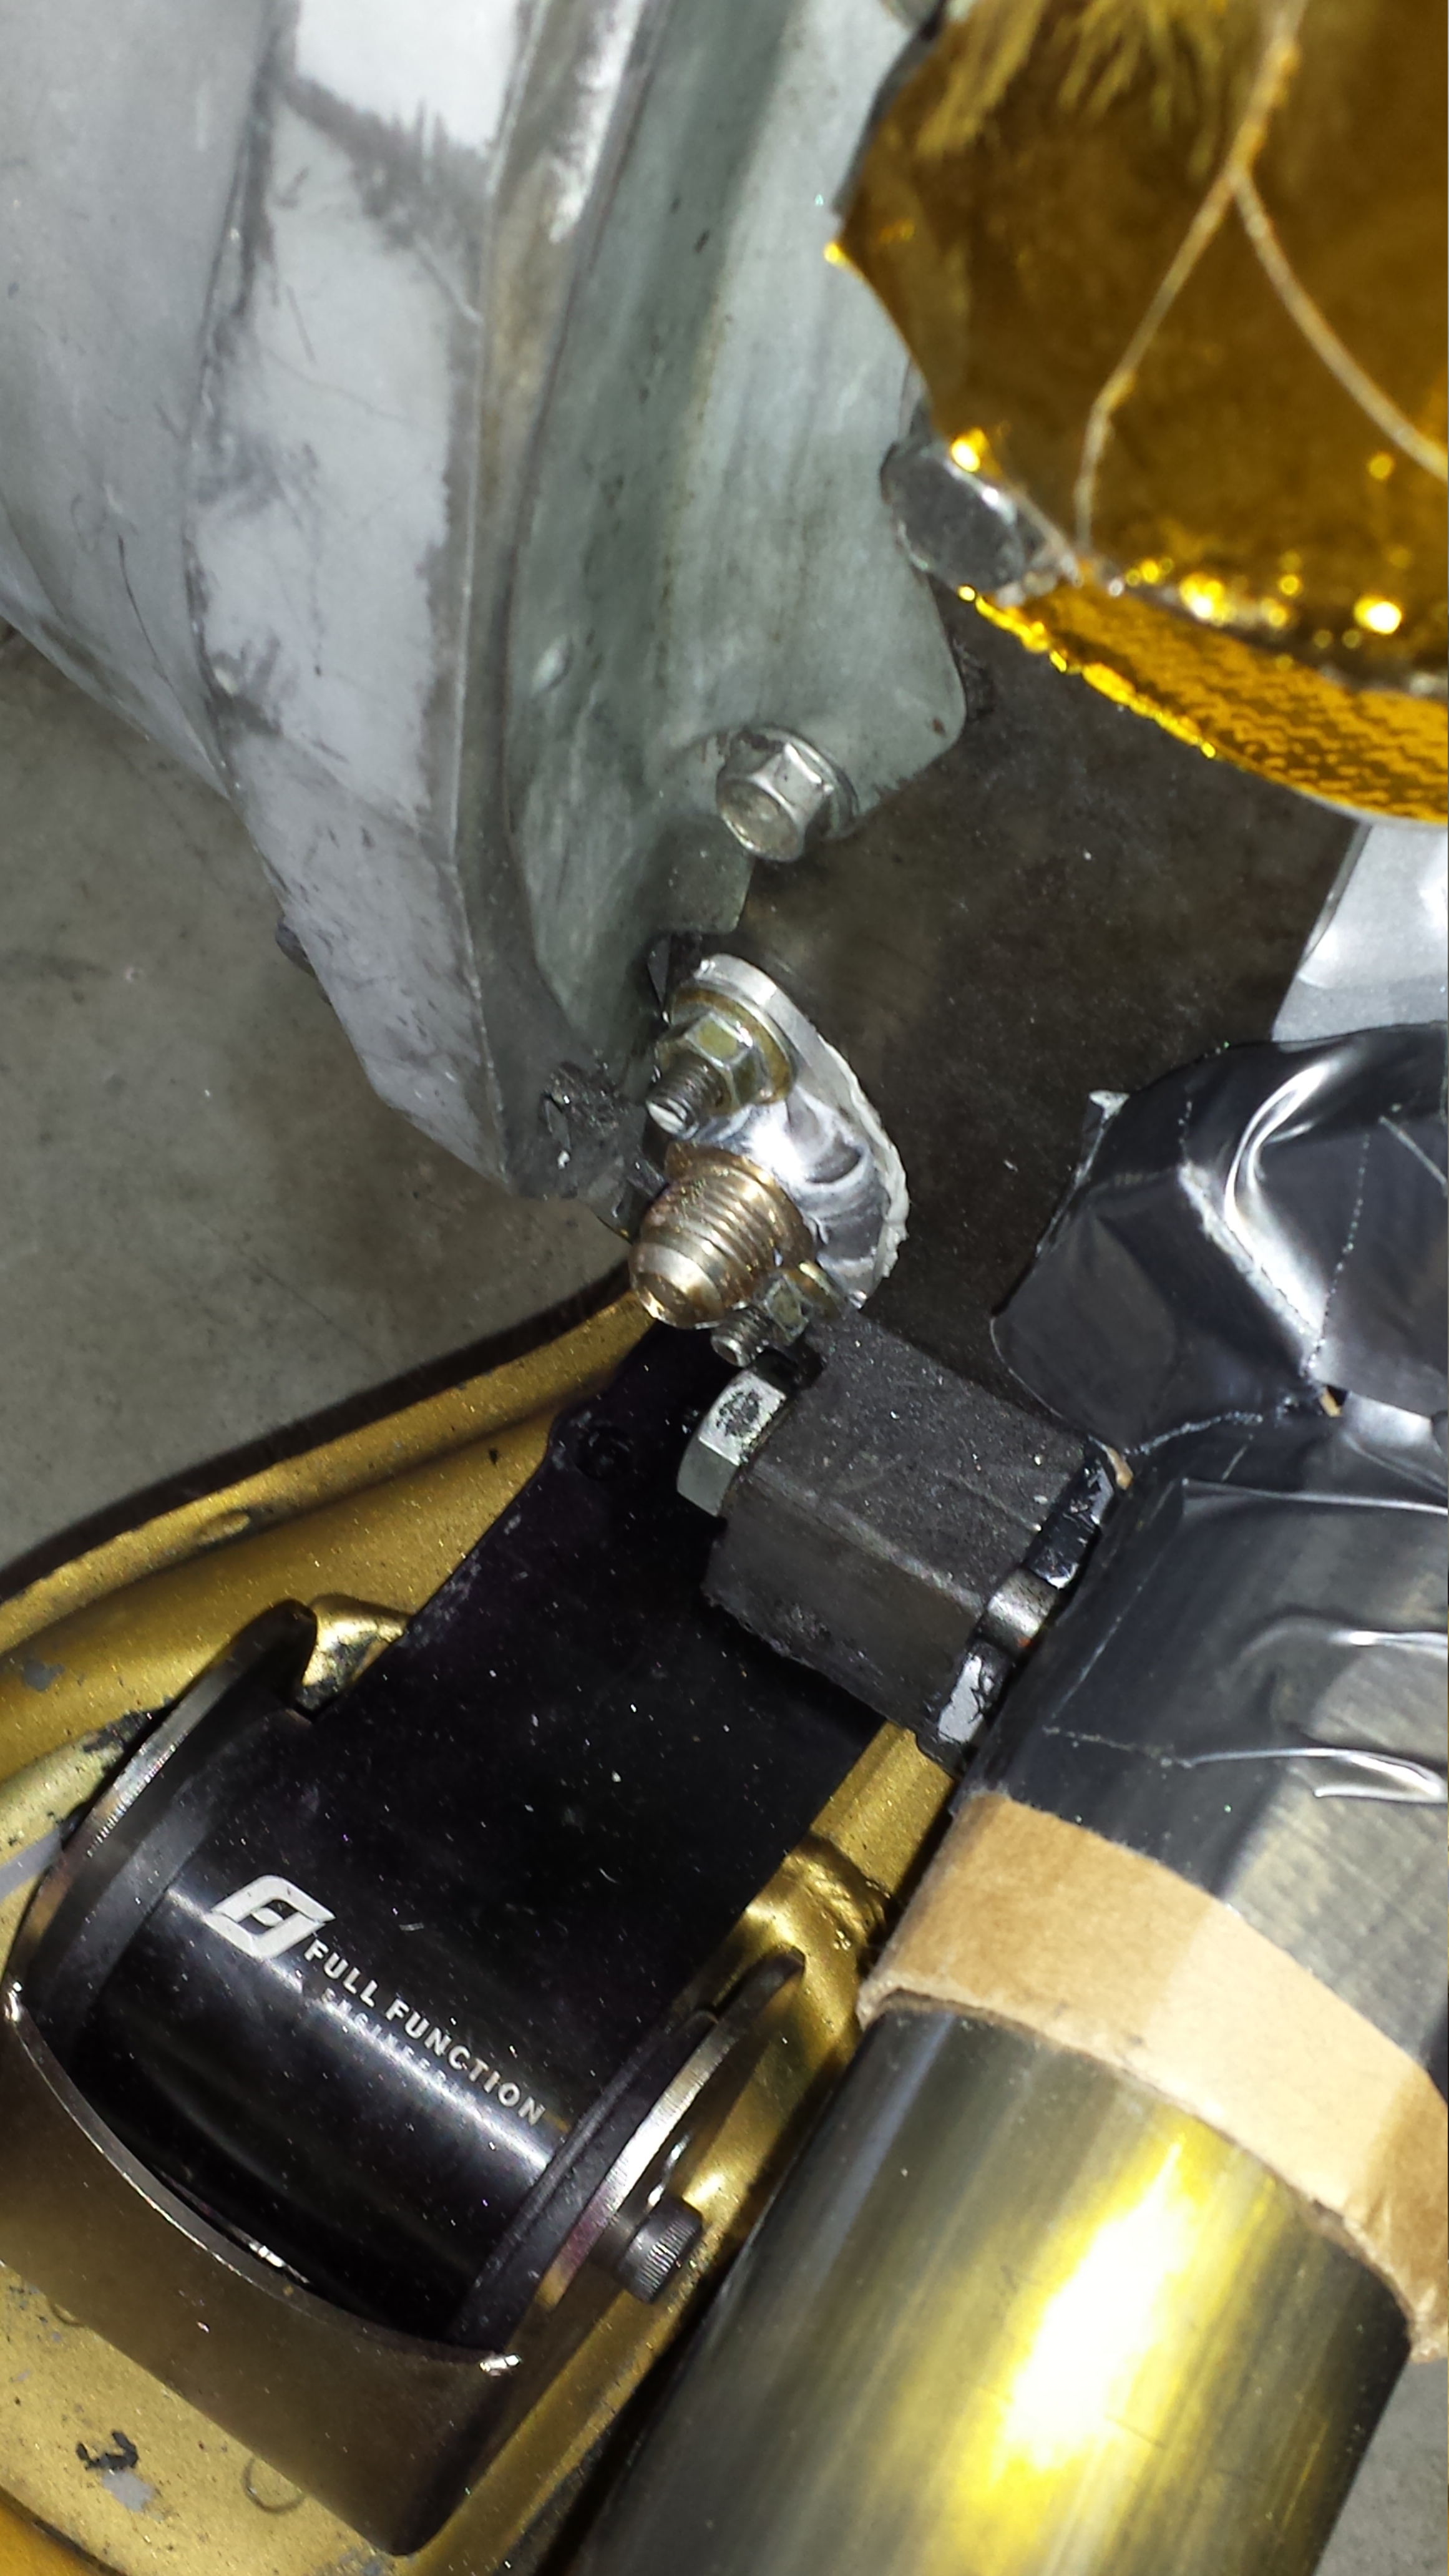
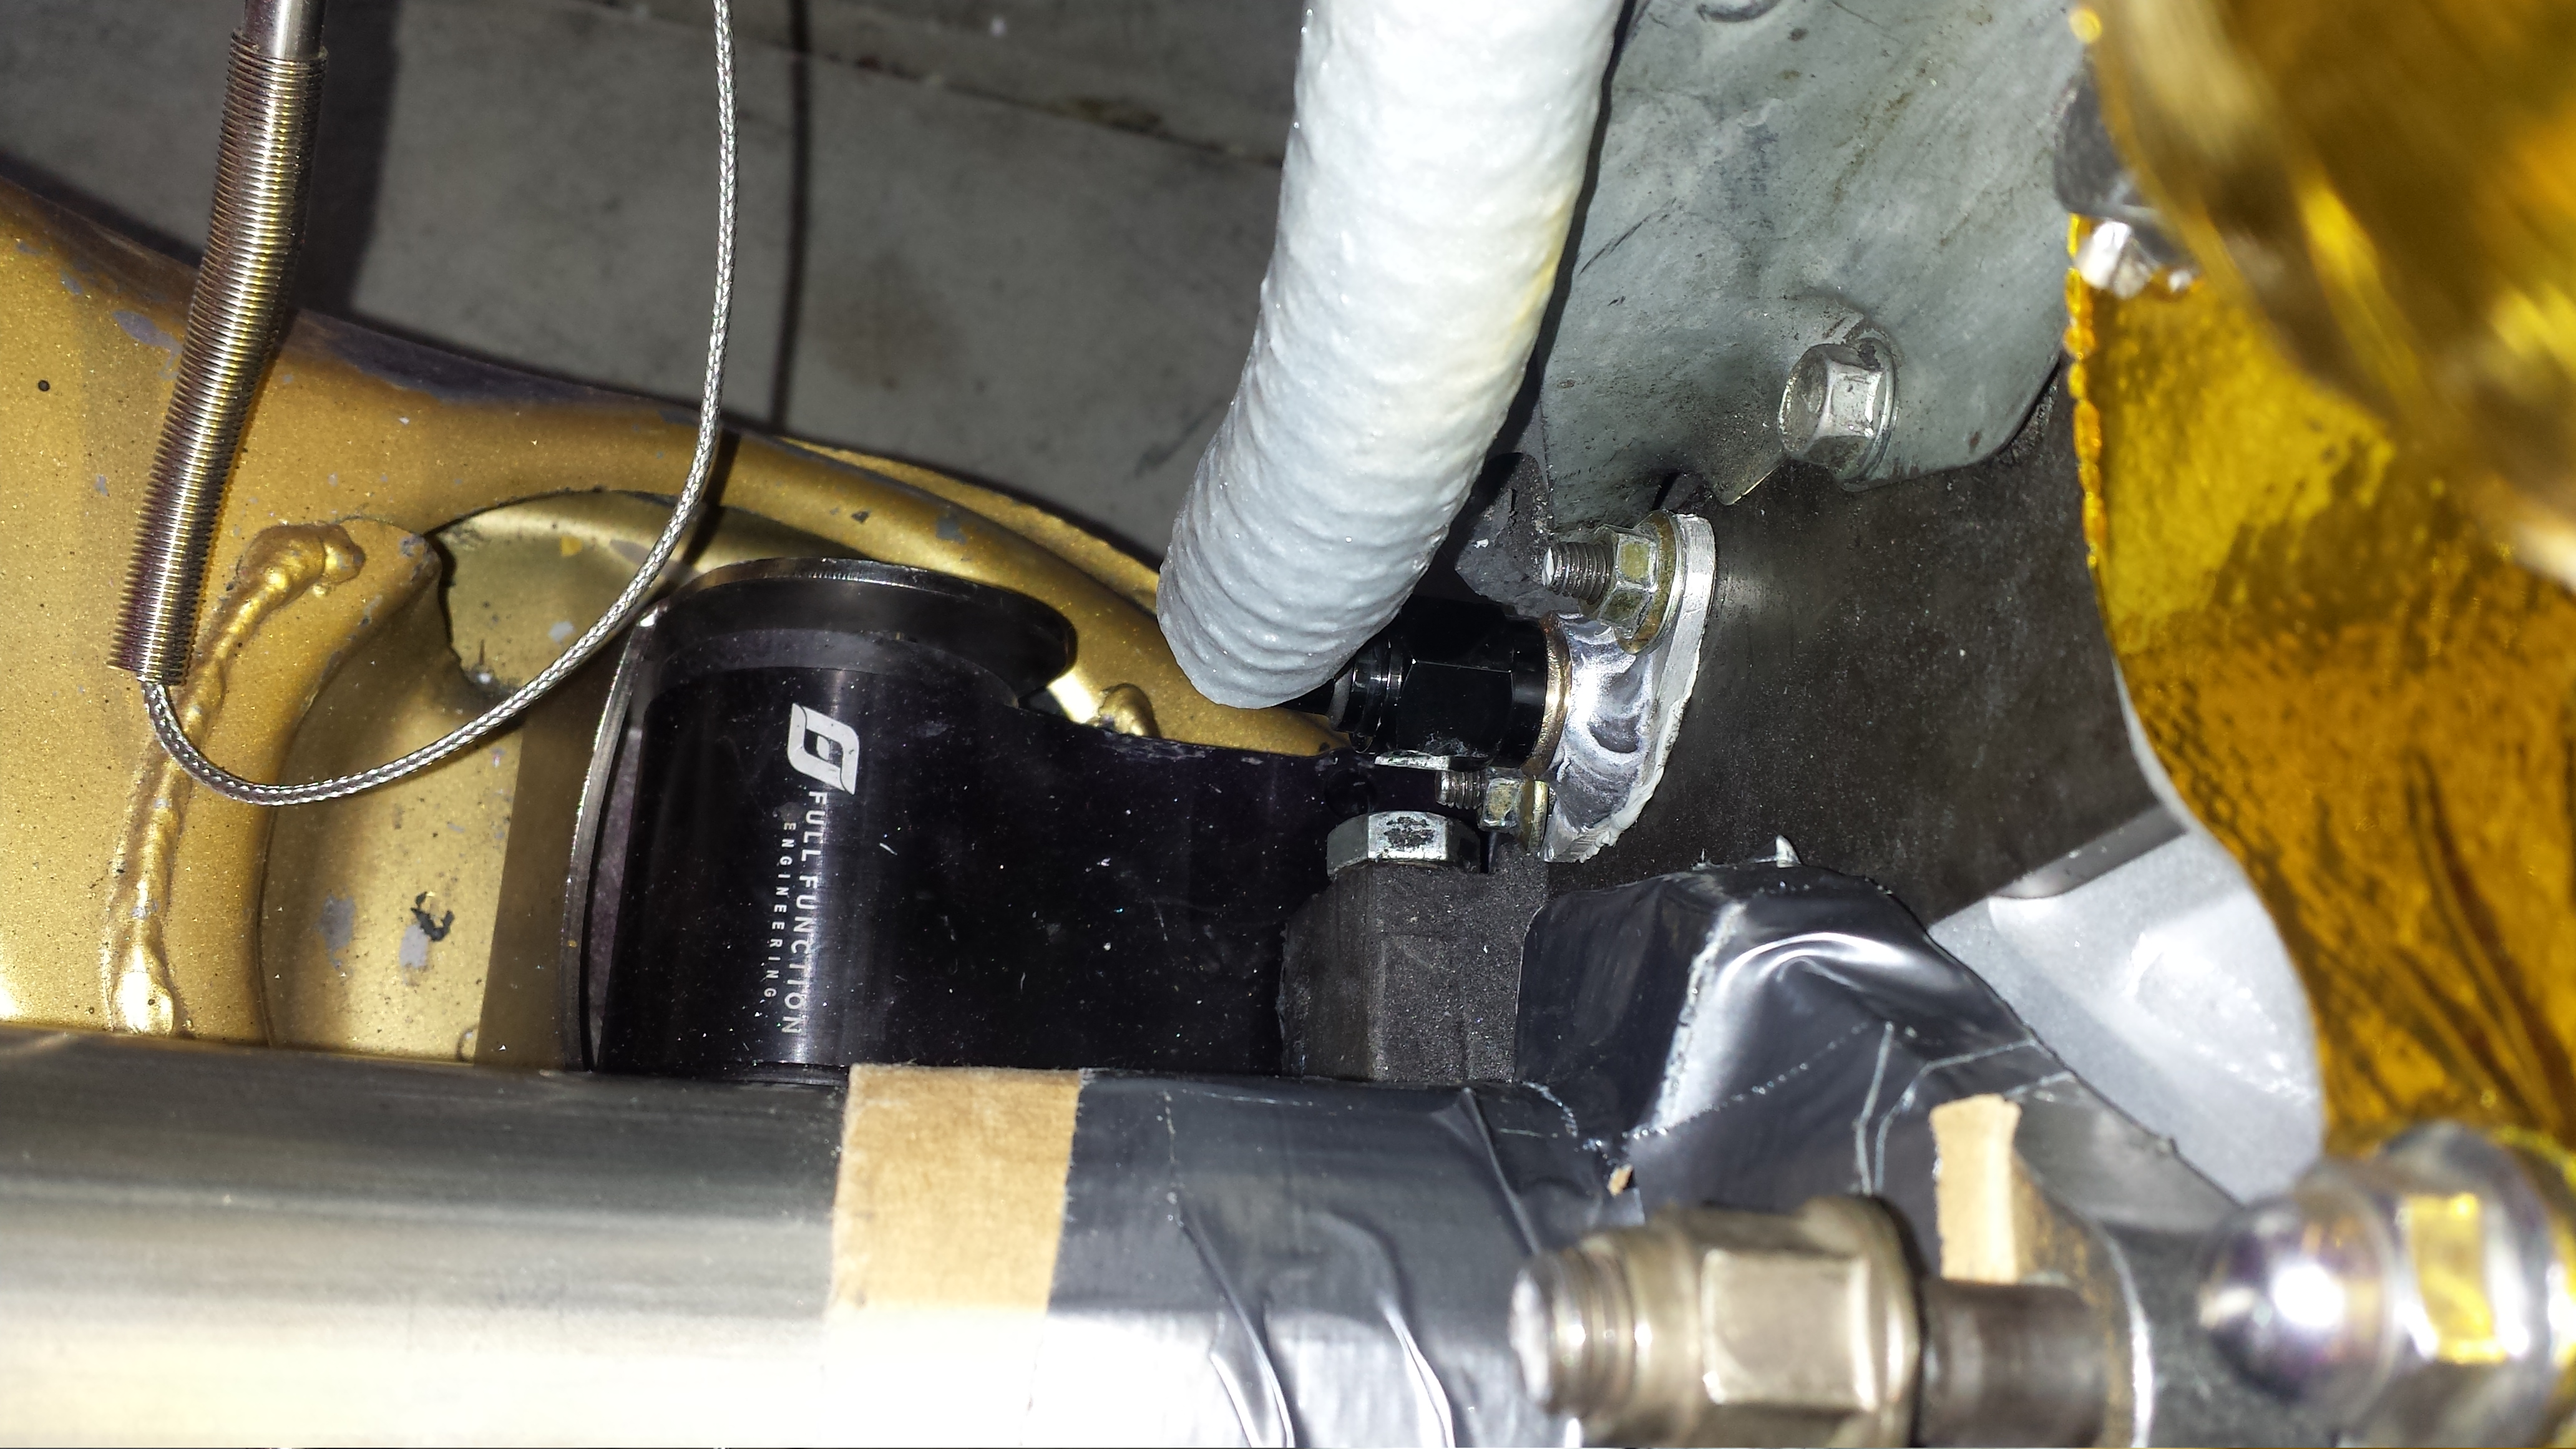
Along with the manifold I was also able to get the spare fitting and flange welded out....I almost forgot about it, but It's for the second vent to oil catch can. -6AN aluminum 90 degree bend push lock line on an alum flange. Came out great. The tapped brass fitting set up I did before was a cop out..it was crap. This way is much more secure, and the old set up was only able to clock a limited amount away from the motor to manifold flange...so it was basically touching the flange...no bueno. So lets get to pictures!!
First up was turbo Position...I thought I had it fixed but after looking at it...I wasn't happy with it for some reason I can't recall....so here is the new position.

from the top

LIM clearance
Frame Rail Clearance
Measuring Pipe ;-)
Making cuts...this part took a LONG time
cut mock cut mock cut mock cut mock...definitely a process.. but have to get it just right.

mmmmmm
Flange to the shop to get cut perfectly flat..
Nice Nice..
Initial tack to get them shaped correctly
Well this weekend I had off, So I got some work done. I worked on the turbo manifold a lot. Cutting with my Angle grinder, mocking, cutting, mocking, and repeating the process. Jacob..I kept thinking about what you said..."buying a manifold...bolt on and go." And trust me...at times I kept asking myself if this was even worth it. But.. after working alllll day Saturday on runner entry angle, clearance, and making sure EVERYTHING was exactly how I wanted it.. It was all worth it. Top mount, Top entry, Good room for wastegates, Room to take off UIM if need be, Won't need to remove turbo or manifold to get to any of the fasteners, Cleares 4" down pipe, 1/2" clearance from runners to frame rail, Clears hood, Enables easy access to Down pipe, Good room for all fuid lines, enough room for planned filter, long runner design =-) I'm Amped to get this finished guys!! Seriously!!
Along with the manifold I was also able to get the spare fitting and flange welded out....I almost forgot about it, but It's for the second vent to oil catch can. -6AN aluminum 90 degree bend push lock line on an alum flange. Came out great. The tapped brass fitting set up I did before was a cop out..it was crap. This way is much more secure, and the old set up was only able to clock a limited amount away from the motor to manifold flange...so it was basically touching the flange...no bueno. So lets get to pictures!!
First up was turbo Position...I thought I had it fixed but after looking at it...I wasn't happy with it for some reason I can't recall....so here is the new position.
from the top
LIM clearance
Frame Rail Clearance
Measuring Pipe ;-)
Making cuts...this part took a LONG time
cut mock cut mock cut mock cut mock...definitely a process.. but have to get it just right.
mmmmmm
Flange to the shop to get cut perfectly flat..
Nice Nice..
Initial tack to get them shaped correctly
 05-05-14, 12:56 PM
#1890
Continued:
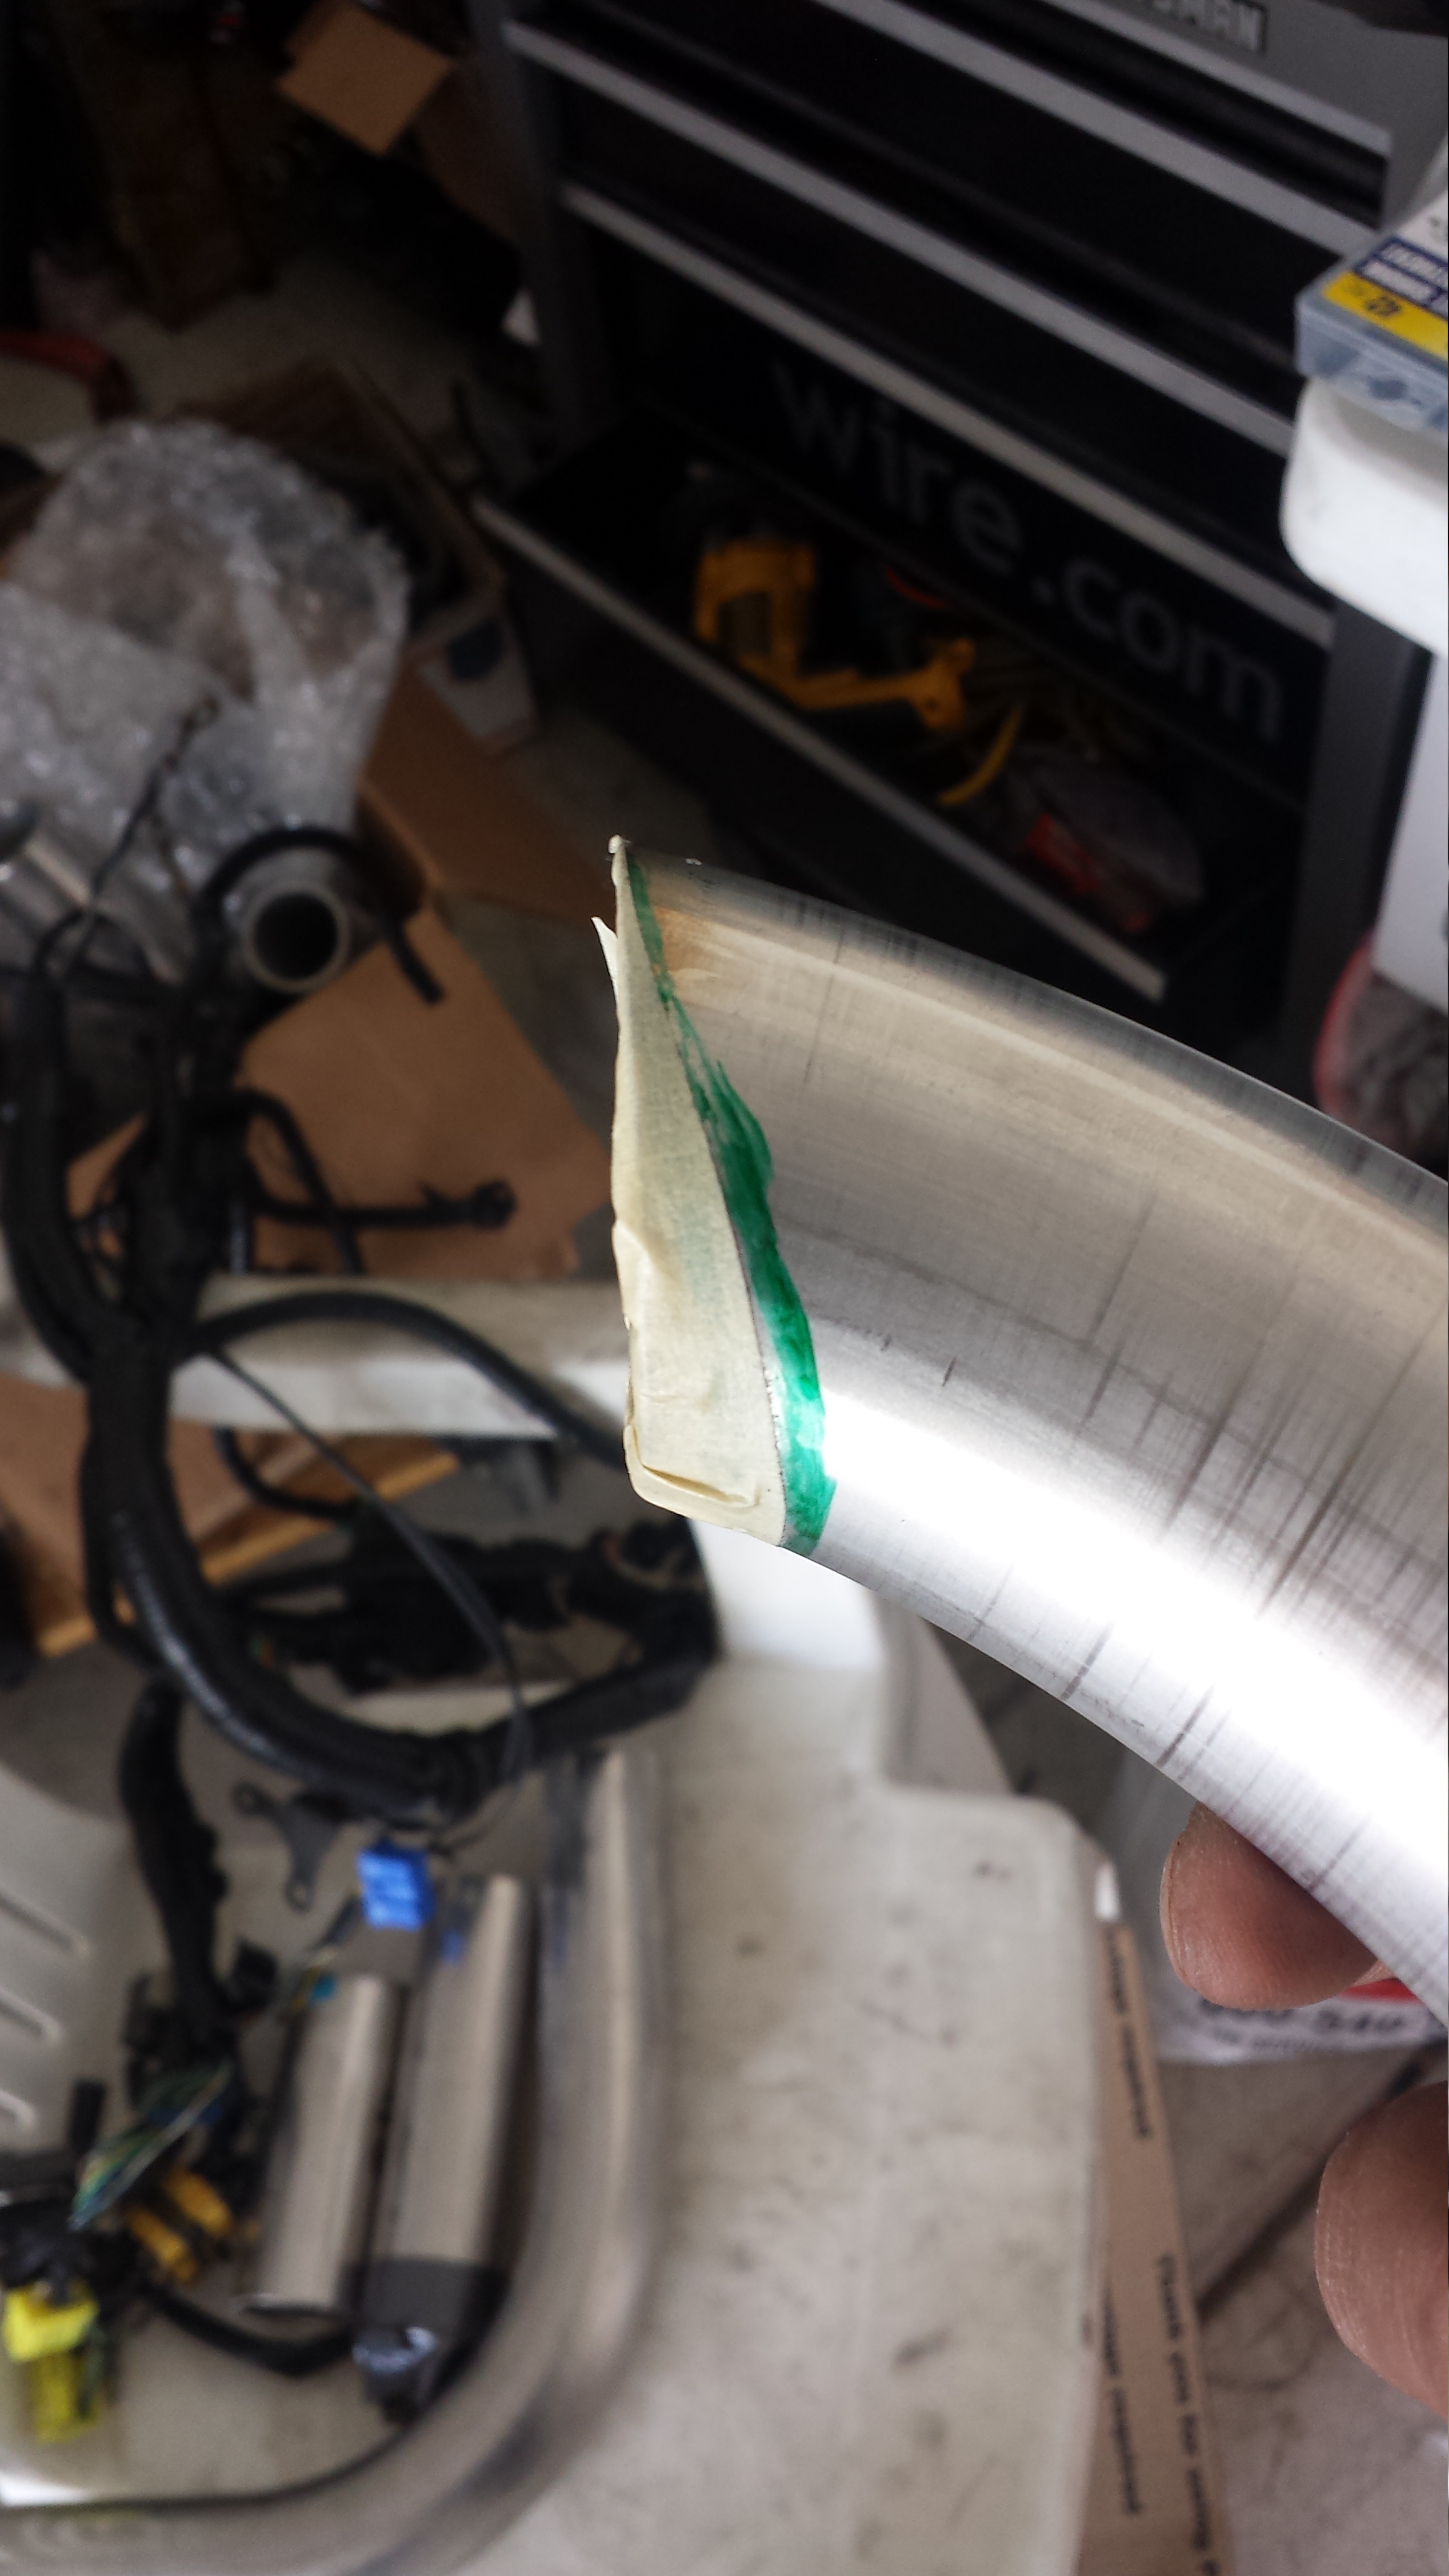
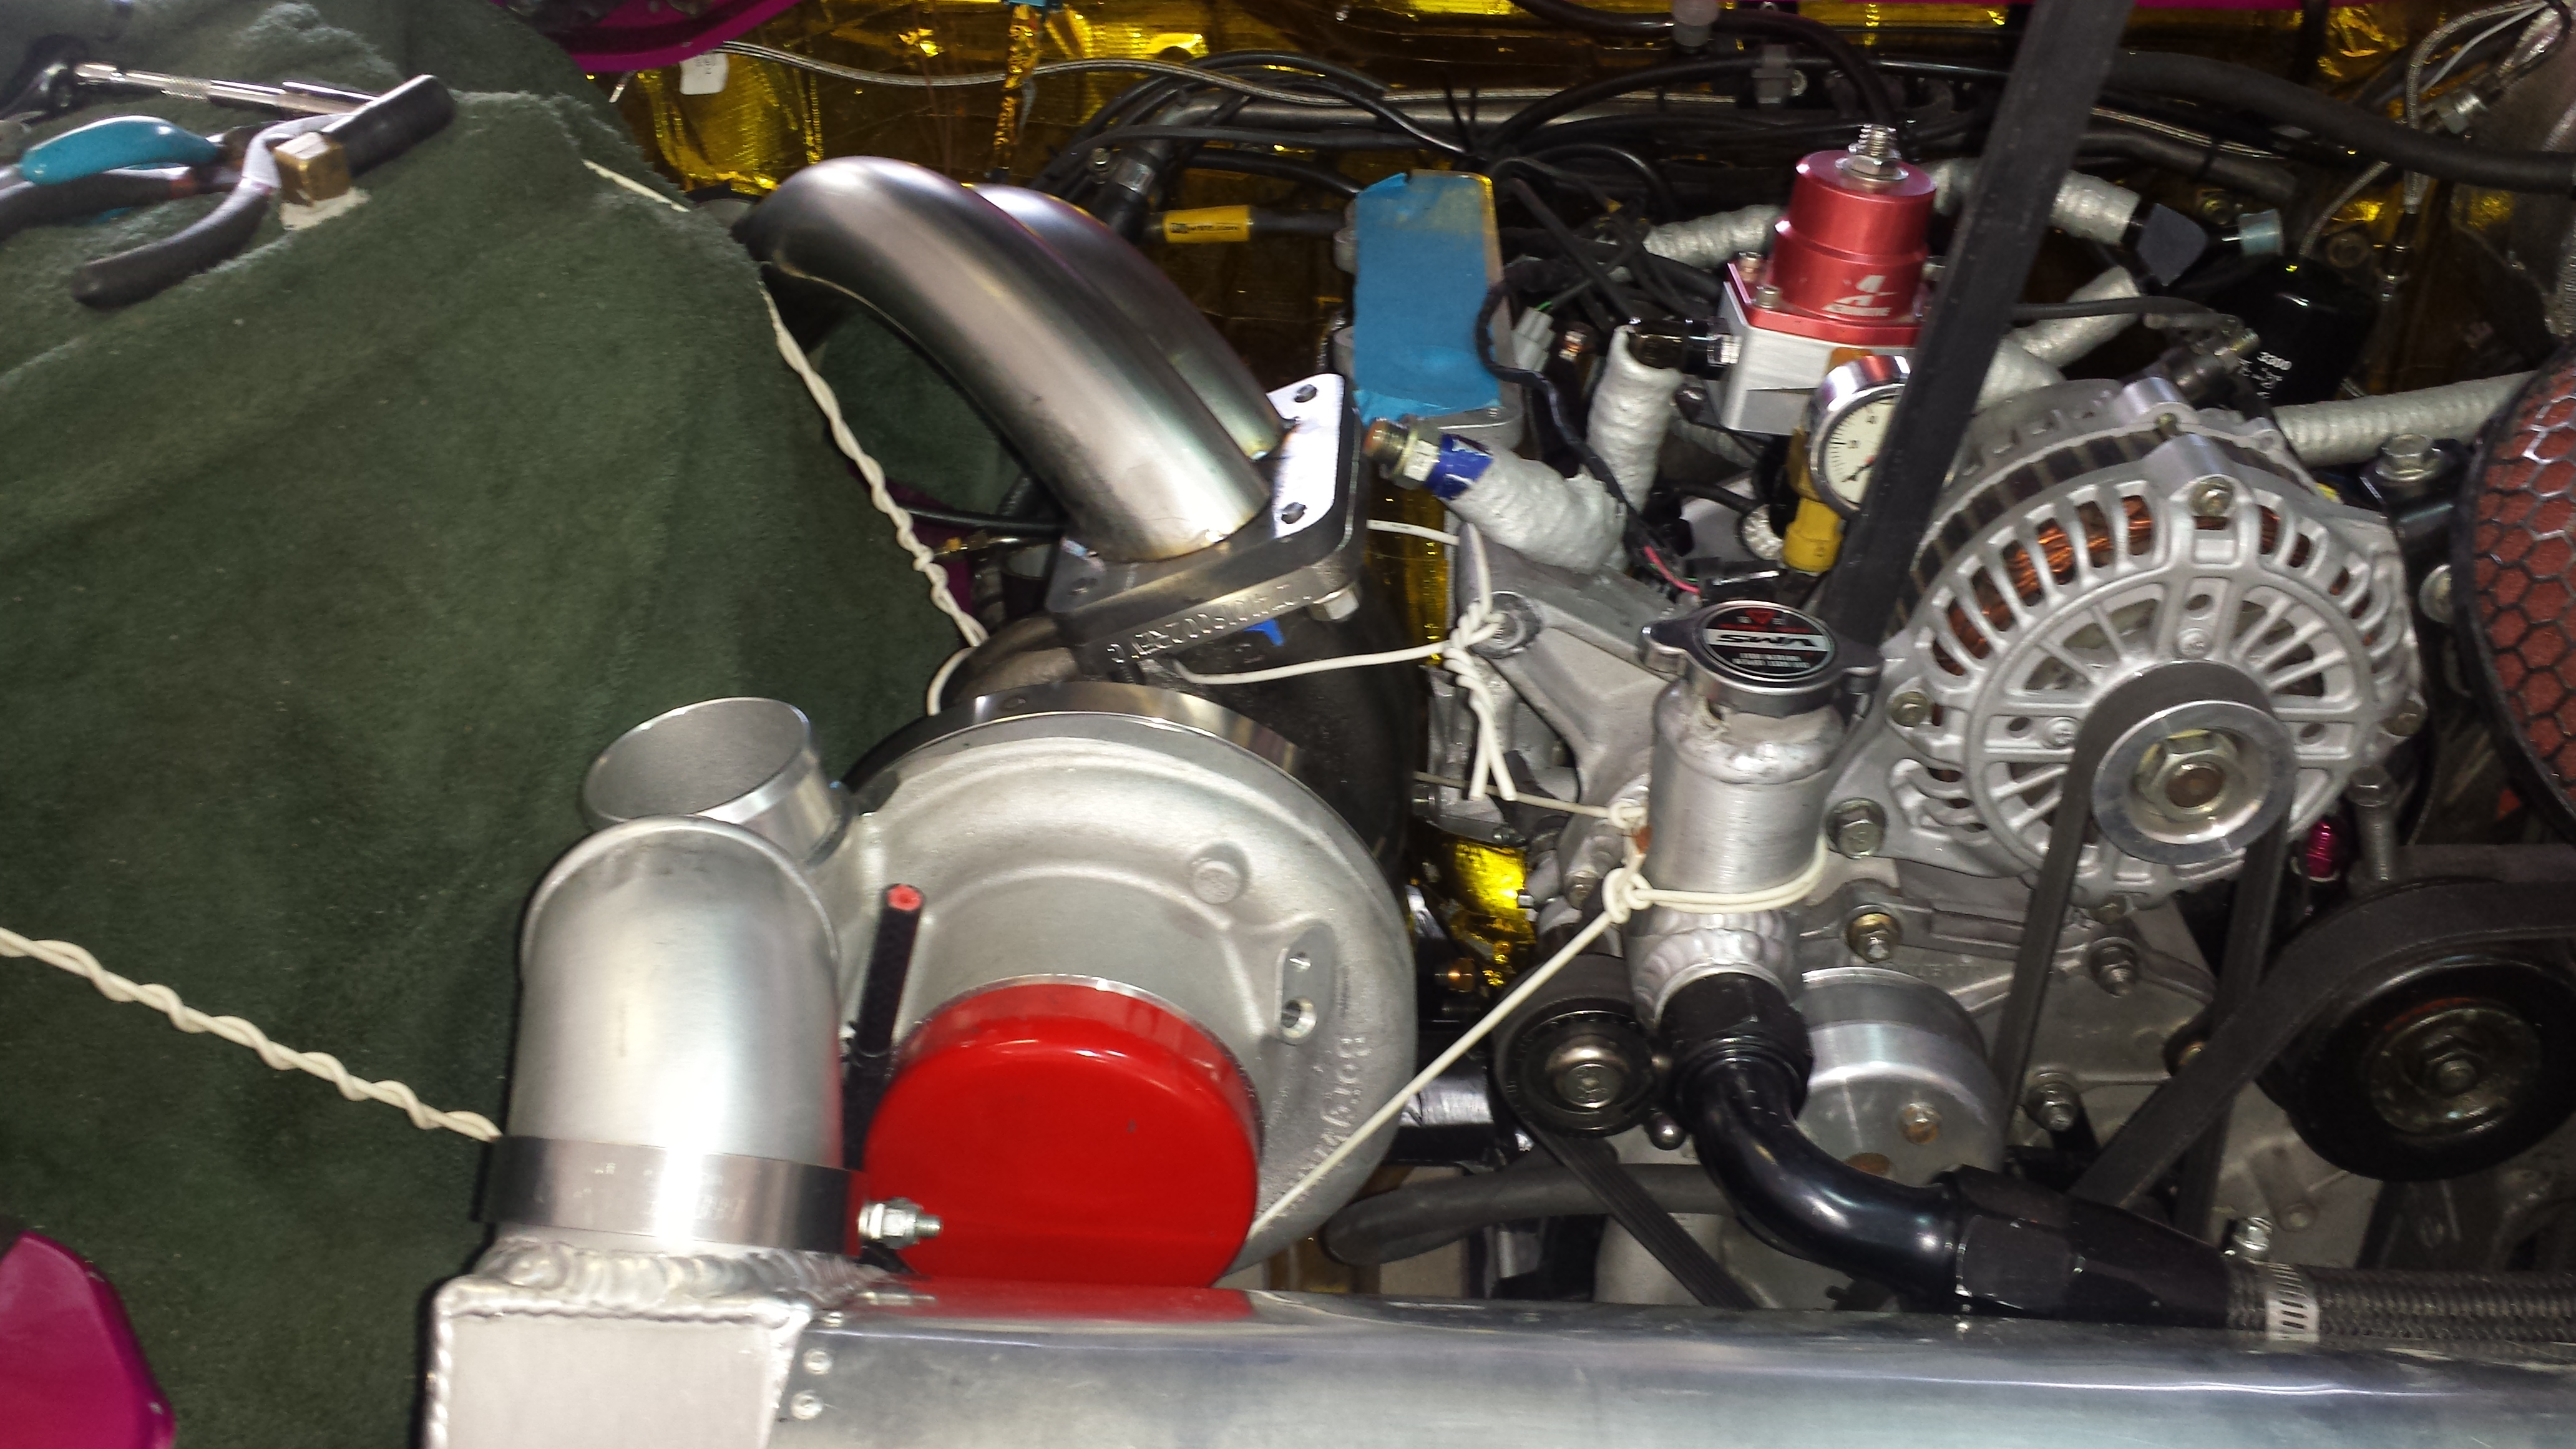
That last pic above is the money shot. I Worked on the entrance angle alllllll day Saturday. Probly about 6 hours embarrassingly.. But I wanted it to be just right.. Nice smooth bend into the turbo. There will be no harsh bends or anything under a 5" CLR bend. The front runner is actually a 6" CLR and the rear runner is 5" CLR. This was the custom stuff I ordered a while back. Nice thick 11 Gauge. Shouldn't even need a brace...but I'll probly add one just because.
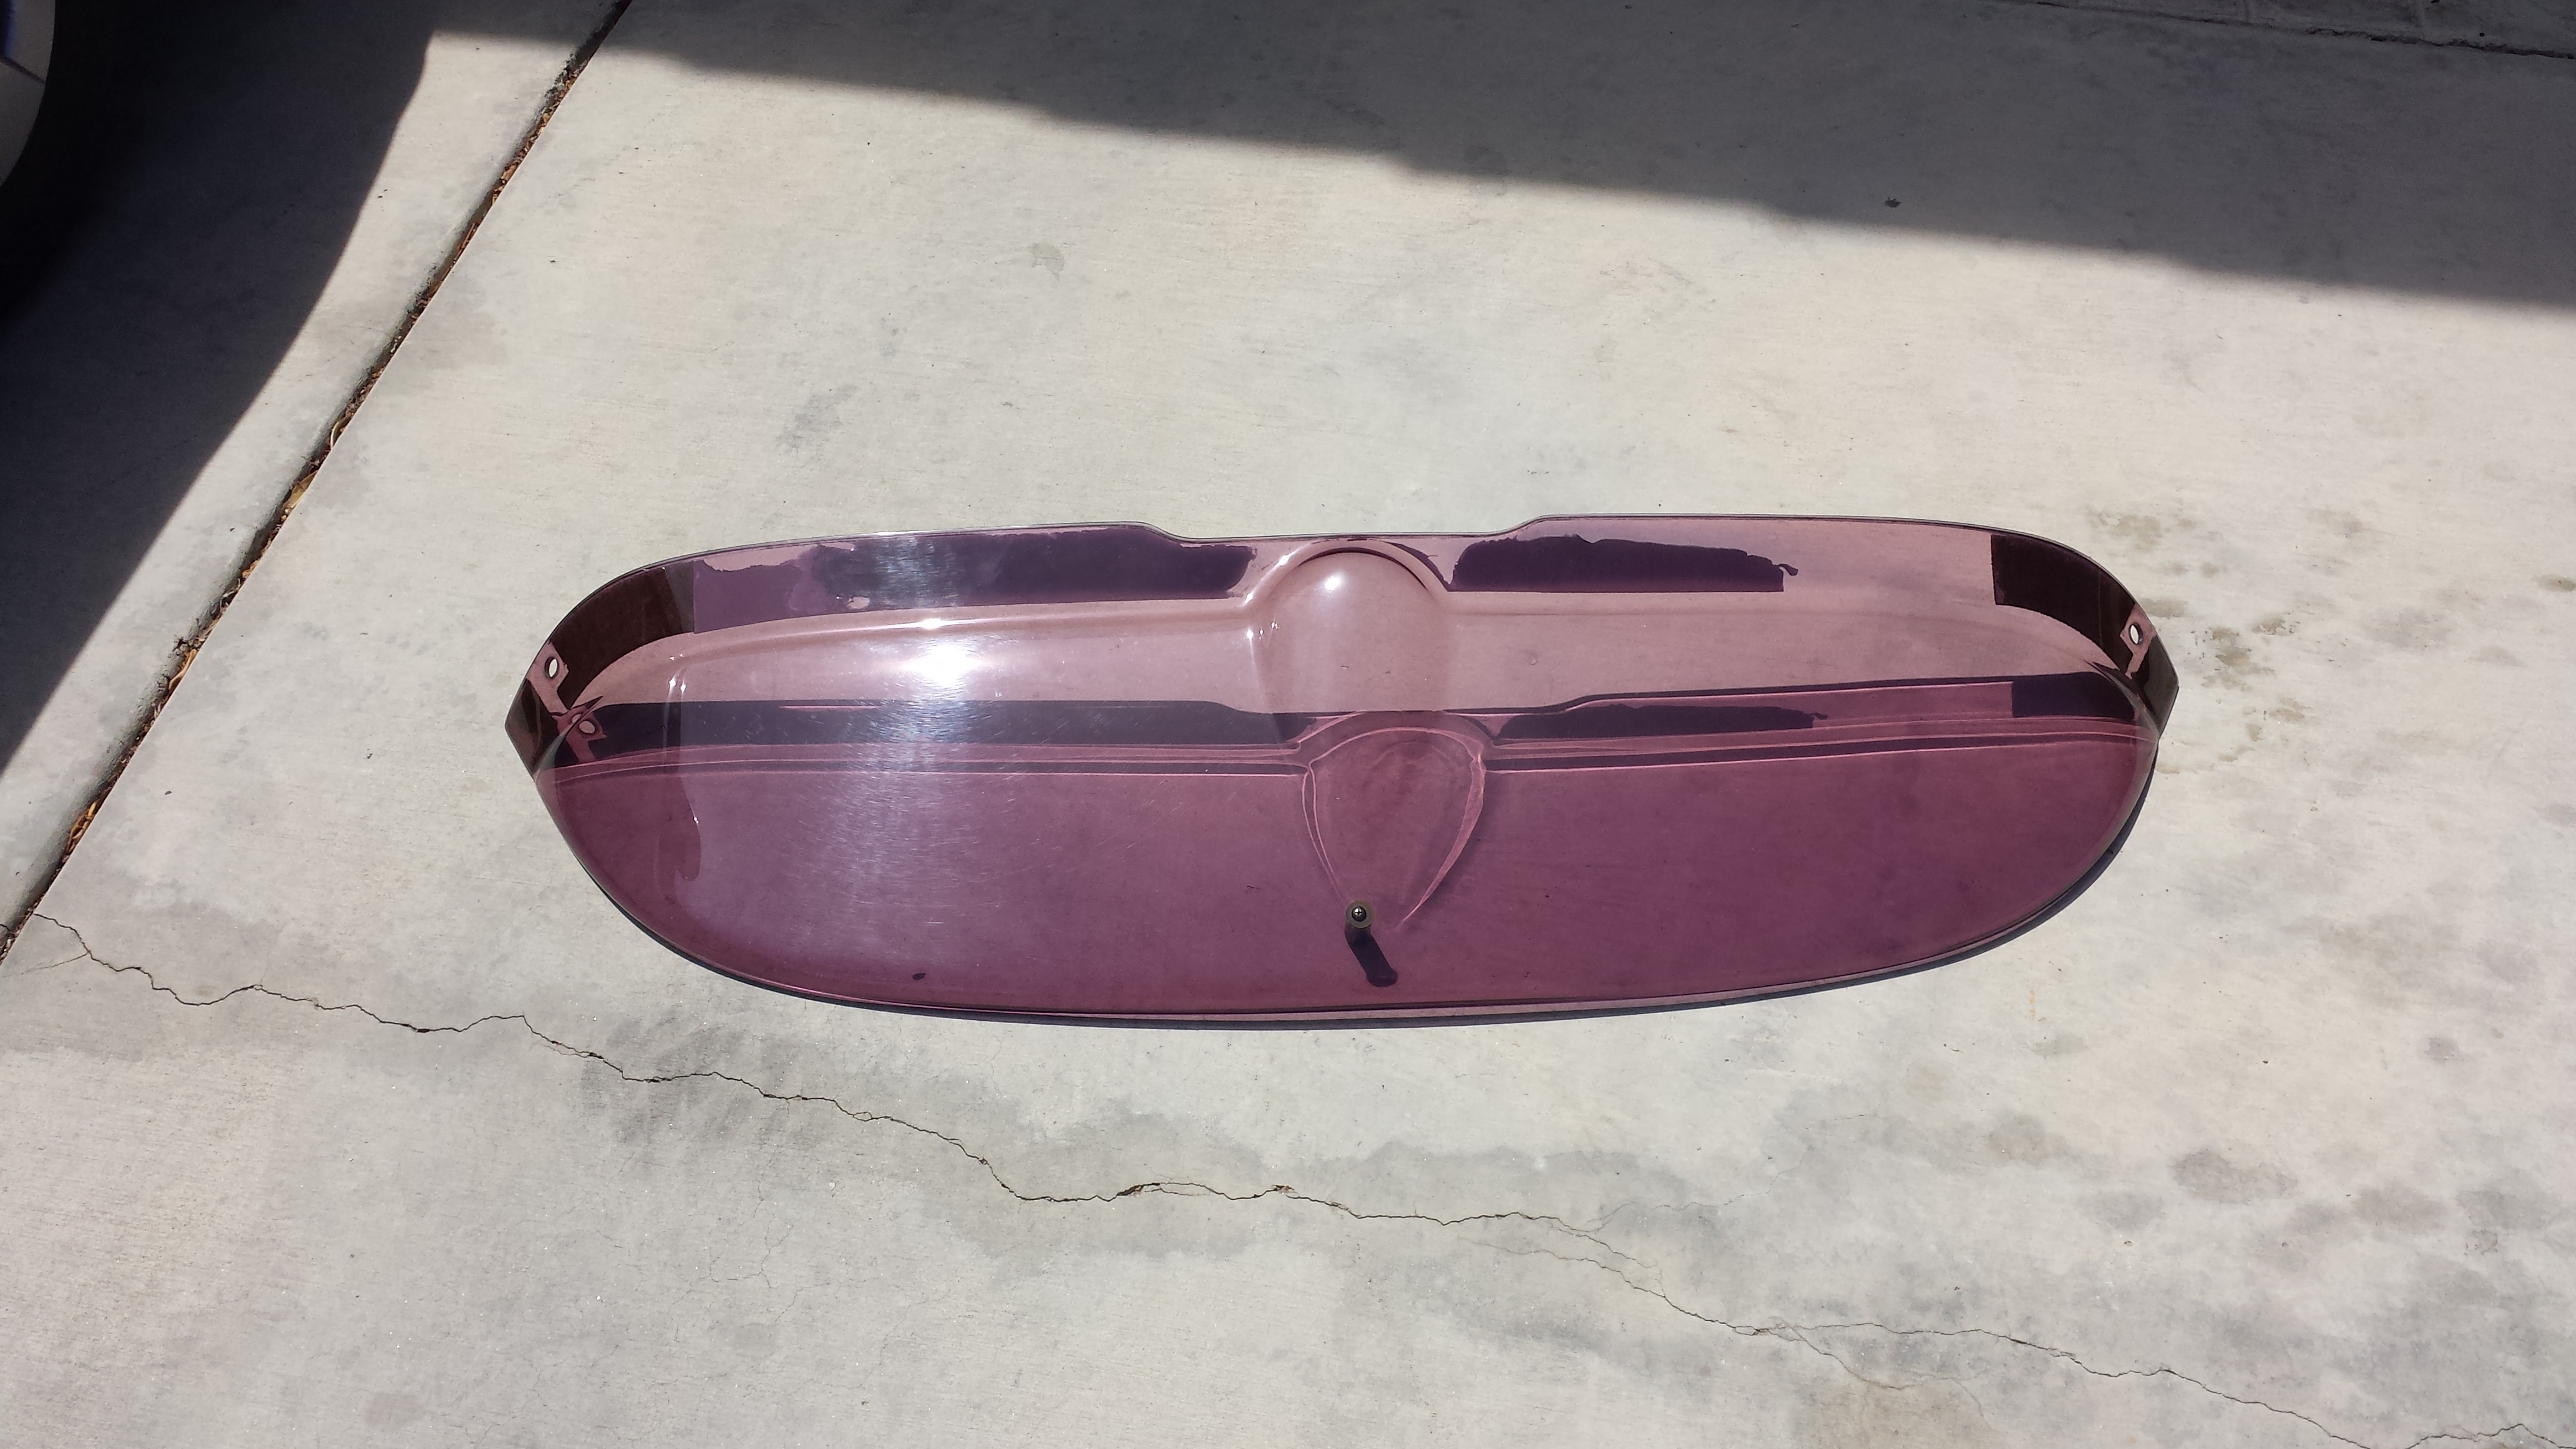
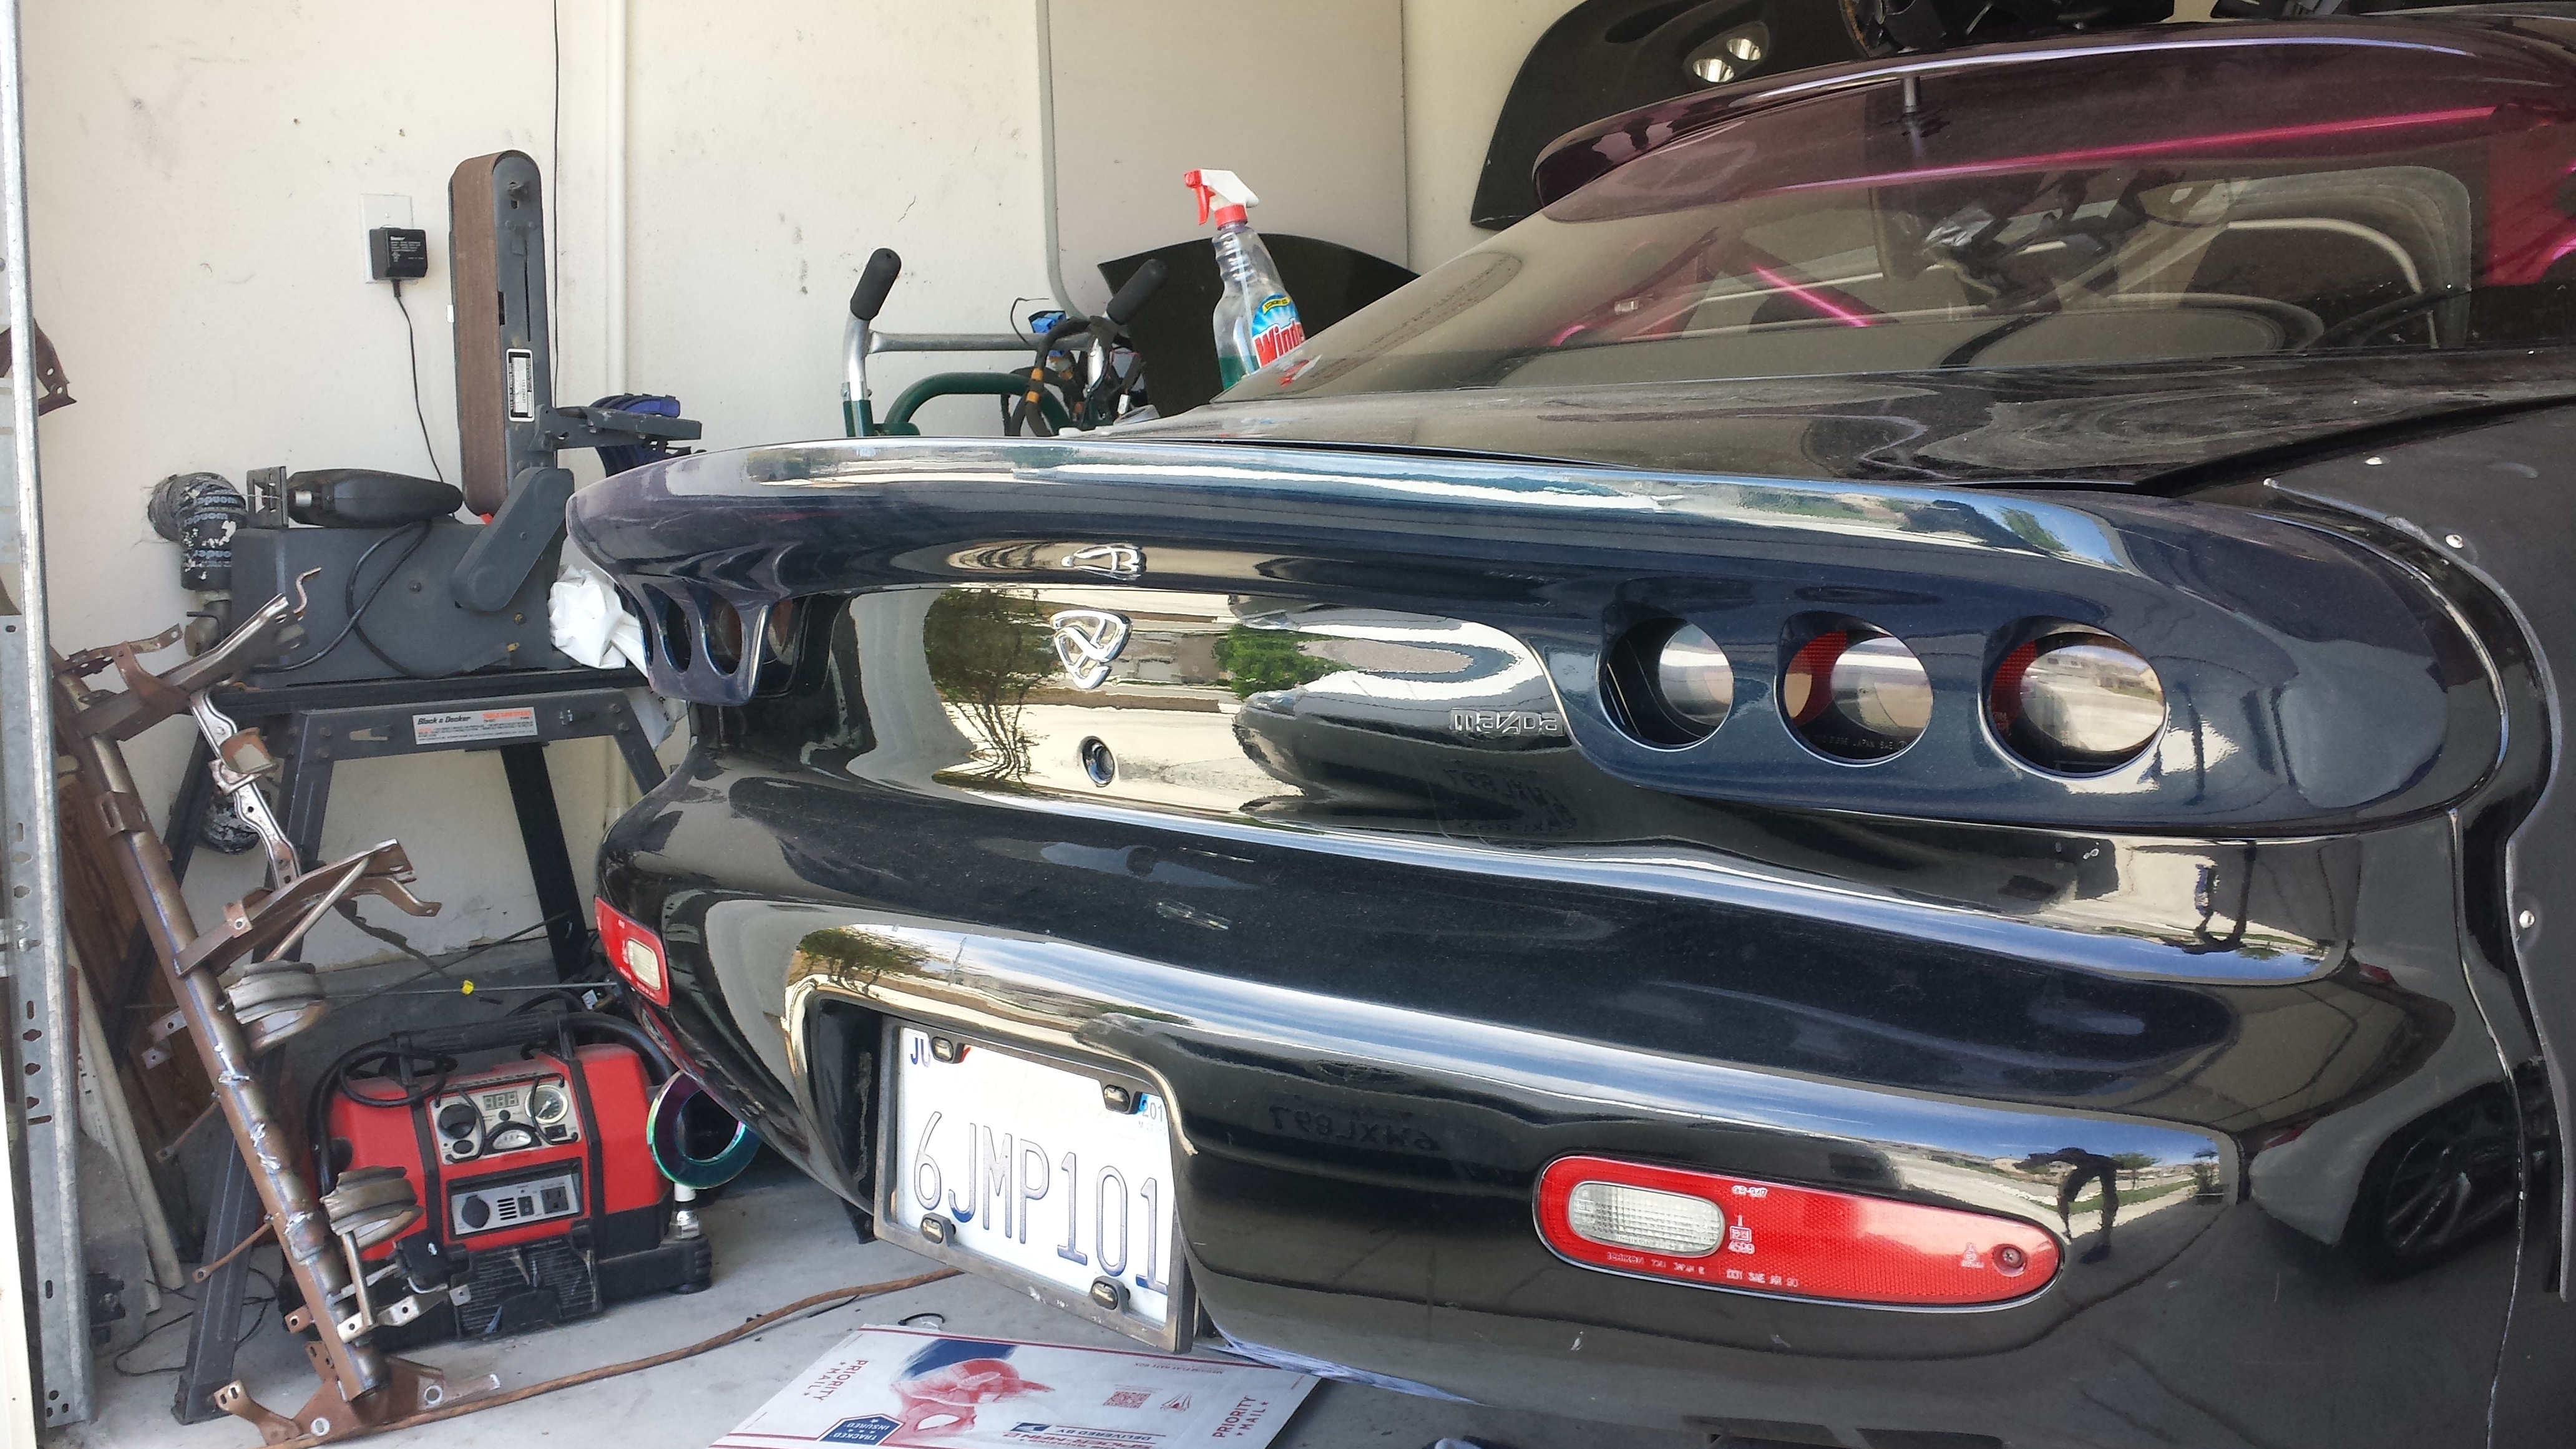
In other happenings with the car I came across an OEM Roof/Hatch visor... Love it.. super clean too.
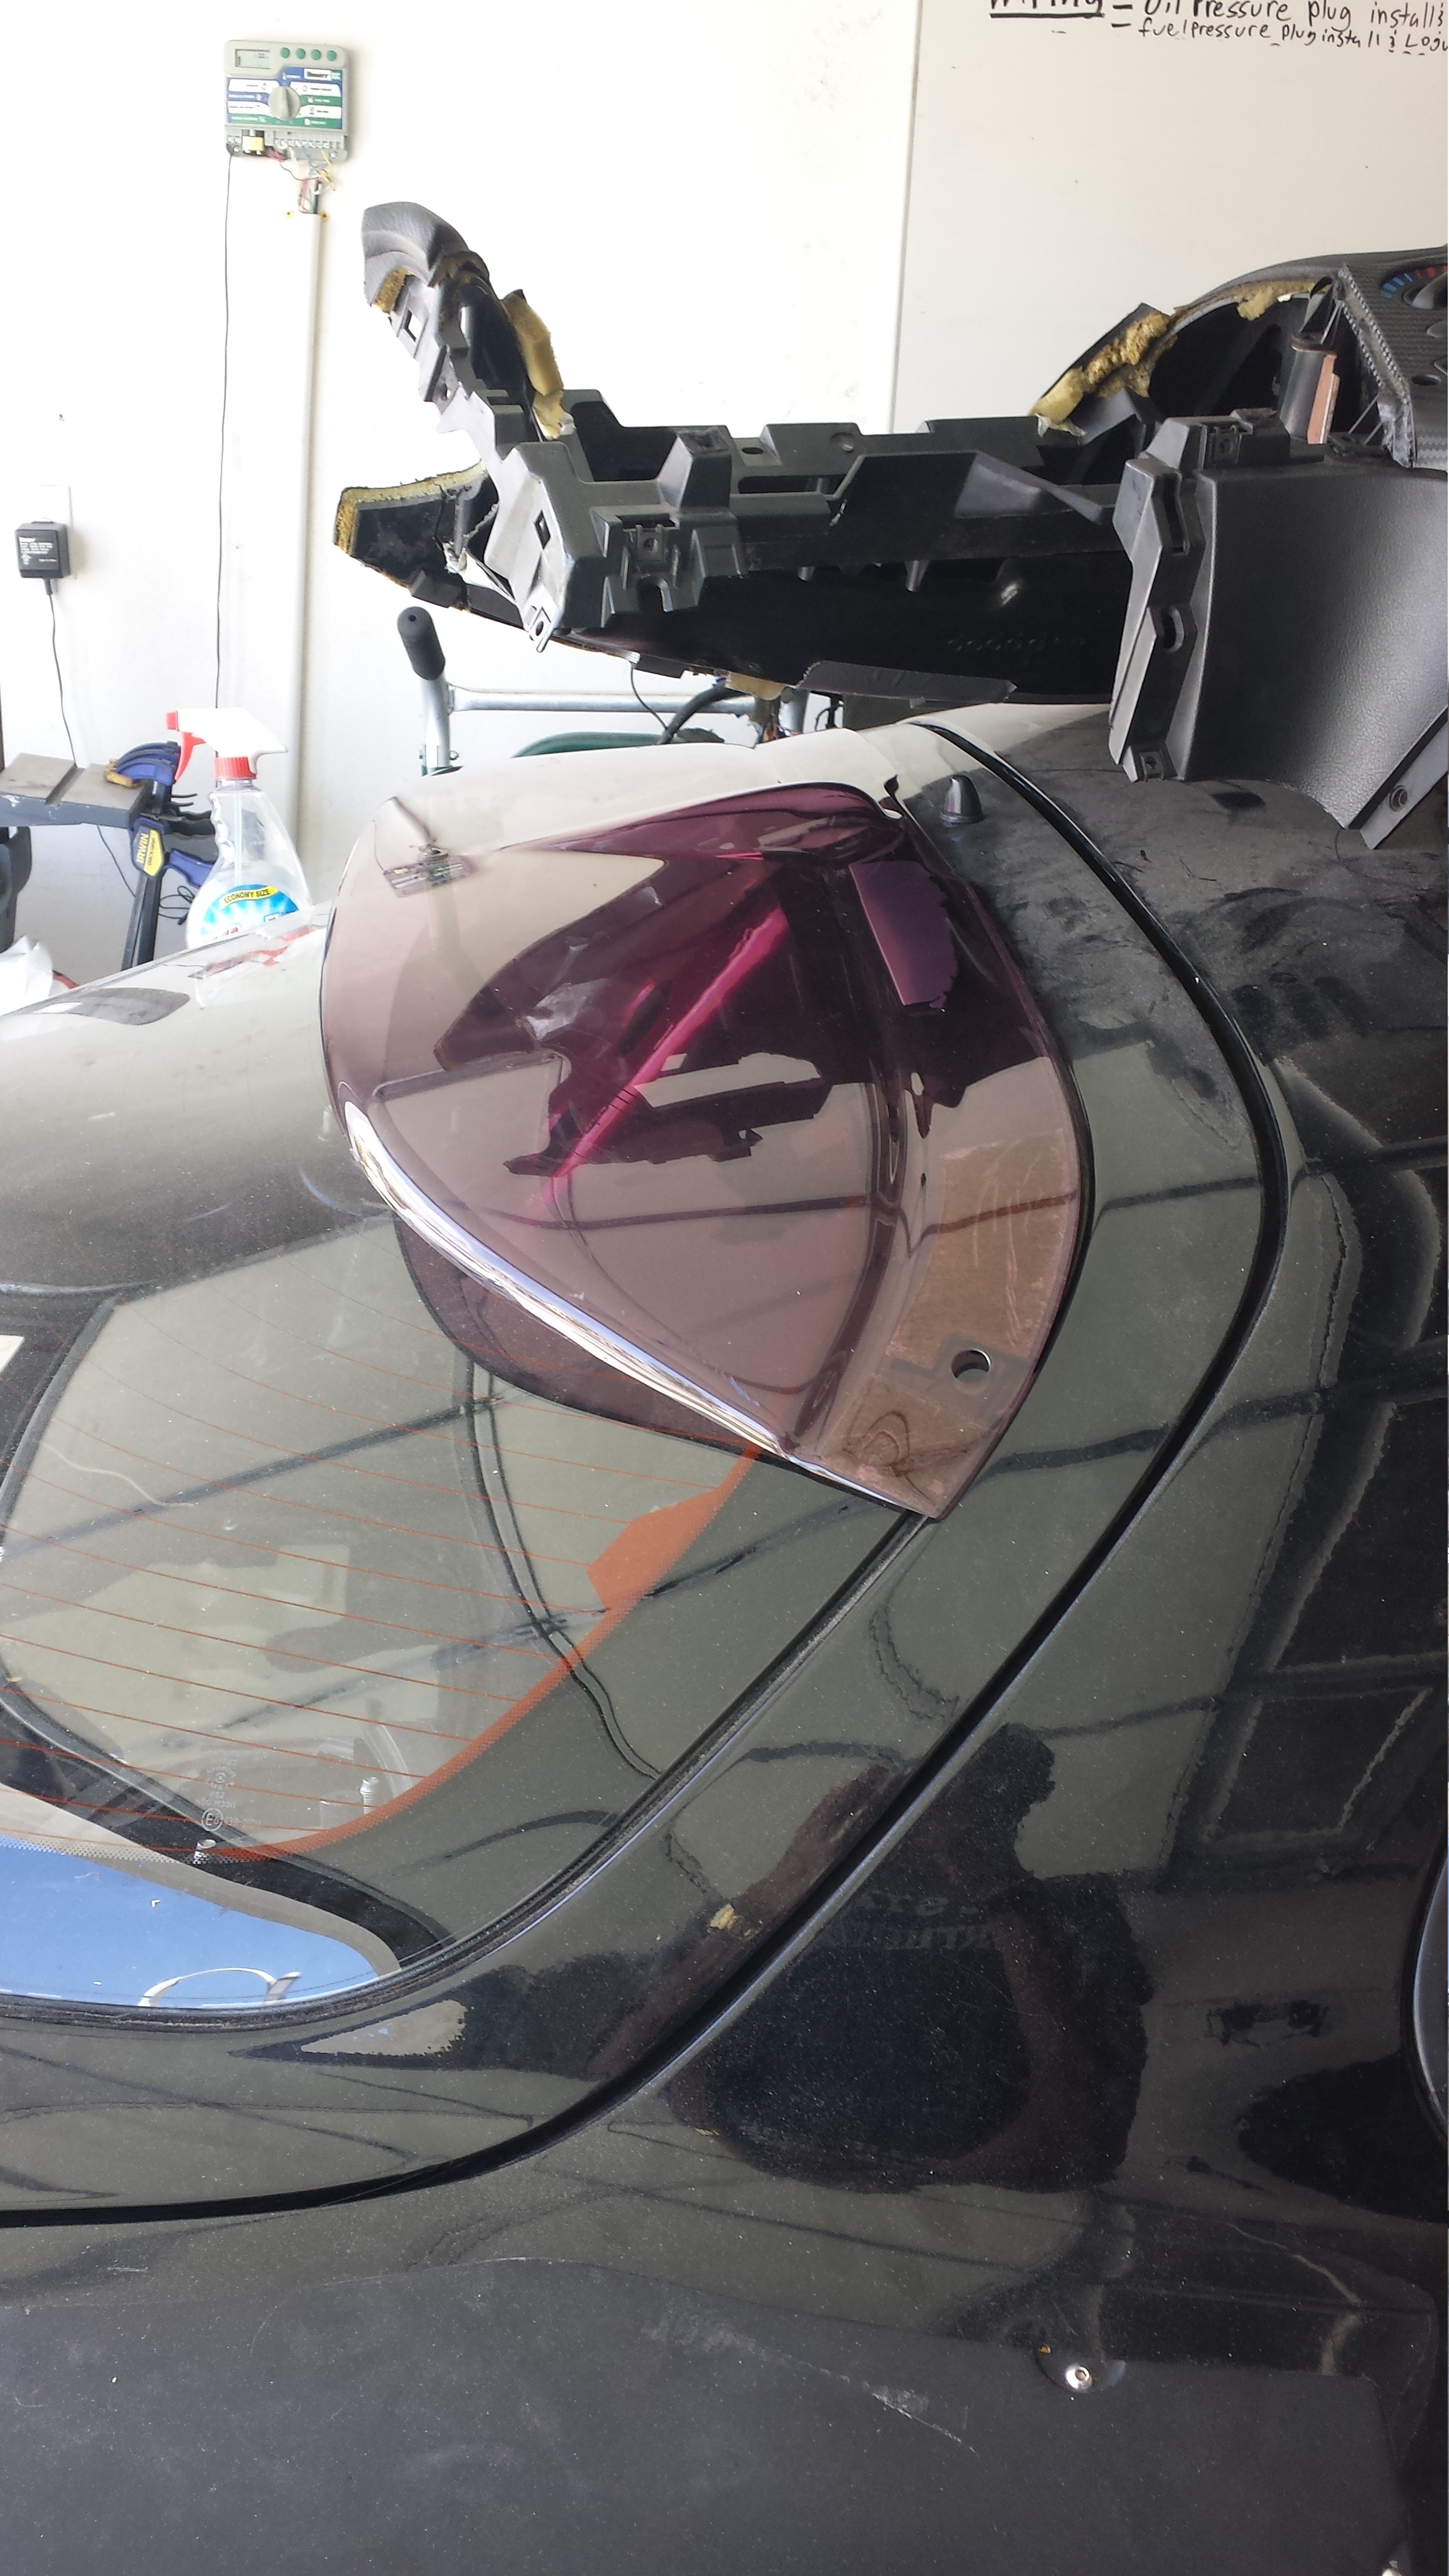
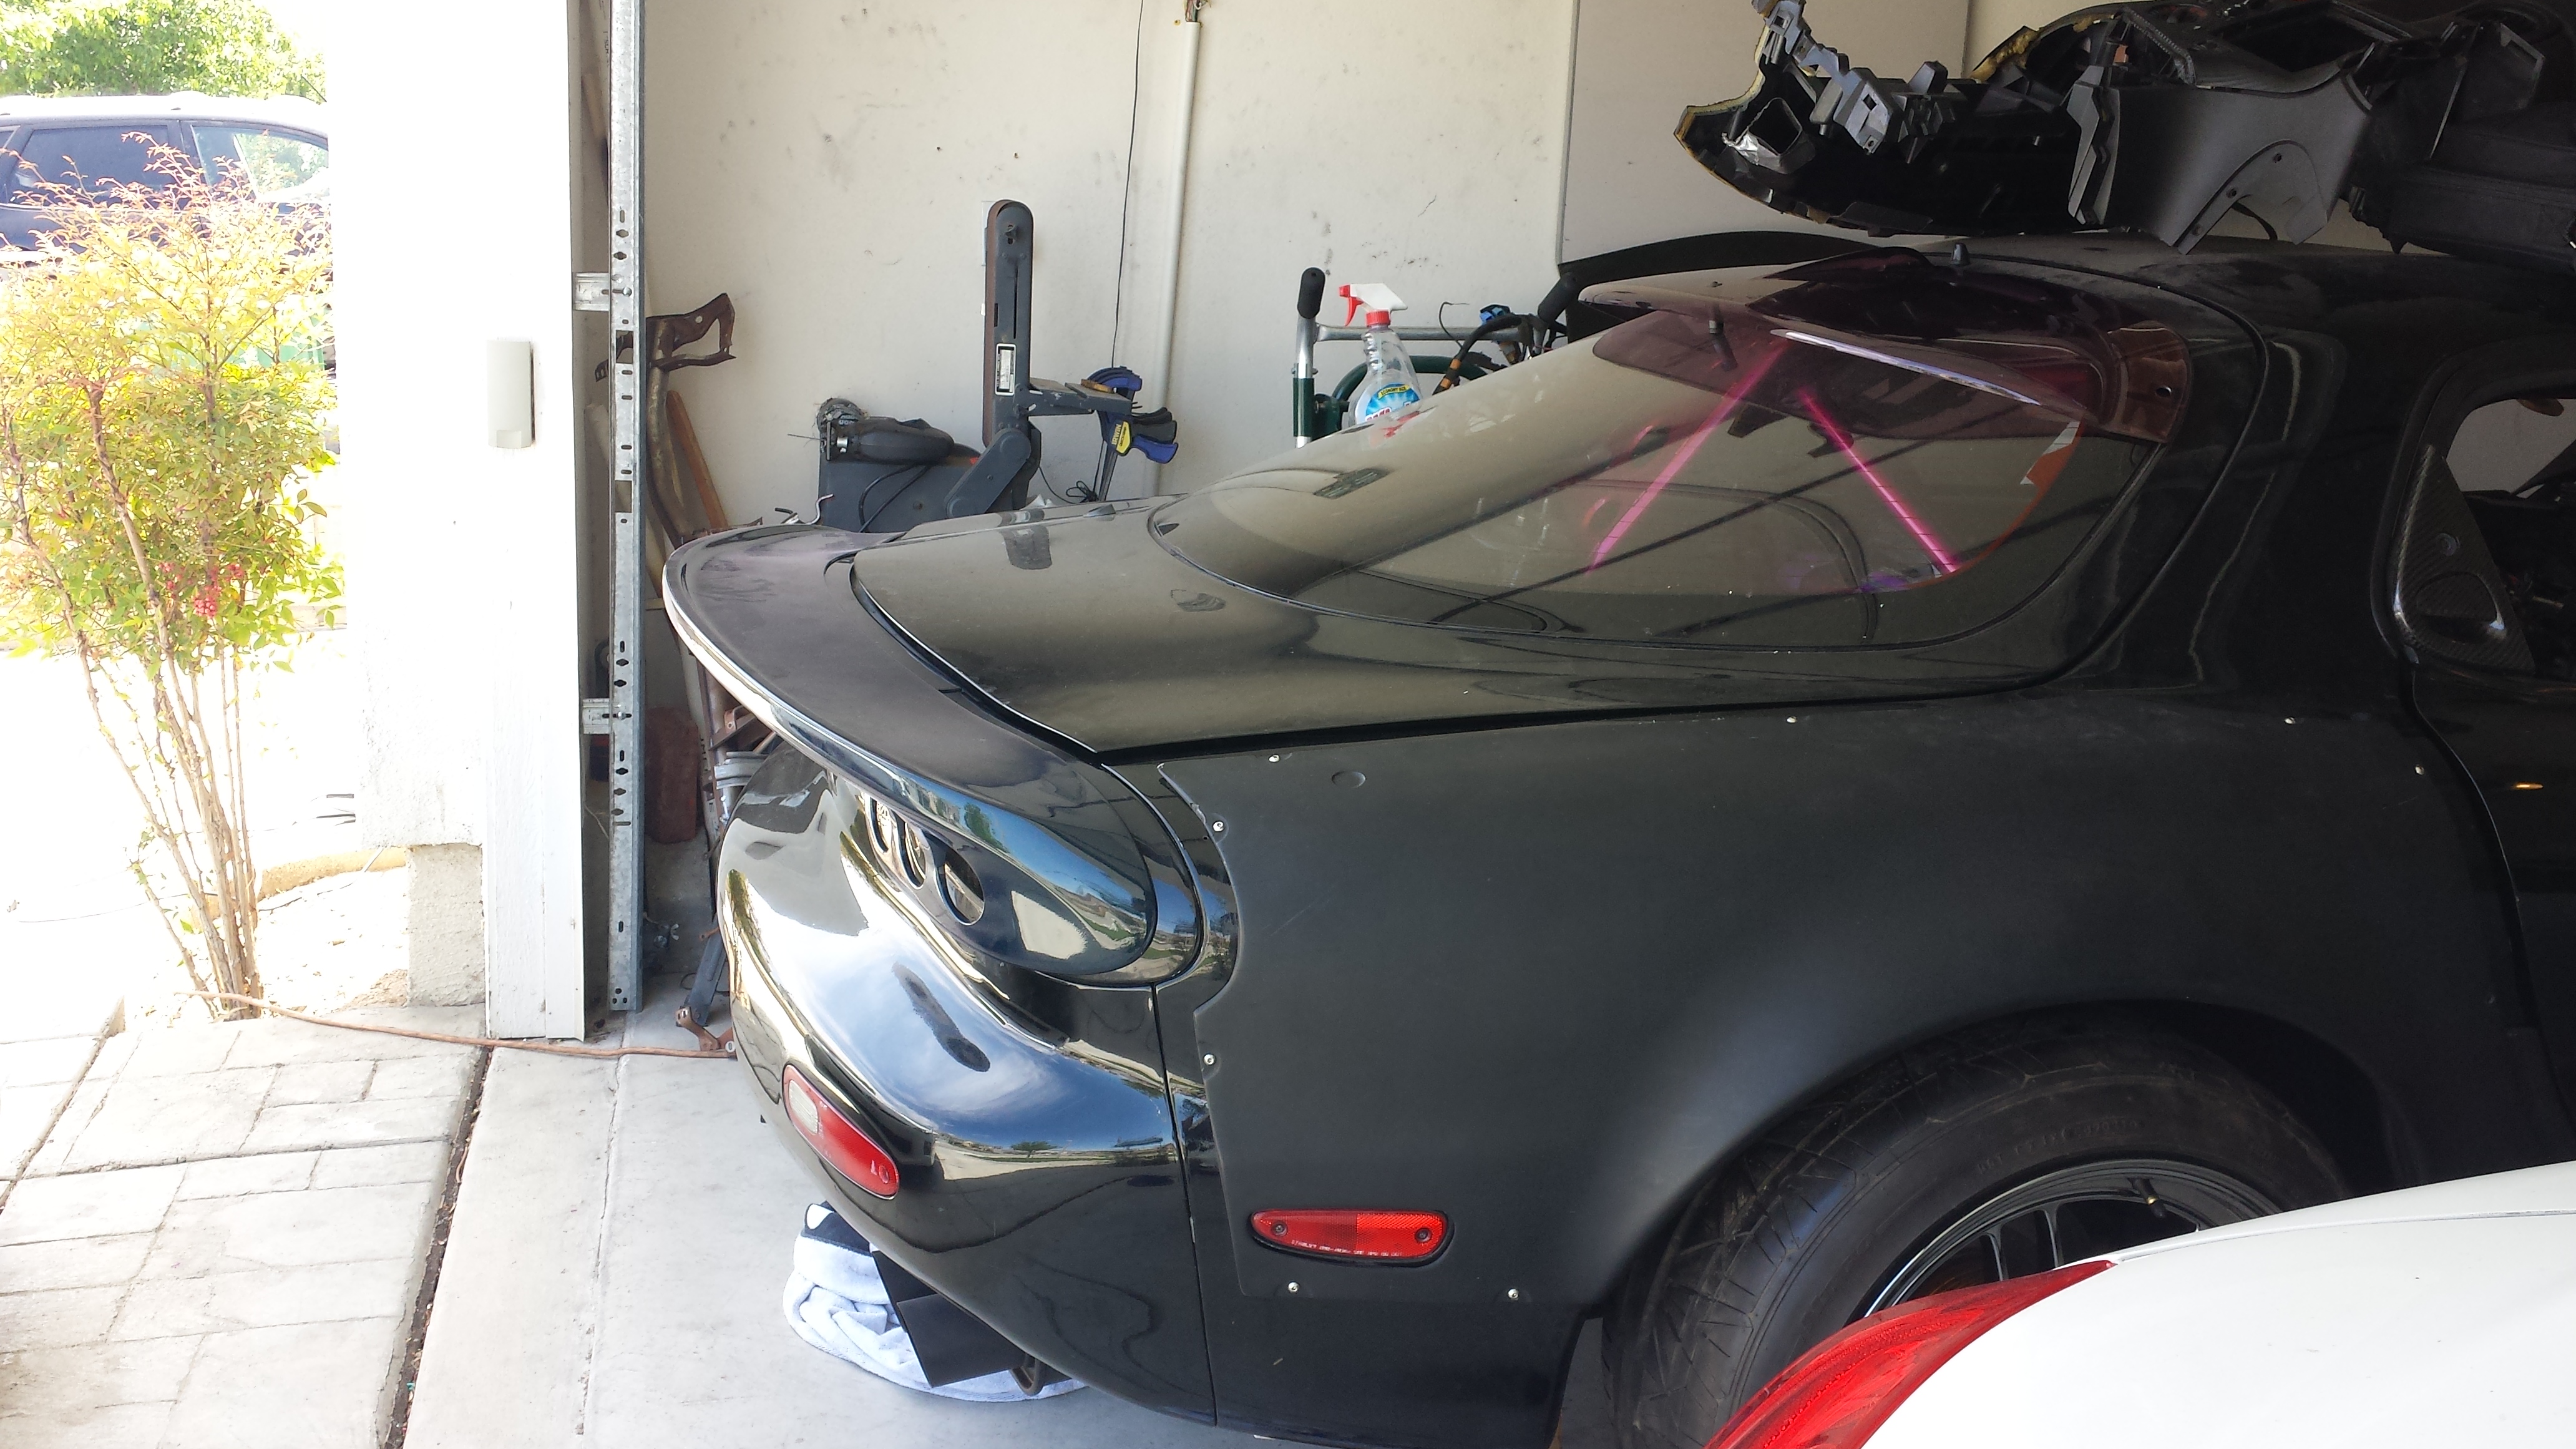
And just sitting the Espirit Tail light cover on for kicks..
After all this crap...I thought my day was over. But my girlfriend had to study for a big test on Tuesday so I decided to push it into overdrive haha...
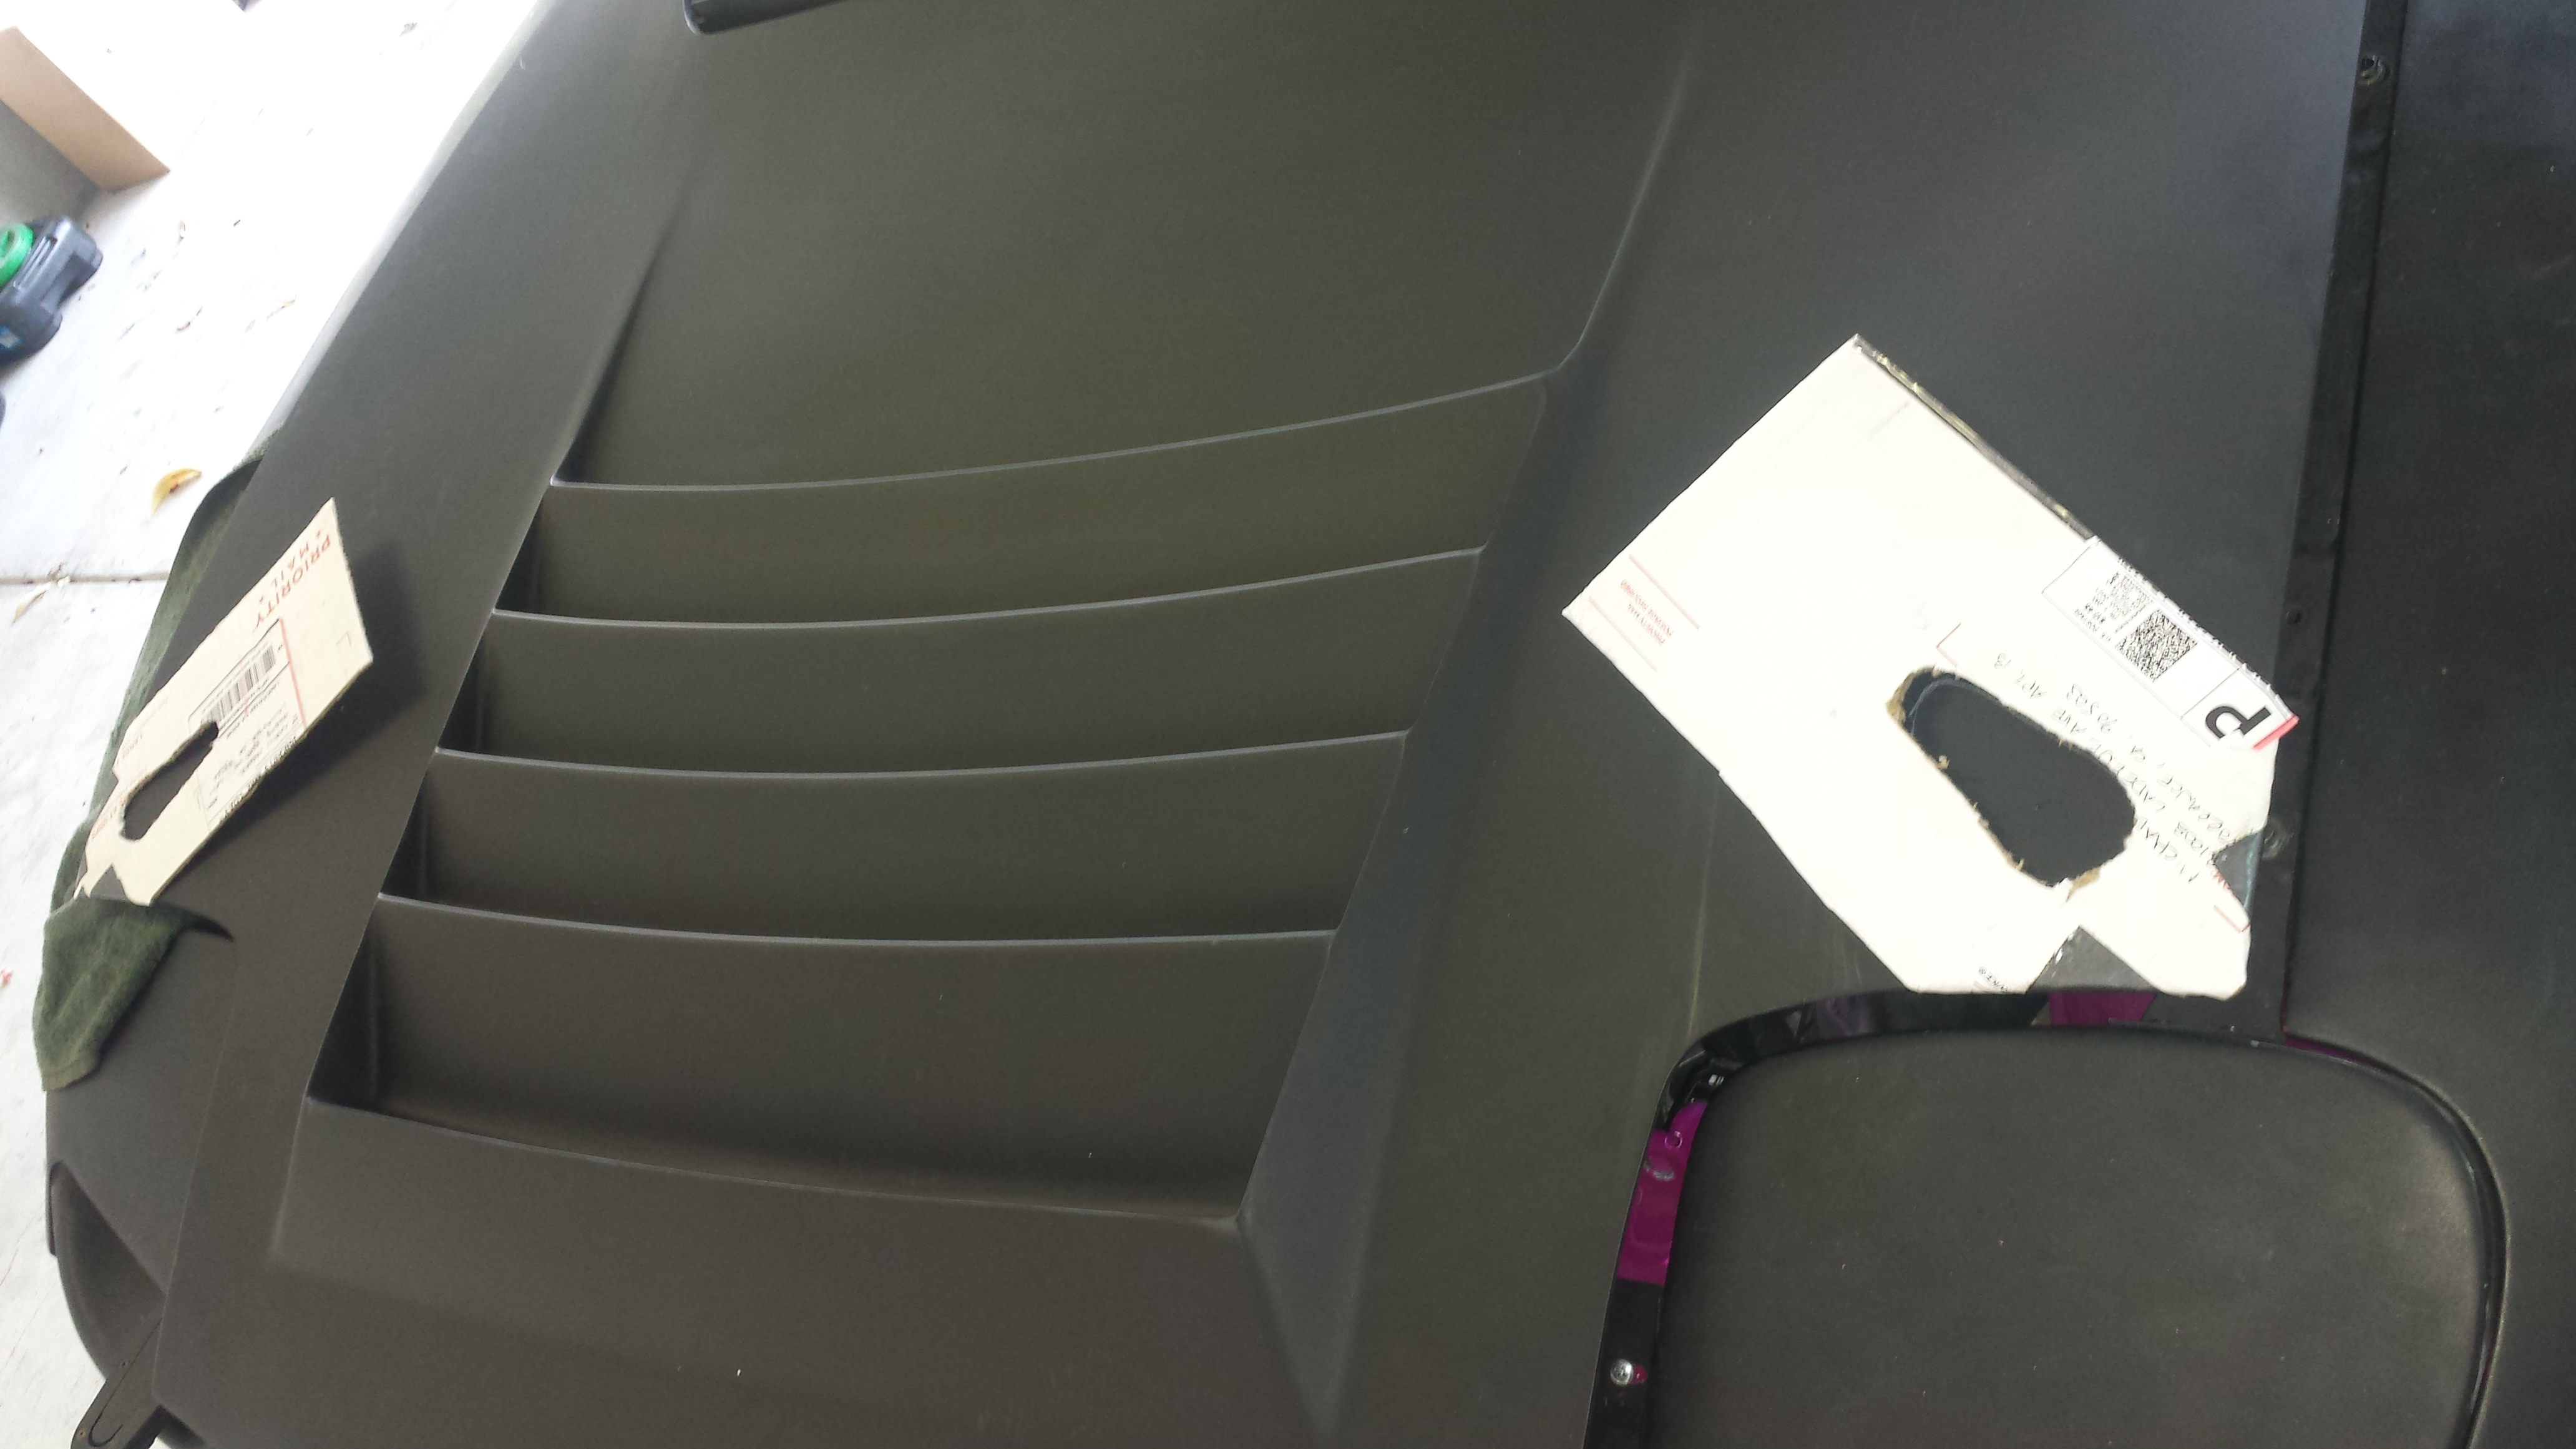
Worst installs are Aero catch hood pins...TONS of cutting, fine fibgerglass dust and if you mess up...yea..don't mess up...especially on this hood.
I used my old mount location because I really liked them....and I feel like this location is stronger than other options.
Used cardboard to trace where my old cut outs were.
Literally scratched the cut out into the hood with a fine tipped etch and started cutting. A good tip to do this is if you cover the entire engine bay with something so the dust can't get all over. I used 3 giant beach towels. Also, just as important..I had my shop vac right next to the dremel..this way after every big cut I vac'd up the dust and kept cleaning to an all time min. This really helped visualize where I needed to cut and kept dust from going EVERYWHERE. it still got all over..but this was better than a garage filled with dust particles like last time.
didn't snap pictures because this process is long enough and takes special attention so I didn't want to break up my groove and pull my gloves off..dirty my phone etc. So instead...here is the end result. If they're off...I can't tell.. But they measure the same and I'm really happy with the result. Best of all..Luckily.. which never happens..the pins actually lined right up!!! didn't even need to adjust them!! I was amazed..and really stoked on that haha. Here are some pics!
Drivers side
Passenger side.. put some stickies of my cousins Luxury Hat company. Not sure if I like the location of them though...But "Melin Brand," go check them out!
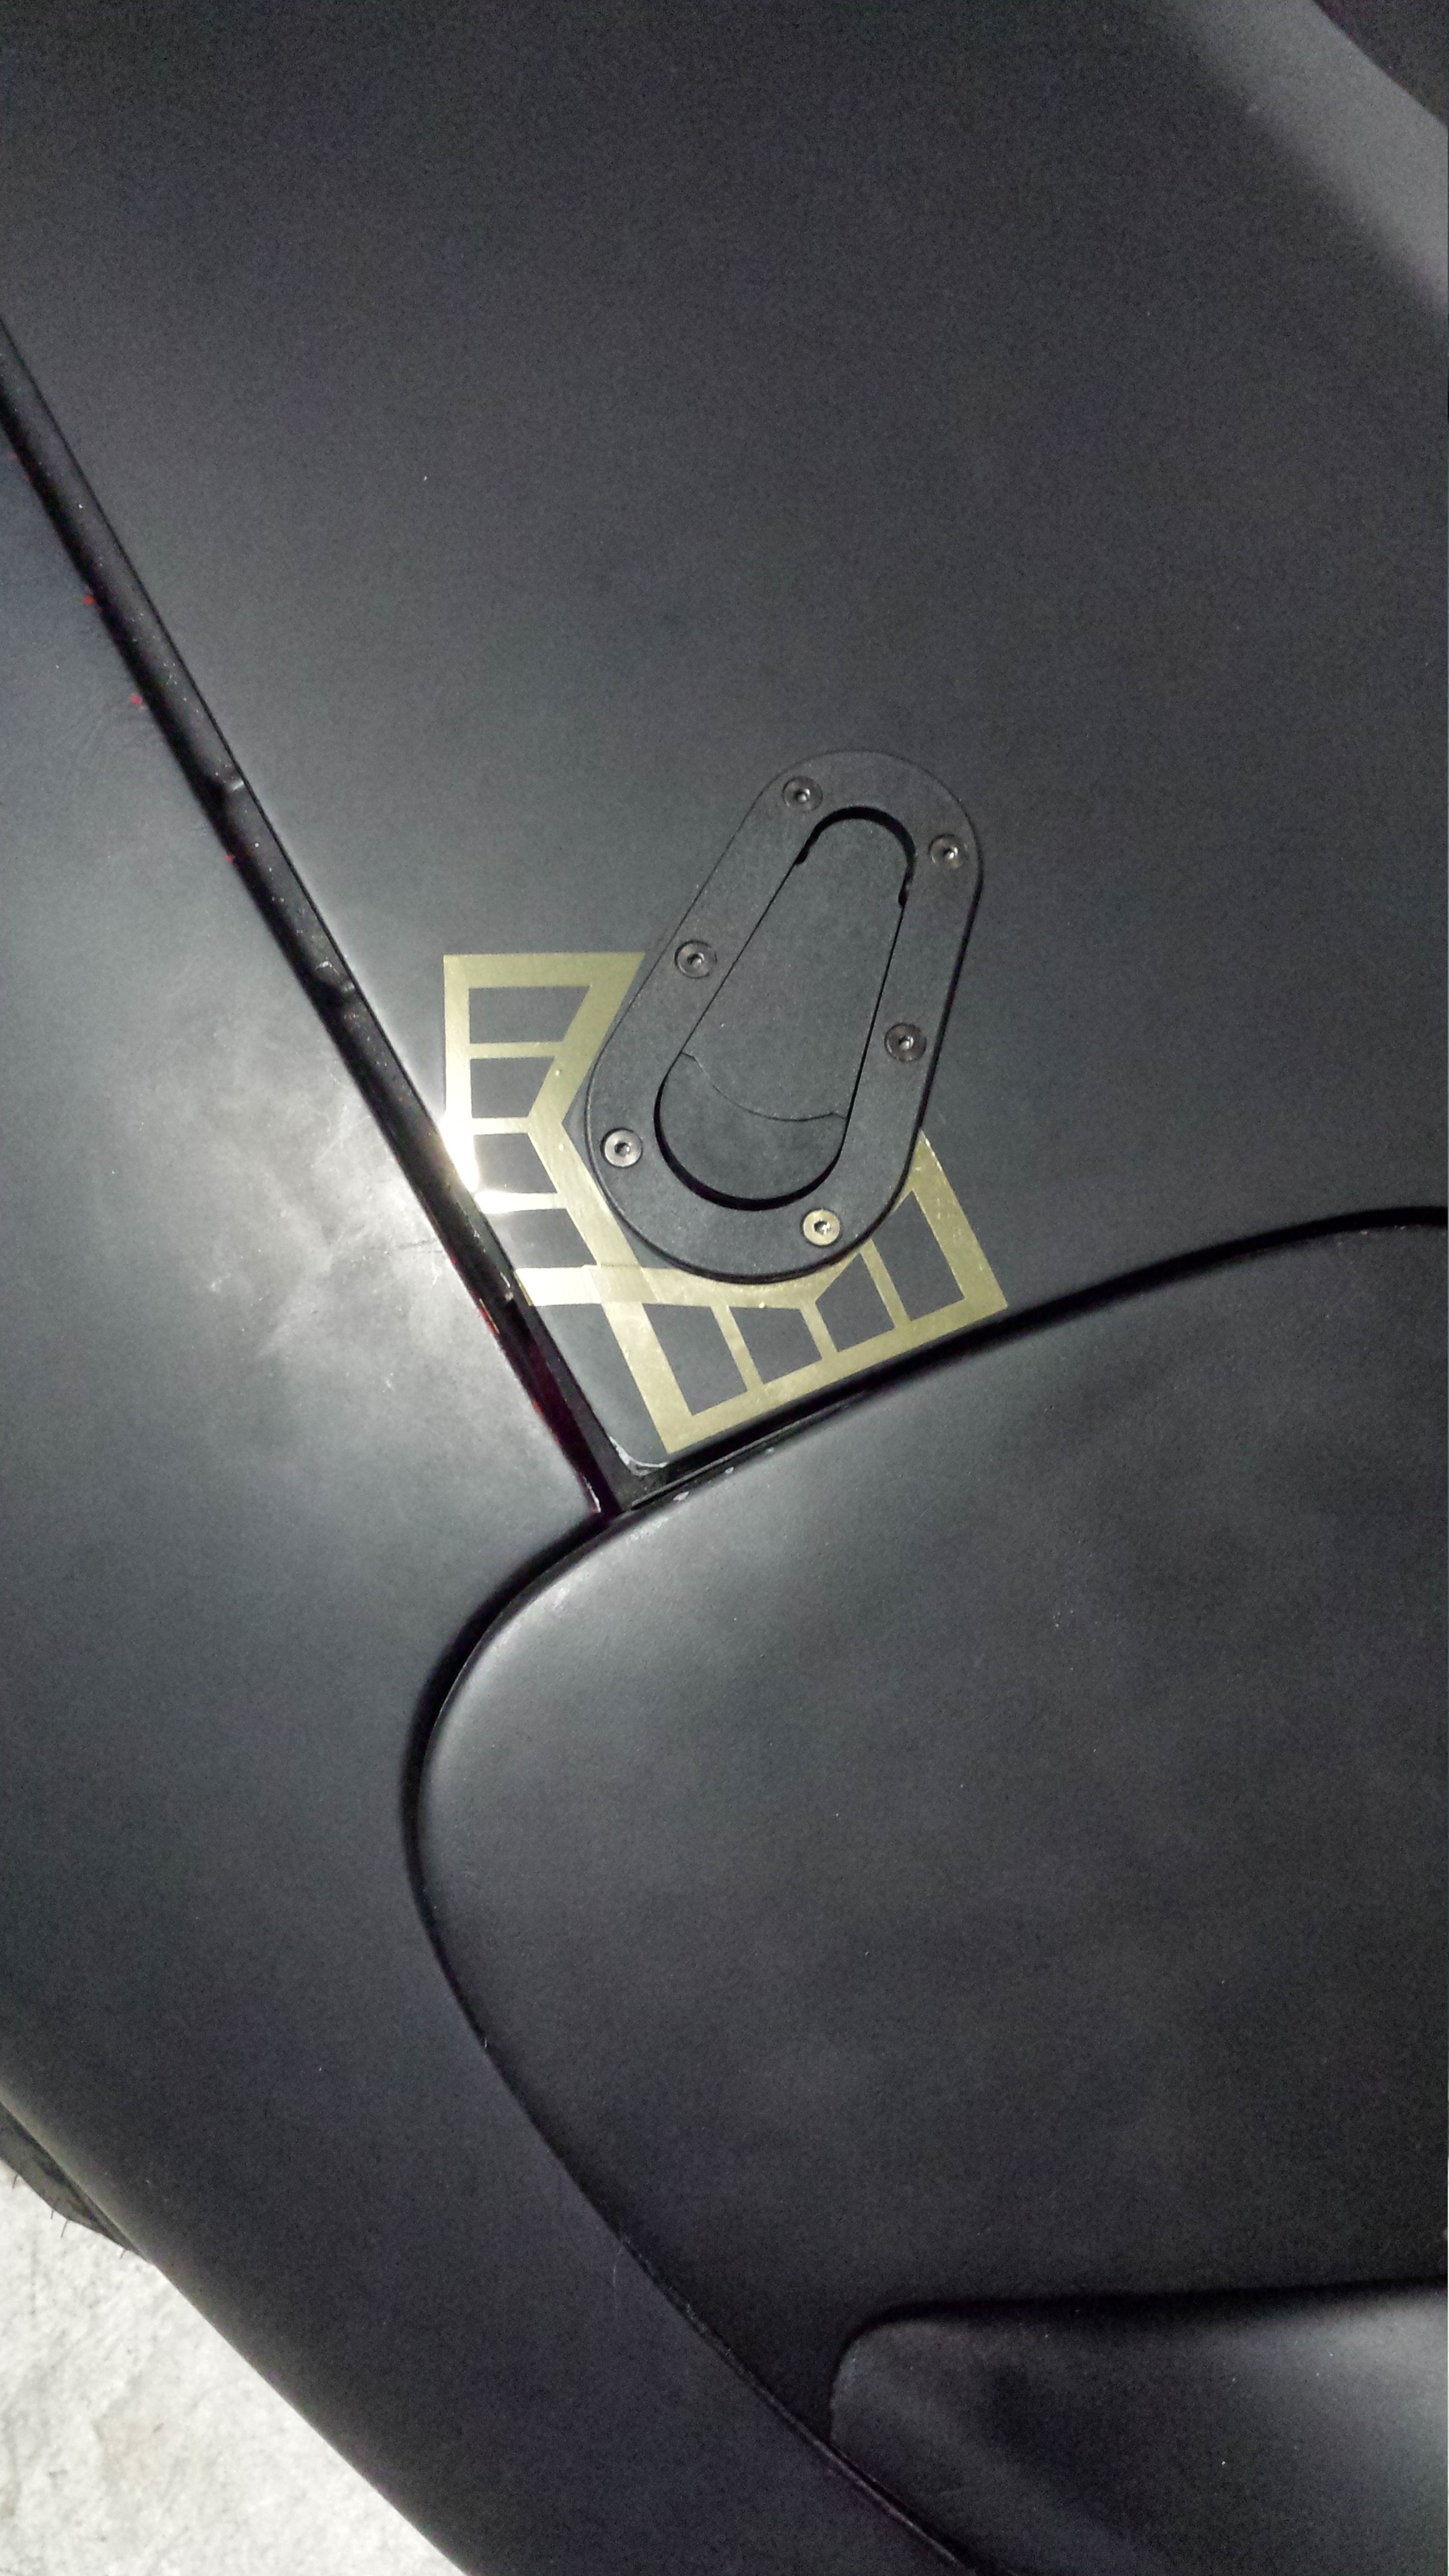
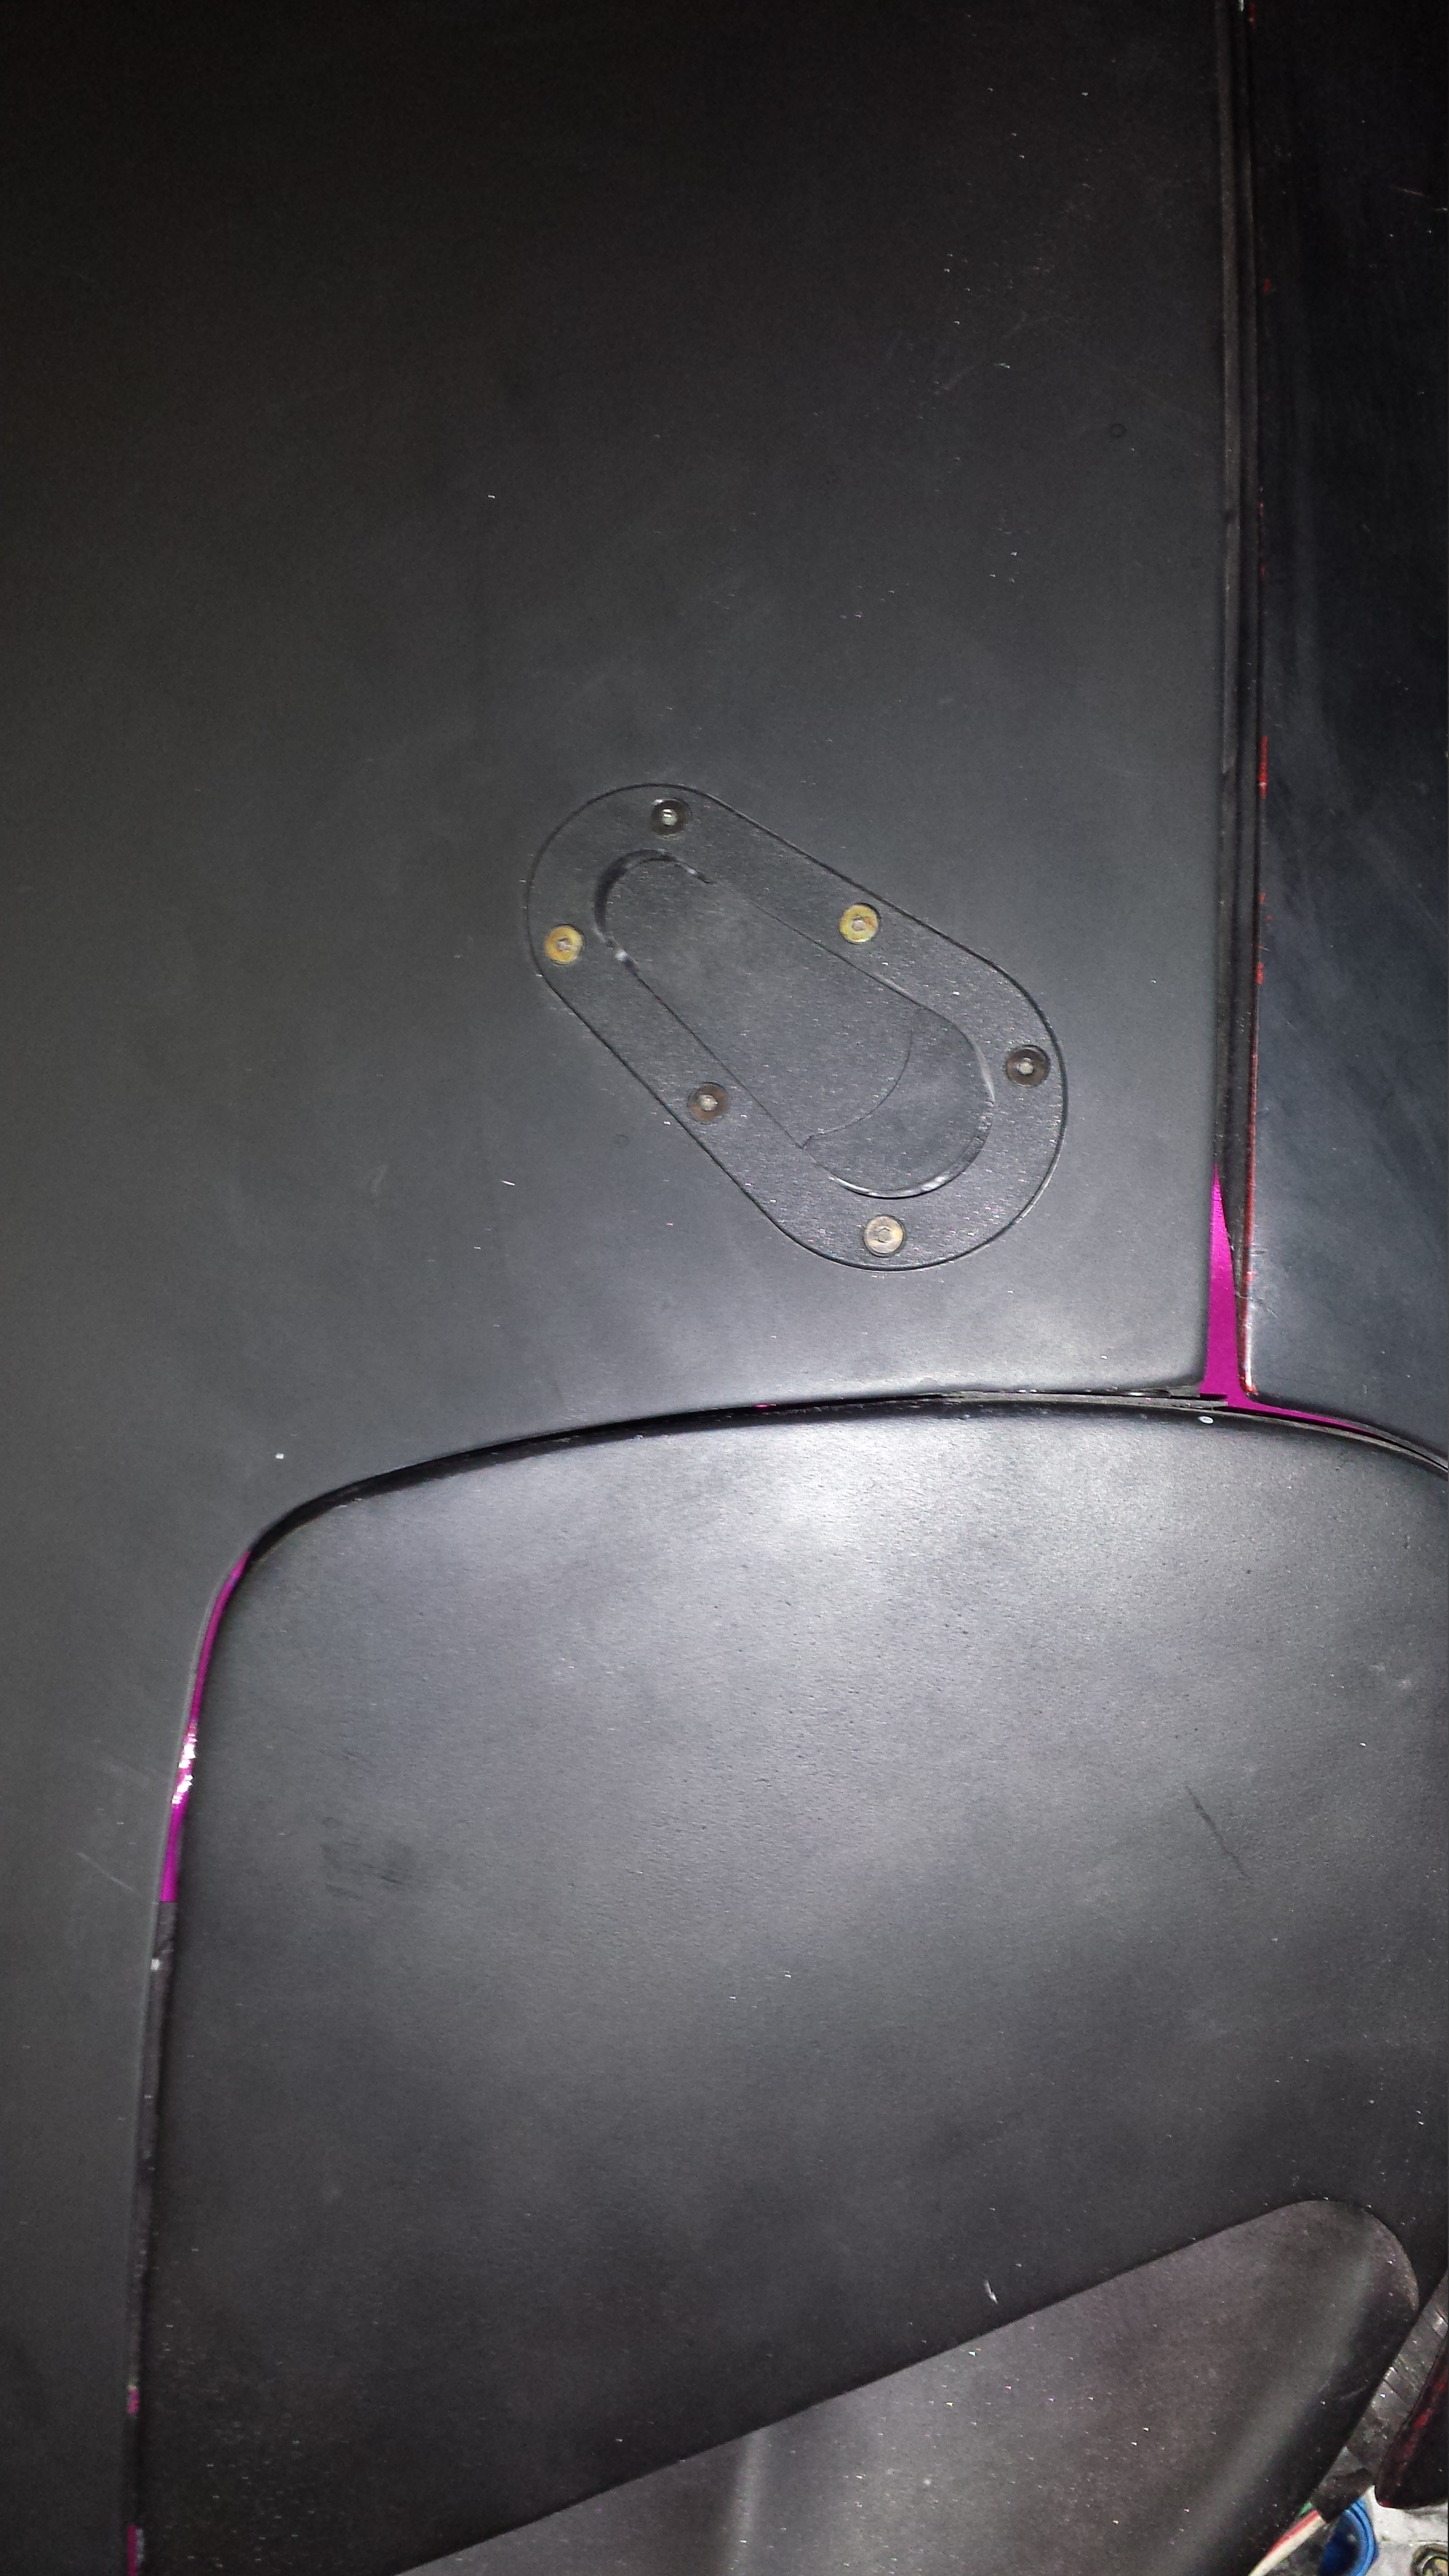
I'll have to take a better pic without glare but these pins are definitely worth the install time. They're clean and I love popping them open for use haha.
That last pic above is the money shot. I Worked on the entrance angle alllllll day Saturday. Probly about 6 hours embarrassingly.. But I wanted it to be just right.. Nice smooth bend into the turbo. There will be no harsh bends or anything under a 5" CLR bend. The front runner is actually a 6" CLR and the rear runner is 5" CLR. This was the custom stuff I ordered a while back. Nice thick 11 Gauge. Shouldn't even need a brace...but I'll probly add one just because.
In other happenings with the car I came across an OEM Roof/Hatch visor... Love it.. super clean too.
And just sitting the Espirit Tail light cover on for kicks..
After all this crap...I thought my day was over. But my girlfriend had to study for a big test on Tuesday so I decided to push it into overdrive haha...
Worst installs are Aero catch hood pins...TONS of cutting, fine fibgerglass dust and if you mess up...yea..don't mess up...especially on this hood.
I used my old mount location because I really liked them....and I feel like this location is stronger than other options.
Used cardboard to trace where my old cut outs were.
Literally scratched the cut out into the hood with a fine tipped etch and started cutting. A good tip to do this is if you cover the entire engine bay with something so the dust can't get all over. I used 3 giant beach towels. Also, just as important..I had my shop vac right next to the dremel..this way after every big cut I vac'd up the dust and kept cleaning to an all time min. This really helped visualize where I needed to cut and kept dust from going EVERYWHERE. it still got all over..but this was better than a garage filled with dust particles like last time.
didn't snap pictures because this process is long enough and takes special attention so I didn't want to break up my groove and pull my gloves off..dirty my phone etc. So instead...here is the end result. If they're off...I can't tell.. But they measure the same and I'm really happy with the result. Best of all..Luckily.. which never happens..the pins actually lined right up!!! didn't even need to adjust them!! I was amazed..and really stoked on that haha. Here are some pics!
Drivers side
Passenger side.. put some stickies of my cousins Luxury Hat company. Not sure if I like the location of them though...But "Melin Brand," go check them out!
I'll have to take a better pic without glare but these pins are definitely worth the install time. They're clean and I love popping them open for use haha.
05-06-14, 11:04 AM
#1892
NO Pics update:
Well I set a data limit for my s4 and I got close to exceeding my data limit by uploading too many photo's to photobucket, so I can't post anymore pictures till tomorrow. I was able to get work done. I had safelite come out and install a windshield. Full function sent my replacement primary rail spacers with the quickness... Installed them, hooked up all of my Engine Harness plugs/connectors and grounds and cleaned the upper intake manifold out because it had been sitting for a few months. I was supposed to tack the lower runners out of the engine flange extending up towards the turbo inlet runners onto the engine flange but time wasn't on my side yesterday so It didn't work out. Hopefully I'll get them done tonight or tomorrow. I bookmarked a spot with a good buddy of mine to paint the car in August. Should take about a month...and I'm really excited to see how it comes out. I'm still slightly at odds on color. Black is just sick...but rainbows are so beautiful.... haha. We'll see what color I finally choose. The car is practically ready to start though. was going to give it a quick fire just to do a quick systems check but i'm just going to wait for the manifold to be finished. I havn't removed any of the port blocks since the motor has shown up. Well one time to hear it suck/squish and blow..but since then all openings have been sealed. Didn't want to chance anything falling or working their way into the fresh motor.
New I.D. 1000's in the primary spot snapped right in and as far as fuel goes...that is my only change aside from the Flex fuel sensor I'll be installing when it comes in. More updates soon..pushing for this manifold to get finished asap.
more updates soon!
Stay tuned!
05-07-14, 12:12 AM
#1894
Junior Member
iTrader: (6)

Join Date: Nov 2013
Location: Long Beach
Posts: 15
Likes: 0
Received 0 Likes
on
0 Posts
when safelite replaced your windshield, did they also replace the black rubber trim/moulding around it? I'm thinking about having them do this but unsure if I have to buy the OEM stuff before the install.
05-07-14, 04:07 AM
#1895
I just had the windscreen replaced in my fd. The guy had a universal molding that he used. It's a little bigger than the OEM one. It looks okay. If you'd rather have OEM you'll want to buy it in advance and have it ready for the installer wine they swap the glass.
05-07-14, 10:43 AM
#1896
SMall Update:
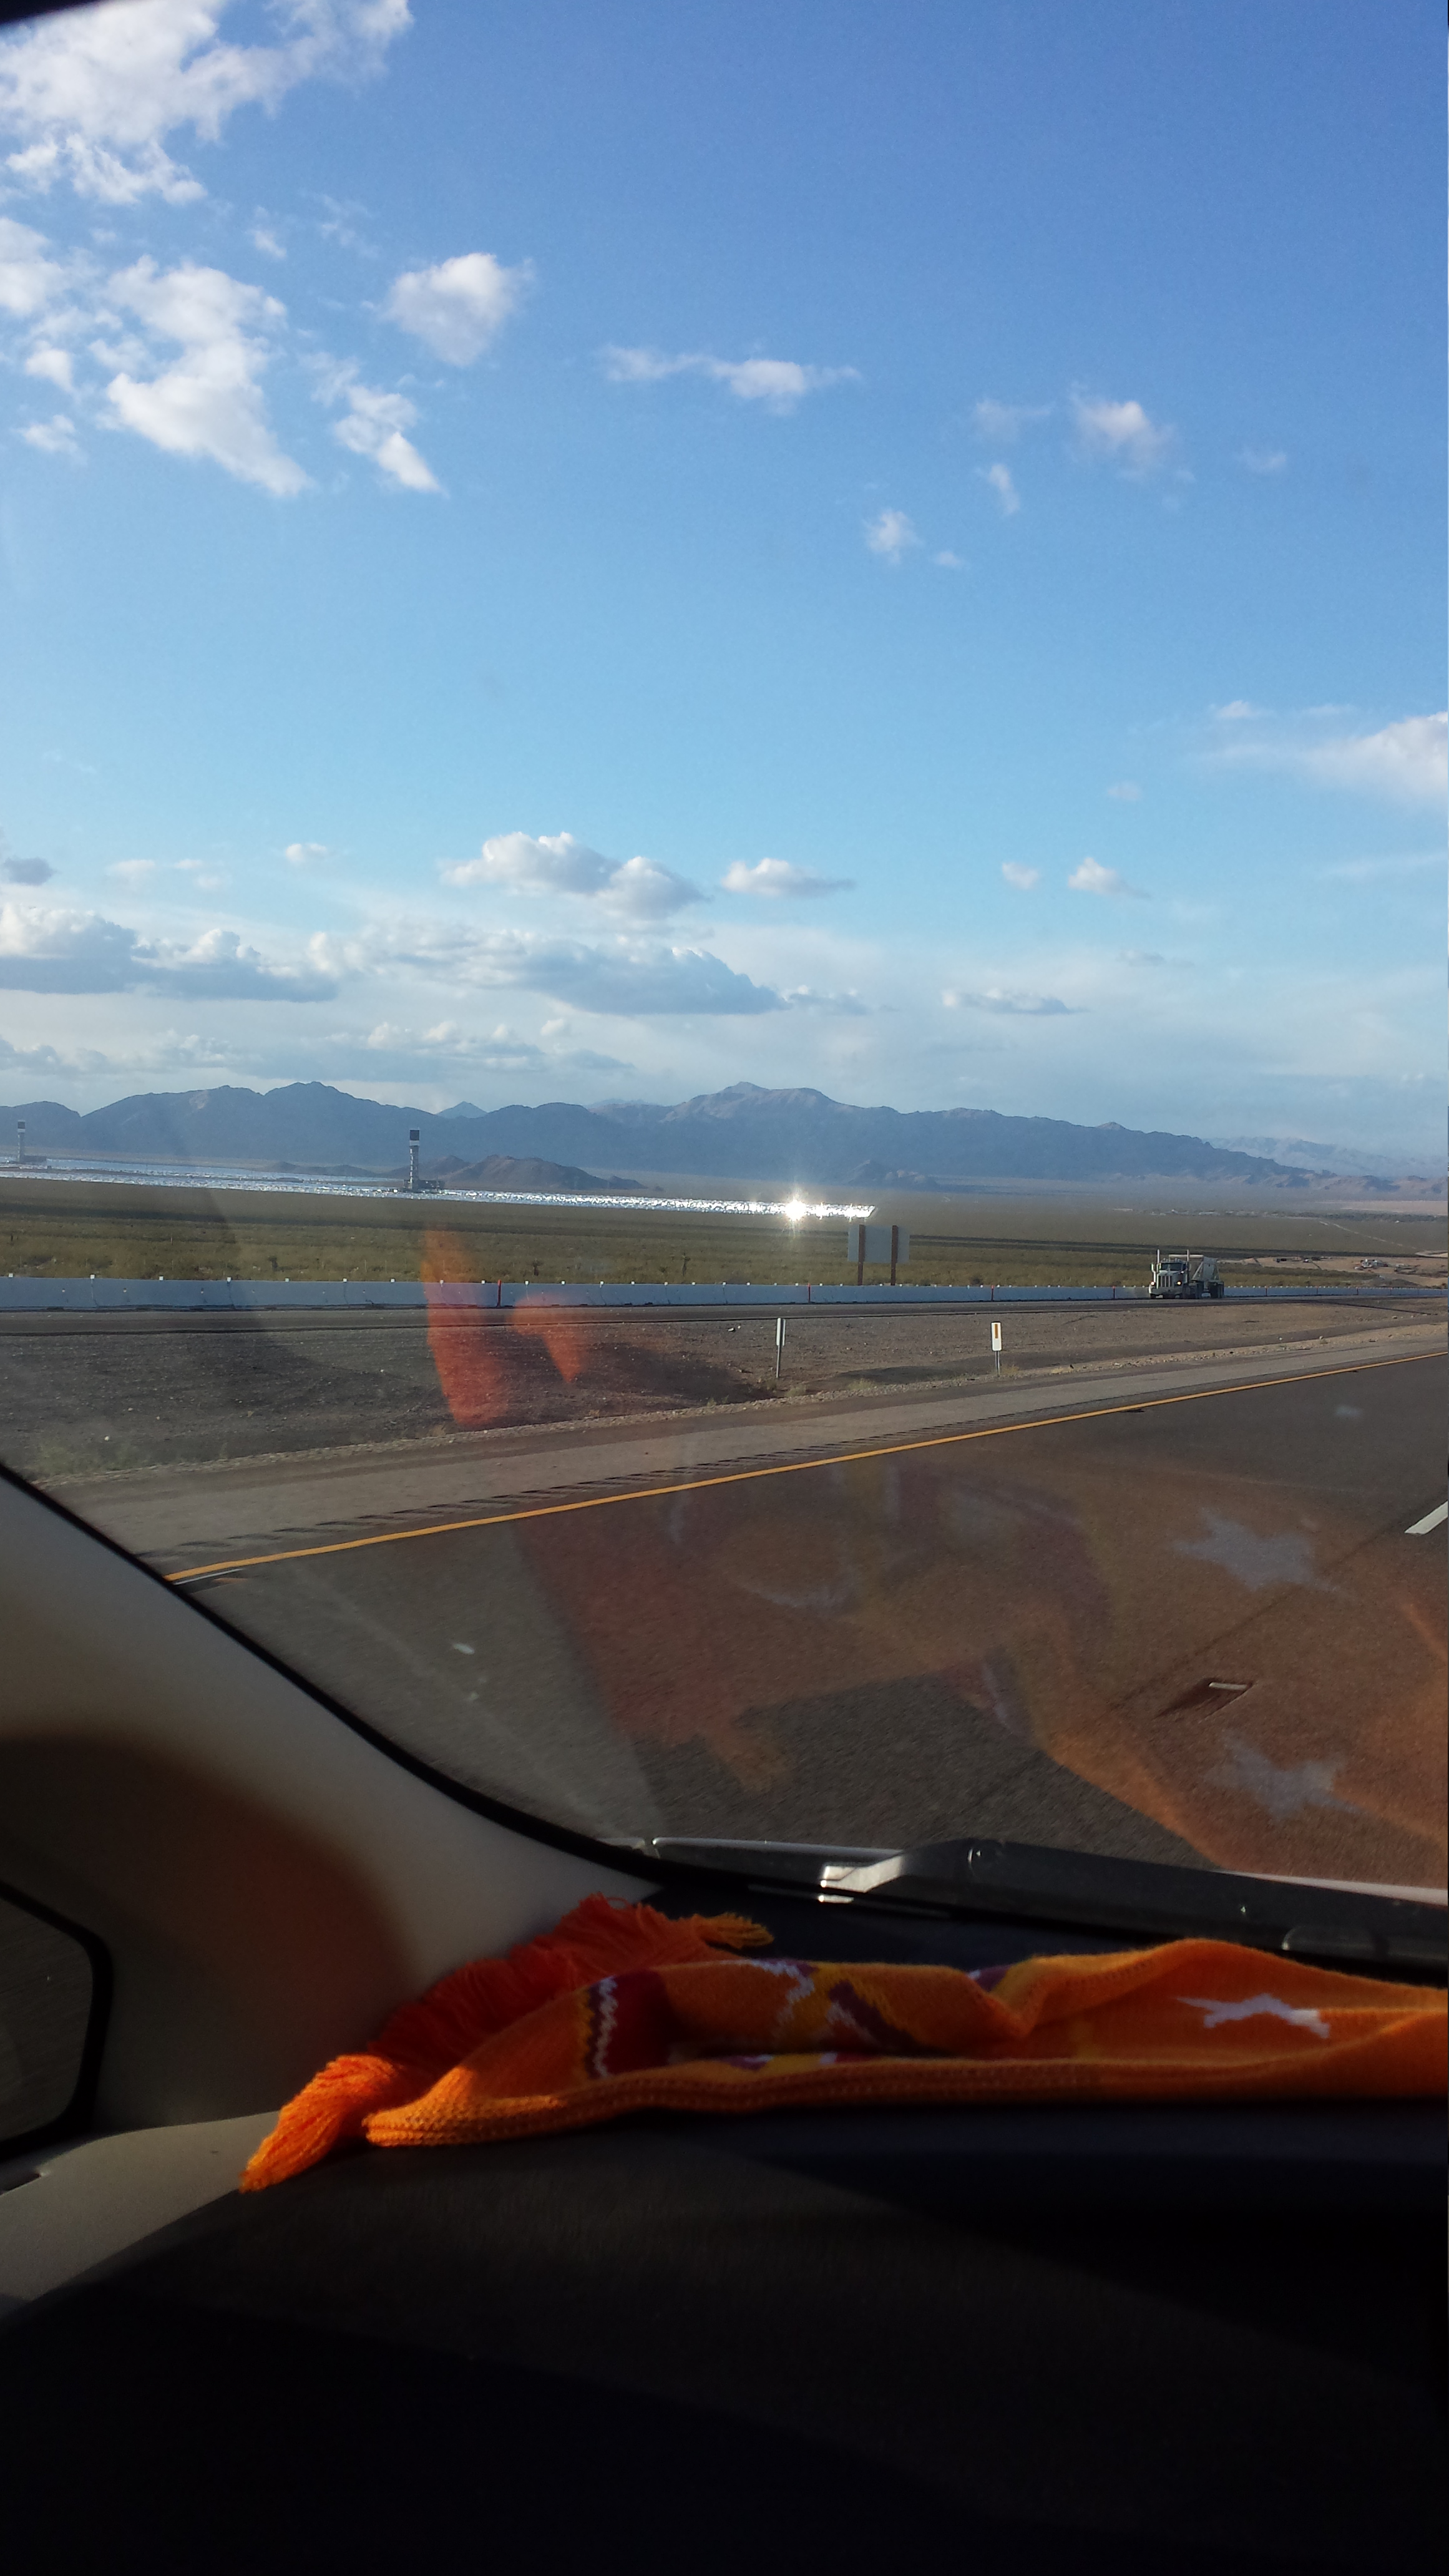
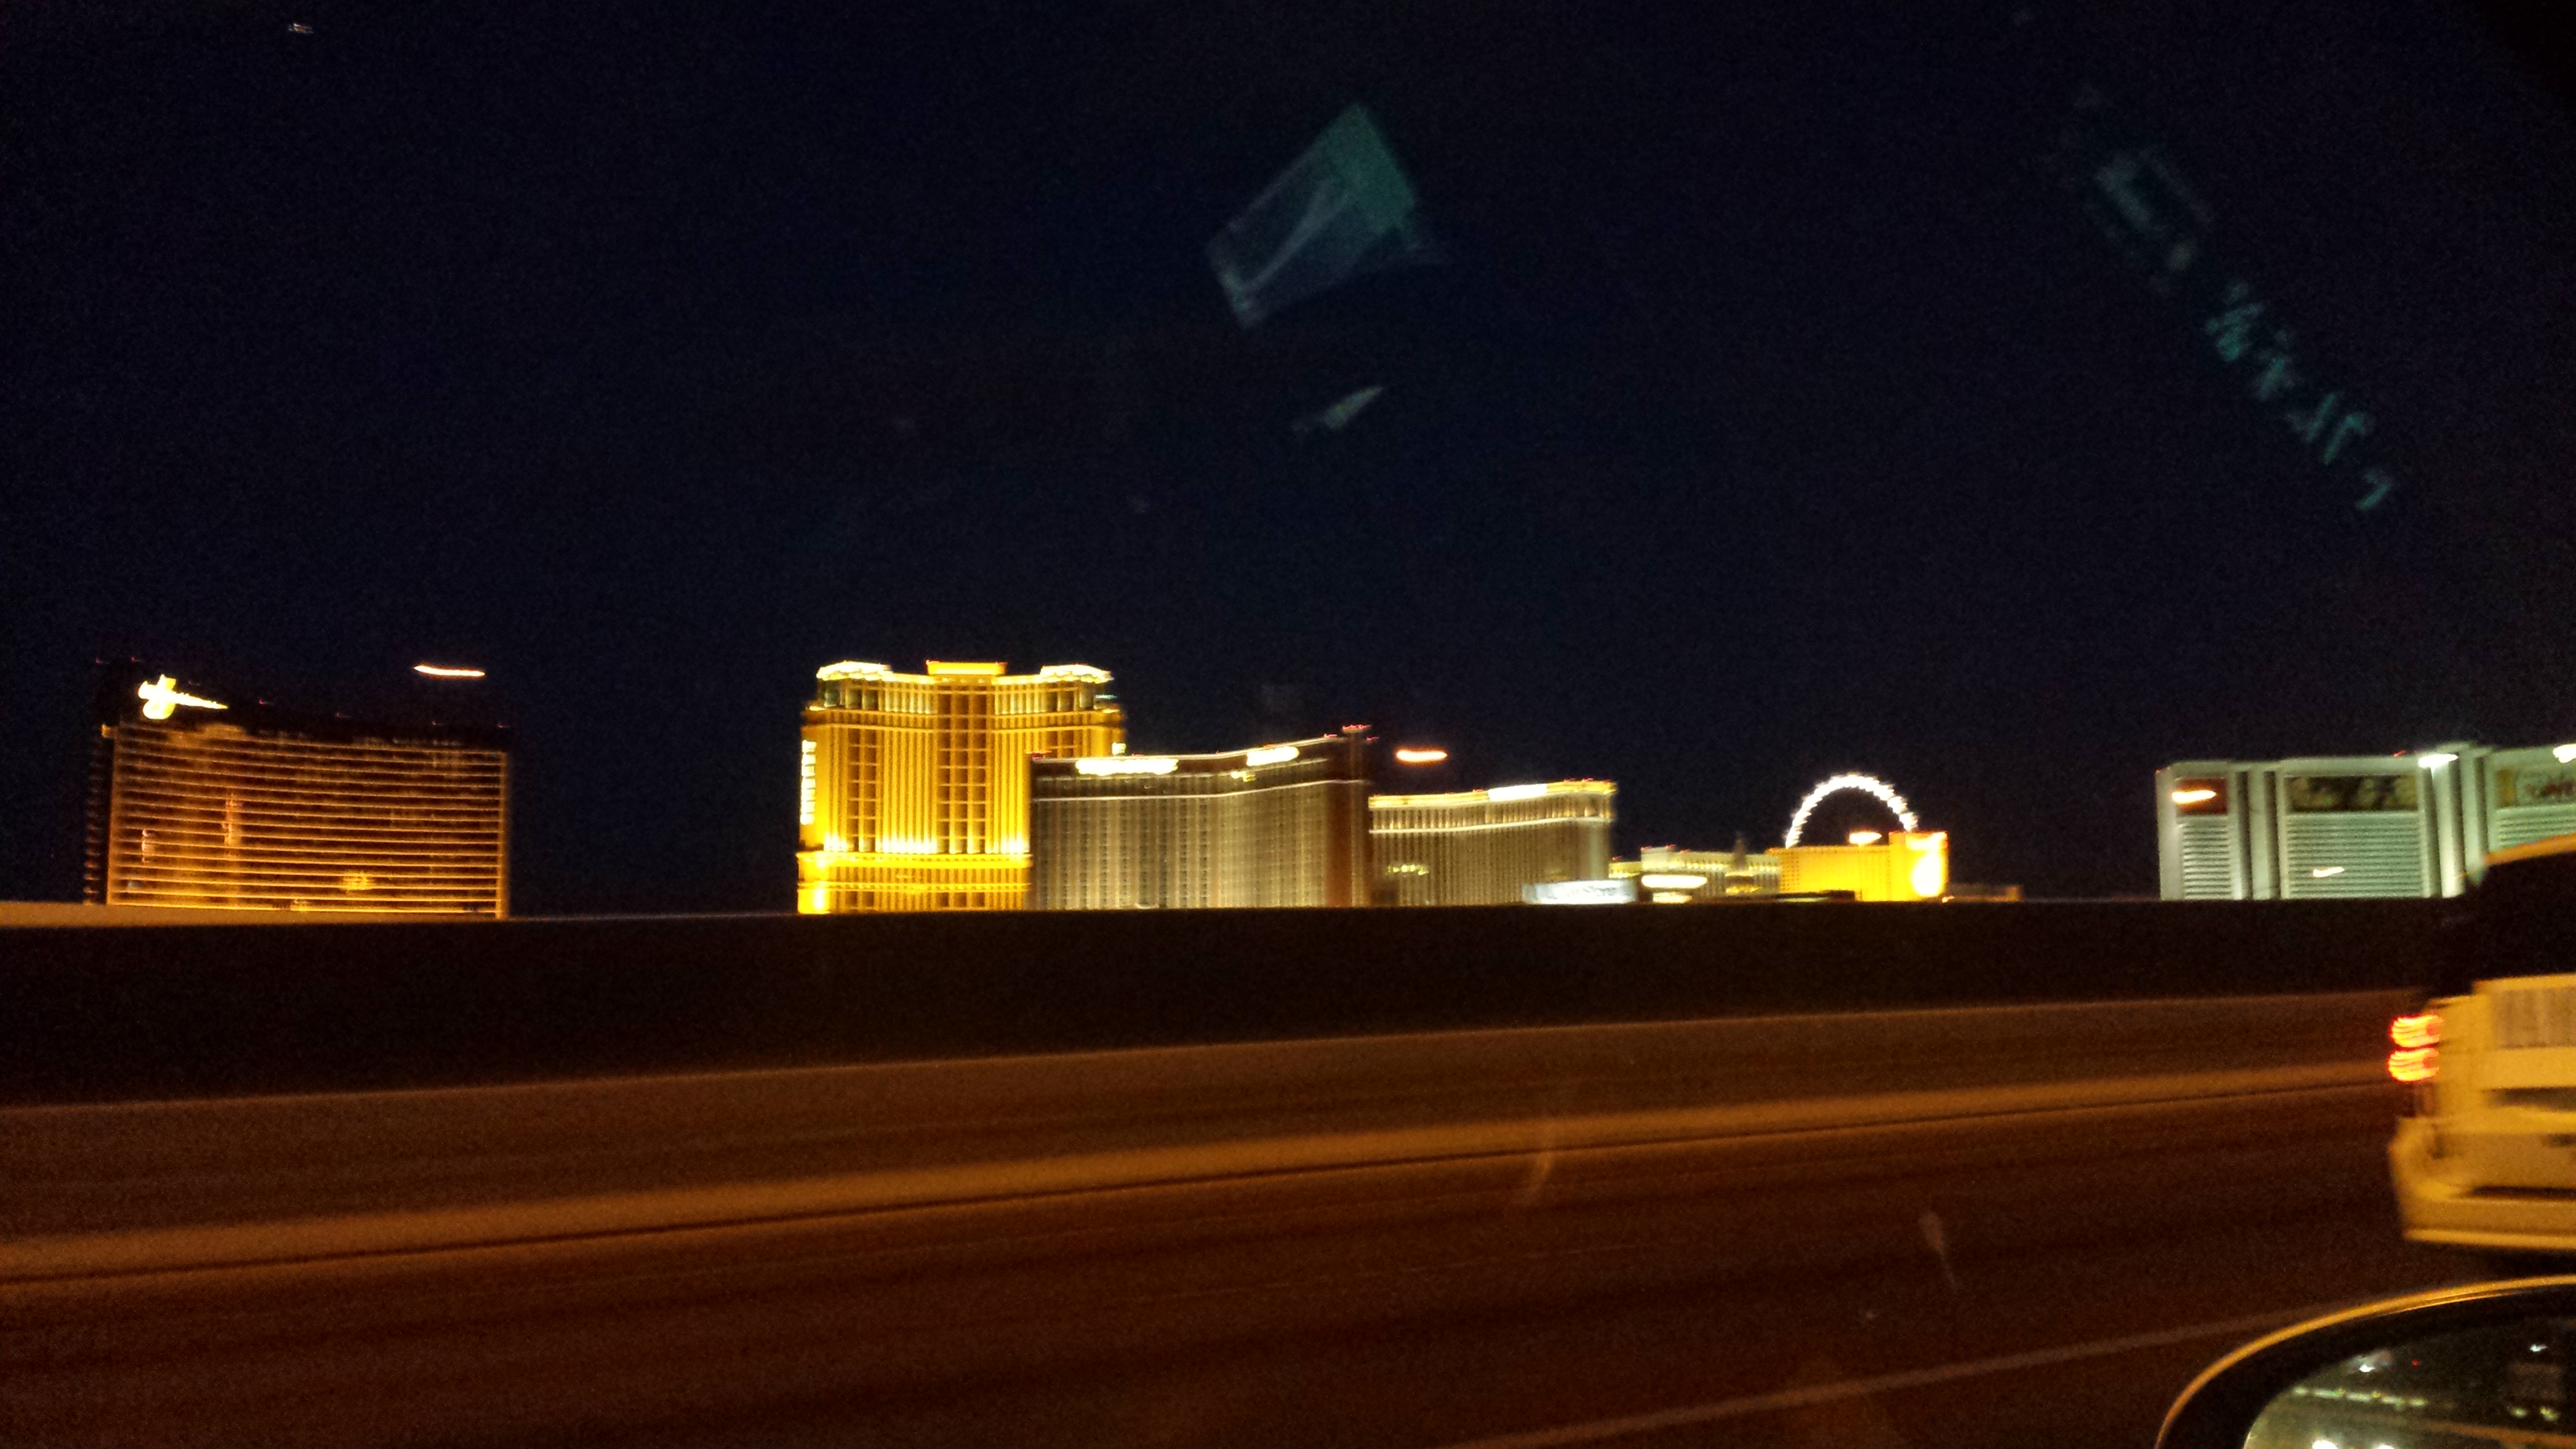
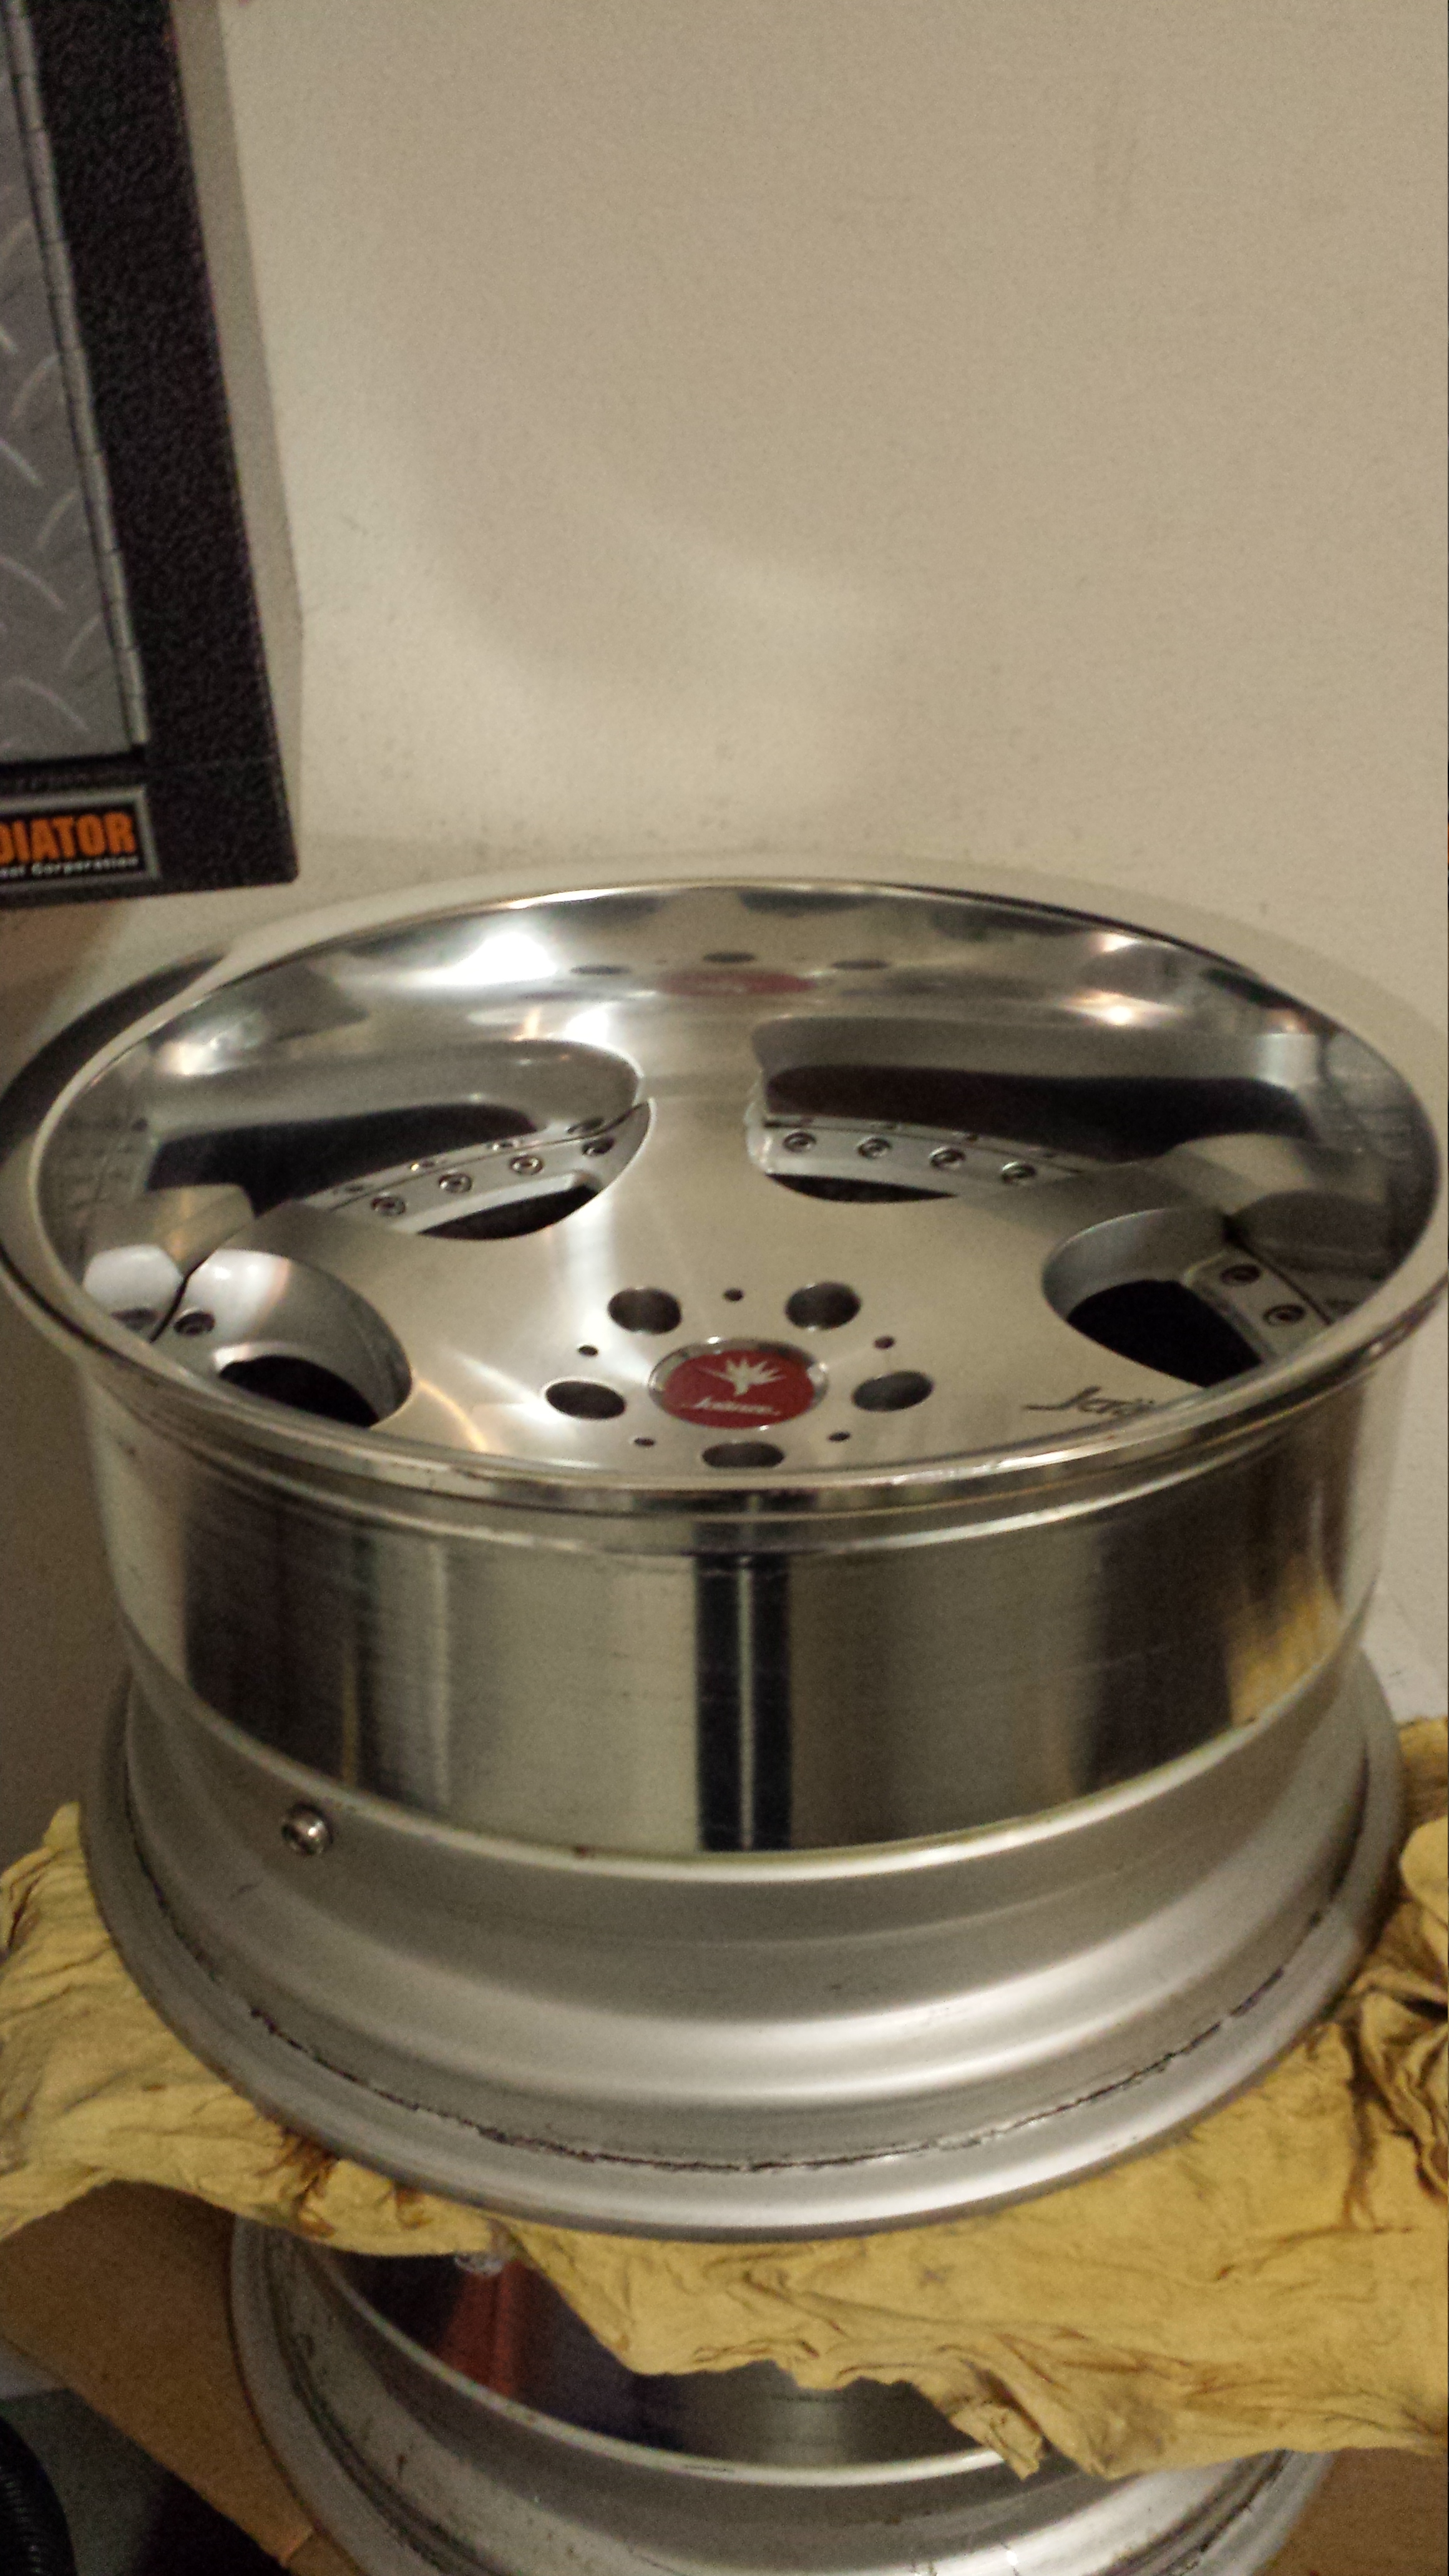
Well photobucket is kind of pissing me off. So apparently you can't search your own photos and my videos have all but disappeared. I've uploaded my re-wire test video twice and the first upload was over 5 days ago, the second was 2 days ago. ...and they're no where to be found. Annoying. Anyways... I had saved some extra funds on the side for a trailer to haul the car around but I pretty much blew all that yesterday. Found some used Weds Bazeria in perfect sizes and offsets for my car. I really don't want to run tons of spacers all over the place because it's just not safe. It can be done to a safer degree...but the more threads on the studs the better imo. Also puts less stress on the bearing. I've been talking to the seller for a couple weeks and finally we settled on a good deal including two rear tires with about 60/70% life on them. Specs: Weds Bazeria: 18x9.5 -11 & 18x11 -4, Brushed faces and polished lips. There are some nicks here and there but overall they're in excellent condition. I'll prob hit them with a good cleaning and polish today. Suicide run after work...left at 3:30pm got to vegas by 7:45 and got home at 12:15 because I had to refuel the prius and grind on some chipotle. Not a bad run lol. Almost beat my San Francisco run a couple years ago...left at 7 am and got home at 5 pm. But yesterday was more...because I worked a full day at my full time job. Gotta LOVE getting giant tasks done in one day. The more the better IMO. Anyways, Check them out... I'm in love.
anyone know what this weird energy complex is on the way to vegas? looks like thousands of Mirrors...maybe some type of solar energy deal?
on the way there..
vegas lights

Weds Bazeria fronts
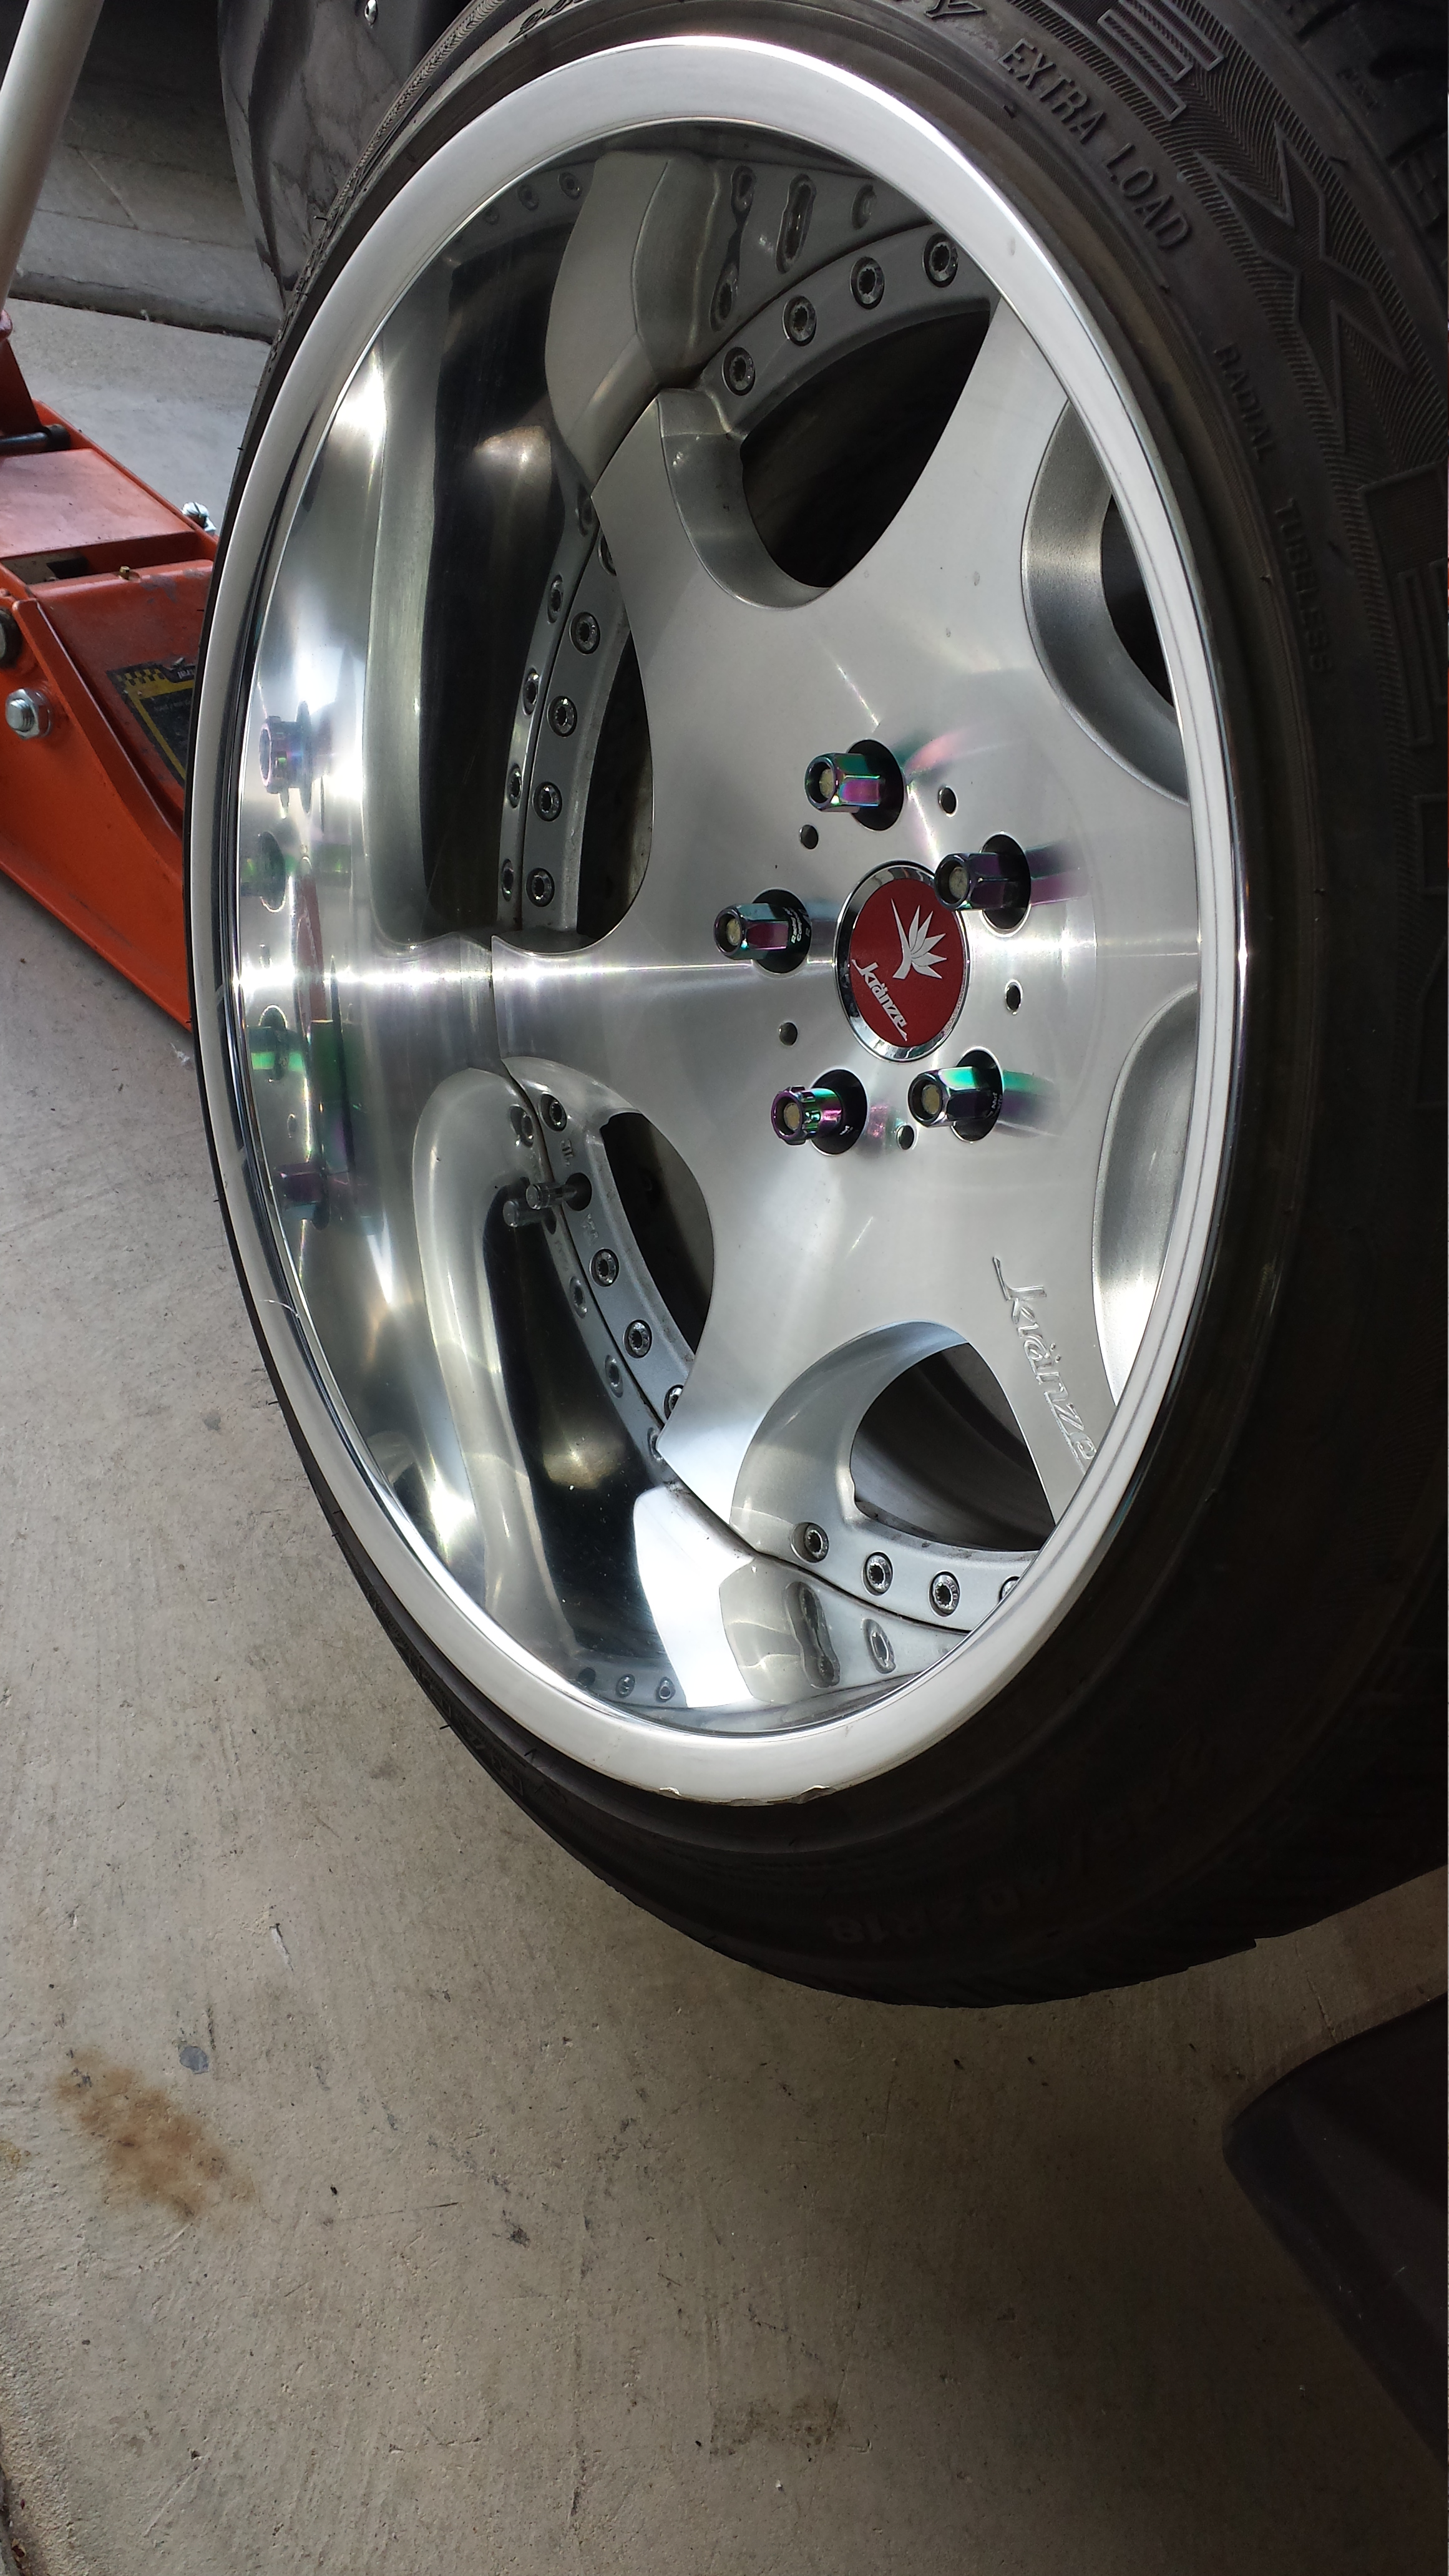
as tired as I was, I couldn't help but test fit the rears.. it was nice to pull off all the spacers I had to use with the +15 RPF1's
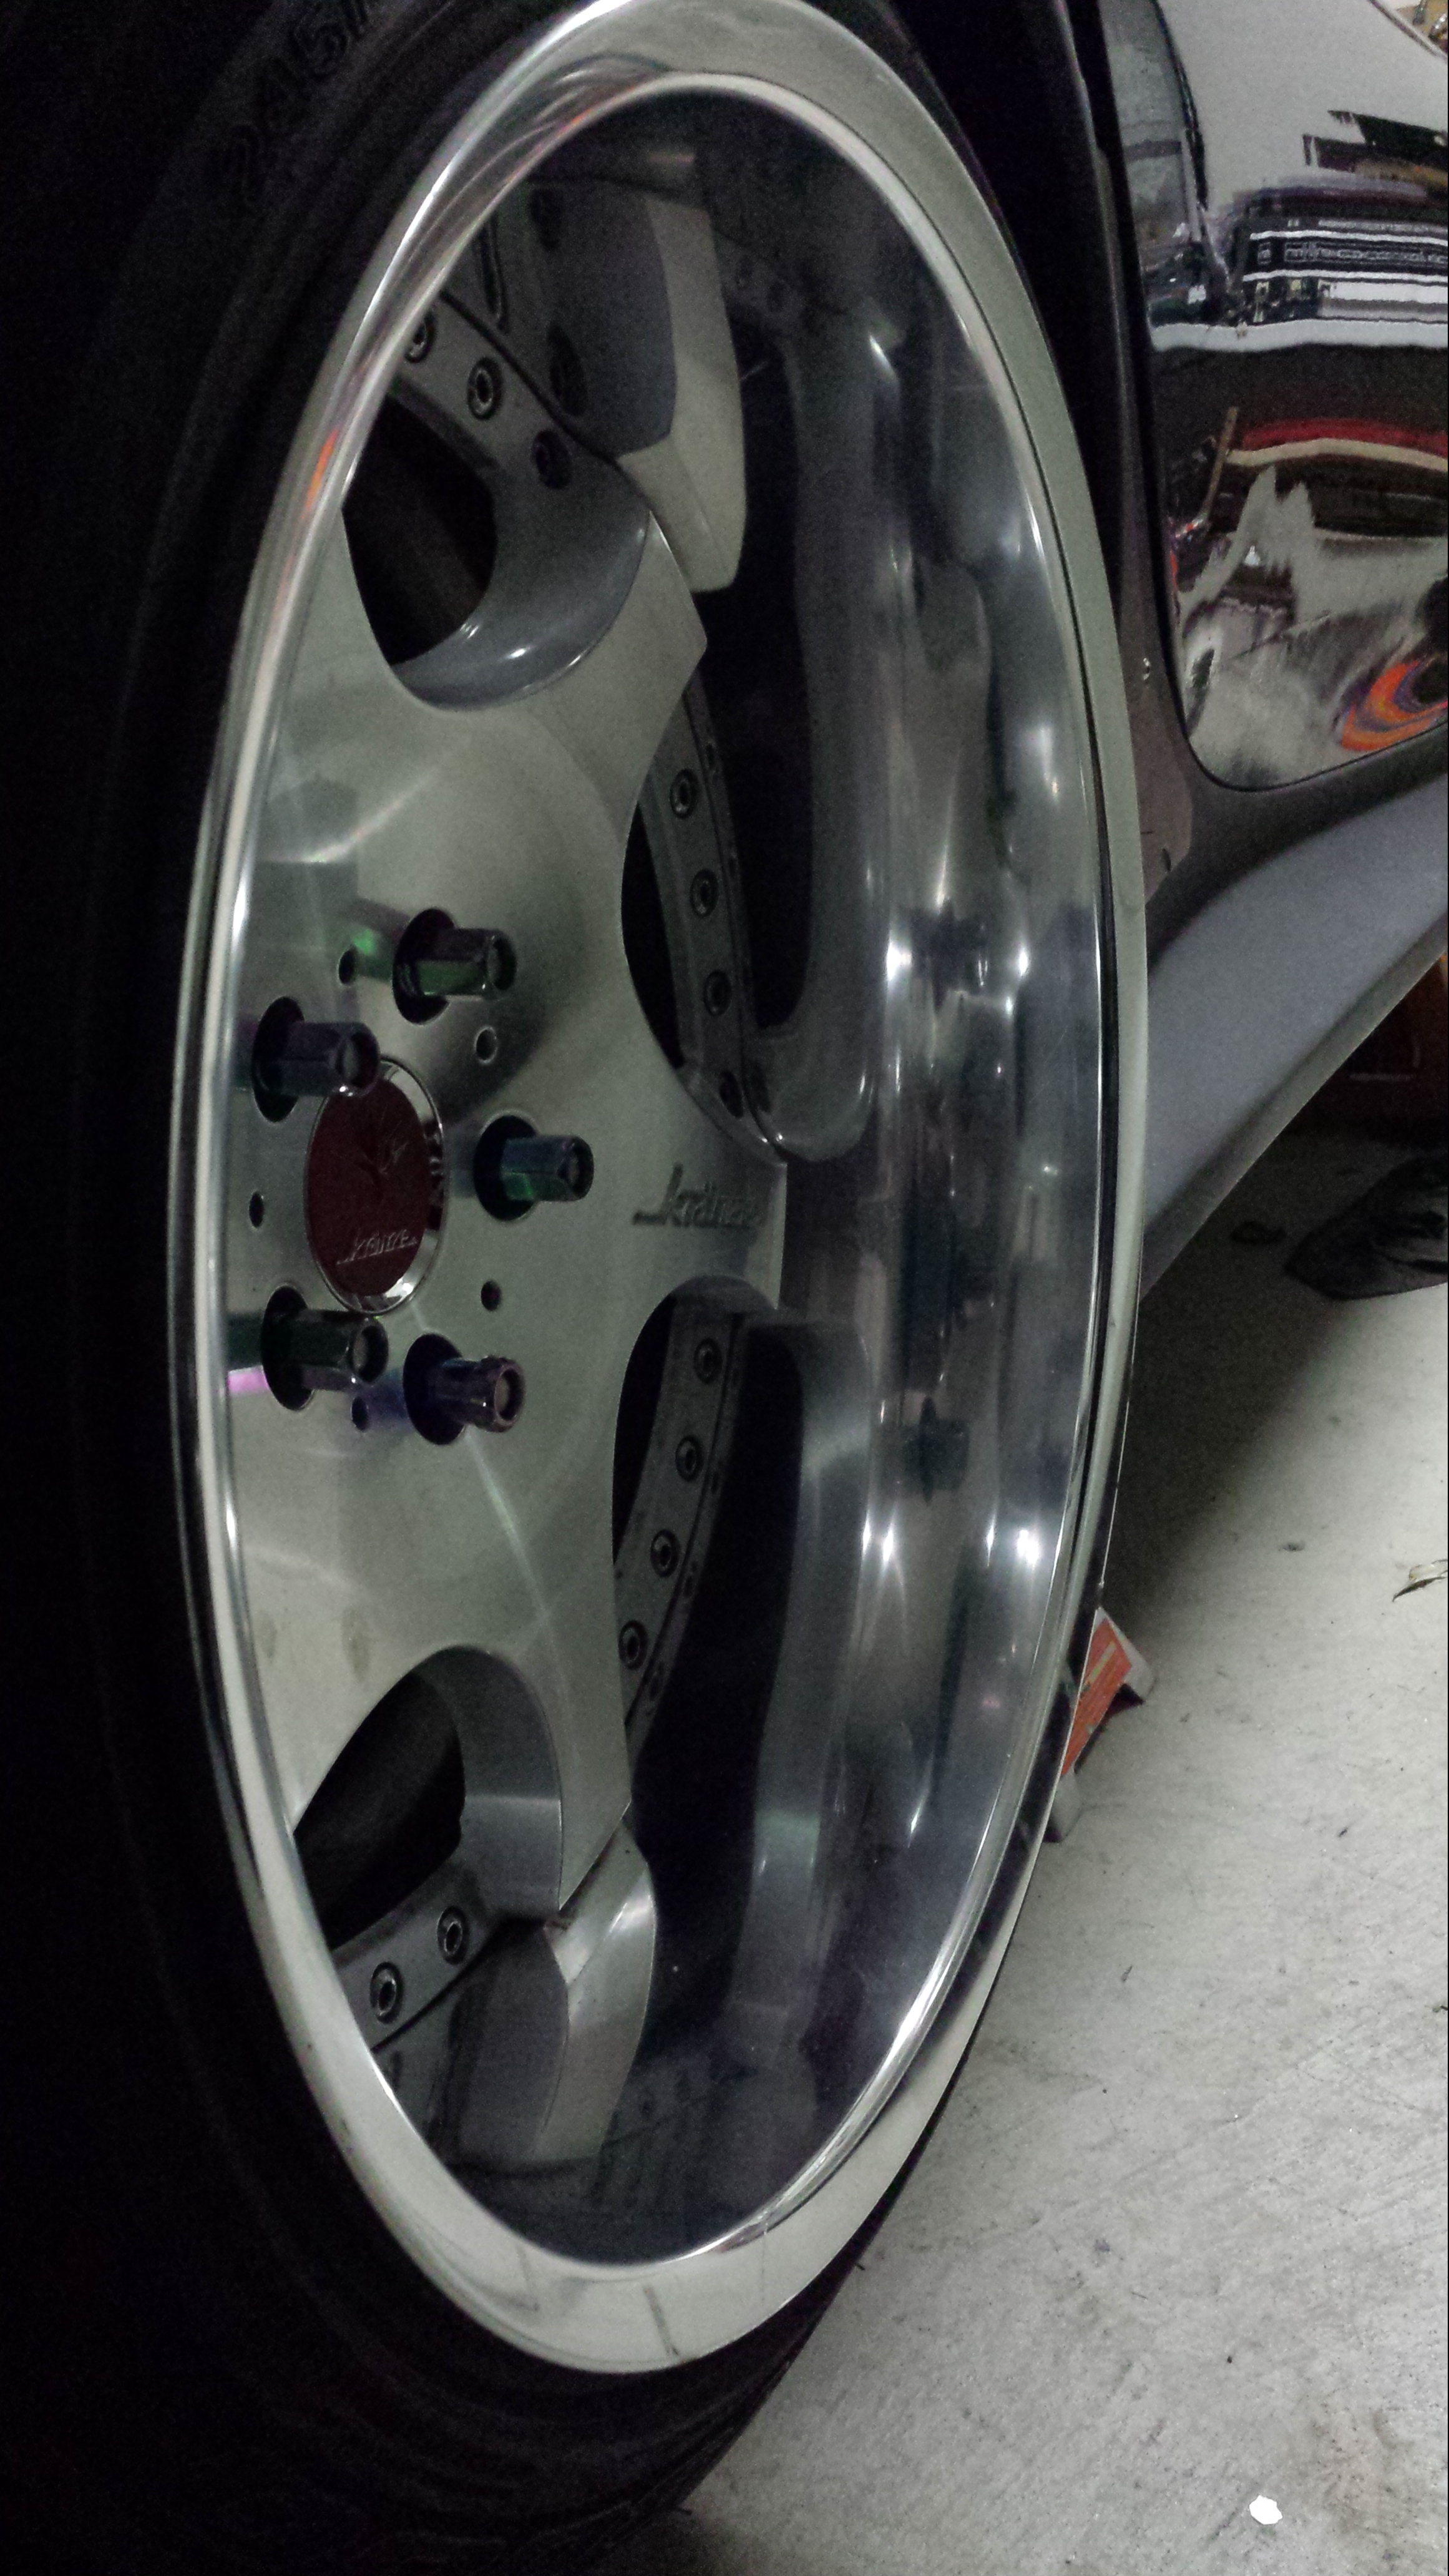
in love again... Weds Bazeria, Extended ARP wheel studs, Project Kics R40 neo champs...been through the ringer over the years....still holding strong.
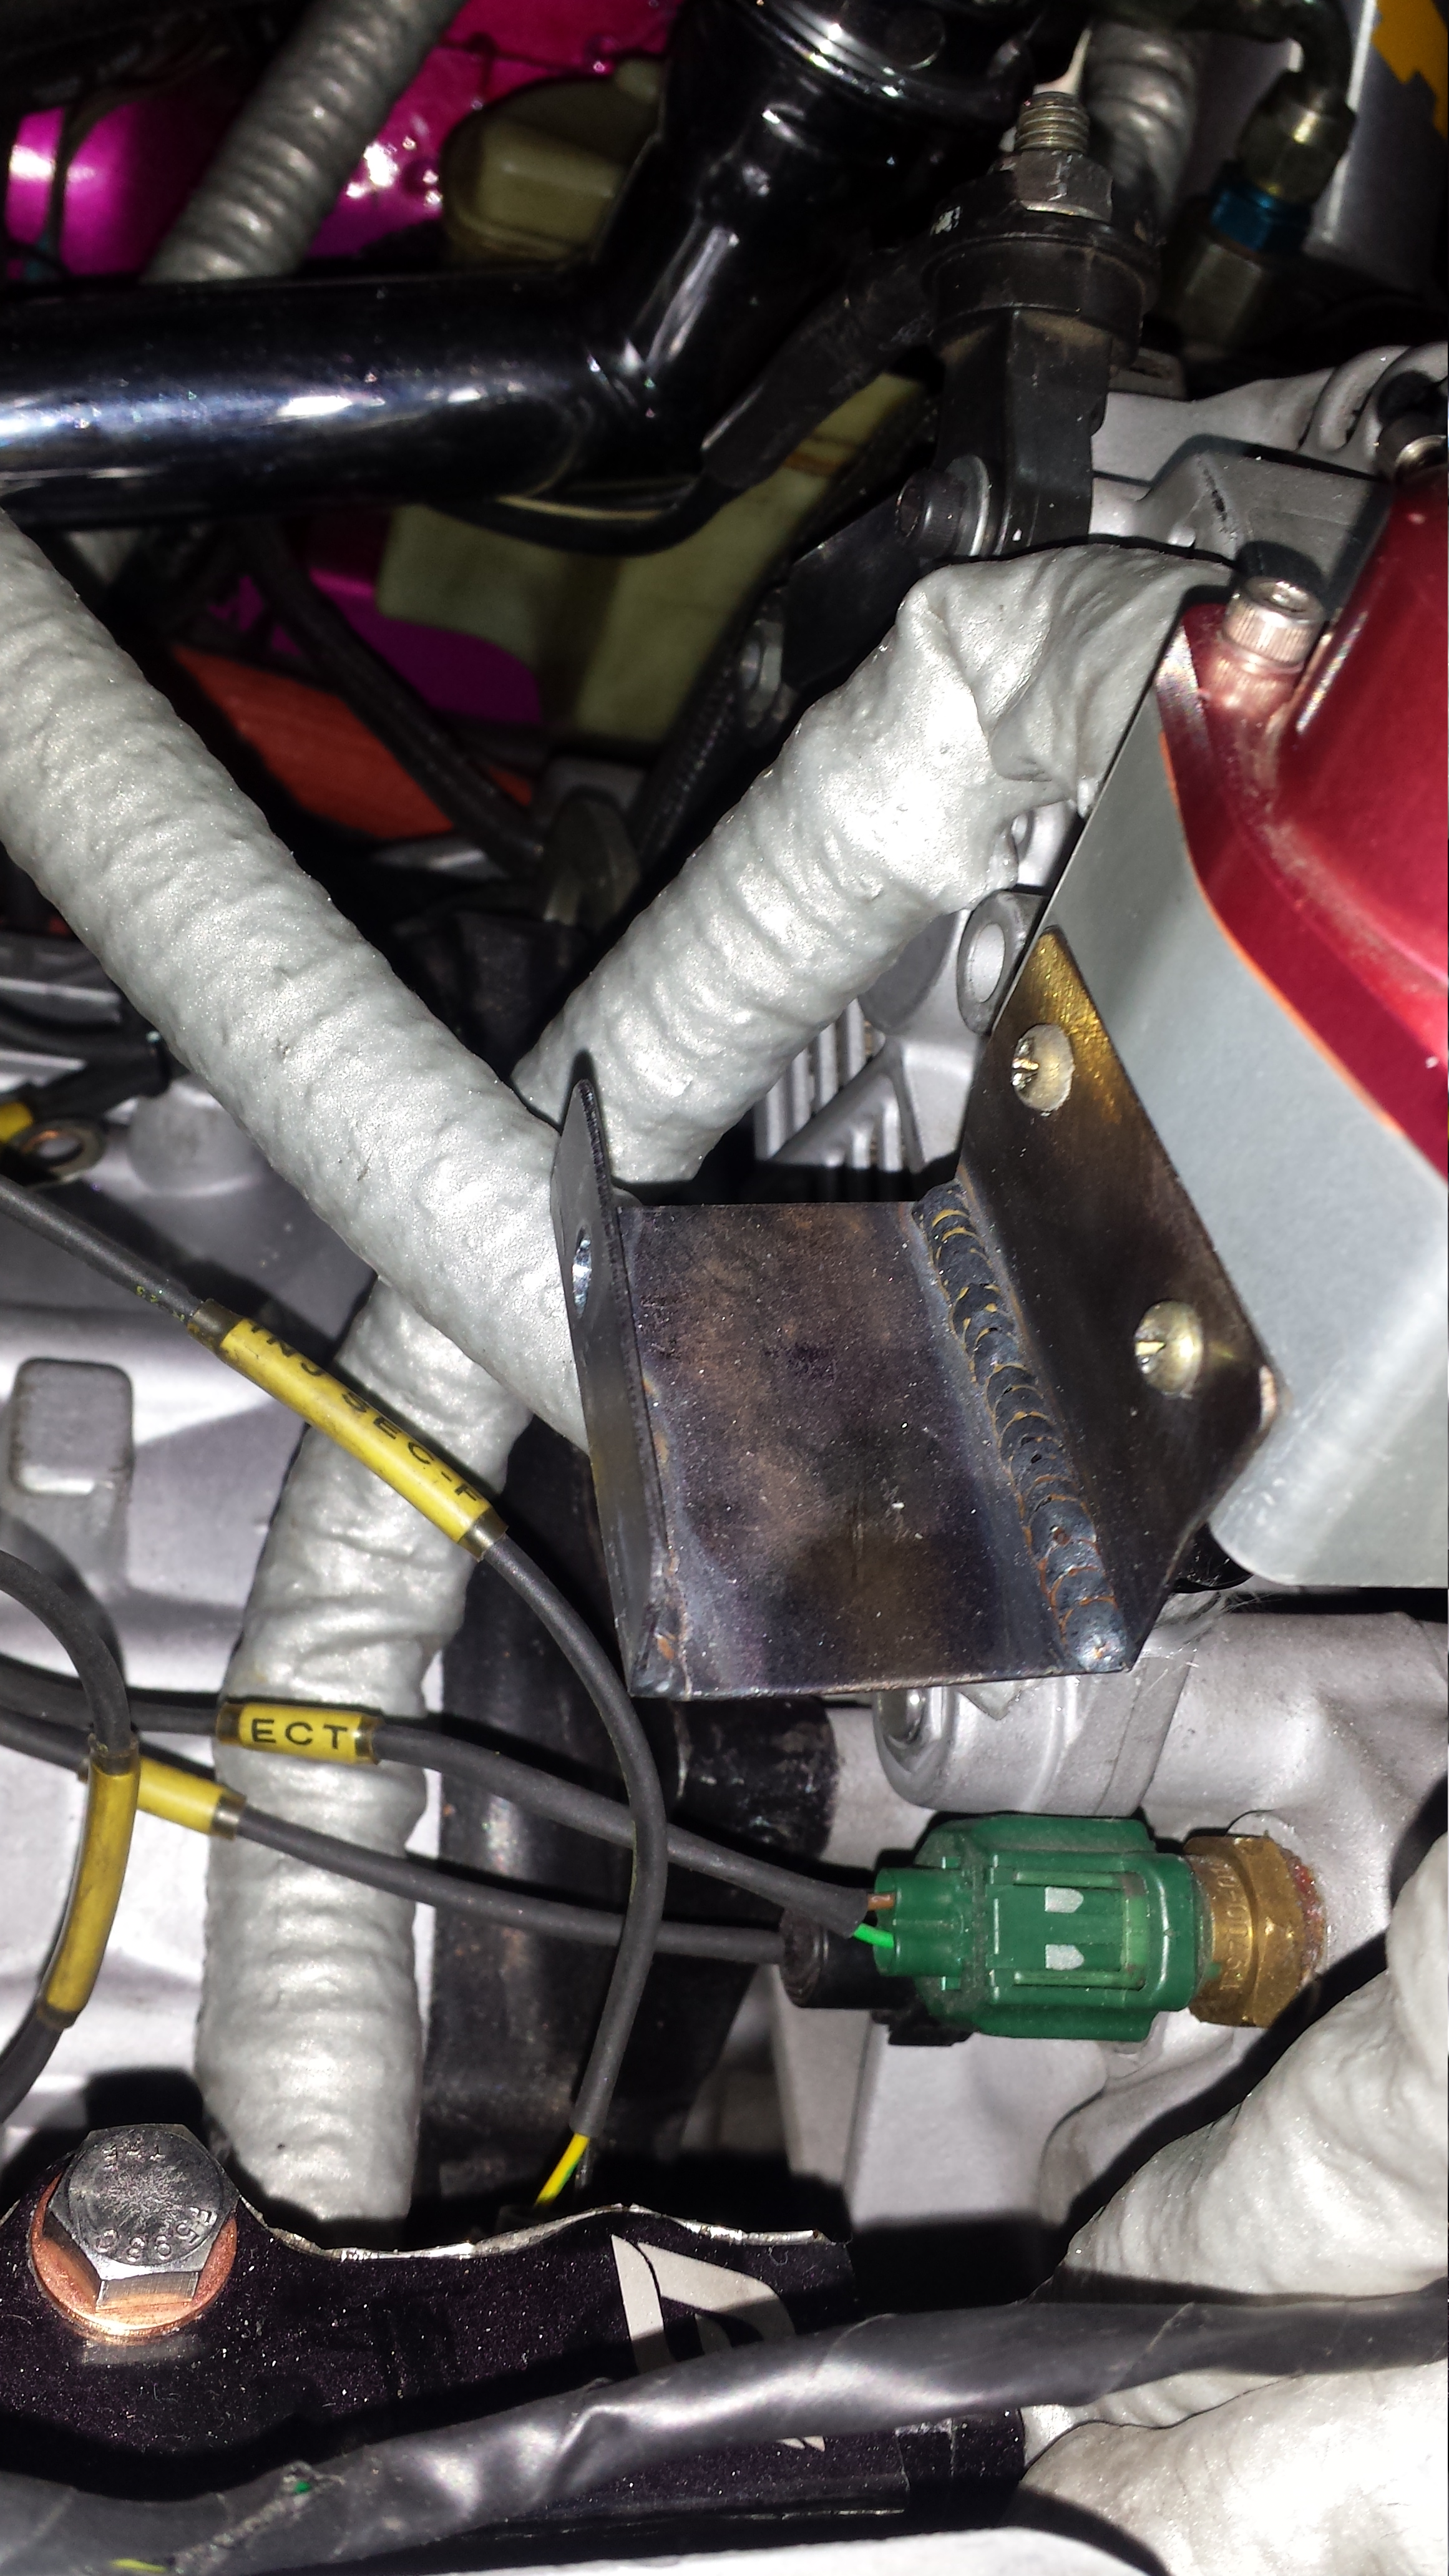
Also, almost forgot about the other update. Plugged in all engine harness plugs. And made one more ground. Utilizing the same trans bolt that grounds the battery to the trans/motor. The same location now goes to the firewall as well.
Here is my Fuel Pressure Reg Bracket
Spacers for LIM FFE rails installed. Thanks again to Aaron at FFE for rushing these out to me!

And that's about it. If anyone wants a set of (2) Enkei RPF1's SBC finish in 18x10.5 +15...let me know. Would love to sell a set to make back some cheddah. Local pick-up preferred!! just let me know. Thanks guys!! More updates soon!
Stay Tuned!!!
Well photobucket is kind of pissing me off. So apparently you can't search your own photos and my videos have all but disappeared. I've uploaded my re-wire test video twice and the first upload was over 5 days ago, the second was 2 days ago. ...and they're no where to be found. Annoying. Anyways... I had saved some extra funds on the side for a trailer to haul the car around but I pretty much blew all that yesterday. Found some used Weds Bazeria in perfect sizes and offsets for my car. I really don't want to run tons of spacers all over the place because it's just not safe. It can be done to a safer degree...but the more threads on the studs the better imo. Also puts less stress on the bearing. I've been talking to the seller for a couple weeks and finally we settled on a good deal including two rear tires with about 60/70% life on them. Specs: Weds Bazeria: 18x9.5 -11 & 18x11 -4, Brushed faces and polished lips. There are some nicks here and there but overall they're in excellent condition. I'll prob hit them with a good cleaning and polish today. Suicide run after work...left at 3:30pm got to vegas by 7:45 and got home at 12:15 because I had to refuel the prius and grind on some chipotle. Not a bad run lol. Almost beat my San Francisco run a couple years ago...left at 7 am and got home at 5 pm. But yesterday was more...because I worked a full day at my full time job. Gotta LOVE getting giant tasks done in one day. The more the better IMO. Anyways, Check them out... I'm in love.
anyone know what this weird energy complex is on the way to vegas? looks like thousands of Mirrors...maybe some type of solar energy deal?
on the way there..
vegas lights
Weds Bazeria fronts
as tired as I was, I couldn't help but test fit the rears.. it was nice to pull off all the spacers I had to use with the +15 RPF1's
in love again... Weds Bazeria, Extended ARP wheel studs, Project Kics R40 neo champs...been through the ringer over the years....still holding strong.
Also, almost forgot about the other update. Plugged in all engine harness plugs. And made one more ground. Utilizing the same trans bolt that grounds the battery to the trans/motor. The same location now goes to the firewall as well.
Here is my Fuel Pressure Reg Bracket
Spacers for LIM FFE rails installed. Thanks again to Aaron at FFE for rushing these out to me!
And that's about it. If anyone wants a set of (2) Enkei RPF1's SBC finish in 18x10.5 +15...let me know. Would love to sell a set to make back some cheddah. Local pick-up preferred!! just let me know. Thanks guys!! More updates soon!
Stay Tuned!!!
05-07-14, 11:35 AM
#1897
05-07-14, 11:41 AM
#1898
I'm not going to be using any other hood fasteners. I got rid of the OEM hood latch and line looooong ago. Heavy duty washers and good placement of the pins is all you really need. Unless your forgetful and or **** about the hood flying up... I've actually never seen these aero catch pins fail. I have seen them fail because of incorrect installs though. But i'm confident in the placement location of mine
05-07-14, 12:42 PM
#1900
Wastegate John
iTrader: (13)
Join Date: Feb 2008
Location: Long Island NY 11746
Posts: 2,979
Likes: 0
Received 9 Likes
on
9 Posts
Aaron, I was actually asking because with that model hoodlatch you have no way to lock your hood shut. Anyone can open it from the outside. I am sure it wont fly open those are really robust latches.