
Hamfist Racing FD3S Build Thread: SCCA SSM / NASA TTS

To increase the reliability aspect of your new project. You might take into consideration of auxiliary injection such as water, methanol, or alcohol.
Here is a great thread to read: https://www.rx7club.com/showthread.p...ht=making+case
Here is a great thread to read: https://www.rx7club.com/showthread.p...ht=making+case


Senior Member
Joined: Sep 2008
Posts: 263
Likes: 0
From: NYC
LOL. I have a black bugeye and just picked up a black FD too. And I'm also having starting problems but my car doesn't crank at all=( Looks like I'm going down the same rd you did. GL with our new FD. Hope to see you at the meets.
I am now looking to remove the stock cat and replace the pipe with a straight pipe with a custom welded magnaflow metallic substrate cat (http://www.performance-curve.com/ind...OD&ProdID=1212)
This is the same unit I have been using in my Subaru for quite some time.
Does anyone see any concerns or issues I should be aware of before making the upgrade? Particularly with regard to air pump system or with regard to the placement of the cat?
Thanks!
Jake
This is the same unit I have been using in my Subaru for quite some time.
Does anyone see any concerns or issues I should be aware of before making the upgrade? Particularly with regard to air pump system or with regard to the placement of the cat?
Thanks!
Jake
Update:
111000 miles
Oil Change - Castrol GTX and OEM filter
Installed Custom 3" mid-pipe (high flow catalytic converter magnaflow 59959 with metallic substrate and a DEI heat wrap)
Car spools up so quickly now and sounds amazing! Dave at KDR needed to make some adjustment to the PFC setting to compensate for a 1 psi boost creep.

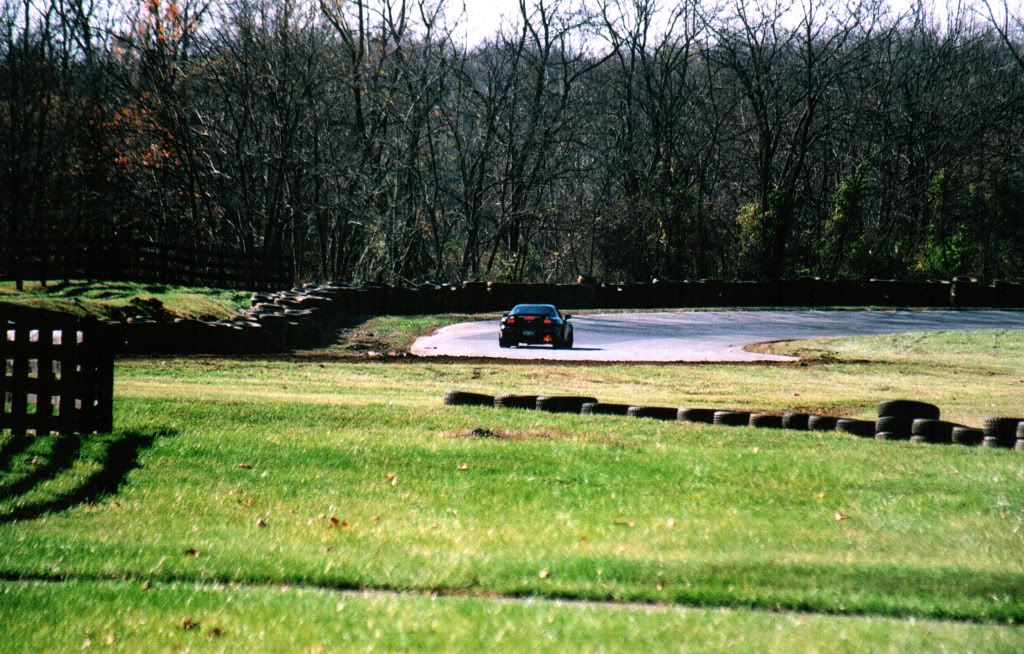
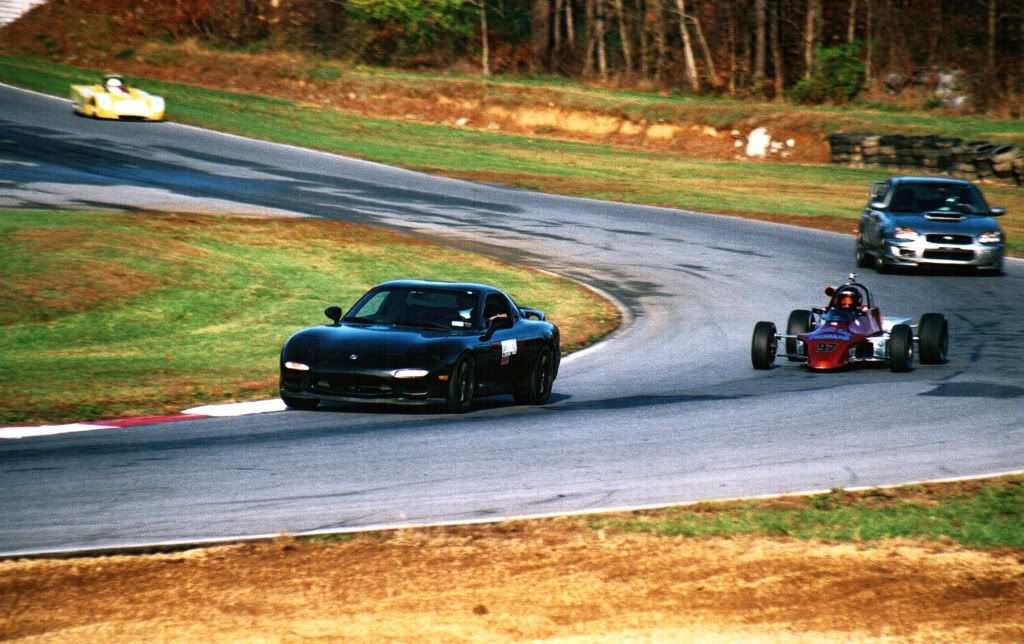
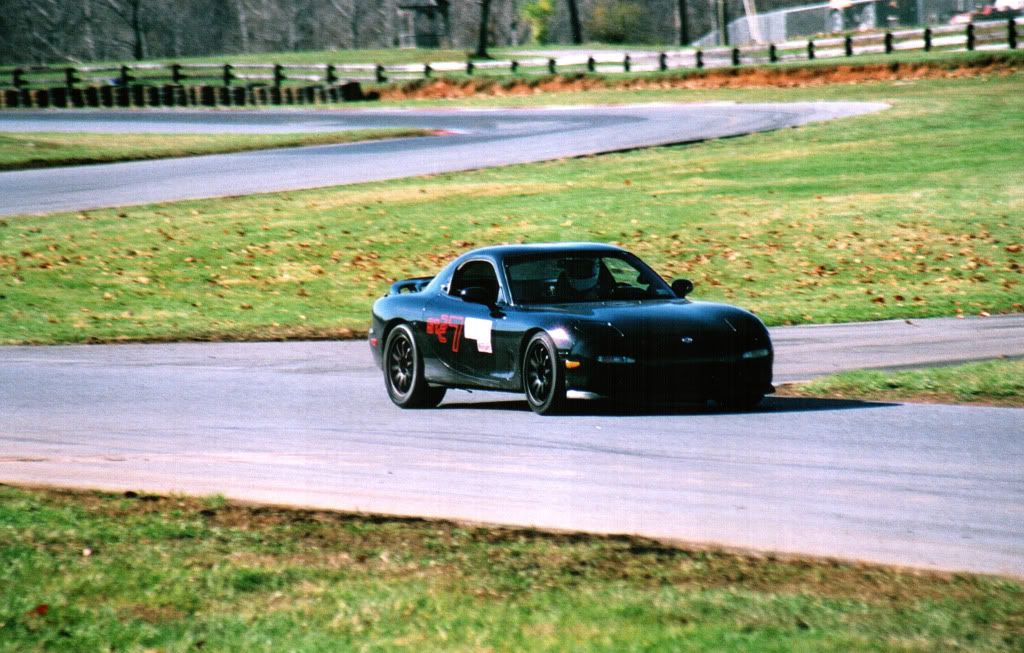
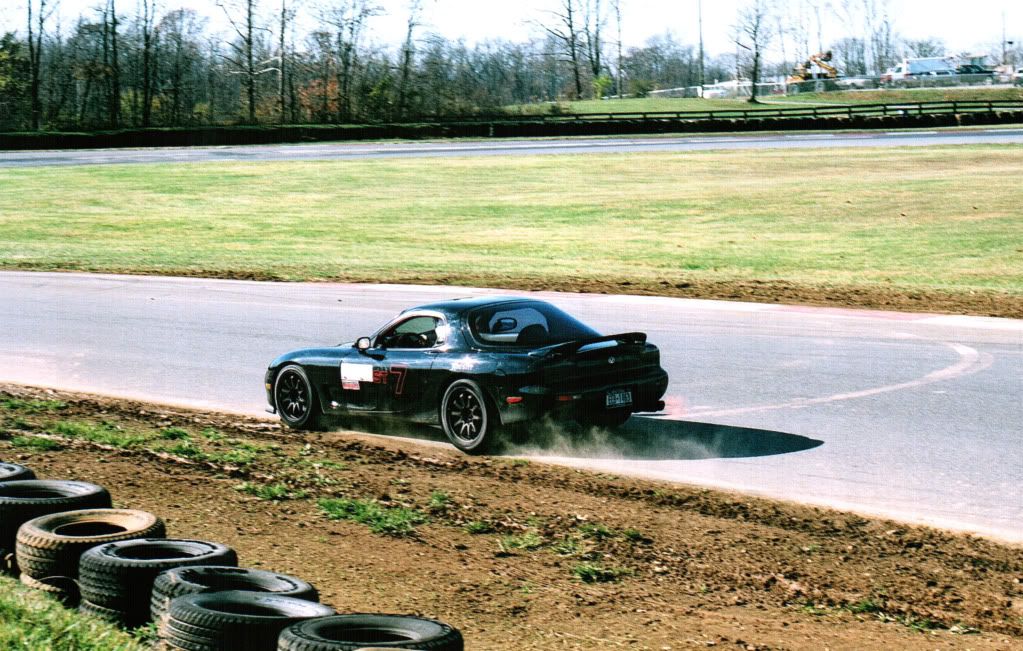
Despite technical problems on session 2, 3, and 4 (out of 4 session) and on timed lap 2 and 3 (out of 3), I managed to pull off one full power lap at 1:16.898 seconds. I know it's not the fastest lap ever on east course (far from it) but I was driving safely and learning the track limits of the car for the 1st time. Not to mention the first lap was supposed to be a warm up lap for brakes and tires.
Update:
-Correction, going with 600 lbs/in all around.
-Currently trouble shooting the water injection system, which is not functioning. So I far I have narrowed it down to either a clogged/stuck check valve or a failed pump.
-Correction, going with 600 lbs/in all around.
-Currently trouble shooting the water injection system, which is not functioning. So I far I have narrowed it down to either a clogged/stuck check valve or a failed pump.
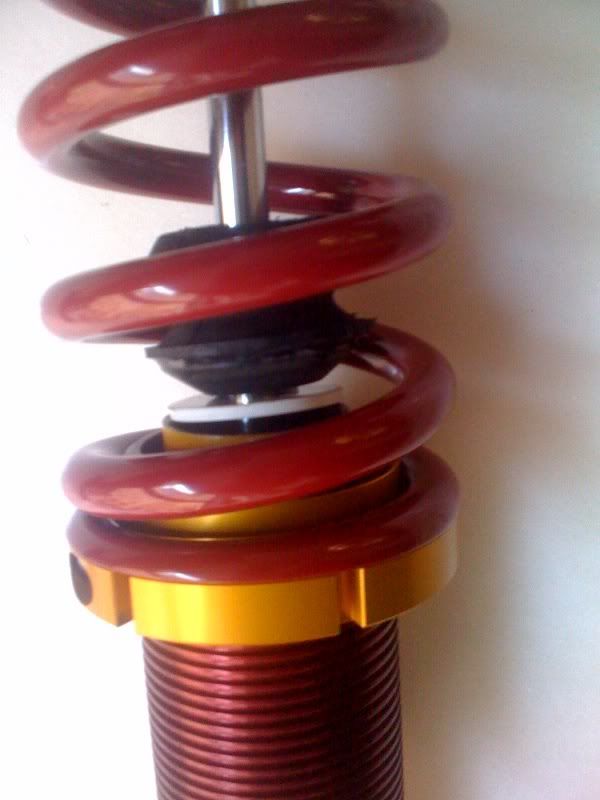
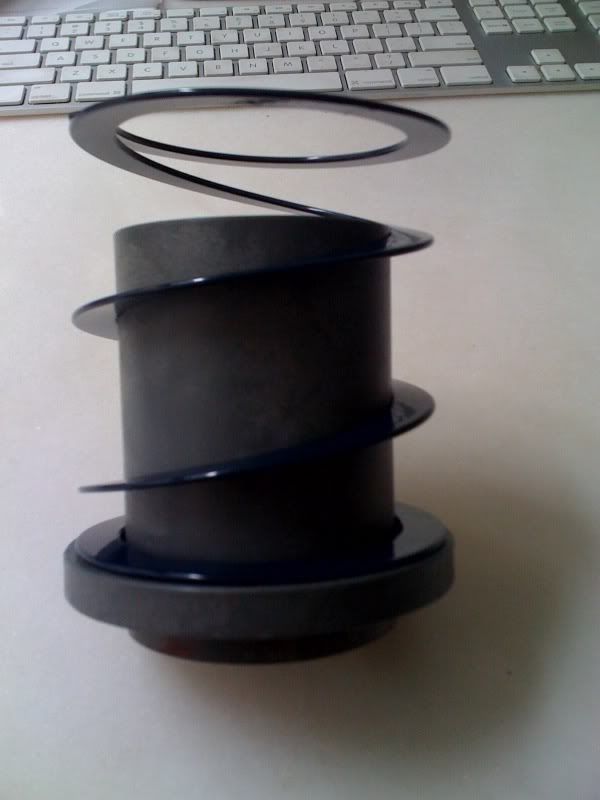
Did I assemble this correctly? The cut bump stop is very loose on the shaft now that it is not connected to the dust boot and top had. Is this OK? Also, is it OK to use the bump stops? Are they small enough? I don't want to bounce off them unless my shock depends on it.

Damn you must have lots of cash....Nice work by the way....hoping to get mine together soon but I am out of cash for now....Plus it is sitting at paint for now...Very nice though..How much was water injection setup?? Thinking about adding it to mine.
I could use some help in my coilover build thread here: https://www.rx7club.com/showthread.p...80#post9369580
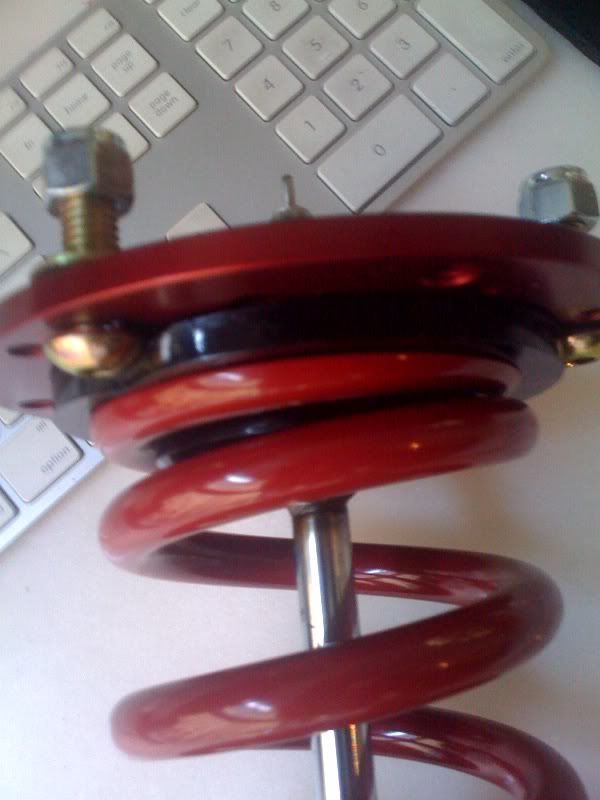
I decided against the GC zip tie method. Not sure how that was supposed to work anyway. I ordered Hyperco helper springs and spring couplers. I see 4 potential ways to install these:
1: Helper spring touches top mount, long section of coupler goes inside helper, short section goes inside main spring, main spring sits on adjustable GC perch.
2: Helper spring touches top mount, short section of coupler goes inside helper, long section goes inside main spring, main spring sits on adjustable GC perch.
3: Main spring touches top mount, short section of coupler goes inside main spring, long section goes inside helper spring, helper spring sits on adjustable GC perch.
4: Main spring touches top mount, long section of coupler goes inside main spring, short section goes inside helper spring, helper spring sits on adjustable GC perch.
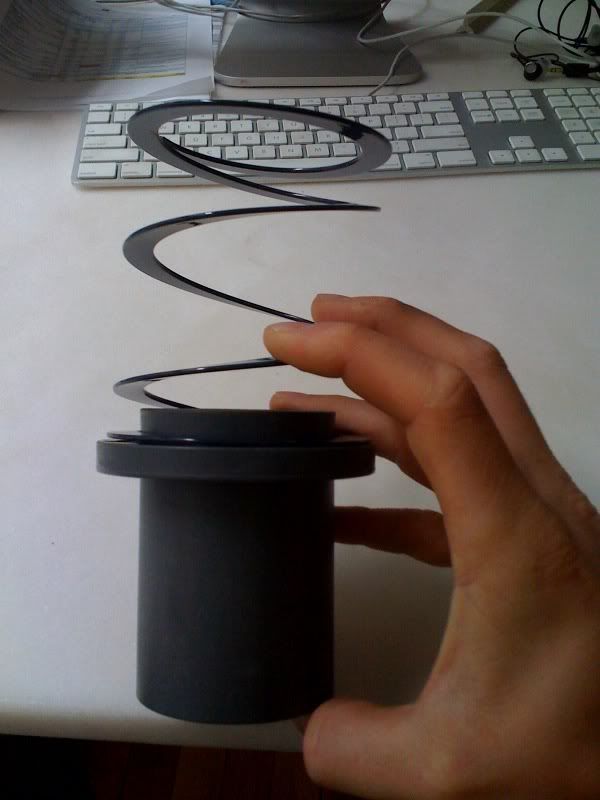
I don't see how these couplers can work on the GC kit without some type of hack. The ID of the coupler is smaller than the OD of the coil sleeve, unfortunately. Additionally, the long section that the helper spring is wrapped around in the first picture below would certainly interfere with all components it sits between:
Scenario 1: Interfere with upper cushion seat under static load
Scenario 2: Interfere with coil sleeve under dynamic shock compression load (acting like a bump stop)
Scenario 3: Will not fit over coil sleeve under static load
Scenario 3: Will not fit over coil sleeve under static load
Lastly, it appears that the compressed length of the hyperco helper spring is shorter than the short section of the coupler. As a result, even with the short section of the coupler interfacing with the helper (scenario 2 & 4), the coupler will touch the component at the other end of the helper under static load (ex scenario 2 coupler will touch top mount).
How can I modify these to work with GC/koni setup? I am thinking of just shortening the long section of the coupler to a small fraction of the compressed length of the helper spring (~2mm) and install per scenario 2 (short section is then the long section, and hacked long section is then short section).
Is there a better alternative?
1: Helper spring touches top mount, long section of coupler goes inside helper, short section goes inside main spring, main spring sits on adjustable GC perch.
2: Helper spring touches top mount, short section of coupler goes inside helper, long section goes inside main spring, main spring sits on adjustable GC perch.
3: Main spring touches top mount, short section of coupler goes inside main spring, long section goes inside helper spring, helper spring sits on adjustable GC perch.
4: Main spring touches top mount, long section of coupler goes inside main spring, short section goes inside helper spring, helper spring sits on adjustable GC perch.
I don't see how these couplers can work on the GC kit without some type of hack. The ID of the coupler is smaller than the OD of the coil sleeve, unfortunately. Additionally, the long section that the helper spring is wrapped around in the first picture below would certainly interfere with all components it sits between:
Scenario 1: Interfere with upper cushion seat under static load
Scenario 2: Interfere with coil sleeve under dynamic shock compression load (acting like a bump stop)
Scenario 3: Will not fit over coil sleeve under static load
Scenario 3: Will not fit over coil sleeve under static load
Lastly, it appears that the compressed length of the hyperco helper spring is shorter than the short section of the coupler. As a result, even with the short section of the coupler interfacing with the helper (scenario 2 & 4), the coupler will touch the component at the other end of the helper under static load (ex scenario 2 coupler will touch top mount).
How can I modify these to work with GC/koni setup? I am thinking of just shortening the long section of the coupler to a small fraction of the compressed length of the helper spring (~2mm) and install per scenario 2 (short section is then the long section, and hacked long section is then short section).
Is there a better alternative?
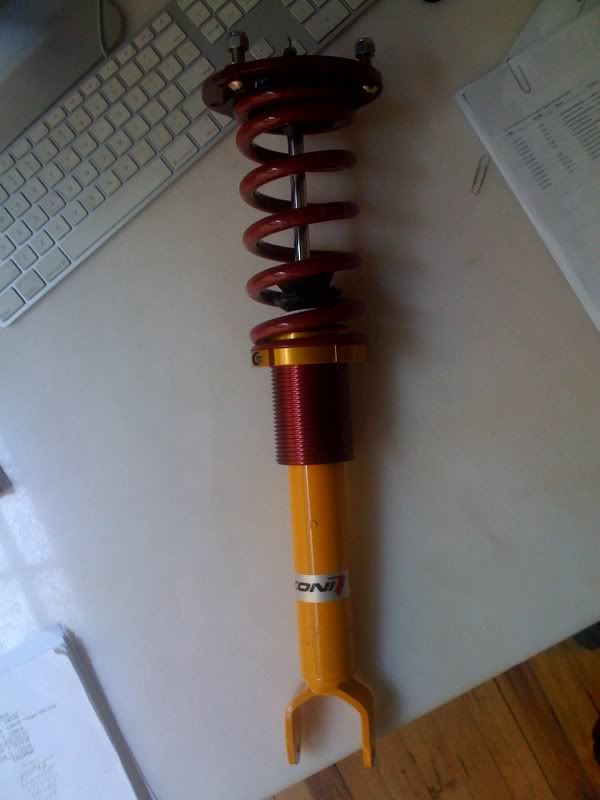
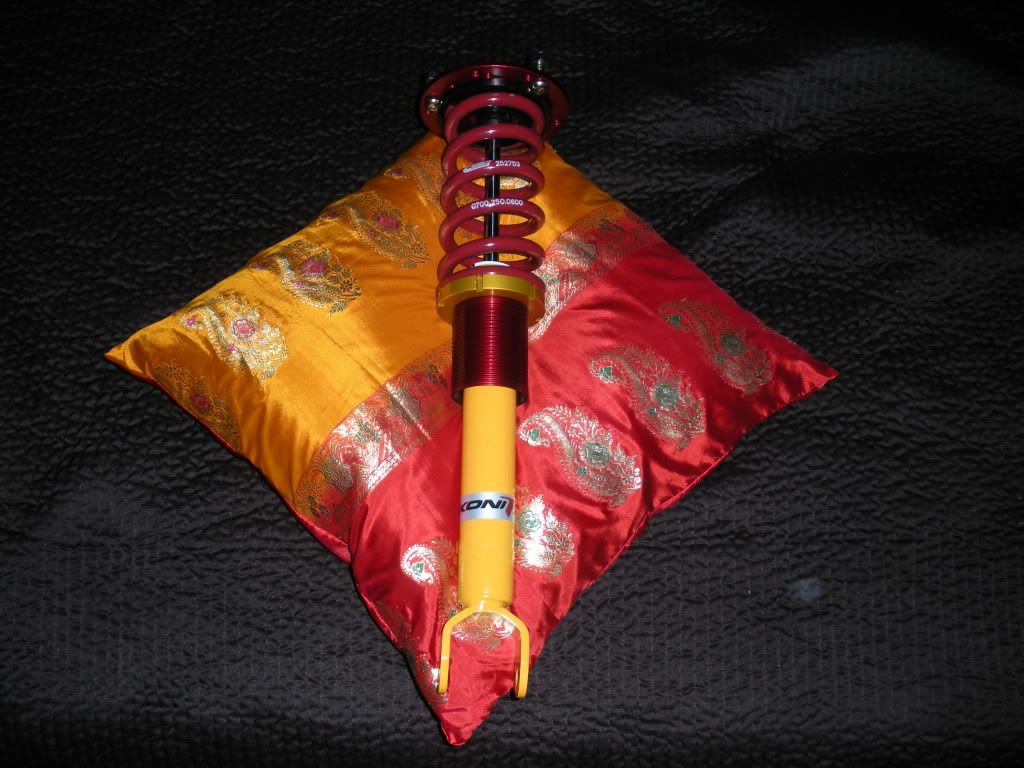
Finished installing the shocks and springs Saturday. I couldn't get these helpers and couplers to work (despite some modification to the couplers) so i installed the koni/gc without them.
Took it in for an alignment...
-2.0.....Front Camber
5.6......Front Caster
0.........Front Toe
-1.5.....Rear Camber
0.........Rear Toe
0.........Rear Thrust
At these front camber/caster settings dialing more negative camber meant sacrificing caster, and visa versa. The above settings are where I settled.
Update:
I got my hands on some lovely 295/35/17 Hoosier A6s. Had them mounted to my 17x9 42ET wheels. Needless to say, they fronts don't fit and rub in many ways. The rears fit with modification to muffler heat shield and disconnection rear sway bar. They provide immense grid and now I am hunting for an appropriate front wheel/tire combo. I tried borrow 275/35/15 on 15x10 and it worked great until the tires corded. For now I am running my 245/45/16 Toyo R888 with A6 in the rear (silly)
With regard to the track time, peak temps after ~20 minutes...
Water: 109 *C
Air: High 80s, but I think at one point I peaked at 90 *C
Cooling Mods:
Aluminum AST
16 LBS Cap
Koyo Rad
ARC SMIC
AI Kit (currently not working...)
First session the 13 LBS cap seal failed and in the off sessions I; (a) replaced 2 of 3 coolant lines out of the AST, (b) bent the AST cap seat/flange back to a symmetrical shape, (c) replaced 13 LBS cap with 16 LBS. She was running strong the whole time after the repair. Ran 2 sessions back to back. I am sure the ecu retard timing like crazy at these intake temps, but all and all it seemed OK.
I am crazy to push on track at these temps?
For next time I would very much like to repair the AI kit functionality and set up a proper V-mount I/C setup with shrouds. Also, do you suspect the lack of oil catch can could have been partly the cause of SMIC in-efficiency? I would like to run one, but don't want a baller/bling unit. Just a good reliable catch can. Possibly one that feeds back to the system. What do you suggest? Any other suggestions?
Update:
1. Replaced rad fans because the driver side had damaged fins
2. Removed battery tray to increase rad air flow and made a custom bracket for my Deka ETX20L battery with similar orientation to the fighters garage battery mount
3. Picked up a vented fiberglass hood used already painted black
4. Installed a Pettit Racing thermostat
5. Installed an FC thermoswitch to be rewired for high speed fan operation when tripped
6. Replacing turboback exhaust with 3" Bonez downpipe, custom metallic cat 3" midpipe, and an Apexi N1 dual muffler catback
7. Switched back to usdm ypipe and planning new intercooler setup (details TBD)
8. Installed Tweakit Racing air pump delete pulley
9. Replaced water pump belt and ac/ps belt
10. Installed block off plate for EGR valve
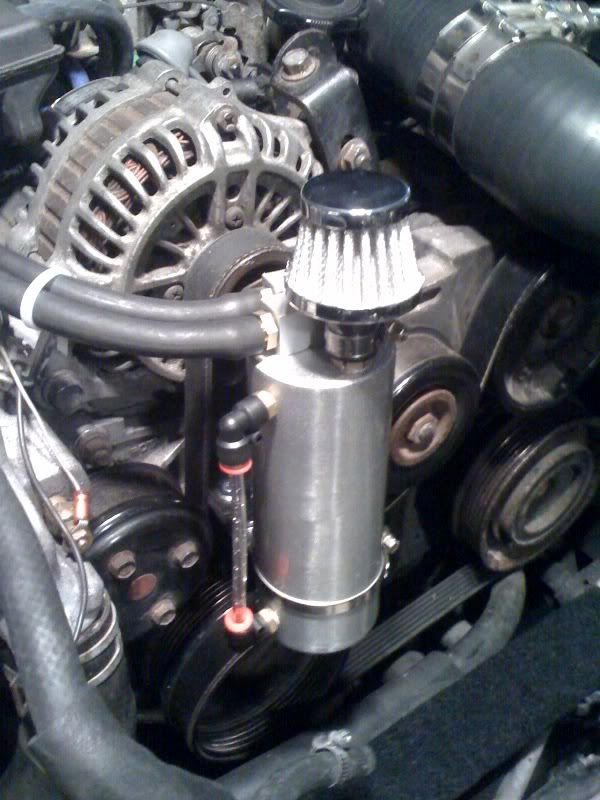
Also installing generic oil catch can, a custom McMaster Carr / K&N / Damian heat shield intake system & removing PCV valve to UIM to use both oil filler neck nipples to feed catch can,
Lastly, I scored an ultra lightweight 7.8lbs Full Titanium Greddy Catback. Apexi Duals are going up for sale.
Oil catch can installed, vented, and plumbed. I routed both lines from the oil neck to the catch can to allow more room for gas & oil flow. I drilled out the top of the can and threaded in a barb fitting with a mini air filter to vent the crank case gas.
Secondly, I have my preliminary custom 2.75" silicone intercooler piping using three 90* bends, three stainless steel joiners, ~1'6" for straight silicone, and 10 T Bolt clamps (all from siliconeintakes.com)
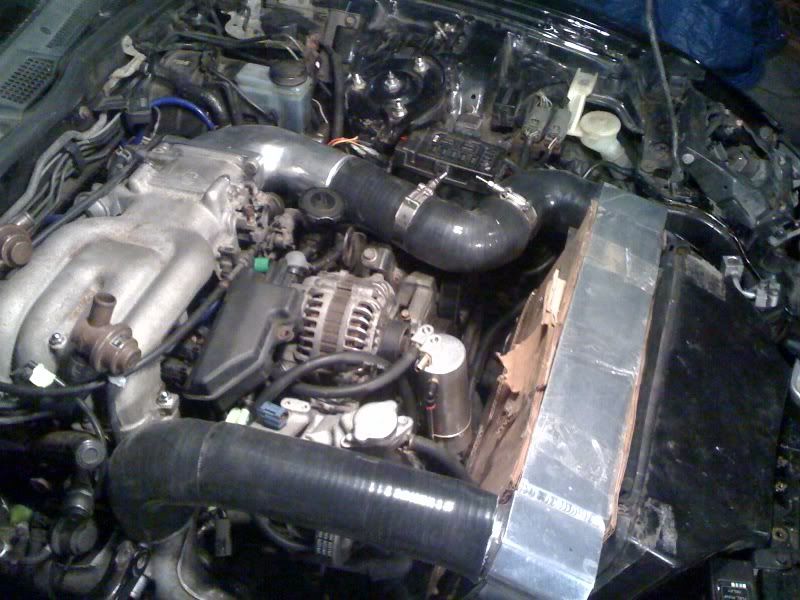
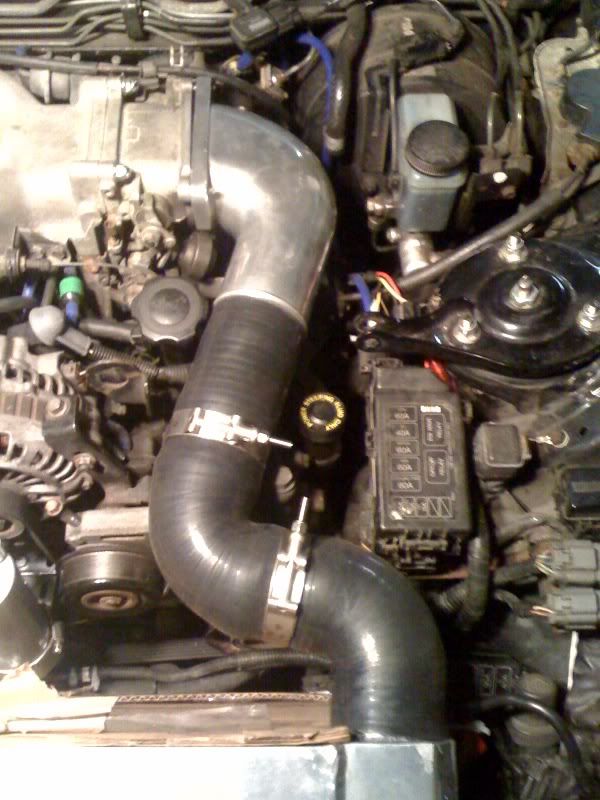
Secondly, I have my preliminary custom 2.75" silicone intercooler piping using three 90* bends, three stainless steel joiners, ~1'6" for straight silicone, and 10 T Bolt clamps (all from siliconeintakes.com)