
College kid build


Thread Starter
Senior Member
iTrader: (5)
Joined: Jul 2014
Posts: 274
Likes: 0
From: Ontario, Canada
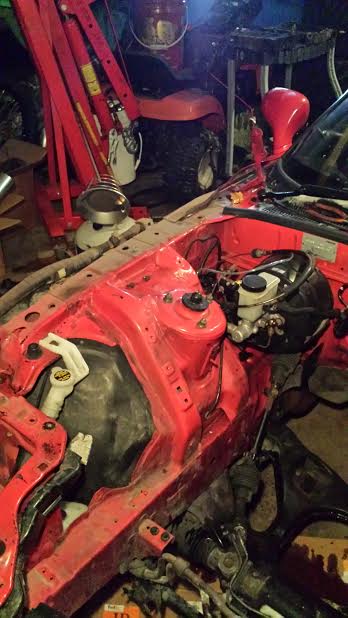
got back from my trip this morning went to sleep woke up and started working on this cluster f#%*.
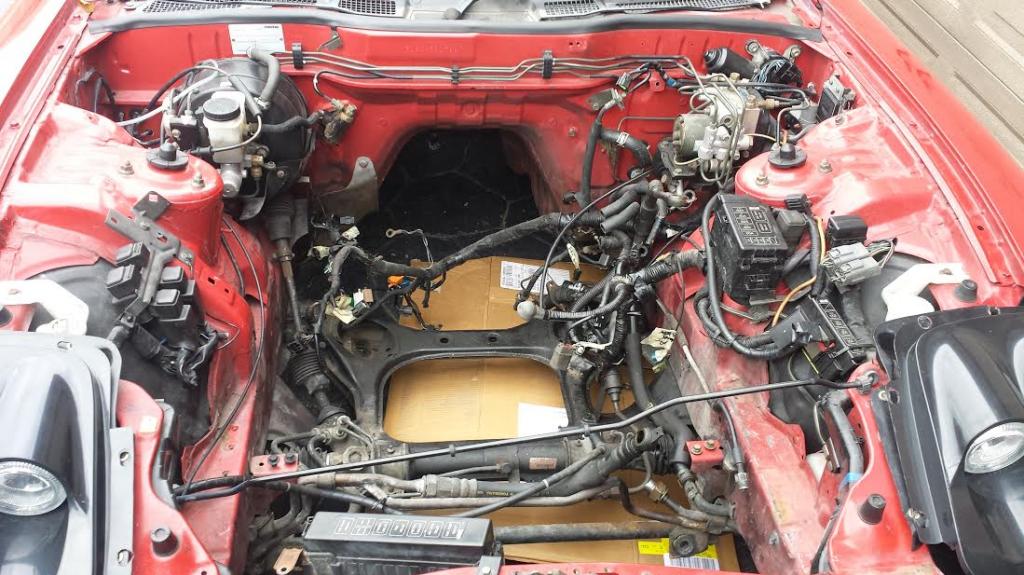
abs is gonzo.. hit up alex rodriguez on the forum, he has a very nice kit.. i have yet to install it because I'm painting the engine bay soon.
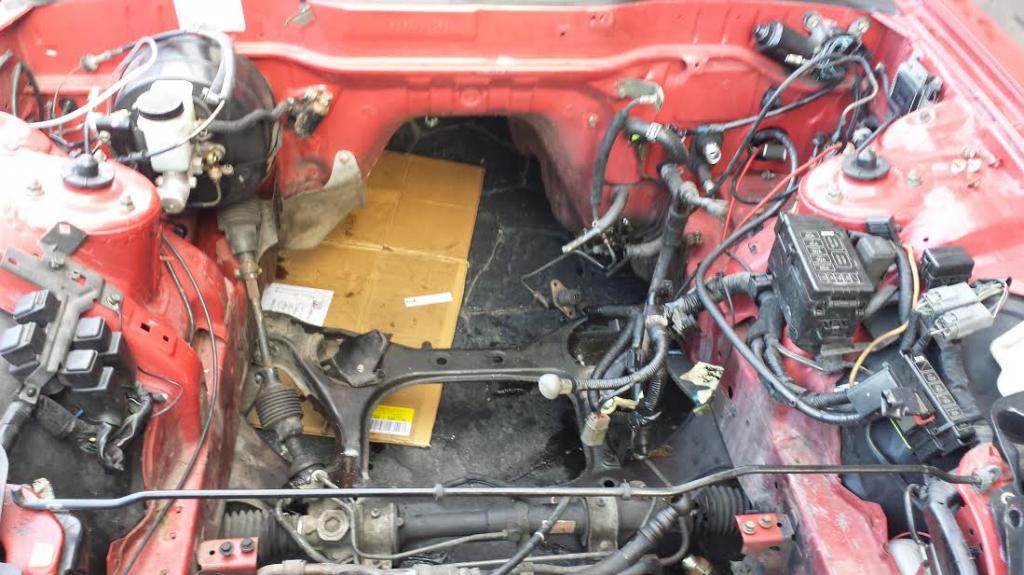
then i started this disaster.. such a pita
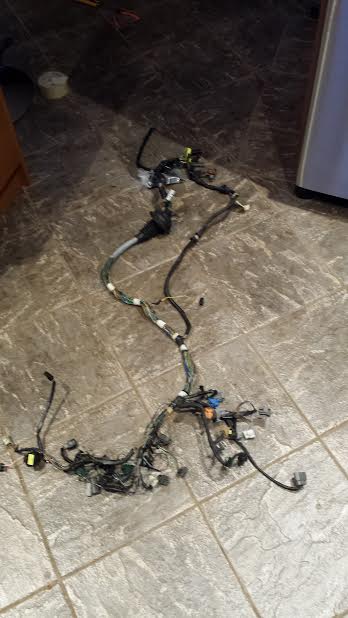
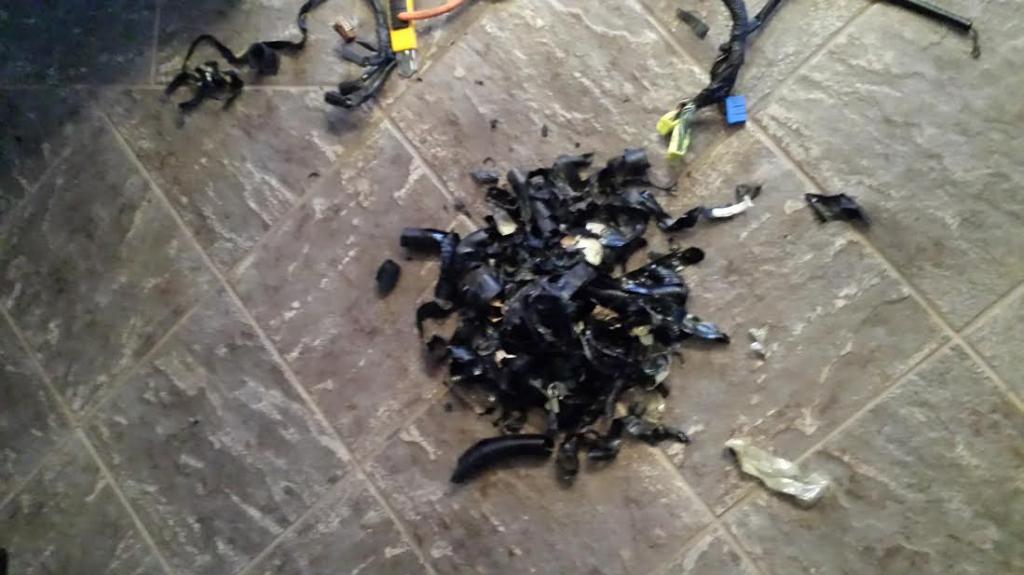
most of the scraps from the harness

abs is gonzo.. hit up alex rodriguez on the forum, he has a very nice kit.. i have yet to install it because I'm painting the engine bay soon.

then i started this disaster.. such a pita

most of the scraps from the harness

I used cuticle scissors to remove the tape from the harness....
well, actually my wife did it for me, lol. she said it was really easy.
You bay doesn't look bad at all. Just a lil clean up and paint. donzo
well, actually my wife did it for me, lol. she said it was really easy.
You bay doesn't look bad at all. Just a lil clean up and paint. donzo
Thread Starter
Senior Member
iTrader: (5)
Joined: Jul 2014
Posts: 274
Likes: 0
From: Ontario, Canada
nope its not too greasy or anything. pics make it look worse than it really it.. I'm going to be hiding a bunch of wires and relays.. trying to clean it all up and make it look easier.. as well as a little updated, i talked to zach at addicted performance and he will be starting my motor next week.. so ill be posting pictures he sends me, I'm super stoked.. i leave for vacation again so not much progress will be happening..
Nice build so far... I would agree with other members that those headlights are not the greatest looking....
Two things:
1) I have thought about powdercoating my UIM and LIM, but have read that powdercoating is not very good as it will cause the excessive heat. What are your thoughts?
2) Why paint the Fuel pump bracket? I too would feel hesitant of letting paint soak in gas 24/7. This might lead to a clogged something with the paint starts peeling. I guess alternatively the gas could dissolve the paint?
Nonetheless, good luck with the build!
-Nick
OP... Powdercoat it PINK! :-D
EDIT:
With the proper coating as mentioned below!
-Nick
I think he is referring to the coating preventing heat transfer once back on the car. The bare aluminum sheds heat better than a coated manifold would.
However, they make coatings that assist in heat dissipation.
However, they make coatings that assist in heat dissipation.
Thread Starter
Senior Member
iTrader: (5)
Joined: Jul 2014
Posts: 274
Likes: 0
From: Ontario, Canada
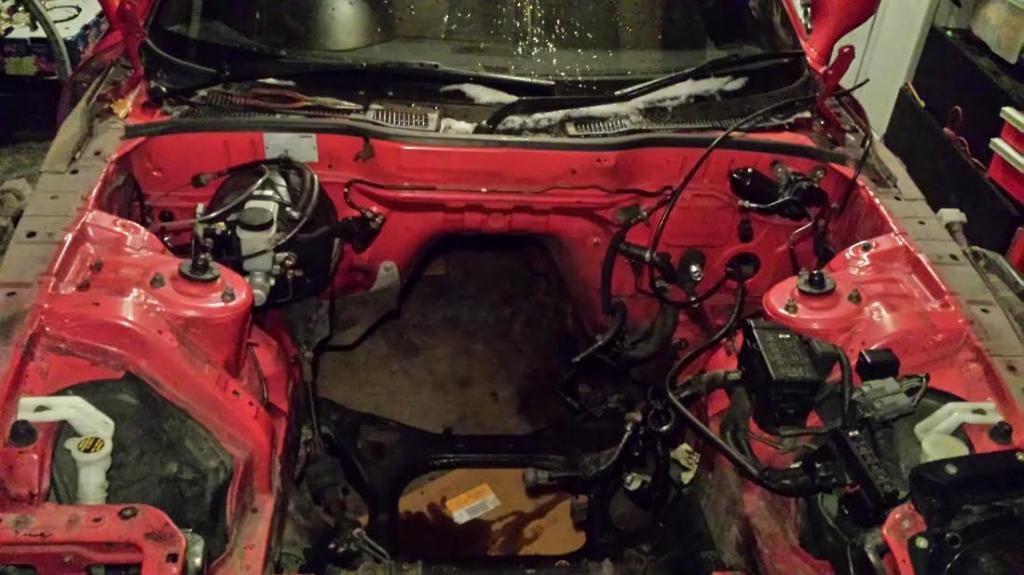
i sandblasted the inside of the fuel unit so theres no paint, i left the outside the same colour..
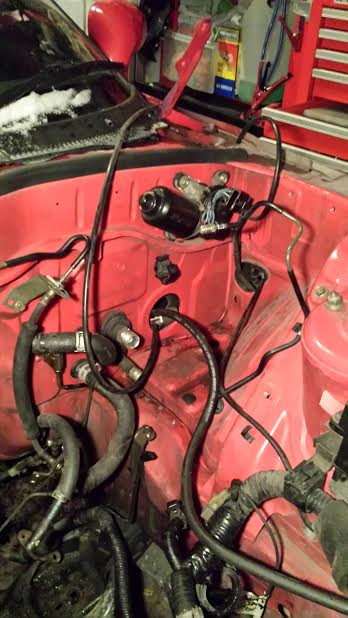
Im almost done my wiring harness just figuring out where 2 of my wires go then ill wrap it and I'm done that. Also cleaned up the driver side of the engine bay ( relocated the fan relays, hood cable)
Im almost done my wiring harness just figuring out where 2 of my wires go then ill wrap it and I'm done that. Also cleaned up the driver side of the engine bay ( relocated the fan relays, hood cable)

Thread Starter
Senior Member
iTrader: (5)
Joined: Jul 2014
Posts: 274
Likes: 0
From: Ontario, Canada
relocated the igniter
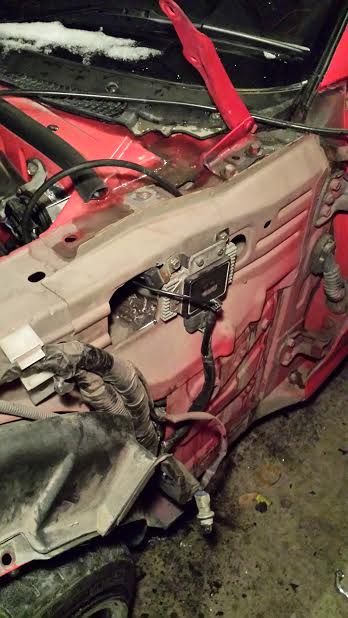
took out all my abs wires and map sensor to the other side of the firewall so you can't see them but if i ever want to hook it up again.. made the other side look better
overall so far

took out all my abs wires and map sensor to the other side of the firewall so you can't see them but if i ever want to hook it up again.. made the other side look better

overall so far

Thread Starter
Senior Member
iTrader: (5)
Joined: Jul 2014
Posts: 274
Likes: 0
From: Ontario, Canada
not to much going on with the car because I've been super sick or unmotivated.. but to help with the motivation i ordered:
rebuilt motor with goopy seals from addicted performance- Hit them up for good deals and service
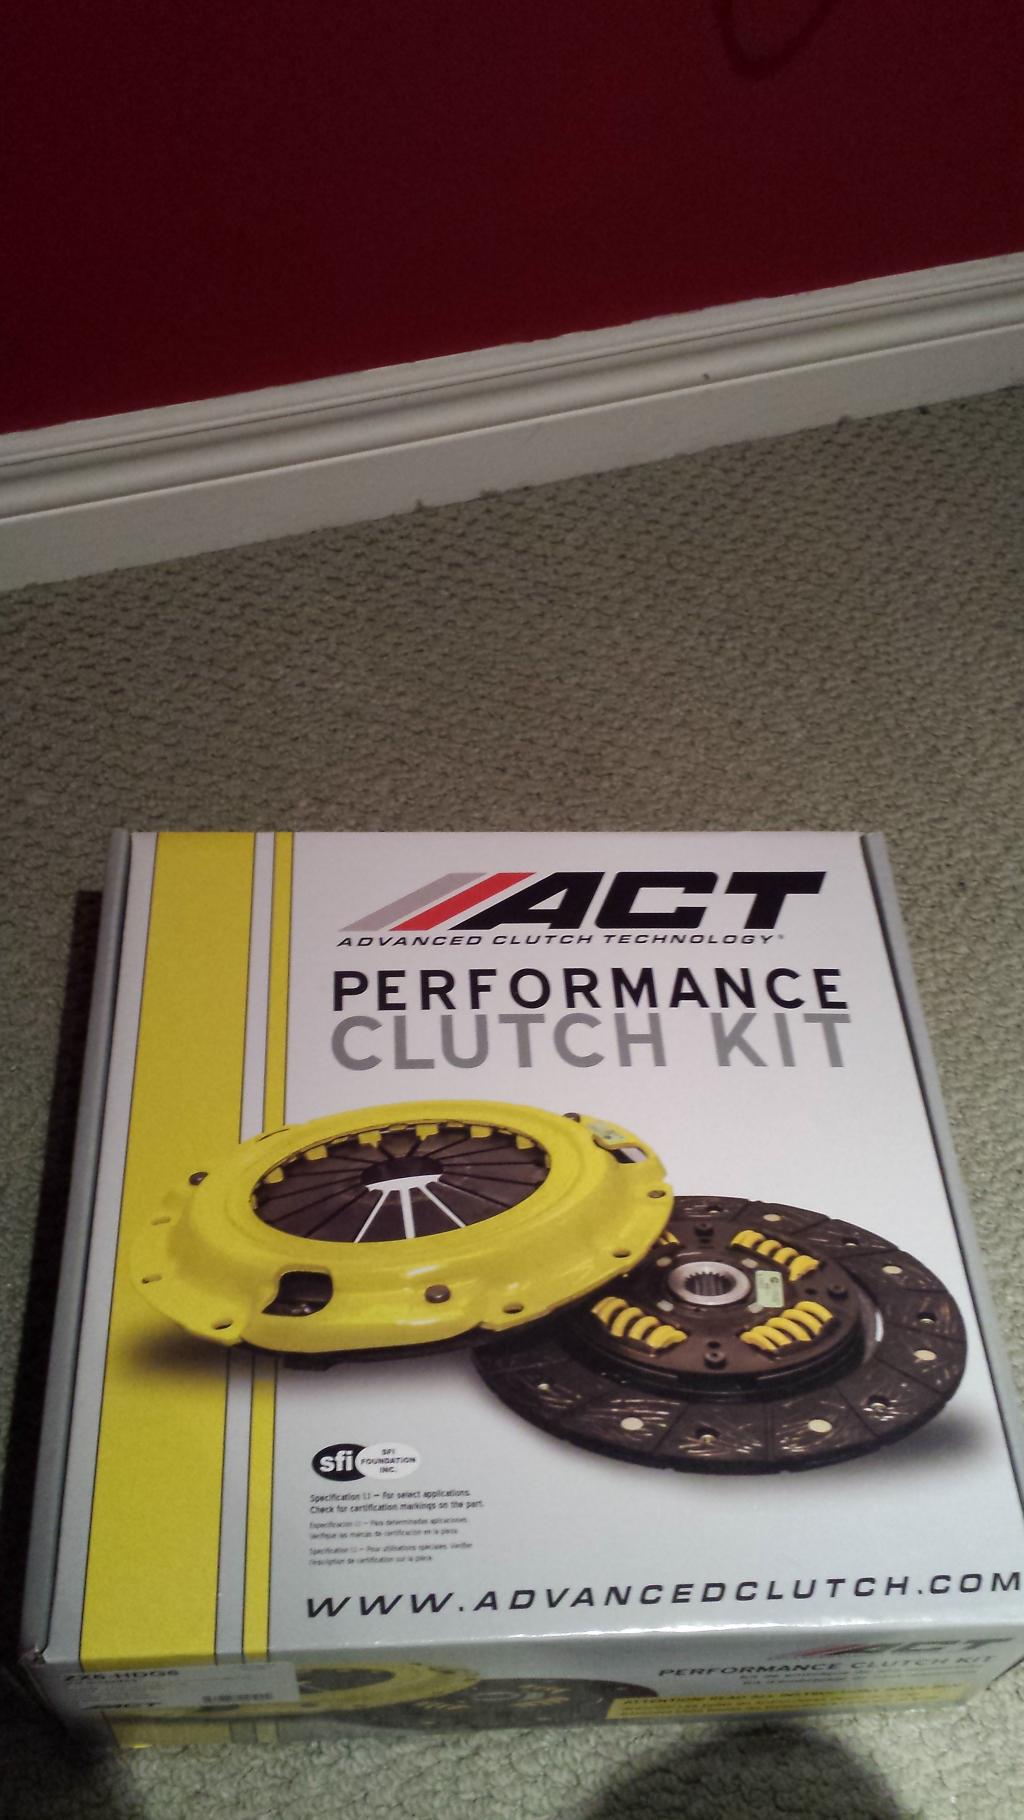
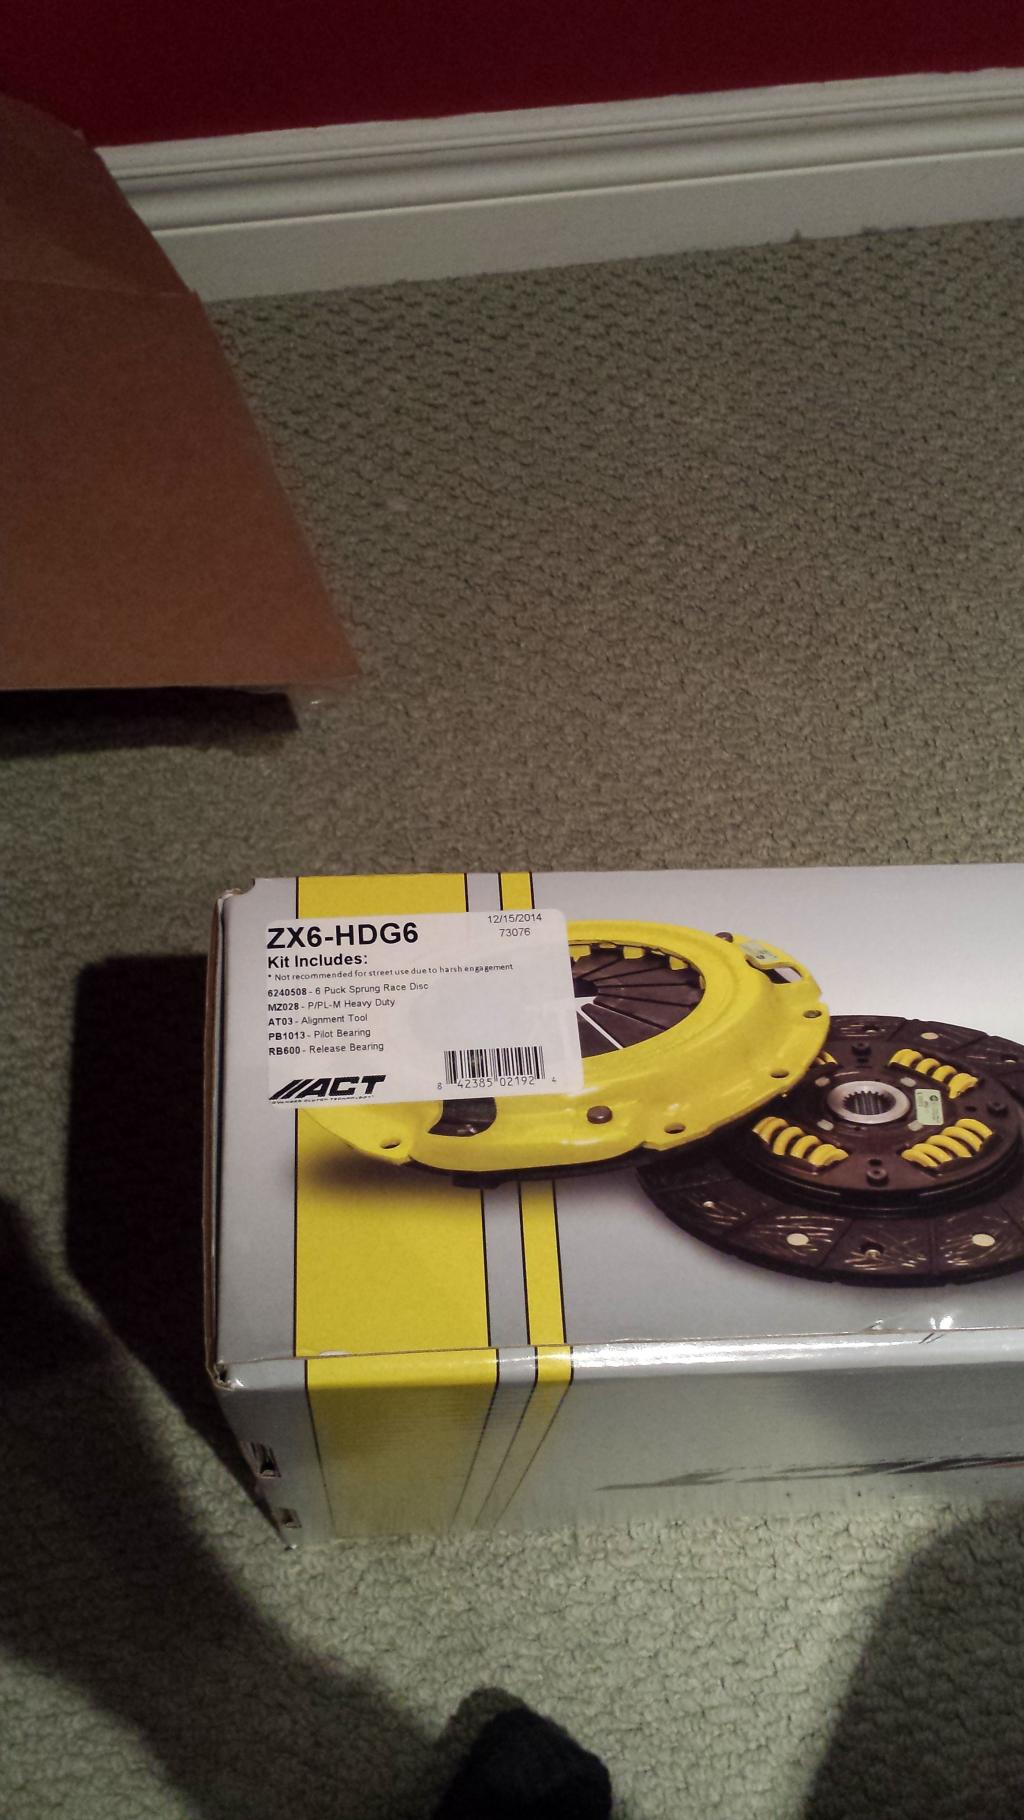
act zx6-HDG6
AEM Ignition coils with Sakebomb garage wiring harness
rebuilt motor with goopy seals from addicted performance- Hit them up for good deals and service
act zx6-HDG6
AEM Ignition coils with Sakebomb garage wiring harness
Nice build ! Keep us posted
You could of ceramic coated the lim&uim
At Perfection Power Coating , iirc it cost me ~250ish
I'm pretty much at the same spot as you
Just got to go pick up my engine in Calgary
*your gonna love Alex's kit, it cleaned my engine bay!
You could of ceramic coated the lim&uim
At Perfection Power Coating , iirc it cost me ~250ish
I'm pretty much at the same spot as you
Just got to go pick up my engine in Calgary
*your gonna love Alex's kit, it cleaned my engine bay!
Thread Starter
Senior Member
iTrader: (5)
Joined: Jul 2014
Posts: 274
Likes: 0
From: Ontario, Canada
I've decided that I'm going to paint everything next year because its not really in the budget now as I've spent more than i wanted to.. so I'm gonna do function this year and fashion next year.. i got some goodies aem ignition coils will be here sometime this month
AEM Water Meth injection
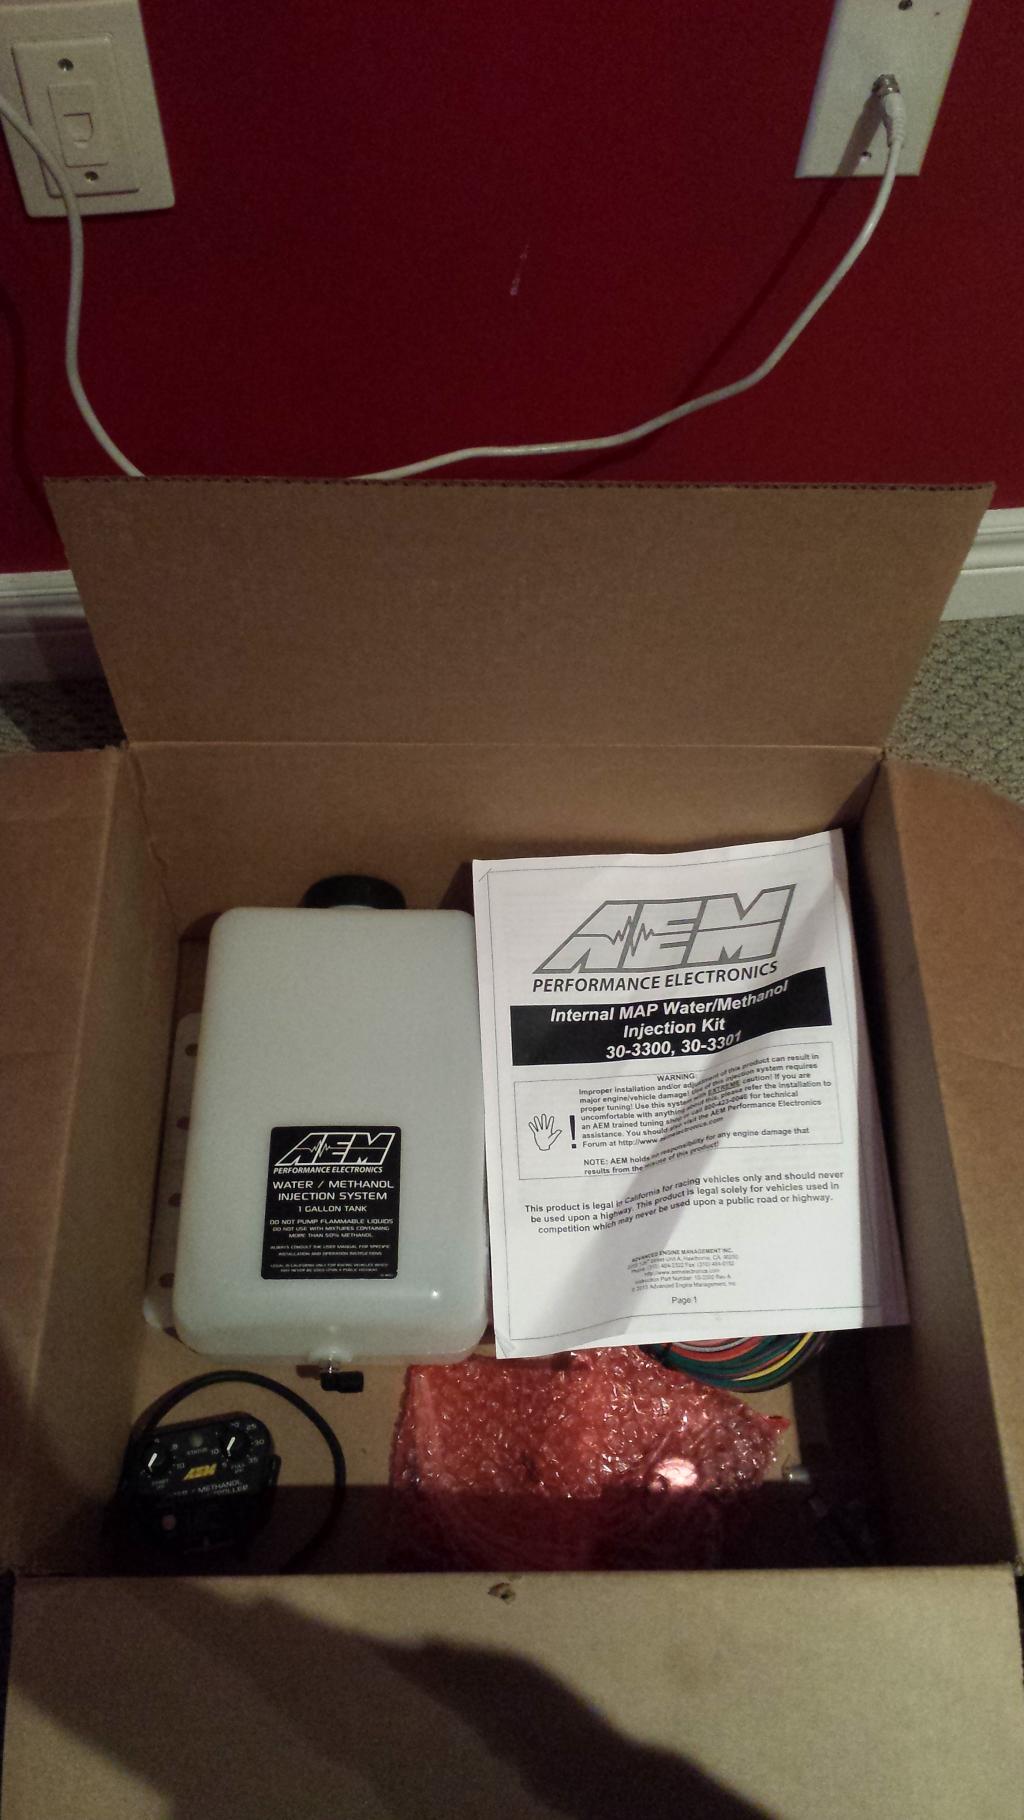
ACT Clutch
Hit up Addicted Performance for whatever parts you need! easy to deal with and fast shipping. I'm waiting for a little more funds so they can finish my engine and ship it away.. then things will start moving faster again
aem ignition coils will be here sometime this monthAEM Water Meth injection

ACT Clutch


Hit up Addicted Performance for whatever parts you need! easy to deal with and fast shipping. I'm waiting for a little more funds so they can finish my engine and ship it away.. then things will start moving faster again
[QUOTE="rollcoal;11854361"]relocated the igniter
Since you ordered the AEM Coils you won't need
the igniter anymore....
And I think you'll want the igniter connector back in the engine bay to pin it out with your new coil harness
For a cleaner look , I personally removed the ABS wheel sensor and put them away with Abs unit
What ECU are you planning to use ?
Thread Starter
Senior Member
iTrader: (5)
Joined: Jul 2014
Posts: 274
Likes: 0
From: Ontario, Canada
[QUOTE=7krayziboi;11862002]
i actually relocated it before i ordered the coils, originally i was going to run the stock coils for a bit but then i sold some parts and bough the aem coils so ill be taking it out..
I'm running an adaptronic ecu right now
yea i still have to get around the abs sensor, I'm going to be running my brake lines underneath my engine along the sub frame.
Master cylinder > tee> front brakes
i hope there will be no issues
relocated the igniter
Since you ordered the AEM Coils you won't need
the igniter anymore....
And I think you'll want the igniter connector back in the engine bay to pin it out with your new coil harness
For a cleaner look , I personally removed the ABS wheel sensor and put them away with Abs unit
What ECU are you planning to use ?
I'm running an adaptronic ecu right now
yea i still have to get around the abs sensor, I'm going to be running my brake lines underneath my engine along the sub frame.
Master cylinder > tee> front brakes
i hope there will be no issues
You still will need to run the stock proportioning valve, you can not just T off the line from the master.
Where did you move the fan relays that were mounted to the fender apron?
Where did you move the fan relays that were mounted to the fender apron?
The kit comes with one and a T
This is how mine looks on my rhd
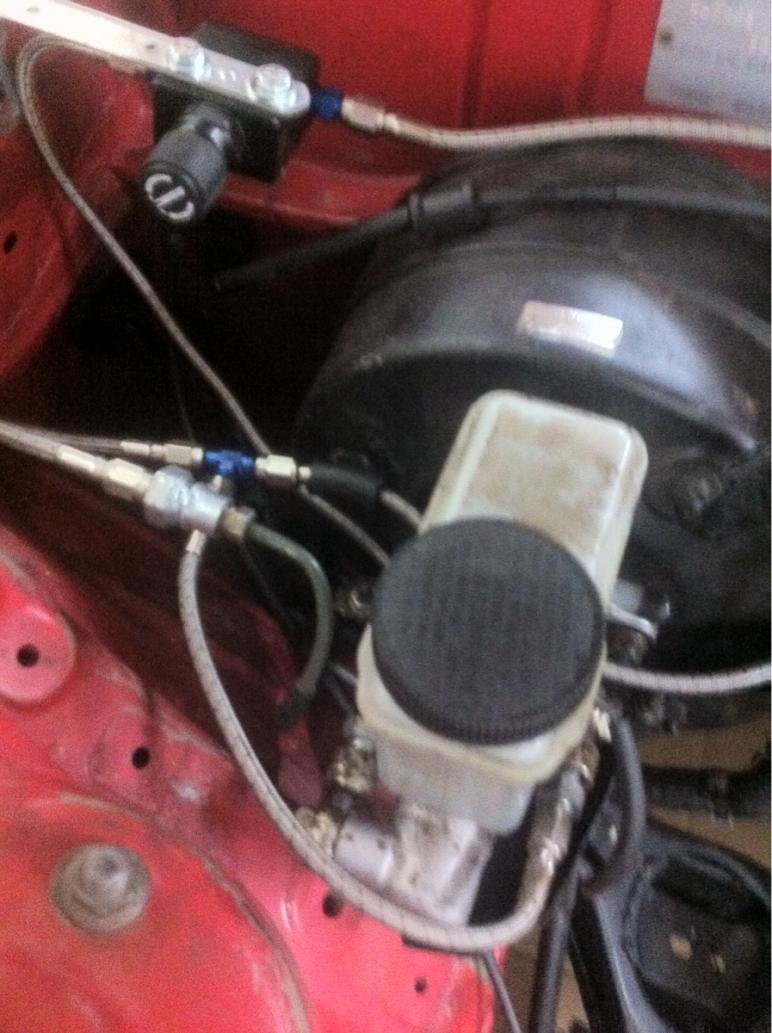
I'm planning to move to Proportioning valve in the cabin tho, and put WI tank there
Marc , maybe you can ask Alex If he didn't ship your order to put you enough line to install it in the cabin
Thread Starter
Senior Member
iTrader: (5)
Joined: Jul 2014
Posts: 274
Likes: 0
From: Ontario, Canada
What do you mean stock proportioning valve?
The kit comes with one and a T
This is how mine looks on my rhd
Attachment 551985
I'm planning to move to Proportioning valve in the cabin tho, and put WI tank there
Marc , maybe you can ask Alex If he didn't ship your order to put you enough line to install it in the cabin
The kit comes with one and a T
This is how mine looks on my rhd
Attachment 551985
I'm planning to move to Proportioning valve in the cabin tho, and put WI tank there
Marc , maybe you can ask Alex If he didn't ship your order to put you enough line to install it in the cabin
moved it to under the headlight light right above the oil cooler