
Budget non sequential FD build


Thread Starter
Full Member
Joined: Jul 2011
Posts: 162
Likes: 5
From: Alberta Canada
Budget non sequential FD build
well I think I'll put together a build thread. I probably got enough pictures to keep it somewhat interesting.
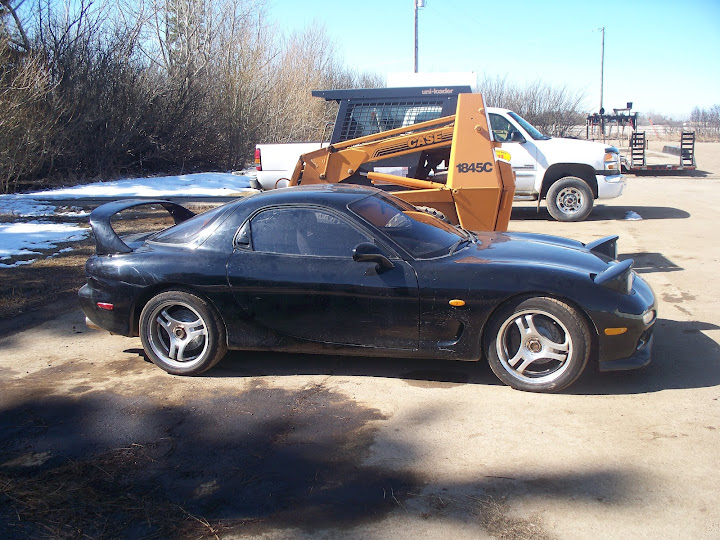
I wanted to get started on some forms of racing that involved more than just a straight line. I wanted to buy a sporty car so that I could give it a try through some track days and stuff rather than just jump into something competitive and get my *** kicked. Any ways I ended up finding a 1993 FD Rx7, maybe 7/10 on the body, quite a few little dings and dents, the engine ran but burnt a bit of oil(more than it should at least). But I'm not afraid of a project so I picked it up for what I thought was a pretty good deal. 3000$

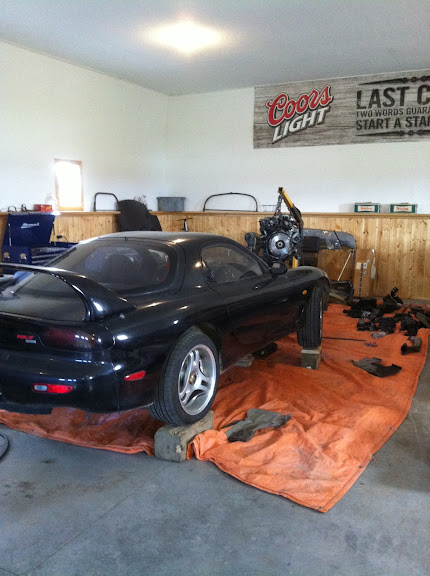
Started pulling it apart and pulling the engine earlier this summer.


The project got pushed to the side for most of the summer as I ended working on my truck alot more than I wanted.
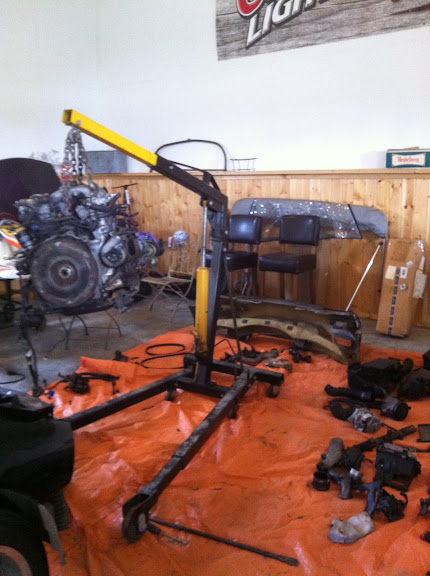
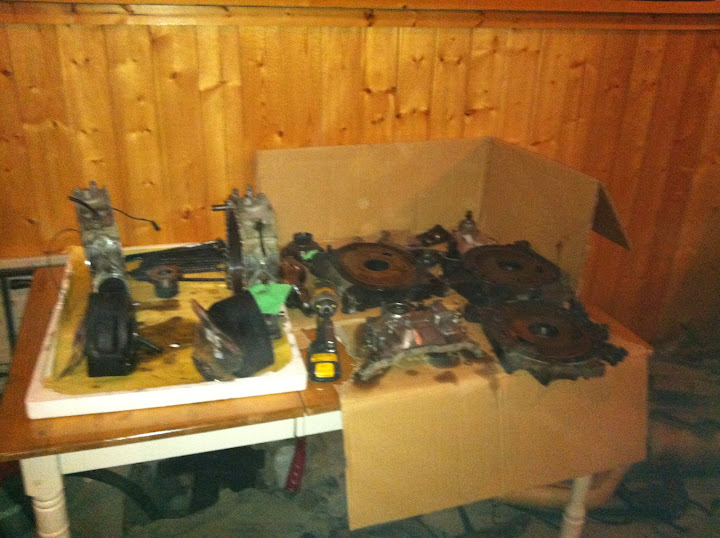
In September I got to pulling the engine apart.


I wanted to get started on some forms of racing that involved more than just a straight line. I wanted to buy a sporty car so that I could give it a try through some track days and stuff rather than just jump into something competitive and get my *** kicked. Any ways I ended up finding a 1993 FD Rx7, maybe 7/10 on the body, quite a few little dings and dents, the engine ran but burnt a bit of oil(more than it should at least). But I'm not afraid of a project so I picked it up for what I thought was a pretty good deal. 3000$
Started pulling it apart and pulling the engine earlier this summer.
The project got pushed to the side for most of the summer as I ended working on my truck alot more than I wanted.
In September I got to pulling the engine apart.


Thread Starter
Full Member
Joined: Jul 2011
Posts: 162
Likes: 5
From: Alberta Canada
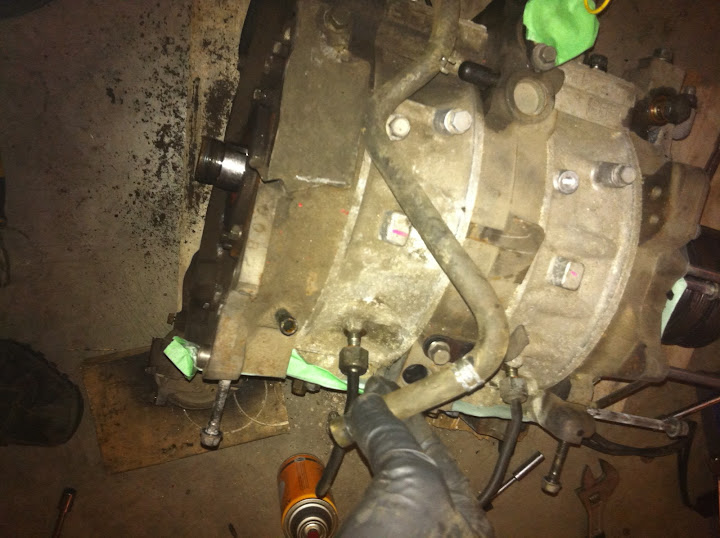
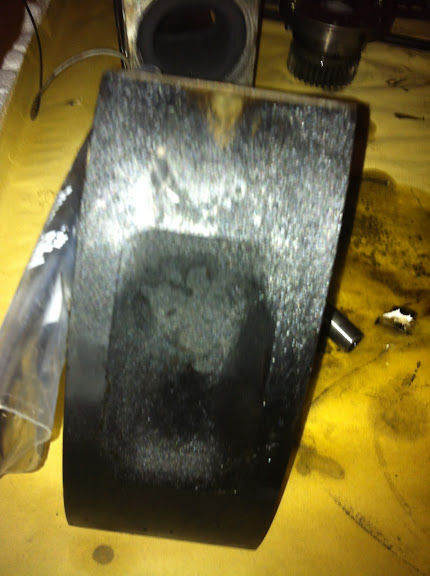
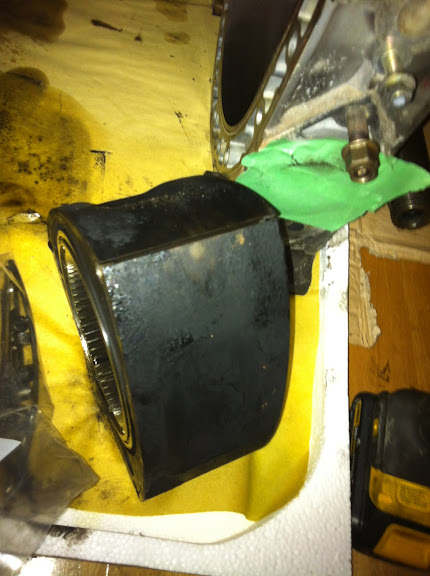
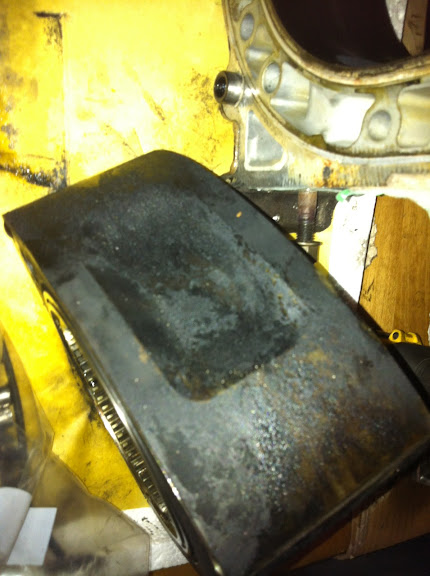
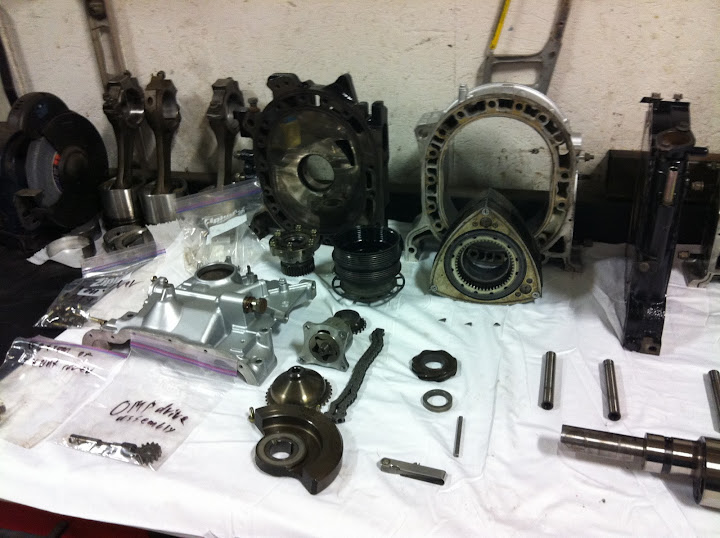
and the engine in pieces
here's the pictures from cleaning
still needs some more cleaning but starting too look alot better


mostly just cleaned the crap off the outside at this point

and two months later with next to no work on the car finally got back at it.
finished cleaning the engine, assembling the rotors and painting the engine in one weekend.
Started by moving all the parts and parts washer from the unheated barn into the heated shop.
Prepping the rotors. Side seals ruffed into place on the front rotor

Then both rotors
Then grinding the side seals clearances to 0.002-0.003

here's the pictures from cleaning
still needs some more cleaning but starting too look alot better
mostly just cleaned the crap off the outside at this point
and two months later with next to no work on the car finally got back at it.
finished cleaning the engine, assembling the rotors and painting the engine in one weekend.
Started by moving all the parts and parts washer from the unheated barn into the heated shop.
Prepping the rotors. Side seals ruffed into place on the front rotor
Then both rotors
Then grinding the side seals clearances to 0.002-0.003
Thread Starter
Full Member
Joined: Jul 2011
Posts: 162
Likes: 5
From: Alberta Canada
oil control rings installed in the front rotor

Then both rotors

all seals lubed up and apex seals and springs set in place on the front rotor. basically ready to drop into the engine

Then both rotors

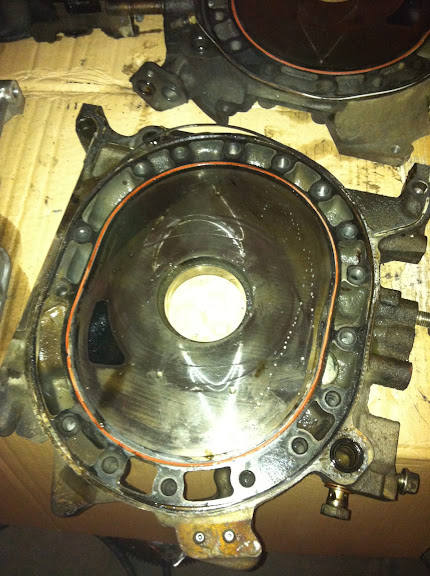
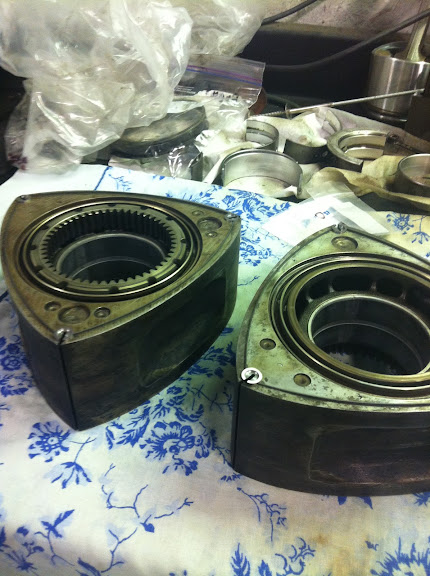
Front iron painted, that's alot of taping for very little painting.


stopping point for that day, front housing taped off and ready for paint the next day

got the front housing painted

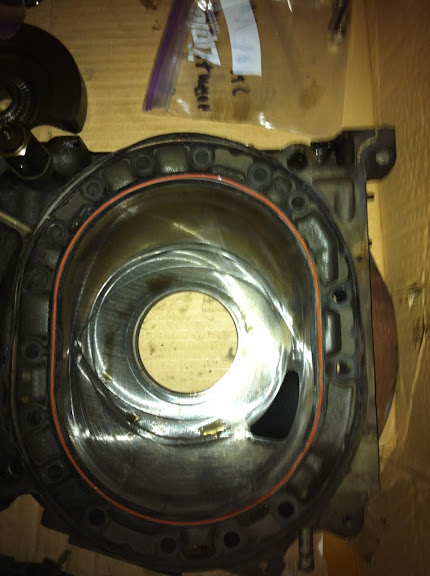
centre iron painted
rear iron taped up and ready for paint

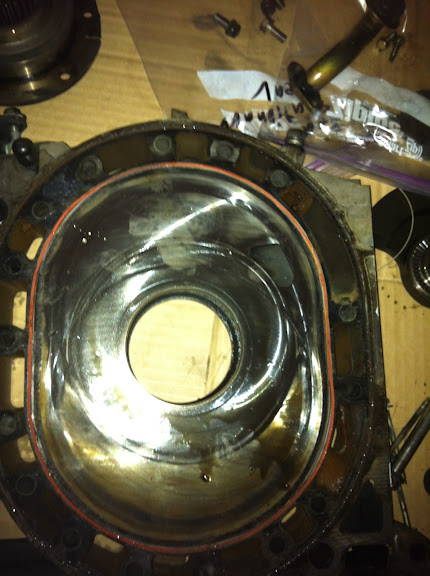
front iron with the tape removed

And a preview of what it could look like once finished.

Then both rotors
all seals lubed up and apex seals and springs set in place on the front rotor. basically ready to drop into the engine
Then both rotors
Front iron painted, that's alot of taping for very little painting.
stopping point for that day, front housing taped off and ready for paint the next day
got the front housing painted
centre iron painted
rear iron taped up and ready for paint
front iron with the tape removed
And a preview of what it could look like once finished.
Thread Starter
Full Member
Joined: Jul 2011
Posts: 162
Likes: 5
From: Alberta Canada
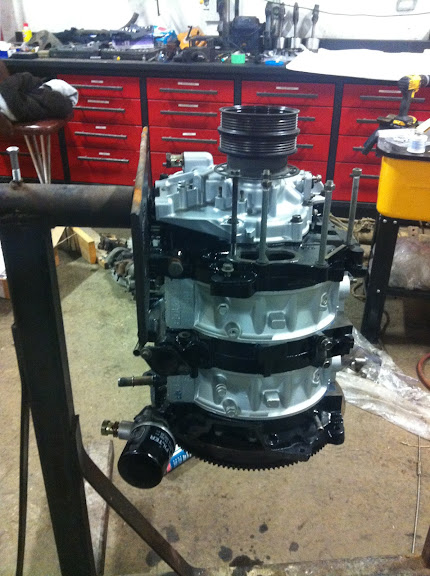
Weekend Later I started assembly of the engine.
Parts laid out
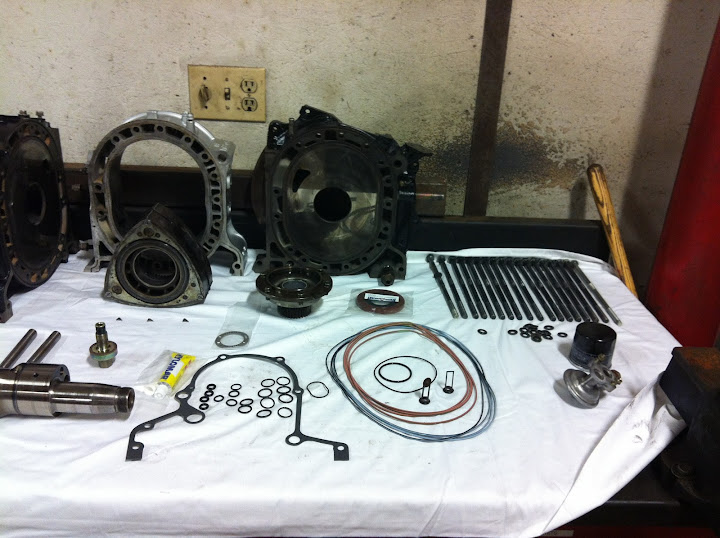
First housing on and rotor dropped in

Few less parts in the pile

E shaft dropped in

Top housing on and rotor dropped in


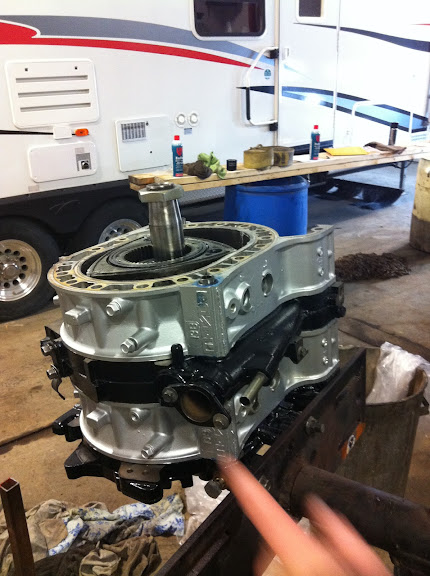
Even fewer parts left on the table

last iron on

Parts laid out
First housing on and rotor dropped in
Few less parts in the pile
E shaft dropped in
Top housing on and rotor dropped in
Even fewer parts left on the table
last iron on
Thread Starter
Full Member
Joined: Jul 2011
Posts: 162
Likes: 5
From: Alberta Canada
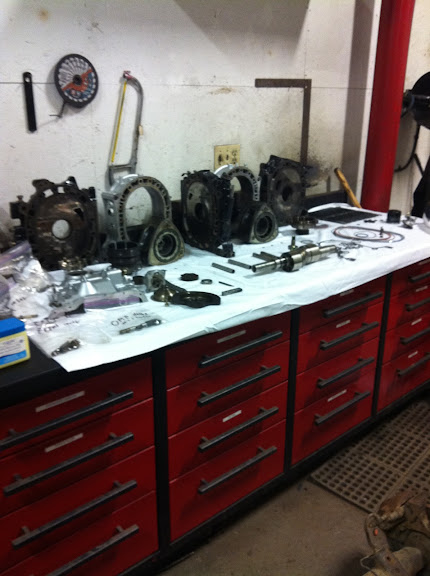
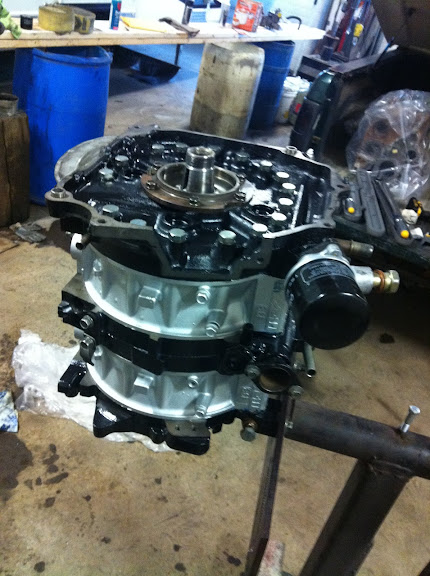
Starting to run out of engine parts

oil pump on
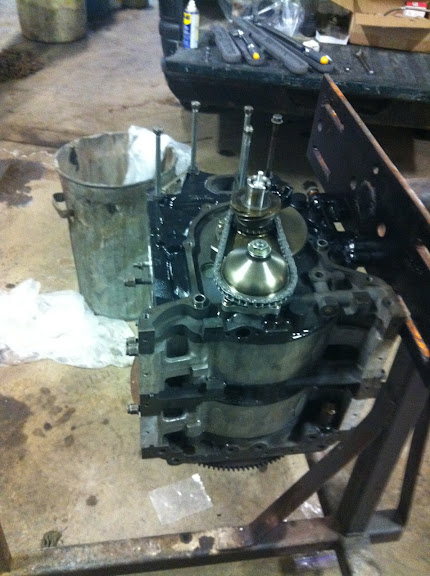
front cover on and water pump studs in

Oil pan on

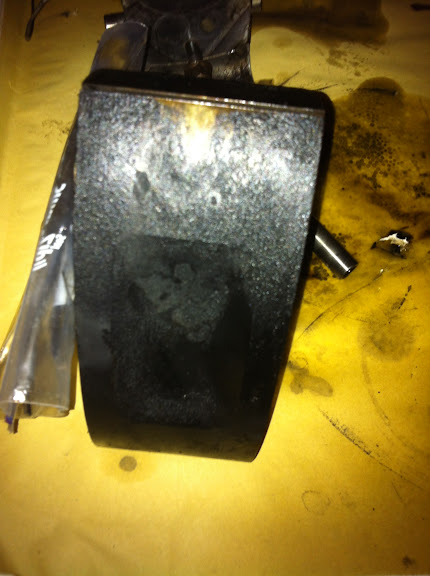
Water pump painted
water pump on and put on my longer term engine stand. I didn't like leaving the engine hanging off two bolts.
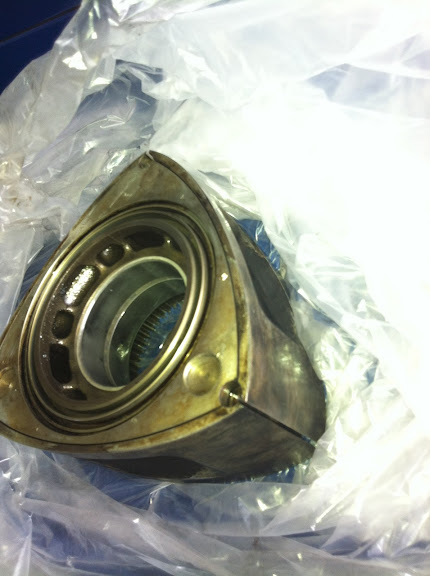
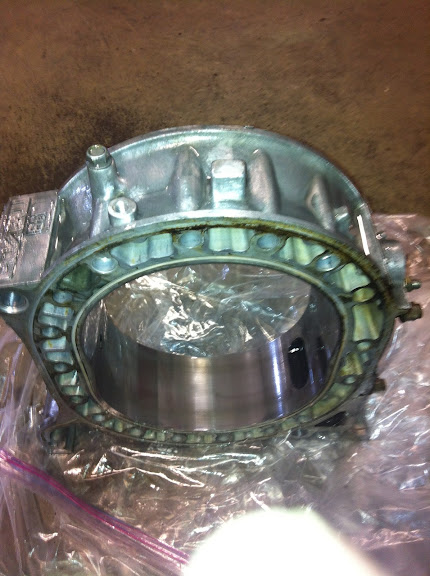
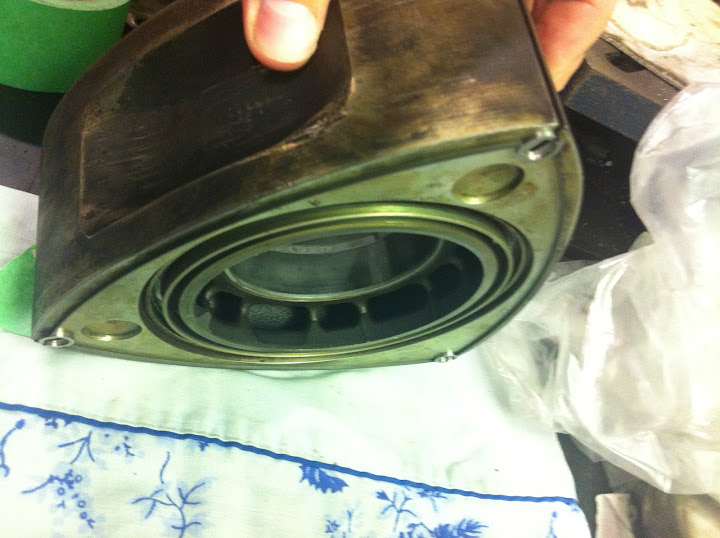
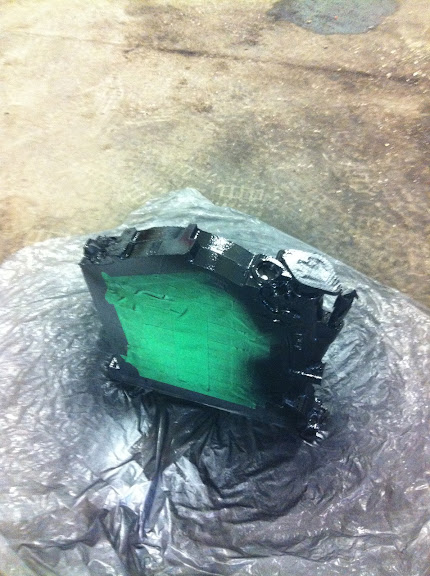
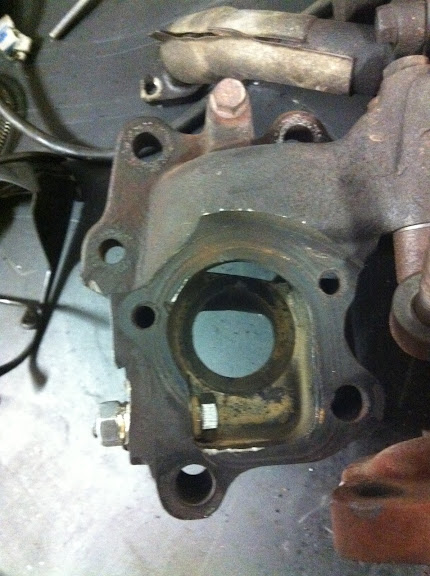
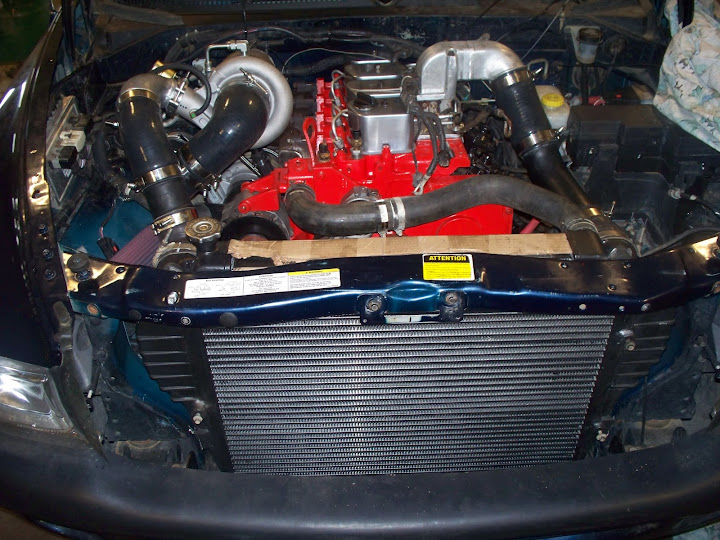
started my non sequential mods. These are the twins I picked up from a friend. The previous owner said the second turbo wasn't boosting. based off of the condition of the vacuum hoses the turbos likely weren't the problem but at least this way I know the turbo's work.
plugging the holes with some bolts just cause I'm lazy.

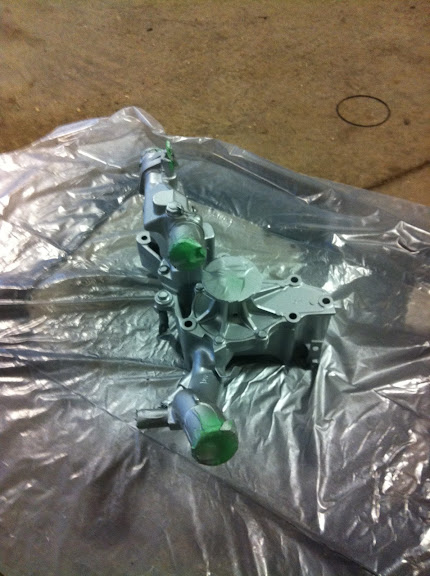
UIM cleaned off a bit
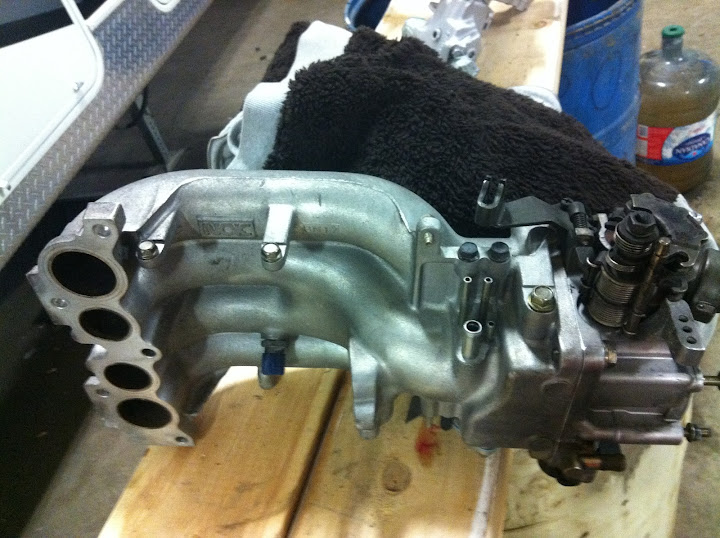
double throttle or whatever its called deleted as well as the thermo whatever.

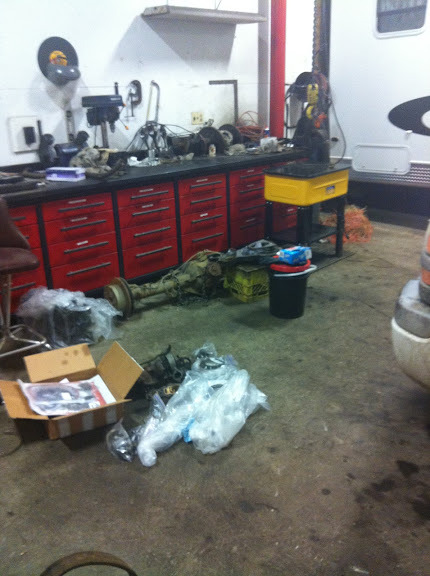
starting to collect some stuff for when its put back together

This is where I stand now. I've been working on my friends FD building brackets and getting his car ready for a much more in depth V mount single turbo build.
I've been porting the wastegate but its a slow process with all my distractions
oil pump on
front cover on and water pump studs in
Oil pan on
Water pump painted
water pump on and put on my longer term engine stand. I didn't like leaving the engine hanging off two bolts.
started my non sequential mods. These are the twins I picked up from a friend. The previous owner said the second turbo wasn't boosting. based off of the condition of the vacuum hoses the turbos likely weren't the problem but at least this way I know the turbo's work.
plugging the holes with some bolts just cause I'm lazy.
UIM cleaned off a bit
double throttle or whatever its called deleted as well as the thermo whatever.
starting to collect some stuff for when its put back together
This is where I stand now. I've been working on my friends FD building brackets and getting his car ready for a much more in depth V mount single turbo build.
I've been porting the wastegate but its a slow process with all my distractions
Trending Topics
Thread Starter
Full Member
Joined: Jul 2011
Posts: 162
Likes: 5
From: Alberta Canada
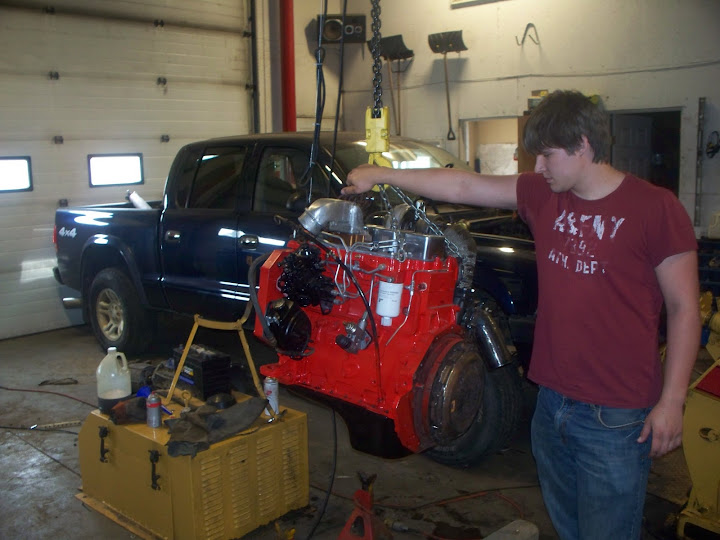
three years ago I twin turbo'd the engine and did some simple fuel mods with my VE pump and the truck was pushing 45-50 psi of boost
this year it got an upgrade in the fuel department. it got some serious Pump mods. It now uses an airdog 2 as the lift pump and it runs 30psi of lift pressure. The fuel flow was so great that the pump shutoff solenoid had to be removed. The truck was making approximate 70+ psi of boost. I only have a 60psi gauge and it would fly past the 60 mark and hit the stop peg a ways past the 60 mark.
the problems with this setup is that there is wandering in the idle because of the fuel pump mods and it has to be shut down by hand. so I'm building a single turbo 4bt out of my spare block that I will swap in to make it a daily driver again. my current crazy 4bt will go in some other project, maybe a stripped regular cab Dakota or maybe even a rail. I've had a p pump timing cover and pump lieing around. I wanna see what the VE can do first though. I was also running a 150HP shot of nitrous and some water meth injection.
heres some older pictures of when the twin turbo engine first went in. I'm not very good at taking pictures of the dakota.


 \
\I just got my spare block back It needed a repair sleeve as it dropped a valve. Its a really low mileage 4bt, I need to find a head and a ve timing case then I can start assembling the new engine.


Thread Starter
Full Member
Joined: Jul 2011
Posts: 162
Likes: 5
From: Alberta Canada
Thread Starter
Full Member
Joined: Jul 2011
Posts: 162
Likes: 5
From: Alberta Canada
Yep the small turbo stays in the propper pressure ratio through an internal wastegate. The big turbo should be within its pressure ratio up to 100psi or so so it just goes as high as it can


Thread
Thread Starter
Forum
Replies
Last Post
HalifaxFD
Canadian Forum
126
May 9, 2016 07:06 PM
4bt, build, cummins, diagram, fd, frd, full, nonsequential, proper, rx7, rx7club, sequential, supercharged, turbo, twin