When you click on links to various merchants on this site and make a purchase, this can result in this site earning a commission. Affiliate programs and affiliations include, but are not limited to, the eBay Partner Network.
@GSLSEFORME (mike) has been helping me work out some kinks in my 85 gsl-se. The last thing he had me look at was the fuel system and recommended that I change out the fuel filter and have the injectors serviced.
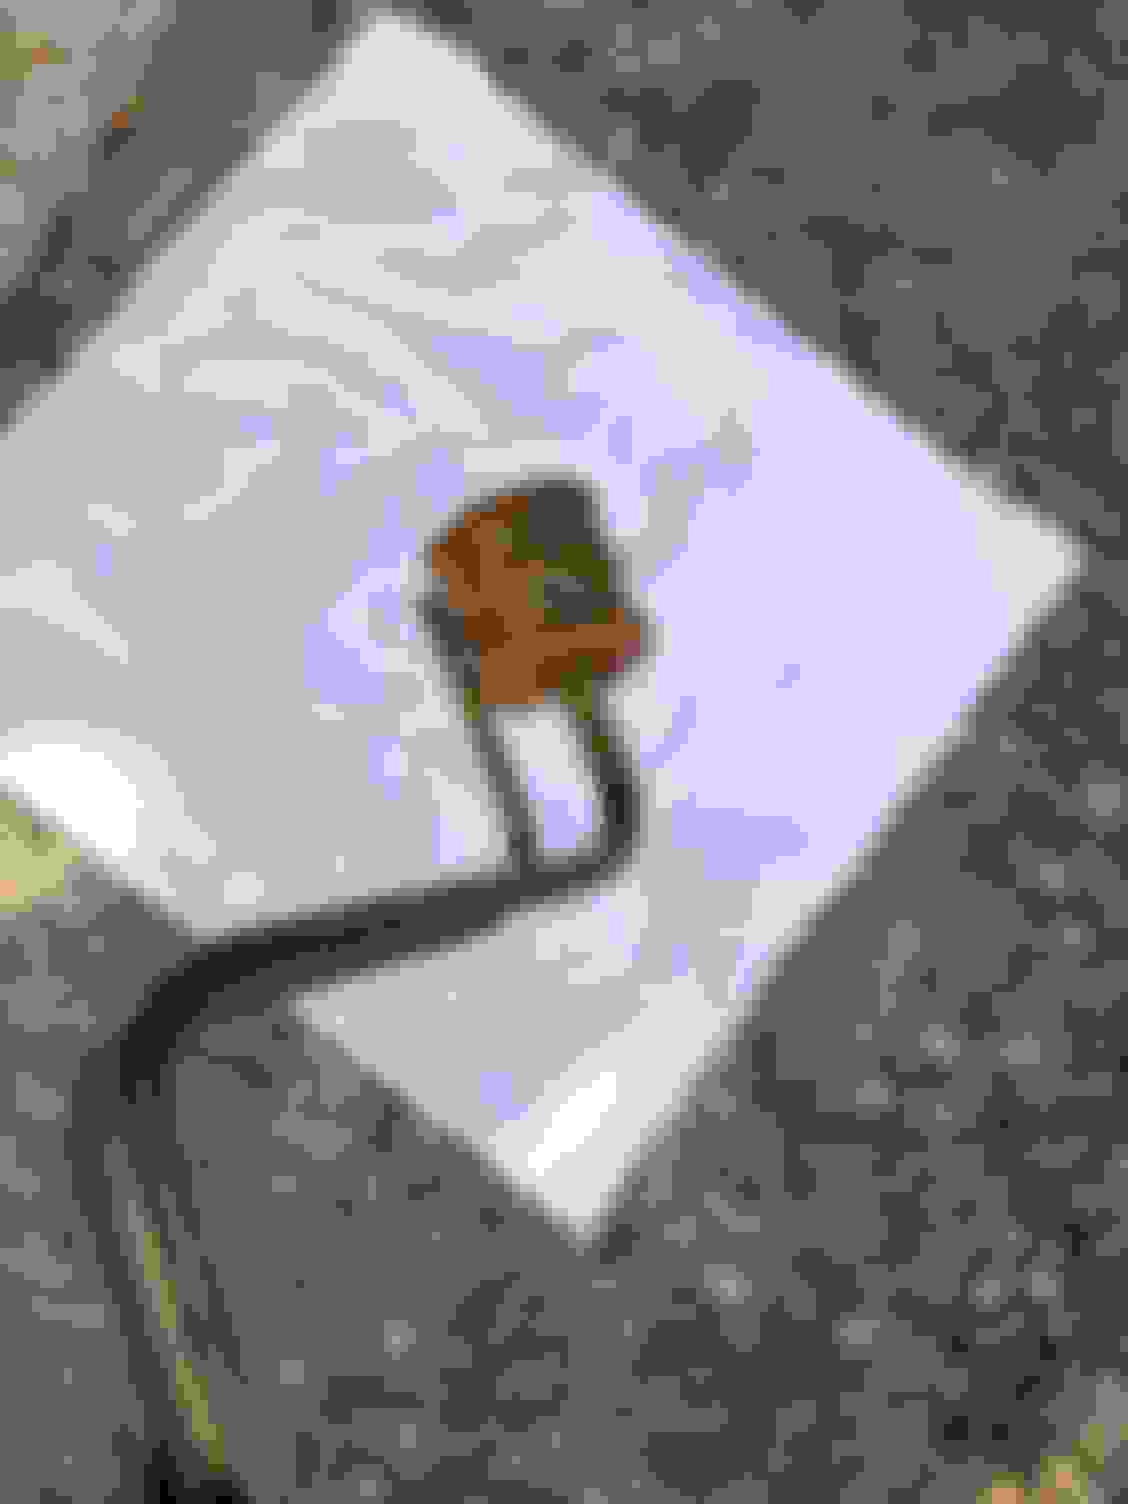
When I got the car, I took it to a shop and had them go through it and make sure it wasn't going to explode or anything. I asked them to change the fuel filter, but they said 'it looked fine.' So i assumed they had some legitimate way of determining that. Anyway, Mike gave me some great, detailed advice for changing the filter and the 8mm hoses and inspecting the little filter that goes in the fuel pump. There was no cone filter in the pump and this is some of the garbage I tapped out of the filter:
But, hey, i guess it looked good on the outside.
So now I get to take the tank out, spend a bunch of money on new parts, and clean out the whole system. Good times.
It should be exciting, because let's remember that i needed instructions for changing the filter.(Mike is the best)
I will probably die.
Last edited by broccolini; Sep 17, 2018 at 08:01 PM.
Reason: found a tank. hopefully it is better than mine.
In the end you'll know it was done right without any shortcuts. Plus you'll be assured that it'll last a long time before having to redo that part of the car. I suggest buying all new parts (pump, filter, lines, etc) as you want to do it once.
In the end you'll know it was done right without any shortcuts. Plus you'll be assured that it'll last a long time before having to redo that part of the car. I suggest buying all new parts (pump, filter, lines, etc) as you want to do it once.
Yes, i'm sure if I survive, it will be great. I ordered a new pump and sending unit. I already have a filter. All the steel lines look fine. I'll get new rubber hoses. Mike says I will also need some gaskets and O rings.
I can't believe the car ran as well as it did. There was so much rust in filter. And I think it might have the wrong pump. It's too small for the bracket.
Well, the tank is out and I didn't die. Not even a little bit.
It looks like the crud in the system is not rust. So that's good. It all still needs to be cleaned out, but I don't need another tank.
here is the tank safely removed. no death required
This is the inside. The top of the tank is great. This crud is on the bottom but it just wipes off. Maybe really old gas? I don't know.
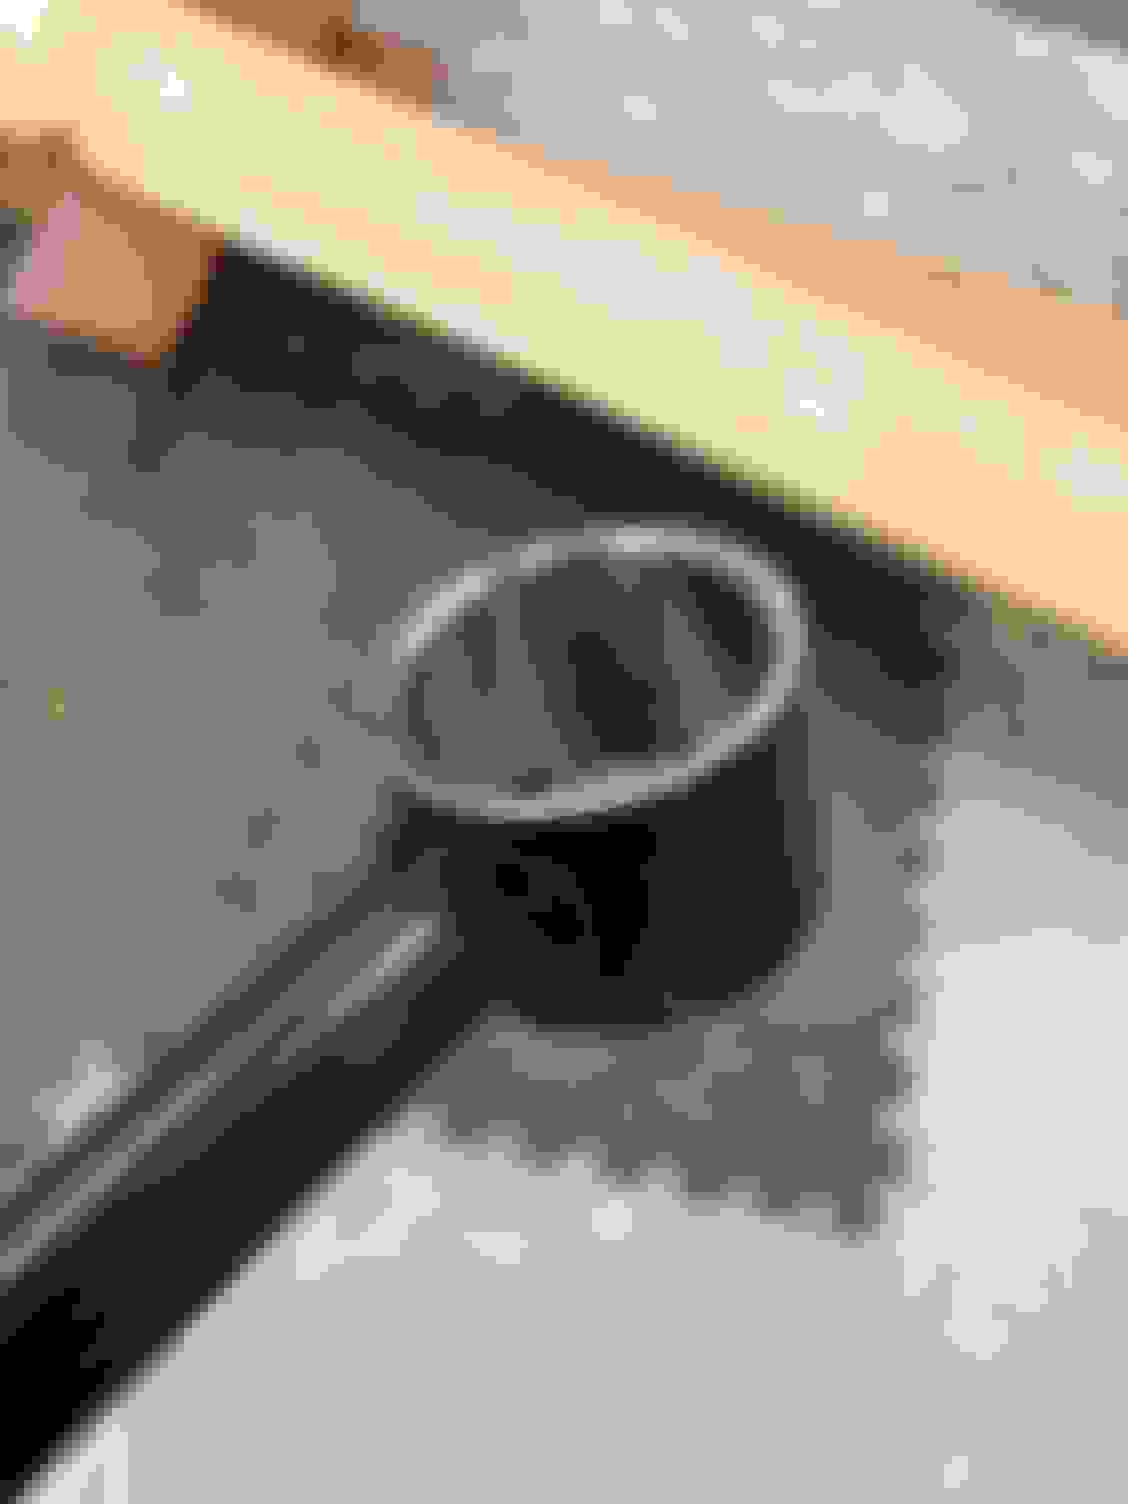
This little filter is intact. So the crud in the fuel filter did not come from the tank. Perplexing. Mike says I have to clean the transfer tubes. Maybe just old gas everywhere turned into this.
The pickup sock filter was not actually intact. I found a tear in it when i took it off. I found one from a Jaguar that looks very similar. I couldn't find out what size pipe it was for so i just ordered it. Hopefully it just fits or is a little too small.
Also, here is the new pump next to whatever was installed in it. The new one looks a lot bigger.
I think they were galvanized at some point. I know I used some spray on cold galvanizing paint on my lower engine cover to stop further rust and make it look a bit better. Doesn't have same exact color as the stock metal did but mine were pretty rusty on the surface anyway so its way better than it was.
My gas tank is back from the radiator shop. It's beautiful and clean and has a protective liner on the inside. I still need to take the top of the engine apart to finish cleaning the fuel system and send the injectors out. But to do that, i have to drain the coolant. So i figured i should replace all the hoses because mine are all original and old. I am still waiting for some of those to show up. I also ordered a new thermostat.
I've been working on the suspension bushings while waiting for the paint on the tank to cure and waiting for various parts to show up. I ordered new upper links and am putting poly bushings in the lower links. I just followed @GSLSEforme's instructions and the bushings came out just fine. I couldn't get the metal sleeve on the inside to come out by itself, but the entire bushing came out without leaving too much rubber residue on the inside. I used a wire brush and an abrasive ball -almost like a scotch brite pad- to clean the inside. I didn't even get hot enough to damage the paint on the outside of the link so i'm sure the metal is fine. I didn't use anything fancy to press the bearings out. Just this giant C-clamp thing that I borrowed from a friend. I used a breaker bar to turn it and it wasn't difficult.
Man, that tank looks nice. Thanks for posting all the pictures, as it makes the story that much more entertaining. Great job getting this taken care of - you'll be good for years to come.
thanks. the tank is decorating my living room right now.
i finished up the links in the back this morning. I'm going to do the watts link next. and the anti sway bar. I guess that's it back there. then I'll put it all back together and take the engine apart.
should be exciting. :P
all the rear suspension bushings are finished. oddly, the end links were the worst part and I thought they would be easy. one of the old ones was bent and i had to cut the head of the bolt off but the bushings kept putting pressure on the cutting tool. so that took longer than i expected.
Here is how i clamped the new ones so i could start the nut. I'm sure there are other ways, but i used what i had on hand.
Here it is all finished. And also here is a picture of my bushing carnage.
BTW,that's a ball joint press you have there,probably only other way to remove FB bushings with no collateral damage other than a shop press.
Now,clean up your mess,lol...
BTW,that's a ball joint press you have there,probably only other way to remove FB bushings with no collateral damage other than a shop press.
Now,clean up your mess,lol...
lol
it will always be the 'giant C-clamp thing' to me. It worked really well. And yes, now my garage is a mess, and my wood shop is a mess. But the fuel tank is no longer in my living room. I haven't put it back in yet because it was fun to just be able to sit under the rear end of the car and work.
Update. All the fuel system bits in the rear of the car are back in with new hoses everywhere. All the suspension bushings are in. I've moved on to the front of the car.
Again, keep in mind that I really don't know what i'm doing. Mostly I do what the FSM and Mike tell me to do.
I drained all the coolant yesterday because there are some water hoses that have to come off in order to take the top of the engine apart. That was oddly fun. I thought there would be a lot more coolant in the system.
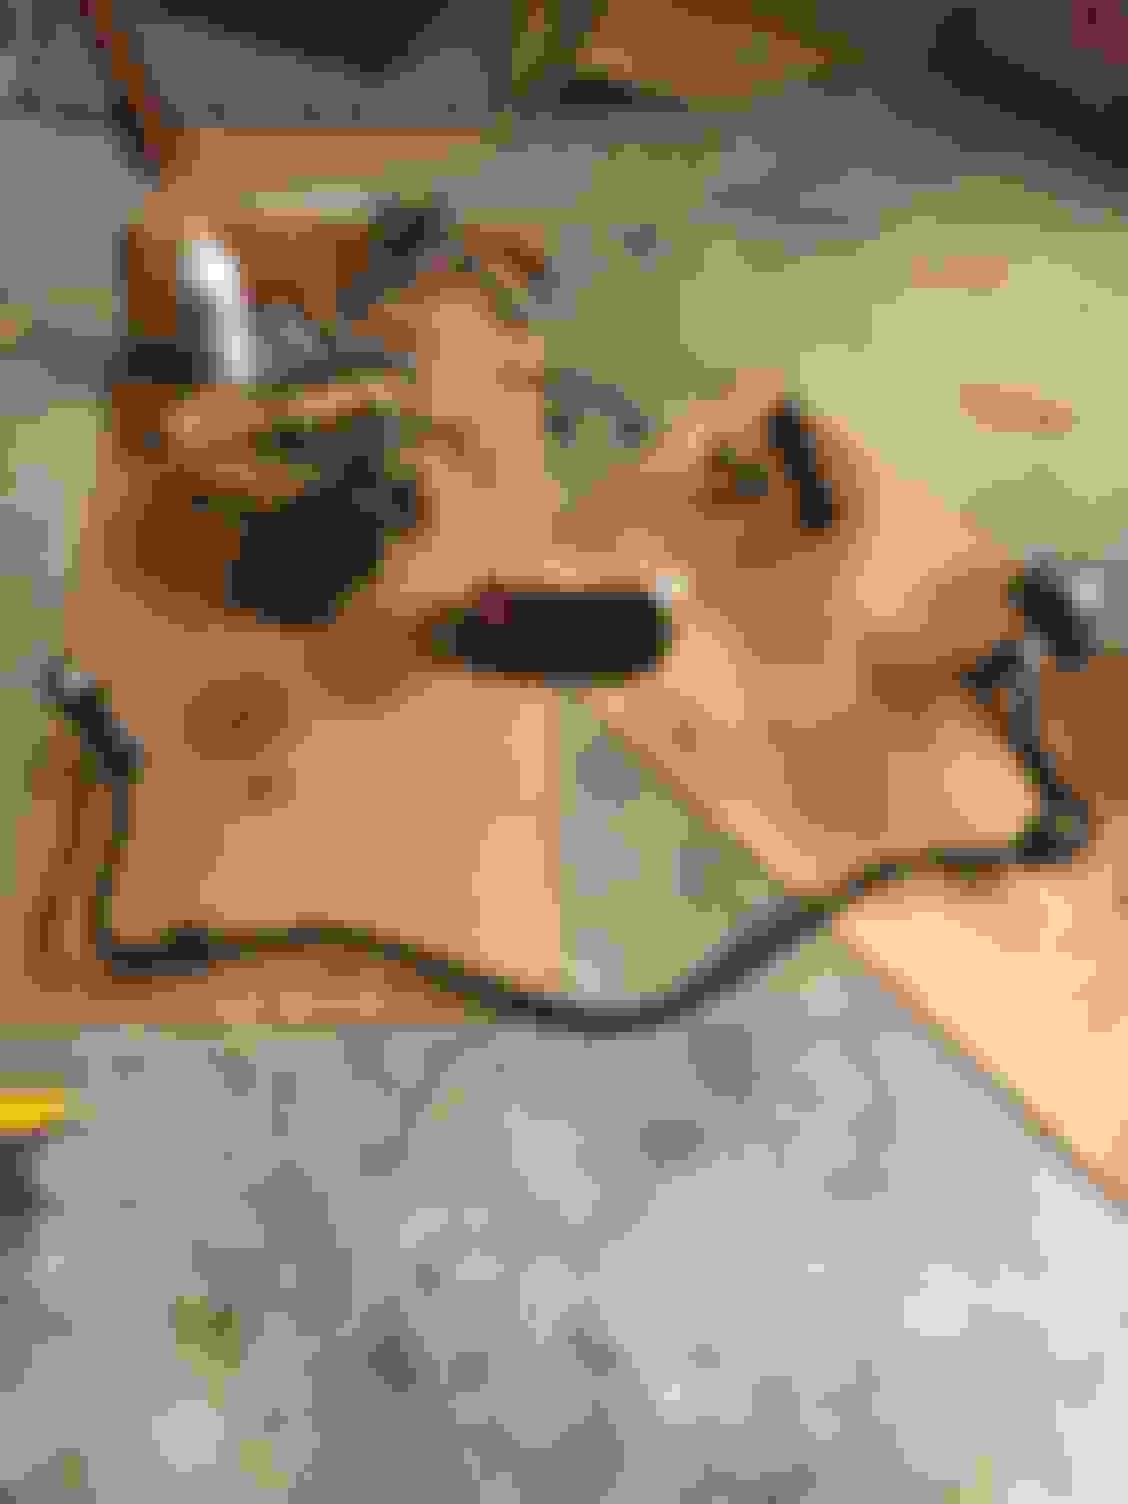
I had to disconnect a bunch of stuff to take the upper manifold off so I could get to the fuel rail and injectors. Hopefully I took enough pictures to get everything back where it belongs. There was a lot of beating things with a deadblow mallet involved with removing the manifold. That was unexpected, but nothing broke and it came off just fine once it broke free. There were two unexpected bolts on the opposite side that needed to be loosened. Looks like just a bracket over there to support things.
Also the bolt on the right of the fuel rail was hard to access. I loosened the pulsation dampener and rotated the pipe that was in the way. Let's all hope that's ok. I had to wait for Mike(@GSLSEforme) to advise me on the proper way to remove the injectors from the connectors. I have read that they are fragile and didn't want to break anything. Anyway, the little metal clip just pops off and the injectors come right out. I'll replace all the vacuum hoses while it's apart and clean things up.
I will probably say this a million times, but Mike is the best. I continue to be amazed at the things he just knows off the top of his head. And also his patience. :P He doesn't just answer my dumb questions; he always makes sure I know about any weird little things that might come up before they happen. I'm pretty sure he could text me through building an entire car.
Here are some pics from today's adventure:
Last edited by broccolini; Dec 22, 2018 at 09:16 PM.
update:
Fuel system is all finished. Injectors have been serviced and are back in. I let the pump run for about 12 minutes and nothing leaked. It was very exciting. All the coolant hoses have been replaced. Also the vacuum hoses. Sure are a lot of vacuum hoses in there. But now they are blue and festive so that's nice. @GSLSEforme has me convinced that i should take the lower manifold off and clean out all the things down there that need to be cleaned out. I also kind of want to put the upper stuff back on and make sure it still works before i potentially destroy things. It's a conundrum. It seems dumb to put it back together just to hear it run for a bit and then take it all apart. But also, taking things apart is fun. So that's where I am.