wire tuck

Thread Starter
Joined: Aug 2010
Posts: 1,416
Likes: 5
From: East Palestine, Oh
my engine doesnt even have the studs for the ac any more lol that doesnt seem like a bad idea though! I didnt get any work done over the weekend on the car, sorry  lol
lol
lol
Thread Starter
Joined: Aug 2010
Posts: 1,416
Likes: 5
From: East Palestine, Oh
First thread that ever made it to page 5!!
I did a few things last night. Not that it really is enough to post pics for, but i will anyway 
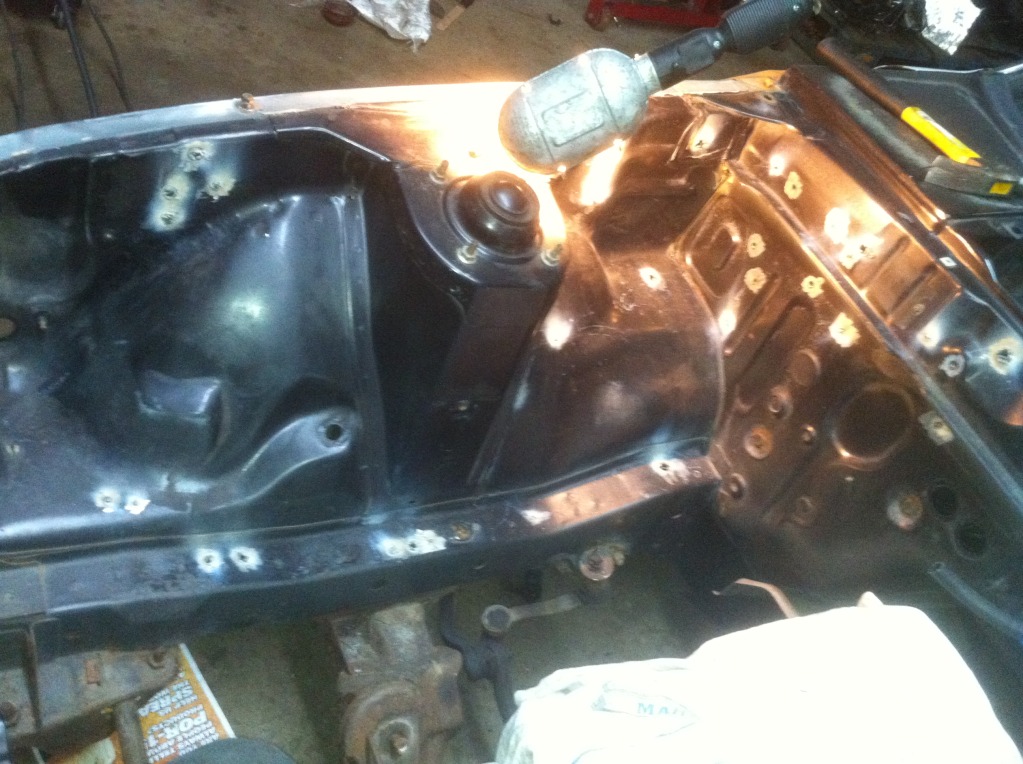
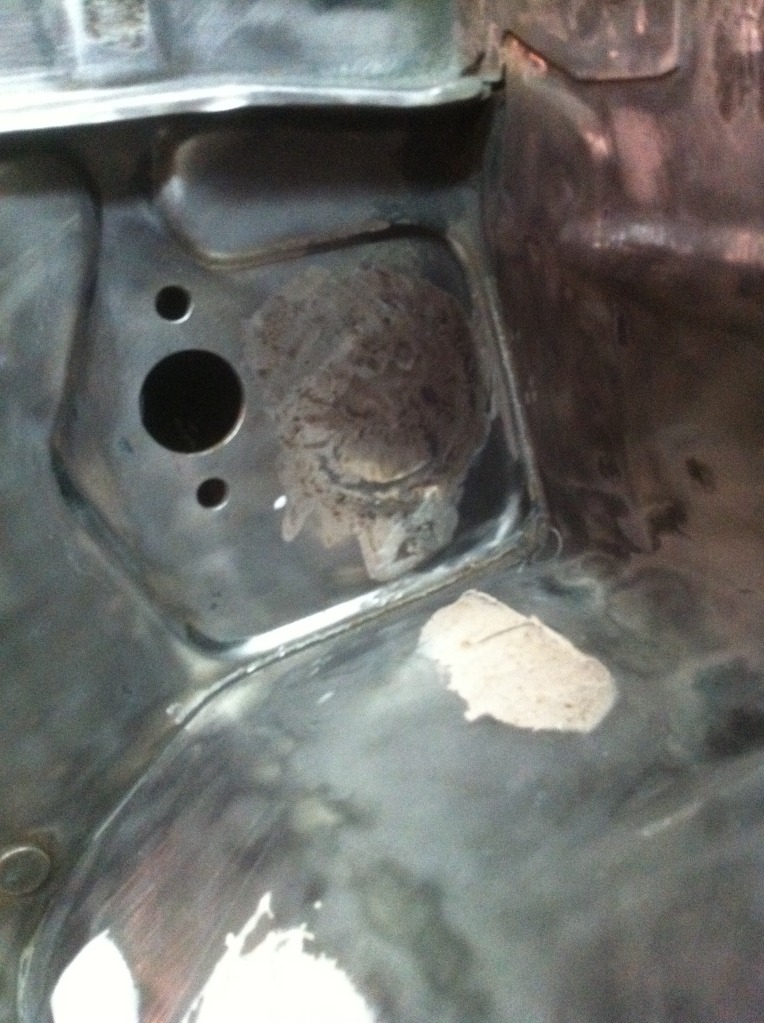
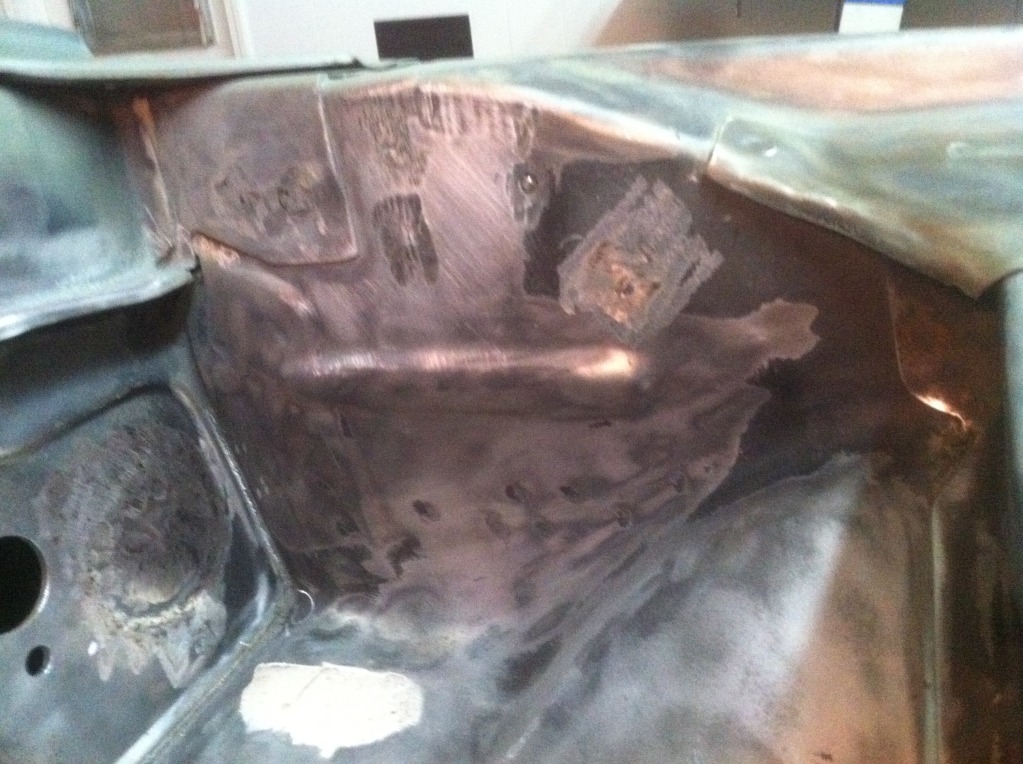
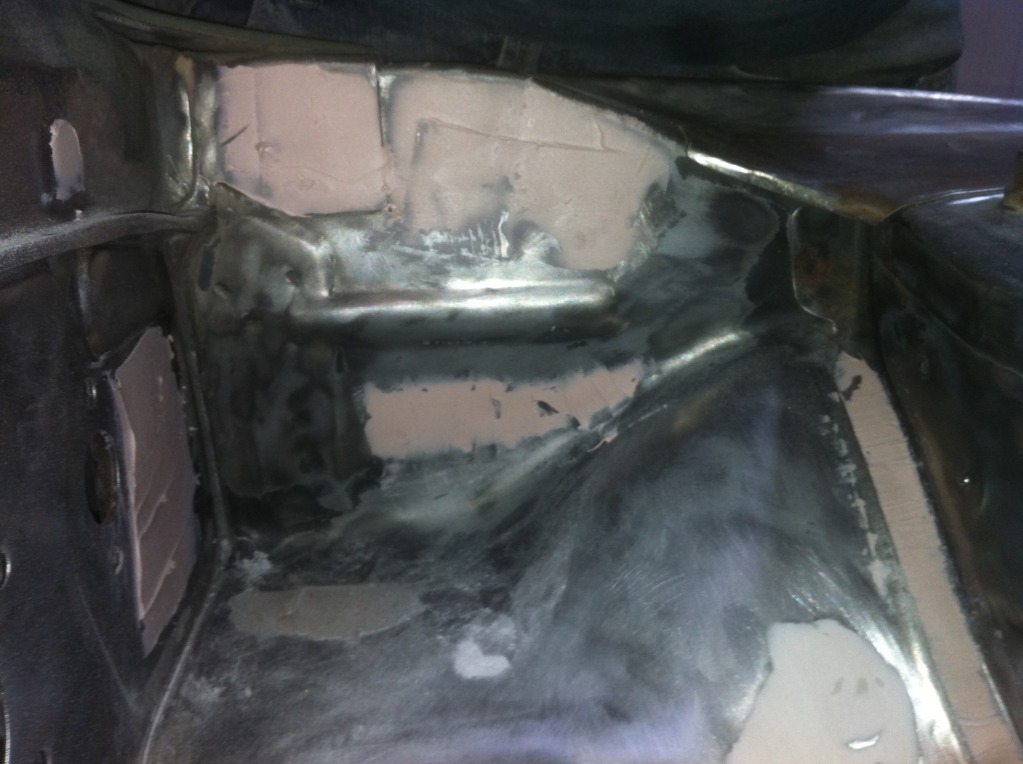
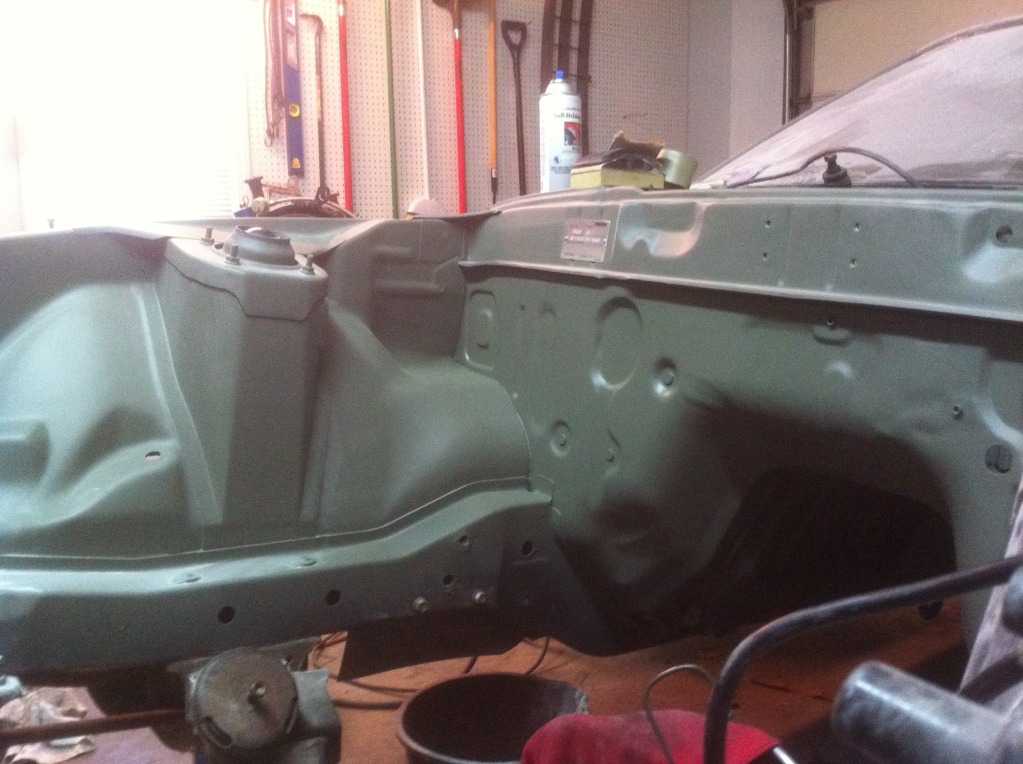
This is one of the holes that ive been putting off welding shut. Trying to make a circle fit perfectly into that hole for me sucked ***. All i have for cutting is an angle grinder, I manage, but it takes longer. Notice how the top part had a huge gap? That was the point that I said F it and grabbed my welder.
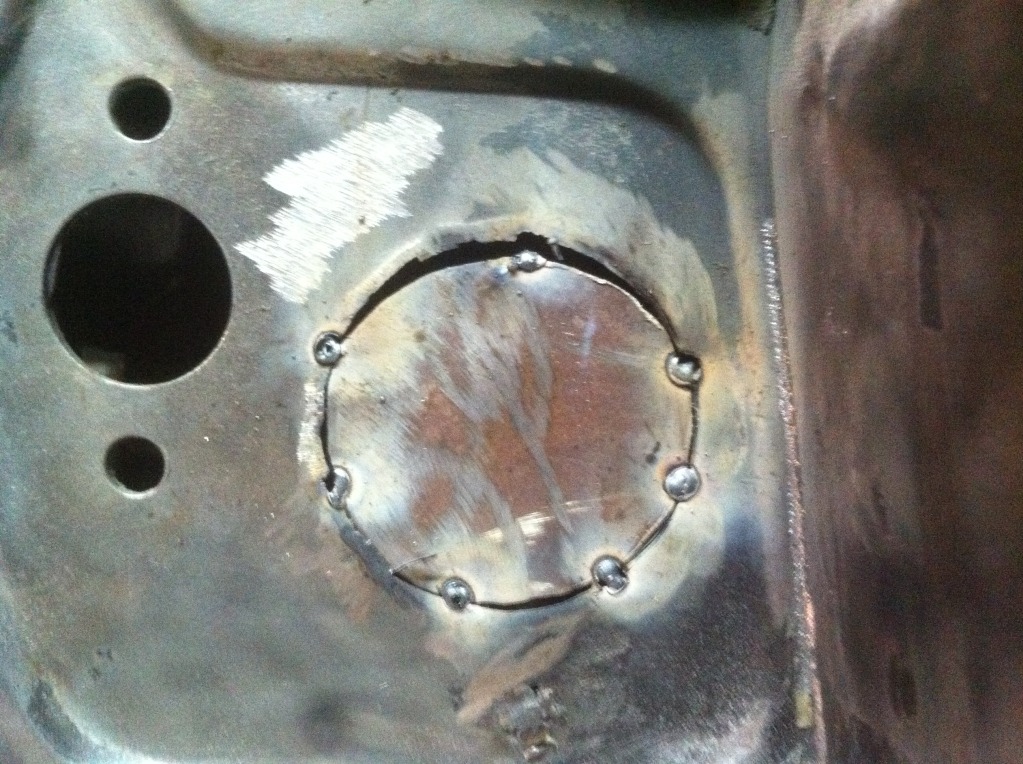
I had to recruit the neighbor kids to put fires out inside the car. I kept catching the firewall padding on fire! 8 year old girl with a spray bottle fixed that problem!
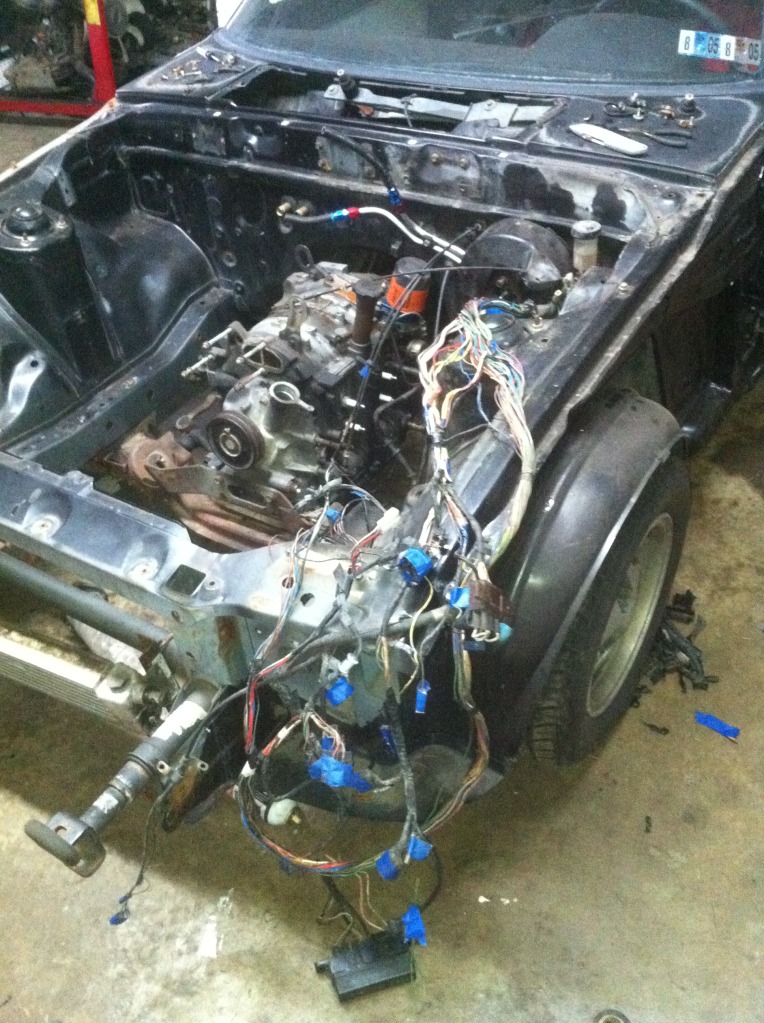
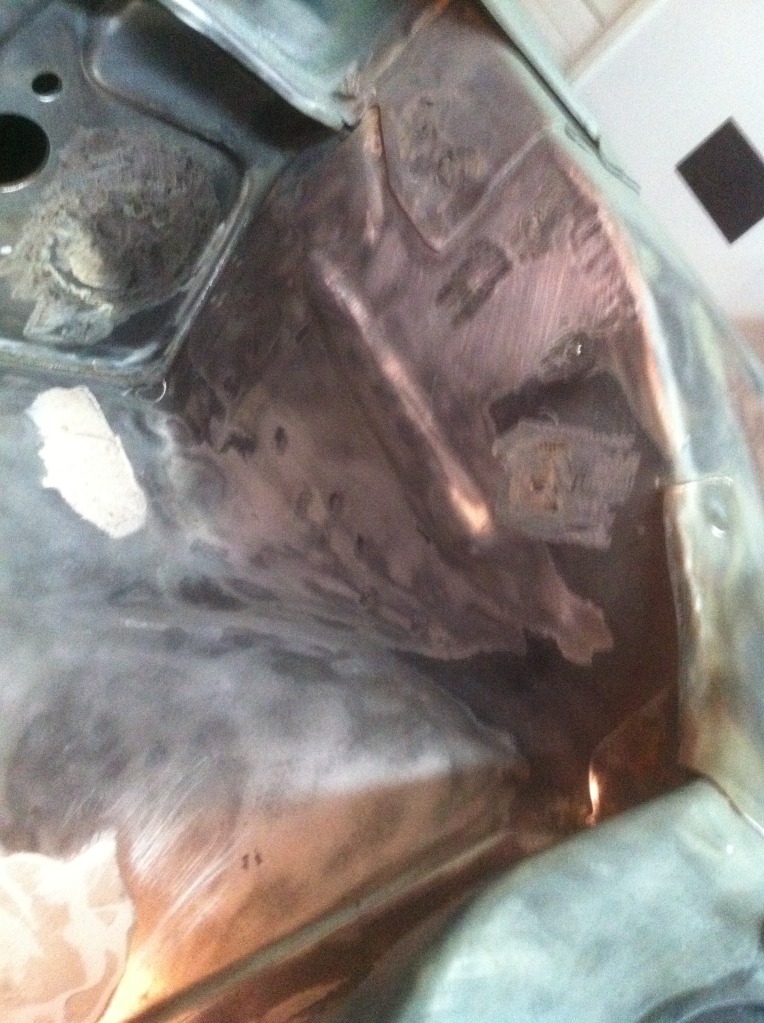
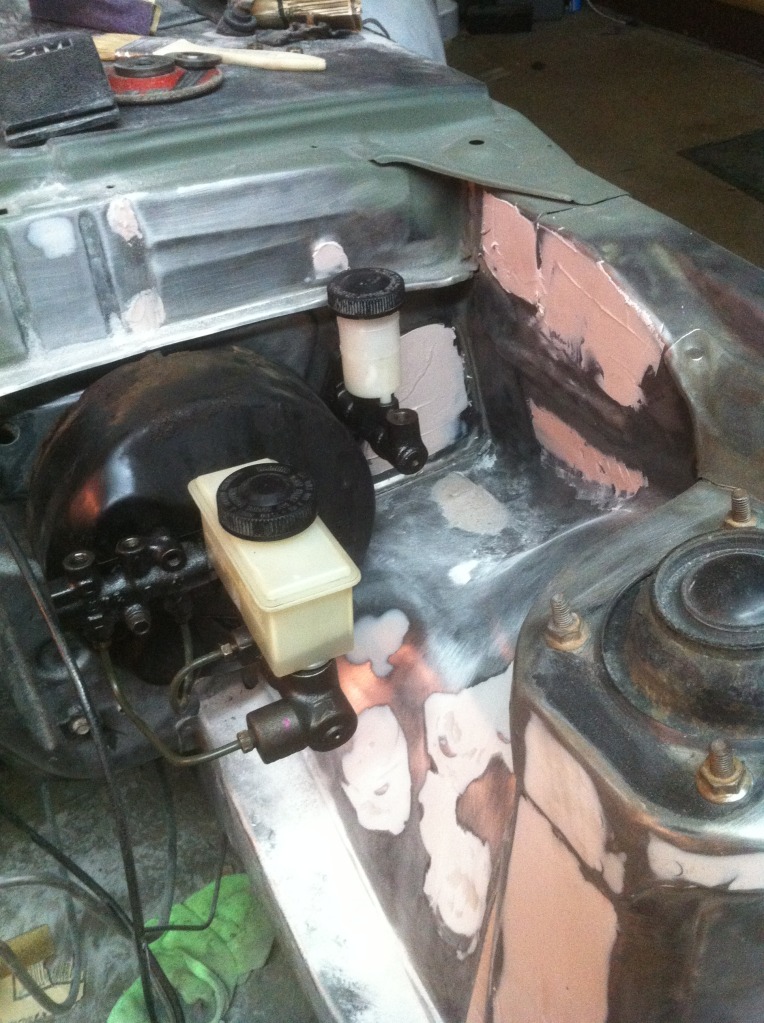
I set these inplace to get an idea of what it will look like its so cool looking at stock cars and all the **** they have under the hood compaired to this.
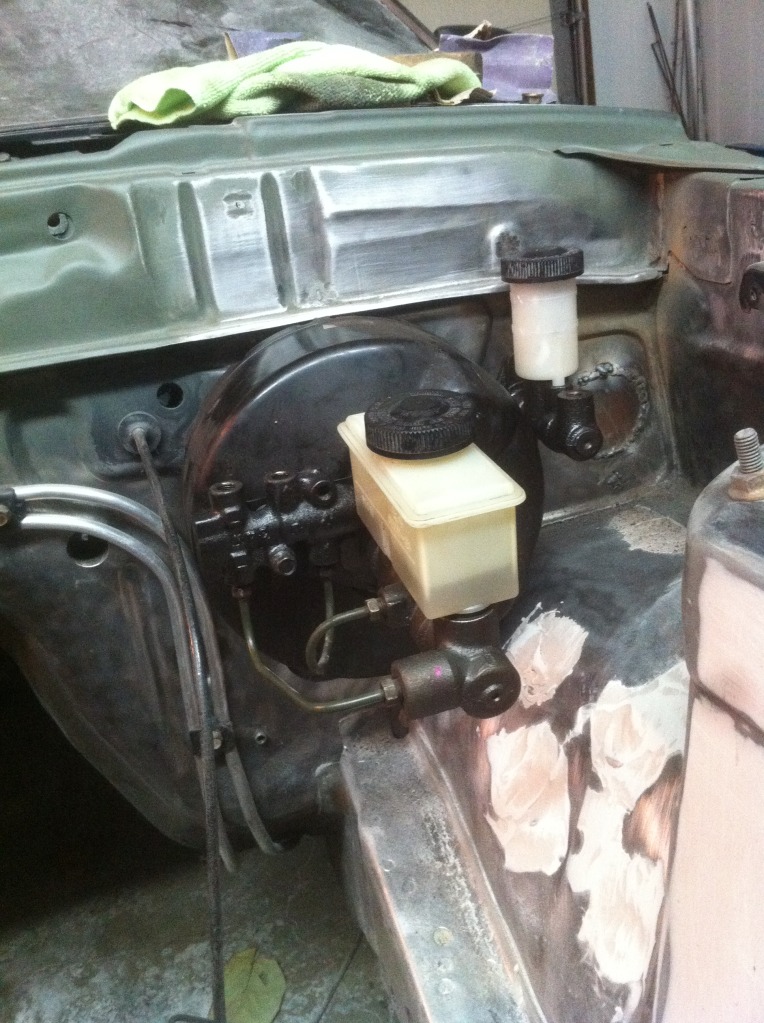
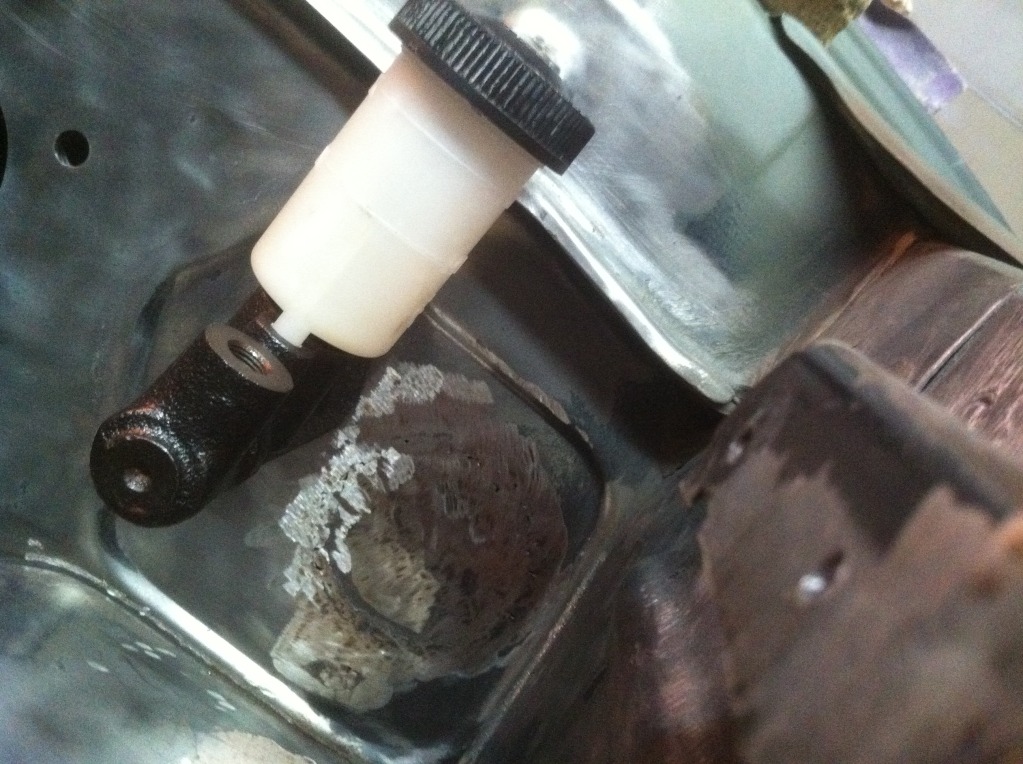
Notice the position of the brake booster?
Guess what i did and why i did it
Before i went in, i tossed all this crap in there to get a view.
Im thinking about just painting it as is and leaving all the bondo unsanded and half finished.
jk
Its killing me to be sitting at work right now and not be allowed to go get to work on this thing. I WILL HAVE the two remaining holes welded shut tonight, and ground, as well as a lot of sanding/spreading. Stay tuned
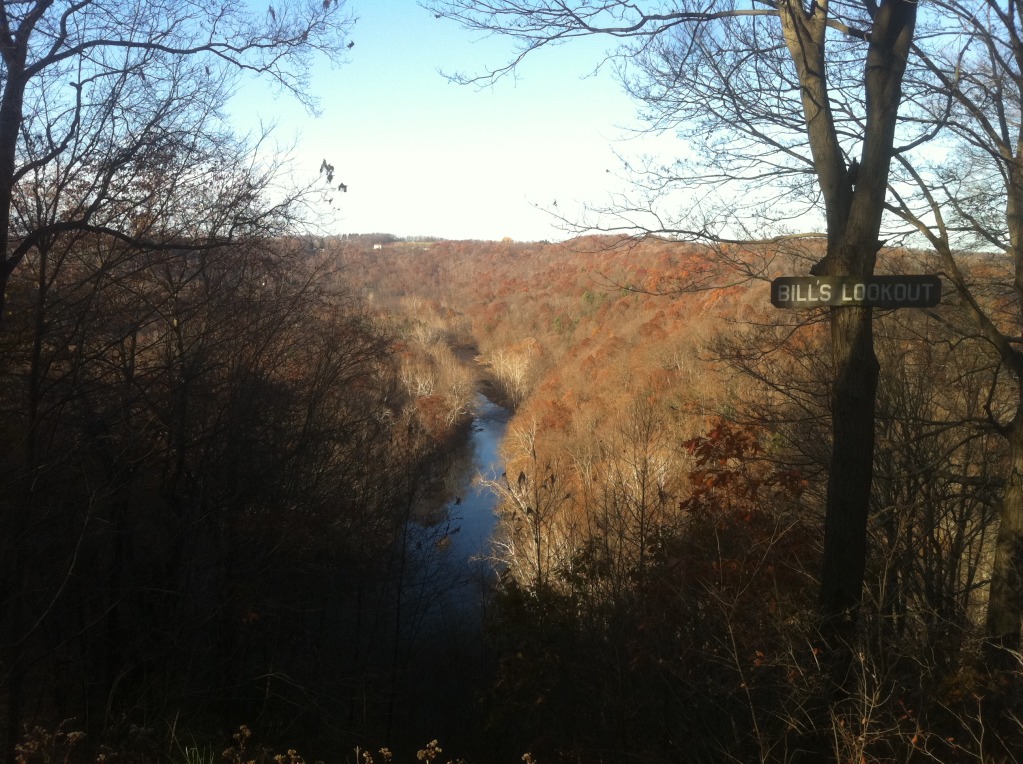
Just thought I'd through this in, I pass this on the way from work. 20 mile drive home, nothing but awesome mountainous road and good views. SO much fun on a bike or in a 7
This is one of the holes that ive been putting off welding shut. Trying to make a circle fit perfectly into that hole for me sucked ***. All i have for cutting is an angle grinder, I manage, but it takes longer. Notice how the top part had a huge gap? That was the point that I said F it and grabbed my welder.
I had to recruit the neighbor kids to put fires out inside the car. I kept catching the firewall padding on fire! 8 year old girl with a spray bottle fixed that problem!
I set these inplace to get an idea of what it will look like
its so cool looking at stock cars and all the **** they have under the hood compaired to this.Notice the position of the brake booster?
Guess what i did and why i did it
Before i went in, i tossed all this crap in there to get a view.
Im thinking about just painting it as is and leaving all the bondo unsanded and half finished.
jk
Its killing me to be sitting at work right now and not be allowed to go get to work on this thing. I WILL HAVE the two remaining holes welded shut tonight, and ground, as well as a lot of sanding/spreading. Stay tuned
Just thought I'd through this in, I pass this on the way from work. 20 mile drive home, nothing but awesome mountainous road and good views. SO much fun on a bike or in a 7


Thread Starter
Joined: Aug 2010
Posts: 1,416
Likes: 5
From: East Palestine, Oh
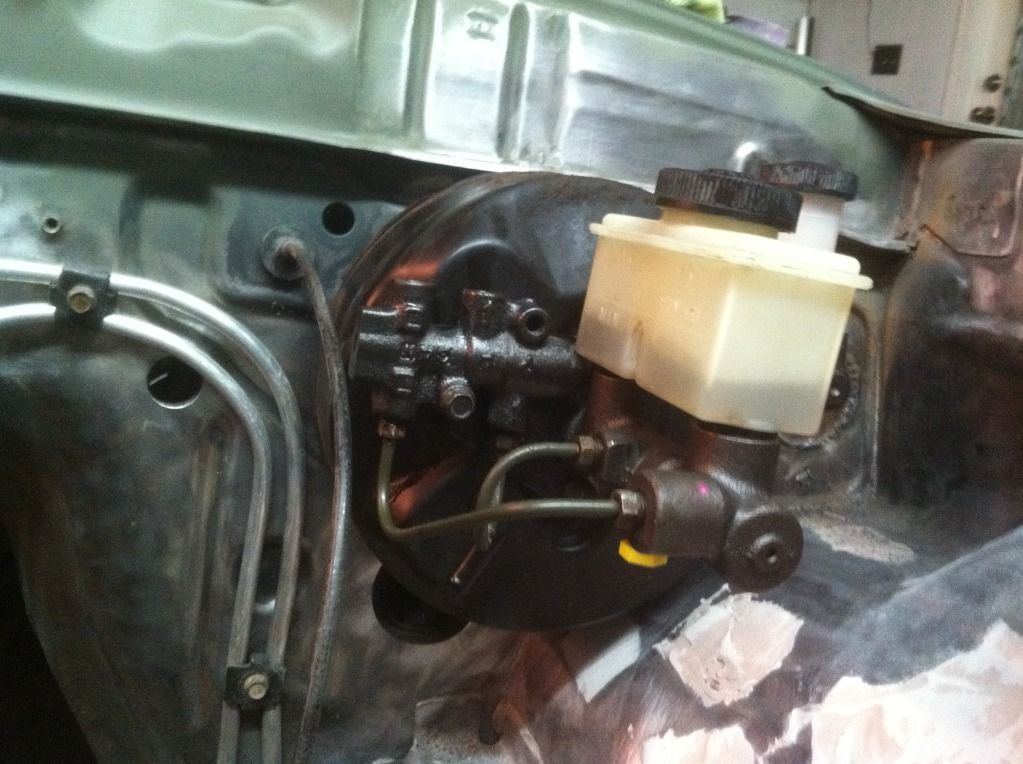
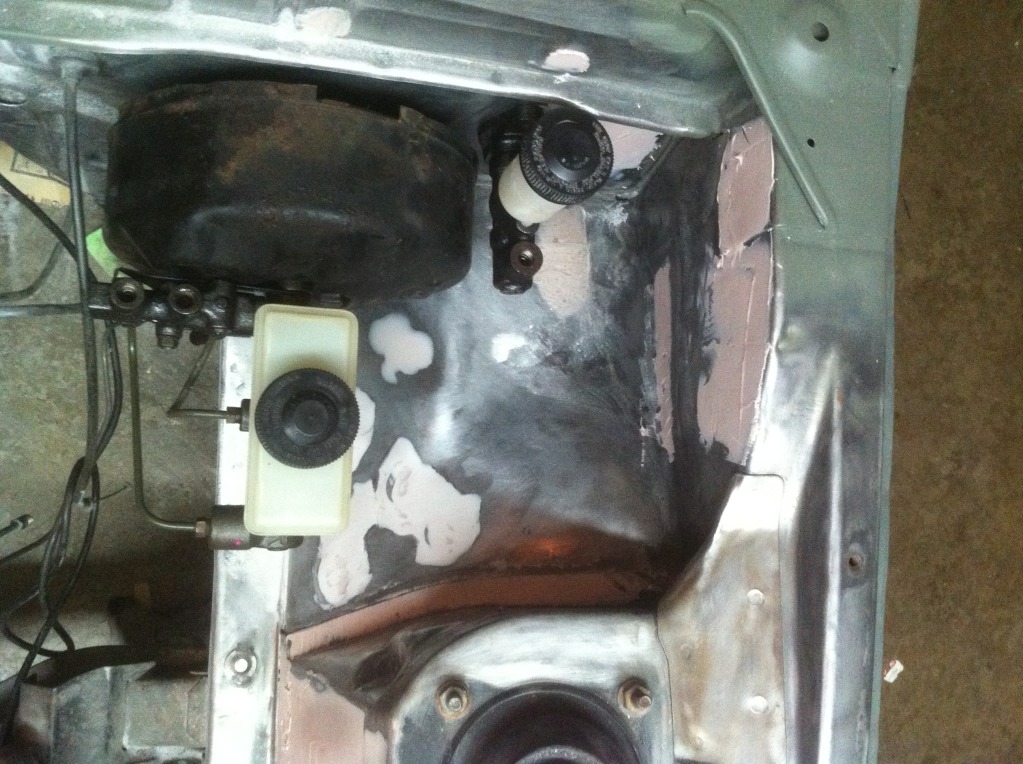
I didnt move it, I flipped it over so the VAC line nipple is at the bottom left. You really shouldnt see a brake booser vac line at all on my car I'll tell you what I told the last guy that asked. If you pay me $10k, fly me out to where ever you are, and feed me/put me up for two weeks... Ill gladly do it! $10k seem a little high? lol
I'll tell you what I told the last guy that asked. If you pay me $10k, fly me out to where ever you are, and feed me/put me up for two weeks... Ill gladly do it! $10k seem a little high? lol
Joined: Apr 2006
Posts: 3,740
Likes: 6
From: Las Vegas, NV
I didnt move it, I flipped it over so the VAC line nipple is at the bottom left. You really shouldnt see a brake booser vac line at all on my car I'll tell you what I told the last guy that asked. If you pay me $10k, fly me out to where ever you are, and feed me/put me up for two weeks... Ill gladly do it! $10k seem a little high? lol
I'll tell you what I told the last guy that asked. If you pay me $10k, fly me out to where ever you are, and feed me/put me up for two weeks... Ill gladly do it! $10k seem a little high? lol
Thread Starter
Joined: Aug 2010
Posts: 1,416
Likes: 5
From: East Palestine, Oh
Joined: Apr 2006
Posts: 3,740
Likes: 6
From: Las Vegas, NV
Thread Starter
Joined: Aug 2010
Posts: 1,416
Likes: 5
From: East Palestine, Oh
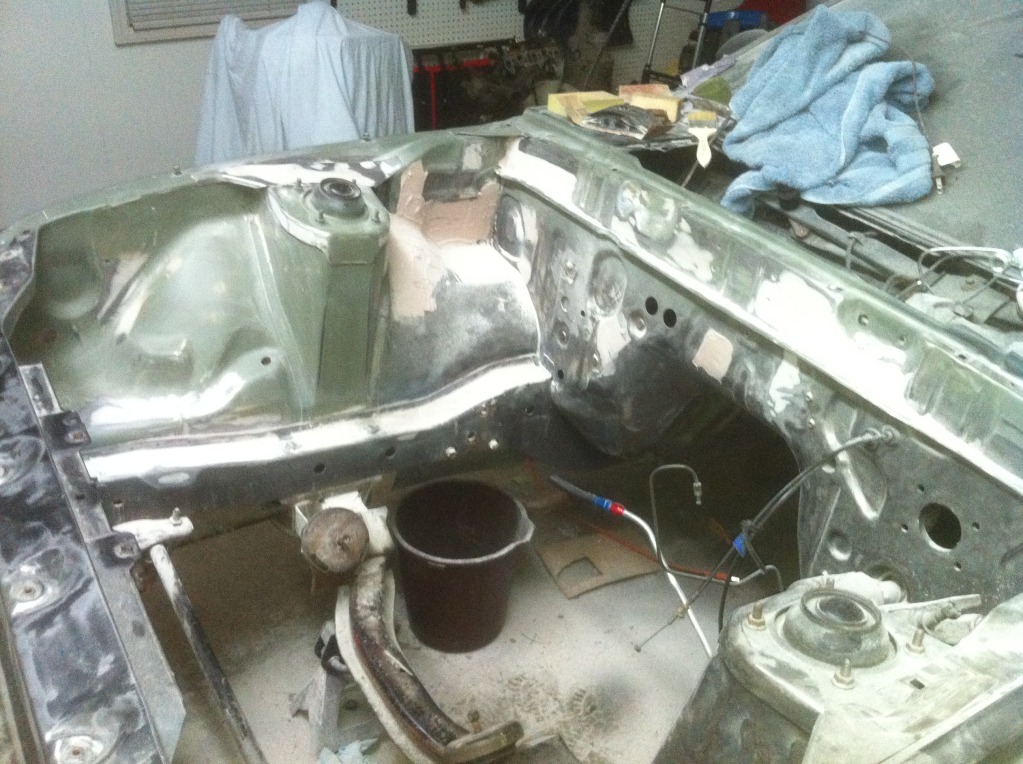
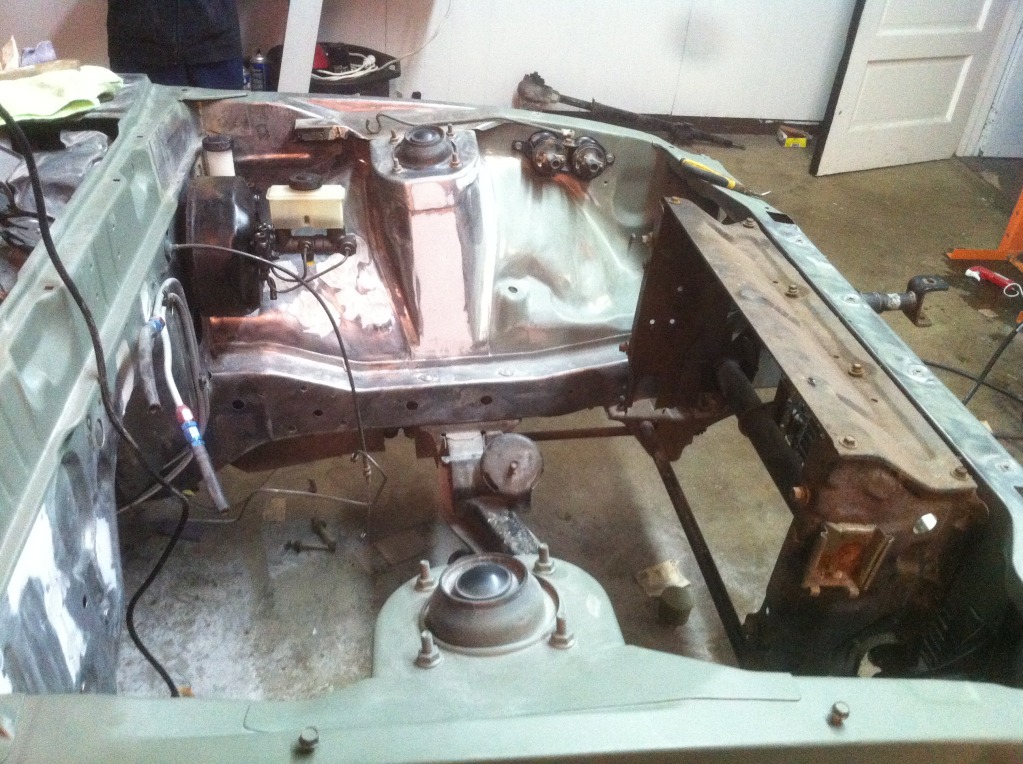
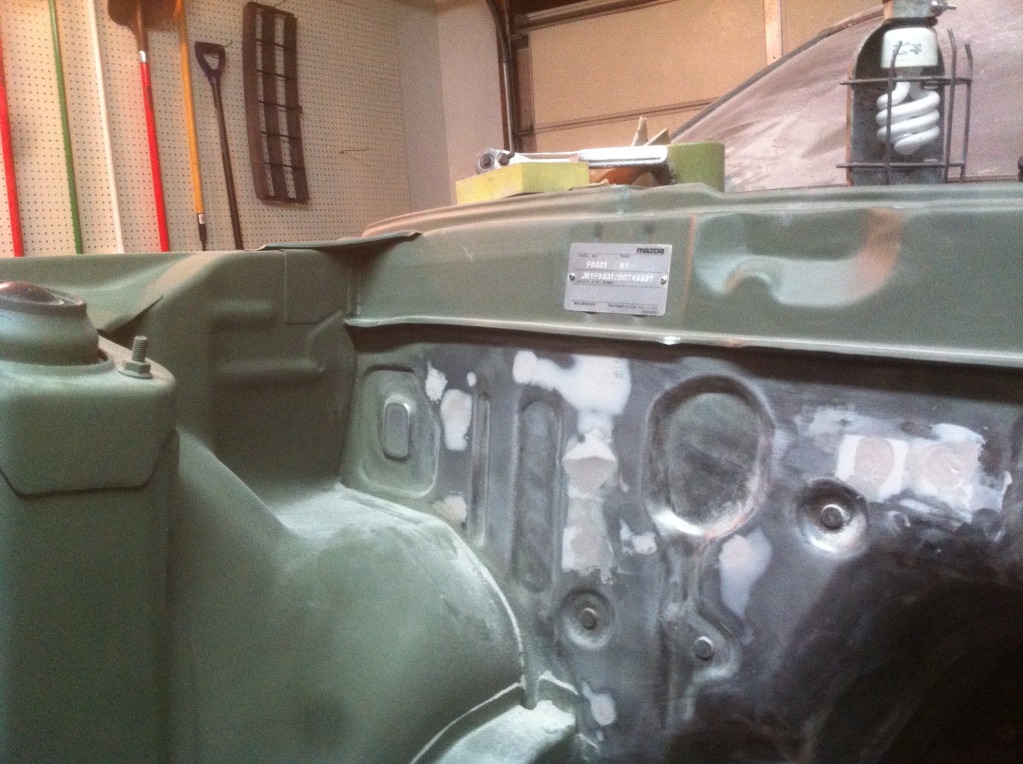
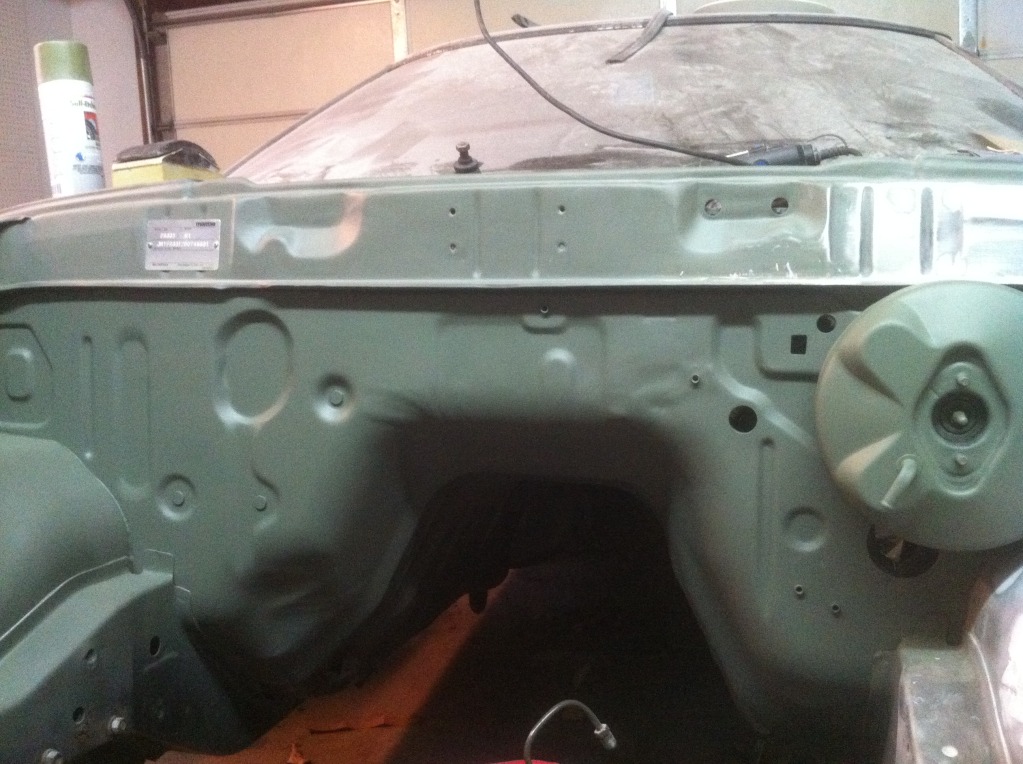
No more grinding/shaping/cutting/welding!
I am SO happy all the grinding and cutting is done! The welding i didnt mind so much. There is still a lot of work to do on the car, but atleast the noisey part is over with.
No more wire harness hole!
No more relay mount holder thingy!
No more other usless holes in the firewall!
I didnt get too much sanding done last night, but i did get a lot of the bondo spread about.
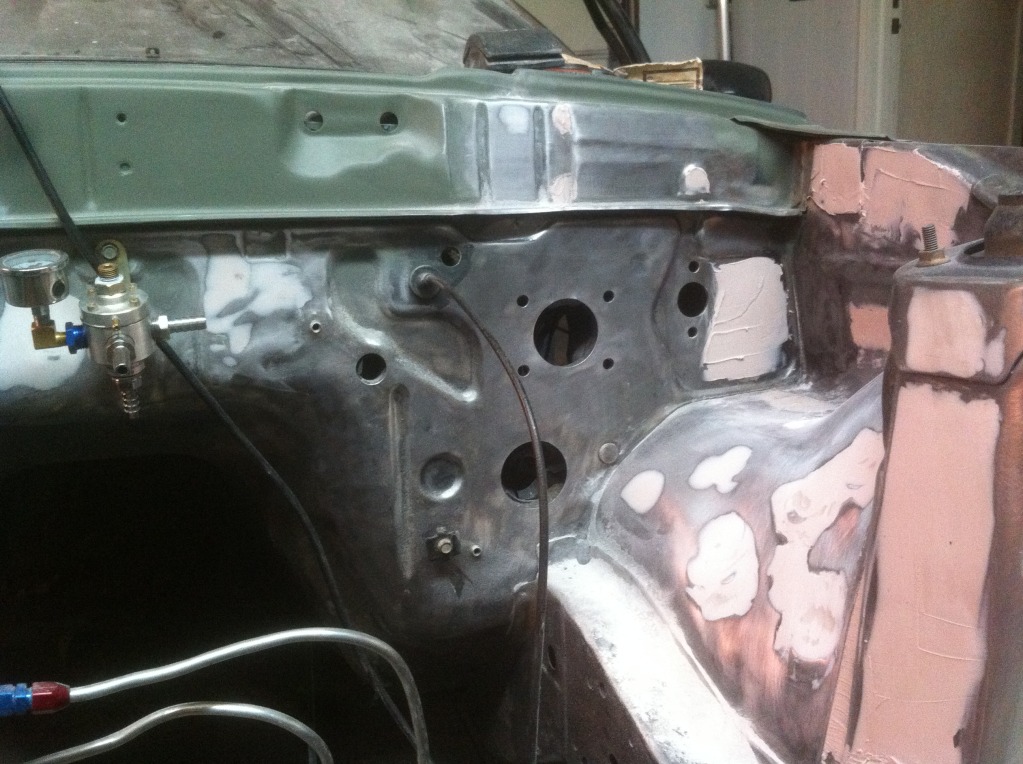
And these shots are to show just how much room is here now. Amazing. I looked at Twinkletoes' build thread at the pic of his bay with no engine, and cant believe how much chit used to be in there! lol (twinkletoes' you have to do this now, im calling you out)
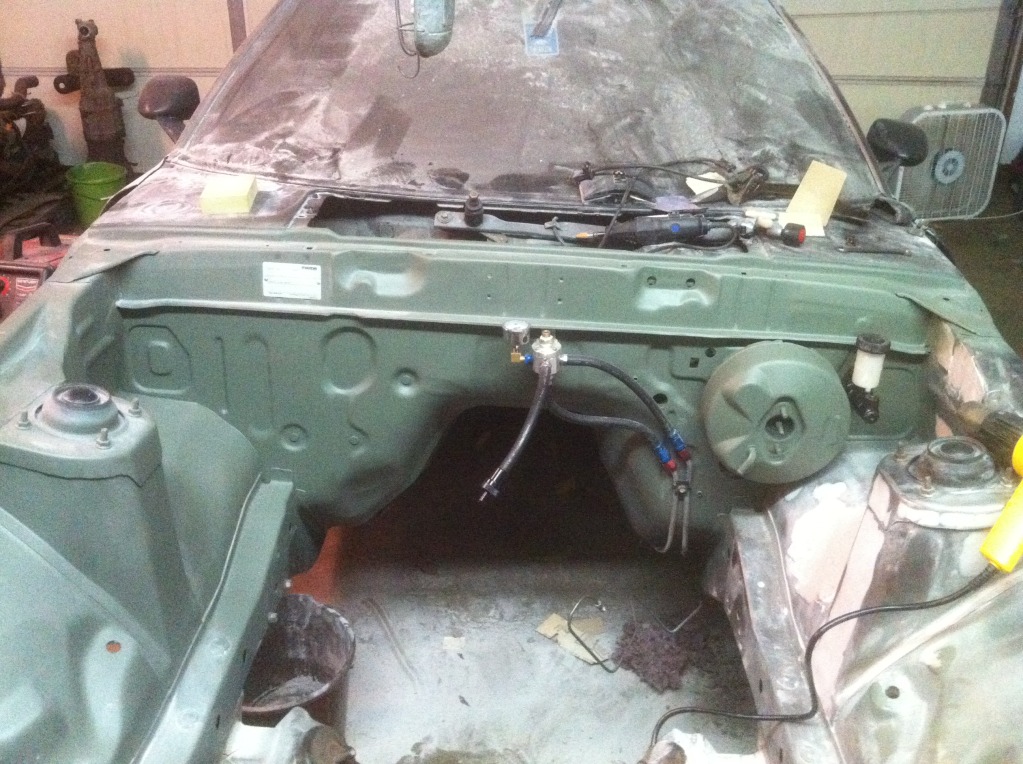
To cut and shape the metal where the relays mounted, i drew a line with sharpie on it to mimic the other side as best as possible. I then cut it with my angle grinder and used vice grips to bend it into shape. I then cleaned it up with a grinding disc on a dremel.
Back to work tonight, its FINALLY starting to come together. I really hope i can get my buddie to come over one day and help me touch everything up.. theres a lot of spots that need a tad more sanding or a tiny bit more bondo. It would go twice as fast with him here.
Thanks for looking! Stay tuned!
No more wire harness hole!
No more relay mount holder thingy!
No more other usless holes in the firewall!
I didnt get too much sanding done last night, but i did get a lot of the bondo spread about.
And these shots are to show just how much room is here now. Amazing. I looked at Twinkletoes' build thread at the pic of his bay with no engine, and cant believe how much chit used to be in there! lol (twinkletoes' you have to do this now, im calling you out
)To cut and shape the metal where the relays mounted, i drew a line with sharpie on it to mimic the other side as best as possible. I then cut it with my angle grinder
and used vice grips to bend it into shape. I then cleaned it up with a grinding disc on a dremel.Back to work tonight, its FINALLY starting to come together. I really hope i can get my buddie to come over one day and help me touch everything up.. theres a lot of spots that need a tad more sanding or a tiny bit more bondo. It would go twice as fast with him here.
Thanks for looking! Stay tuned!
Thread Starter
Joined: Aug 2010
Posts: 1,416
Likes: 5
From: East Palestine, Oh
Actually, no I'm not. For awhile I'm just using the ones I took out. After everything is fine and the car is done I'm goin to make new ones that hug the body all the way to where they go through. I'd of like to of hid them totally and put the prop valve inside but i had to be honest with myself.. This isn't a show car, I'm not going to finish it and park it in my garage, and I just plain didn't want to buy the brake lines and flare them all lol Plus, then I'd have to figure out how to mount the SS lines up to something and through to the hard line. Which didn't sound like fun lol
Joined: Feb 2006
Posts: 3,162
Likes: 1
From: London, Ontario, Canada
You should weld a bead around where the strut tower meets the fender and then grind it smooth. I think that would be a weak spot for bondo but would look much nicer if it was smooth all the way down. Coming along nicely. If only I had the patience to tear my car down and do this.
Joined: Apr 2006
Posts: 3,740
Likes: 6
From: Las Vegas, NV
Actually, no I'm not. For awhile I'm just using the ones I took out. After everything is fine and the car is done I'm goin to make new ones that hug the body all the way to where they go through. I'd of like to of hid them totally and put the prop valve inside but i had to be honest with myself.. This isn't a show car, I'm not going to finish it and park it in my garage, and I just plain didn't want to buy the brake lines and flare them all lol Plus, then I'd have to figure out how to mount the SS lines up to something and through to the hard line. Which didn't sound like fun lol
What are you doing to prop the hood open? Hood pins? Or you planning on moving the cable through a different hole in firewall?
Thread Starter
Joined: Aug 2010
Posts: 1,416
Likes: 5
From: East Palestine, Oh
Hood pins would of been cool! I'm going to route the cable through to in the wiper cowl, then "I think" I'm going to drill out the bottom right hole in the hood latch and run it through there. Won't even see it!
Thread Starter
Joined: Aug 2010
Posts: 1,416
Likes: 5
From: East Palestine, Oh
definitely a LOT of work lol
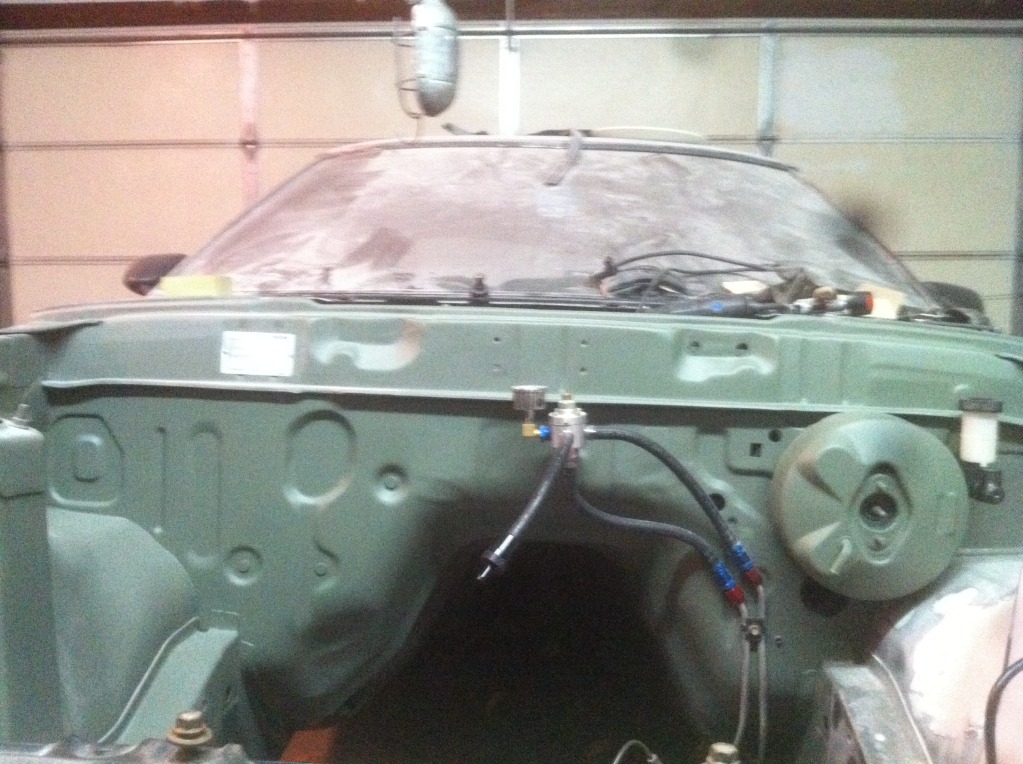
I have a pretty good sized update
I got home from work and had a package by my door!
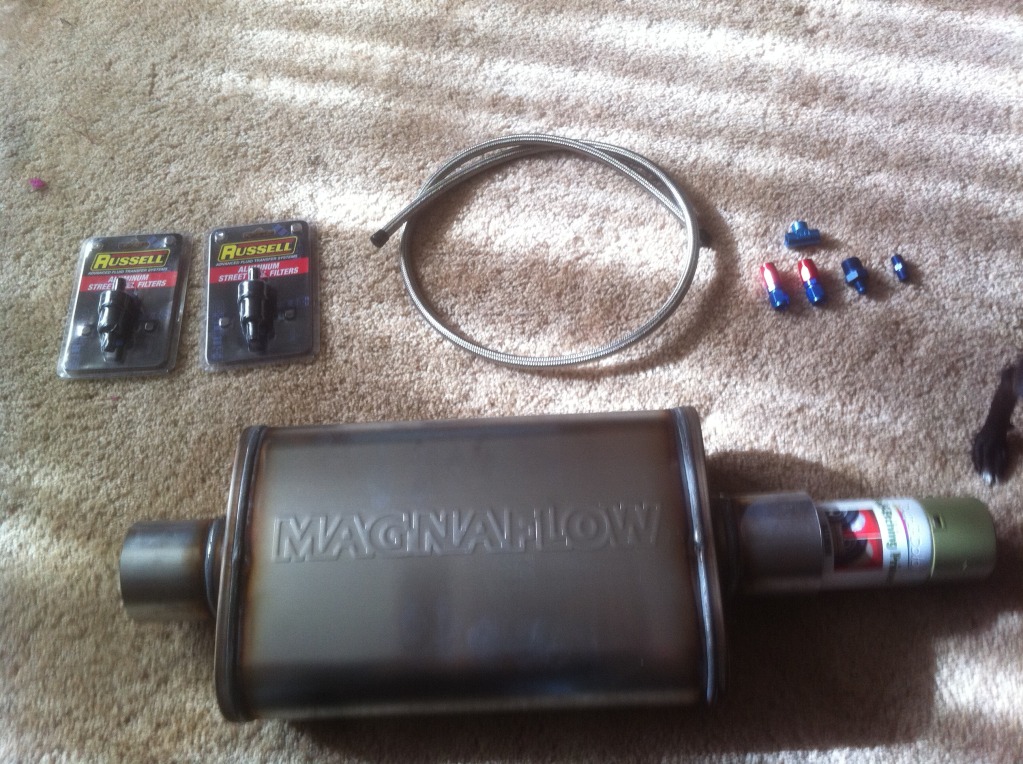
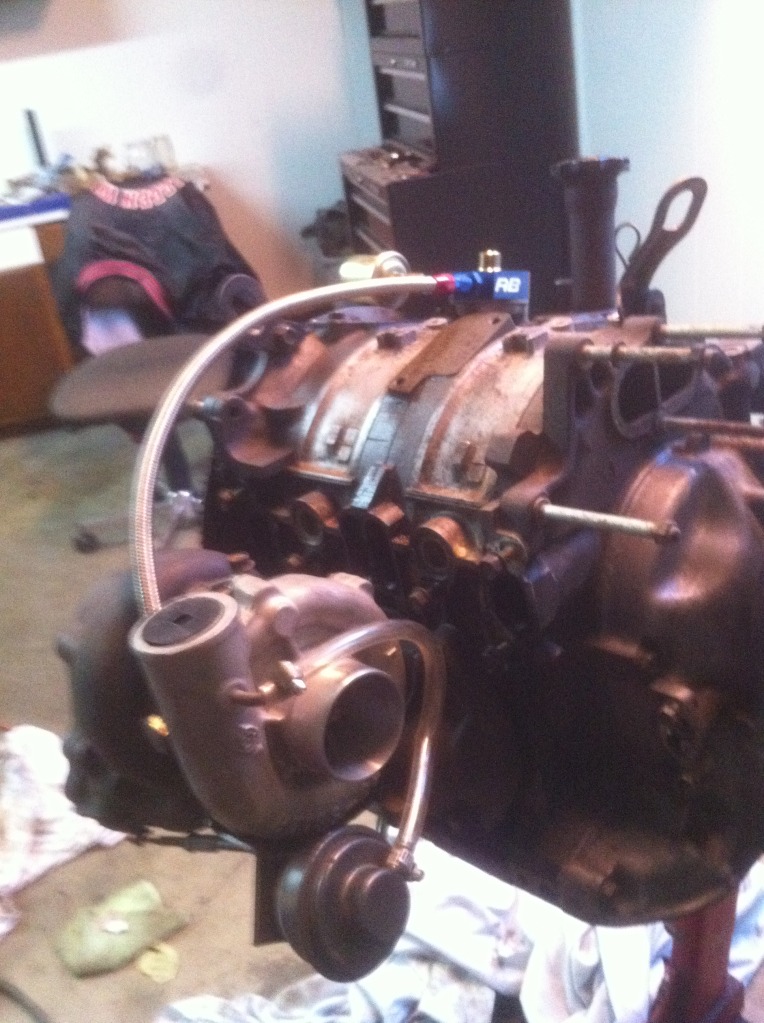
never working with SS hose, i immediatly got to work with it lol
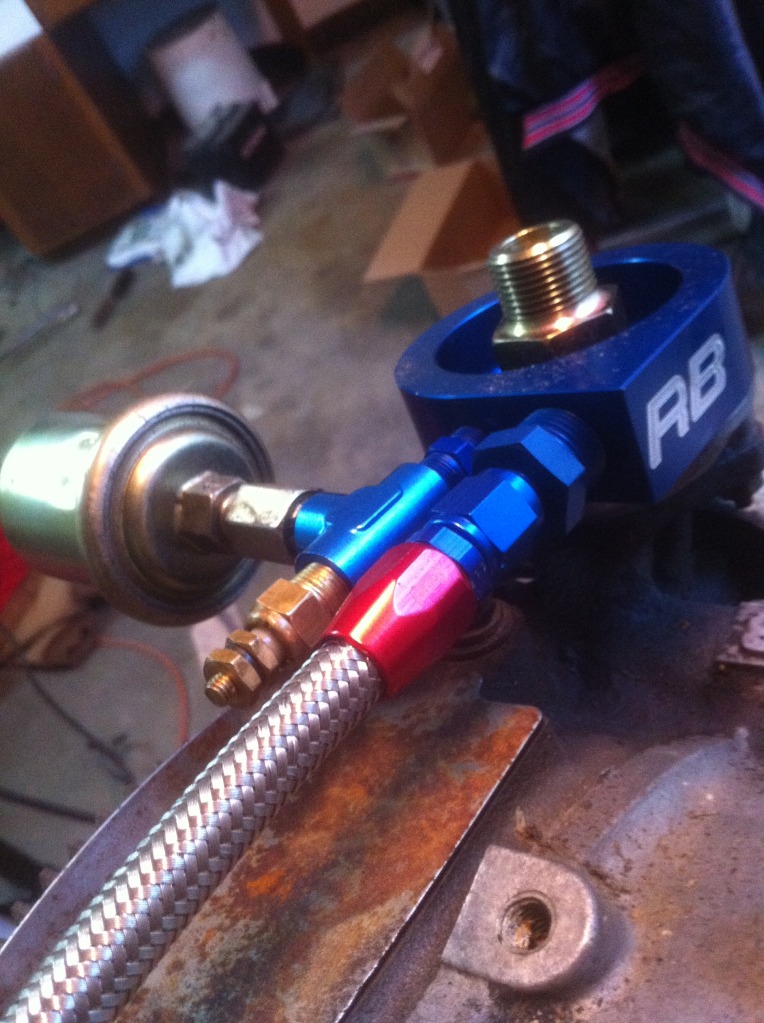
i made up half of my turbo feed line, and put together my oil temp and pressure sensers.
Couldnt resist
All that aside, i did get a lot of work on the bay
I am getting so close, and i just ordered my intercooler today
I have a pretty good sized update
I got home from work and had a package by my door!
never working with SS hose, i immediatly got to work with it lol
i made up half of my turbo feed line, and put together my oil temp and pressure sensers.
Couldnt resist
All that aside, i did get a lot of work on the bay
I am getting so close, and i just ordered my intercooler today
Thread Starter
Joined: Aug 2010
Posts: 1,416
Likes: 5
From: East Palestine, Oh
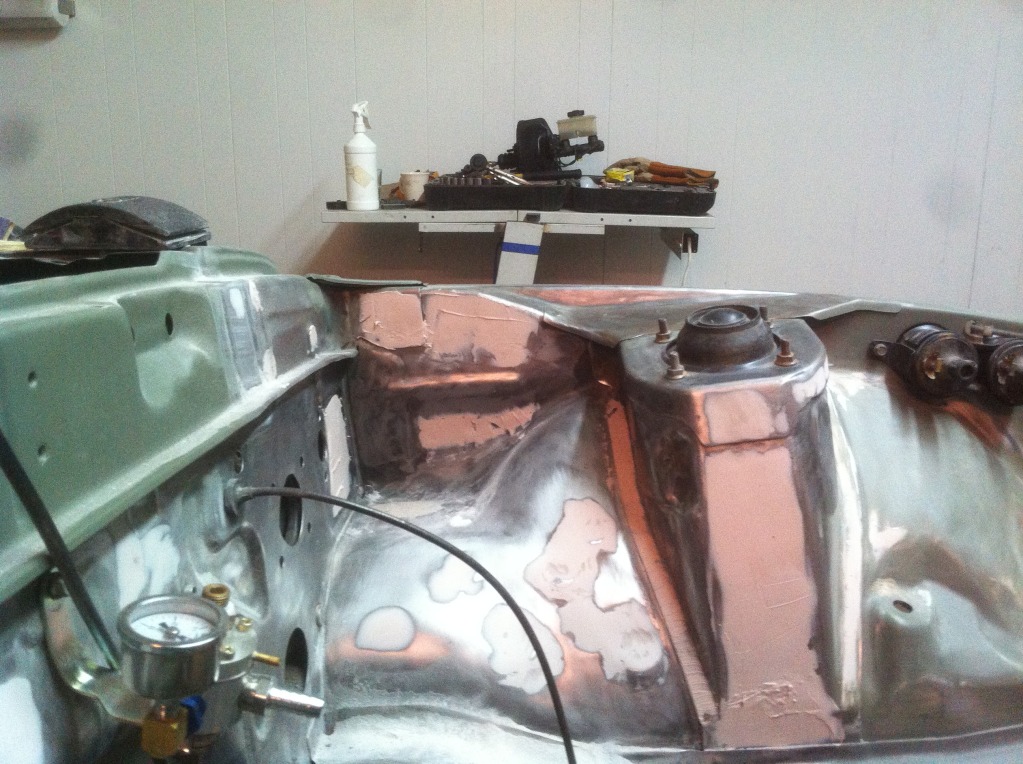
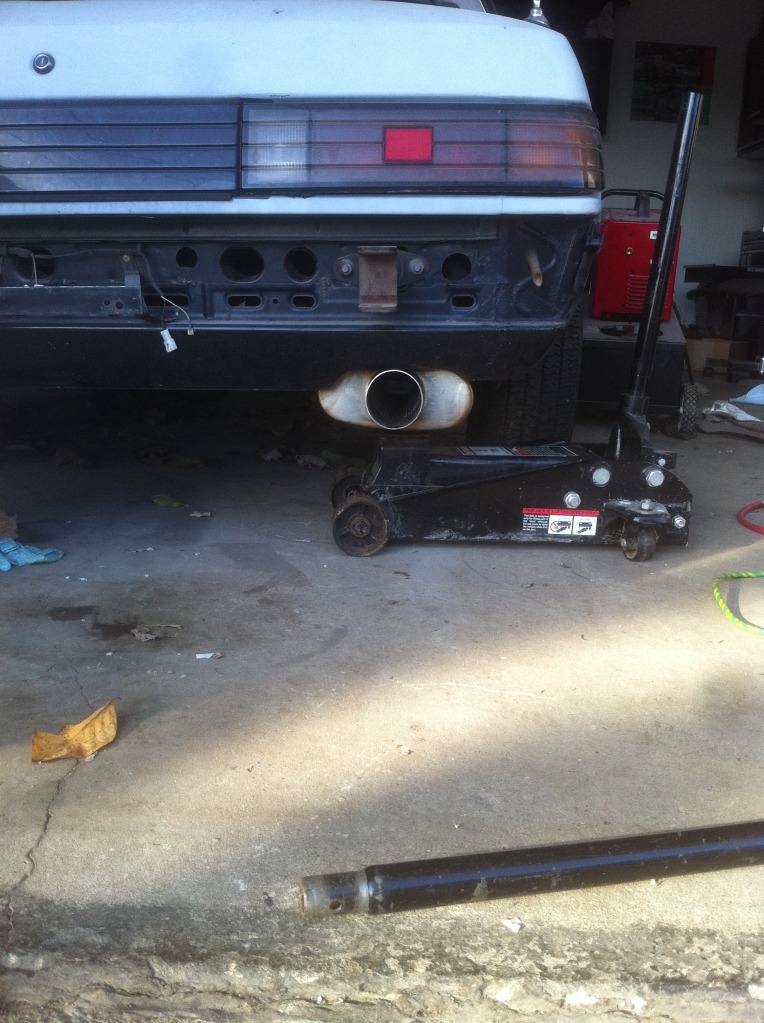
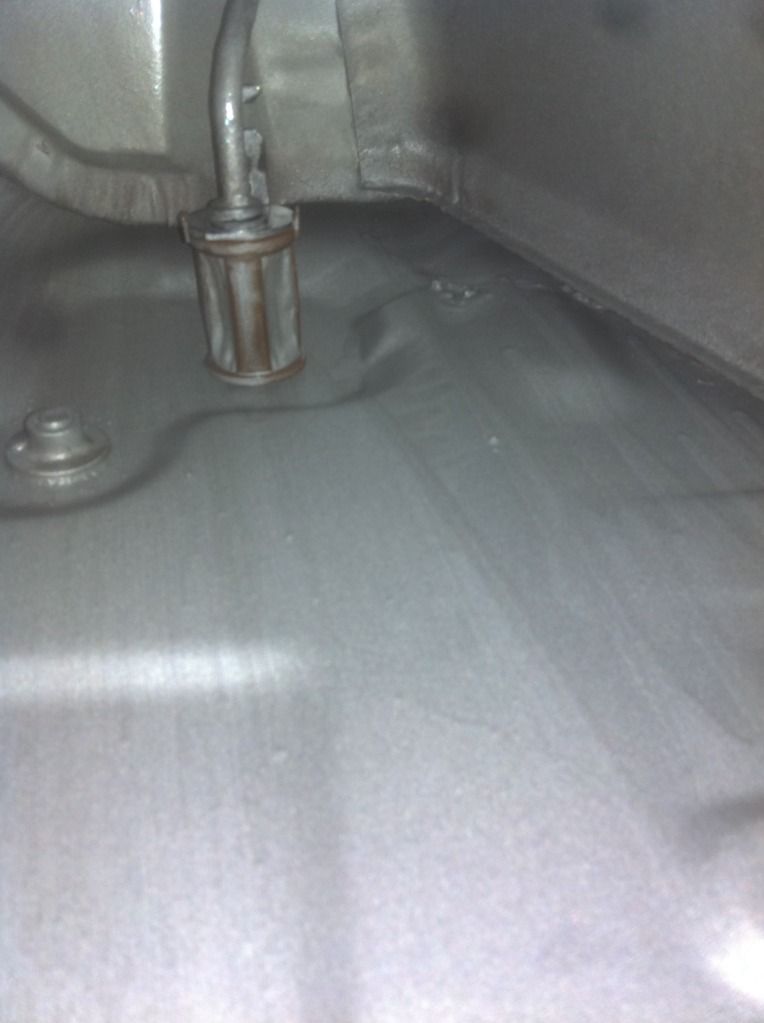
I re-cut my fuel lines and re fitted them.
here are current pics, im going to try to work on it tonight though

I also finally found the time to seal my fuel tank. I used POR-15's brand tank sealer. Its still drying, but so far so good. Looks like NEW.
Enjoy, comment, like it, hate it, tell me what you think!
here are current pics, im going to try to work on it tonight though
I also finally found the time to seal my fuel tank. I used POR-15's brand tank sealer. Its still drying, but so far so good. Looks like NEW.
Enjoy, comment, like it, hate it, tell me what you think!