
wire tuck

You can certainly mount the coil on the engine. Mazda even went as far as putting threaded holes on the top to use bolts. Looks pretty good in my opinion too. Although i went ahead and put some heat reflective material on a piece of stainless to act as a mount/heat shield. The only problem is then you have things adding onto the top of the engine, which looks cleaner as few parts hanging off or sitting on it as possible.
Looking good shaw, wish I knew how to weld. Keep reminding me that I need to find a welder for when my RE-Speed coil overs come in.
Joined: Feb 2006
Posts: 3,162
Likes: 1
From: London, Ontario, Canada
That's what I heard as well, until the guy that owns the shop I bought them from told me that they are mounted like that on older mustangs and he's never had a customer report a problem. I'm planning to move them to the strut tower once I get around to bending up a new mount. Just want to tidy up the top of the engine a bit. I've ran them like that all year and haven't had any issues... so far.
Thread Starter
Joined: Aug 2010
Posts: 1,416
Likes: 5
From: East Palestine, Oh
i may be getting an 89 GTUs decent shape running and driving and an 86 base shell with a clean body and interior. I didnt get much done on the car like i had hoped, not enough to even make the effort to post pics.
but ill post a pic up of the GTUs for your enjoyment!
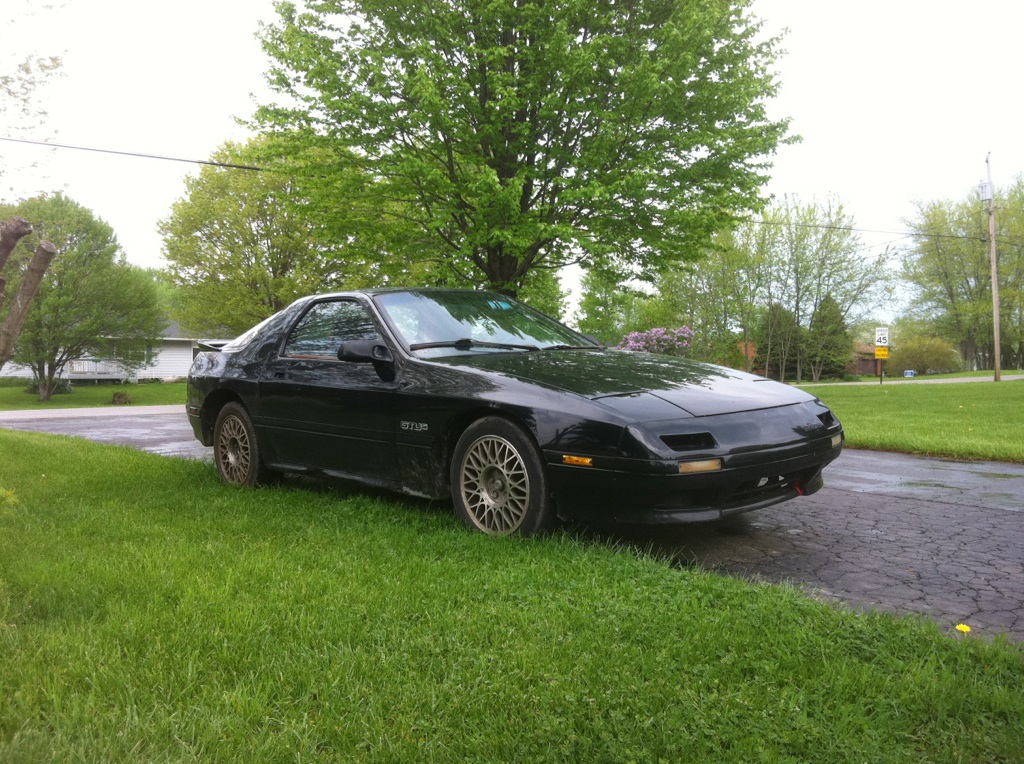
The guy wants to trade me both cars for my 86 yamaha fazer 700, which is as rare as the GTUs lol
I need to get cracking on this car, its becoming hard to get motavated
but ill post a pic up of the GTUs for your enjoyment!
The guy wants to trade me both cars for my 86 yamaha fazer 700, which is as rare as the GTUs lol
I need to get cracking on this car, its becoming hard to get motavated

Thread Starter
Joined: Aug 2010
Posts: 1,416
Likes: 5
From: East Palestine, Oh
That 2nd gen had to be parked on a salt pile. I drove it, an its DEFINITELY not even close to a first gen. The fazer 700 was only made in the US for 2 years 86 and 87. That was during harleys import tax on anything over 700cc. The rest ofthe world got the fzr750 which had farings and about 10 more hp. The 700 fazer has the same exact engine as the fzr750 except it's got a de-stroked crank shaft. So there is your history lesson on the elusive fazer haha oh, it's got the 5valve per cylinder 35* genesis engine, ****** will rip your arms off! Good news though, I can't wait to get to my garage and get to work now for some reason 
Thread Starter
Joined: Aug 2010
Posts: 1,416
Likes: 5
From: East Palestine, Oh
here is a pic of the my fazer:
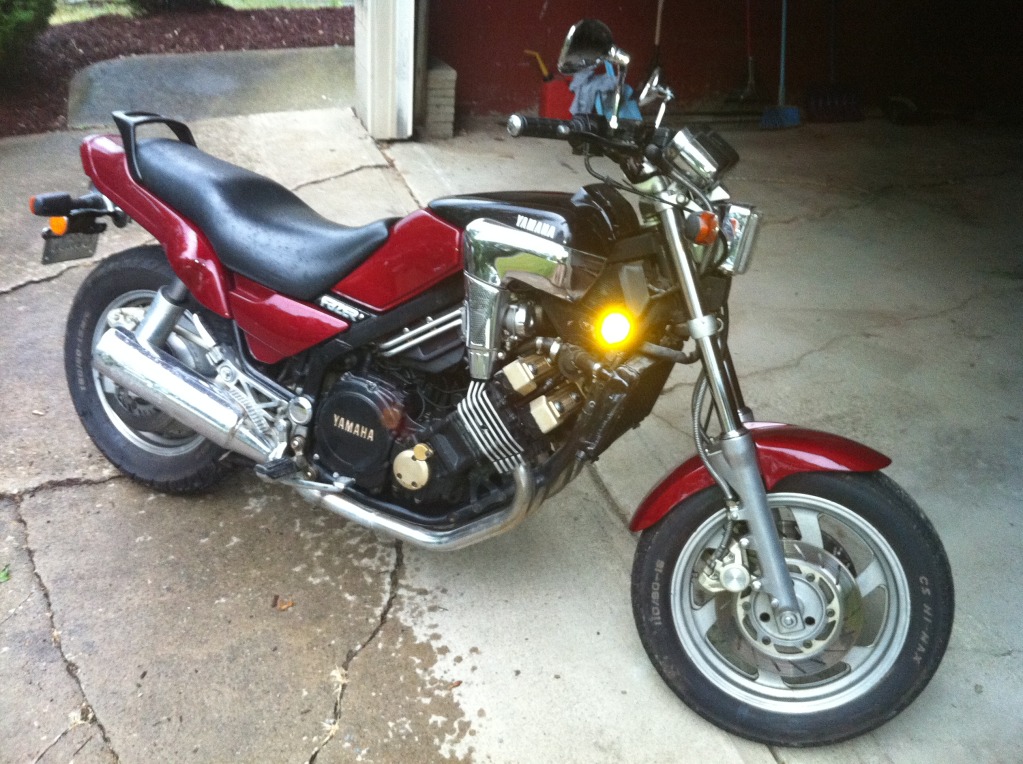
and here is a pic of me and my fazer lol

i PROMISE im going to work on it tonight, AND post pics of my progress.
and here is a pic of me and my fazer lol
i PROMISE im going to work on it tonight, AND post pics of my progress.
Liquid filled ones can leak
Epoxy filled ones can be mounted in any orientation.
Smoothing and tucking looks good! Keep it up! More pictars!
Thread Starter
Joined: Aug 2010
Posts: 1,416
Likes: 5
From: East Palestine, Oh
You got it!
Two days ago I got the Itch to start working on the car again. Heavily. I worked for about 5 hours, went to sleep, called off work, and worked on it about 8 more hours. Needless to say, every joint in my arms hurt, my fingers are raw, and my hands hurt so bad i can hardly make a fist.
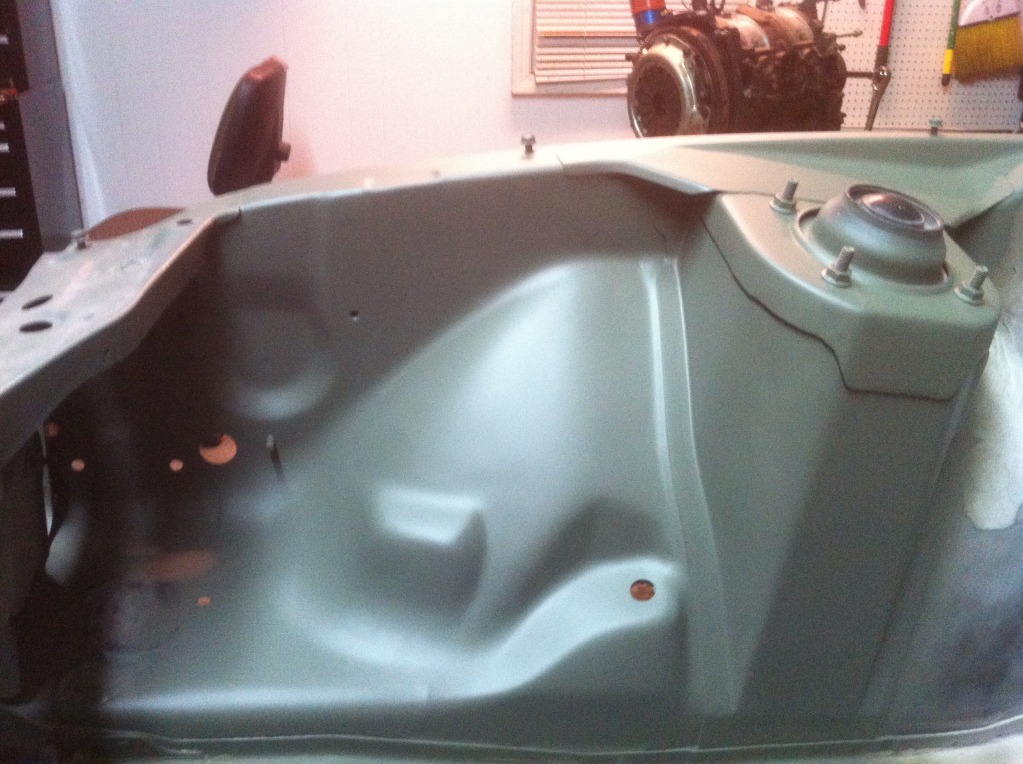
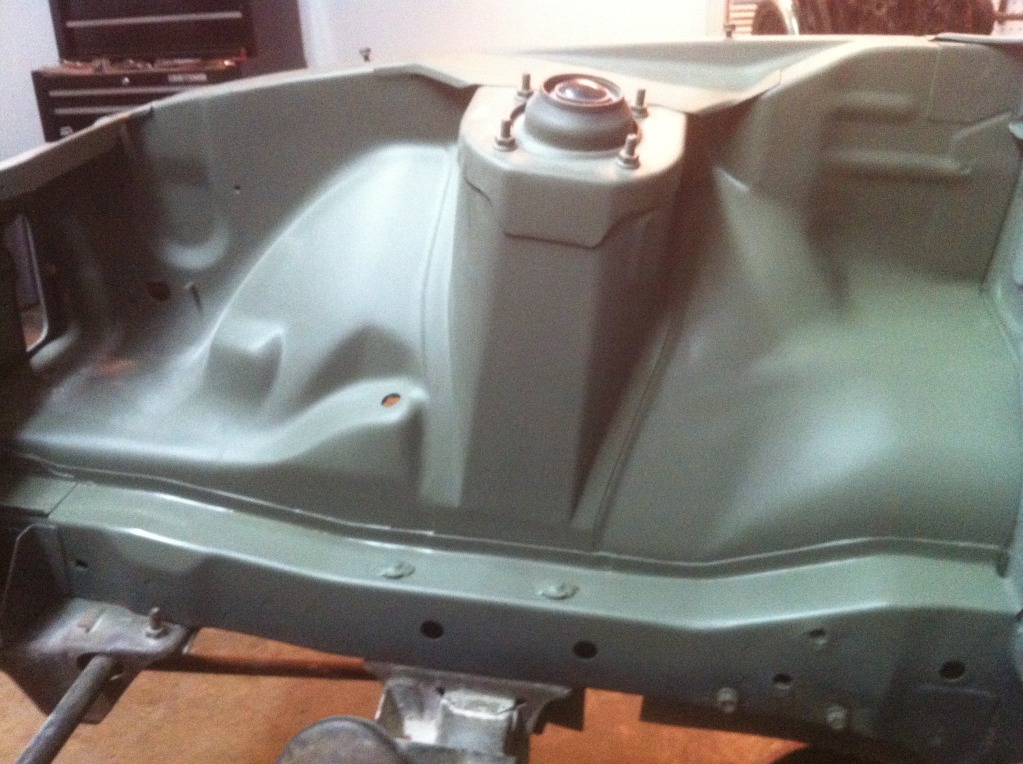
First, I decided to fix up this part one last time, and get a fresh coat of primer on it.
While that paint was drying, i got to work on this:

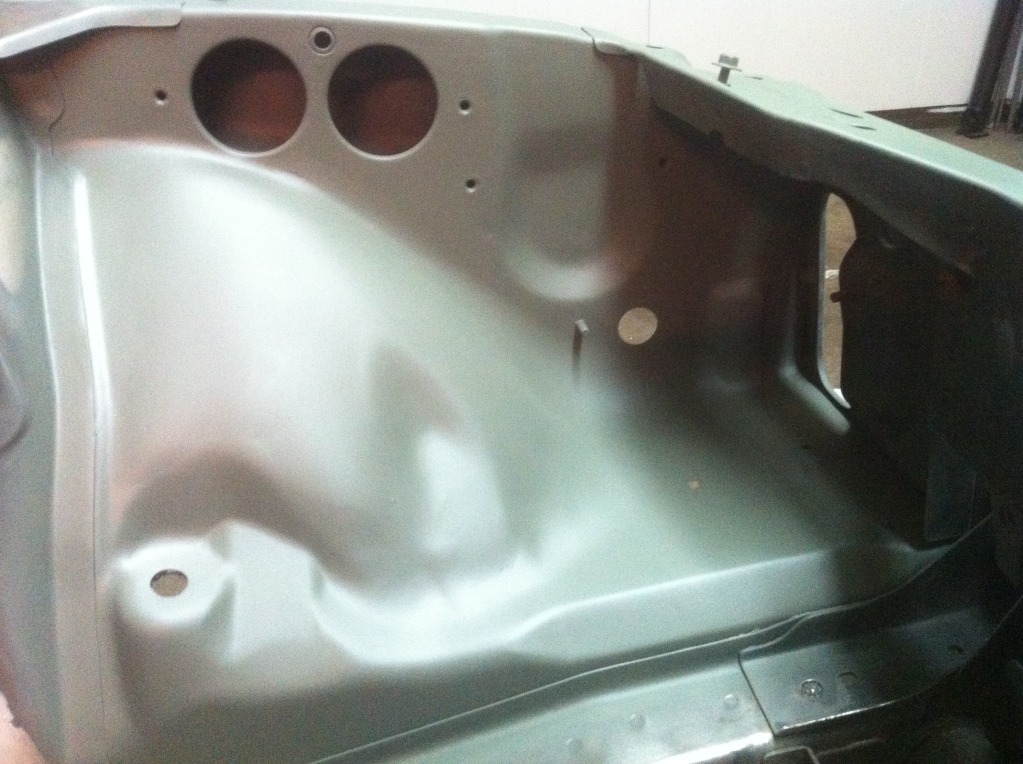
This part had basically been done, except for the corner by the VIN, what a PITA that area was to sand. Still needs touched up:
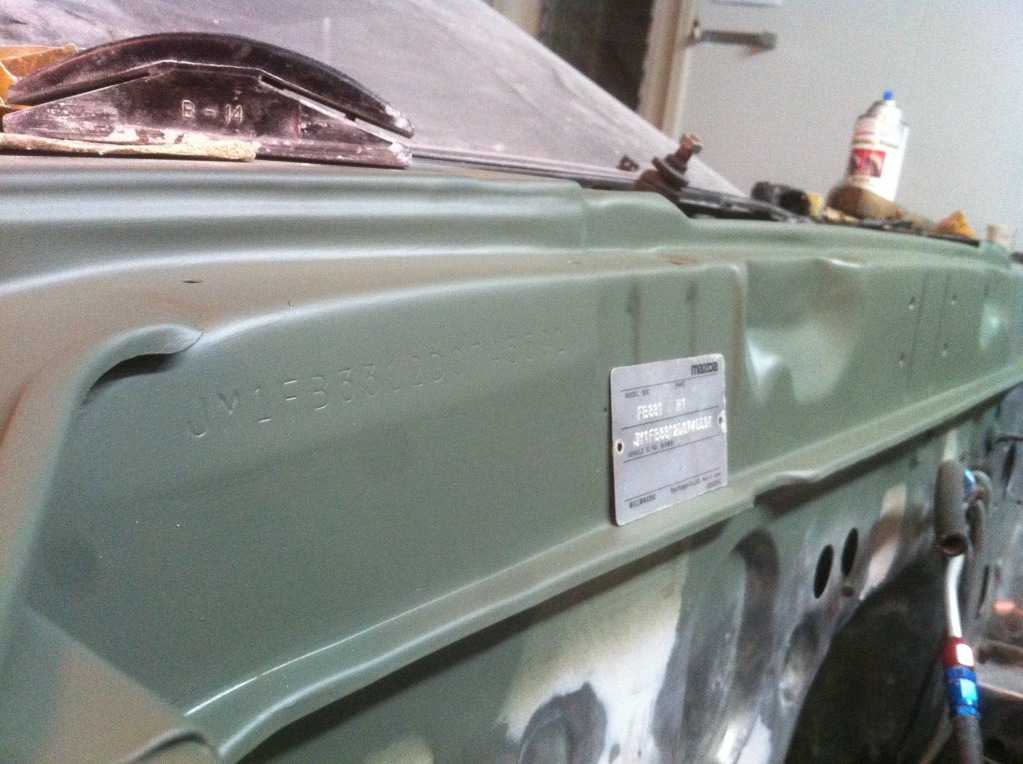
I was trying to think of where this could go now, and thanks to a friend i now know that it can fit here. Im going to put it right under the pinch weld under the hood latch.
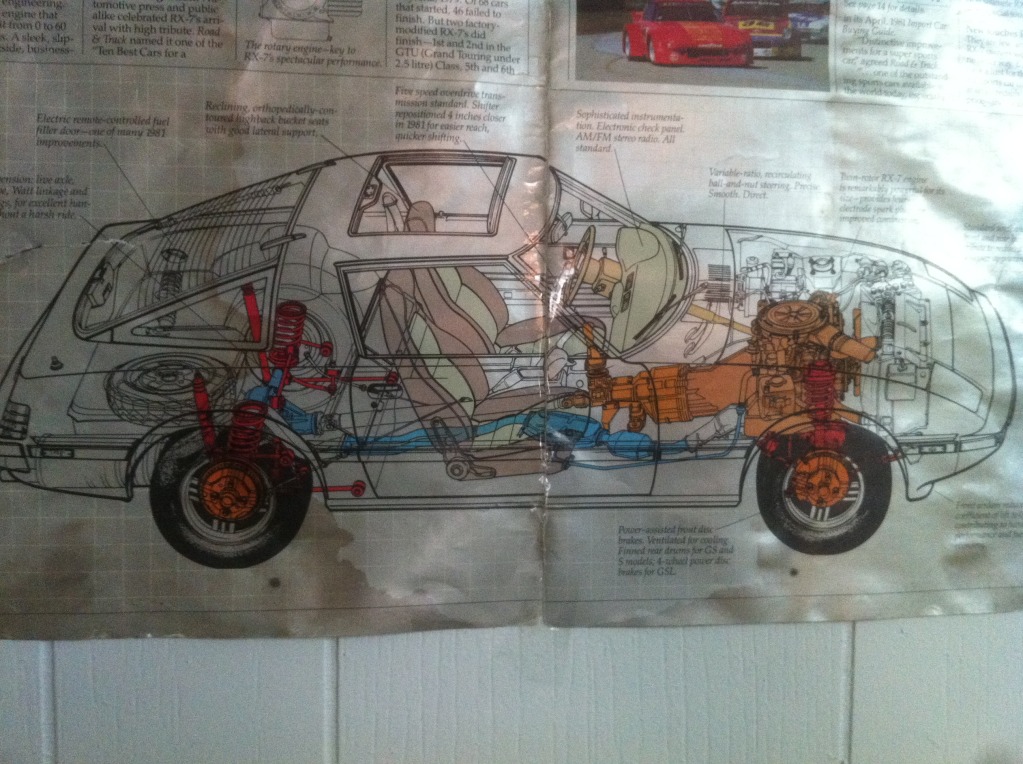
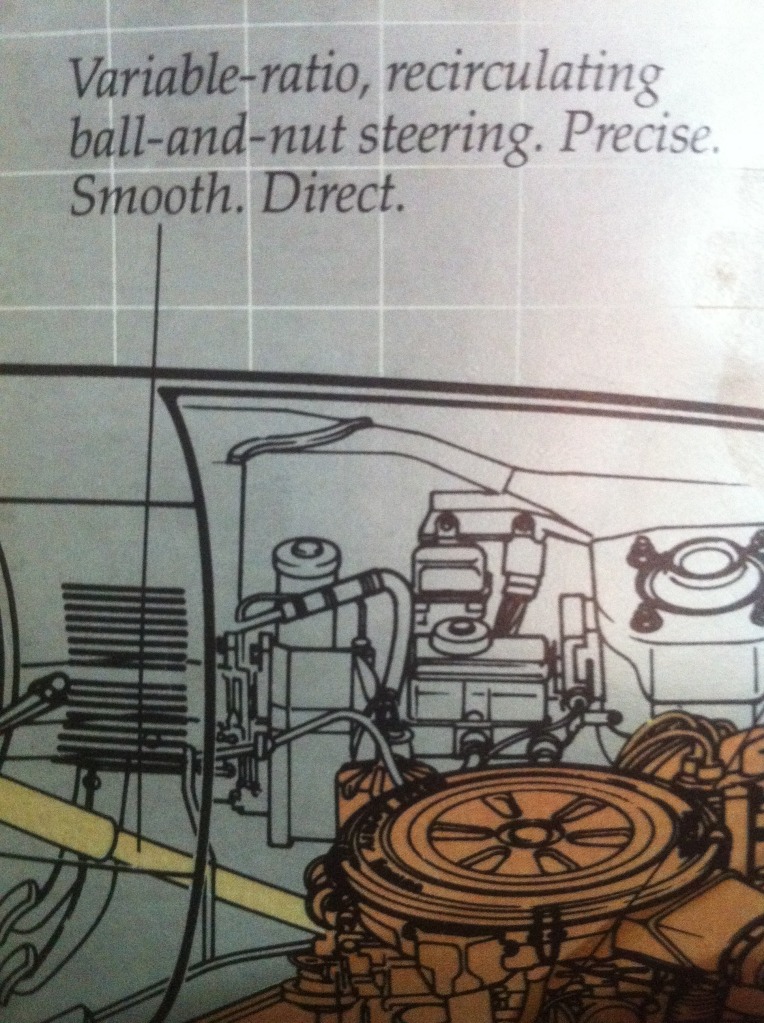
Check out this cool stuff I got, from an 82 brochure:
this made me
Two days ago I got the Itch to start working on the car again. Heavily. I worked for about 5 hours, went to sleep, called off work, and worked on it about 8 more hours.
Needless to say, every joint in my arms hurt, my fingers are raw, and my hands hurt so bad i can hardly make a fist. First, I decided to fix up this part one last time, and get a fresh coat of primer on it.
While that paint was drying, i got to work on this:
This part had basically been done, except for the corner by the VIN, what a PITA that area was to sand. Still needs touched up:
I was trying to think of where this could go now, and thanks to a friend i now know that it can fit here. Im going to put it right under the pinch weld under the hood latch.
Check out this cool stuff I got, from an 82 brochure:
this made me
Thread Starter
Joined: Aug 2010
Posts: 1,416
Likes: 5
From: East Palestine, Oh
On the pass side strut tower, there was a smallish spot of rust, it was the entire way through. This was the patch i used, but i forgot to take pics of the "action" lol
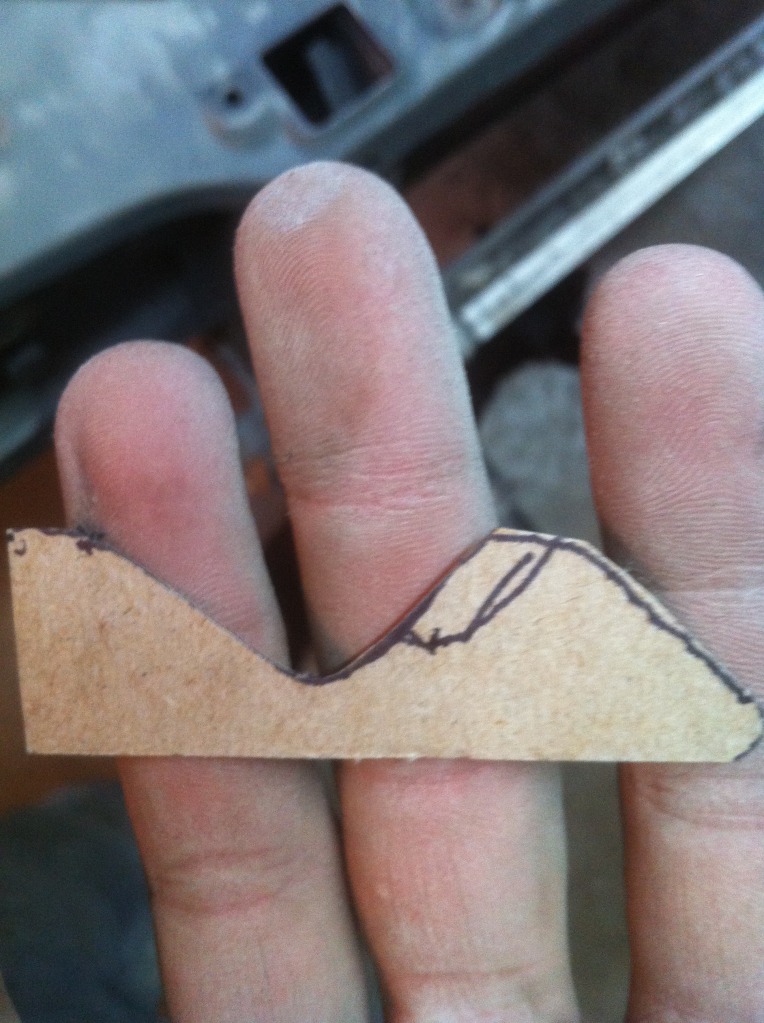
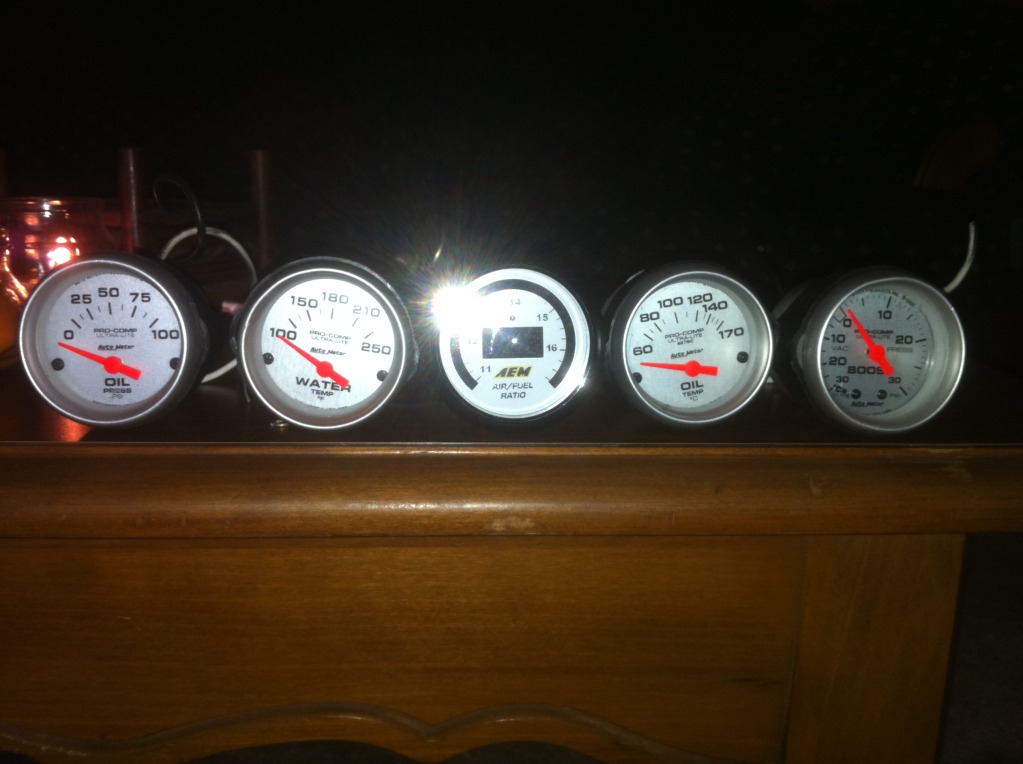
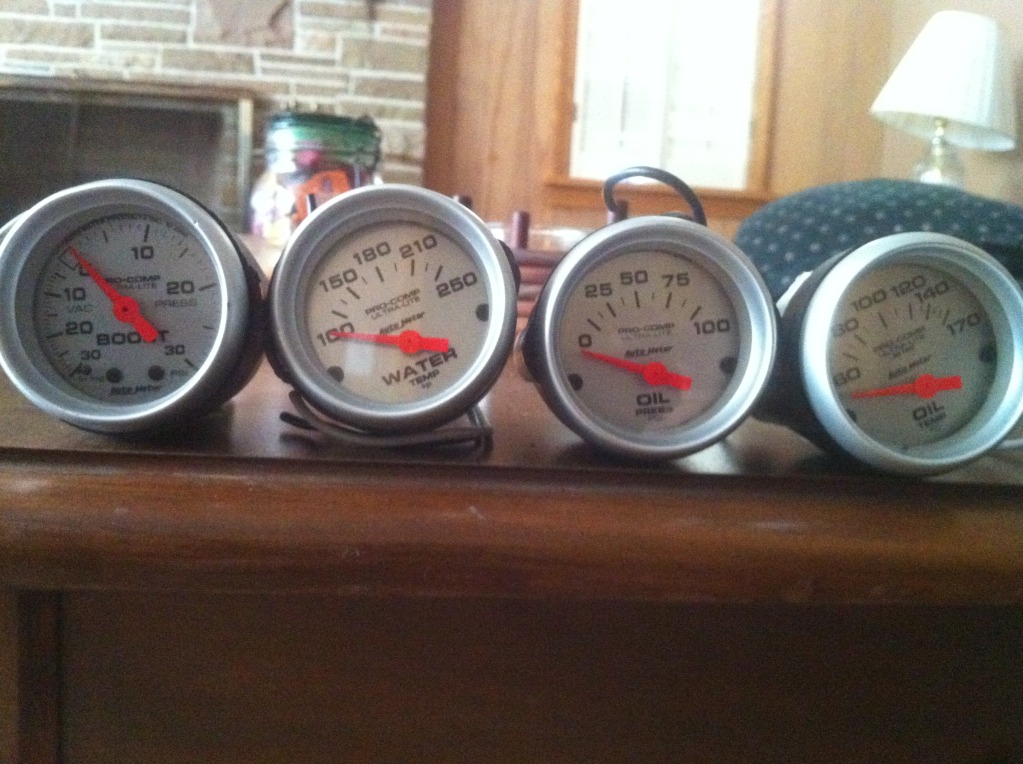
I had to take a small break from all the sanding and breathing in fumes so I made a template for my center console, hope you like it
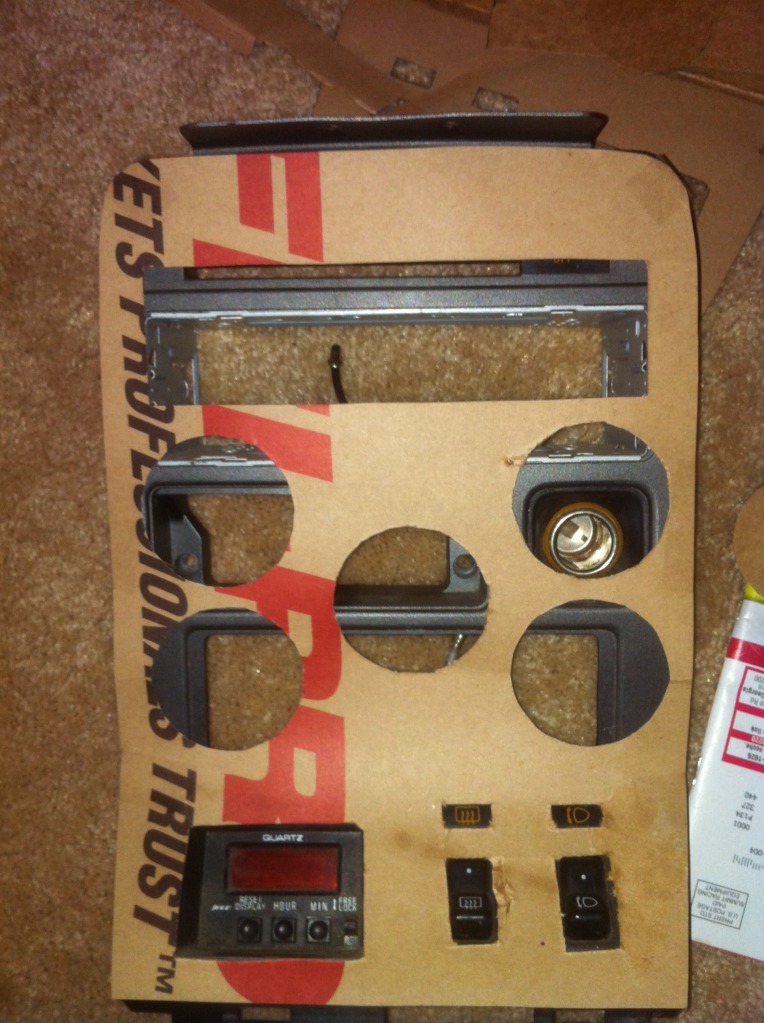
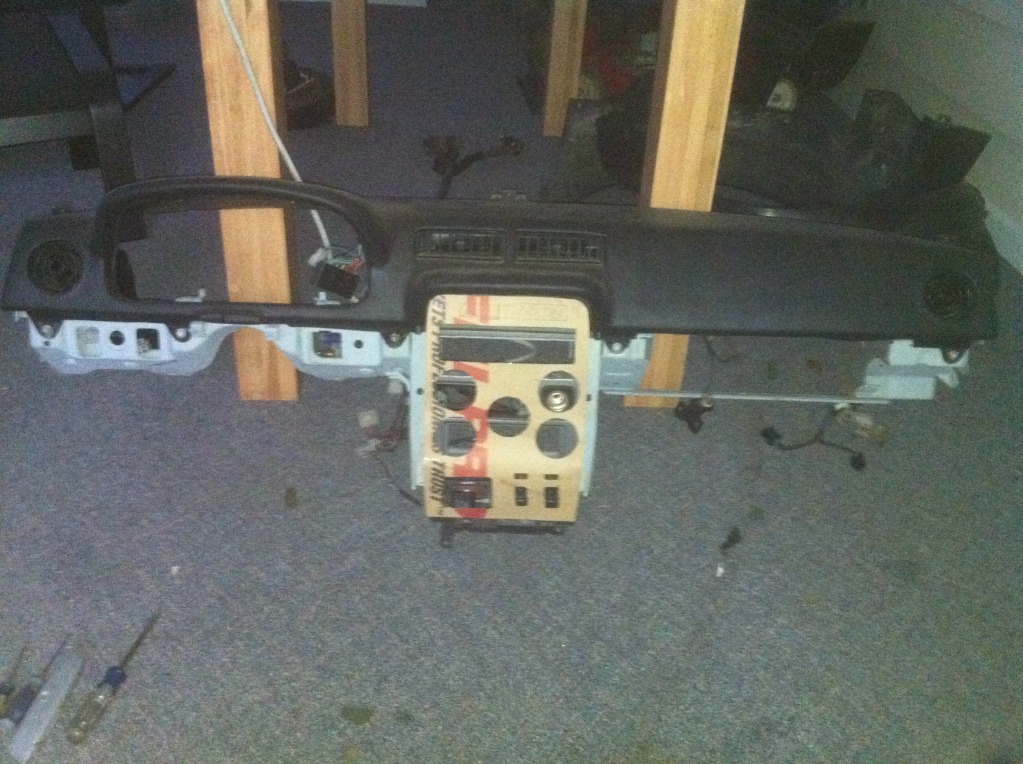
Im going to move the radio up about an inch and space the gauges out more. Im also going to ditch the stock clock and add a fuel and ignition cut switch there. Doing that will let me install the factory headlight and defrost switch into the aluminum overlay, instead of being recessed beneath it. Turbo timer goes above the radio.
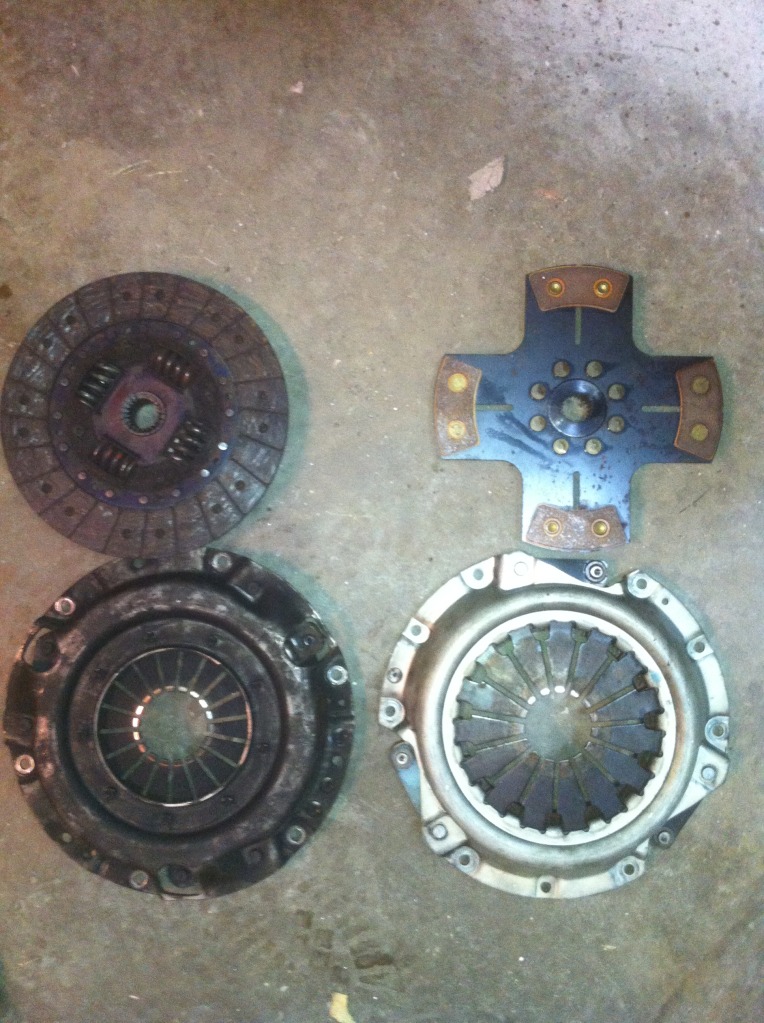
Then i decided to play around with my engine a bit. I installed my new clutch and PP i got from forum members, thanks!
And then i threw this together
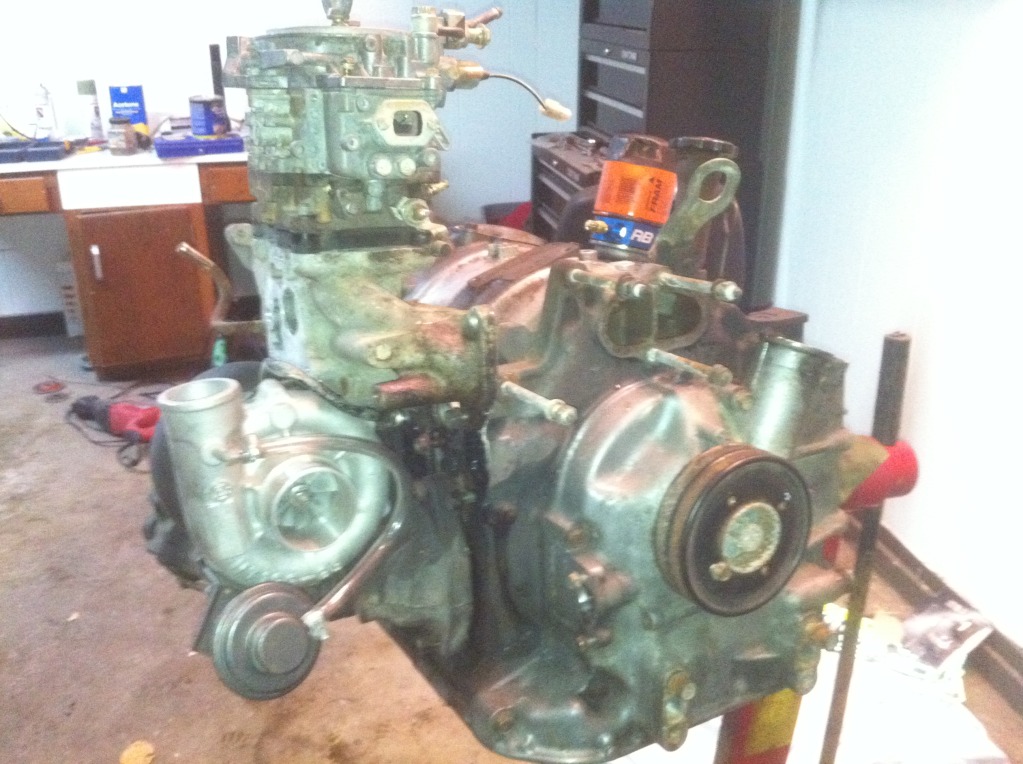
Ew.
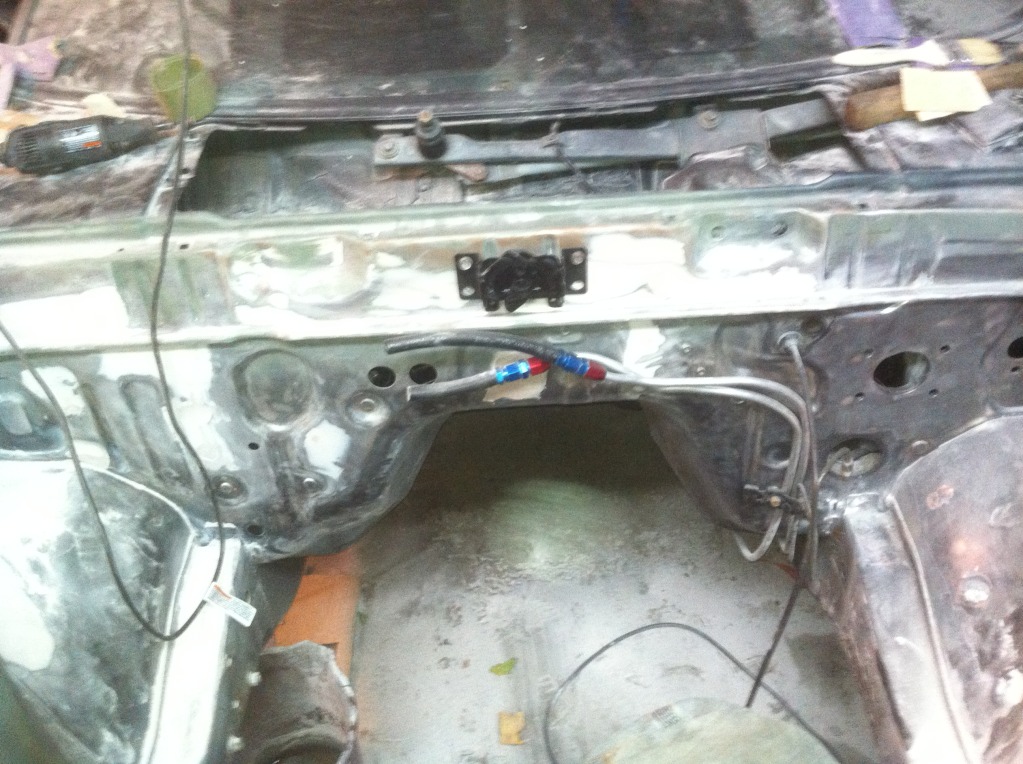
I ended up here.
I still have to weld a patch into where the stock wiring came through the firewall, and weld plates behind the heater core holes and two others on the firewall. Not a big deal at all, then bondo, sand, bondo, sand, primer, touch up, sand, primer, wetsand, primer, wetsand, sealer, paint, wetsand, clear, wetsand, etc............................................... ..................... Stay tuned
I had to take a small break from all the sanding and breathing in fumes so I made a template for my center console, hope you like it
Im going to move the radio up about an inch and space the gauges out more. Im also going to ditch the stock clock and add a fuel and ignition cut switch there. Doing that will let me install the factory headlight and defrost switch into the aluminum overlay, instead of being recessed beneath it. Turbo timer goes above the radio.
Then i decided to play around with my engine a bit. I installed my new clutch and PP i got from forum members, thanks!
And then i threw this together
Ew.
I ended up here.
I still have to weld a patch into where the stock wiring came through the firewall, and weld plates behind the heater core holes and two others on the firewall. Not a big deal at all, then bondo, sand, bondo, sand, primer, touch up, sand, primer, wetsand, primer, wetsand, sealer, paint, wetsand, clear, wetsand, etc............................................... ..................... Stay tuned
Thread Starter
Joined: Aug 2010
Posts: 1,416
Likes: 5
From: East Palestine, Oh
Thank you! Its pretty close to the way it will be when im done, very small touch ups. I could work on it 500 hours if i wanted to and it probably still wouldnt be perfect. I have to keep telling myself that its only an engine bay and people arent going to see it all the time. Unless i get a clear hood.....

Thank you! Its pretty close to the way it will be when im done, very small touch ups. I could work on it 500 hours if i wanted to and it probably still wouldnt be perfect. I have to keep telling myself that its only an engine bay and people arent going to see it all the time. Unless i get a clear hood.....
The ooo's and aaa's you get everytime you open the hood to show it to someone will make it all worthwhile. The satisfaction will last long after those sore fingers are gone!
Thread Starter
Joined: Aug 2010
Posts: 1,416
Likes: 5
From: East Palestine, Oh
dont get me wrong, it will look amazing! but for it to be perfect, im too picky! haha
does anyone know if this will work with the stock s5 turbo? Or know where i can get them for the s5 turbo? this is exactly what i need.
http://www.ebay.com/itm/4AN-Turbo-Oi...item43a2adbe0a
does anyone know if this will work with the stock s5 turbo? Or know where i can get them for the s5 turbo? this is exactly what i need.
http://www.ebay.com/itm/4AN-Turbo-Oi...item43a2adbe0a

Joined: Apr 2006
Posts: 3,740
Likes: 6
From: Las Vegas, NV
Looking great! I'm really thinking of jumping into the wire tuck. I want to paint my engine bay too since my motor is out. What type of paint are you going to be using?
Thread Starter
Joined: Aug 2010
Posts: 1,416
Likes: 5
From: East Palestine, Oh
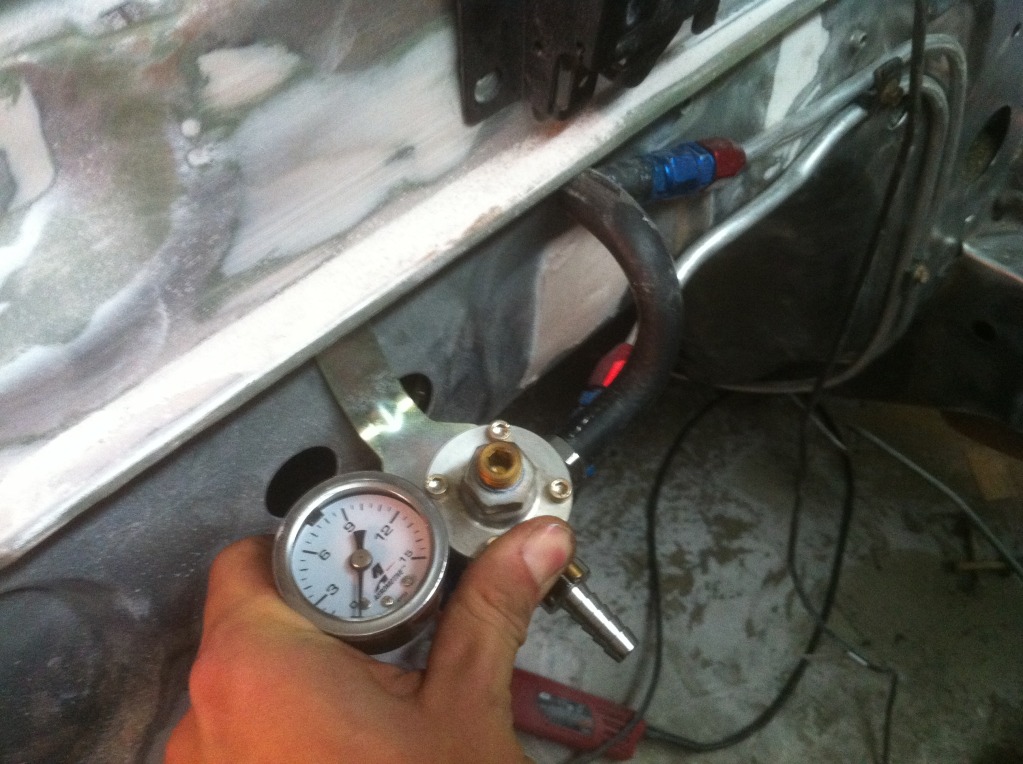
Direct freak- I have a fuel pressure gauge mounted on my regulator under the hood. I may route it into the bay, but the gauge is phisacslly smaller than the rest. If it goes in the console, it would be mounted at the very top or something. I'd LOVE to get an egt gauge, but right now it's too pricey at this point in the build.
Twinkletoes- do it! Then we can compare there are so many different options you have on where to hide stff/what to keep. It's actually really fun. It's more like your actually building the car to me I guess because you have to re think a lot of stuff.
Thanks for all the compliments!
Twinkletoes- do it! Then we can compare
there are so many different options you have on where to hide stff/what to keep. It's actually really fun. It's more like your actually building the car to me I guess because you have to re think a lot of stuff. Thanks for all the compliments!
Thread Starter
Joined: Aug 2010
Posts: 1,416
Likes: 5
From: East Palestine, Oh
Oh, as for the paint. I'm going to be using NAPA paint. The kid I know that paints uses it and he likes it. Plus, he isn't charging me and I get paint at a discount!


Direct freak- I have a fuel pressure gauge mounted on my regulator under the hood. I may route it into the bay, but the gauge is phisacslly smaller than the rest. If it goes in the console, it would be mounted at the very top or something. I'd LOVE to get an egt gauge, but right now it's too pricey at this point in the build.
Twinkletoes- do it! Then we can compare there are so many different options you have on where to hide stff/what to keep. It's actually really fun. It's more like your actually building the car to me I guess because you have to re think a lot of stuff.
Thanks for all the compliments!
Twinkletoes- do it! Then we can compare
there are so many different options you have on where to hide stff/what to keep. It's actually really fun. It's more like your actually building the car to me I guess because you have to re think a lot of stuff. Thanks for all the compliments!
Joined: Apr 2006
Posts: 3,740
Likes: 6
From: Las Vegas, NV
Twinkletoes- do it! Then we can compare there are so many different options you have on where to hide stff/what to keep. It's actually really fun. It's more like your actually building the car to me I guess because you have to re think a lot of stuff.
Thanks for all the compliments!
there are so many different options you have on where to hide stff/what to keep. It's actually really fun. It's more like your actually building the car to me I guess because you have to re think a lot of stuff. Thanks for all the compliments!

6 guages would look a bit cleaner, looks nice nonetheless though!
Thread Starter
Joined: Aug 2010
Posts: 1,416
Likes: 5
From: East Palestine, Oh
I'm sure he could get formula white, or really really close to it. I'm pretty sure that without his discount the clear was like $90 a gal, hardener for the clear was $30 a quart, color was like $125 a gal for the white I'm using. Rattle cans are easier, but even eight off the bat it wont look as nice. Napa I believe also sells a 1 stage paint you spray on with a gun. I've heard people having success with that too.
Thread Starter
Joined: Aug 2010
Posts: 1,416
Likes: 5
From: East Palestine, Oh
How much is a decent two needle egt gauge? maybe il just cut the hole for it and use the hole for something stupid until I buy the other gauge. I wanted the egt gauge anyway...