
wire tuck

Thread Starter
Joined: Aug 2010
Posts: 1,416
Likes: 5
From: East Palestine, Oh
Thread Starter
Joined: Aug 2010
Posts: 1,416
Likes: 5
From: East Palestine, Oh
Thank you by the way, you guys are keeping me going! I did find out that i used a too fine of a sandpaper before I sprayed the primer. So tonight off it comes, again.
Thread Starter
Joined: Aug 2010
Posts: 1,416
Likes: 5
From: East Palestine, Oh
i always look at shaved bays like this and wished mine looked that good. I never thought I could do it. My welding and metal work skills are much better than a year ago, and I guess I'm more patient now with body work than before. It really is coming along better than I had hoped, its not perfect but I do have to keep reminding myself that it is just an engine bay.
Apex Whore
Joined: Mar 2007
Posts: 273
Likes: 0
From: VA
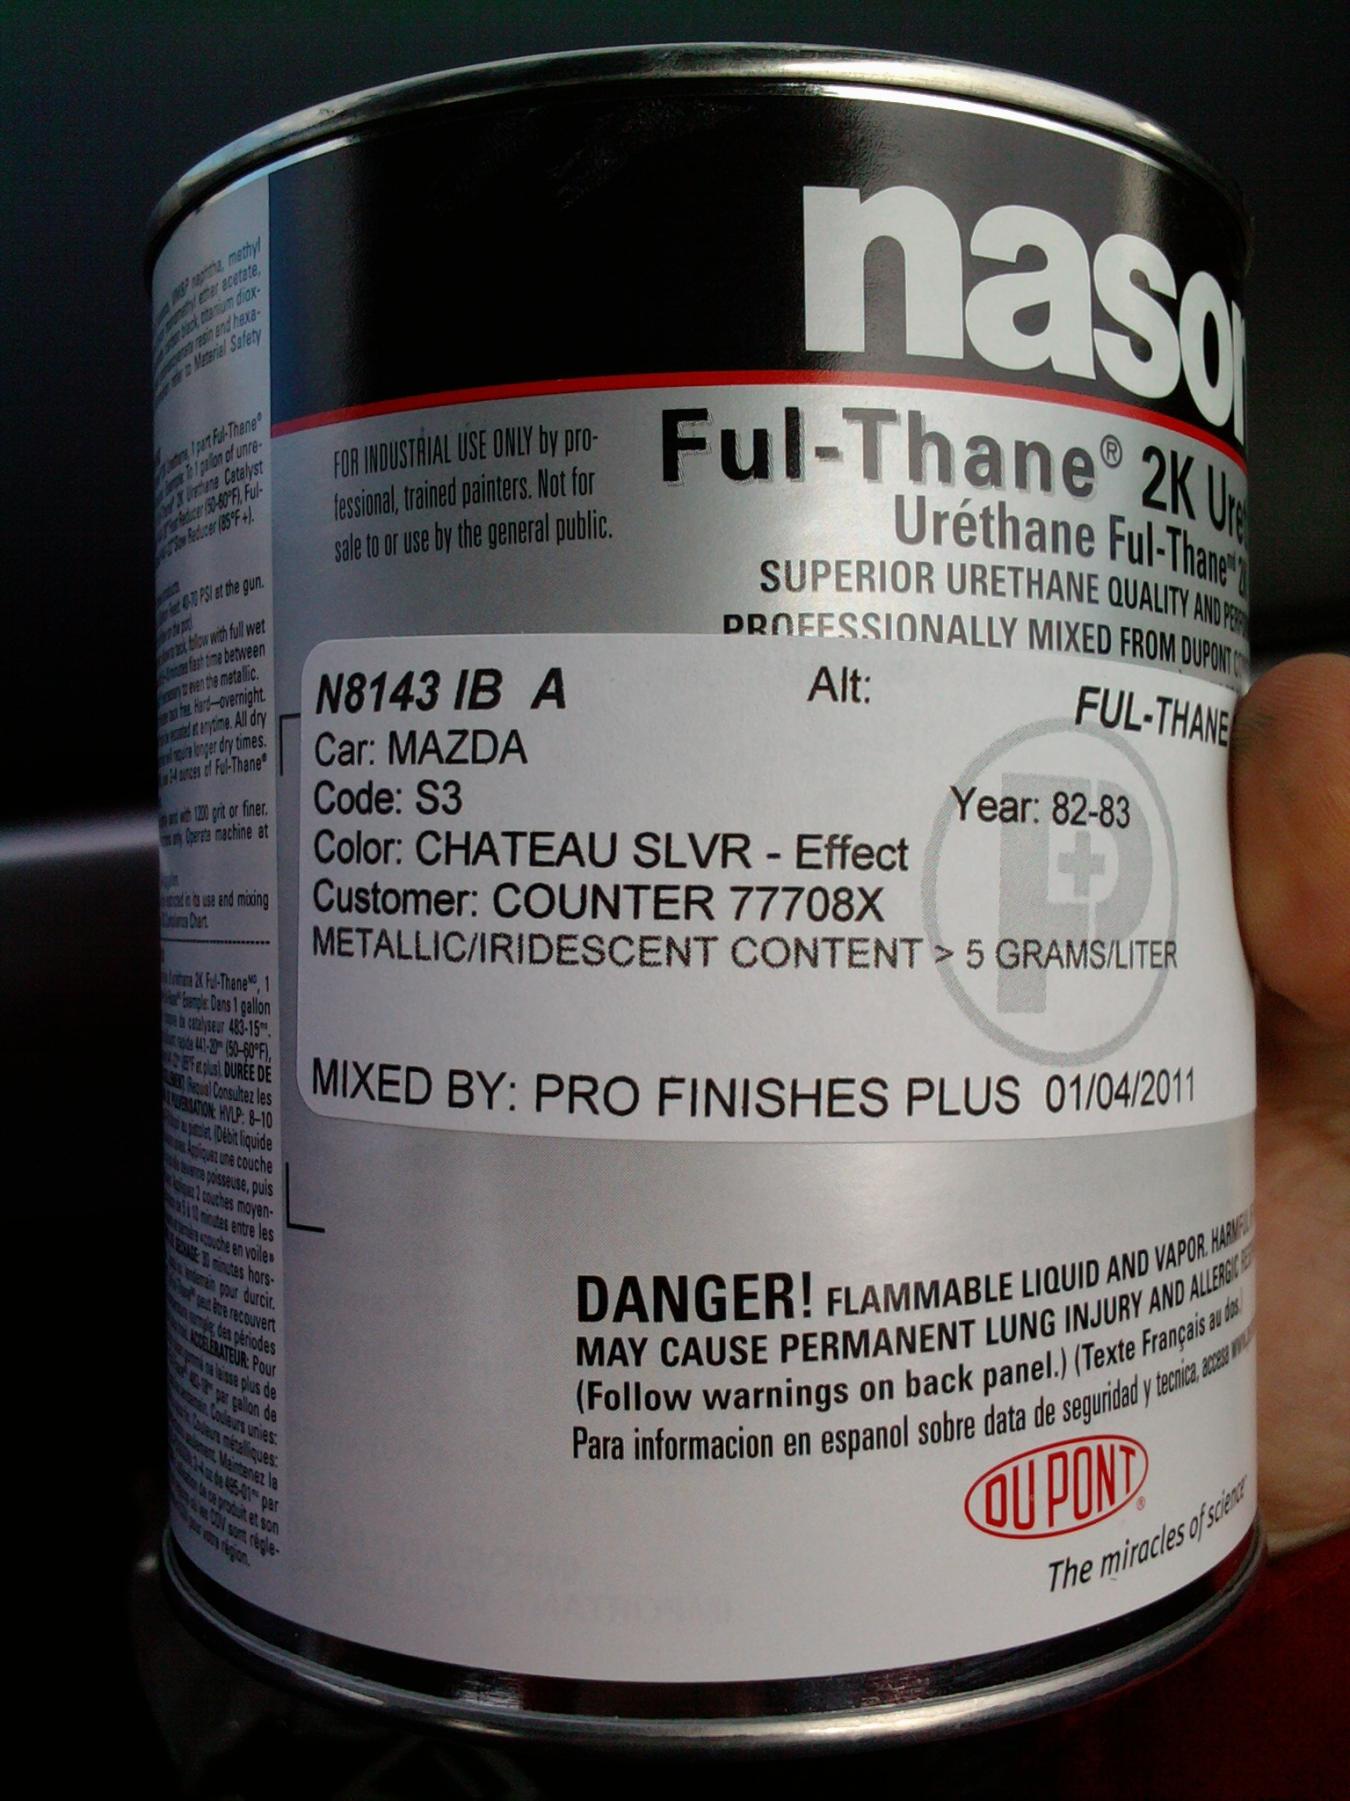
Looks great so far, I have been working on the same project pretty much. Where did you pass the wires through for the lighting harness? Also if your intrested when you get to the painting part look into single stage urthane, I picked up a pint and the stuff that goes with it for about 60.00 and really happy with it so far. And it was very easy to mix and spray.
Thread Starter
Joined: Aug 2010
Posts: 1,416
Likes: 5
From: East Palestine, Oh
im going to drill a hole for them to come out of. when you pull the fender and look there are three holes, im going to drill the middle hole to 3" and run them out of there i think. your bay is looking pretty good!
Thread Starter
Joined: Aug 2010
Posts: 1,416
Likes: 5
From: East Palestine, Oh
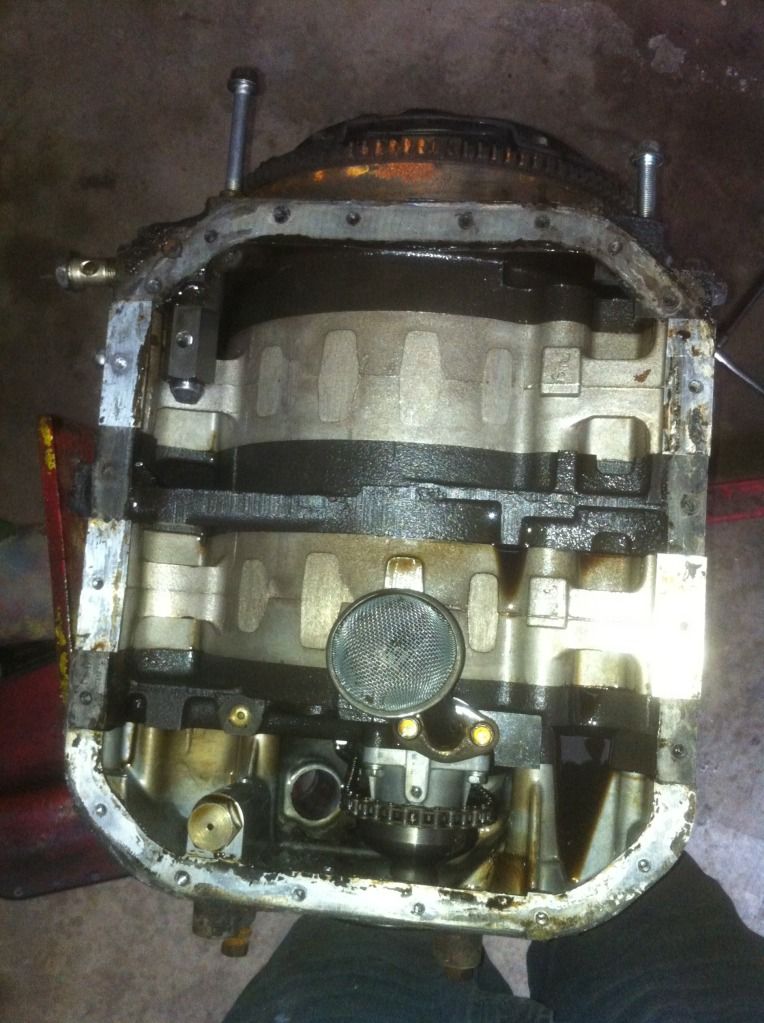
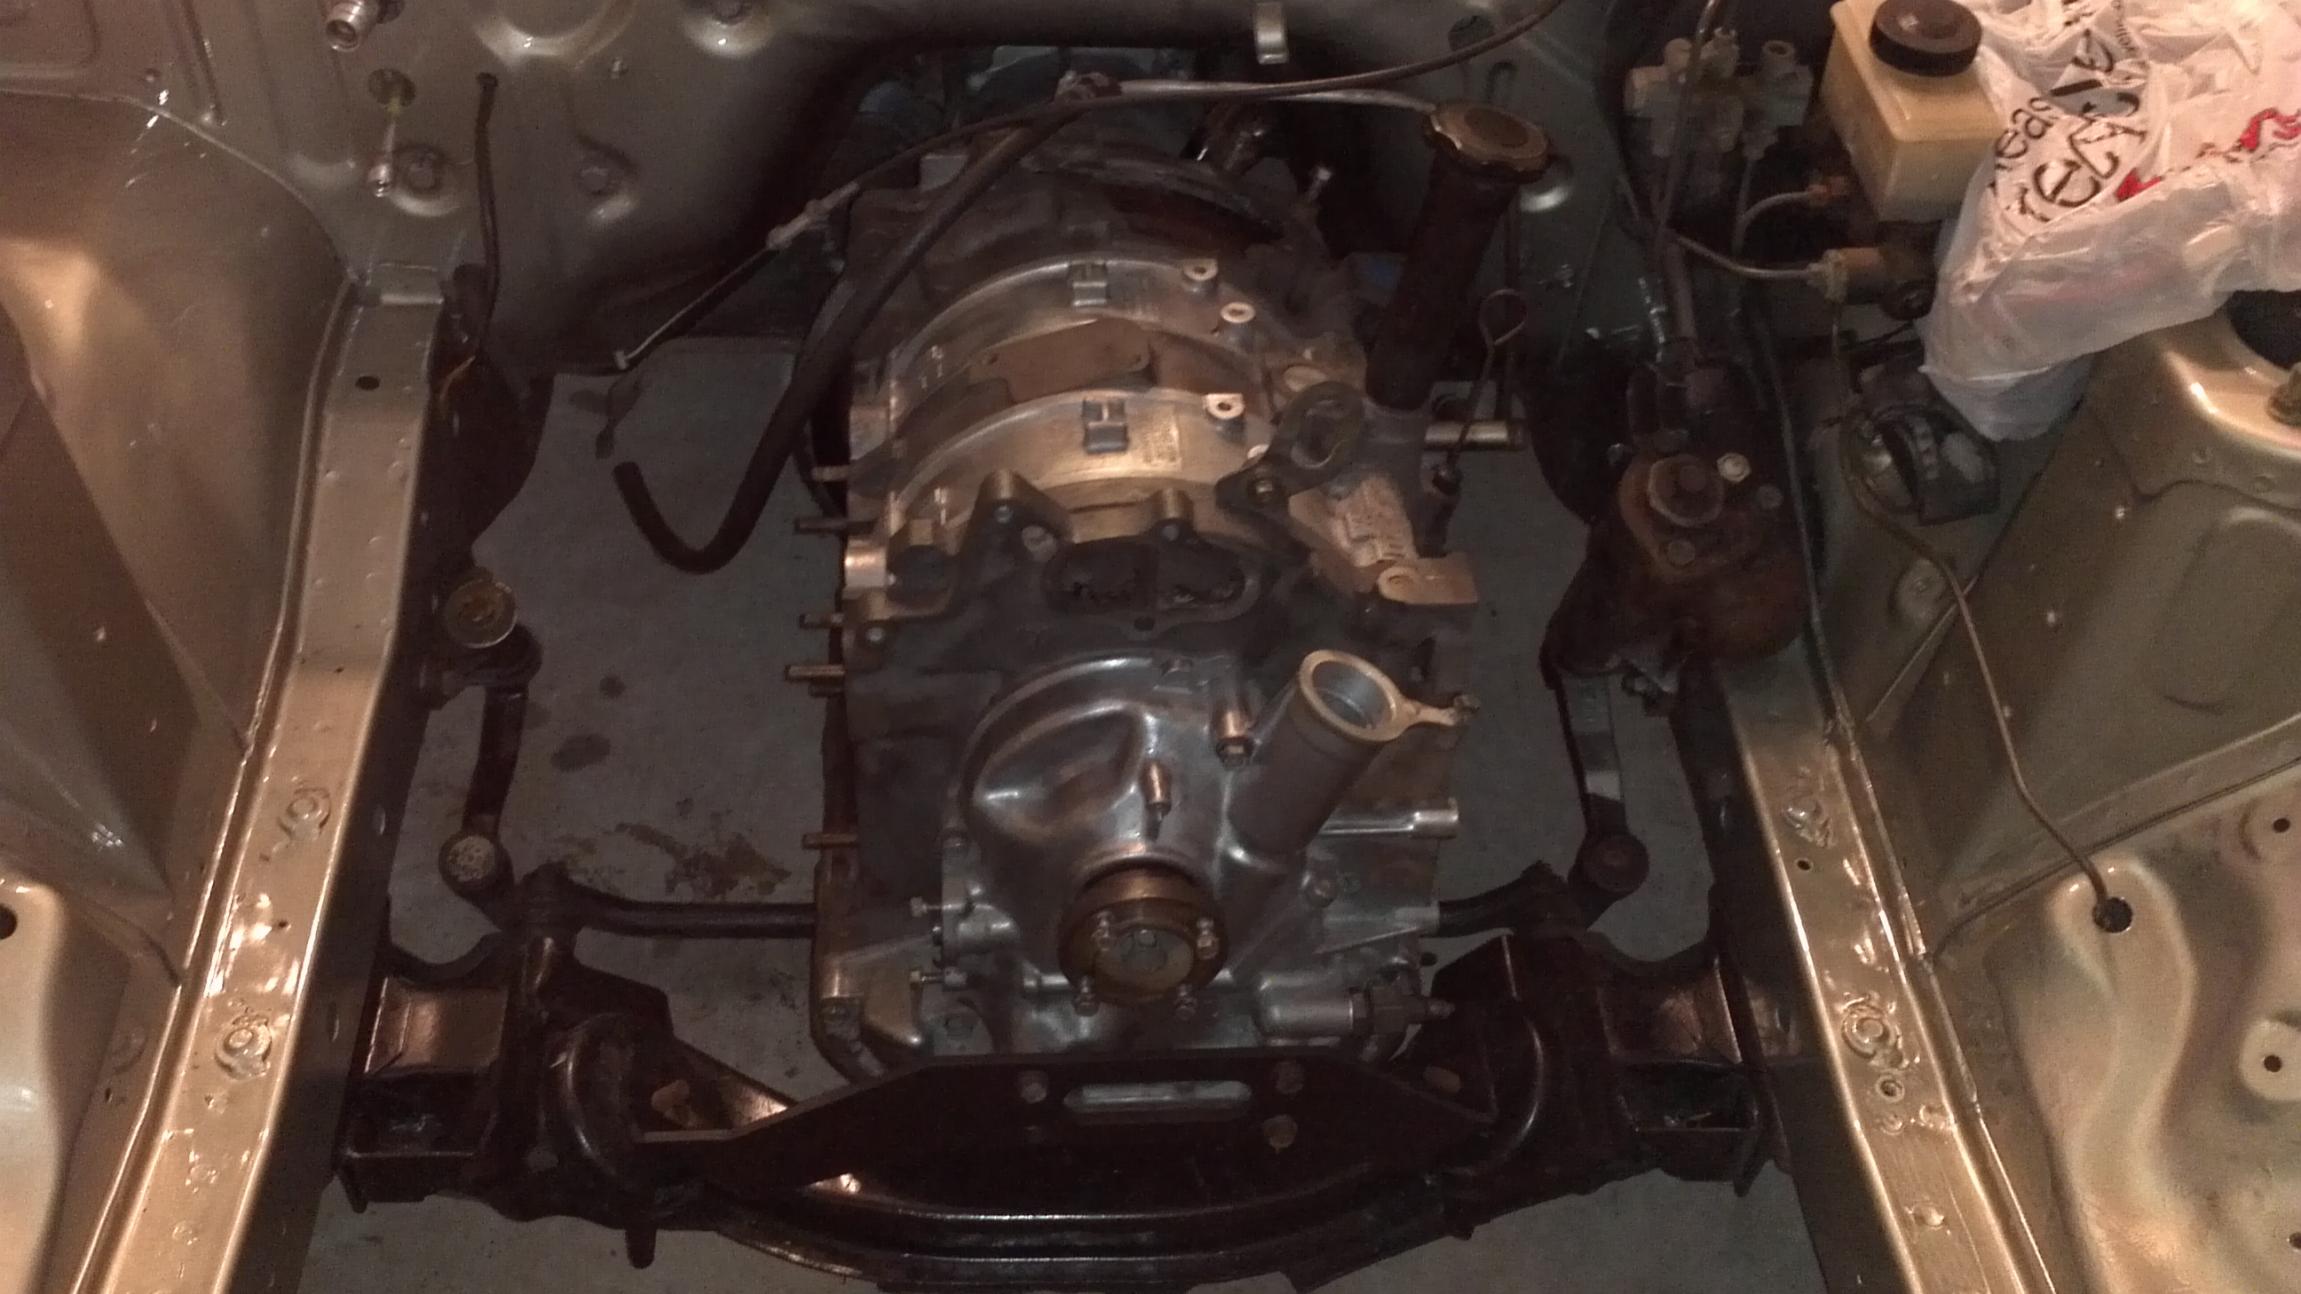
well, I have a question for you guys. Somewhere at some point, i got water in my engine. I decided to turn it over by hand on the stand and i heard water, so I looked in with a flashlight. I saw rotors covered in wet, rusty looking water, but the engine still holds compression on all 6 rotor faces. I dumped some oil in there and spun the engine around a few time. Is my engine screwed do you guys think? If not, how can I clean it out or do i just not worry about it and it will be fine?
Thread Starter
Joined: Aug 2010
Posts: 1,416
Likes: 5
From: East Palestine, Oh
heres another non thread related question,
for all you guys with turbo fb's, what kind of fuel mileage are you guys getting with yours average? i want to drive this car to DGRR and hope to get atleast 18 mpg on a stock port turbo engine on the way there.
for all you guys with turbo fb's, what kind of fuel mileage are you guys getting with yours average? i want to drive this car to DGRR and hope to get atleast 18 mpg on a stock port turbo engine on the way there.
Thread Starter
Joined: Aug 2010
Posts: 1,416
Likes: 5
From: East Palestine, Oh
thank you guys so much, you're really all keeping me going! As of now, I'd say I have about 24 solid hours of work in my engine bay, including the wiring I did and dismanteling it all. Probably another 8292847 hours to go, so I'm getting there!
I didnt get much done last night, but I did manage a few things.
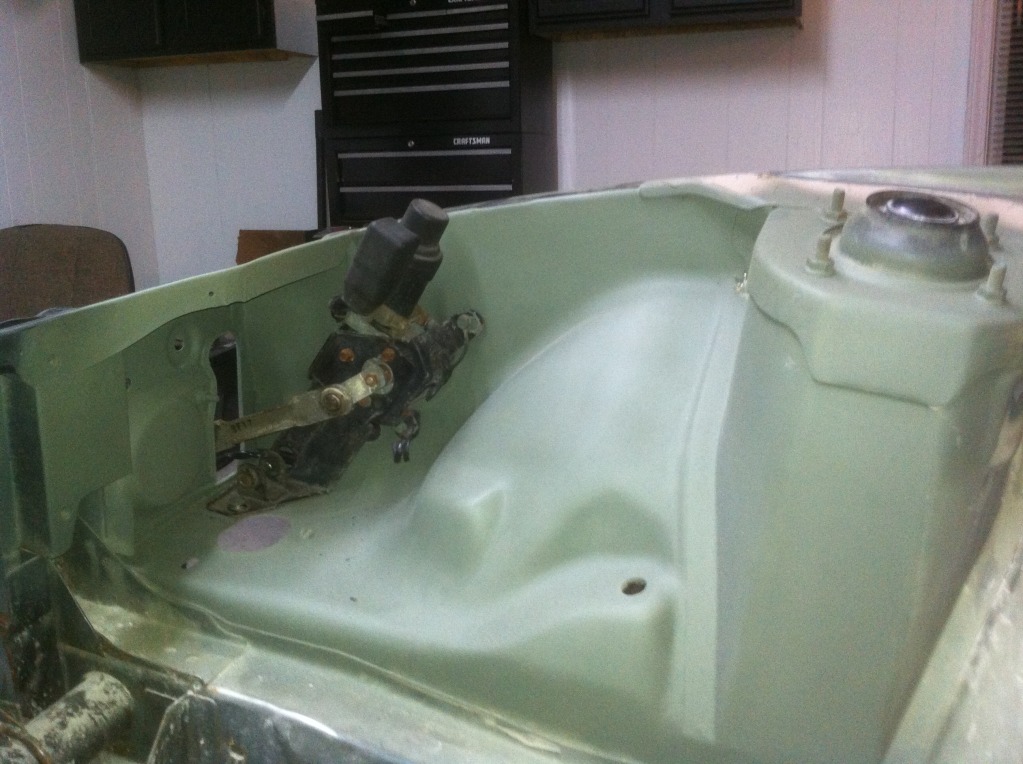
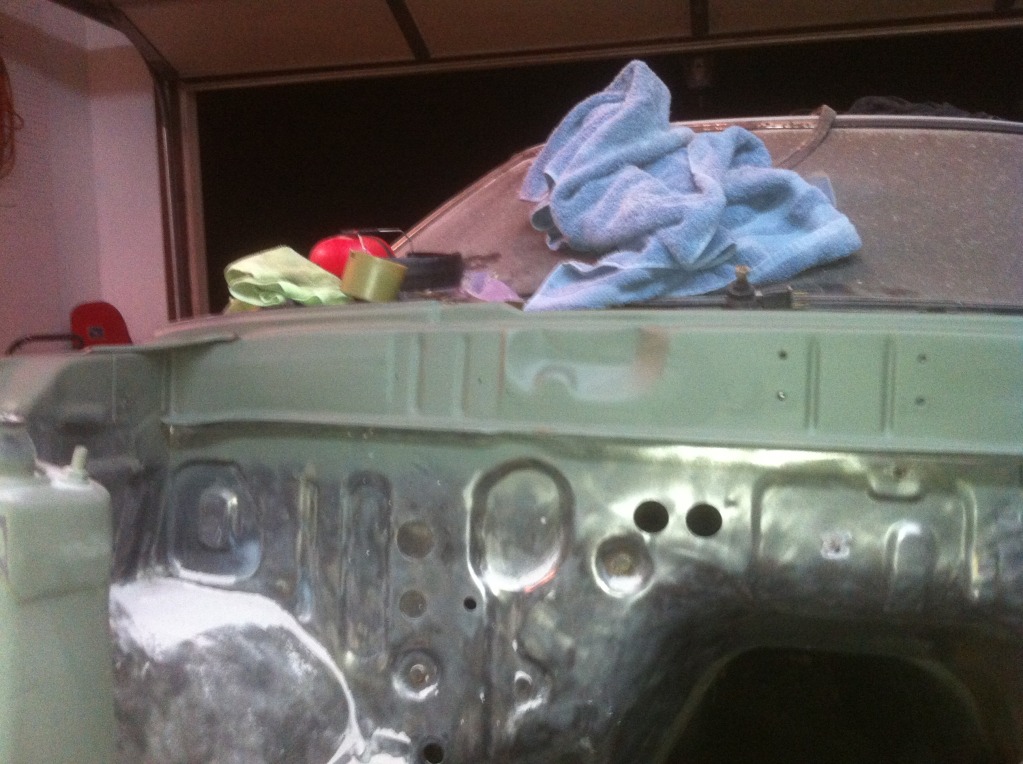
i set my two headlight motors in the car just to get a look that is exactly what it will look like when it is hooked up, no wires
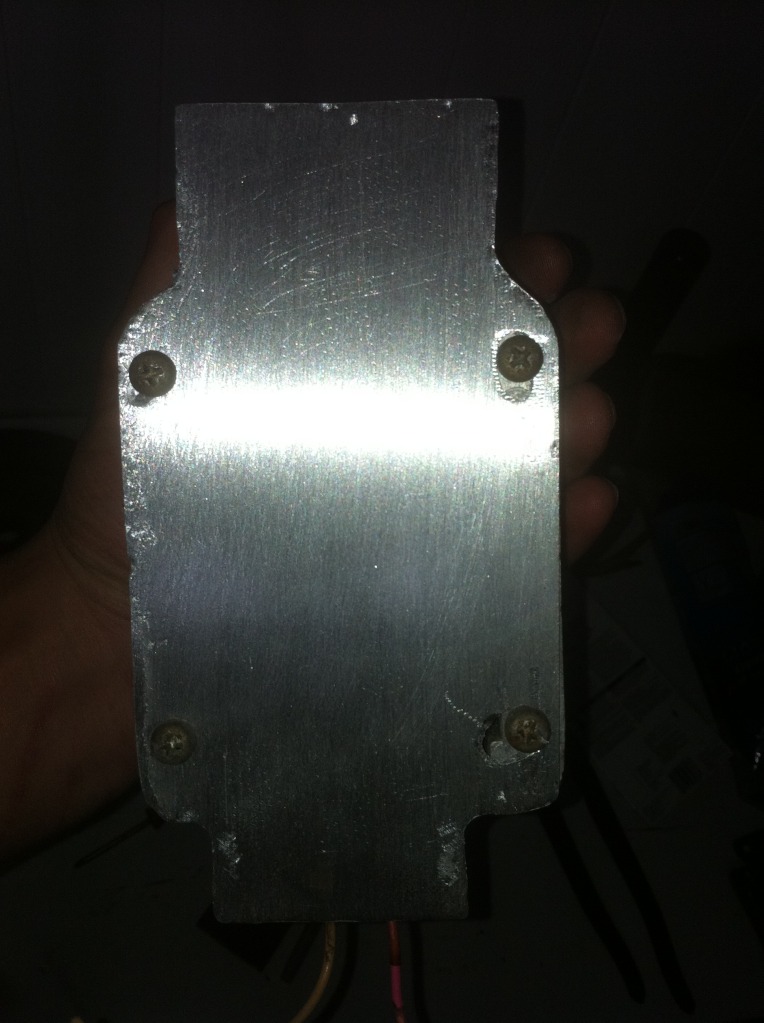
this is a bracket i made out of some aluminum. im going to mount this coil on the driver side strut tower about half way down i think, not sure yet...
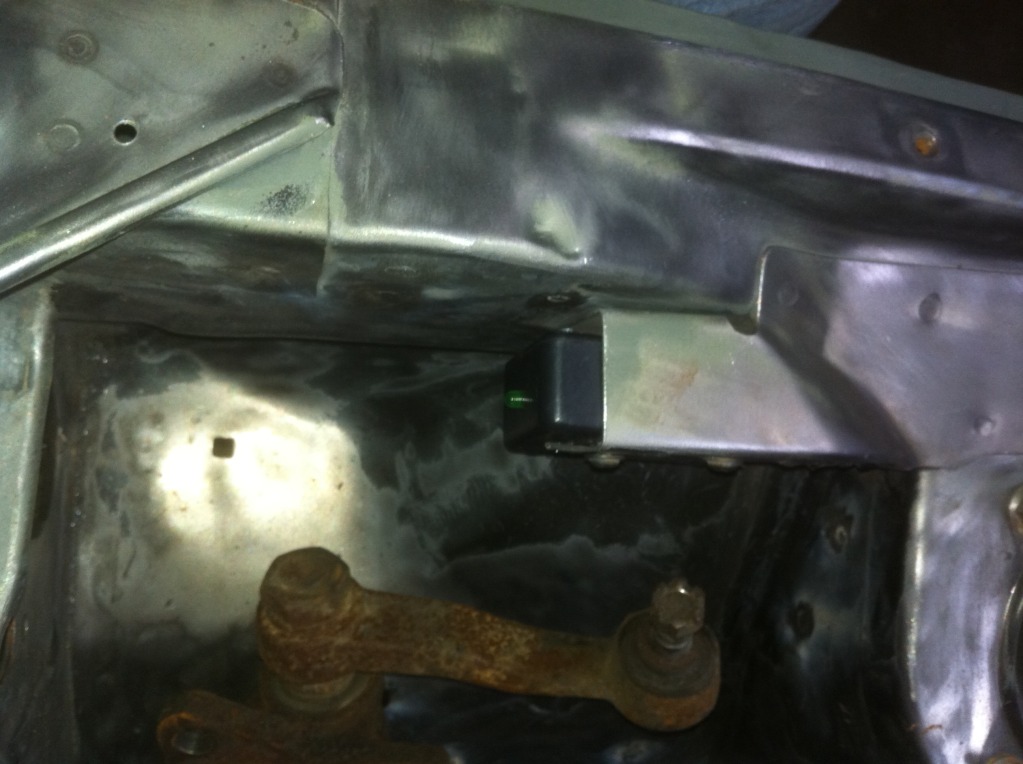
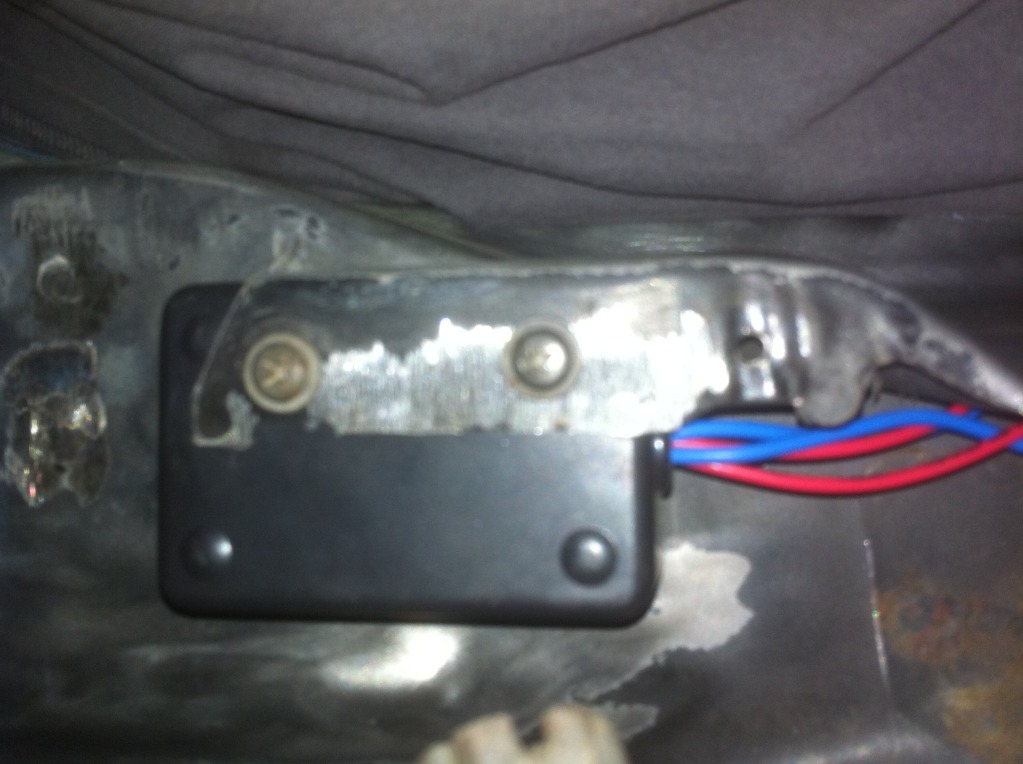
and this is where my ignition box will be mounted (thank you GSL-SE addict). the only wires you should be able to see in this bay are from the coil to that box, and the ones that are on the engine.
if you guys want to know how I made the ignition box, GSL-SE addict made the thread here: https://www.rx7club.com/1st-generation-specific-1979-1985-18/2gcdfis-w-tt-transistor-trick-write-up-simplified-design-483858/
thanks for looking! keep the comments coming, they keep me going. Sanding this engine bay is some trying work!
I didnt get much done last night, but I did manage a few things.
i set my two headlight motors in the car just to get a look
that is exactly what it will look like when it is hooked up, no wires this is a bracket i made out of some aluminum. im going to mount this coil on the driver side strut tower about half way down i think, not sure yet...
and this is where my ignition box will be mounted (thank you GSL-SE addict). the only wires you should be able to see in this bay are from the coil to that box, and the ones that are on the engine.
if you guys want to know how I made the ignition box, GSL-SE addict made the thread here: https://www.rx7club.com/1st-generation-specific-1979-1985-18/2gcdfis-w-tt-transistor-trick-write-up-simplified-design-483858/
thanks for looking! keep the comments coming, they keep me going. Sanding this engine bay is some trying work!
Last edited by cshaw07; Oct 18, 2011 at 06:51 AM.
Thread Starter
Joined: Aug 2010
Posts: 1,416
Likes: 5
From: East Palestine, Oh
worked a lot last night, didnt get much done.
This part of the car is so crappily done that i had to take 3 pics to make it look good LOL! It needs another hour of work atleast...
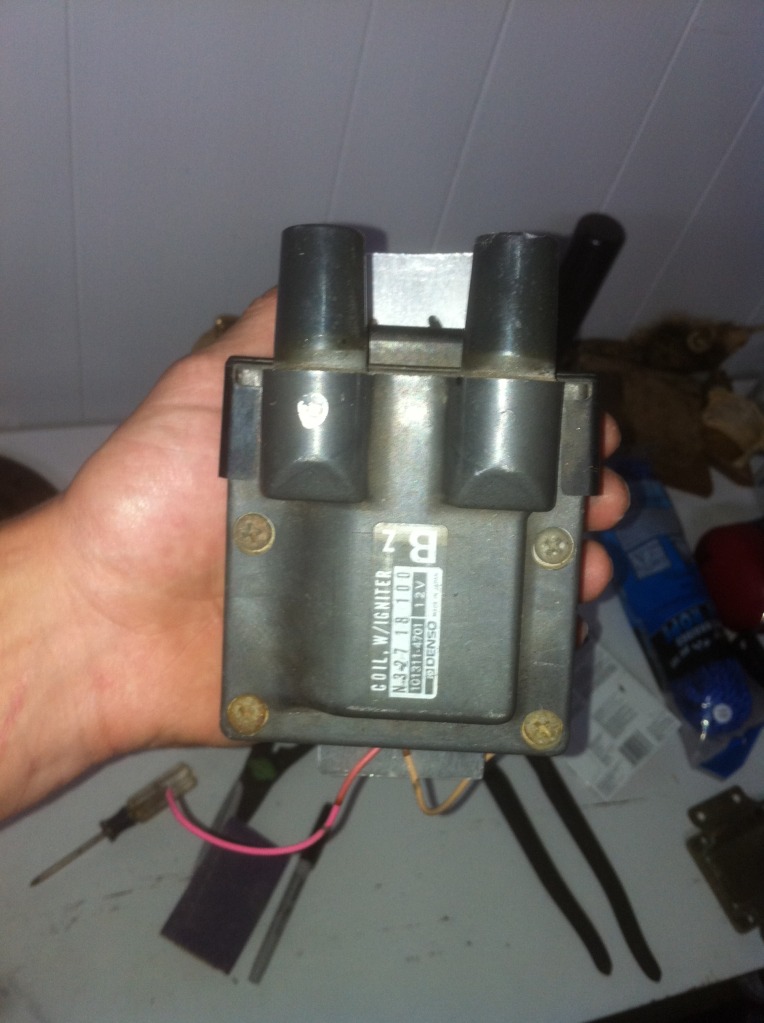
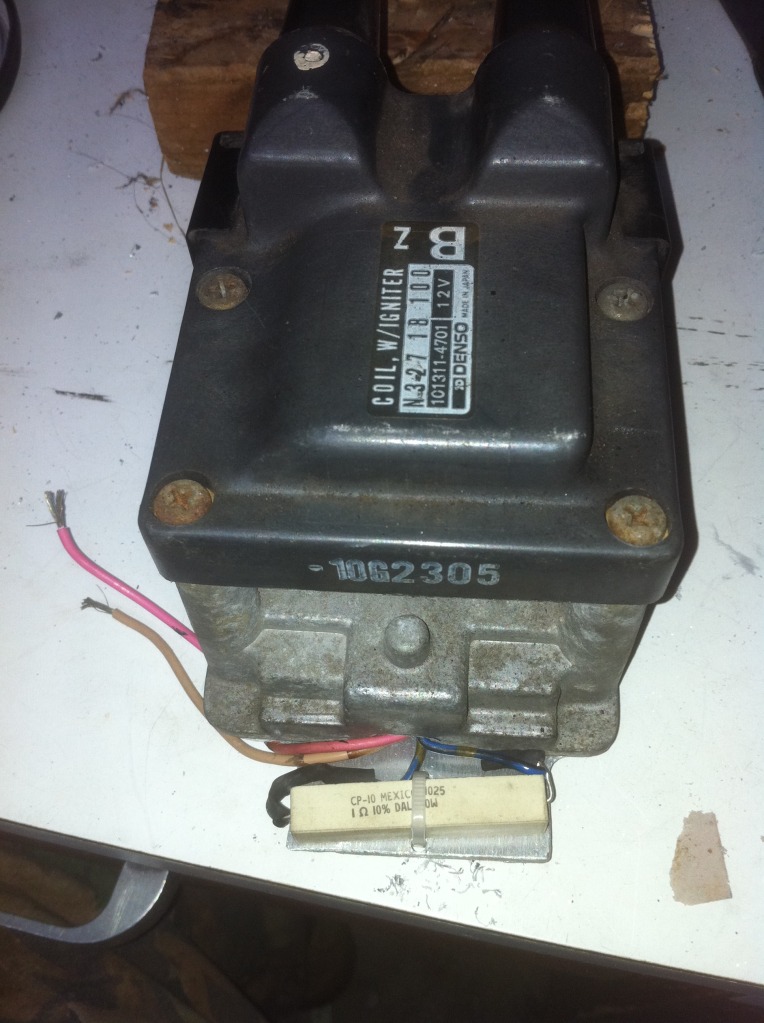
This one here is the stock 2nd gen coil Modded for the TT MoD, its about ready, all i need is to find a 2 wire connector laying about the garage to solder on.
This part of the car is so crappily done that i had to take 3 pics to make it look good LOL! It needs another hour of work atleast...
This one here is the stock 2nd gen coil Modded for the TT MoD, its about ready, all i need is to find a 2 wire connector laying about the garage to solder on.
Thread Starter
Joined: Aug 2010
Posts: 1,416
Likes: 5
From: East Palestine, Oh
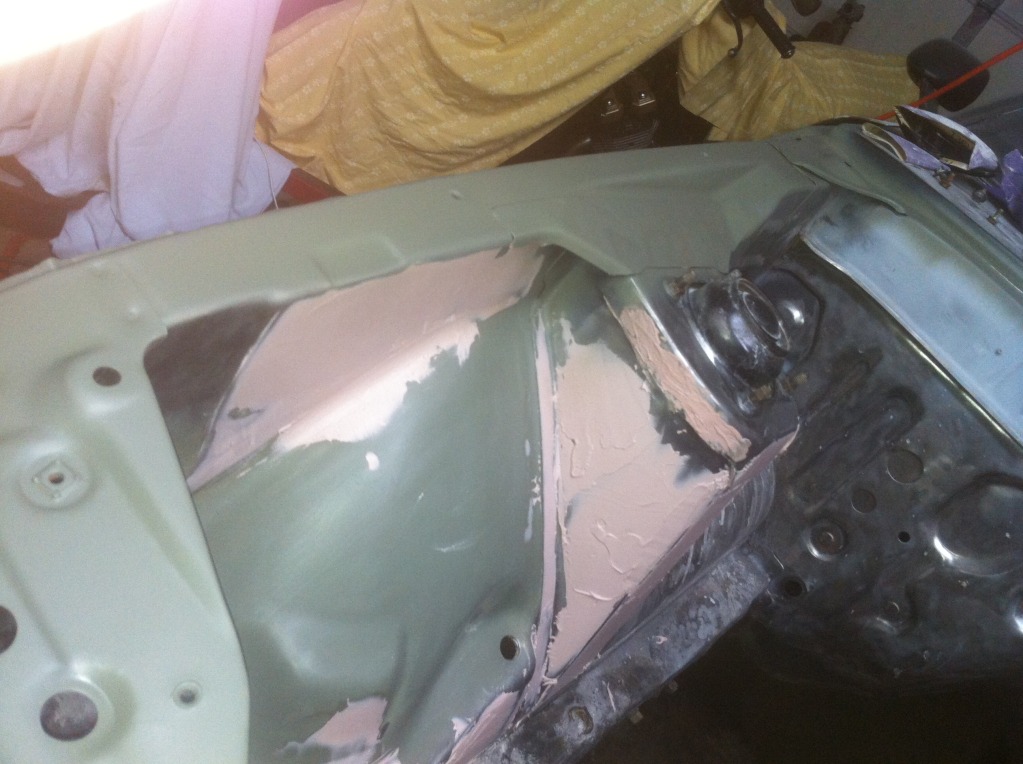
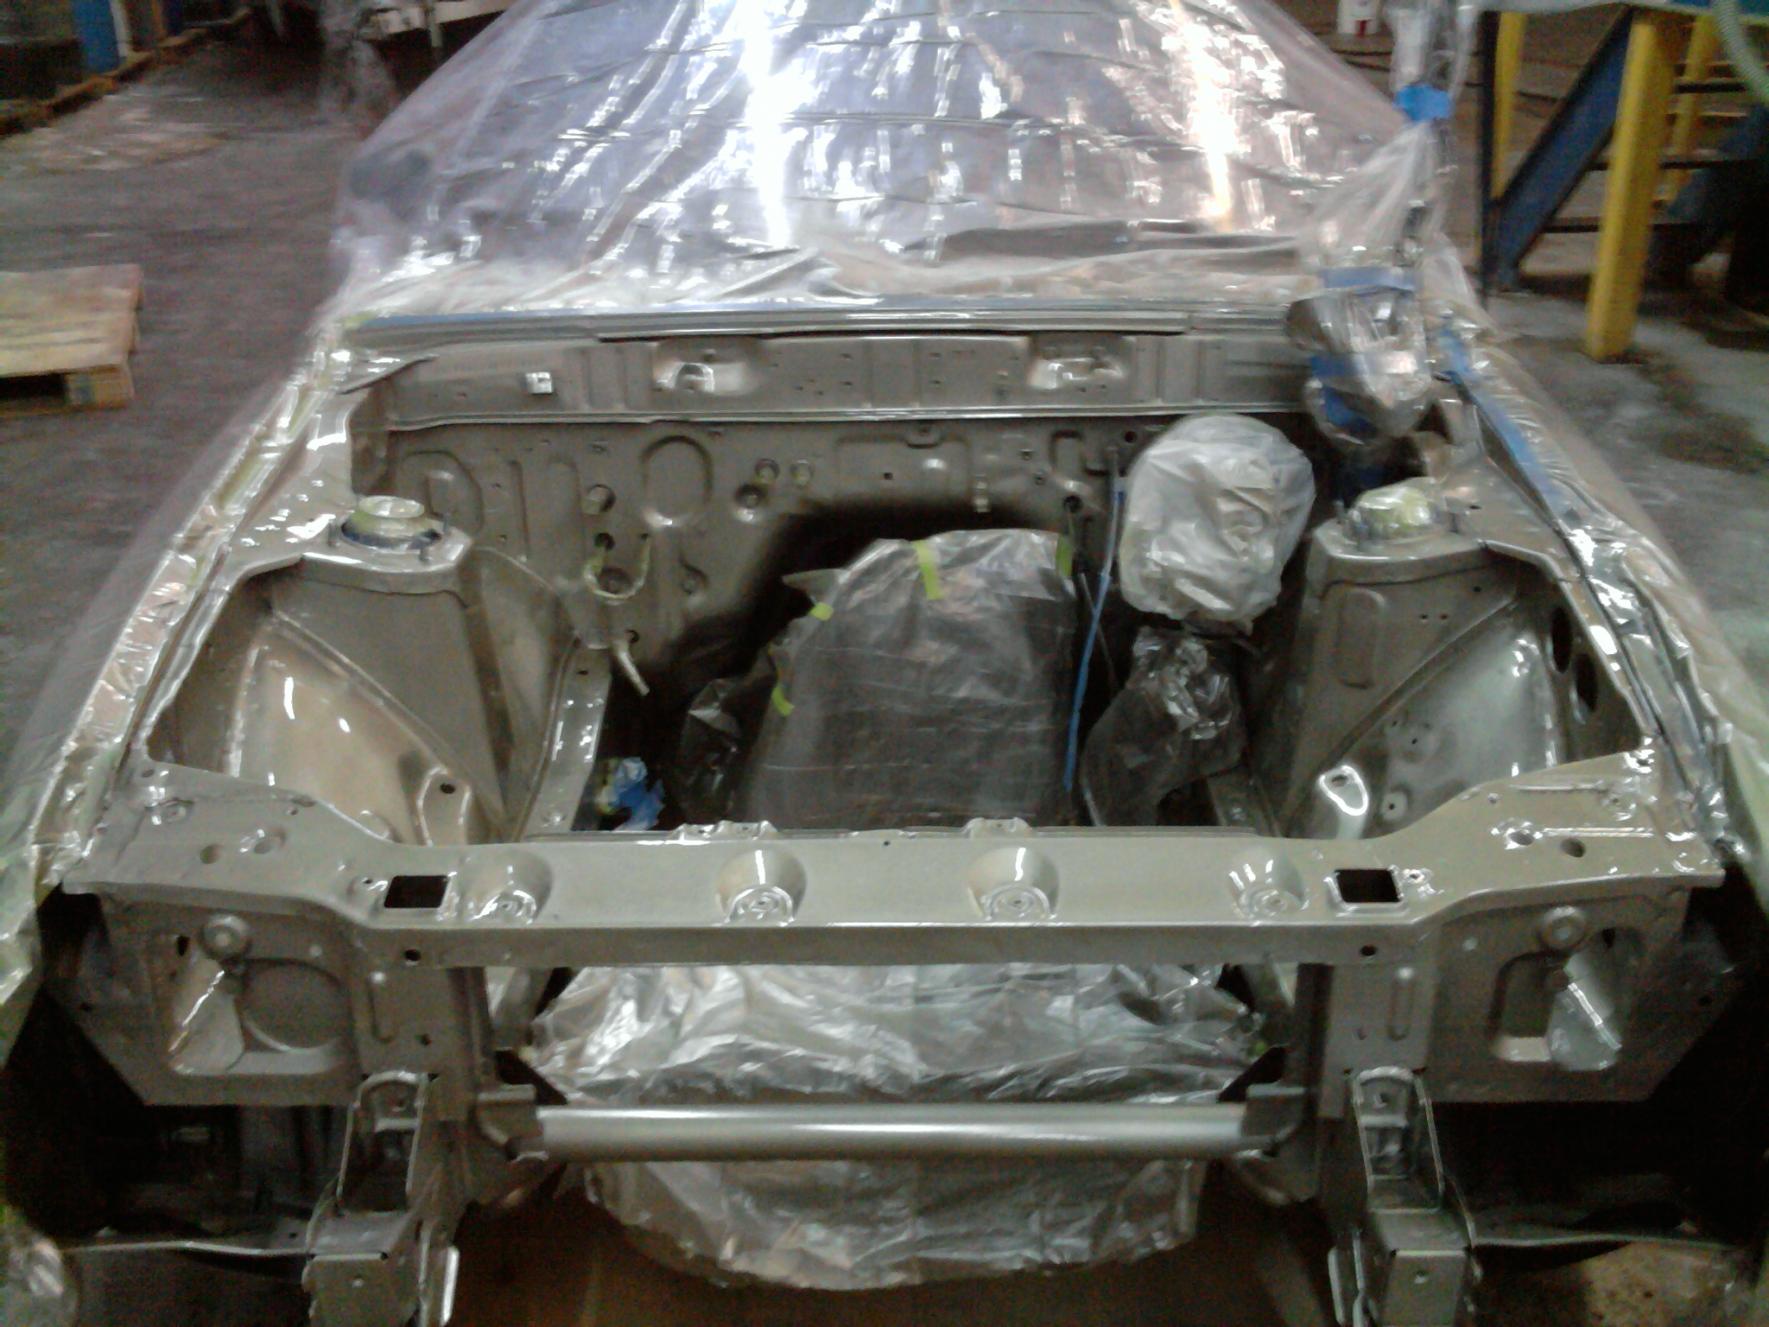
about 5 hours of sanding and grinding got me to here last night:
the spot that i had done previously i touched up a bit and now from the pass strut tower to the front of the car is done! (not including the main frame rail :/). The top part where the VIN is has been a BITCH but its about half done. I have about 30 hours in work total in the bay right now (estimated). I expect things to start speeding up though, for some reason I can get the curved parts easier than the perfectly flat ones. The firewall doesnt need much work at all.
As it sits:

Keep up the hard work!!!!!
You will be soooo glad you did.
Looking good!!!!!
I think you should pull the accel and choke cables though. They are not hard to get out and your job will be easier if you get them out of the way.
You will be soooo glad you did.
Looking good!!!!!
I think you should pull the accel and choke cables though. They are not hard to get out and your job will be easier if you get them out of the way.
Thread Starter
Joined: Aug 2010
Posts: 1,416
Likes: 5
From: East Palestine, Oh
Thank you!
I'm going to, I'm also going to be pulling the steering column all the way through as well. I figured I'd get the pass side done and just pull them when I'm waitning for bondo to harden or something. I just got off the phone with HOVIS (i made a new thread) looks like about $700 in paint materials for the entire car... that wasnt expected...
I'm going to, I'm also going to be pulling the steering column all the way through as well. I figured I'd get the pass side done and just pull them when I'm waitning for bondo to harden or something. I just got off the phone with HOVIS (i made a new thread) looks like about $700 in paint materials for the entire car... that wasnt expected...
 haha ok, back to sanding my fingers raw, gotta get this done ASAP!

Thread Starter
Joined: Aug 2010
Posts: 1,416
Likes: 5
From: East Palestine, Oh
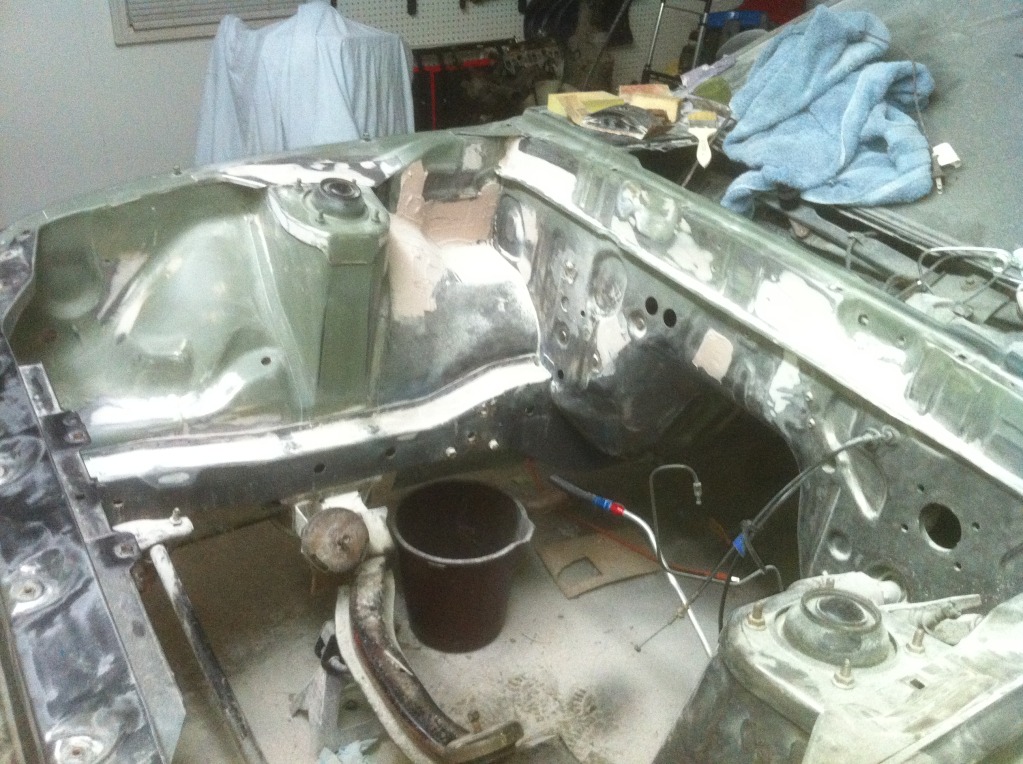
Major update
I took a day off work today to work on the car.
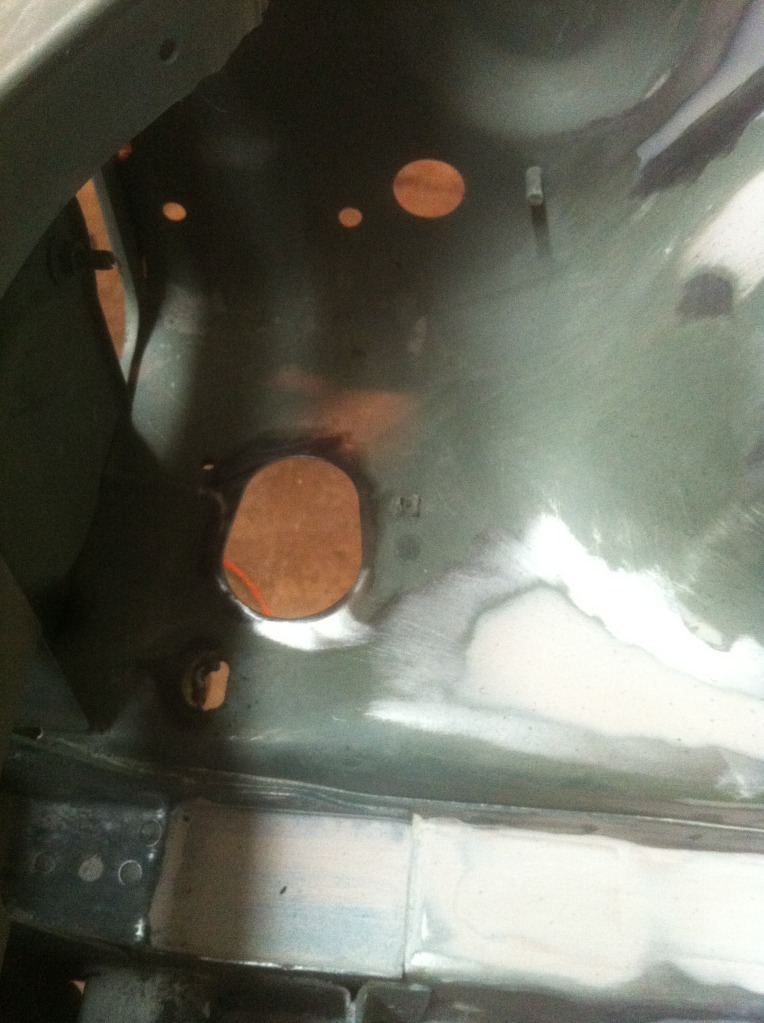
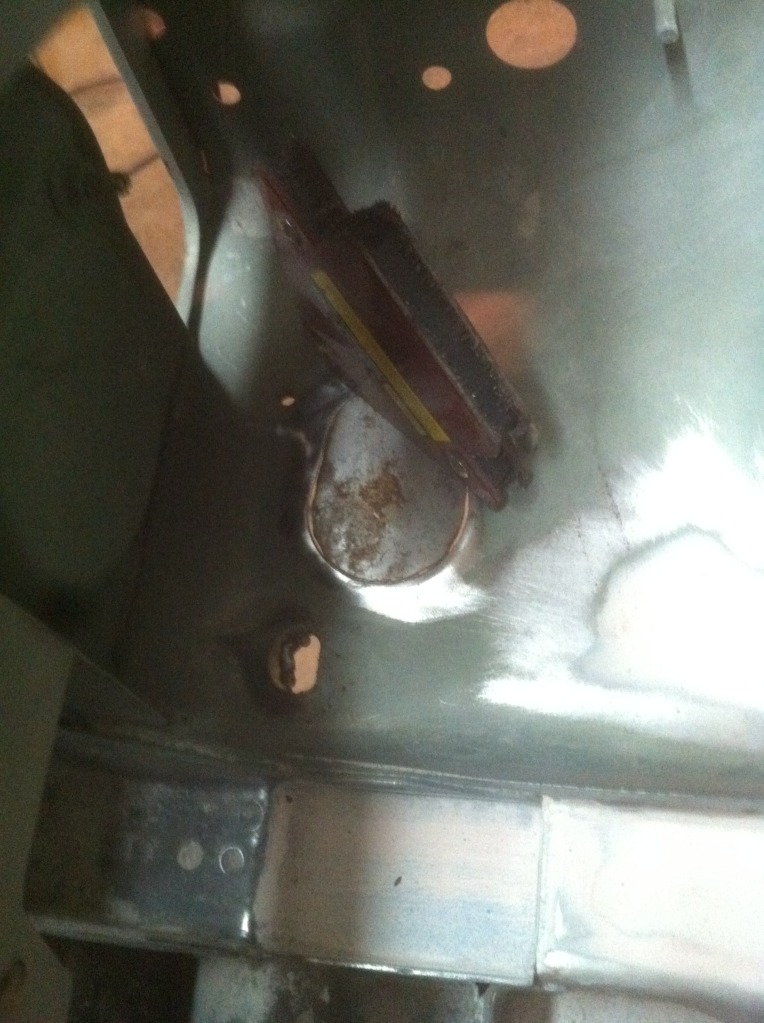
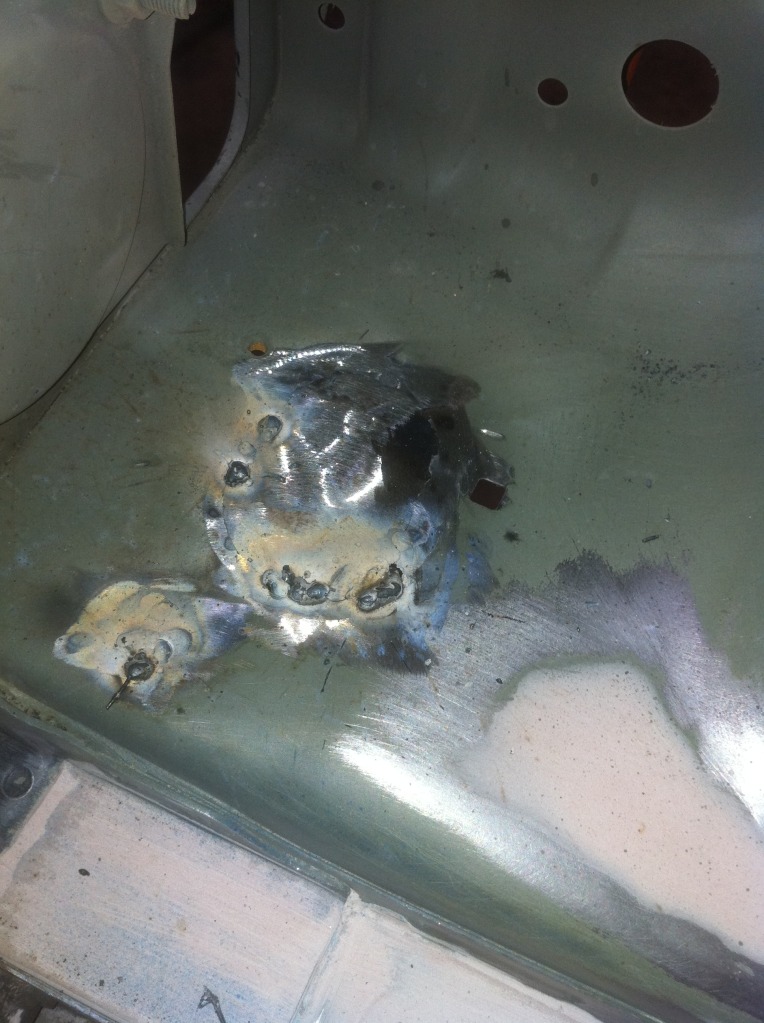
somehow i over looked this massive hole by the pass side headlight motor.
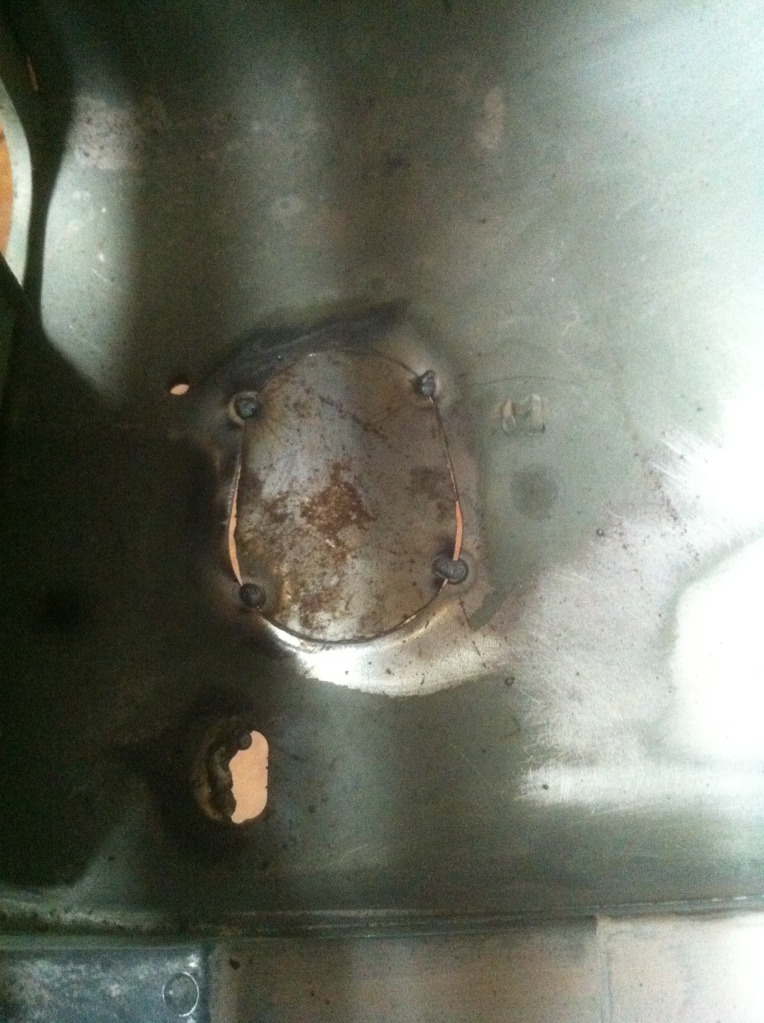
this is where it sits, because im scatter brained and never finish something before i move to the next
i took a break from sanding to mess with the wiring again. I bought some screwdown butt splicers to extend a ground wire about 3 feet. I also extended about 5 other wires and figured out how im running the wires out of the car. You will get to see that later
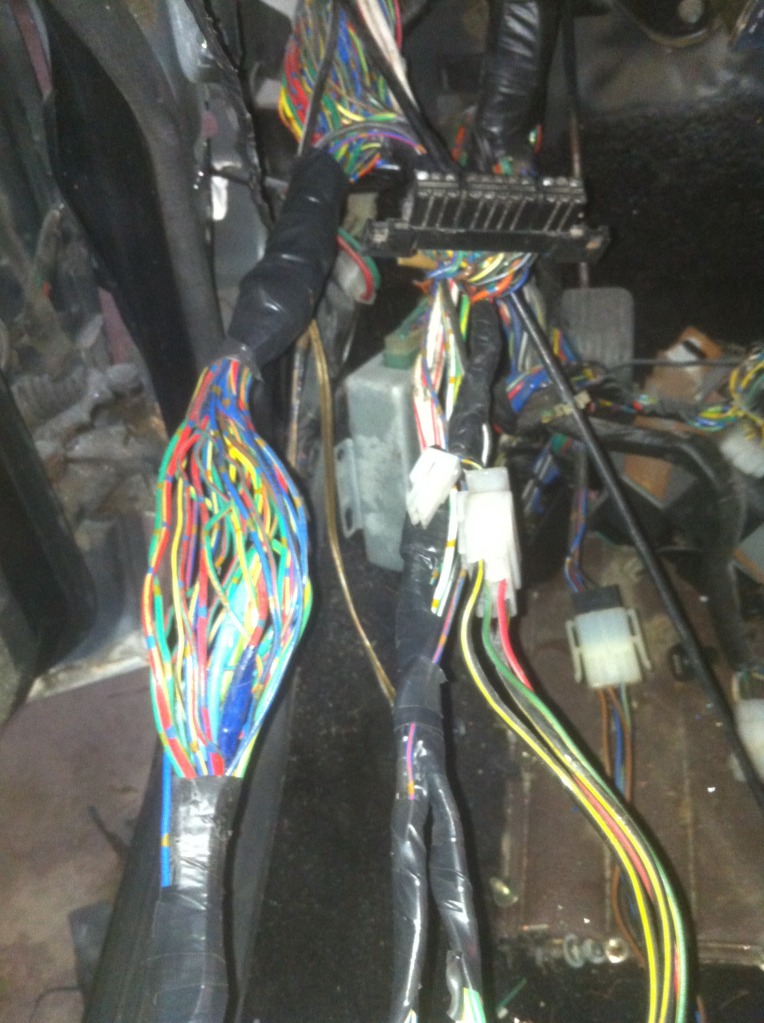
that pic is of the main harness split. the one on the left goes out of the car to the lights, and the one on the right goes to engin/trans.
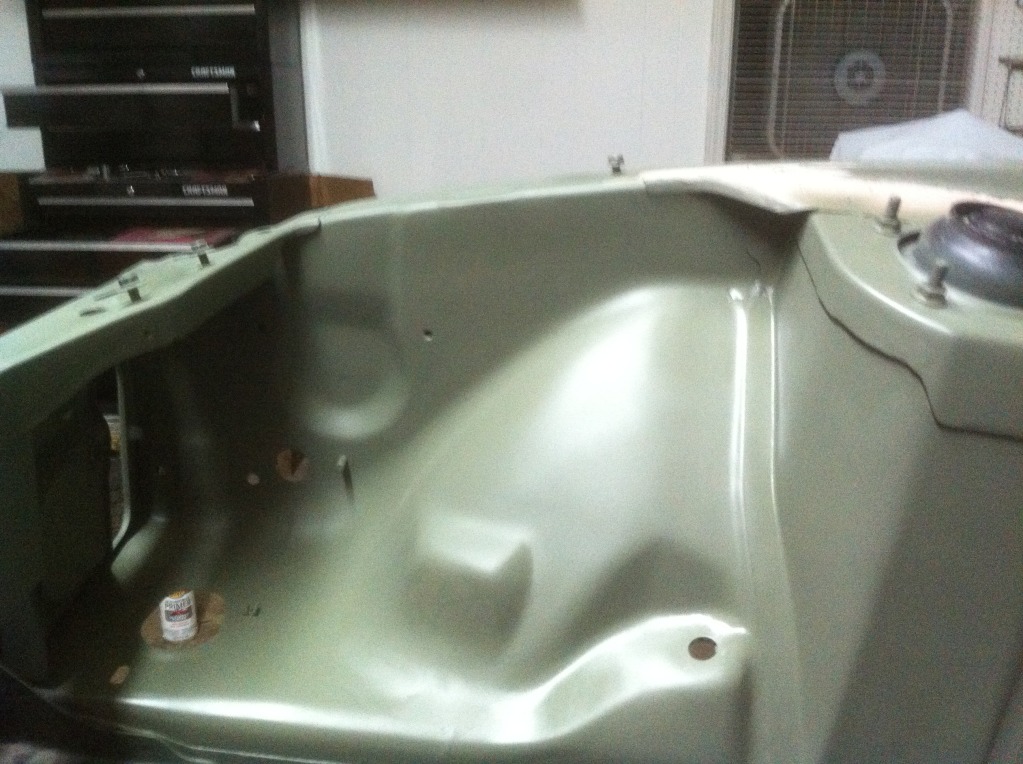
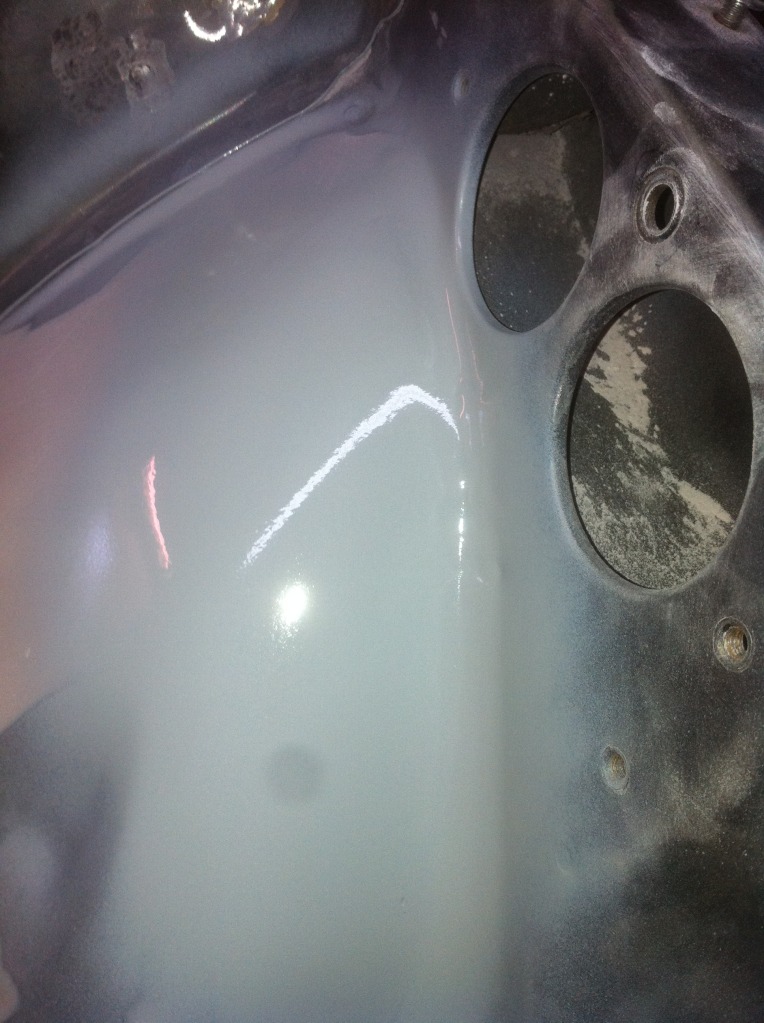
driverside front

i used some easy sanding rattly primer to get a better look at my sanding job. it will get sanded off before actual primer.
Thanks for looking, comments are welcome and encouraged!
I took a day off work today to work on the car.
somehow i over looked this massive hole by the pass side headlight motor.
this is where it sits, because im scatter brained and never finish something before i move to the next
i took a break from sanding to mess with the wiring again. I bought some screwdown butt splicers to extend a ground wire about 3 feet. I also extended about 5 other wires and figured out how im running the wires out of the car. You will get to see that later
that pic is of the main harness split. the one on the left goes out of the car to the lights, and the one on the right goes to engin/trans.
driverside front
i used some easy sanding rattly primer to get a better look at my sanding job. it will get sanded off before actual primer.
Thanks for looking, comments are welcome and encouraged!
Thread Starter
Joined: Aug 2010
Posts: 1,416
Likes: 5
From: East Palestine, Oh
question. on the engine harness ( the one with the big flat black plug by brake master cyl) what all wires do i need that run down by the oil pan? there are 4 one wire connectors there and i only know the two that plug into the sensors on the oil pan. Any one know what they are for? Ill post a pic as soon as I can.