
What did you do to your FB today?

GSL-EV
Joined: Jun 2012
Posts: 450
Likes: 8
From: Rapid City, SD
I changed all of the bulbs to LED - they do fire quicker - how fast? It is noticeable.
they also fire in order of how they get electricity. Again, noticible and they fire from in to out.
The directonals are on turbo and the Stop light goes on at the dash board.
I do not want to use LOAD resistors because they are counter productive and draw back on the alternator. I heard there is a way in the FD models to TRICK the relays that the load is there using a .99 cent resistor on the relay. Does anyone have the trick for the FB? I am challenged when it comes to resistors and diodes.
I considered replacing the flasher with one that doesn't signal a bulb outage but I just put load resistors on the signal and brake line side because it only presents a load when the lamp is turned of so most of the time it doesn't present any additional load. I was more concerned with reducing load at night when the running lights are on.
You can buy the LED bulbs with the load resistor integrated now. They call these CAN bus bulbs because they provide the load so the CAN doesn't report a burned out bulb. Those would be the easiest ones to use.
At night the load on the alternator from the running lights is about 12 amps. This is about 1/5 of a horsepower load on the motor through the alternator. When you are stepping on the brakes to turn the lights on this load would increase to about 1/3 to 1/2 of a HP. But you don't care about this additional load because you are stepping on the brakes.


besides, it IS just friendly racing. Race against yourself, because, seriously, you won't be competitive against anything in your class. Ever since the put us in the same class as Miatas and MR2s, it was pretty much over.
There should not be any difference between the inner and outer brake light turn on that you can see. The difference would be a nanosecond per foot of additional wire. If you are seeing a difference it would be something in the bulb electronics although this would surprise me. Swapping the inside bulb with the outside bulb would change the turn on order if this is the case.
I considered replacing the flasher with one that doesn't signal a bulb outage but I just put load resistors on the signal and brake line side because it only presents a load when the lamp is turned of so most of the time it doesn't present any additional load. I was more concerned with reducing load at night when the running lights are on.
You can buy the LED bulbs with the load resistor integrated now. They call these CAN bus bulbs because they provide the load so the CAN doesn't report a burned out bulb. Those would be the easiest ones to use.
At night the load on the alternator from the running lights is about 12 amps. This is about 1/5 of a horsepower load on the motor through the alternator. When you are stepping on the brakes to turn the lights on this load would increase to about 1/3 to 1/2 of a HP. But you don't care about this additional load because you are stepping on the brakes.
I took some pics of the one in my '79 for an earlier thread:
'79 RX-7 Electronic Flasher
I changed all of the bulbs to LED - they do fire quicker - how fast? It is noticeable.
they also fire in order of how they get electricity. Again, noticible and they fire from in to out.
The directonals are on turbo and the Stop light goes on at the dash board.
I do not want to use LOAD resistors because they are counter productive and draw back on the alternator. I heard there is a way in the FD models to TRICK the relays that the load is there using a .99 cent resistor on the relay. Does anyone have the trick for the FB? I am challenged when it comes to resistors and diodes.
they also fire in order of how they get electricity. Again, noticible and they fire from in to out.
The directonals are on turbo and the Stop light goes on at the dash board.
I do not want to use LOAD resistors because they are counter productive and draw back on the alternator. I heard there is a way in the FD models to TRICK the relays that the load is there using a .99 cent resistor on the relay. Does anyone have the trick for the FB? I am challenged when it comes to resistors and diodes.
Whats this trick for FD's you speak of? I'm sure we can reverse engineer this for the FB.
GSL-EV
Joined: Jun 2012
Posts: 450
Likes: 8
From: Rapid City, SD
I've got a question but it probably belongs elsewhere so I will put it there wherever that is.
Click the link... Again... I am not technical to figure that part out
Joined: Aug 2011
Posts: 3,078
Likes: 42
From: Cambridge, Minnesota

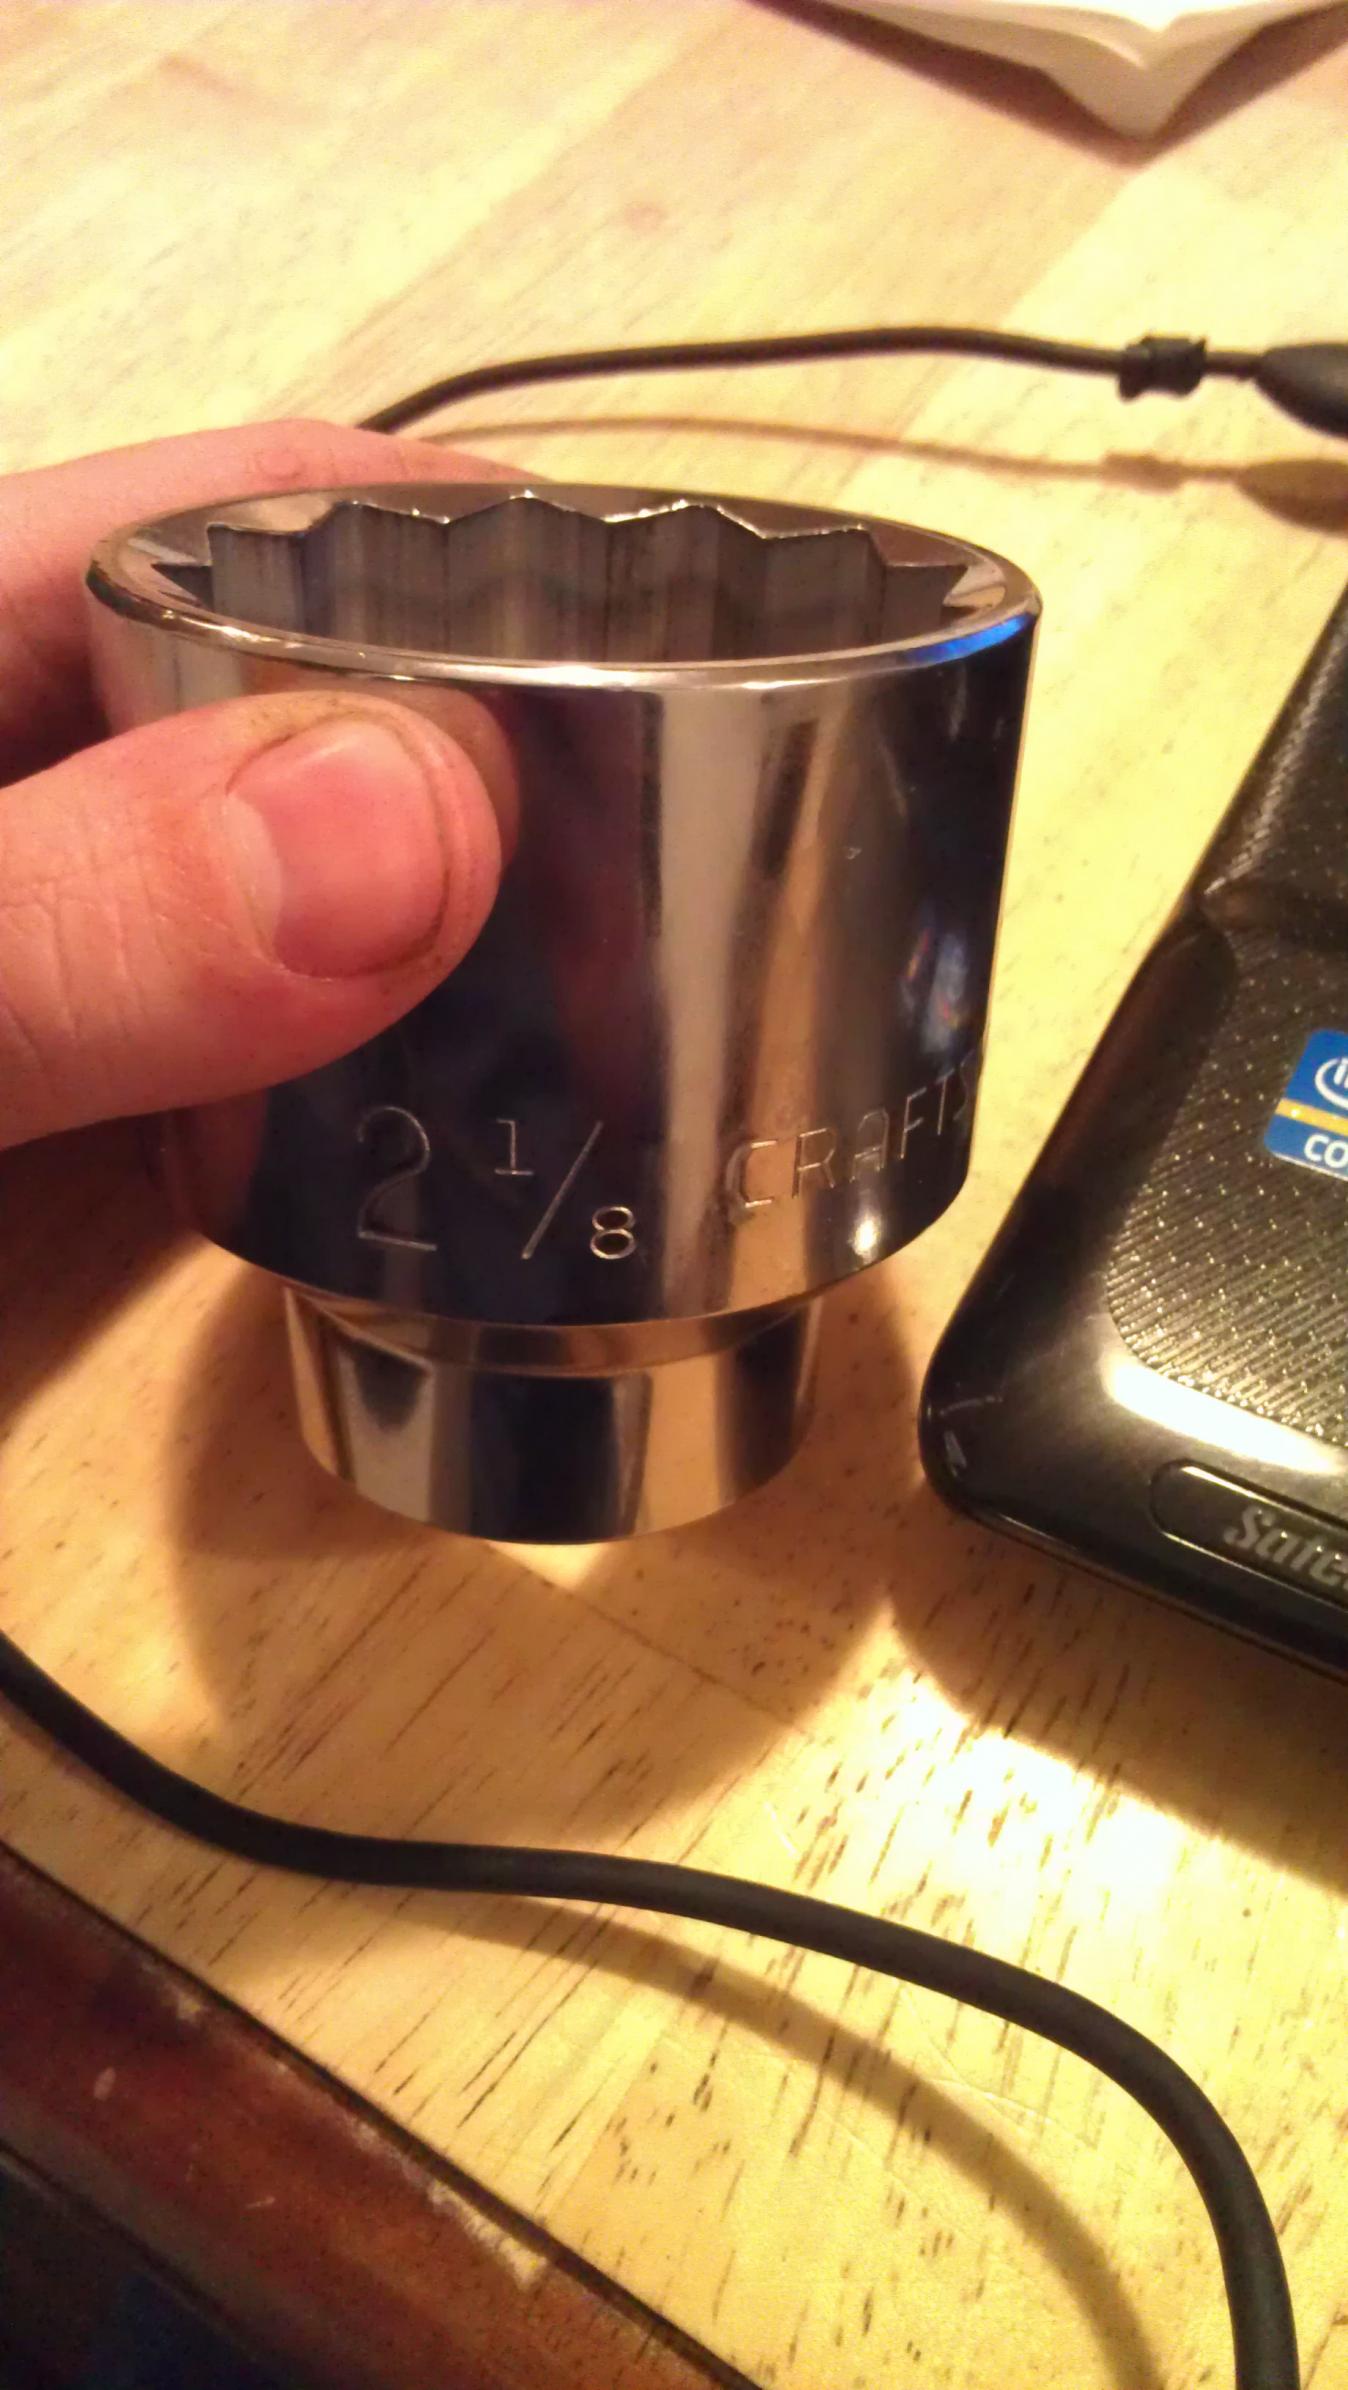
I got this in today

GSL-EV
Joined: Jun 2012
Posts: 450
Likes: 8
From: Rapid City, SD
Yesterday:
Pulled the stereo stack for another forum member to use in their car. This has got to be one of the easiest things I have done with the car in recent memory. It just all worked like it should. I measured the bracket on the stereo in case that needs to go with the stereo gear. I will make a new bracket with aircraft ply and fiberglass (and maybe a little carbon fiber just because it is such neat stuff) if necessary.
I also played with taking photos of the right rear taillight to show the difference between LED brake light bulbs and the original factory 1157's. You can see those on my LED thread.
I glared at the hose coming out of the front of the motor on the SE that is so poorly engineered that it appears you have to remove the motor mount to get access.
And I went for a drive in the EV. About to do that again.
Get your FB out and drive it a bit!
GSL-EV
Joined: Jun 2012
Posts: 450
Likes: 8
From: Rapid City, SD
Today:
Taking a break from working on removing the front oil cooler hose on the SE. Making progress. I decided since I had the fan off and the AC belt off that I should change all the belts. They weren't in danger of dying but not in great shape either. Its 90% of the way so finish the job. Turns out this was a good idea. When I went to loosen the air pump I discovered that there was no belt tensioner bolt I pushed on the belt and it pivoted. Great! Stole the bolt off the 12a air pump tensioner and checked for fit. Figured the last person to work on this must have tightened the heck out of the pivot bolt and that was the case as it broke off when I went to loosen it. Great! Now I get to break the law and remove the air pump <grin>. I did manage to get it all apart and the bolt stub came right out. Grabbed the bolt from the 12a and it is the same. Whew! It is good to have a parts car. Anyway, I got the alternator belt and the air pump belt changed out and now working on finishing up the oil line.
I took another picture of the LED brake lights comparison with a filament bulb in the day light. I will go post that on the LED thread right after I finish this. I also took the 85 EV to the car wash to get rid of the salty sludge. Even put tire foam on the tires so it has the used car lot look.
Last edited by dougingraham; Feb 3, 2013 at 06:02 PM.

Today was a productive day.
SA - Some rewiring, carb tuning, pulled Trailing MSD and whole ignition, remounted FC fuse block, and probably more.
Cleaned up some TII seats I picked up yestersday.
GSLSE - Pulled the wiring harness from the engine bay to prep it for paint, pulled the leaking brake master cylinder, pulled the power steering components (going to run it manual since I don't have a pump), cleaned up the door panels, and started grinding parts until I realized it may be too late and I may irritate my neighbors.
Joined: Jun 2008
Posts: 8,376
Likes: 30
From: Chino Hills, CA

Sin City Rotary
Joined: Sep 2009
Posts: 1,707
Likes: 2
From: Las Vegas


n00b
Joined: Jun 2011
Posts: 401
Likes: 0
From: Kissimmee, FL
I drove mine to Hyundai to drop my mom off to pick up her car and when I got home I saw a 10 inch long scuff under the RX7 badge on my fender but I got most of it off with a pencil eraser, it just left a little brown streak instead of a very visible black streak.. still no idea when or how it happened.. not too pissed lol.
Joined: Jun 2008
Posts: 8,376
Likes: 30
From: Chino Hills, CA
Fit perfect. Because:
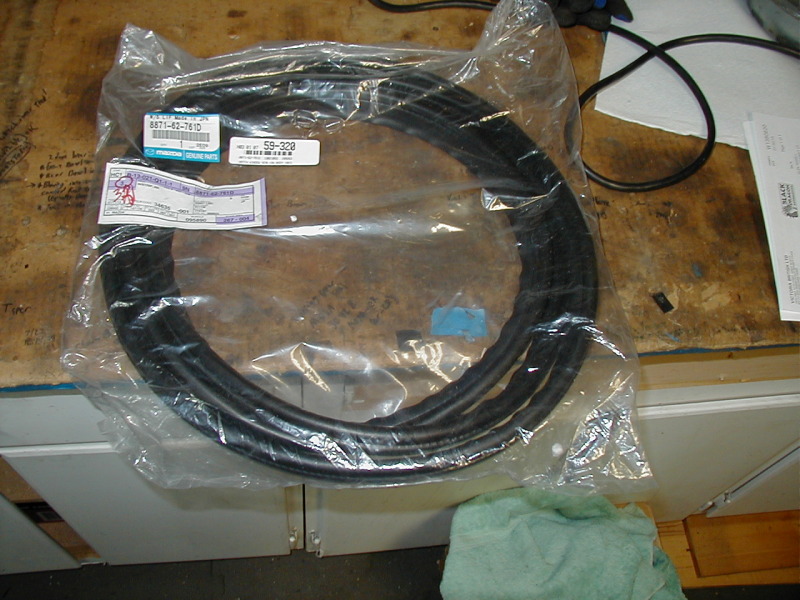
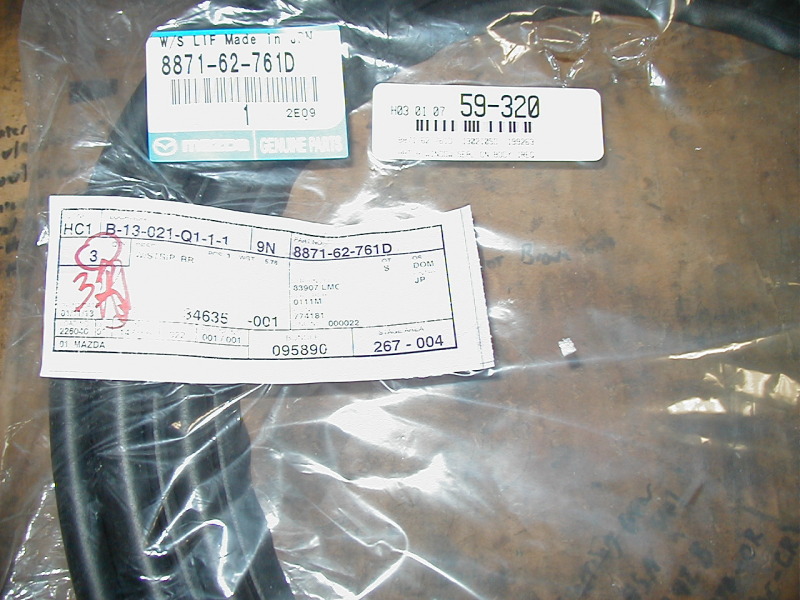
It's OEM Mazda, and from Japan no less.
Here's how flat my old seal was:
And height of newly-installed seal:

Set my latch all the way to the top of it's adjustment range, and it's still pretty darned tight. I'm sure it will take a set after a few days, though.
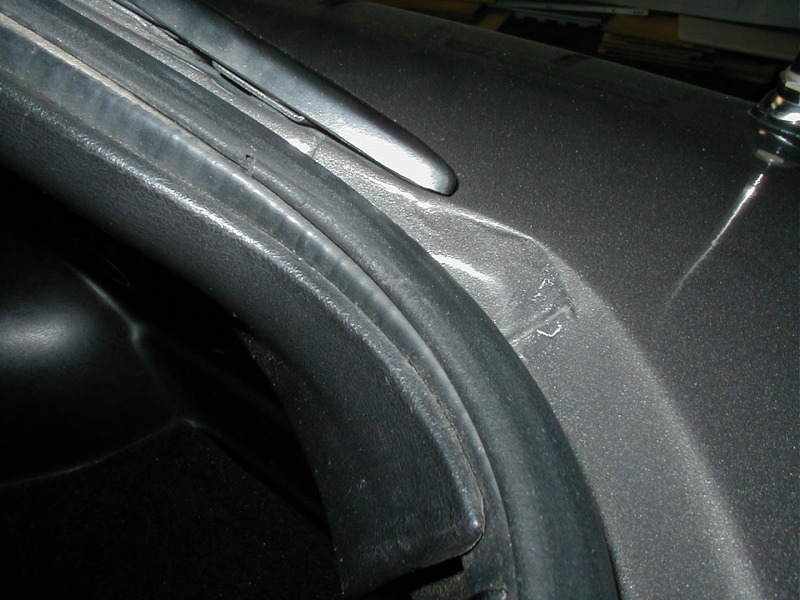
Fresh new sealant already inside the groove, too.
Trick to installing: The two "notches" in the skirt line up with the drain holes along the lower hatch opening.
Test drive tomorrow night, but I feel confident that I've fixed the horrid rattle.
It's OEM Mazda, and from Japan no less.
Here's how flat my old seal was:
And height of newly-installed seal:
Set my latch all the way to the top of it's adjustment range, and it's still pretty darned tight. I'm sure it will take a set after a few days, though.
Fresh new sealant already inside the groove, too.
Trick to installing: The two "notches" in the skirt line up with the drain holes along the lower hatch opening.
Test drive tomorrow night, but I feel confident that I've fixed the horrid rattle.
Fit perfect. Because:


It's OEM Mazda, and from Japan no less.
Here's how flat my old seal was:

And height of newly-installed seal:
Set my latch all the way to the top of it's adjustment range, and it's still pretty darned tight. I'm sure it will take a set after a few days, though.
Fresh new sealant already inside the groove, too.
Trick to installing: The two "notches" in the skirt line up with the drain holes along the lower hatch opening.
Test drive tomorrow night, but I feel confident that I've fixed the horrid rattle.
It's OEM Mazda, and from Japan no less.
Here's how flat my old seal was:
And height of newly-installed seal:
Set my latch all the way to the top of it's adjustment range, and it's still pretty darned tight. I'm sure it will take a set after a few days, though.
Fresh new sealant already inside the groove, too.
Trick to installing: The two "notches" in the skirt line up with the drain holes along the lower hatch opening.
Test drive tomorrow night, but I feel confident that I've fixed the horrid rattle.