
RX-8 13B-RE conversion!


Oh wow, thanks Man! I was going to have to draw those to be able to program them, Now I can just work on CAM side of things...
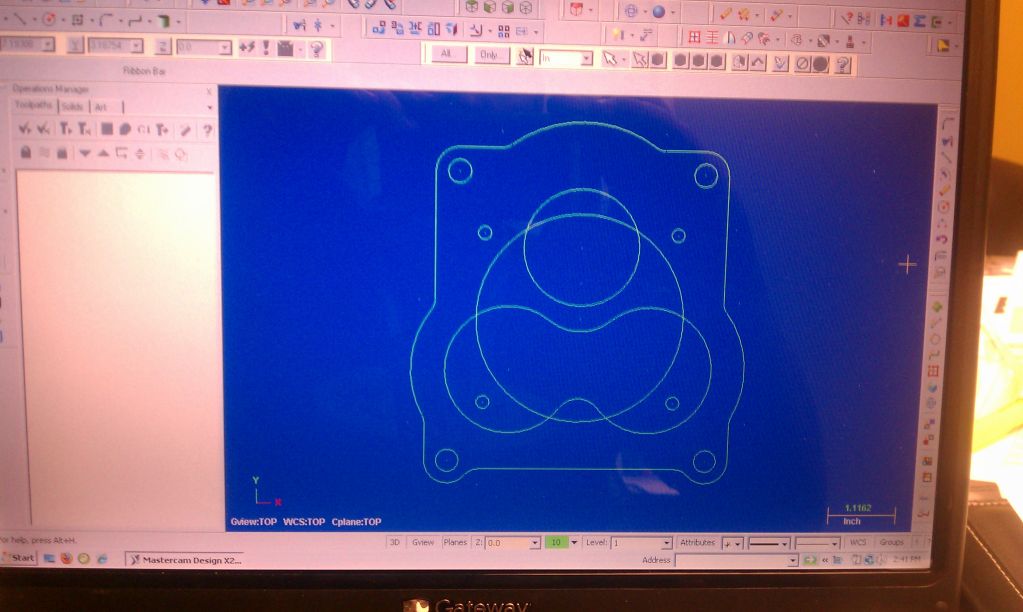
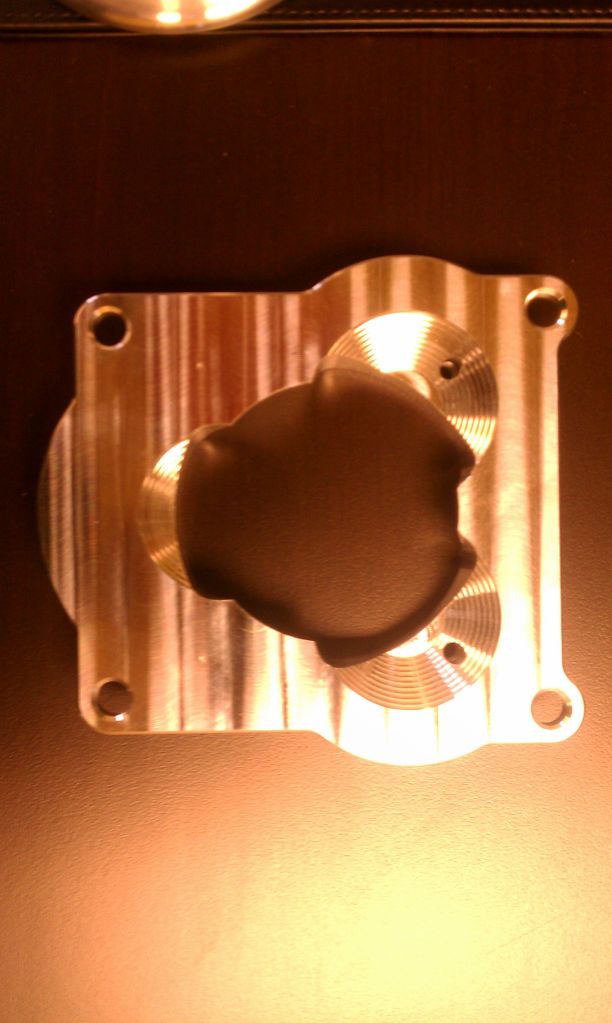
I recognized the oil pedestal one and the other ones seems like its the bolt pattern from the BRE mani with a round hole for my throttle...am I correct?
Thanks a million!
Chris
I recognized the oil pedestal one and the other ones seems like its the bolt pattern from the BRE mani with a round hole for my throttle...am I correct?
Thanks a million!
Chris

Thread Starter
Rotary Enthusiast
Joined: Oct 2007
Posts: 799
Likes: 3
From: Plymouth, MN
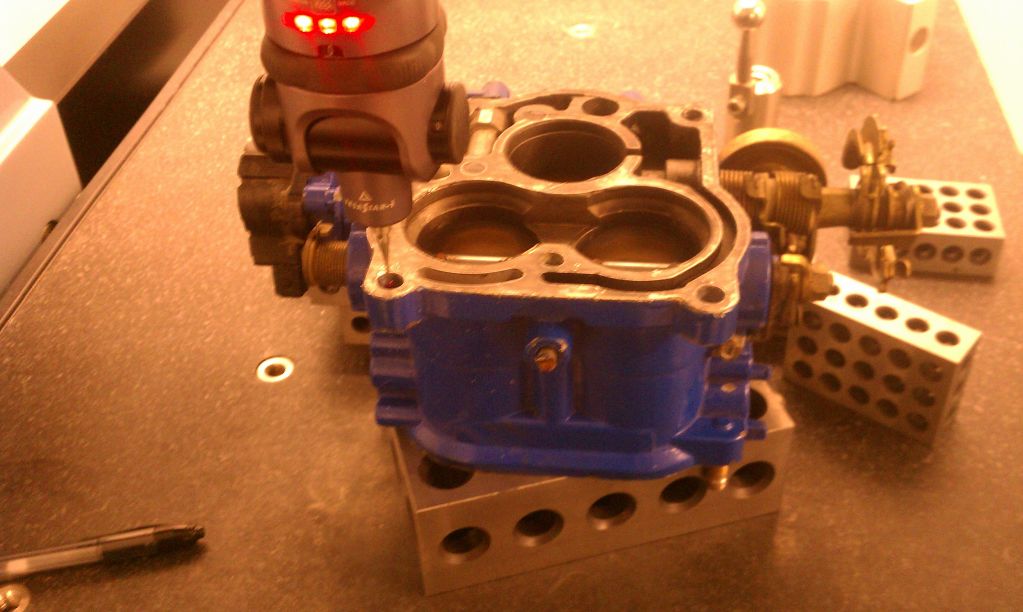
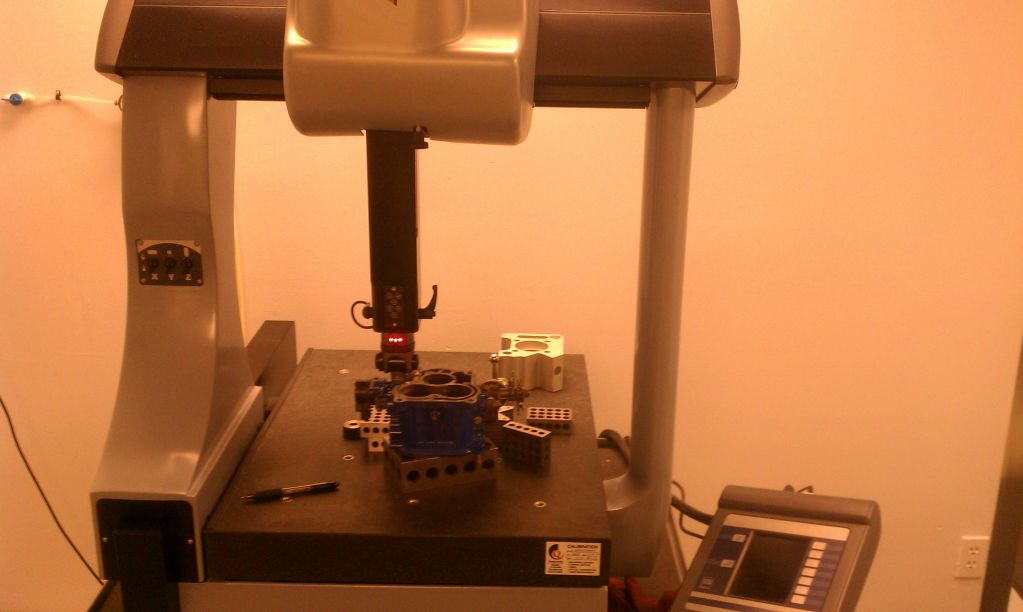
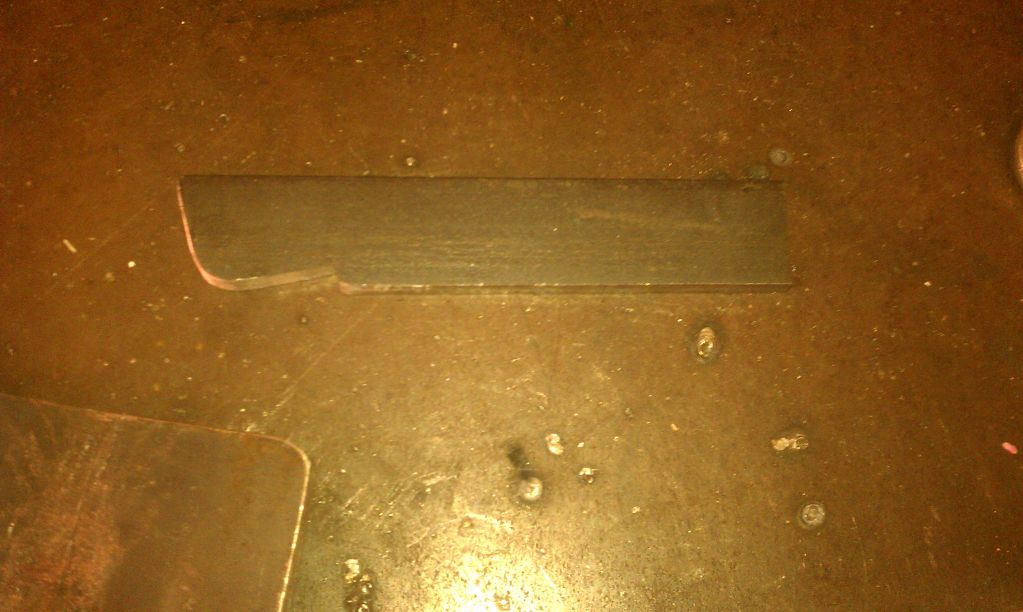
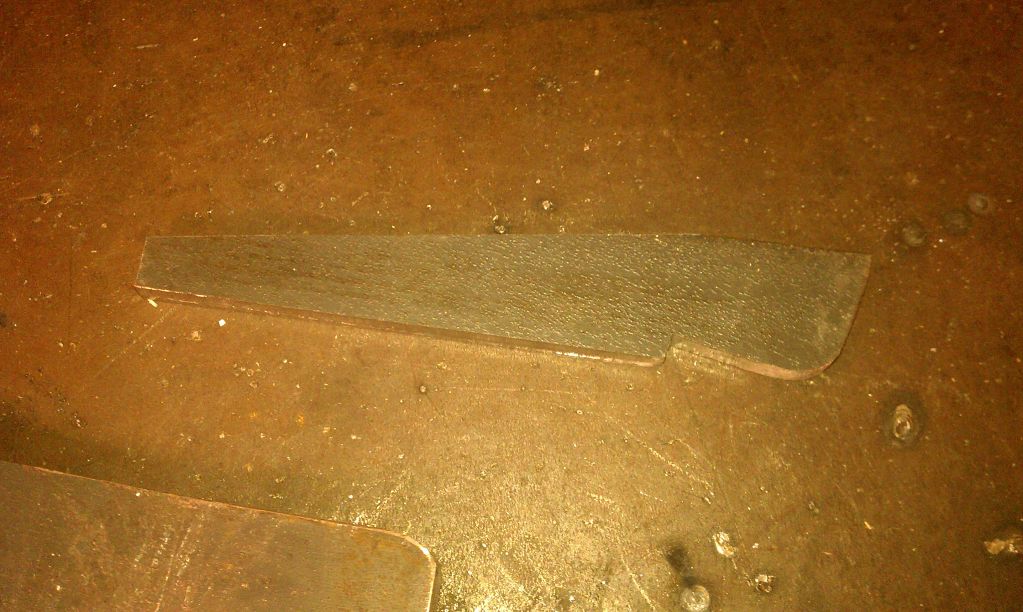
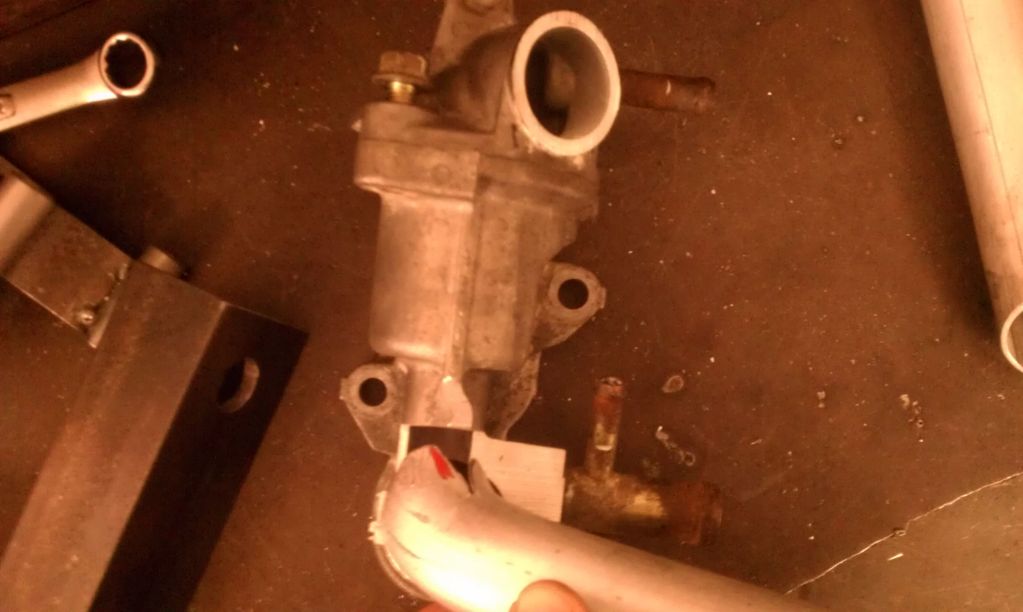
Like I said you're going to have to check up on the dimensions first before you cut anything. Oil pedestal is correct although you should probably weld some fittings directly onto to the iron base instead as it's a very very tight fit with the transmission line there(PITA). No the second plate is actually the MAF base(which is dimension correct) to weld to the filter intake. Trust me you do need the damn MAF, not only because you are using the stock tb but because without it the alternator doesn't charge the battery correctly(only like 10-11volts)/pretty fcuked up right? That was a bitch to find out!!! Is there anything else you need?
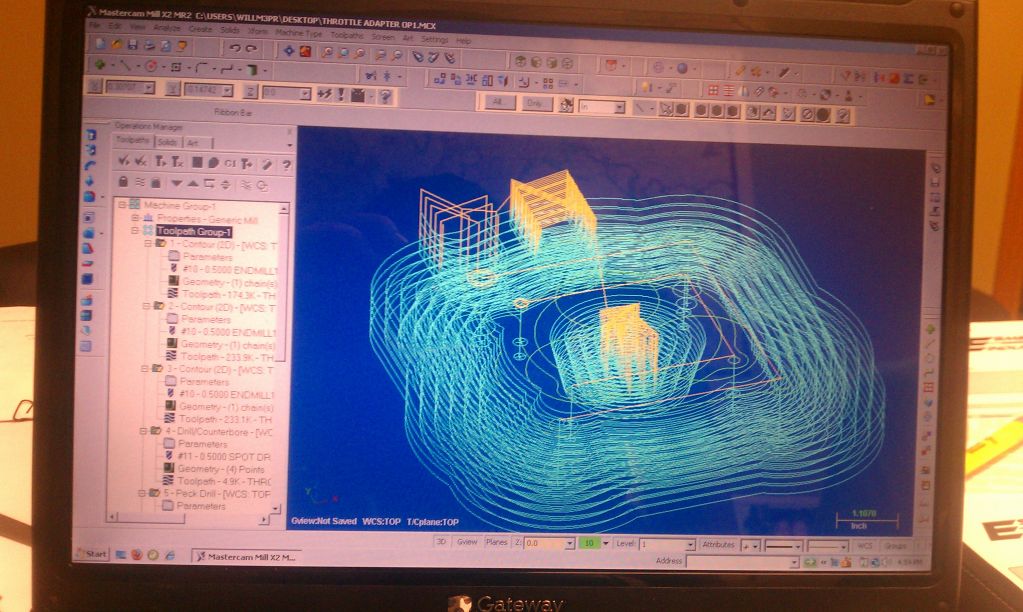
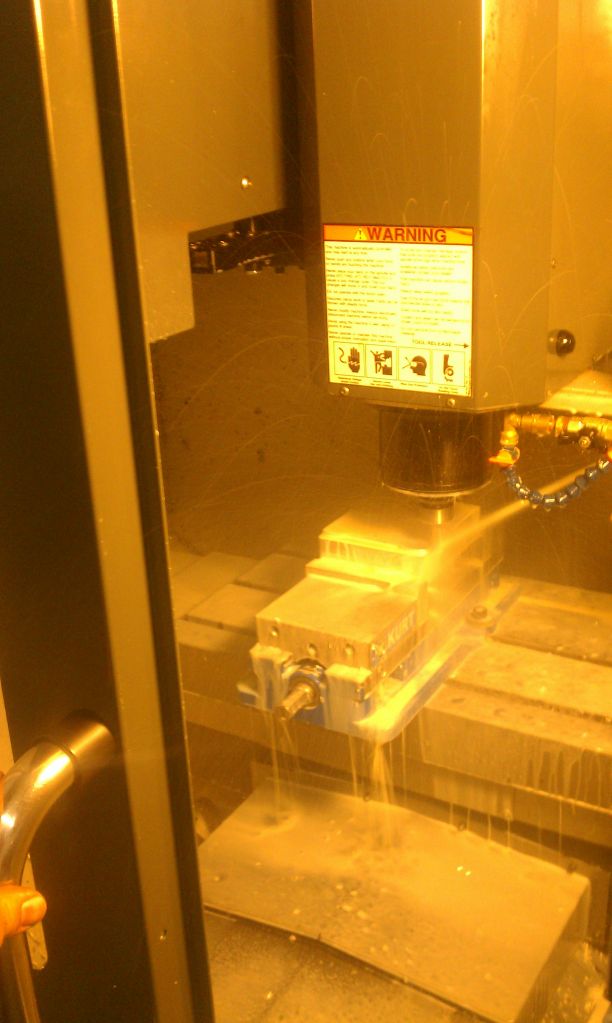
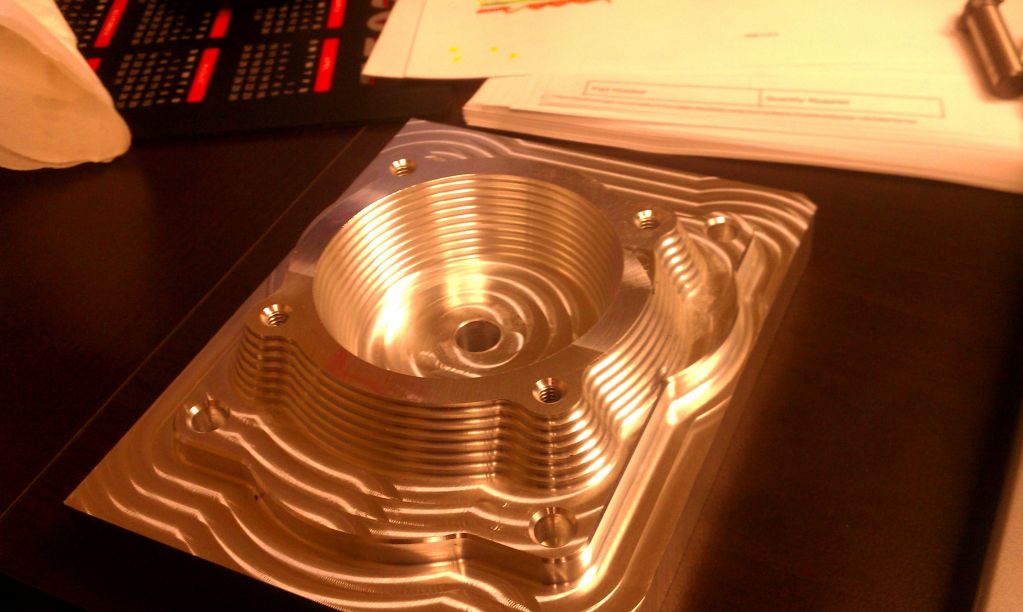
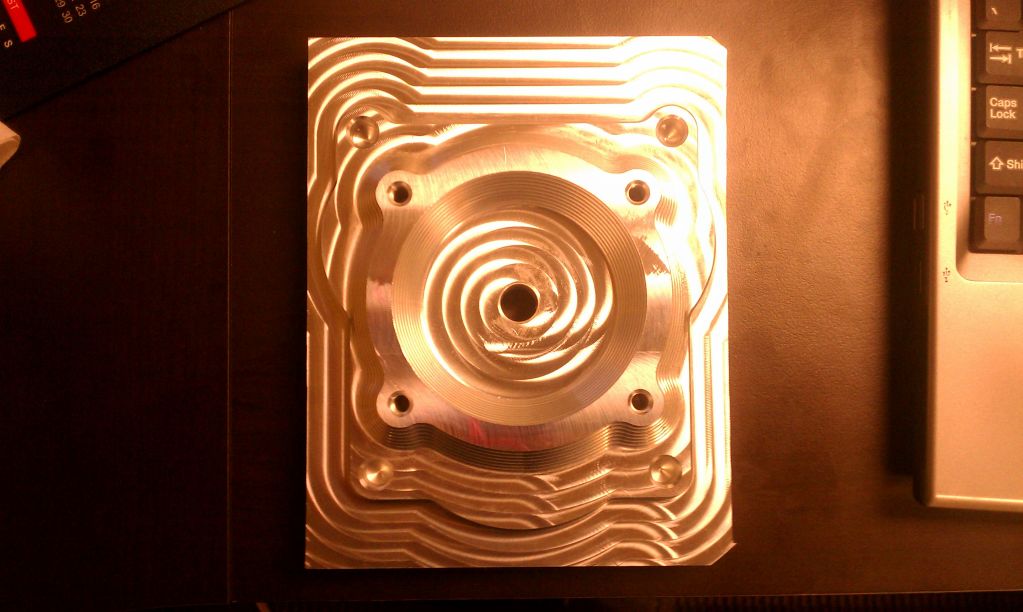
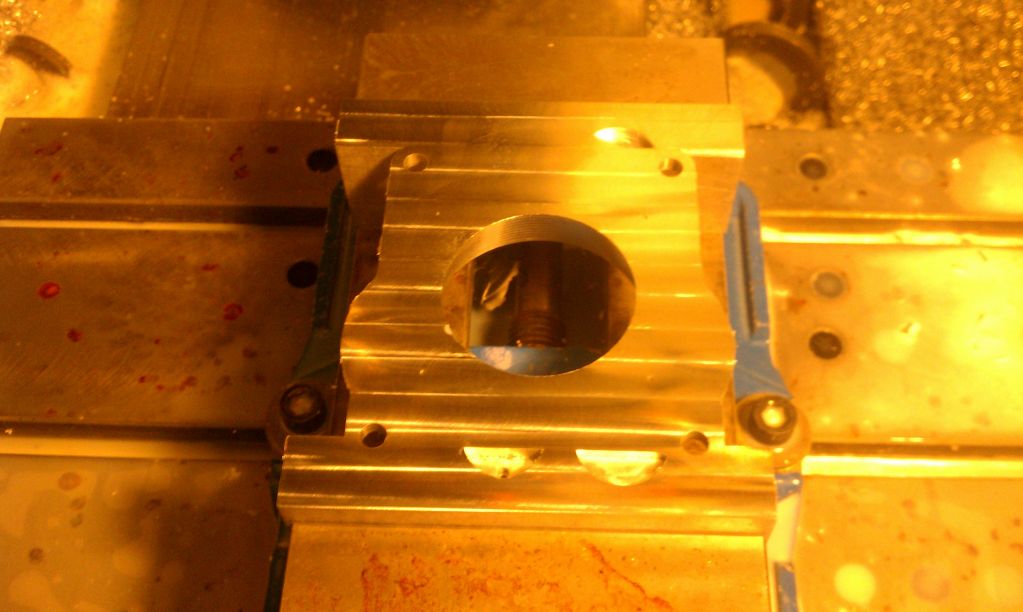
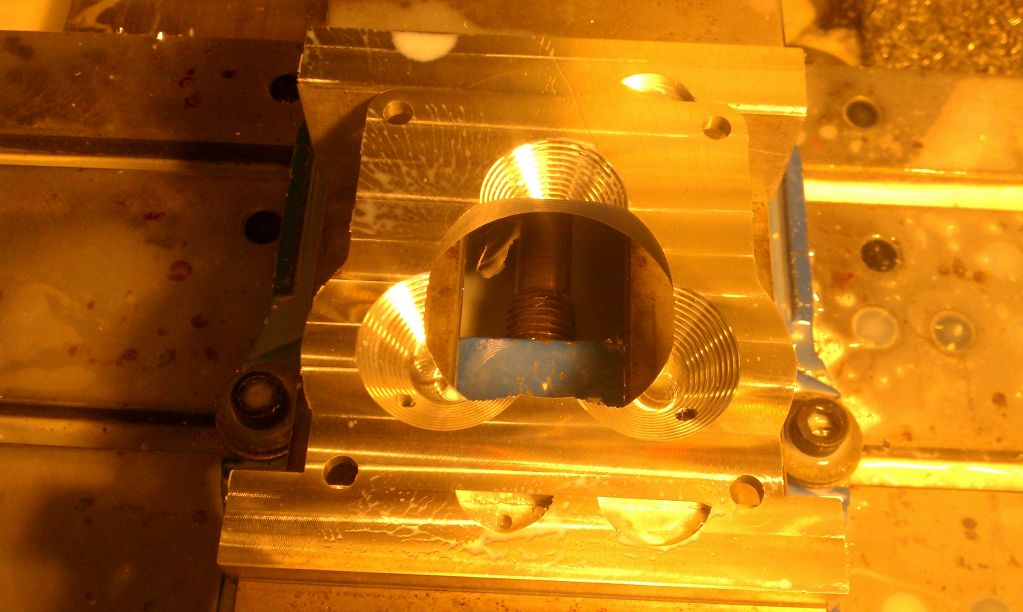
I will post some pics of the CAM process as well as the cutting...

Chris

Thread Starter
Rotary Enthusiast
Joined: Oct 2007
Posts: 799
Likes: 3
From: Plymouth, MN
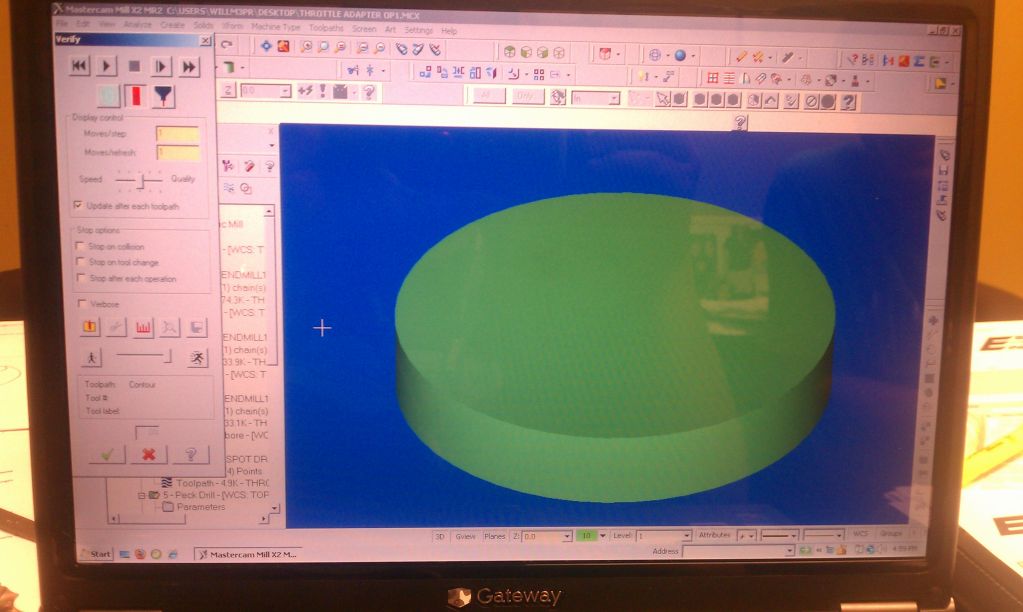
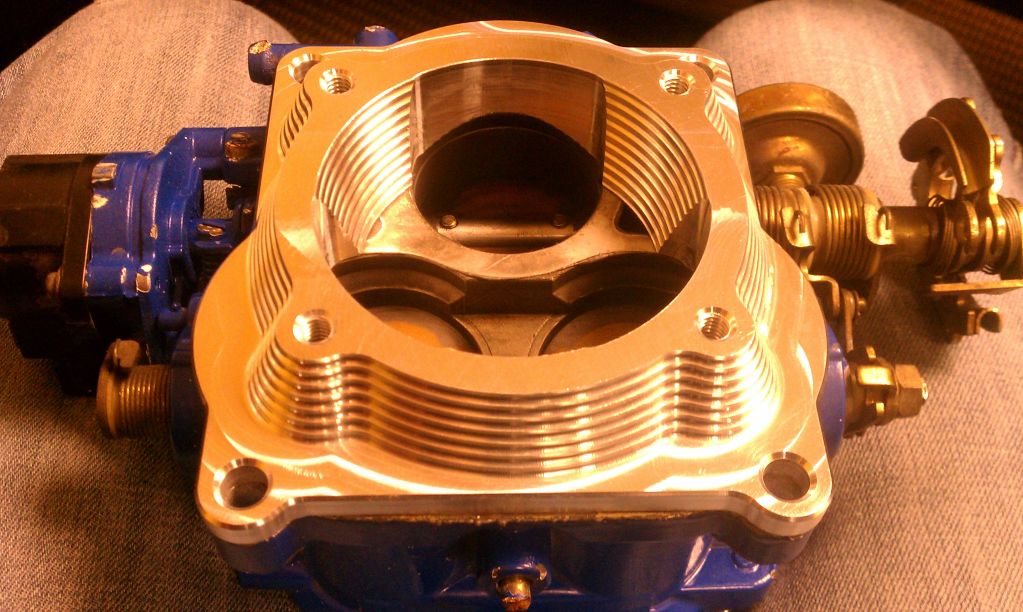
Here is modeling for the other side...
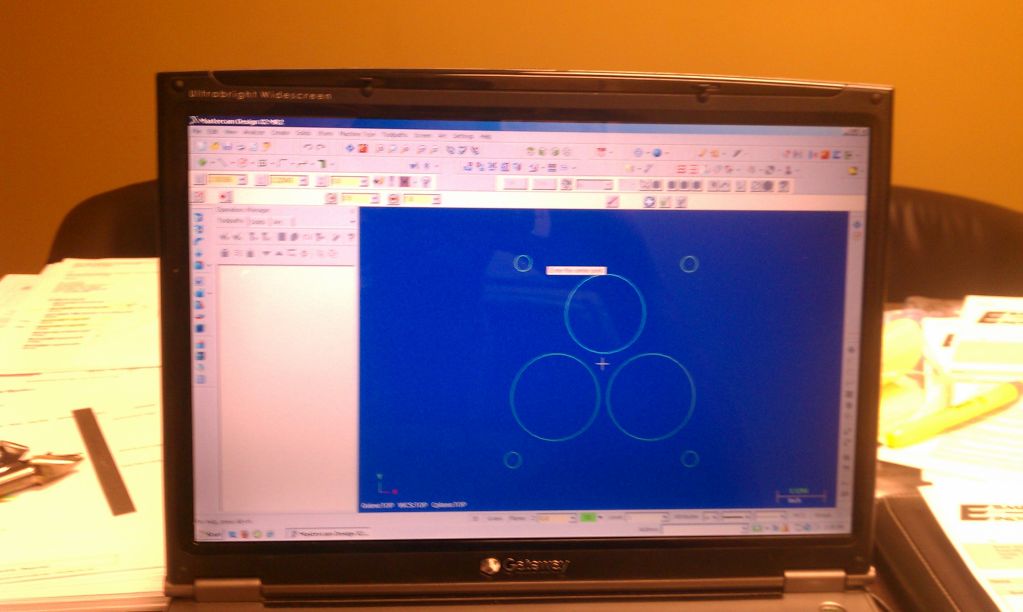
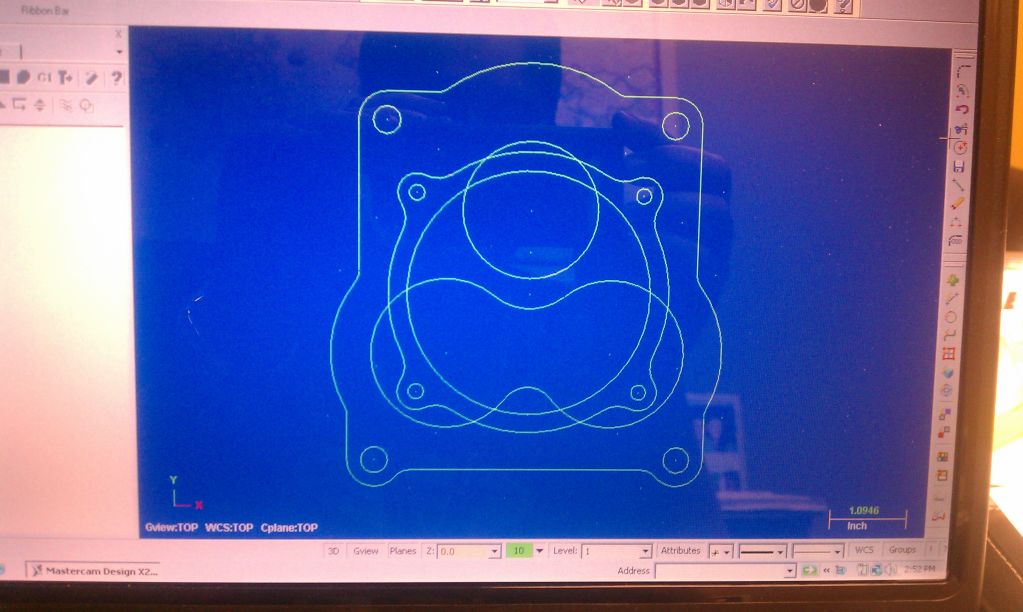
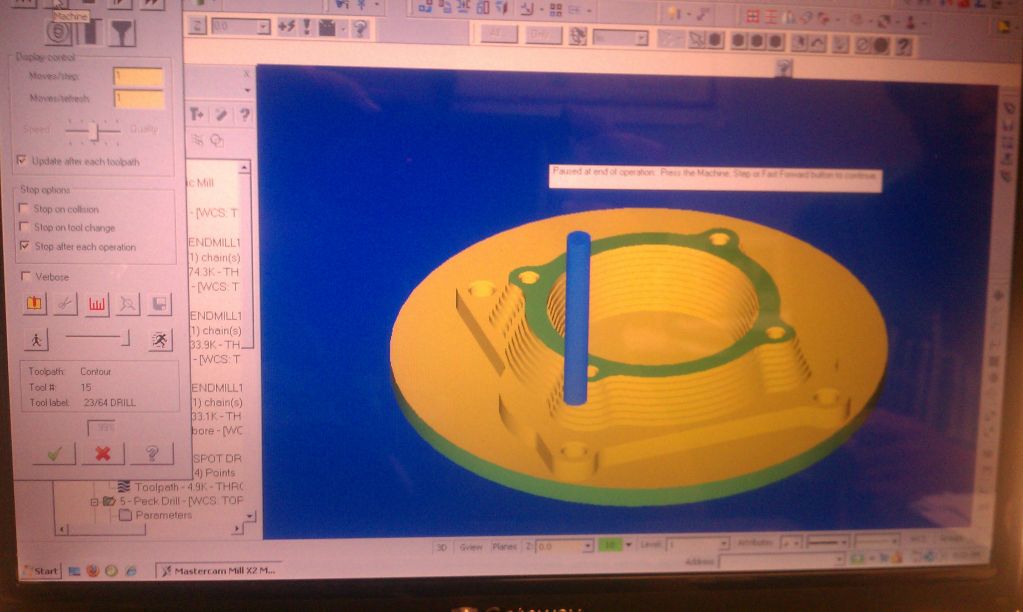
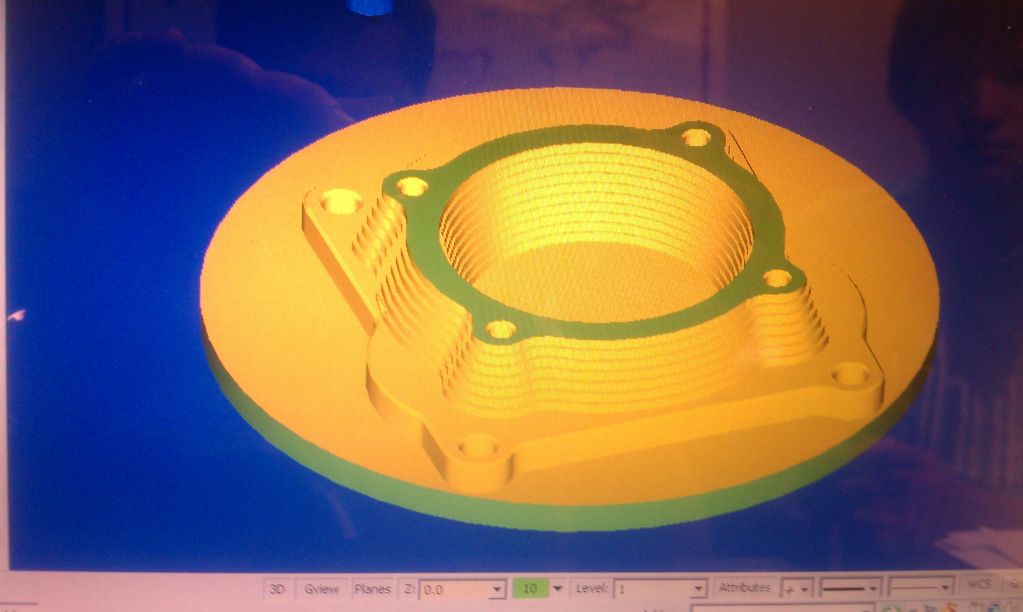
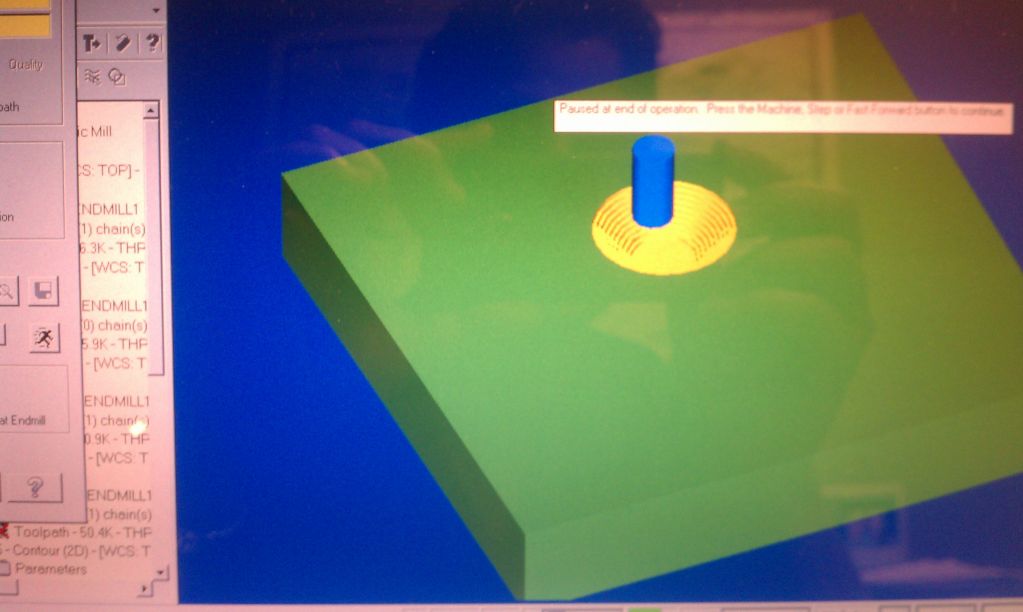
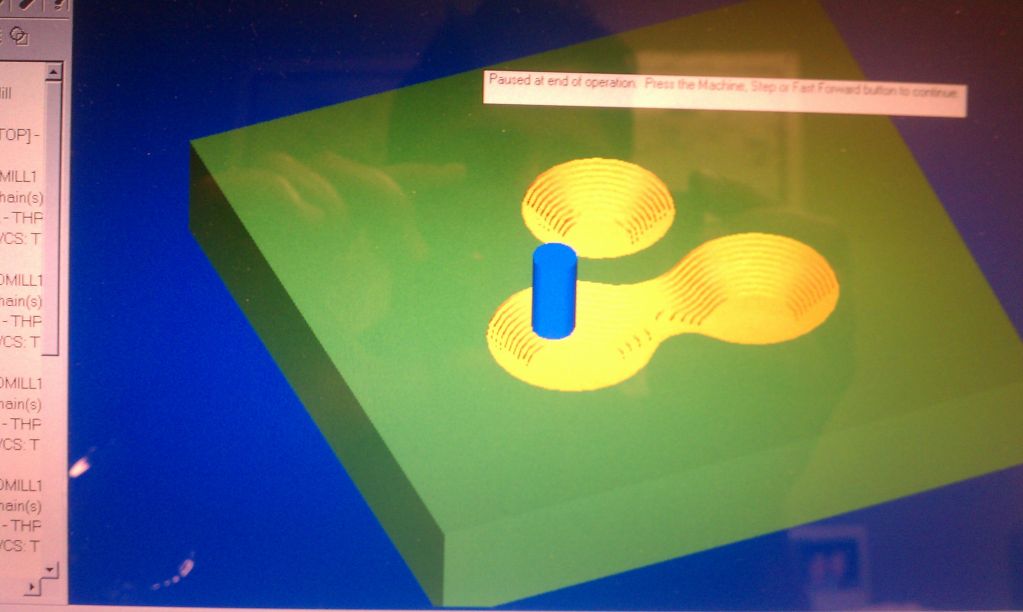
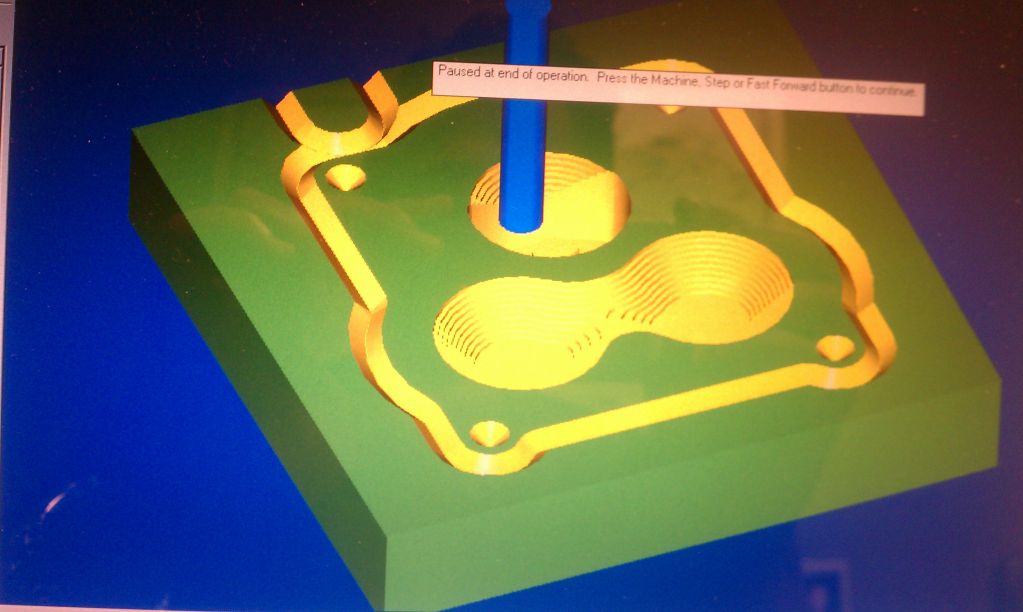
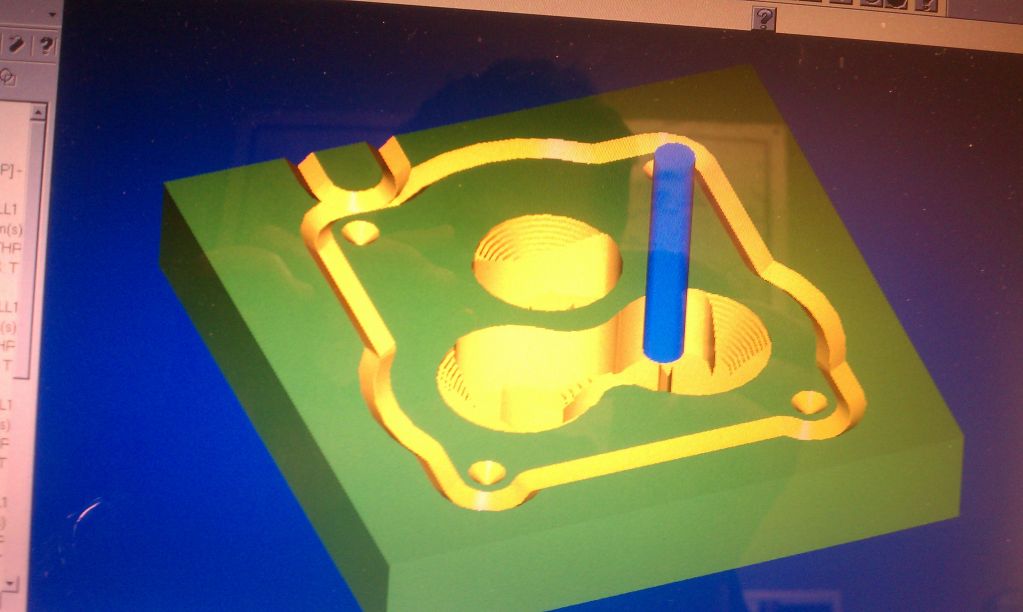
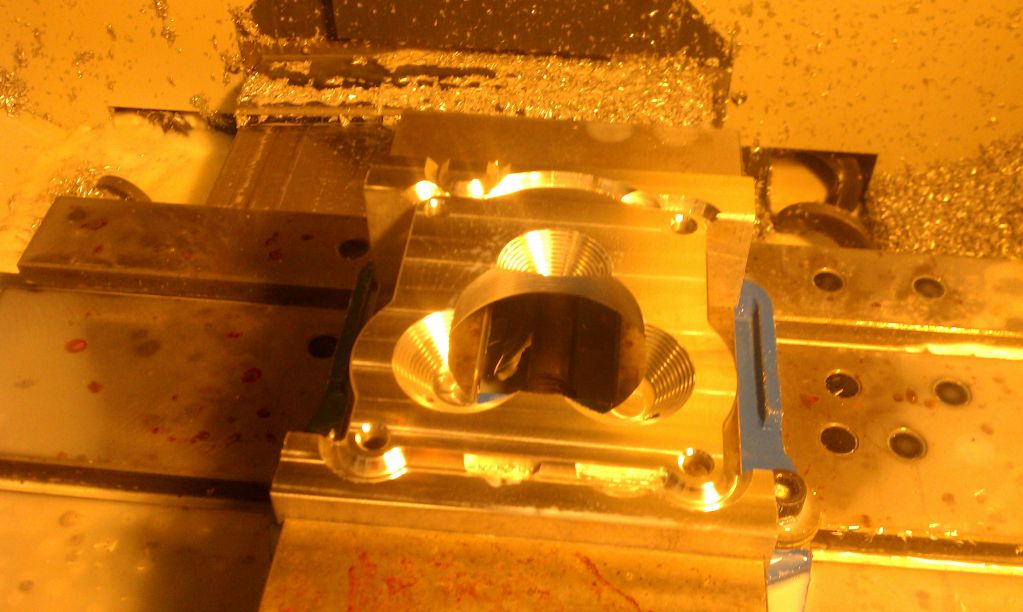
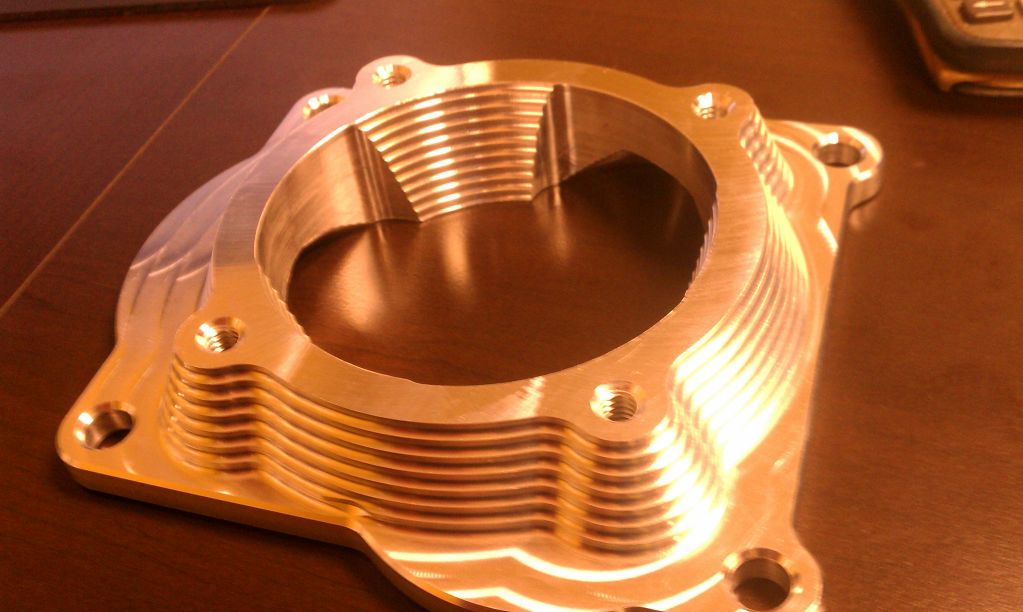
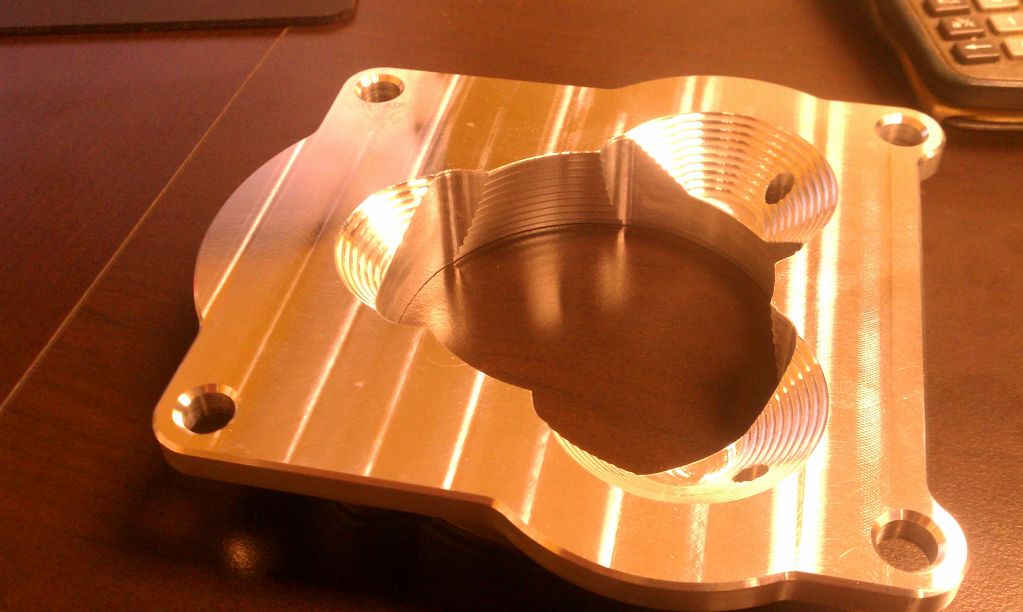
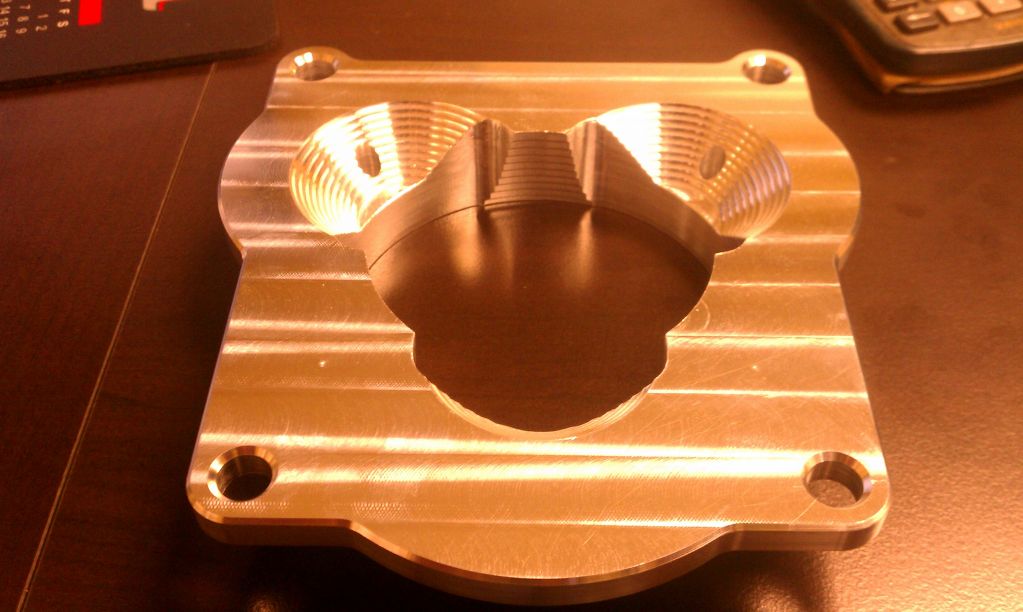
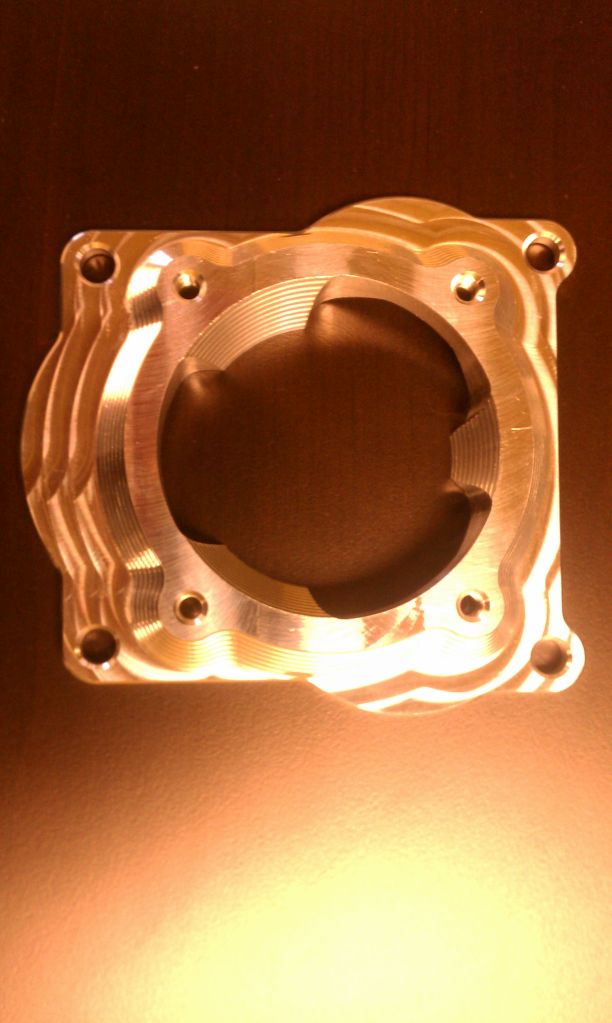
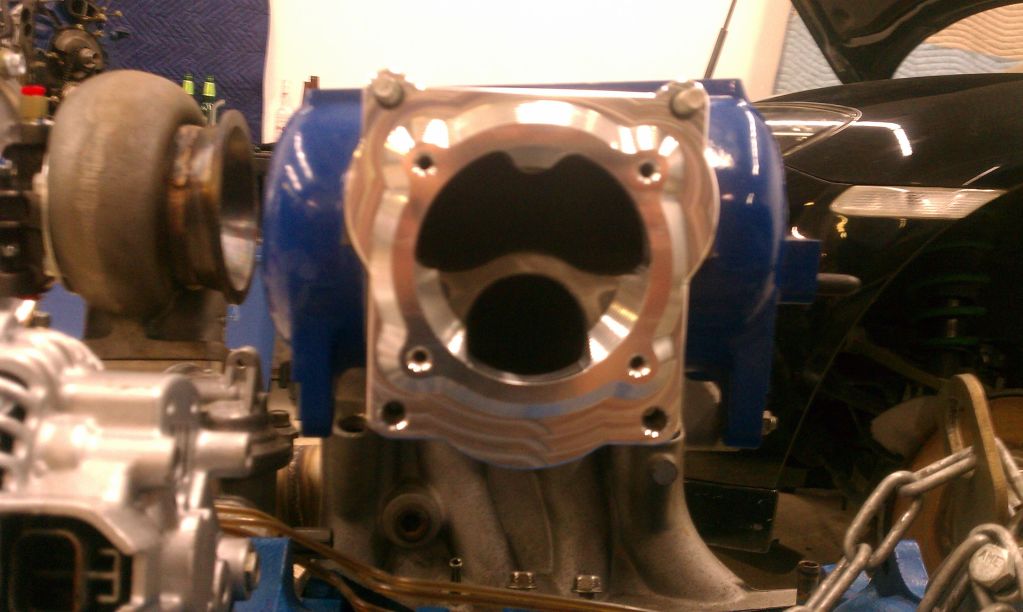
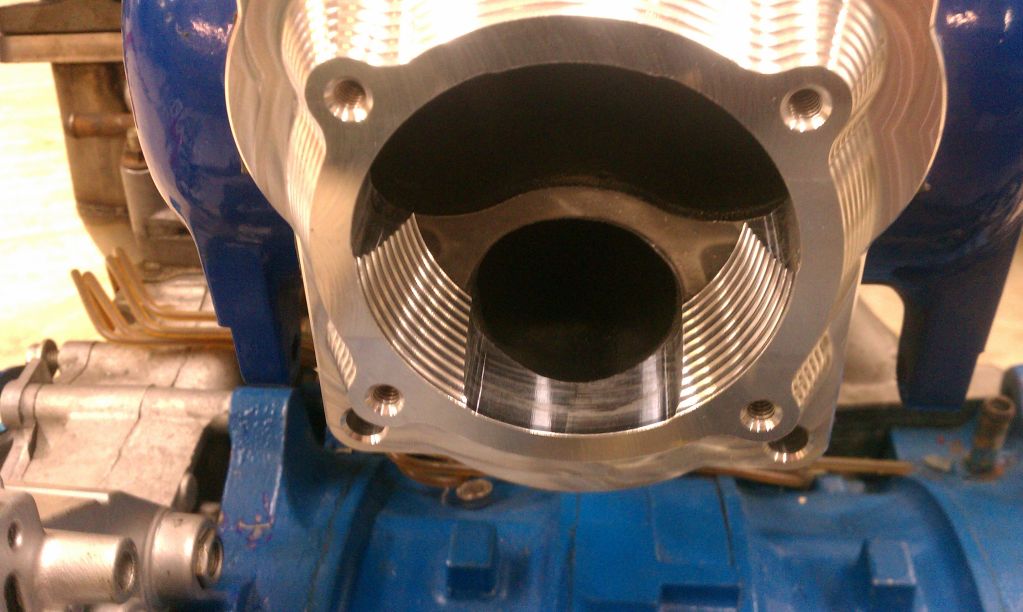
The plan is to taper all 3 diameters into the 3.5" throttle hole from the other side and then make a cut that encompasses the areas where they meet so the flow is not disrupted through there. It isn't very clear in the simulation but it will make sense when you see the finished part.
Cheers!
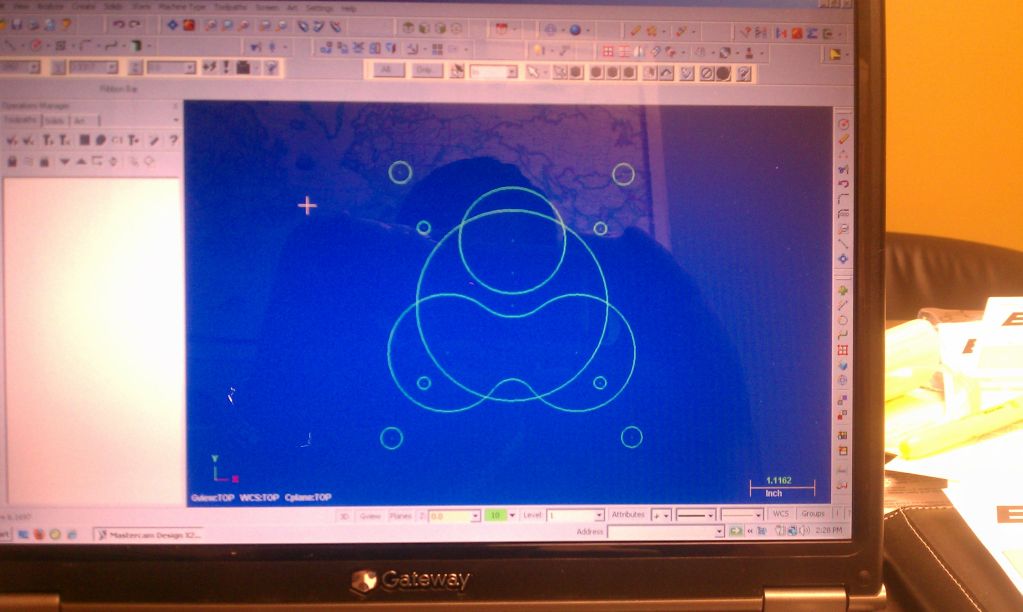
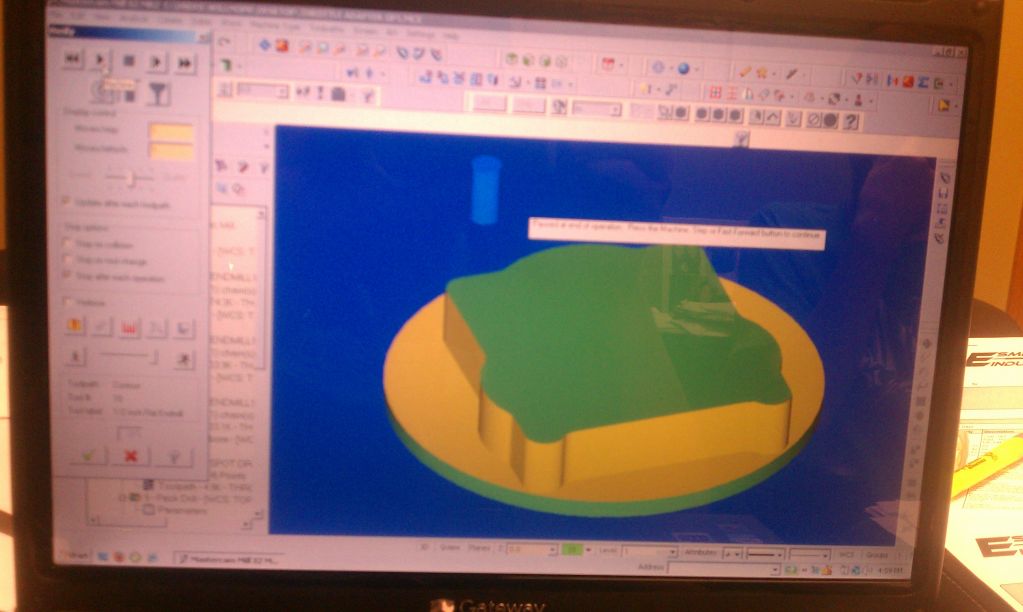
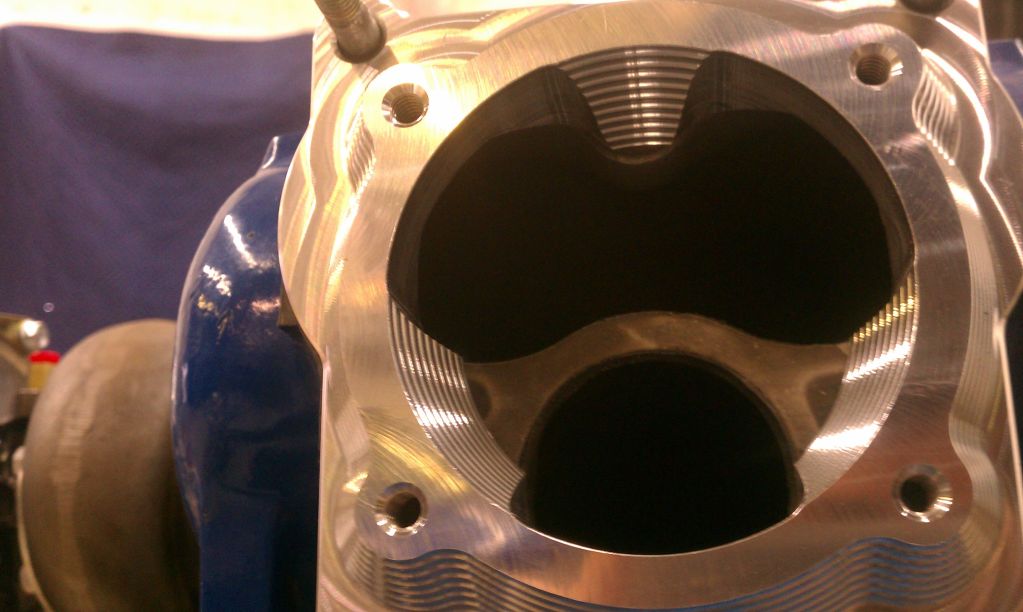
Here is the drawing of the "common areas" between the RX-8 throttle and the 3 butterflies from the BRE throttle.
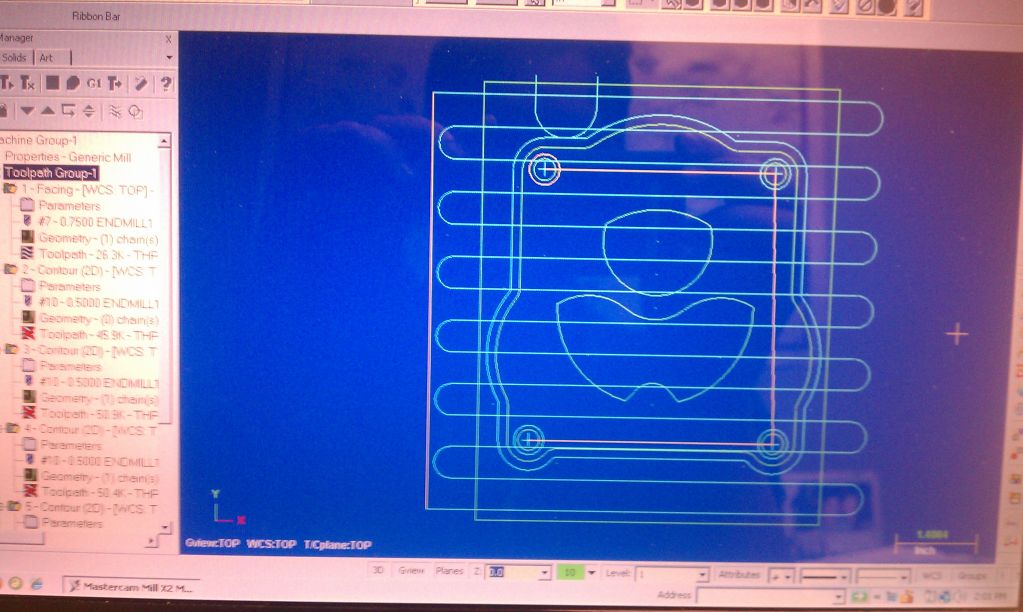
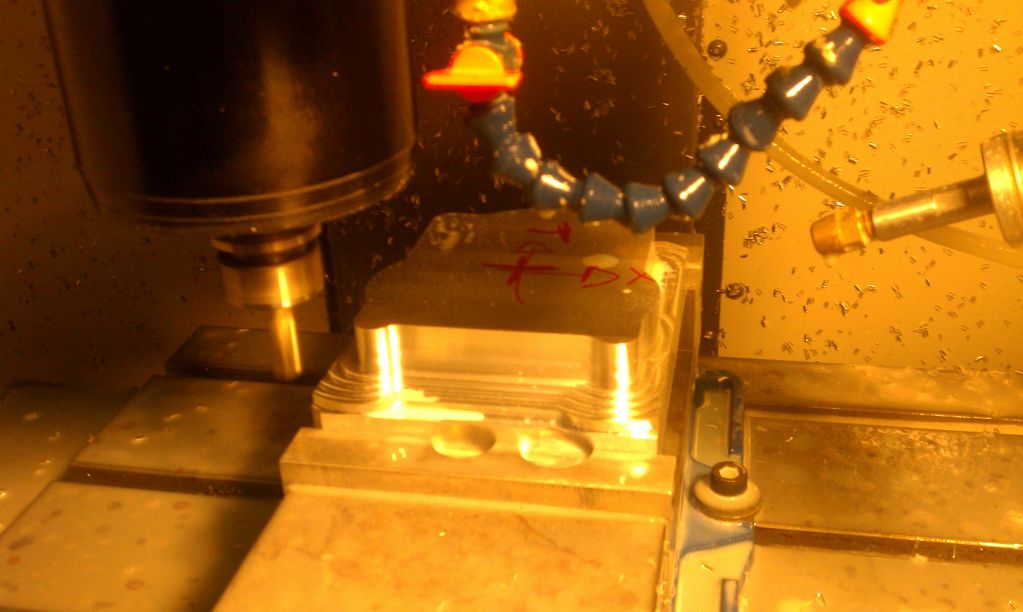
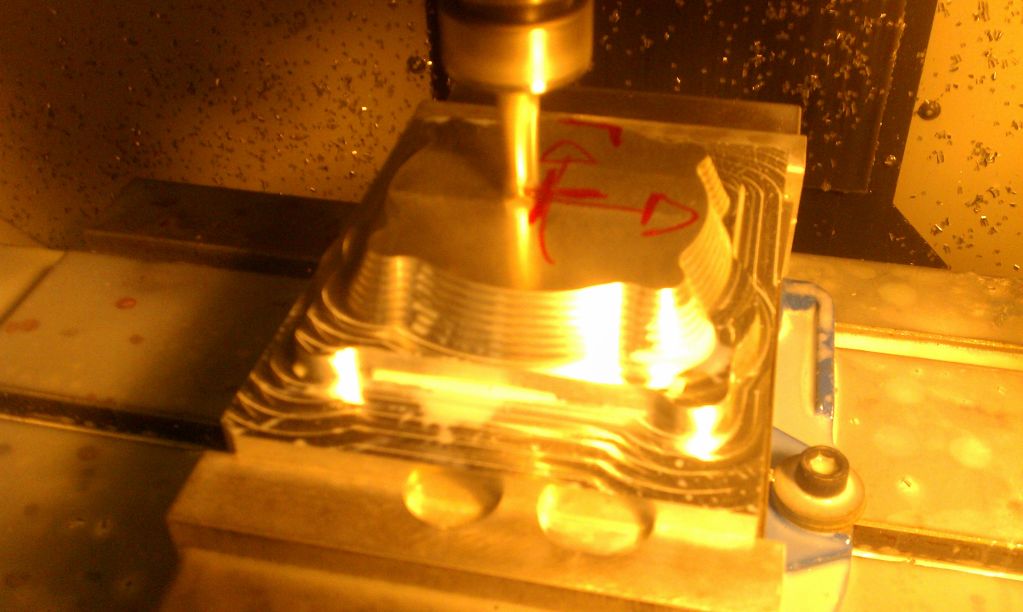
We begin by tapering in the diameters
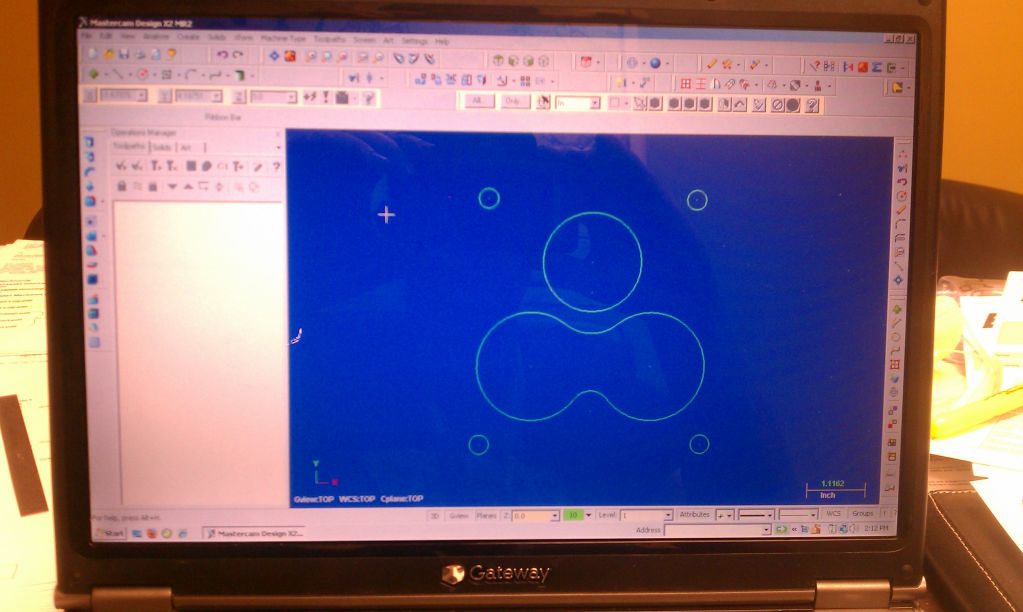
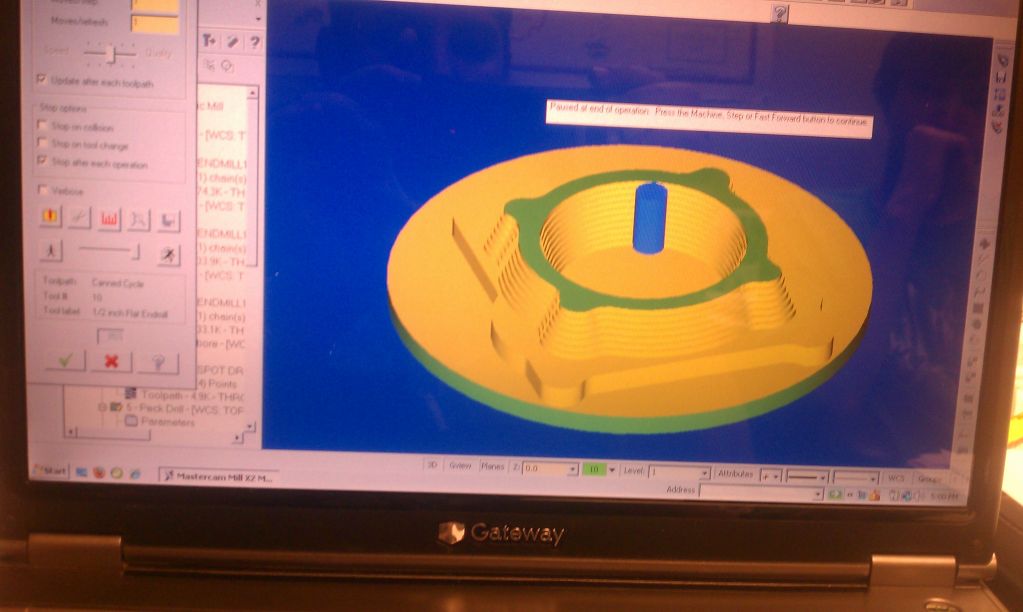
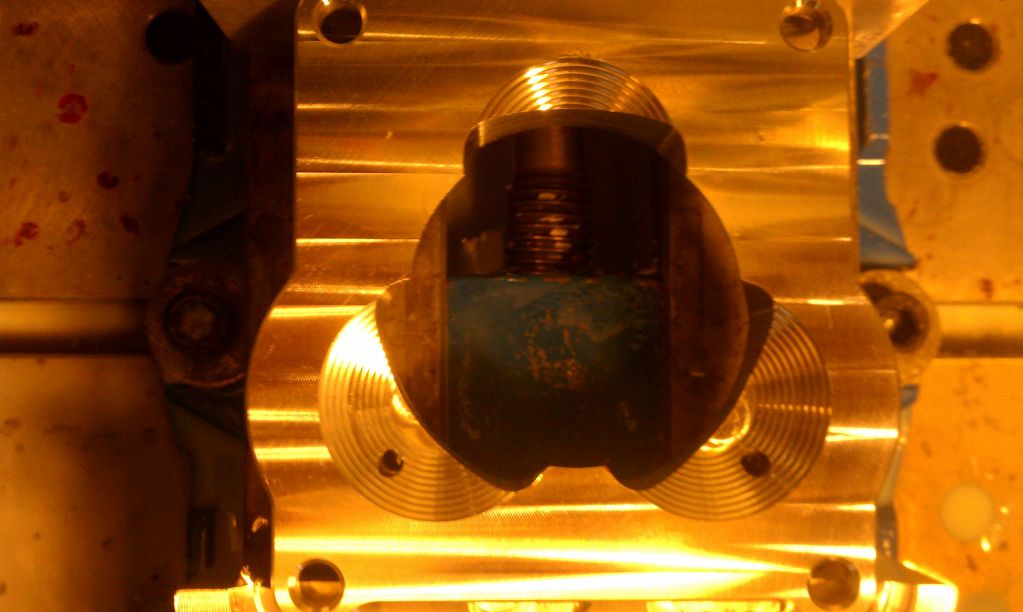
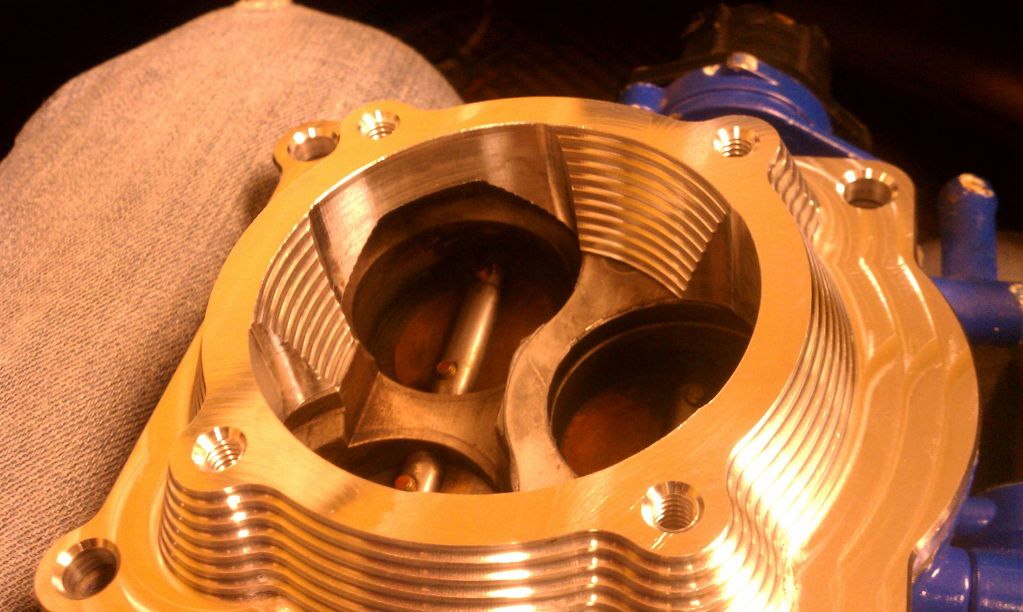
Chamfer the backside profile...
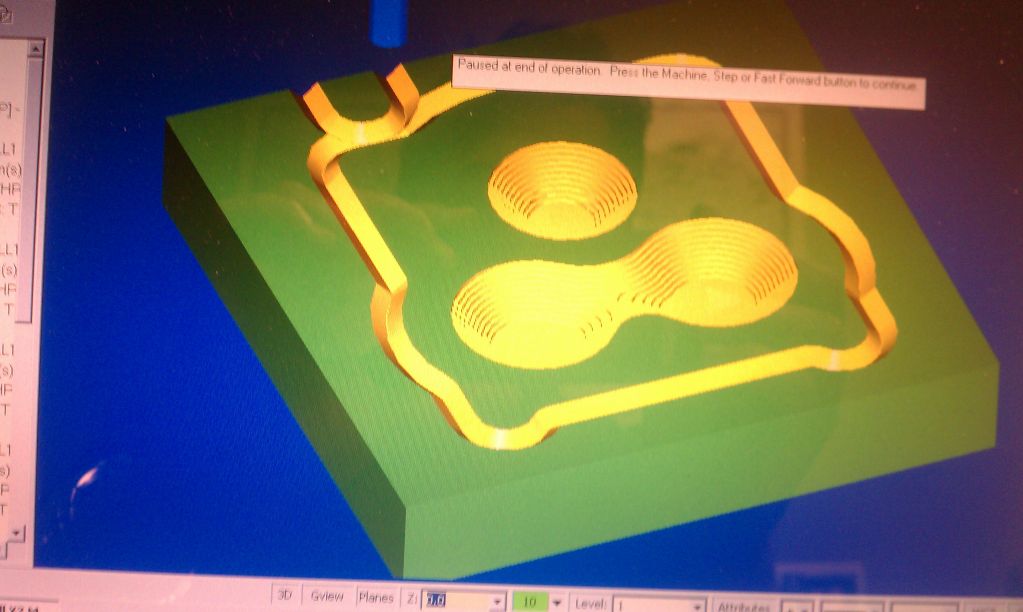
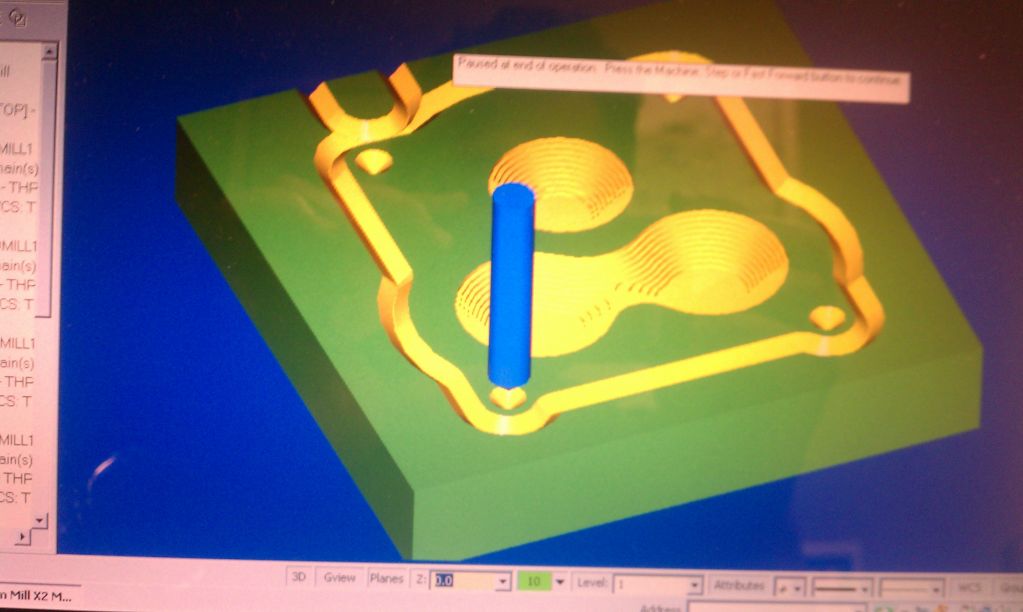
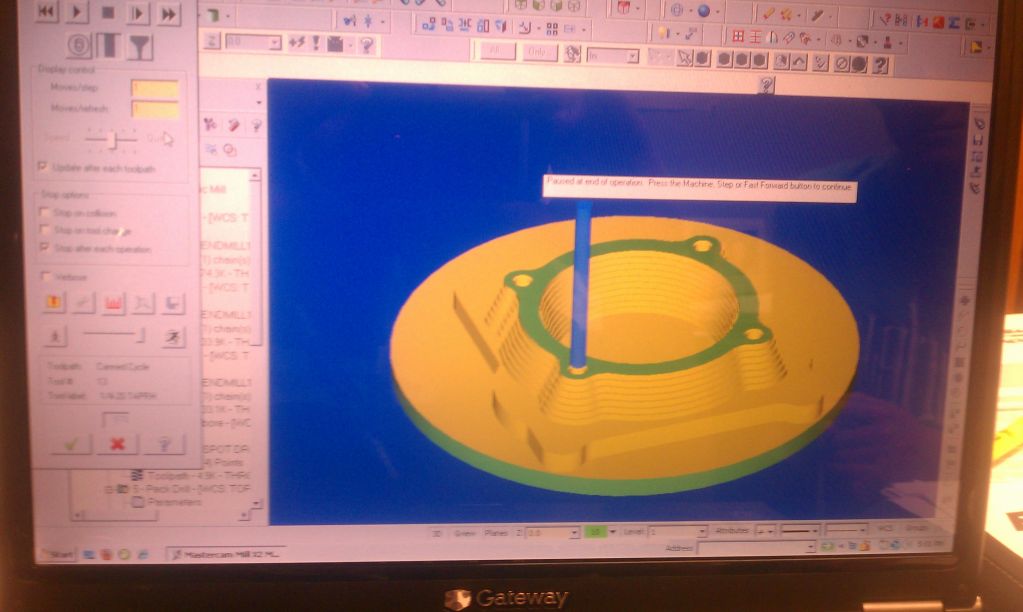
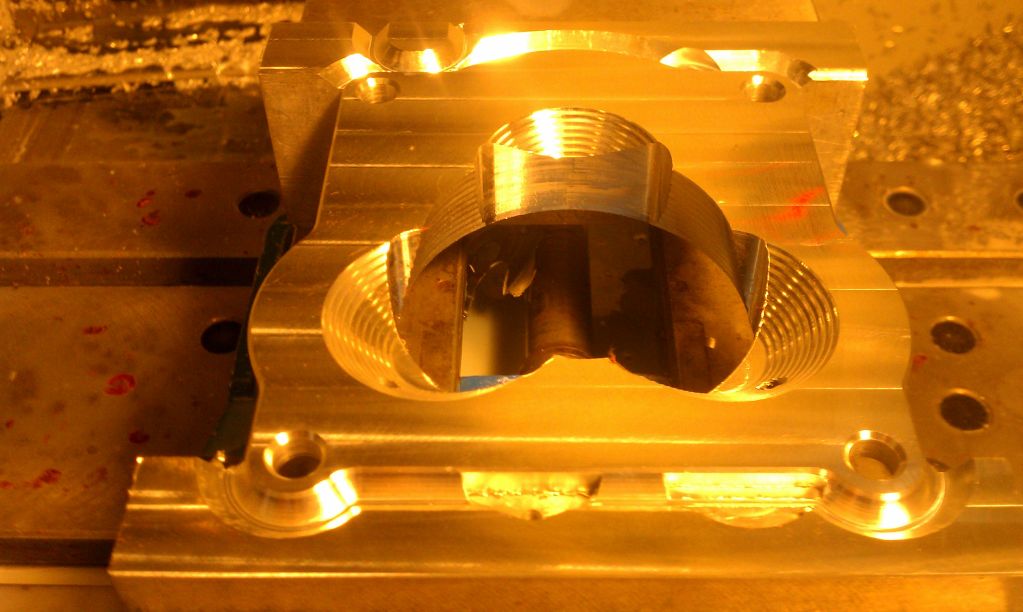
And then cut the common areas...
The plan is to taper all 3 diameters into the 3.5" throttle hole from the other side and then make a cut that encompasses the areas where they meet so the flow is not disrupted through there. It isn't very clear in the simulation but it will make sense when you see the finished part.
Cheers!
Here is the drawing of the "common areas" between the RX-8 throttle and the 3 butterflies from the BRE throttle.
We begin by tapering in the diameters
Chamfer the backside profile...
And then cut the common areas...


Thread Starter
Rotary Enthusiast
Joined: Oct 2007
Posts: 799
Likes: 3
From: Plymouth, MN
Updated list...
Machine front cover - STARTED
Weld front cover
Front cover oil line
Machine front pulley spacer
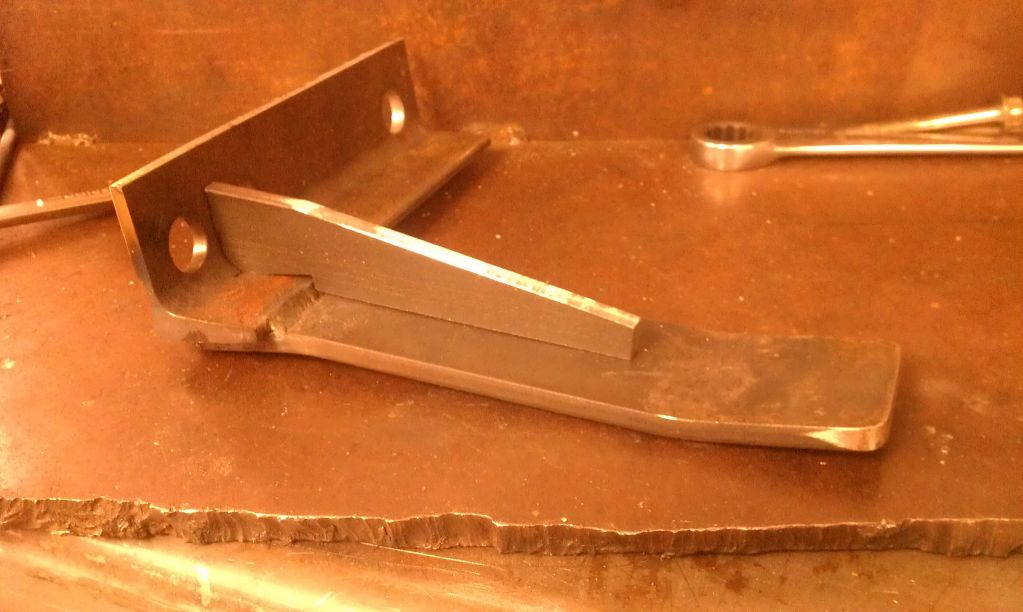
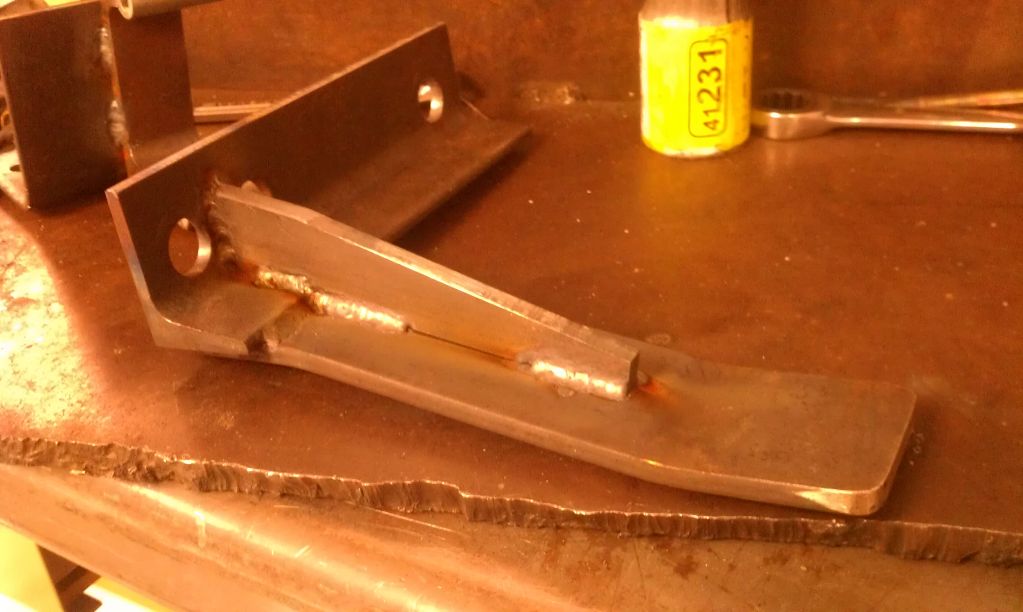
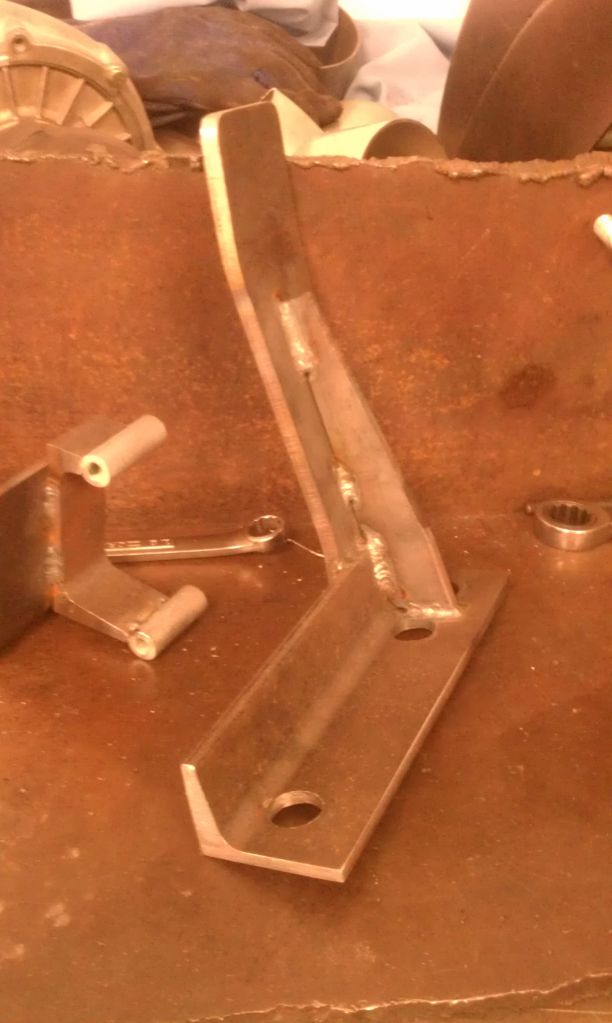
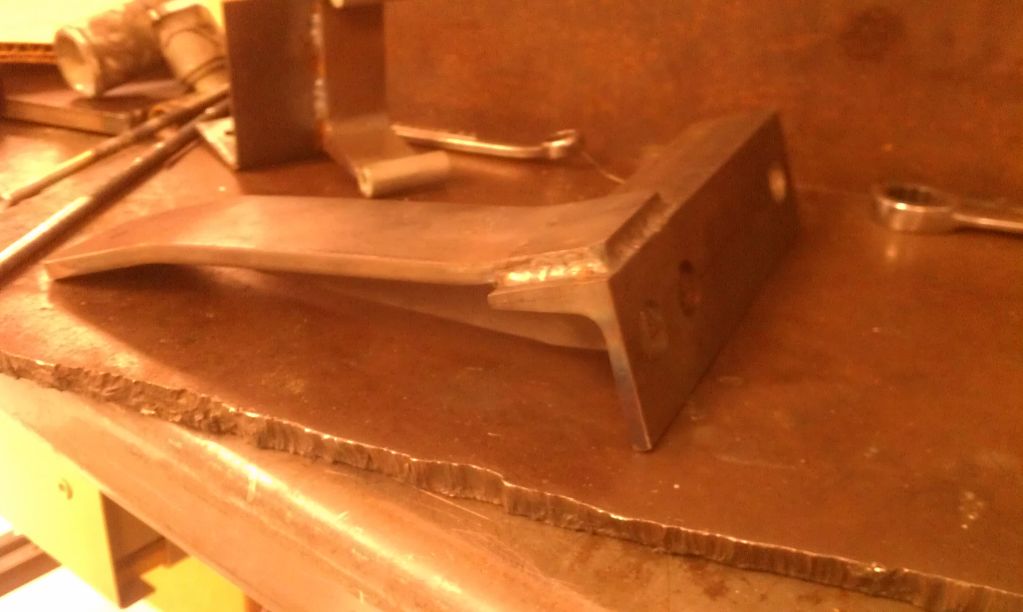
Driver engine mount finish
Pass engine mount finish
Finish LIM (welding, holes etc) - STARTED
Drill UIM bolt hole
Make Throttle body adapter-DONE!
Oil filter Pedestal (machine, relocate, whatever)
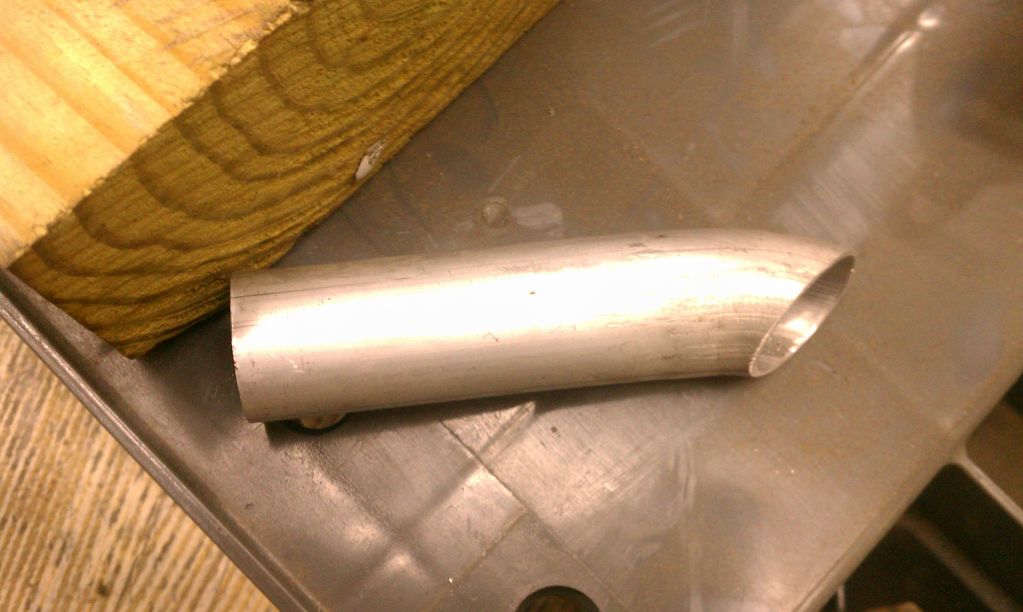
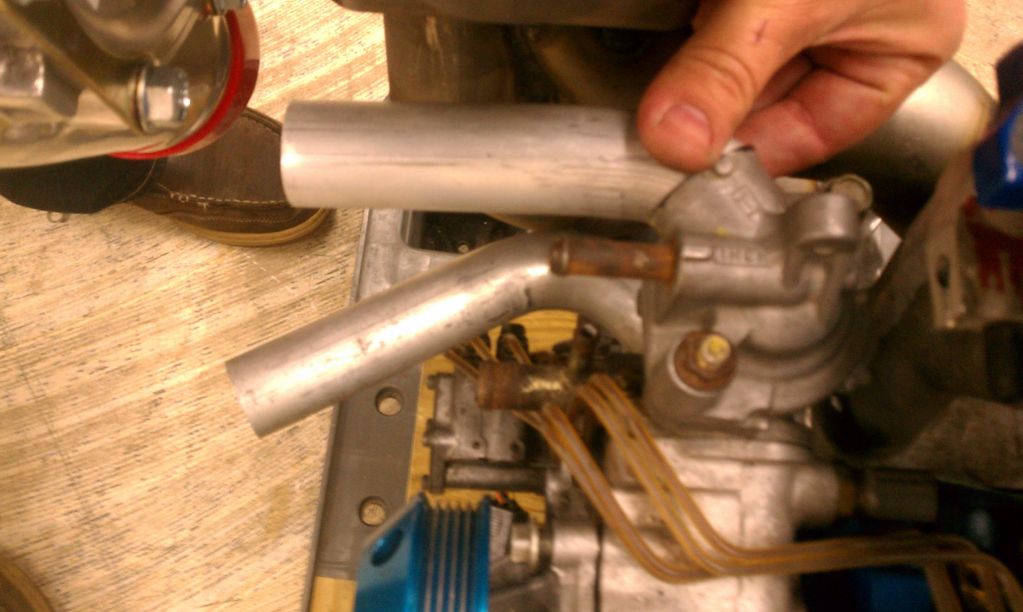
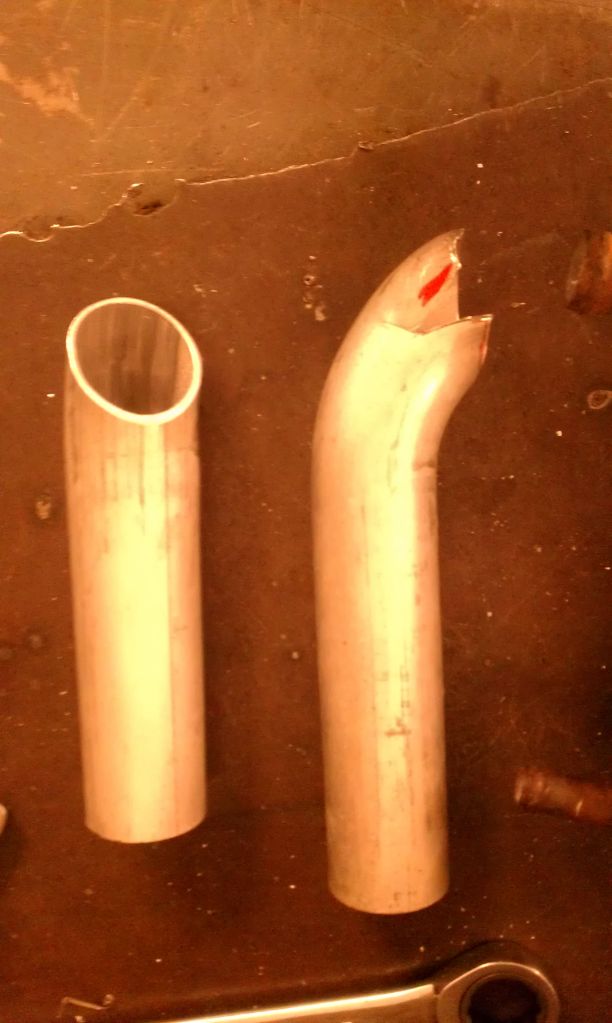
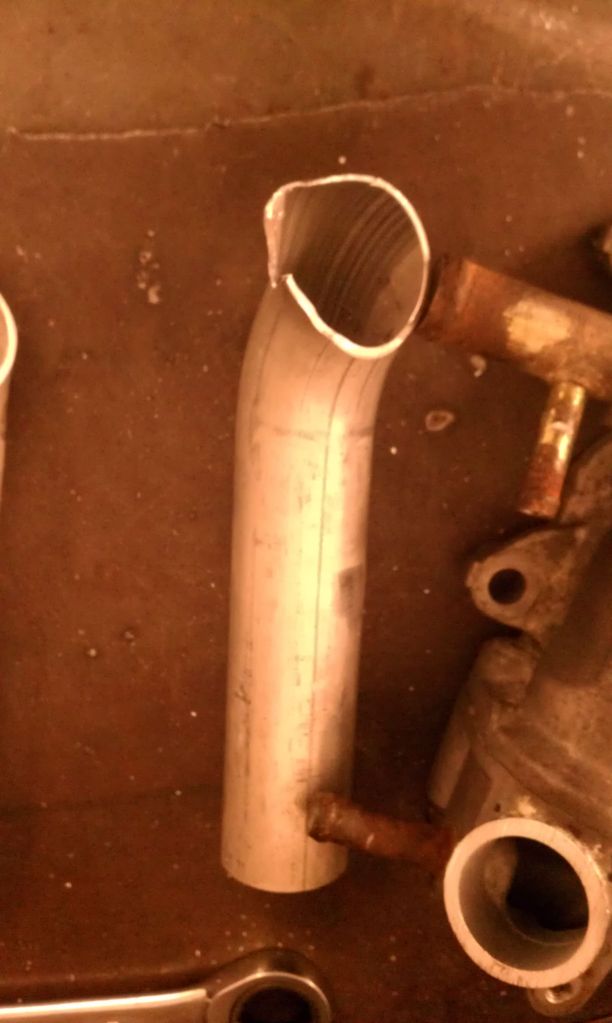
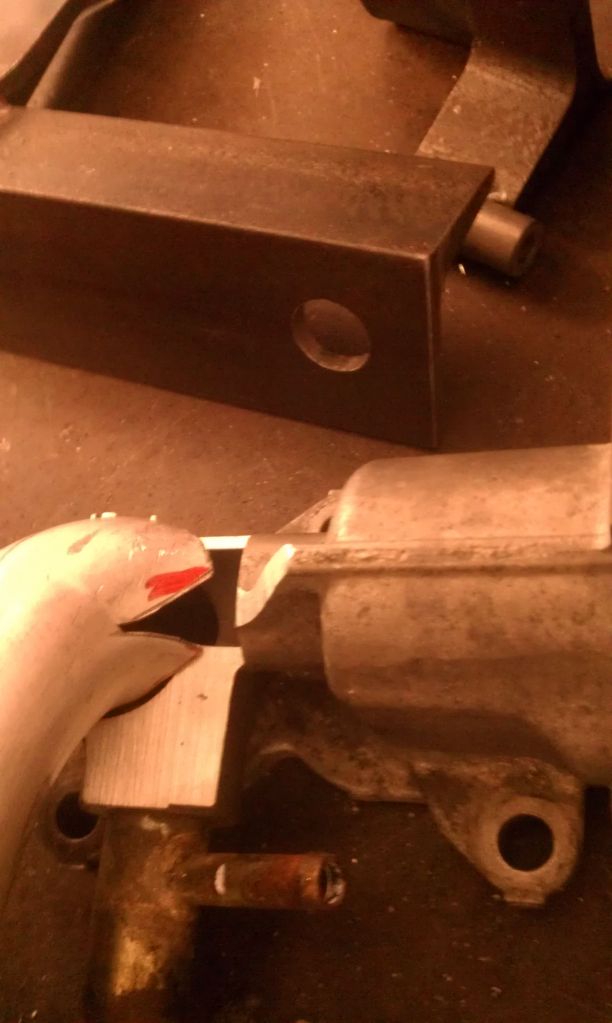
Modify Water Pump Outlet - STARTED
Oil pan and pickup
Alternator Adapter
Custom Alternator Tensioner
Relocate OEM ECU to Firewall
Install Wastegates
Make Downpipe - STARTED
Make Wastegate dump
Fuel rail mod
Make/Modify Fuel lines
Make Turbo Oil lines
Make Radiator cover plate
Water reservoir
Intercooler mount
Cut Intercooler piping
Weld Intercooler piping
Weld BOV
Replace exhaust sleeves
Machine engine for studs/Dowels
Make Ignition Bracket
Machine front cover - STARTED
Weld front cover
Front cover oil line
Machine front pulley spacer
Driver engine mount finish
Pass engine mount finish
Finish LIM (welding, holes etc) - STARTED
Drill UIM bolt hole
Make Throttle body adapter-DONE!
Oil filter Pedestal (machine, relocate, whatever)
Modify Water Pump Outlet - STARTED
Oil pan and pickup
Alternator Adapter
Custom Alternator Tensioner
Relocate OEM ECU to Firewall
Install Wastegates
Make Downpipe - STARTED
Make Wastegate dump
Fuel rail mod
Make/Modify Fuel lines
Make Turbo Oil lines
Make Radiator cover plate
Water reservoir
Intercooler mount
Cut Intercooler piping
Weld Intercooler piping
Weld BOV
Replace exhaust sleeves
Machine engine for studs/Dowels
Make Ignition Bracket


Thread Starter
Rotary Enthusiast
Joined: Oct 2007
Posts: 799
Likes: 3
From: Plymouth, MN
C
Thread Starter
Rotary Enthusiast
Joined: Oct 2007
Posts: 799
Likes: 3
From: Plymouth, MN
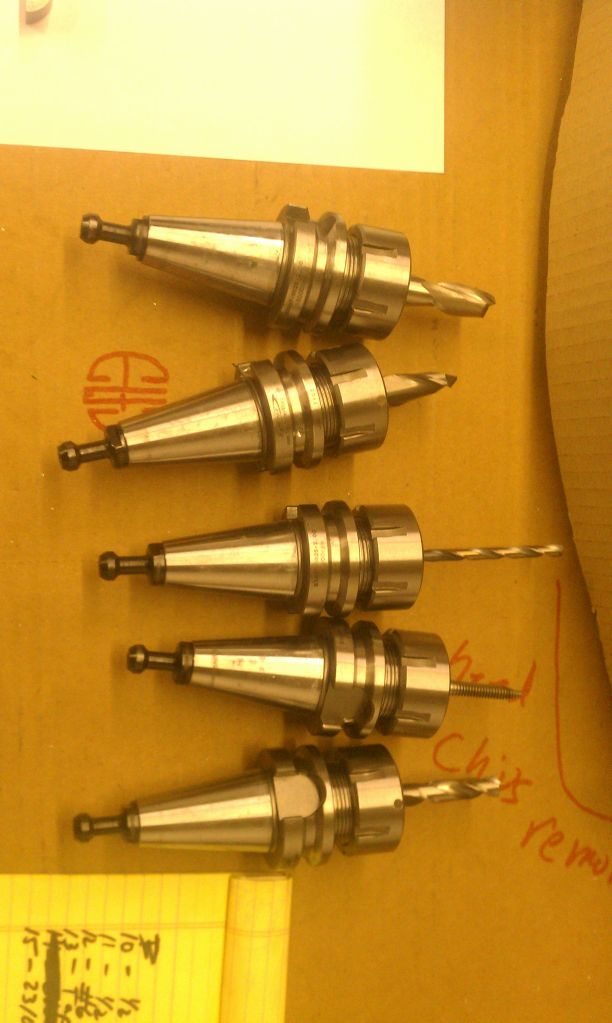
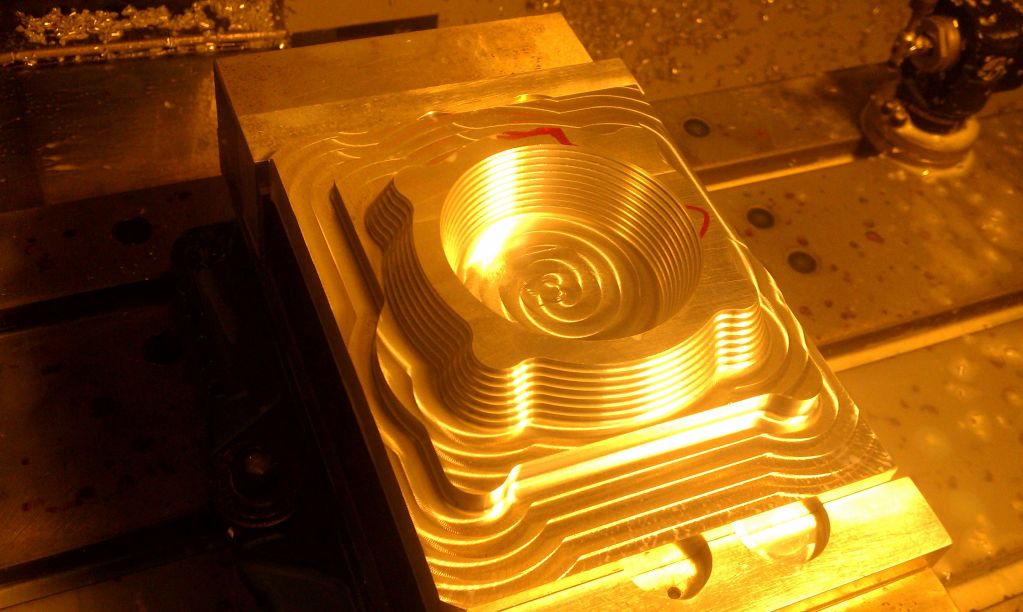
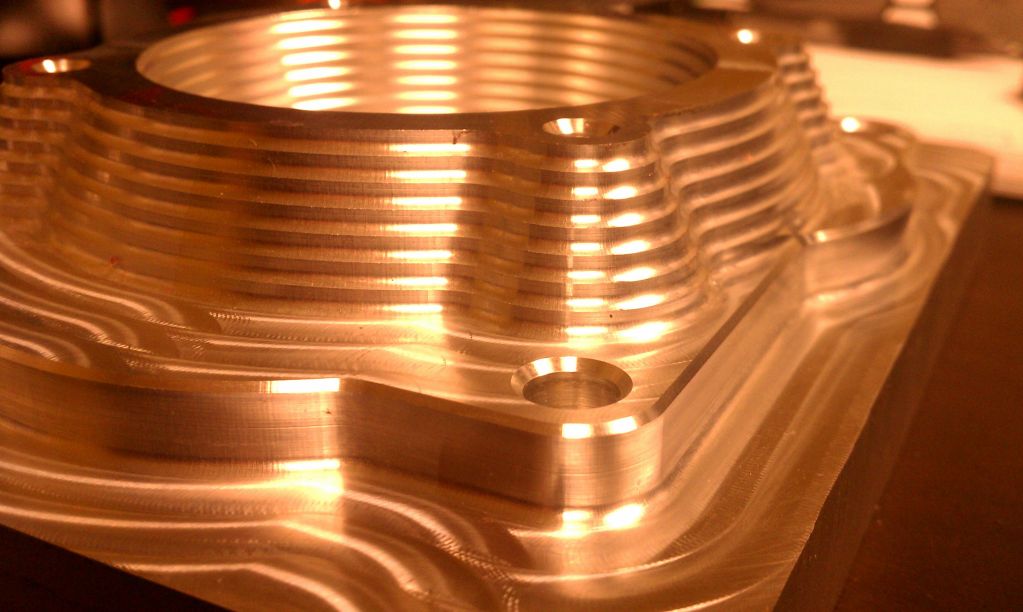
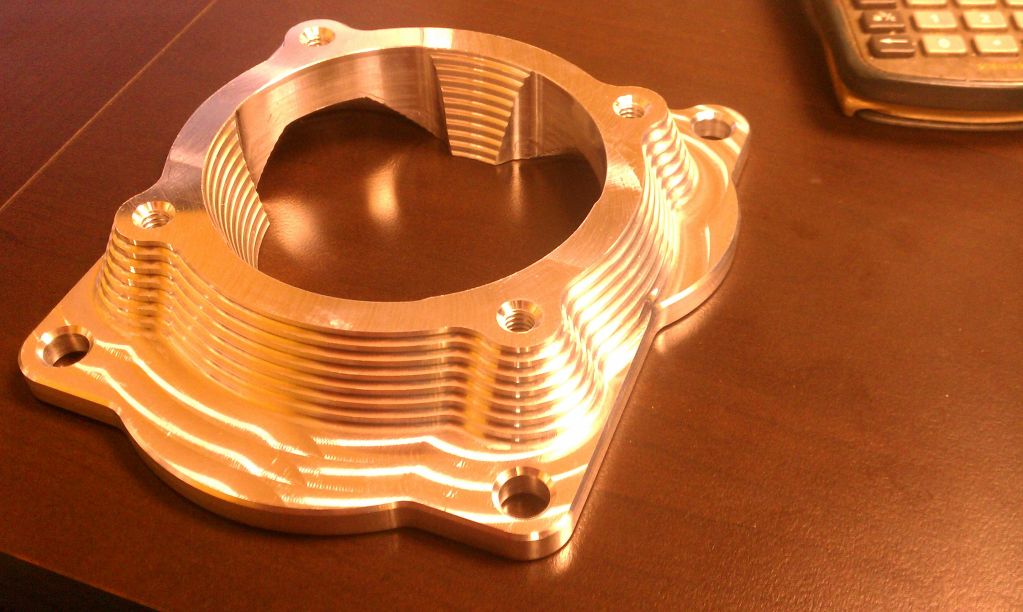
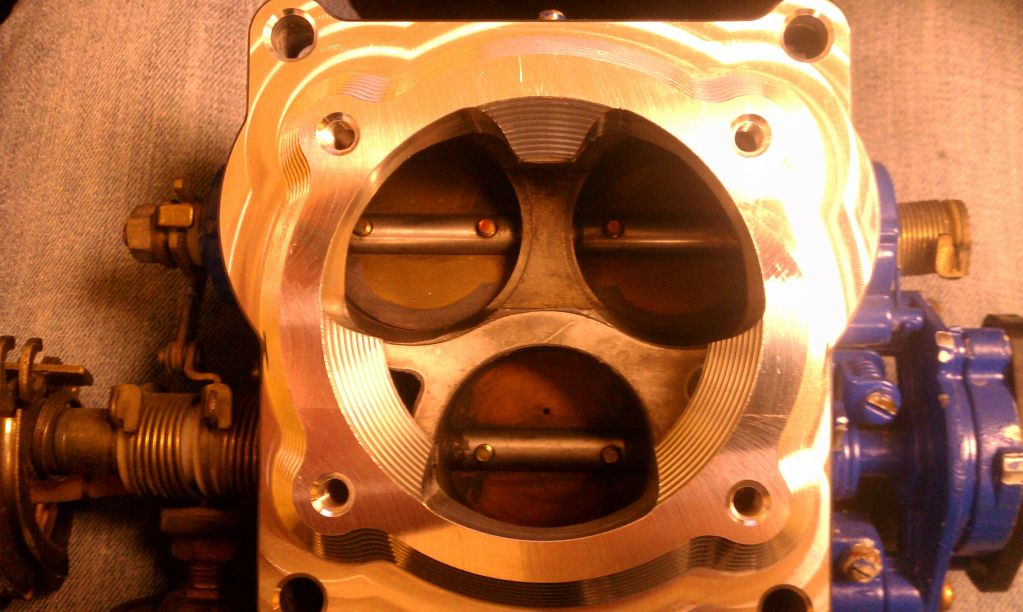
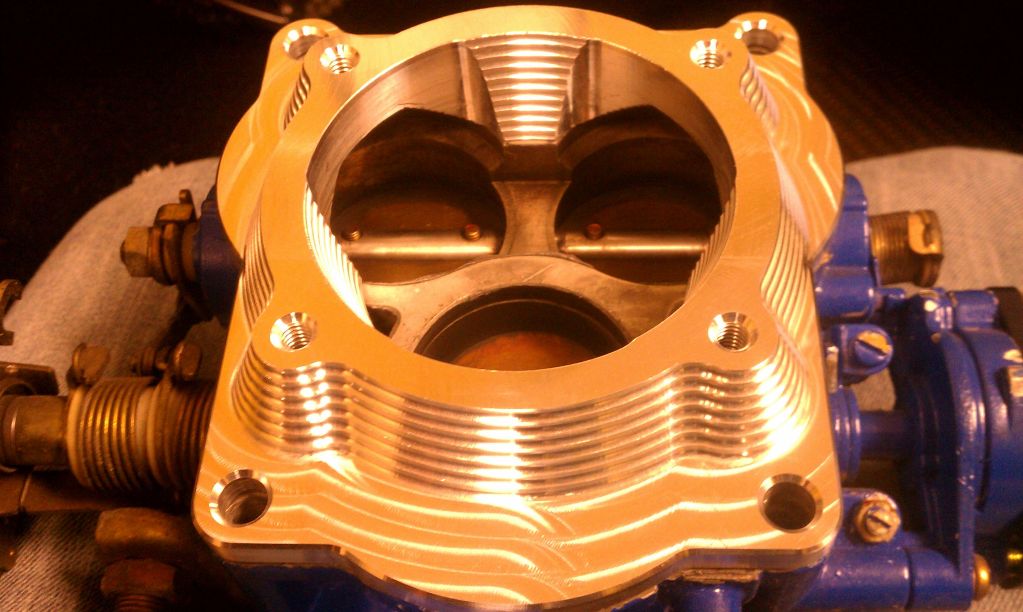
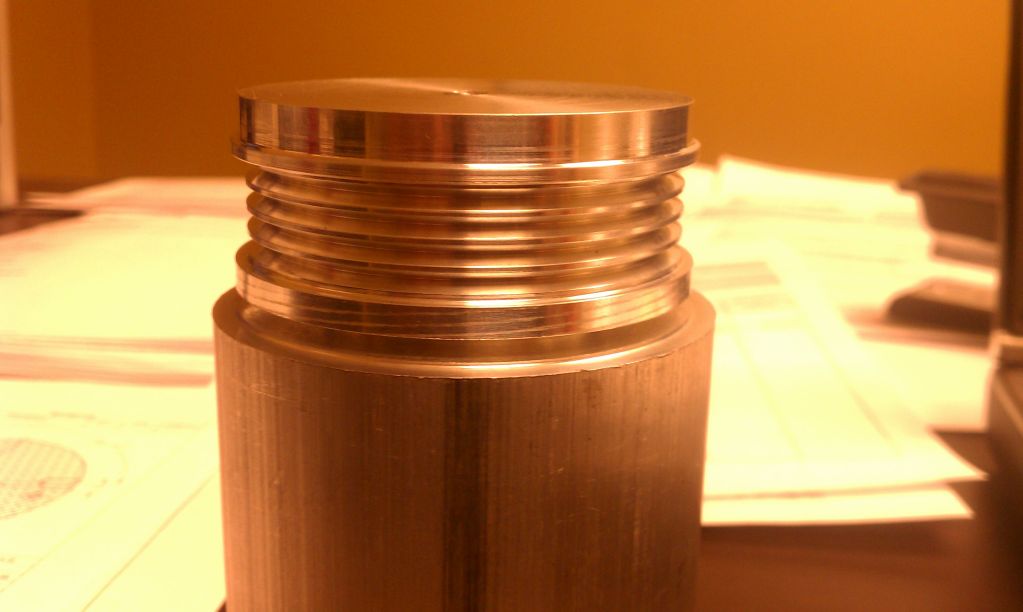
Hehe, thanks. I have ball end mills but used a corner radius end mill instead because I could use it to mill flat if I wanted to. It probably looks rough in the pics but the corner radius is 1/8 which blends the steps nicely when you run your finger through it... It just looks ribbed which I like
C
C
Thread Starter
Rotary Enthusiast
Joined: Oct 2007
Posts: 799
Likes: 3
From: Plymouth, MN


Thread Starter
Rotary Enthusiast
Joined: Oct 2007
Posts: 799
Likes: 3
From: Plymouth, MN
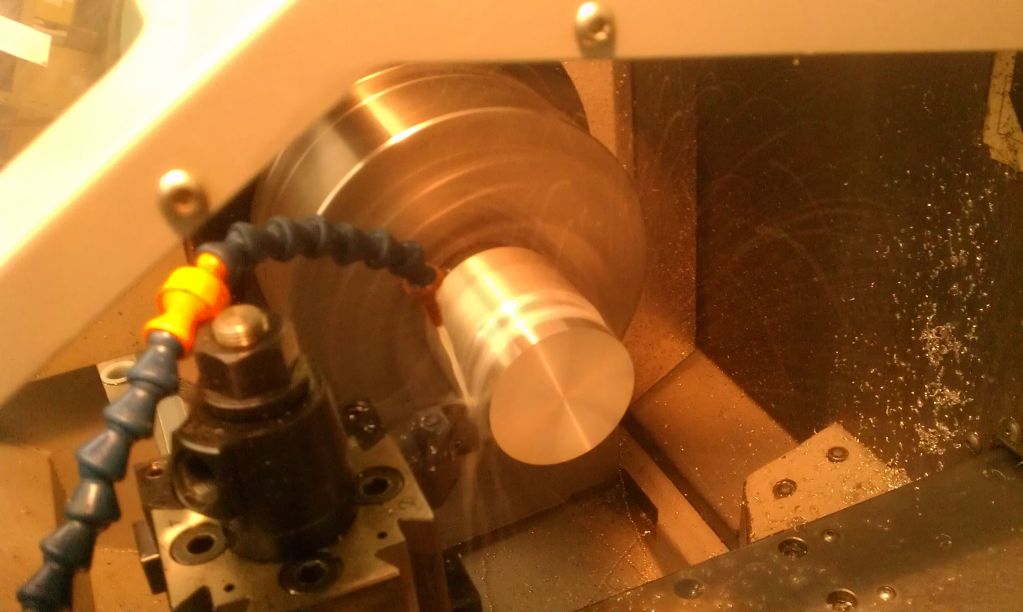
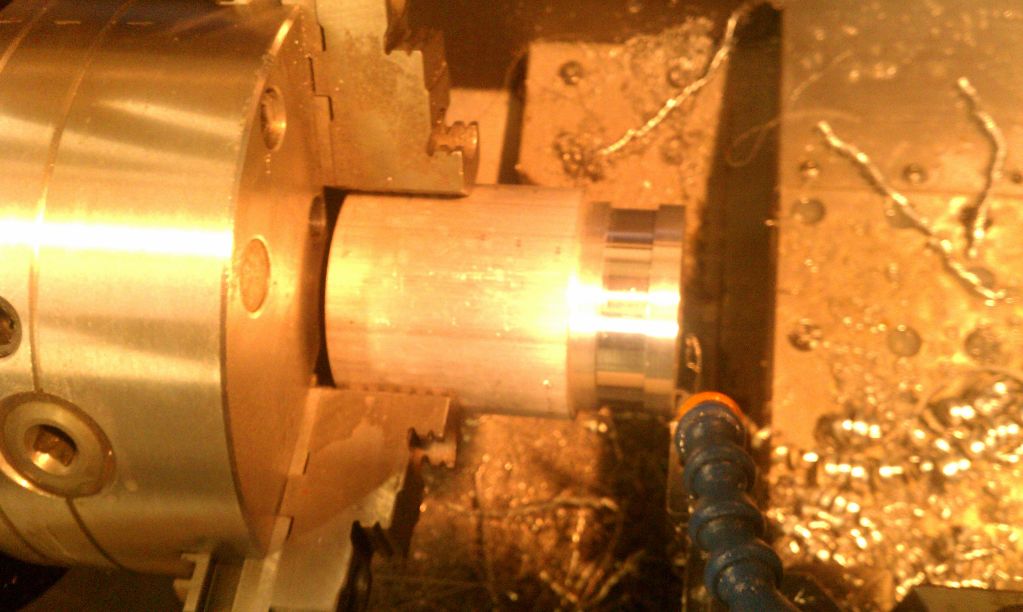
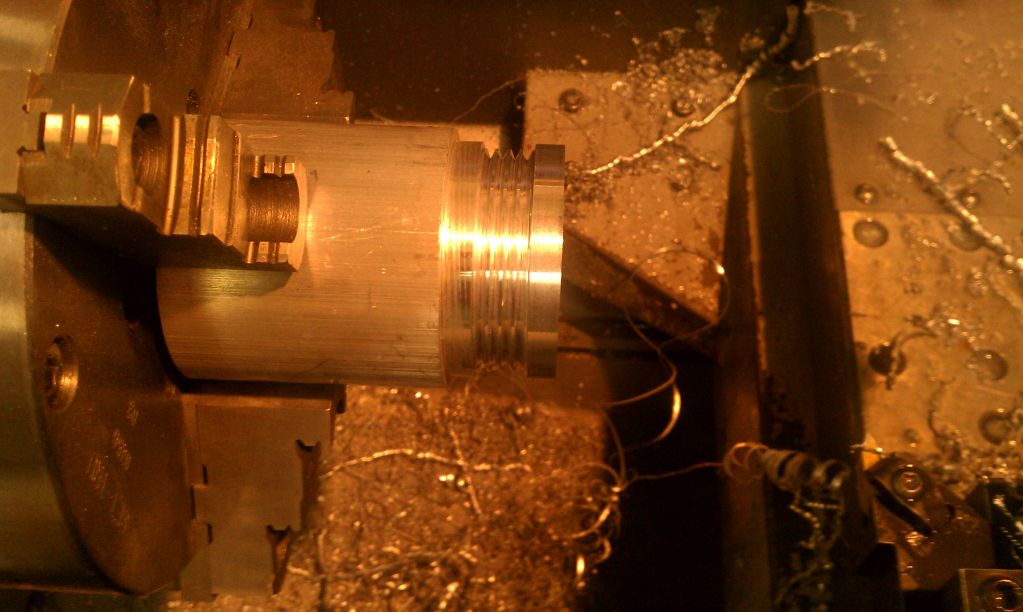
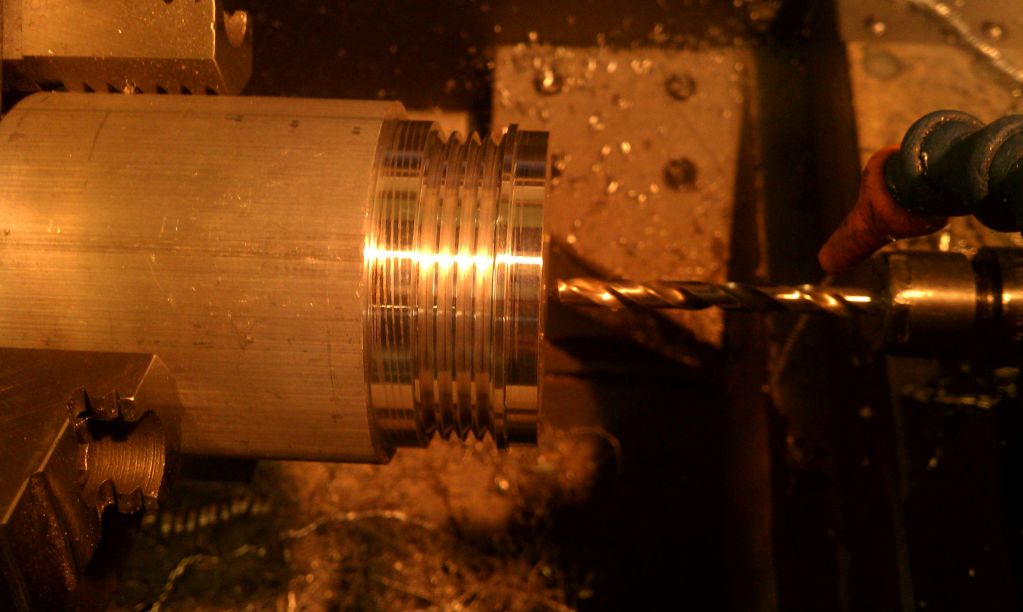
Put an hour or so into the Alternator pulley. I decided that I wanted to keep it in the stock location, from here, moving it forward is the only option. I settled on making an adapter bracket/spacer to move the Alternator fwd so it can be turned with the front crank pulley instead of the rear one as is stock. The only problem then would be that the front pulley is 19% bigger than the rear one which would mean the alternator would overspin so I started working on a 20% larger alternator pulley to slow it down to stock levels. Of course, while Im at it, I will mill a rotor shape into the front of it 
Cheers
Cheers
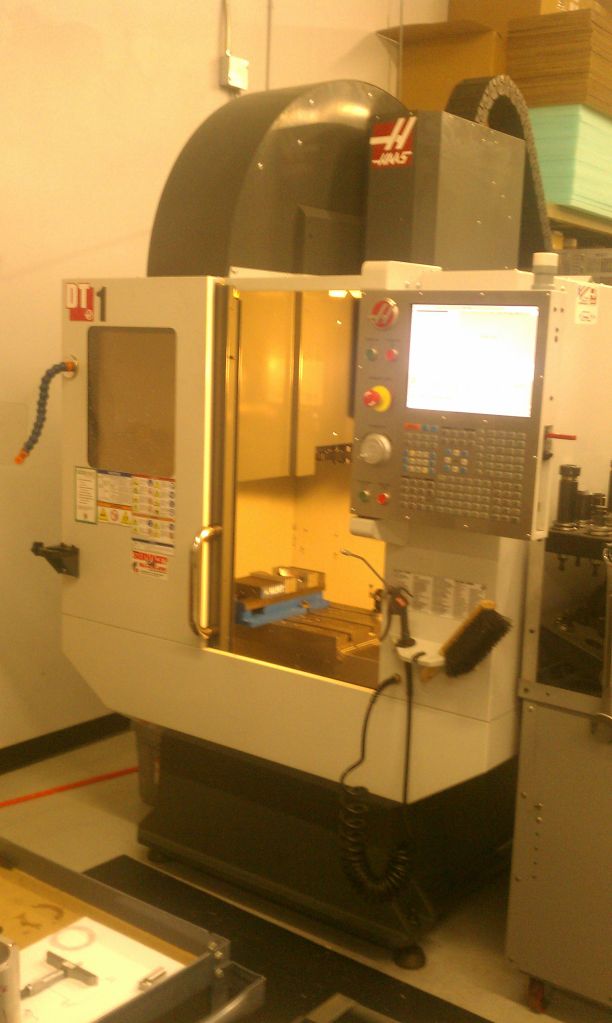
Ok...at first when I was reading this thread it was looking like the average guy's RX8 conversion...then you busted out the CAD and water-jet cutting machine (don't know the real name...lol) and now I'm feeling ummm....betrayed lol. It doesn't mean I'm not in awe of the work...because I am...and I can't wait to see how this turns out!

