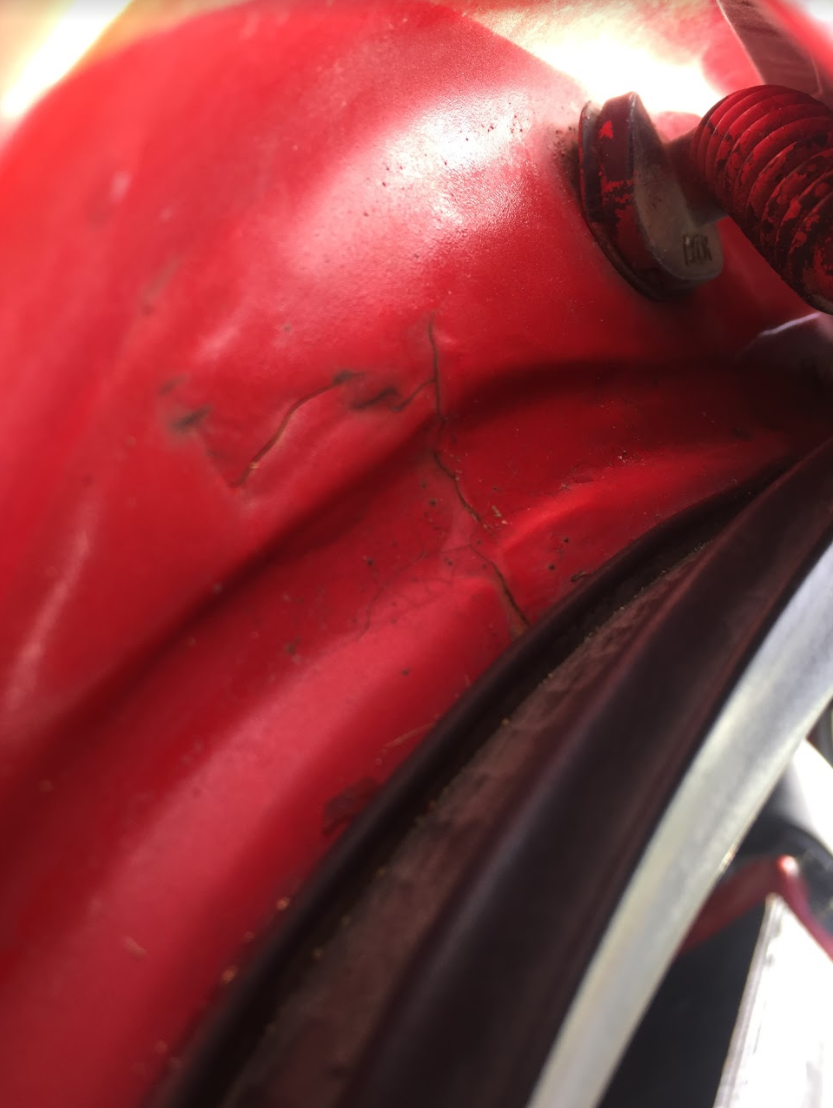
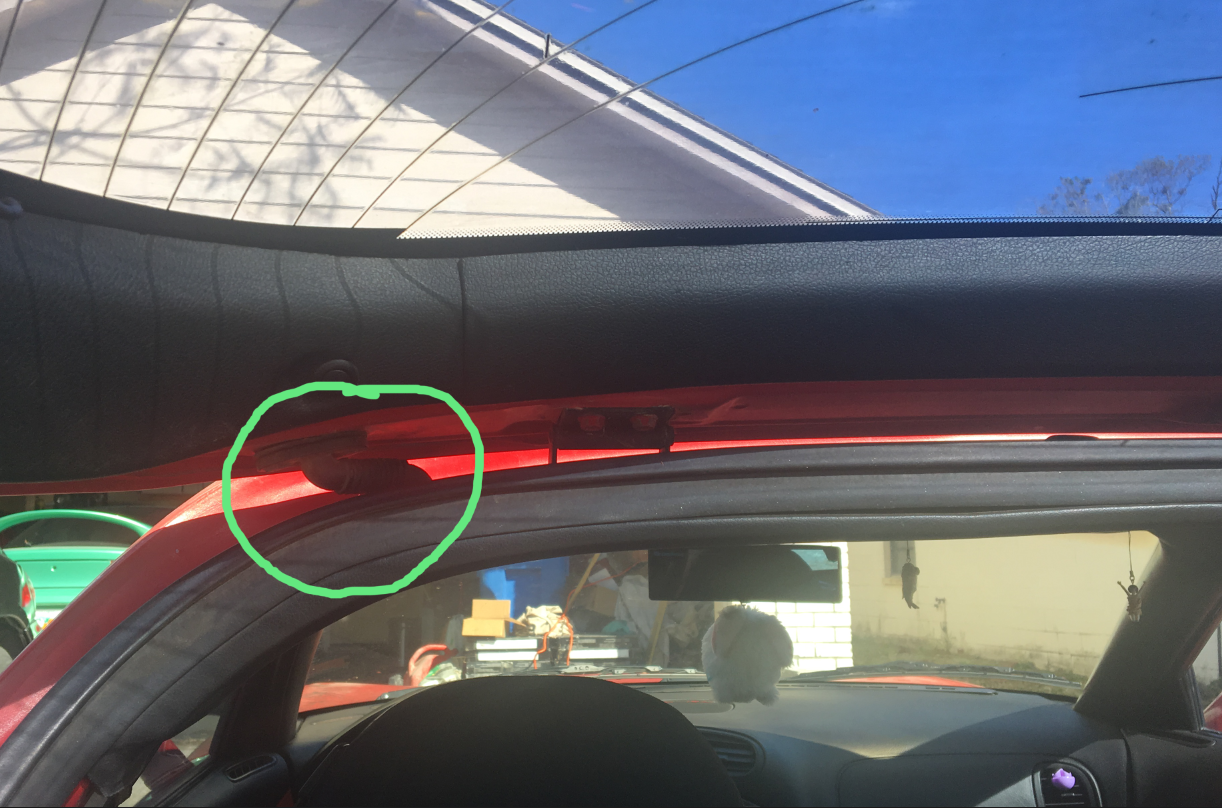
Identify this part?
#2
Full Member
iTrader: (14)
Send an email to Ray Crowe (crowe.ray@aol.com) and include that picture. He works in parts sales and owns 2 FD's, so he should be able to tell you whether or not he can get you a new one of those without the part name or number. In my experience, his prices are always a good amount lower than what the dealers want.
The following users liked this post:
Apari (01-29-18)
#4
Difficult to get orientation but I also see some rust along with what looks to be cracks in the sheet metal...from fatigue or collision damage? You might need to look for a good used hatch. As a temp fix some clear silicone before reinserting that rubber loom cover might help.
Trending Topics
#8
OK...When I first looked at the pictures I was on my cell. Looking at it on my laptop and going out and looking at my own car you may not have any cracks as I mentioned above. It's still hard to tell for sure, but it may just be cracks in the seam sealer used to seal the two halves of the hatch when they were mated at the factory. You might use a little skim-coat of that silicone over those cracks just incase.
Still, I still see some rust around the hole that the accordian grommet is suppose to be inserted into. Hopefully it's just surface rust. I'd probably use a scuff pad (available at most paint/hardware stores) to clean it up as best you can. Then maybe a cheap art brush to reach in and cover any bare metal with some self-etching primer and red touch-up. THEN try re-inserting the grommet. If you look closely at it, there is a thinner lip that needs to be pushed into the hole, leaving the wider rubber base outside. If you don't have the dedicated tool for this (and not many do) use an old toothbrush handle filed down to a DULL wedge shape and work your way around pushing that thin lip into the hole being careful not to tear or puncture the rubber. If you're really ambitious and patient, mask around the hatch and sill before using some brake parts cleaner to remove as much of the red overspray off the rubber accordian grommet.
THEN, if you haven't already, pull up the hatch carpet and check the spare tire well for moisture and/or rust. Likewise between the hatch floor and quarter panels. Dry them out completely if you find any evidence of water. It's leaks like yours that will rust a quarter or that spare tire well out in short order.
Last edited by Sgtblue; 01-31-18 at 03:57 PM.
Thread
Thread Starter
Forum
Replies
Last Post
ROSHX7
2nd Generation Specific (1986-1992)
2
11-08-01 06:47 AM


