When you click on links to various merchants on this site and make a purchase, this can result in this site earning a commission. Affiliate programs and affiliations include, but are not limited to, the eBay Partner Network.
I've tried looking around for this and can't seem to find anything. I even watched a video but he didn't explain it fully because he never mentioned there being a c-clip on the clutch pedal that needed removing, nor did he show that there was a c-clip. Only showed himself removing the two nuts, then he goes on to say you can just pull the MC out..yea no. I finally got the c-clip out, but still cant pull out the MC even with all my force, but I found other places saying it would come out if you used all your force? Am I needing to remove something else that I cant see?
I recently replaced both the clutch master and brake master on a car (79) and I'm thinking you are referring to the C-clip on the pin that connects the push rod to the pedal arm. This push rod does not need to come off to remove the clutch master from the fire wall. Only two nuts attach the master itself to the fire wall. I've had some before which were stuck to the fire wall by a gooey tar like sealant applied to the base of the master cylinder. I wonder if that is what you are fighting?
Just the 2 nuts at the base of the master (from the inside) and the hard line in the engine bay need to come off. The push rod from the pedal arm just slides into a blind hole in the backside of the master cylinder piston. The tricky part can be getting the rod lined up, to go back into the hole during installation. Sometimes it helps to have another person push the master in while you hole the rod in position from under the dash and start the nuts.
On a related note, if you do remove the C-clip from that straight pin, the pin still won't come out from the pedal arm and clevis. They put a small straight knurl on part of the OD of the pin. It's actually a light press fit into the clevis and you need to use a small pin punch to actually remove the pin, after the C-clip is removed. They only use a cotter pin on the brake arm push rod, but the clutch arm gets a double dose of retention for some reason, to insure it doesn't come apart.
A pic of the clutch master I recently removed. Shows the two mounting studs and nuts on the inside along with the blind hole in the piston, where the push rod goes in. As a bonus, the C-clip is there to. I turned down the straight knurl on the clevis pin, drilled a hole in the other end and re assembled it with a hitch pin. No need for the C-clip anymore, its going into my spare parts collection.
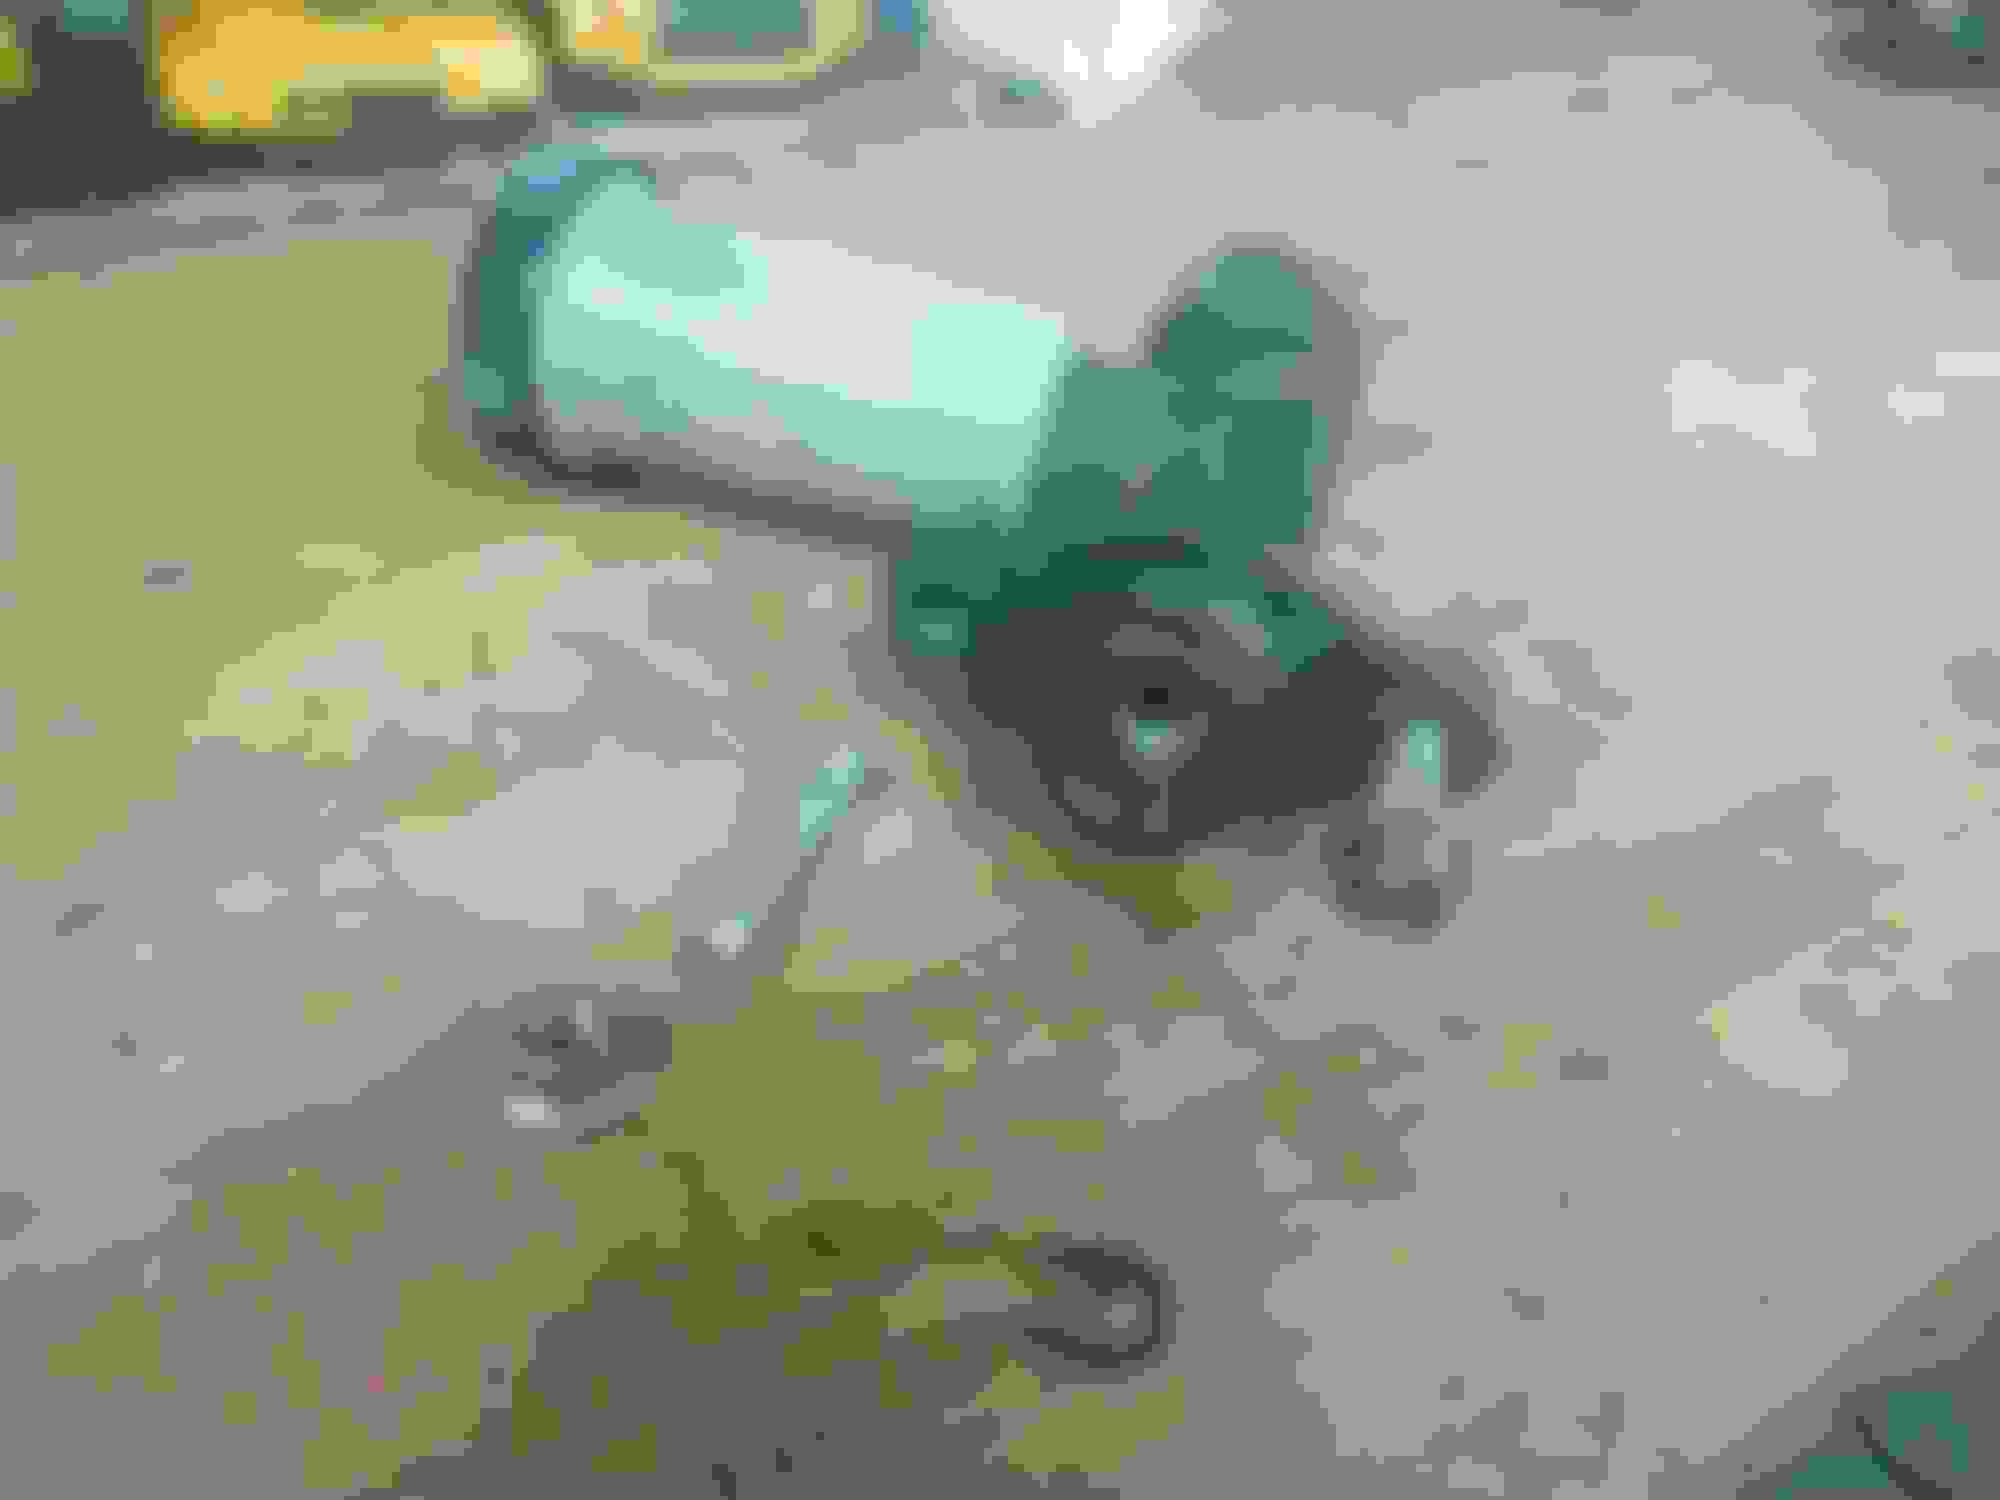
This helps a lot, except I don't own a pin punch. My dad was able to get the brake pin out just fine, but the clutch I just don't see how the clevis pin comes out. Here are some pics.
The whole point in trying to remove the assembly is to get to the rust and take care of it. For whatever reason one of the drainage tubes on the driver side was pointed towards the interior, so the driver's side got the brunt of it all. Then there's just rust underneath the sound deadening on the firewall �\_(ツ)_/�.
This is the pin that has the slight press fit to the clevis. Soak it with some break free or WD-40 and tap on it with a hammer to drive it out. That is where the pin punch or similar helps. This is where you removed the C-clip from correct? The pin on the brake arm / clevis is not a press fit, just held in by a cotter pin.
Yea I saw the hole for the cotter pin on the brake's arm.
The area you pointed to is exactly where I got the c-clip off, do you think pb blaster would work? I might have some wd40 somewhere but I'm not sure, ill have to check tmrw
Yes, PB Blaster is good stuff. I mainly recommend lubing it up due to the amount of corrosion present. As I mentioned, the outside of the pin itself, up by the head, has a straight knurl (like a shallow spline) that creates an interference fit with the hole in the clevis. That, along with the rust has it stuck in there. If you don't have a small punch, you can still use a hammer to get it started, then get a screw driver or needle nose pliers behind the head on the other side and pry on it too.