
FC EGI Project


Thread Starter
Senior Member
Joined: Feb 2007
Posts: 368
Likes: 0
From: Surrey, England
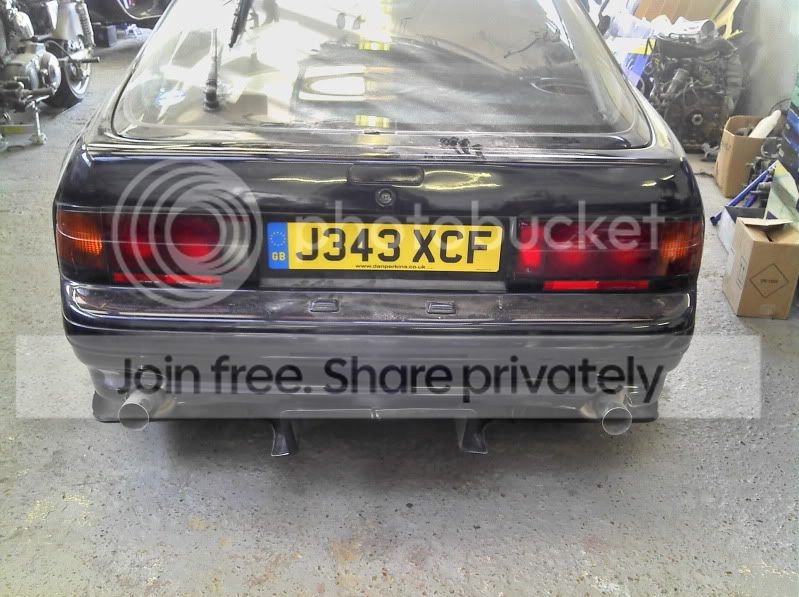
Small bit of playing, took the rear diffuser off the FD and am making that fit the this instead as i will be making a complete new areo package for the FD from scatch... anyway bit more fitting up and trimming to do but its on there
Thread Starter
Senior Member
Joined: Feb 2007
Posts: 368
Likes: 0
From: Surrey, England
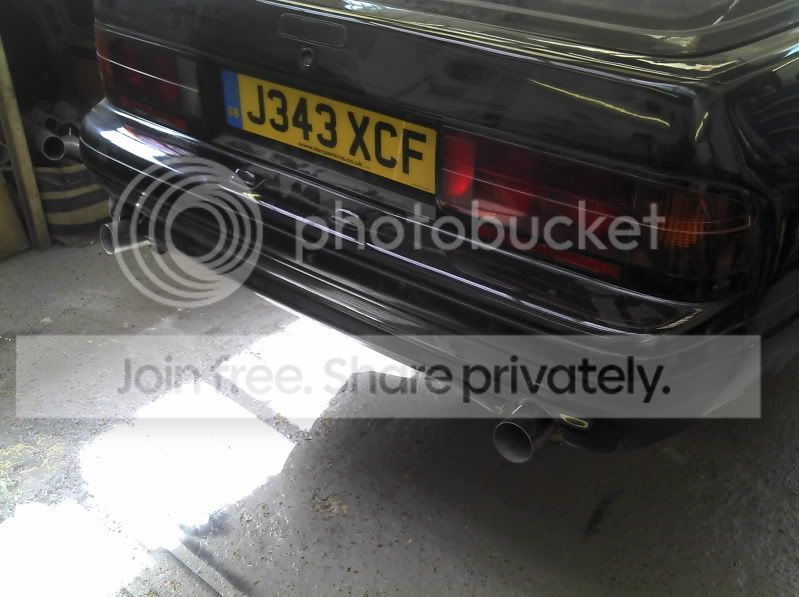
I have however had to modify the exhaust to have half a chance of getting this thing on the roads!!!
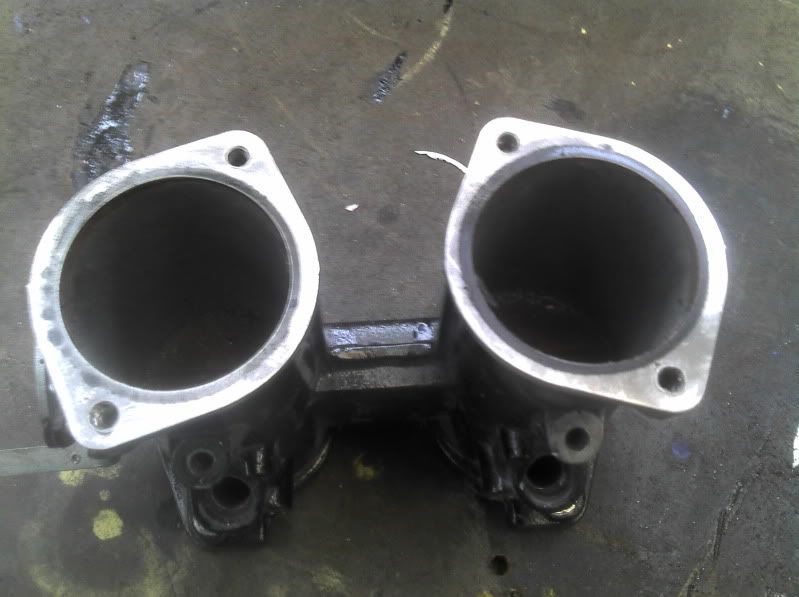
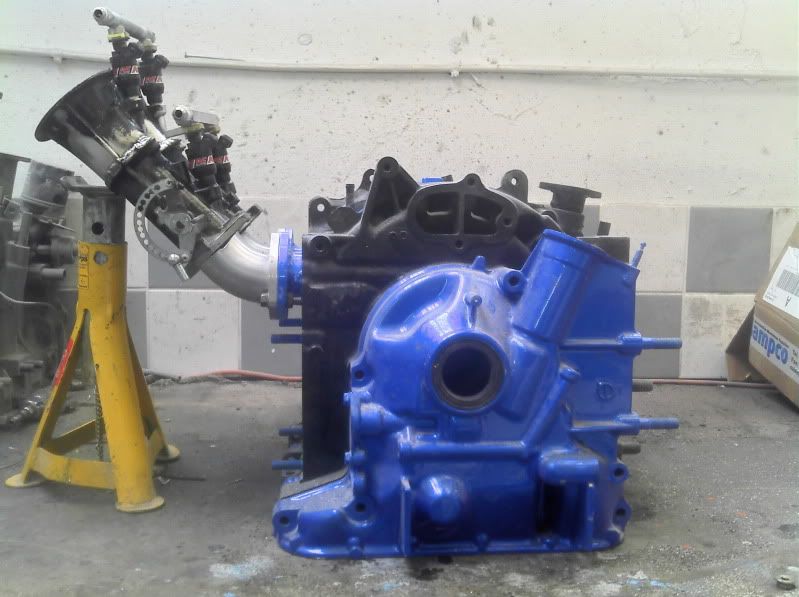
Heres a couple of the manifold (just because its off the car!)
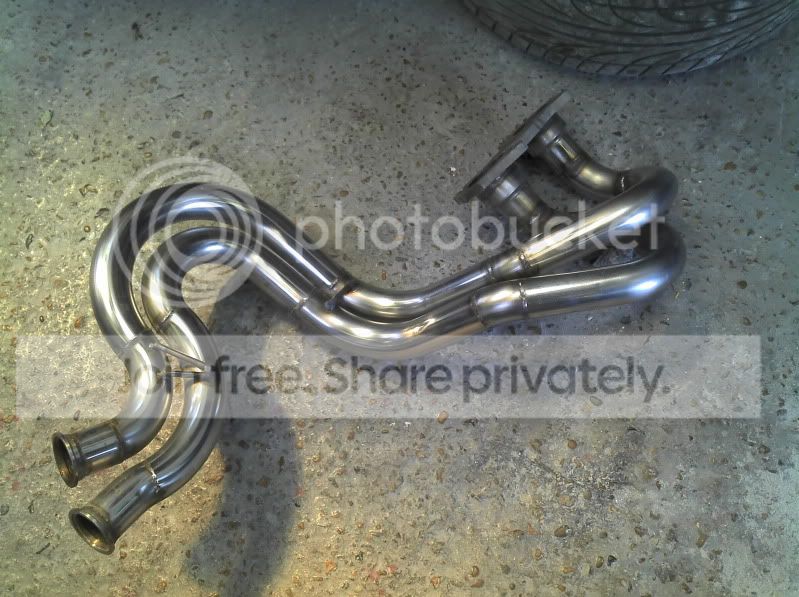
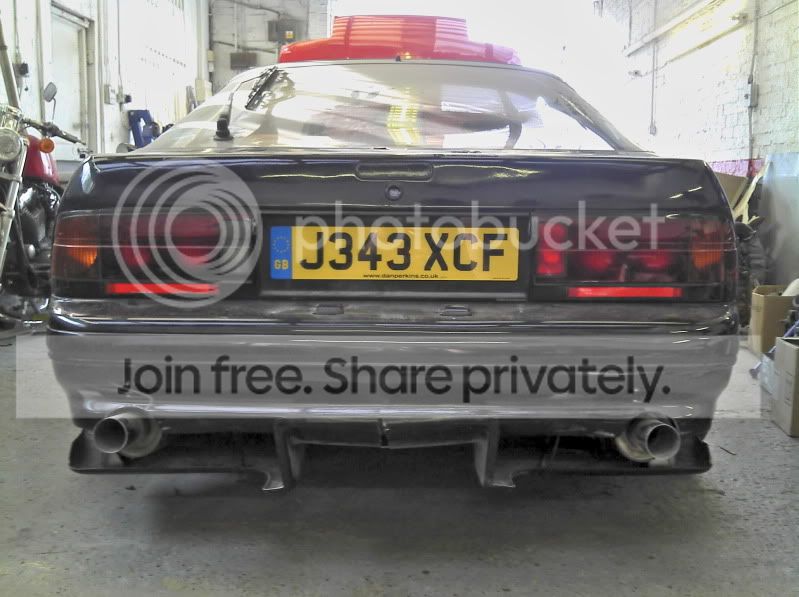
Now the current set up is 2" primaries on the manifold and centre section, that then joined to a 3" rear section. Now we're 2" primaries maniolfd and cente section with the sam 2 centre silencers but now into dual 2.5" at the rear with 2 futher silncers... fingers crossed on the noise front!

Heres a couple of the manifold (just because its off the car!)
Now the current set up is 2" primaries on the manifold and centre section, that then joined to a 3" rear section. Now we're 2" primaries maniolfd and cente section with the sam 2 centre silencers but now into dual 2.5" at the rear with 2 futher silncers... fingers crossed on the noise front!

Thread Starter
Senior Member
Joined: Feb 2007
Posts: 368
Likes: 0
From: Surrey, England
Got a few more bits done a few more items checked off the list of things left to do. Starter motor back on, Sytec fuel filter now in, pump in, Pressure reg on, New throttle linkage on. Changed the trumpets on the inlet out for longer ones. The pain in the *** is the don't do the size / lengh in the items i need so a little cut and shut is needed as i had to do last time!
... slowly slowly catchy monkey.
The Cut

Tacked up in place.

The pressure reg, Just waitng on fuel lines and fittings which i should have tomorrow

The linkage

Painted trumpets and all fitted ready for duty.

... slowly slowly catchy monkey.
The Cut
Tacked up in place.
The pressure reg, Just waitng on fuel lines and fittings which i should have tomorrow
The linkage
Painted trumpets and all fitted ready for duty.
HMMMMmm!!!
Joined: Jun 2008
Posts: 149
Likes: 0
From: New York
It would have been more benificial to face the inlet of the itb scoop towards the windshield to allow it to actulally function as a cowl induction setup by forcing the turbulant air off the windshield to the intake.
Thread Starter
Senior Member
Joined: Feb 2007
Posts: 368
Likes: 0
From: Surrey, England
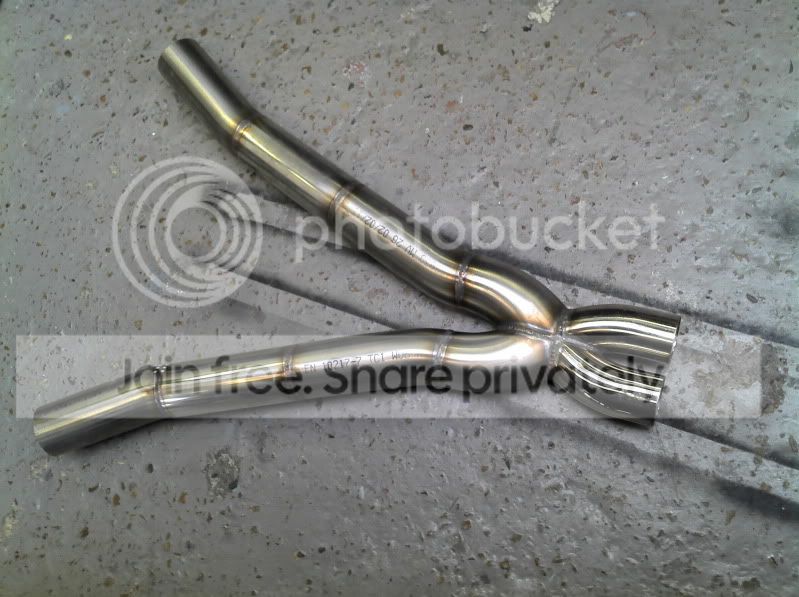
New rear section for the car. The dual 2.5" system was too big and ment for shody responce. Just finished fabbing up the new single exit muffler. which now goes from dual 2" long primary manifold into 2.5" collector then its coned up to 3" for the rear section. Job done. Looks way more aggressive too so just waht i wanted really.


Thread Starter
Senior Member
Joined: Feb 2007
Posts: 368
Likes: 0
From: Surrey, England
All of this so far it ply. Easiest medium to mock this kind of thing up in before doing it in ally.
Wing mounts placed either side of the number plate:
All the peices fitted together with the wing balanced on top:
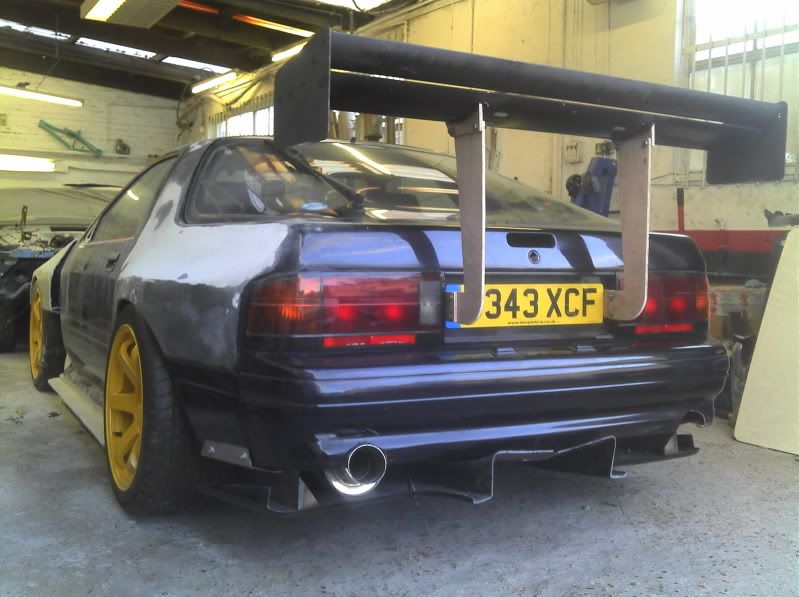
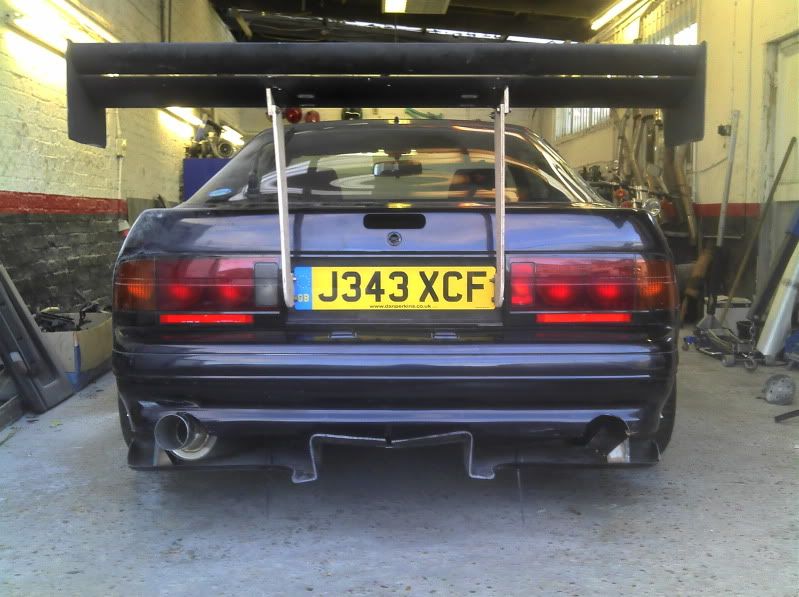
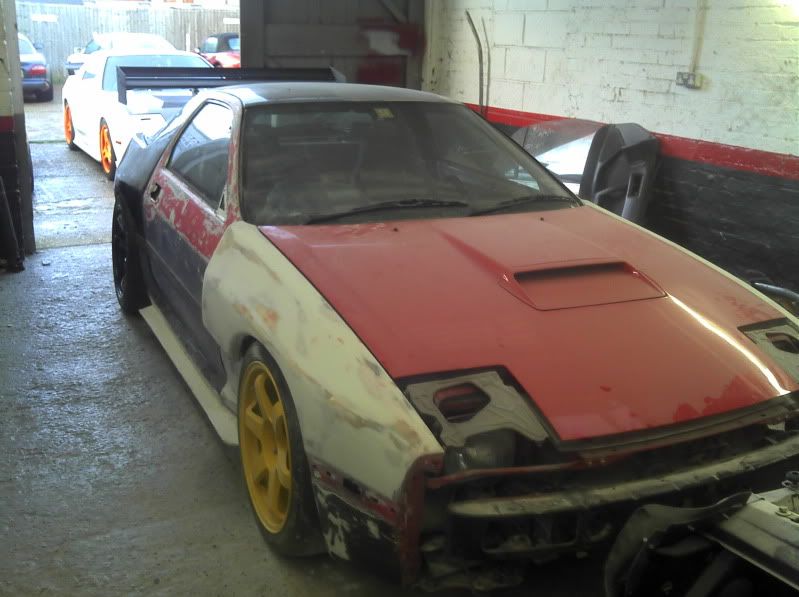
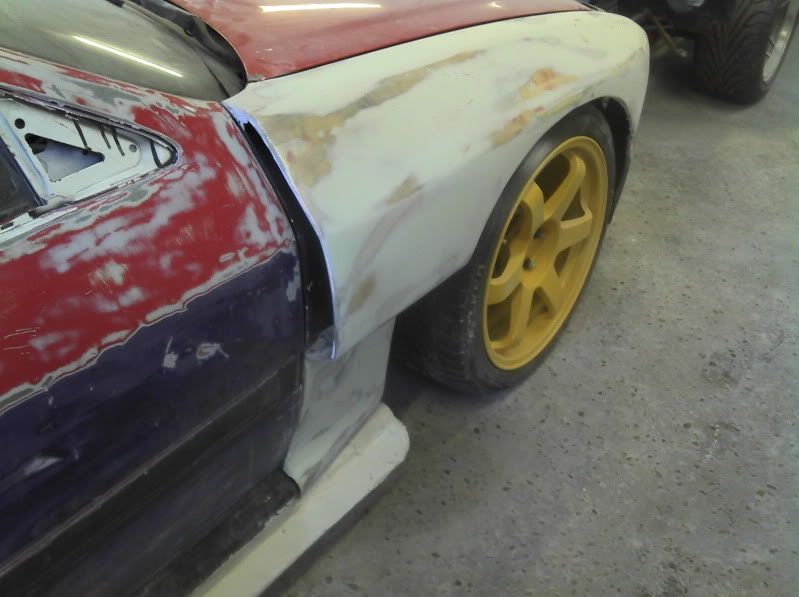
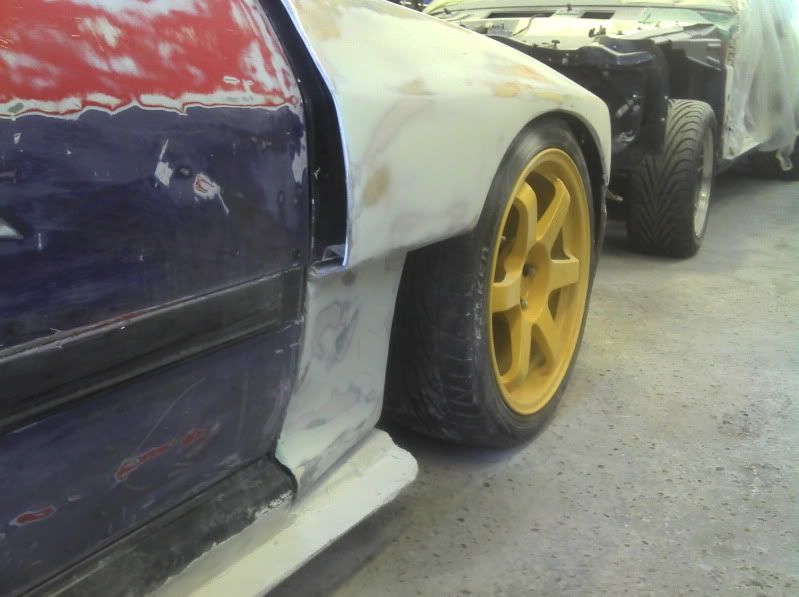
Just a few other s of the body and skirts as they have progessed. Front arches are now 100% ready for paint. Skirts still a way off yet. Not 100% on the diffuser yet. May make my own to flow with the rest of the car better.
Wing mounts placed either side of the number plate:
All the peices fitted together with the wing balanced on top:
Just a few other s of the body and skirts as they have progessed. Front arches are now 100% ready for paint. Skirts still a way off yet. Not 100% on the diffuser yet. May make my own to flow with the rest of the car better.

Senior Member
Joined: Jun 2008
Posts: 424
Likes: 0
From: Summerfield,FL
this has been one hell of a crazy build. can't wait to see power numbers and hear the engine run. i want a pp sooooo badly but everyone keeps saying it won't be fun to drive on the streets so a bp is where im heading.......until someone changes my mind 
Thread Starter
Senior Member
Joined: Feb 2007
Posts: 368
Likes: 0
From: Surrey, England
RIghty final push to get the beast finished.
The motor has been taken out so i can re-paint the engine bay to properly match the rest of the body. Lets face it with such an empty engine bay its hardly a chor! The wing brackets are off with my CNC guy beong made front ally so i buy buy plywood
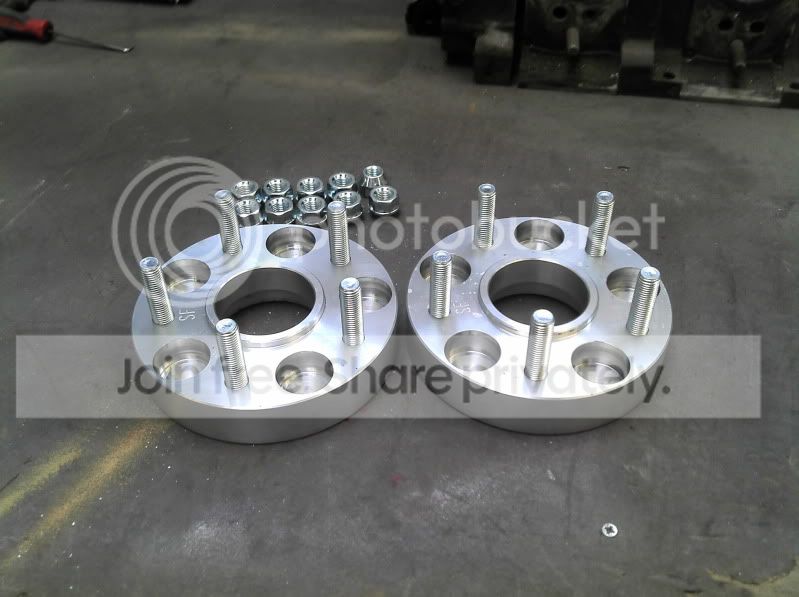
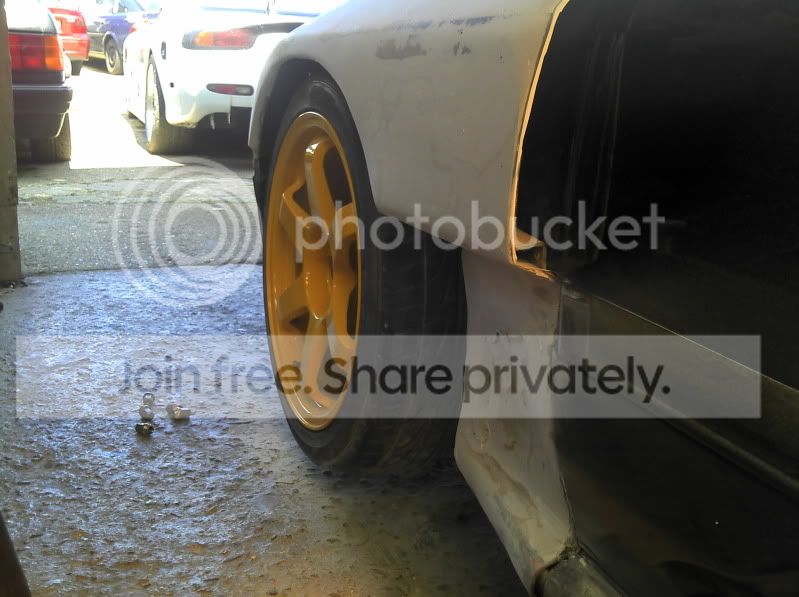
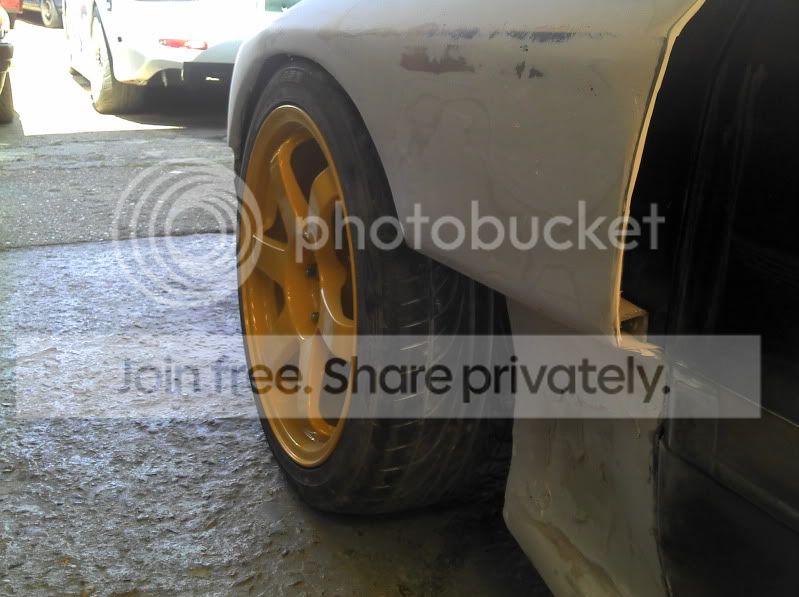
With the new paint scheme and more aggresive body design i have decided to use my Mazdaspeed MS-01's. Granted their not as wide or large as the ROTA Grids but they suite the car awsomely (if thats a word?). With the centres pulled out dipped and stripped time for a quick selfish hogging of the booth job done. Will need to get some more rim bolts. Sods law that Rays Engineering use a M7 (as do BBS) instead of the more widely used M6 bolts but hey ho.
Rims need doing aswell. Not sure weather to polish them or just clean them up and keep the dimond cut look?
Striped and primered

Custom Mica Blue

Test fit back in the rim.

The motor has been taken out so i can re-paint the engine bay to properly match the rest of the body. Lets face it with such an empty engine bay its hardly a chor! The wing brackets are off with my CNC guy beong made front ally so i buy buy plywood
With the new paint scheme and more aggresive body design i have decided to use my Mazdaspeed MS-01's. Granted their not as wide or large as the ROTA Grids but they suite the car awsomely (if thats a word?). With the centres pulled out dipped and stripped time for a quick selfish hogging of the booth job done. Will need to get some more rim bolts. Sods law that Rays Engineering use a M7 (as do BBS) instead of the more widely used M6 bolts but hey ho.
Rims need doing aswell. Not sure weather to polish them or just clean them up and keep the dimond cut look?
Striped and primered
Custom Mica Blue
Test fit back in the rim.

Thread Starter
Senior Member
Joined: Feb 2007
Posts: 368
Likes: 0
From: Surrey, England
Yeah i think the MS wheels look great. I'll keep you in mind if i need to get rid.
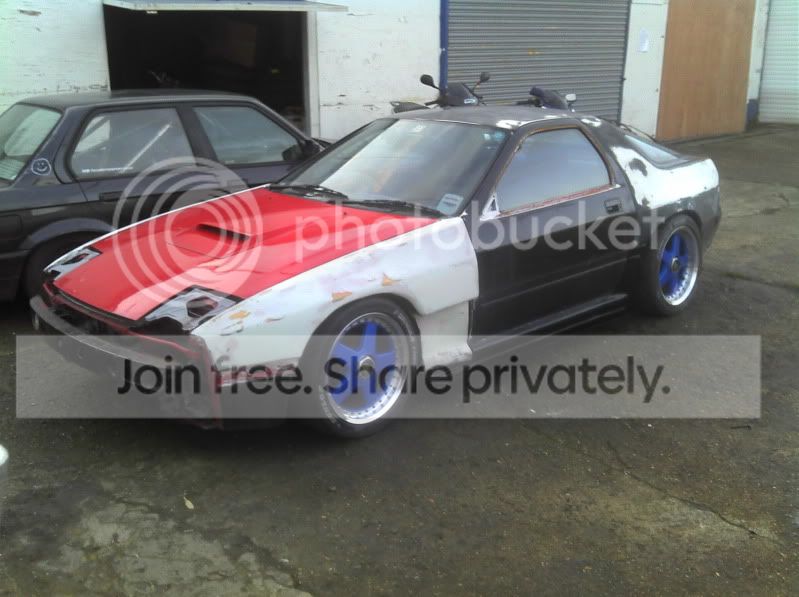
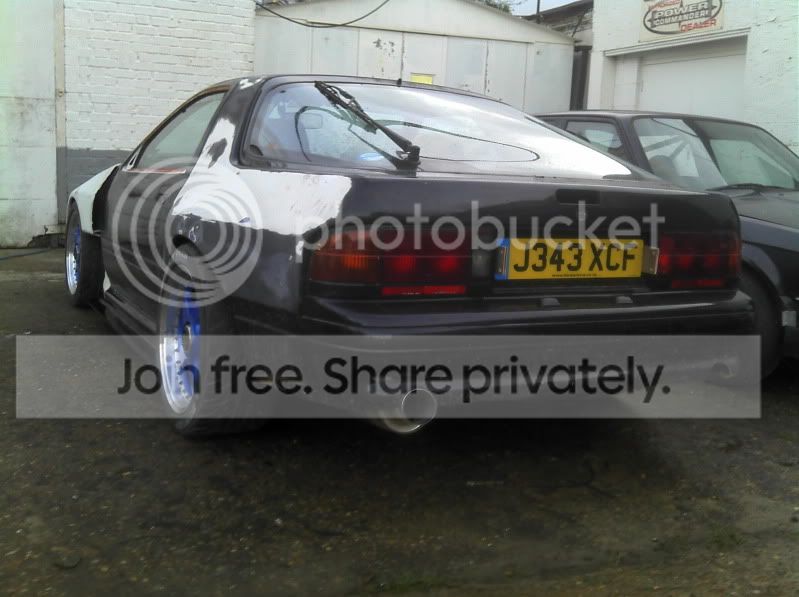
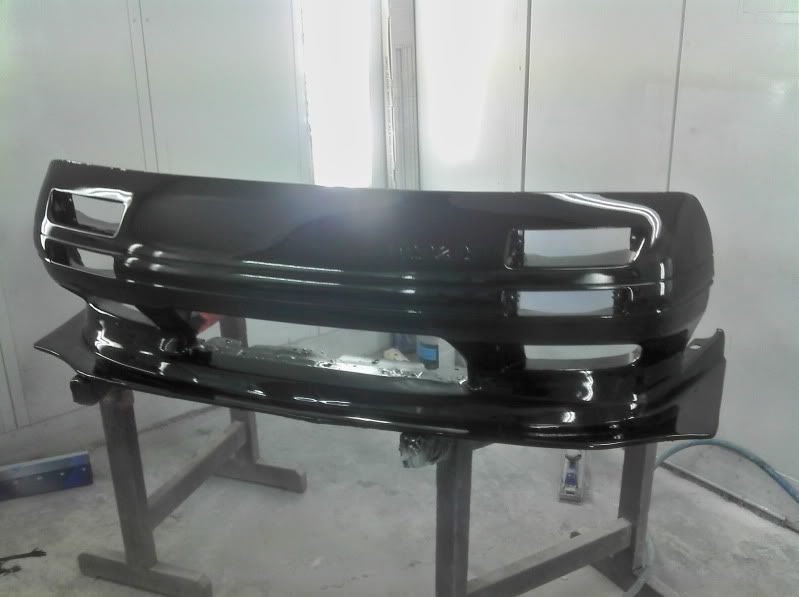
V2 of the front bumper from the eariler design. Pretty similar but a touch better.

The bumper in black shows a little more of the shape around the bottom lip.
V2 of the front bumper from the eariler design. Pretty similar but a touch better.
The bumper in black shows a little more of the shape around the bottom lip.


More Exhaust Suggestions !!!
Hello from across the pond!
Man this is one badass build!!! Your building one of my dream cars from back in the day. But in my dreams it was a daily driver that I would drive to work everyday and not worry about exhaust violations
Anywho, it seems like your getting a bunch of info & suggestions from different sources in regards to your exhaust so I thought id pitch in some info directly from the big guys... The Mazda factory race team, The Jim Downing/Atlanta IMSA Race Teams & Racing Beat...
Back in the day I bought a copy of "How to Modify Your RX7" by Dave Emanuel & Jim Downing and Racing Beats original Technical Manual/Catalog (the one for the early rotaries & 1st Gen RX7) and it made me completely change what I had been doing to my cars. Sure enough as I went from the "bigger is better attitude" to giving proper consideration to tuned intake lengths, port shape/timing and tuned exhaust lengths I started seeing results. Everything those 2 books said would happen, exactly happened to my cars. Unfortunately I was heavy into street racing and freeway flying back in those days so thats where I verified all my changes. Those days are long gone thankfully but ever since then ive based all my mods on those principals. "Peak" HP numbers are cool, but whats the point if the power band sucks??? A drag tune is gonna be different than a road race tune optimized for a longer track which will also differ from a tune for a tight solo/auto x course.
FWIW, on a road race situation, this is what those guys were doing/recommend on a P-Port.
1-7/8" header tubing
89"-94" primary tube length
Minimum 2-1/8" to 2-3/8" collector size
*On the other side of the collector is either a Race Muffler or Megaphone (dont think youd slap an unmuffled megaphone on there but to each their own!)
Megaphone inlet: Whatever you decide on collector size
Megaphone Length: 10"-14"
Megaphone diameter @ outlet: 4"
Race Muffler: basically a non baffled/chambered straight-through muffler (like the ones you already have so I think your covered there)
*Another note: They say you can shorten up the primary tube length if you up-size your piping but dont give any specifics
So, basically everything revolves around the timing and shape you used for your P-Ports (round, d-shaped, rectangular, etc). However you did it, theyre gonna be most efficient in a certain rpm range.
Based on that, you can work with the figures above to make your primary header lengths & collector/tubing sizes. from there you attach your muffler setup.
I suggest building a flanged 1-7/8 "road race" header with a flanged collector/megaphone so you can start short and add length til you hit the sweet spot. On the megaphone, id cut it off at a 3" outlet so you can at least run some 3" piping and a muffler to the back of the car.
From there, comes intake length. Since your limited to the amount of space under the hood, the general approach is to start long (with spacers) and shorten it until you get what you want.
You do kick-*** fab work and I know you have a lot of time tied up into what you have now but I wanted to present this info to you because it comes from people that spent the money and did the R&D which paid off in championships. Hope this helps and good luck with your ride!!!
ps
glad you painted that thing black!!!
Thread Starter
Senior Member
Joined: Feb 2007
Posts: 368
Likes: 0
From: Surrey, England
Yeah it is a very popular thread the exhaust one. Whats funny is i firsted posted that up in 2008!!! still going!
Cheers for the info from the book.
Currenlty i have 2" OD and 94" long primaries collecting into a 2.5" merge. Then coned (over about 9") up to 3" system at the rear. I one silencer on each primary and then the larger muffler at the rear.
On the intake side i have 2 varients of the inlet that i will use when we get to the dyno. One long one short. Once both that been tested on the car i will then use those 2 base line to start tweeking.
Not had a second to spare to do any further work on this at all. I'll get some pics up of the shorter intake. Properly short almost bolted straight to the block!
Oh and it not black any more! and the 18" Rota's are back on it!!! round and round we go
wow, looks like you got things sorted out pretty good! Glad to see this car is still alive and coming along. STOP WITH THE COSMETICS AND START TEARING IT UP ALREADY !!! 
good luck and dont forget to keep posting progress pics of this bad boy!!!
good luck and dont forget to keep posting progress pics of this bad boy!!!
Thread Starter
Senior Member
Joined: Feb 2007
Posts: 368
Likes: 0
From: Surrey, England
Cheers, there is always some drivability to be found tuning the exhaust and intakes. We'll see how thart develops over time.
Lack of updates is due to lack of progress due to lack of time! So busy with work stuff and customer cars just not got back on this.
Lack of updates is due to lack of progress due to lack of time! So busy with work stuff and customer cars just not got back on this.
Thread Starter
Senior Member
Joined: Feb 2007
Posts: 368
Likes: 0
From: Surrey, England
Had a little play with the intake. Waiting on a new flange to turn up to finish it off but very obviuos the difference! I wanted to make the inlet shorter to match the exhaust set up.
Prior length - 410mm About 16"
new length - 250mm about 9"
Shortening variuos bits led to some matching up issues that would have caused sets in the throttle bodies and pipes. so this happened:
Chopped air horns
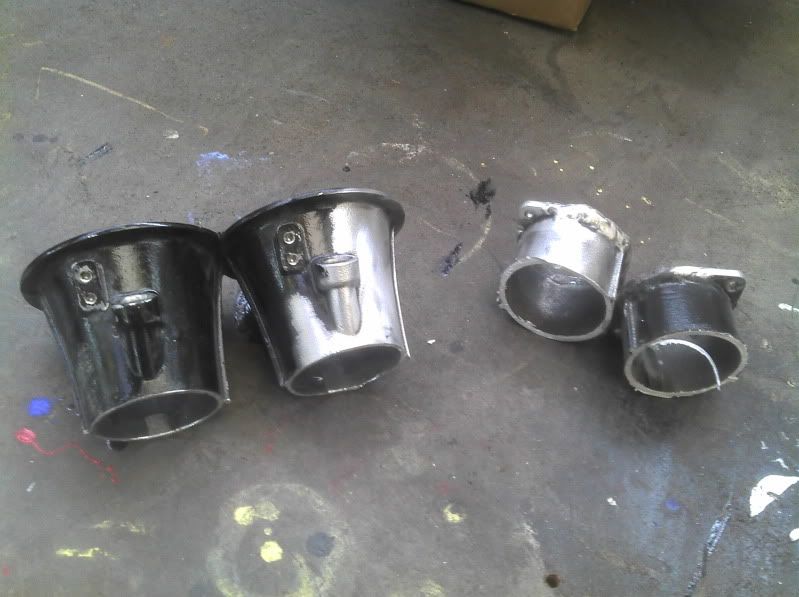
With the tapper and the cut is let a far larger exit on the air horn so there would have been a step on the way in. Not good for the air/fuel flow so marked it all up and honed it out so the from the tip of the air horn down to the butterfly's in the throttle body is a nice grandual tapper. Nice and smooth.
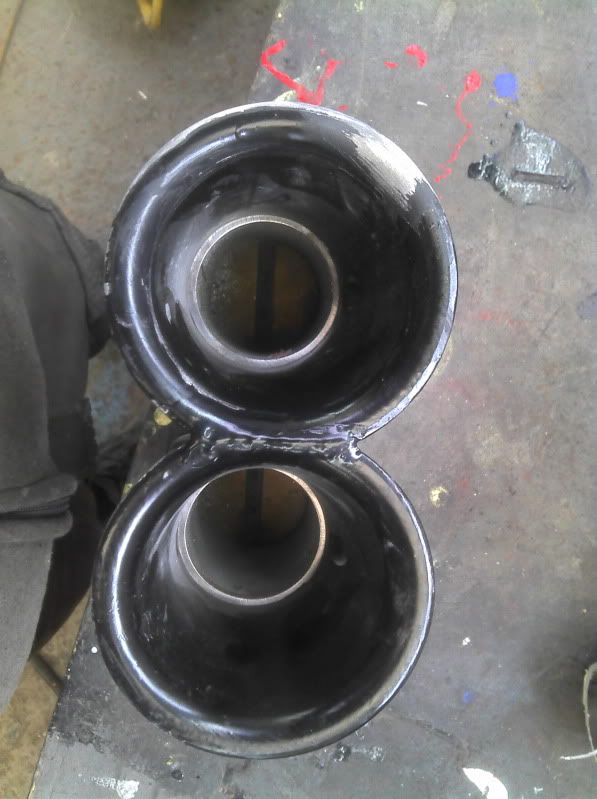
The step
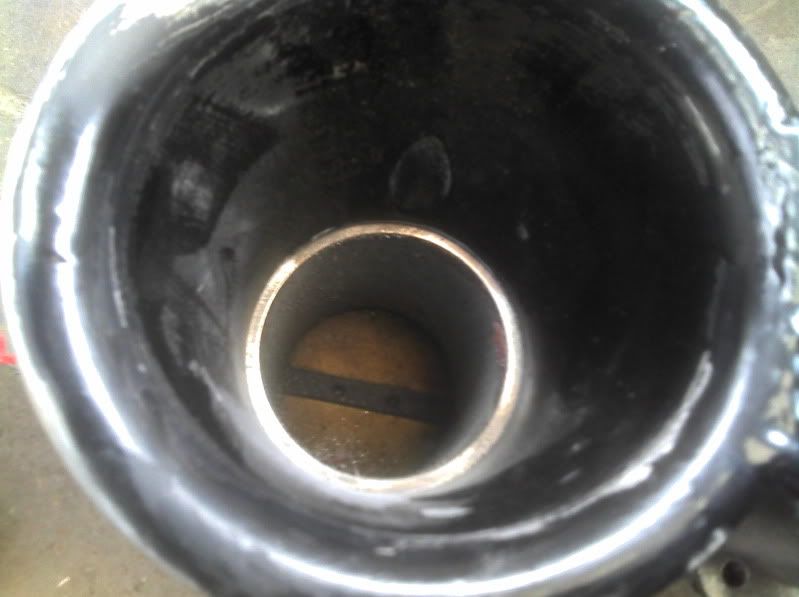
You can see the difference in the black rings
Honed
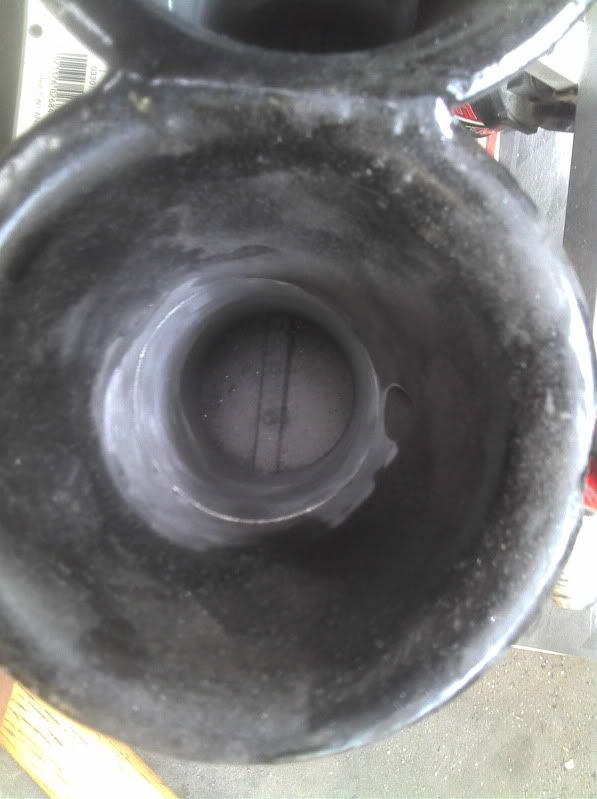
The bodies in new location with the inlet tubes cut too. The top pic is the old and the bottom is the new
BEFORE :

AFTER :

Prior length - 410mm About 16"
new length - 250mm about 9"
Shortening variuos bits led to some matching up issues that would have caused sets in the throttle bodies and pipes. so this happened:
Chopped air horns
With the tapper and the cut is let a far larger exit on the air horn so there would have been a step on the way in. Not good for the air/fuel flow so marked it all up and honed it out so the from the tip of the air horn down to the butterfly's in the throttle body is a nice grandual tapper. Nice and smooth.
The step
You can see the difference in the black rings
Honed
The bodies in new location with the inlet tubes cut too. The top pic is the old and the bottom is the new
BEFORE :
AFTER :