
13b PP miata drift car build

Thread Starter
Full Member
Joined: Feb 2013
Posts: 116
Likes: 0
From: France
13b PP miata drift car build [PIC HEAVY]
Hi all,
Thought i would take the time to show you guys how it's done in France
Bought this miata a year ago because i didn't want to crash my well taken care of '93 FD. Plus, the twins don't like redlining all day long, i learnt it the hard way.
It is a copy/paste from a UK mx5 forum for the few first steps so don't mind the rotary noob explanations.
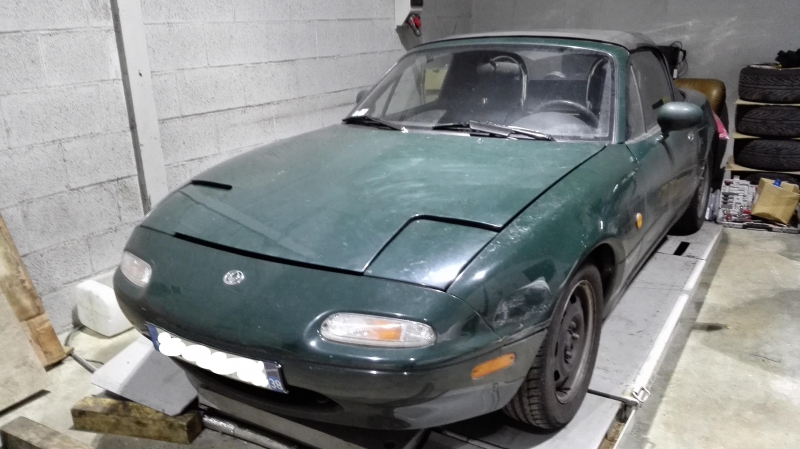
I bought this '96 1.6 mx5 few months ago with 115k mi on the clock. The body is dented everywhere but there is no rust anywhere in the car. Engine ran perfectly once i replaced the cracked oem radiator with an aluminium one.
*
*
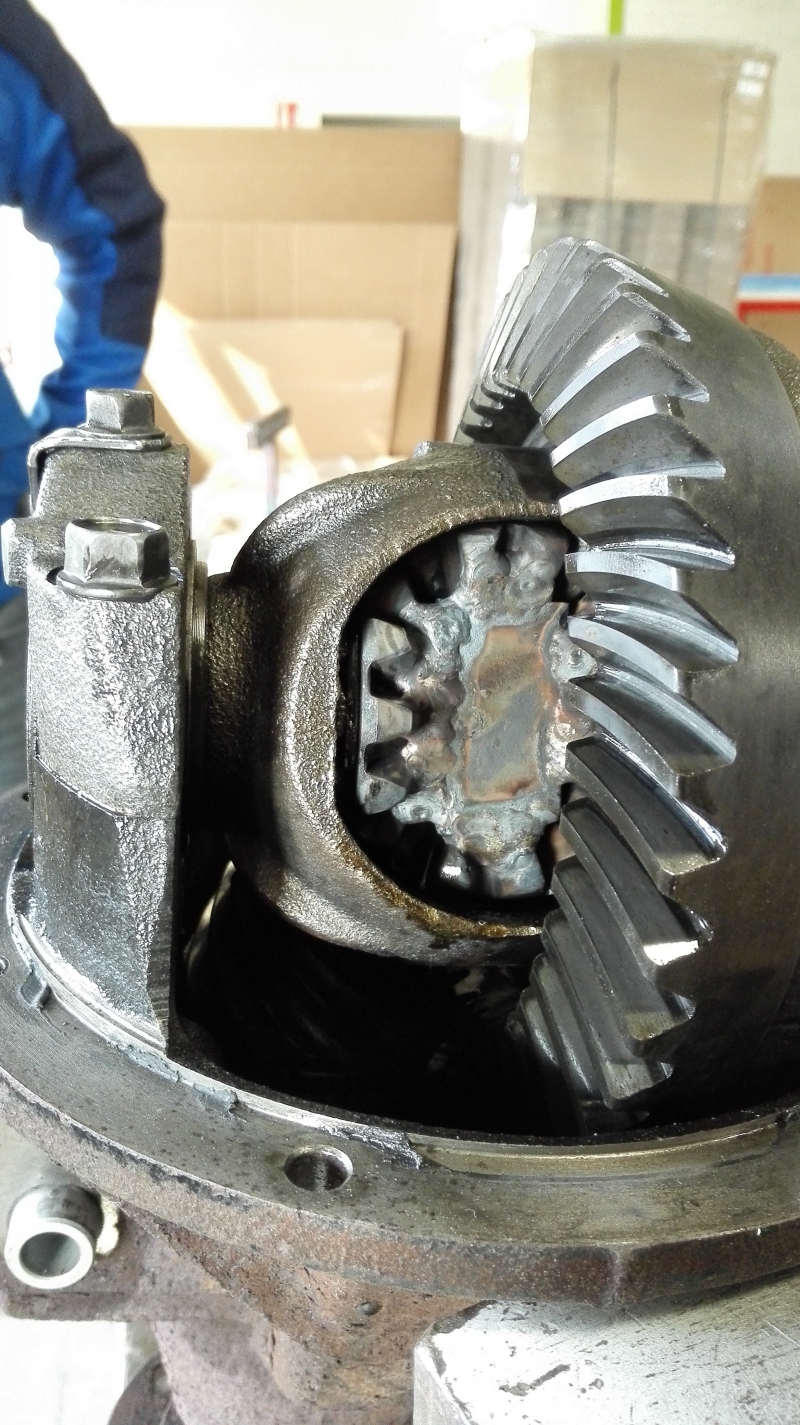
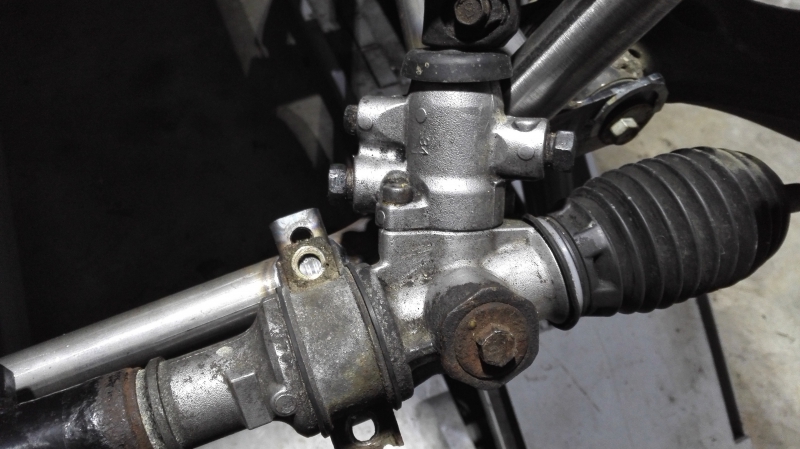
I immediately bought 4 eibach springs to stiffen things up a bit, and welded the diff, and properly depowered the steering rack.
*
*
*
*
This resulted in its first drift event where my mate and I had a LOT of fun !! It's amazing what 90hp and a welded diff can do.
*

*

*

*
*
Before buying the mx5, i have had an FD RX7 for 2 years now, and this is how i got infected by the rotary virus.
*
So the plan is to put a 13b engine in the miata. It will be peripheral ported. For those who are not familiar with this, it is the most extreme porting that you can do on a rotary to make power without adding a turbo.
I am expecting at least 250hp at the flywheel.
*
Seeing how the oem subframe is heavily hacked on this swap, i chose to go with a tubular subframe, bought from crapengineering aka claire here on the forum. Very nice piece.
*

*
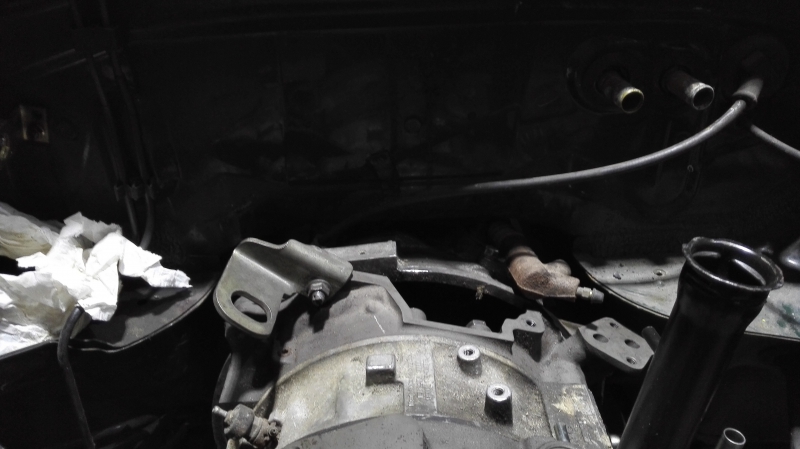
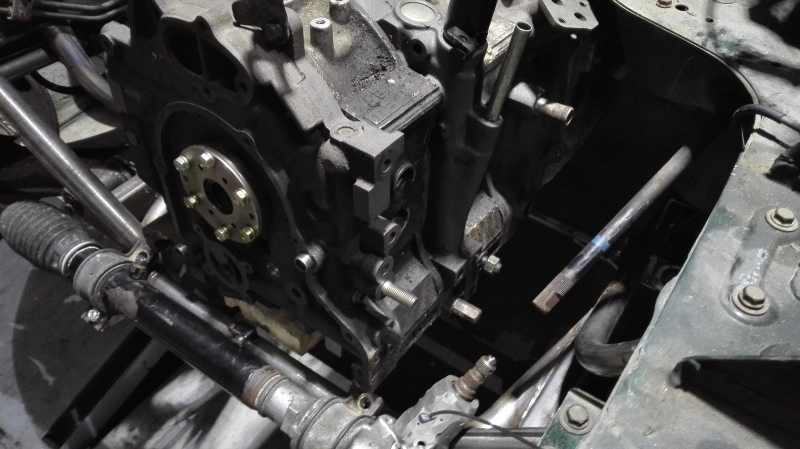
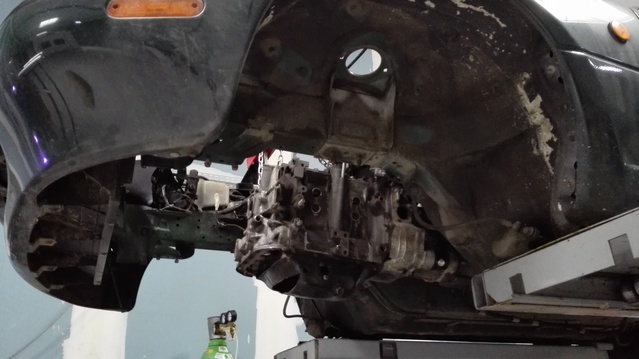
I already got the 13b in bits but no pics yet. I am in the middle of removing the 1.6. Once it's done, i will mate the miata gearbox to the 13b (nearly plug n play) and then make the engine mounts.
Thought i would take the time to show you guys how it's done in France
Bought this miata a year ago because i didn't want to crash my well taken care of '93 FD. Plus, the twins don't like redlining all day long, i learnt it the hard way.
It is a copy/paste from a UK mx5 forum for the few first steps so don't mind the rotary noob explanations.
I bought this '96 1.6 mx5 few months ago with 115k mi on the clock. The body is dented everywhere but there is no rust anywhere in the car. Engine ran perfectly once i replaced the cracked oem radiator with an aluminium one.
*

*
I immediately bought 4 eibach springs to stiffen things up a bit, and welded the diff, and properly depowered the steering rack.

*

*

*
*
This resulted in its first drift event where my mate and I had a LOT of fun !! It's amazing what 90hp and a welded diff can do.
*

*

*

*
*
Before buying the mx5, i have had an FD RX7 for 2 years now, and this is how i got infected by the rotary virus.
*
So the plan is to put a 13b engine in the miata. It will be peripheral ported. For those who are not familiar with this, it is the most extreme porting that you can do on a rotary to make power without adding a turbo.
I am expecting at least 250hp at the flywheel.
*
Seeing how the oem subframe is heavily hacked on this swap, i chose to go with a tubular subframe, bought from crapengineering aka claire here on the forum. Very nice piece.
*

*
I already got the 13b in bits but no pics yet. I am in the middle of removing the 1.6. Once it's done, i will mate the miata gearbox to the 13b (nearly plug n play) and then make the engine mounts.
Last edited by whizzybang; Aug 26, 2015 at 11:20 AM.
Thread Starter
Full Member
Joined: Feb 2013
Posts: 116
Likes: 0
From: France
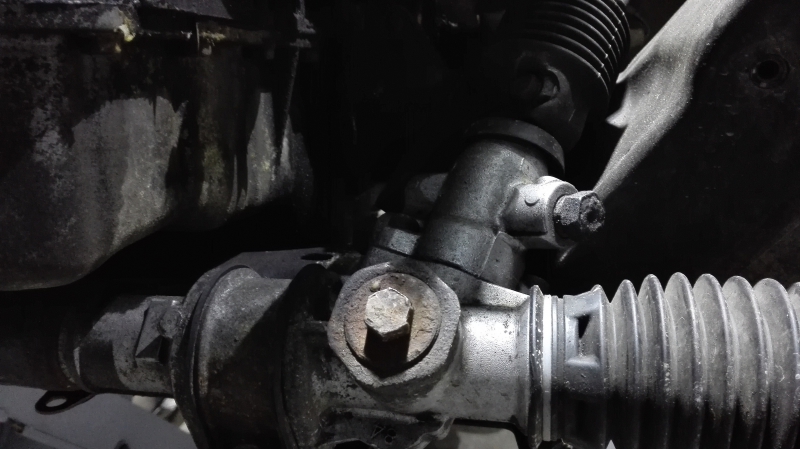
I test fitted the subframe. It lines up with everything concerning chassi and suspensions but i had a bit of a problem as the steering rack didn't fit. Turns out Claire used the other power steering rack made for the miata to make her jig, which is thinner than mine. The grinder saves the day.
*
Before :
*
*
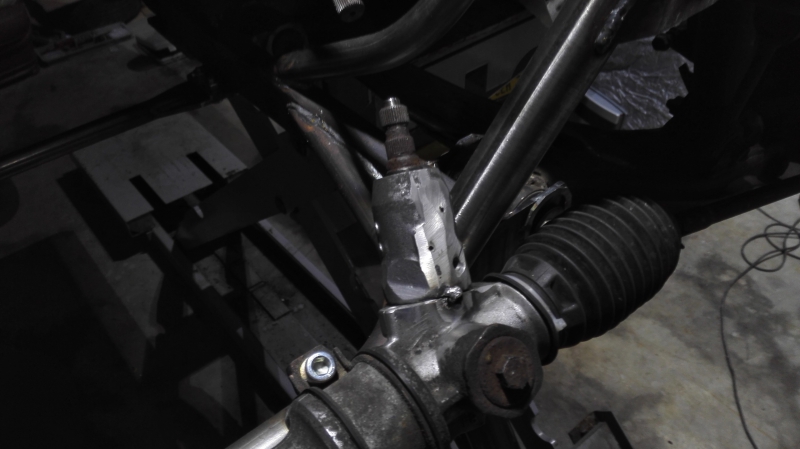
After :
*
*
Still got to weld the upper part but problem solved.
*
How the subframe turned out in the car (pretty nice me thinks) :
*

*
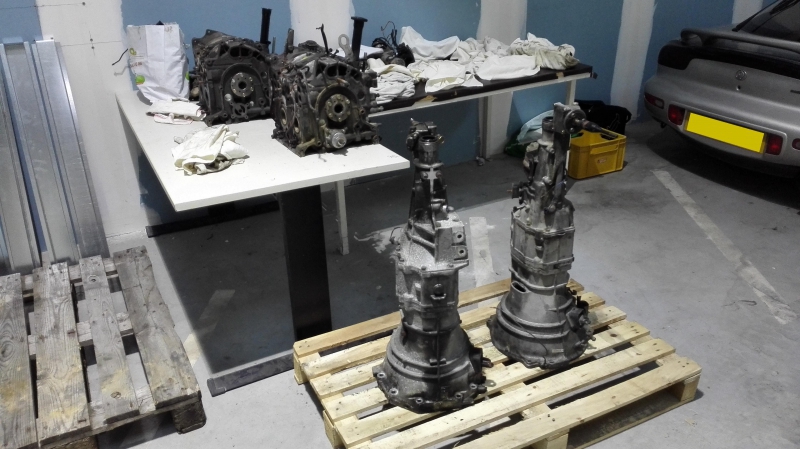
In the meantime, i collected all the parts i needed to make a dummy powerplant in order to make the engine mounts. Let the fun begin : 2 s5 13b's, a 1600 miata gearbox, and an FC NA gearbox.
*
*
Before :
*

*
After :
*

*
Still got to weld the upper part but problem solved.
*
How the subframe turned out in the car (pretty nice me thinks) :
*

*
In the meantime, i collected all the parts i needed to make a dummy powerplant in order to make the engine mounts. Let the fun begin : 2 s5 13b's, a 1600 miata gearbox, and an FC NA gearbox.
*

Thread Starter
Full Member
Joined: Feb 2013
Posts: 116
Likes: 0
From: France
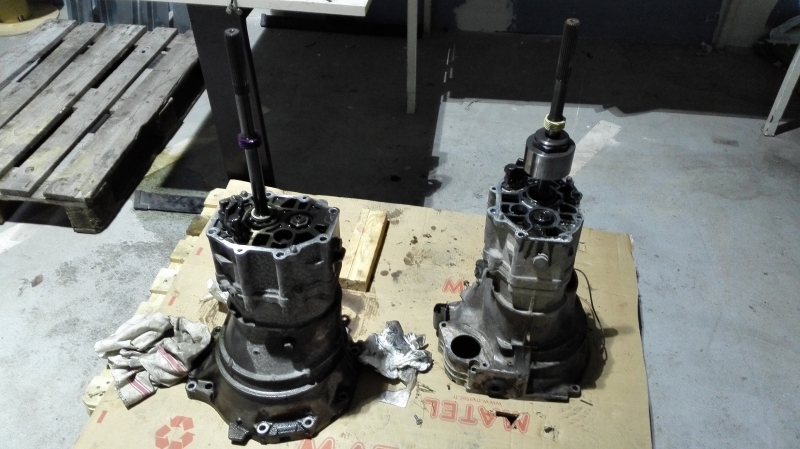
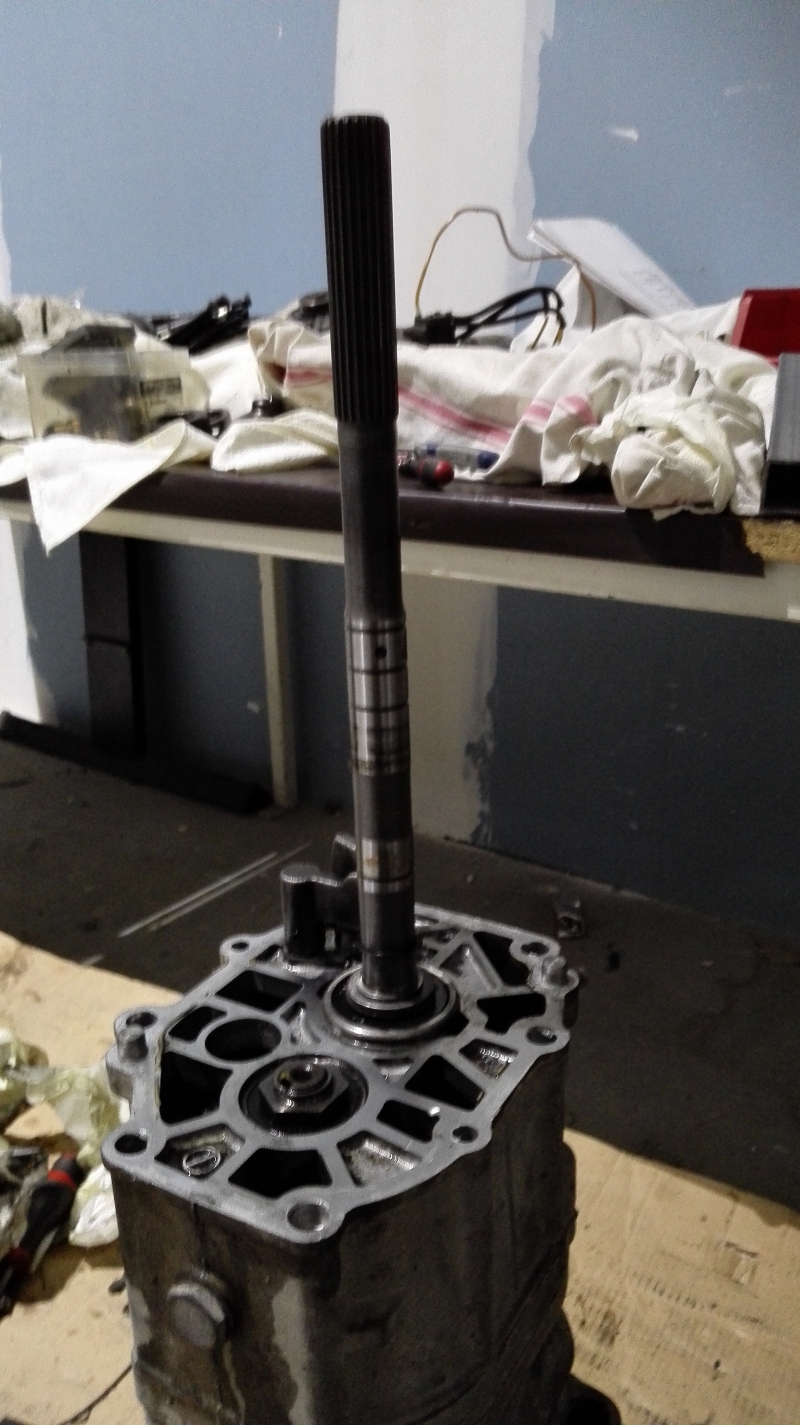
Soooo i decided to keep the FC tranny since Mazdatrix told me that the 1600 gears are like chewinggum. I removed the tail housings. But i got into a new problem : there is a dynamic damper on the output shaft of the FC tranny. That keeps the miata tail housing from fitting on the FC.
*
*
Fortunately, removing this damper is easy :*https://www.rx7club.com/1st-generati...-trans-946766/
*
And voila !
*
*
Also had to swap the speedometer drive gears as they rotate contrary (white and purple plastic pieces).
*
Next i assembled the tranny, and the engine :
*
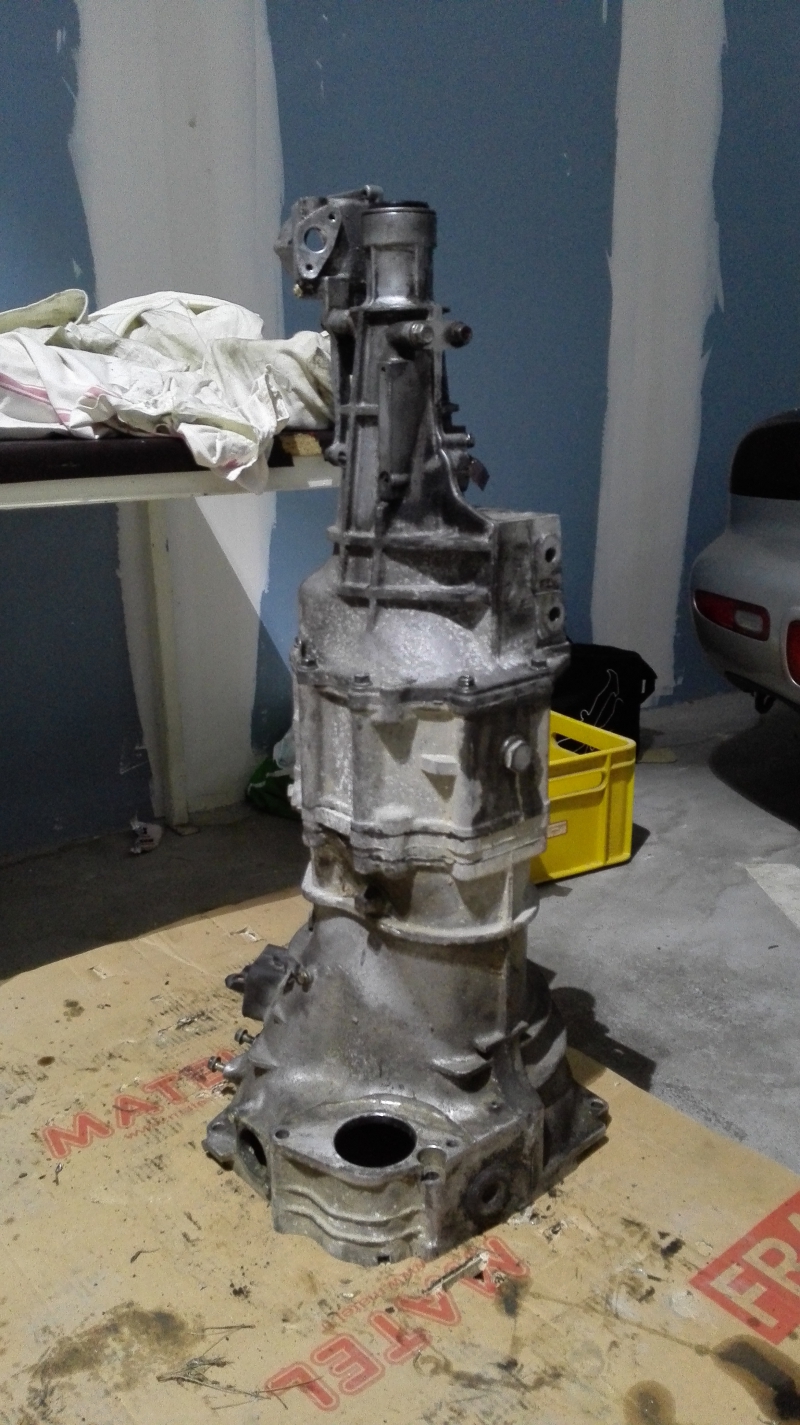
*
[img=http://nsm08.casimages.com/img/2015/01/17//1501170618238772012883635.jpg[/img]
*
*
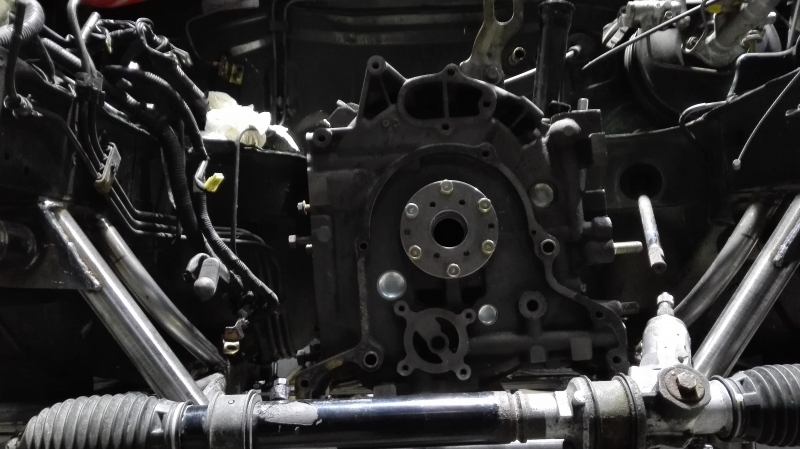
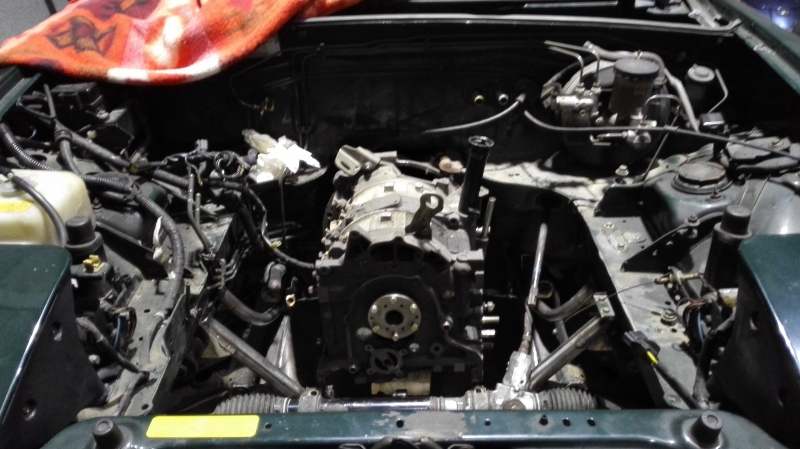
Then it was time to put everything in the car : We did it with my friend Jeffrey and I must say, thanks to Claire's subframe, it went very smoothly !! No cutting was needed to test fit the engine and put it in its final position. Making engine mounts will be very easy.
*
[img]http://nsm08.casimages.com/img/2015/01/17//1501170627218772012883655.jpg]
*
*
*
*
*

*

*
Fortunately, removing this damper is easy :*https://www.rx7club.com/1st-generati...-trans-946766/
*
And voila !
*

*
Also had to swap the speedometer drive gears as they rotate contrary (white and purple plastic pieces).
*
Next i assembled the tranny, and the engine :
*

*
[img=http://nsm08.casimages.com/img/2015/01/17//1501170618238772012883635.jpg[/img]
*
*
Then it was time to put everything in the car : We did it with my friend Jeffrey and I must say, thanks to Claire's subframe, it went very smoothly !! No cutting was needed to test fit the engine and put it in its final position. Making engine mounts will be very easy.
*
[img]http://nsm08.casimages.com/img/2015/01/17//1501170627218772012883655.jpg]
*

*

*

*

*


Thread Starter
Full Member
Joined: Feb 2013
Posts: 116
Likes: 0
From: France
Started on the hybrid oil pan with the front of the 12a and the rear of the 13b. All that remains is filling in the holes with steel sheets :
*
*

*
*
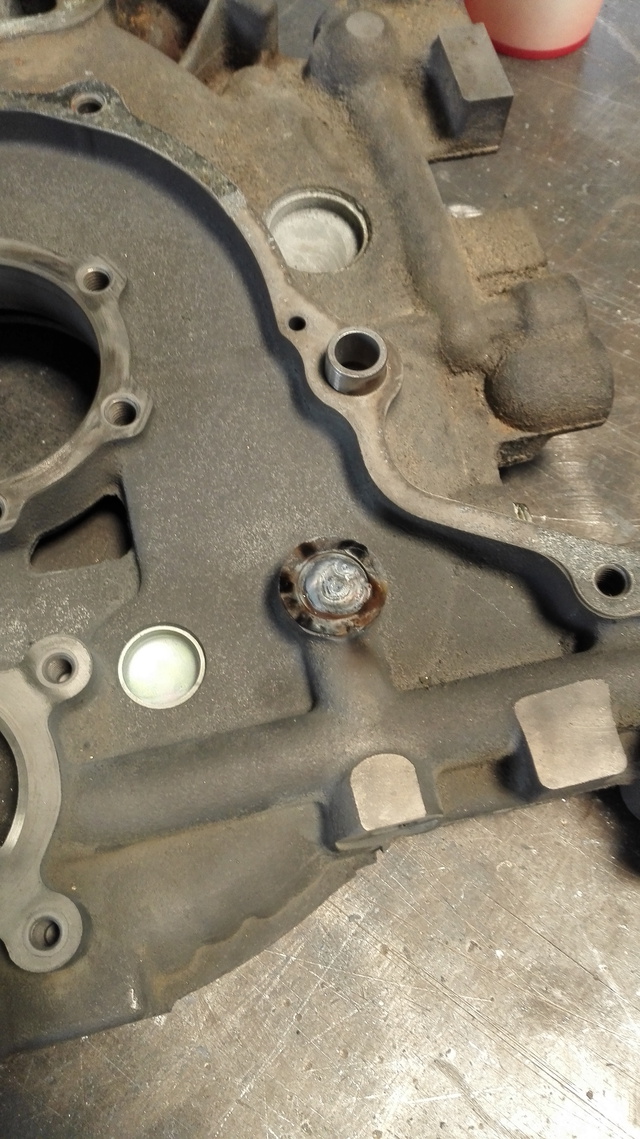
I started the engine mods, with the oil gallery mods in order to get rid of the baaaad pressure loses and flaws the OEM system brings. Here i welded shut the gallery that brings oil to the front cover. It will now get out of the front housing on the left side. AN fittings **** coming up.
*
*
*
I bought every single part and tool i need to mod and close the engine. Among all of this, a bit of 50mm OD bling bling, capable of well over 300hp :
*

*
*
*
*
*
*
Next up : making big holes in the housings.
*

*

*
*
I started the engine mods, with the oil gallery mods in order to get rid of the baaaad pressure loses and flaws the OEM system brings. Here i welded shut the gallery that brings oil to the front cover. It will now get out of the front housing on the left side. AN fittings **** coming up.
*

*
*
I bought every single part and tool i need to mod and close the engine. Among all of this, a bit of 50mm OD bling bling, capable of well over 300hp :
*

*

*
*
*
*
*
Next up : making big holes in the housings.


Trending Topics

Thread Starter
Full Member
Joined: Feb 2013
Posts: 116
Likes: 0
From: France
13b PP miata drift car build
Hi guys, didn't finished to paste the history yet but thanks !
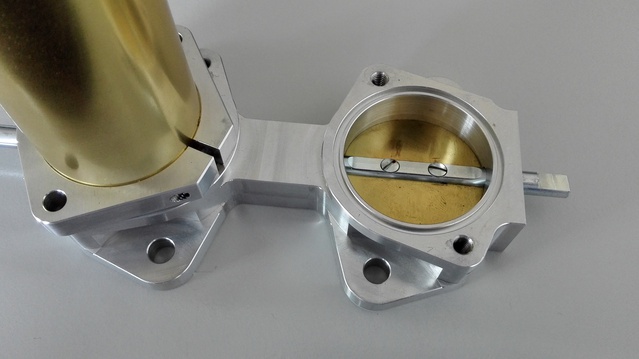
Itbs are from some aussie ebay shop. It was half the price of the injection perfection stuff everybody buy.
It hasn't the provision for injectors, but thats ok because i plan to put them as close to rotors as possible.
Itbs are from some aussie ebay shop. It was half the price of the injection perfection stuff everybody buy.
It hasn't the provision for injectors, but thats ok because i plan to put them as close to rotors as possible.


^ That's how I did mine. Experimental housings always come in handy. 
Handy tip! I see you chipped part of the housing. When using the hole saw, pre-drill the 1/4" hole 1st. Then find a piece of 1/4" rod to replace the drill bit for the hole saw to use as a quide. Make sure the rod sticks all the way through the housing before the teeth start cutting. Doing this will keep the hole saw from walking during the initial cut due to the short drill bit. Plus you don't have to worry about the drill bit walloing out the hole while cutting. I did mine with a hand held drill.
Handy tip! I see you chipped part of the housing. When using the hole saw, pre-drill the 1/4" hole 1st. Then find a piece of 1/4" rod to replace the drill bit for the hole saw to use as a quide. Make sure the rod sticks all the way through the housing before the teeth start cutting. Doing this will keep the hole saw from walking during the initial cut due to the short drill bit. Plus you don't have to worry about the drill bit walloing out the hole while cutting. I did mine with a hand held drill.
Last edited by t-von; Sep 15, 2015 at 01:03 PM.


Exhaust Manifold Leak

Joined: Jun 2005
Posts: 815
Likes: 42
From: western europe

Can Post Only in New Member Section
Joined: Feb 2017
Posts: 3
Likes: 0
From: Wyoming
Is this subframe made with a lowered rack or no? I am unsure of what kinds of clearance issue I may encounter. Also I am doing this to a NB not an NA and I believe the geometry is a little different?
Can Post Only in New Member Section
Joined: Feb 2017
Posts: 3
Likes: 0
From: Wyoming
Can Post Only in New Member Section
Joined: Feb 2017
Posts: 3
Likes: 0
From: Wyoming

Thread
Thread Starter
Forum
Replies
Last Post
KAL797
Test Area 51
0
Aug 11, 2015 03:47 PM