
My '87 Base Build

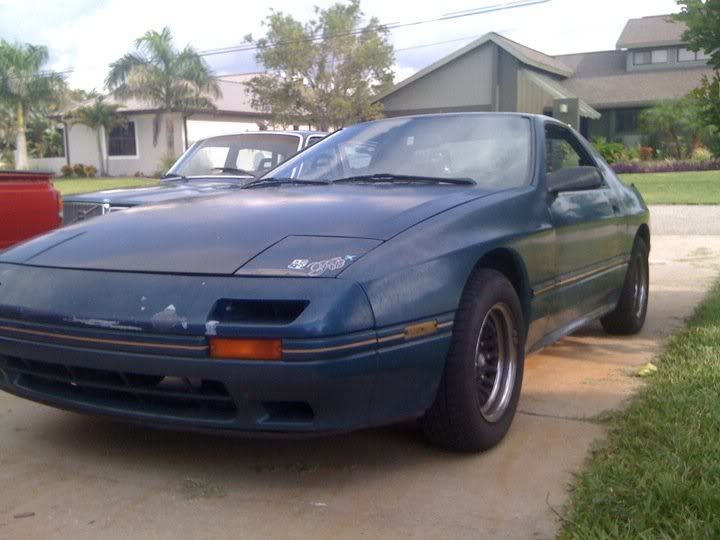
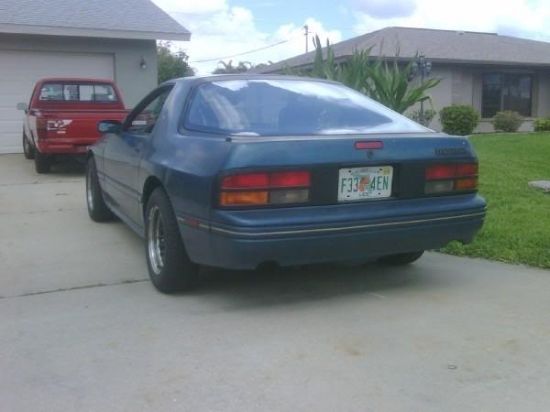
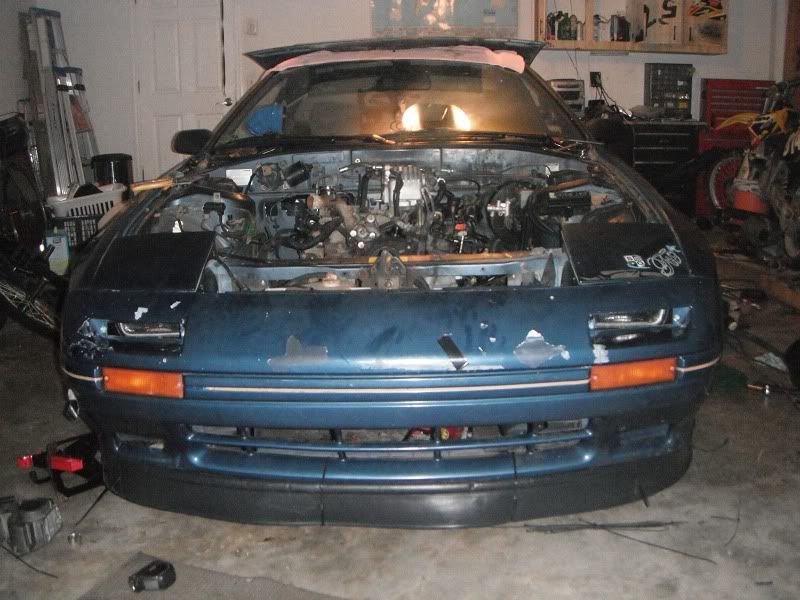
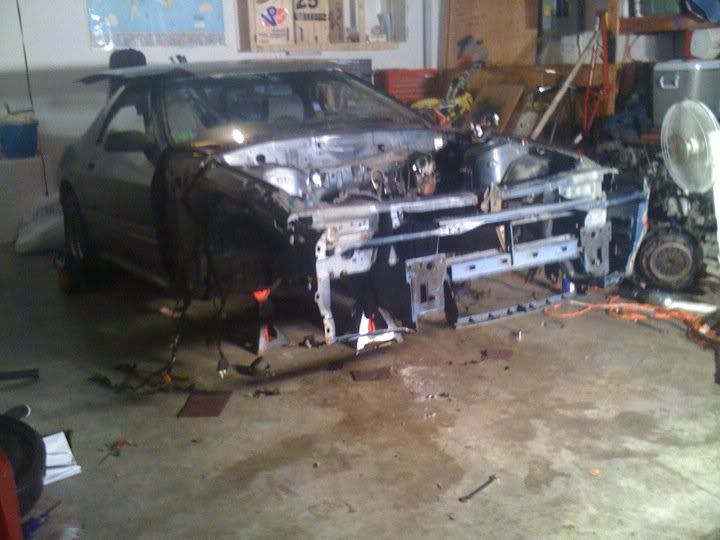
Finally decided to make a thread about my 7 build... I Picked up my '87 base model about 2 years ago when I was 17. I'd always wanted a 7 and when I found it running for $500 I couldn't pass it up. Here she is...
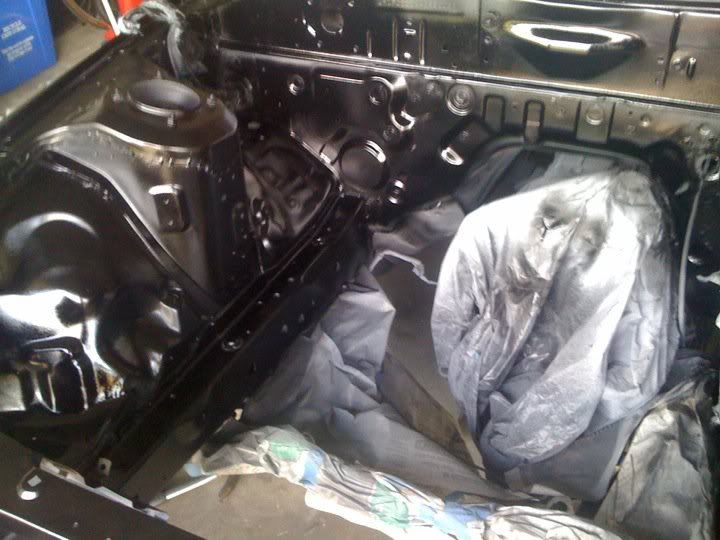
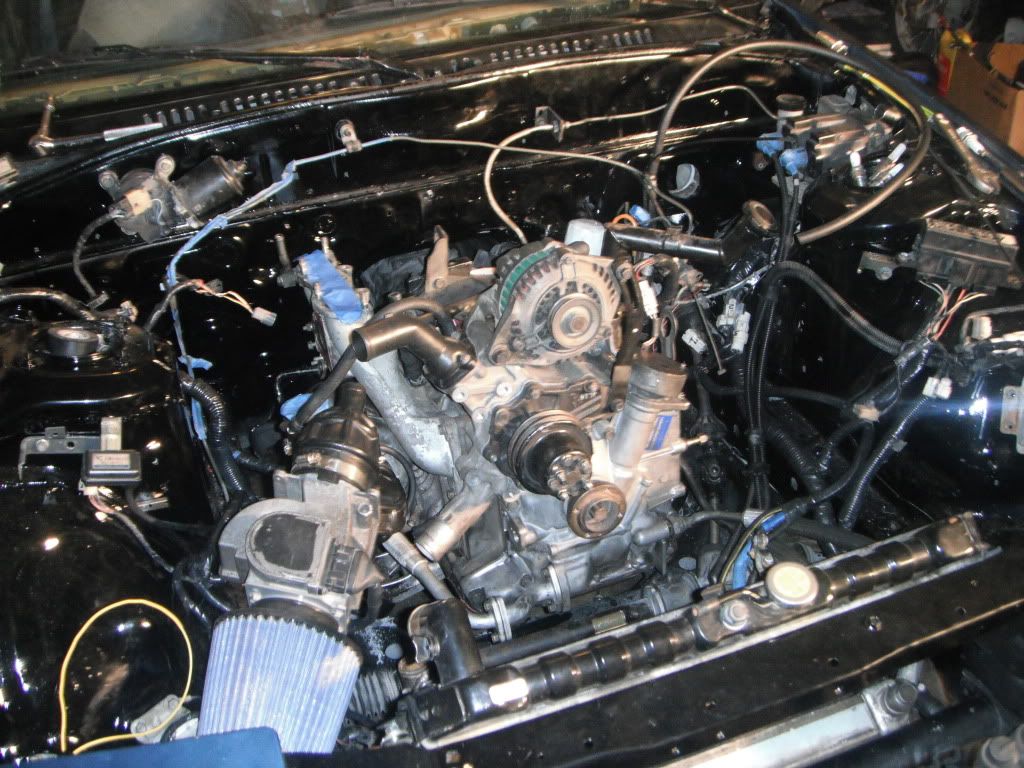
The engine bay

And the interior...
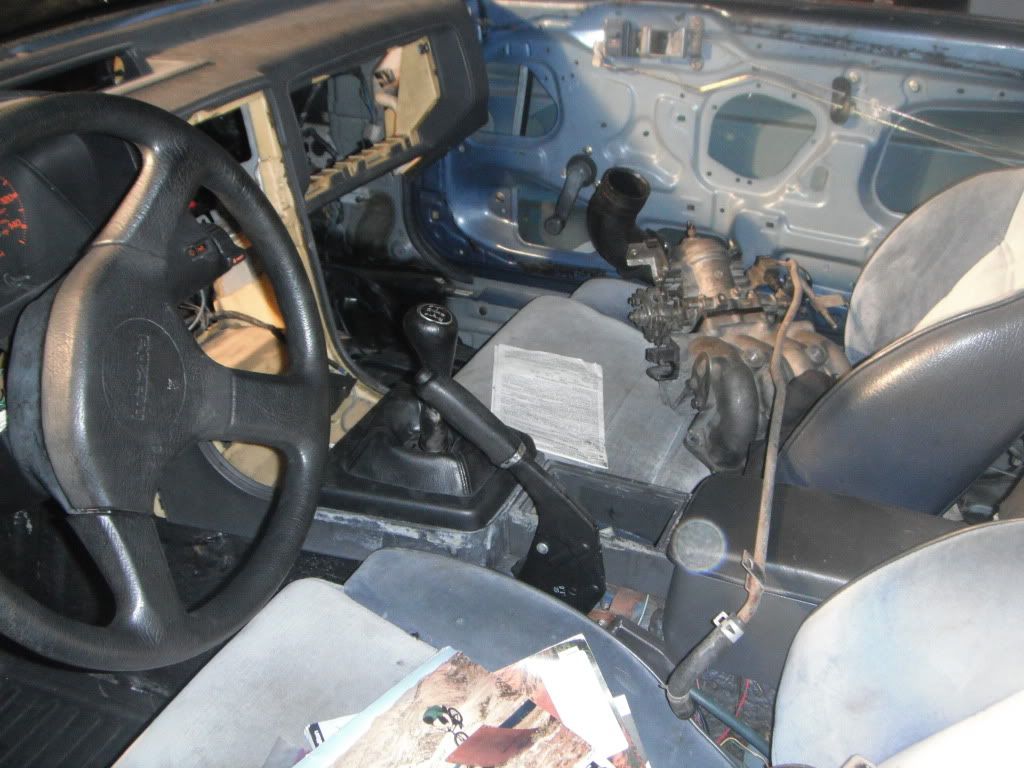
As you can see the car is pretty much stripped. It was mostly like that when I got it. Although I took out a few more things like the door panels and the rear bins. My plans for the car are to basically make it into a drift car/ just have fun in car.
I drove it for a while just doing a few small things, put a manual steering rack and fixed a couple small problems.
After graduation I had some money and decided I wanted to do a turbo swap. Also decided it would be a good idea to get a s5 motor for my s4... Live and learn.
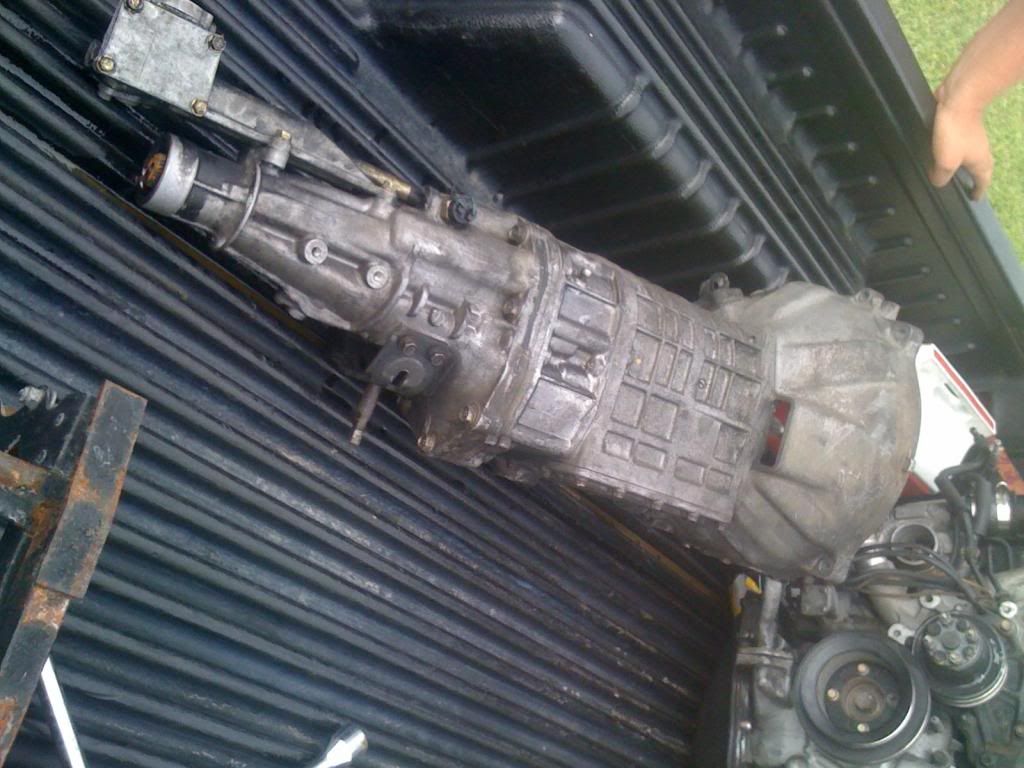
The motor after I got it home and cleaned up a bit.
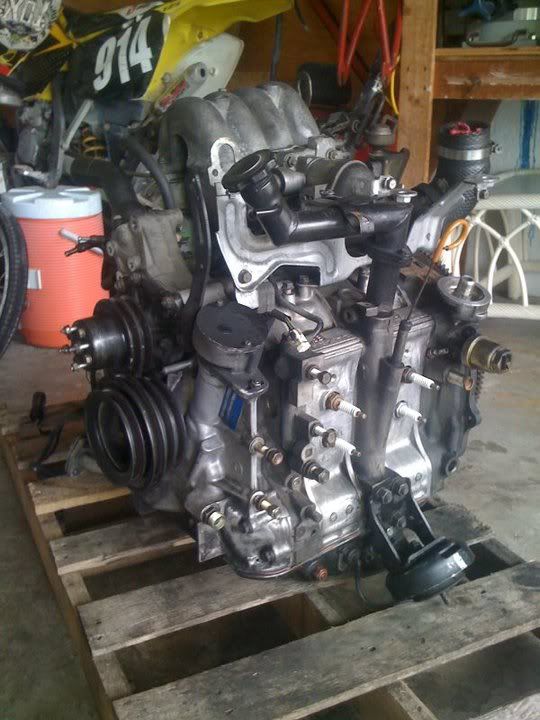
Supposedly only has 13k on the rebuild. Also came with a t2 trans which I wont be using yet. Have the driveshaft but still don't have a rear end and would rather wait then cut up my na and t2 driveshaft to make it work.
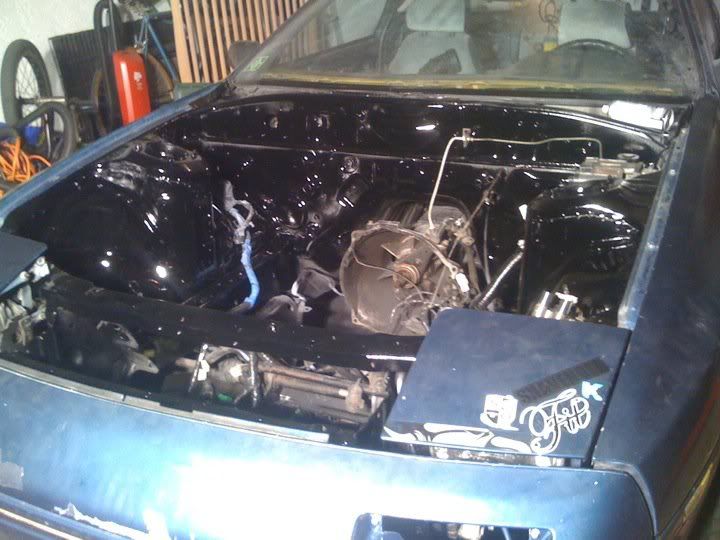
Did one last burnout with the n/a and backed it into the garage.
Here it is with the motor out. Sorry fot the shitty cell phone pic.
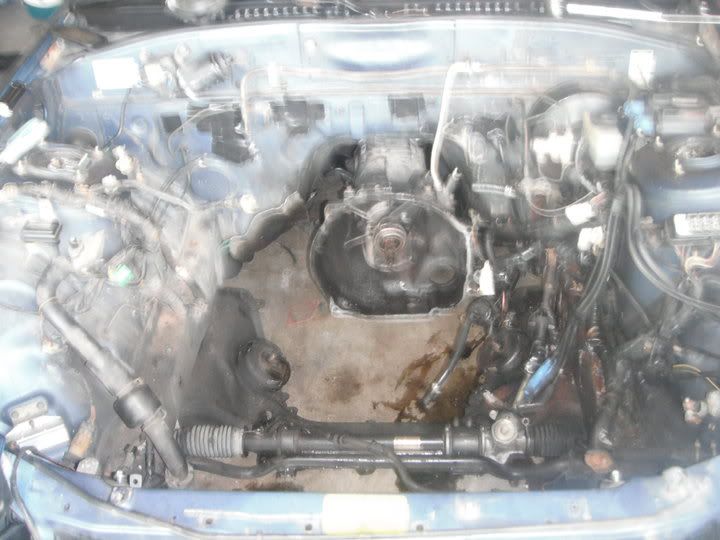
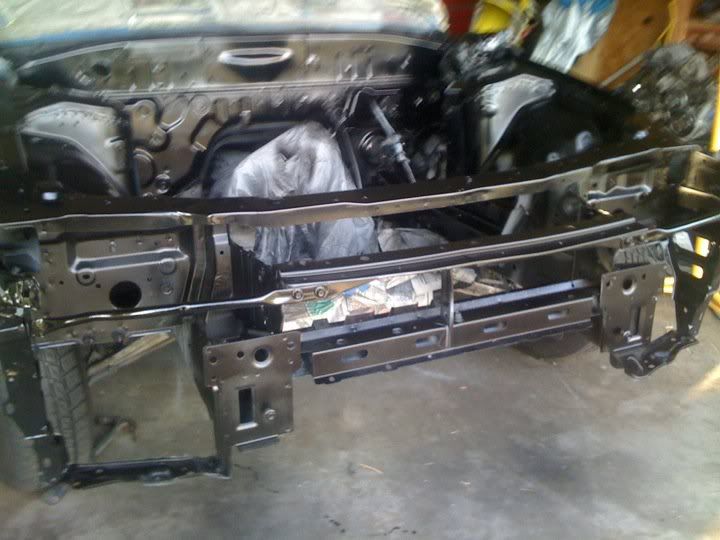
Once I had the motor out I saw that the rust from a leaky brake master cylinder that the PO had never replaced was worse then I thought. Although only surface, There was enough of it that I decided I might as well paint the engine bay since the motor was out. So I pulled everything out.
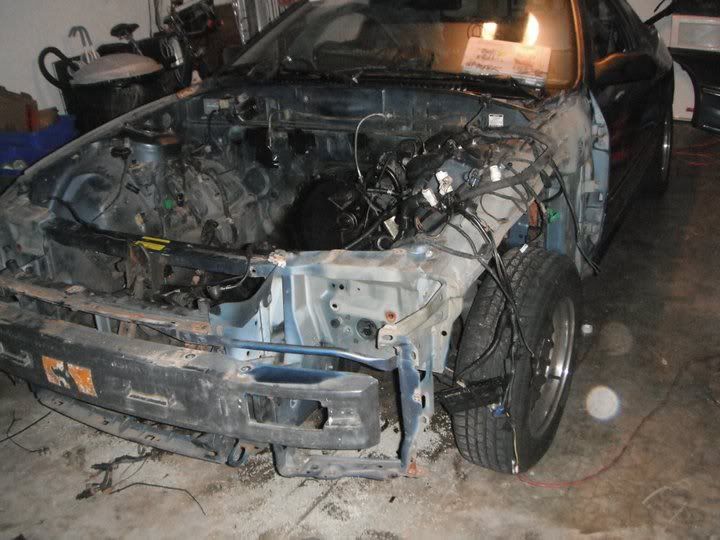
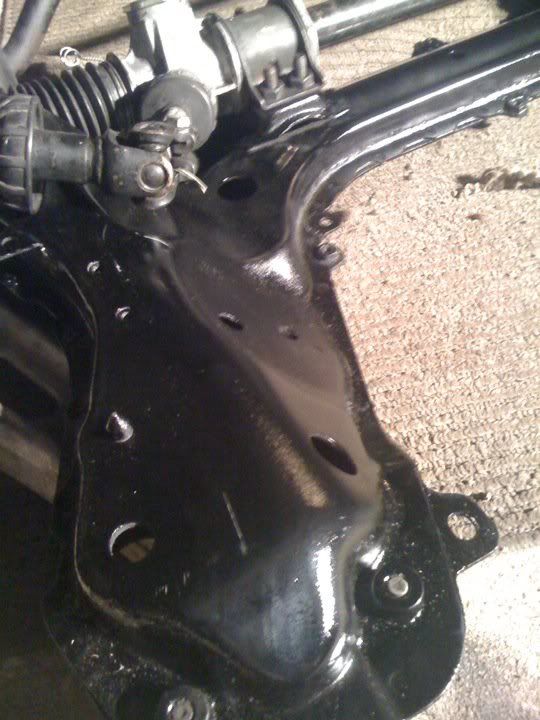
Then dropped the subframe.
After I got the subframe painted and fixed all the rust under the car
The engine bay
And the interior...
As you can see the car is pretty much stripped. It was mostly like that when I got it. Although I took out a few more things like the door panels and the rear bins. My plans for the car are to basically make it into a drift car/ just have fun in car.
I drove it for a while just doing a few small things, put a manual steering rack and fixed a couple small problems.
After graduation I had some money and decided I wanted to do a turbo swap. Also decided it would be a good idea to get a s5 motor for my s4... Live and learn.
The motor after I got it home and cleaned up a bit.
Supposedly only has 13k on the rebuild. Also came with a t2 trans which I wont be using yet. Have the driveshaft but still don't have a rear end and would rather wait then cut up my na and t2 driveshaft to make it work.
Did one last burnout with the n/a and backed it into the garage.
Here it is with the motor out. Sorry fot the shitty cell phone pic.
Once I had the motor out I saw that the rust from a leaky brake master cylinder that the PO had never replaced was worse then I thought. Although only surface, There was enough of it that I decided I might as well paint the engine bay since the motor was out. So I pulled everything out.
Then dropped the subframe.
After I got the subframe painted and fixed all the rust under the car
I bolted it all back on so I could roll it out of my garage and start the primer in the bay.
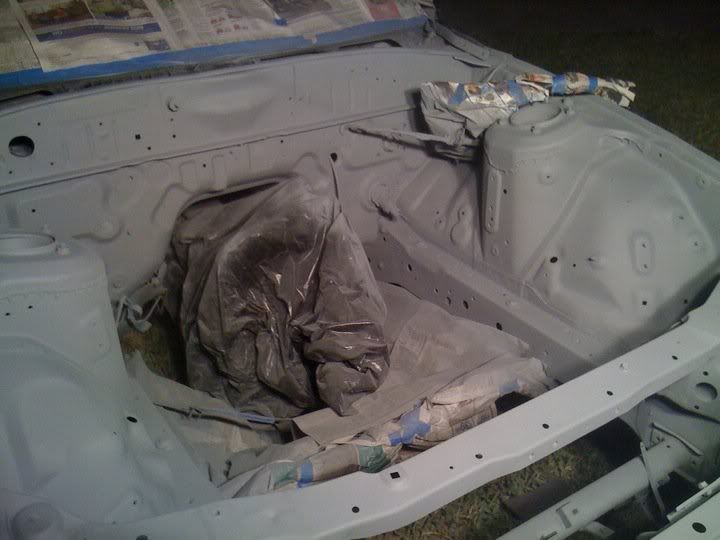
Then a bunch of sanding, more sanding, paint, more sanding, paint, little more sanding, and a final coat of paint.
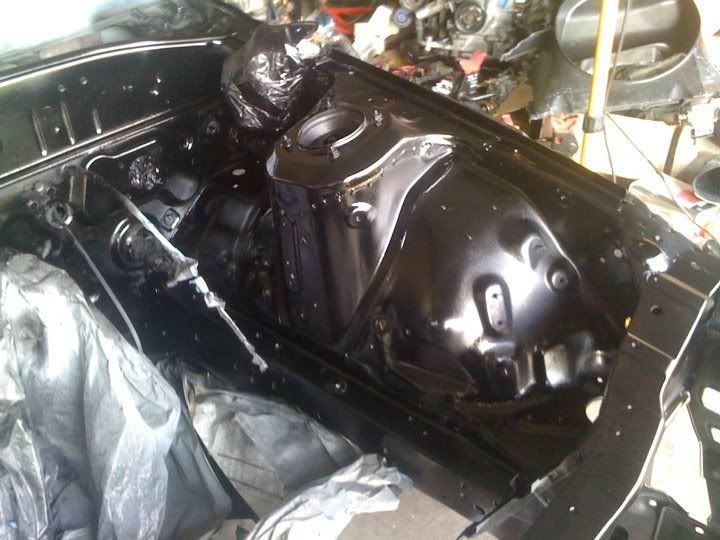
And here it is with the fenders and everything back on.
This was my first time using a paint gun. I had some orange peel so I ended up sanding it down and repainting about 3 or 4 times before I got it how I like it. It's still not perfect but it's about a million times better then it was before.
Droping the new motor in
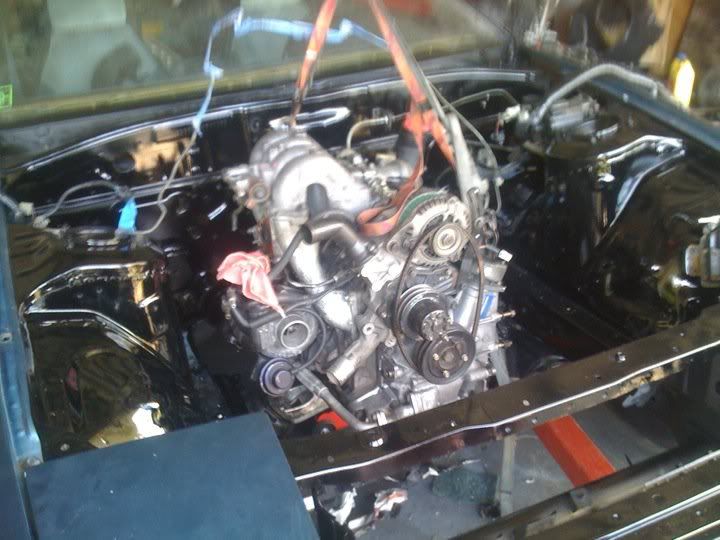
And this is about how it sits right now. Just waiting for a few gaskets and some parts.
This whole project has been a huge learning experience and it's going to be such a releif to finally hear it fire up... If it fires up.
Then a bunch of sanding, more sanding, paint, more sanding, paint, little more sanding, and a final coat of paint.
And here it is with the fenders and everything back on.
This was my first time using a paint gun. I had some orange peel so I ended up sanding it down and repainting about 3 or 4 times before I got it how I like it. It's still not perfect but it's about a million times better then it was before.
Droping the new motor in
And this is about how it sits right now. Just waiting for a few gaskets and some parts.
This whole project has been a huge learning experience and it's going to be such a releif to finally hear it fire up... If it fires up.

I started reading it thinking it'd be another buildup of a crappy base with such awesome mods as a strut bar and LEDs. Looks like you're doing good work. Keep it up, you can actually turn this into a decent car if you just finish what you're doing. Get some interior pieces and make it a nice street-drivable car.
What engine management will you be using?
What engine management will you be using?
Trending Topics


Thanks for the compliments guys!
AGreen, I'm thinking for now I'm going to keep the interior stripped. I mean it has almost nothing and with the time and money it would cost to get all the parts it just wouldn't be worth it to me. Plus I already started removing the sound deadning and took out the rear speaker holders and all that kind of stuff. I'm building it to be a track car that I can drive on the stret. Eventually I want to do a cage and the whole 9 yards, but thats a longggg way down the road.
Once I get a stable job and am making a little more money I want to get another 7 as a daily that has all the creature comforts. For now though my 88 toyota pickup does the job.
As far as engine management I don't really know. For now I just have the "chiped" s4 t2 computer that came with the motor. From what I've been told I should get a wideband to monitor the fuel/ air mixture and a safc to adjust it?
Since I'm really short on cash at the moment I'm just going to try to get a wideband so I can atleast know if I'm leaning out and need to take it easy.
I'm learning as I go and all the engine management and computer stuff is new to me...
A couple dumb questions I thought you guys could maybe help me with...
First, When I was taking my motor out I broke some of the fuel injector clips. And I also couldn't find any s4 t2 fuel injectors. So, since I had the s5 t2 ones that came with the motor and found a mx-3 that had fuel injector clips that fit the s5 t2 injectors, I got those and solderd them on. Should work fine right?
And also I can't remember which fuel injector clips on the harness go to the primaries and which go to the secondaries. I looked at the fsm diagram of the harness but it doesn't seem to tell which is which. Is the ones at the end of the harness, that have only the thermo sensor clip after them, the primaries?
These are for S4
http://www.diyautotune.com/catalog/f...-ev1-p-48.html
These are for S5. About 3/4 way down the screen, item #ND-IC
http://kgparts.com/index.php?page=kgfuel
Before I answer your which one's which question, I've got a question or 2 for you. So you've obviously got an S5 engine there. It came with an S4TII ecu? What harness? Which injectors did the engine come with? I'll be able to tell you specific wire colors if you know what harness you have. Also, make sure that the injector impedance matches the ECU. You'll have to run the S4 TII OMP, since the S5's is computer controlled. All the sensors should be the same, a couple here and there might be a little different, I'm no expert on S5 engines though.
What do you mean by "chipped" ecu? Rtek?
injector impedance is key here.
plus if thats an S5 engine your going to have to swap the front cover to run the S4 omp. Unless you want to cap it and run premix.. your call
edit: oh and since your new to this, NEVER remove the front essentric shaft bolt without having the clutch pedal depressed the entire time. If you do end up having to change front covers that will be a life saver.
I know what the pigtails look like. I got ones for s5 now. The injectors are s5. I'm useing my stock s4 n/a harness. From everything I read that was the way to go. I won't be running the omp, I've been premixing since I got the car and am so use to it now it would be weird not to.
Yes it came with the s4 ecu. The guy had a few ecu's laying around so he gave me one for the s4. I heard about the impeadence. Don't the early s4's have like a selenoid or something by the ecu that has to do with the injectors?
And I don't know what he meant by chipped...
Thanks for the help guys.
Yes it came with the s4 ecu. The guy had a few ecu's laying around so he gave me one for the s4. I heard about the impeadence. Don't the early s4's have like a selenoid or something by the ecu that has to do with the injectors?
And I don't know what he meant by chipped...
Thanks for the help guys.
resistor pack
Rear primary is lt. green/blk
front primary is lt. green
rear secondary is lt. green/red
front secondary is lt. green/wht
Your 87 probably has the resistor pack. It's called the solenoid resistor pack because injectors are solenoids.
Are you using s4 tII injectors?
Rear primary is lt. green/blk
front primary is lt. green
rear secondary is lt. green/red
front secondary is lt. green/wht
Your 87 probably has the resistor pack. It's called the solenoid resistor pack because injectors are solenoids.
Are you using s4 tII injectors?

I wan't trying to me a jackass AGreen  Thanks for the links. I already got some off a mazda3 at a junkyard though.
And when I solderd them on does it matter how you wire the harness to the injector pigtails? I was told it doesn't matter. I tried to just wire them all the same just in case. It seems like one of the prongs on the injector would be live and one ground, but I don't know much about electrical, especially with cars.
I'm useing s5 t2 injectors. The only things on the motor that are s4 are the TB and TPS.
So that's the resistor pack Zerkster? I could have sworn I read somewhere it was by the ecu.
So what does it mean if I have it? What do I need to do?
Thanks for the links. I already got some off a mazda3 at a junkyard though. And when I solderd them on does it matter how you wire the harness to the injector pigtails? I was told it doesn't matter. I tried to just wire them all the same just in case. It seems like one of the prongs on the injector would be live and one ground, but I don't know much about electrical, especially with cars.
I'm useing s5 t2 injectors. The only things on the motor that are s4 are the TB and TPS.
So that's the resistor pack Zerkster? I could have sworn I read somewhere it was by the ecu.
So what does it mean if I have it? What do I need to do?
Direction isn't important. They're solenoids, so it'll open the injectors regardless of polarity.
If you're using the S5 TII injectors, then you'll need to bypass the resistor bank. S5's are all high impedance, so you'll have a really high impedance circuit if you don't bypass it. You would run into issues with the injectors not opening enough due to insufficient current.
If you're using the S5 TII injectors, then you'll need to bypass the resistor bank. S5's are all high impedance, so you'll have a really high impedance circuit if you don't bypass it. You would run into issues with the injectors not opening enough due to insufficient current.
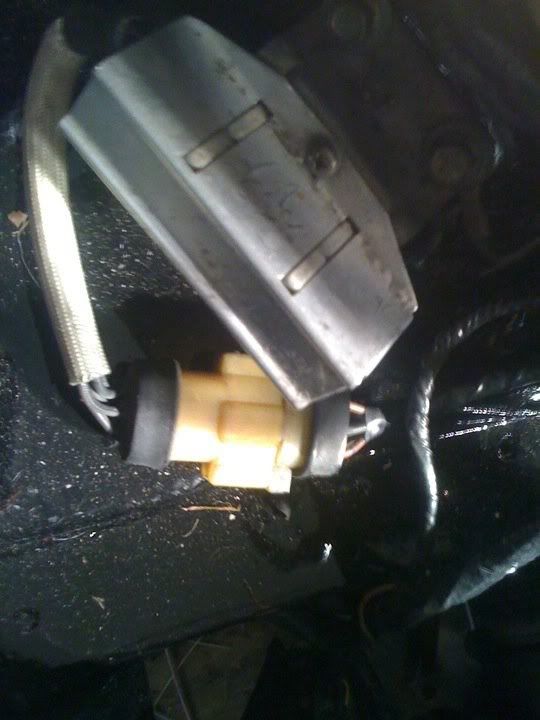
That's a close up pic of what Zerkster said was the resistor pack. Just wanted to show a better pic to make sure that's it. Now bypassing it, don't suppose that would be as easy as unpluging it?
AGreen, again thanks a lot for the help. That diagram isn't helping me though. I guess I just suck at reading them. Been looking at if for 15 mins and am still scratching my head.
I tried searching and didn't come up with to much but from what I read I need to jump the resistor pack? I guess that's the same as bypass? Now looking at the pigtail for the resistor pack there are 5 wires. So I would guess that 2 of them are comeing from the ecu or whatever, and the other 2 are going to the injectors. Then the last one is a ground or something....
So do I need to cut off the pigtail and solder the wires straight together? Makes sense to me but I'm probably completly wrong. Again I suck with electrical.
Alright, starting to get the diagram a little. And I'm an idiot, how would there be 2 wires going to the injectors if theres 4 injectors  From what I understand the blk/yel is the ground, and also goes to the main relay and ignistion coil. So do I need to wire the other 4 wires that go to the injectors to the blk/yel wire?
From what I understand the blk/yel is the ground, and also goes to the main relay and ignistion coil. So do I need to wire the other 4 wires that go to the injectors to the blk/yel wire?
Aahh.. it appears that the blk/yel wire is ground because if you follow it around, it seems to go to a ground tap near the coil, right? That's actually a power wire, and no, it's not grounded. It's a capacitor used to filter out noise. "Condenser" I think is what it's called.
But yes, you need to short all the wires together.
But yes, you need to short all the wires together.