CR garage pirate fc build


If you're hitting differently on each side you need to re-center your rack.. you can do so by unbolting the steering column and turning it one spline.. then re-align... also for my knuckles you'll should be able to make 9.5j's work with around -16 offset.. and i'd suggest around 4.5deg front camber with 0 toe i made it work while running 235/40-17's....
Thanks alot man! We appreciate all your guys support way hard!
As far as the motor its really not gonna be anything crazy just simple and to the point. 13bt mild street port maybe and a few bolt ons like front mount and stuff and fuel system upgrades. Were shooting for 250-300 HP because Im weird and thing slow cars are cooler to drive. But yeah you won't see any v8s in this thread
Internet Tough Guy
Joined: Jun 2013
Posts: 50
Likes: 0
From: Lakewood Ranch, Fl
As far as the motor its really not gonna be anything crazy just simple and to the point. 13bt mild street port maybe and a few bolt ons like front mount and stuff and fuel system upgrades. Were shooting for 250-300 HP because Im weird and thing slow cars are cooler to drive. But yeah you won't see any v8s in this thread

If you're hitting differently on each side you need to re-center your rack.. you can do so by unbolting the steering column and turning it one spline.. then re-align... also for my knuckles you'll should be able to make 9.5j's work with around -16 offset.. and i'd suggest around 4.5deg front camber with 0 toe i made it work while running 235/40-17's....
-Max neg camber on stance camber plates
-9.5j +12
-20mm overs
-225/40/18
what am i doing wrong? hpw can i get more camber/clearance?
Senior Member
Joined: Nov 2011
Posts: 418
Likes: 0
From: Oklahoma City, OK
You need wide fenders for a 9.5 +12? I'm running a 9 with a +7 on stock fenders WITH my balljoints extended 1.5" and have more clearance than that.
I'm also running a 215/40 but that shouldn't make THAT much difference. If you're wanting to run more angle, you'll have to extend your balljoints and run narrower wheels with less offset OR space them out and run huge fenders.
The only way you're going to get any real camber out of the front of an FC is with LCA/balljoint modifications. Camber plates just aren't enough.
Sorry for the threadjack. Hopefully some of this info will be pertinent to your build
No problem buddy good info is good info. If i were you I'd maybe bump up to 30 mm over and def look into extended balljoints. Then you're getting more clearance AND more camber. Slotting your coilovers is an option but alot of people have limited space before the inner lip of your wheel hits the coilover
Senior Member
Joined: Nov 2011
Posts: 418
Likes: 0
From: Oklahoma City, OK
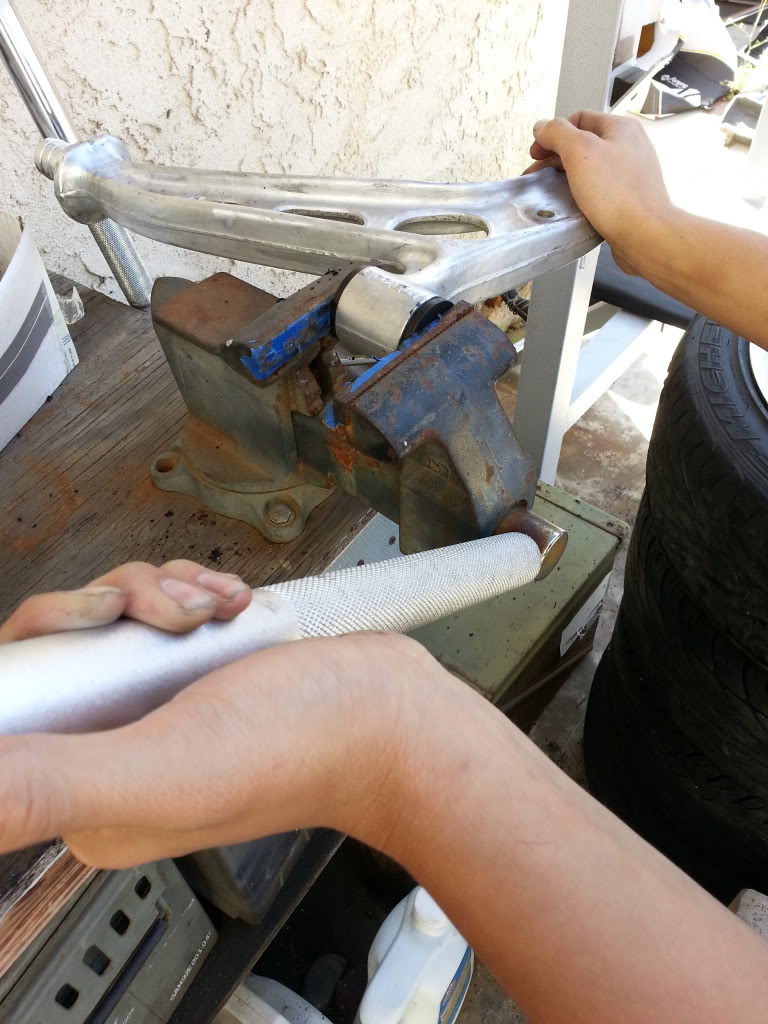
I wish I was patient enough to actually build the chassis first! All your progress is looking good. I'm actually interested in how you made your adjustable links, did you just find rod ends the right size and find a piece of threaded tube the right size for the center piece?
I wish I was patient enough to actually build the chassis first! All your progress is looking good. I'm actually interested in how you made your adjustable links, did you just find rod ends the right size and find a piece of threaded tube the right size for the center piece?
No problem buddy good info is good info. If i were you I'd maybe bump up to 30 mm over and def look into extended balljoints. Then you're getting more clearance AND more camber. Slotting your coilovers is an option but alot of people have limited space before the inner lip of your wheel hits the coilover
Does anybody know how many degrees can be taken out by doing this modification to the shock mounting holes on the spindles? I can't help but feel like it's a little sketchy to have slots drilled in these... Maybe I'm just a *****. But either way, I'd just like to know how effective it is to do this.
Word. Keep in mind that those who have clearance issues with this would probably be the guys with wider wheels or higher offsets (or both), so some wheel spacers would probably help you dodge this problem.
Does anybody know how many degrees can be taken out by doing this modification to the shock mounting holes on the spindles? I can't help but feel like it's a little sketchy to have slots drilled in these... Maybe I'm just a *****. But either way, I'd just like to know how effective it is to do this.
Does anybody know how many degrees can be taken out by doing this modification to the shock mounting holes on the spindles? I can't help but feel like it's a little sketchy to have slots drilled in these... Maybe I'm just a *****. But either way, I'd just like to know how effective it is to do this.
youre pretty much making this
http://i401.photobucket.com/albums/p...verBracket.jpg
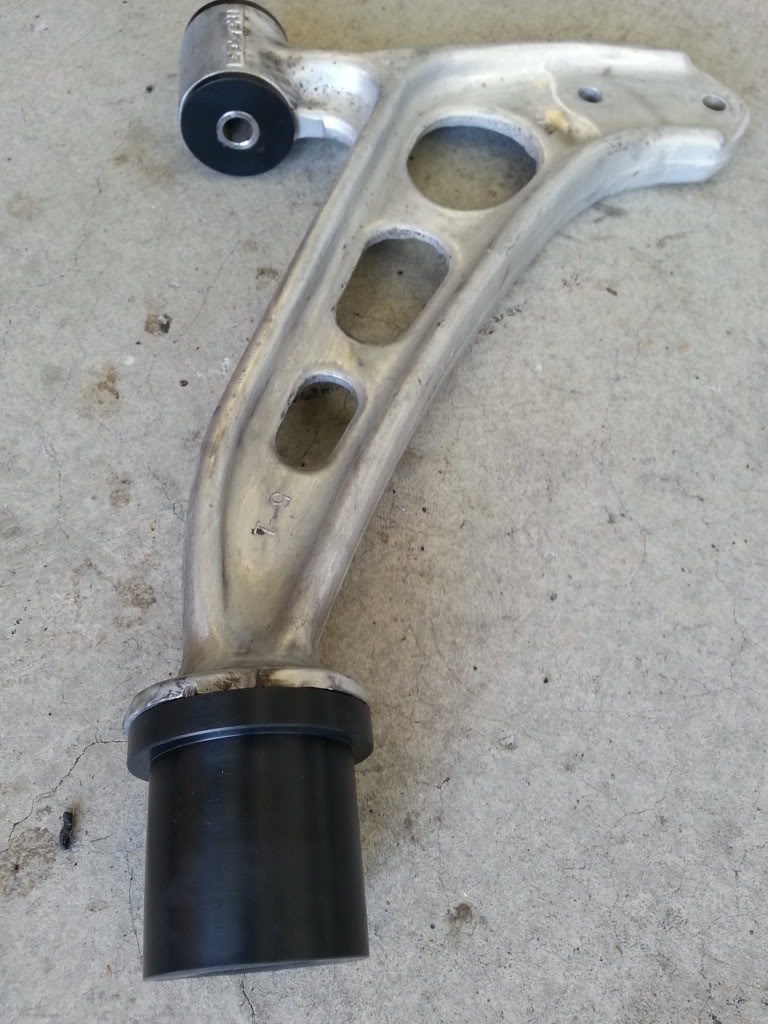
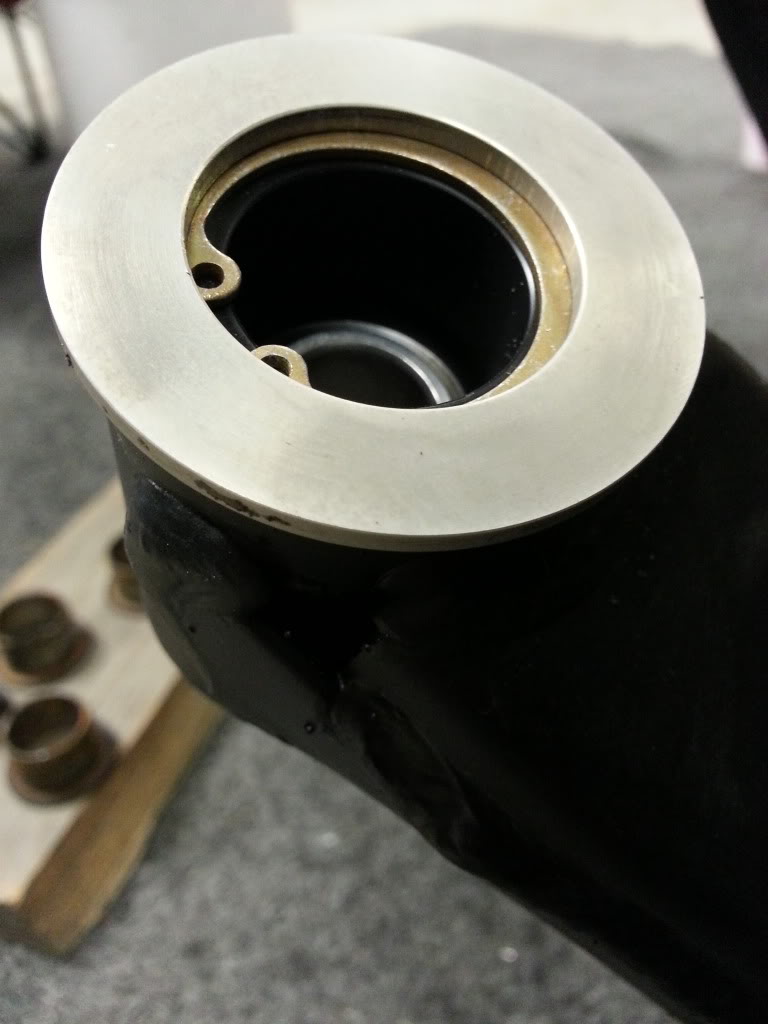
Alright so after a week of doubt and scratching our heads we realized the flanges on the rear control arms were really a metal sleeve. apparently it was my first day working on cars. Whatever. Hammered those bitches
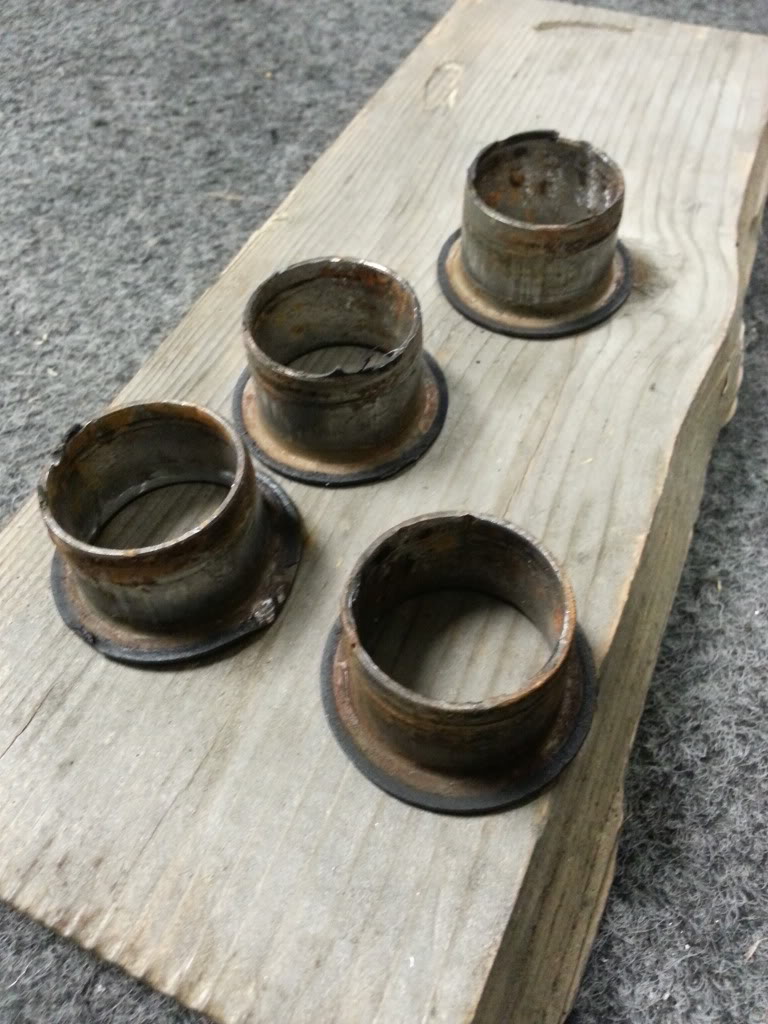
This also means that we are FINALLY done with all the damn bushings and ready to move on with our lives. Its kind of an achievement in itself we changed all the bushings without really using a press. It can be done but it is the farthest from ideal.
MMR sphericals whent in like butter after a couple nights in the freezer
Rotary Enthusiast
Joined: May 2002
Posts: 885
Likes: 2
From: Canberra - Aus
Nice progress.
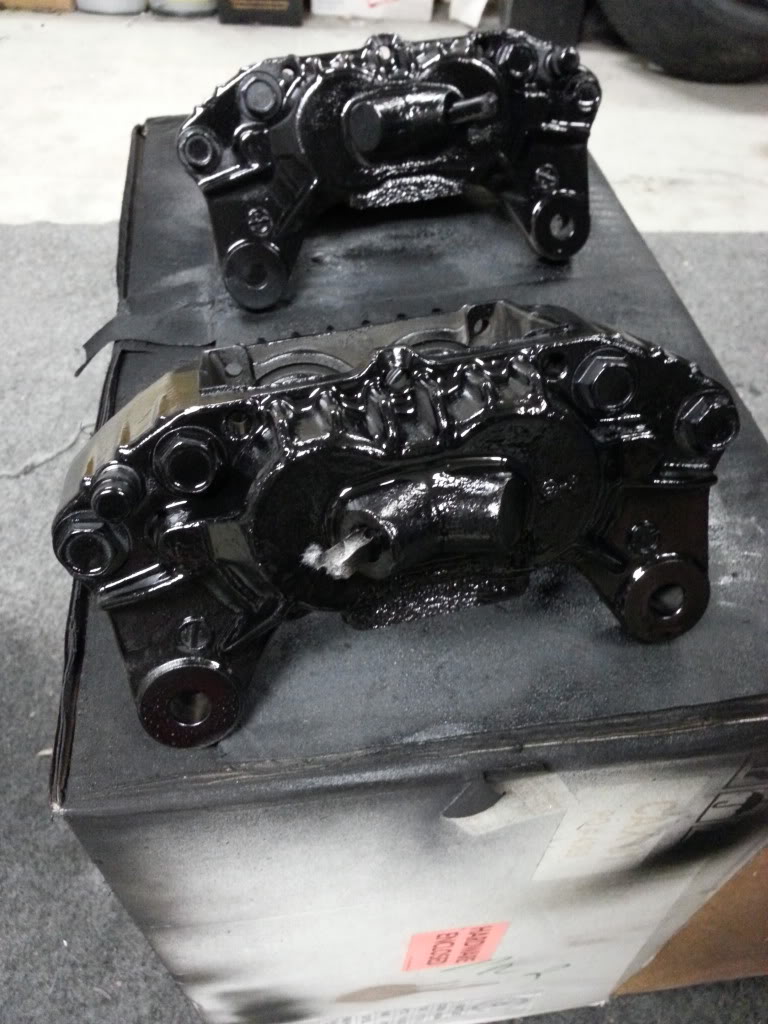
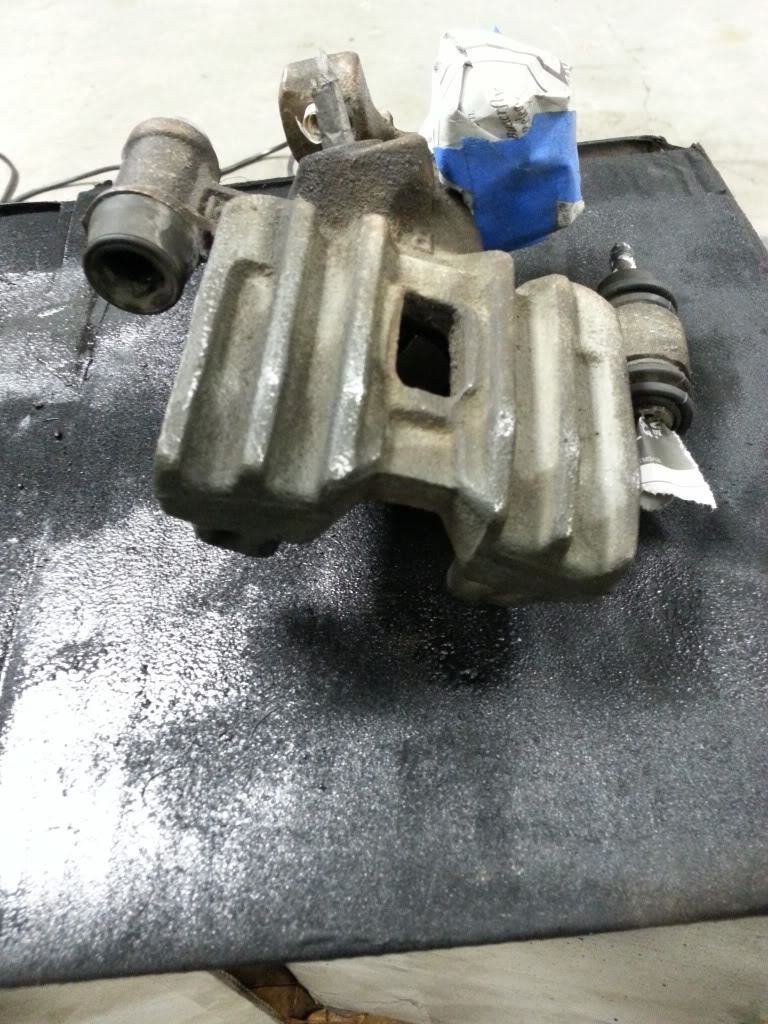
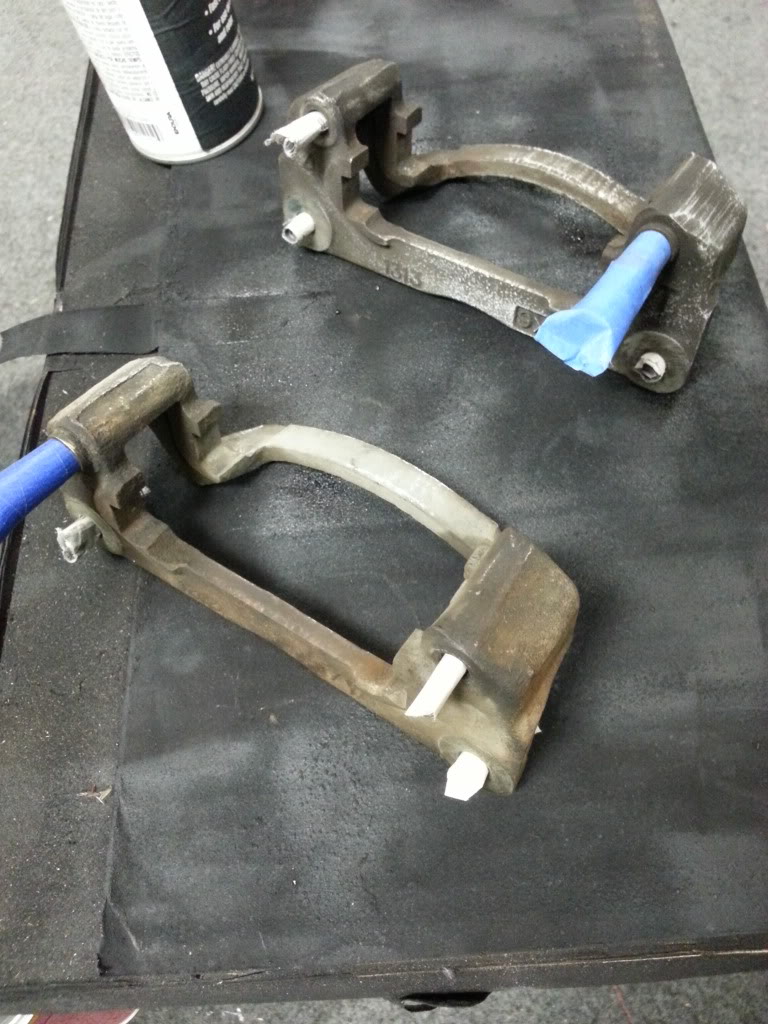
so we picked up another set of rear calipers and after making sure none of the bleeders or pistons were siezed we got to work
cleaned (lazily) and sanded
getting totally baked bruh

dicking around
finished
cleaned (lazily) and sanded


getting totally baked bruh

dicking around

finished


Internet Tough Guy
Joined: Jun 2013
Posts: 50
Likes: 0
From: Lakewood Ranch, Fl