When you click on links to various merchants on this site and make a purchase, this can result in this site earning a commission. Affiliate programs and affiliations include, but are not limited to, the eBay Partner Network.
nice work. The FPR would work nice where that black bracket it currently mounted on the firewall to the left of the booster. I have seen a few guys run it there.
Thanks for looking out for me man, I would love to mount it with a bracket on the UIM bolts but then it would be right above the exhaust which would scare me. I also would like to mount it in that location with the AC line bracket but then nothing would be holding up the AC line haha, maybe I could move that bracket to the left and make a new support, and then put the FPR in its place. Not sure but I've got to decide soon.
I realize most of you don't use instagram and wouldn't have seen the progress video clips that I posted at the end of last year so here they all are. I still plan on compiling a full video but the current one I have going is 30 mins long and 20 gb haha (over 10,000 photos) so I need to get around to compressing that further eventually. The other problem is that none of my youtube accounts will allow me to post videos nor am I allowed to make a new account. I don't know what the deal is with that haha
These clips are all 14 ish seconds of photos taken at a 30 second burst rate. The videos are usually a mix of a some initial progress and some further along progress
I got some work done on the fuel system a few weeks ago but I was moving and my new place doesnt have internet yet so I didnt get to update
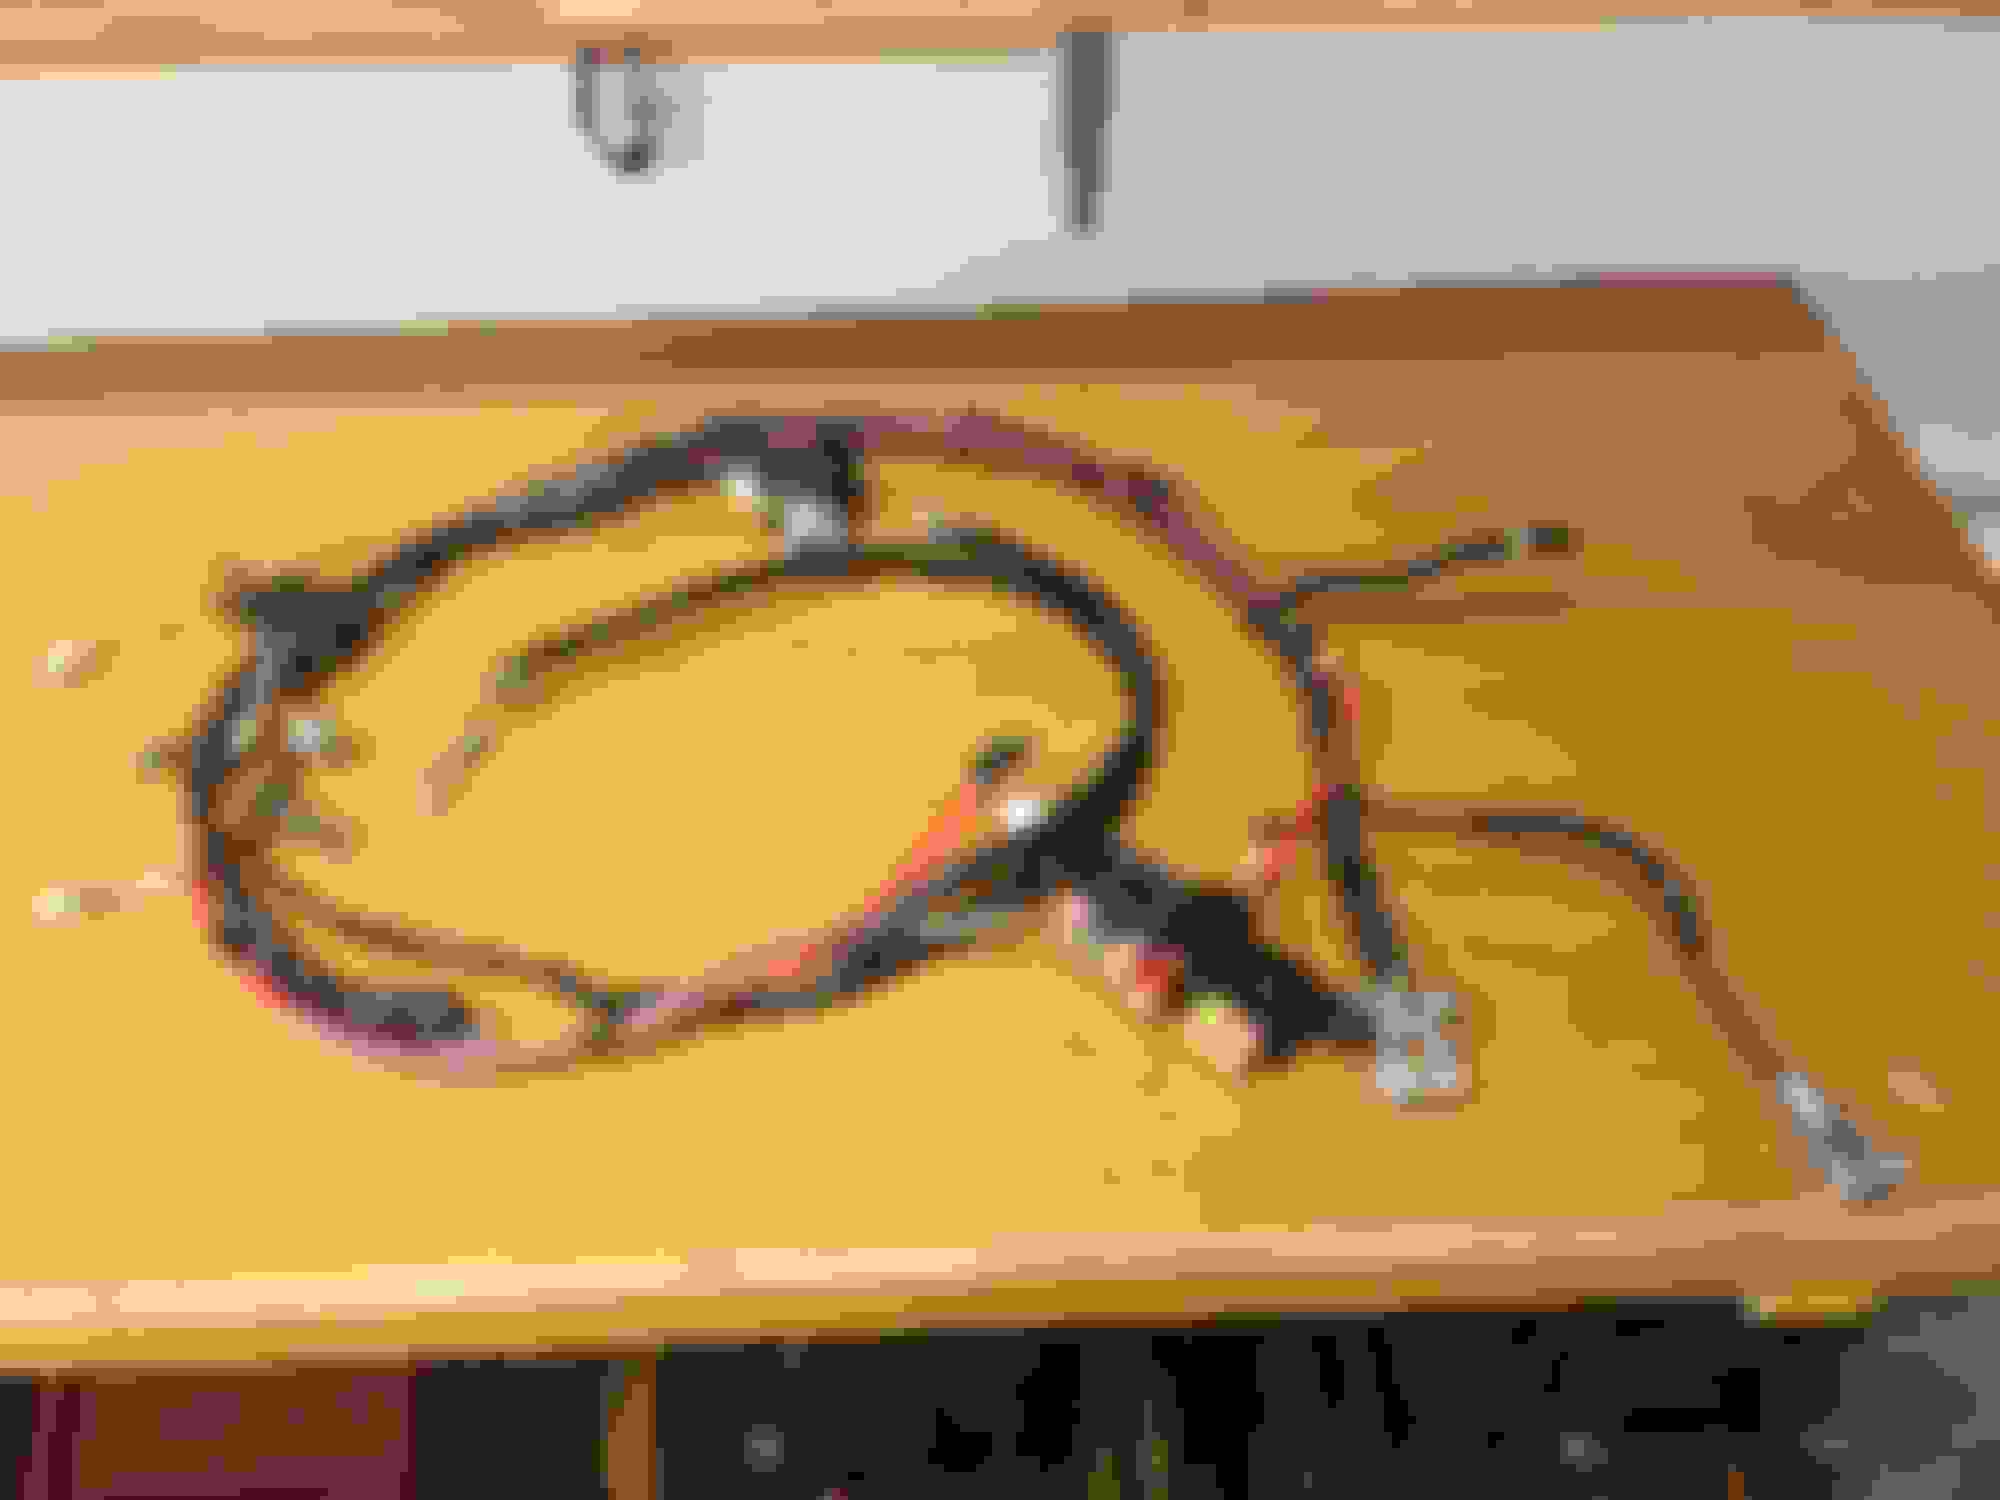
My last post left off redoing the coolant system gaskets and then taking out the front harness. Since then I was working on replacing the wires which were melted starting with the positve battery wire to the starter. I replaced this one with a 2 gauge wire and terminal but wasn't able to find a proper rubber insulator and was forced to reuse that one.
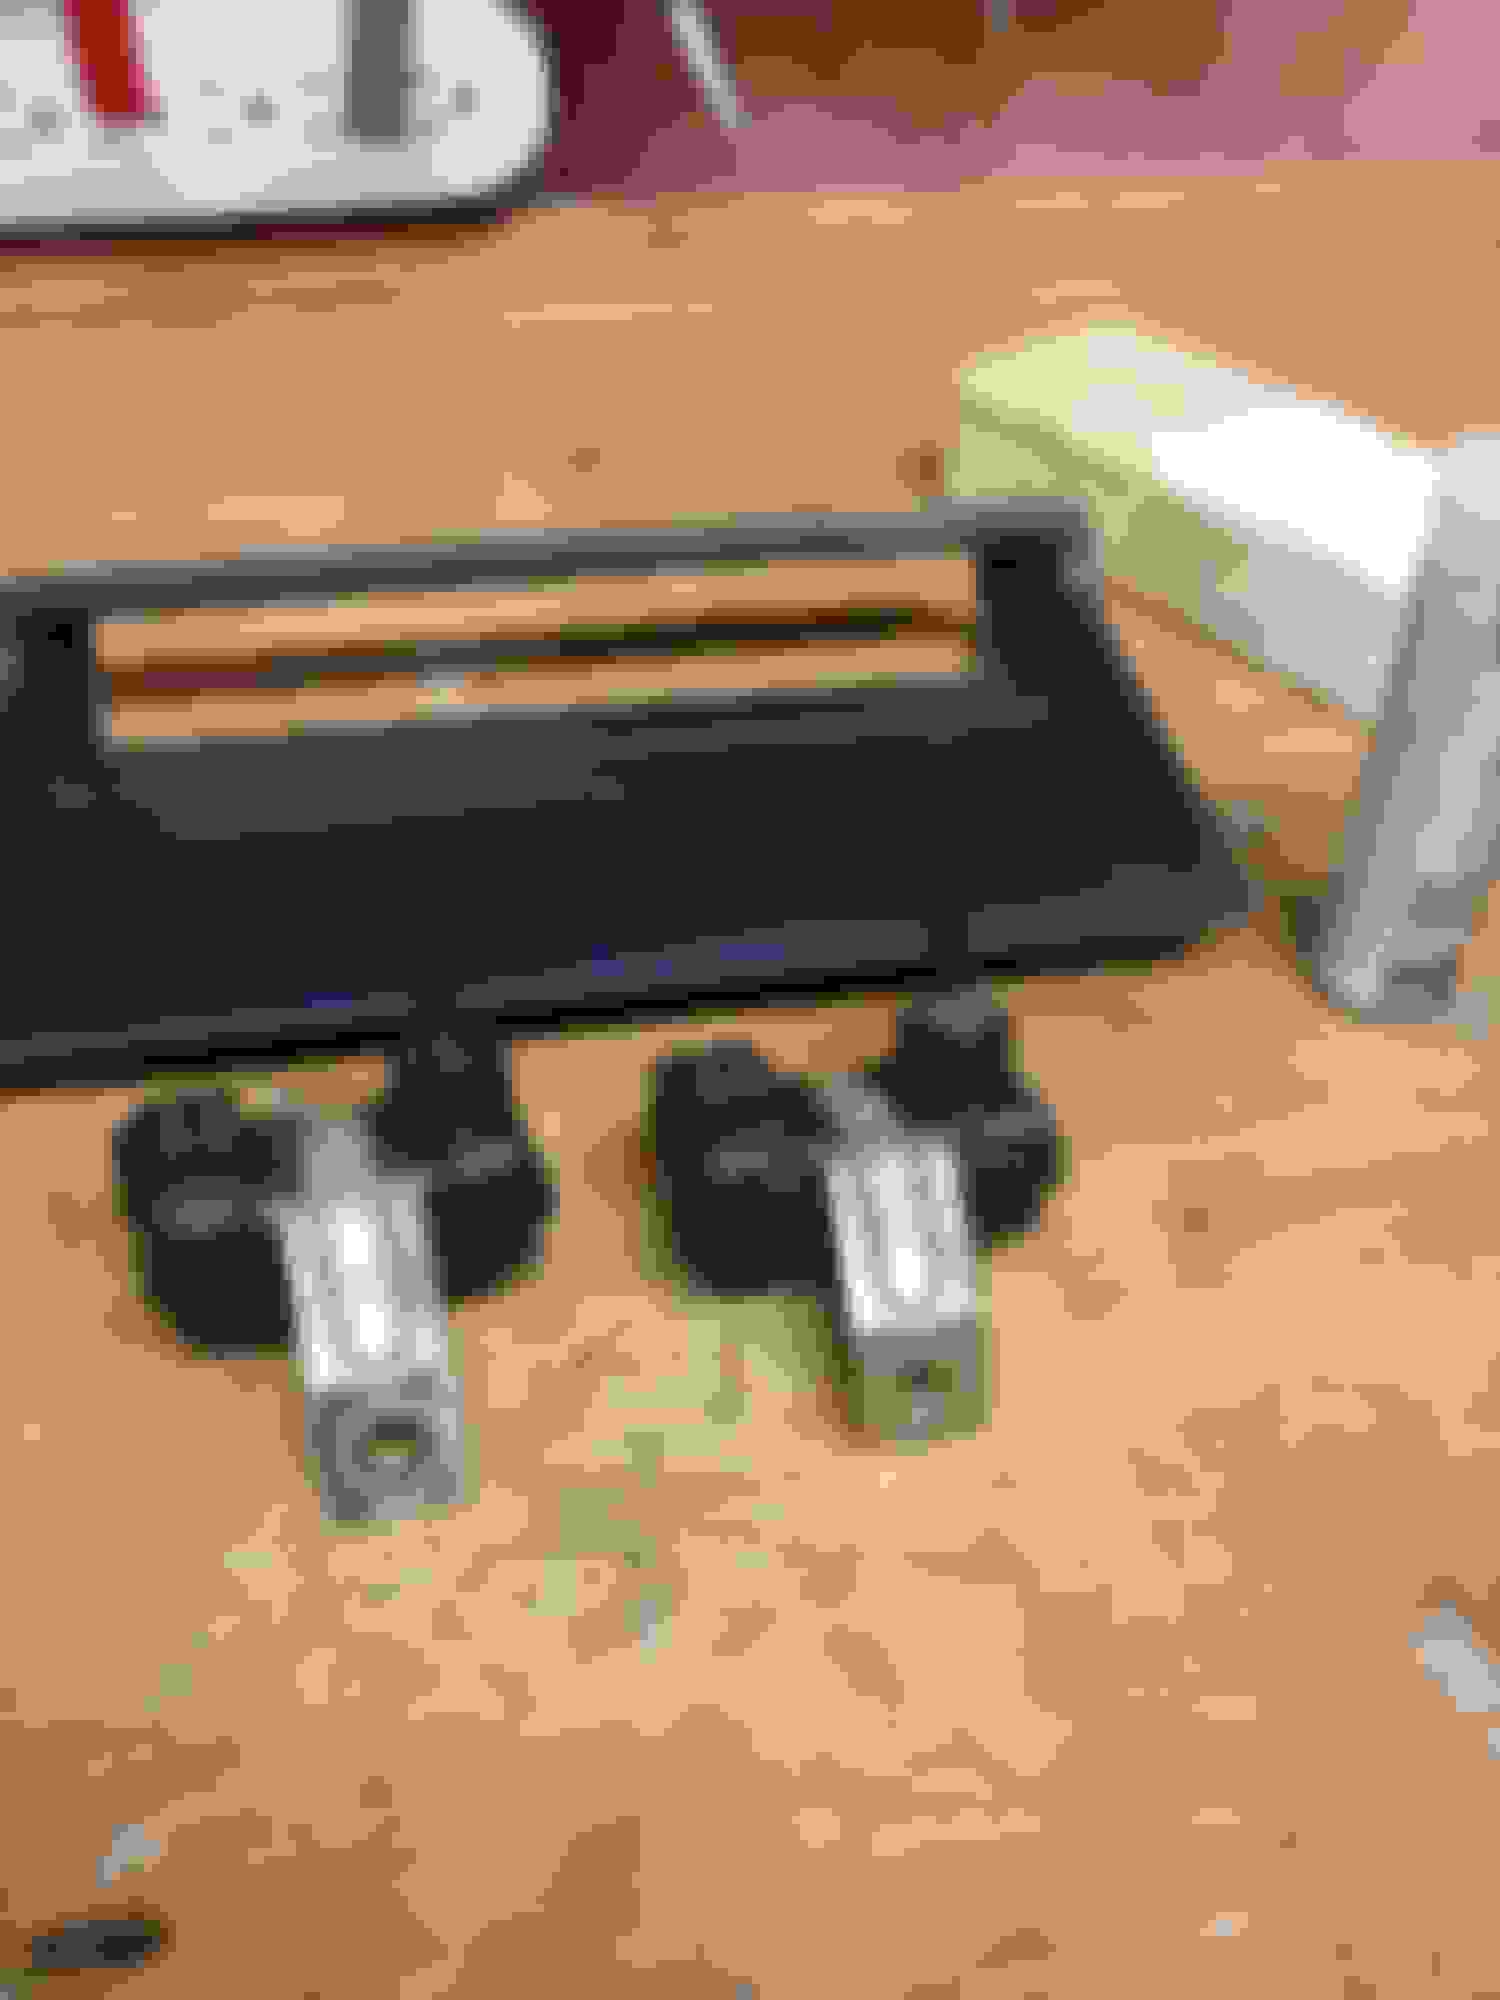
Trying out the new wire with a bent terminal to try and match the original
new wire with reused insulator compared to old melted wire
testing out the new wire and insulation
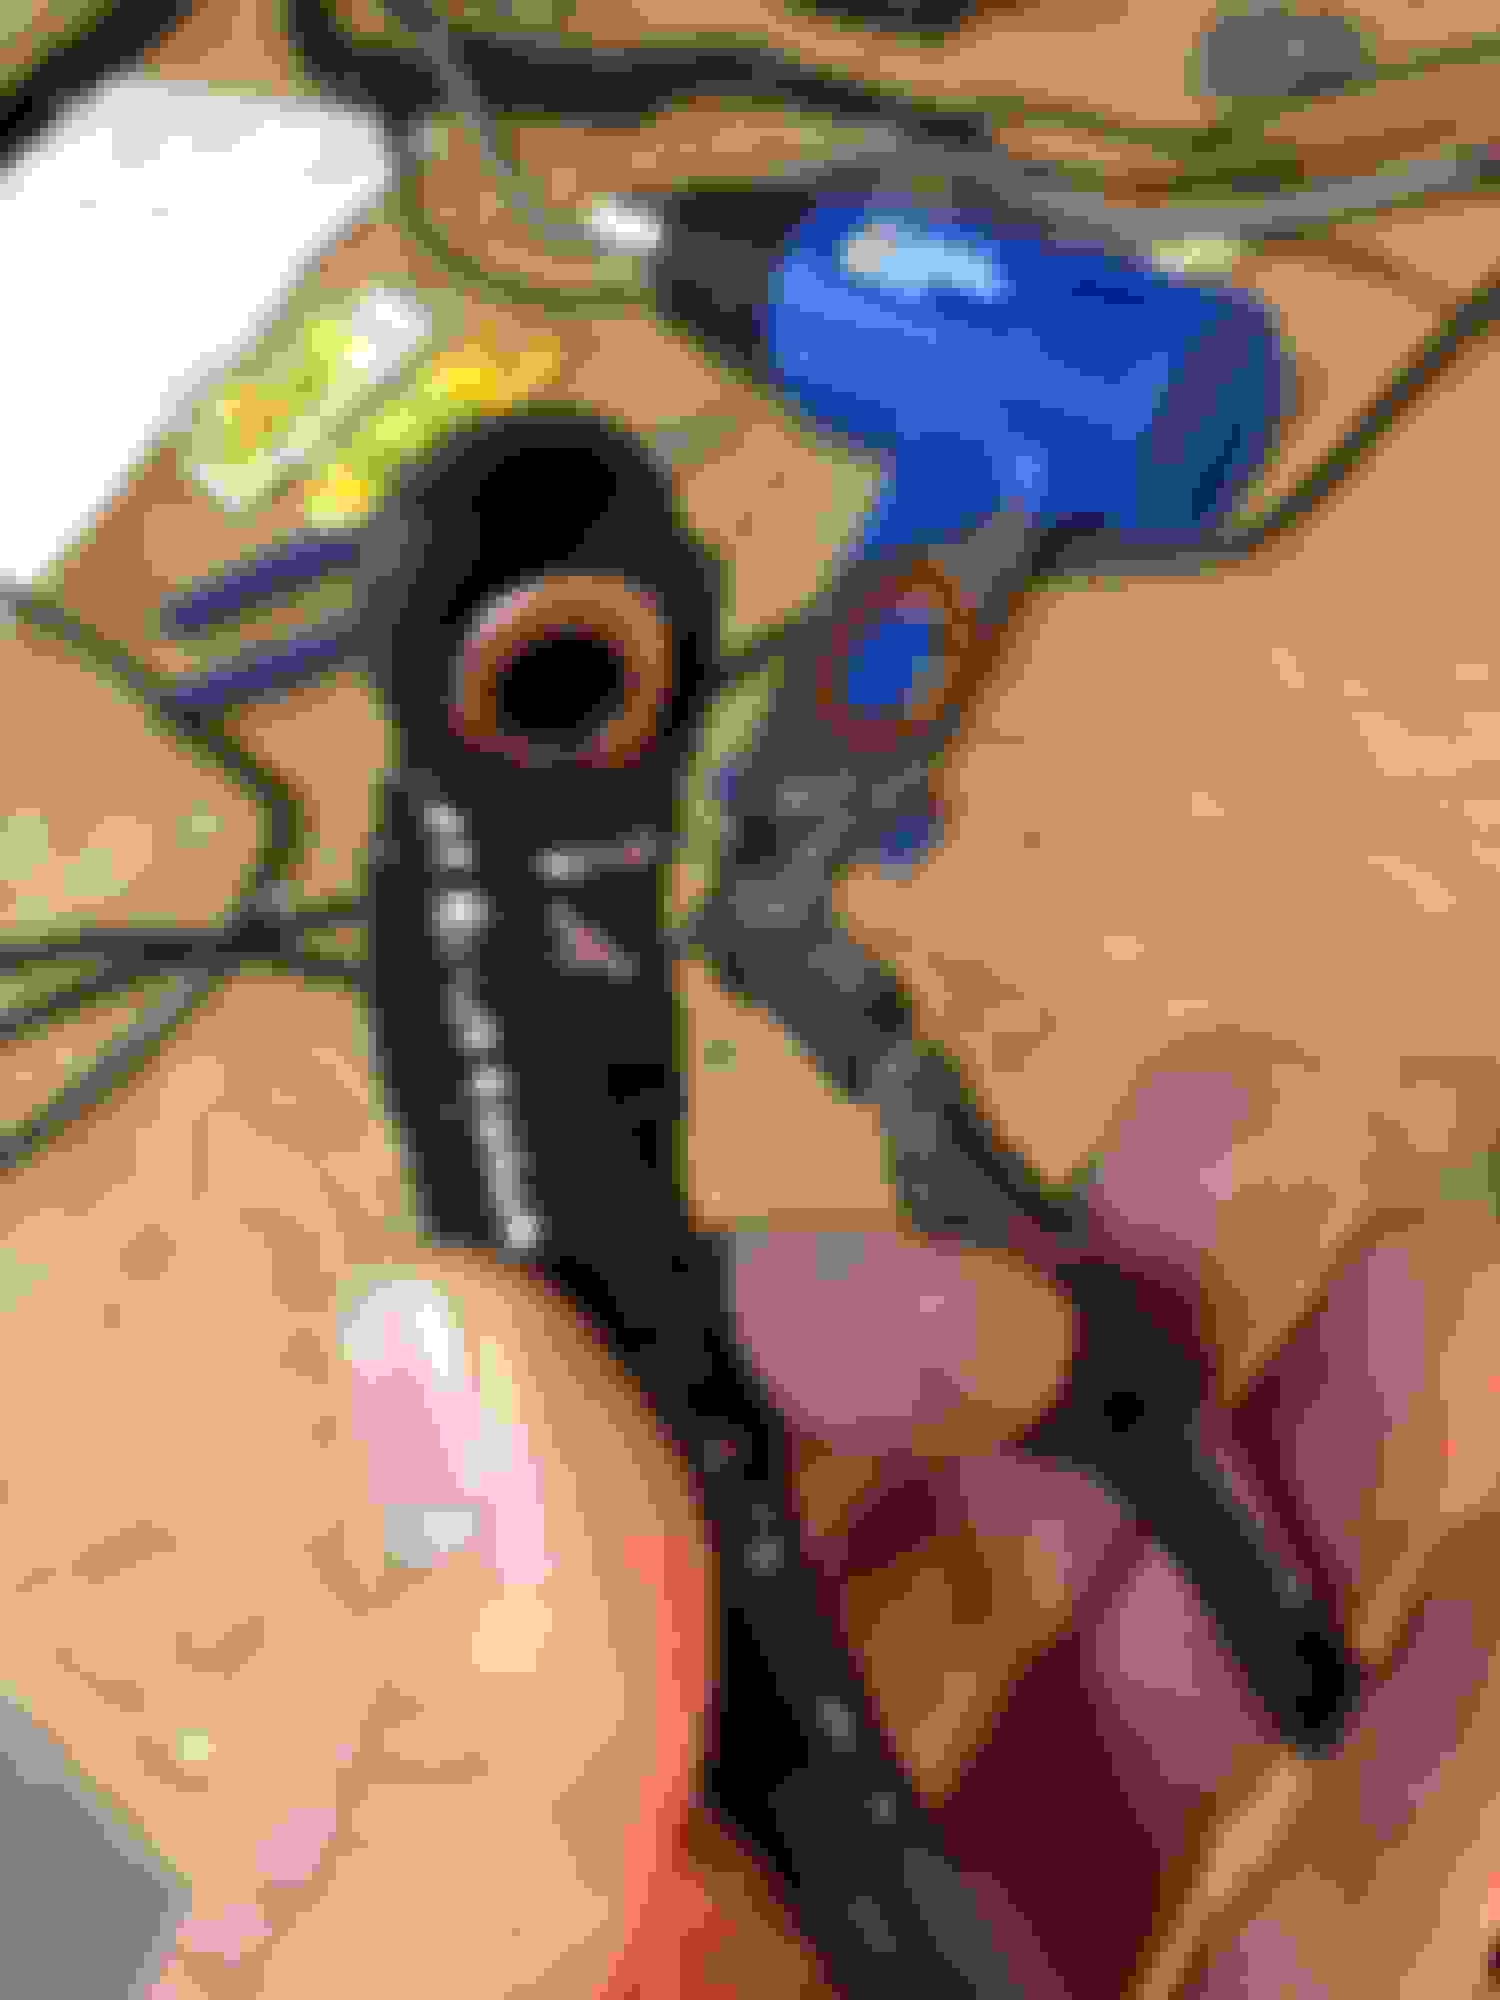
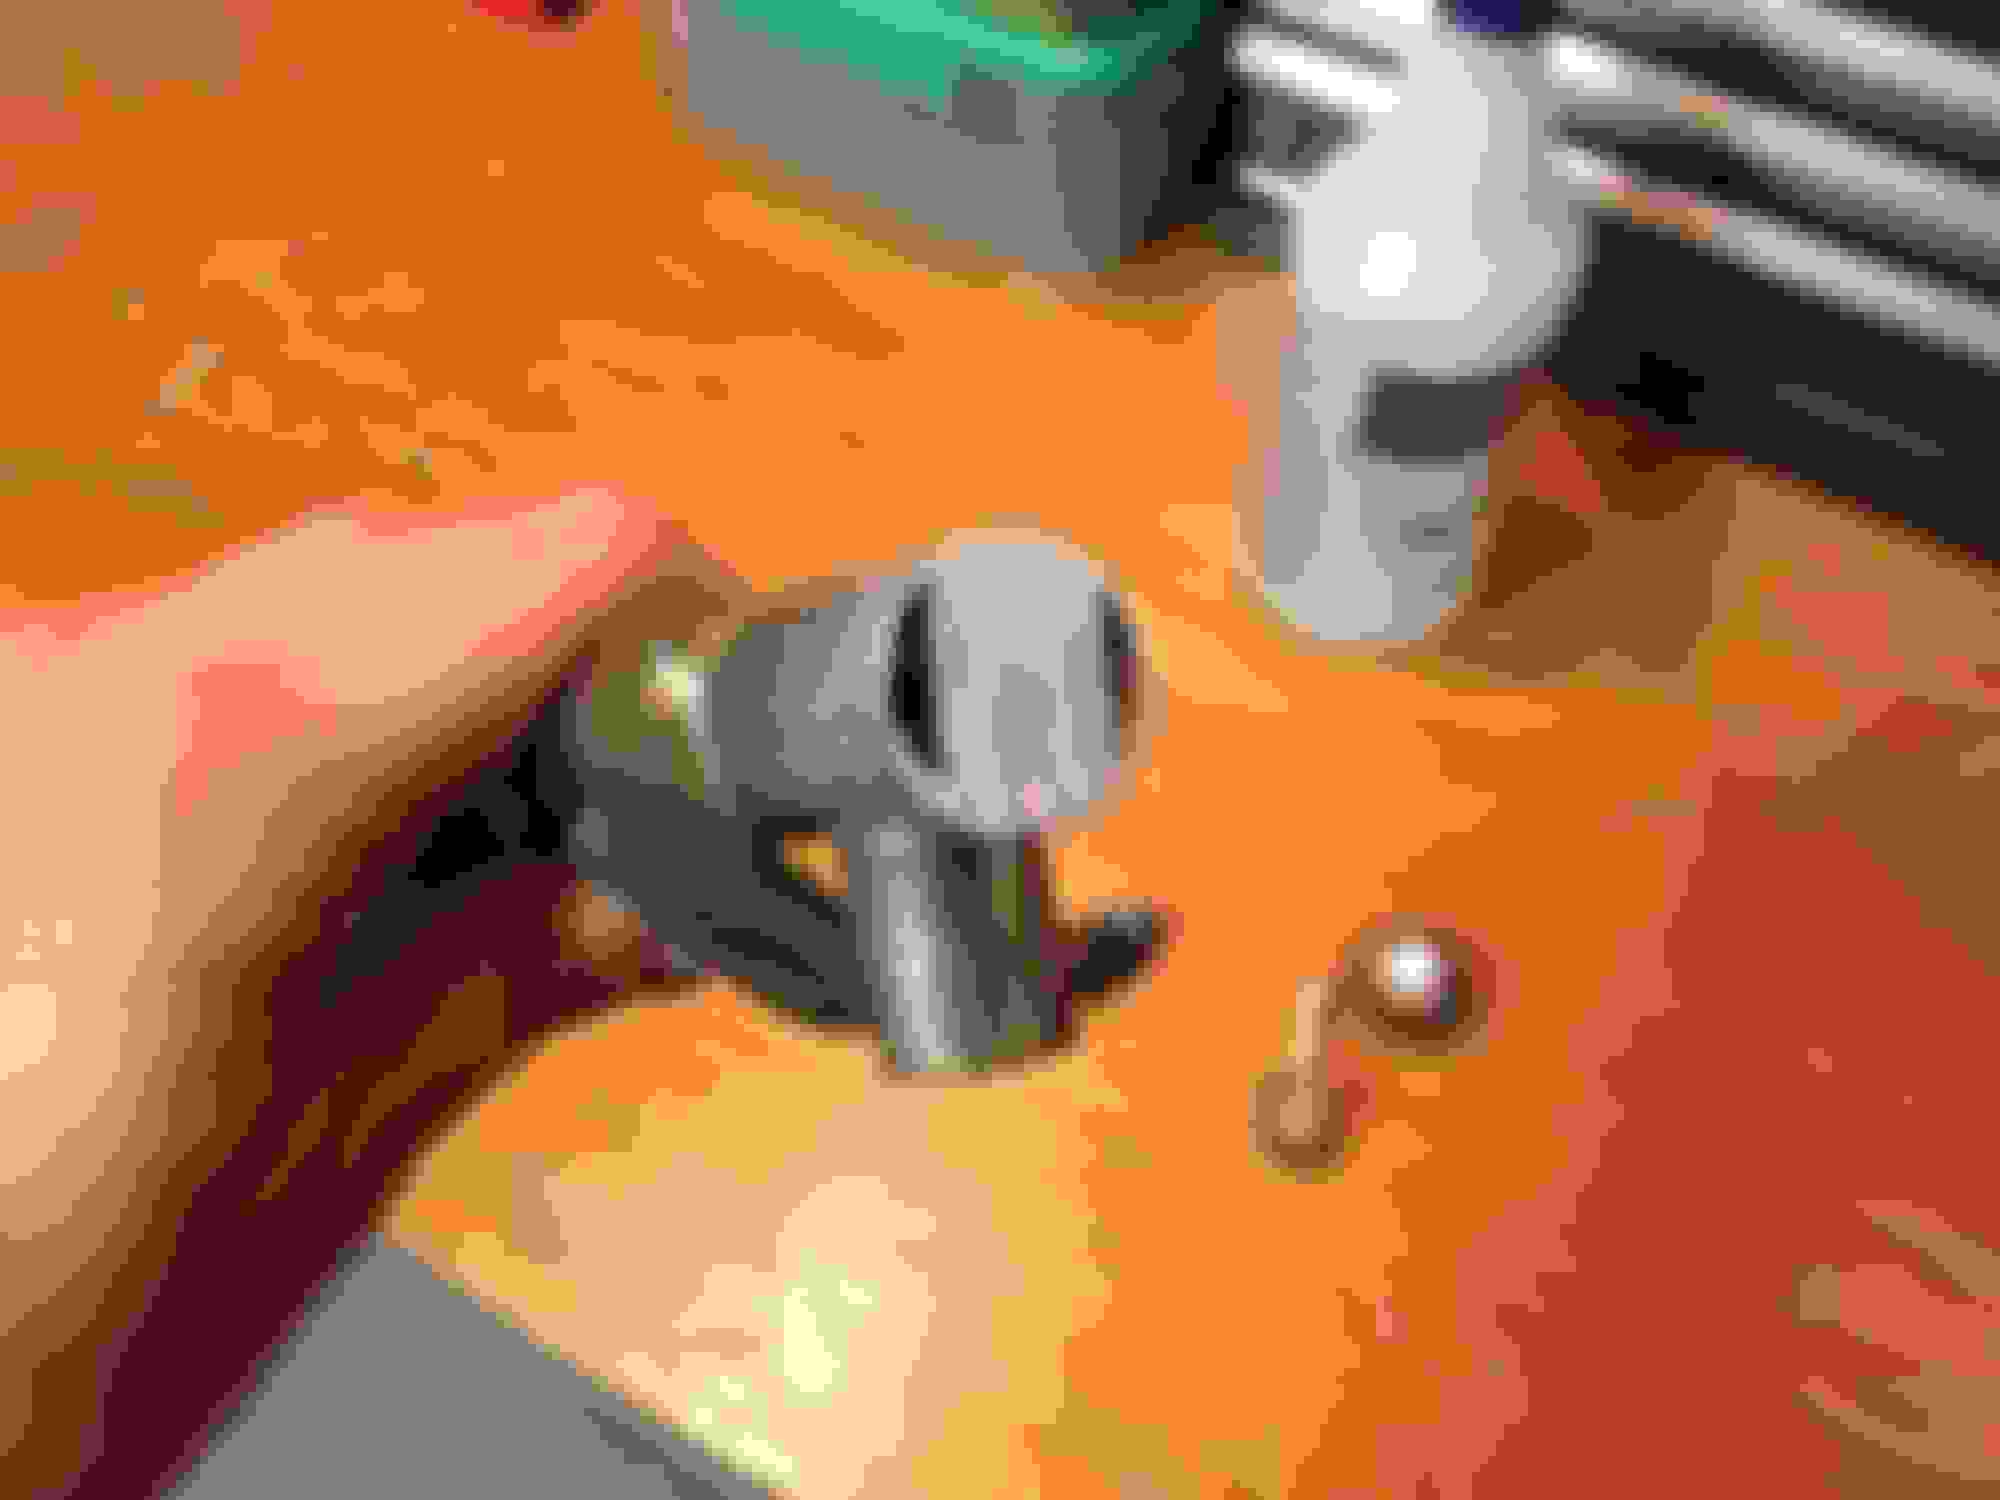
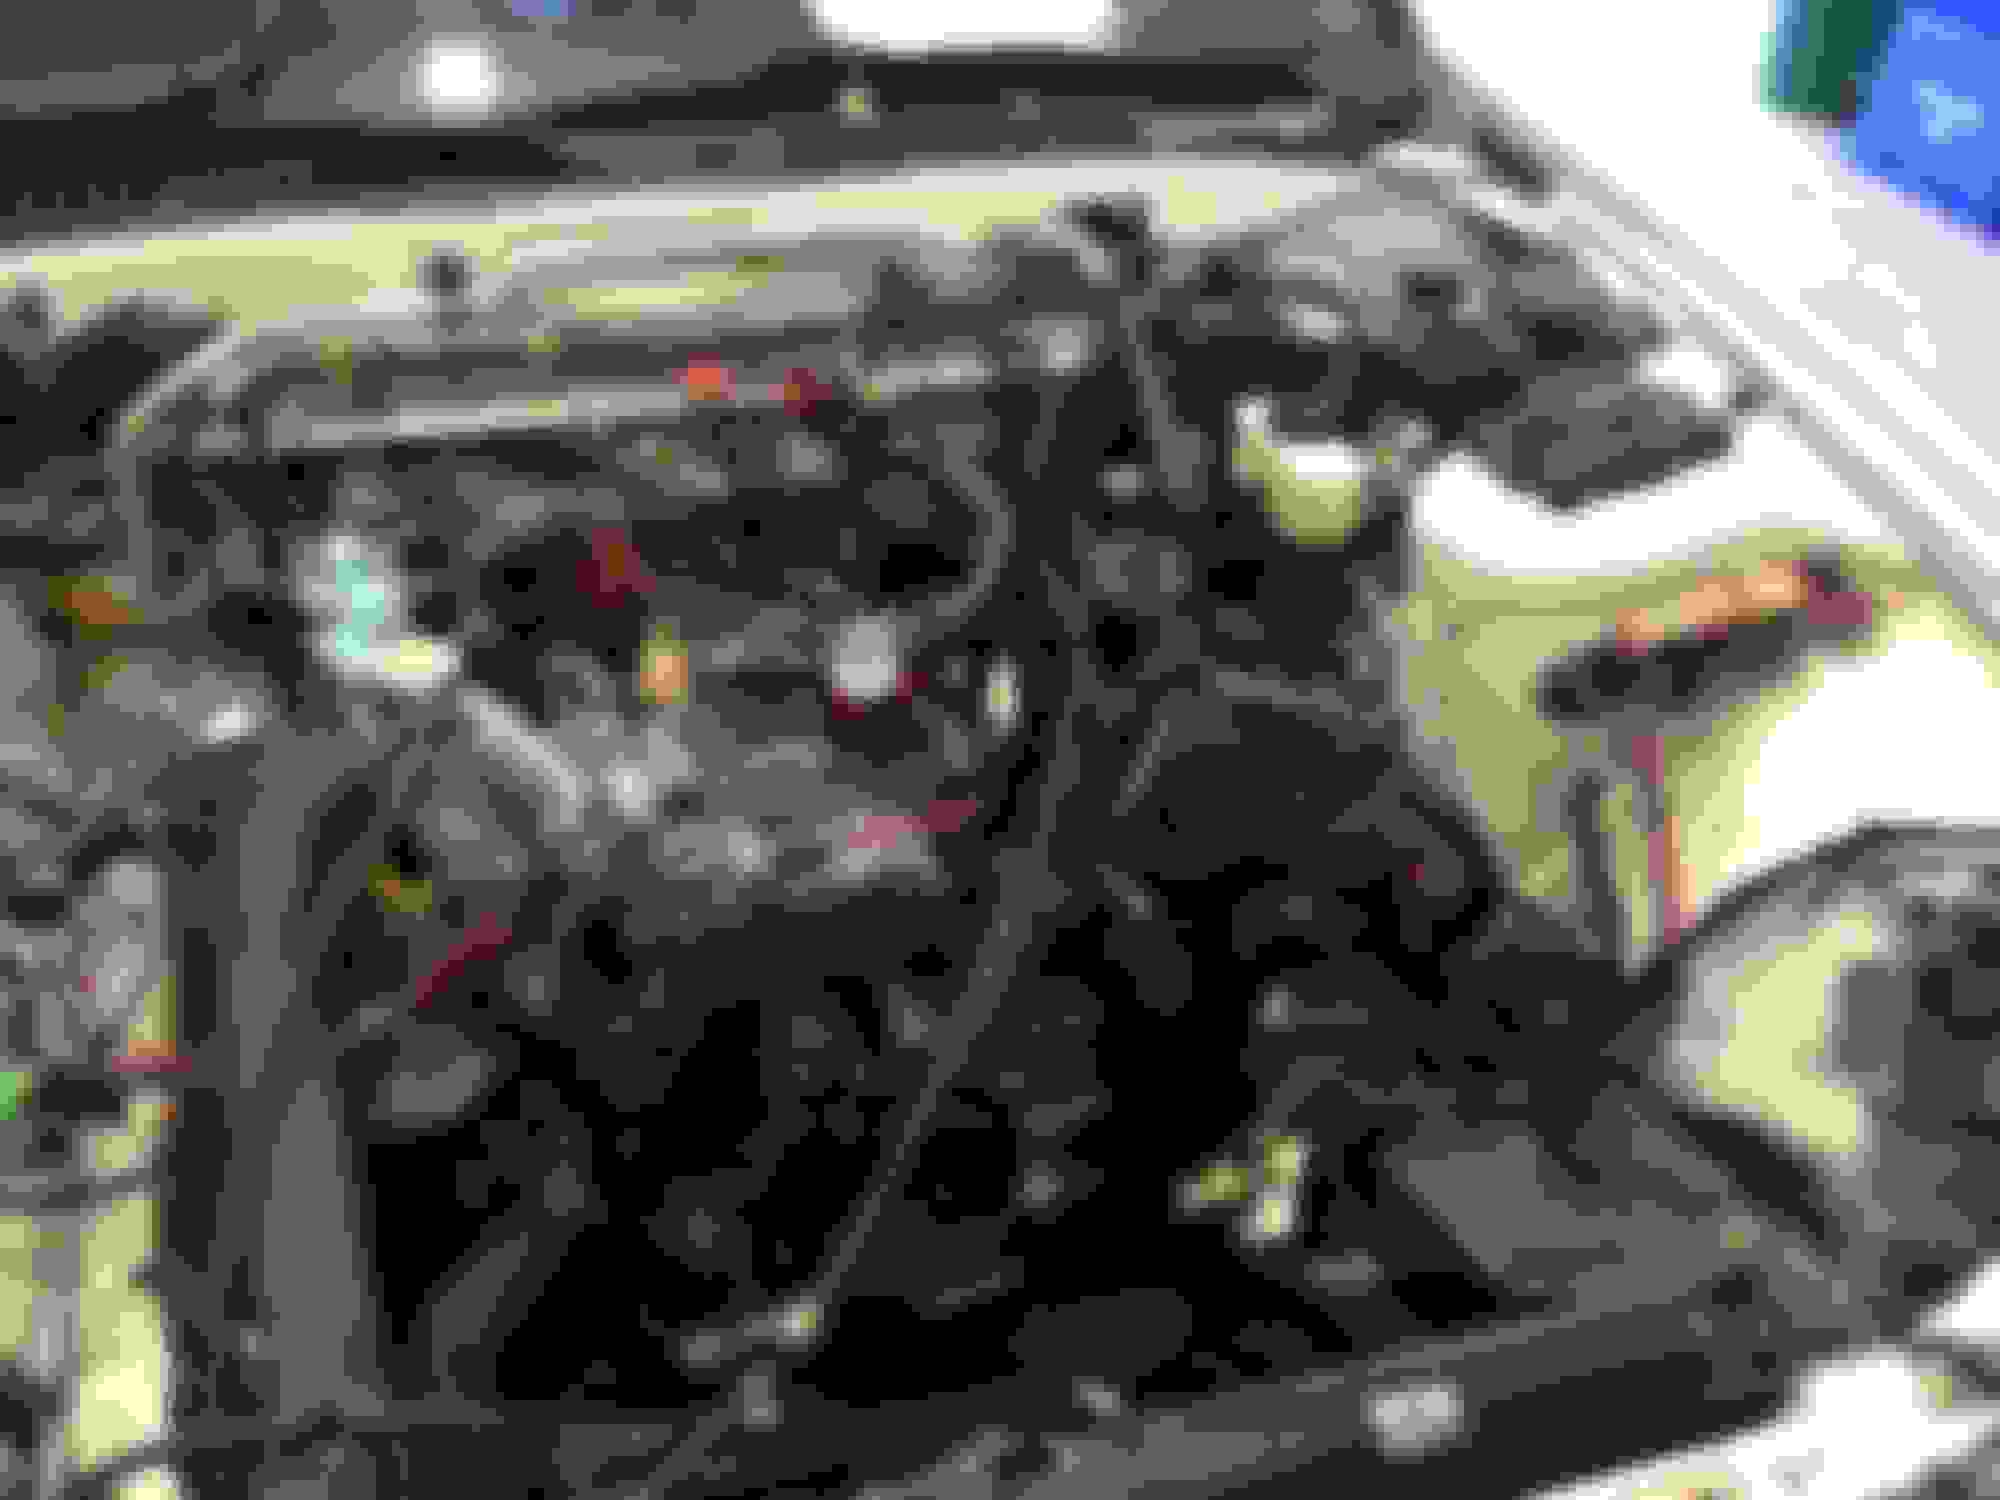
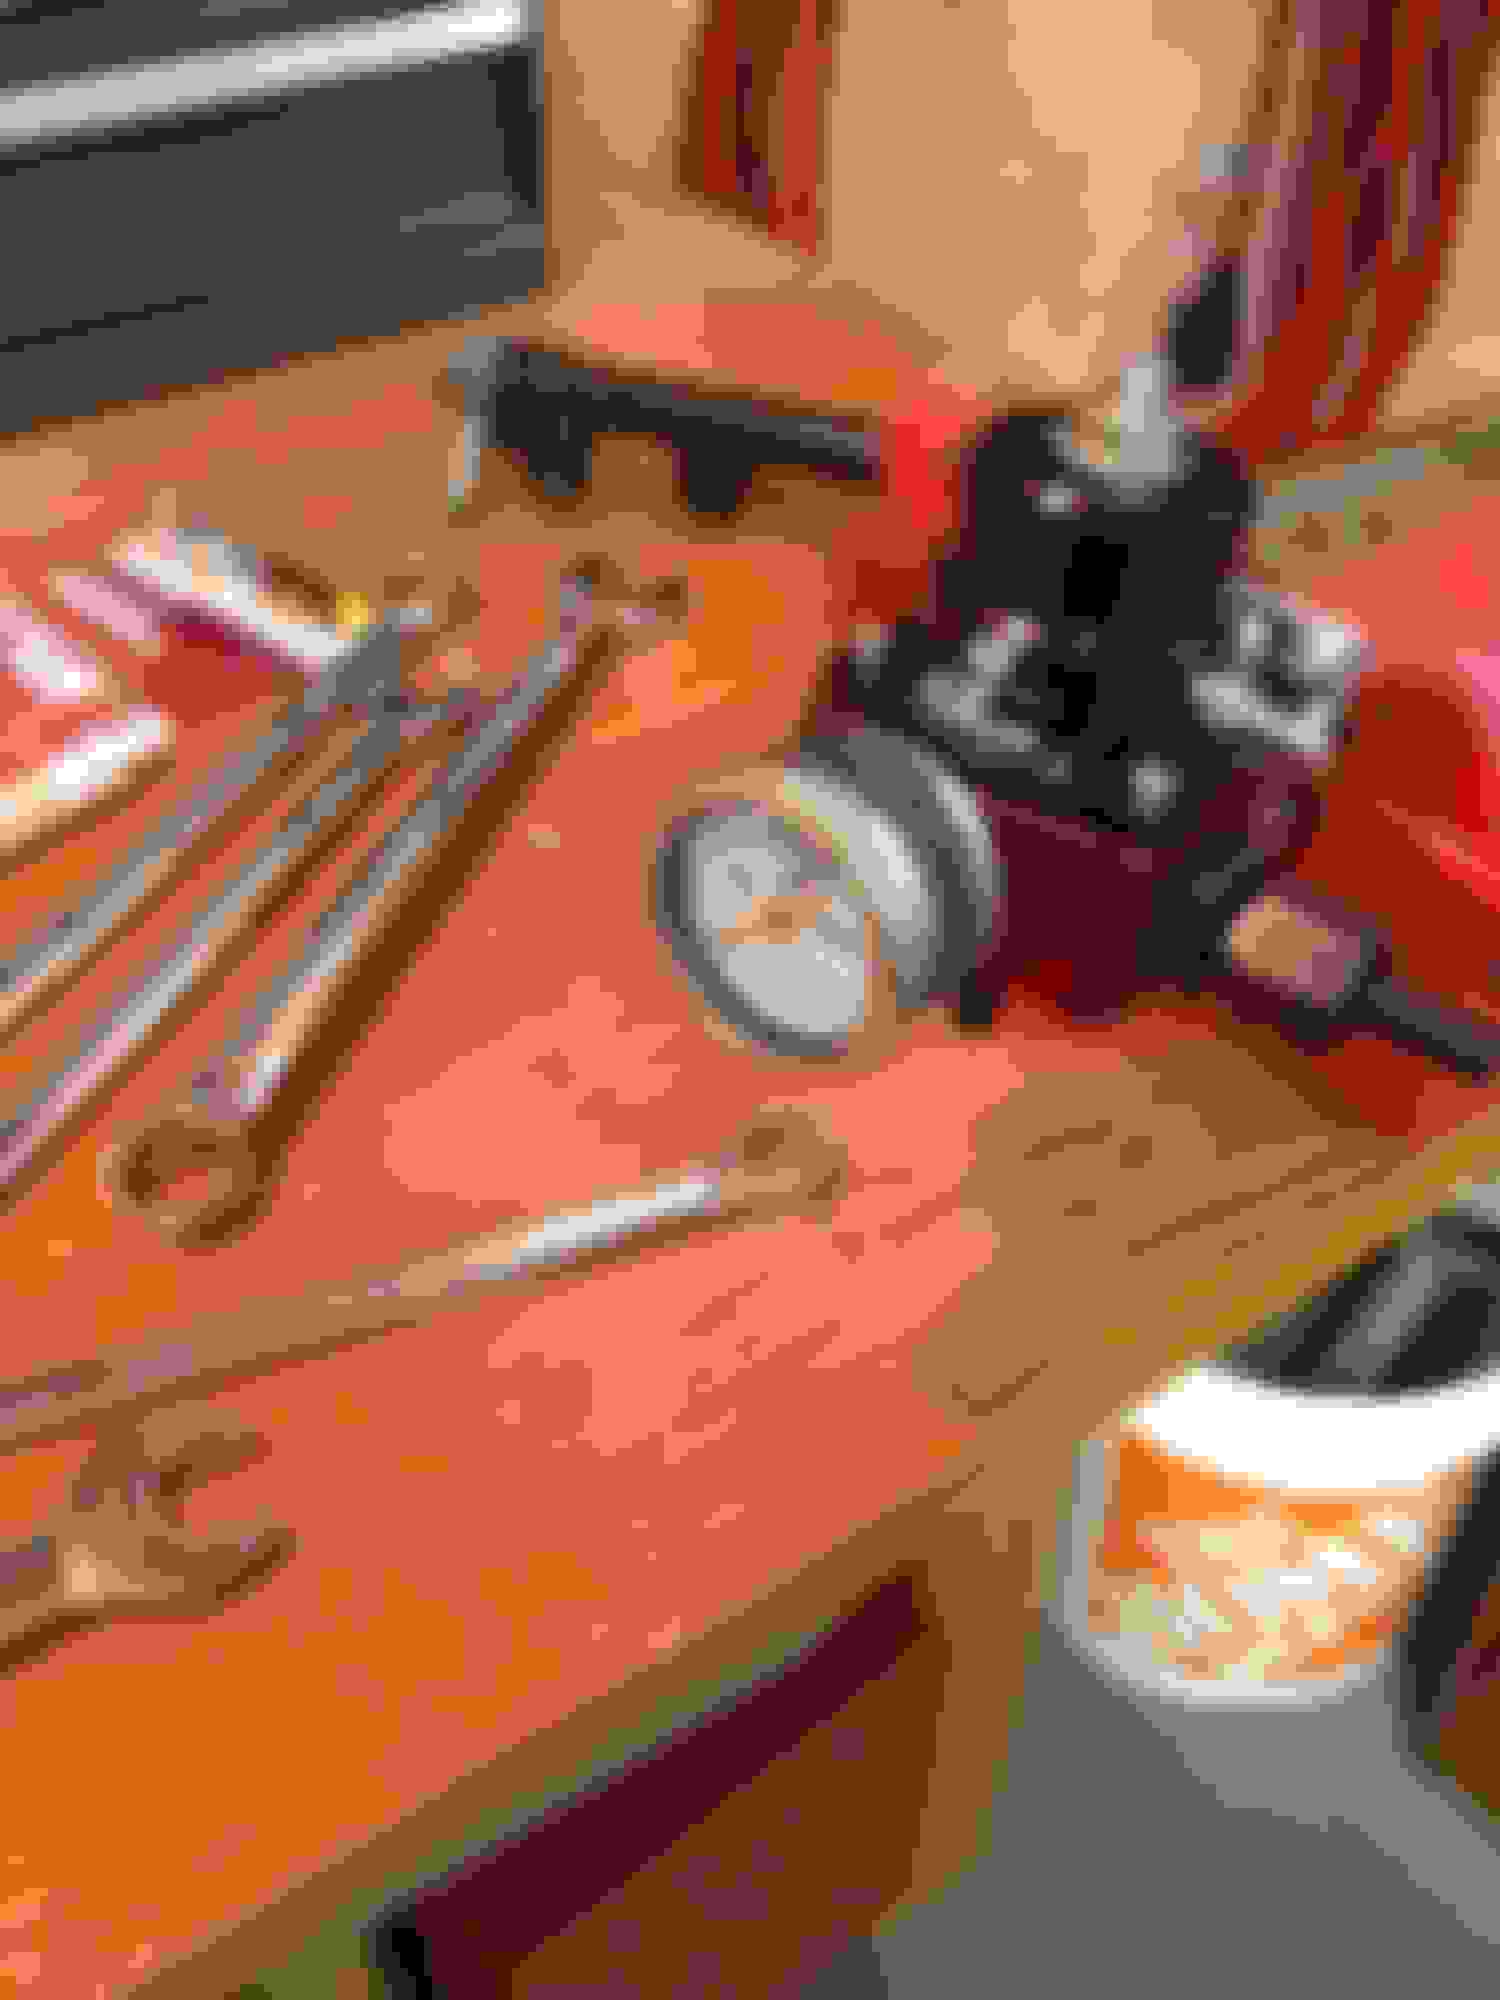
Last time I posted I was trying to find a good location to put my FPR. I was going to mount new the trailing coil pack but I wanted to mount it somewhere on the block. I finally found an unused bolt on the throttle body which I could make an angled bracket off of and still read the gauge. This is it installed with a very flimsy bracket at first
That first bracket was way too flimsy so I made a second one out of a thicker steel. This one wont vibrate like crazy as the other one was
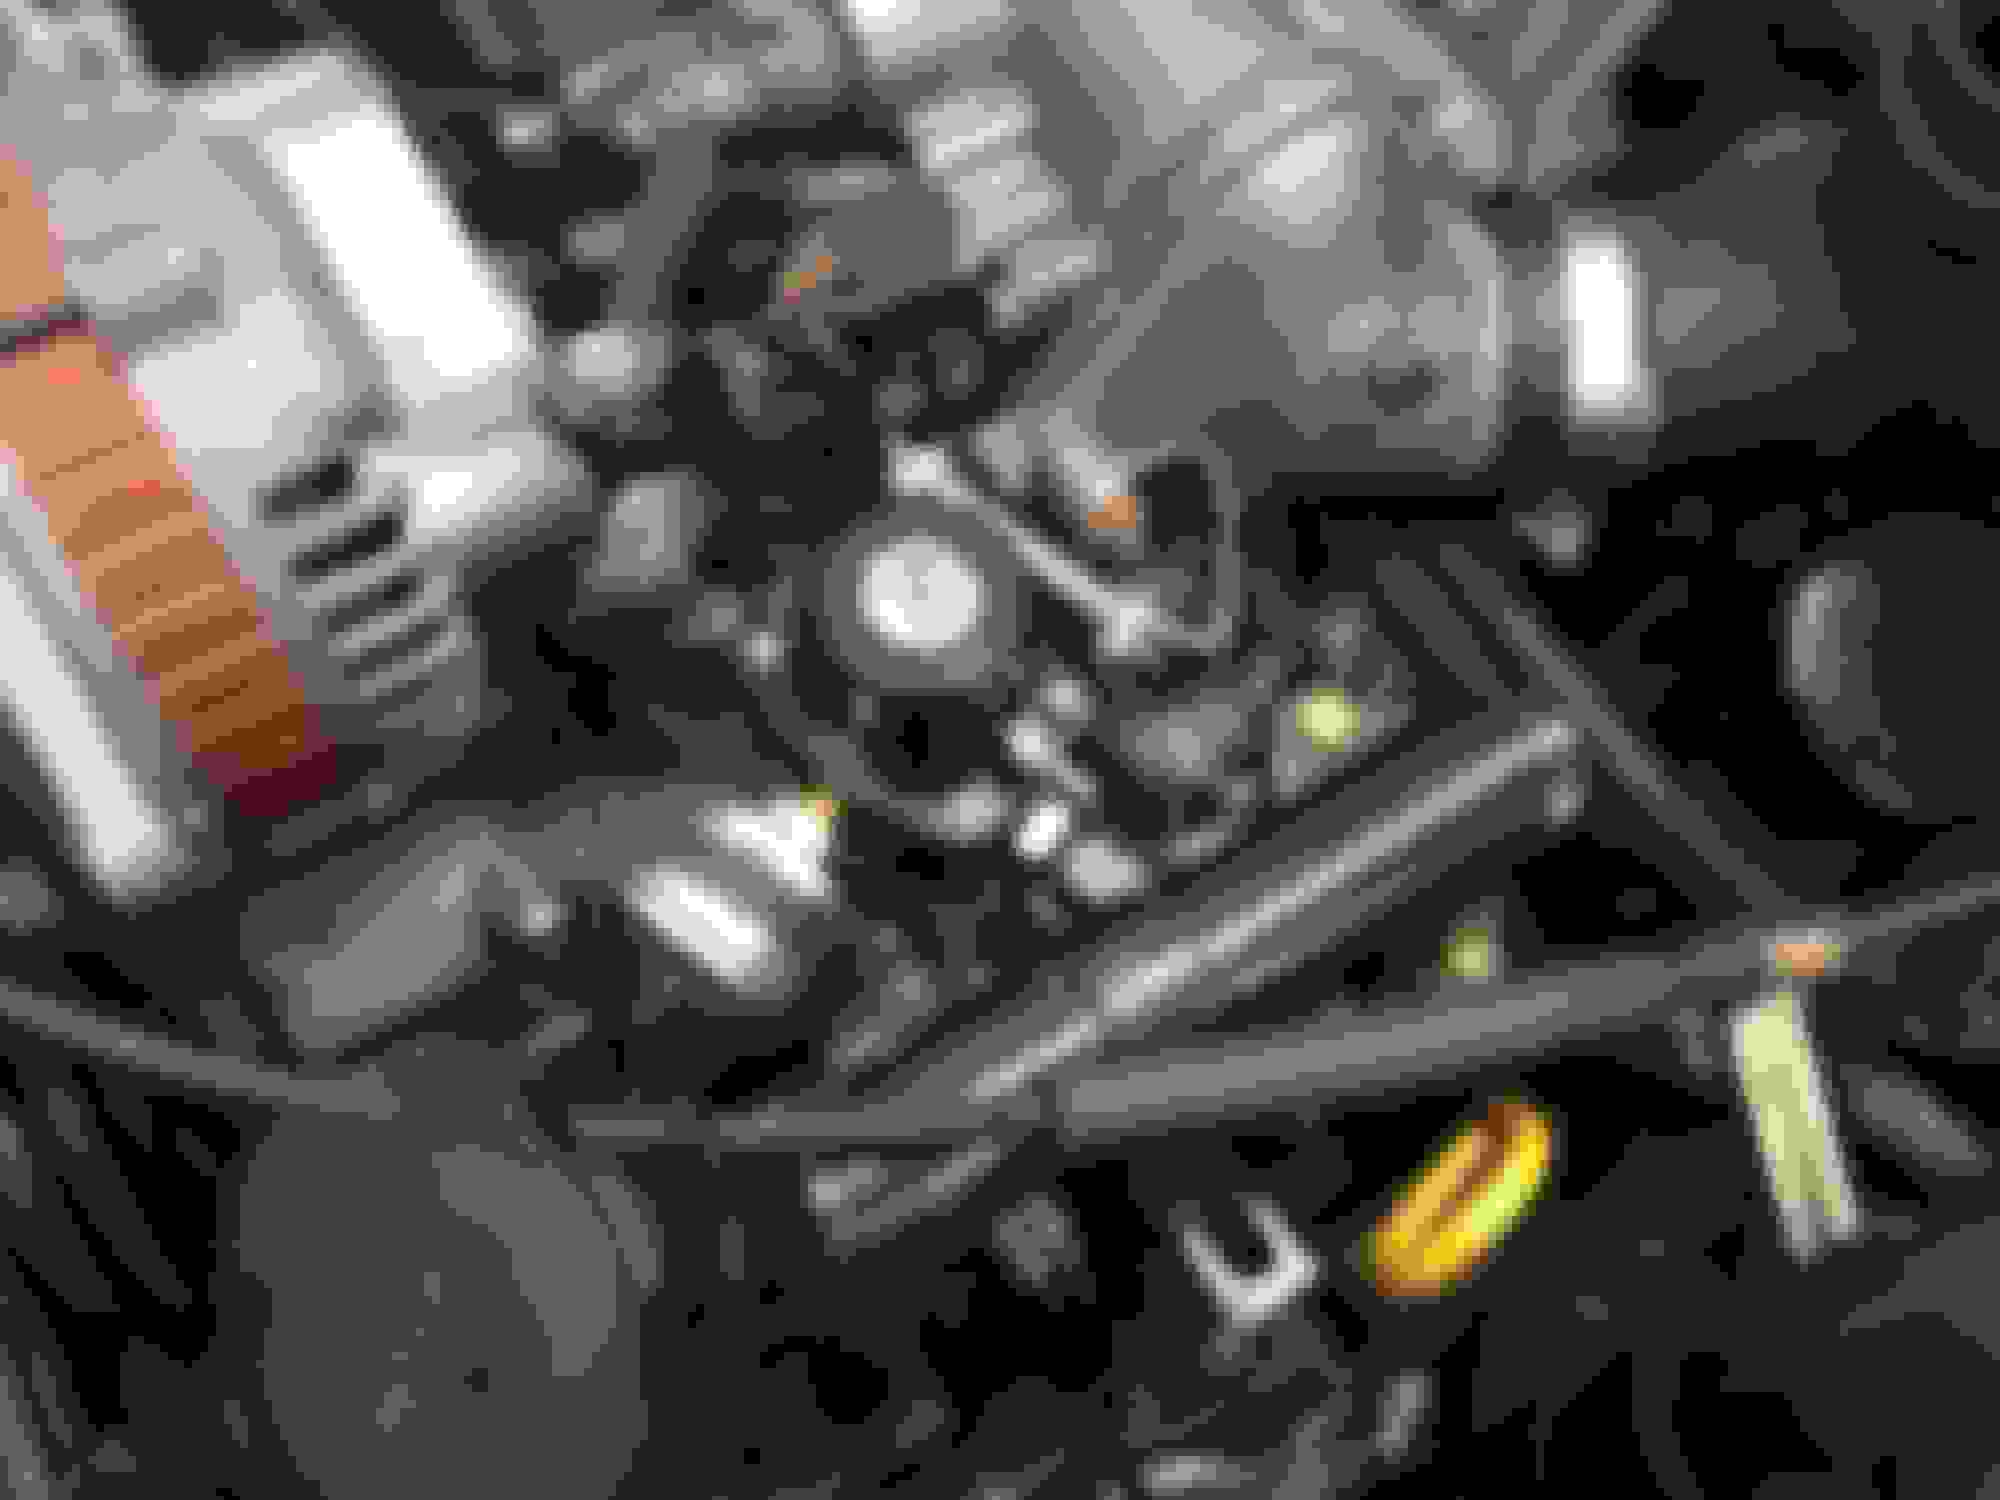
It sits in an empty area just below the intercooler which I think is perfect. Theres enough room around it that I can fit all the lines onto it without making any crazy bends
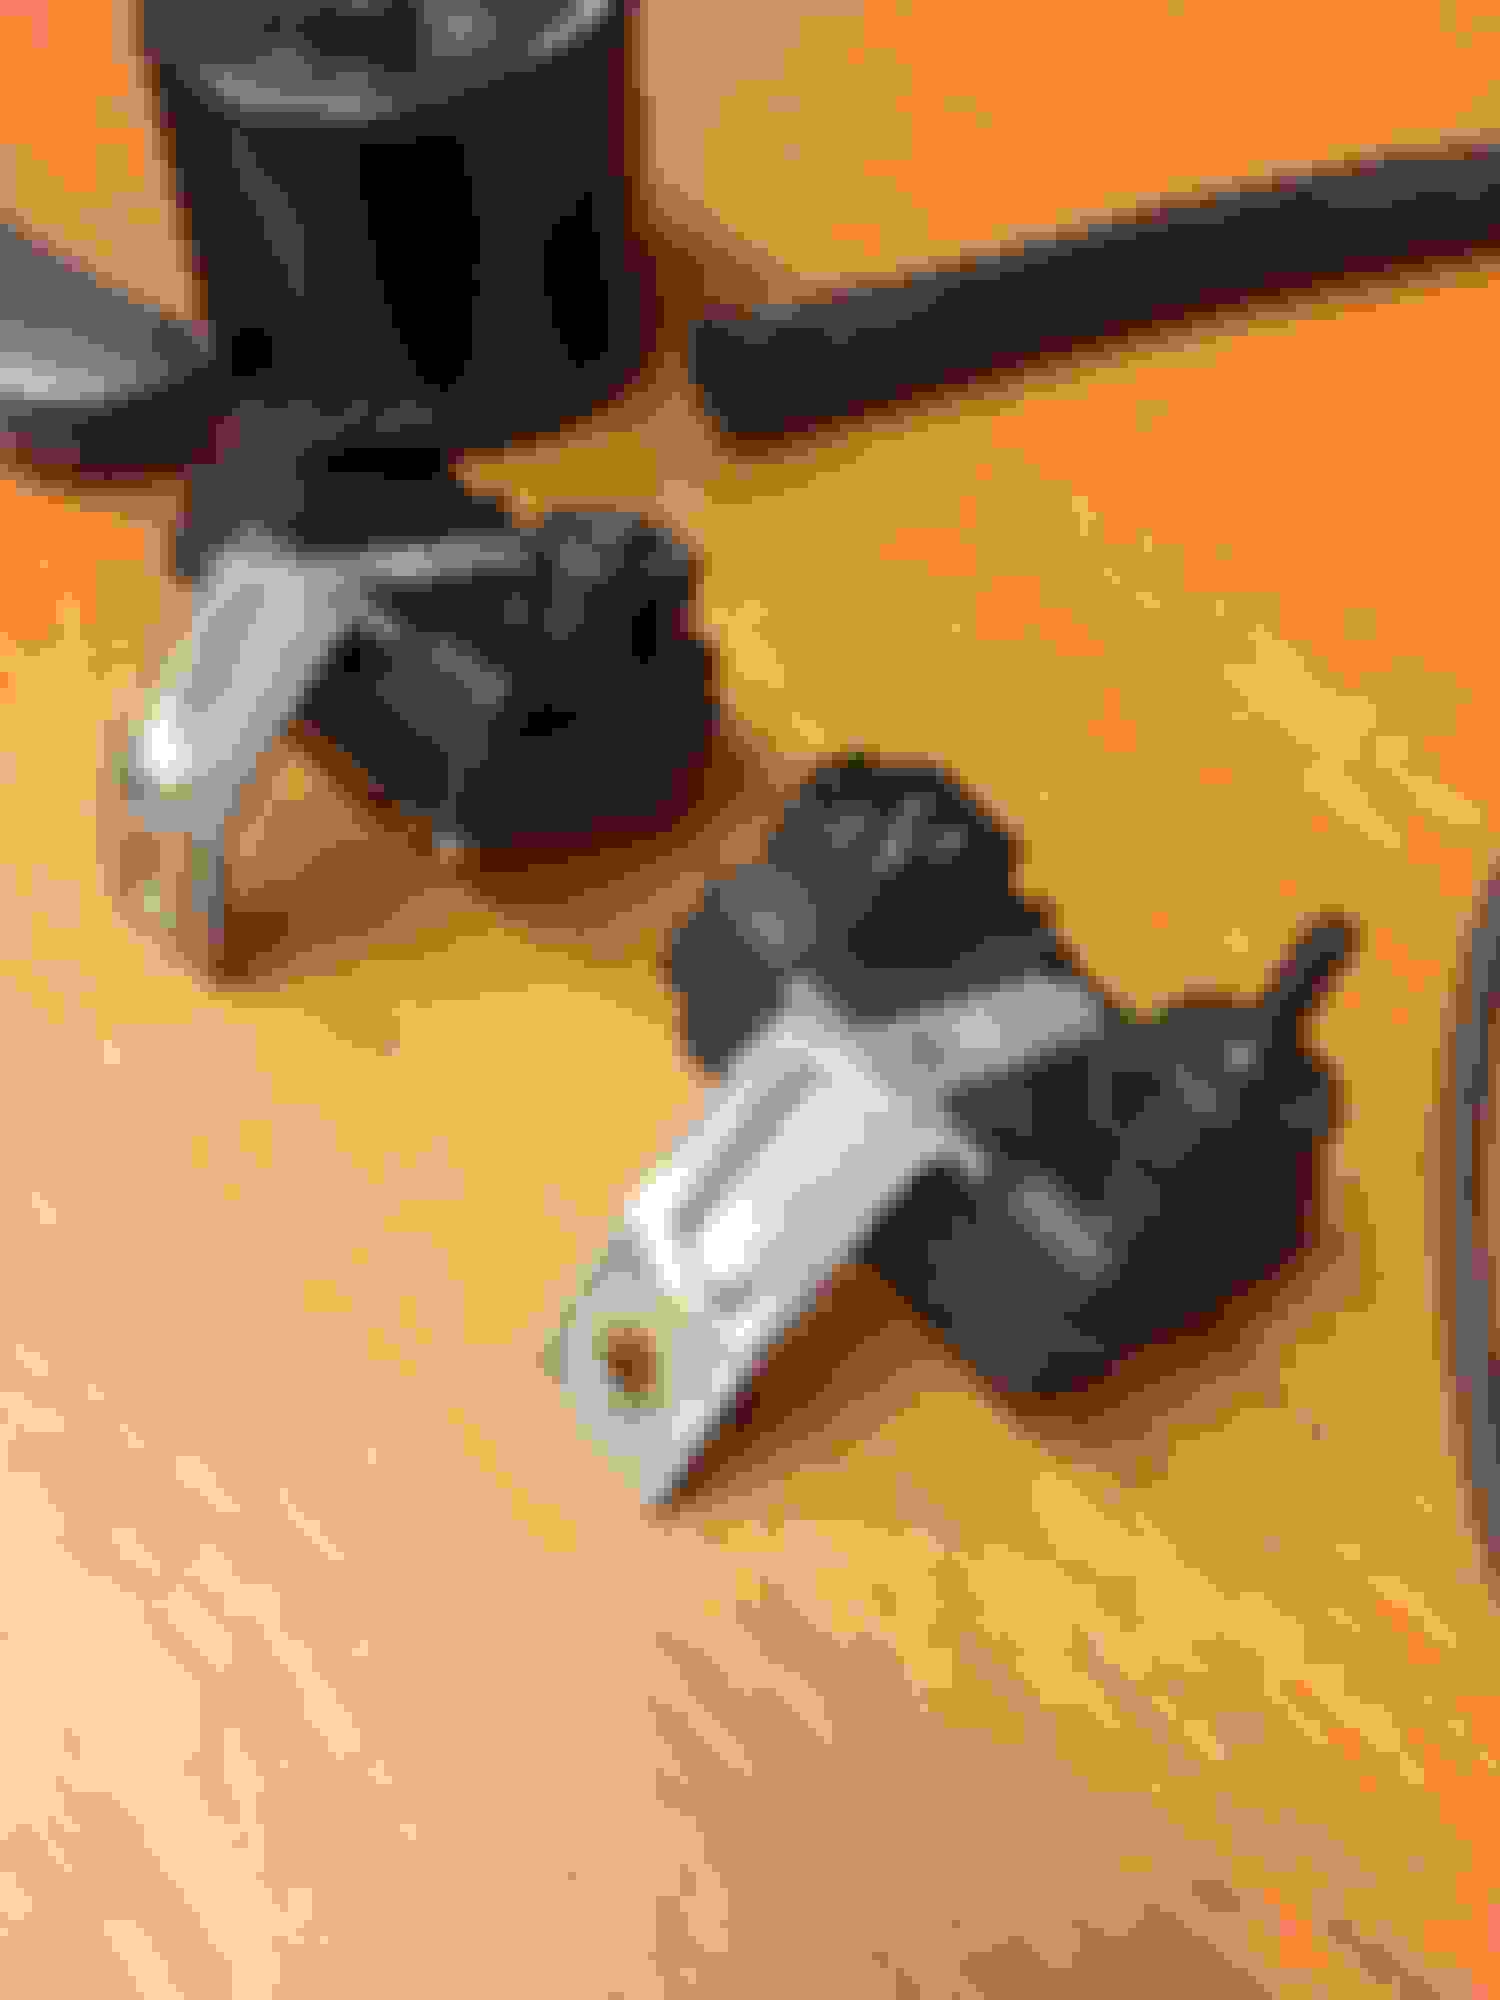
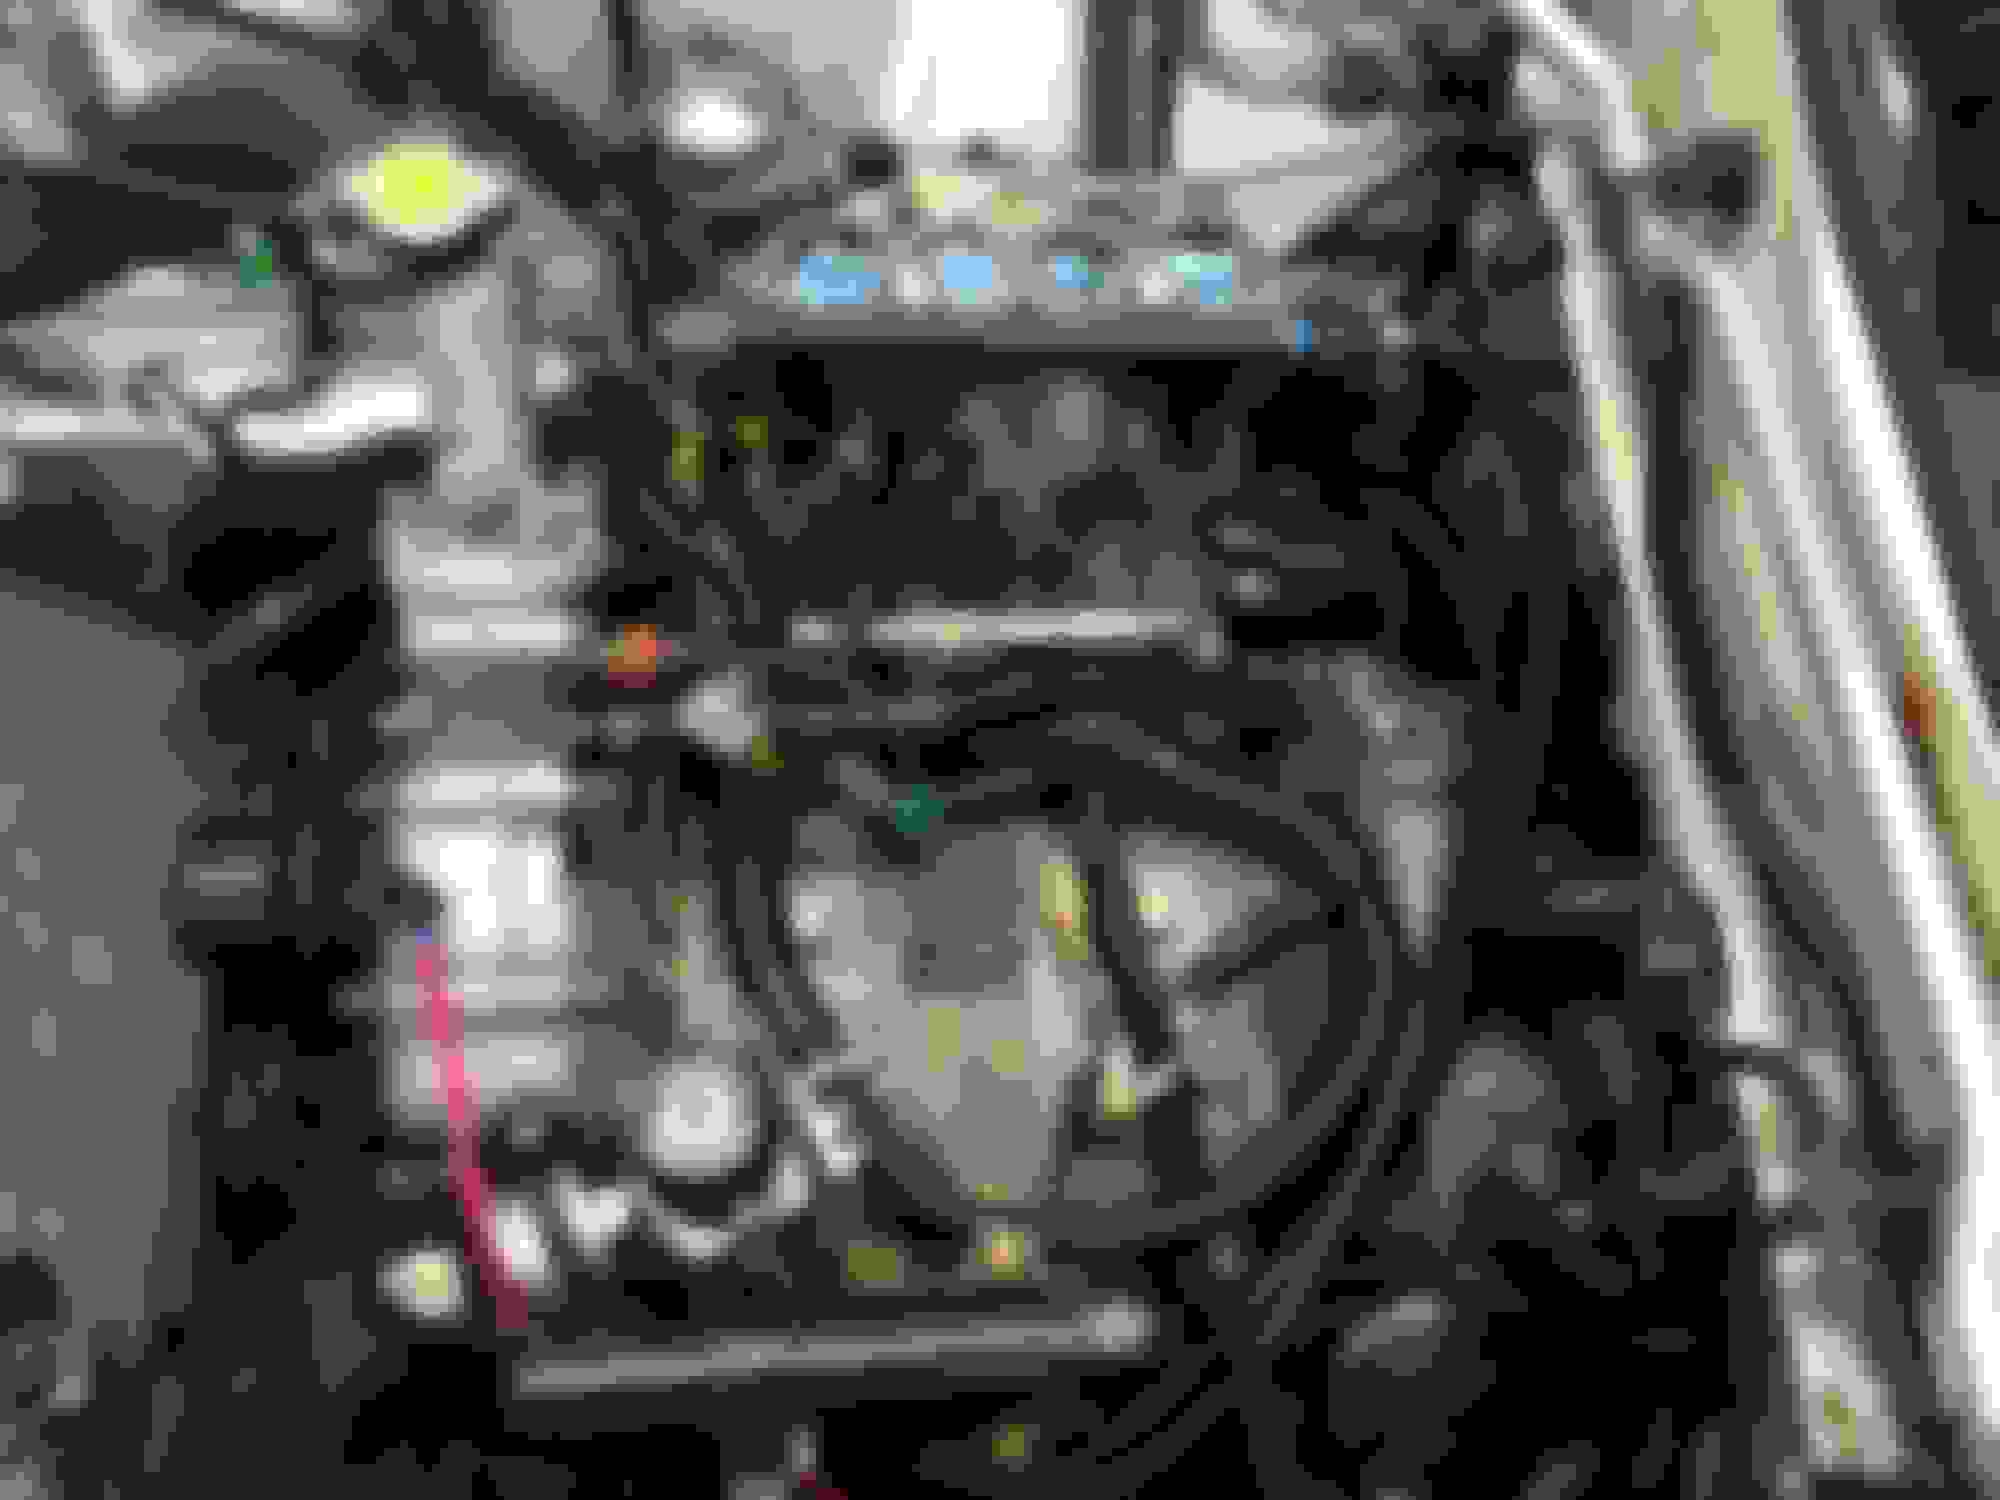
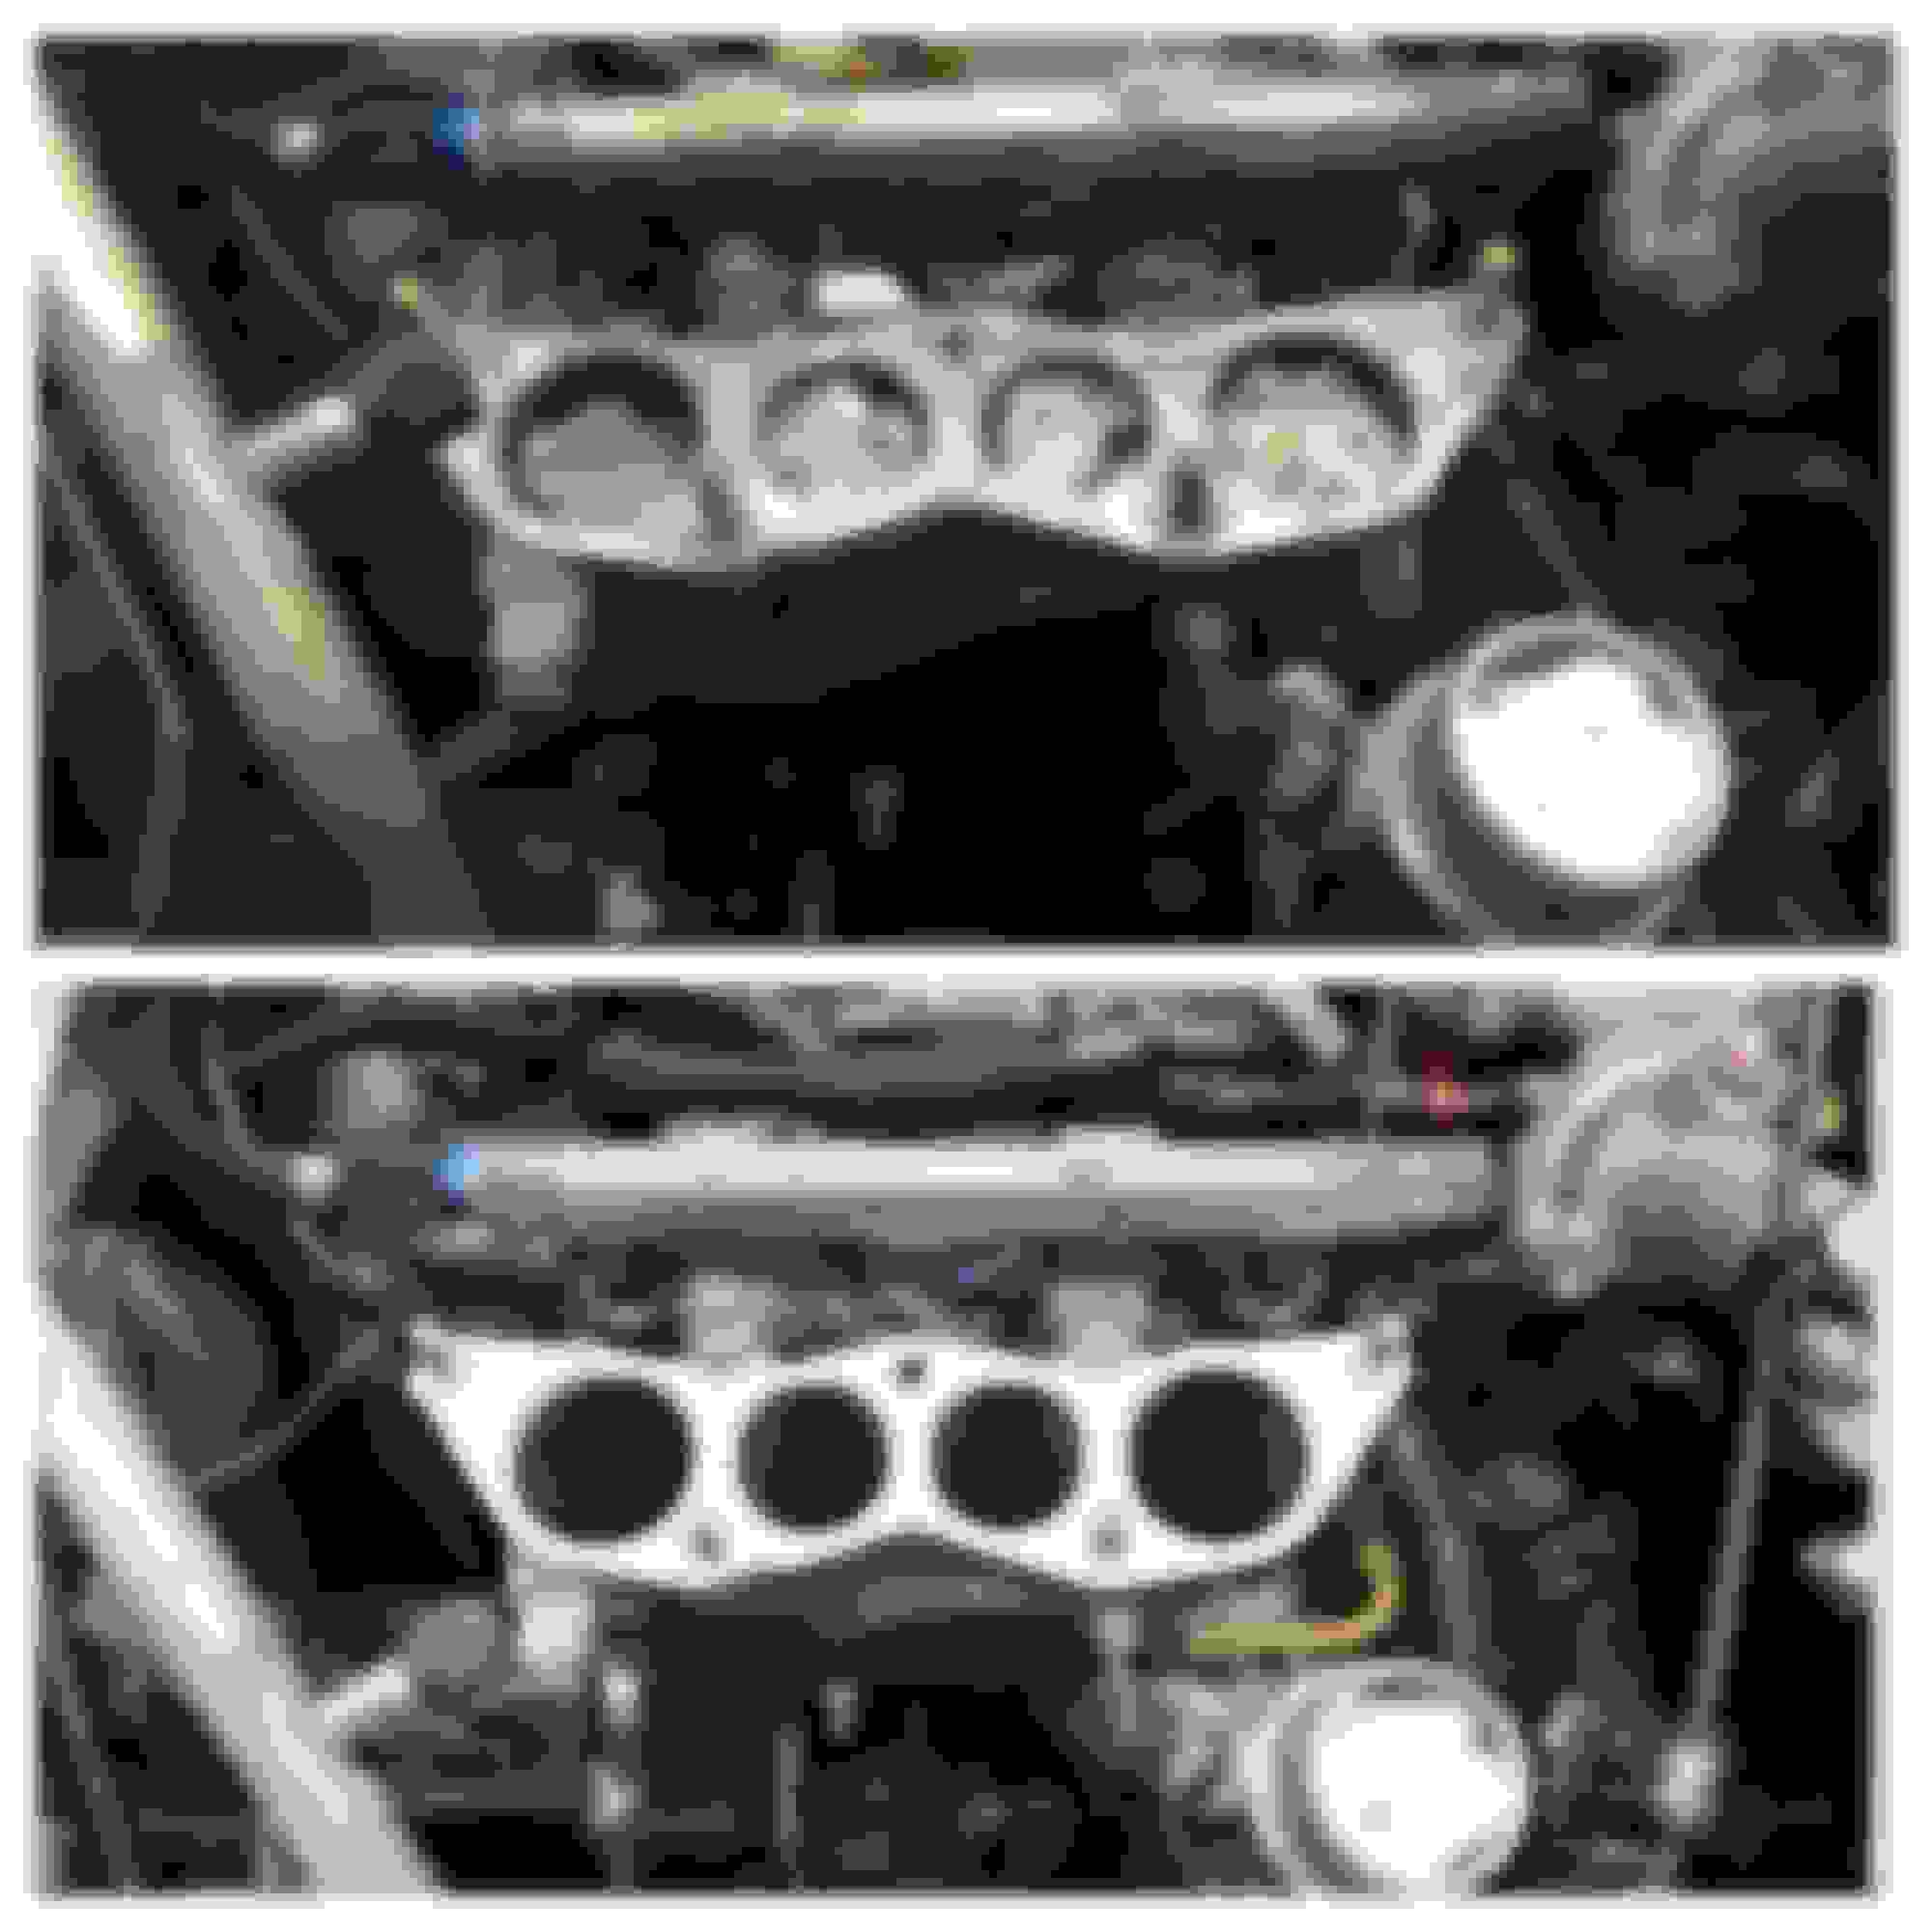
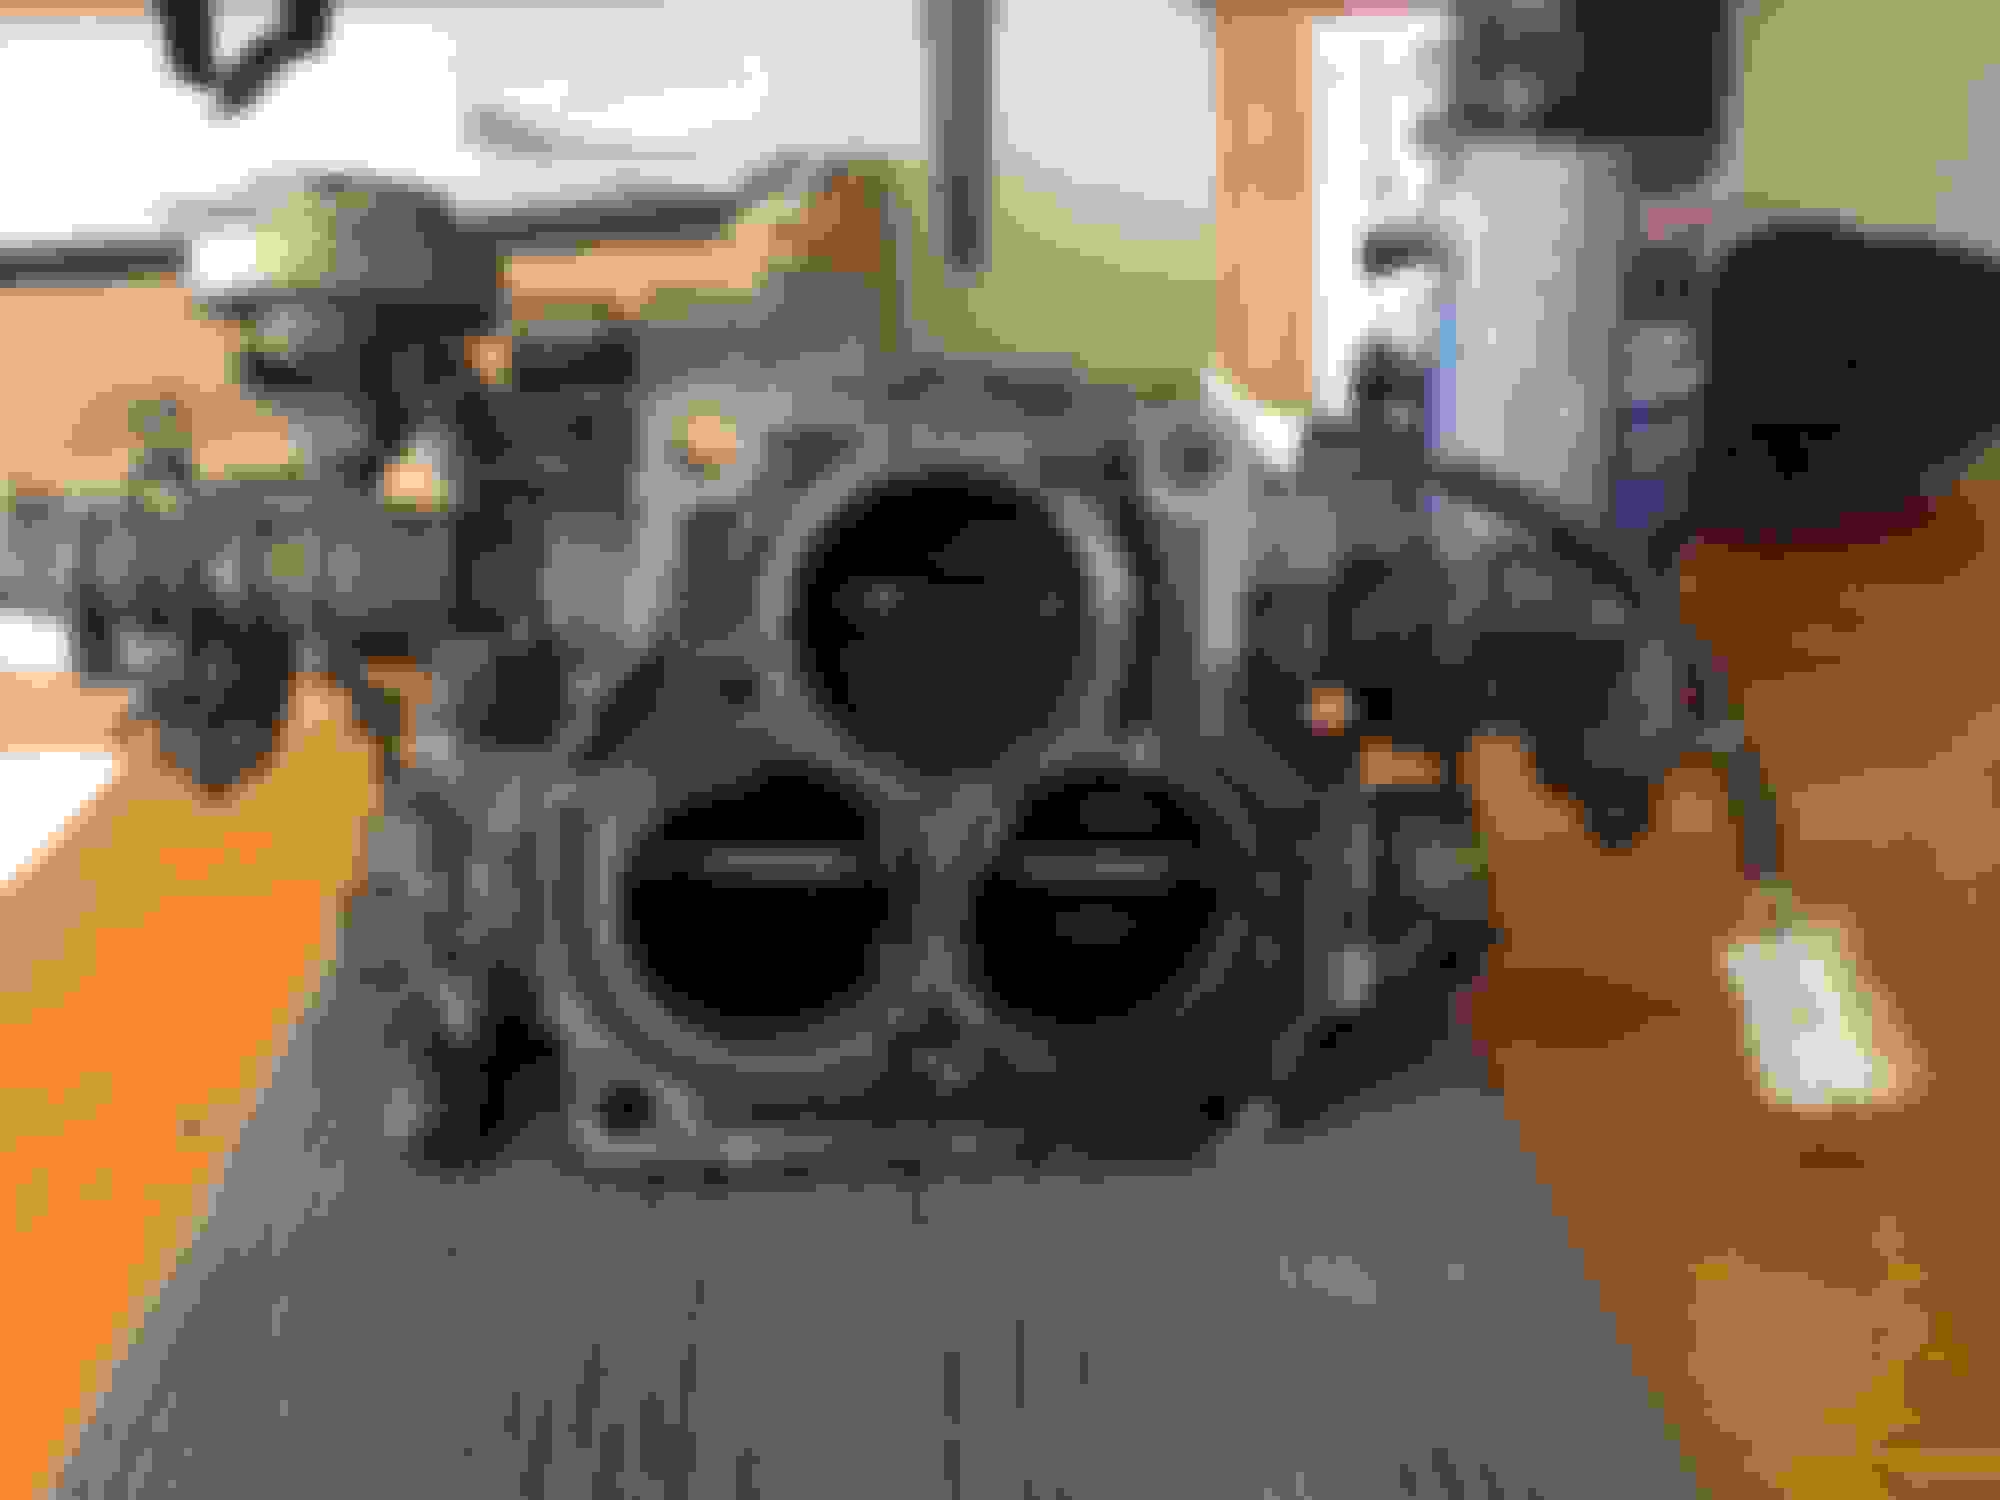
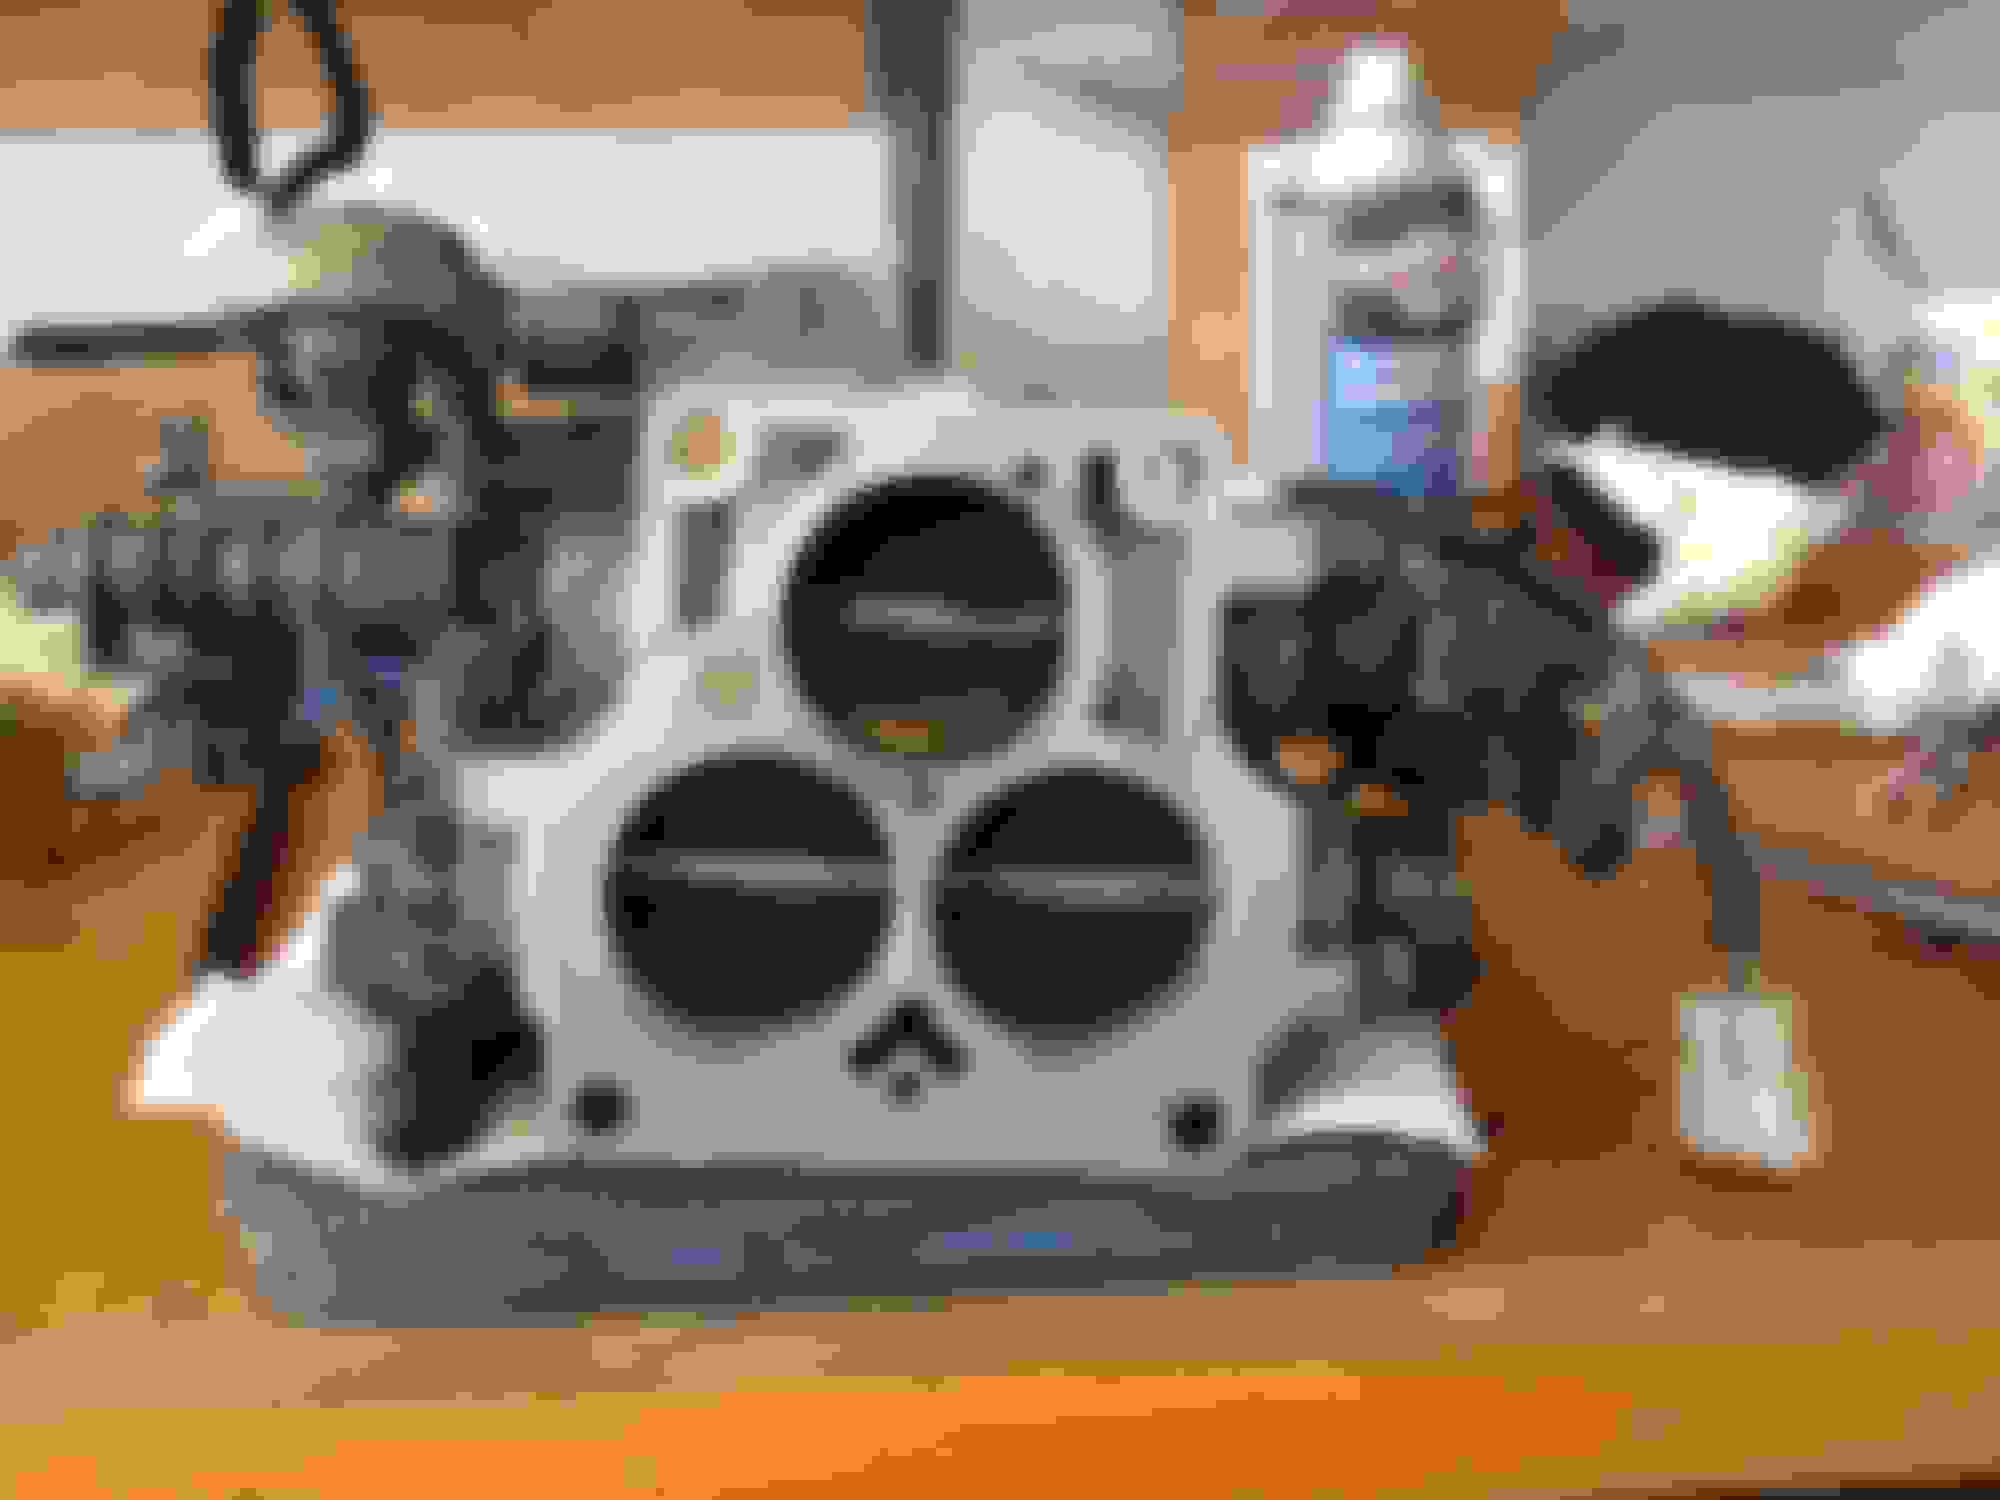
I started on the second big task of removing components to install the fuel pressure regulator and new injectors. Removed the UIM and throttle body, then unhooked the fuel lines under the car to drain them, then unhooked the lines at each rail and took the rails out.
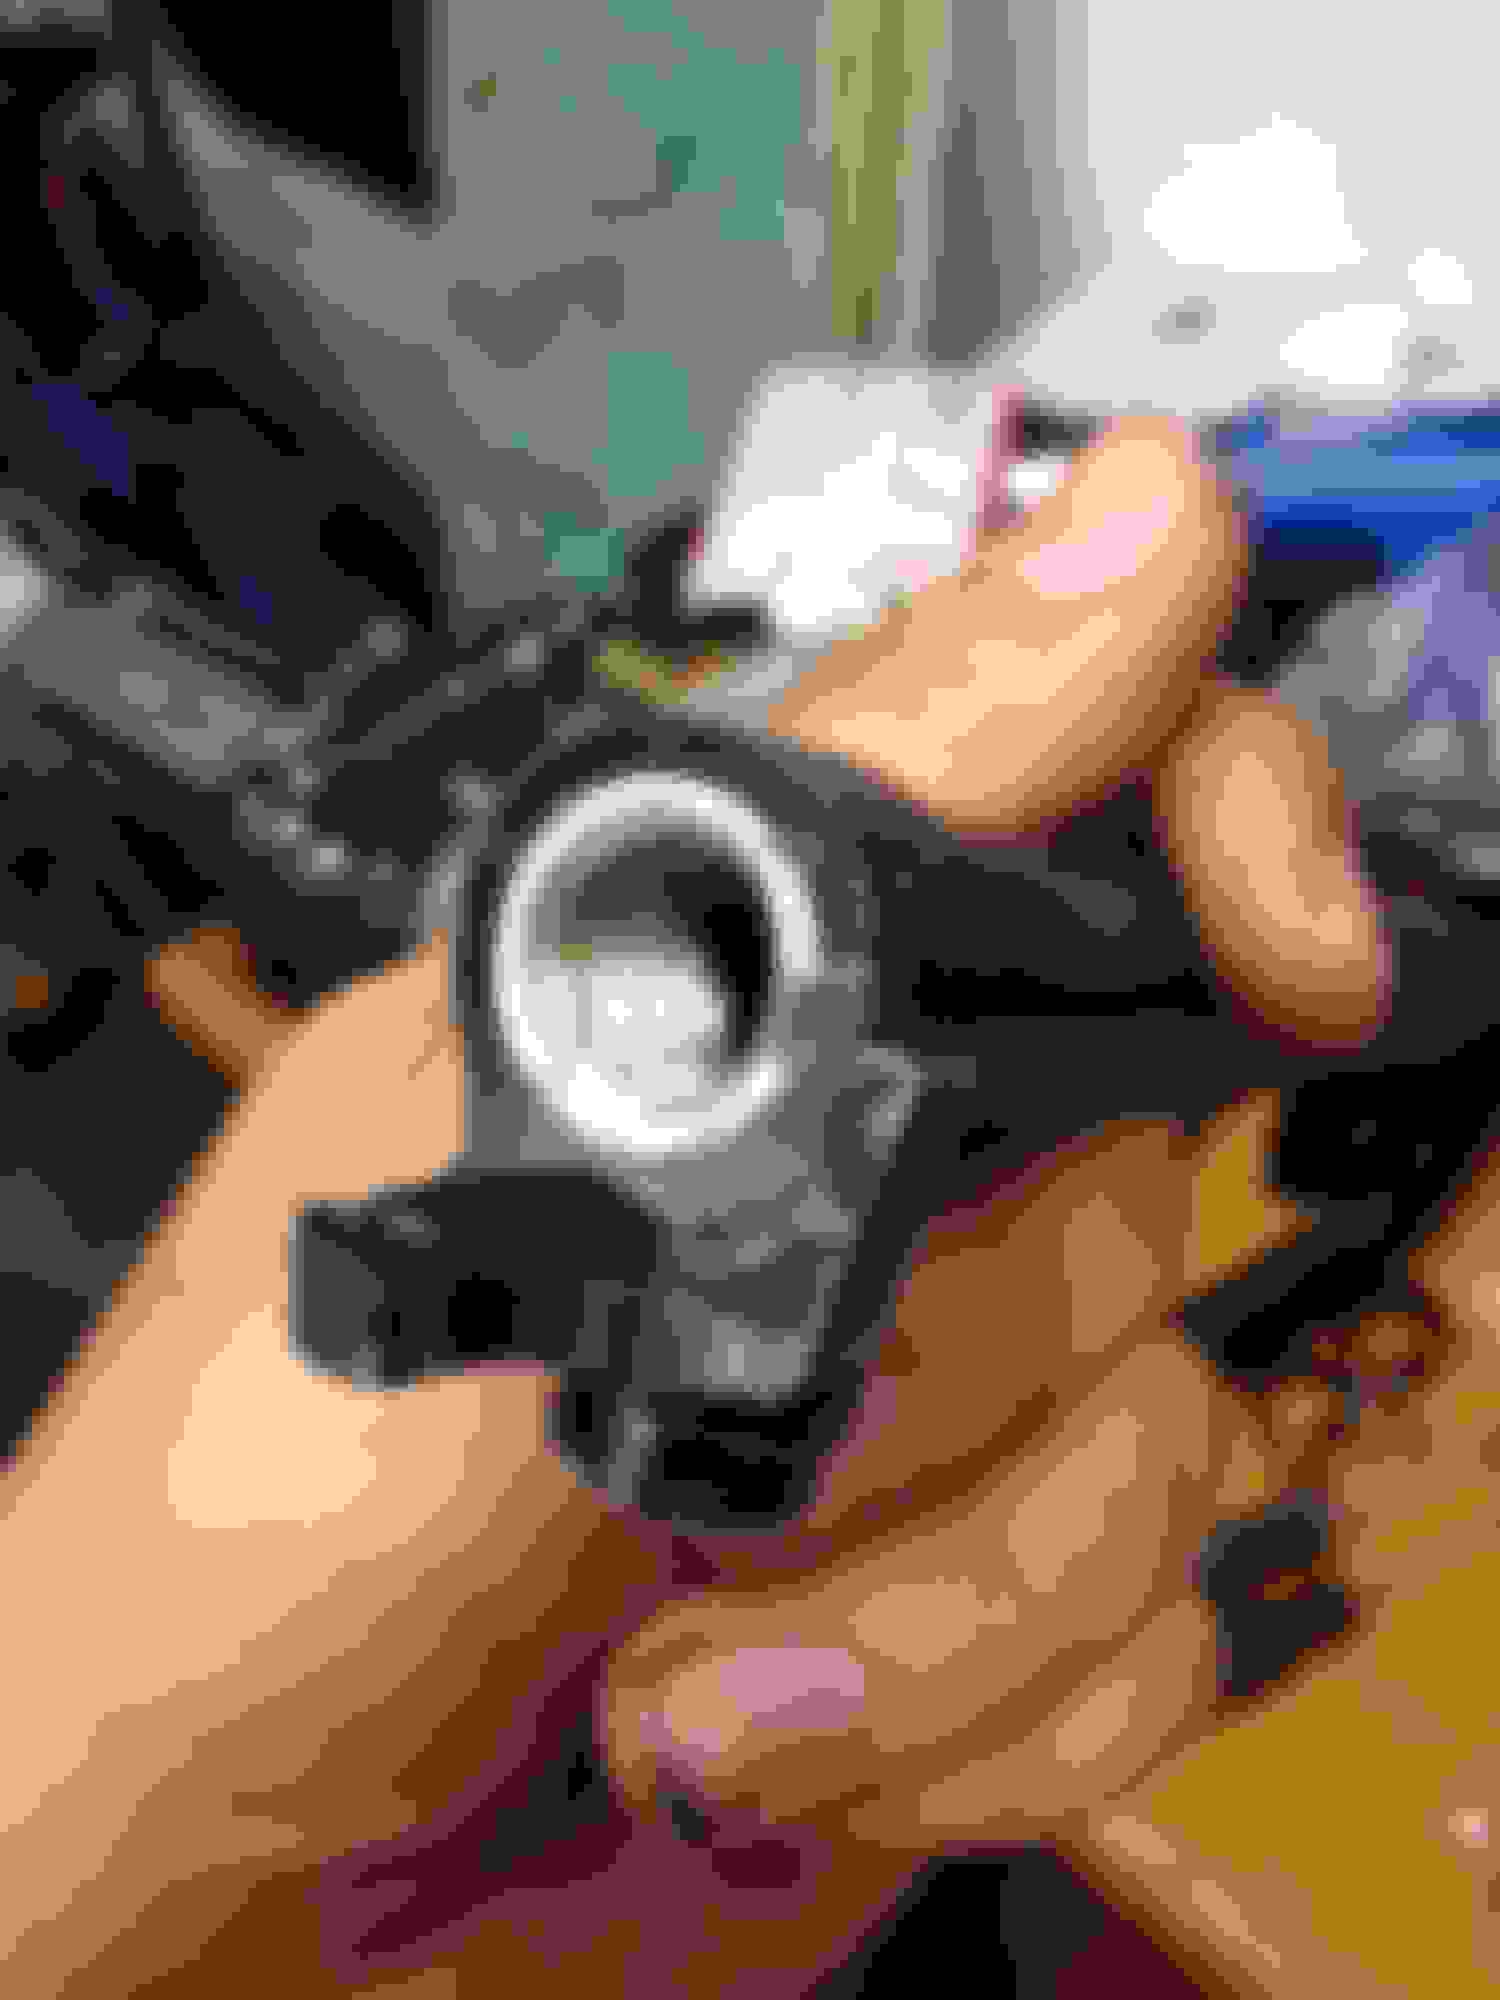
Unfortunately I've got s5 rails! So I'm not going to be able to use the 6AN to M12x1.25 adapter that I bought for the s4 rails. Since my engine is a hybrid of s4 and s5 parts I wasn't sure which parts I had until I took off the UIM.
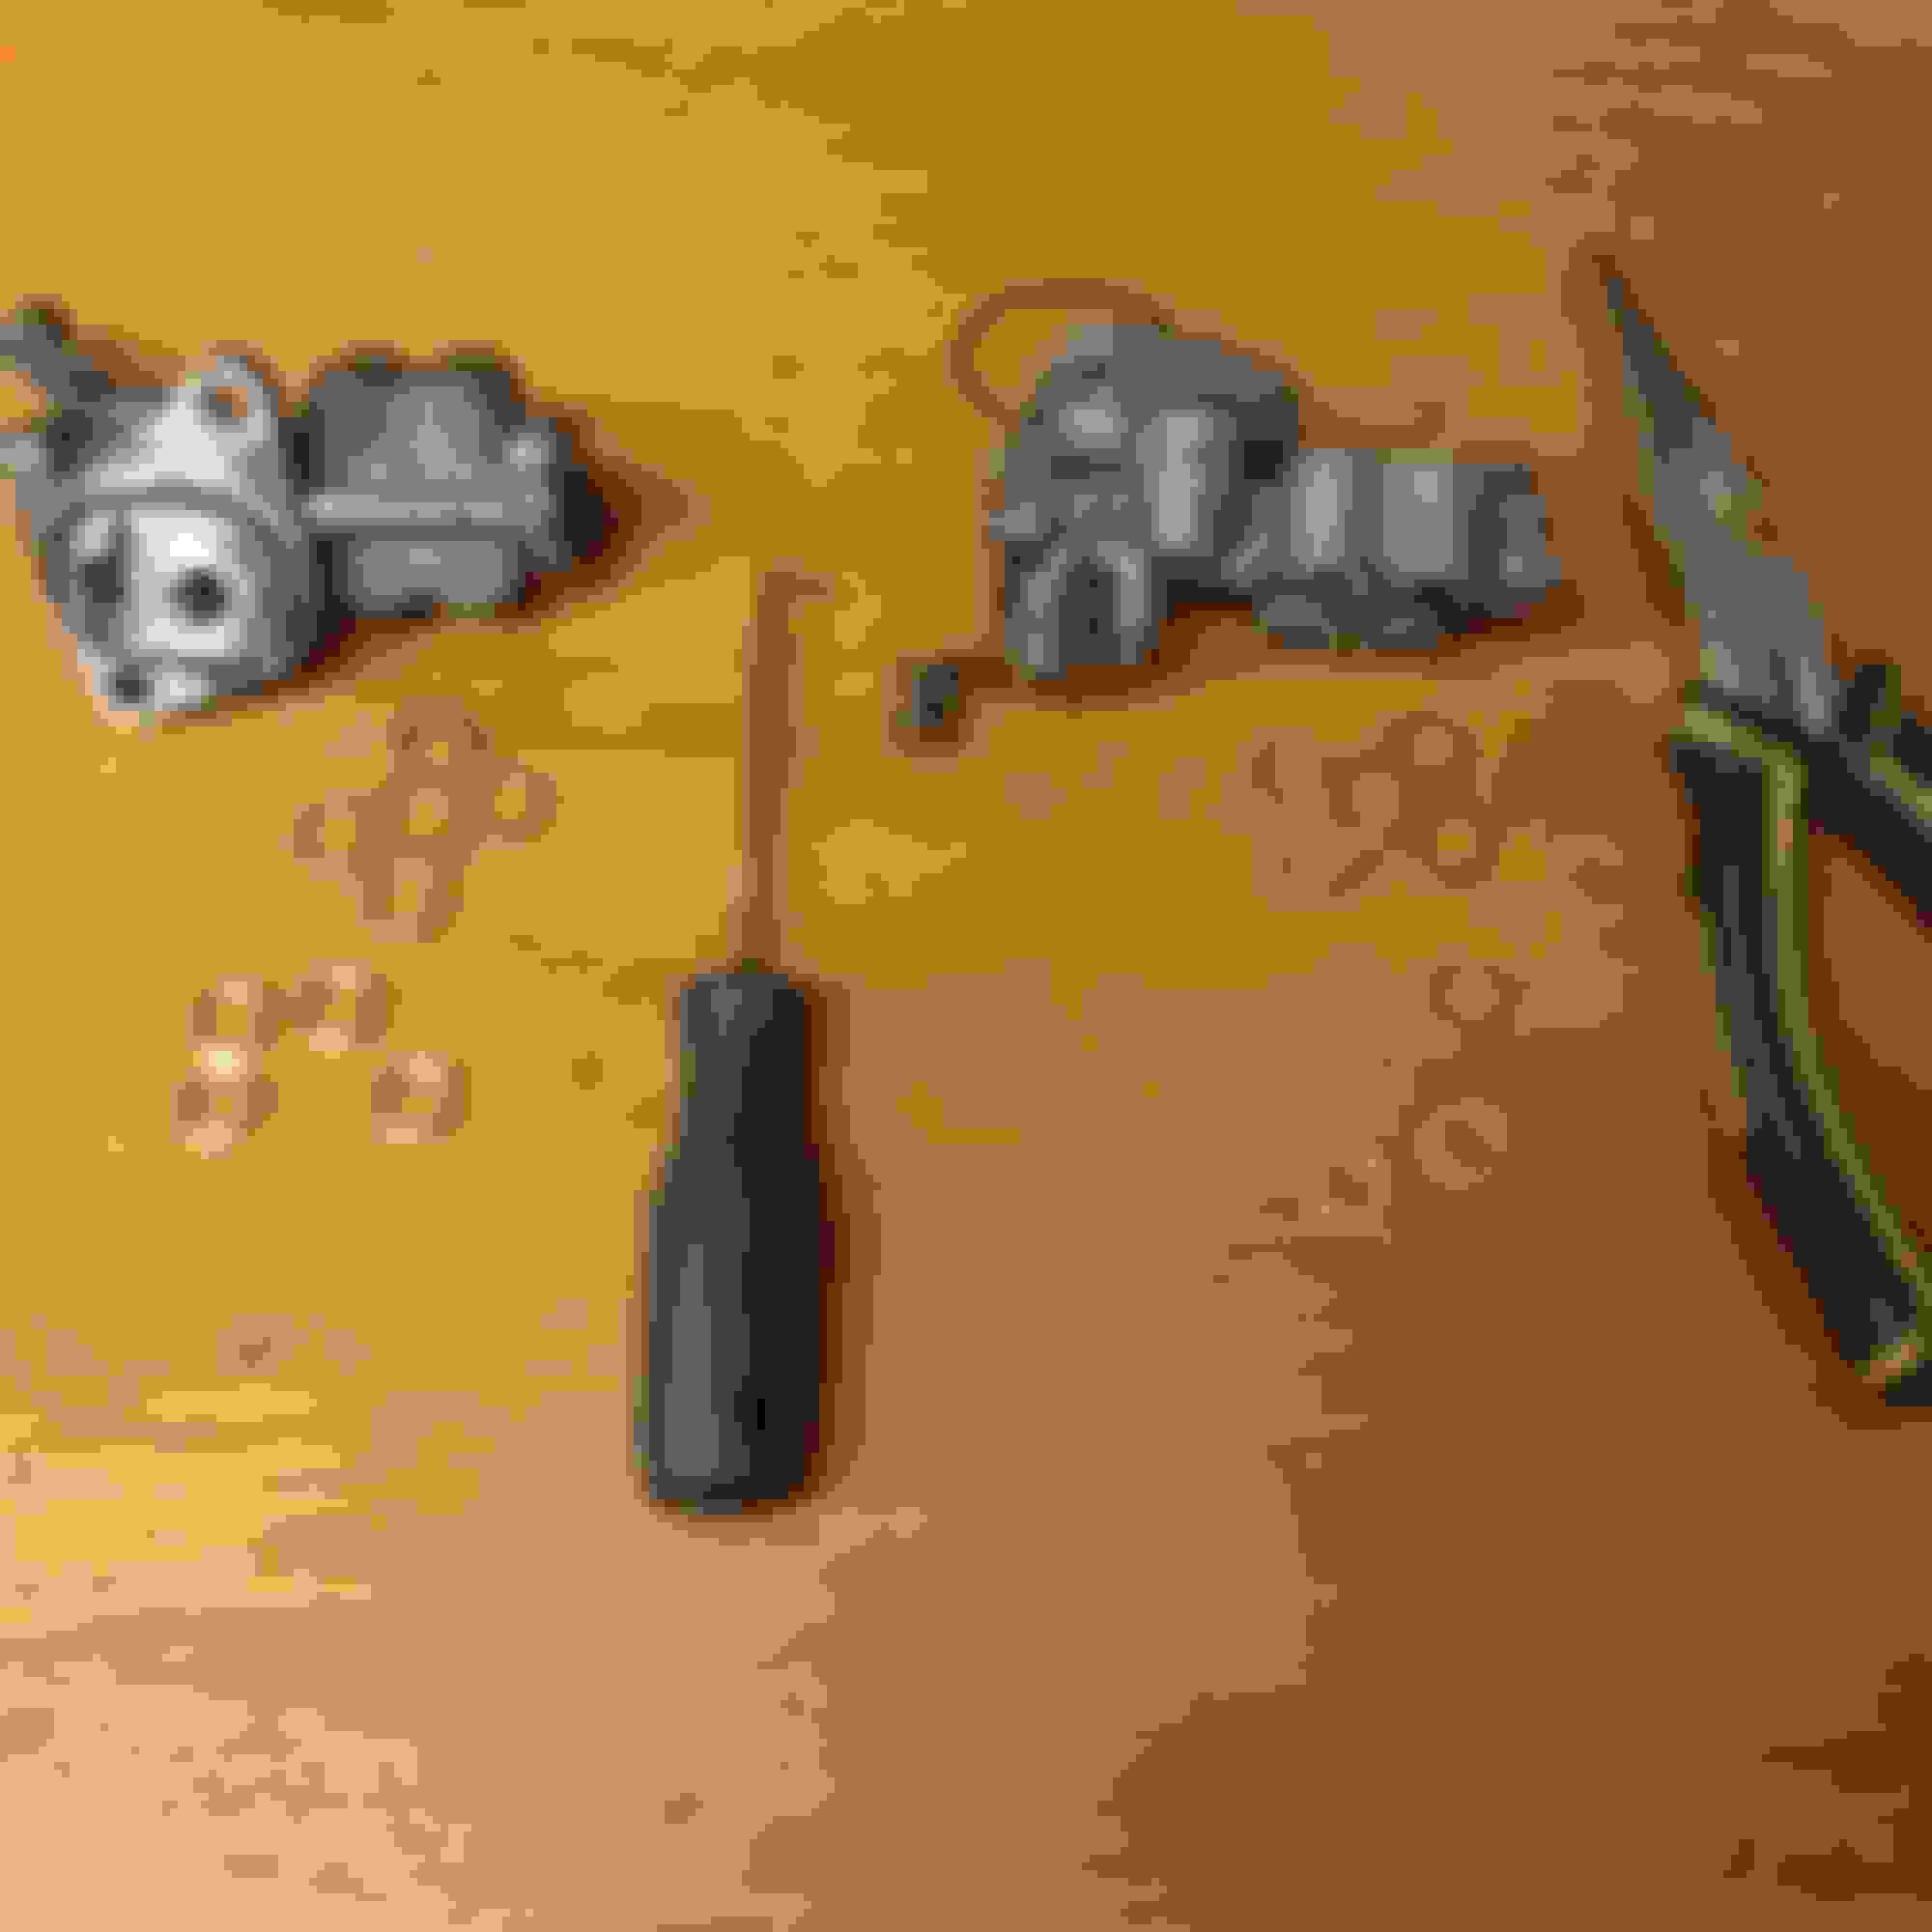
Since I have s5 solid fuel rails and not s4 like I originally thought, I tried to improvise getting my fittings attached. I cut the fuel pressure regulator off trying to leave one barb fitting exposed but that didn't work. So I cut further and all that was left was a thin rectangular plate. However, this diameter is too large of a hollow tube to tap and add the much smaller M12 fitting.
Theres the new 8 gauge alternator wiring. I had to reuse the connectors on both sides because I couldnt find ring connectors that fit a large enough wire. I just sanded them down in order to try refreshing them.
The front harness is ready with new positive battery starter wire, new starter activating wire to the solenoid, and new alternator wire. I haven't wrapped it yet so that I can test it in the car first. Then I can wrap it once I know it is good. I don't really like the idea of fitting it all back in then having to remove it to rewrap it again so I have been lacking on putting this back in for a bit.
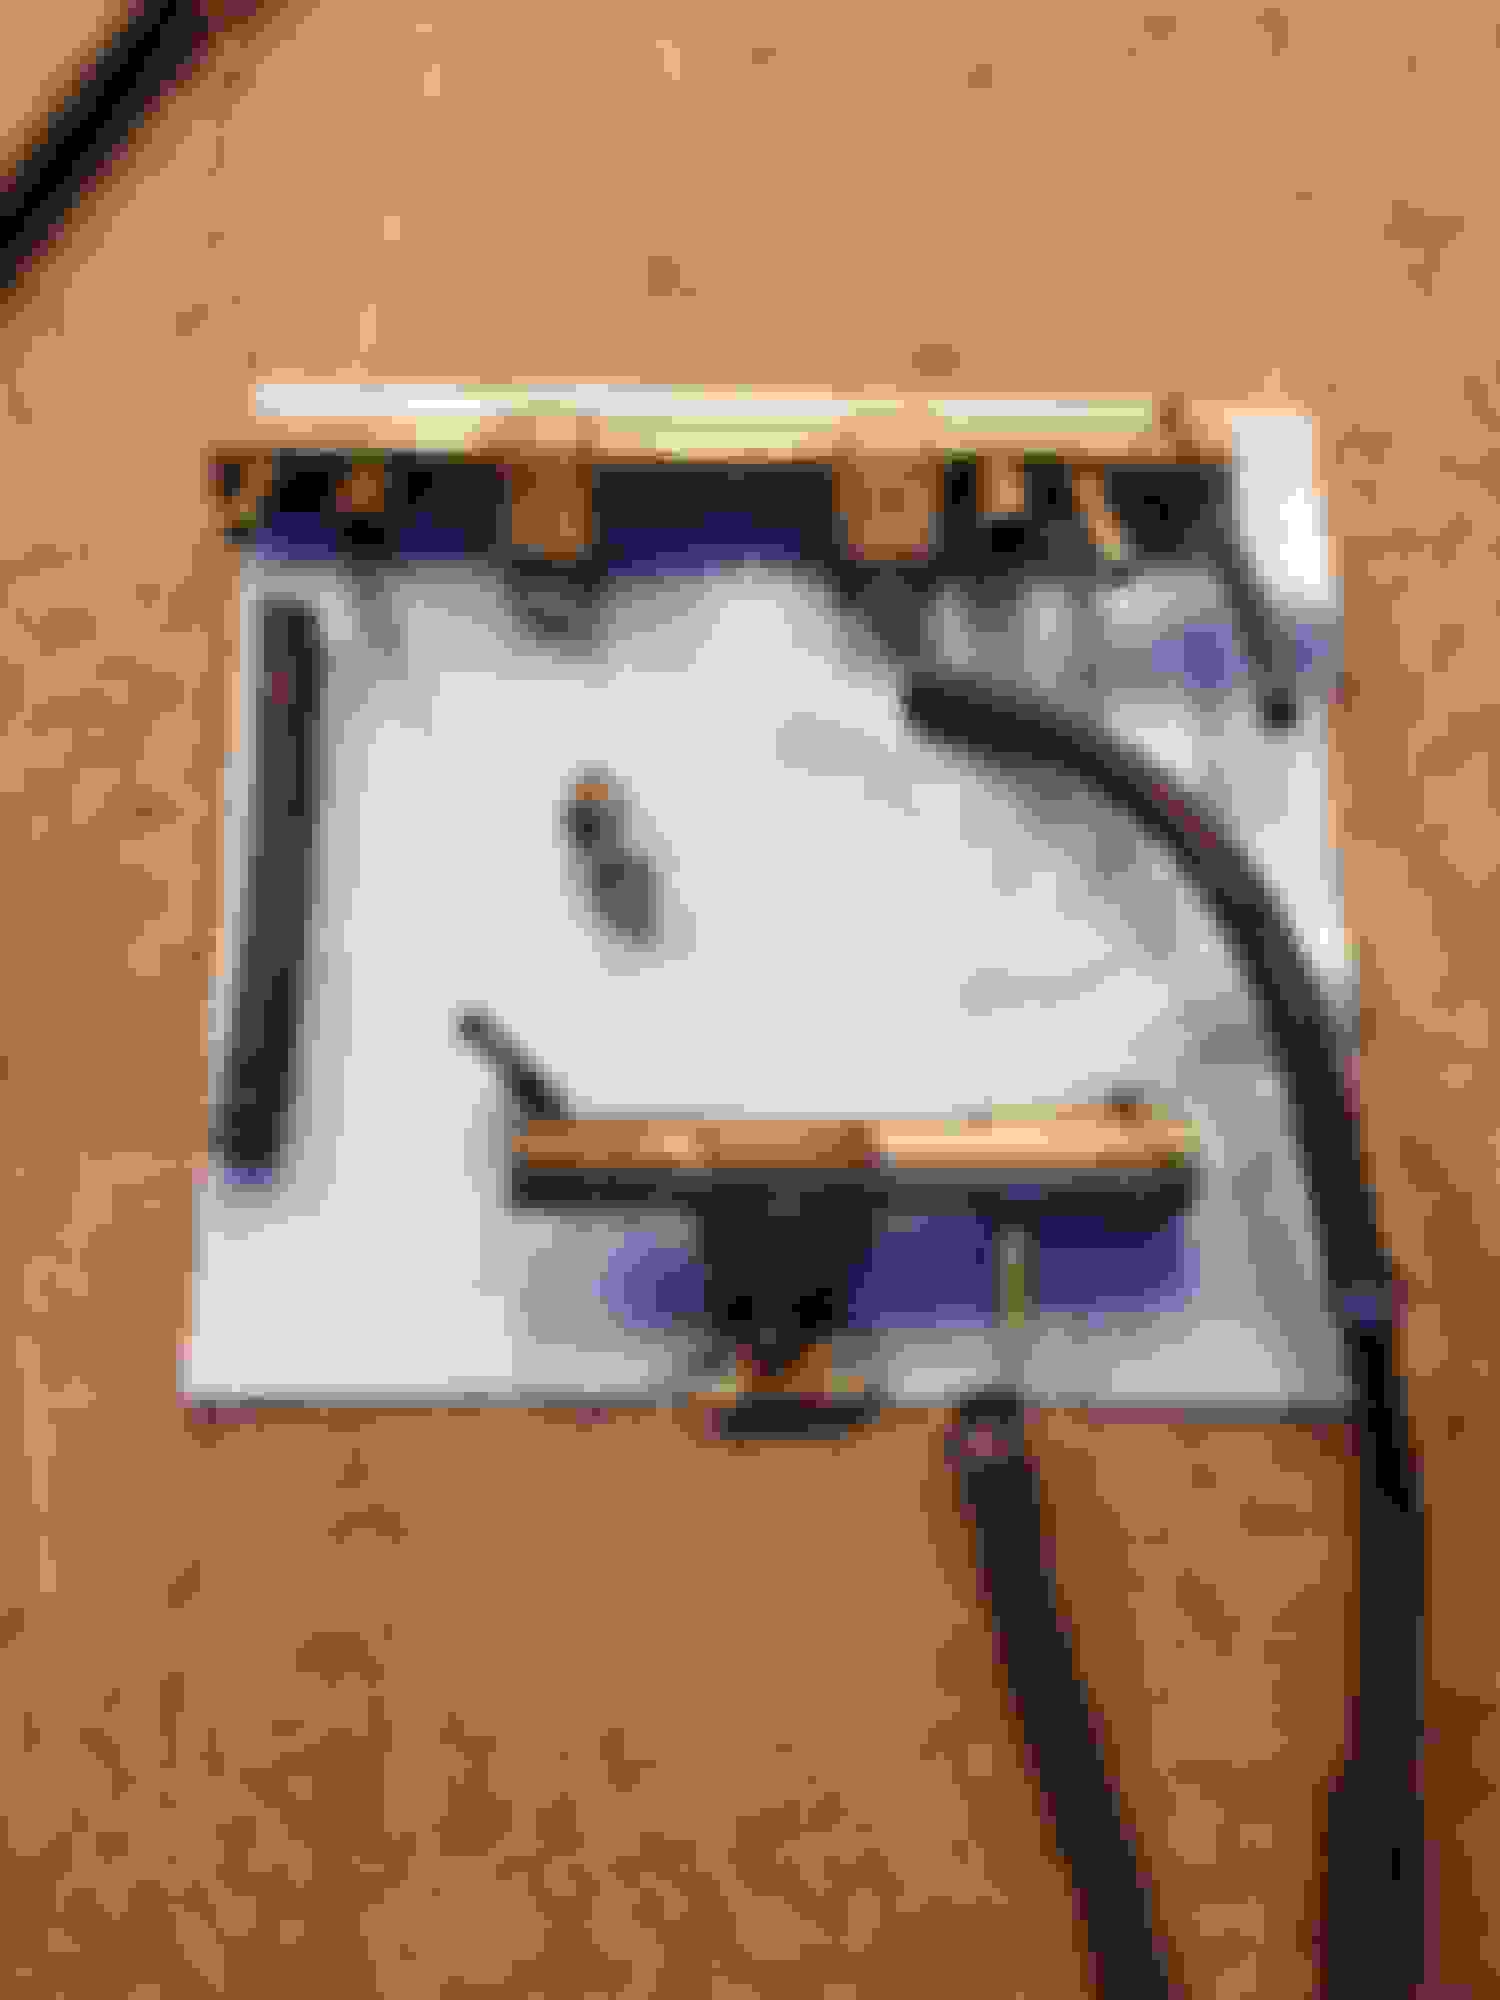
Here is the secondary fuel rail with that end ground out. My buddy made me a fitting to weld onto the end but we are having some problems with the tapping.. I bought an M12x1.25 tap just as the fitting is supposed to be. However when we tried to screw the fitting from summit into the one that he made it just doesn't match up? Then we tried to screw the summit fitting into a 1/2" thread nut and it worked? I called up summit and told them of the error and got them to send me another fitting since the one they sent me was 1/2" not M12.
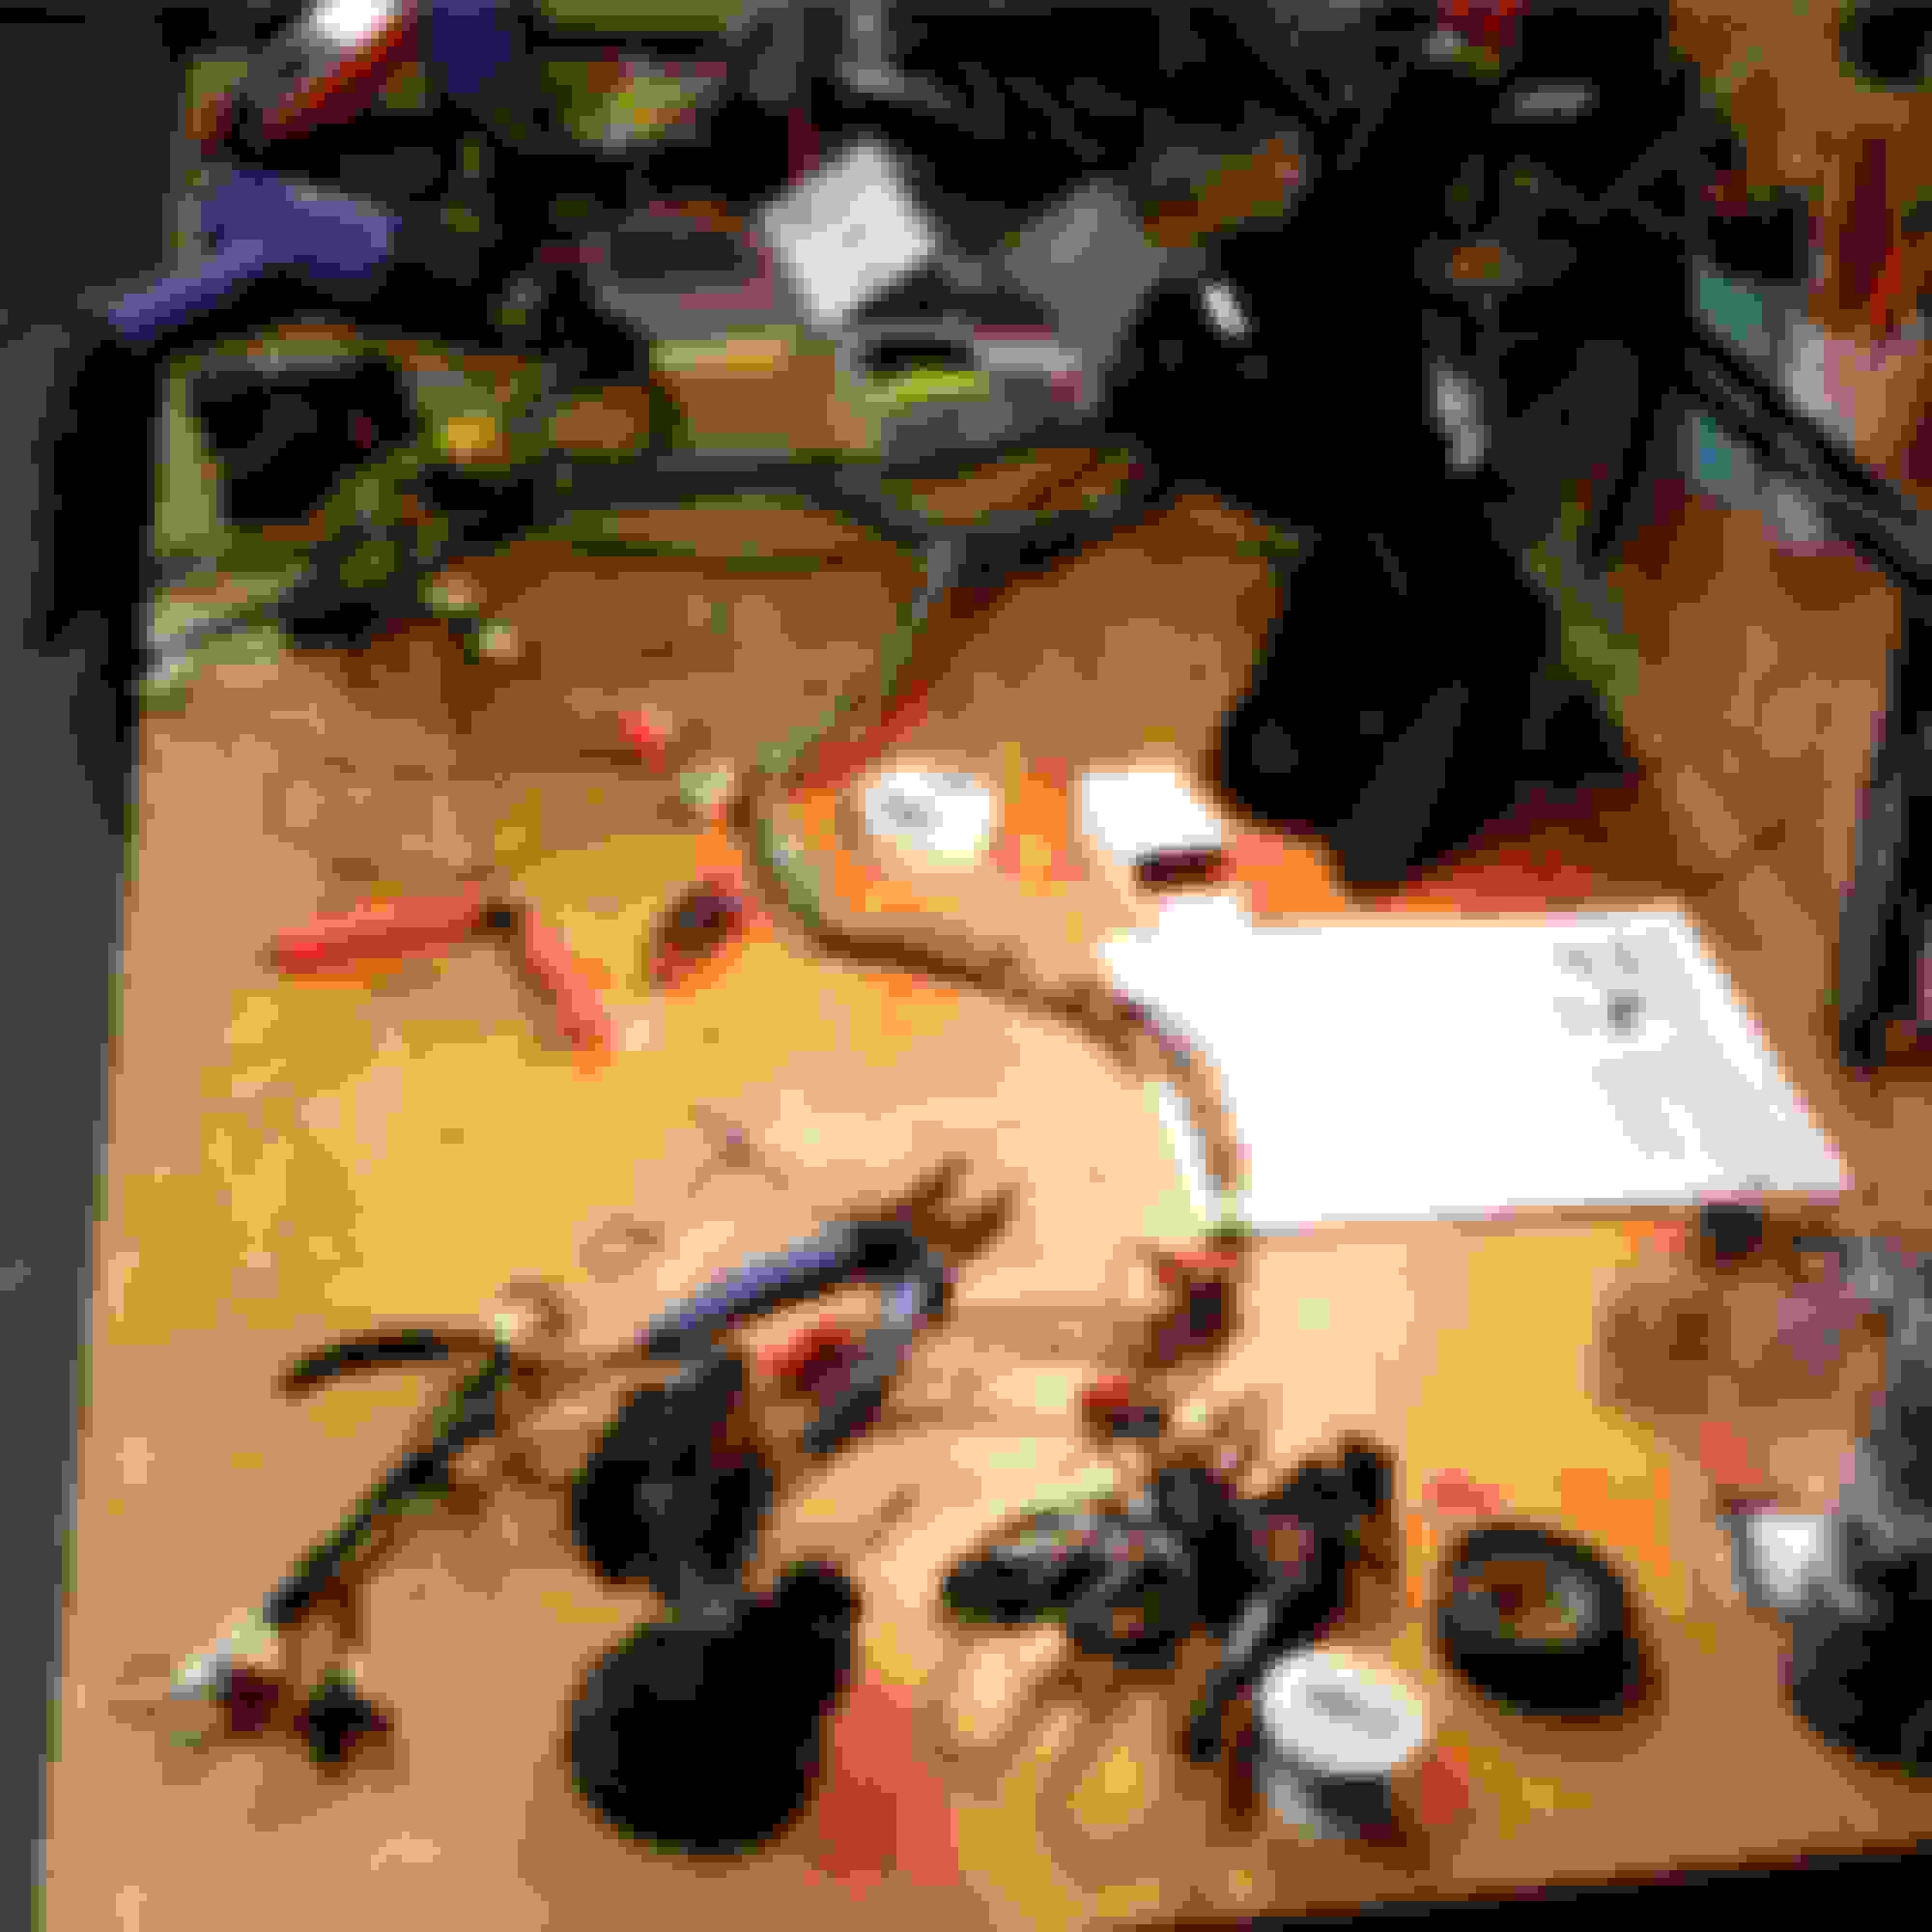
Sorry I know photos are jumping around amongst topics but they are going progressively through time as I work on them haha. Its the different areas of the car that I am juggling right now. Since I already took out the front harness and redid some of it, and since I have to solder on new fuel injector connectors, I decided just to remove the engine harness as well and remove all the tape and inspect it. Having a lot of the wiring out of my car is getting quite overwhelming and Ive had it out for a few weeks so I hope that I can figure out where everything goes back.
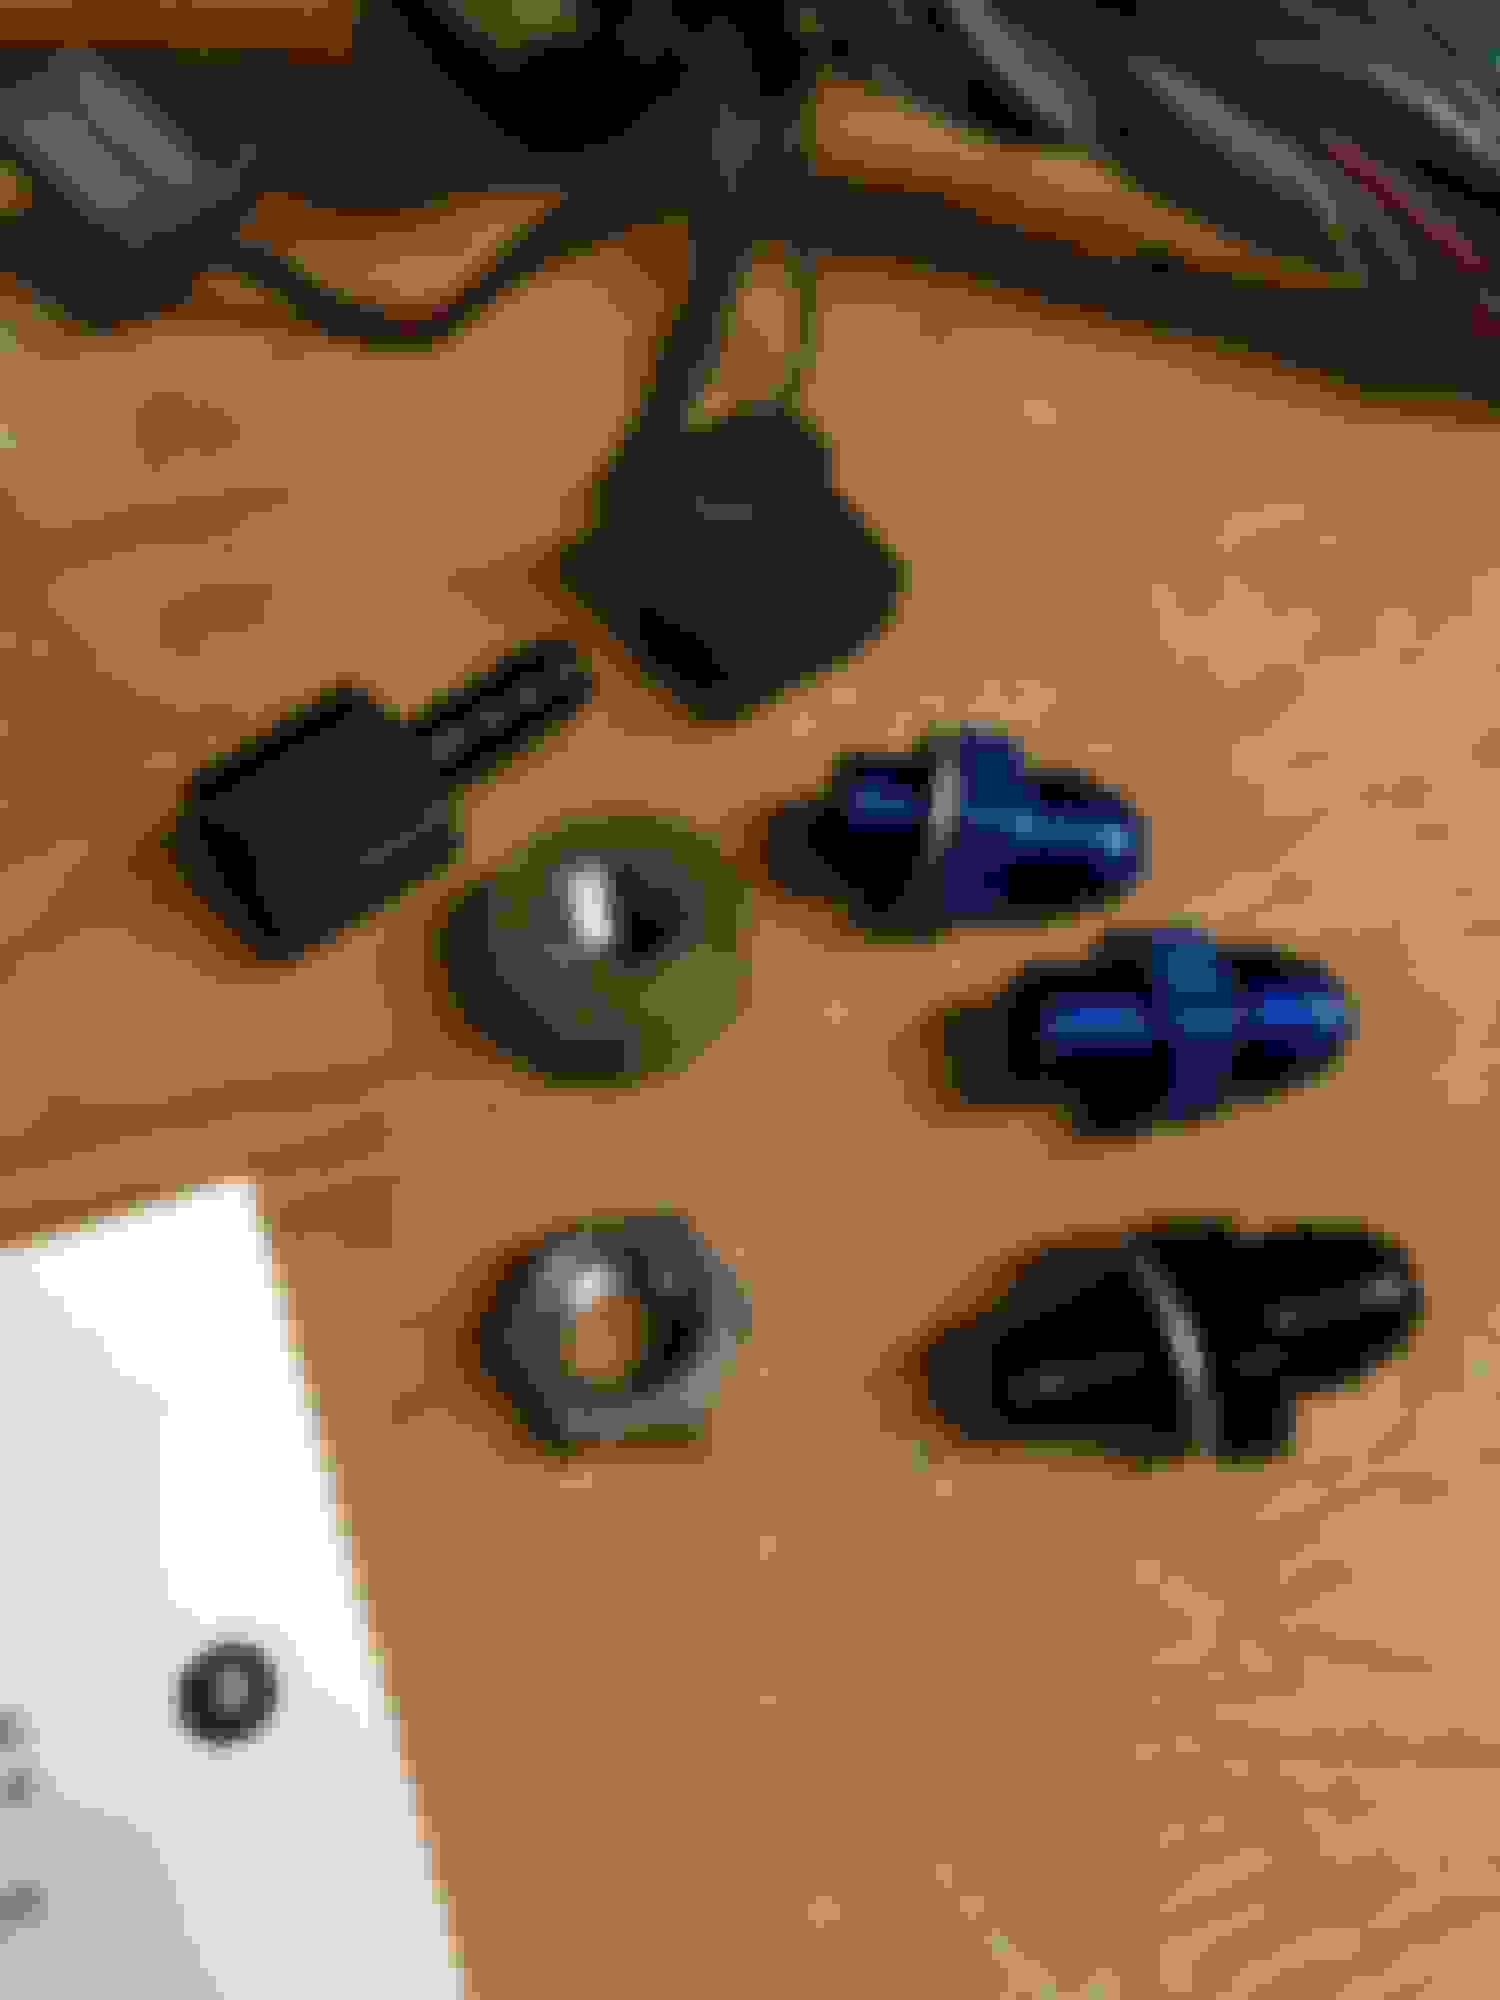
Got some items in the mail. A turbo s4 N318 boost pressure sensor. Somehow I didn't plan this out when I was buying the engine last year?? When i was reviewing some engine swap guides I read this again in the list and was like how did I not remember to buy this? Then I panicked and started to review a lot of guides and all of my components but I think this one is on its own. I think that I must have thought this sensor would come already bolted to the engine and that I wouldn't have to worry about finding it on my own. Technically since I bought a full ready-to-swap engine it should have but it didn't. I got this along with a fuel cut defender to get me started on not hitting fuel cut. I can apply better means in the future. I also ordered a shifter return spring from mazdatrix because I replaced the bushings but the shifter feels weird not having anything to throw it back to the middle
Just a bunch of confusion in the engine harness. Tons of wires that are cut off related to emissions and just loosely wrapped in the harness. I removed all the tape to get a good look at everything. Also with some quick continuity checking i found that the primary and secondary fuel injector connectors were flipped! I can't believe the guy I got the engine from was so bad at knowing his way around this engine. I know I didn't just remove them and label them wrong because two of the injectors are round connectors, and two are square connectors. I will be replacing them all with GM quick release weather resistance square connectors. He also put in high impedance injectors of the wrong size thoguh my car should take low impedance but I already ranted about that at the end of last year. Found a melt in the wiring that I need to replace as well.
The other reason I've been slacking on progress is because I have been talking back and forth with summit every week to try and get this fuel fitting figured out. Well I mentioned earlier that the M12x1.25 fitting didnt fit into the newly tapped part that my friend and I made so I had summit send me another earls fitting. When that one came it didn't fit either so, frustrated, I had them send me a russel part instead hoping that it being a different brand means theres a less likely chance of me getting another wrong part. However, after receiving the third 'wrong' part from summit I have to admit my ignorance and say something is wrong with the part that we made. I just don't see how it can be wrong because I bought a brand new tap to make the fitting and everything on both ends should be M12 x 1.25. Super frustrated with this.
I did a few other things at this point since I was just killing time thinking about what to do with the fittings. I added some new vacuum hose from the gauge to T into the side of the UIM. I also added a vaccum hose from the engine block to the line going to the charcoal canister and capped off the upper oil filler neck hole. Then I capped off all the openings on the UIM since i still have it off. I went to check the TPS again becausse I've been meaning to do this. I found that it swept pretty well from 1-7k ohms (i know its not supposed to go above 6 but at least it was consistent here) but then when it was at zero throttle, the resistivity would jump all over the place all on its own! It would go 3k 17k infinity 5k 2k 0k .. and so on. So I may try swapping the TPS from my old NA engine after I test it.
I finished deleting all the wire for the emissioms components and fixed the melted wire. I brought the engine harness back up to the car and put it in to see how it looks. I noticed that there is about 2 feet at the end of the harness where the primary injector connectors, ground, coolant temp sensor and some other sensor wires are that I feel could be cut short. It doesnt seem necessary to be 2 feet extra in length and to just be bundled up getting crushed below the UIM. I am tempted to cut it up and solder it shorter but I don't know if I shouldnt be getting into this. However, since I still have to replace the fuel injector connectors I will be already cutting some of it, I just want to know if I can cut the others down.
Last edited by trickster; Jun 13, 2015 at 11:52 PM.
Thanks man! Wait till you see how the last few weeks have went =P
I can't believe I haven't updated for a month! Last I left off I was in the middle of replacing wires in the front harness.
Well the fuel rail fitting that my friend and I had made was not working with any of the fittings I was getting from Summit so I purchased used s4 turbo rails from White Charisma and those came in so I really had no excuse to not move forward with progress haha.
While installing some new vacuum hose I broke my newly purchased boost pressure sensor and I had to fix it with JB weld -_- I'm pretty sure I managed to fix it without disturbing the vacuum connection. I really hope not anyway, tried my best to keep JB weld out by using a thin copper wire of the same diameter to stick inside of it. I also tried to repair my clock bezel for the second time using JB weld but it didnt work so I dont really recommend that..
A little while ago I tested my TPS and it was just allllll over the place so I pulled one off my old engine, replaced it and tested it. This one seems to move smoothly from 1k to 4.5k ohm which I'm not surprised because that engine only had 83,000 kms when I pulled it.
I vacuumed capped all the holes on the intake manifold and zip tied them properly. Also did the same with my vacuum T connections coming off the side of the intake manifold going to the boost gauge, boost pressure sensor, and bov.
I had taken out the engine harness before and it was in really rough shape. There were a bunch of lines that were cut off and just loose presumably for emissions. The injector connectors were hooked up wrong by the guy I bought the engine from so that secondary and primary were flipped which could have been a huge contributor to my engine not running and flooding I think. Also the ecu ground had three melts. One injector wire had a melt. The knock sensor was plugged in where the o2 sensor should be. I installed my new injector connectors, cut all the previously cut lines shorter near the firewall and shrink wrapped them, fixed up a bunch of poor solders, and added new connectors for the ecu ground. I put the harness back in place before making all the changes to see how much length I had to work with (apparently, two feet in excess in some areas).
Then I took it back out again, made the changes, put it back in the car again, made a change to the coolant temp sensor being too short, wrapped half of it, put it back in the car, confirmed everything, and finally wrapped the remainder of the engine harness. It was a long and tedious process.
Installed the fittings onto the used s4 turbo rails I bought, as well as the fittings on my FPR. Prior to that I had loosely cut new fuel lines and vacuum hose for the FPR and put on new clamps so with the engine harness in place, and the fuel components installed, I cut the fuel lines to the appropriate length.
Last edited by trickster; Jul 14, 2015 at 01:31 AM.
Since the fuel components were installed, and the engine harness was newly rewrapped and in place, I had to finish up the front harness I had started on weeks before.
I had the front harness loosely in place to make sure all the wire lengths were good and to try and figure out where the brackets should go because it was a bit confusing once it was all taken apart. I had to take it back out and then I finished wrapping it up and installed new ground bolts and brackets to replaces the super rusts old ones.
With both harnesses installed I could finally hook up the battery and see how my wiring ability would hold up. Upon first connecting the battery I freaked out a bit when the headlights started to move up and the wipers began moving. I was like OH NO I wired something wrong and its shorting everything out! Then I remembered my friend had been sitting in the car previously and was playing with all the ***** and had left all of them on -_-. Turned them off, hooked up the battery and let it sit. No fires started and nothing else crazy was happening so for now my wiring had passed!
After that I had to check the fuel system for leaks so I had the upper intake manifold off and jumped the yellow connector on the passenger strut tower. As my friend watched the fuel pressure regulator gauge I turned the key to ON and he watched as the pressure rose. Very quickly however, the s4 fuel secondary rail I had purchased sprung a leak and started to spray onto the FPR. Turns out the surface of the rail where it connects with the banjo bolt to the primary rail had an uneven surface and could not make a clean connection with the copper crush washer. We swapped crush washers and tried again but the notch was too big. I just couldn't use the fuel rail. So that was a bit of a waste of a purchase.
Anxious to keep moving forward, I had my original s5 secondary fuel rail fabbed up with a nut to attach my new fitting and put that in place. Retested for fuel leaks and everything held up to the pressure!
With my engine harness and front harness reviewed and fully re-wrapped, and the fuel pressure regulator installed and checked for leaks, I could finally try starting the car.
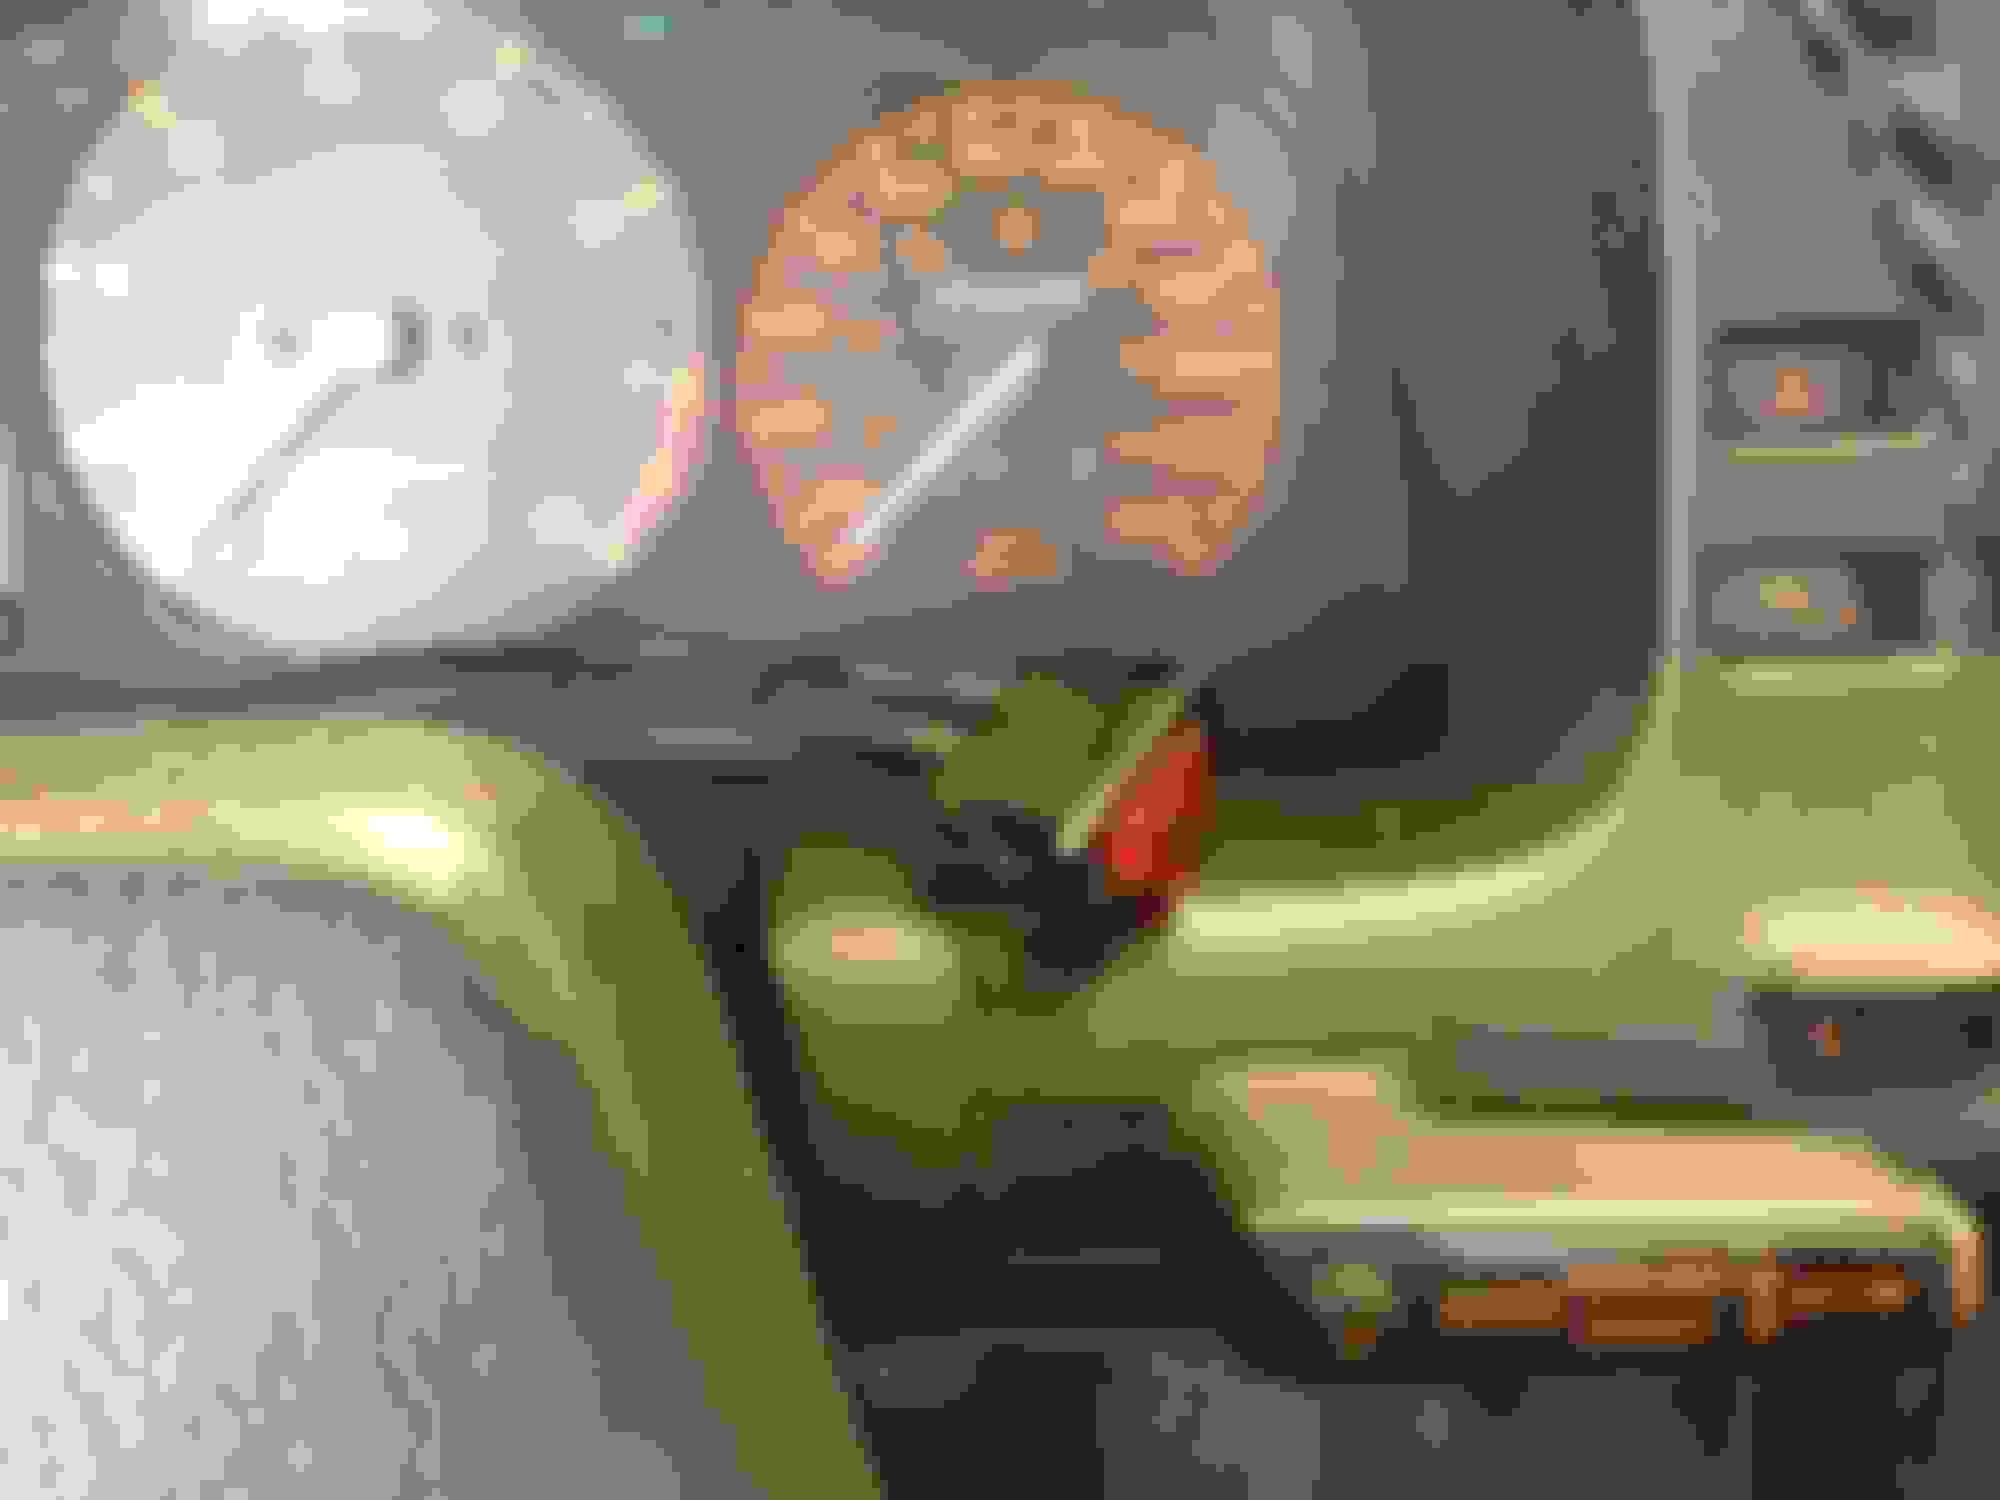
My patience and work was rewarded and on the first try the car started up and began to idle at 1000 RPM with a few kicks of the throttle! We quickly turned it off and checked everything and started it up again. Again it continued to start up and run and holy crap it was loud. I could finally test out the wideband gauge for its AFR and boost pressure and it appeared it be working properly. The intake manifold gasket hasn't been installed yet and I was running just PVC piping in my place of my intercooler not clamped in so I expect it hurt the idling a bit. We raised the idle up to 1500 so that it could stay on. Its running pretty rich and I can hear a lot of misfiring in my exhaust video but its not enough that its not staying on. Also I never really let it properly warm up and I don't think my coolant temperature gauge is working properly because it also never warmed up. The coolant was spraying a bit but thats just from an improperly installed hose clamp. Also the thermostat never opened, but it should, because it was off my old engine (I need to buy a new one). The tach wasn't working so I jumped the bullet connector from the trailing to leading coil pack, same as I had to do last year. Not really sure what's going on with that.
Also, it was leaking a lot of oil, and smoke was coming off the turbo/exhaust manifold as if something was burning. So much so that I didn't want to try driving at all (also the power steering pump lines were all open and not installed)
Overall, super rewarding to get to this point. I don't know how I am ever going to drive anywhere with the exhaust being so crazy loud at the 1500 RPM, but I will drive it anyway haha.
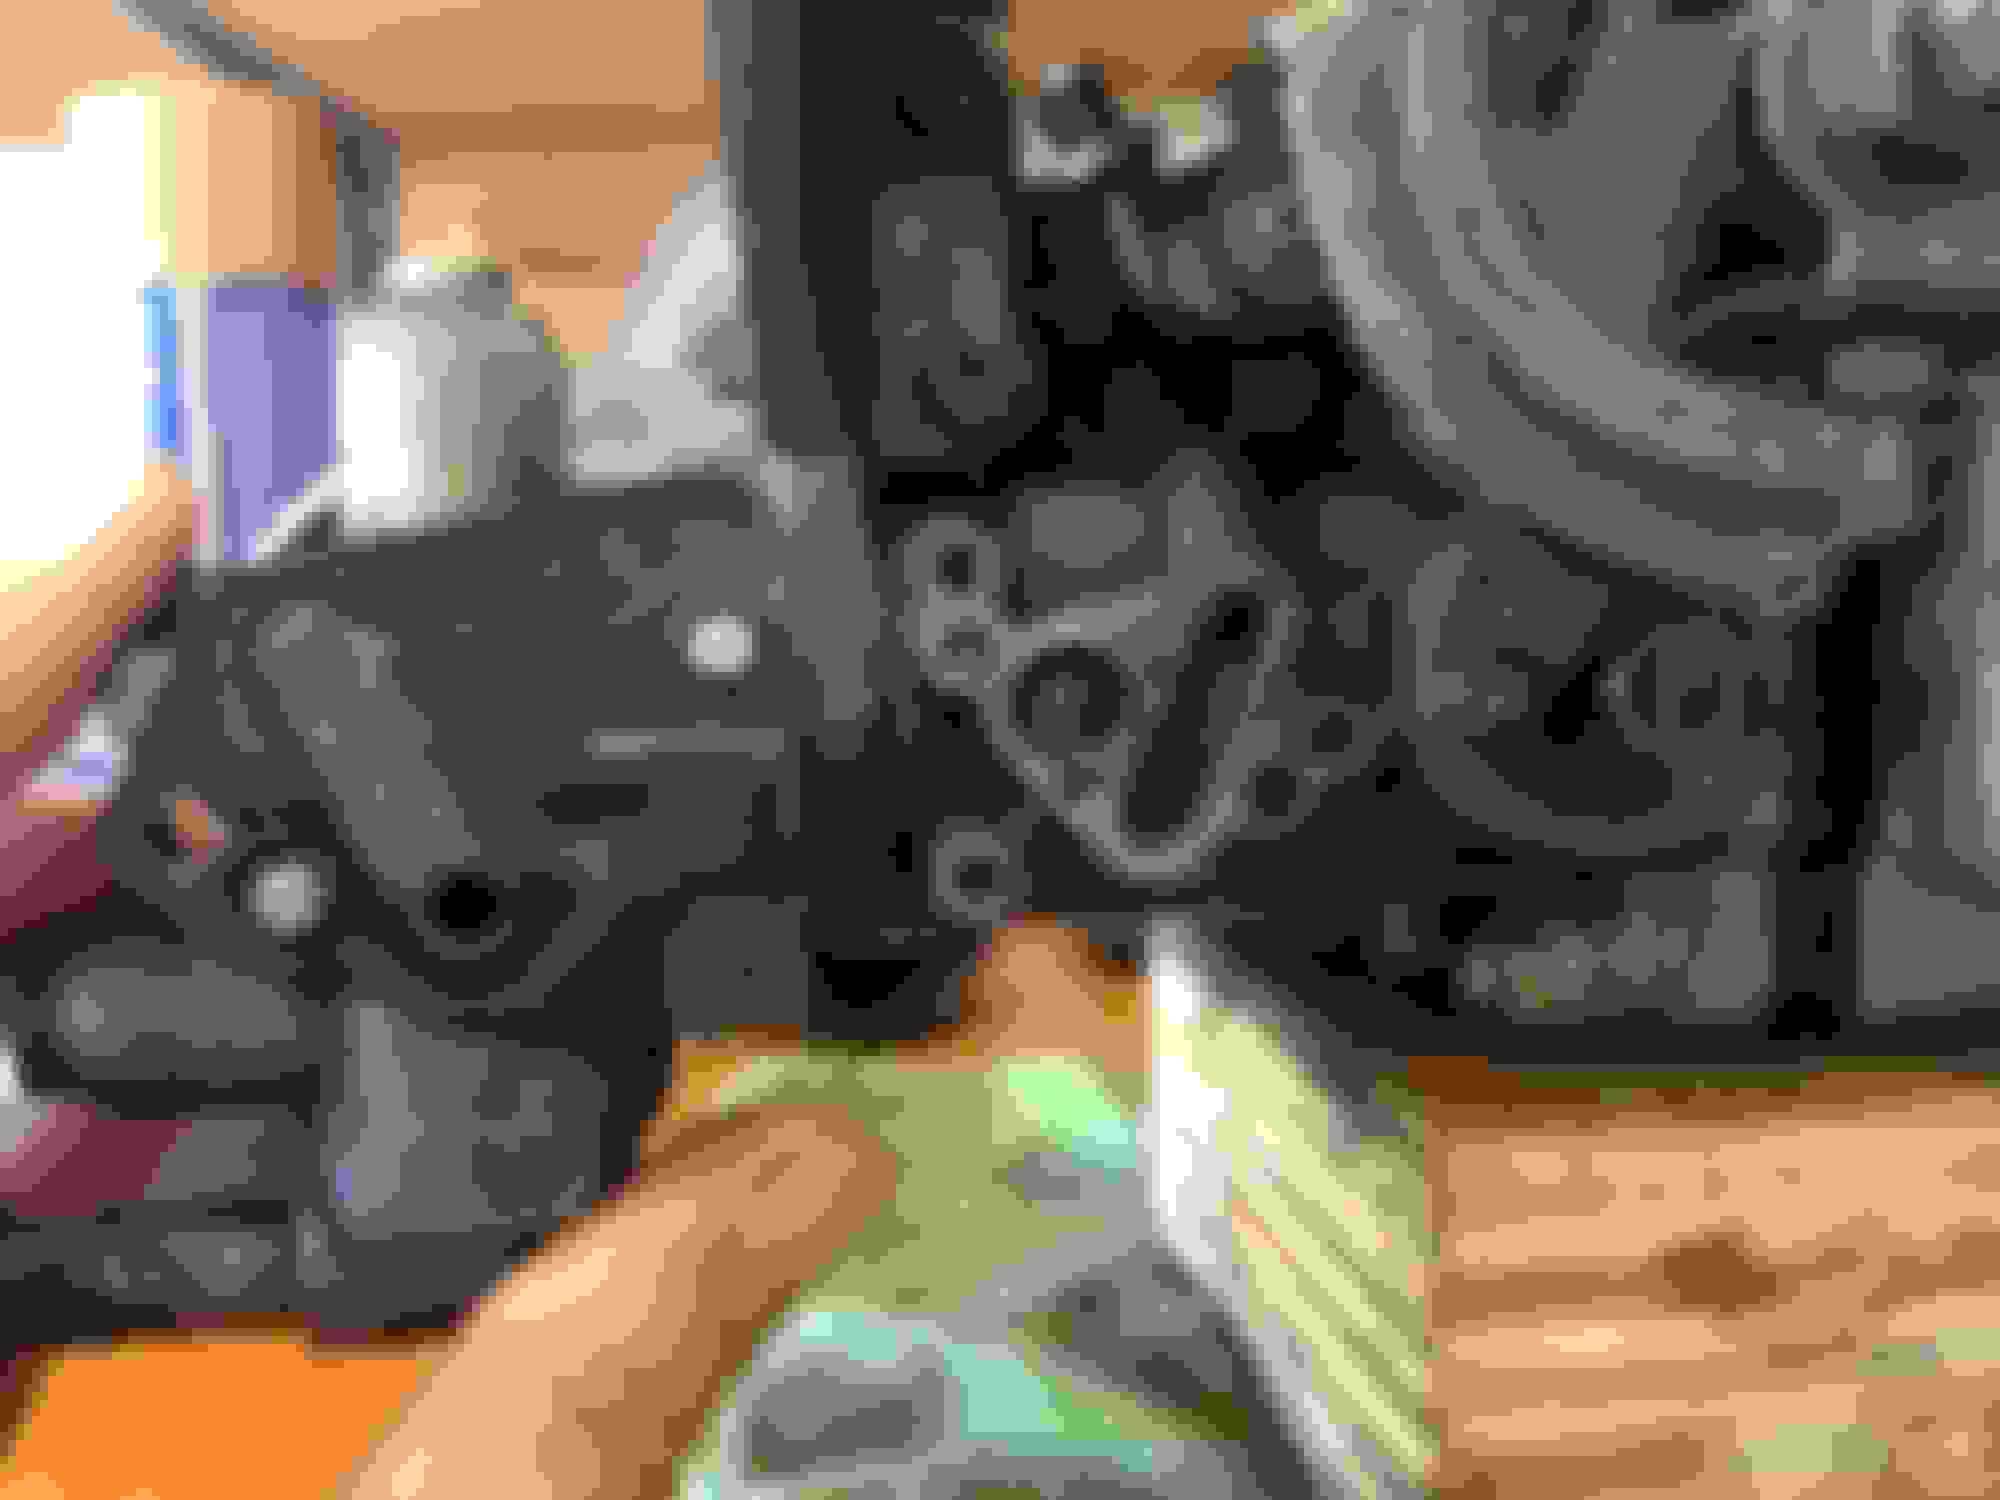
It's been confusing to try and find where the oil is leaking because it all drains down new the oil pan and falls off the back of the subframe. However, I think I tracked it down to two areas being the OMP and the turbo oil return line which is unfortunate because I already replaced both seals.
In my previous post I put up a video showing the smoke coming off the turbo and that I believe is one of two things. One is that I may have put ultra gray on the gasket and as it started to heat up it could have been burning off. I can't remember if I put it here or not. Also, oil is still leaking out of that gasket so I need to buy another one, clean up the area even better, and install it again. Hopefully that will solve the smoking and oil burning from this area.
As for the OMP, I believe when I pulled it off there was ultra gray holding it to the front rotor housing/oil pump/front cover area so I replaced it with new ultra gray. However, after removing the OMP from my old engine, I noticed theres supposed to be an o-ring. So I bought this from Mazda as well as new copper crush washers and this past weekend I installed them all. I started the engine for maybe 1 minute and I didn't notice as much oil streaming down, and no more oil from this area. I really hope that solved that problem, I would hate for the oil pan to be leaking which was my first worry. I used the OMP off my old engine because it looked to be in better shape once I cleaned it up with a wire brush and some brake cleaner.
Currently how the car is sitting. Got the intercooler roughly put back in place because I still need to put the new intake manifold gaskets in once I know that I don't need to touch anything underneth there anymore. Not looking forward to having the scrape off the old gasket without letting it fall into the manifold because it seems to be pretty stuck well on there. Still got my stupid bmw which is no longer working at all and is now just stuck in the way.
Last edited by trickster; Jul 14, 2015 at 01:26 AM.
Thanks man! I would've liked to say I got the lean misfiring idling figured out but I've taken a step backwards. I installed a new UIM gasket to try and stop the misfiring and now all the engine does it flood and not run. I've been doing some diagnostics to try and find the problem. I found that my primary throttle valve was shut during idle so I opened that up as per spec but it didn't help.
My call for help thread is located at https://www.rx7club.com/2nd-generation-specific-1986-1992-17/installed-uim-gasket-now-my-engine-wont-run-1087988/
Last I said I was swapping out the OMP from my NA s4 engine, and then I posted without much information that I had installed a UIM gasket and that I couldn't get it to run again. Lots has happened since then so I'll get right into it.
I was trying to deal with all my leaks and I finally got it sorted by replacing all the little gaksets for oil to the turbo, (feed line, return line below the turbo, return line middle section gasket, return line gasket at the oil pump) and after doing a couple of them twice I finally got it to stop leaking oil and stop producing smoke when I idled.
Hoping to get less misfiring when I idled, I added an O2 sensor because I realized that the knock sensor was plugged in where it should be. That didn't seem to change to much (while idling anyway)
I was still having trouble with it leaning out while idling and pushing the throttle a little bit, which I was hoping was related to a vacuum leak, so I added the upper intake manifold gasket which I hadn't done. Once I finished that, I couldn't get it to start anymore.
In attempts to correct the problem, I smoke tested multiple times, found leaks at the air intake ducting near the turbo, from the secondary fuel injectors, and from the thermowax (which I later found out was stock) and patched all of them. For the fuel injectors I ordered new seals which for some reason had not come with my new injectors.
I also pulled apart the throttle body once or twice, and reset the primary and secondary throttle plates to spec.
I kept back tracking my steps to see what I could have done to prevent the engine from starting but looking back I guess it was just heavily flooded.
I tried every step at once to get the engine going, new spark plugs, ATF injected, oil change, and a fuel cut off switch. Finally I got it to run again and now with the switch I never have a problem with running. I still need to set it up on a relay though. Also need to find a good place for the switch. Temporarily it is just hanging
Although I got it finally running it was just too loud and I was trying to find a way to decrease the idle. I modified my throttle cable bracket so that the cable would be closer to the throttle link things and there would be more slack because when I tried to decrease the throttle stop screw it just tightened up on the throttle cable.
I got new accessory belts, and a bunch of other parts to install in the future like thermostat and gasket, new rad hoses, gage temperature sensor, fuel filter, and the new fuel injector gaskets. I installed the new gaskets to fix the leaks but now that I am writing this I think they may not have been as tight as I had hoped. I'll have to do another smoke test later to see if they did seal it up properly.
Im still having idling issues at this point ( and still now) and spent a long time learning how to adjust the idle stop screw, the variable idle mixture resistor, the throttle position sensor, and learned about the initial set coupler (which I doubt does anything since I don't have a BAC and am thinking about implementing one)
I've tried many RPM adjustments (followed by variable resistor, TPS), and all while warmed up but can never get it to stop misfiring for some reason no matter where I put it. It does have a hard time idling below about 900 RPM.
After all the RPM tweaking I accidentally stripped my idle set screw and had to order a new fine thread bolt and learn how to tap.
Breaking the idle set screw really put a stop to my tweaking as I couldn't keep the car on without holding the pedal
Last edited by trickster; Oct 22, 2015 at 10:59 AM.
FINALLY I went for a drive
I was basically like screw it, I've had enough sitting around and tweaking, I don't even know if the transmission or differential work, its time to just go.
I drove once around the block and everything seemed okay. Of course, the engine was still misfiring, and while driving it was very hesistant, but it drove! huge step up in progress for me and I was very happy.
I stopped updating my build progress because the amount of work I did piled up and became too hard to keep track of, but I didnt quit trying. Engine finally ran properly Sept 2016. I continuously update the work on instagram as I'm always working on something and its easier to upload pics from my phone. The final problem with the engine misfiring ended up being that the CAS had been stabbed improperly, so that it appeared correct even with the timing light when in reality it was about 75 degrees off.
I just got a new set of direzzas and finally had an alignment to get all my adjustable suspension arms and coilovers adjusted. Heres the car as it sits today: