
1987 FC3S GXL Turbo Swap Build Thread


Thread Starter
Senior Member
Joined: Oct 2013
Posts: 270
Likes: 1
From: ON, Canada
I have the GoPro setup to take a photo every 30 seconds and I'm hoping to compile it all into a video when I'm done. Besides that I've only got a couple engines of the original NA engine running for selling purposes. But I'll definitely make some videos of the initial swap startup and other driving videos in the future
Thread Starter
Senior Member
Joined: Oct 2013
Posts: 270
Likes: 1
From: ON, Canada
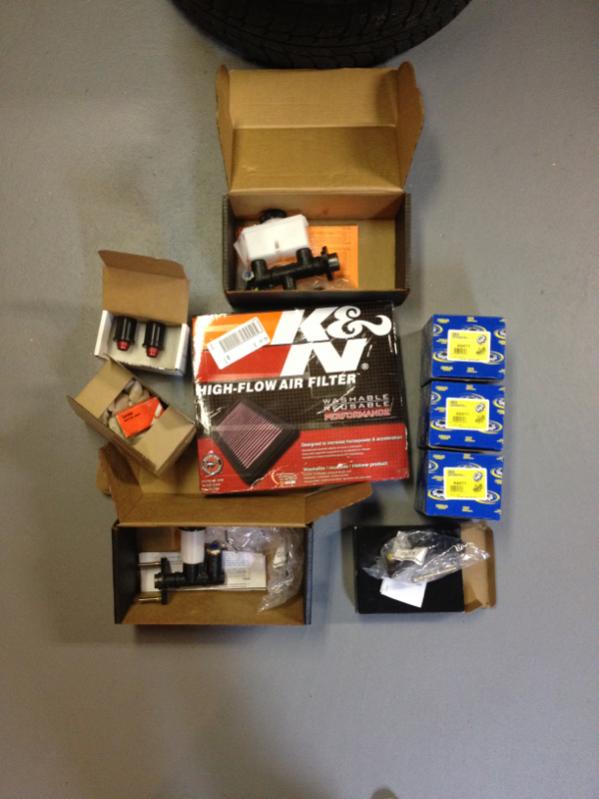
Got some more parts in: brake master cylinder, clutch master cylinder, and clutch slave cylinder.
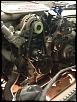
Today I swapped a couple items from the old engine to the new. Moved over the ps/ac mounting bracket, the thermostat, and then when I went to swap alternators I accidentally ripped the wiring so I need to resolder that. I also discovered that the wires for my reverse light/5th gear switch are all ripped out so I need to replace that. Having trouble finding one, anyone know of a place I can get one shipped? Thanks in advance
Thread Starter
Senior Member
Joined: Oct 2013
Posts: 270
Likes: 1
From: ON, Canada
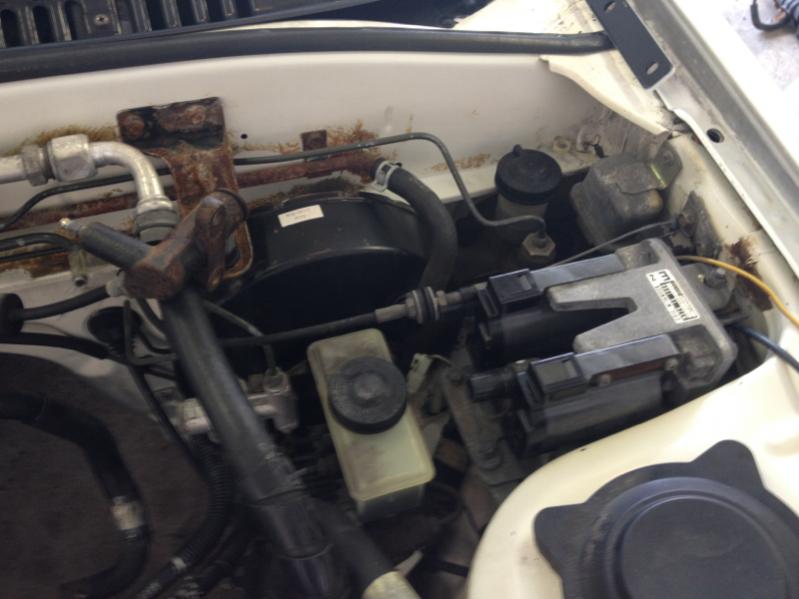
Swapped out the brake master cylinder, clutch master cylinder and clutch slave cylinder with the new parts I ordered. I'll admit it wasn't very easy getting at those hard to reach bolts. I still need to bleed all the brake lines.
Before
After
This is good because all the old fluids were all black and I was having trouble getting the clutch to disengage when the old engine was in.
Parts still needed: turbo reverse / fifth gear switch and turbo half shafts. Anyone who has and is selling let me know please.
Before
After
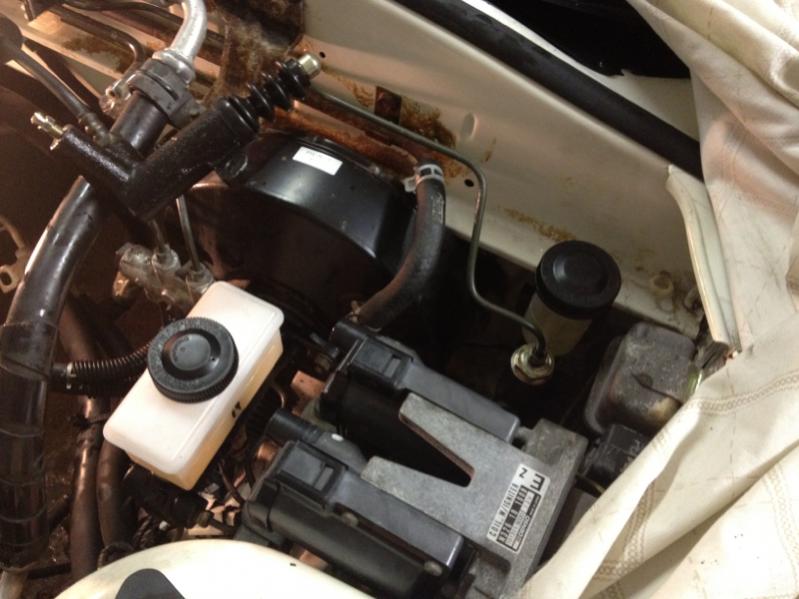
This is good because all the old fluids were all black and I was having trouble getting the clutch to disengage when the old engine was in.
Parts still needed: turbo reverse / fifth gear switch and turbo half shafts. Anyone who has and is selling let me know please.
Thread Starter
Senior Member
Joined: Oct 2013
Posts: 270
Likes: 1
From: ON, Canada
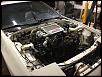
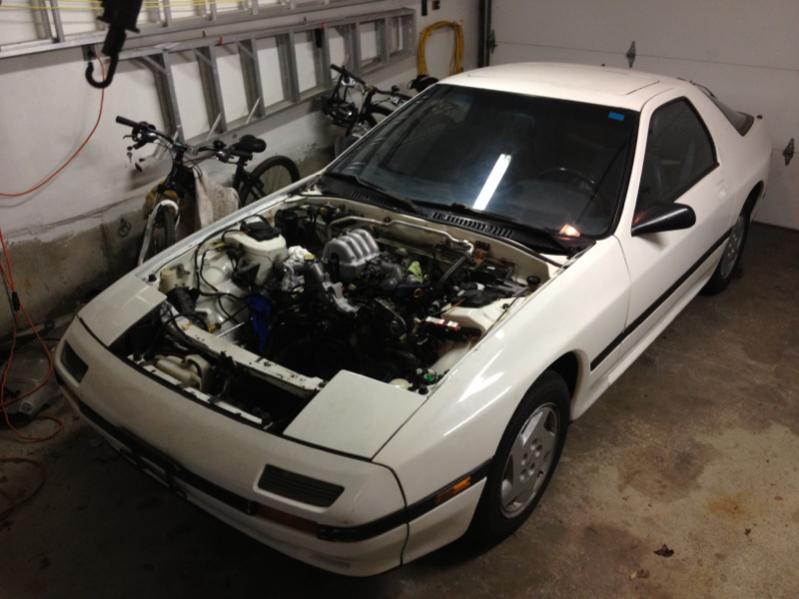
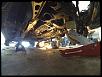
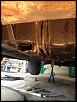
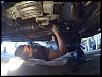
Finally got the engine in place today. It took way longer than I expected. I started off with the front of the vehicle jacked up because I thought that was the easiest way but with the short reach of the lift couldn't get the engine into its mounts. Ended off with the front on the ground and the back jacked 3 feet in the air. So good to finally have that in now I can slowly hook everything back up.

Thread Starter
Senior Member
Joined: Oct 2013
Posts: 270
Likes: 1
From: ON, Canada
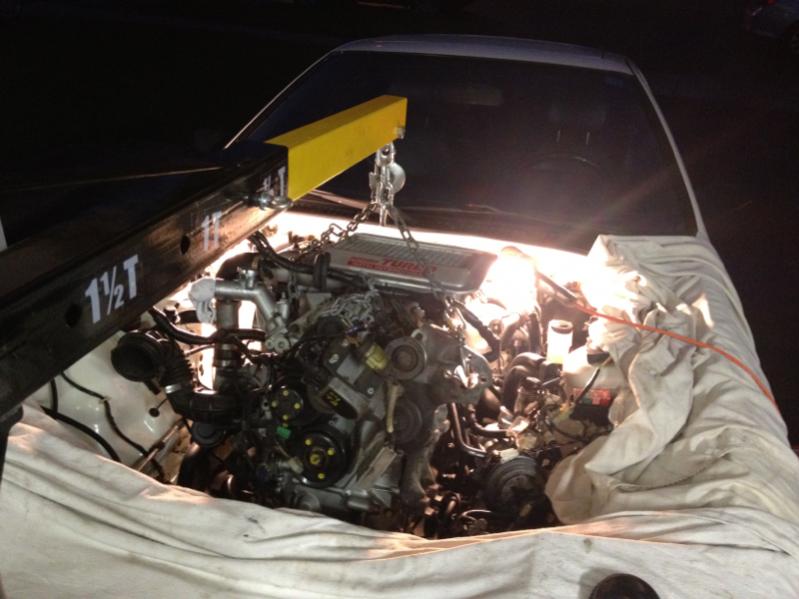
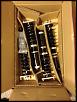
I've been slowly hooking some things up and transferring parts over from the NA engine such as pulleys for power steering and ac. I'll update those parts soon once I upload from my GoPro. Just a quick update here, my BC Coilovers came in and I'm super excited to install them when I get a chance!
Thread Starter
Senior Member
Joined: Oct 2013
Posts: 270
Likes: 1
From: ON, Canada
Day 12
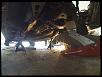
Well it's probably not day 12 on here but that's how it's sorted in my GoPro album. On day 12 I took on the annoying task of popping in my engine mount bushings after the engine was already in place. Once I lifted the engine out with the jack under the oil pan I had an extremely difficult time getting the two bolts to sit back in the right spot.
Since the bushings don't fit snug with the engine mounts we chose to ignore them when putting in the engine because it seemed simple to put in later. With two people it may have been okay but on my own I struggled pushing the engine over while lowering the jack. I eventually had to get our my hoist and lift the engine up completely so that I could guide it more easily into place.
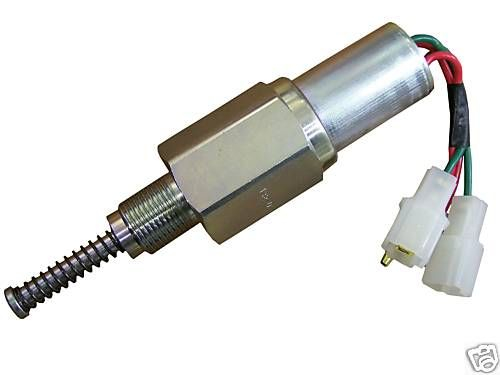
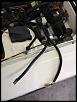
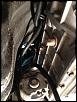
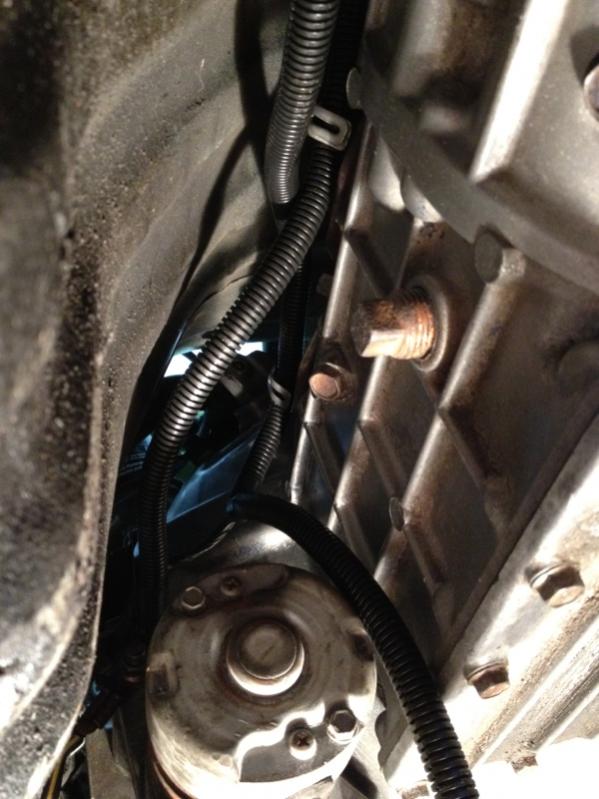
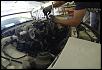
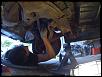
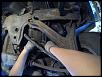
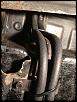
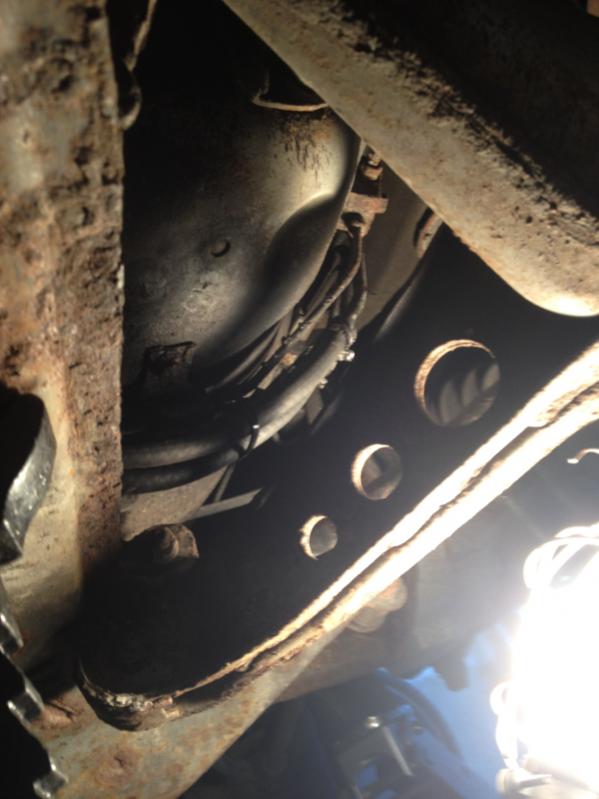
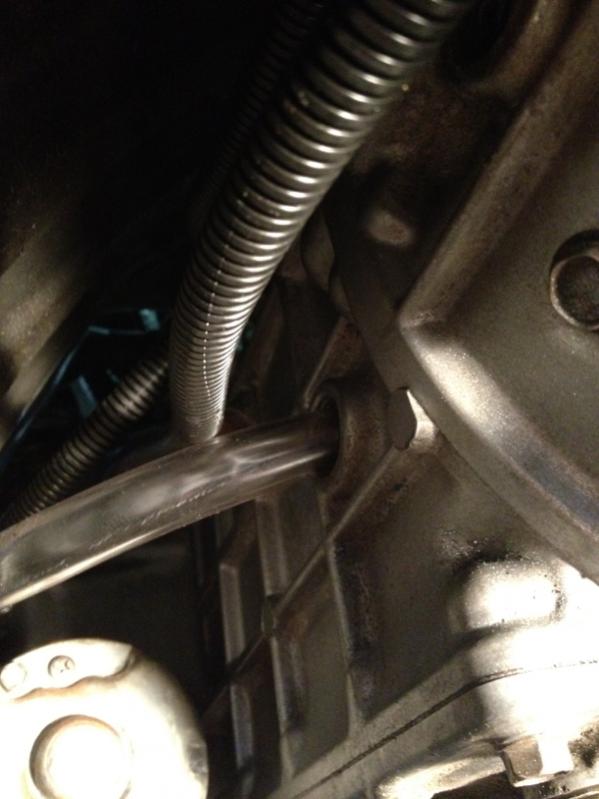
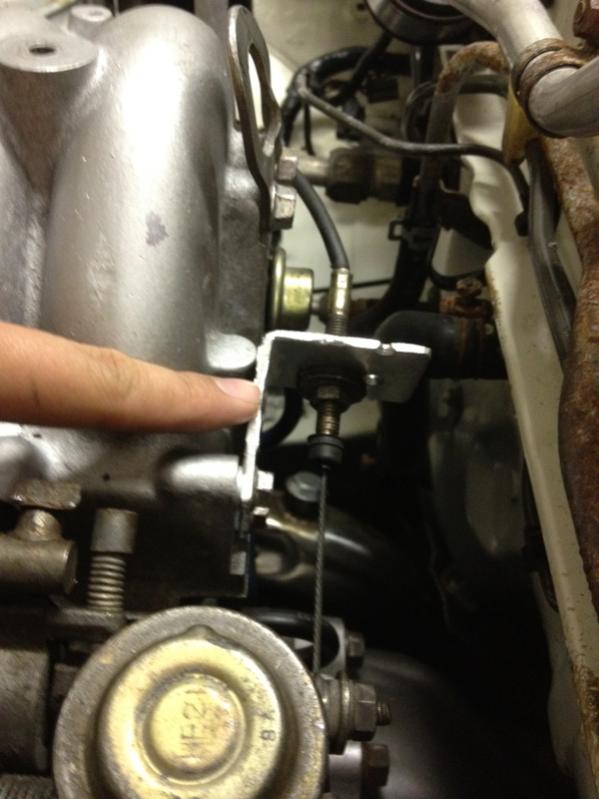
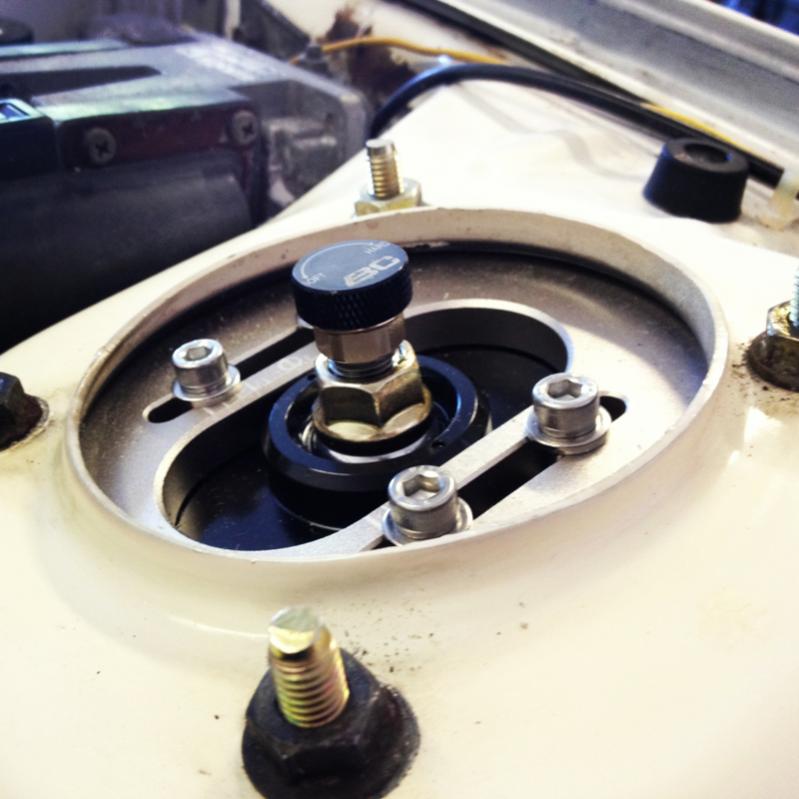
After that I installed my new reverse gear/fifth gear sensor into the tranny by unbolting it and dropping it down.
This is the part I'm talking about.
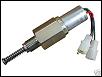
Simple enough to swap out but at this time I realized my transmission wiring was about two feet too short to reach the sensor on the turbo tranny vs the NA tranny and would have to be extended
Well it's probably not day 12 on here but that's how it's sorted in my GoPro album. On day 12 I took on the annoying task of popping in my engine mount bushings after the engine was already in place. Once I lifted the engine out with the jack under the oil pan I had an extremely difficult time getting the two bolts to sit back in the right spot.
Since the bushings don't fit snug with the engine mounts we chose to ignore them when putting in the engine because it seemed simple to put in later. With two people it may have been okay but on my own I struggled pushing the engine over while lowering the jack. I eventually had to get our my hoist and lift the engine up completely so that I could guide it more easily into place.
After that I installed my new reverse gear/fifth gear sensor into the tranny by unbolting it and dropping it down.
This is the part I'm talking about.
Simple enough to swap out but at this time I realized my transmission wiring was about two feet too short to reach the sensor on the turbo tranny vs the NA tranny and would have to be extended
Thread Starter
Senior Member
Joined: Oct 2013
Posts: 270
Likes: 1
From: ON, Canada
Day 13 (and 14?)
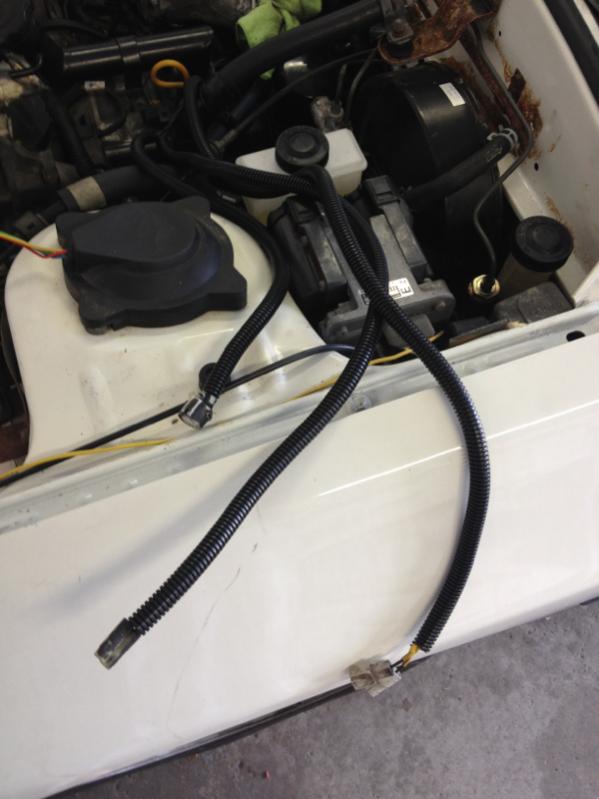
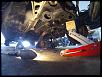
When I first tried to hookup my alternator I accidentally ripped the wiring because it was too short. I was trying to avoid any wiring during this project so I was really pissed off when it happened and put it off for a while. But when I realized I had to extend 7 wires to reach the transmission sensors I accepted the fact and went for it all at once.
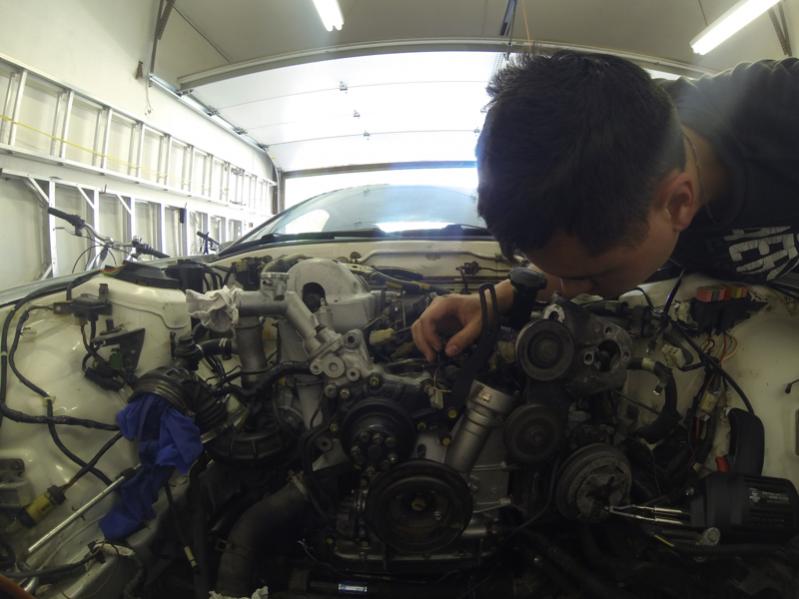
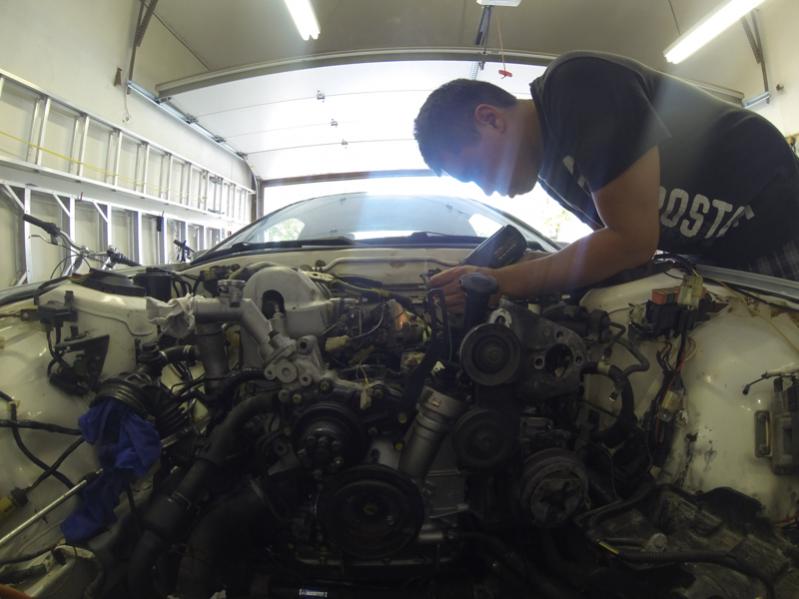
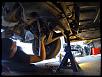
The alternator wiring was easy enough to reach but a couple of the transmission wires were deep in the engine bay. The others I was able to pull up pretty far to access them.
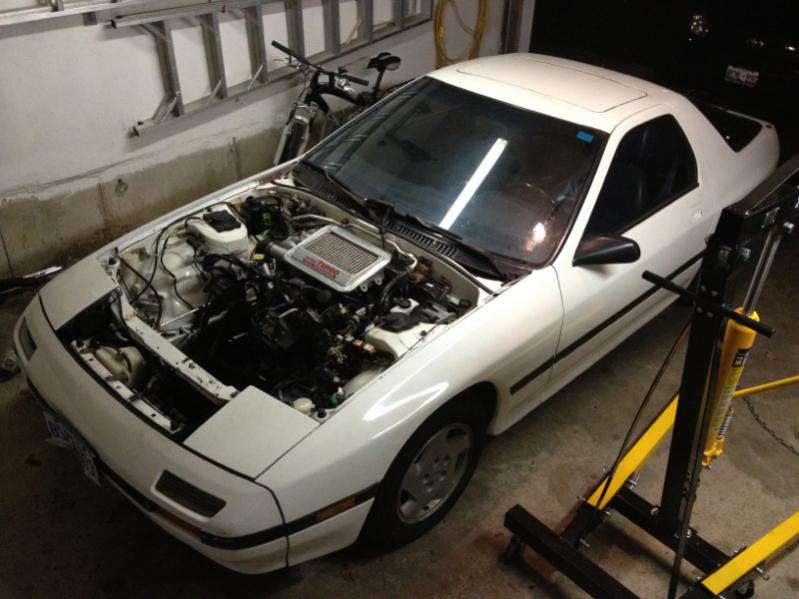
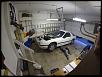
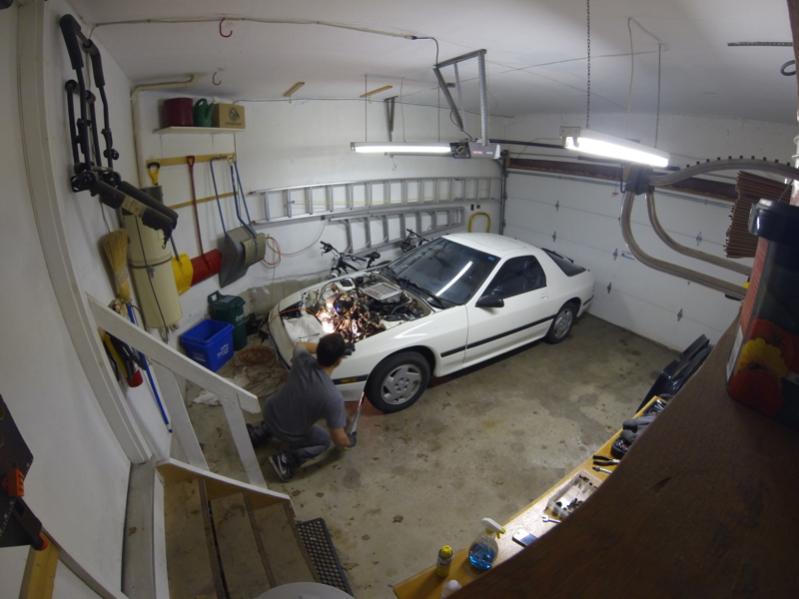
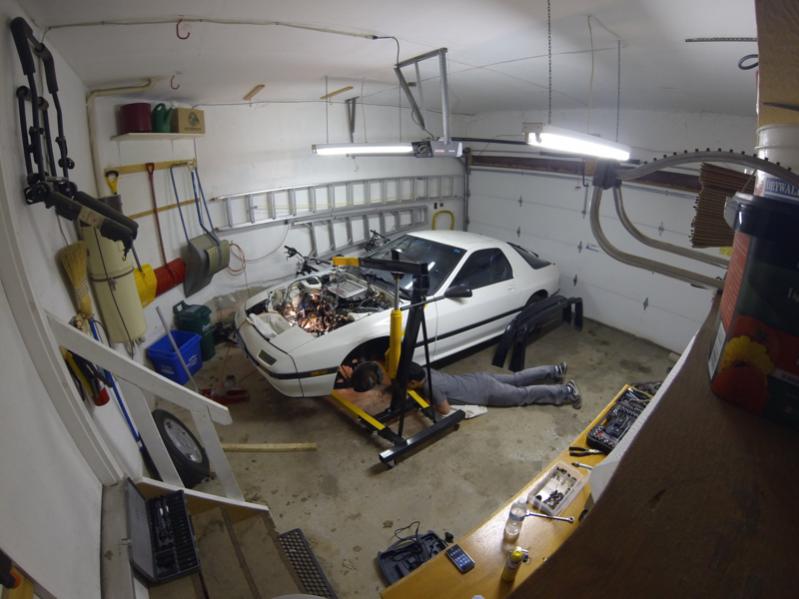
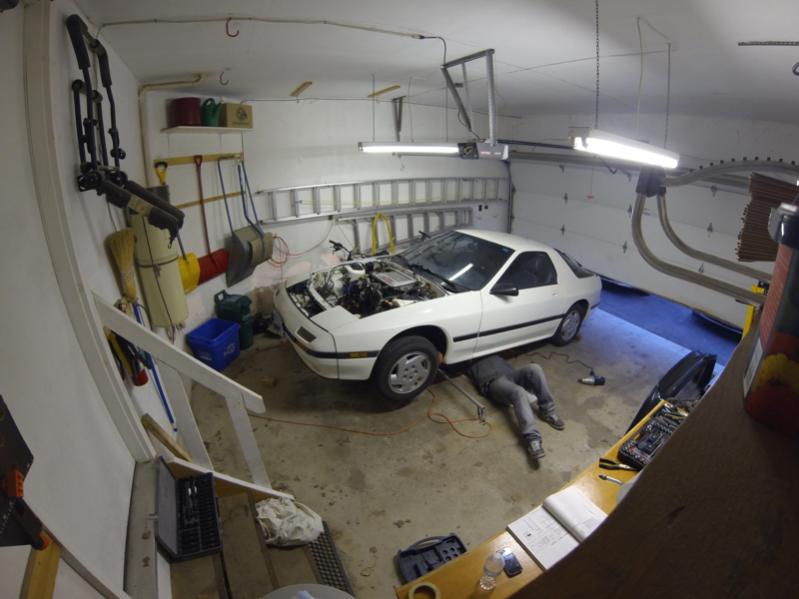
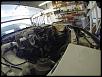
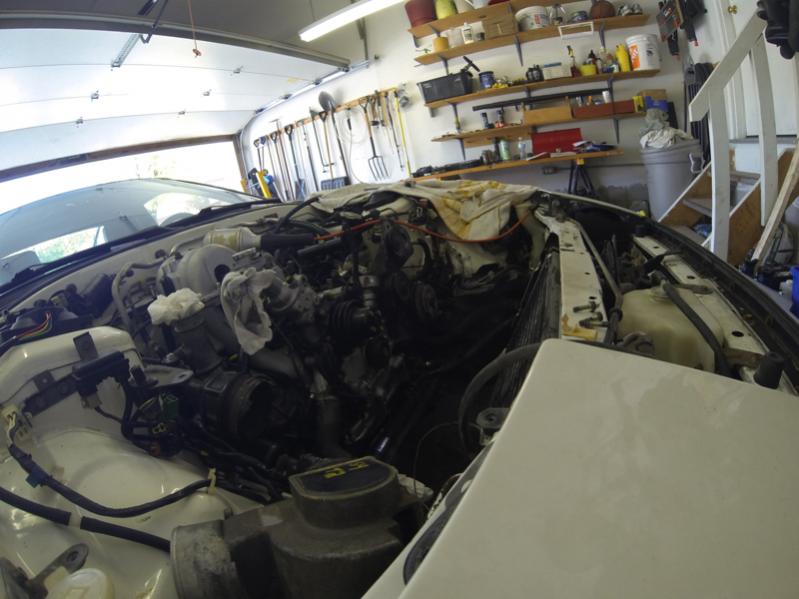
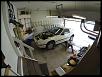
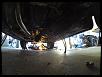
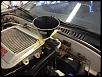
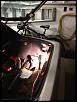
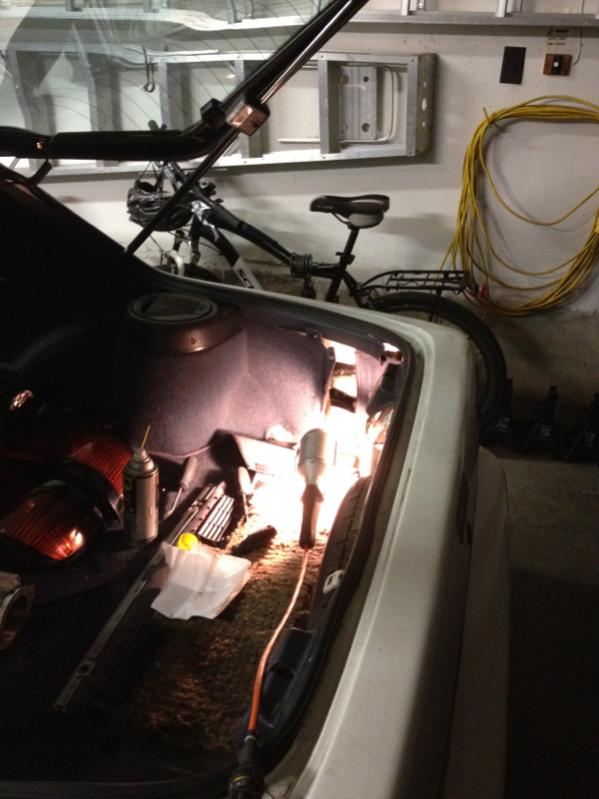
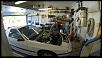
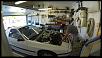
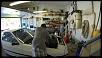
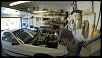
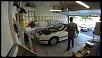
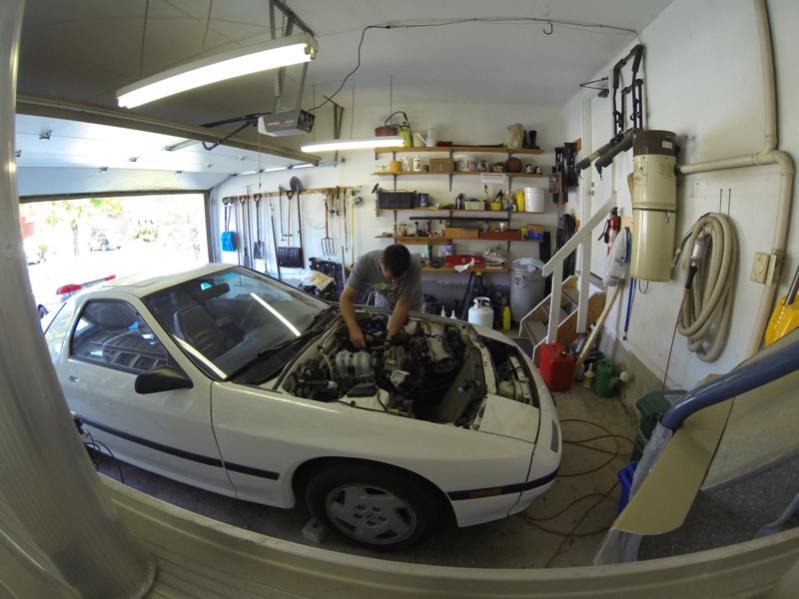
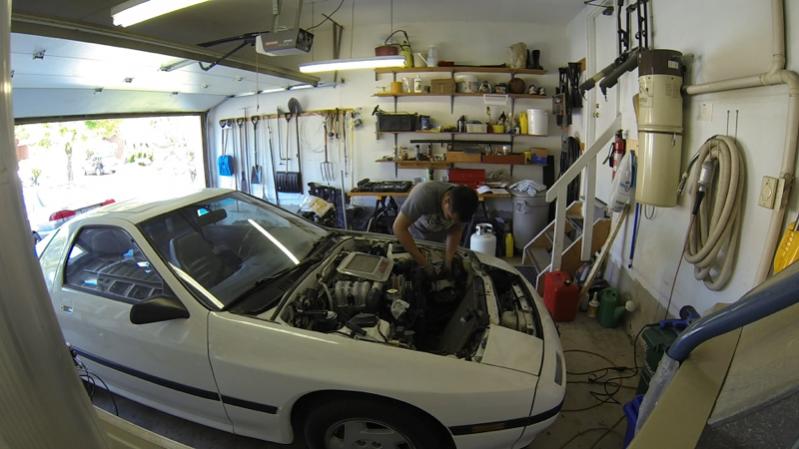
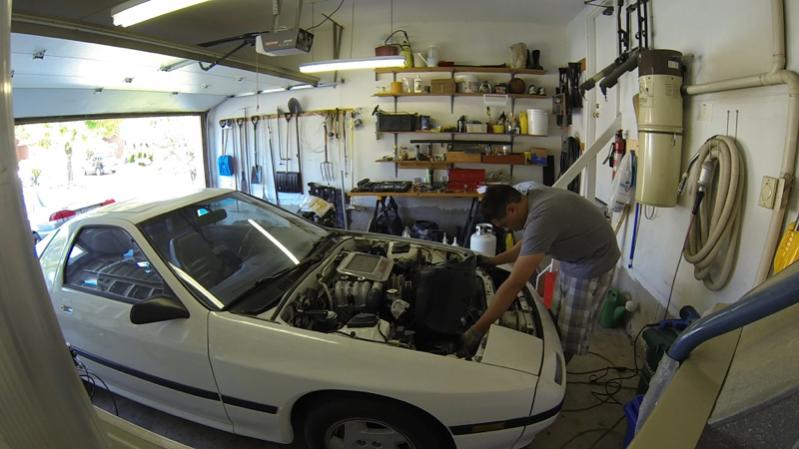
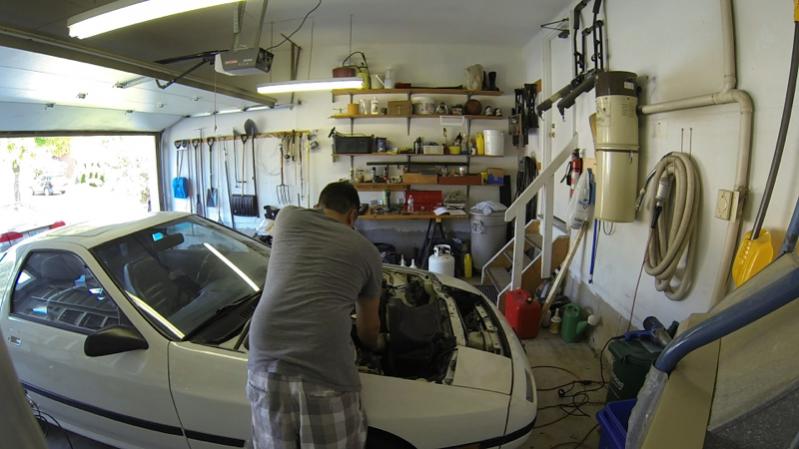
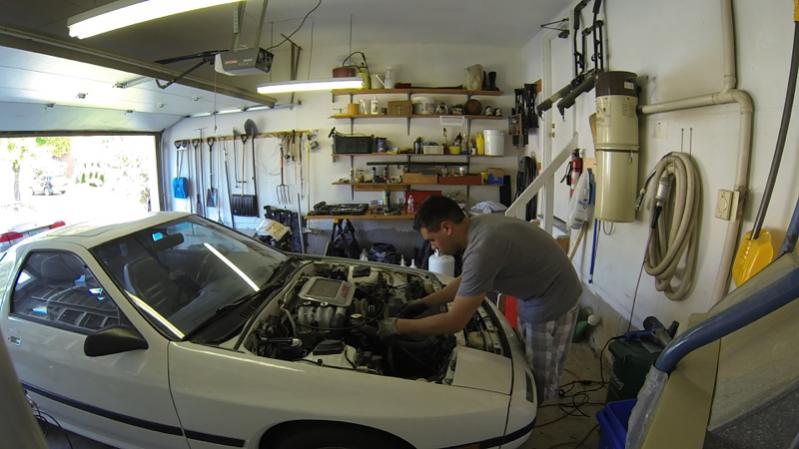
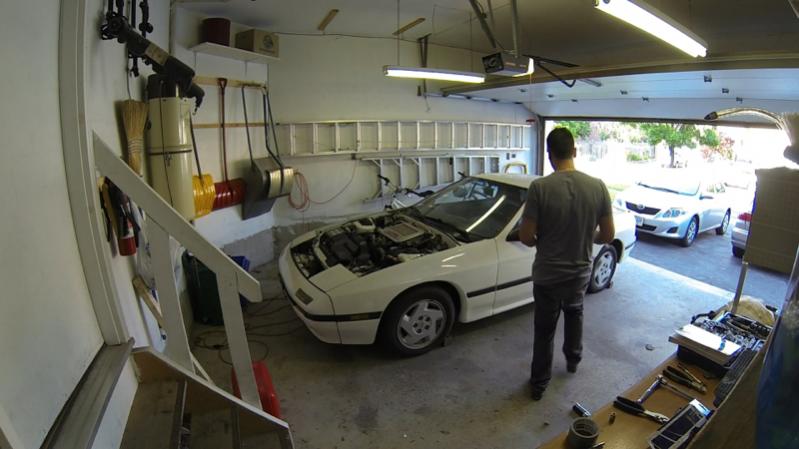
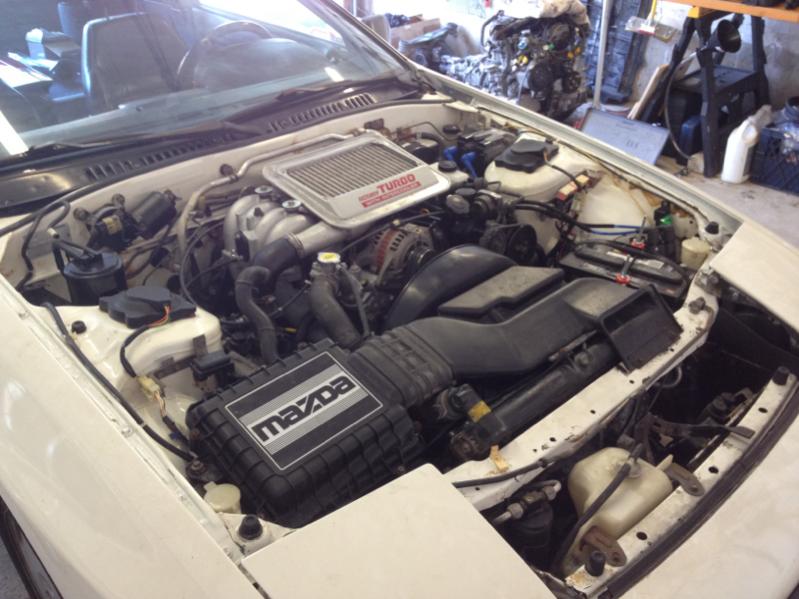
A photo of the car at this point. In my photos the intercoolers comes off and on so many times because there's always more to do below it.
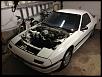
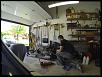
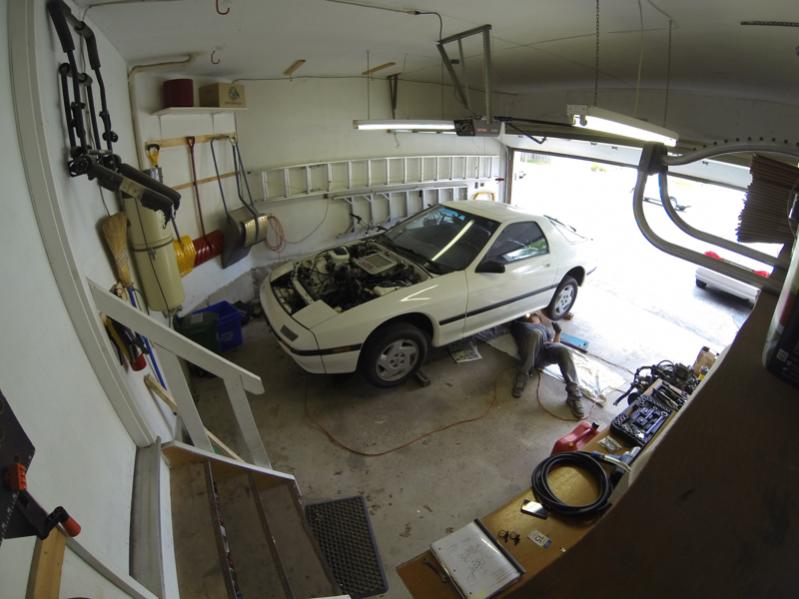
I'd say I've kept the place fairly organized throughout all of this
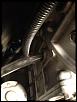
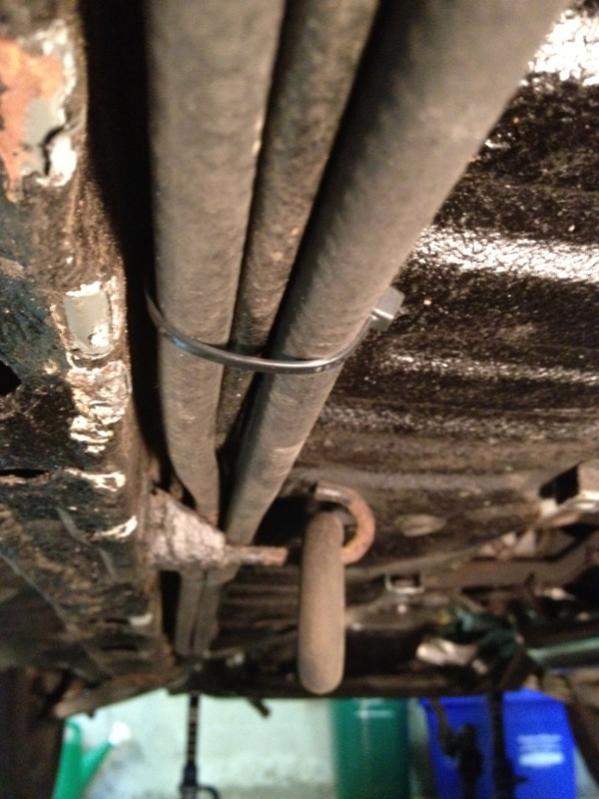
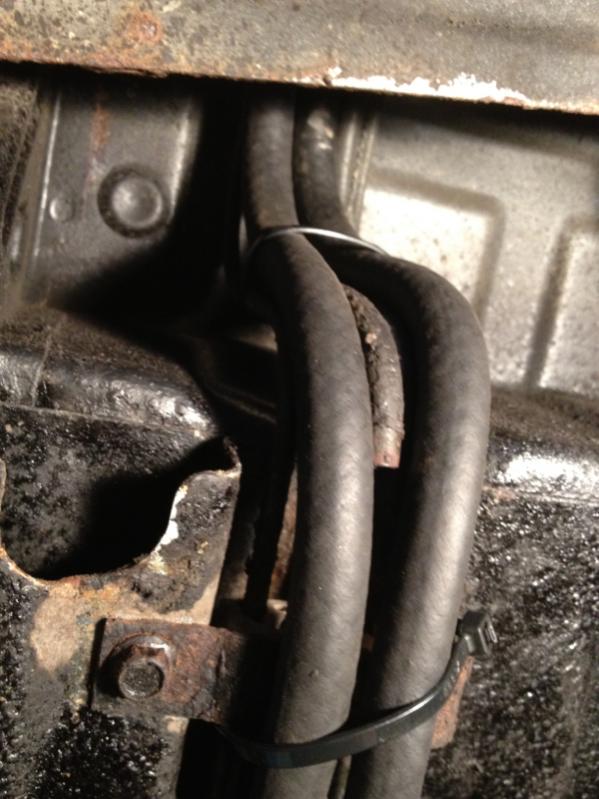
Transmission wires extended and then covered in the loom
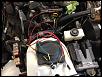
one problem I noticed when trying to hook it all up was that on my NA transmission the sensor has two bullet connectors and one male one female white connector. But on the new sensor it's two bullet and two female connectors. So I hooked up one for now and later when I start the engine I can mess with these to see which connector needs to be soldered. Still annoying though because I thought it was all done with.
When I first tried to hookup my alternator I accidentally ripped the wiring because it was too short. I was trying to avoid any wiring during this project so I was really pissed off when it happened and put it off for a while. But when I realized I had to extend 7 wires to reach the transmission sensors I accepted the fact and went for it all at once.
The alternator wiring was easy enough to reach but a couple of the transmission wires were deep in the engine bay. The others I was able to pull up pretty far to access them.
A photo of the car at this point. In my photos the intercoolers comes off and on so many times because there's always more to do below it.
I'd say I've kept the place fairly organized throughout all of this

Transmission wires extended and then covered in the loom

one problem I noticed when trying to hook it all up was that on my NA transmission the sensor has two bullet connectors and one male one female white connector. But on the new sensor it's two bullet and two female connectors. So I hooked up one for now and later when I start the engine I can mess with these to see which connector needs to be soldered. Still annoying though because I thought it was all done with.
Thread Starter
Senior Member
Joined: Oct 2013
Posts: 270
Likes: 1
From: ON, Canada
Day 14
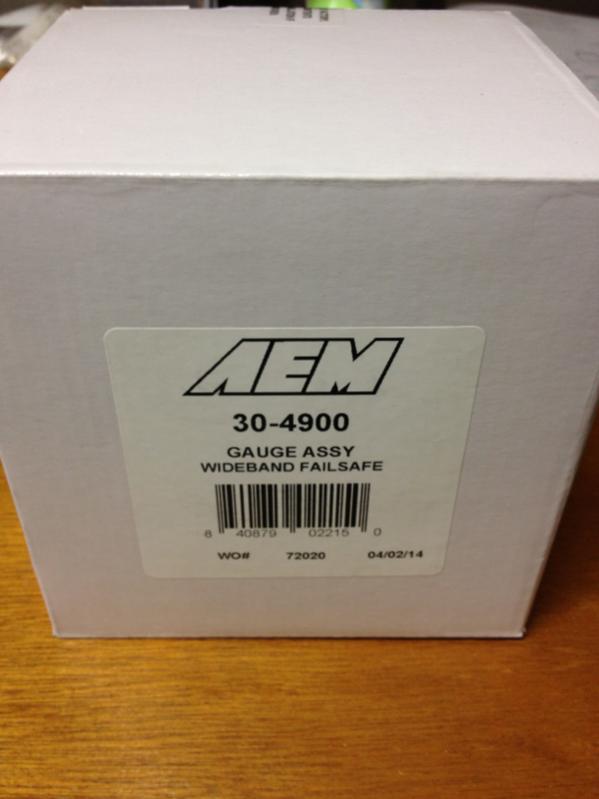
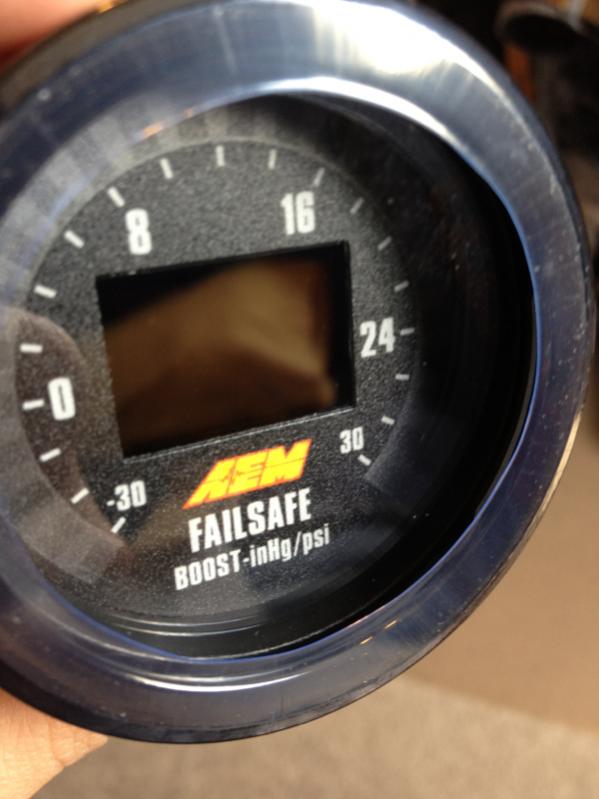
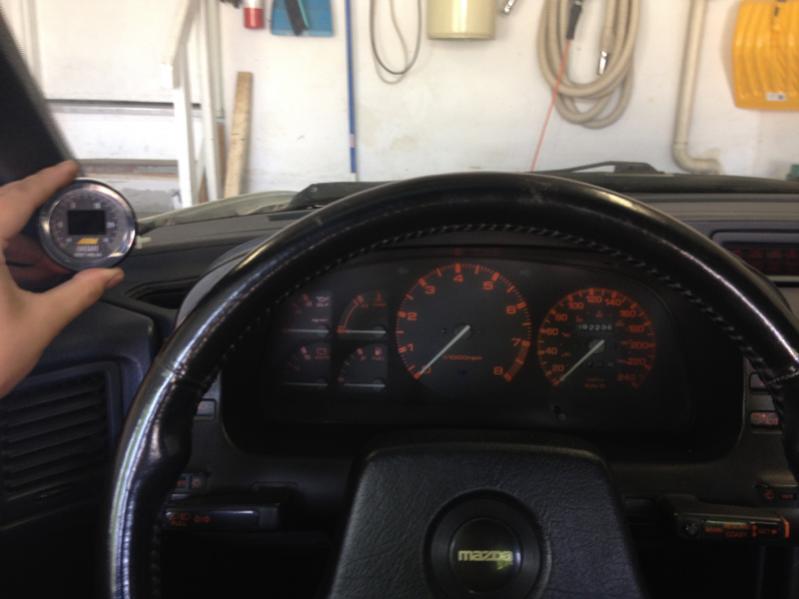
On day 14 I got in my AEM failsafe gauge which I was pretty excited about. I dont have any plans for the actual failsafe function yet, I know I've read good and bad things but my main focus is that it can monitor wideband afr boost so I don't need to buy multiple gauges.
Planning to mount it to the a-pillar later
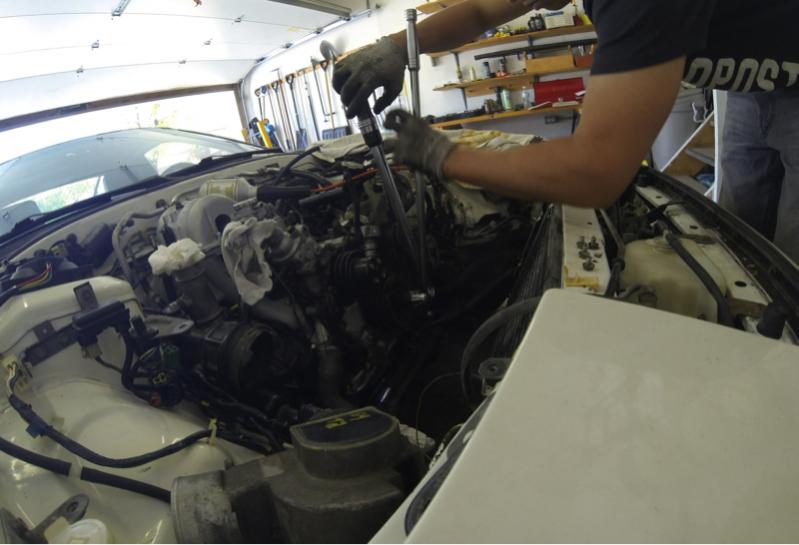
I swapped the fan bolts and the pulleys for the AC and power steering.
When I went to torque the bolts for the pulley though my torque wrench messed up and snapped off one of the bolts?! So I had to pull them back off and luckily I was able to undo the bolt with some vice grips and quickly go buy another. I didn't try torquing then again.
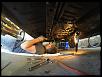
Hooked up some transmission wiring and the starter wires. Also attached the lower oil cooler line
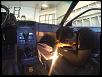
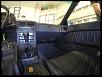
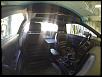
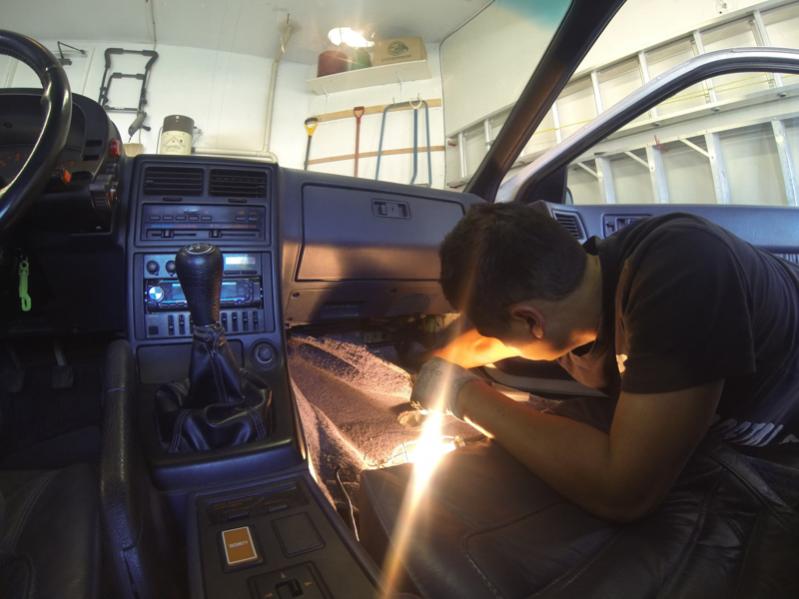
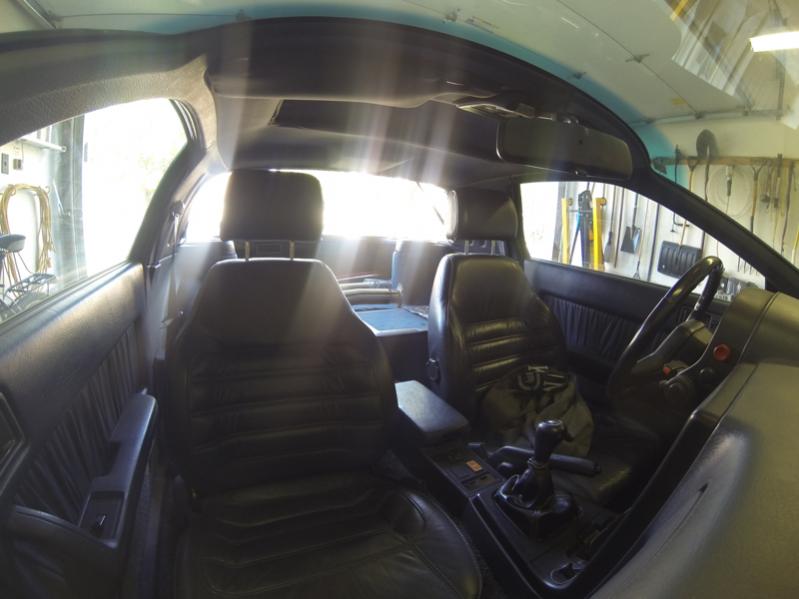
One other day I don't know when but prior to here my buddy came over and together we hooked up the ecu wiring. It was super tricky and I had to guide him by looking through the engine bay with his head under the passengers footwell. So with that in place I put the interior back together
On day 14 I got in my AEM failsafe gauge which I was pretty excited about. I dont have any plans for the actual failsafe function yet, I know I've read good and bad things but my main focus is that it can monitor wideband afr boost so I don't need to buy multiple gauges.
Planning to mount it to the a-pillar later
I swapped the fan bolts and the pulleys for the AC and power steering.

When I went to torque the bolts for the pulley though my torque wrench messed up and snapped off one of the bolts?! So I had to pull them back off and luckily I was able to undo the bolt with some vice grips and quickly go buy another. I didn't try torquing then again.
Hooked up some transmission wiring and the starter wires. Also attached the lower oil cooler line
One other day I don't know when but prior to here my buddy came over and together we hooked up the ecu wiring. It was super tricky and I had to guide him by looking through the engine bay with his head under the passengers footwell. So with that in place I put the interior back together
Thread Starter
Senior Member
Joined: Oct 2013
Posts: 270
Likes: 1
From: ON, Canada
Day 15
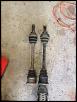
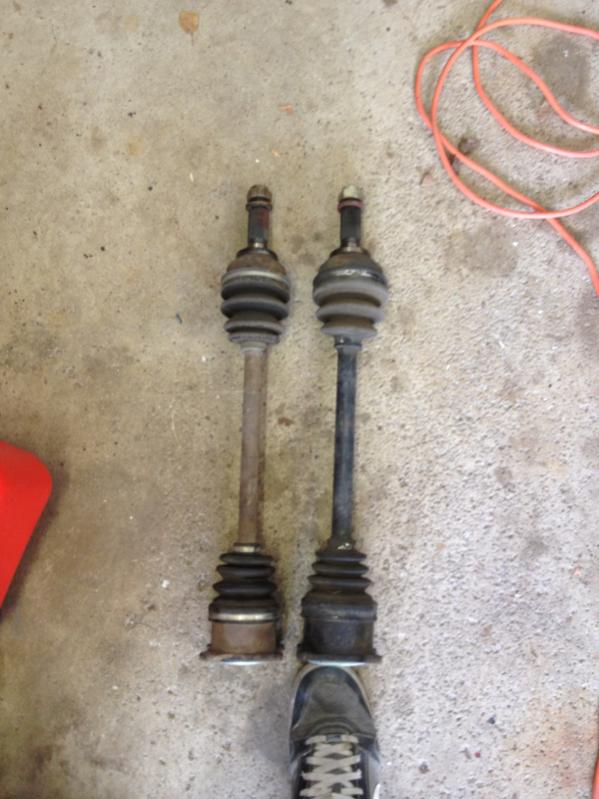
Day 15 was more of one hour in the evening only. I got in my banzai racing dual belt pulley for the alternator (since the air pump is removed), two new belts, NGK spark wires and used turbo axle shafts. The only part I don't have now is the exhaust I think?
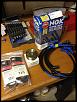
Day 15 was more of one hour in the evening only. I got in my banzai racing dual belt pulley for the alternator (since the air pump is removed), two new belts, NGK spark wires and used turbo axle shafts. The only part I don't have now is the exhaust I think?

Thread Starter
Senior Member
Joined: Oct 2013
Posts: 270
Likes: 1
From: ON, Canada
Day 16
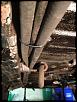
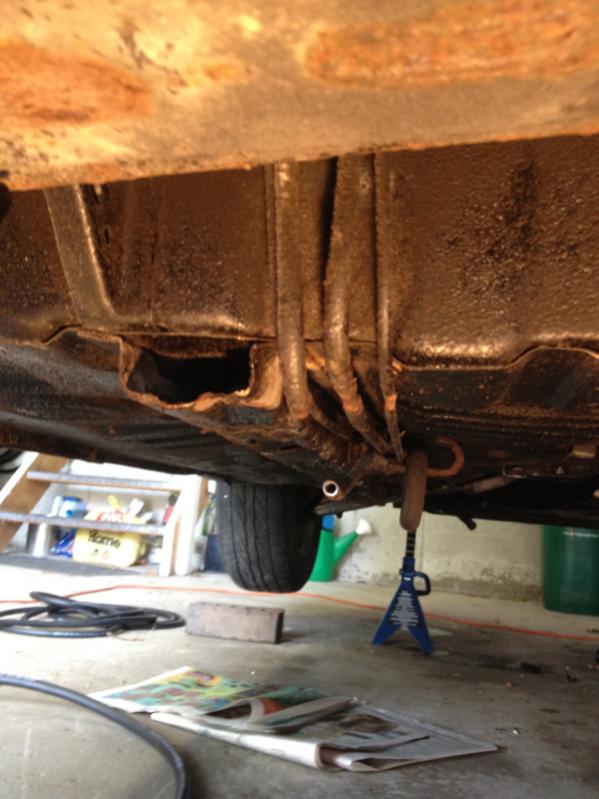
I got to work dealing with my leaky fuel lines. The previous weekend I tried to cut my feed fuel line to put in a flex fuel hose as a temporary patch. However when I did this it broke one foot down and started leaking at another section and I got fed up and just left it.
So during the week I bought 25 feet of flex fuel hose to replace both my feed and return lines from near the fuel tank up to near the engine bay. I just cut at both sections and clamped it on and zip tied it along the brake/old fuel lines. This is a temporary fix as I really need consistent fuel to test out the engine when it's ready and I'm getting really tired of the fuel smell in my garage. Although the fuel was siphoned out when it first started leaking there was still a bit left that slowly dropped.
Oh I didn't mention, the fuel started leaking right after we put in the engine. I guess one of the jack stand placements touched on the rusty fuel lines and that did it. Unfortunate but just another obstacle in this project
I used wire cutters to pinch the lines shut and break them off, then I used a pipe cutter to make a clean cut. I guess later ill have to get/rent a tool to make that.. Ridge.. The name is totally blanking right now. Anyway then I just used hose clamps to attach it. At the front I did the same thing for the return line, but for the feed I just attached the line to the fuel filter.
The result:

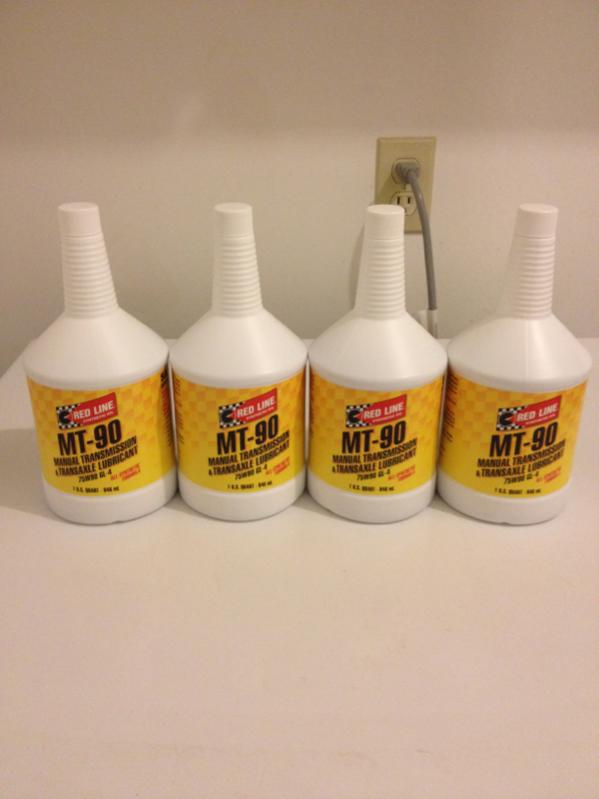
After that I filled the tranny fluid. I managed to track down some redline mt-90 fluid at a local shop finally. Didn't realize it would start leaking from the output shaft so I had to throw on the driveshaft after. I guess I never noticed when taking out the driveshaft since the tranny fluid was drained prior.
Next problem of the day was that the fuel tank has stopped releasing when pulling the lever so I pulled apart the interior and moved the release cable one notch further so it has an extra millimeter of pull. That seemed to do the trick.
A few weeks before I had tried to pull out the NA throttle cable but had such a difficult time releasing the tabs holding it To the firewall that I just gave up. Now I just broke them with pliers and pulled it through. I installed the turbo throttle cable but then realized I had no idea how it was mounted to the engine and couldn't find any diagrams. I google searched images of engine bays and many had different setups so I'll just have to improvise once everything is in.
I also noticed that I didn't have the bracket which holds the part of throttle cable near the throttle body and adjusts the tension. I took the bracket off my old engine and bent it 90 degrees and installed it. It seemed good enough at first but there way way too much slack. I don't know what the oem bracket looks like but it is probably about an inch and a half further away. I'll have to make one. Not really my strength.
I got to work dealing with my leaky fuel lines. The previous weekend I tried to cut my feed fuel line to put in a flex fuel hose as a temporary patch. However when I did this it broke one foot down and started leaking at another section and I got fed up and just left it.
So during the week I bought 25 feet of flex fuel hose to replace both my feed and return lines from near the fuel tank up to near the engine bay. I just cut at both sections and clamped it on and zip tied it along the brake/old fuel lines. This is a temporary fix as I really need consistent fuel to test out the engine when it's ready and I'm getting really tired of the fuel smell in my garage. Although the fuel was siphoned out when it first started leaking there was still a bit left that slowly dropped.
Oh I didn't mention, the fuel started leaking right after we put in the engine. I guess one of the jack stand placements touched on the rusty fuel lines and that did it. Unfortunate but just another obstacle in this project

I used wire cutters to pinch the lines shut and break them off, then I used a pipe cutter to make a clean cut. I guess later ill have to get/rent a tool to make that.. Ridge.. The name is totally blanking right now. Anyway then I just used hose clamps to attach it. At the front I did the same thing for the return line, but for the feed I just attached the line to the fuel filter.

The result:
After that I filled the tranny fluid. I managed to track down some redline mt-90 fluid at a local shop finally. Didn't realize it would start leaking from the output shaft so I had to throw on the driveshaft after. I guess I never noticed when taking out the driveshaft since the tranny fluid was drained prior.

Next problem of the day was that the fuel tank has stopped releasing when pulling the lever so I pulled apart the interior and moved the release cable one notch further so it has an extra millimeter of pull. That seemed to do the trick.
A few weeks before I had tried to pull out the NA throttle cable but had such a difficult time releasing the tabs holding it To the firewall that I just gave up. Now I just broke them with pliers and pulled it through. I installed the turbo throttle cable but then realized I had no idea how it was mounted to the engine and couldn't find any diagrams. I google searched images of engine bays and many had different setups so I'll just have to improvise once everything is in.
I also noticed that I didn't have the bracket which holds the part of throttle cable near the throttle body and adjusts the tension. I took the bracket off my old engine and bent it 90 degrees and installed it. It seemed good enough at first but there way way too much slack. I don't know what the oem bracket looks like but it is probably about an inch and a half further away. I'll have to make one. Not really my strength.
Thread Starter
Senior Member
Joined: Oct 2013
Posts: 270
Likes: 1
From: ON, Canada
Day 17
Got to work making the new throttle cable bracket to bolt into the upper intake manifold. I used an L-shaped metal bracket and my NA bent bracket to make a diagram as well as looking at the thread on here for using an NA throttle cable for a turbo setup to get an idea of the shape it needed to be. As I said in the previous post it needed to be about 1.5 inches away from my bent bracket.
Made it and installed it. It looks really choppy but it seems to work great. That is, without the engine actually running to try it out.
That was sortof the final problem in my mind before assembling the rest of the engine components so I got to work putting everything else back in.
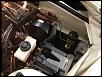
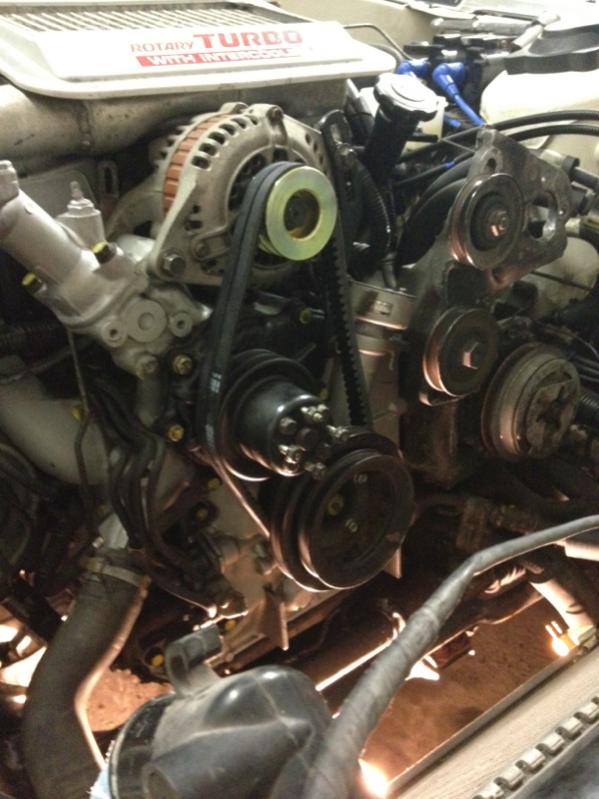
Installed the power steering and belt, fan shroud, fan.
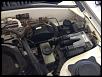
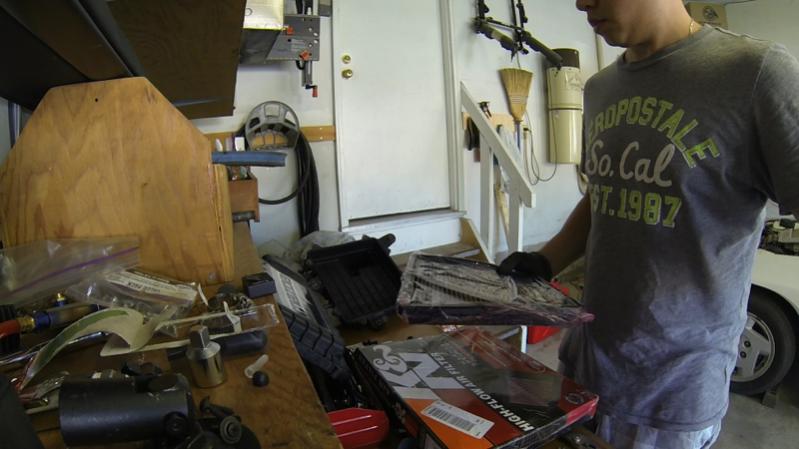
Installed the new k&n drop in filter and the air box

From there everything was pretty much in place engine wise.
I decided I wanted to try and run it. So I filled the rest of the oil and then when I filled the coolant it started to leak from the filler neck where the thermostat is. This sucked because stores were closed and I didn't have a gasket or gasket maker. I tried to run the engine anyways though just for a few seconds. I couldn't get it to start though? There's a video on my instagram (mike_n_associates).
Some of my theories as to why it didn't start are that I didn't prime the fuel lines and the tank had been completely emptied. I'm going to try next weekend to depressurize and prime the fuel lines hopefully that will start. If not then I have a whole list of problems that the Haynes manual suggests and I hope it's nothing broken component wise.
I still need to install the walbro fuel pump but I plan on doing that after the engine runs at least once.
Got to work making the new throttle cable bracket to bolt into the upper intake manifold. I used an L-shaped metal bracket and my NA bent bracket to make a diagram as well as looking at the thread on here for using an NA throttle cable for a turbo setup to get an idea of the shape it needed to be. As I said in the previous post it needed to be about 1.5 inches away from my bent bracket.
Made it and installed it. It looks really choppy but it seems to work great. That is, without the engine actually running to try it out.
That was sortof the final problem in my mind before assembling the rest of the engine components so I got to work putting everything else back in.
Installed the power steering and belt, fan shroud, fan.
Installed the new k&n drop in filter and the air box
From there everything was pretty much in place engine wise.
I decided I wanted to try and run it. So I filled the rest of the oil and then when I filled the coolant it started to leak from the filler neck where the thermostat is. This sucked because stores were closed and I didn't have a gasket or gasket maker. I tried to run the engine anyways though just for a few seconds. I couldn't get it to start though? There's a video on my instagram (mike_n_associates).
Some of my theories as to why it didn't start are that I didn't prime the fuel lines and the tank had been completely emptied. I'm going to try next weekend to depressurize and prime the fuel lines hopefully that will start. If not then I have a whole list of problems that the Haynes manual suggests and I hope it's nothing broken component wise.
I still need to install the walbro fuel pump but I plan on doing that after the engine runs at least once.
Thread Starter
Senior Member
Joined: Oct 2013
Posts: 270
Likes: 1
From: ON, Canada
Managed to get the engine started yesterday for the first time! Someone pointed out that the fuel lines were reversed. However when I was trying to diagnose this problem I noticed that the trailing 2 coil is not working and isn't giving a spark so the engine will probably be misfiring even when it is idling properly.
However, after a few minutes of trying to get it to idle, my starter motor shorted out or blew up or something and a bunch of sparks shot out from under the vehicle. This ignited some fuel which had spilled when I swapping the fuel lines and started a small fire in the engine bay near the fuel filter. Luckily I had a fire extinguisher nearby and managed to put it out quickly.
I will post a video of the first engine start in a few minutes. It is just uploading to vimeo now.
Thread Starter
Senior Member
Joined: Oct 2013
Posts: 270
Likes: 1
From: ON, Canada
https://vimeo.com/98889437
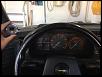
Here is the video of the first start. Engine oil and coolant leaking everywhere.. tachometer not working about 1k rpm.. interior features such as climate control and turn signals working even when the car is off.. but it STARTED!
Here is the video of the first start. Engine oil and coolant leaking everywhere.. tachometer not working about 1k rpm.. interior features such as climate control and turn signals working even when the car is off.. but it STARTED!
Thread Starter
Senior Member
Joined: Oct 2013
Posts: 270
Likes: 1
From: ON, Canada
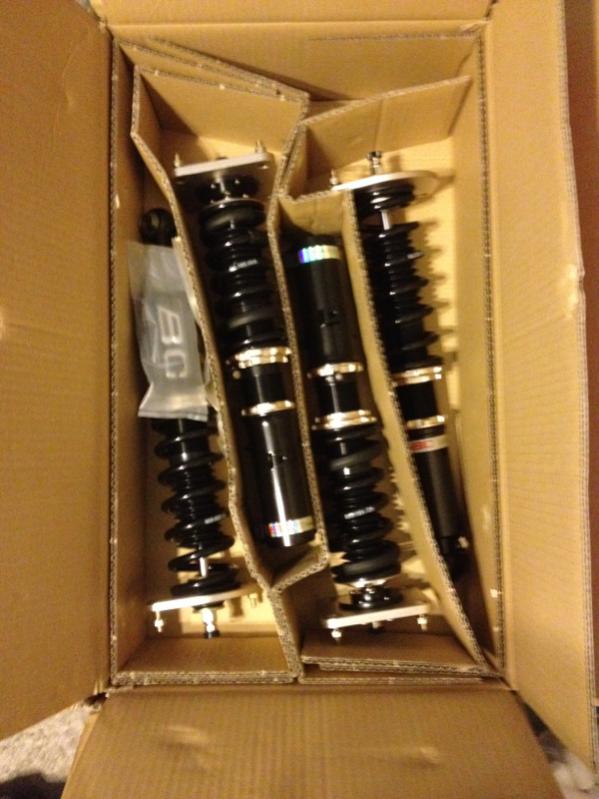
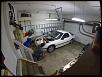
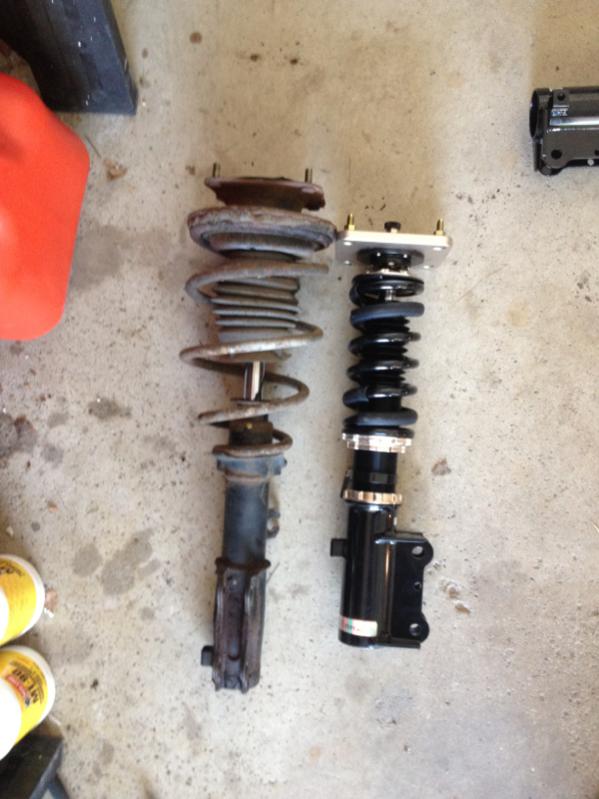
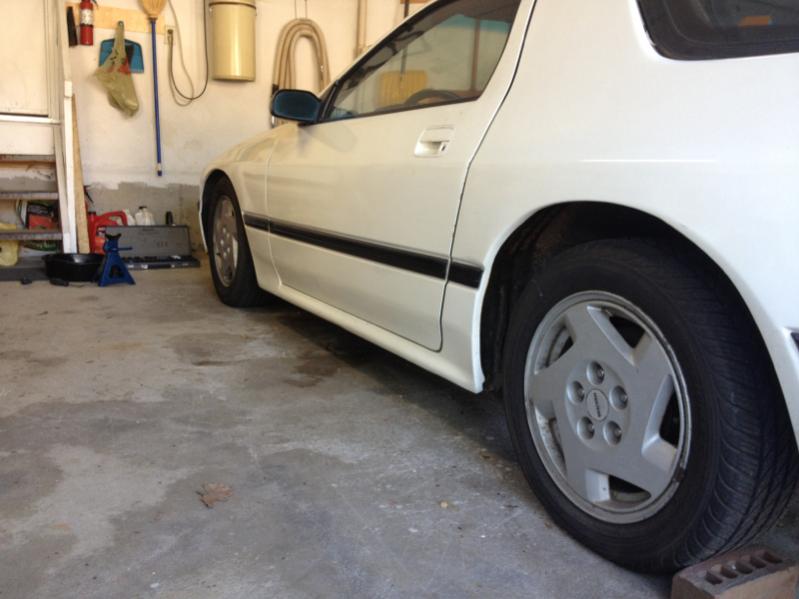
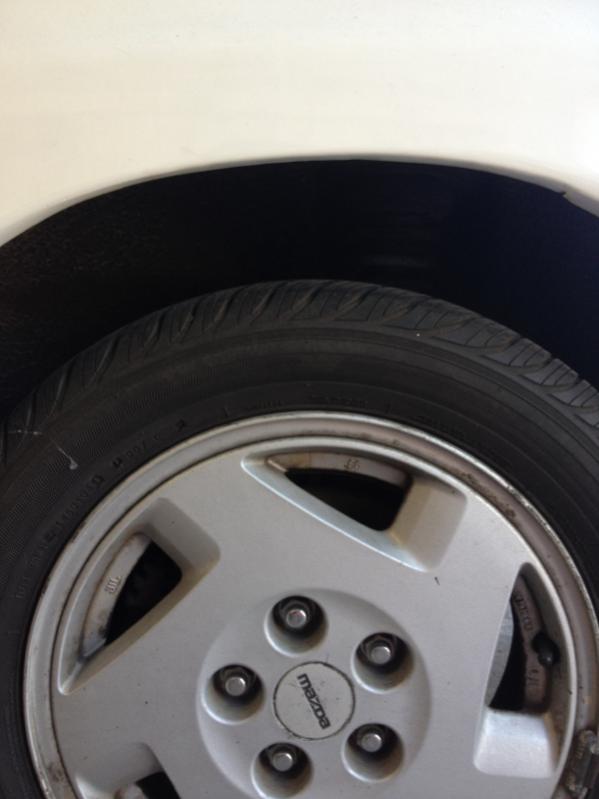
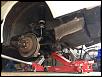
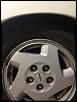
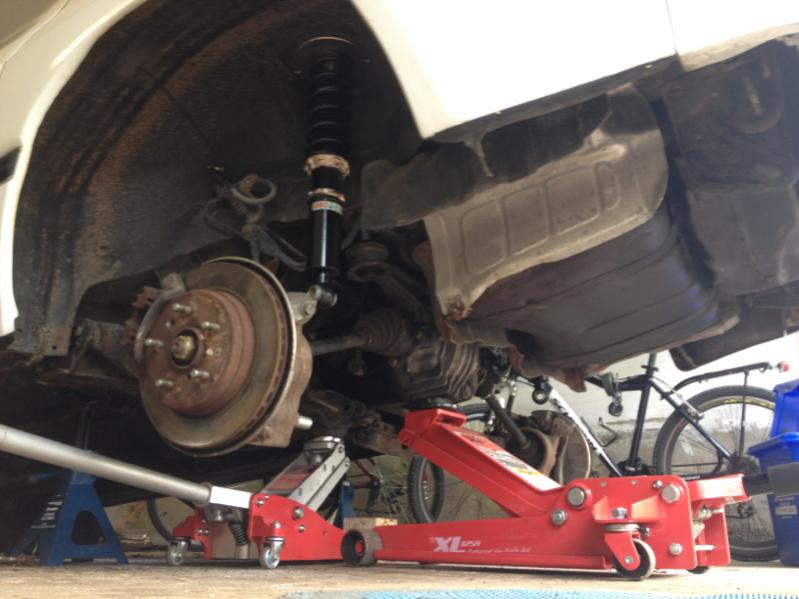
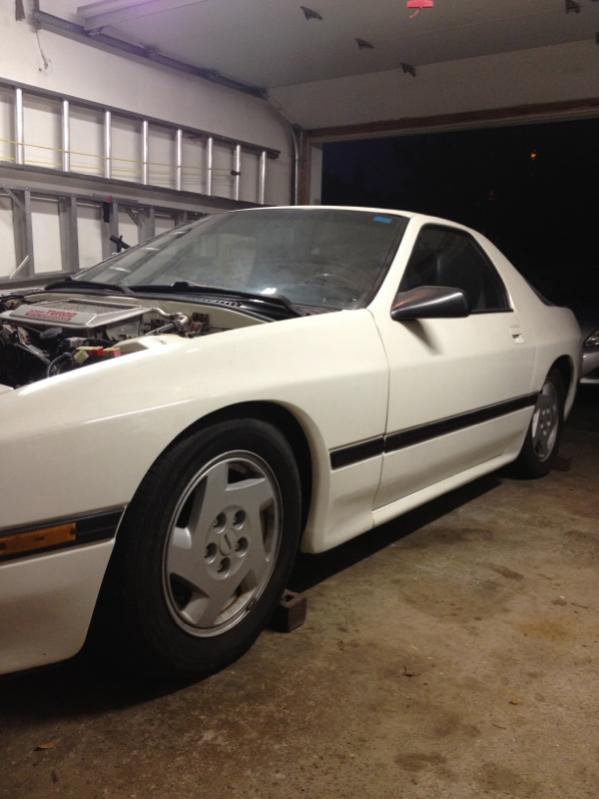
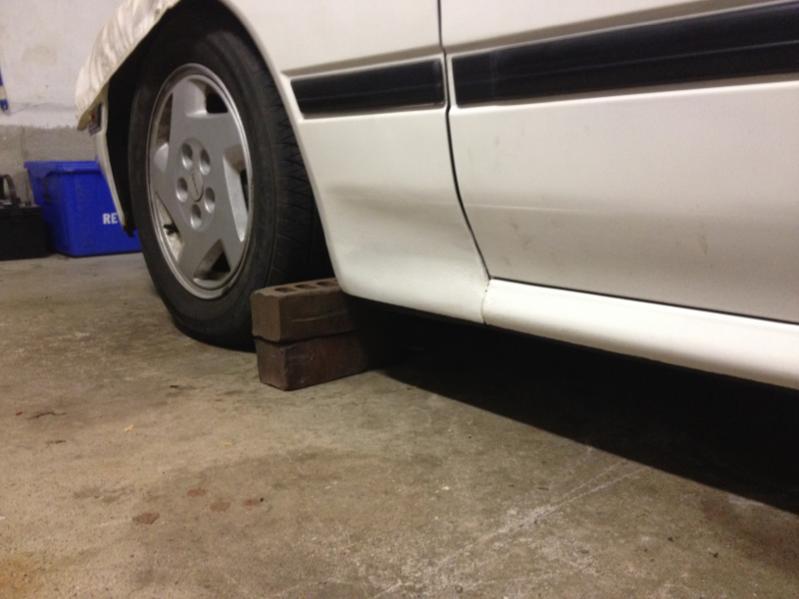
Got my BC coilovers installed yesterday and they're so dope! Instant 2 inch reduction in wheel gap and no more 6 inches of play when you push down on the body haha. I didn't play with the height yet I just installed them as they came out of the box because I still need to move the car around a lot.
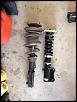
BC in the front, stock in the rear
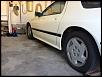
Wheel gap front with BCs installed
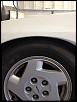
Wheel gap rear with stock
I wanted to put on my other rims but as I'm still diagnosing problems with the car I don't want it sitting and getting flat spots. Also it's easier to take the stock rims off quickly without caring too much. I didn't have a chance to take a photo of the whole car at its new height because as soon as I had the wheels on and the car was on the ground my buddy came by and we had the car back up again.
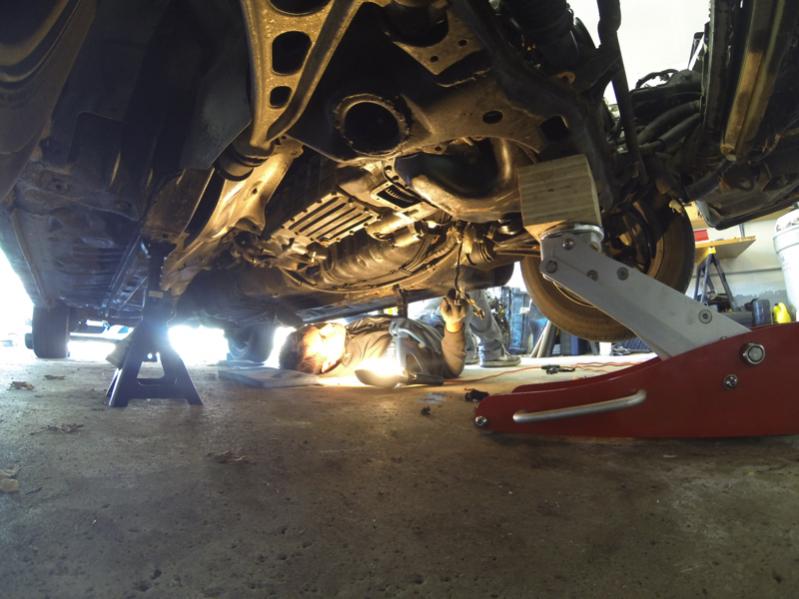
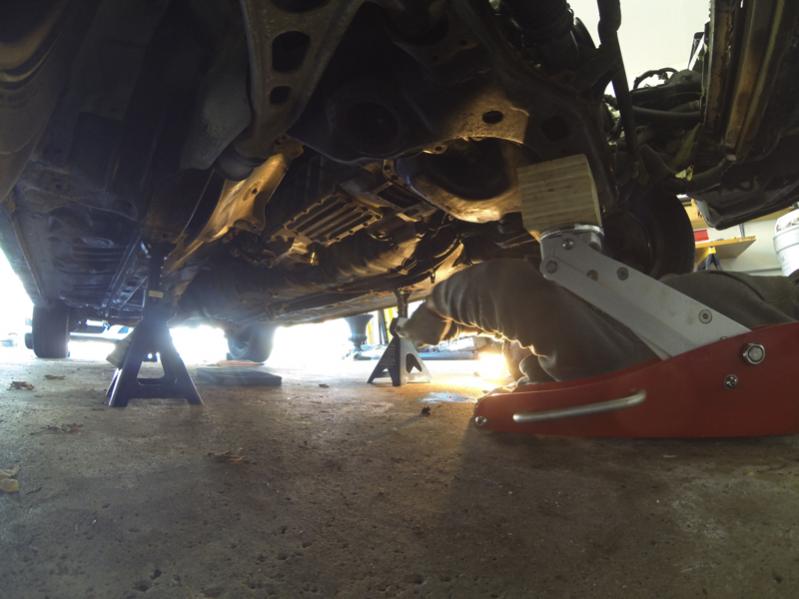
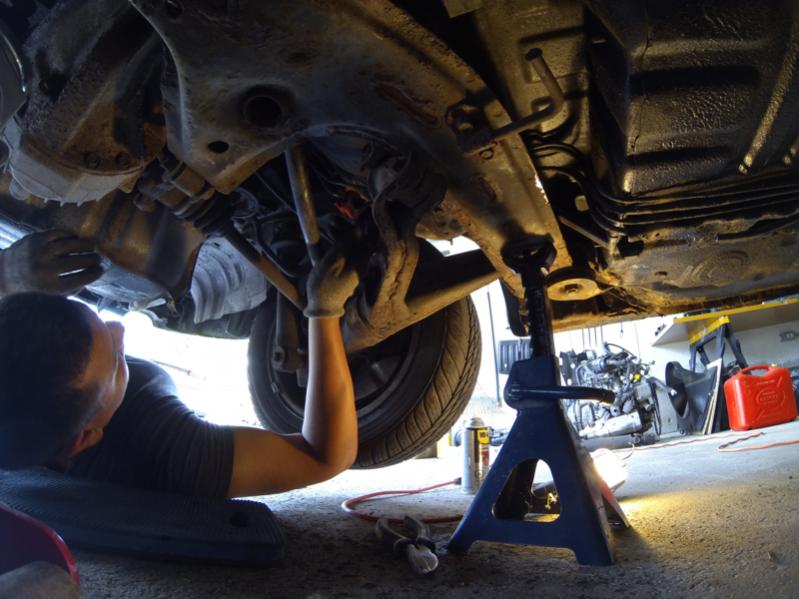
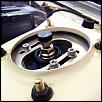
Attempted to drop the diff without dropping the subframe but it was near impossible. My frame and out frame area for jacking the car are both so weak that I couldn't find a place for the stands. Finally found a suitable area and dropped out the subframe.

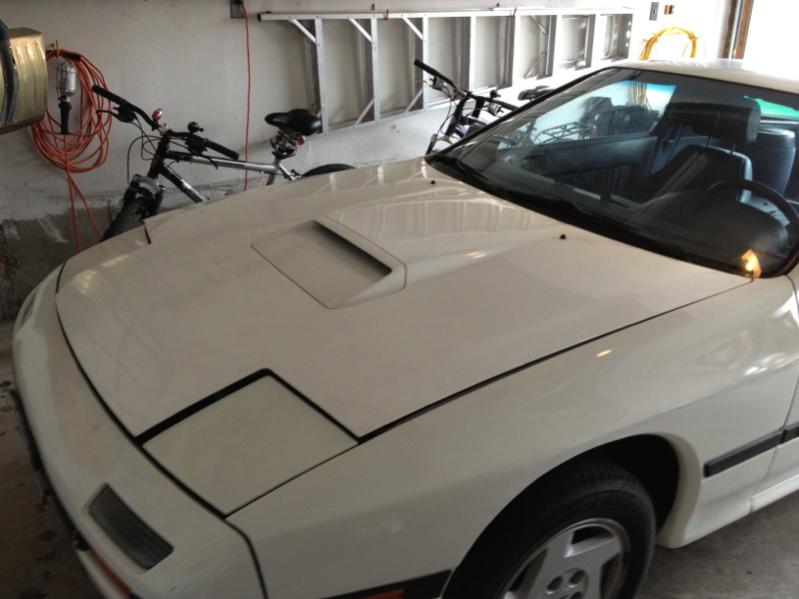
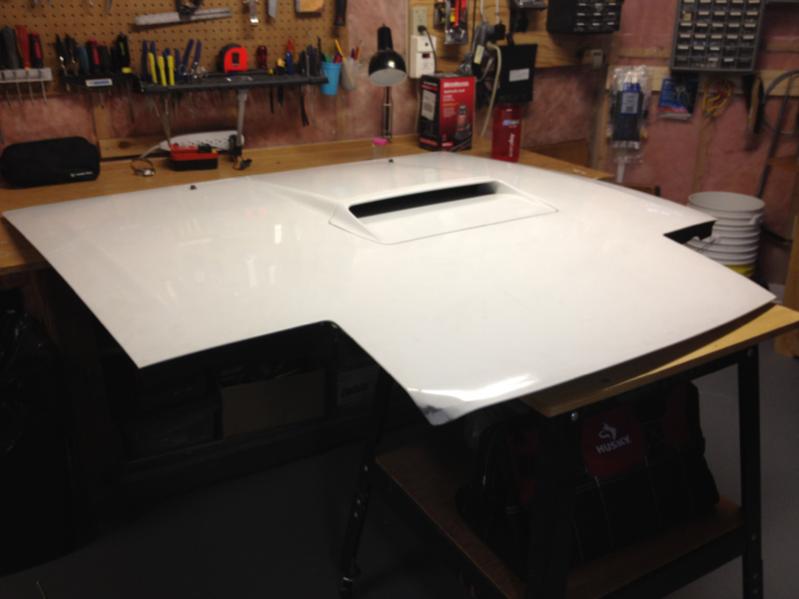
Oh yeah also worked on trying to unbend my hood. There's only so much I can do because the paints chipped and there are multiple creases
BC in the front, stock in the rear
Wheel gap front with BCs installed

Wheel gap rear with stock
I wanted to put on my other rims but as I'm still diagnosing problems with the car I don't want it sitting and getting flat spots. Also it's easier to take the stock rims off quickly without caring too much. I didn't have a chance to take a photo of the whole car at its new height because as soon as I had the wheels on and the car was on the ground my buddy came by and we had the car back up again.
Attempted to drop the diff without dropping the subframe but it was near impossible. My frame and out frame area for jacking the car are both so weak that I couldn't find a place for the stands. Finally found a suitable area and dropped out the subframe.

Oh yeah also worked on trying to unbend my hood. There's only so much I can do because the paints chipped and there are multiple creases
Thread Starter
Senior Member
Joined: Oct 2013
Posts: 270
Likes: 1
From: ON, Canada
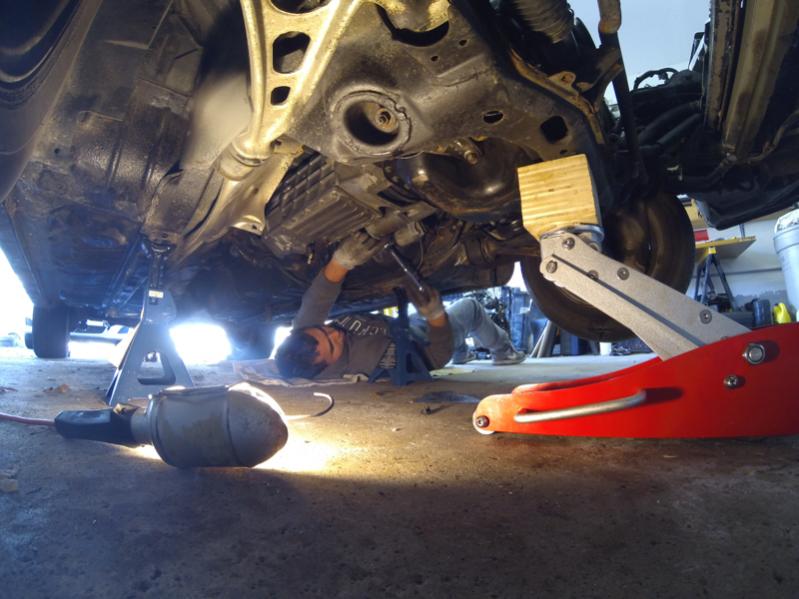
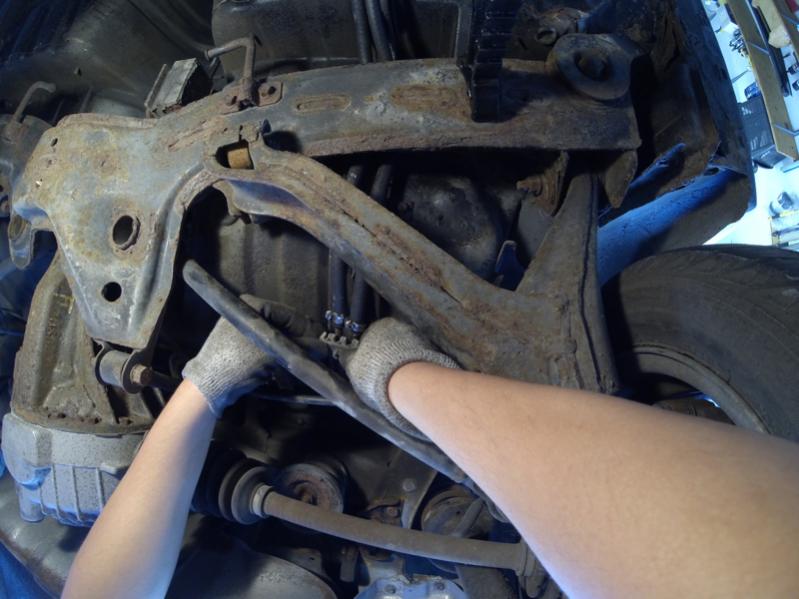
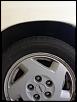
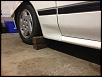
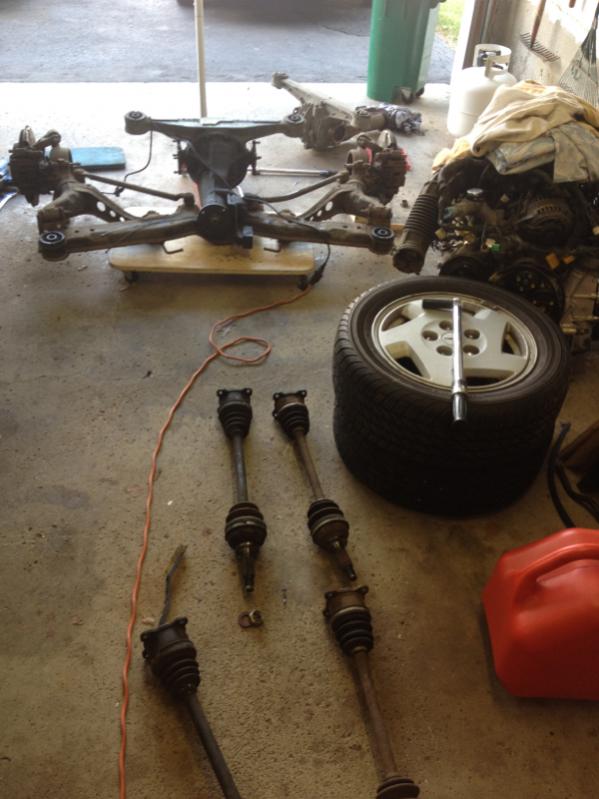
Swapped out the diff and the axle shafts then managed to get the subframe back up into it's place which was really tricky on my own. Would've been way easier to have someone else guiding. Hooked the brake lines back up sway bar and everything else. Then filled the diff and hooked up the driveshaft.

Still waiting on my new starter and I still need to install the fuel pump. I'm leaving the dtss eliminates for later I just wanted to get the car back on the ground before I left it again.
No more wheel gap! I need to get my actual rims on but I don't want to leave it sitting and get a flat spot.
Still waiting on my new starter and I still need to install the fuel pump. I'm leaving the dtss eliminates for later I just wanted to get the car back on the ground before I left it again.
No more wheel gap! I need to get my actual rims on but I don't want to leave it sitting and get a flat spot.
subframe is a beeotch by yourself. I used 2 jacks and it made life a LOT easier. Although, most of my battle was solid bushings vs the rubber ones from factory. Nice work so far. Our cars are twins, although yours has a turbo engine in it, my turbo engine sits in the corner of the garage while I wait for my wallet to go out of town so I can spend money without it knowing.
Thread Starter
Senior Member
Joined: Oct 2013
Posts: 270
Likes: 1
From: ON, Canada
subframe is a beeotch by yourself. I used 2 jacks and it made life a LOT easier. Although, most of my battle was solid bushings vs the rubber ones from factory. Nice work so far. Our cars are twins, although yours has a turbo engine in it, my turbo engine sits in the corner of the garage while I wait for my wallet to go out of town so I can spend money without it knowing.