
Taiga's 7

Thread Starter
Junior Member
Joined: Oct 2014
Posts: 13
Likes: 0
From: Hot places
Taiga's 7
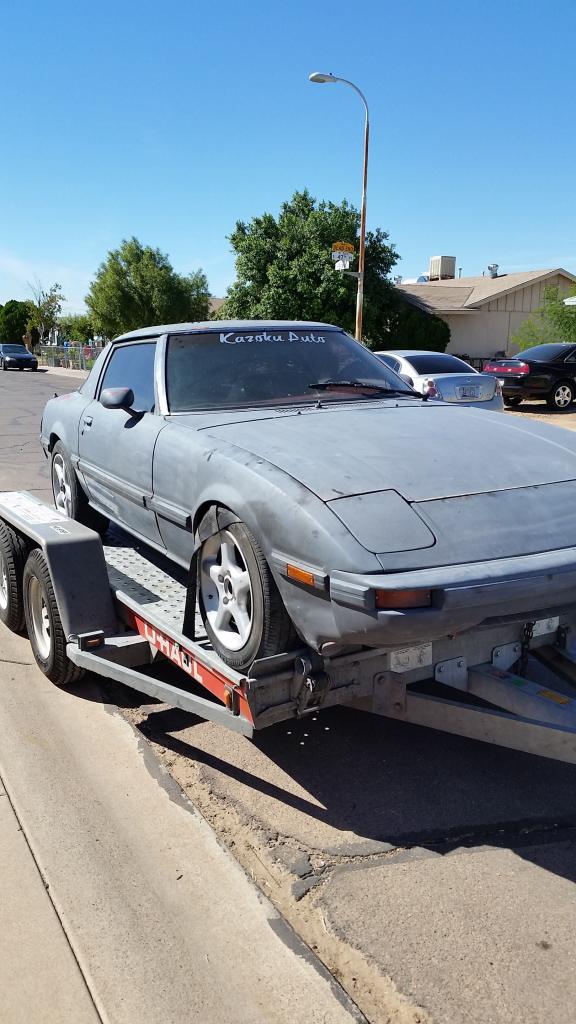
Hello fellow rx7 owners! I bought this ugly pile for 600$. I went to the owners house only knowing that it will need to be painted and that there is something wrong with the engine. After talking to the dude for a while it turns out that it overheated. The previous owner already started the removal process for the engine and the wiring harness was everywhere! I even had a hard time tracking down the cables for the battery.
Anyways, the car turned out to be a 1985 gsl-se. Awesome!!!
The wheels are ugly and are "By BBS" and are 16", in my opinion that is a little large, I'm a fan of 15's. So they will eventually need to go! It also has some random blue lowering springs which dropped the car too low in the front causing the tires to rub on full lock. I'll probably end up buying Racing Beats lowering springs and use Tokico Illuminas.
This is when I first picked it up
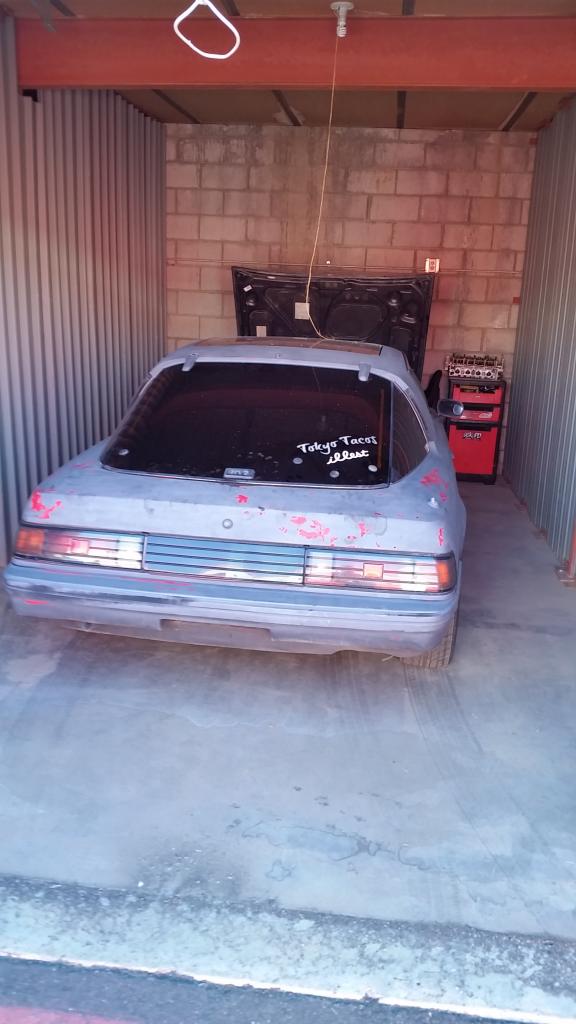
The car is super dirty, I had pulled most the engine harness and started getting ready to pull it out. Dirty engine bay pic for reference.

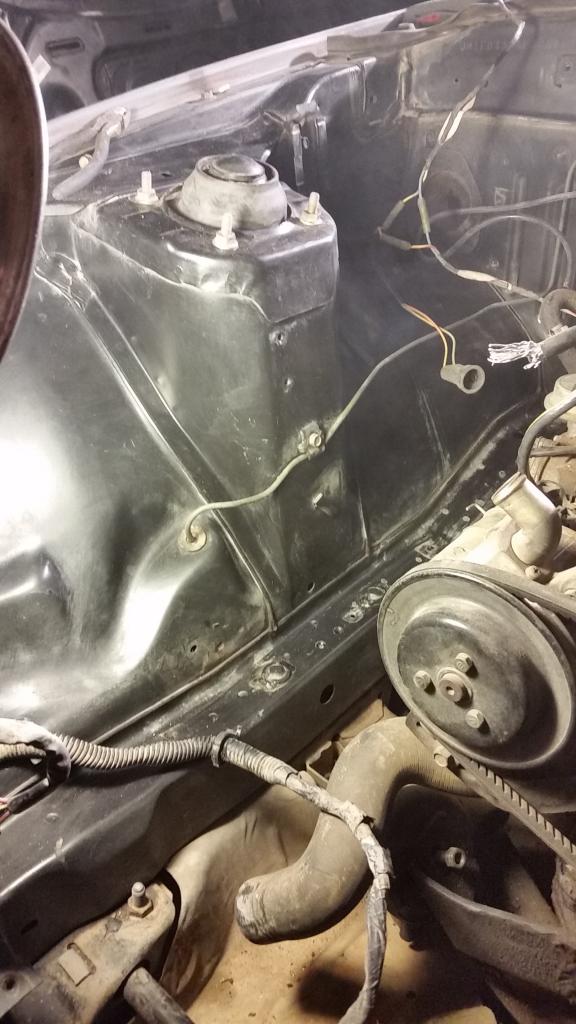
One side all nice and clean.
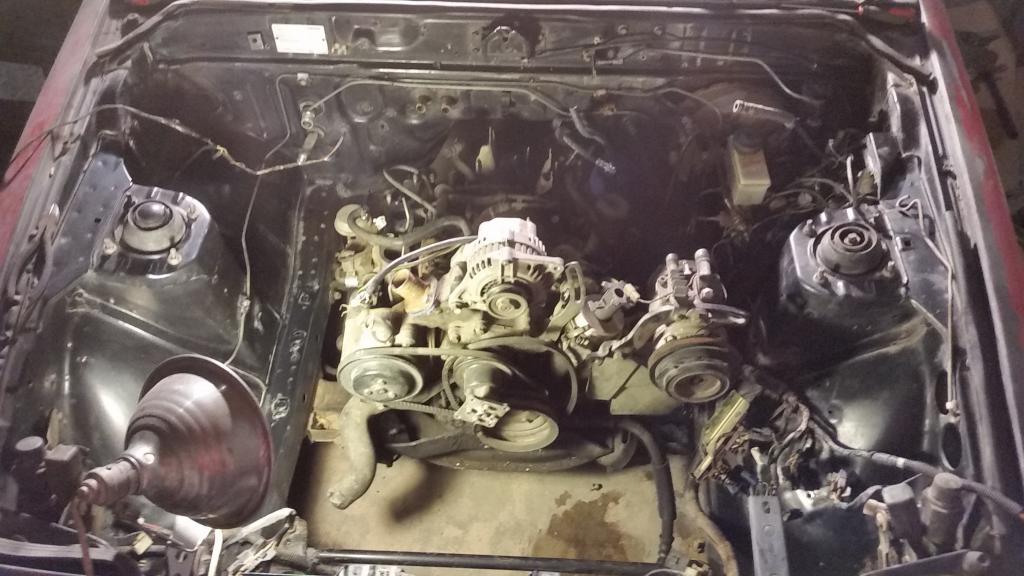
At this point, nothing is holding the engine in aside from the sub frame and trans brace. Also all cleaned up.
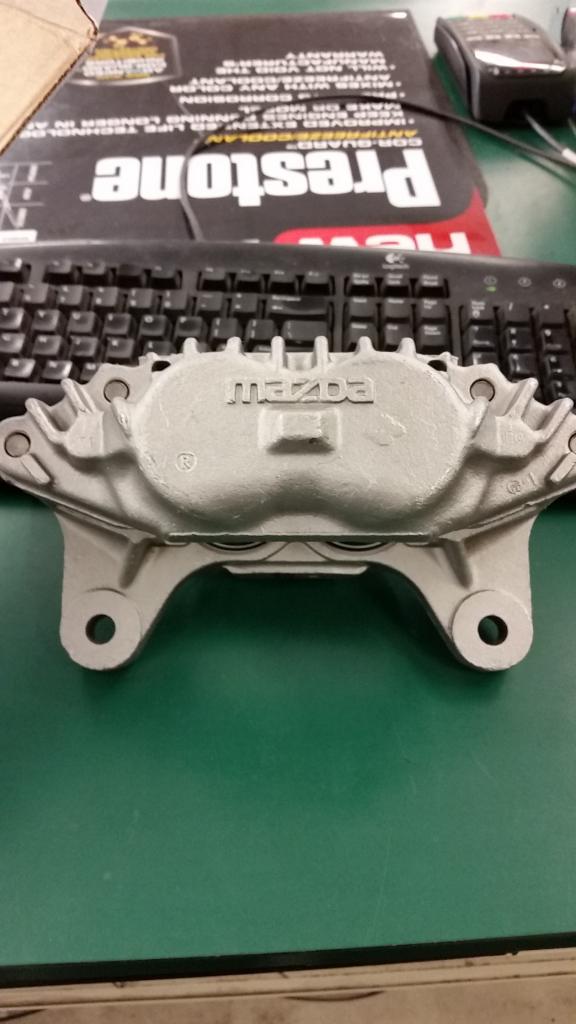
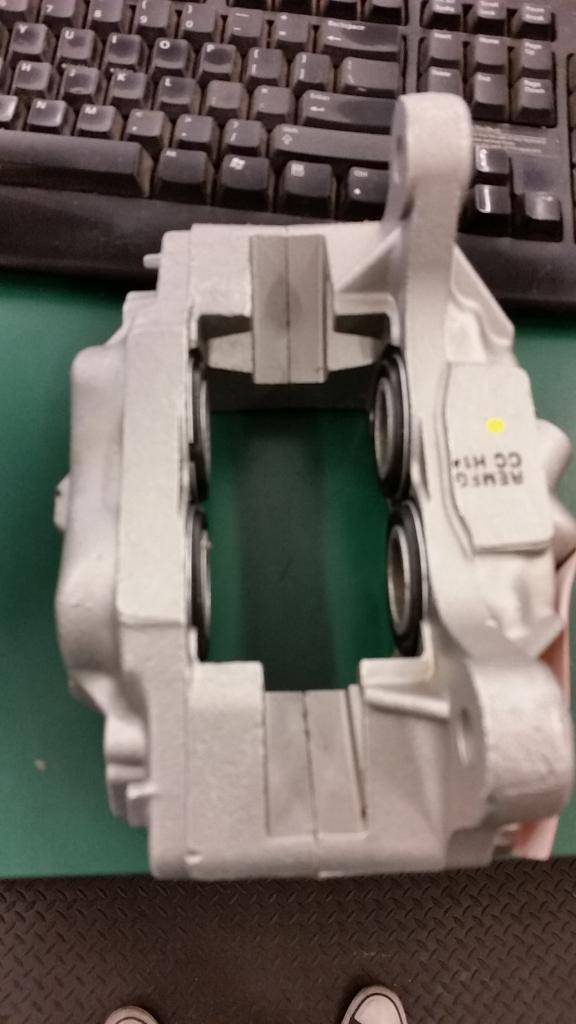
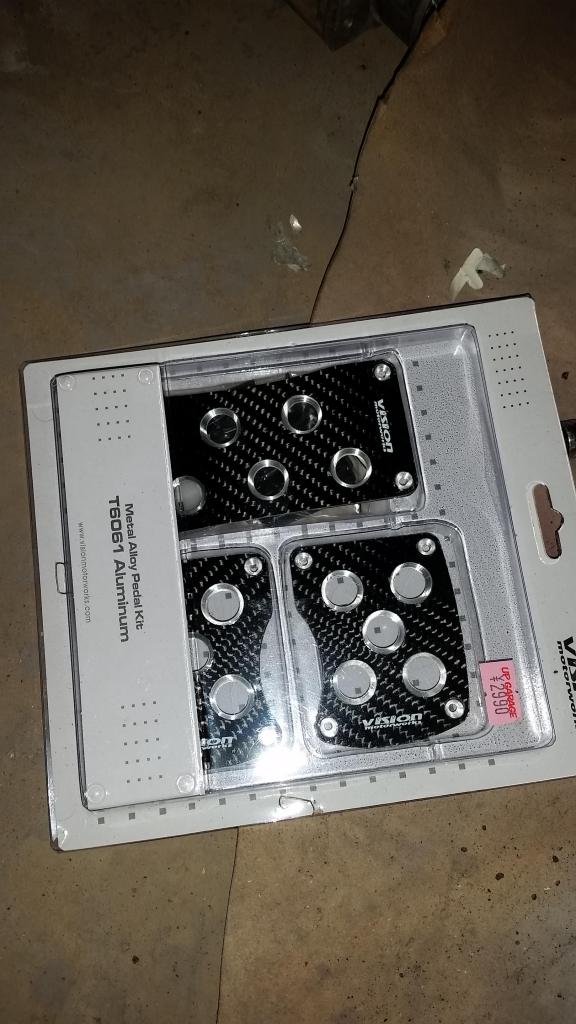
Picked these bad boys up. I will be doing the booster and Master swap as well. I'm going to do the 4 piston swap according to this guy's instructions. How To Install 4 Piston Brakes On A 4 Lug FC RX-7
Front end torn apart. I still have a lot of sanding to do. Right now I'm focusing on getting it ready for paint before it gets too cold out. I chose a gloss black single stage from Space Age Paint and Body supply.
Anyways, the car turned out to be a 1985 gsl-se. Awesome!!!
The wheels are ugly and are "By BBS" and are 16", in my opinion that is a little large, I'm a fan of 15's. So they will eventually need to go! It also has some random blue lowering springs which dropped the car too low in the front causing the tires to rub on full lock. I'll probably end up buying Racing Beats lowering springs and use Tokico Illuminas.
This is when I first picked it up


The car is super dirty, I had pulled most the engine harness and started getting ready to pull it out. Dirty engine bay pic for reference.

One side all nice and clean.

At this point, nothing is holding the engine in aside from the sub frame and trans brace. Also all cleaned up.

Picked these bad boys up. I will be doing the booster and Master swap as well. I'm going to do the 4 piston swap according to this guy's instructions. How To Install 4 Piston Brakes On A 4 Lug FC RX-7


Front end torn apart. I still have a lot of sanding to do. Right now I'm focusing on getting it ready for paint before it gets too cold out. I chose a gloss black single stage from Space Age Paint and Body supply.


Last edited by Taiga(Nisemono); Oct 28, 2014 at 12:42 AM.
Thread Starter
Junior Member
Joined: Oct 2014
Posts: 13
Likes: 0
From: Hot places
The race seat I had left over from my last project and the steering wheel and pedals I picked up from "Up Garage" when I was in Japan. The wheel is very rough, but for 5$ I couldn't expect any less. The dash is in **** poor condition, I literally ended up tearing the material off the dash. I might take it all off and leave it or cover it with some fabric. Or! I might just buy a new dash, who knows.

These just came in too! Excitement intensifies!
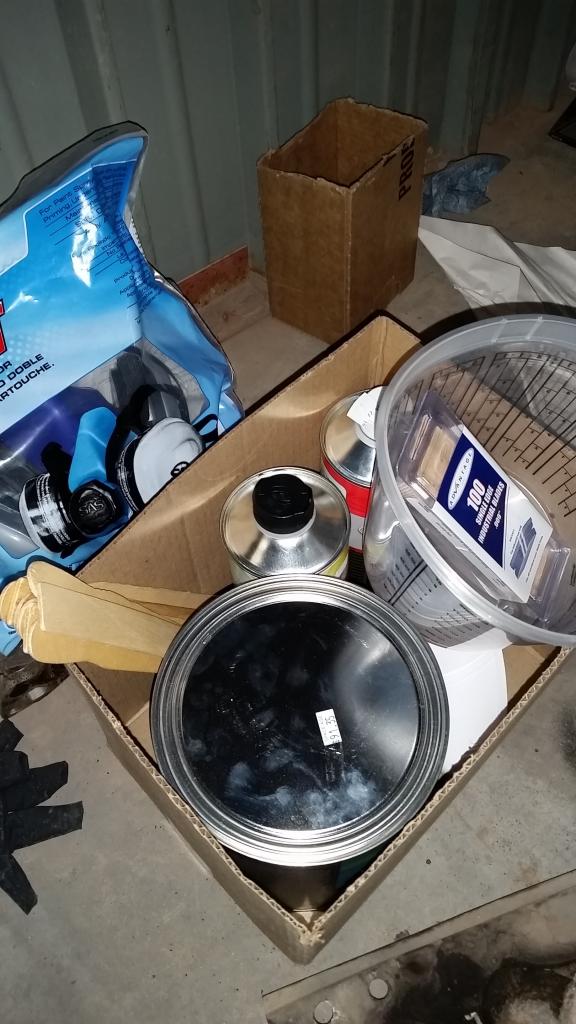
After my class I sanded some more and removed the brake booster. Tomorrow I plan to finish sanding the top portion of the car, remove the rest of the harness and lines and maybe getting the chrome **** off the bottom of my car. Pics will show what I'm talking about.
This is the chrome crap I'm talking about! So far the best way I have found to remove it is to heat up a small section with a heat gun and then pull on it/repeat.

I am running out of room!!! I have fenders and liners in my engine bay!!!

I finished the main sanding of both rear quarters a few hours later, it was too dark to get a good pic. I really don't feel like taking it down to metal beings underneath the red is the original black and body filler.

This is why you choose a properly fitting wheel!!!!! This is at full lock.

Sanded and only chrome crap remains

You can almost see my reflection! lol

Brake booster removed. Let me tell you how much of a pain it is to remove the booster in such a confined space!

I pulled these out of the 13b I think the timing belt broke
JK! I was just scrolling through some old pics on my photo bucket


These just came in too! Excitement intensifies!

After my class I sanded some more and removed the brake booster. Tomorrow I plan to finish sanding the top portion of the car, remove the rest of the harness and lines and maybe getting the chrome **** off the bottom of my car. Pics will show what I'm talking about.
This is the chrome crap I'm talking about! So far the best way I have found to remove it is to heat up a small section with a heat gun and then pull on it/repeat.

I am running out of room!!! I have fenders and liners in my engine bay!!!

I finished the main sanding of both rear quarters a few hours later, it was too dark to get a good pic. I really don't feel like taking it down to metal beings underneath the red is the original black and body filler.

This is why you choose a properly fitting wheel!!!!! This is at full lock.

Sanded and only chrome crap remains

You can almost see my reflection! lol

Brake booster removed. Let me tell you how much of a pain it is to remove the booster in such a confined space!

I pulled these out of the 13b I think the timing belt broke

JK! I was just scrolling through some old pics on my photo bucket
Thread Starter
Junior Member
Joined: Oct 2014
Posts: 13
Likes: 0
From: Hot places
So this little bastard ruins life's and tears apart families. I know I could just unscrew it, but the bolt is seized and I don't feel like breaking out my impact driver just for this.

The master cylinder is out. I don't know if I will remove the lines and rest of the harness so I can paint the bay. I might just leave it how it is and try to clean it up.

It is really hard to tell, but I started to polish all the metal accents on the car. I think it will be a nice touch to break up the car after it's painted. I'm painting it black. As much as I love the color, I feel like it can be boring at times.

I need to buy some metal polish and probably sand it more. The lighting is also crap so it's hard to tell.

Yes, definitely needs more sanding.

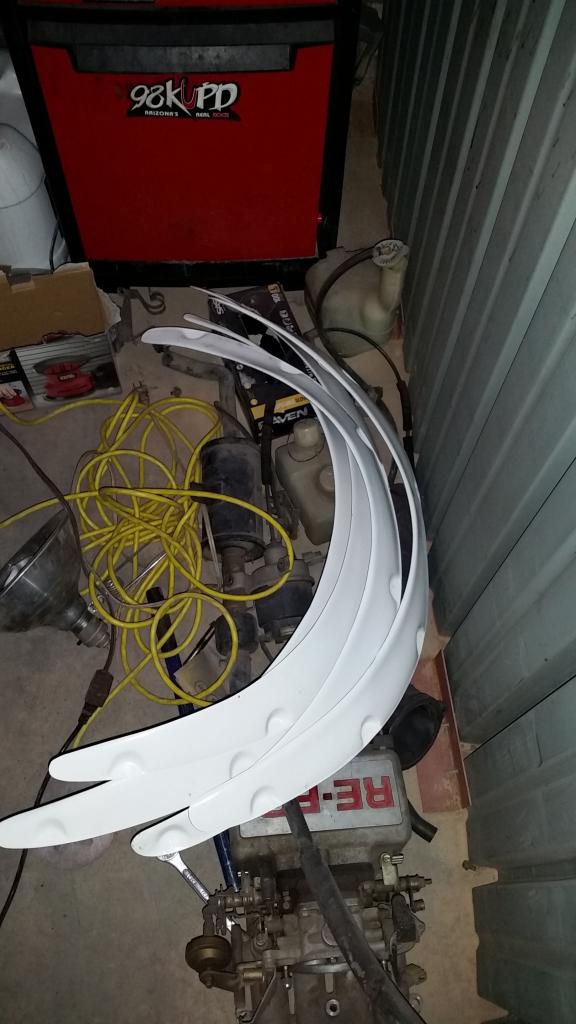
Got this fender primed with high build. There is 2 small spots where some body filler had air pockets so I need to fill them. There is also a small dent, I don't know if I care enough to fix it. Also test fitted a flare; however, something just seems a bit off.


Got that chrome **** off. I actually scrapped most of the adhesive too, but didn't take a picture of it. I used 3m general adhesive remover and it did not take the glue off. There is one more cleaner I am going to try and if that fails too then I will resort to drastic measure and hit up my local paint and body supply store lol.

So I didn't do anymore sanding and used Lucas' metal polish. It turned out pretty nice!


The master cylinder is out. I don't know if I will remove the lines and rest of the harness so I can paint the bay. I might just leave it how it is and try to clean it up.

It is really hard to tell, but I started to polish all the metal accents on the car. I think it will be a nice touch to break up the car after it's painted. I'm painting it black. As much as I love the color, I feel like it can be boring at times.

I need to buy some metal polish and probably sand it more. The lighting is also crap so it's hard to tell.

Yes, definitely needs more sanding.

Got this fender primed with high build. There is 2 small spots where some body filler had air pockets so I need to fill them. There is also a small dent, I don't know if I care enough to fix it. Also test fitted a flare; however, something just seems a bit off.


Got that chrome **** off. I actually scrapped most of the adhesive too, but didn't take a picture of it. I used 3m general adhesive remover and it did not take the glue off. There is one more cleaner I am going to try and if that fails too then I will resort to drastic measure and hit up my local paint and body supply store lol.

So I didn't do anymore sanding and used Lucas' metal polish. It turned out pretty nice!


Thread Starter
Junior Member
Joined: Oct 2014
Posts: 13
Likes: 0
From: Hot places
Oh my goodness! Daylight! lol

Buddy of mine checking out the sweet chrome


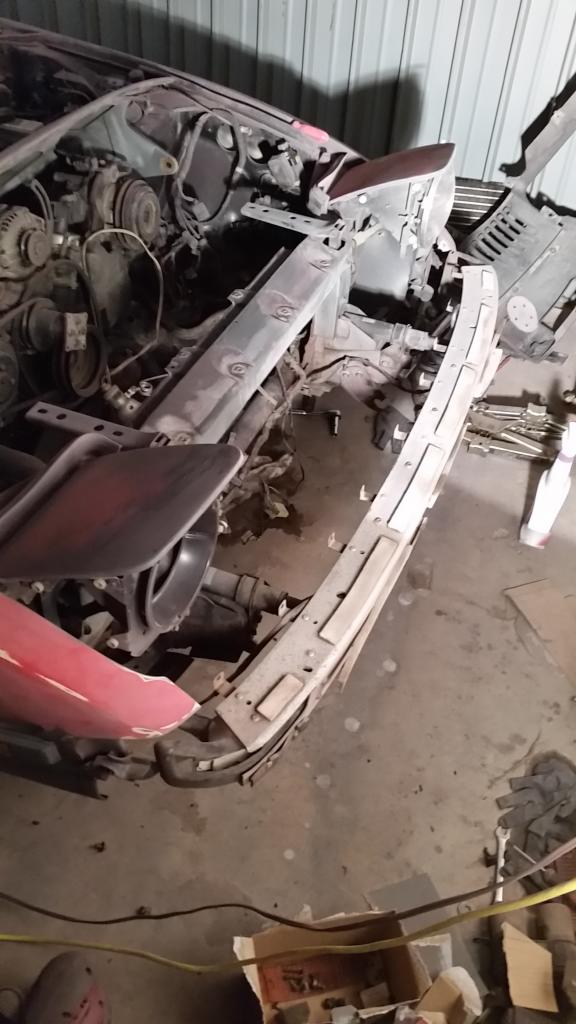
Anyways, the whole reason the car got to see daylight today was so we could turn it around and remove the engine, which is already sold btw


Well I need to clean the engine bay again. I don't know what possessed me to do it in the first place, I knew it was going to get covered in paint dust.

So my buddy that was helping me has a giant black garbage bag full of styrofoam heads in one of his units...Don't ask me how this came about.

Sorry for the spamming, I just wanted to get all caught up on a more lively forum.

Buddy of mine checking out the sweet chrome


Anyways, the whole reason the car got to see daylight today was so we could turn it around and remove the engine, which is already sold btw


Well I need to clean the engine bay again. I don't know what possessed me to do it in the first place, I knew it was going to get covered in paint dust.

So my buddy that was helping me has a giant black garbage bag full of styrofoam heads in one of his units...Don't ask me how this came about.

Sorry for the spamming, I just wanted to get all caught up on a more lively forum.
Thread Starter
Junior Member
Joined: Oct 2014
Posts: 13
Likes: 0
From: Hot places
I've been busy with school beings it's finals week. Lots and lots of studying. I also kind of wasted money on a new guitar since it was on sale Black Friday lol.
The only thing I've done is get the 302 ready to be pulled. The only thing left holding it in is the bolts for the mounts. The harness is out along with the alternator. So far it's the easiest engine I've pulled yet.
The donor car.

And it's owner's helper lol.

Yes I did step in the **** that's off to the side hahaha

Next on the agenda is getting the brakes sorted, mounting the flares, and then buying the swap kit as well as transmission. Hopefully around the same time I can pick up a new set of wheels and tires. I've pretty much made up my mind on 15x8+0 205-45(or 50)-15 up front and 15x9+0 225-45(or 50)-15 in the rear. I'm also probably going to go with BFgoodrich rivals, unless someone says otherwise. I haven't done much research on tires, but I know the rivals are a great tire.
I'm also thinking of flocking the dash. Almost all of the old material is off. I need to clean up the foam **** and then pull it out. I'm also thinking of keeping the glove box out and making something to hold gauges. Who knows, the interior is the least of my worries right now lol.
Trending Topics
Thread Starter
Junior Member
Joined: Oct 2014
Posts: 13
Likes: 0
From: Hot places
lol. I hope so. I never intended to own anything American in my life (car/engine wise anyway). So this is a first for me. That is not something I wanted to hear lol. I don't know how I'm going to execute it. Everything I touched in the interior either broke or cracked. I was pretty gentle to. Arizona is not kind on cars.
600 lol. I hope so. I never intended to own anything American in my life (car/engine wise anyway). So this is a first for me. That is not something I wanted to hear lol. I don't know how I'm going to execute it. Everything I touched in the interior either broke or cracked. I was pretty gentle to. Arizona is not kind on cars.
lol. I hope so. I never intended to own anything American in my life (car/engine wise anyway). So this is a first for me. That is not something I wanted to hear lol. I don't know how I'm going to execute it. Everything I touched in the interior either broke or cracked. I was pretty gentle to. Arizona is not kind on cars.-Yeah i imagine the dry rot is horrific. But tearing that **** off the dash and trying to to refurbish it, mother of god. I tried to re cover mine one time... Ended up buying a another dash. Haha
My buddy wanted to strip his down and epoxy comic book pages of rx7s ( initial d ) i assume to the dash as a covering.
Unique idea but he ended ditching it. He soon realized there is an art to that ****.

Full Member
Joined: Oct 2014
Posts: 207
Likes: 0
From: Smithfield, UT
Didn't realize you have no experience relevant to swapping a Ford 5.0, it won't be the easiest V8 to learn, by a long shot. Ford's SEFI is about the most complex, worse to figure out than GM's old TPI. Going carbureted would simplify somewhat, but ends up far more costly long-term.
You might consider retrofitting the dash from an FC or FD.
You might consider retrofitting the dash from an FC or FD.
Thread Starter
Junior Member
Joined: Oct 2014
Posts: 13
Likes: 0
From: Hot places
Didn't realize you have no experience relevant to swapping a Ford 5.0, it won't be the easiest V8 to learn, by a long shot. Ford's SEFI is about the most complex, worse to figure out than GM's old TPI. Going carbureted would simplify somewhat, but ends up far more costly long-term.
You might consider retrofitting the dash from an FC or FD.
You might consider retrofitting the dash from an FC or FD.
It's an e28. I bought it for 800$. I'm probably going to get rid of it. A pretty good deal came up. My buddy was building a civic, but lost interest. Full cage, coil overs, fresh built trans and engine. So I might daily that until the rx7 is done.
LOL. That makes more sense. I was thinking, jesus why dont i find these deals. Meh the 5.0 torque difference alone will make it really fun.
-Yeah i imagine the dry rot is horrific. But tearing that **** off the dash and trying to to refurbish it, mother of god. I tried to re cover mine one time... Ended up buying a another dash. Haha
My buddy wanted to strip his down and epoxy comic book pages of rx7s ( initial d ) i assume to the dash as a covering.
Unique idea but he ended ditching it. He soon realized there is an art to that ****.
Old [Sch|F]ool


Joined: May 2001
Posts: 12,876
Likes: 575
From: Cleveland, Ohio, USA
I saw the username/thread title and LOL'd
Then I saw your avatar and ROFL
13Bs always bend the exhaust valves when the timing belt breaks, and it's a real PITA to find new ones. Nobody lists one anywhere, the only place to get them is core engines.
Then I saw your avatar and ROFL
13Bs always bend the exhaust valves when the timing belt breaks, and it's a real PITA to find new ones. Nobody lists one anywhere, the only place to get them is core engines.
Thread Starter
Junior Member
Joined: Oct 2014
Posts: 13
Likes: 0
From: Hot places
Anyway, got some work done the past couple days. The steering wheel would pull toward me and back almost an inch. So I figured since I have everything else apart that I would have the gear box rebuilt. Started tearing apart the suspension and realized the gsl-se uses the rotor as the hub...if that makes sense...So now I'm not sure how I'm going to get these turboII calipers to work. Before I have the gearbox rebuilt I'm going to look into using the rx7 subframe/steering rack/front suspension and somehow keep the 4x114.3. On to the pics!!!
Gearbox out, time to get some cleaning done!!


Bolts and such from the passenger side, I just cleaned them up.

Just a random pic of my mess.

subframe is out


Cleaning and polish, looks surprising good.

Before I removed the gear box

Thread Starter
Junior Member
Joined: Oct 2014
Posts: 13
Likes: 0
From: Hot places
Did some more work on the donor mustang. The engine is now completely out and we managed not to hit the other mustang next to it lol. The only problem is, it keeps sinking into the grass. We've tried laying plywood down as well and still no luck. So, it is still there.
I'm pretty sure every gasket is bad, good thing I bought all new ones and a ton of purple power degreaser lol.


The cool mustang.

I'm surprised at the quality of parts. I bought them from O'Reilly's and the brand is import direct. The box and slip both say made in Japan. Yay for quality parts!


One of the previous owners painted the gauge cluster housing thing white. I thought it was ugly.


Thread Starter
Junior Member
Joined: Oct 2014
Posts: 13
Likes: 0
From: Hot places
Finally got the engine out of that backyard and into my makeshift shop!


People seriously need to take care of their cooling system. This looks like garbage!!!

Water pump bolts


Throttle body

And a pretty intake manifold! lol


People seriously need to take care of their cooling system. This looks like garbage!!!

Water pump bolts


Throttle body

And a pretty intake manifold! lol

