When you click on links to various merchants on this site and make a purchase, this can result in this site earning a commission. Affiliate programs and affiliations include, but are not limited to, the eBay Partner Network.
Finally getting around to starting a thread for my FB that I have had for a few months already.
The story: My dad owns a Maya Gold 1982 FB with ~100k KM. It was originally my Gma's which she bought new. It was owned by my uncle for a while and he had it repainted and minor body work. It is in great condition. Interior is mint, everything works. Drives great.
When I was 21 my dad lent it to me for an entire summer. Up until then I had been a student, so this was essentially my first "real" car in the real world. I learned to drive stick and fell in love. Even now I am convinced it does not get cooler than a clean FB.
Three years later I finally get my own so I didn't have to steal my dad's.
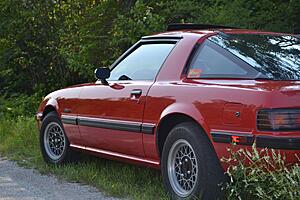
A 1982 GS. 101k KM. Black interior, sunroof, no PS or A/C!!!
Mine is a two owner car that essentially is all original. It was rust proofed on day 1 (I have reciept.. car had 5km in June 1982). It was certainly never winter driven. I got it from a forum member, awesome guy!!!
Cleanest body I have ever seen. No rust, not even a bubble. All original paint with a few scratches/dents. Underside is ultra clean. Like it was preserved in a time capsule. Finding a car like this in Ontario (and 30+ years old) is next to impossible I think.
Only down side was the rats nest delete hack-job and the odd installation of a Nikki carb and manifold from an earlier rotary. Runs fine though. Even has a RB road race header
After being nervous with the car and thinking 'what have I gotten myself into' I am at the point now where I am comfortable with it. I have been daily driving it for a few weeks now and have put 2K on it already.
Recent maintenance P/O had carried out:
-Refinished gas tank.
-Fuel sender.
-Fuel filter
-Fluid flush, MT-90 in tranny and rear end. Coolant etc
-Water pump.
-Oil/filter.
-Other stuff I am forgetting.
Items I already completed:
-Complete exterior detail. Polished away faded paint and waxed it.
-Removed front rear emblems, polished paint underneath, plastidipped emblems, and reinstalled. Amazing results.
-Removed aftermarket stereo, cleaned up wiring job.
-Fixed up air cleaner assembly. Fabricated a few block off plates etc.
-Solved lung butter issue with vented oil cap.
-Oil/filter change.
-Replaced oil cooler mounts with NOS parts from Atkins. Rubber was letting go.
-Spark plugs and wires. Was a nightmare as wrong plugs were installed, had to get a socket lathed down!!! I cursed at whoever installed them.
-Installed Atkins shifter bushing. Fixed my return spring. Shifts smoother now.
Parts I have on hand to install:
-ALL coolant hoses under hood. NOS from Atkins.
-Contemplating new rad if I can get one locally?
-Fuel pump (when necessary)
-Fuel filter (recently done, no need)
-New idler arm
-Contemplating a tranny flush to see if it helps shifting feel.
Future Planned Maintenance:
-Replace as many bushings as possible. End links etc.
-Struts and springs, assuming I can get Tokicos!!
-Front arm bushing and ball joint.
-Replace all the tie rod ends, try and reduce steering slop etc.
Future Planned Cosmetics:
-Purchase windshield trim clips so I can pull my windshield trim and repaint. I am certain the old clips will bust.
-Once I lower the car a little I may refinish the wheels. The are old school Cheviots from Australia. They would look good in gold.
I want to plan upgrades carefully, I think the car will benefit most from bushings, springs, struts, and an exhaust.
Here are some pics. Updates will follow as I work on it!
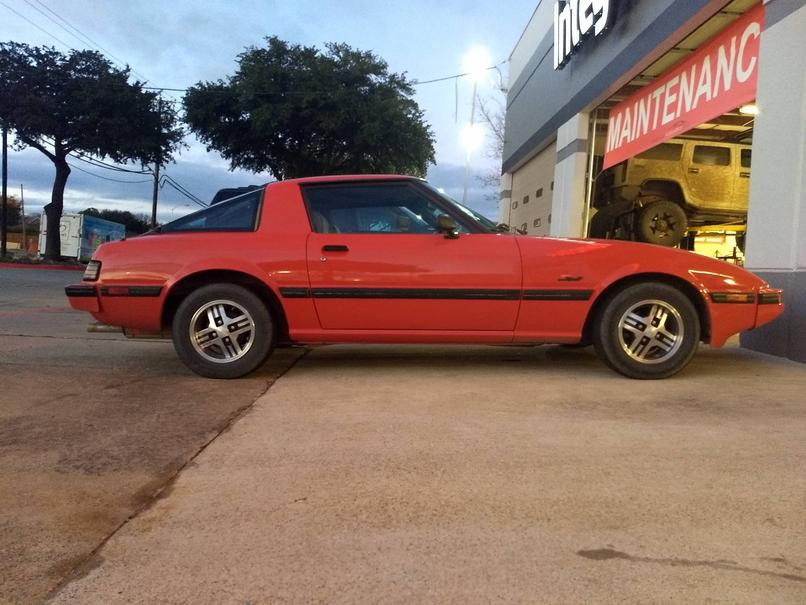
In a sea of gray, your red 7 looks the best. Why are all newer vehicles more or less the same color? Says something about the car market right now (and the owners). Enjoy!
very nice to see a fellow canadian with the same taste. while my 80 build is not as good looking as your hot red car. i hope it will be one day.
very clean straight look rx7
GFRENCH- Noticed your build of your SA with the 302. Looks good so far!
Yes the colour has grown on me a lot since I bought it. Red would not have been my first choice but I love it now.
Yesterday I finally got my stereo install done for the most part. I had already run the speaker wires from the rear, and repaired all of the previous wiring.
Unfortunately the original owner back in the 80's hacked up the stereo harness, so I had to reorganize the wiring and heat shrink everything where appropriate. This took some time, especially trying to figure out exactly what had gotten hacked up.
My stereo install was fairly simple. The cigarette lighter is disabled. So The stereo is wired to its + 'always on' and its ground. All wiring is soldered, heat shrinked, and where necessary covered in a nylon braid. I did this on all power wires as a precaution against cut insulation.
Example of speaker wiring run:
Installed picture. I will be finding a good match to the Gunmetal paint of the center console and shifter surround so I can repaint it all. I plan to go with an enamel paint and shoot it with my airbrush. The stereo bezel will get painted to match too. Will almost look factory. Interior is in amazing condition.
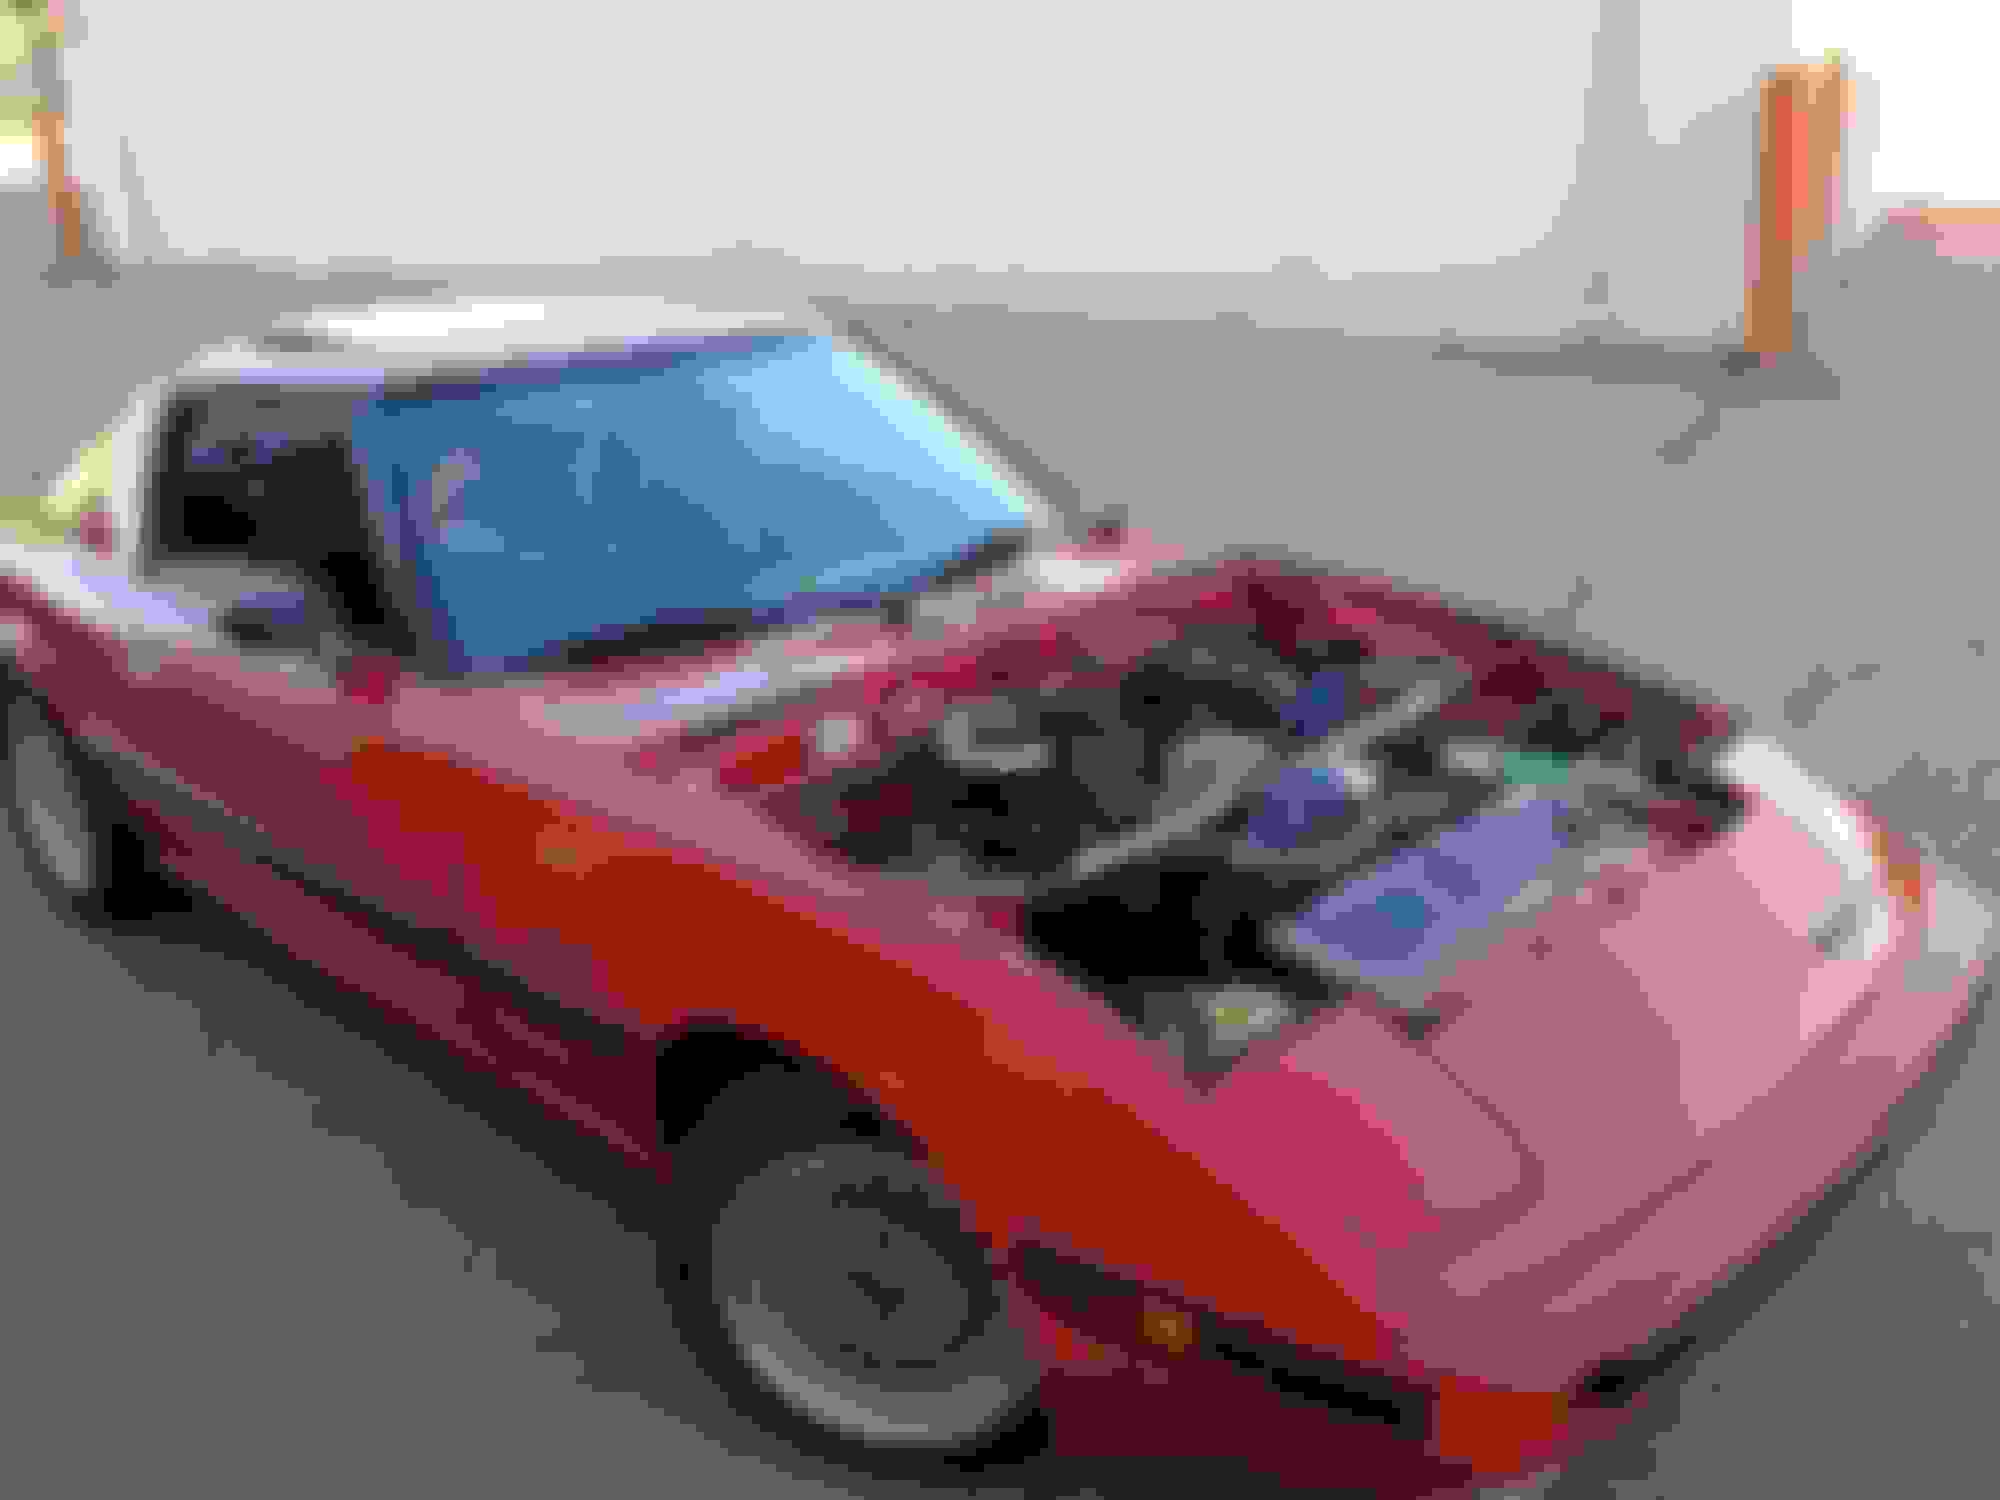
Another random shot with my dad's car. It was very cool to see them together. Identical in every way except for colour and his has AC! Looking forward to cruising with him.
My RX seems to sit a full 1 inch higher than his. I am on stock suspension, and so is he. He just had struts replaced. Now I really need some springs/struts.
I must find a Tokico dealer in GTA.
Next on the list: Not too sure. For now just drive it!
I would like to try adjusting my steering rack and seeing if that helps the steering play.
There are some great parts cars locally, I may try and get some suspension components so I can overhaul them and drop them into my car.
Not much to report on. Since the last post in June I have nearly daily driven the car. Since late April 2014 I put on about 7k KM.
I have stockpiled some parts and done essentially only basic maintenance. Changed the plugs recently to see what they looked like, did a few oil changes, recently put in 10w30 since its getting colder. My oil filter with 4k km was opened up and the filter element was inspected with zero debris found, makes me feel good.
Ignition system doesn't seem to like damp weather, car runs rougher and perhaps spark is weaker. I am going to replace coils with MSD blaster 2's and put in a new rotor and cap to see what happens.
Car has ran beautifully and has not had any issues. Recently I had to snug up a clamp on my upper rad hose. I think it started to leak because it dropped to 5degC overnight.
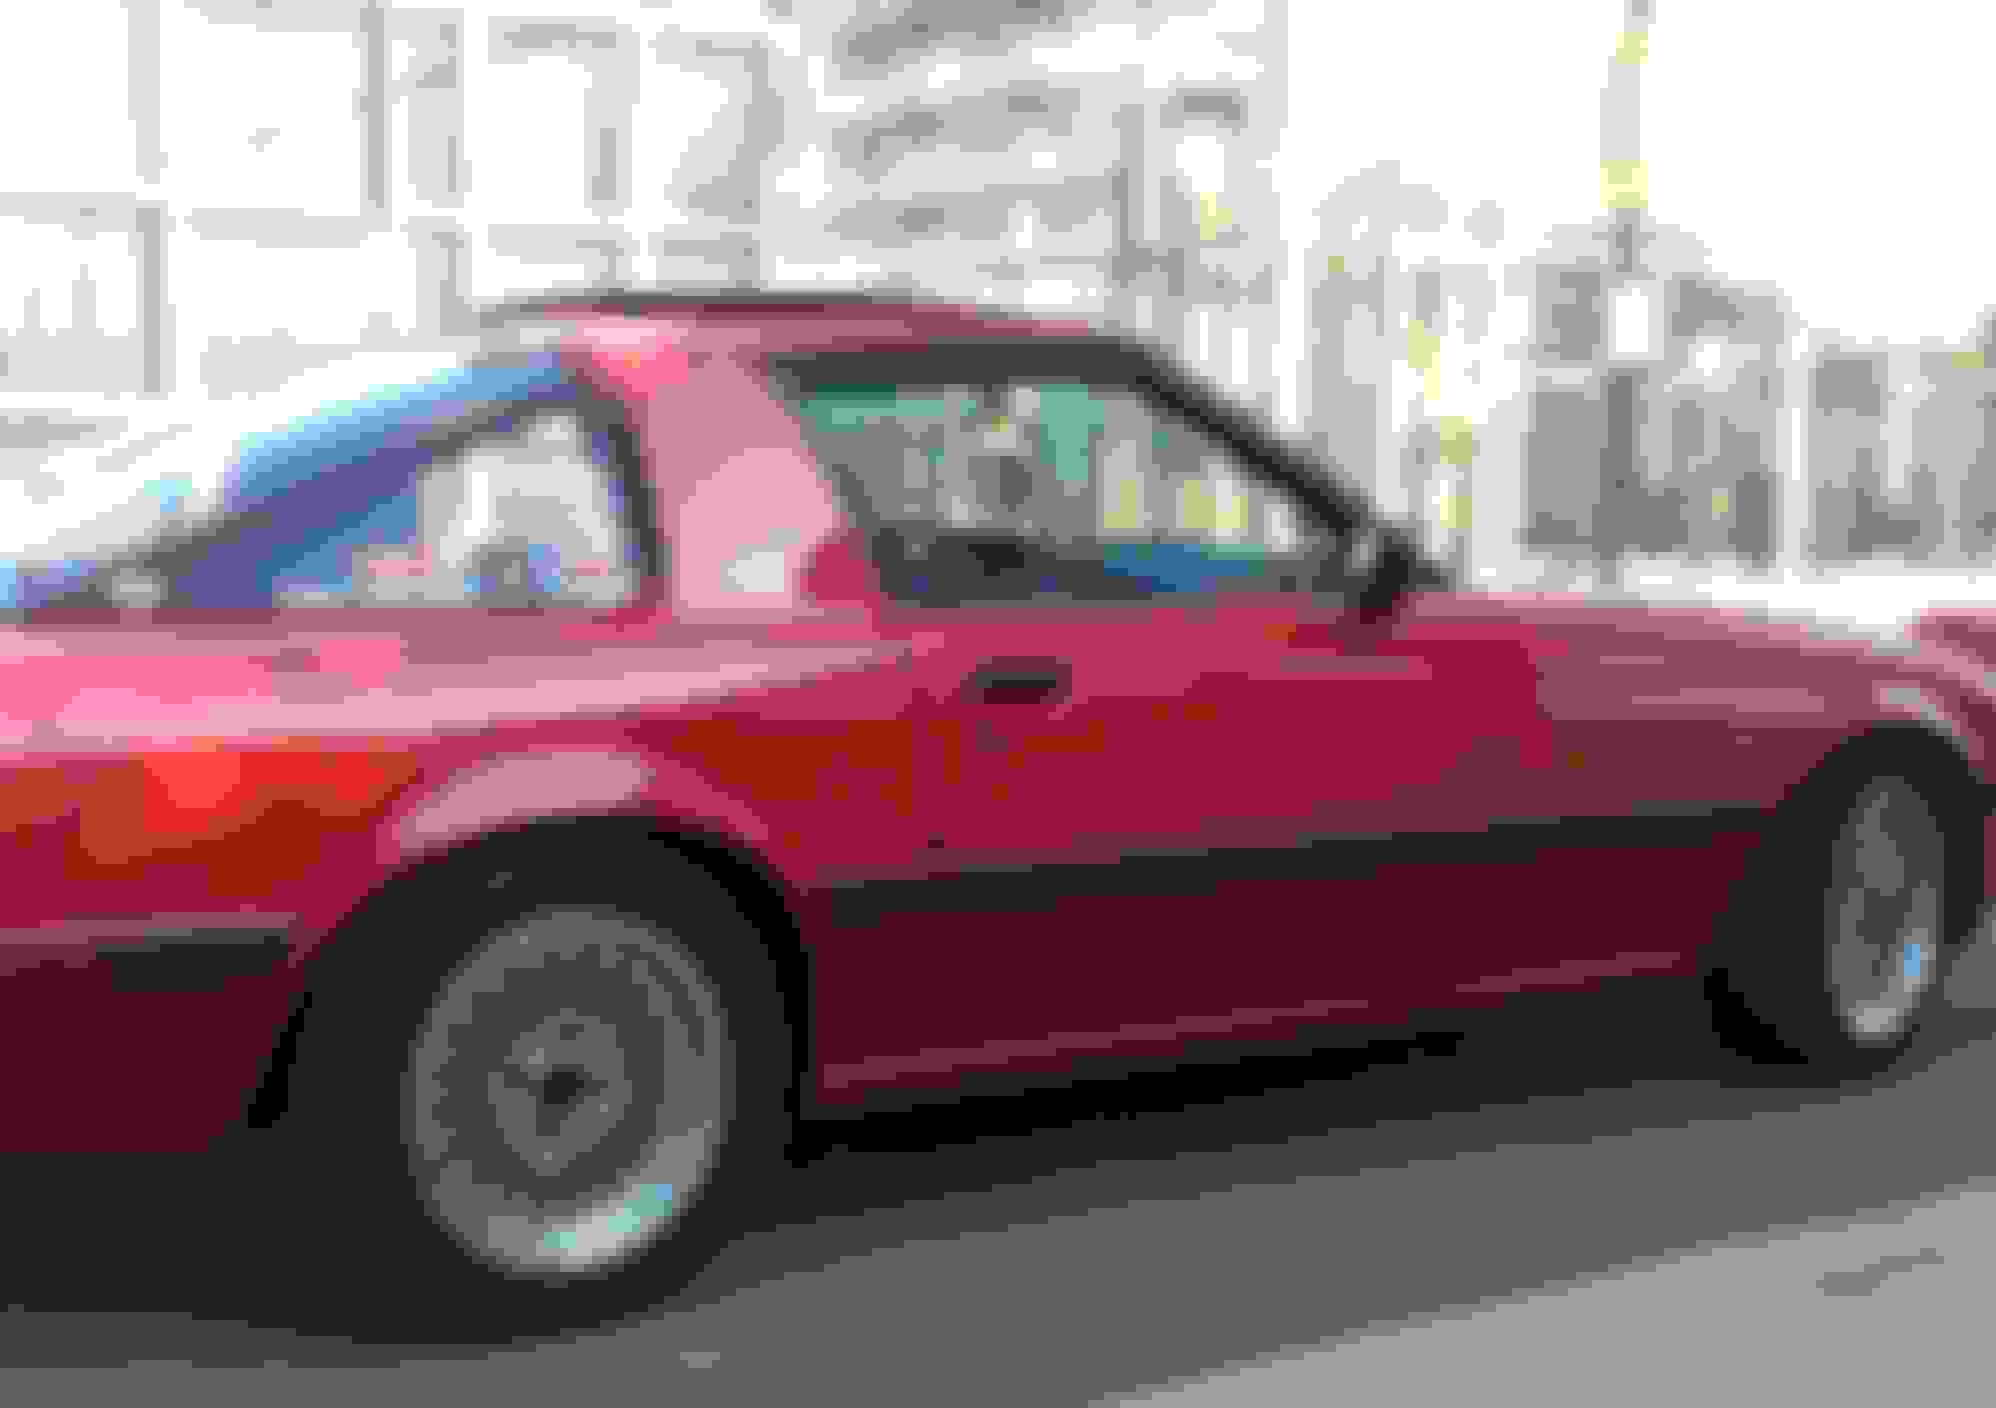
Pic from Brother:
The 4x4 stance my car has is bugging me. Tokico HP's and RB or Eibach springs are on my list to get over the winter. Waiting for Tokicos to become available again.
So I kinda forgot about this thread, figured I would update now that I finally consider my car to be 'done' after a few years of changes. I am very happy with it, just put in the new Chips engine the other week and breaking it in now.
The parts list now is pretty long, here is a short summary, missing a lot of the small parts:
-Stance Coilover Kit
-All Techno Toy Tuning front suspension hardware, LCA's, Tension Rods etc.
-Rota Mesh 15x7
-All new MOOG tie rods
-Chips Motorsports Built 12A Streetport.. Lapped and Re-nitrided irons, oil system mods, all new OEM apex, side, corner seals, springs, bearings, oil pump, gaskets etc Housings are perfect still.
-RB Dellortto Carb and Intake
-RB Full Streeetport Exhaust
-Rebuilt, cleaned up 5speed
-Exedy Stage 1 Clutch
-Mazda Comp Engine/Trans Mounts
-New CSF rad, all new OEM cooling system parts, hoses, Tstat etc
-Most new OEM replacements for misc gaskets, seals, weather strip
-All new fasteners, I grew an obsession with yellow zinc hardware from Belmetric
The paint is 100% original and after spending hours cleaning off the rust proofing that covered the entire engine bay it is like new. I spent a bunch of time deleting unnecessary wiring etc.
Collecting some parts over the winter while car is in storage.
From Techno Toy Tuning:
-Rear Lower Links (adjustable with solid rod ends).
-Drop Brackets.
-Raybrig H4 halogen headlights... Can't wait for these. I will be making up a relay harness for these headlights. Dual relays for low/high beams.
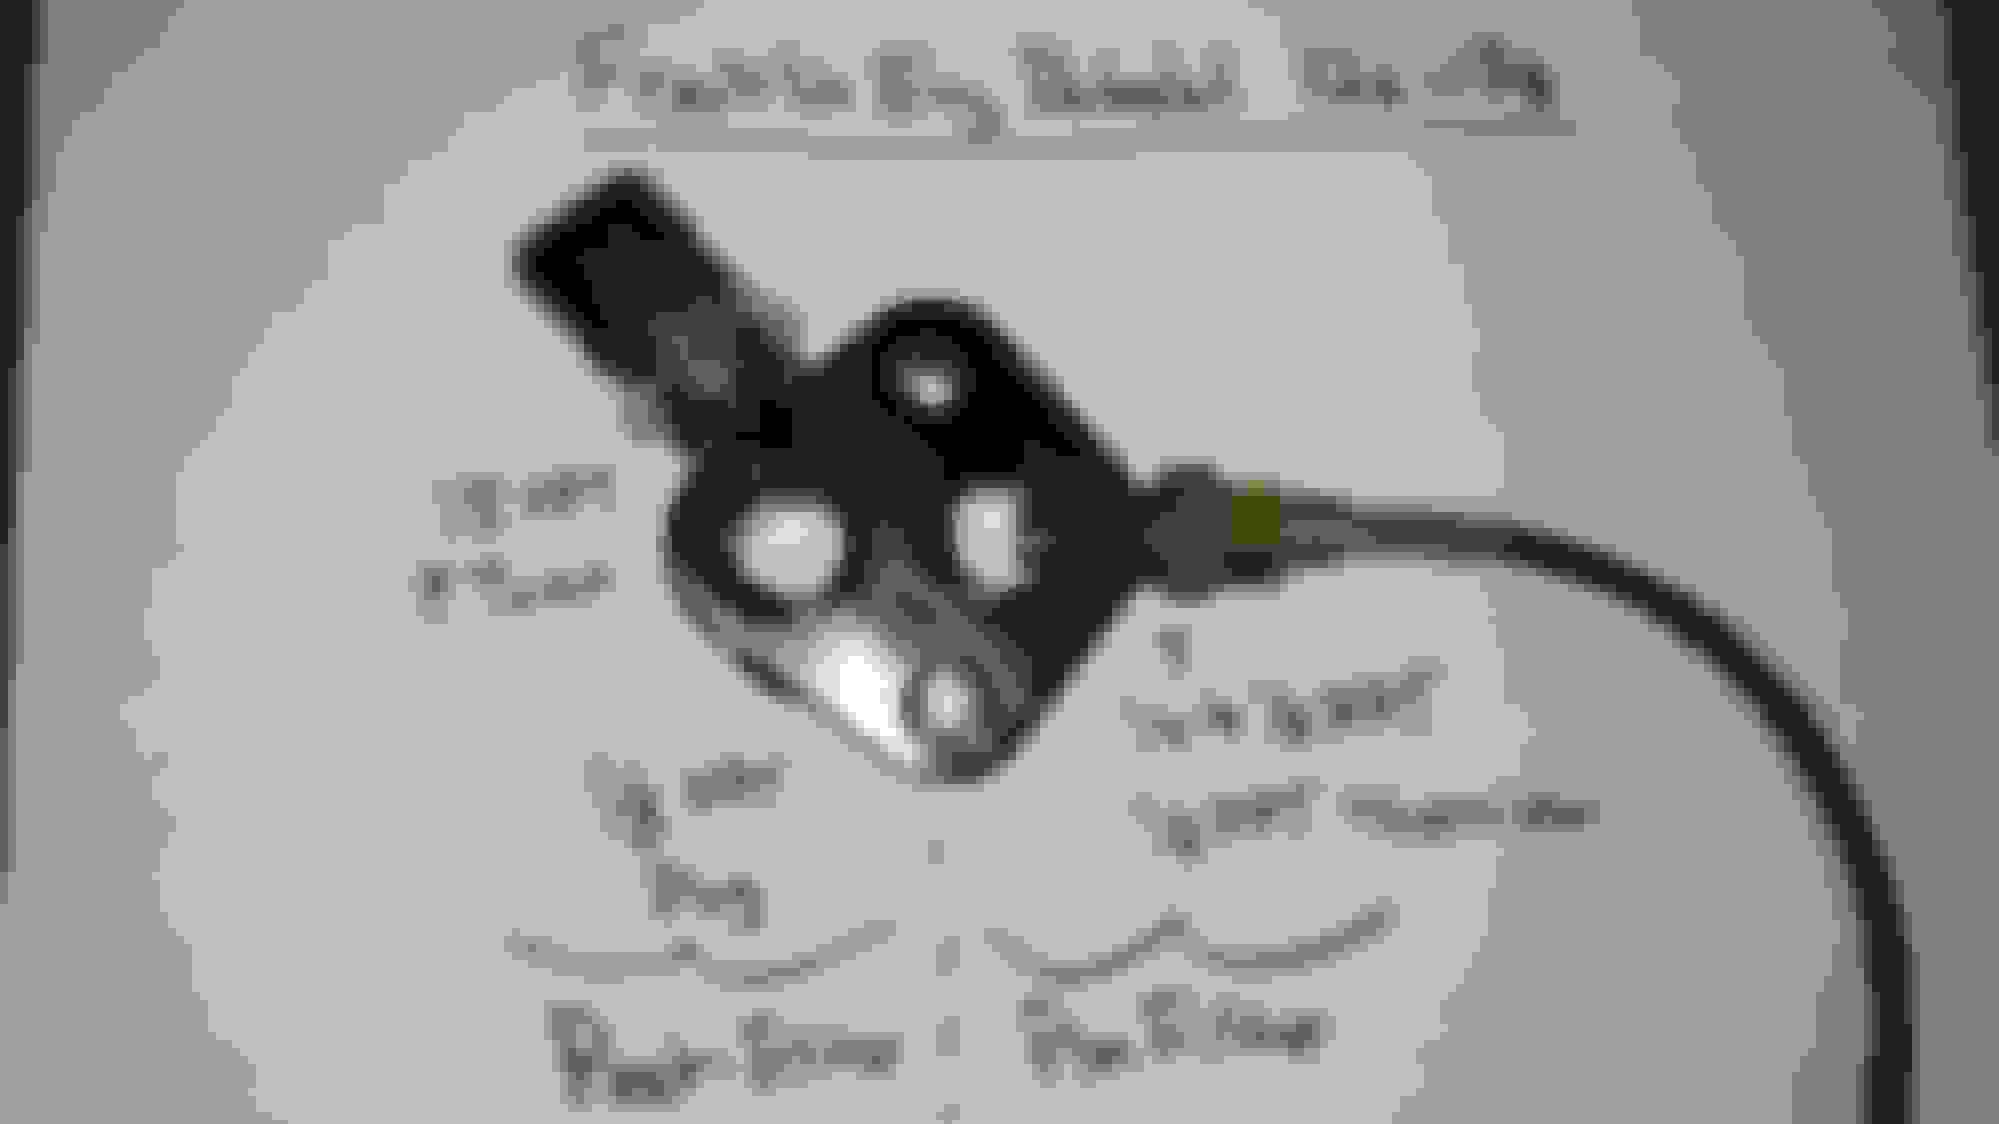
Franklin Engineering:
-Side Mount Alternator Kit. Will clean up the engine bay a lot. I am running an S4 alternator.
-Low profile oil fill tube
-Oil pressure and temp adapter block (under filter pedestal)
Parts from T3.
Franklin Engineering bracket, very good fitment. Correct belt length corresponds to FB A/C belt (apparently). To be confirmed.
I am going to email T3 to inquire about the fitment of the drop brackets. The welded assembly is too wide overall and will need spacers/shims to correct. Rebuild of GSL (84/85) axle is underway. Managed to score NOS backing plates. Rebuilt GSL calipers and will be using all new bearings/seals in axle. Diff will be a GSL-SE OEM clutch type with GSL-SE ring/pinion. I was going to go with a Kaaz LSD but the I found a GSL-SE rear axle locally with all the parts. Diff looks to be in good shape.
One of the last pics from the fall.
Last edited by tommyeflight89; Dec 31, 2018 at 05:11 PM.
I do t usually like red cars but man yours looks good. How do you like the stance coil overs? I couldn�t seem to find any information online from actual owners. I know stance makes some really good coils so I�d expect these to be good too.
I do t usually like red cars but man yours looks good. How do you like the stance coil overs? I couldn�t seem to find any information online from actual owners. I know stance makes some really good coils so I�d expect these to be good too.
Thanks! Red was not the colour I was going to pick first when I was trying to find an FB, but the original paint and zero rust from a local Ontario car was too good to pass up.
I have really liked the coils. Fairly high quality for the price and I did not come into any fitment issues. No reliability issues yet, and I don't think I'll have a hard time finding replacement dampers when the time comes.
This thread has a lot of info (with some mixed reviews..):
I would say your T3 units are a bit better, and are less of a hassle. T3 parts are the epitome of quality.
I had to source struts and have a fabricator (Glease manufacturing) do the milling and tig welding. Tig welded, he pre-heated the castings first. Decked flat on a mill. Before install.
I'm in love with your build. Understated and classy. I've got a red '85 12a that I'm just now starting to tear into. Red like yours, and purchased primarily for the 98% rust free body and clean interior. Can't wait to give her the TLC she needs to be as beautiful as yours.
Starting with the steering components, vacuum hoses, filters and such, and going from there. The plan is a TII streetport, better suspension bits, 15" wheels... I don't race in any way, but I'd like to build her to keep up with my buddies on their bikes when we ride the twisties.
Thanks! Your car looks like the 1985 twin to mine haha. Very clean.
I do like the understated look. Outside it looks old school and original and underneath it is all new, but still modded with somewhat period correct components.
A TII swap will give you all the power you would need.
I think an FC front subframe and 13B turbo swap is a good place to end up with these cars.
Almost done getting all of the parts and details ready for the work I want to do before spring this year.
I am 95% finished the rear axle build, only pending item is to have a shop rebuild the diff (all new bearings/seals) and also replace the wheel bearings and install the NOS backing plates I found. This will complete the GSL (Large Axle) swap.
Remaining parts include:
-All new OEM Mazda brake hoses for front, rear and body to rear axle
-All new OEM Mazda upper control arms and watts links
-Mazda new OEM watts link bracket
-New Mazda OEM differential rebuild parts (crush tube, lock nut etc)
-Raybrig H4 halogen headlights, working on a relay harness for these
-Innovate Motorsports MTX-D Oil pressure/temp and Coolant Temp/batt voltage gauges. Will accompany a AEM AFR
-Installing the 3 gauges in a modified center console trim piece, pic below is of a mockup
-Replacement cooling fan and clutch
-A big order into Belmetric to replace all the associated hardware. After this there basically won't be a single original fastener on the car.
This is almost all of it. Planning on using 1/8th ABS plate as a filler panel that will get smoothed in to the OEM piece. I found a good paint match for the stock gun-metal trim colour.
Finished a few things recently, all electrical related.
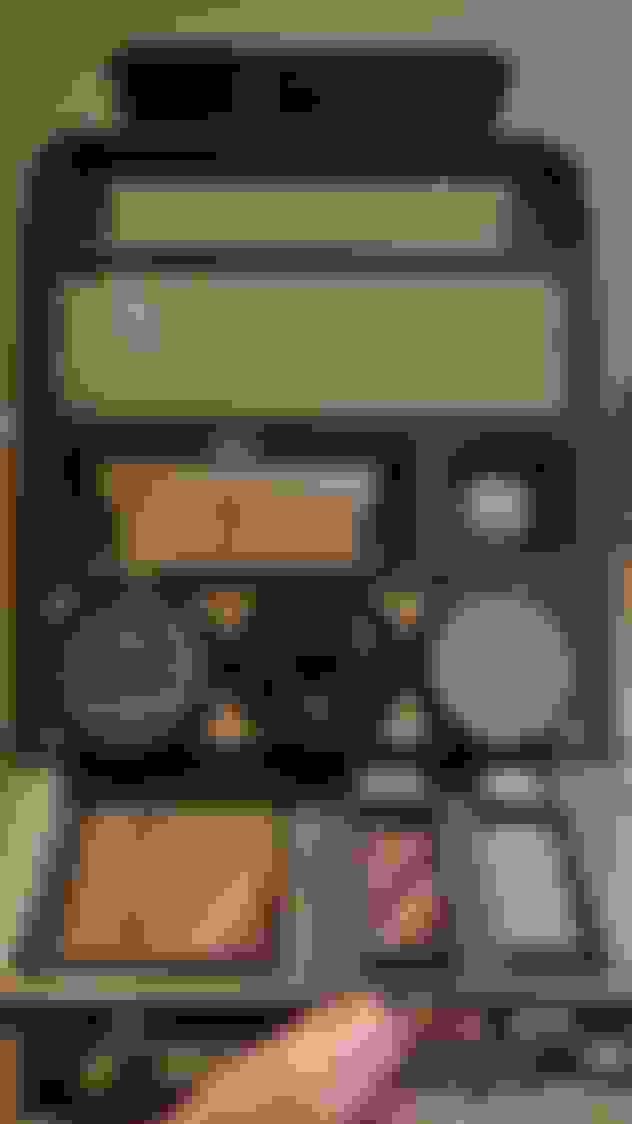
1. Completed the center console mods for the 3 gauges. Really happy with the results, if you did not know FB interiors they would almost look OEM. I was able to get a really good finish with Bondo spot putty and a high build plastic primer.
Here were the basic steps:
-Enlarge opening in center console from the original storage cubby.
-Cut 1/8" ABS plastic rectangle to size and sand to fit for filler panel.
-Use 2" holesaw to cut holes most of the way through the filler panel. Don't drill all the way as the edges of the holes extend to the very edge of the filler panel.
-Bond in place with JB weld plastic bond.
-Complete hole saw cuts.
-Fill, sand etc ect.
-Paint in OEM looking gunmetal.
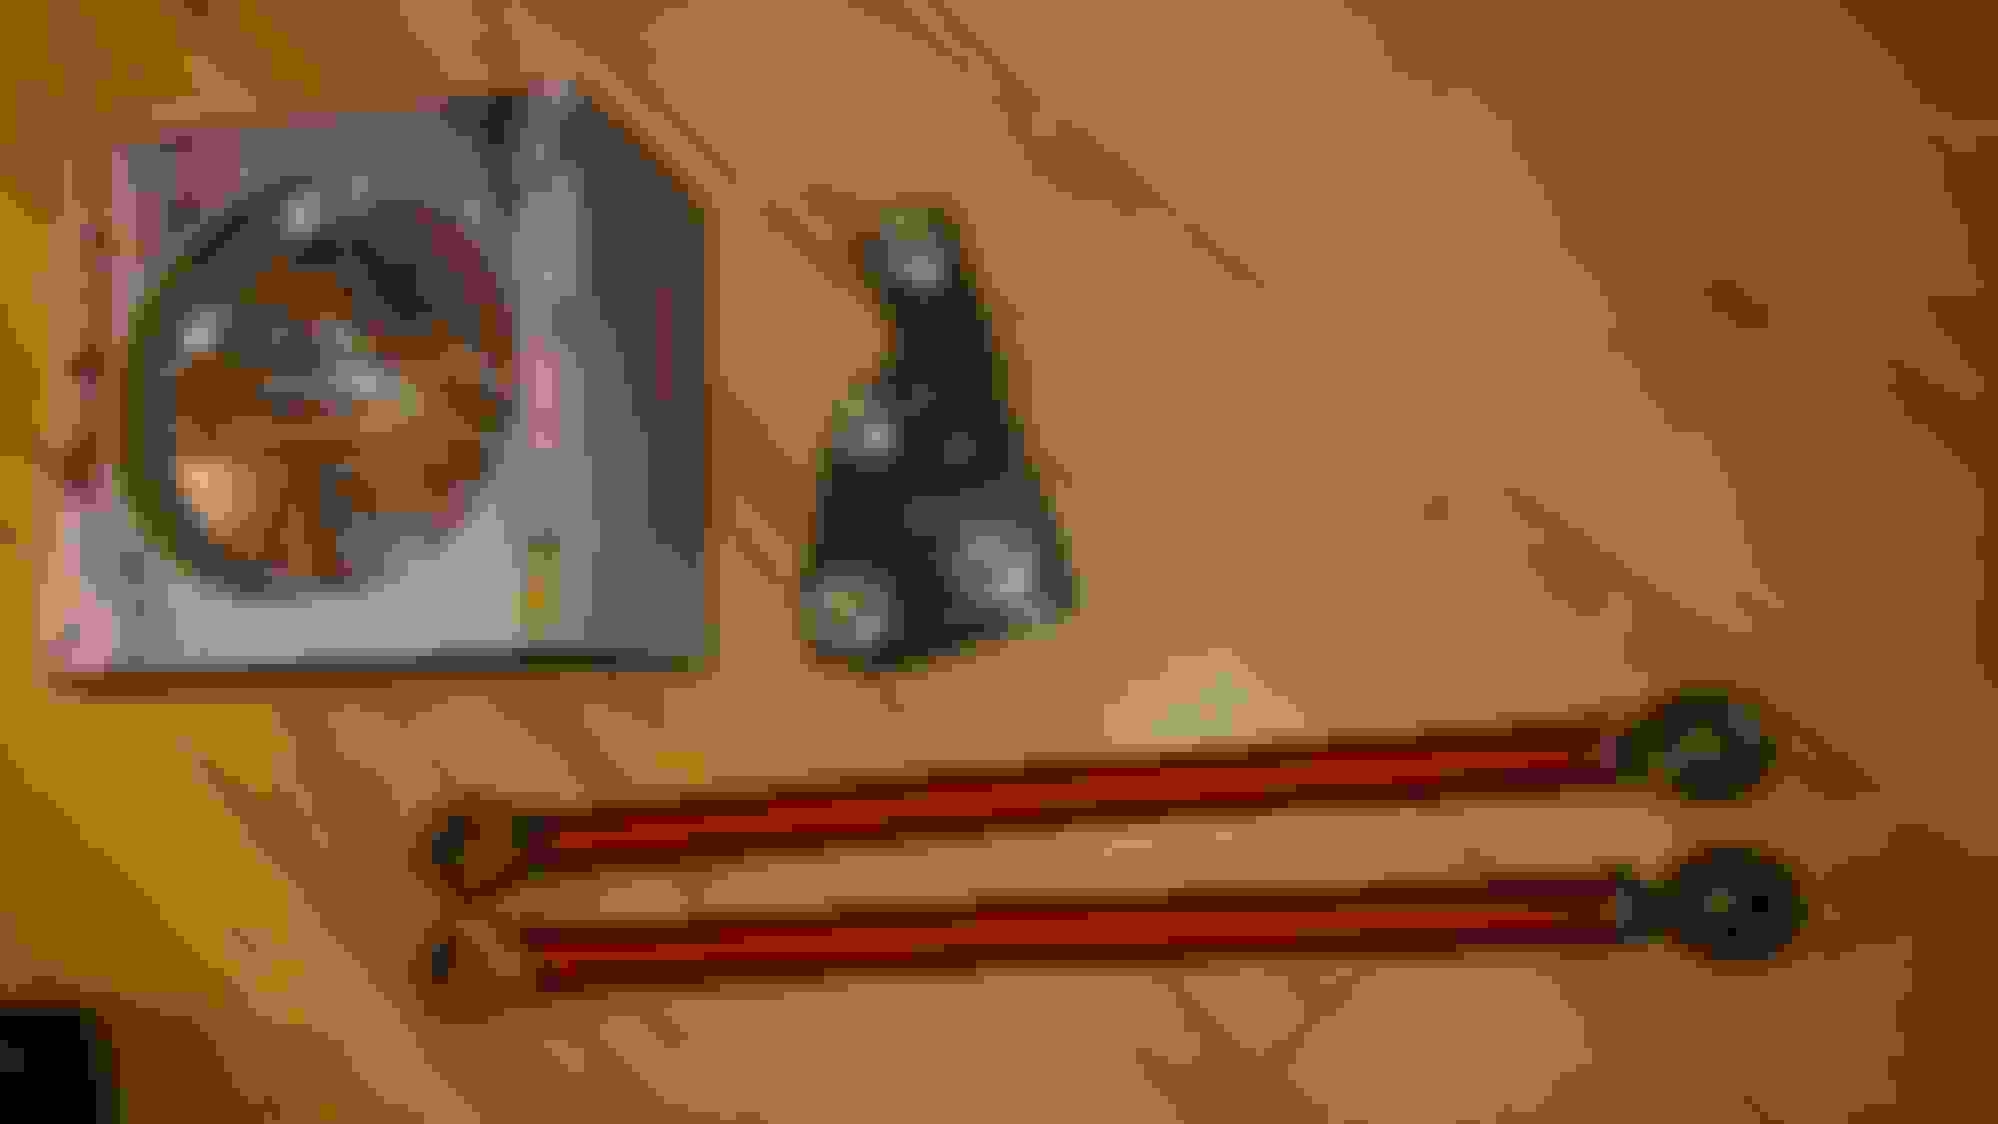
2.Also shown is the small board I made for the headlight relay setup. I wanted to avoid a cheap looking aftermarket relay harness strung all over the engine bay so I went with this for the same cost:
-Pico relays (30Amp.. overkill)
-Circuit breaker
-Misc 12awg wiring, ring terminals, nylon overbraid etc
-12awg wires will connect to the ring terminals to split off for L and R headlights. Small M4 hex head machine screws/buts will hold the ring terminals together,
-Not shown are universal H4 headlight connectors that I took apart and undid the crimps on the terminals. This way I can size my wiring to perfect length and crimp my own wires right into the H4 connectors.
It will tap into the original high and low beam + switched wires and be hidden in front of engine bay by rad support.
Last edited by tommyeflight89; Mar 6, 2019 at 06:14 PM.
Finished a few things recently, all electrical related.
1. Completed the center console mods for the 3 gauges. Really happy with the results, if you did not know FB interiors they would almost look OEM. I was able to get a really good finish with Bondo spot putty and a high build plastic primer.
Here were the basic steps:
-Enlarge opening in center console from the original storage cubby.
-Cut 1/8" ABS plastic rectangle to size and sand to fit for filler panel.
-Use 2" holesaw to cut holes most of the way through the filler panel. Don't drill all the way as the edges of the holes extend to the very edge of the filler panel.
-Bond in place with JB weld plastic bond.
-Complete hole saw cuts.
-Fill, sand etc ect.
-Paint in OEM looking gunmetal.
2.Also shown is the small board I made for the headlight relay setup. I wanted to avoid a cheap looking aftermarket relay harness strung all over the engine bay so I went with this for the same cost:
-Pico relays (30Amp.. overkill)
-Circuit breaker
-Misc 12awg wiring, ring terminals, nylon overbraid etc
-12awg wires will connect to the ring terminals to split off for L and R headlights. Small M4 hex head machine screws/buts will hold the ring terminals together,
-Not shown are universal H4 headlight connectors that I took apart and undid the crimps on the terminals. This way I can size my wiring to perfect length and crimp my own wires right into the H4 connectors.
It will tap into the original high and low beam + switched wires and be hidden in front of engine bay by rad support.
Wow that does look awesome. You did an amazing job integrating those gauges. That shift boot is awesome. Not sure if you mentioned where you got it up further but where did you get that?
Thanks! Was surprised how nicely they fit and look with the rest f the OEM trim. I got the idea after having the AEM AFR gauge shoved into the storage cubby opening while I figured out where to place it. 1/8 ABS is $12 on Amazon prime and was easy to work with. Cant wait to get it back in the car with everything else installed to see how it will look.
Also super impressed with the Innovate gauges. Extremely high quality. Well worth the $$.
Shift boot is from Redline Goods. I also got their E-brake cover which really gives a nice look to the plastic E-brake in our FB's. Both are alcantara with perfect fitment. The dark grey alcantara really matches the S2 black interior nicely. A shiny leather boot would look out of place.
I am almost at a standstill until I start working on the actual car.
The only item really left at this point is to have a local shop install new wheel bearings and the backing plates on my axles and then rebuild the diff 3rd member with new bearings and seals.
I don't really have any of the tools for any of that work and figured I would trust it all to the experts. Just trying to find a good local shop. For the diff rebuild I was quoted at $300 in labour since I have all of the parts. Seemed pretty reasonable.
Posted this in another thread, just showing the setup I have for the oil pressure and temperature sensors. Very happy with Franklin Engineering products.
Some updates, we had a day where it was warm enough to work on the car! Got the bulk of the wiring work done for the headlight relay install. The relay board site in front of the battery and I tapped into the OEM wiring for the relay switch signals for high/low beams. The passenger side wiring runs along existing wiring behind the front frame rail "tube". The hard part will be securing the wiring and getting the lengths perfect in the headlight bucket assembly. The OEM wiring there was quite tight, and is fastened to the moving part of the bucket so that the connector is not strained when headlights move. In hindsight I wish I went with a more pliable wire... but doing this work in 6degC doesn't help that. I'll get some pics of that.
Got the center console installed and ran all the wiring for the gauges. Very happy with how the center console worked out. The pic makes the colour look off, but the paint match is pretty good for the OEM gunmetal paint on S2 FB's.
Also pulled the carb just to clean it up a bit. Contemplating ordering some more jets. I am running 80 Idle jets with .4 idle jet holders. I want to go to a .1 ilde jet holder and maybe drop the idle jet size down a bit.